Application data establish host security
Security+
Application Data - Establish Host Security
Exercise 1 - Anti-virus Programs
Exercise 1 - Anti-virus Programs
Most operating systems have built-in anti-malware programs that may help with warding off virus, unwanted email message, spyware and other annoyances that can cause anomalies within a computer system.
In this exercise, you will explore a built-in anti-malware application built into Windows 10 called Microsoft Security Essentials.
To get a better understanding of this technology, please refer to your course material or use your preferred search engine to research this topic in more detail.
Task 1 - Updating Windows Defender
Windows Defender is the built-in anti-malware software in Windows 10. It is essential that you keep this software updated with the latest signatures to keep malware at bay while using your computer.
To update Windows Defender, follow these steps:
Step 1
Ensure you have powered on the required devices and connect to PLABWIN10.
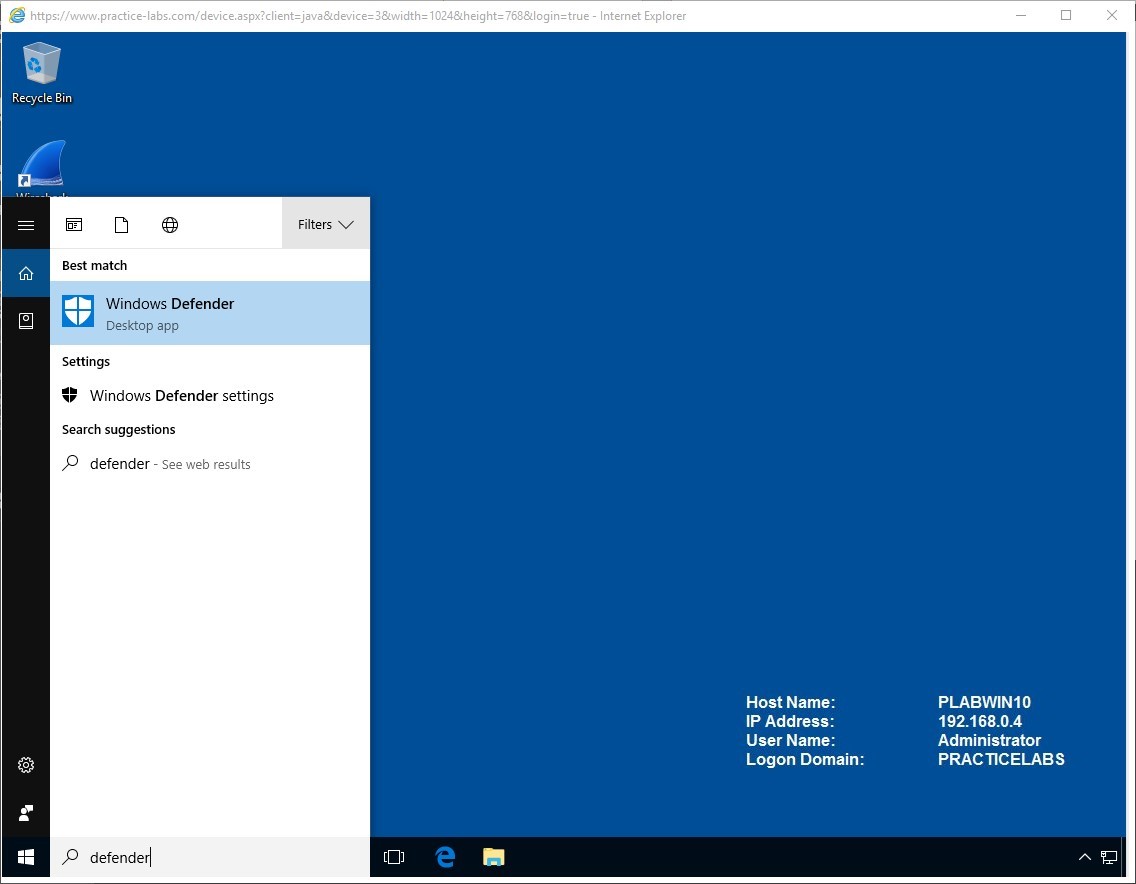
Click Start charm to invoke Start screen.
Step 2
From Start screen, type:
defender
From the Search fly out menu, click on Windows Defender.
Press Enter.
Step 3
Click Close to any defender popups.
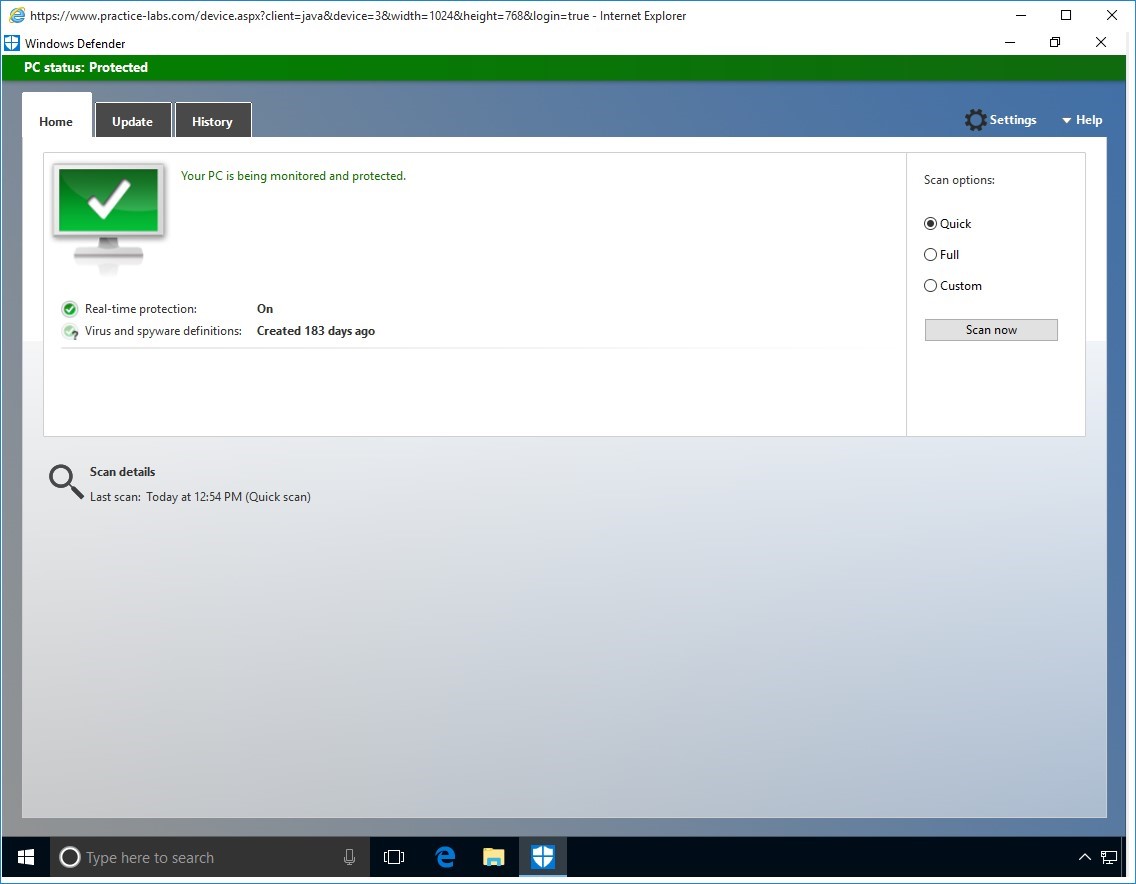
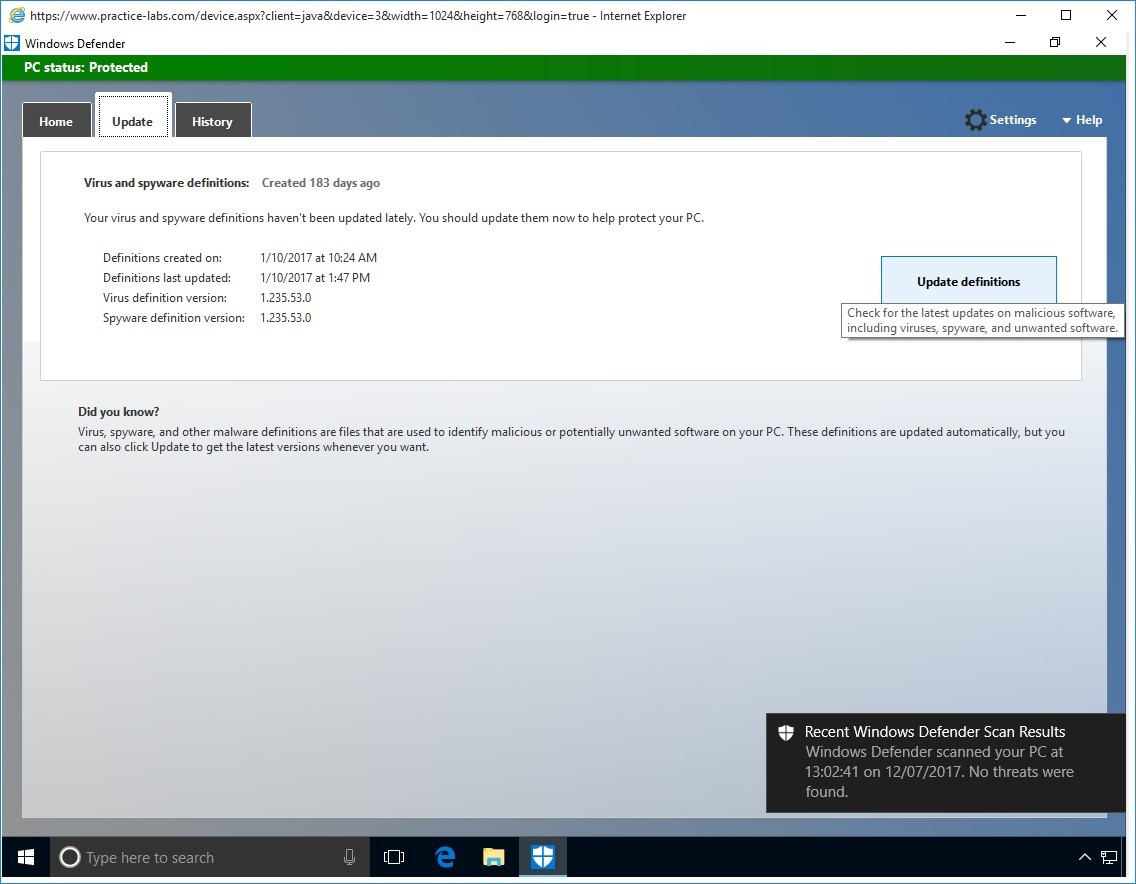
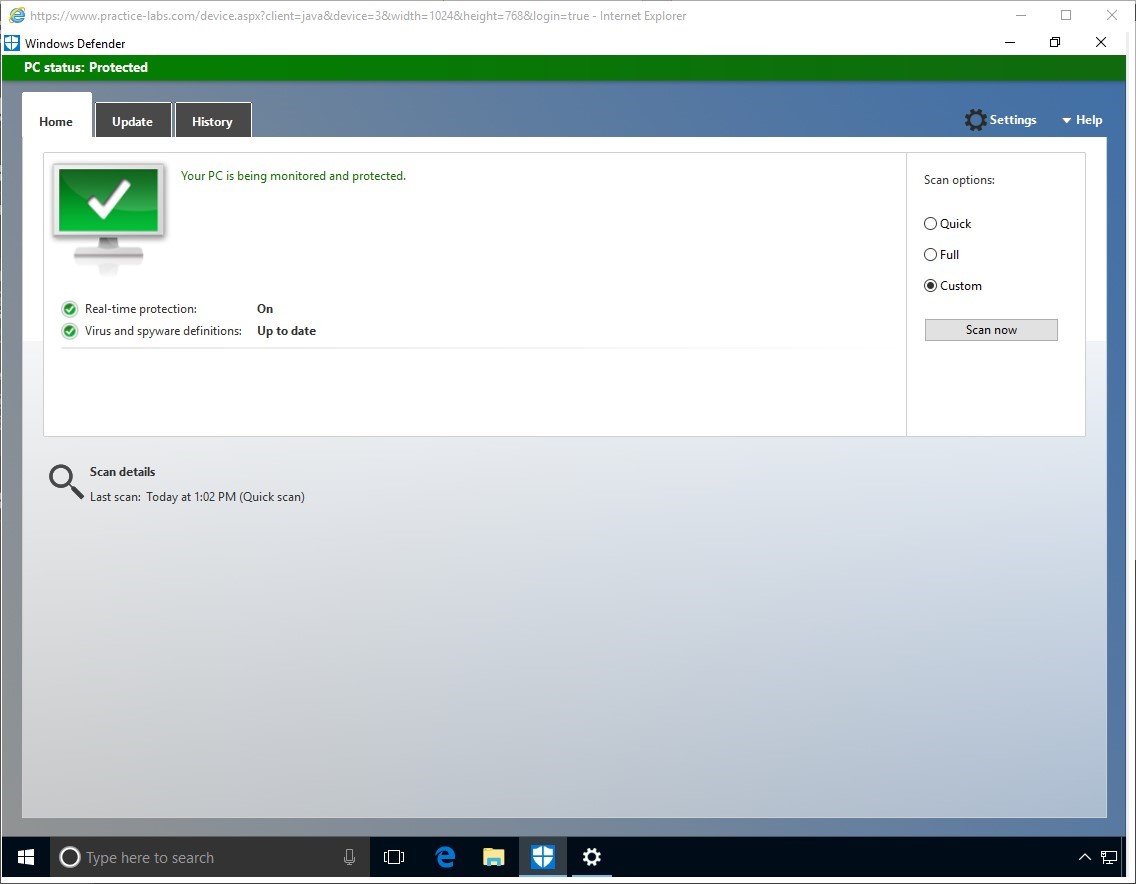
From Windows Defender screen, if you look at the Virus and spyware definitions section, its signatures are outdated.
Therefore, this computer is at risk.
Click Scan now.
Step 4
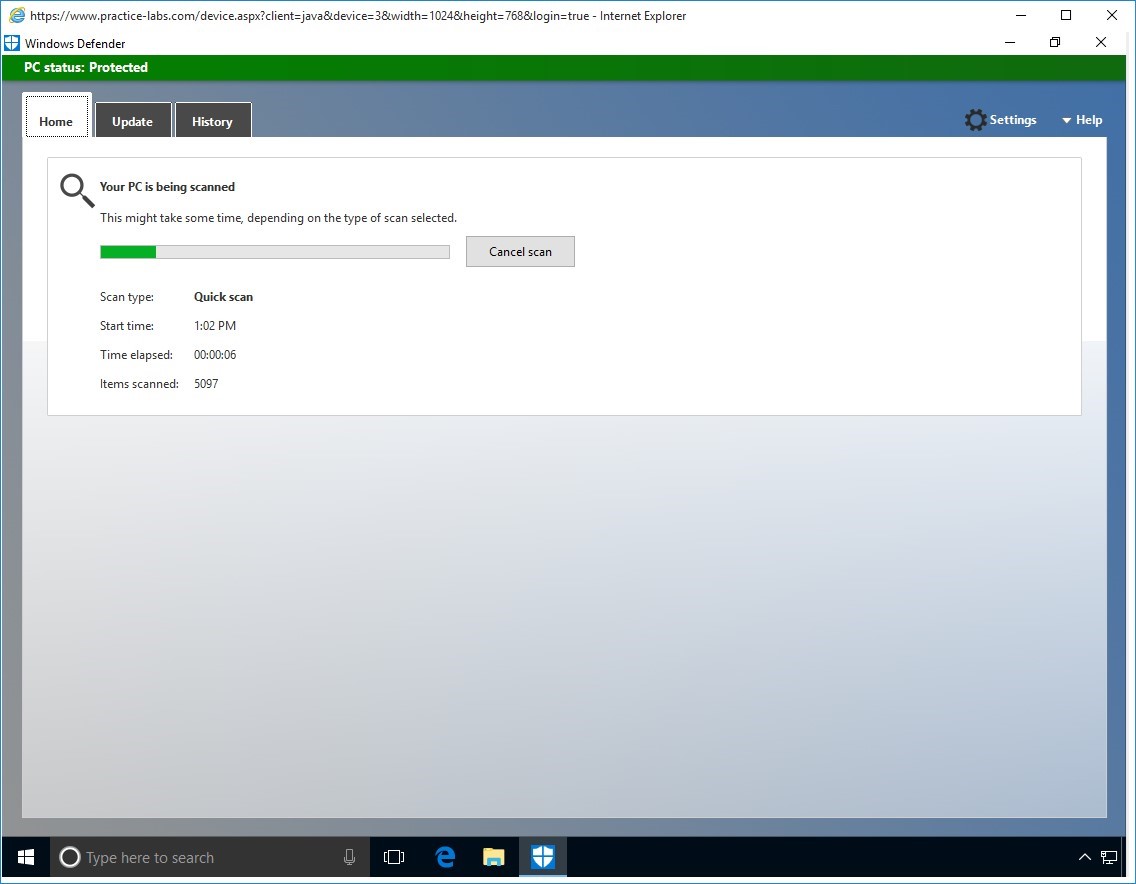
Please wait while Windows Defender scans the system for malware.
Step 5
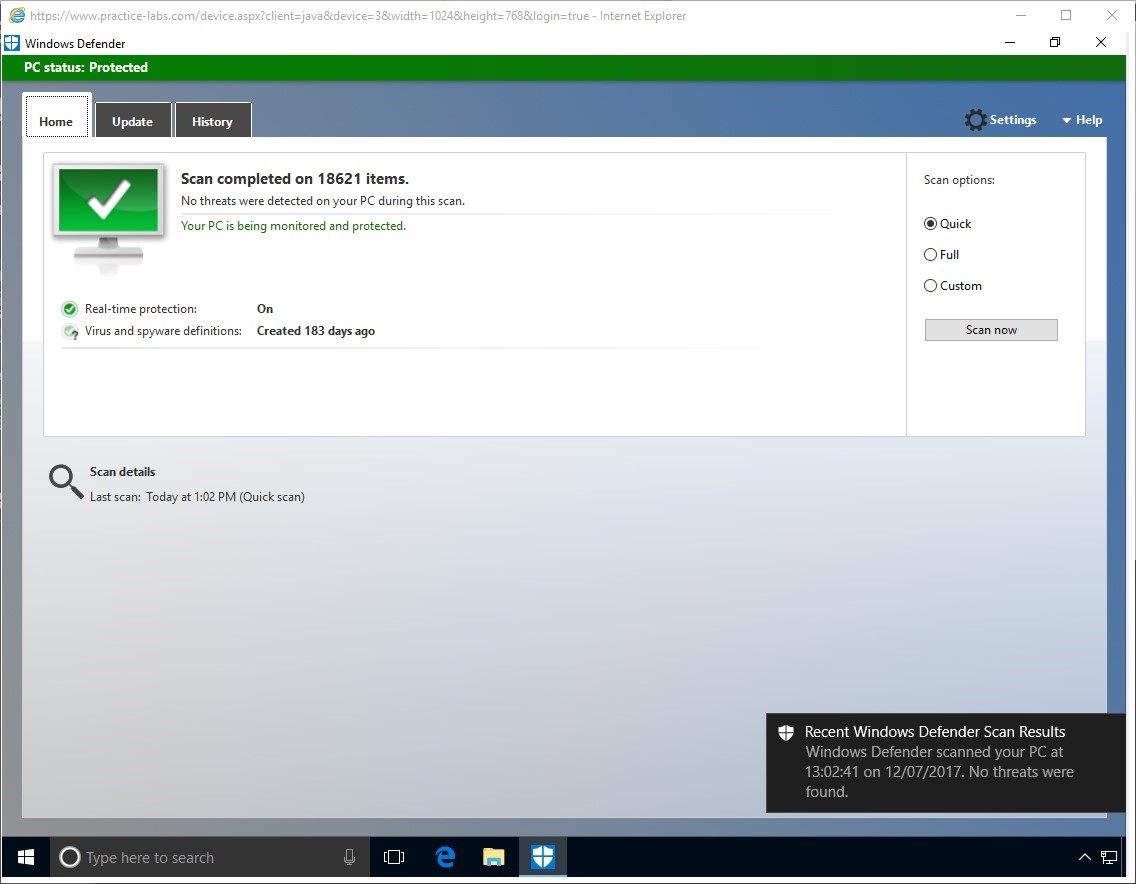
When the scan is completed, go to Update tab.
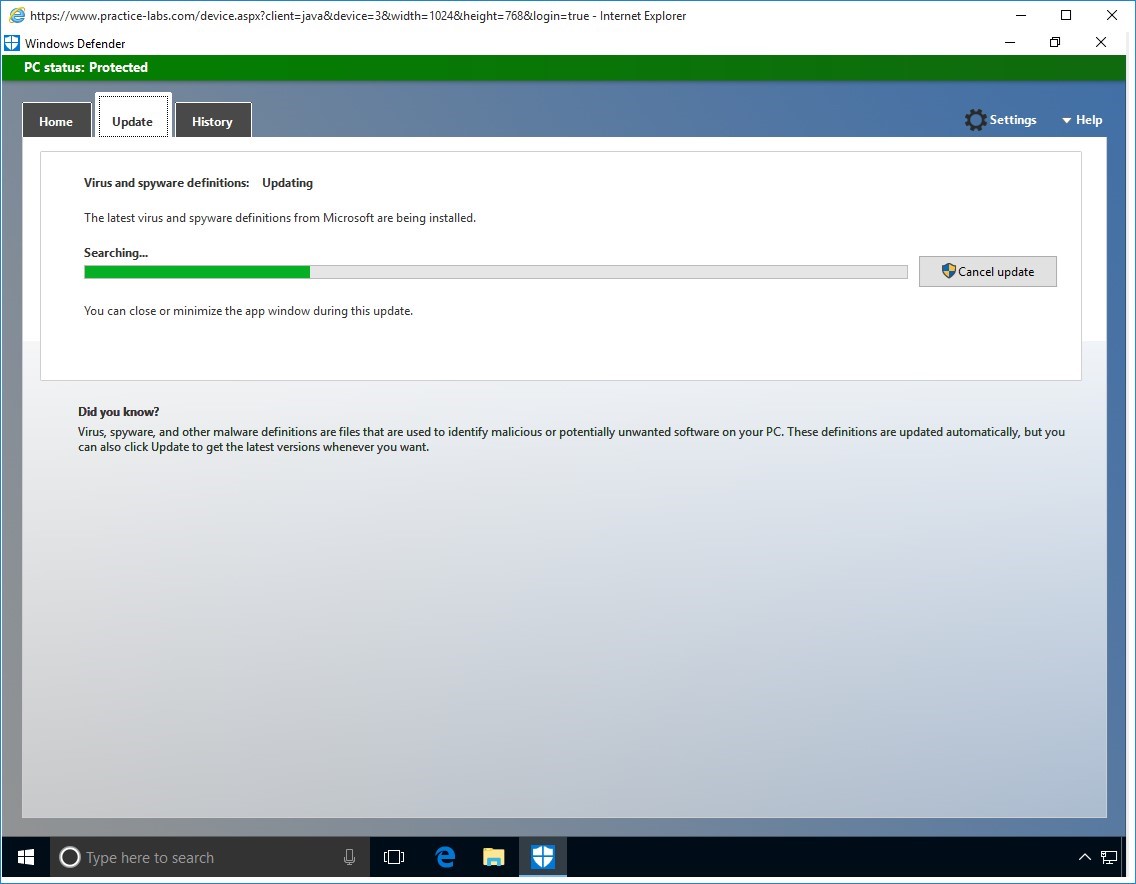
Step 6
In the Update tab, click Update.
Step 7
Please wait while the update is on-going.
This will take a few minutes.
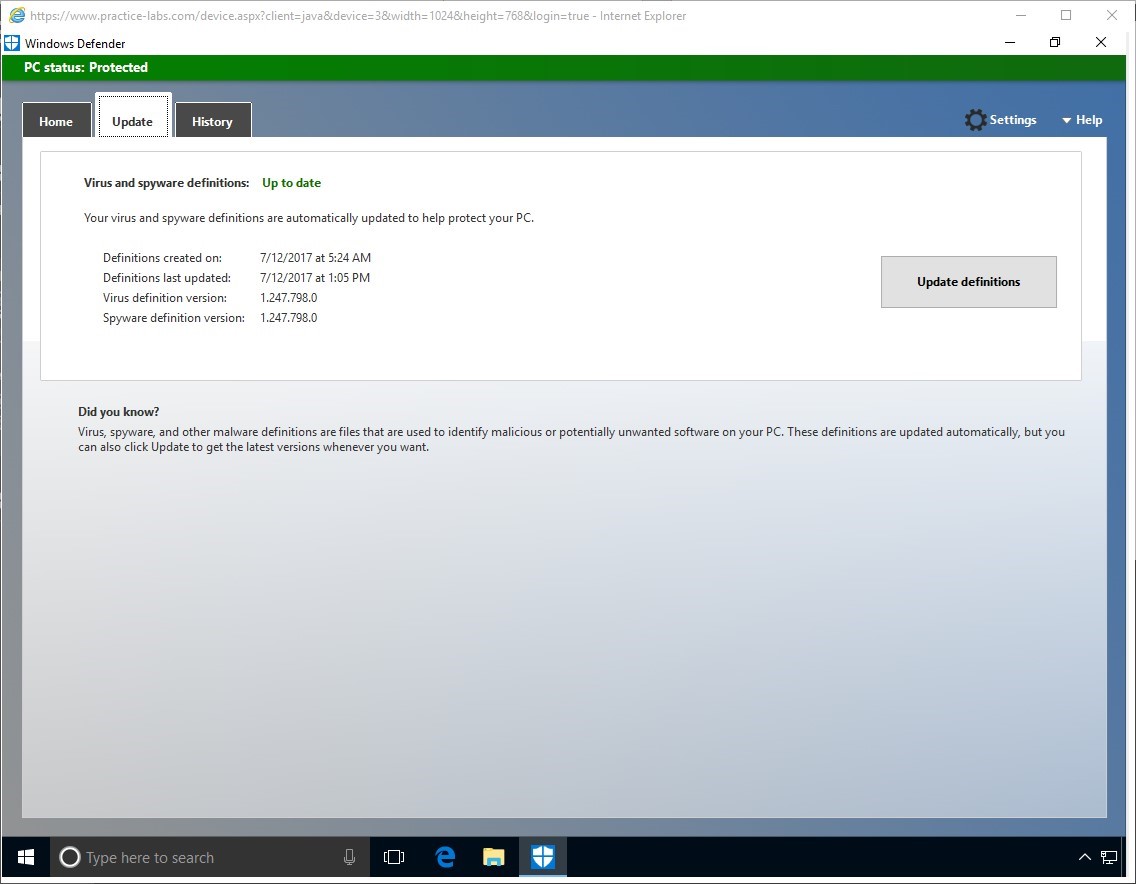
Step 8
When update is completed, click Settings tab.
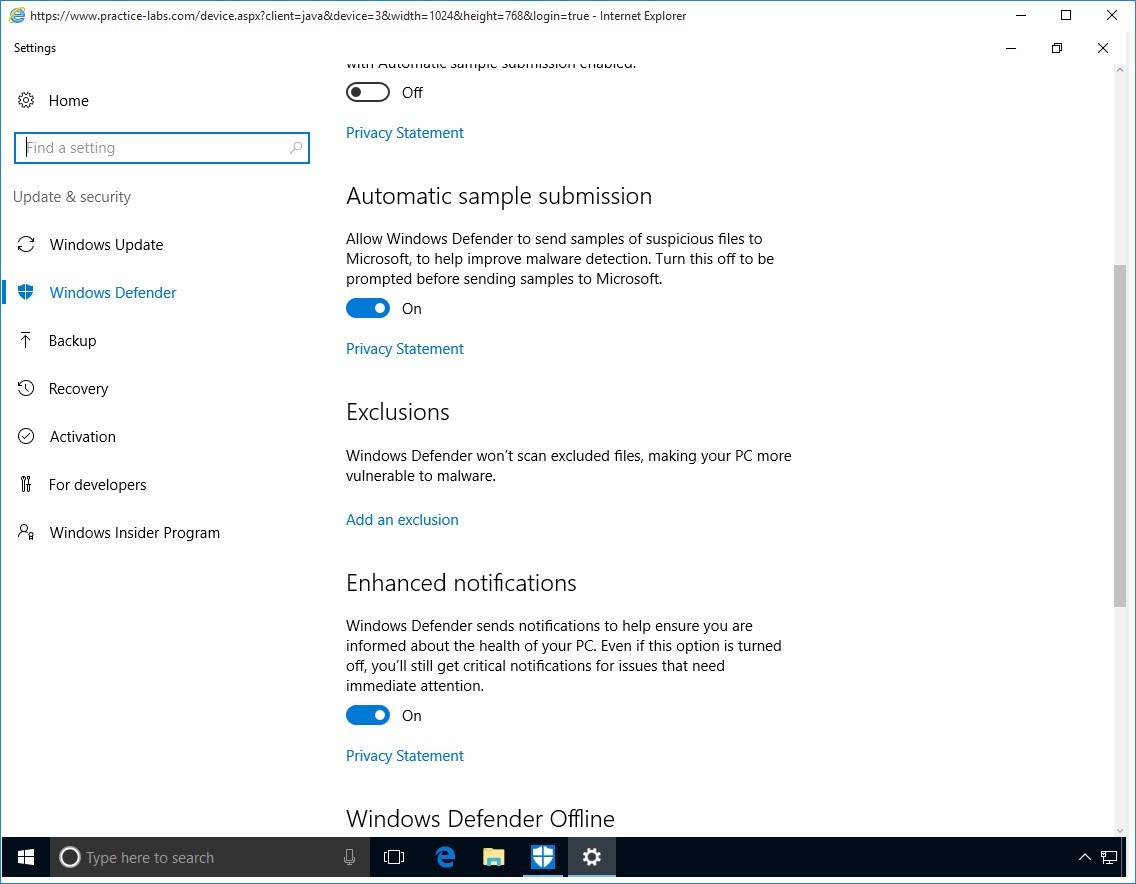
Step 9
From the Settings tab, select Exclusions from the list.
Click on Add an exclusion.
Step 10
Click on Exclude a folder.
Navigate to the C Drive and Select IEAK and then click on Exclude this folder.
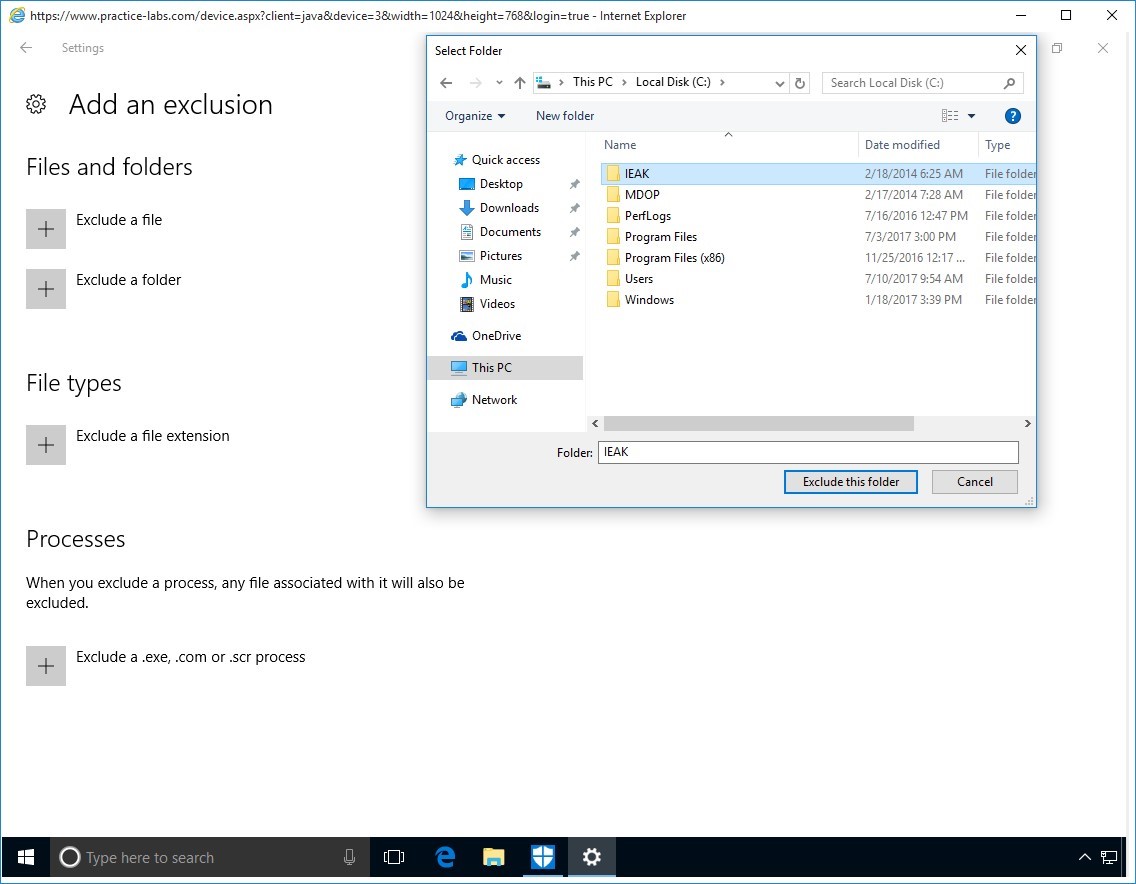
Step 11
This will now be added to the exclusions.
Click the back button to return to Settings then close this screen to return to Windows Defender.
Click on the Home tab.
Click on the radio button Custom under Scan Options.
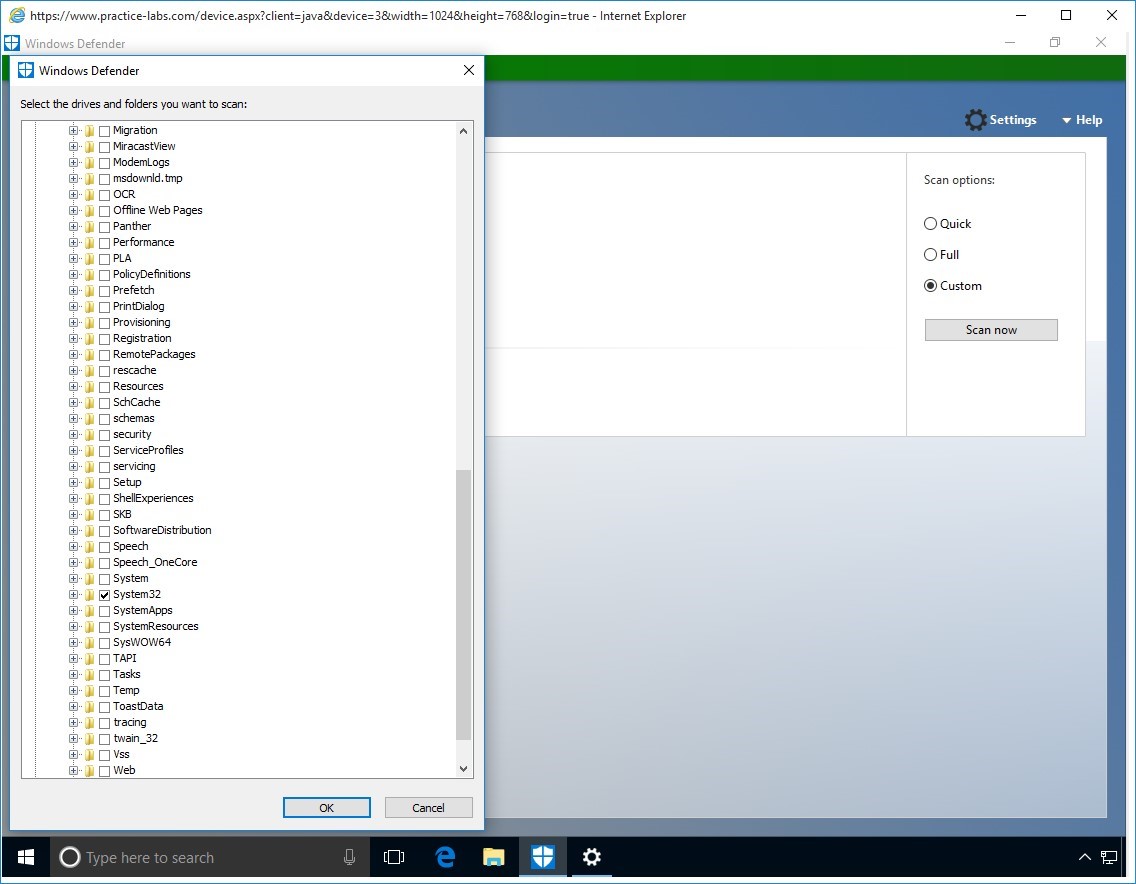
Step 12
Click on Scan Now.
From the Explorer Browser expand the Local Disk (C:).
Expand Windows and select System32 and click OK.
This will automatically begin the scan of that folder.
This scan will take about 5 minutes to complete.
Step 13
Once finished close Windows Defender.
Keep all devices powered on in their current state and proceed to the next task.
Task 2 - Using an Online Anti-Malware Scanner
In addition to anti-malware programs installed locally on a computer, you can take advantage of free online anti-virus scanners to check your system for suspicious activity.
Please note that web page appearance may change and URL links may become outdated. You can use your search engine to find online anti-malware scanners.
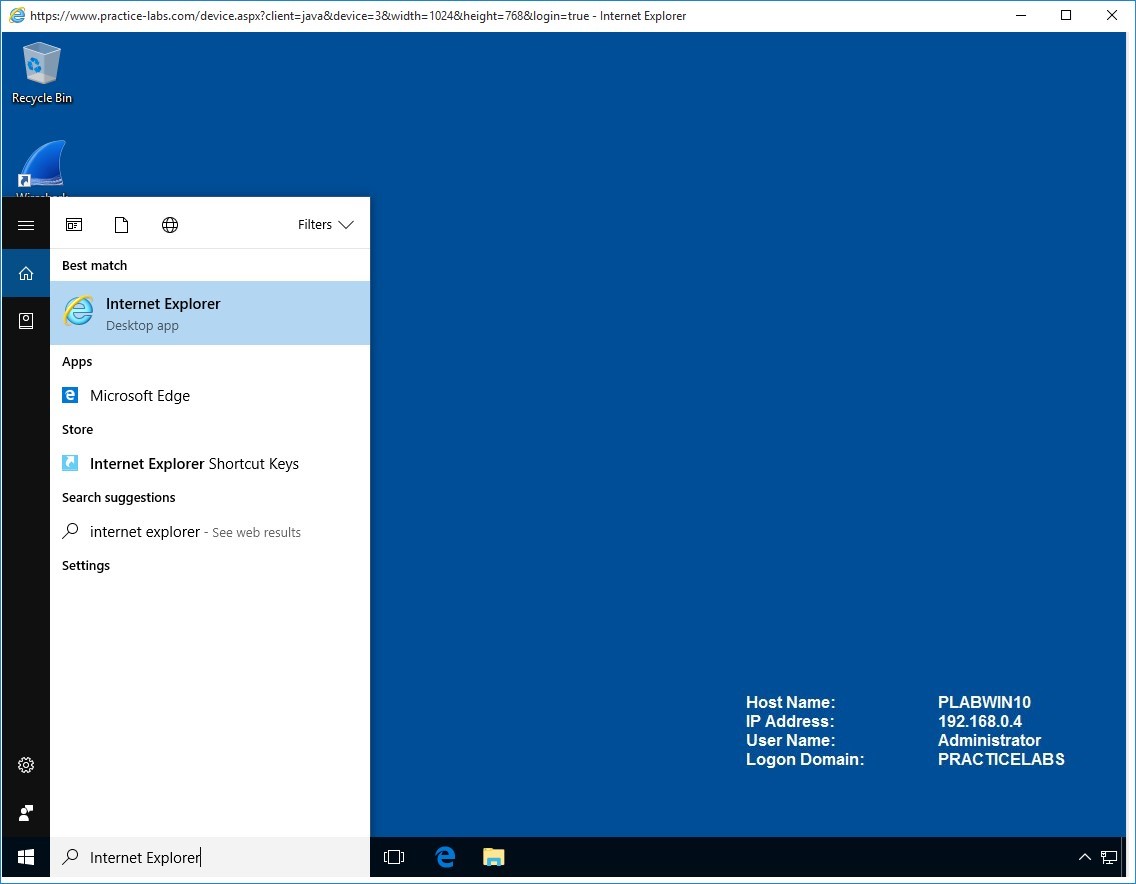
Step 1
Type Internet Explorer into the search bar.
Step 2
In the address bar, type:
http://www.microsoft.com/security/scanner/
Press Enter.
Note: If the URL indicated above did not work, use your search engine to search for Microsoft online safety and security centre.Step 3
Select the 64-bit version.
Click on Download.
A message box appears about downloading Microsoft Safety Scanner. Read through the information.
When the notification bar appears on the bottom of the screen, click Run.
Note: If asked for the platform click x64.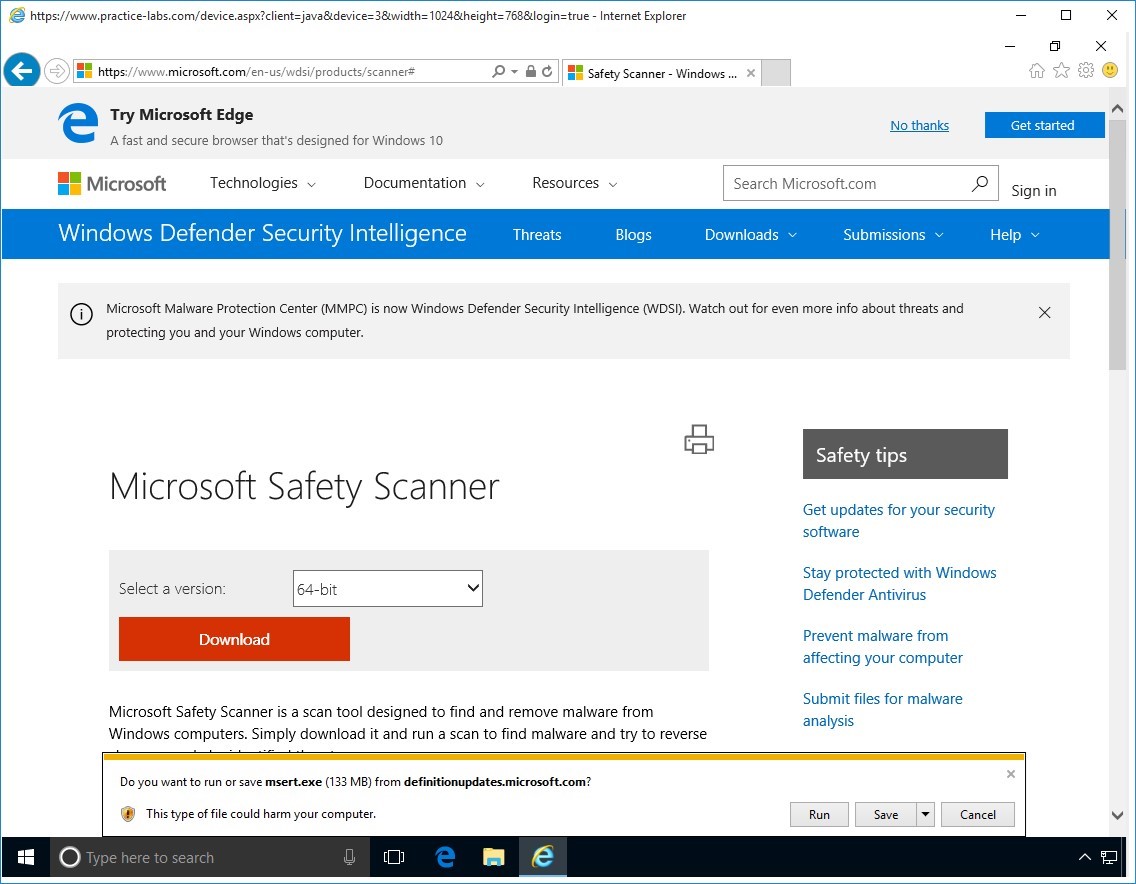
Step 4
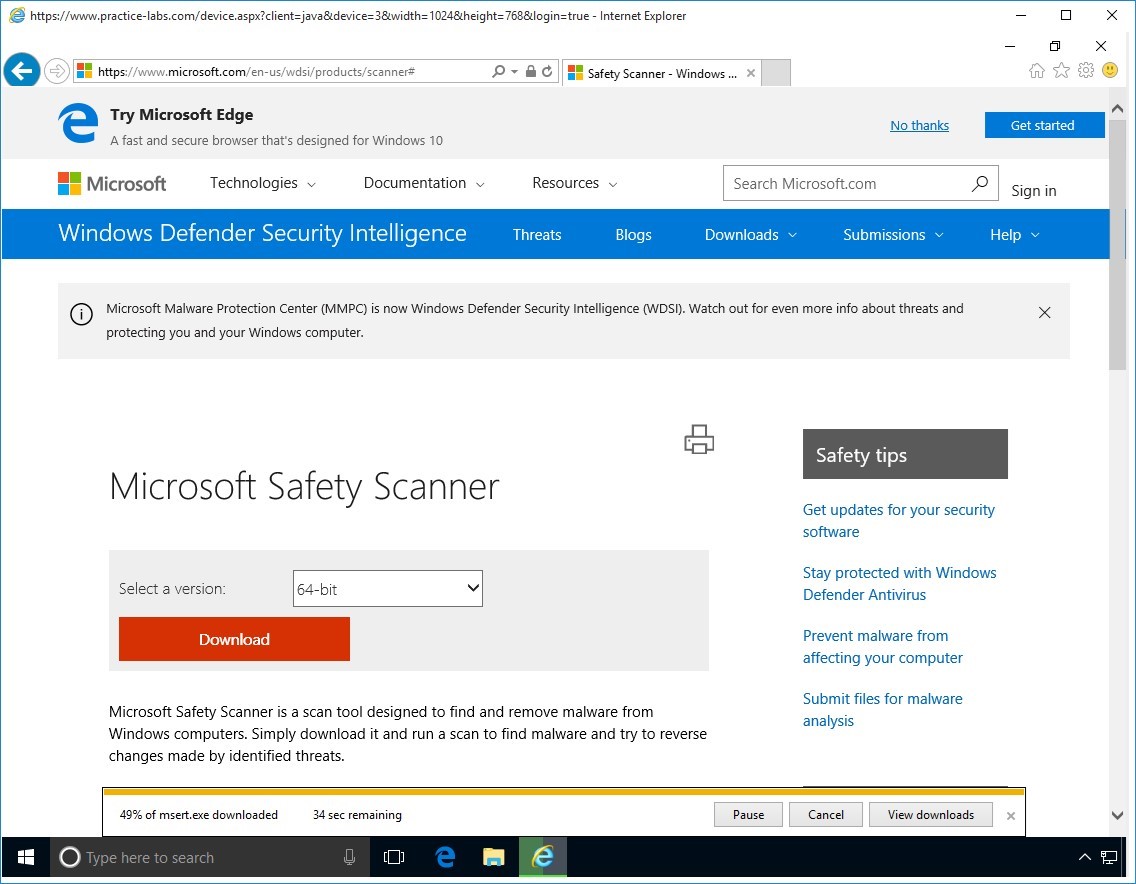
Please wait while file is being downloaded.
Step 5
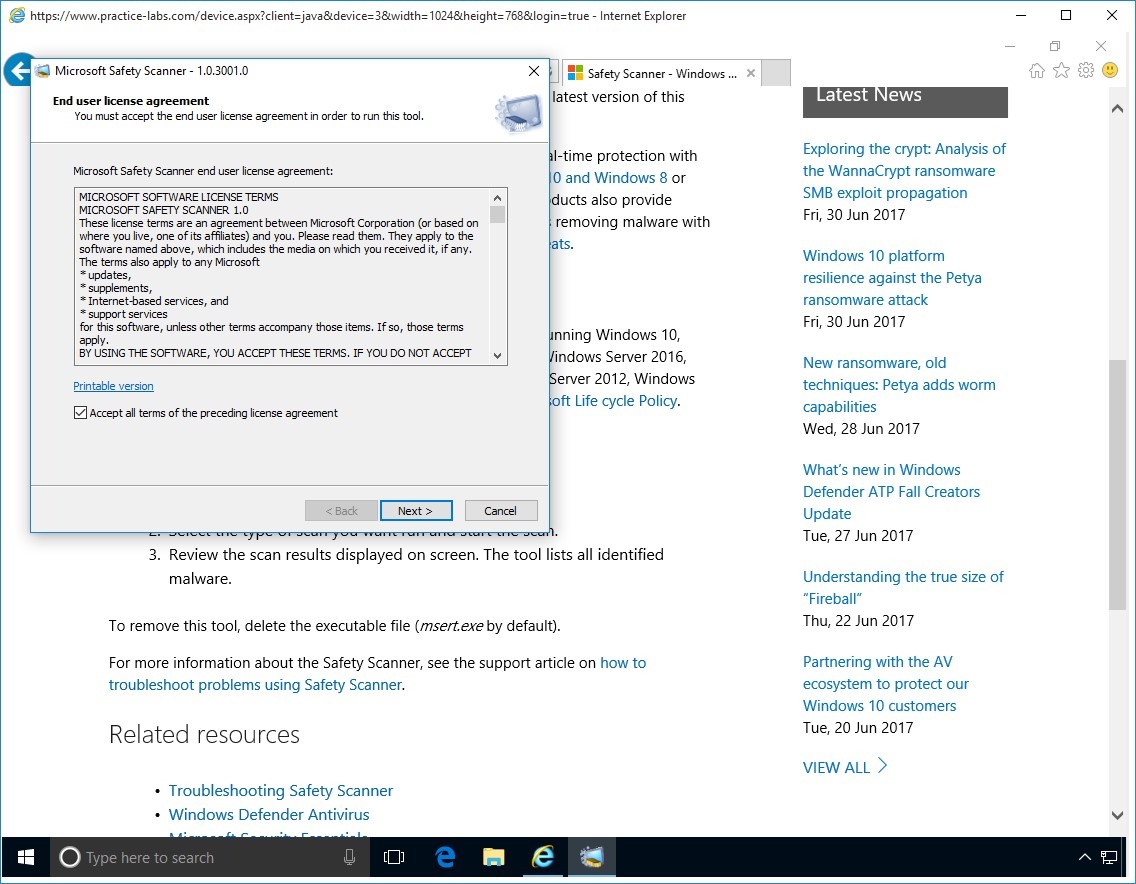
On the User Account Control click Yes to accept the changes.
From End User License Agreement page appears, click Accept all terms of the preceding license agreement.
Click Next.
Step 6
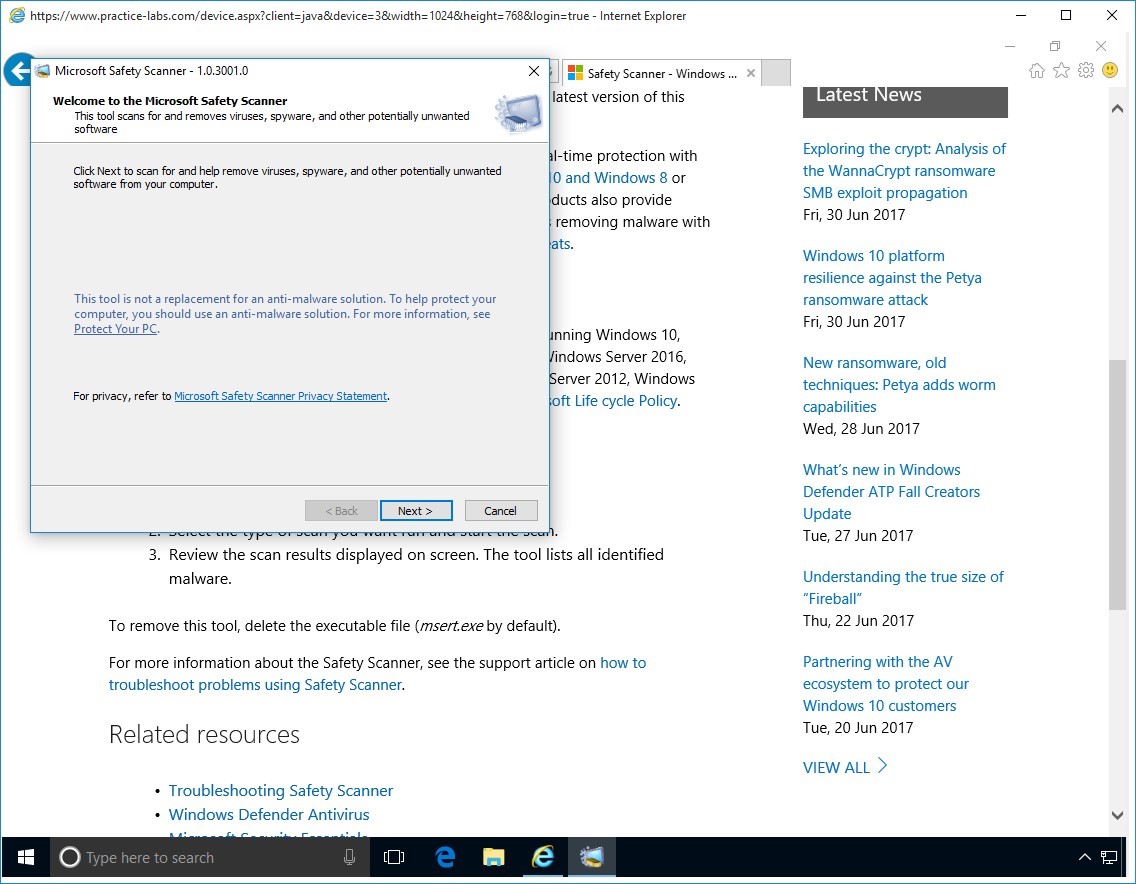
In Welcome to the Microsoft Safety Scanner, click Next.
Step 7
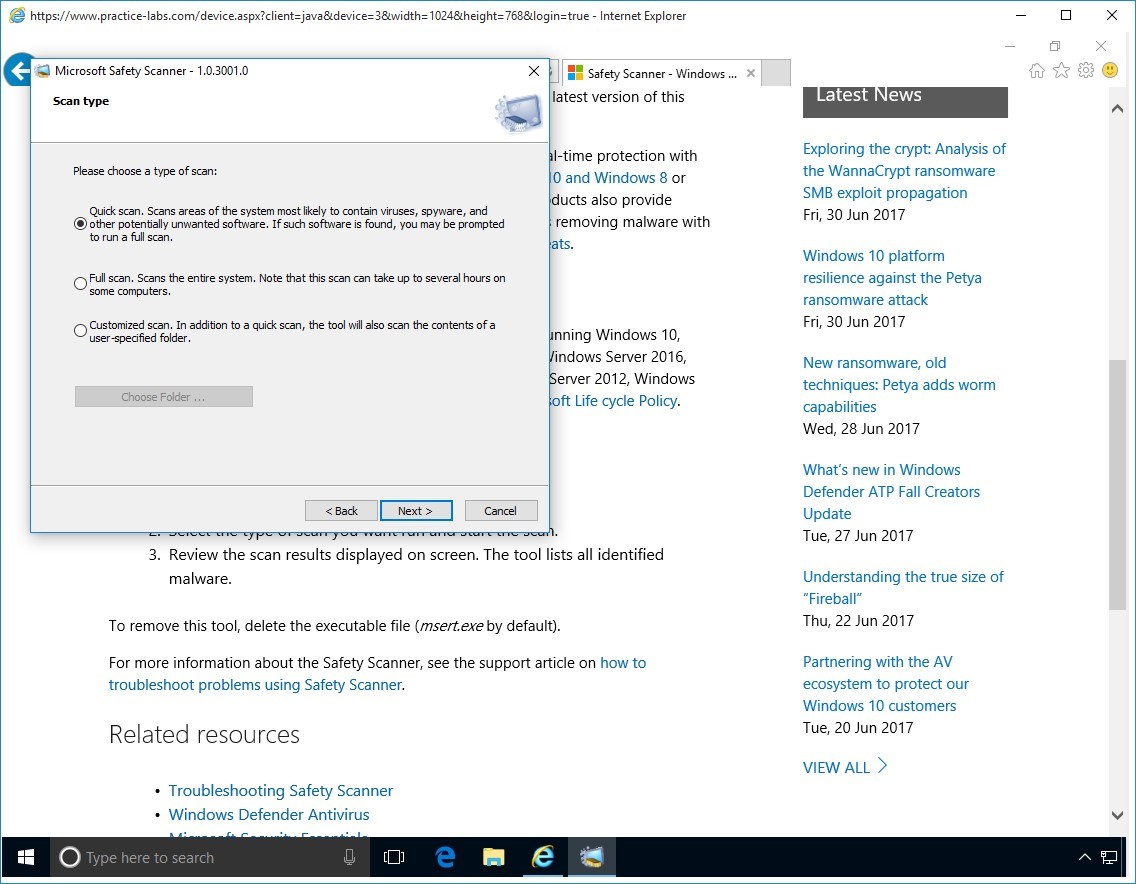
In Scan Type page, click Quick scan then click Next.
Step 8
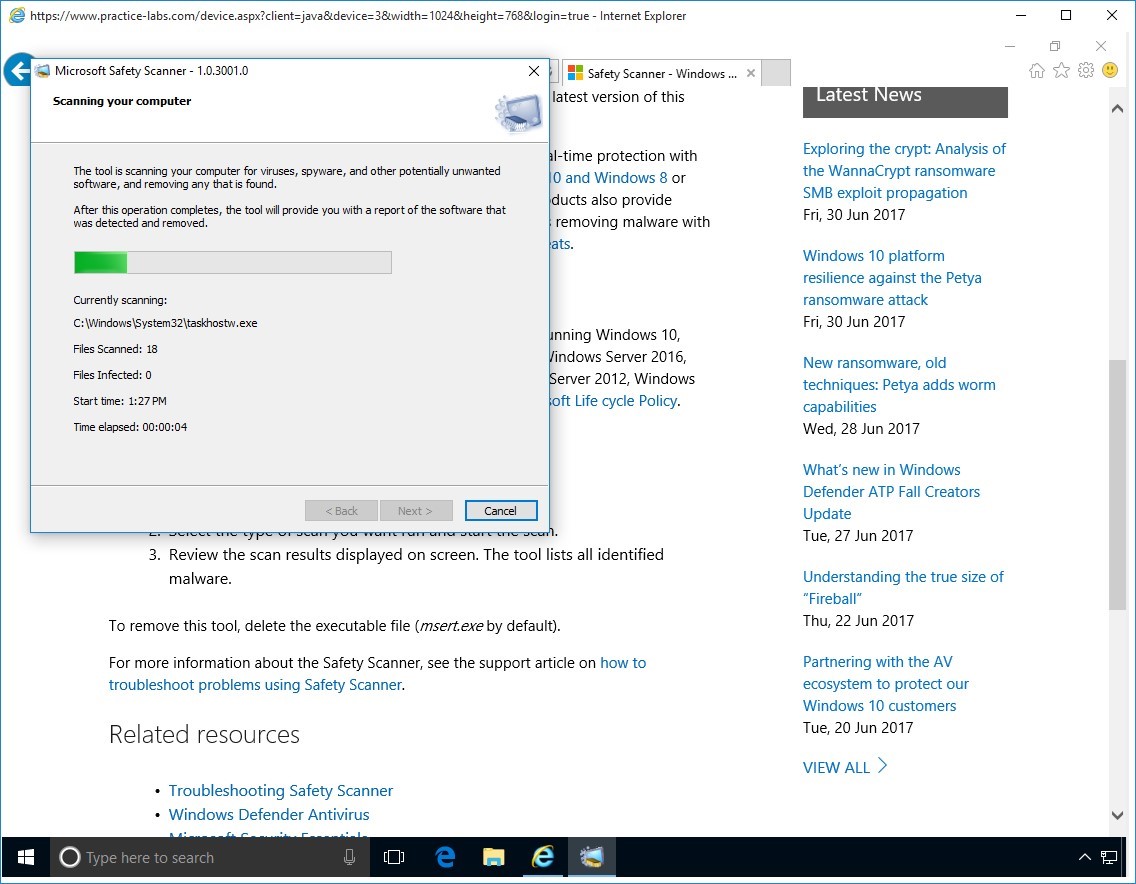
Please wait while Scanning your computer is in progress.
This will take about 2 minutes to complete.
Step 9
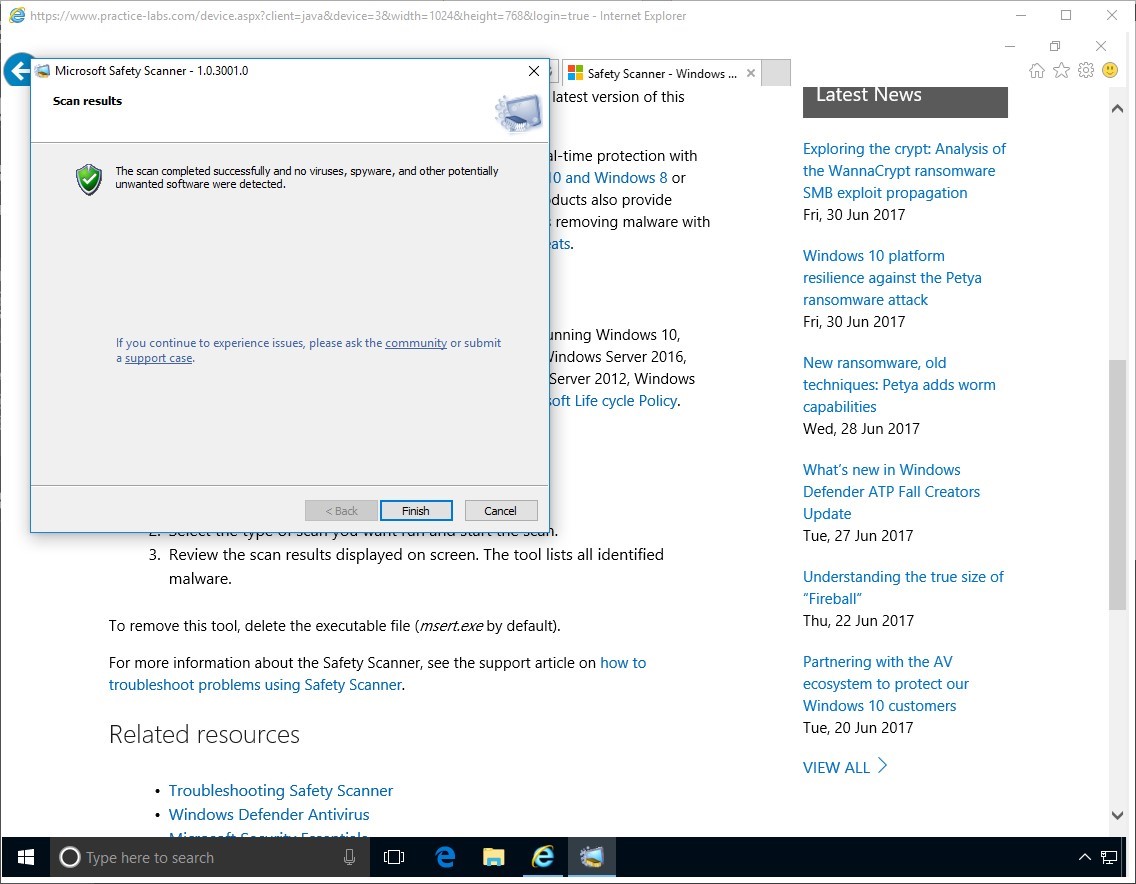
When Scan results are complete, click Finish.
Step 10
Close the Download Microsoft Safety Scanner window.
Keep Internet Explorer open for the next task.
Keep all devices powered on in their current state and proceed to the next task.
Task 3 - Exploring Internet Explorer Browser Security
Most web browsers have taken a lot of improvements in battling malware by implementing filter, pop-up blockers and protecting your privacy.
To explore some of Internet Explorer’s browser security, follow these steps:
Step 1
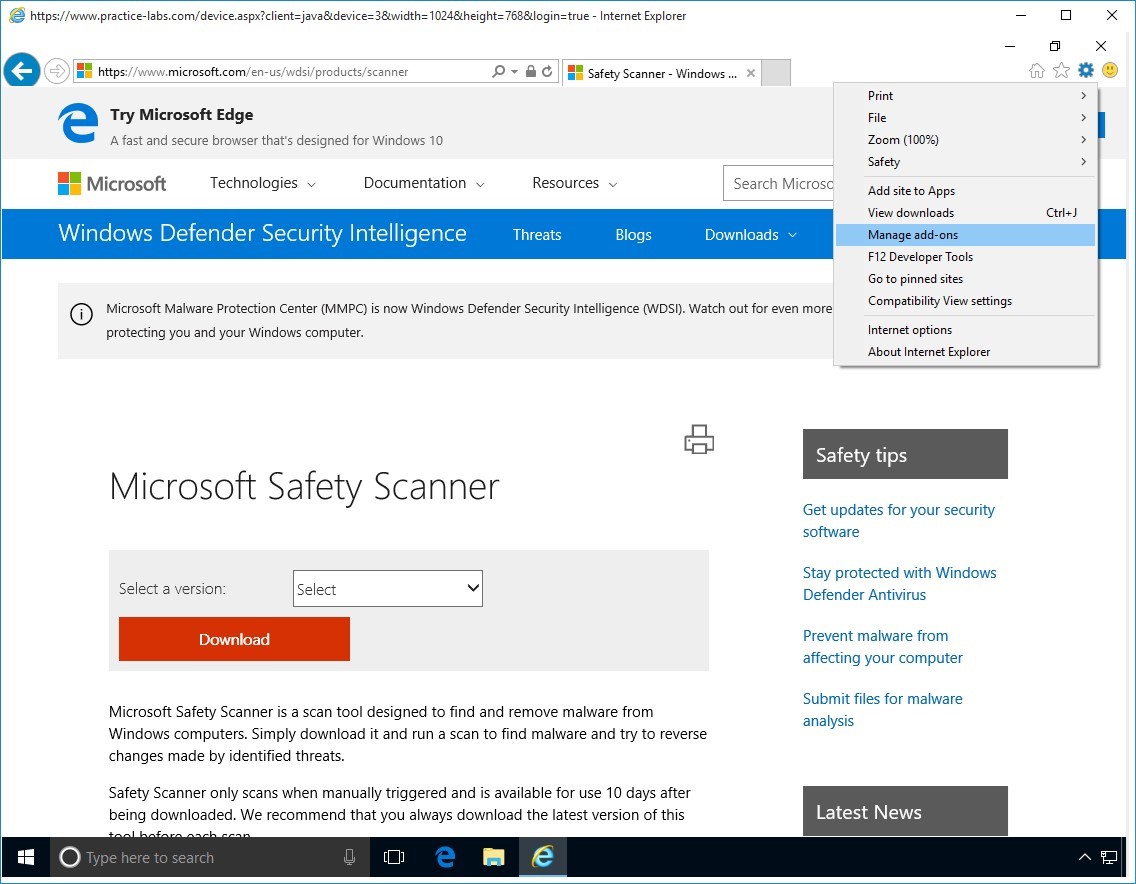
On PLABWIN10 while Internet Explorer is open, press ALT key to expose the top menu.
Go to Tools > Manage Add-ons.
Step 2
From Manage Add-ons box, go to Add-on types and click Tracking Protection.
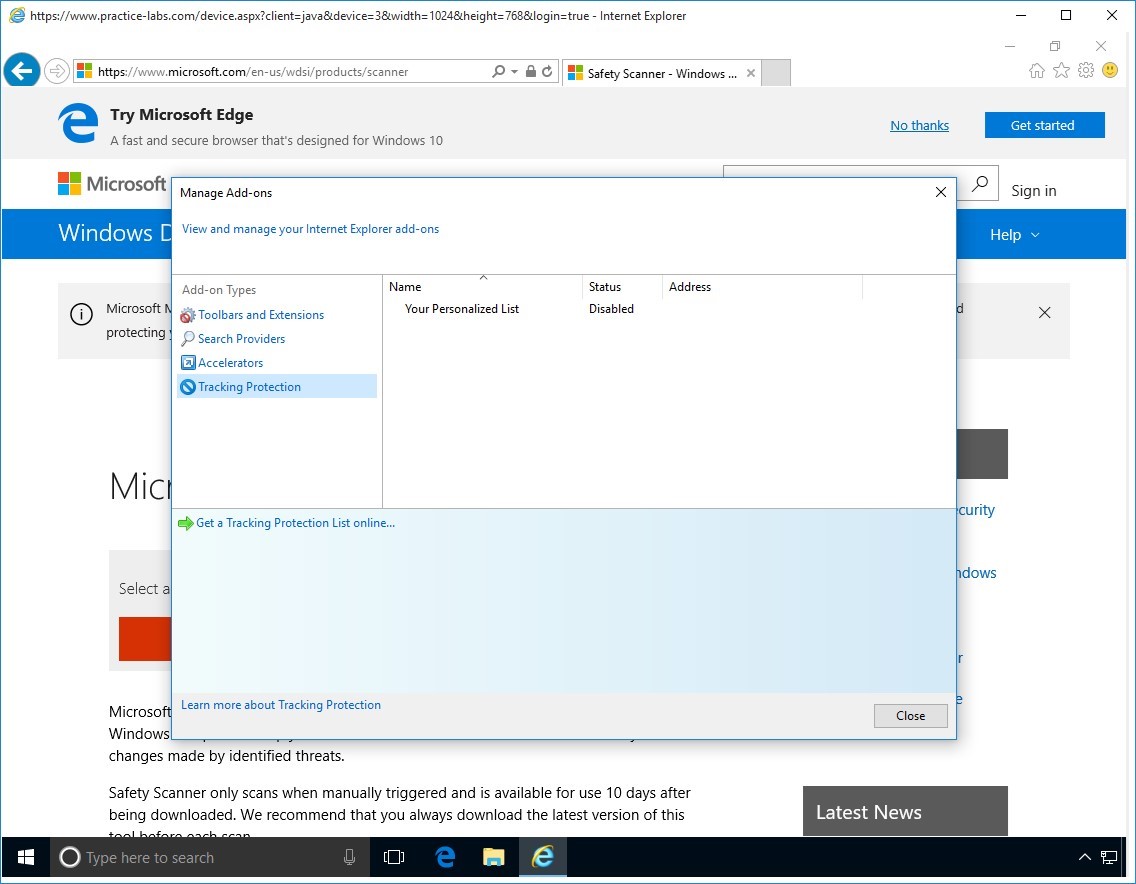
Step 3
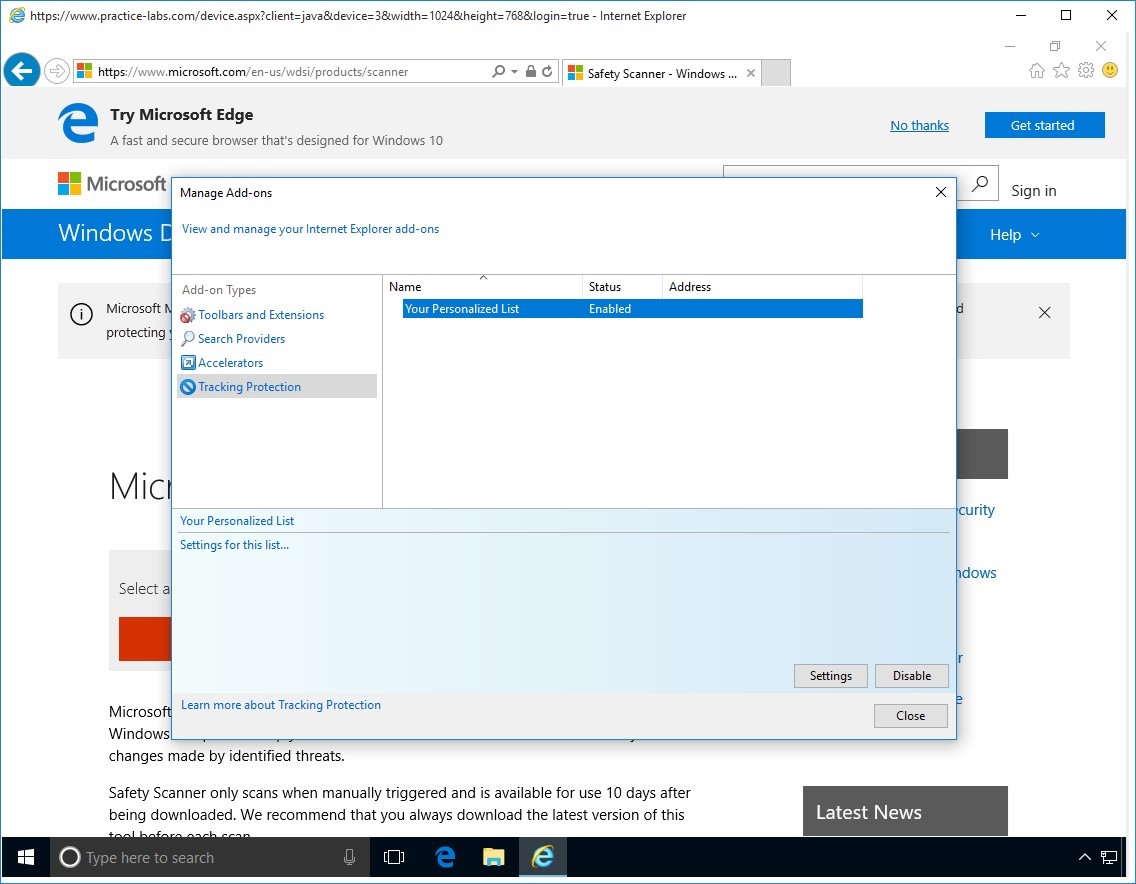
On the right-details pane, click Your Personalised List and then click Enable.
Click Close when Your Personalized List is Enabled.
Step 4
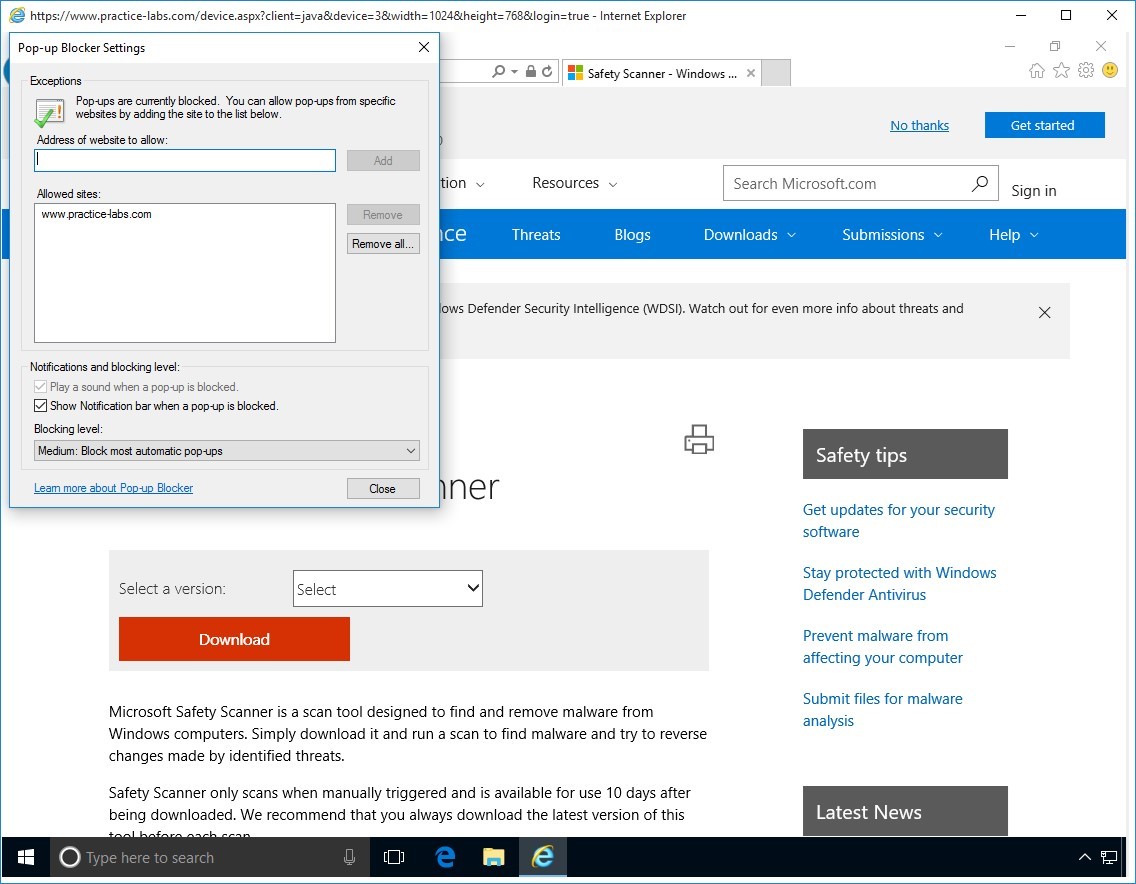
Press ALT and then click on Tools > Pop-up blocker > Pop-up Blocker Settings.

Step 5
From Pop-up Blocker Settings, click in the Address of website to allow box and type:
https://www.practice-labs.com
Click Add.
Then choose Close after adding www.practice-labs.com.
Step 6
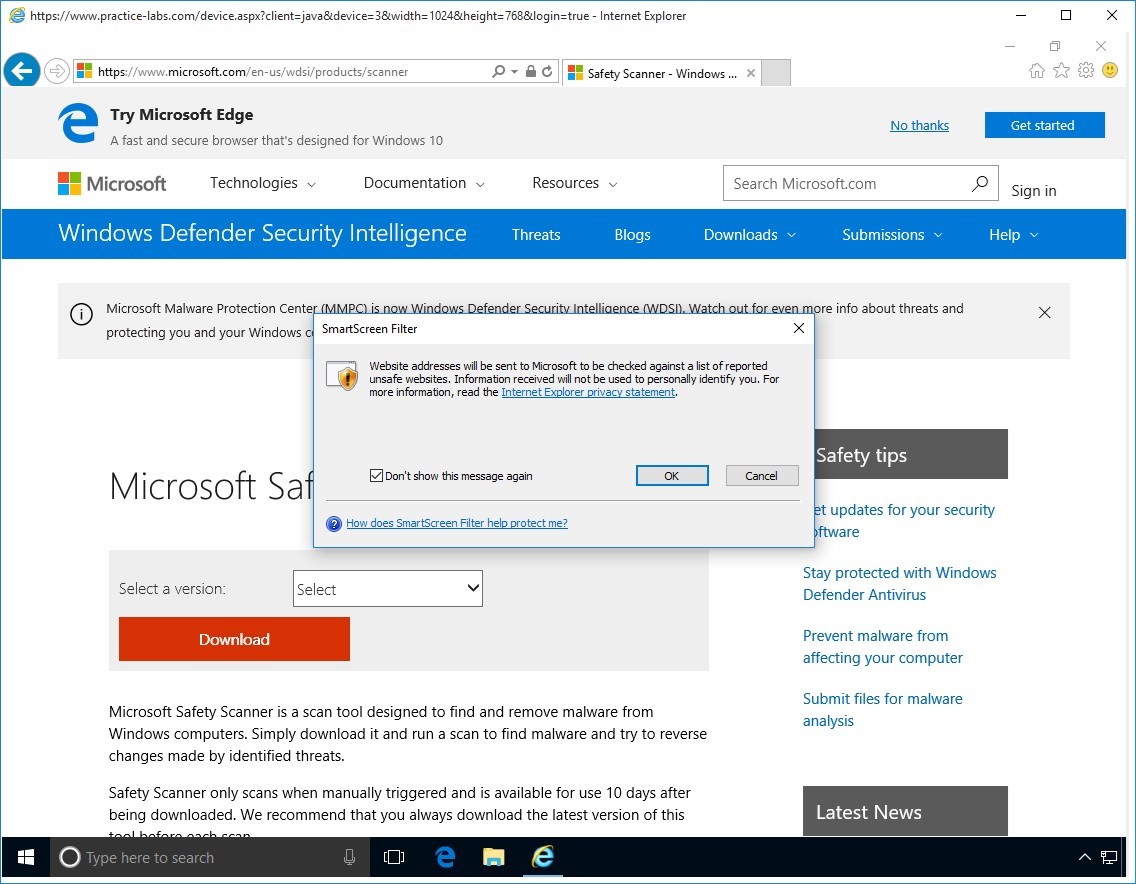
Press ALT key and go to Tools > Smart Screen Filter and choose Check this website.

Step 7
SmartScreen Filter prompts you that website addresses will be sent to Microsoft to be checked against a list of unsafe websites.
Click OK.
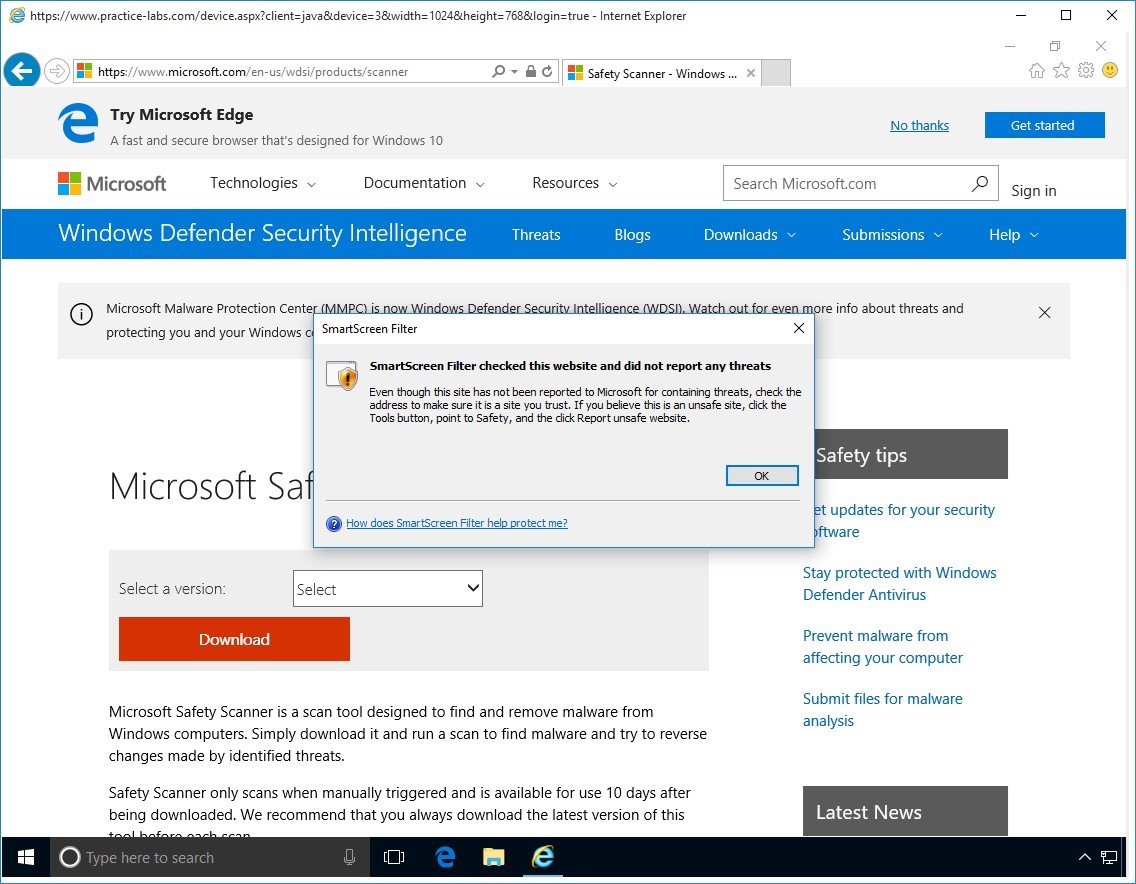
Step 8
Click OK to close. SmartScreen Filter reports no threats were detected.
Step 9
Press ALT key and click Tools and select ActiveX Filtering.
Note: ActiveX are small programs in the form of control buttons that adds functionality to your web page. You can safely download ActiveX controls if they’re coming from trusted software publishers.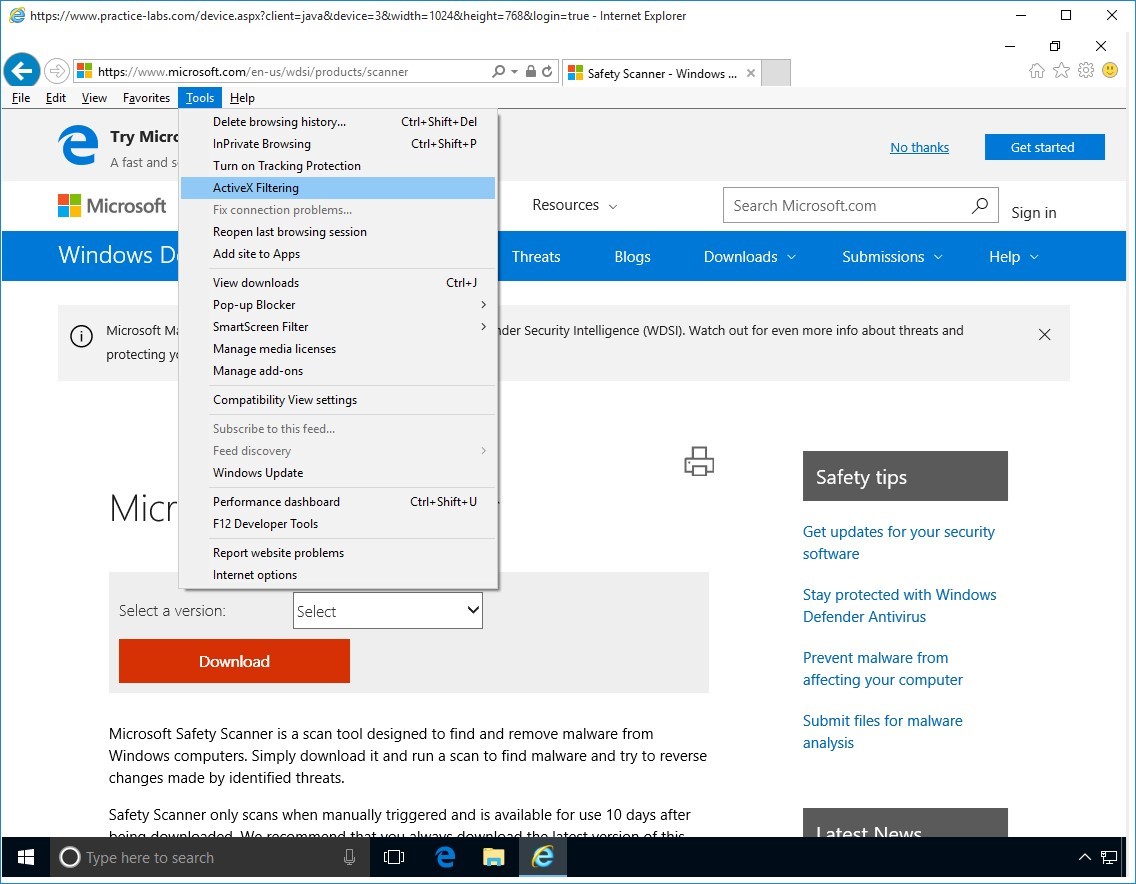
Step 10
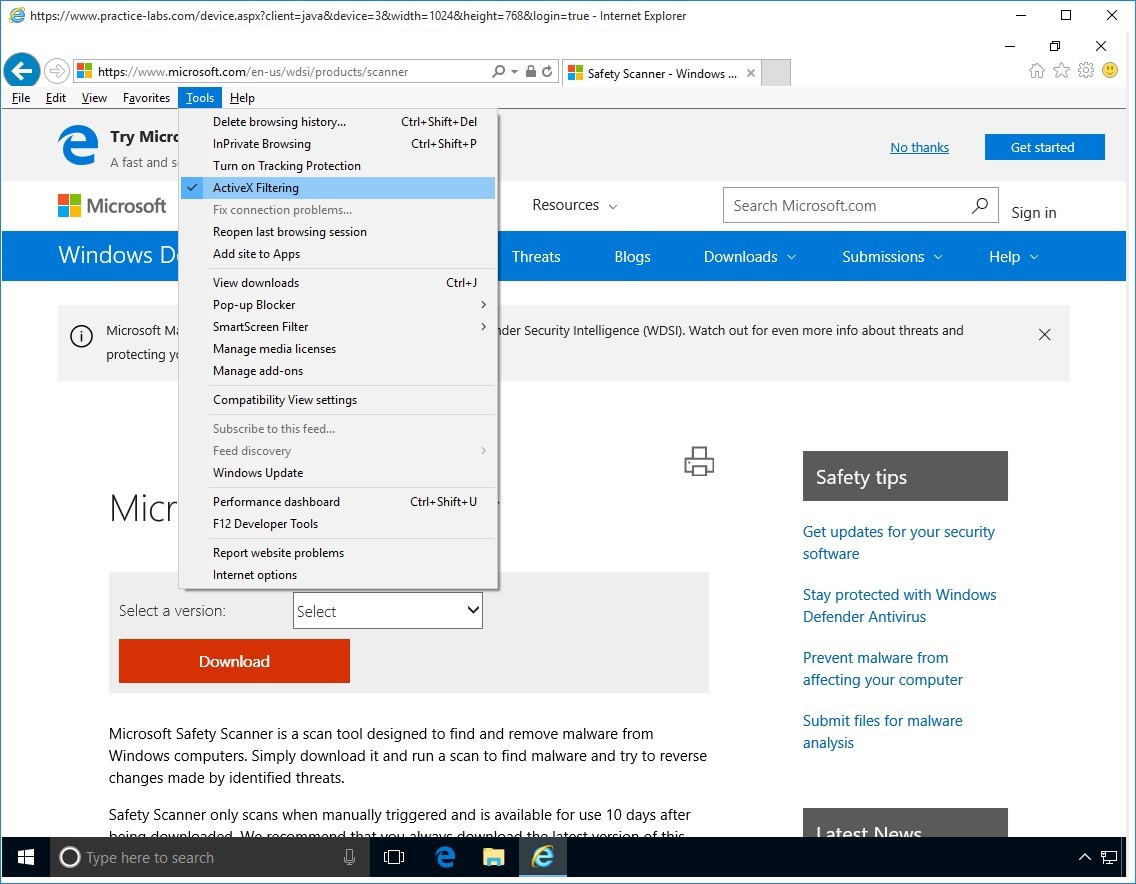
Press ALT to display menu. Go to Tools and verify that ActiveX Filtering is checked.
Step 11
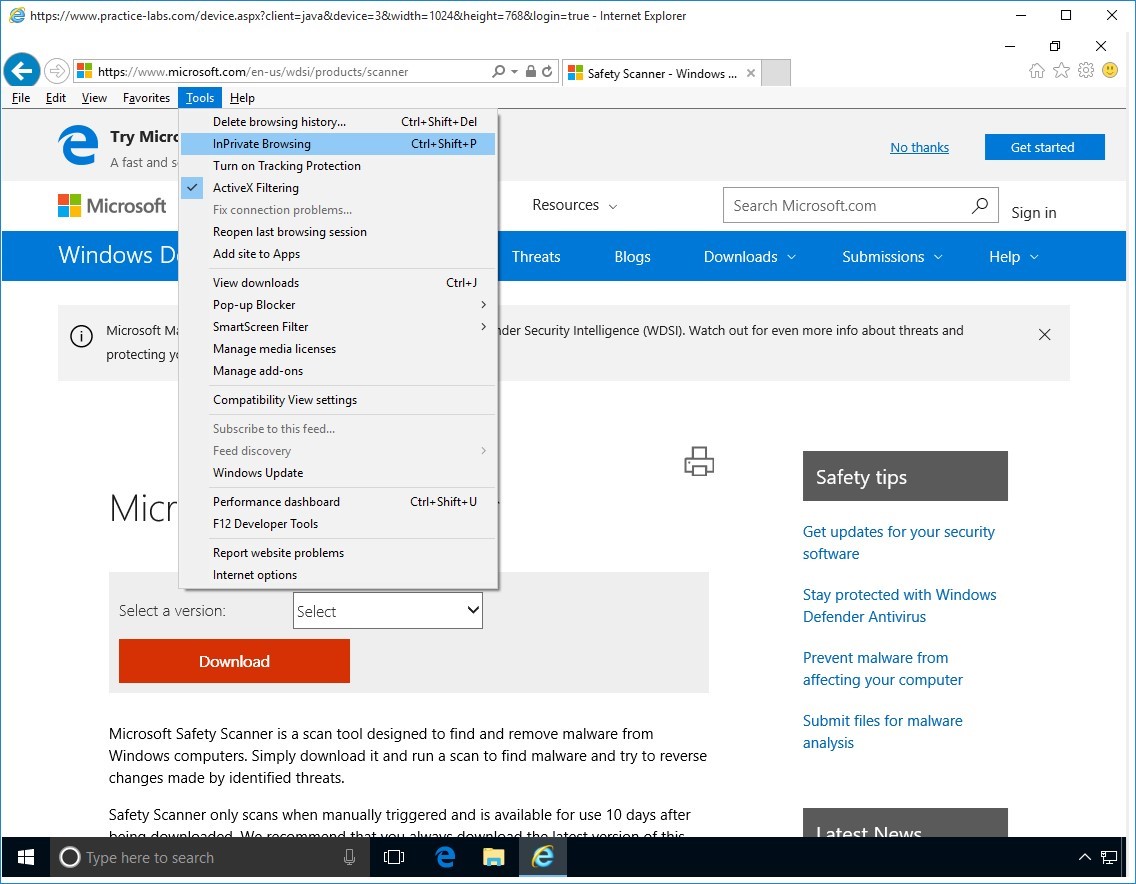
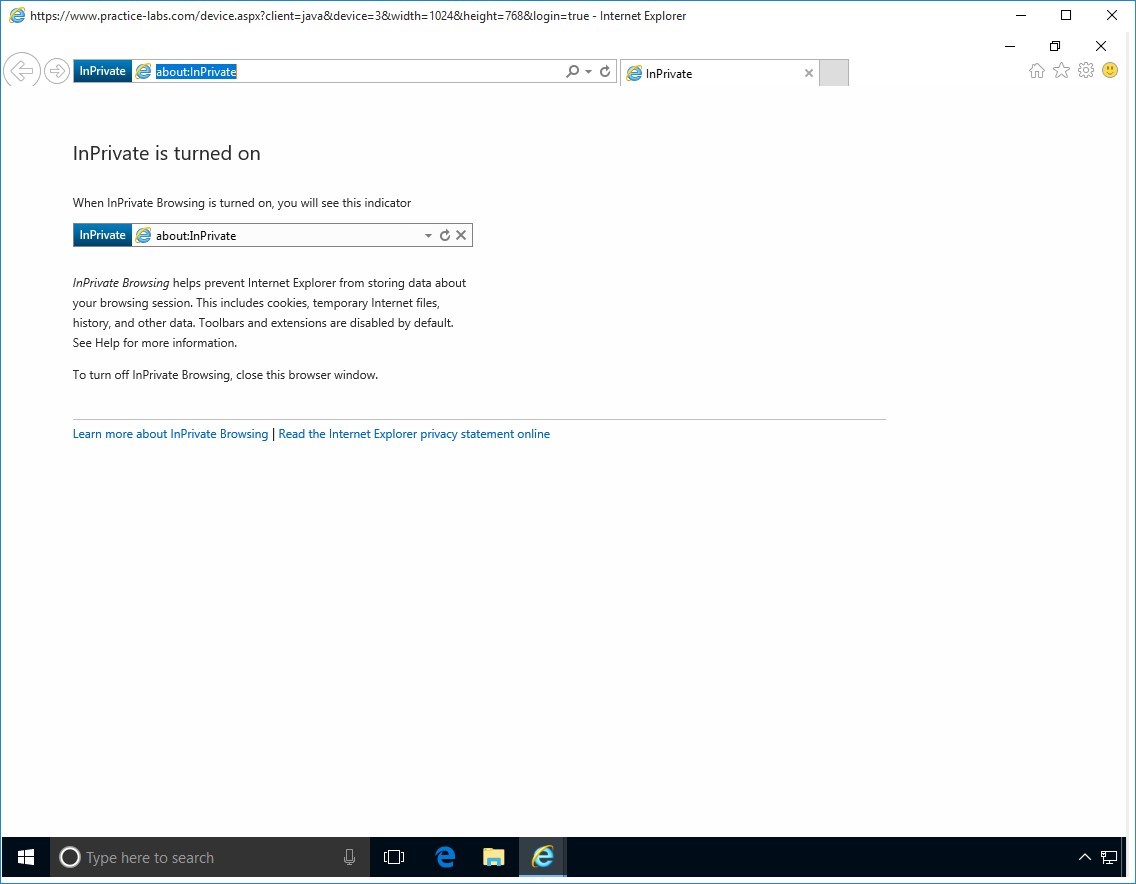
Press X and Click on InPrivate Browsing.
Step 12
Now enter the following URL.
https :// www . microsoft . com
Step 13
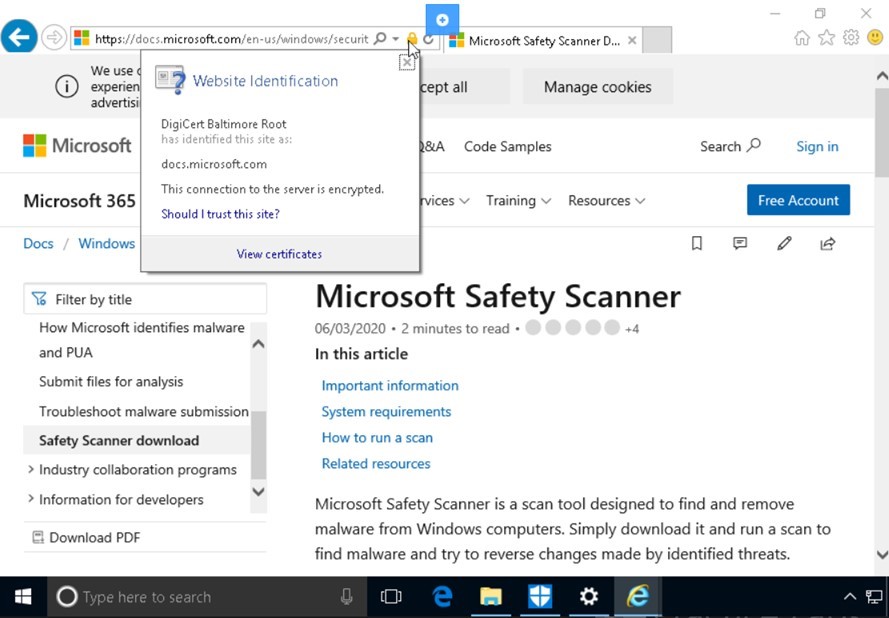
Within the URL bar there is a padlock sign.
Click on the padlock for a brief security report on the site.
Here we can see the website has been signed by DigiCert Baltimore Root.
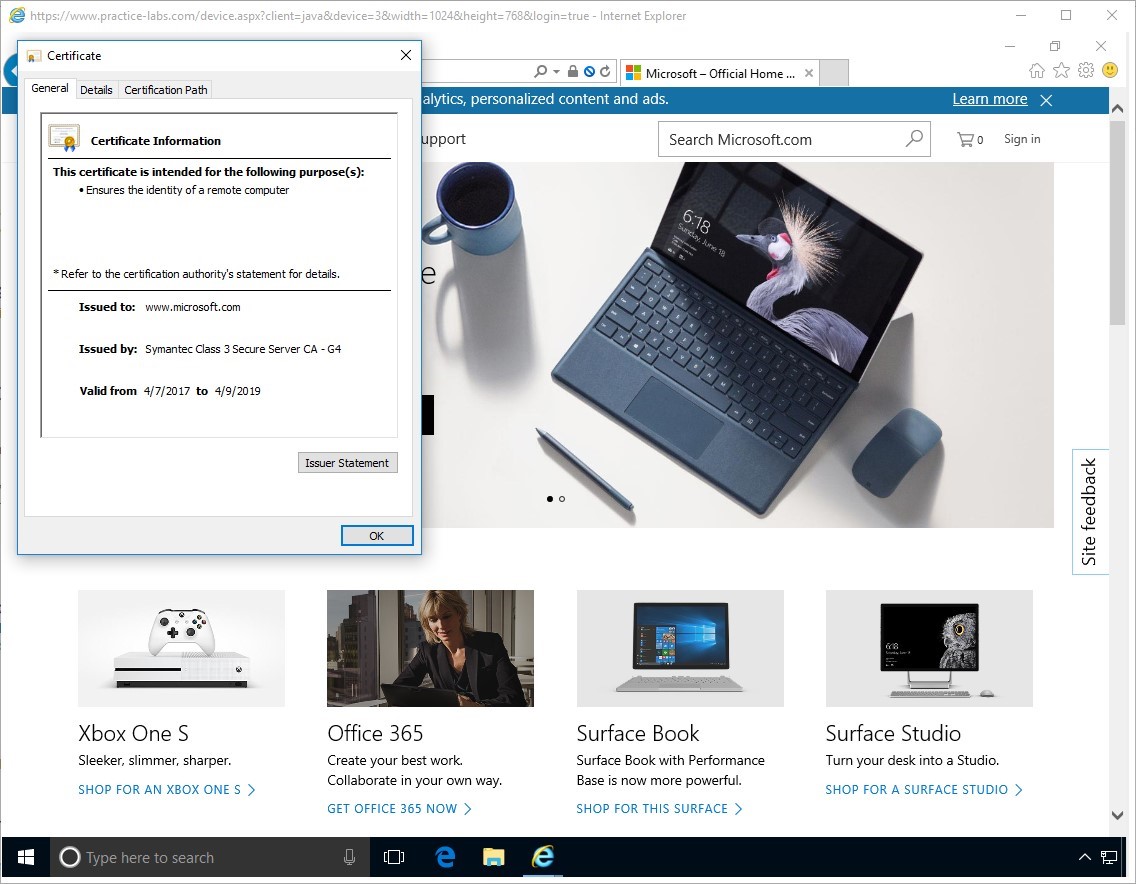
Step 14
Click on View Certificates.
We can see from the general report more information about the certificate details, who is was issues to, by and the valid dates.
Close Internet Explorer.

Comments
Post a Comment