Implementing application level session hijacking
Exercise 1 - Viewing Cookie Information from Unencrypted Sites
You can view the cookie information from unencrypted sites using the concept of session hijacking. The concept of session hijacking is also known as cookie hijacking. Session hijacking occurs at the network and application level. At the application level session hijacking, you will intercept the session ID of a particular session with the help of cookies and use it to gain unauthorized access to sensitive or critical data.
In this exercise, you will perform the following tasks to perform application-level session hijacking:
- Enable HTTP web service on PLABSA01
- Configure Burp Suite on PLABWIN10
- Configure Firefox to use Burp Suite proxy listeners
- Capture cookies
- Hijack the session
Please refer to your course material or use your preferred search engine to research this topic in more detail.
Task 1 - Enable HTTP Web Service on PLABSA01
In this task, you will enable the HTTP web service on port 80 on PLABSA01 device.
Step 1
Ensure you have powered on the required devices and connect to PLABSA01.
Close the Server Manager window.
Click the XAMPP application icon on the taskbar.
The XAMP Control Panel v3.2.2 opens.
The Apache web service with Damn Vulnerable Web Application (DVWA) running on port 80 is enabled.
Task 2 - Configure Burp Suite on PLABWIN10
In this task, you will configure Burp Suite on PLABWIN10 to intercept traffic from Firefox.
Step 1
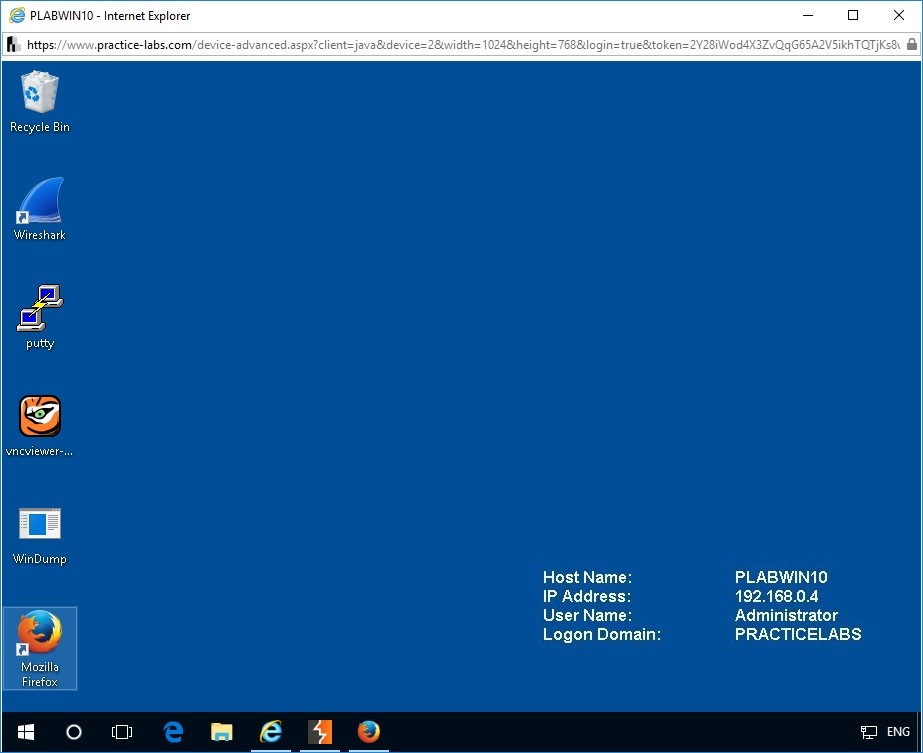
Connect to PLABWIN10.
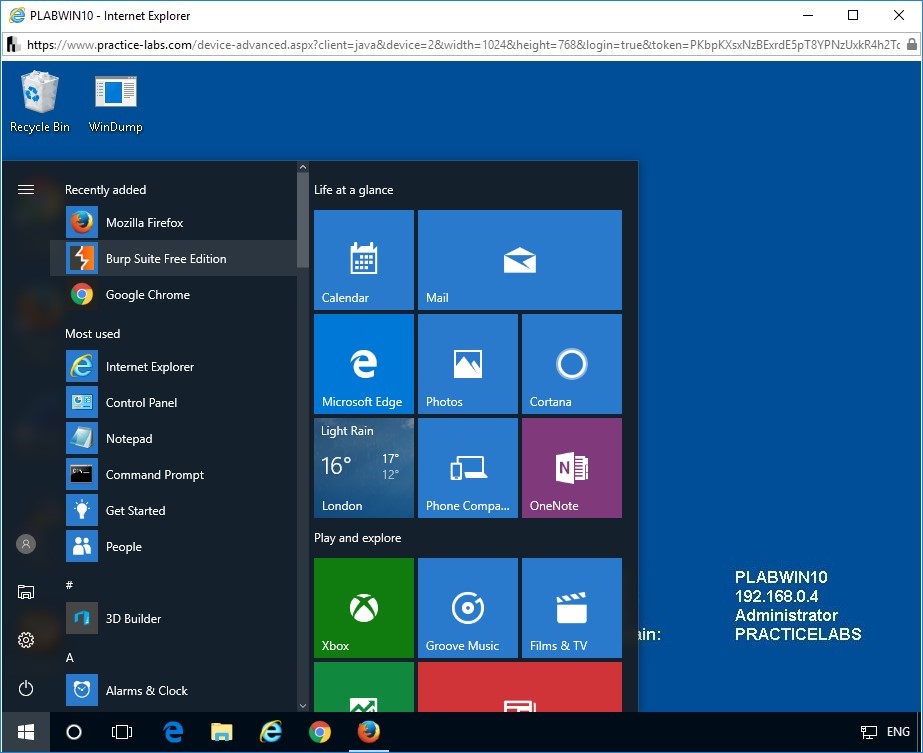
From PLABWIN10 desktop, click Start > Burp Suite Free Edition.
Step 2
BURPSUITE FREE EDITION starts.
Step 3
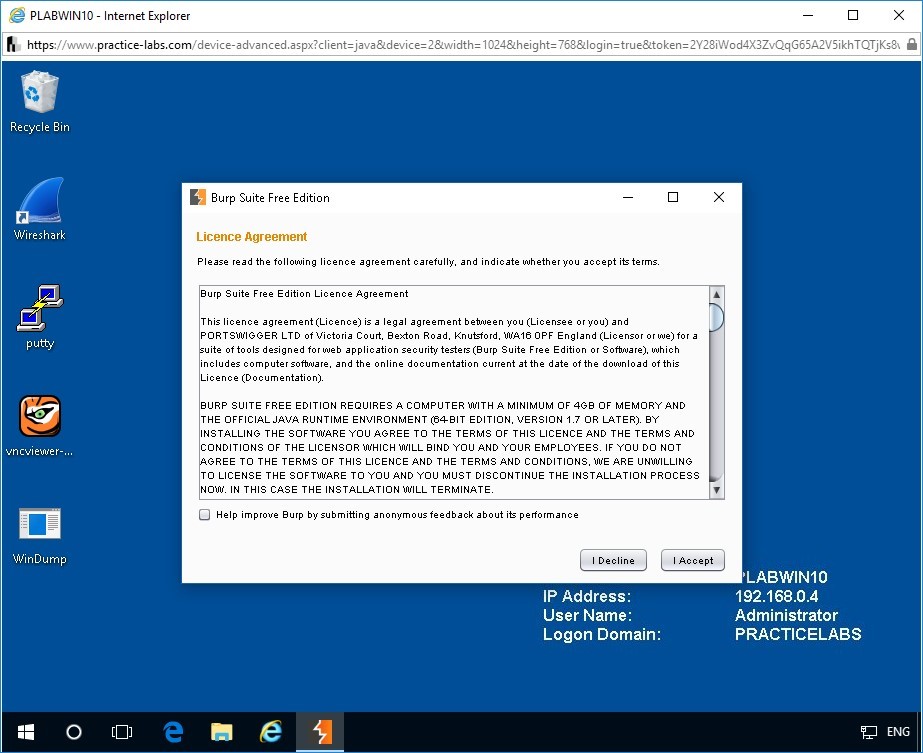
On the License Agreement page, click I Accept.
Step 4
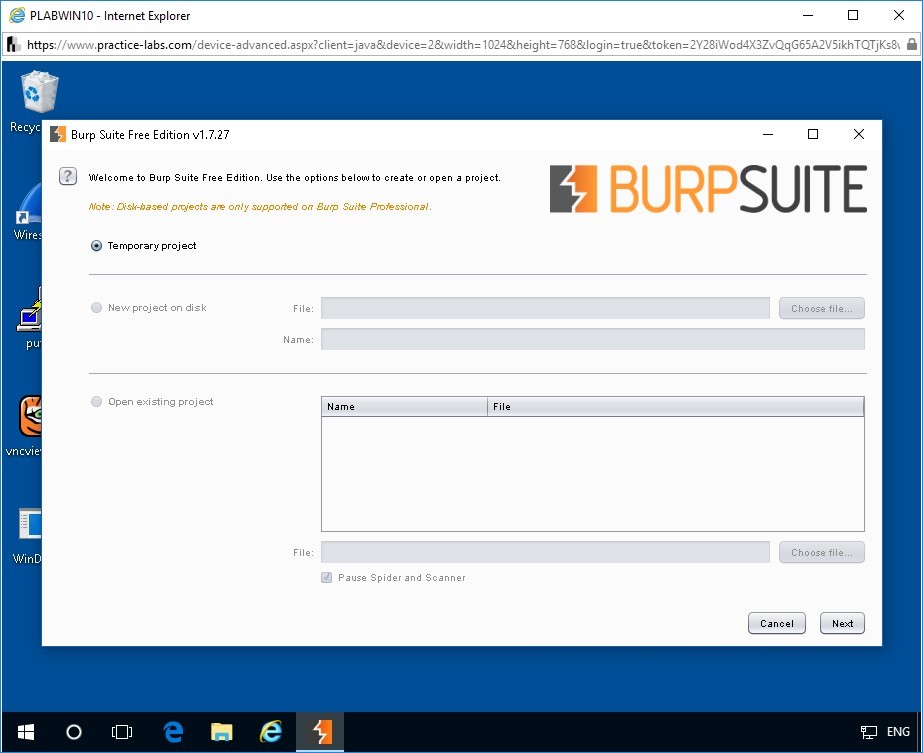
On the Welcome to Burp Suite Free Edition page, select the required options to create or open a project.
For this demonstration, keep the default selection of Temporary project.
Click Next.
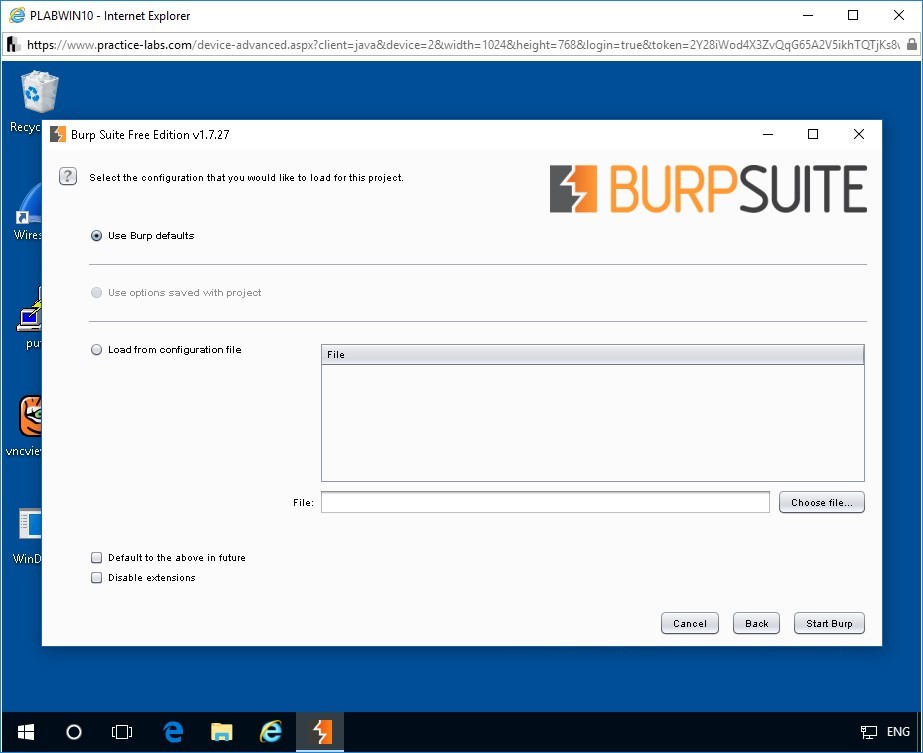
Step 5
On Select the configuration that you would like to load for this project page, keep the default selection of Use Burp defaults.
Click Start Burp.
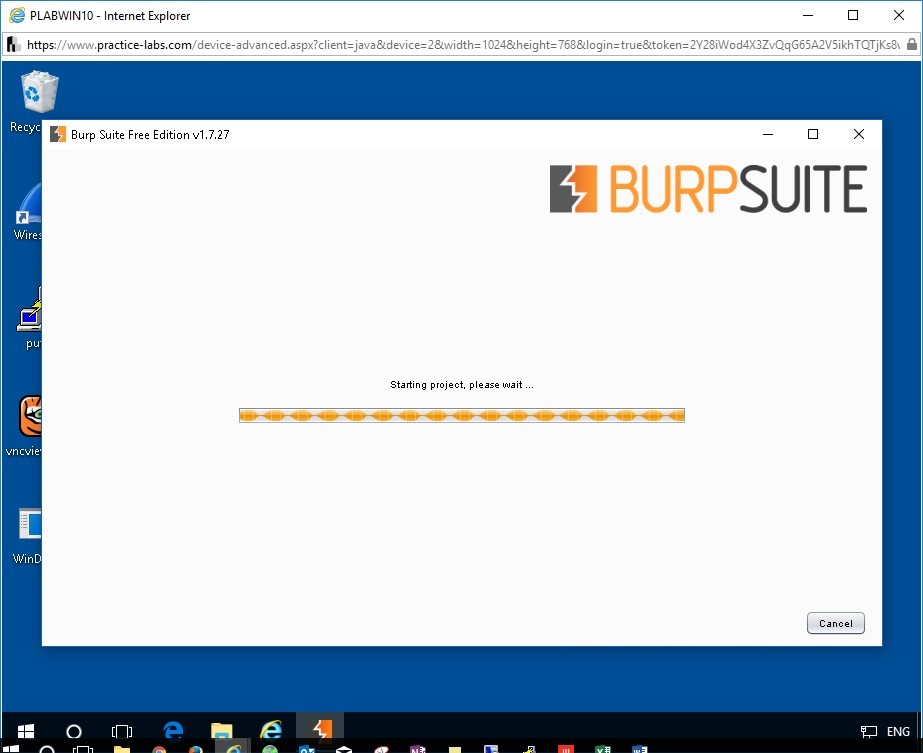
Step 6
Burp Suite is starting the project.
Please wait for the process to complete.
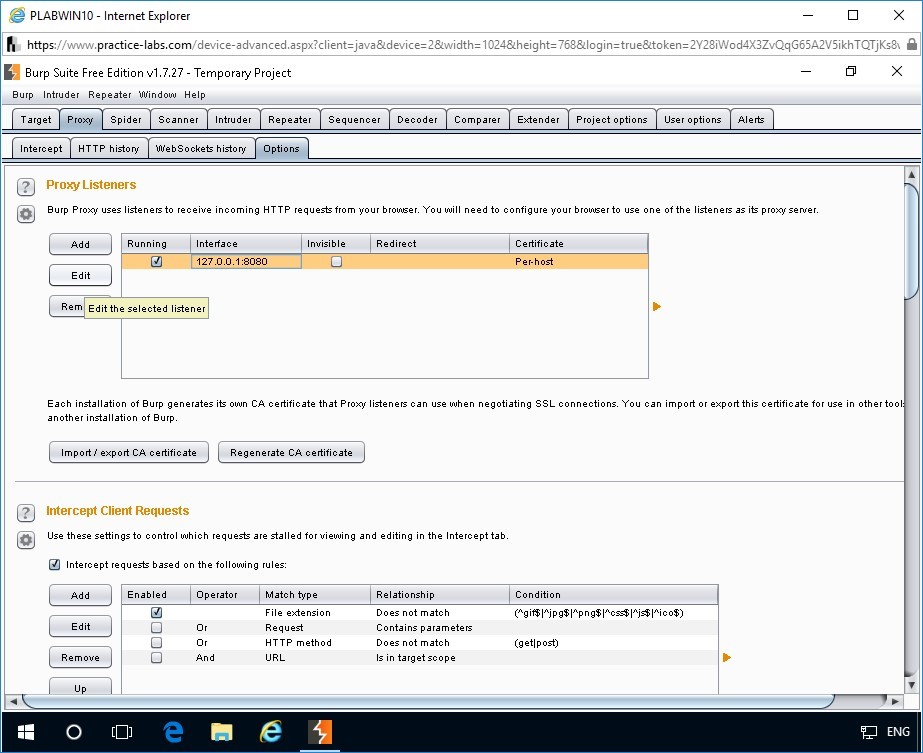
Step 7
Burp Suite Free Edition v1.7.27 - Temporary Project window displays.
Click the Proxy tab.
Under the Proxy tab, click the Options tab.
In the Proxy Listeners section, click to select the IP address 127.0.0.1:8080.
To edit the IP address, click Edit.
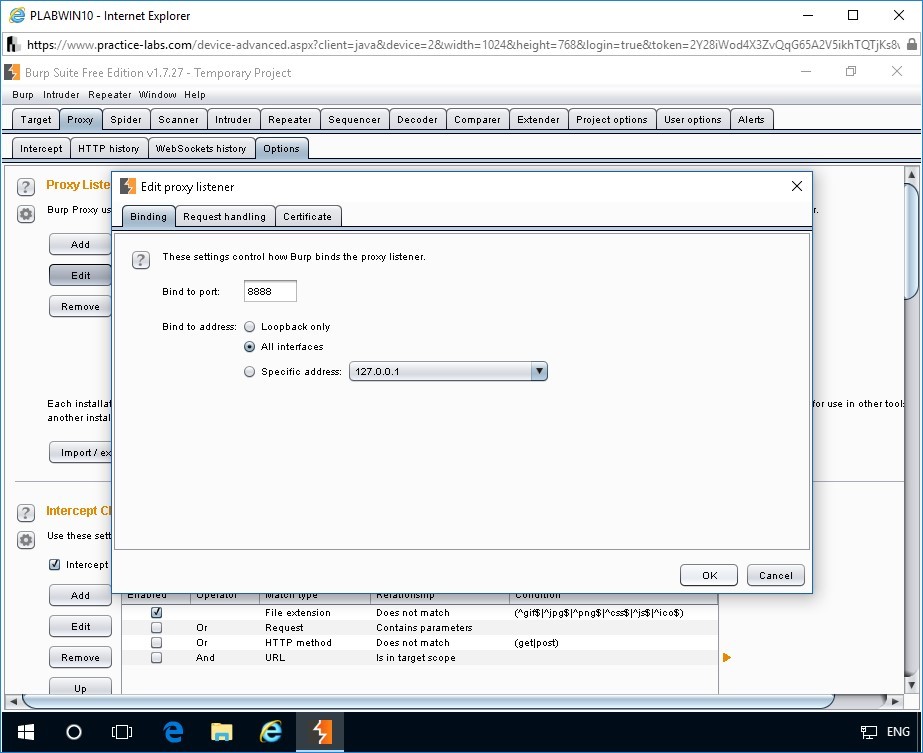
Step 8
Edit proxy listener dialog box appears.
In the Bind to port box, type the following port:
8888
In the Bind to address section, click All interfaces.
Click OK.
Step 9
On the Confirm message box, click Yes.
Step 10
You are back to Proxy Listeners section on the Options tab.
Note: Burp Proxy uses listeners to receive incoming HTTP requests from your browser. You will need to configure a browser to use one of the listeners as its proxy server.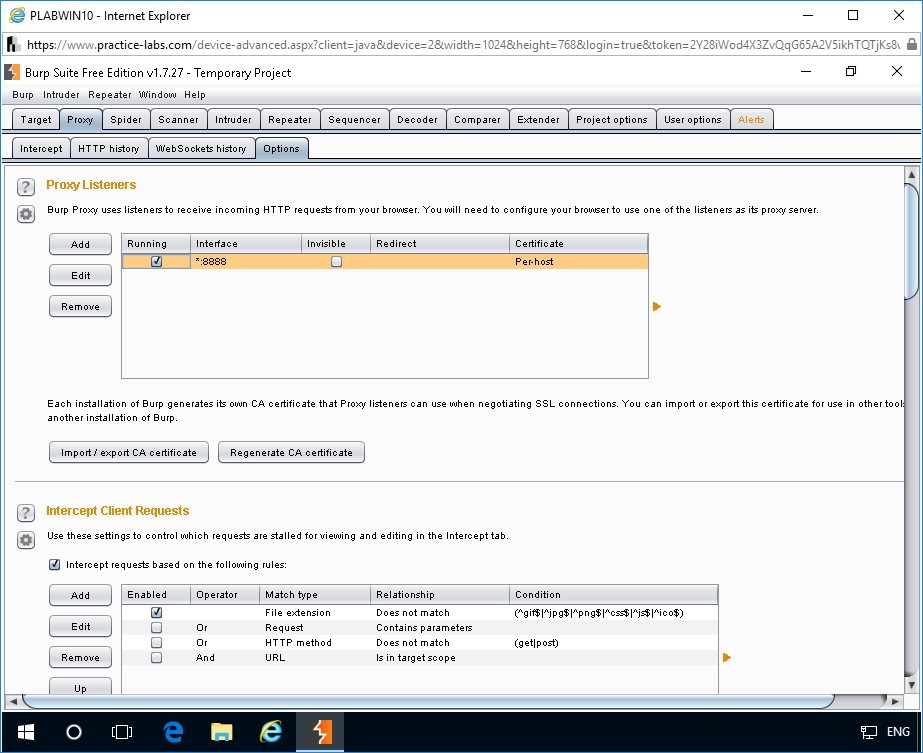
Step 11
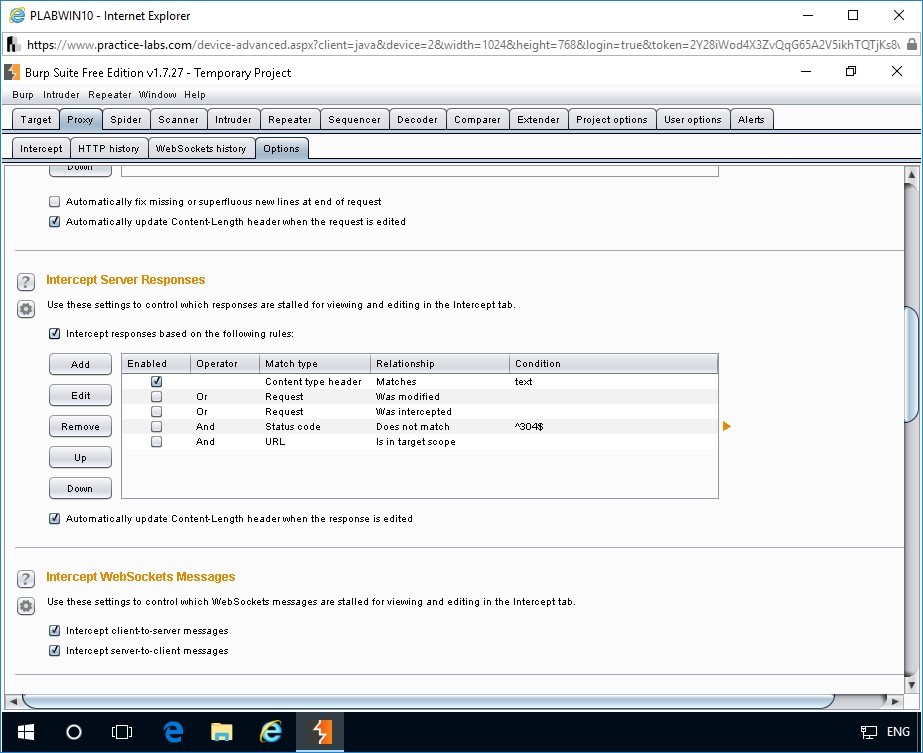
Configure Burp Suite to intercept responses.
In the Options tab, scroll down to Intercept Server Responses section.
Click to select the check box Intercept responses based on the following rules.
Step 12
Click the Intercept tab under the Proxy tab.
To intercept the traffic, click the Intercept is off button.
Minimize Burp Suite Free Edition v1.7.27 - Temporary Project window.
Alert: For the following steps to work, intercept must be switched on.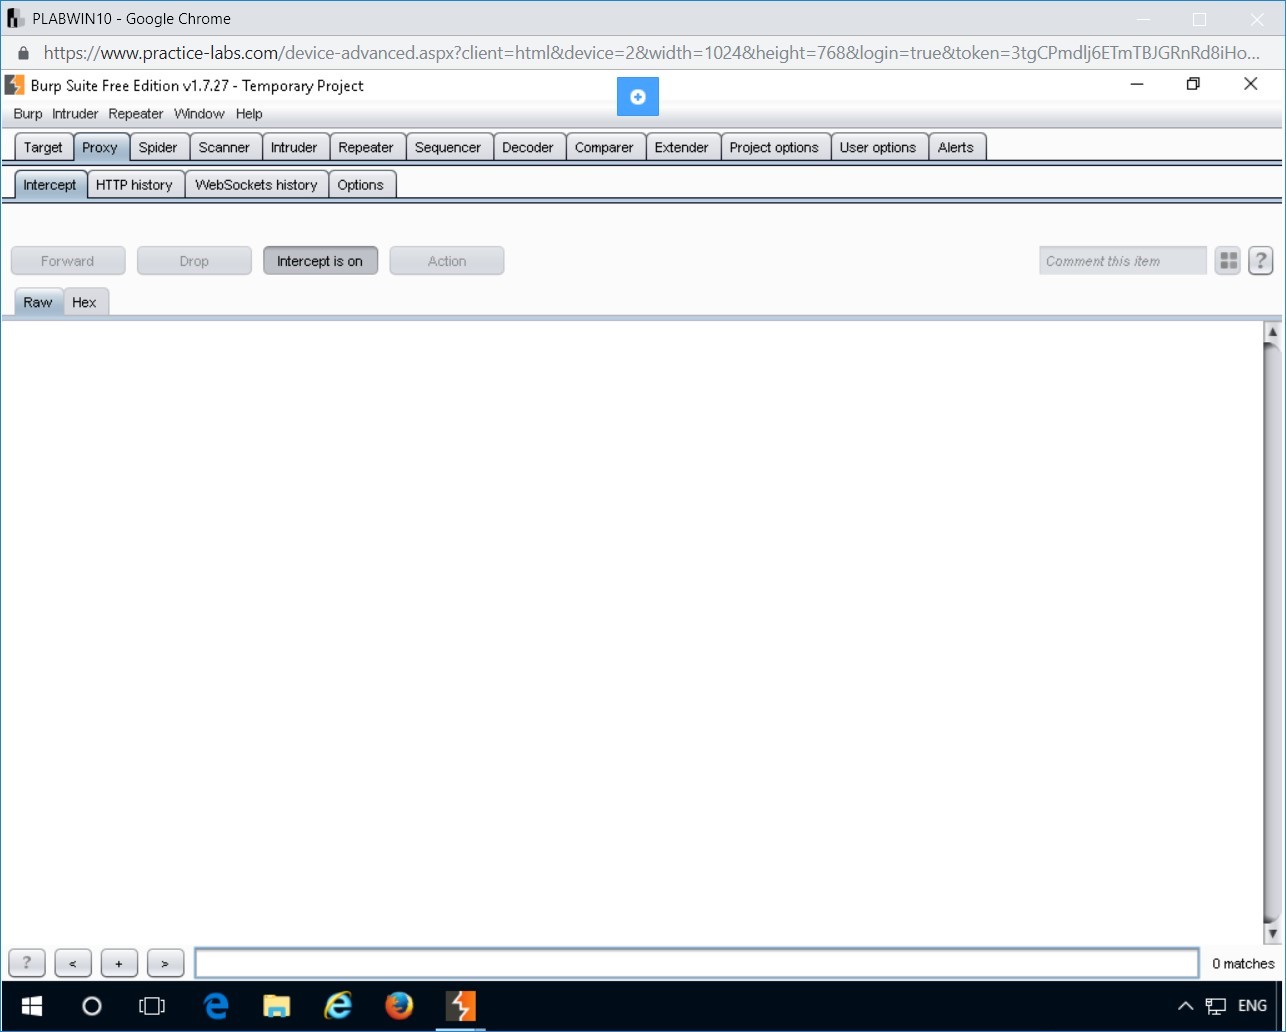
Task 3 - Configure Firefox to Use Burp Suite Proxy Listeners
In this task, you will configure Mozilla Firefox to use Burp Suite proxy listeners.
Step 1
From PLABWIN10 desktop, double-click Mozilla Firefox.
Mozilla Firefox window opens.
Step 2
Close the home page of Mozilla Firefox.
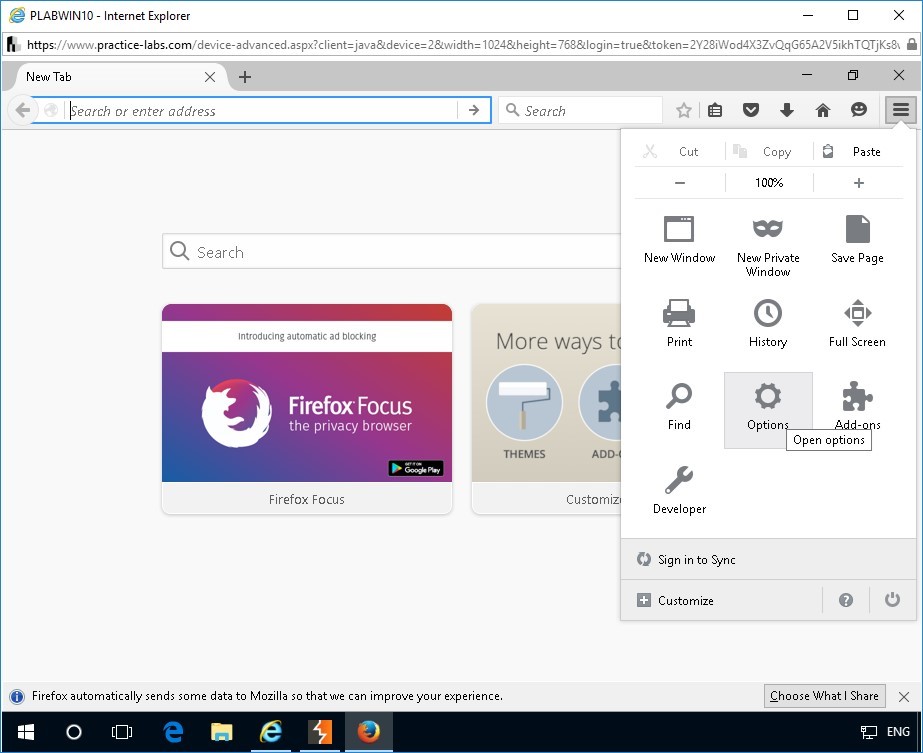
In Mozilla Firefox window, from the toolbar, click the Open menu icon, and click Options.
Step 3
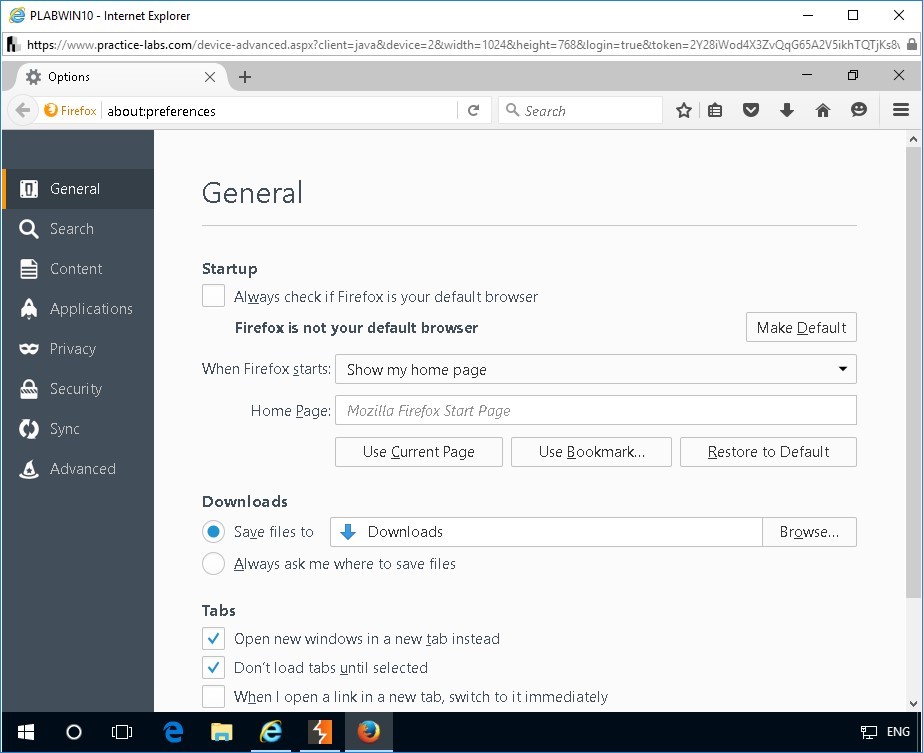
Options page opens.
In the Options page, the General tab opens by default.
Scroll down to configure the network proxy.
From the right pane, click Settings.
Step 4
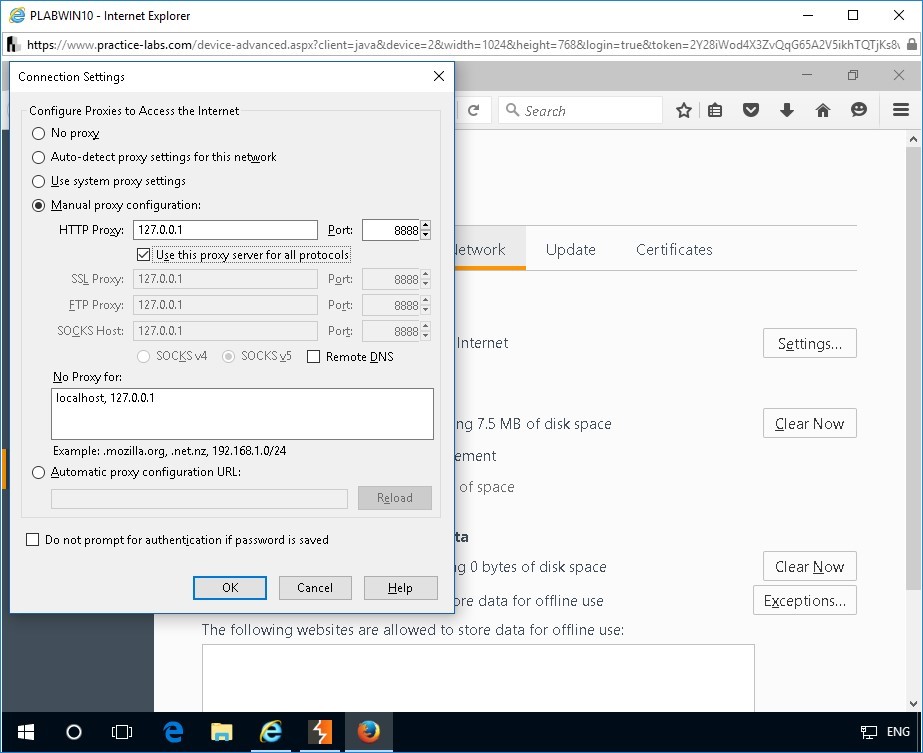
Connection Settings dialog box opens.
To change the manual proxy address to the Burp listener address, click Manual proxy configuration.
In the Connection Settings dialog box, under Manual proxy configuration, in the HTTP Proxy box, type the following IP address:
127.0.0.1
In the Port box, type the following port number:
8888
Click to select the check box Use this proxy server for all protocols.
Click OK.
Close the Options page.
Task 4 - Capture Cookies
In this task, you will view the cookie information in the response and request intercepted by Burp Suite. An important point that needs to be noted in this task is that for each action in Mozilla Firefox application, you must forward the associated request in Burp Suite. This will allow Burp Suite to intercept each and every request.
Step 1
Connect to PLABWIN10.
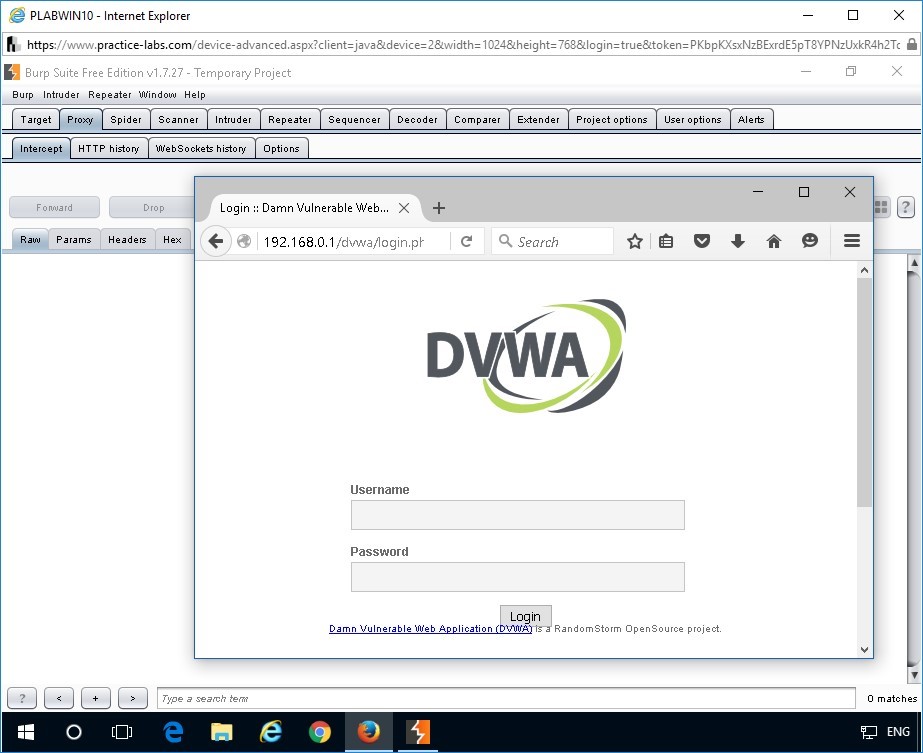
To access the DVWA application, in the Mozilla Firefox web browser window, inthenewtab, type the following URL in the address bar:
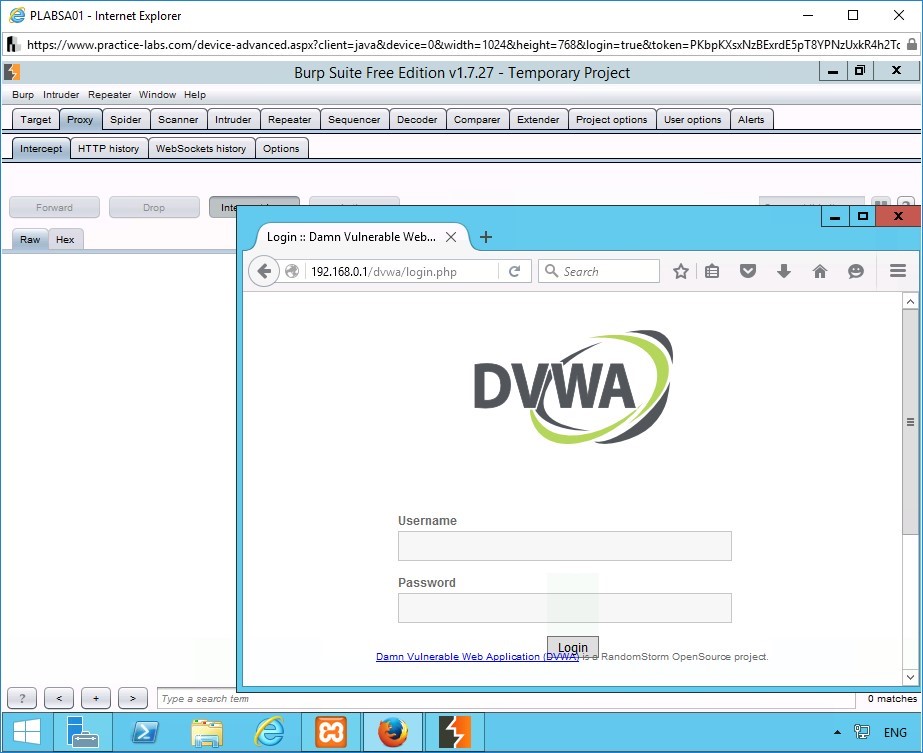
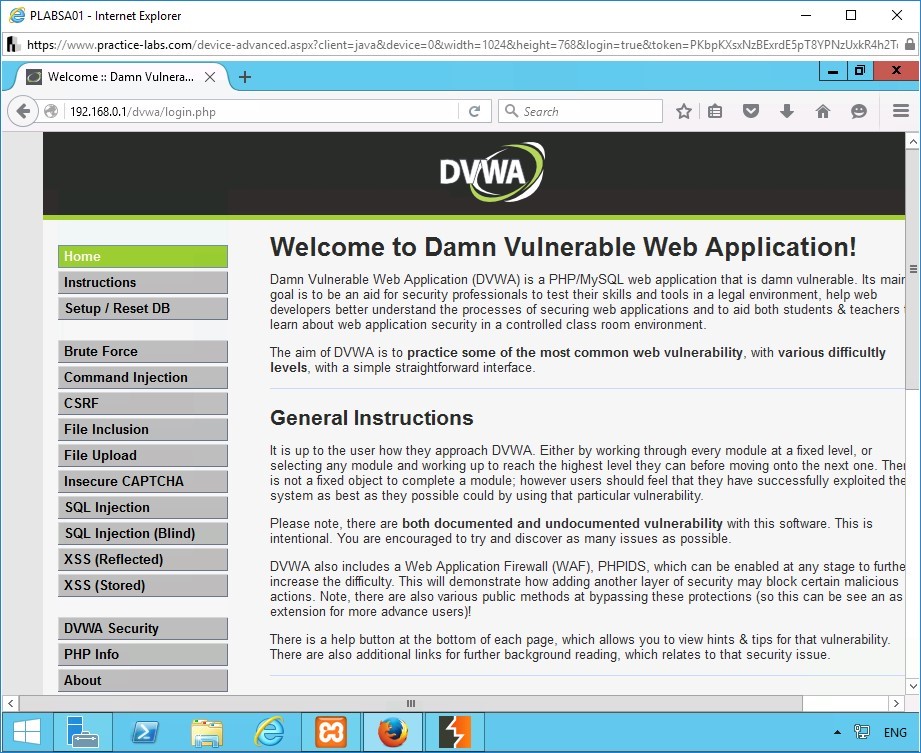
http://192.168.0.1/dvwa/login.php
Press Enter.
Important: Ensure to click Forward in Burp Suite for each and every request made in Mozilla Firefox as the intercept is ON in Burp Suite.The login page of the DVWA application is displayed.
Step 2
In the Username box on the DVWA login page, type the following username:
admin
In the Password box, type the following password:
passwordClick Login.

Step 3
Switch to Burp Suite Free Edition v1.7.27 - Temporary Project window.
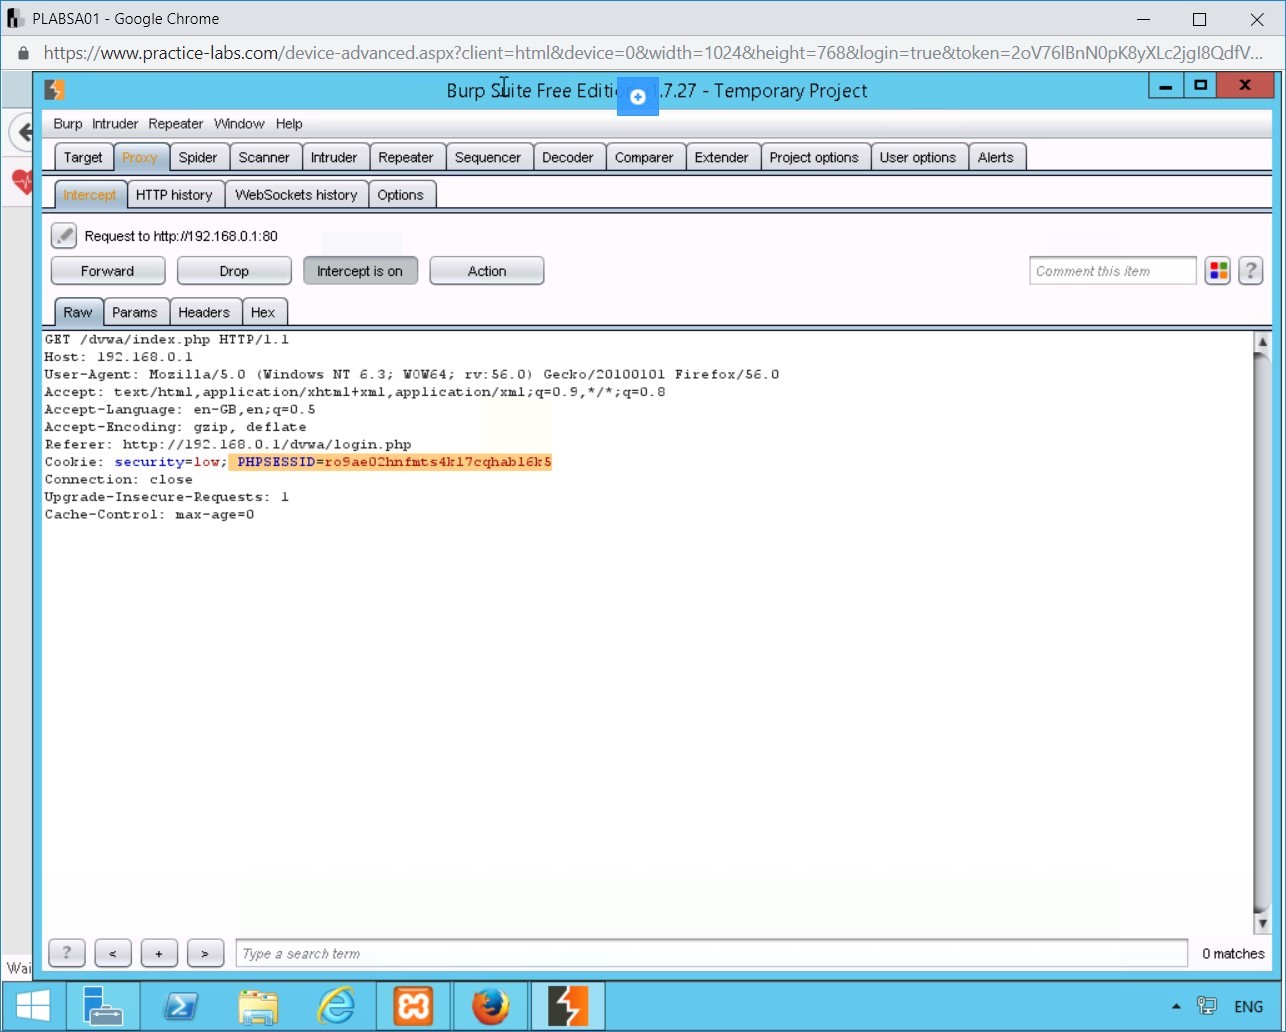
Find that the login request to the DVWA application is captured in Burp Suite.
Notice the Intercept tab displays the details about the request to the following URL:
http://192.168.0.1:80
Analyze the displayed information.
Important: Ensure the Intercept tab in Burp Suite captures the request to http://192.168.0.1:80. Ensure the request does not go the home page of Firefox.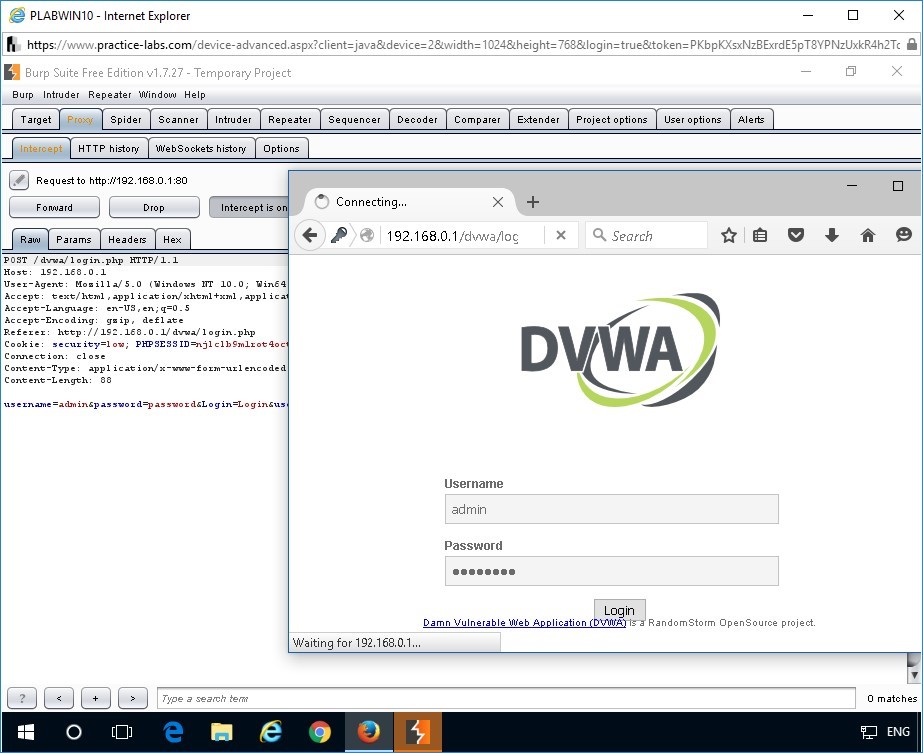
Step 4
In the Burp Suite Free Edition v1.7.27 - Temporary Project window, click Forward.
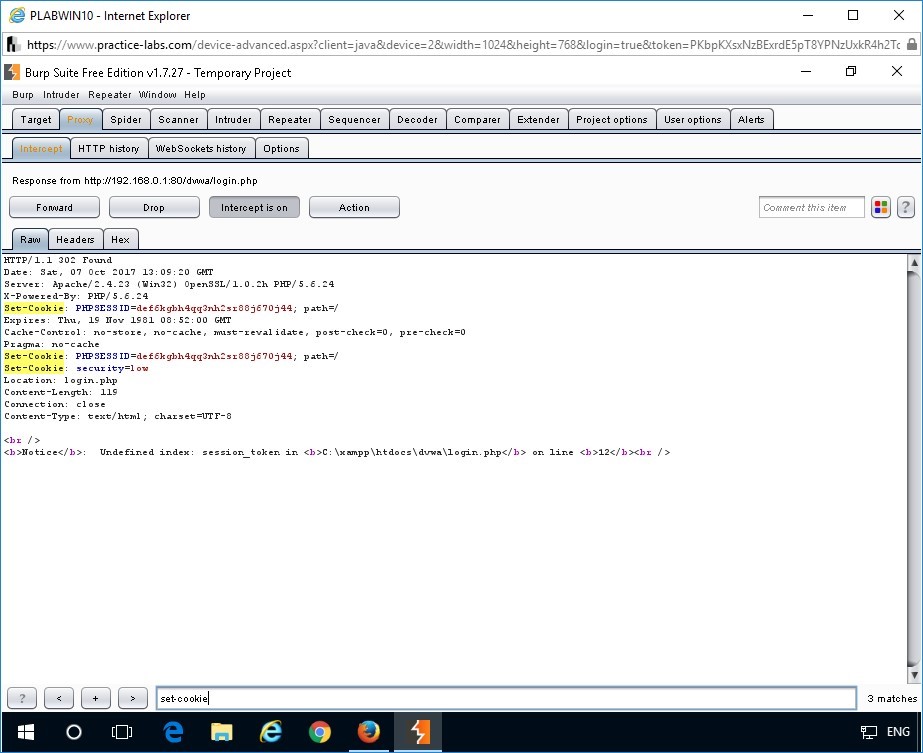
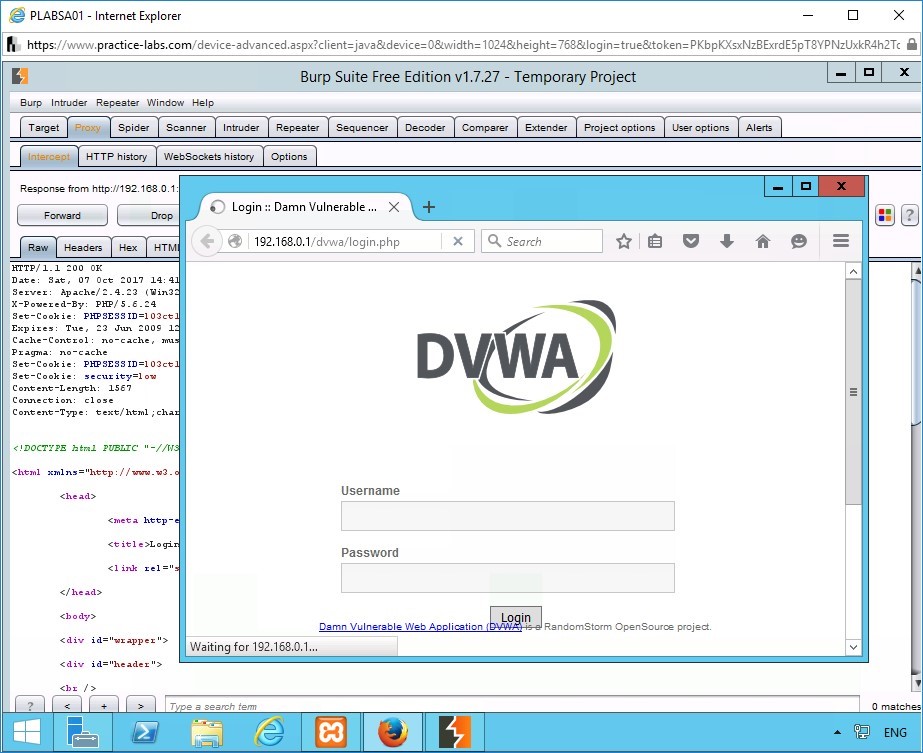
Wait for Burp Suite to intercept the response.
Notice the response being captured.
In the response intercepted, observe that the browser sends a Set-Cookie parameter. This is the cookie assigned by the browser for the current user session to the DVWA application.
Step 5
If you are not able to view the Set-Cookie parameter in the intercepted response, switch to Mozilla Firefox.
Clear all history.
To perform this, press CTRL+SHIFT+DELETE.
In the Clear All History dialog box that appears, click Clear Now.
After clearing the history, repeat Step 4. Alternatively, go to the next step.
Note: Only perform this if you were unable to capture the PHPSESSID in Burp Suite.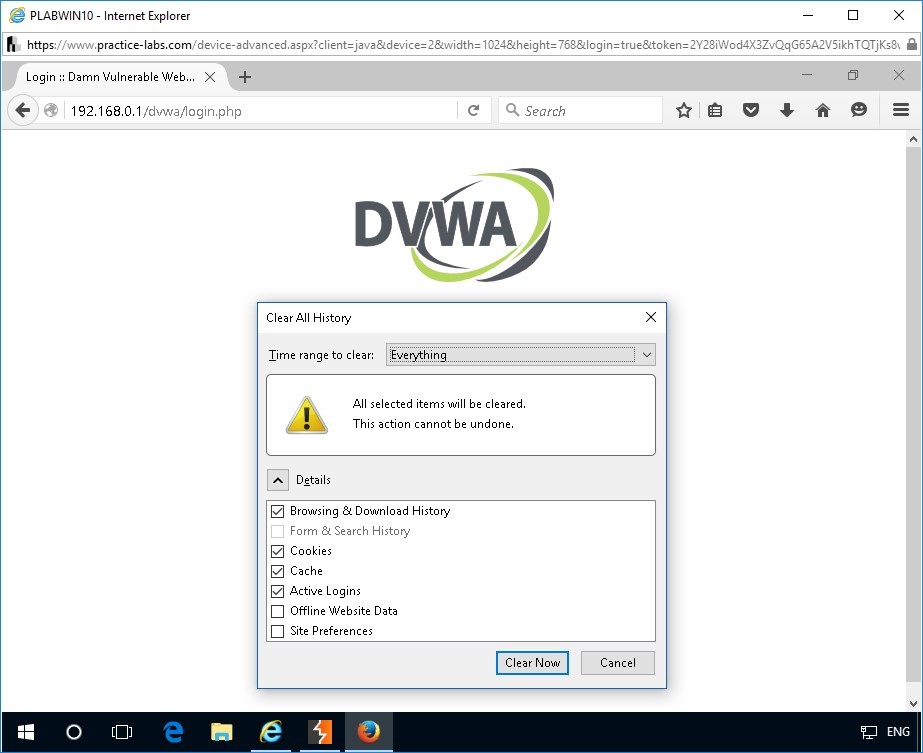
Step 6
In the Intercept tab of Burp Suite Free Edition v1.7.27 - Temporary Project window, click Forward.
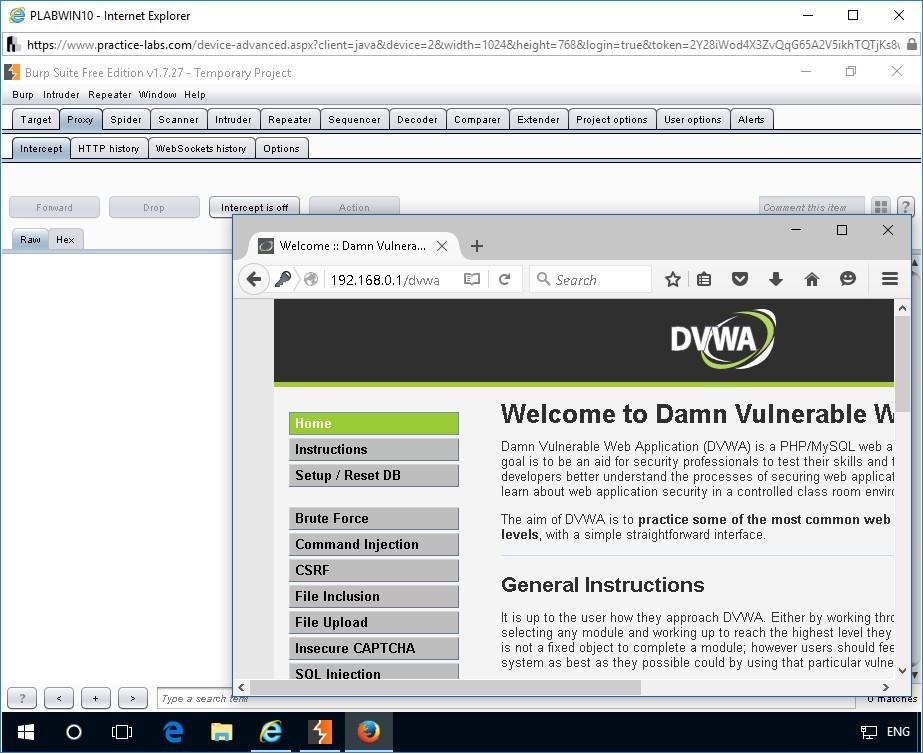
Switch to Mozilla Firefox.
You will get logged into the DVWA application.
Step 7
Refresh Mozilla Firefox.
Note: Each time you refresh the application or on any request made to the DVWA web server, the browser will send the assigned cookie in the cookie parameter of the request to the web server. The cookie parameter notifies the web server that the user has successfully logged in and a session has been established.Switch to Burp Suite Free Edition v1.7.27 - Temporary Project window.
Observe that the browser again sends the cookies that were set by the Set-Cookie parameter back to the web server, which in this case is Burp Suite.
Copy the cookie information and make a note of it. Make a note of the cookie information assigned to PHPSESSID argument of the Cookie parameter. You will be using this information in the next task to hijack the session.
Note: The cookie information is generated at random and it will be different each time. The cookie information during the time this demo was written was Cookie: security=low; PHPSESSID=def6kgbh4qq3nh2sr88j670j44. You can find this cookie information in the Cookie parameter of the capture request.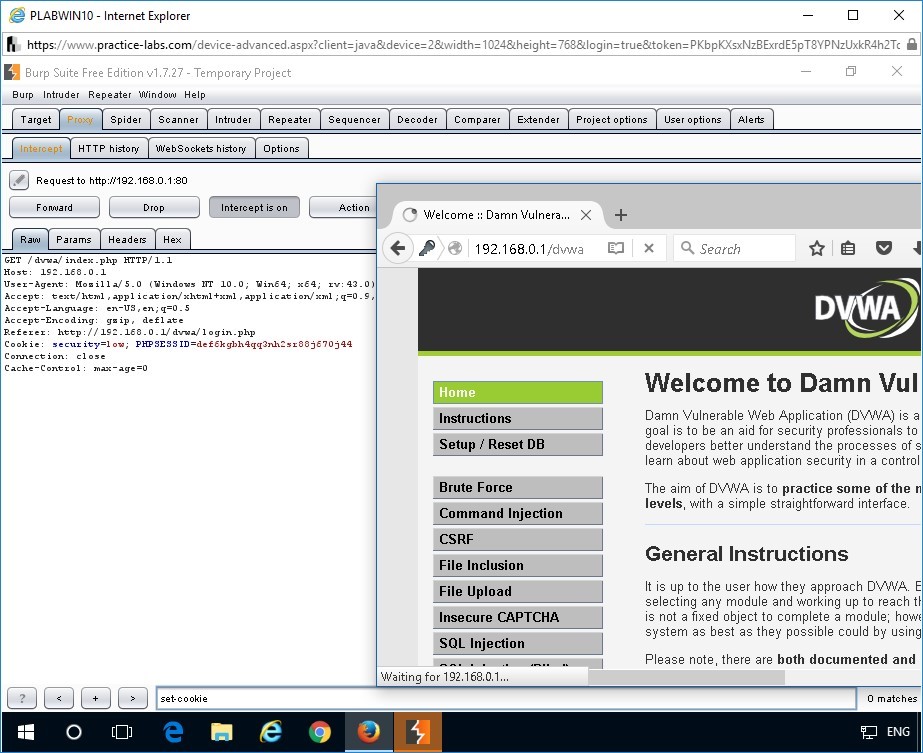
Task 5 - Hijack the Session
In this task, you will hijack the session of user “admin” on PLABSA01 device. You will use the value stored in the PHPSESSID (noted in the previous task) to hijack the session. Here is the stored value for the purpose of this demonstration:
Cookie: security=low; PHPSESSID=def6kgbh4qq3nh2sr88j670j44
Step 1
Connect to PLABSA01.
Open Mozilla Firefox.
To access the DVWA application, type the following URL in the address bar:
http://192.168.0.1/dvwa/login.php
Press Enter.
Step 2
Refresh Mozilla Firefox.
In the Intercept tab of Burp Suite Free Edition v1.7.27 - Temporary Project window, click Forward.
Intercept the response received from the web server in Burp Suite.
Step 3
To inject the hijacked cookie from PLABWIN10 device in the web browser on PLABSA01 device, in the Burp Suite Free Edition v1.7.27 - Temporary Project window, click Forward.
Click the Proxy tab.
The Intercept tab under the Proxy tab opens by default.
To turn off the intercept, click Intercept is off.
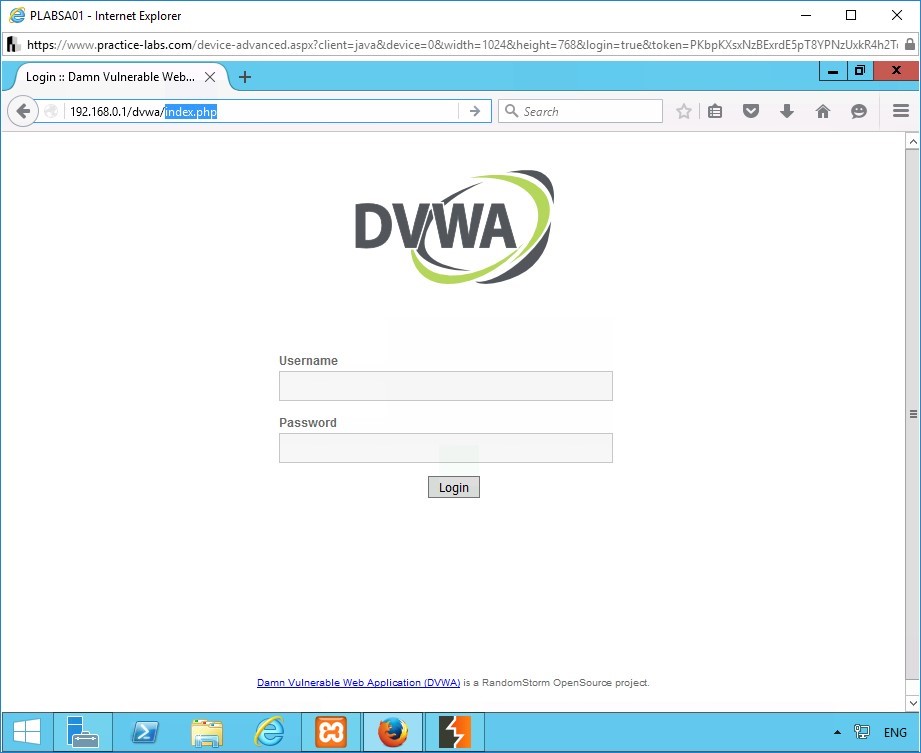
To open the DVWA application in Mozilla Firefox window, in the address bar, type the following URL:
http://192.168.0.1/dvwa/index.php
Press Enter.
Step 4
Next, you will tamper the Burp Suite request to inject the Set-Cookie parameter into the web browser on PLABSA01 device.
To inject the cookie value (captured in the earlier task) in the Set-Cookie parameter, in the request section of the Burp Suite Free Edition v1.7.27 - Temporary Project window, delete any existing Set-Cookie parameters that the web server has sent.
Type the following cookie header parameters:
Set-Cookie: PHPSESSID=def6kgbh4qq3nh2sr88j670j44;
Set-Cookie: security=low;
Step 5
The application should successfully log in automatically without specifying any user credentials if it is vulnerable to session hijacking vulnerability.
Step 6
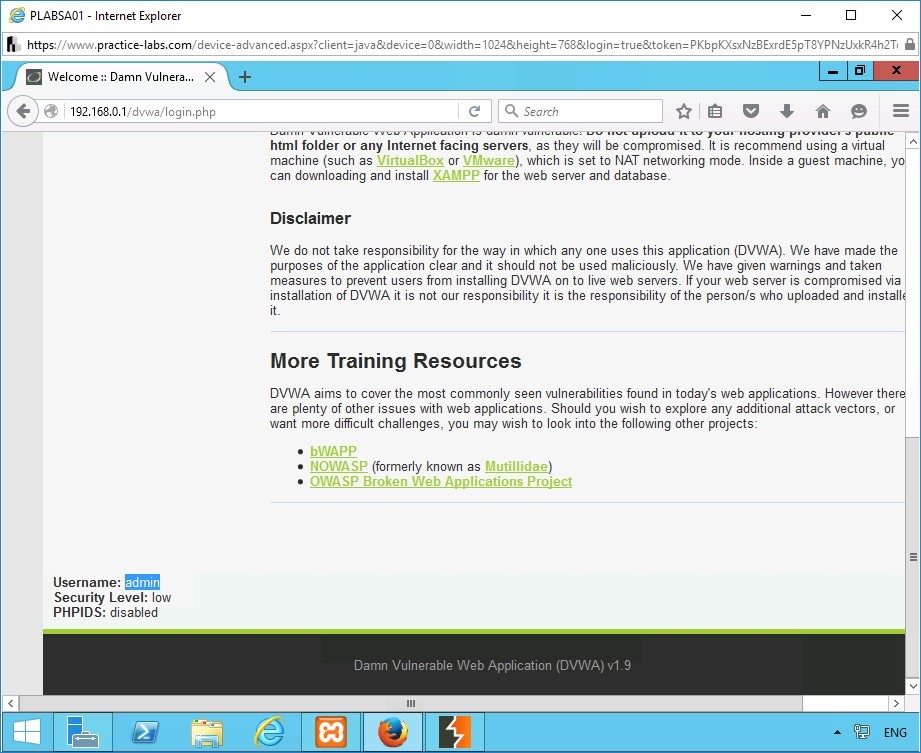
Scroll down to view the username.
The session of the user “admin” is successfully hijacked.
Close all open windows.
Comments
Post a Comment