Configuring storage and local hard disks
Hard Disks
Exercise 1 - Creating Disk Volumes
Exercise 1 - Creating Disk Volumes
Disk storage which form an integral part of a computer system stores information about the operating system and user applications. The storage can either be local or external storage. Windows Server 2016 gives you the capability to deploy inexpensive and reliable storage without the use of expensive RAID adapters, RAID arrays and SAN switch fabric.
Windows Server 2016 like the earlier version includes Disk Management and Windows PowerShell for managing disk volumes and virtual hard disks on a computer.
To learn more about creating disk volumes, please refer to your course material or use your preferred search engine to research for more information about this topic.
Task 1 - Configuring Disk Volumes with Resilient File System (ReFS)
Resilient File System (ReFS) is a proprietary local file system first introduced in Windows Server 2012 and is intended to replace NTFS in the future. This file system provides data availability as file system metadata is protected. ReFS can detect data corruption when used with Storage Spaces and makes the corresponding remediation by moving, reordering and cloning of blocks between files.
To set up a disk volume to use ReFS, perform the following steps:
Step 1
Connect to the PLABDM01 device.
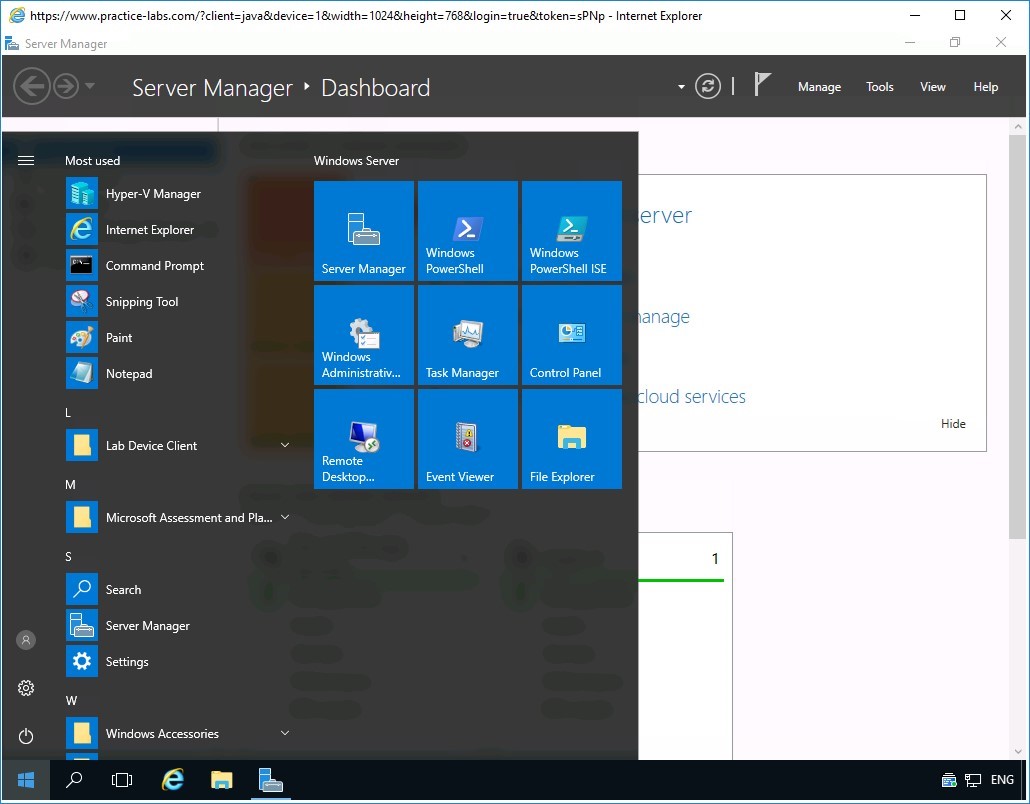
Server Manager Dashboard window opens upon sign-on.
Click Search Windows on taskbar.
Step 2
Then type:
powershell
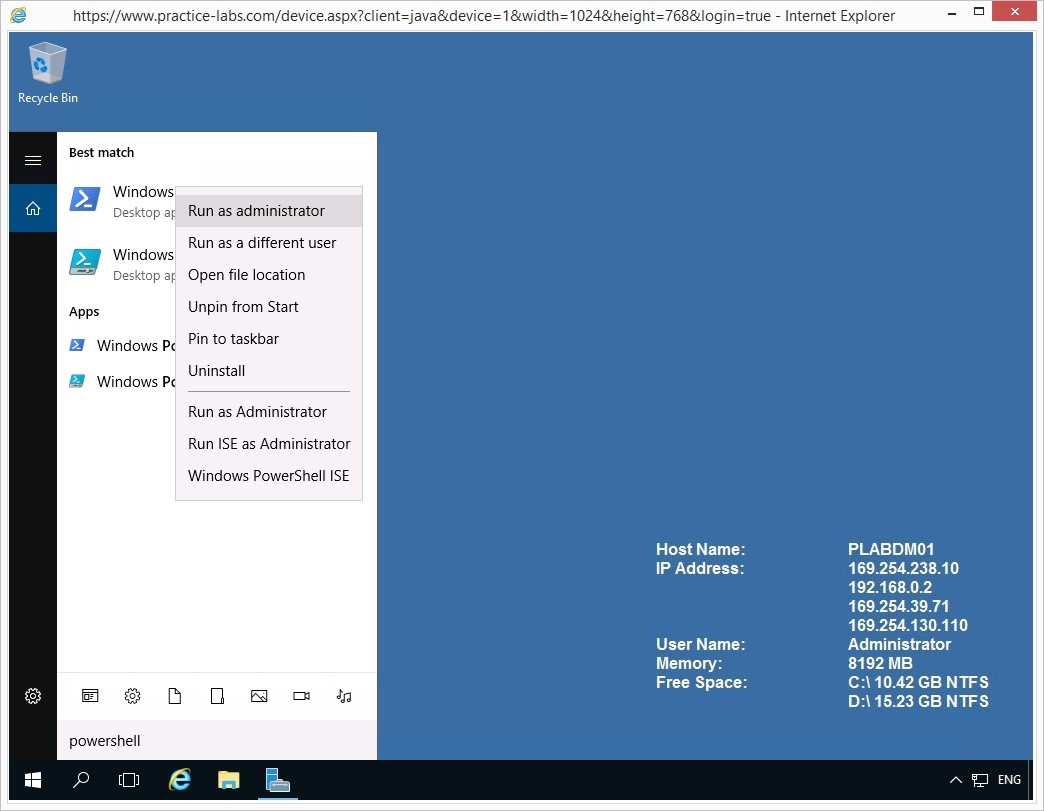
In the Best match list, right-click Windows PowerShell and select Run as administrator.
Note: Although you are already signed in as practicelabs\administrator, you need to launch Windows PowerShell with administrative privileges to comply with User Account Control policy to launch an application with elevated privileges.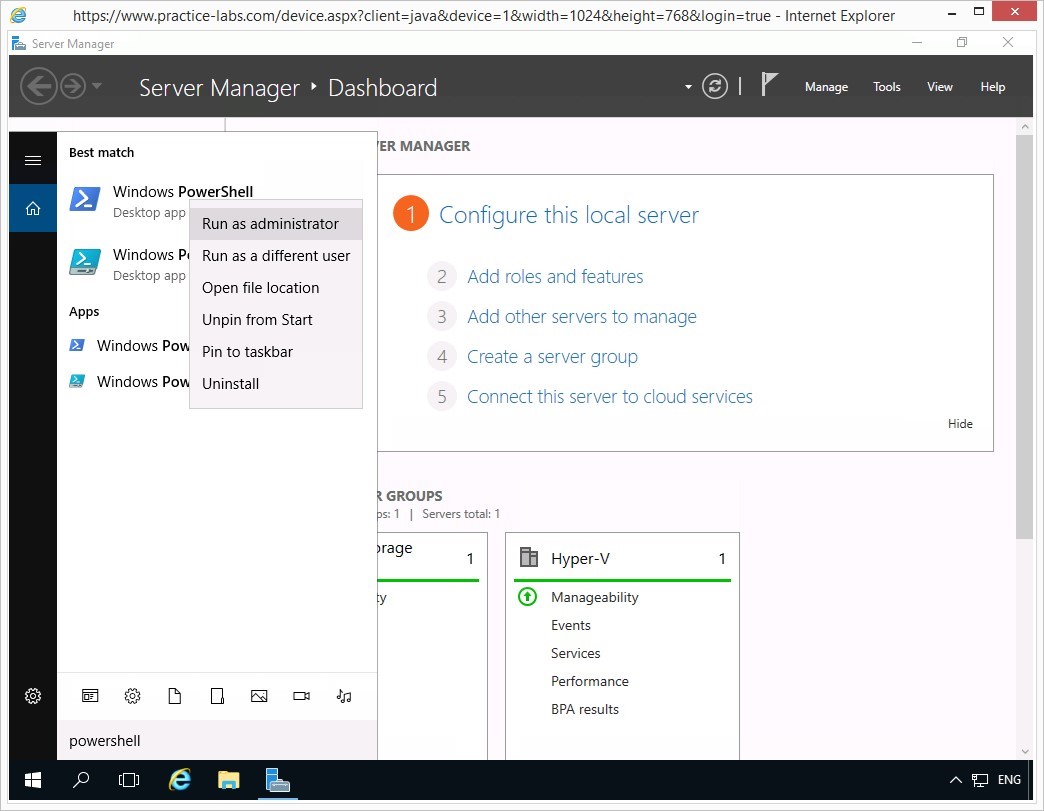
Step 3
Please note that Windows PowerShell commands are not case-sensitive.
Moreover, you can use PowerShell auto-complete by typing the first few letters of the commandlet (cmdlet) like get-dis then press TAB to find the command that you want to run.
Similarly, you can use auto-complete for PowerShell parameters that are preceded by a dash/hyphen such as -eq then press TAB, to find the parameter that you want to include with the PowerShell command-let (cmdlet).
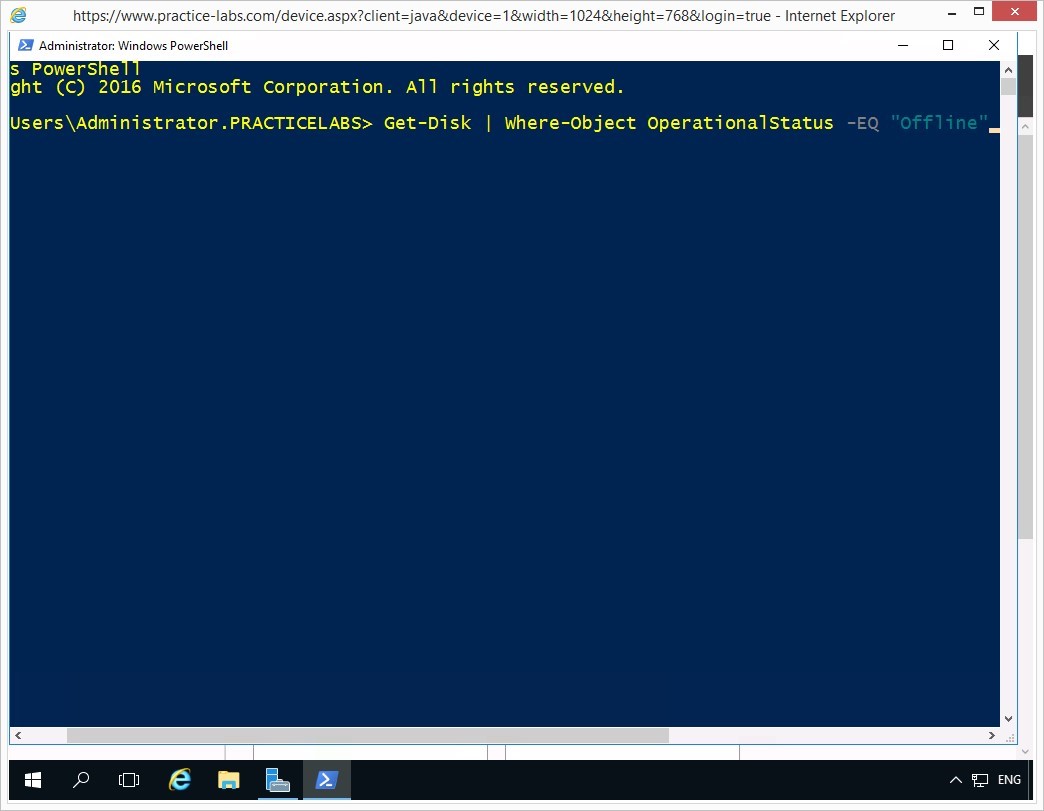
On the Windows PowerShell window, to get a list of available disks that are Offline, type:
Get-Disk | Where-Object OperationalStatus -EQ “Offline”
Press Enter.
Step 4
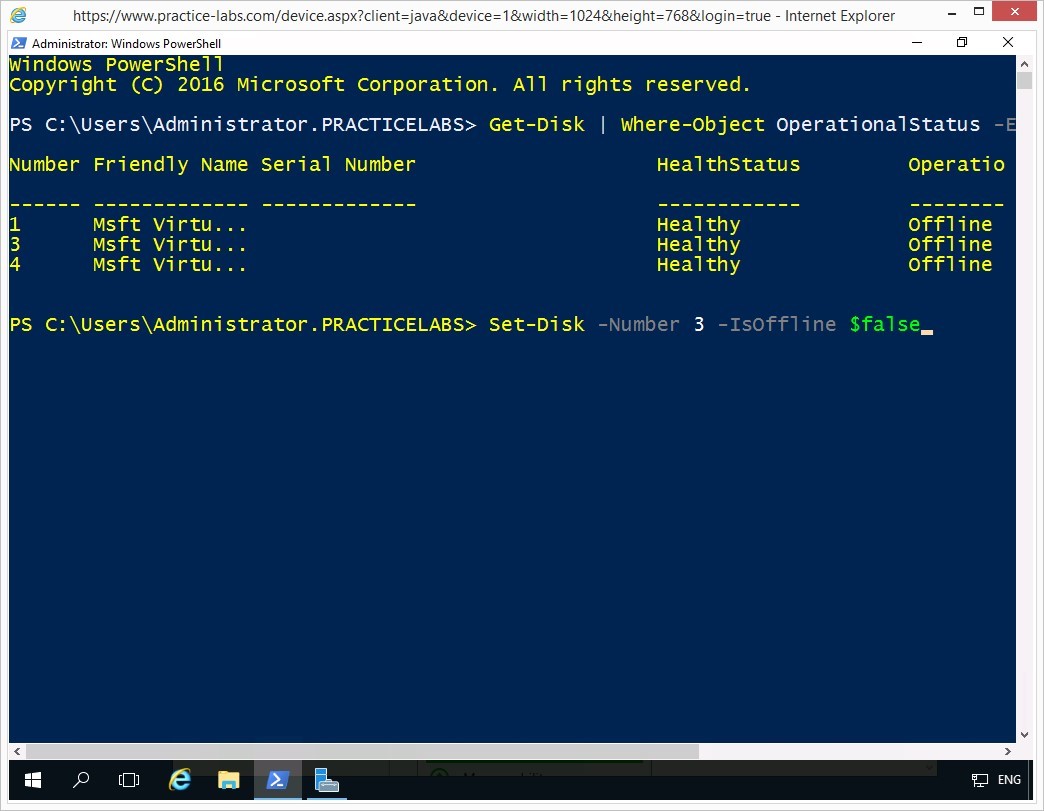
Windows PowerShell indicates the number of disks that are currently offline.
On the next prompt you will put Disk 3 Online.
To put Disk 3 online, type:
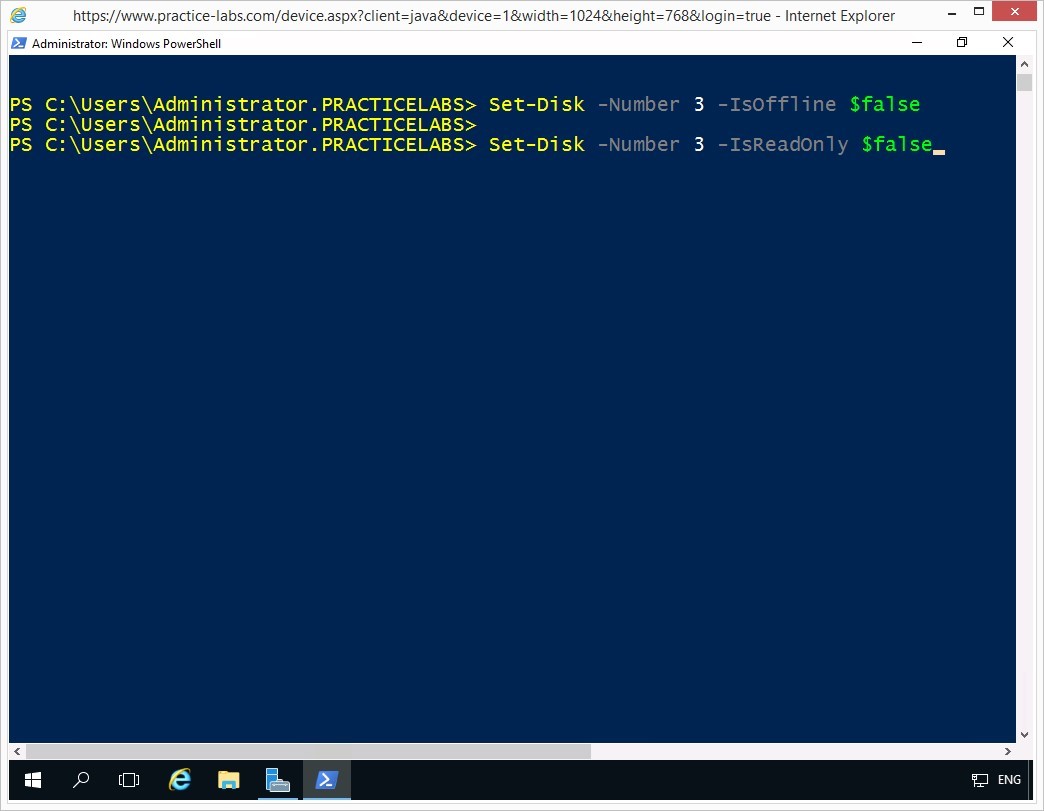
Set-Disk -Number 3 -IsOffline $False
Press Enter.
Step 5
Notice that Windows PowerShell did not give a successful confirmation after putting Disk number 3 “Online.”
On the next prompt, to turn off the Read-only attribute on Disk number 3, type:
Set-Disk -Number 3 -IsReadOnly $false
Press Enter.
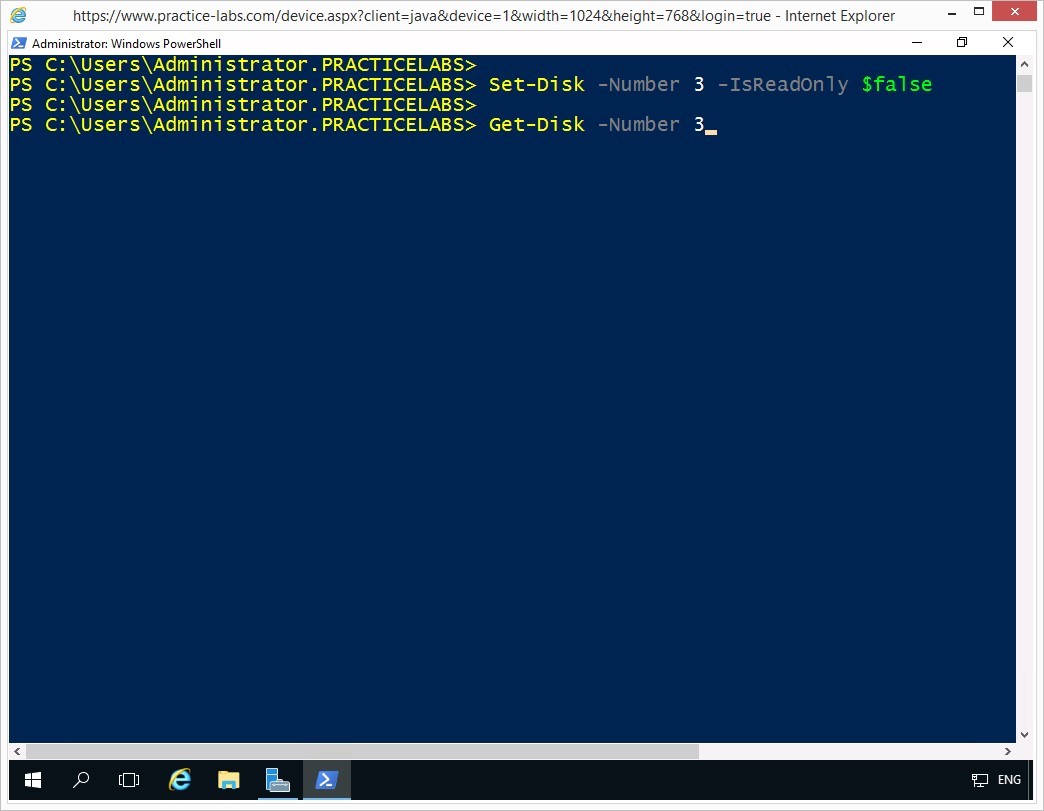
Step 6
Disk number 3’s read-only attribute has been successfully turned off.
On the next prompt, to get information about Disk number 3, type:
Get-Disk -Number 3
Press Enter.
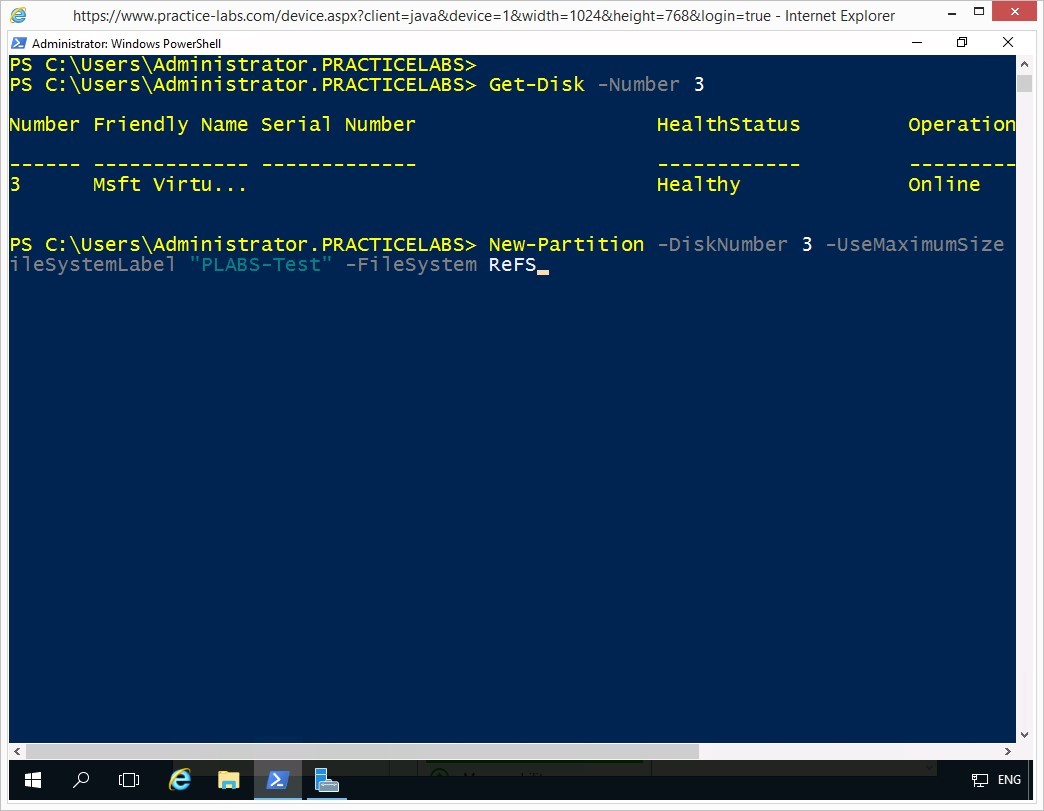
Step 7
Information about Disk number 3 is displayed.
On the next prompt, you will create an ReFS volume by using up all available disk space on Disk number 3.
Type the following command:
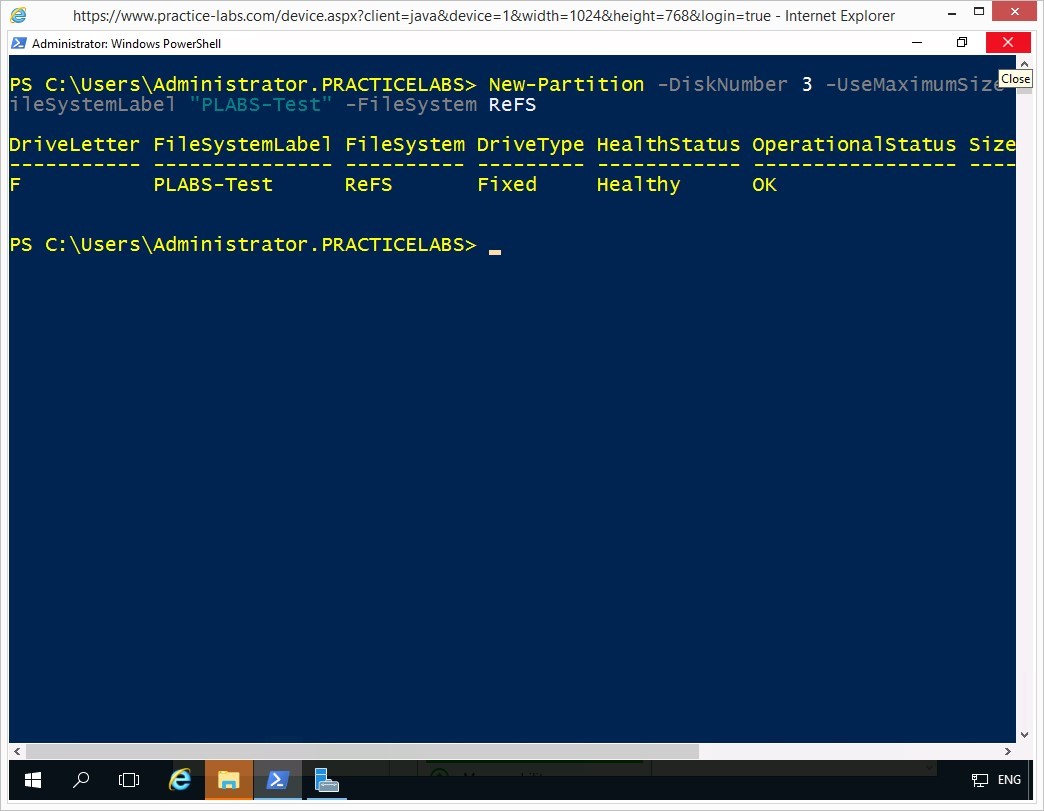
New-Partition -DiskNumber 3 -UseMaximumSize -DriveLetter F | Format-Volume -NewFileSystemLabel “PLABS-Test” -FileSystem ReFS
Press Enter.
Step 8
Please wait while the new partition is being created.
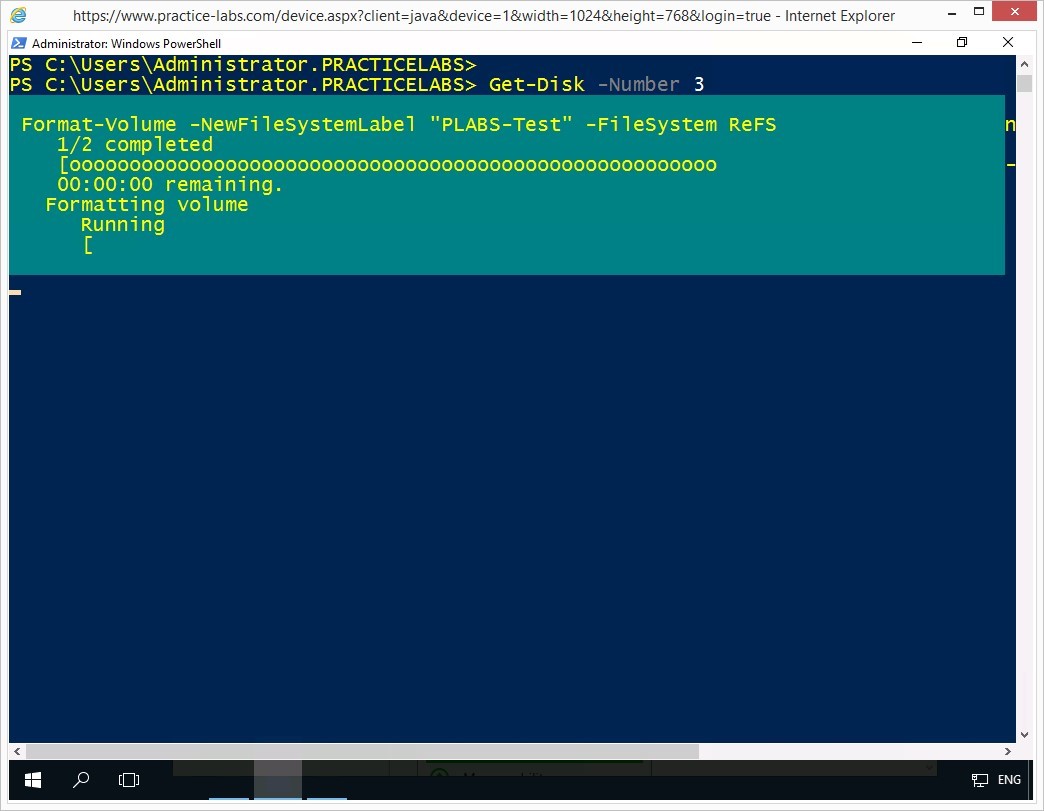
Step 9
Windows PowerShell will display information about the newly-created partition.
Close Windows PowerShell window.
Step 10
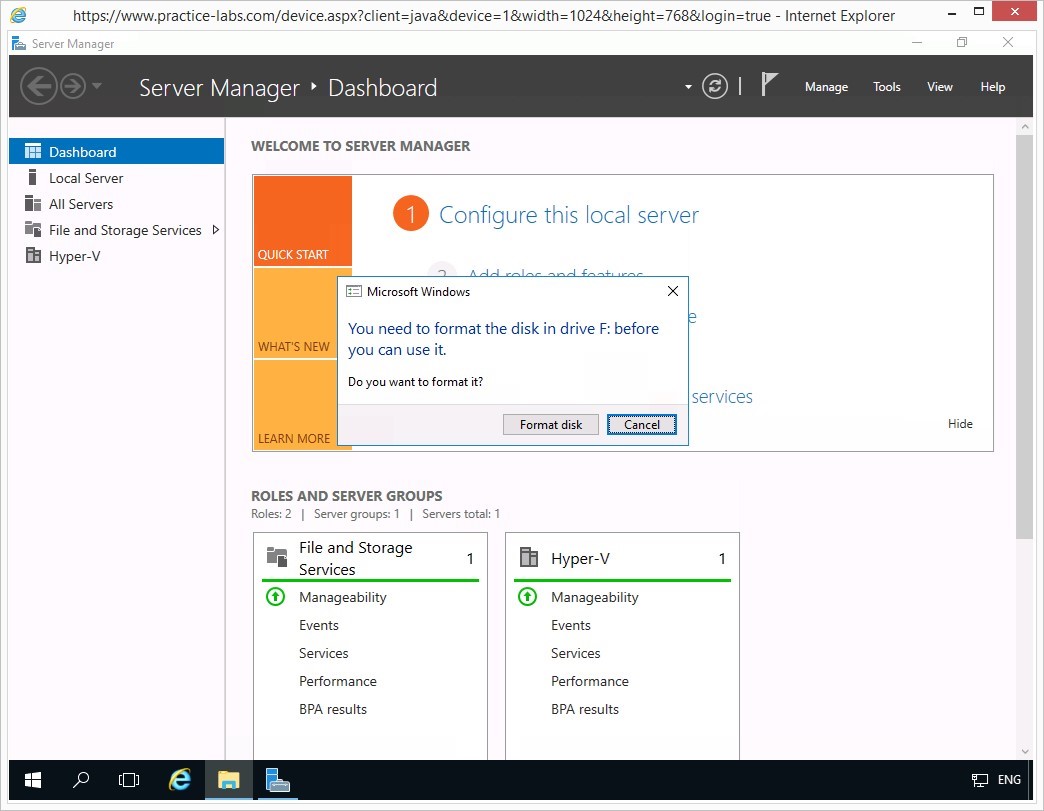
You will get a system notification about formatting a new disk drive, click Cancel.
Step 11
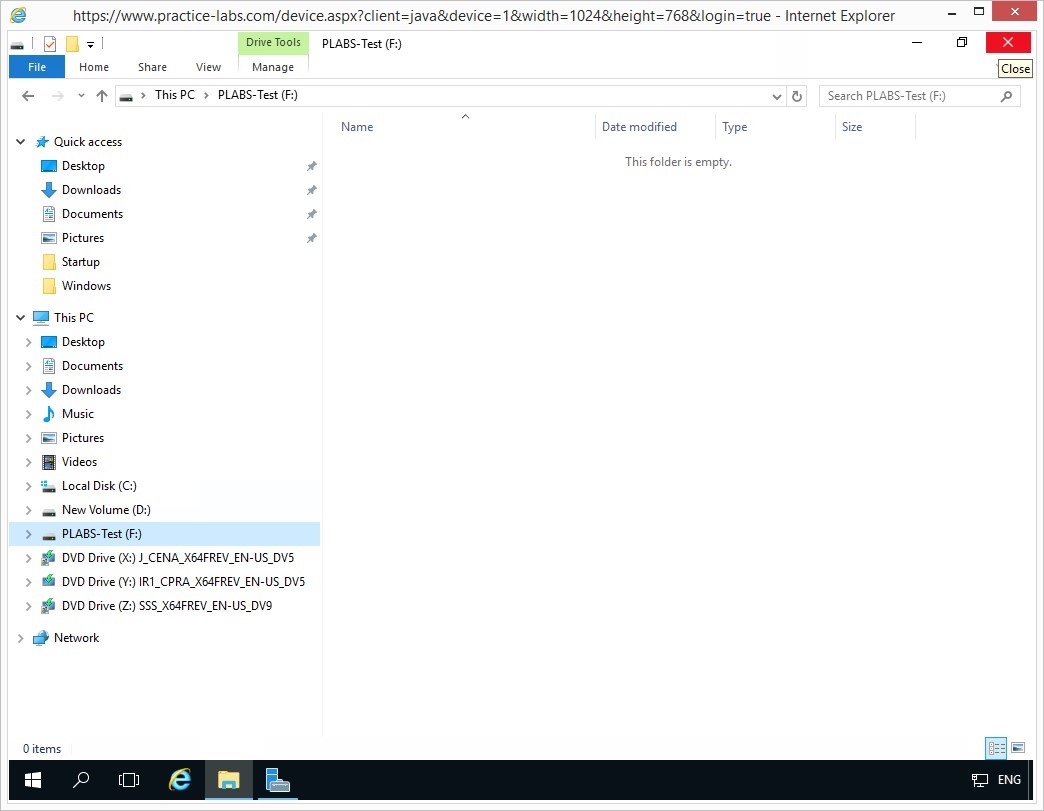
To verify the newly-created partition, click File Explorer icon on taskbar.
On the File Explorer window, under This PC node, then click PLABS-Test (F:) drive.
The new PLABS-Test (F:) drive is currently empty at the moment.
Close File Explorer window.
Task 2 - Creating a mirrored disk volume
Windows supports the creation of software-based RAID 1 volume called mirrored volume. The contents of the first disk are synchronized to the secondary disk to protect data like operating system information or applications. RAID 1 provides fault tolerance that ensures data can be recovered in one of the disks in the mirrored volume in the event of a disk failure.
A mirrored volume calls for two physical disks either of the same disk capacity. Likewise, it can be two unallocated disks where the second disk where the mirror will be created is of higher disk capacity than the first disk.
To create a mirrored disk volume, perform the following steps:
Step 1
On PLABDM01 device, ensure that Server Manager Dashboard window is open.
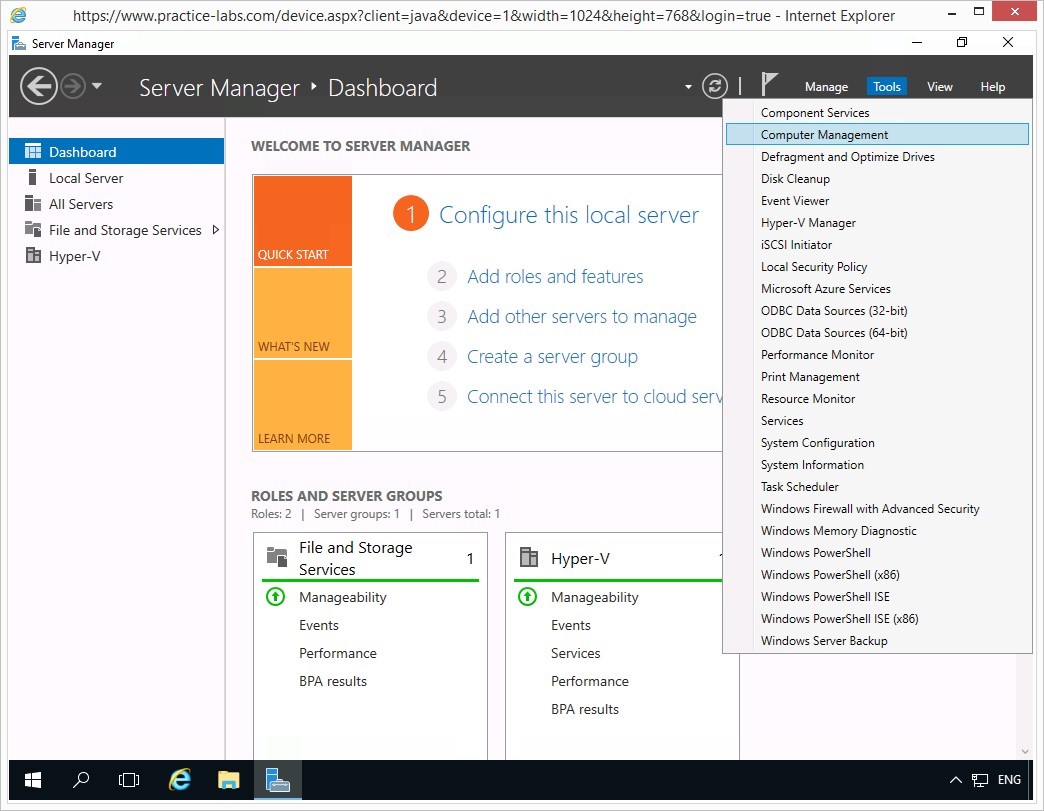
Click Tools and select Computer Management.
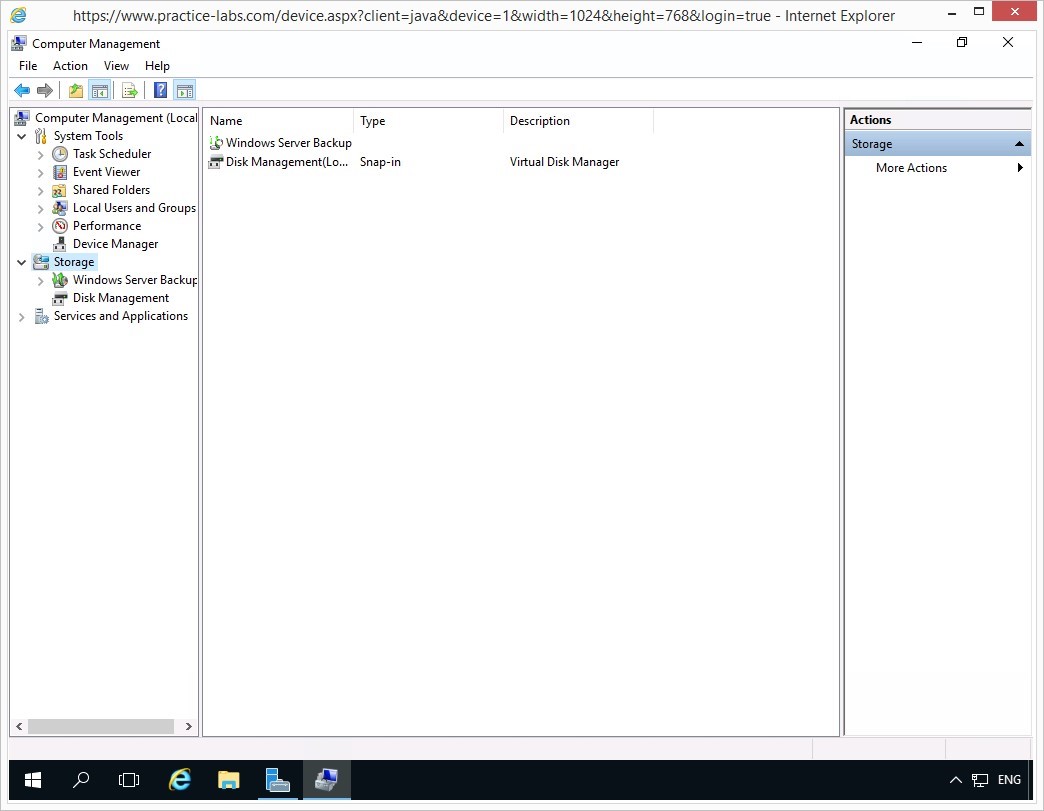
Step 2
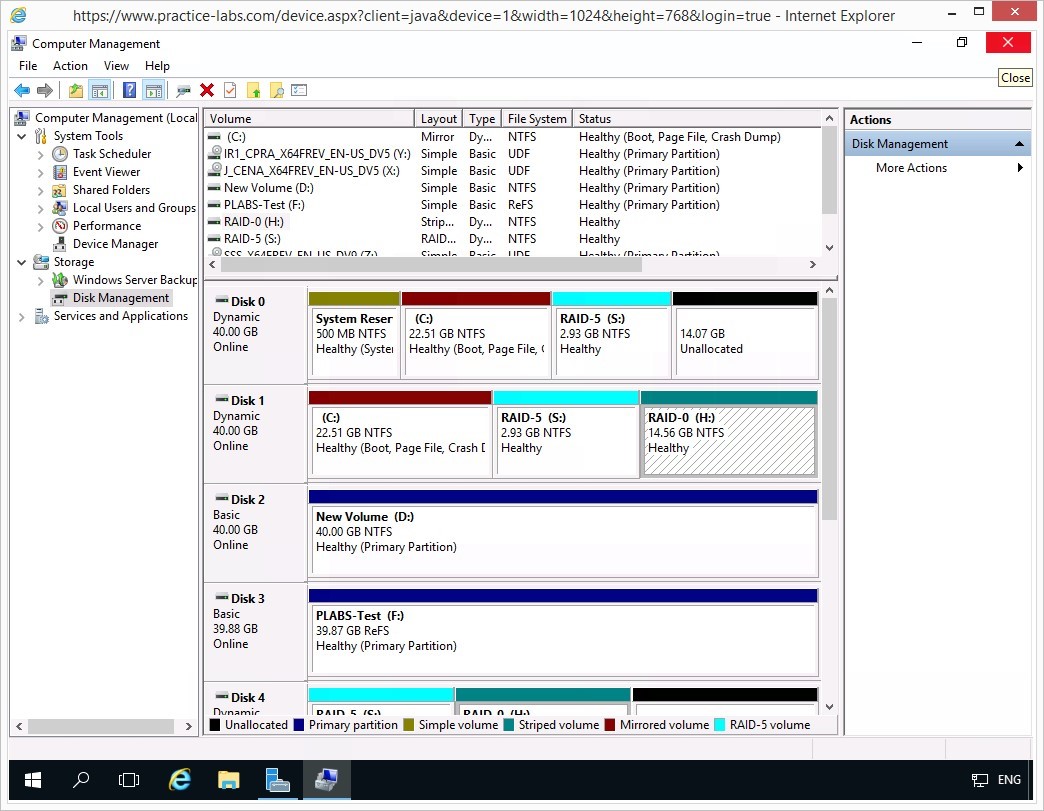
On the Computer Management window, click Storage then click Disk Management.
Step 3
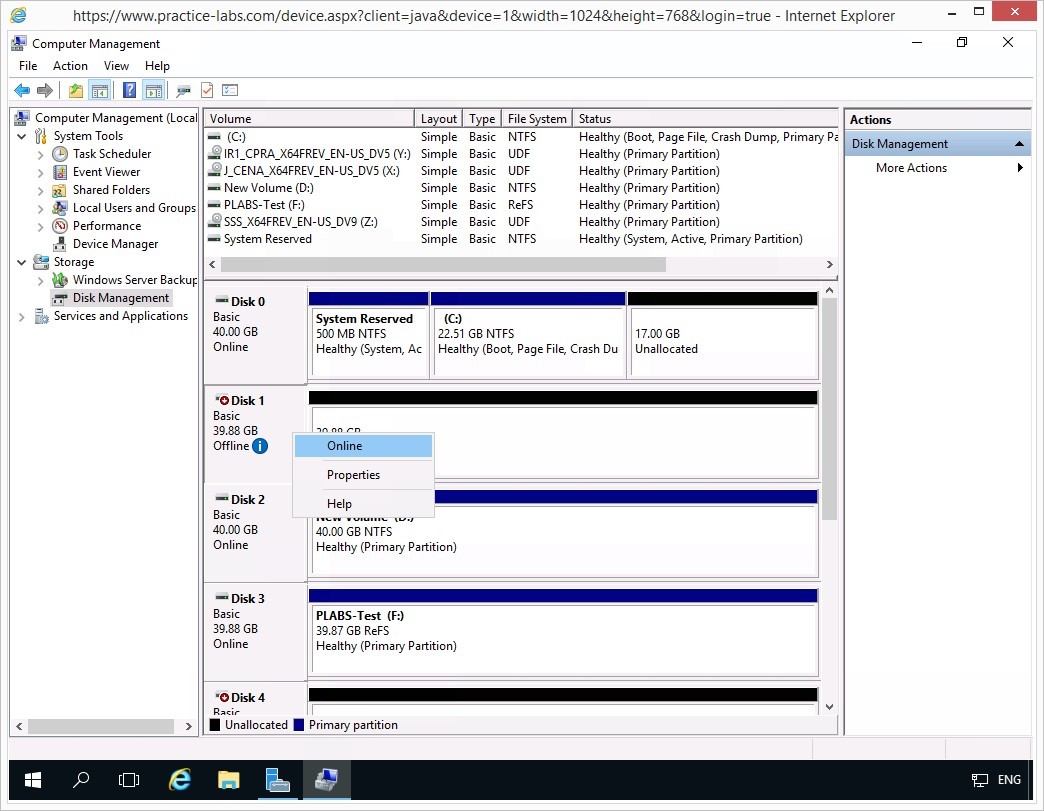
You will be using Disk 1 as the target disk of the mirrored volume.
Right-click Disk 1 and select Online.
Step 4
Right-click Disk 1 and select Convert to MBR Disk.
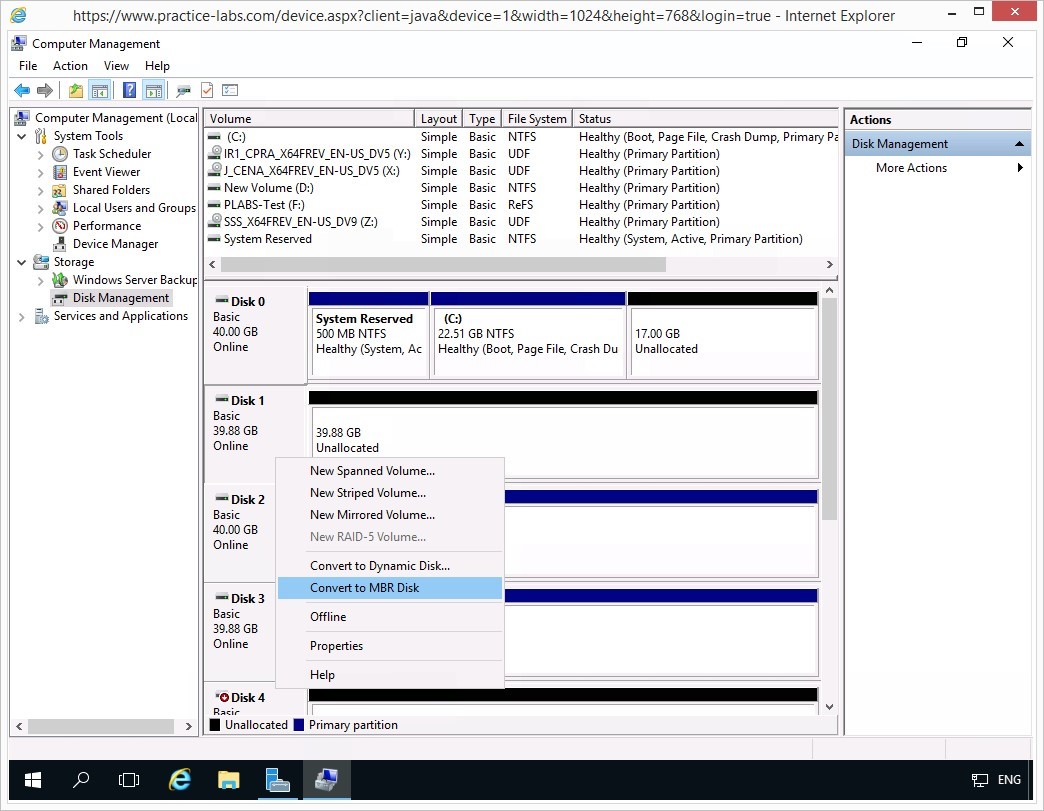
Step 5
You have just converted Disk 1 as an MBR Disk. This is required to enable the mentioned disk as the mirrored replica of another disk that use the same type of disk.
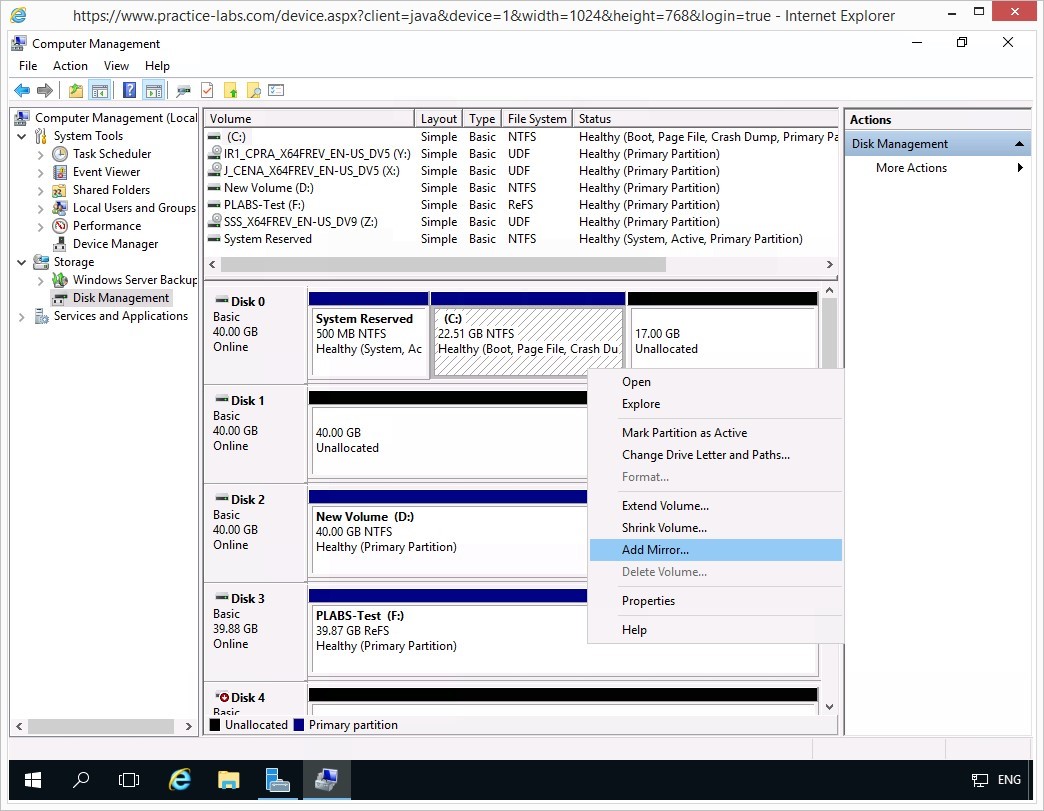
On Disk 0, right-click (C:) drive and select Add Mirror…
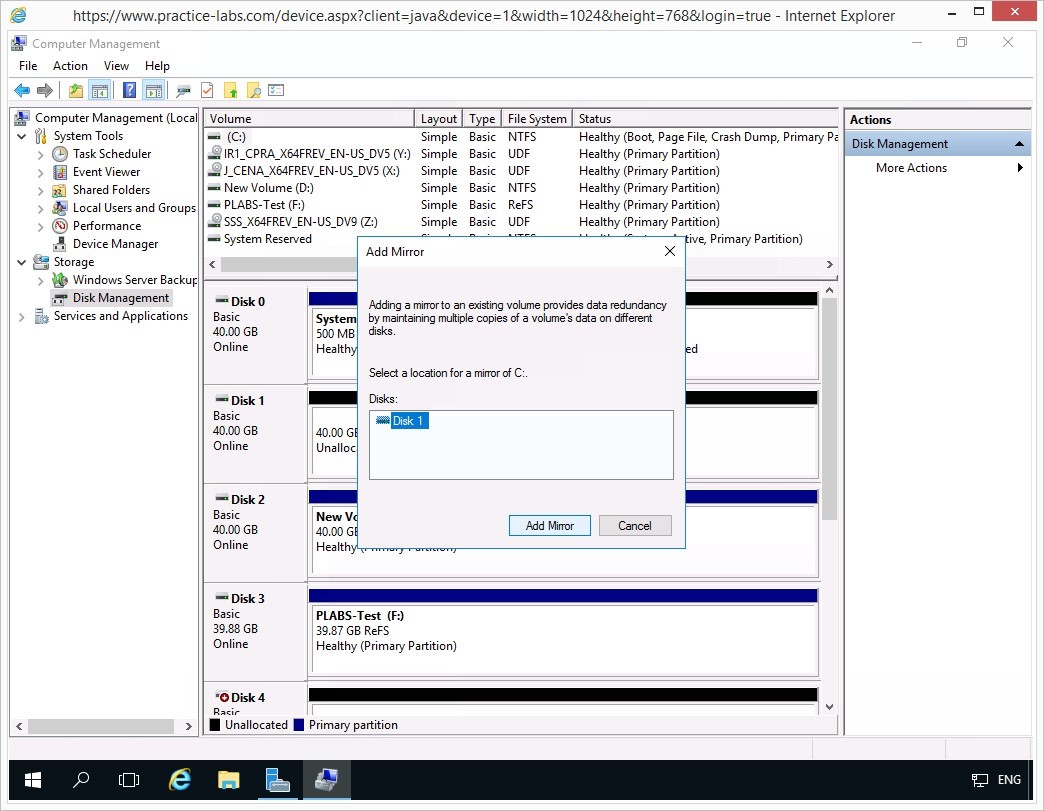
Step 6
On the Add Mirror dialog box, select Disk 1 from the list.
Click Add Mirror.
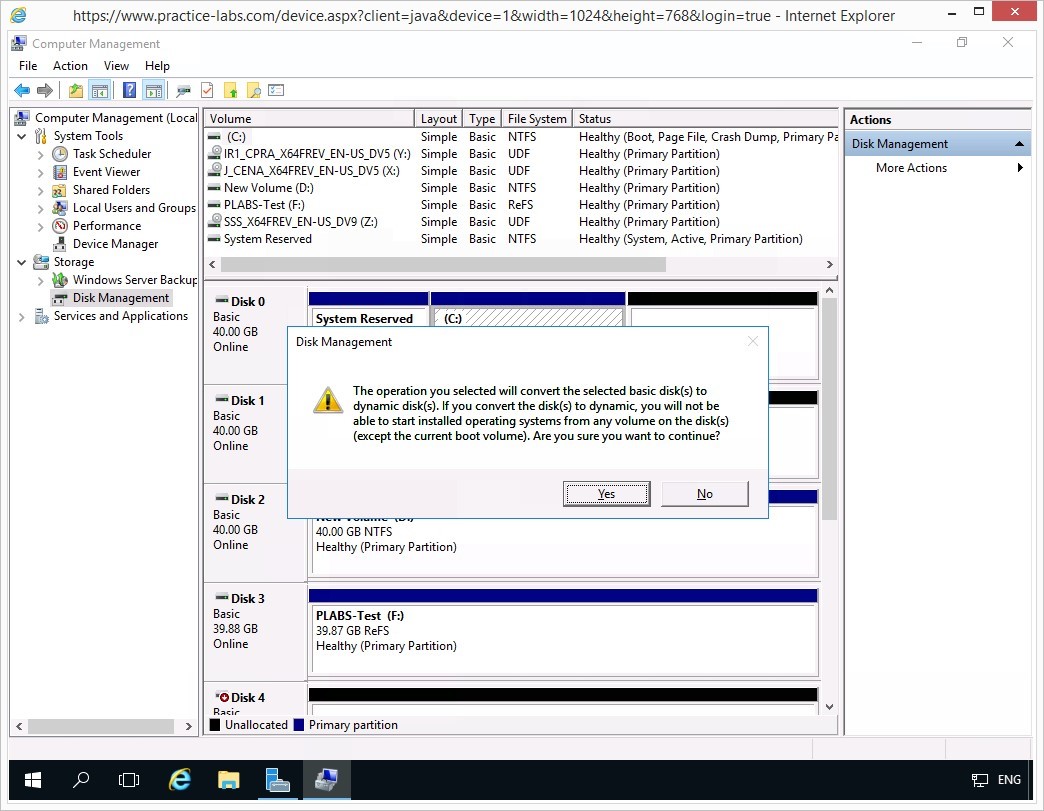
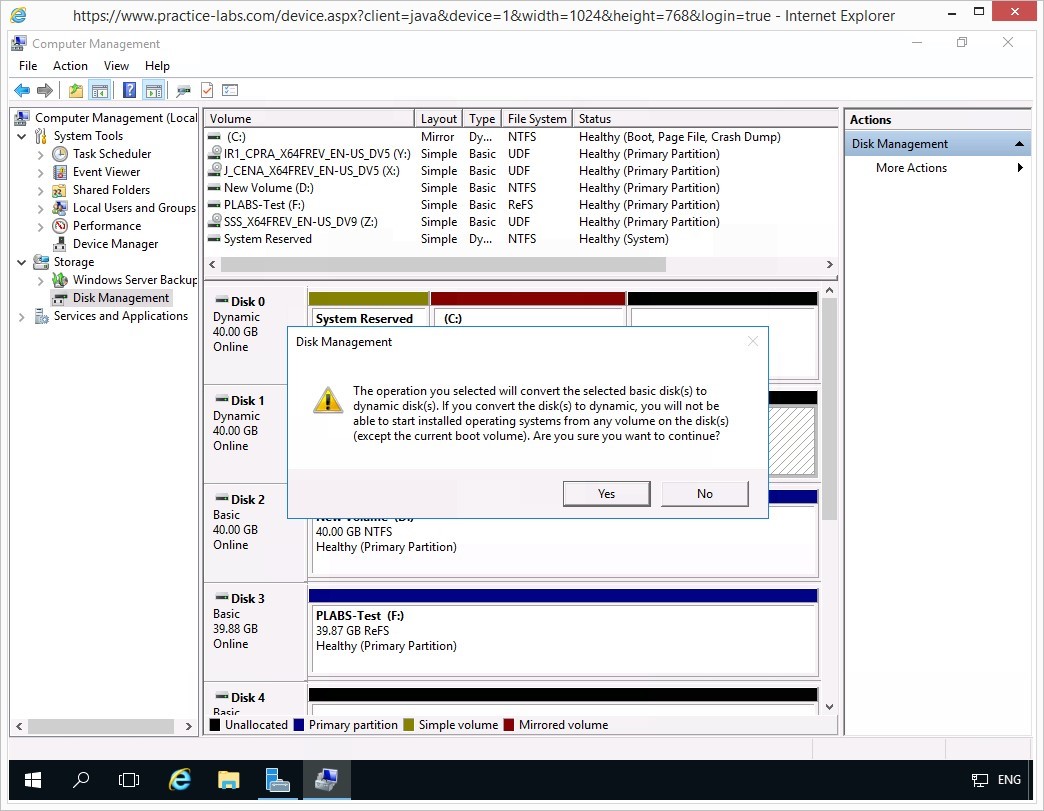
Step 7
The Disk Management message box indicates that the selected basic disks will be converted to dynamic disks.
Click Yes to continue.
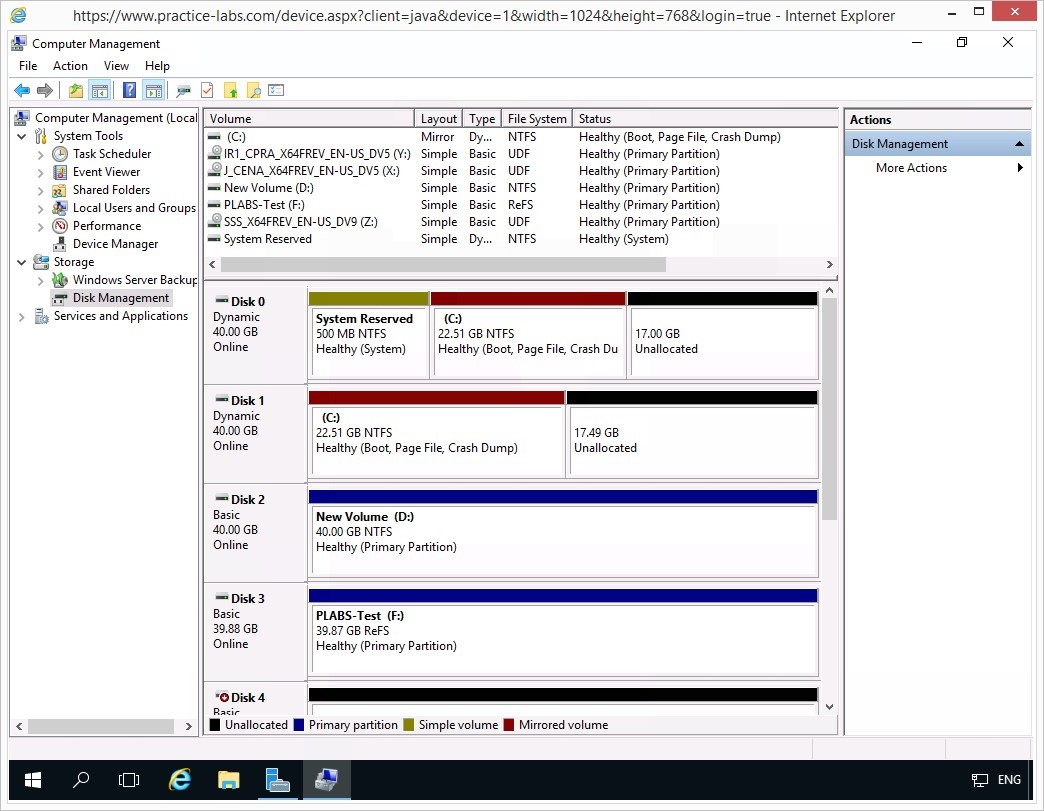
Step 8
There will be a momentary pause as the basic disks are being converted to dynamic disks type.
After a few seconds, the mirrored volume C drive will be created between Disk 0 and Disk 1.
A resynchronization will occur as the contents of Disk 0’s C drive are synchronized with Disk 1. Please wait as the disk mirroring process will take a number minutes to complete.
Important: Bear in mind that for this exercise, you are using software-based RAID 1 which is not as fast compared to hardware-based RAID 1.
Step 9
The mirrored volume (C:) where the Windows operating system is installed is now fault tolerant as a replica has been successfully created in Disk 1’s C drive.
Keep Computer Management window open.
Task 3 - Creating a RAID 5 disk volume
Windows supports the creation of software-based RAID 5 volume called striped volume with parity. Data is written or read across the striped volume with parity by the operating system or application. RAID 5 provides fault tolerance through the use of parity information spread across the member disk volumes. This ensures data can be recovered in one of the disks in the striped volume with parity in the event one of the disks fail in the RAID 5 volume.
A RAID 5 volume calls for three physical disks with similar or various capacity. The three disks if they have different size capacity must be able to come up with a common partition size to create a striped volume with parity.
To create a striped set with parity disk volume, perform the following steps:
Step 1
On the PLABDM01 device, Computer Management is open.
On the middle pane, scroll down the list and find Disk 4.
First, you will bring Disk 4 online.
Right-click Disk 4 panel and select Online.

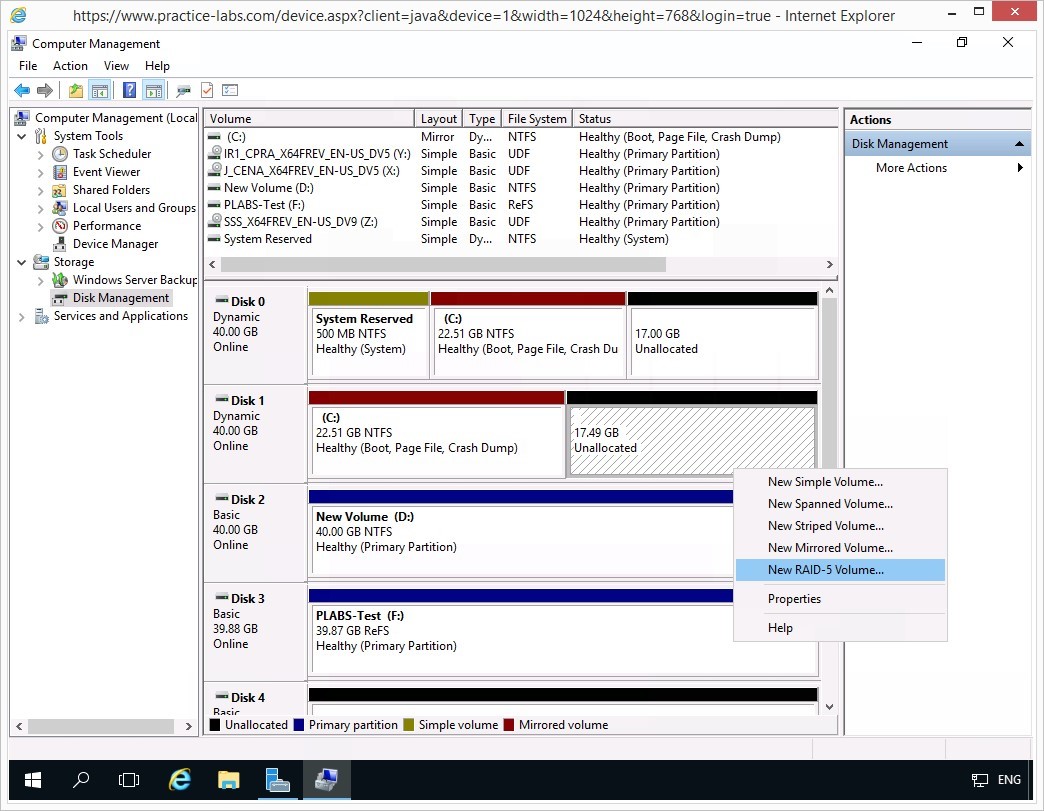
Step 2
After bringing Disk 4 Online, scroll up a bit and locate Disk 1.
Right-click Disk 1’s Unallocated partition and select New RAID-5 Volume.
Step 3
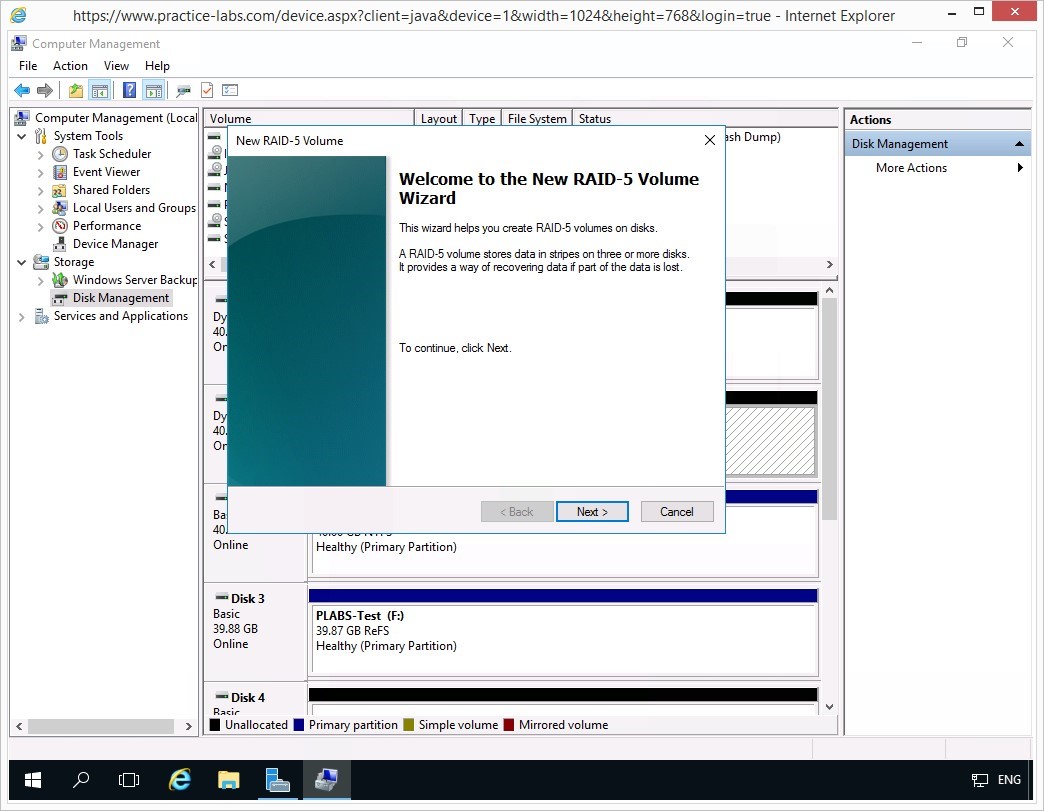
The New RAID-5 Volume window opens.
On the Welcome to the New RAID-5 Volume Wizard page, click Next.
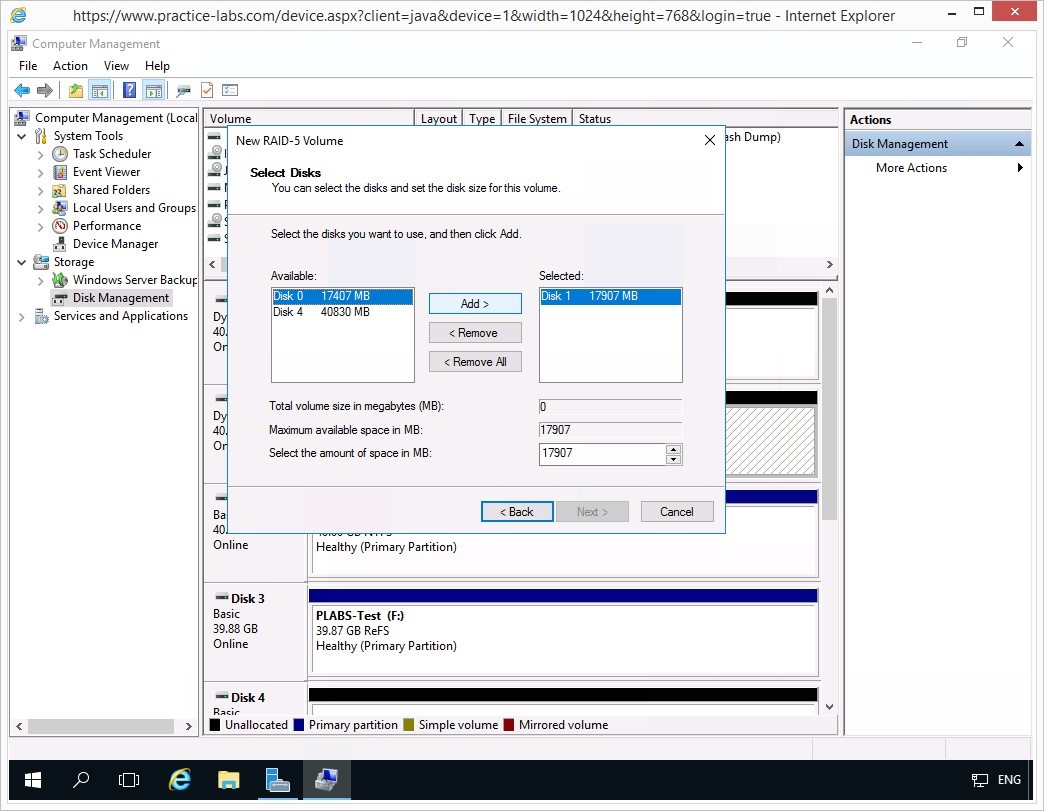
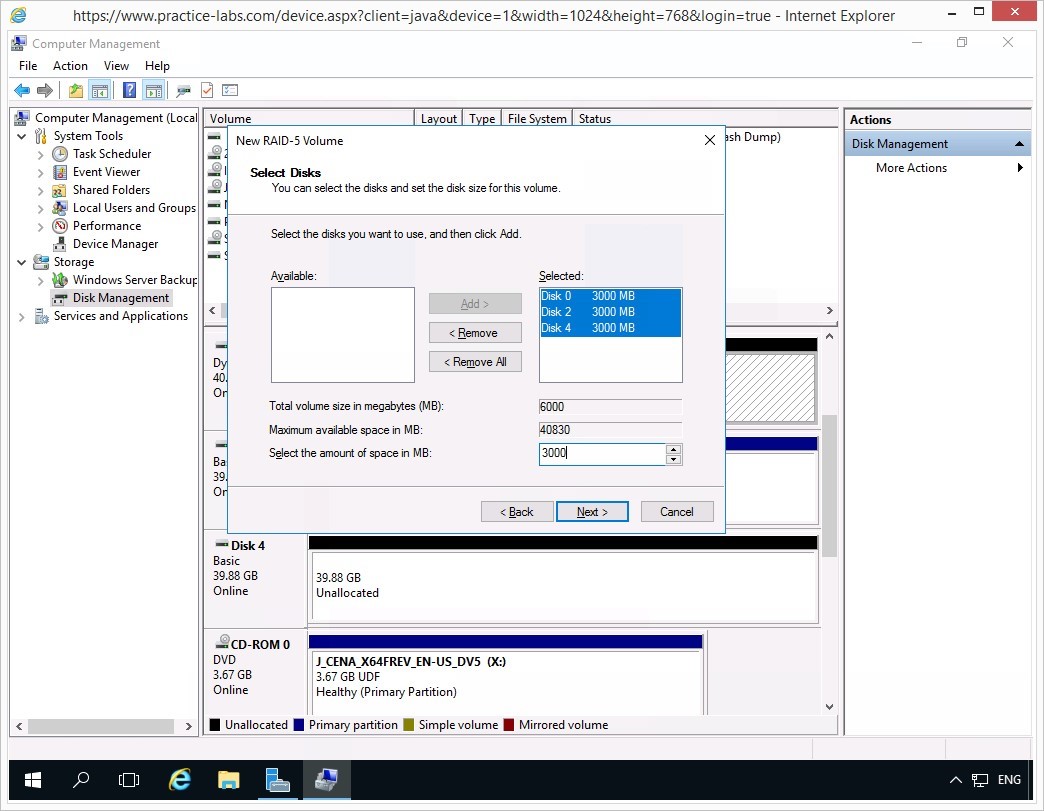
Step 4
On the Select Disks page, under the Available section, select Disk 0 then click Add>.
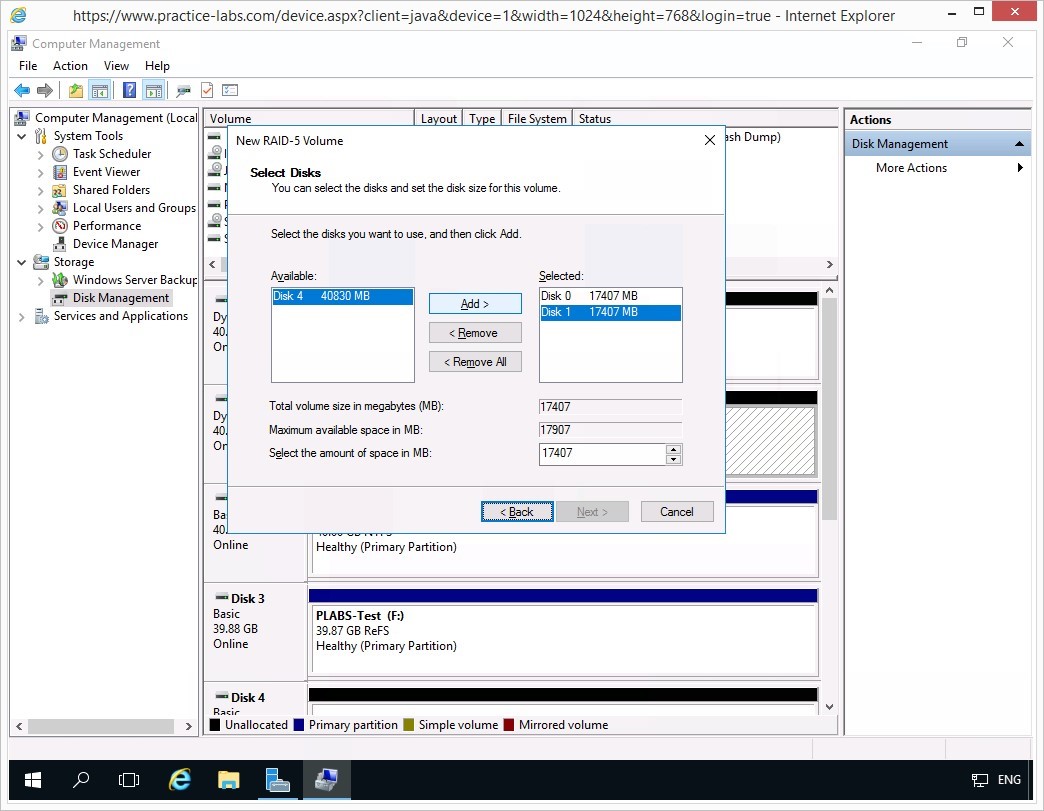
Step 5
Disk 0 is now under Selected section.
Then select Disk 4 and click Add>.
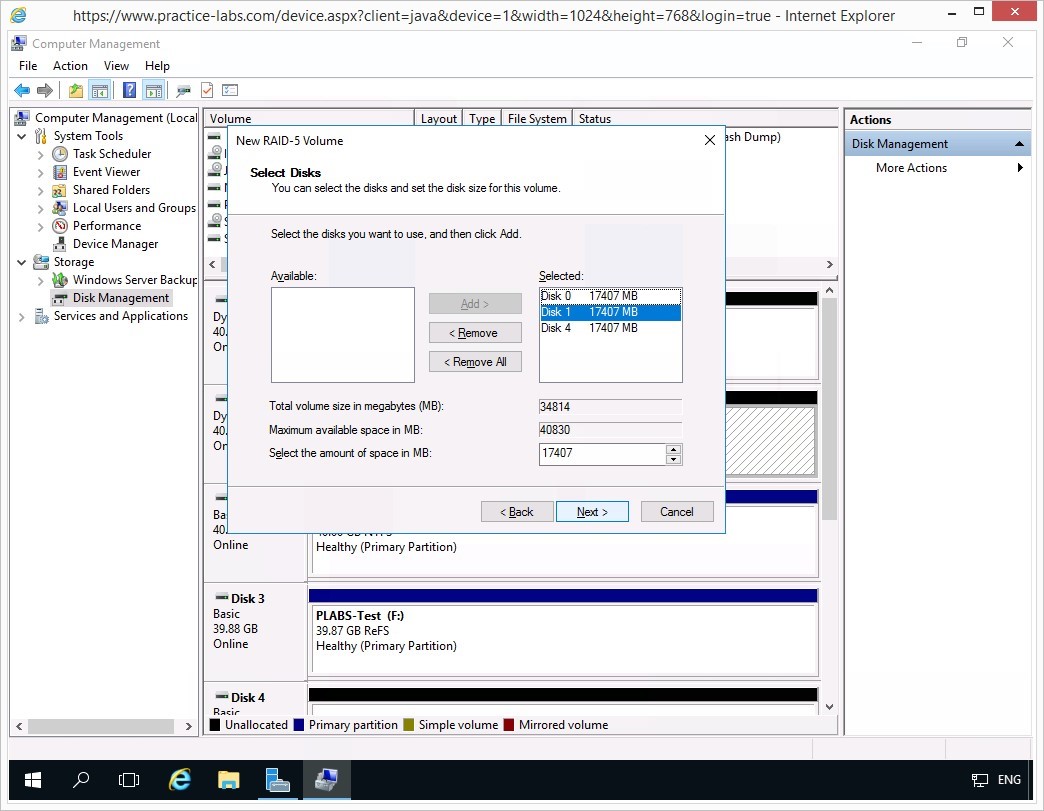
Step 6
Under the Selected section, Disk 0, Disk 1 and Disk 4 have been added.
They’re all using a common volume size.
Step 7
Click in the Select the amount of space in MB spin box and type-over the value with the following:
3000
You will notice that the values will change accordingly in Disk 0, Disk 1 and Disk 4.
Click Next.
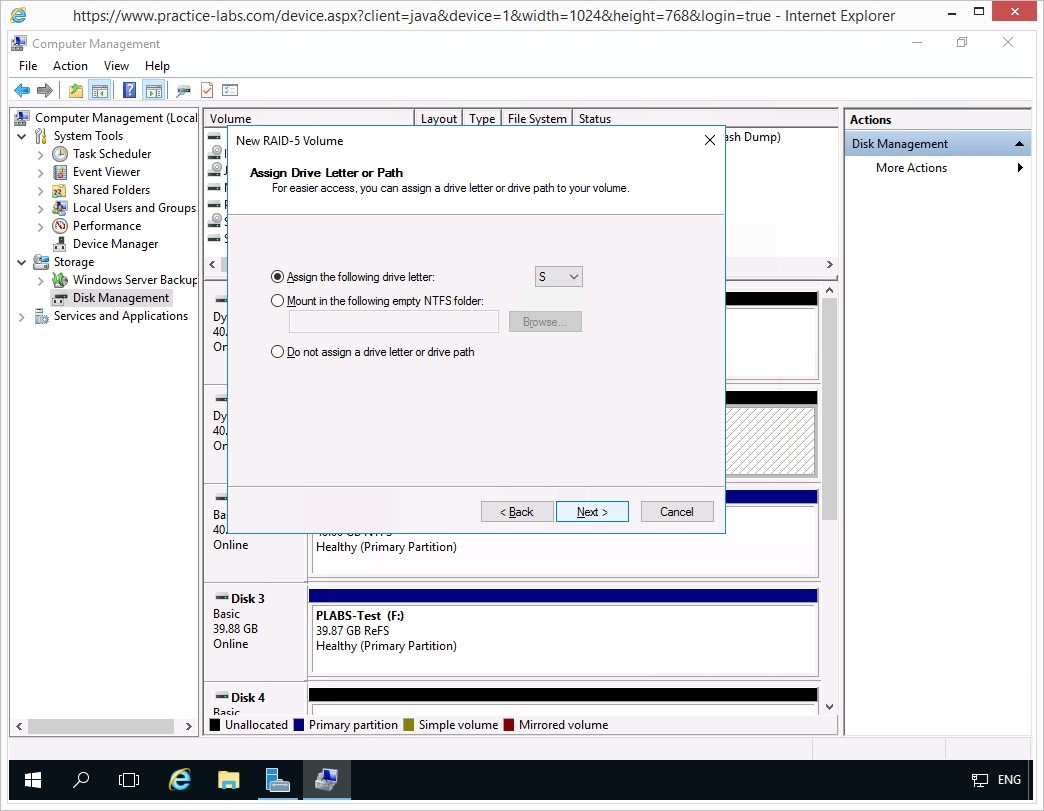
Step 8
On the Assign Drive Letter or Path page, change the Assign the following drive letter drop-down list to drive S.
Click Next.
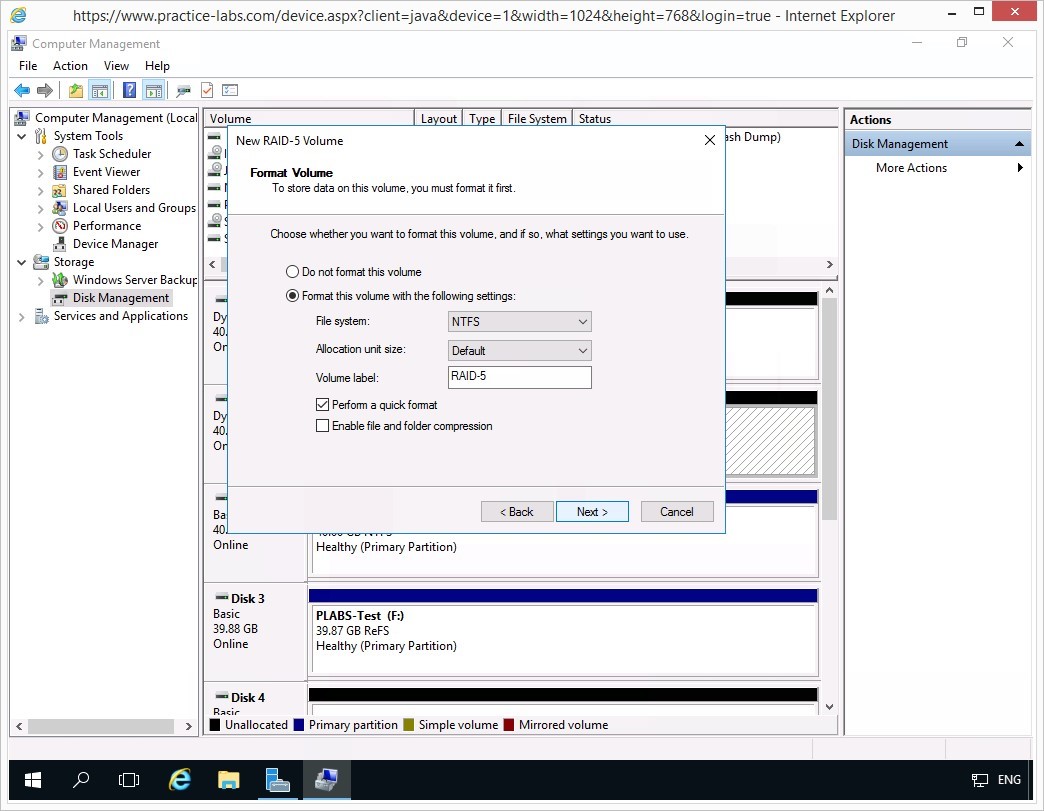
Step 9
On the Format Volume page, click in the Volume label text box and type-over the existing entry with the following:
RAID-5
Select Perform a quick format check box.
Click Next.
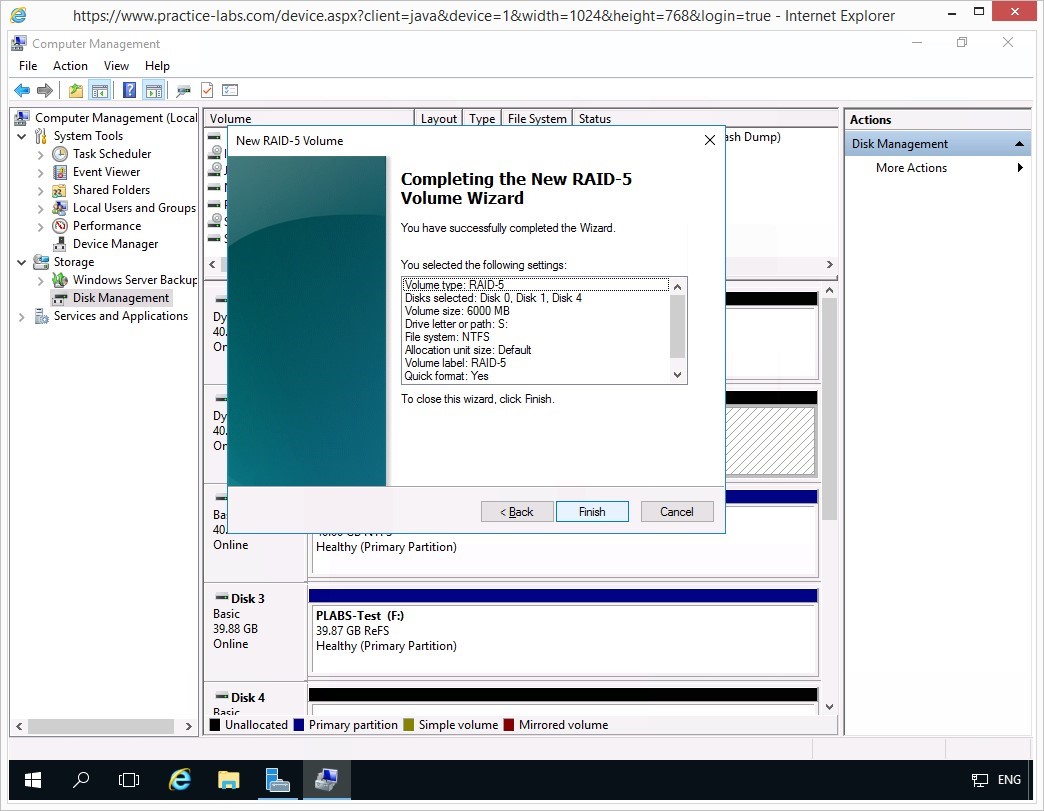
Step 10
On the Completing the New RAID-5 Volume Wizard page, a summary of the settings you configured is displayed.
Click Finish.
Step 11
The Disk Management message box appears indicating that the basic disks will be converted to dynamic disk type.
Click Yes to continue.
Step 12
There will be a momentary pause as the other basic disks are converted into dynamic disk type.
Please wait while the RAID-5 volume (S:) is being created.
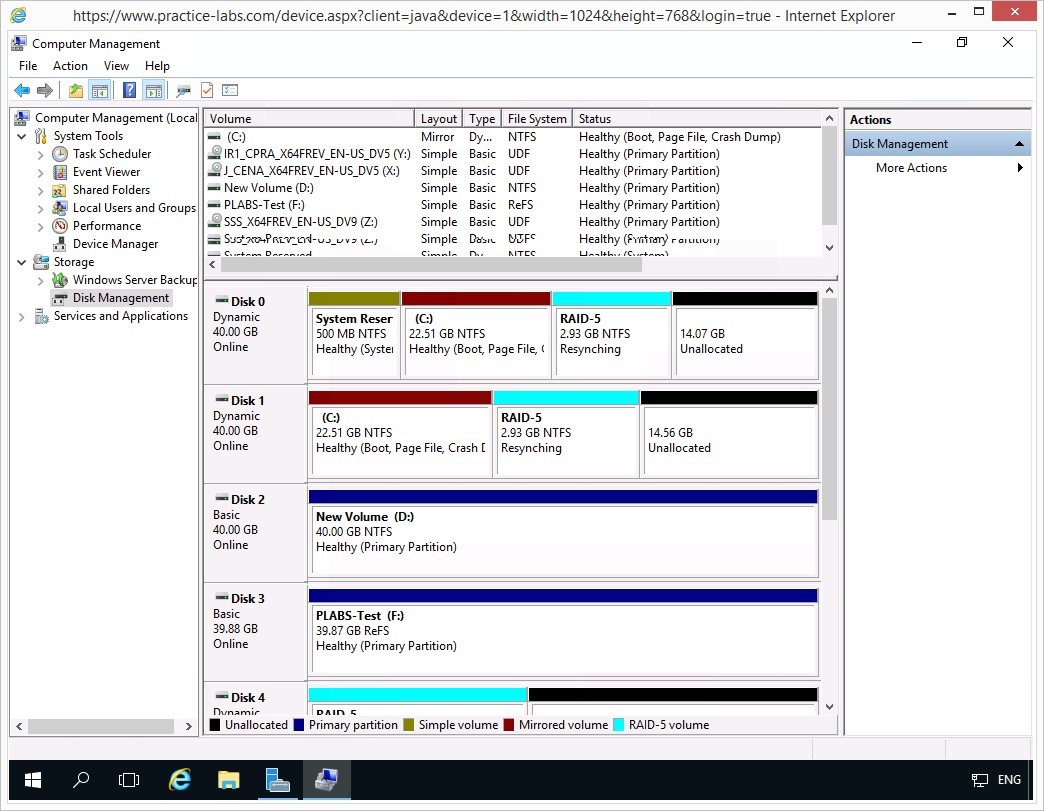
Step 13
The RAID-5 volume (S:) has been successfully created.
You can scroll up the list to see the member disks of RAID-5 volume.
Keep Computer Management window open.

Task 4 - Creating a striped volume
A striped volume requires at least two disks with the identical unallocated size. A striped volume is created to enhance the performance of disks as it provides an efficient disk read time because the disk heads are moving simultaneously giving a fast throughput.
A striped volume does not provide data redundancy compared to RAID-5 and Mirrored volumes.
To create a striped volume, follow these steps:
Step 1
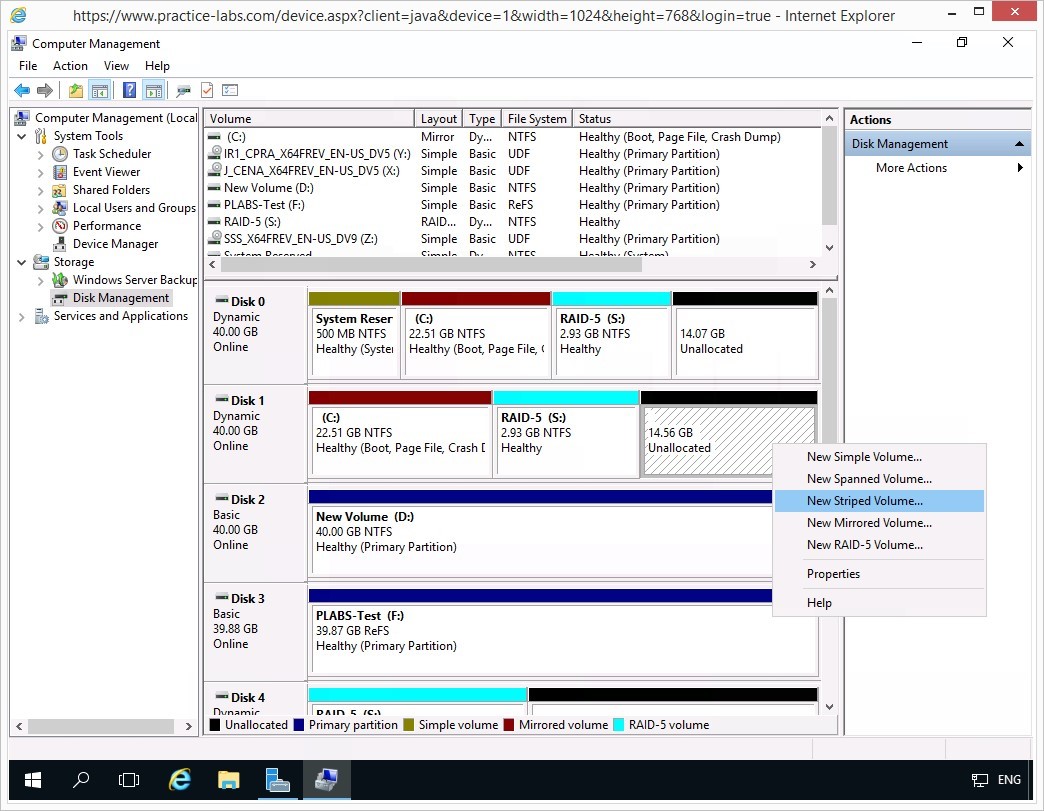
On PLABMD01 device, the Computer Management is displayed.
On Disk 1, right-click on the Unallocated portion and choose New Striped Volume…
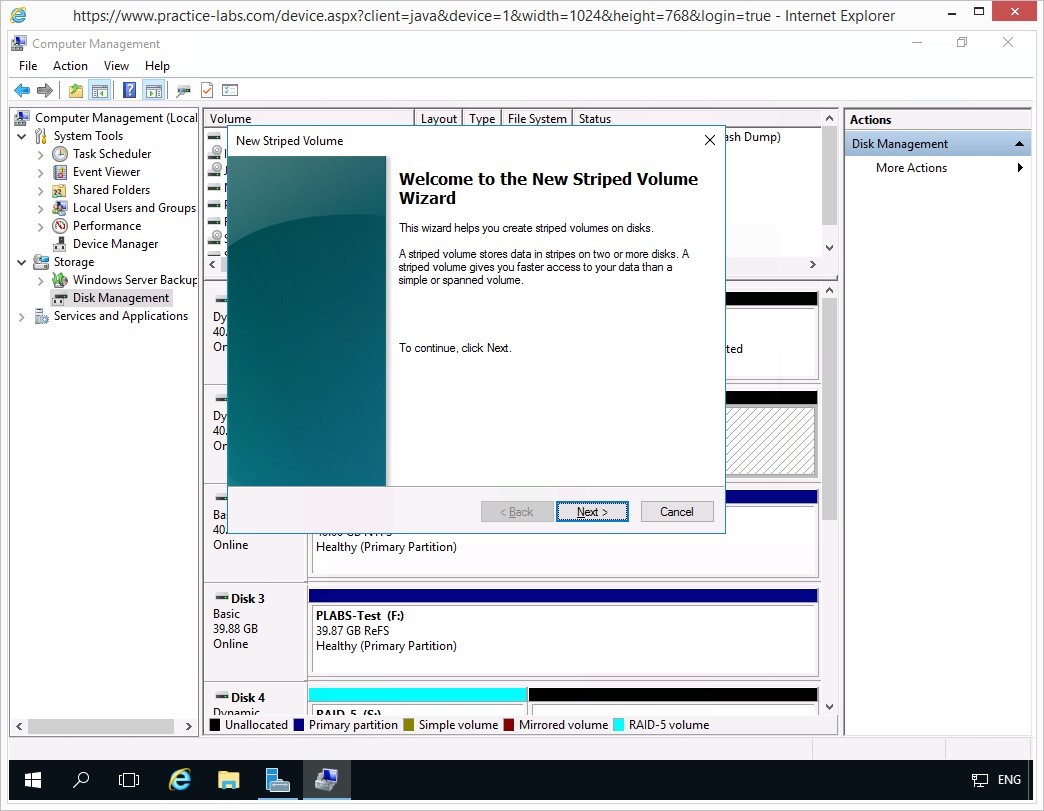
Step 2
On the Welcome to the New Striped Volume Wizard page, click Next.
Step 3
From the Select Disks page, on the Available Disks section click on Disk 4 and click Add.
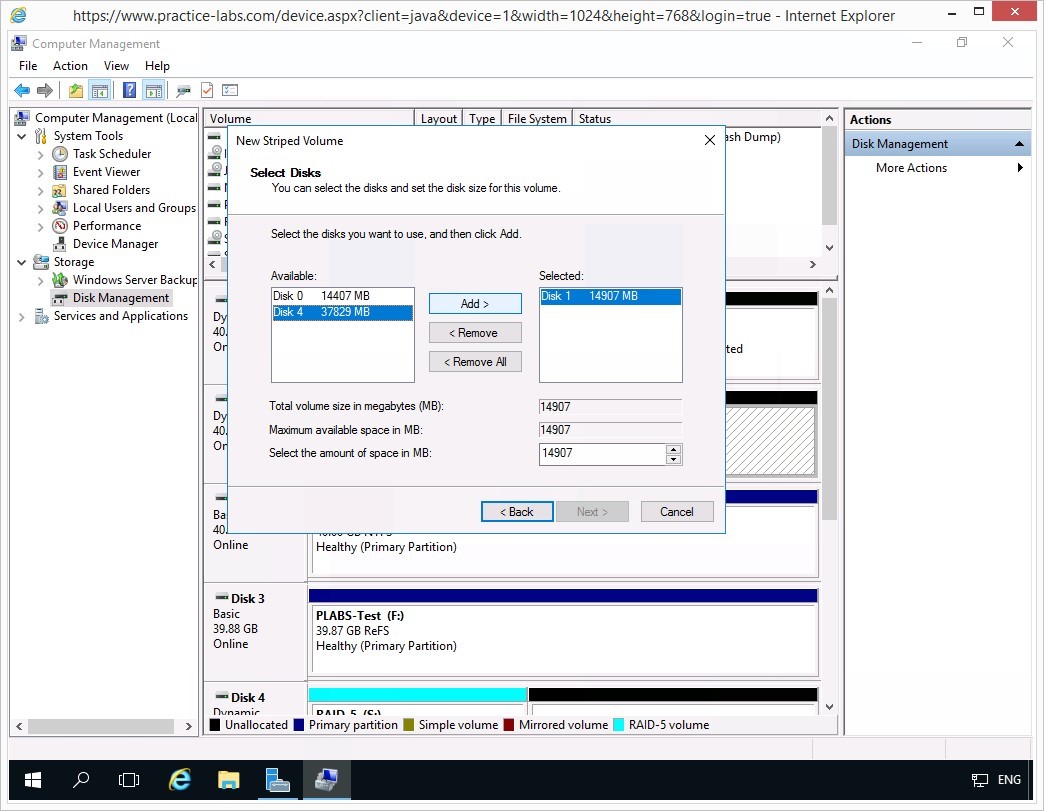
Step 4
Still on the Select Disks page, notice the change in size of Disk 4.
Click Next.

Step 5
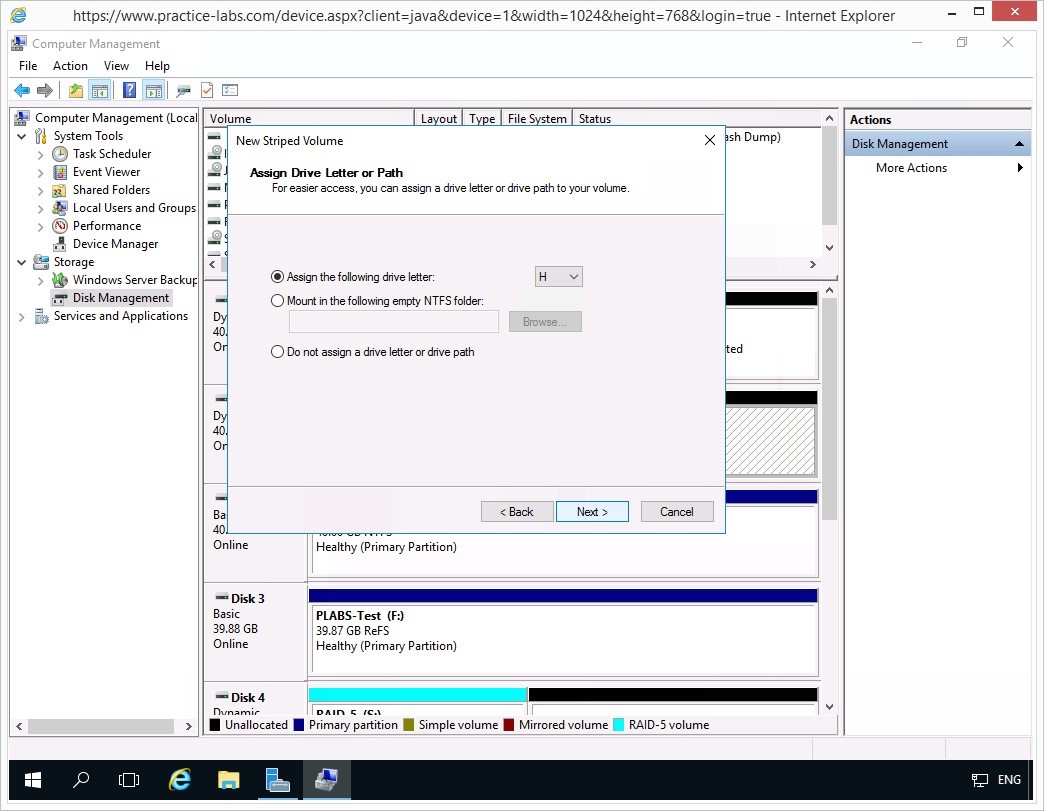
On Assign Drive Letter or Path page, change the Assign the following drive letter to H.
Click Next.
Step 6
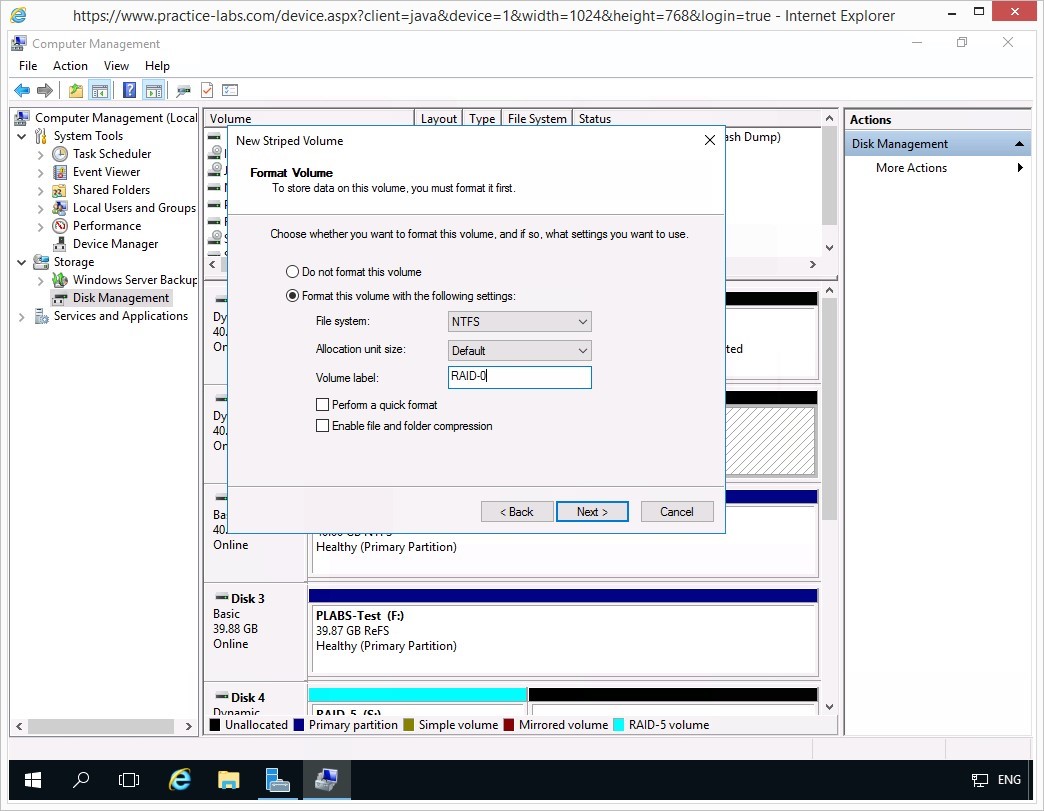
On the Format Volume page, enable Perform a quick format check box.
In the Volume label text box, type-over the existing entry with the following:
RAID-0
Click Next.
Step 7
On the Completing the New Striped Volume Wizard page, click Finish.

Step 8
As in the earlier steps, please wait while the striped volume is being created.
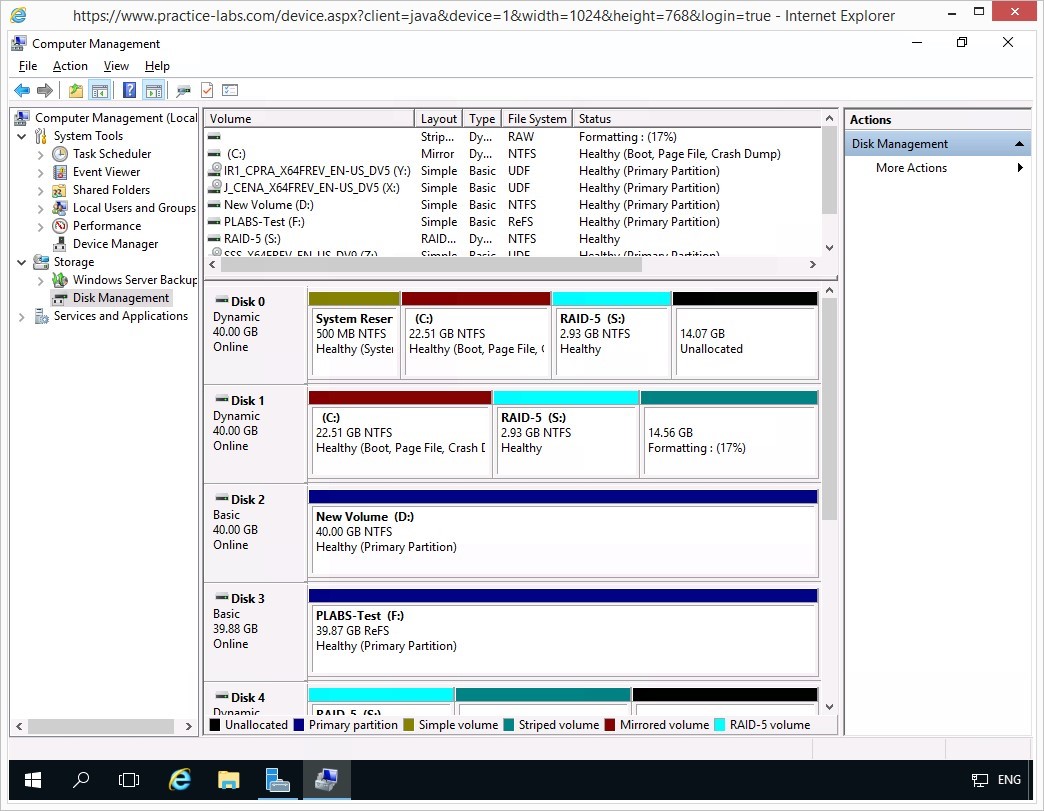
Step 9
On Computer Management, find the RAID-0 (H:) striped volume.
Close Computer Management window after examining the newly-created striped volume.
Security+
Managing Local Storage and Virtual Hard Disks
Exercise 2 - Managing Virtual Hard Disks
Exercise 2 - Managing Virtual Hard Disks
A Virtual Hard Disk (VHD) is a file used as disk storage by virtual machine guests in virtualization software like Windows Hyper-V. Virtual hard disks (VHDs) is supported in Windows as an alternative to adding physical disks for data storage for setting up storage pools or as storage for installing a new instance of Windows Server in the same computer.
In this exercise, you will create and mount virtual hard disks using the Hyper-V PowerShell module for managing VHDs.
Please refer to your course material or use your favourite search engine to research for more information about this topic.
Task 1 - Create a Virtual Hard Disk
To create a virtual hard disk on a Hyper-V host, perform the following steps:
Step 1
Connect to PLABDM01 device.
As before, click Search Windows on taskbar.
Then type:
powershell
Right-click Windows PowerShell Desktop app and select Run as administrator.
Step 2
Please note that Windows PowerShell commands are not case-sensitive.
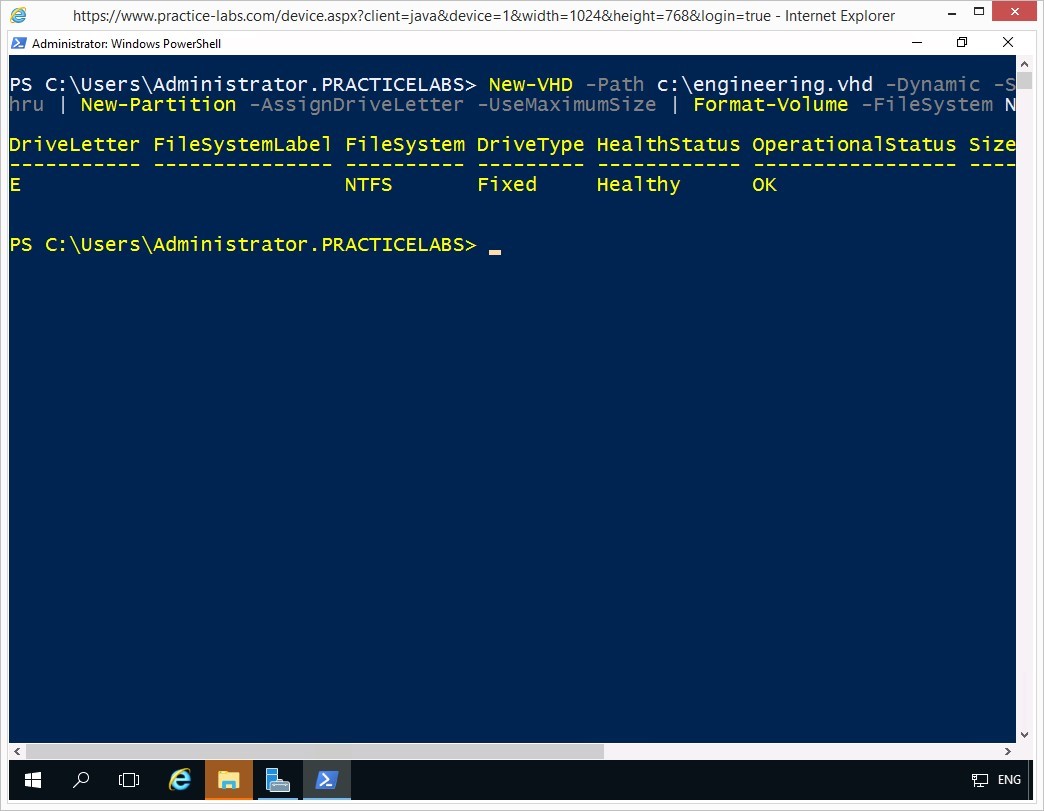
On the Windows PowerShell window, to create a new virtual hard disk, type the following command:
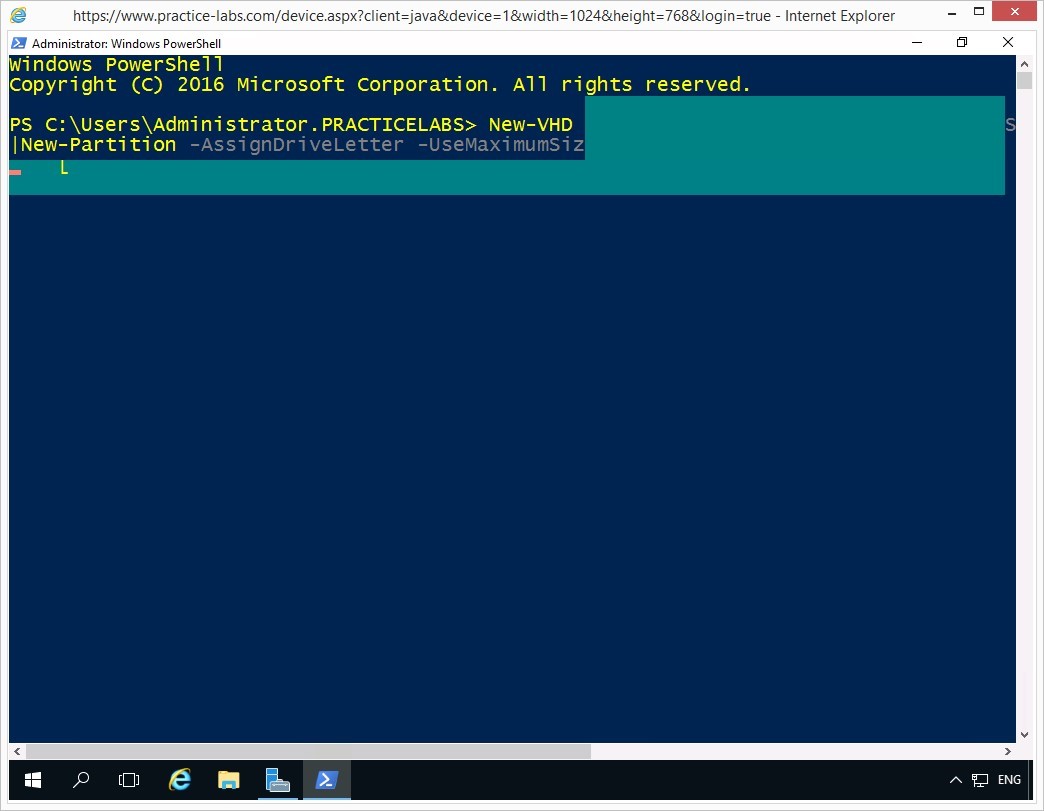
New-VHD -Path c:\engineering.vhd -Dynamic -SizeBytes 5Gb | Mount-VHD -Passthru | Initialize-Disk -Passthru | New-Partition -AssignDriveLetter -UseMaximumSize | Format-Volume -FileSystem NTFS
Press Enter.
Note: Similarly, you can create virtual hard disks using Computer Management > Disk Management tool.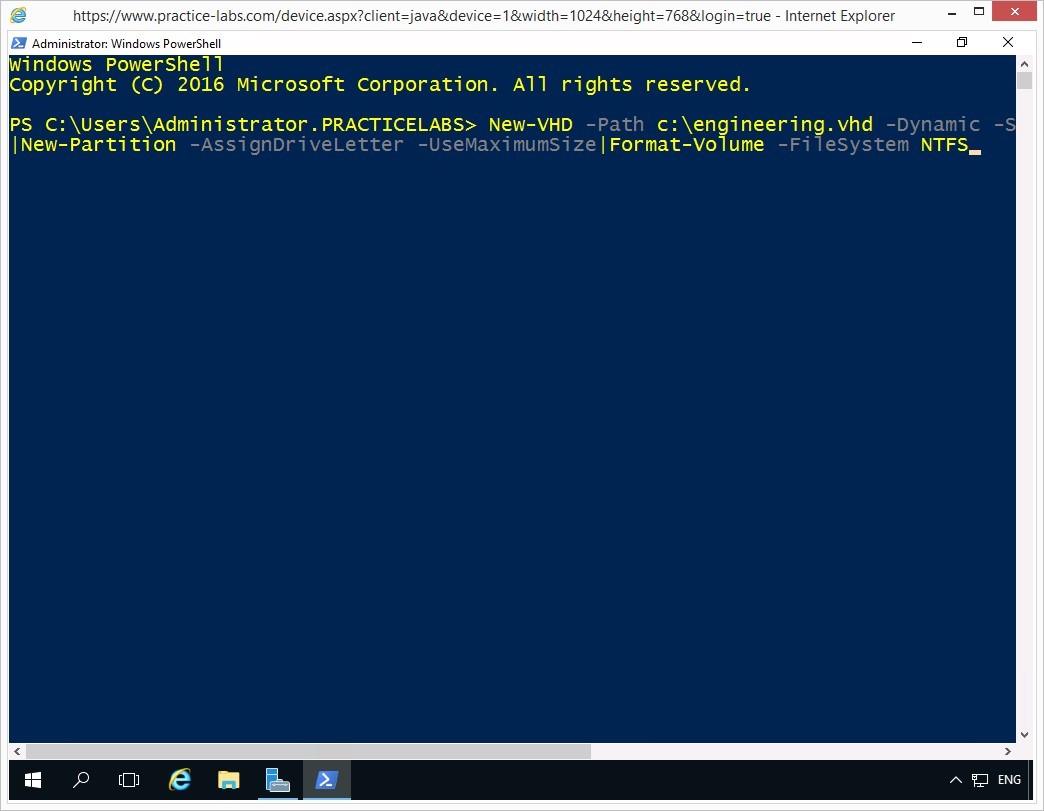
Step 3
Please wait while the VHD is being created, initialized, formatted and mounted by Windows.
Step 4
Windows PowerShell confirms a successful creation of the virtual hard disk.
Please note that Windows PowerShell will take the next available drive letter for the newly-created virtual hard disk.
You can ignore system notifications (found in the taskbar) to format a new disk volume by clicking Cancel.
Keep Windows PowerShell window open.
Task 2 - Managing Virtual Hard Disks
In this task you attempt to, verify the system properties, dismount, change the VHD type to VHDX and optimize the virtual hard disk.
To learn how to manage VHD settings, perform the following steps:
Step 1
On the PLABDM01 device, Windows PowerShell window is open.
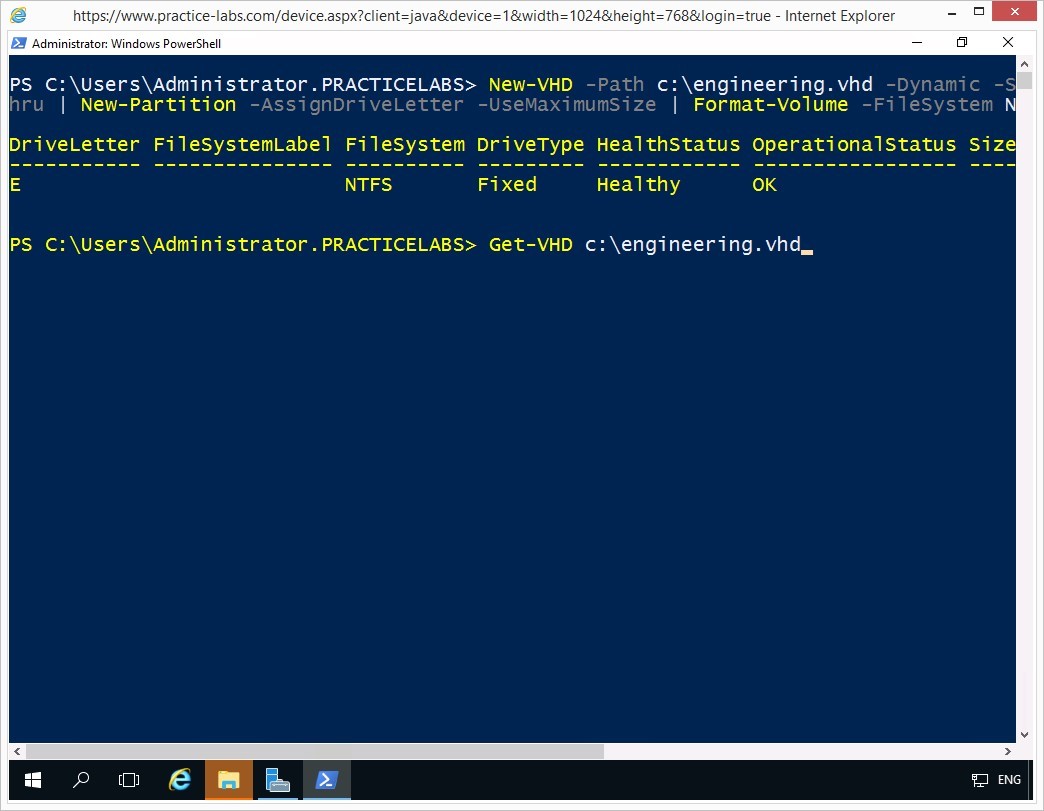
To verify the system properties of VHD file, type the following:
Get-VHD c:\engineering.vhd
Press Enter.
Step 2
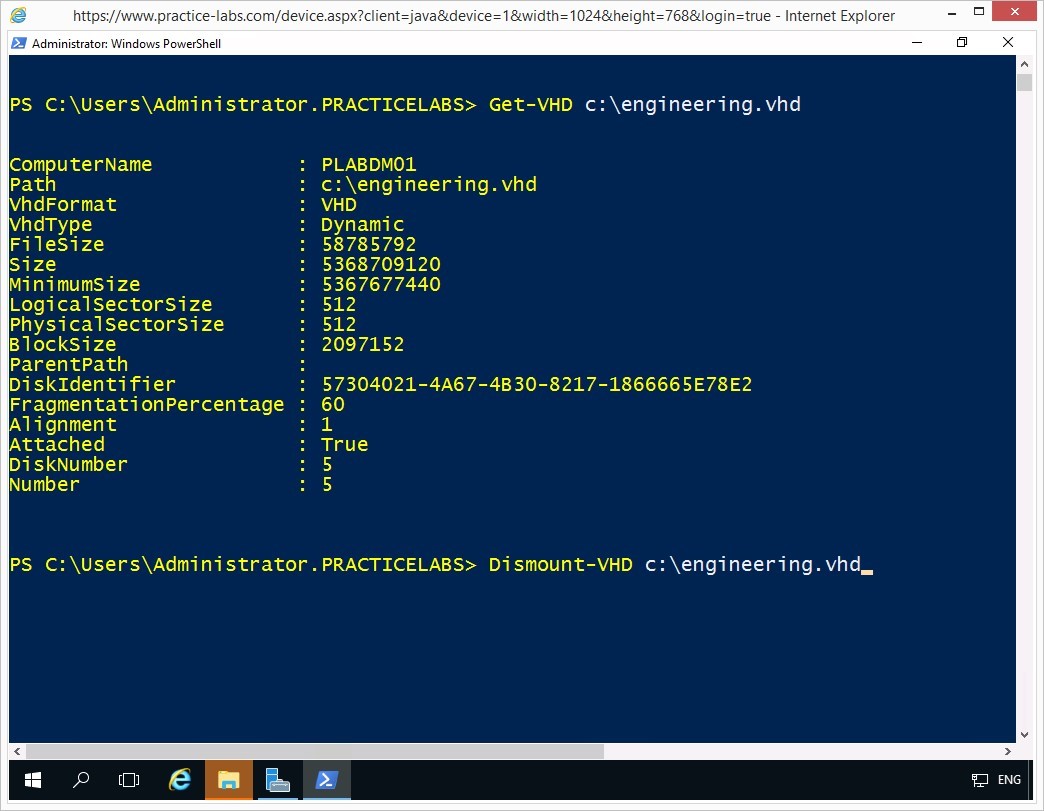
System information about the c:\engineering.vhd is displayed.
To be able to change some of the properties of a virtual hard disk, it must be dismounted first.
On the next prompt, to dismount the engineering.vhd, type:
Dismount-VHD c:\engineering.vhd
Press Enter.
Step 3
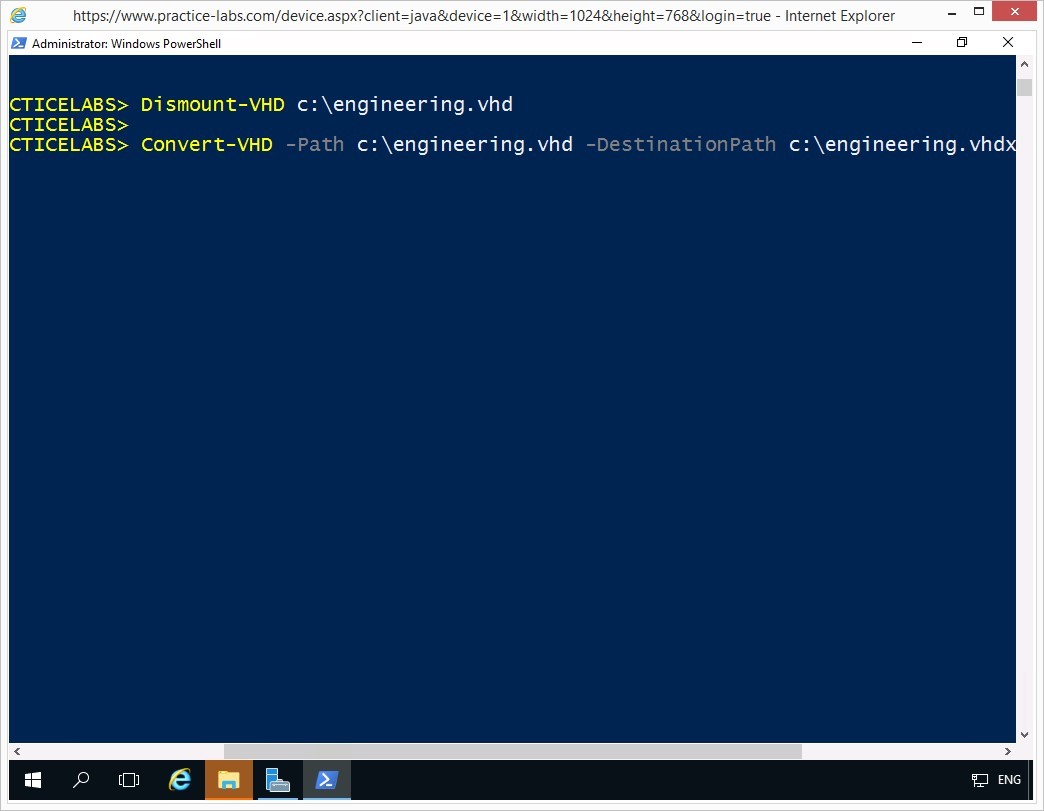
The c:\engineering.vhd is now dismounted.
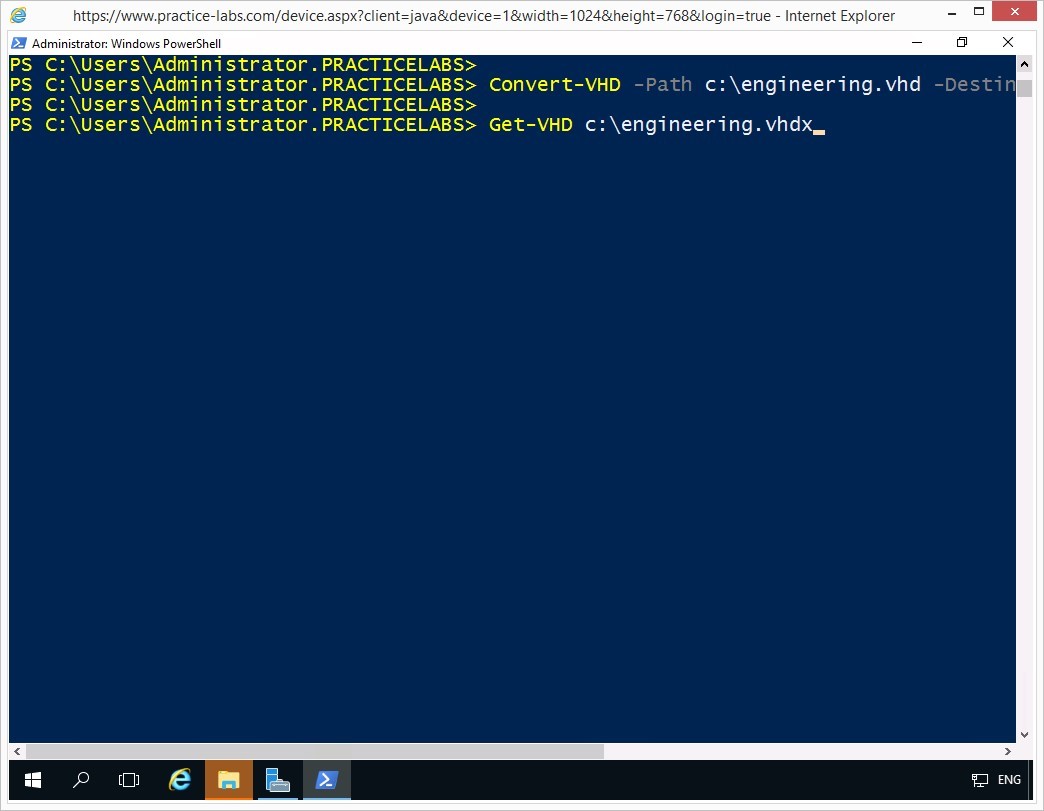
On the next prompt, you will convert engineering.vhd to a VHDX virtual disk type.
Type the following command:
Convert-VHD -Path c:\engineering.vhd -DestinationPath c:\engineering.vhdx
Press Enter.
Step 4
The convert VHD status will briefly appear on screen.

Step 5
The engineering.vhd has been successfully converted to a VHDX type.
On the next prompt, you will collect system information about the disk, type the following command:
Get-VHD c:\engineering.vhdx
Press Enter.
Step 6
The properties of the engineering.vhdx virtual hard disk is displayed.
Observe the VhdFormat property.

Step 7
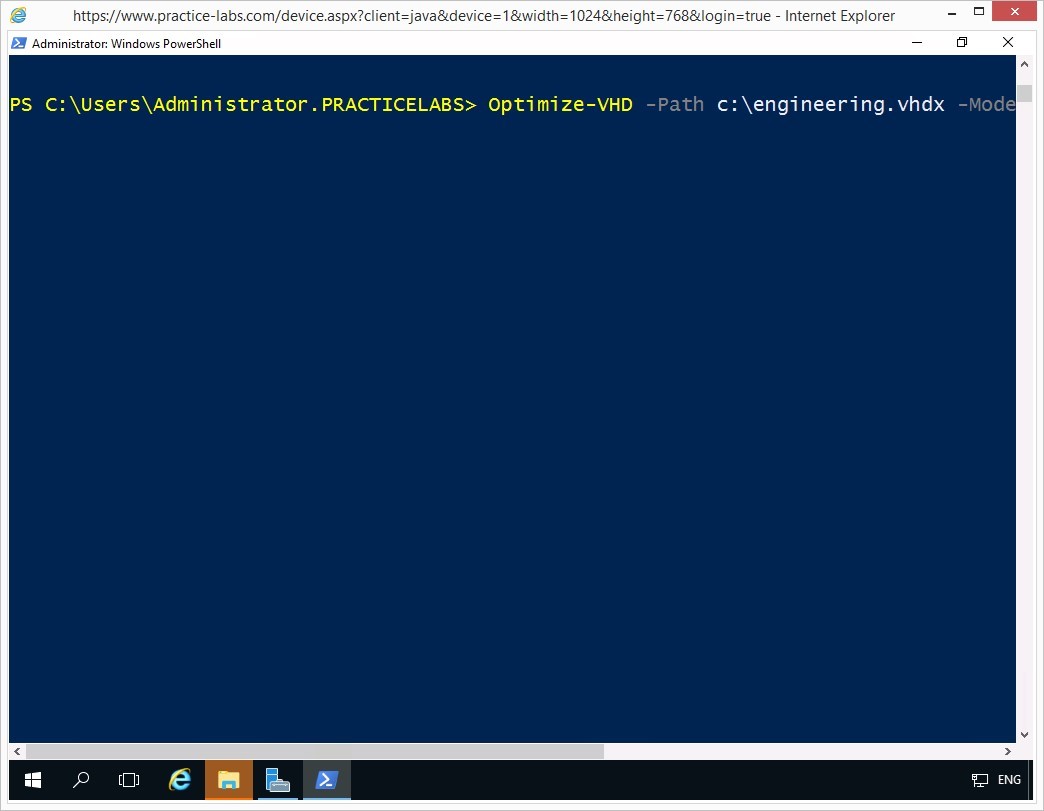
On the next prompt, to optimize the newly-created virtual hard disk file, type the following command:
Optimize-VHD -Path c:\engineering.vhdx -Mode Full
Press Enter.
Step 8
Please wait while the virtual hard disk is being optimized.
Step 9
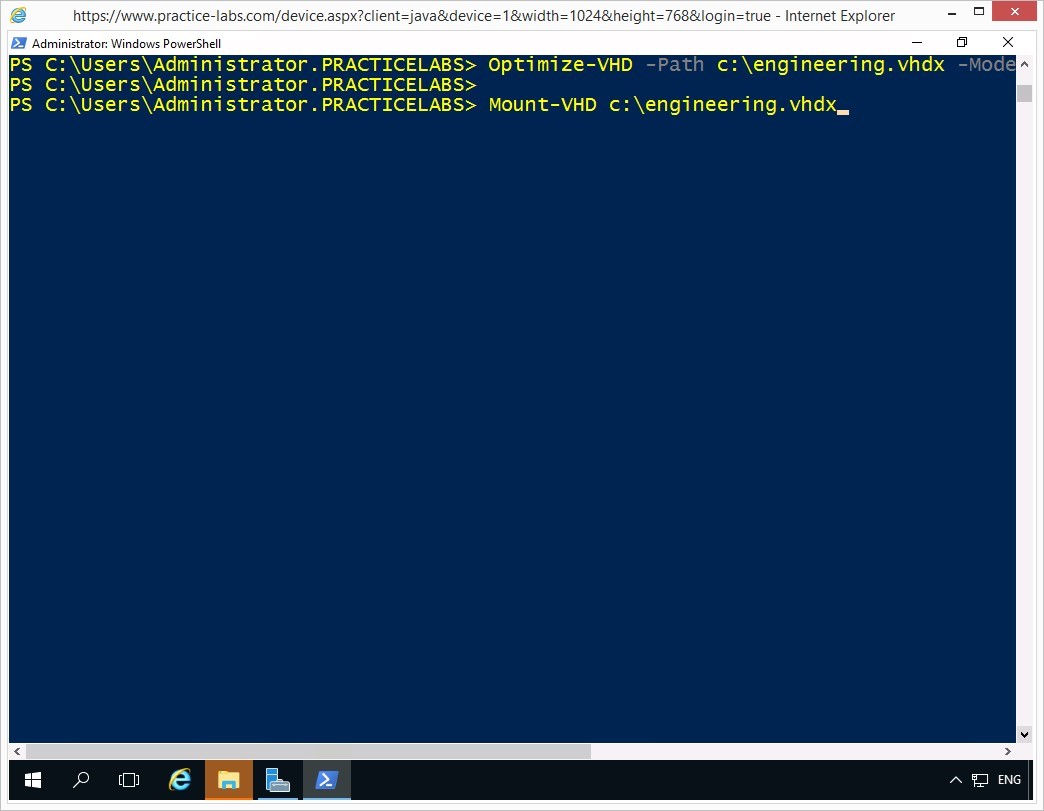
Since the engineering.vhdx is a small file, the optimization will proceed faster.
To mount the engineering.vhdx virtual hard disk, type:
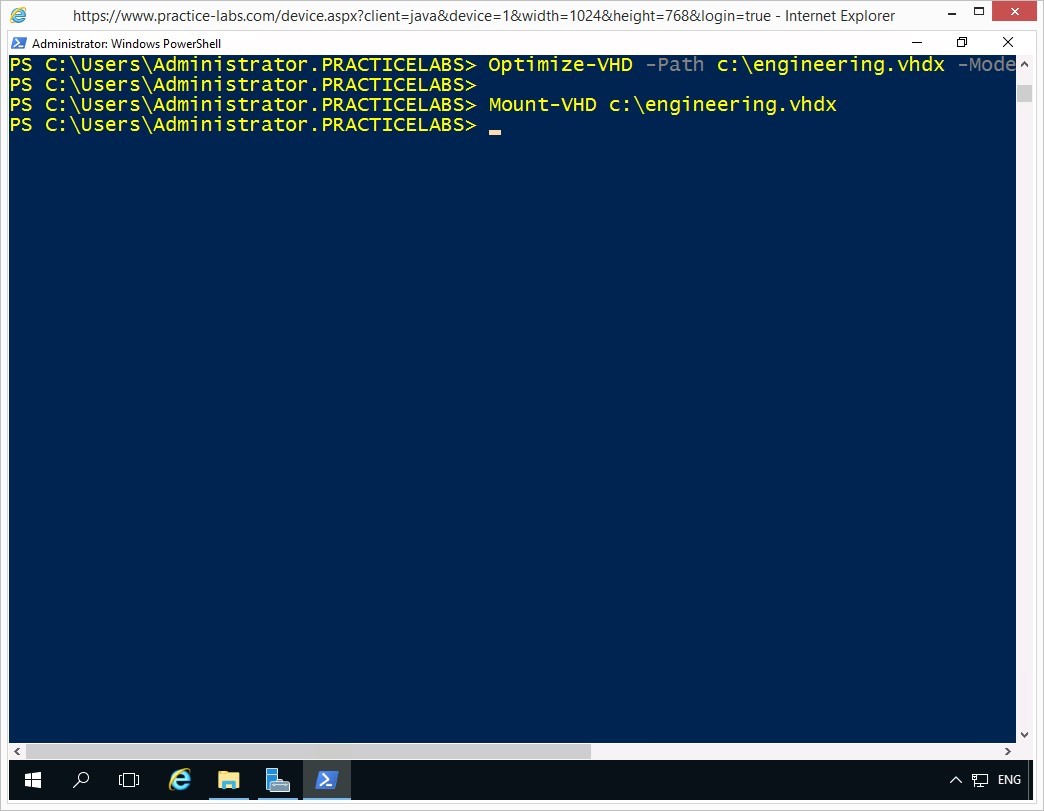
Mount-VHD c:\engineering.vhdx
Press Enter.
Step 10
You will not get a system confirmation after successfully mounting the virtual hard disk file.
Results - You have successfully completed the important tasks about managing local storage and virtual hard disks.
Shutdown all virtual machines used in this lab, before proceeding to the next module. Alternatively you can log out of the lab platform.
Comments
Post a Comment