Data encryption using bitlocker
Full Disk Encryption using BitLocker
Windows BitLocker is a storage encryption technology that gives administrators the capability to secure fixed and removable disks including portable USB drives using encryption services built into the operating system.
BitLocker was first introduced in Windows Server 2008 and Windows 7 Enterprise and then carried over to later versions. Disk encryption can be enabled using a local or domain group policy. To unlock an encrypted disk volume, the user must type the password to unlock it. In the event the user forgets the password for unlocking the encrypted volume, the Recovery Keys generated by BitLocker can be used to gain access to the encrypted drive.
To get a better understanding of this technology, please refer to your course material or use your preferred search engine to research this topic in more detail.
Task 1 - Configure BitLocker settings via GPO
In this task, you will create a Group Policy that will enforce BitLocker on the disk volumes of Windows 8.1 devices
To configure BitLocker settings using group policy objects, follow these steps:
Step 1
Ensure you have powered on the required devices in the Introduction of this lab.
Connect to PLABDC01 server.
The Server Manager Dashboard automatically opens upon logon.
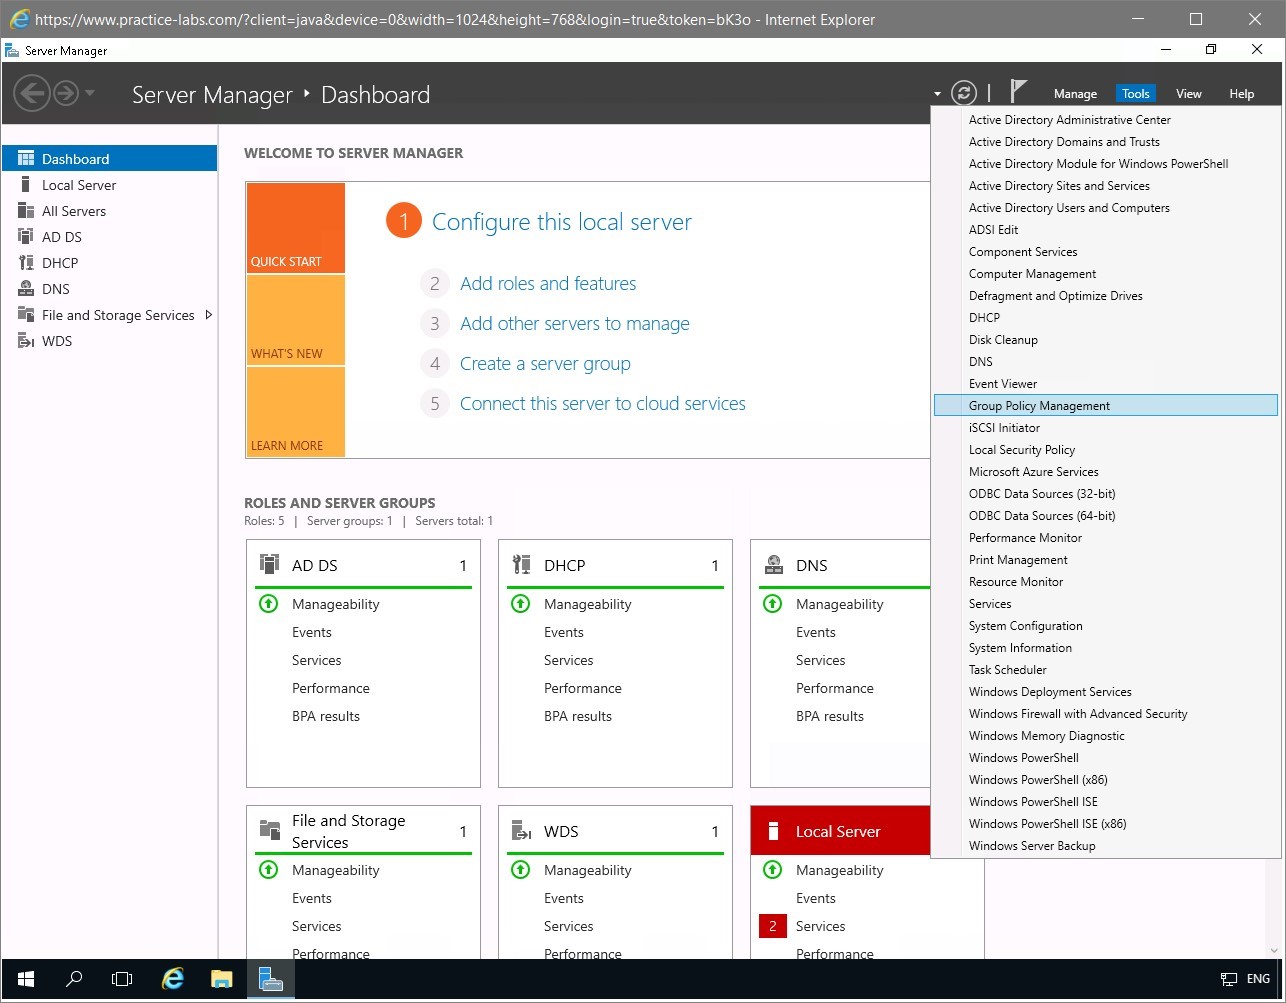
Click on Tools menu and select Group Policy Management.
Step 2
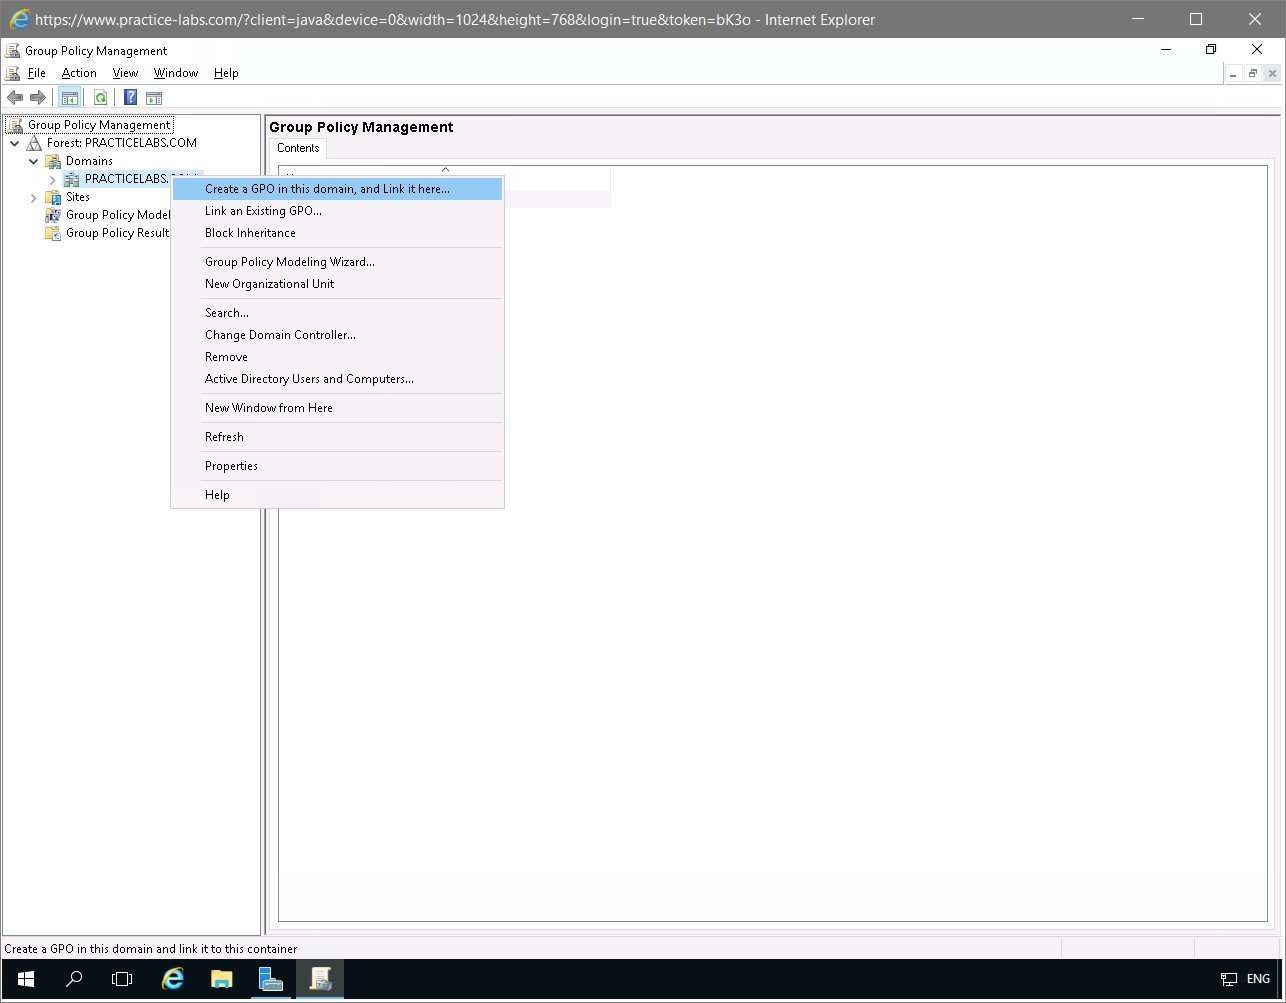
On the Group Policy Management Console, expand Forest: PRACTICELABS.COM > Domains.
Right-click on PRACTICELABS.COM and select Create a GPO in this domain, and link it here…
Step 3
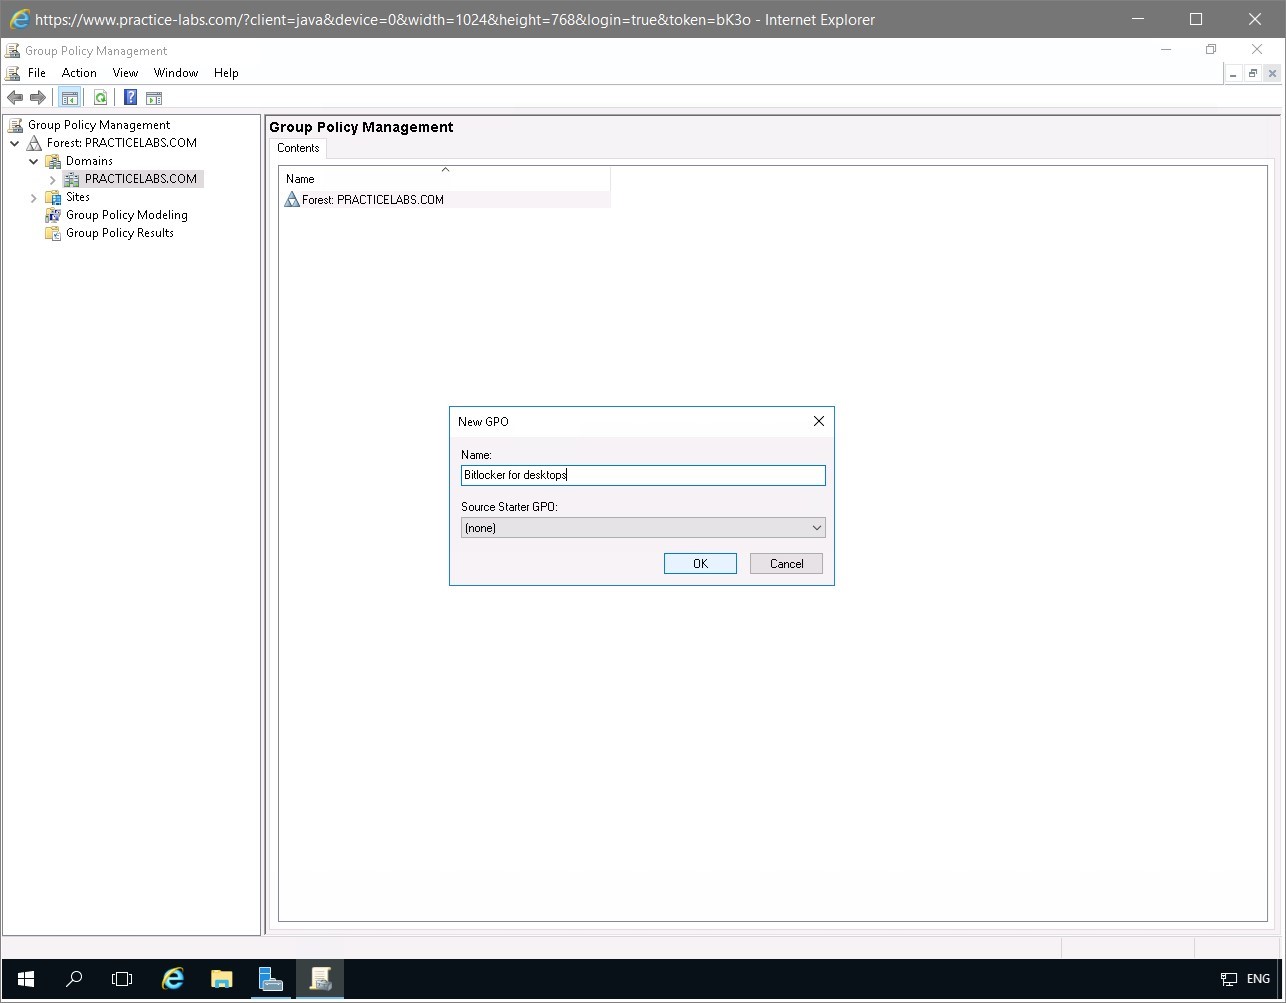
On the New GPO dialog box, type the following text in the Name textbox:
Bitlocker for desktops
Click OK.
Step 4
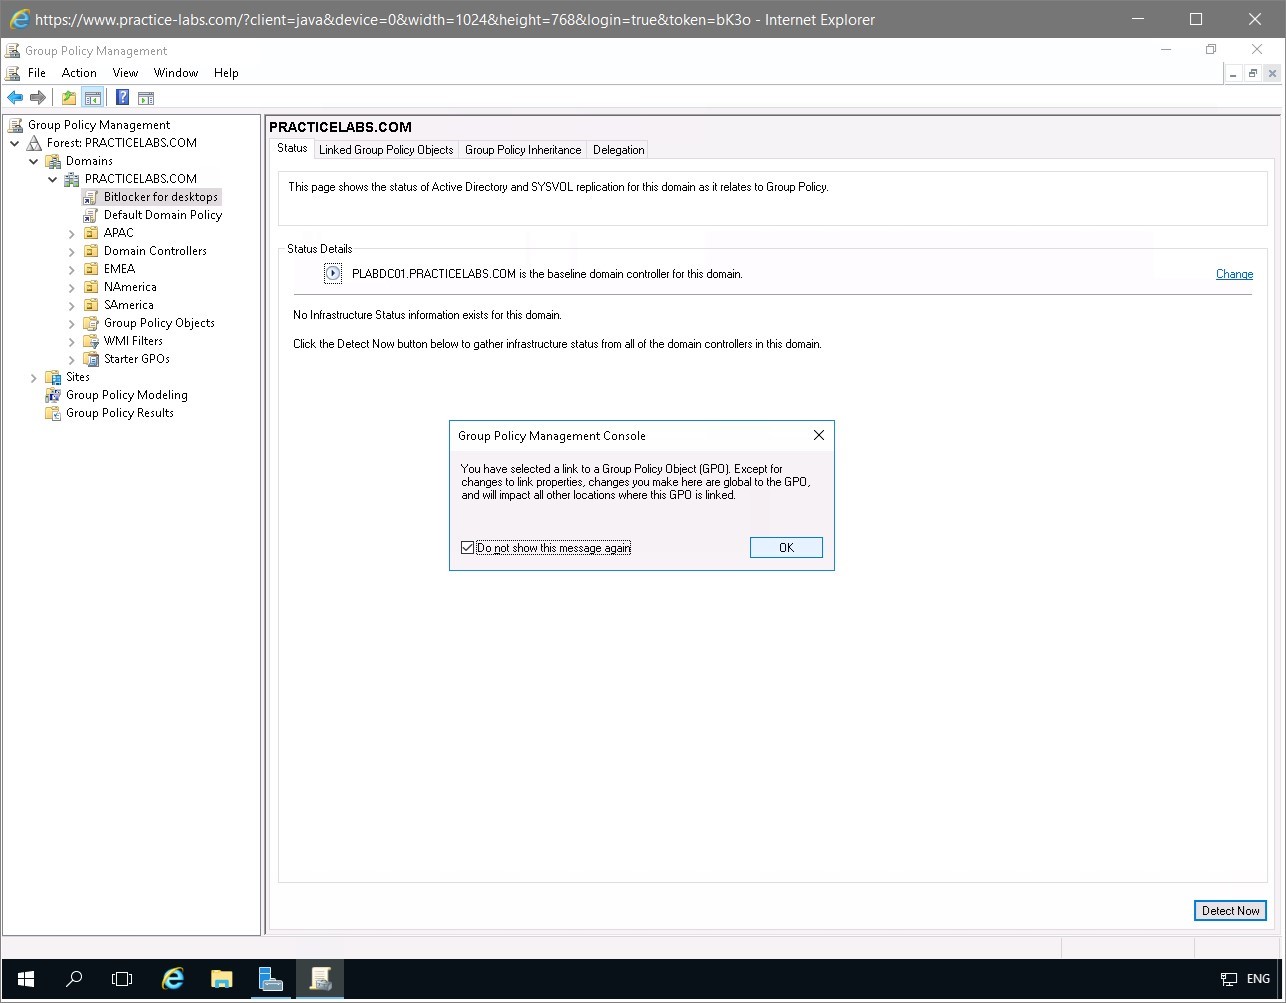
Expand PRACTICELABS.COM in the left pane.
When you click the Bitlocker for desktops GPO link, you will get a message about changes to GPO link properties, apply to the GPO, select Do not show this message again check box.
Click OK.
Step 5
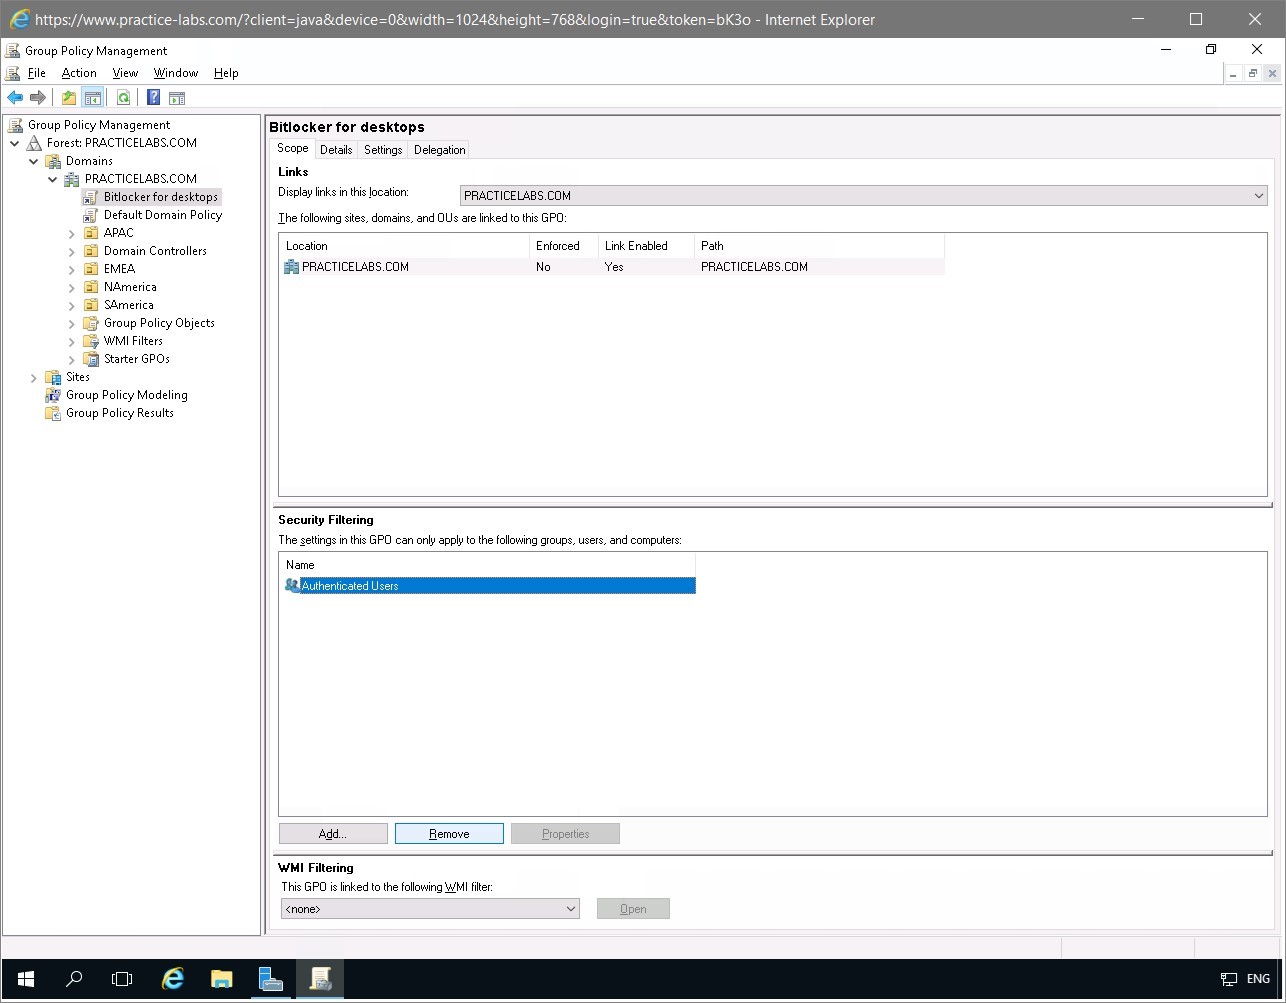
Select Authenticated Users group in the Security Filtering section of the bottom right pane and click Remove.
Step 6
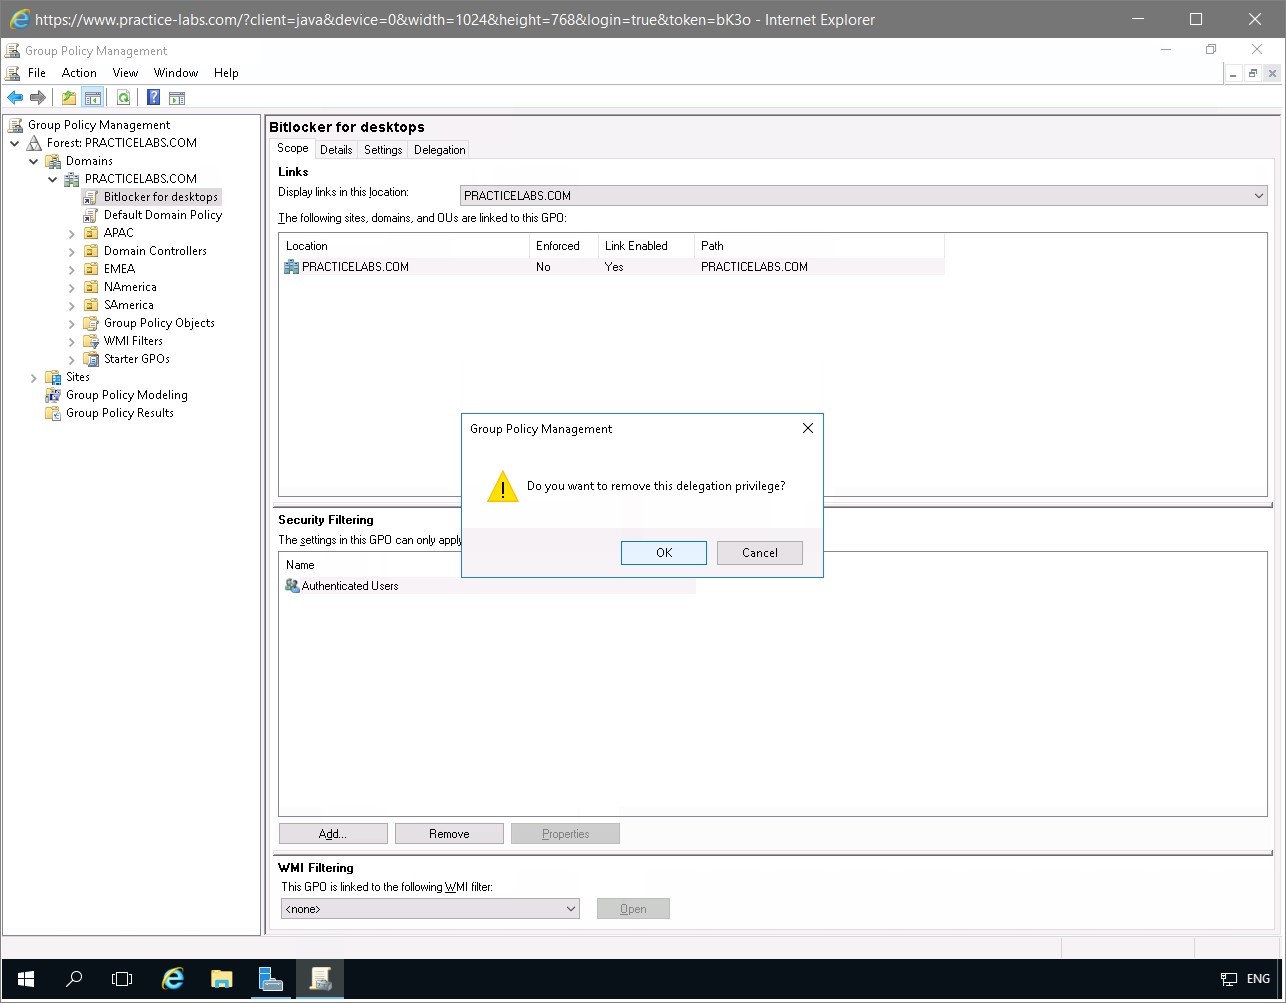
The Group Policy Management prompts for confirmation if you want to remove this delegation privilege, click OK.
Step 7
The Group Policy Management dialog box displays a message. Read the message and click OK.

Step 8
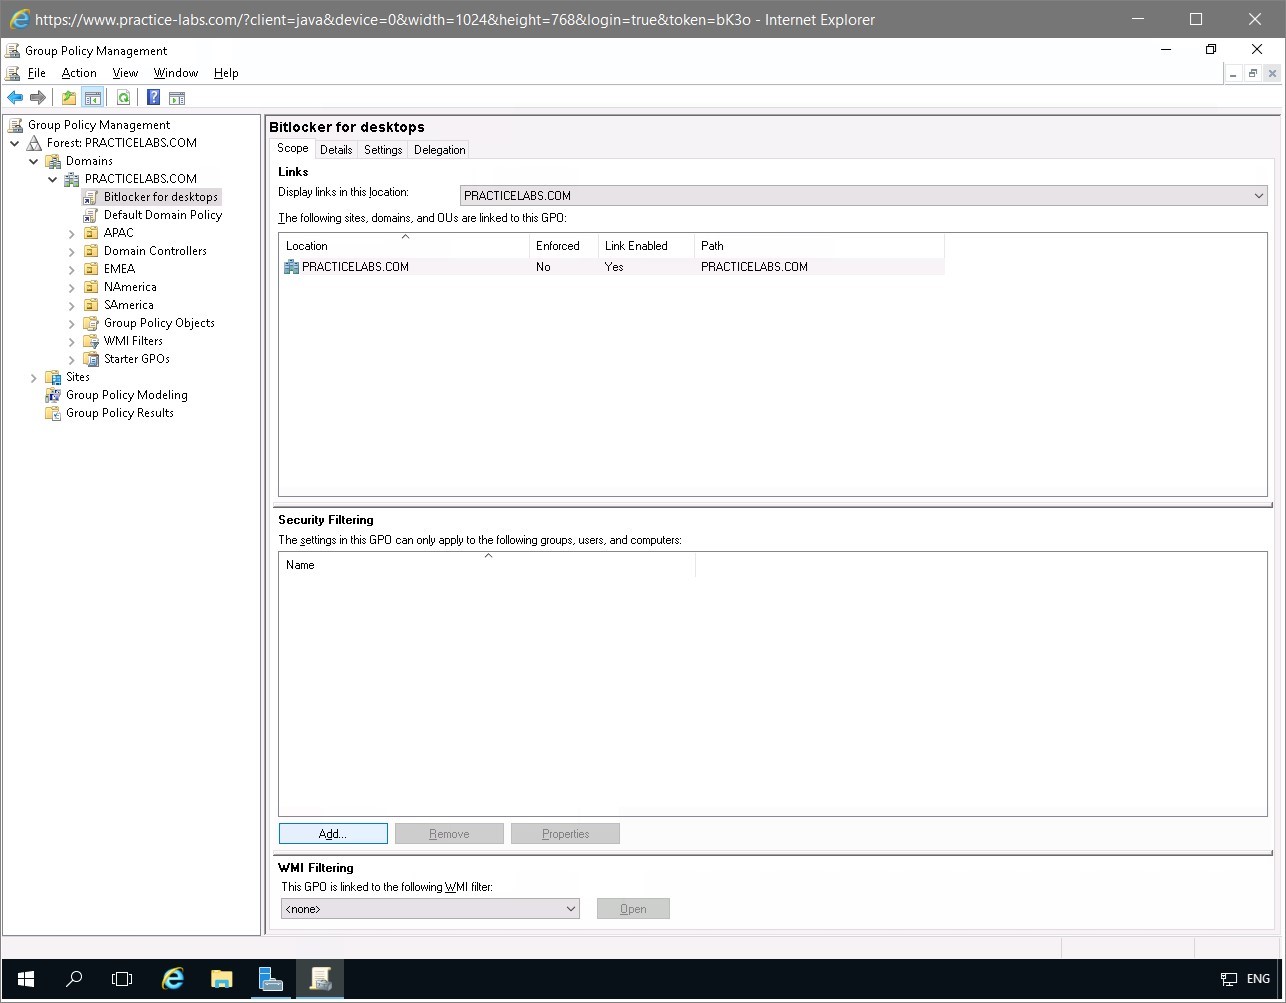
Once again on the Security Filtering section, click Add.
Step 9
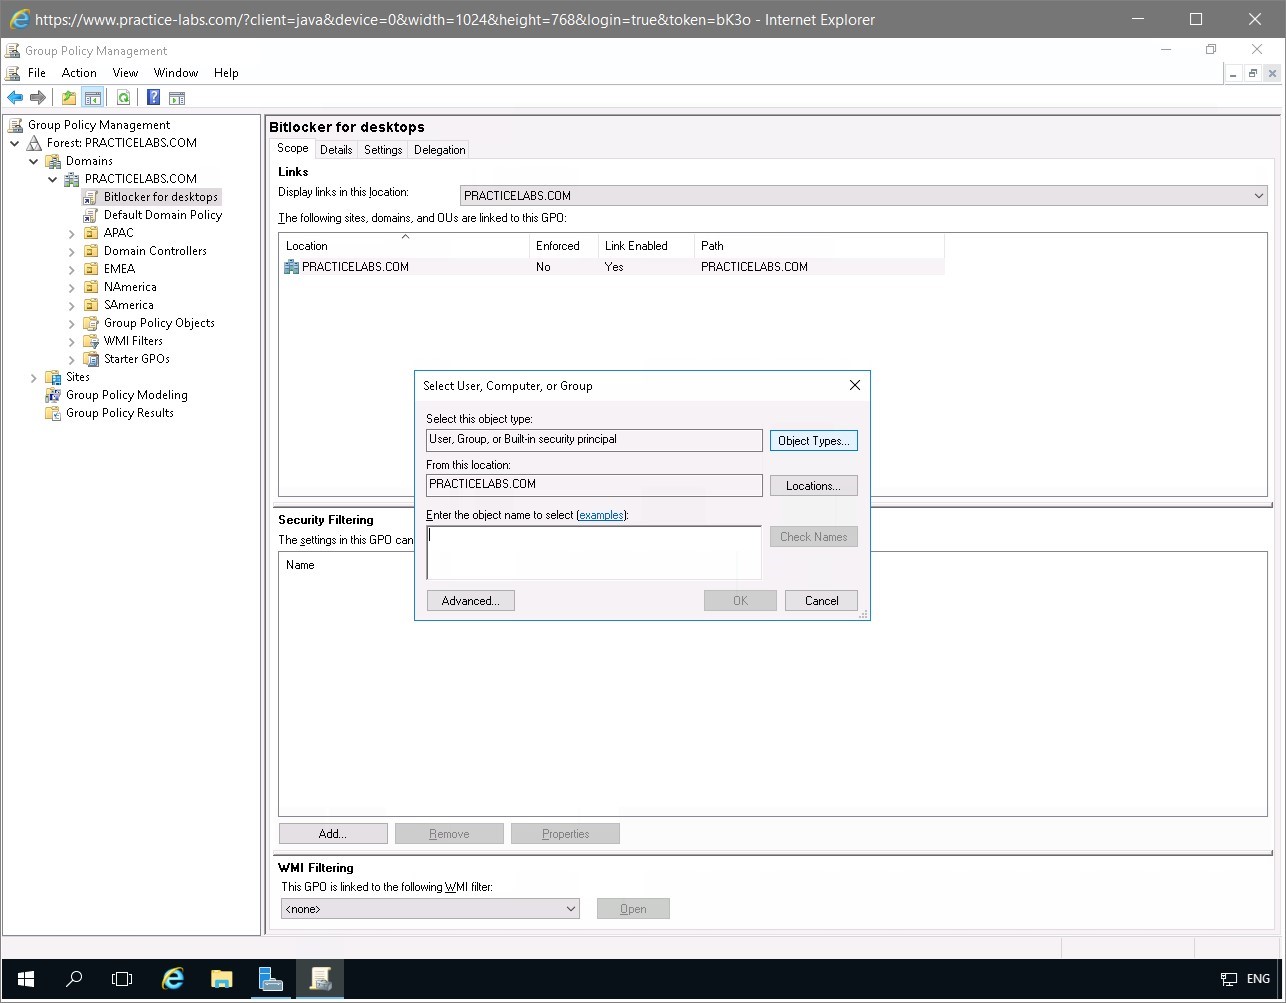
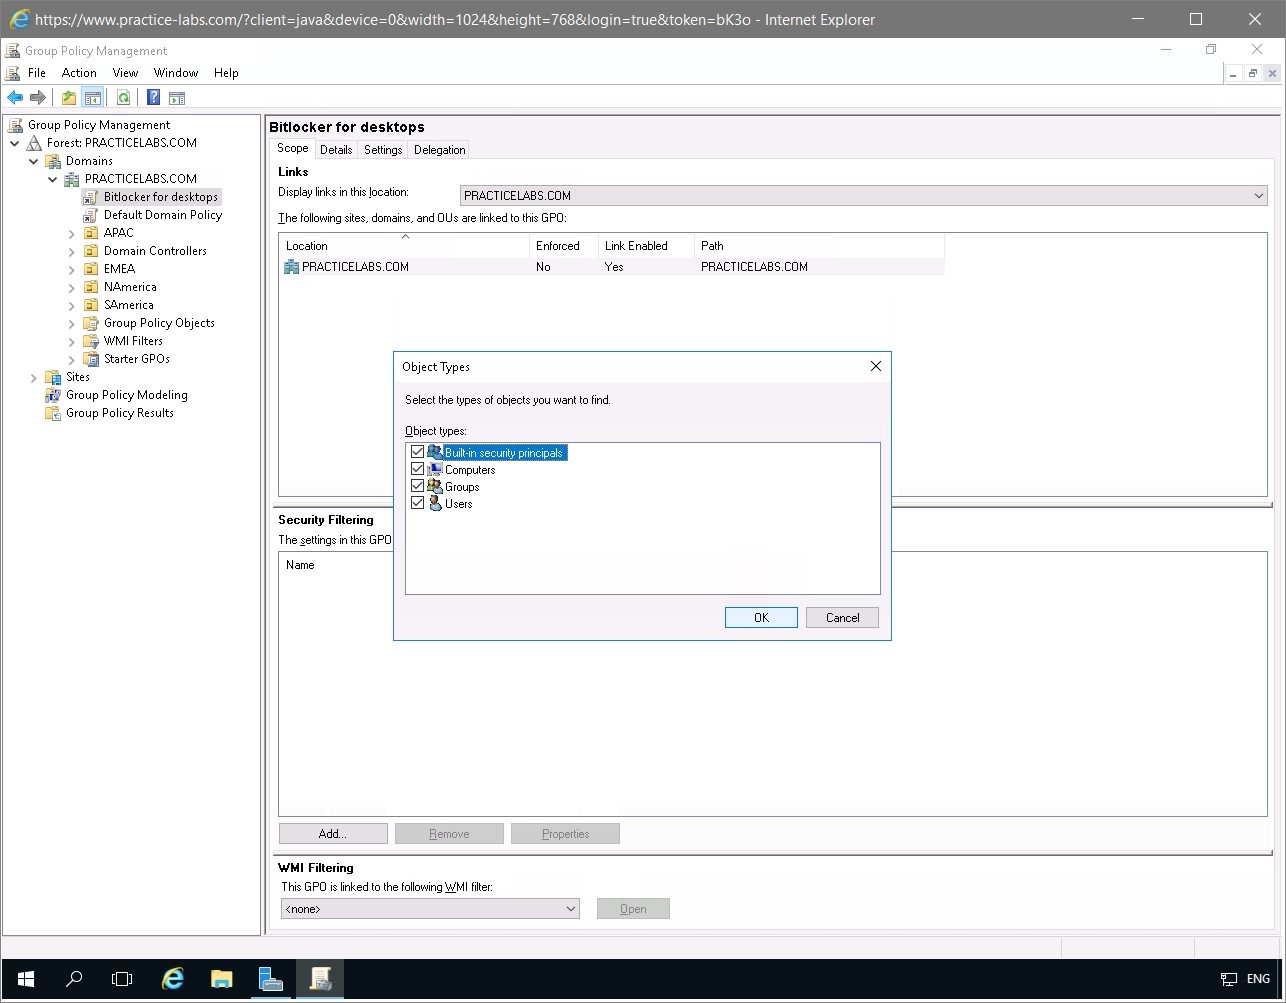
On Select Computer, Computer or Group dialog box, click Object Types.
Step 10
On the Object Types dialog box, enable Computers check box. Notice that other options are already selected.
Click OK.
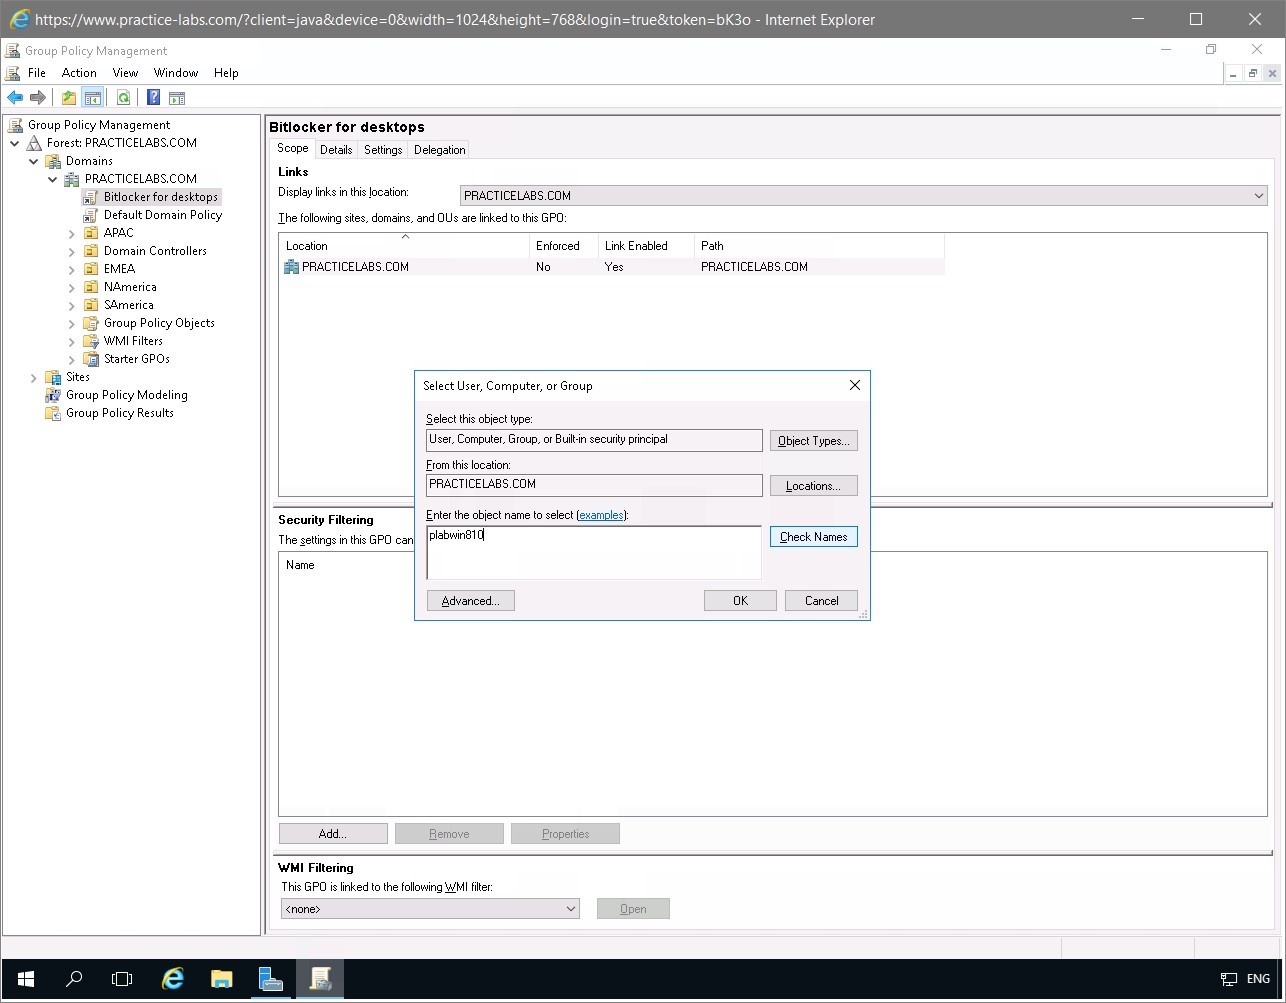
Step 11
Back on the Select Computer, Computer or Group dialog box, click in the provided textbox and type:
plabwin810
Click Check Names.
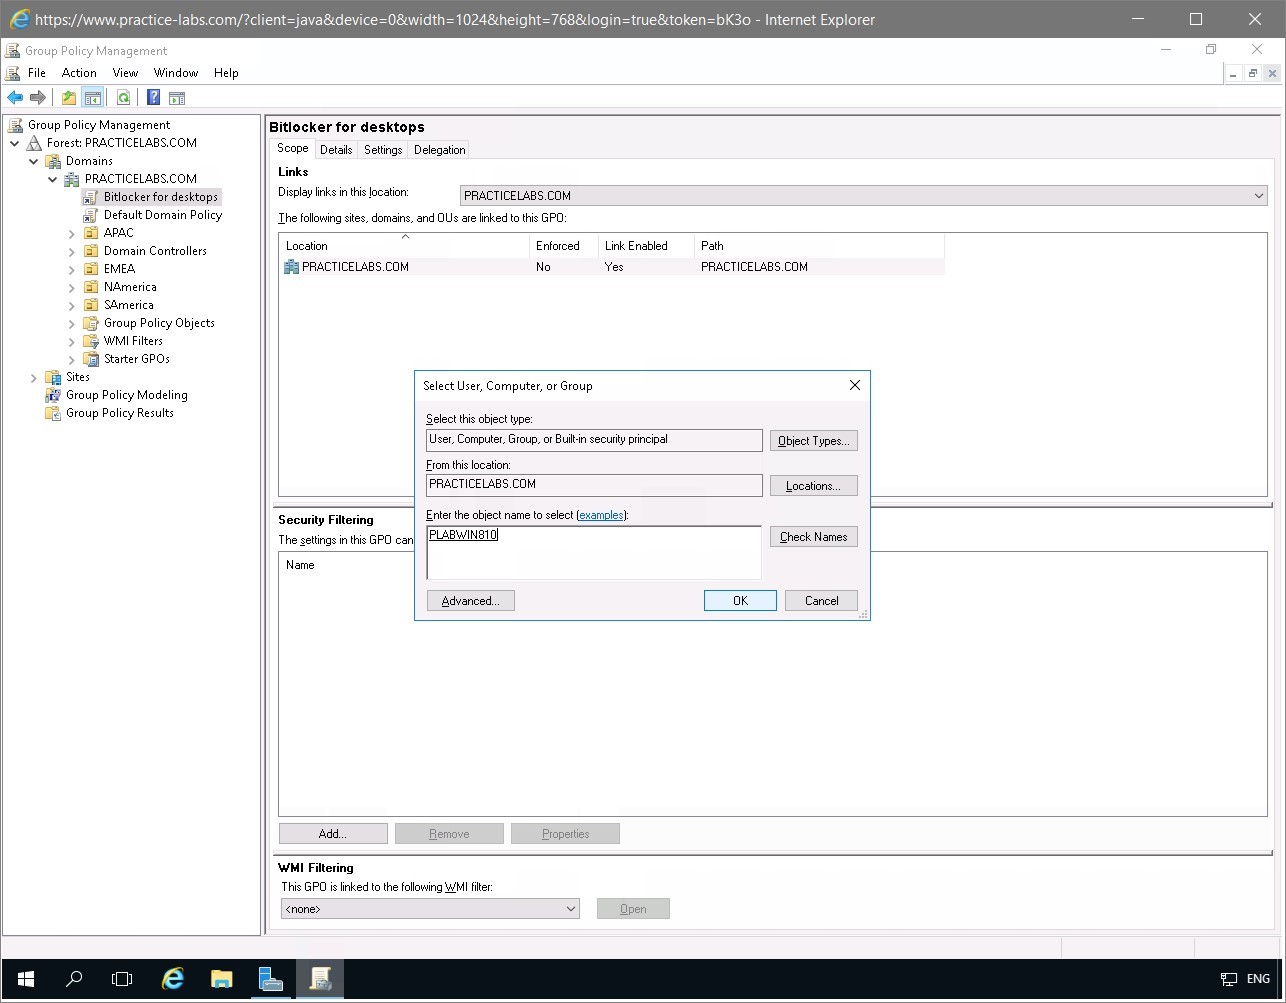
Step 12
The computer name PLABWIN810 is now underlined. This means that the computer account is a member of the PRACTICELABS.COM domain.
Click OK.
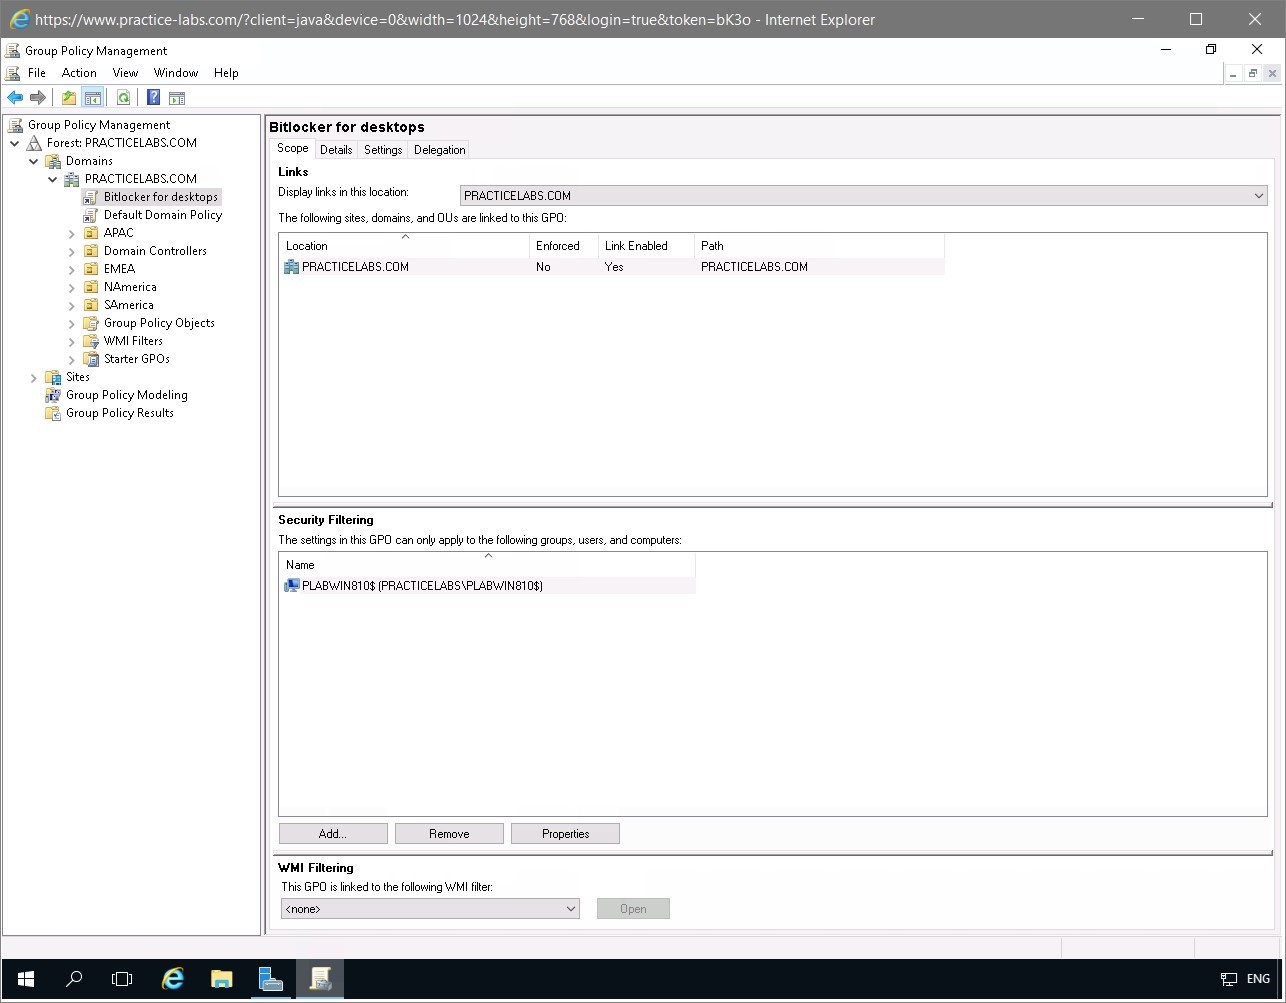
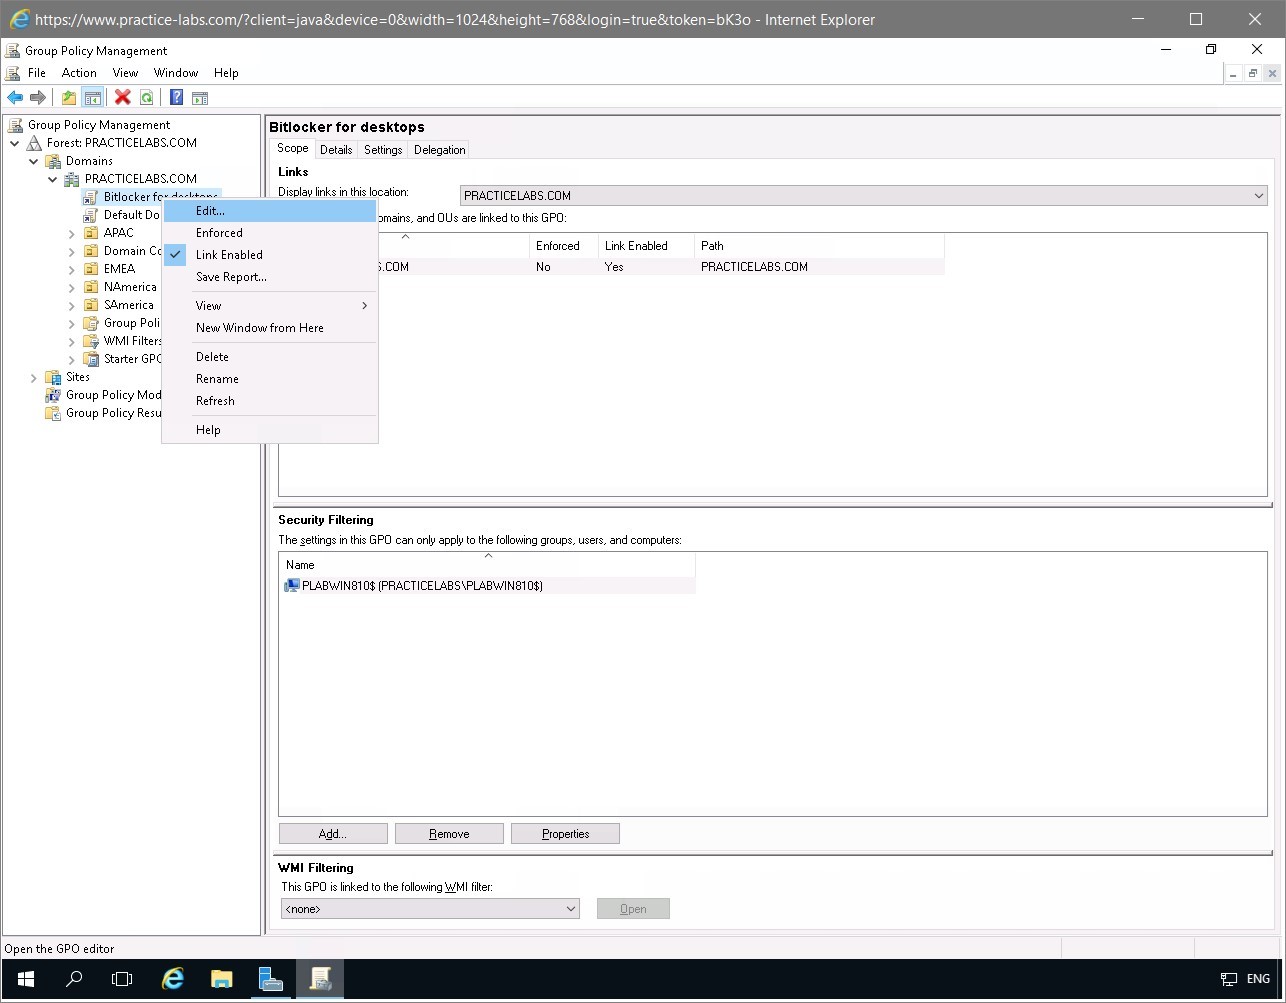
Step 13
PLABWIN810$ (PRACTICELABS\PLABWIN810$) is now added in the Security Filtering section.
This means that Bitlocker for desktops group policy will apply only to PLABWIN810 computer.
Step 14
Under the PRACTICELABS.COM node, right-click on Bitlocker for desktops GPO link and choose Edit.
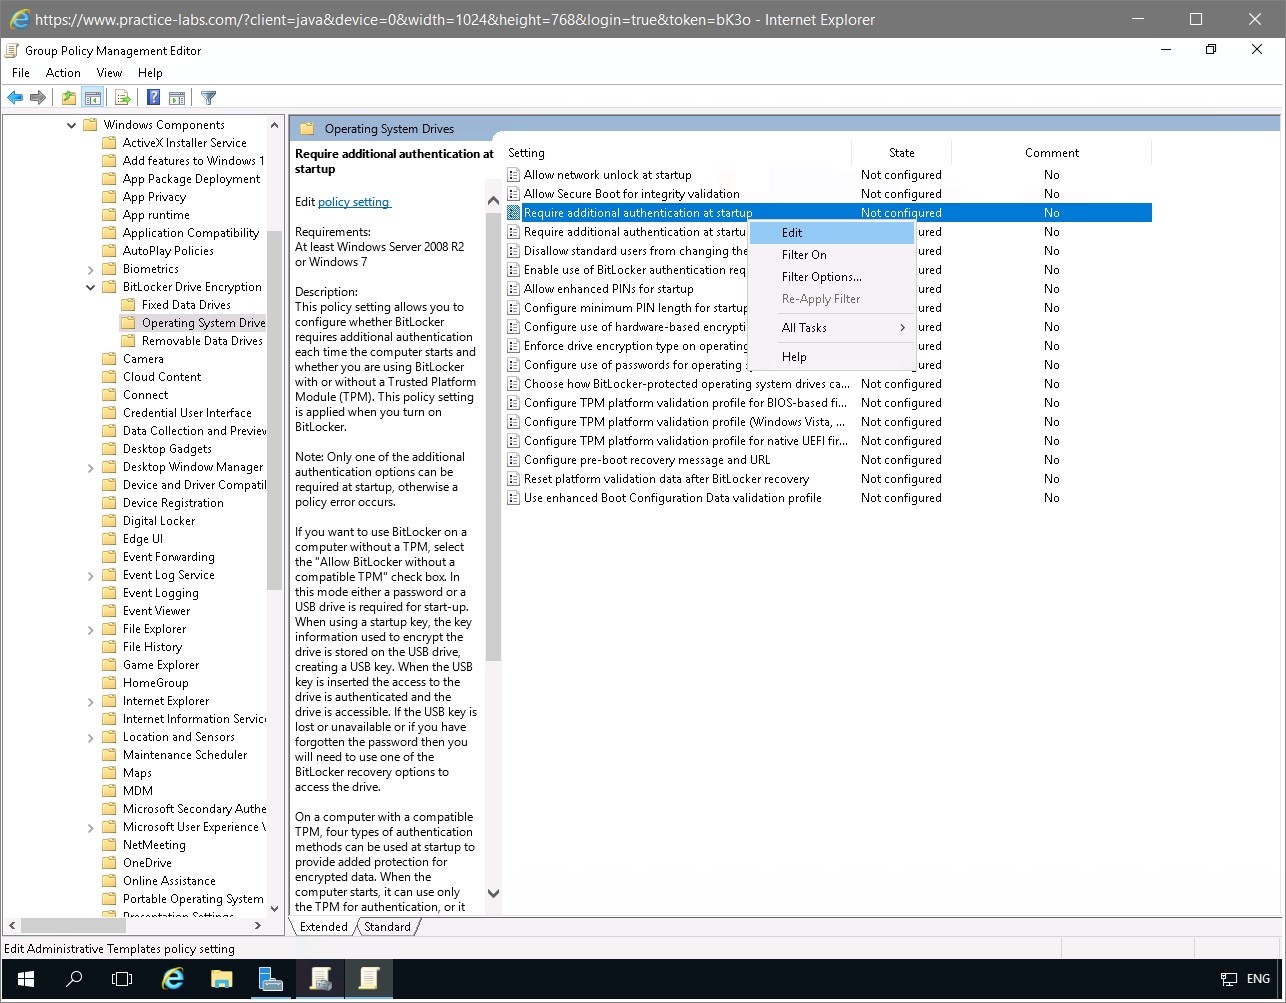
Step 15
On the Group Policy Management Editor window, expand Computer Configuration > Policies > Administrative Templates > Windows Components > Bitlocker Drive Encryption then click on Operating System Drives.
On the details pane on the right side, right-click on Require additional authentication at startup and choose Edit.
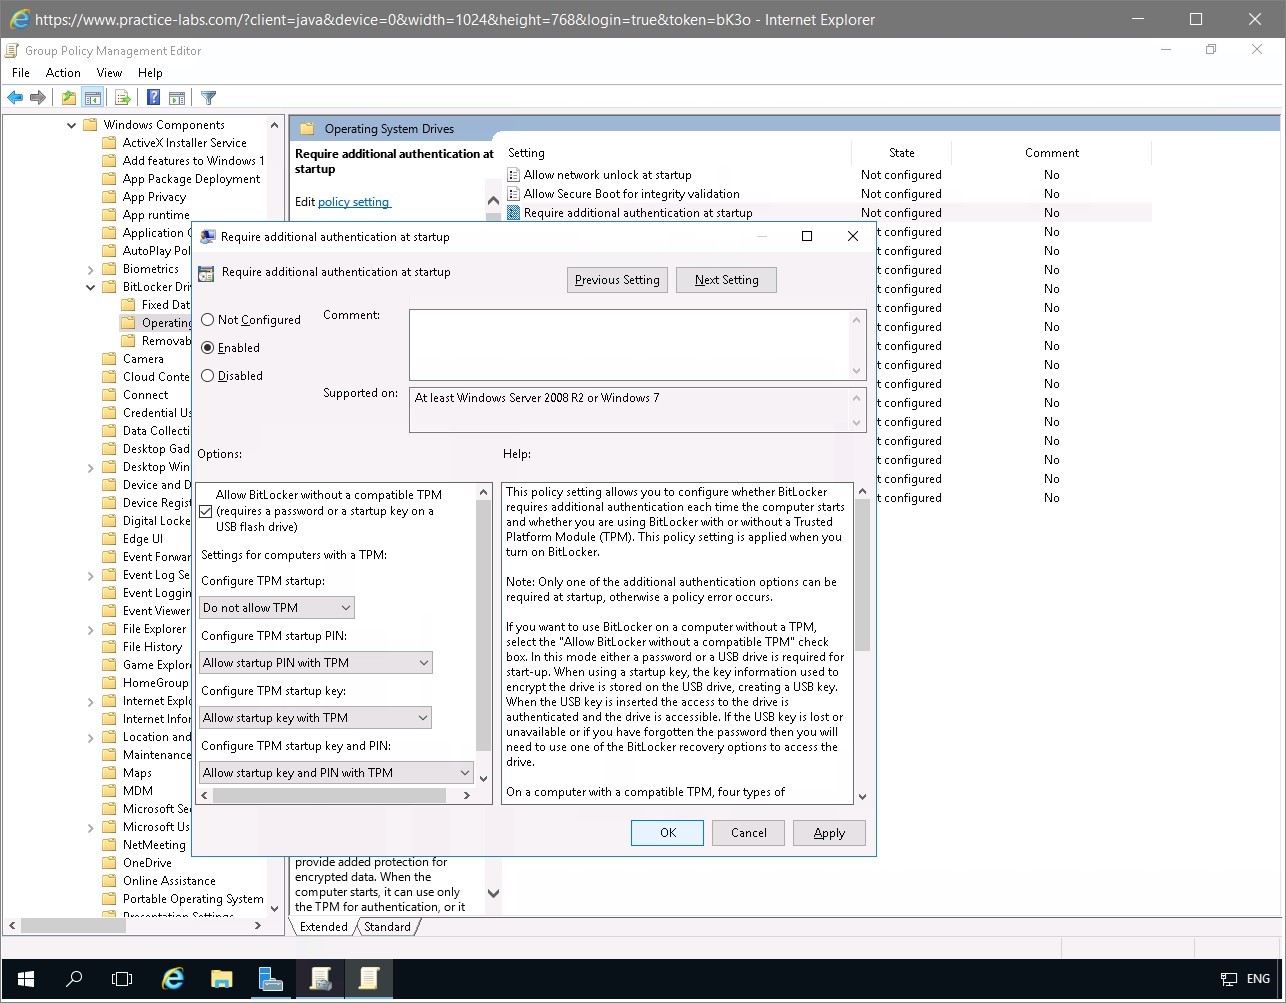
Step 16
From Require additional authentication at startup, click Enabled.
Under Options, click Allow BitLocker without a compatible TPM.
In the Configure TPM startup drop-down list, select Do not allow TPM.
Click OK.
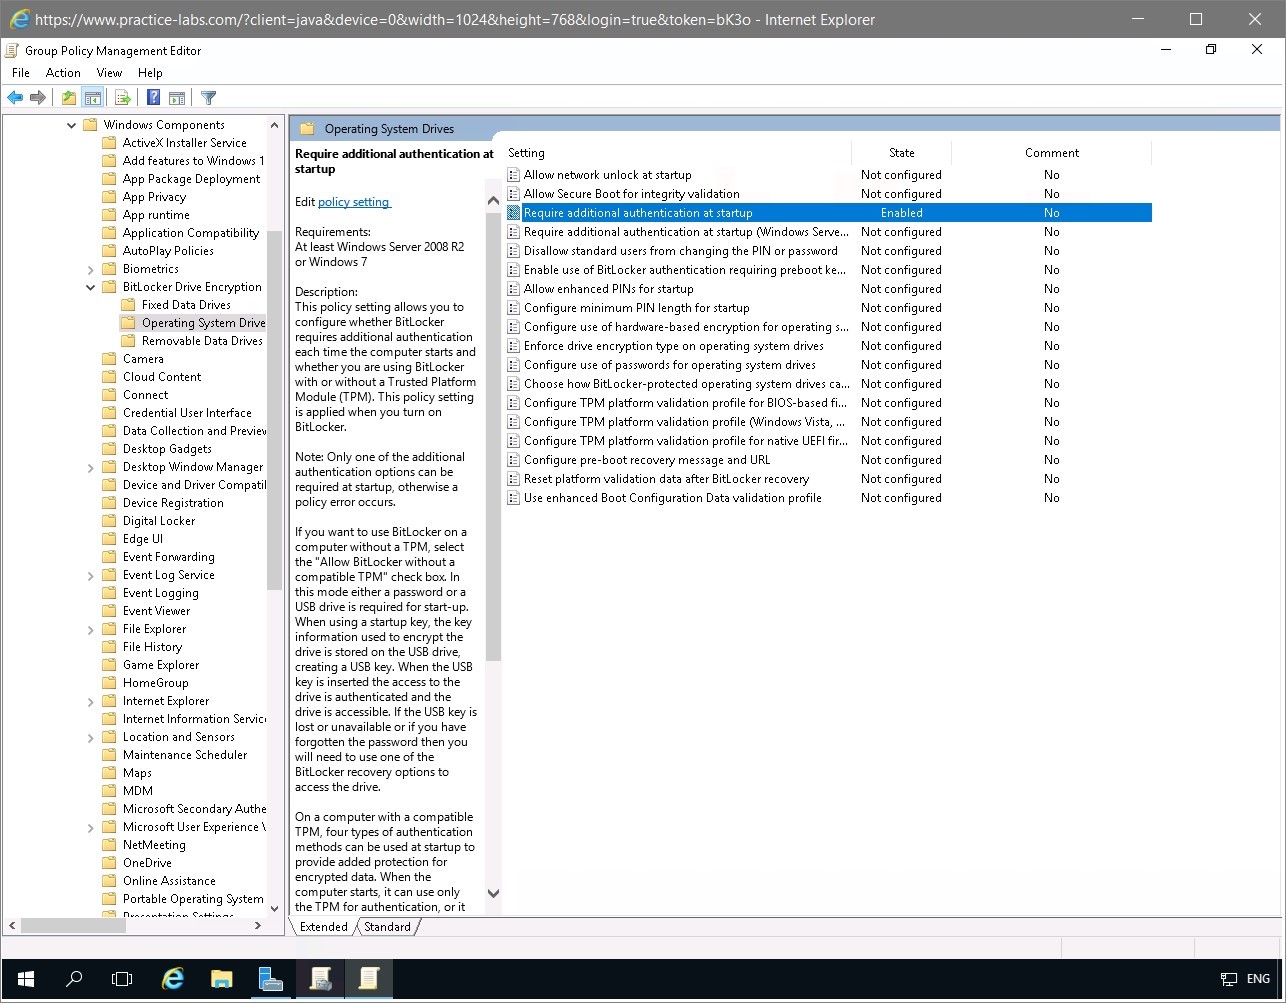
Step 17
Notice that Require additional authentication at startup setting is now enabled.
Close Group Policy Management Editor and Group Policy Management console.
Step 18
Keep Server Manager Dashboard running on PLABDC01.
Keep all devices powered on in their current state and proceed to the next task.
Task 2 - Shrink the Existing Drive
To be able to save the recovery key, you need to partition the existing drive and create a separate partition. This computer has only one drive and Bitlocker does not allow the recovery key to be saved to the encrypted drive. For this step you will be shrinking drive (D).
To partition a drive on Windows 8.1 device, perform the following steps:
Step 1
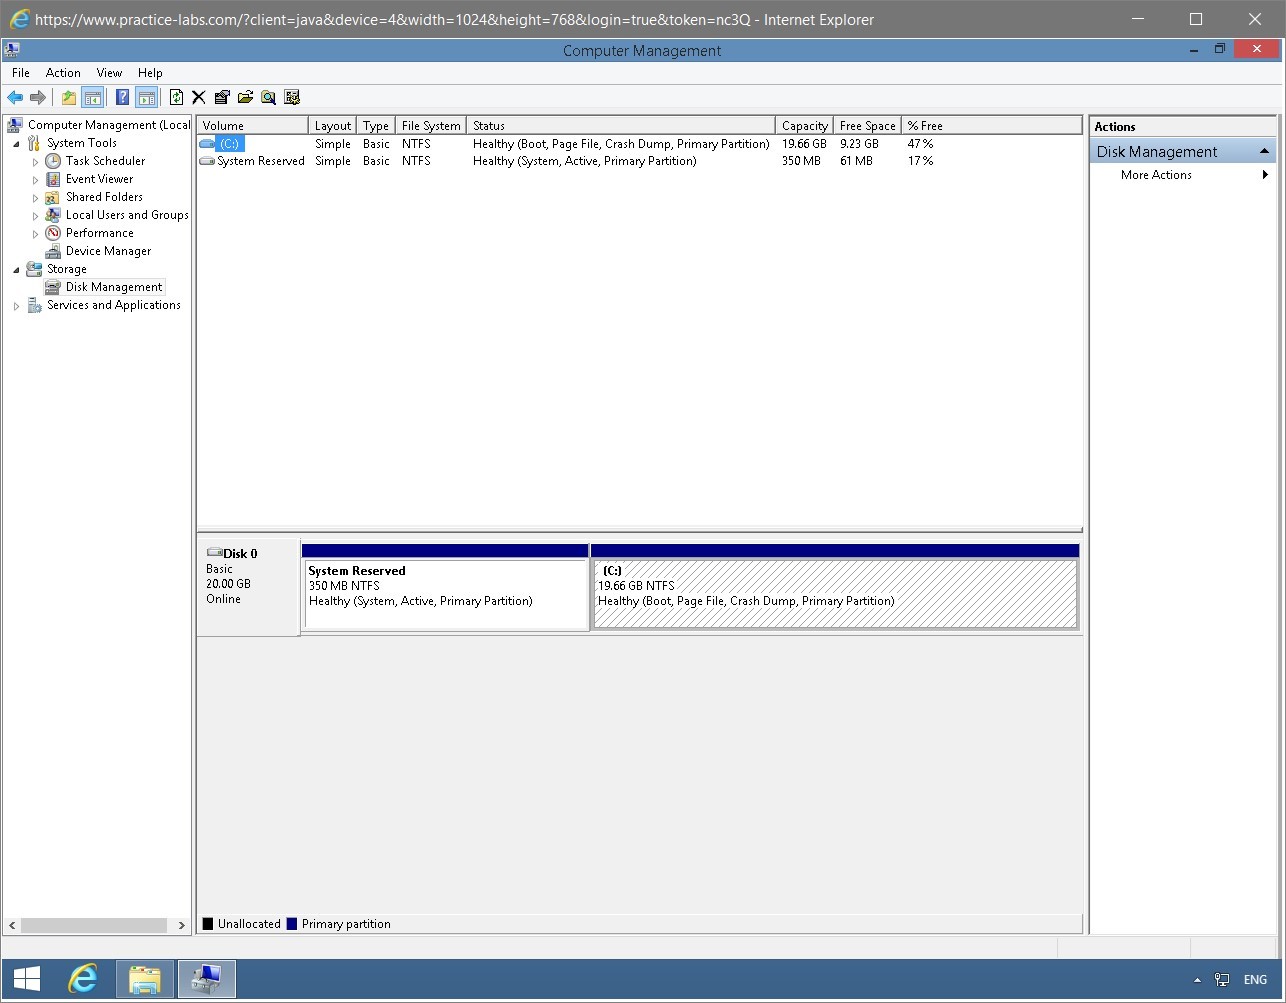
On PLABWIN810, open Windows Explorer and right-click This PC in the left pane and select Computer Management.
In the left pane, expand the Storage node and select Disk Management.
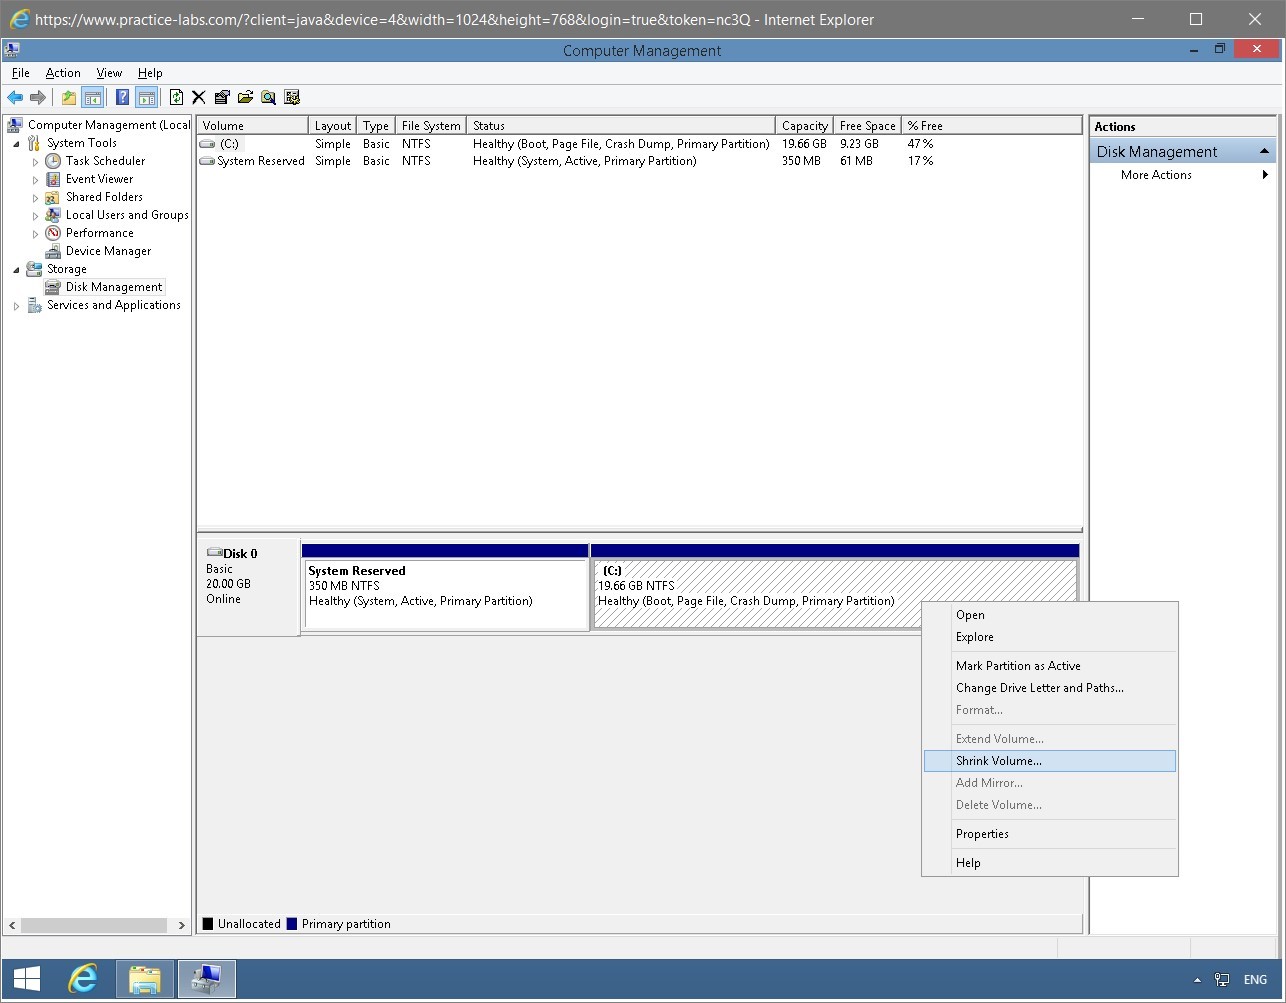
Step 2
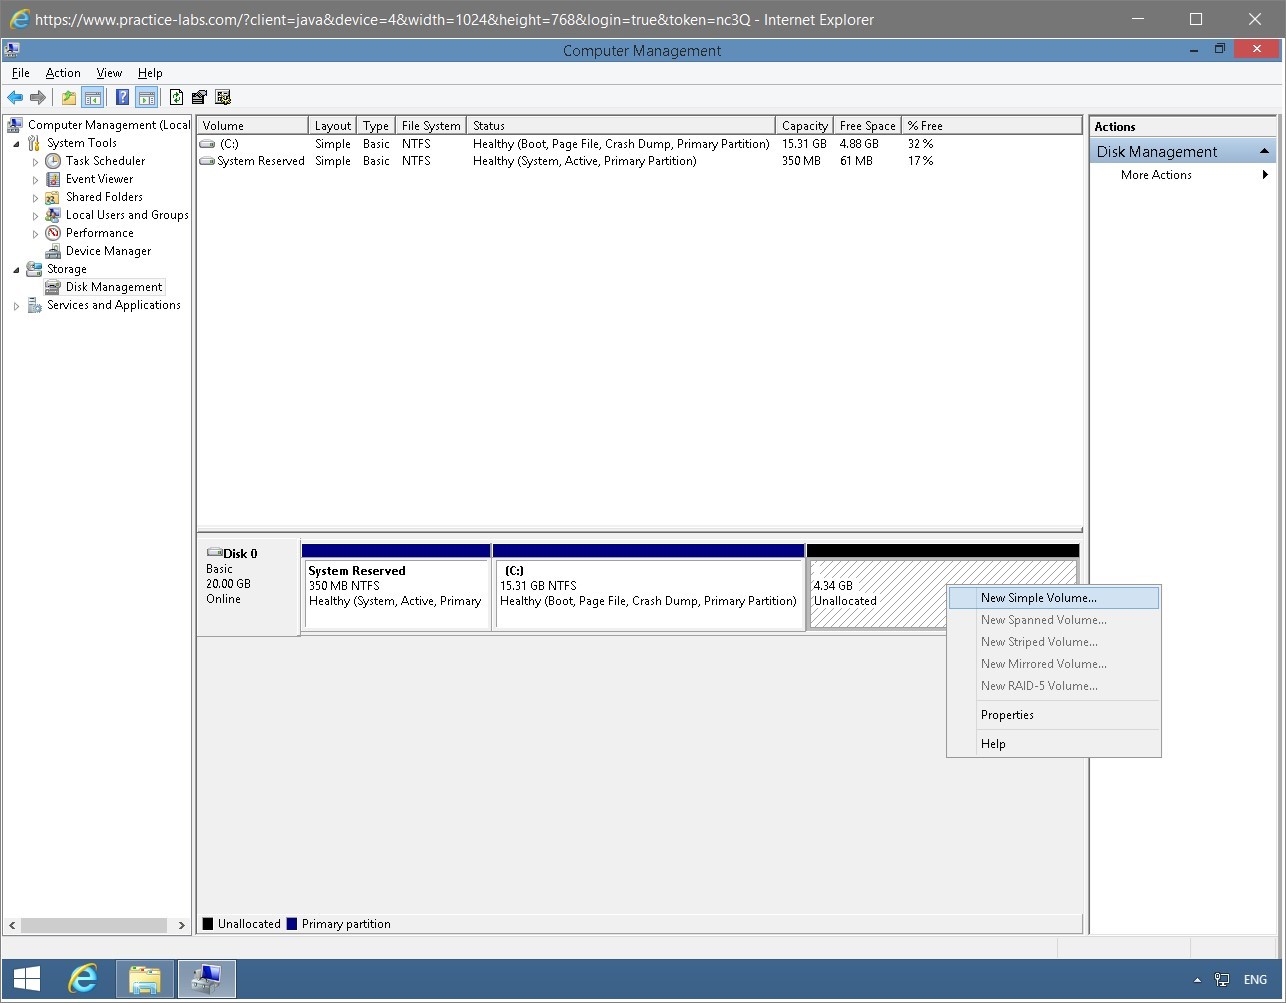
In the middle pane, right-click (C:) and select Shrink Volume.
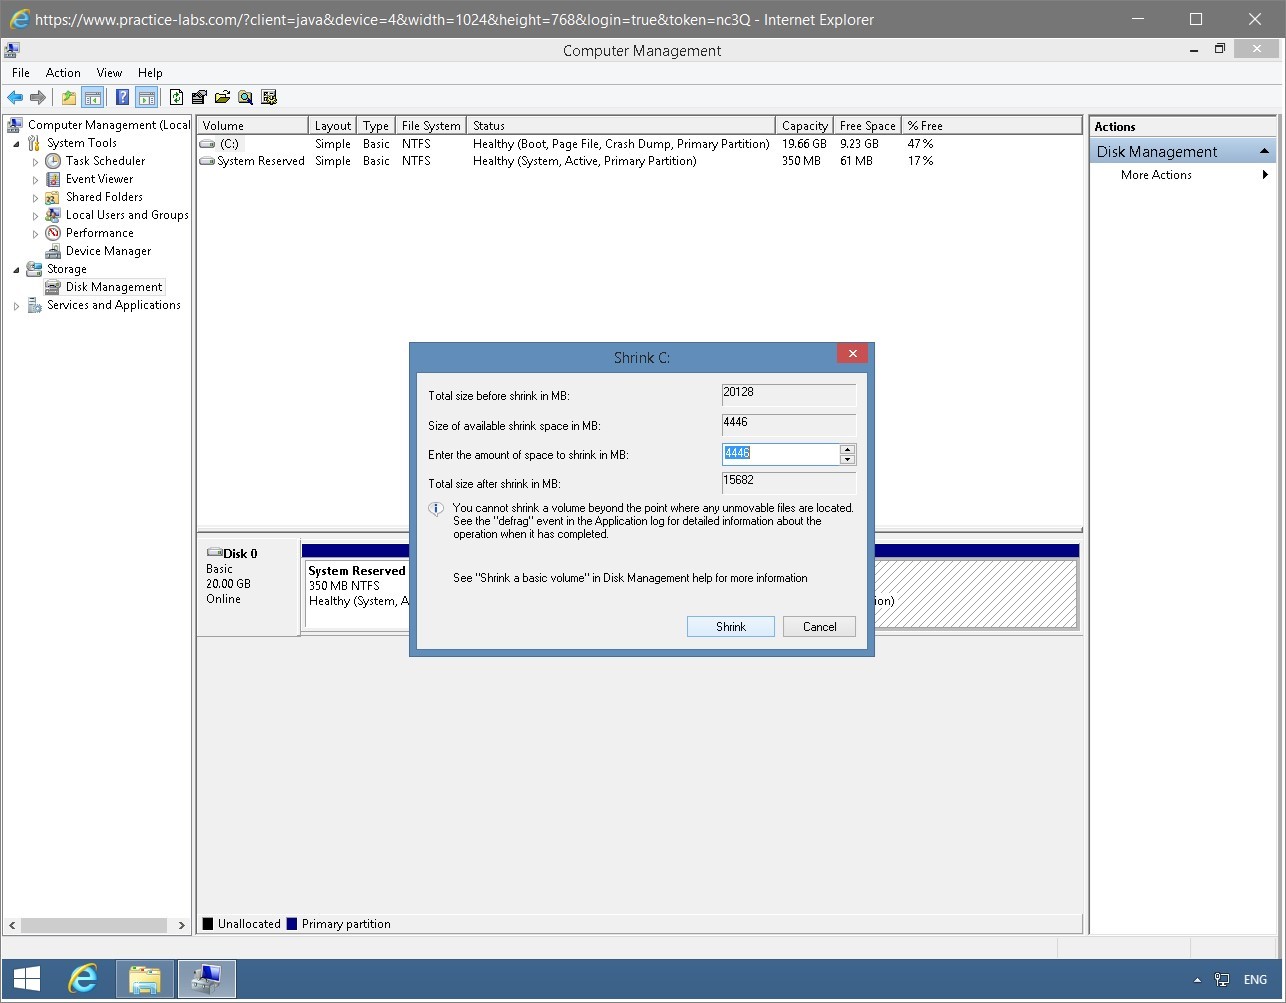
Step 3
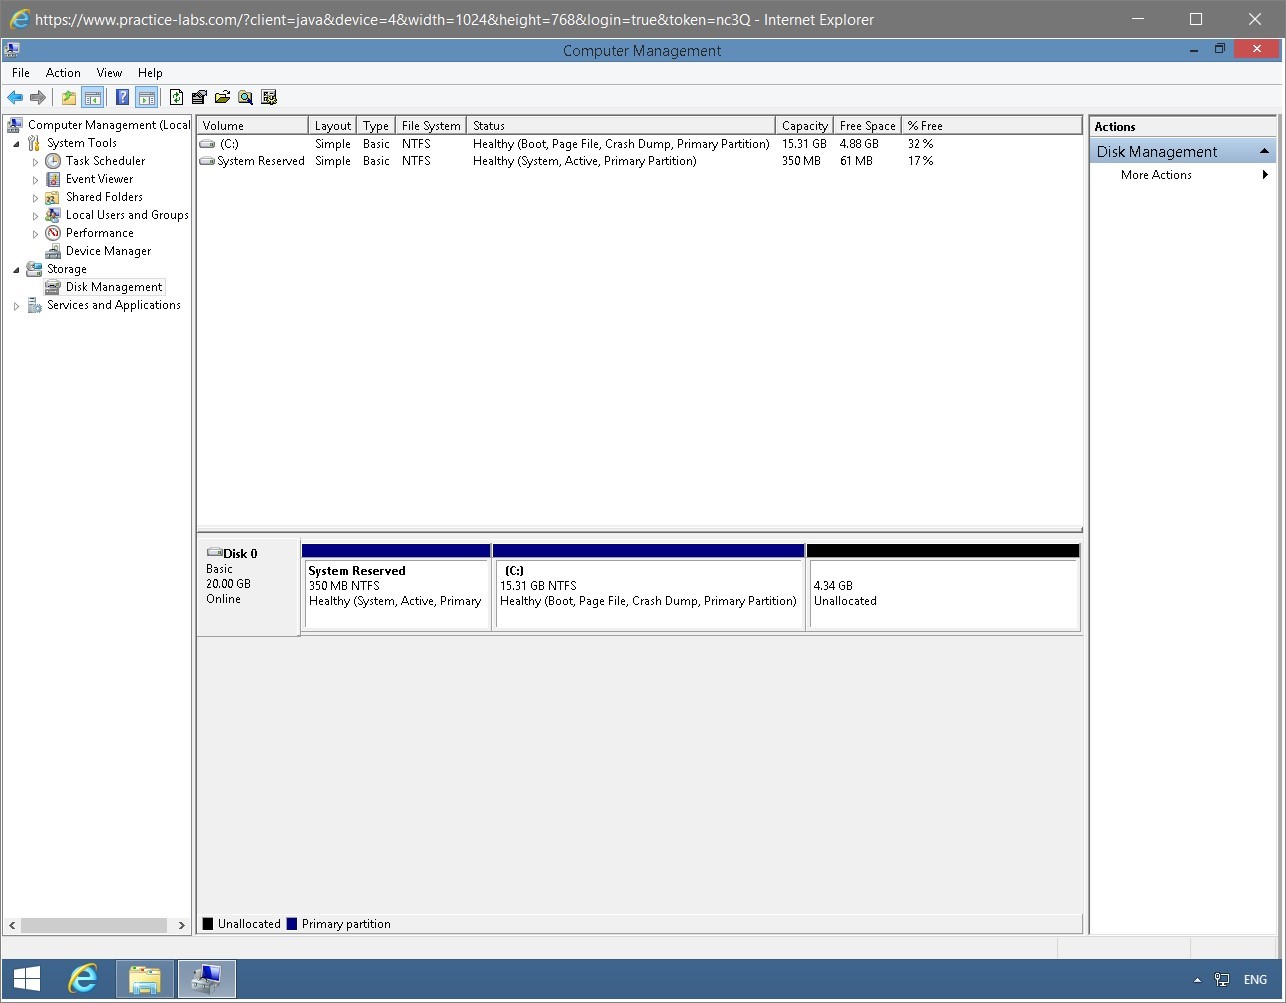
In the Shrink PC dialog box, keep the default settings and click Shrink.
Notice that a new partition is now created.
Step 4
You will now need to create a volume on this unallocated partition. Right-click and select New Simple Volume.
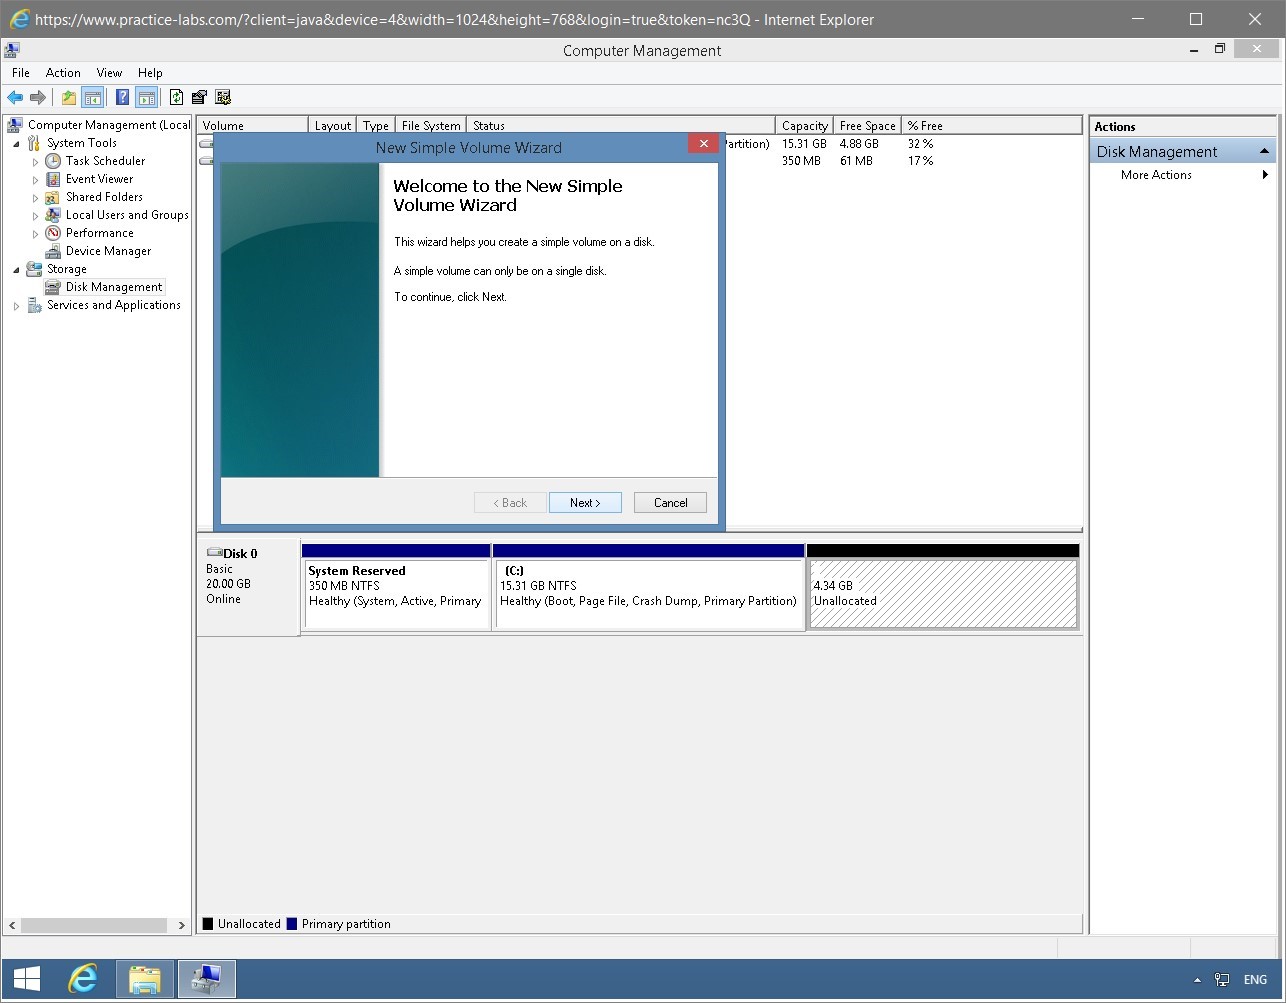
Step 5
On the Welcome to the New Simple Volume Wizard page, read the information and click Next.
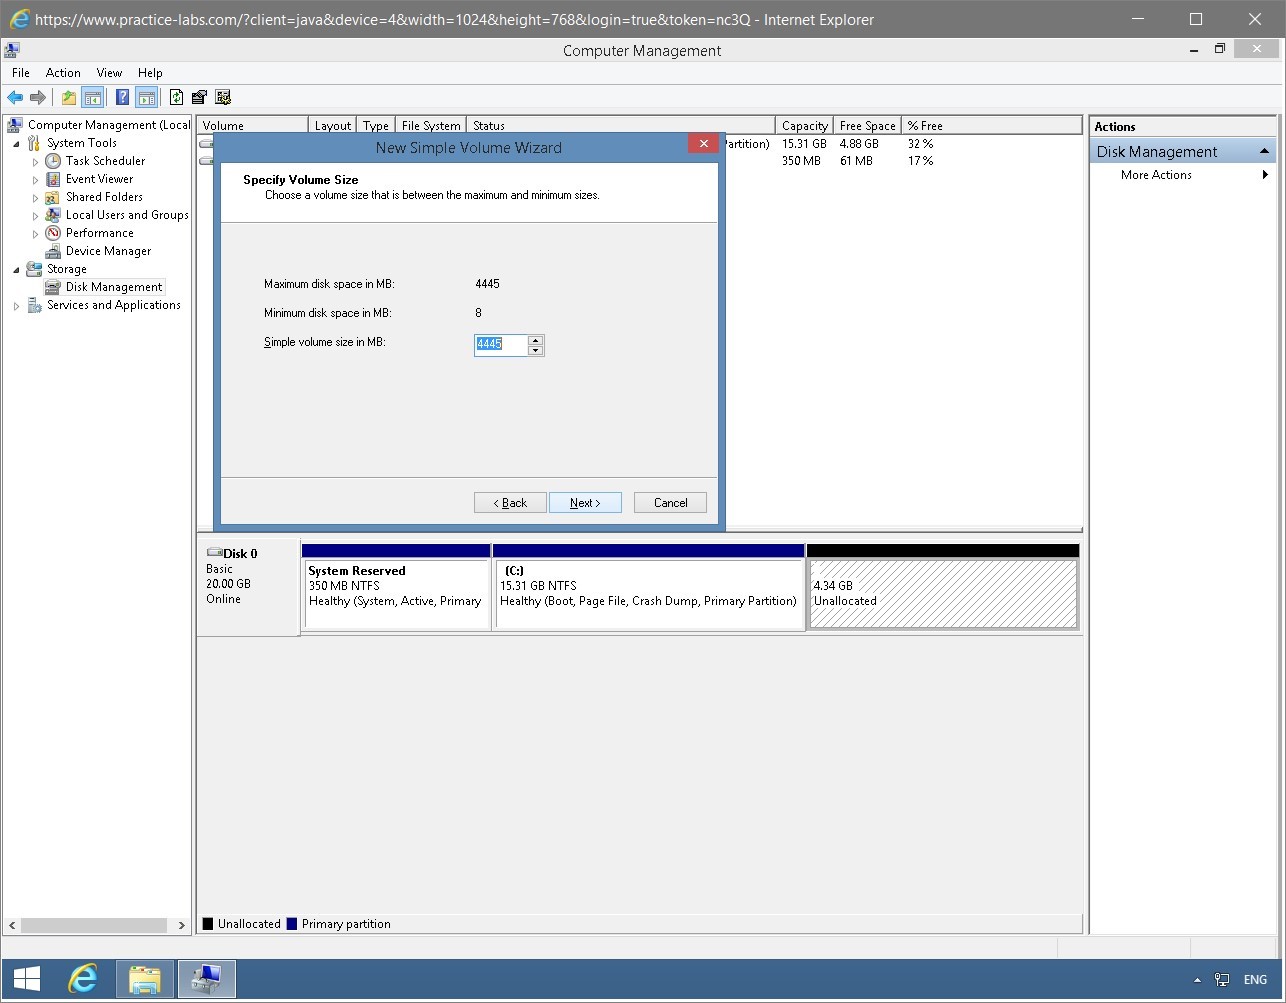
Step 6
On the Specify Volume Size page, keep the default settings and click Next.
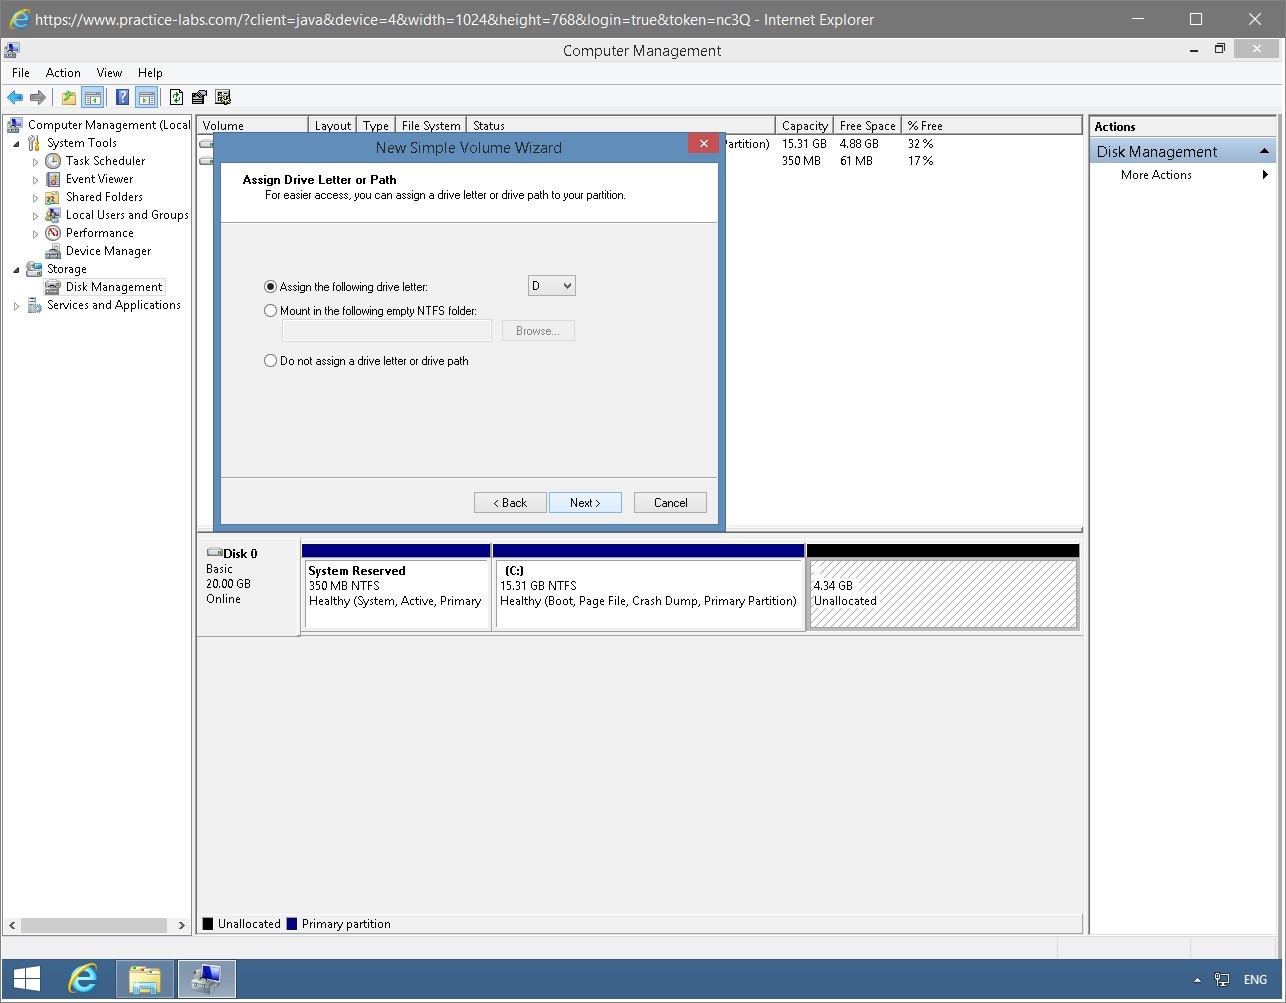
Step 7
On the Assign Drive Letter or Path page, keep the default drive letter, D, and click Next.
Step 8
On the Format Partition page, keep the default settings and click Next.
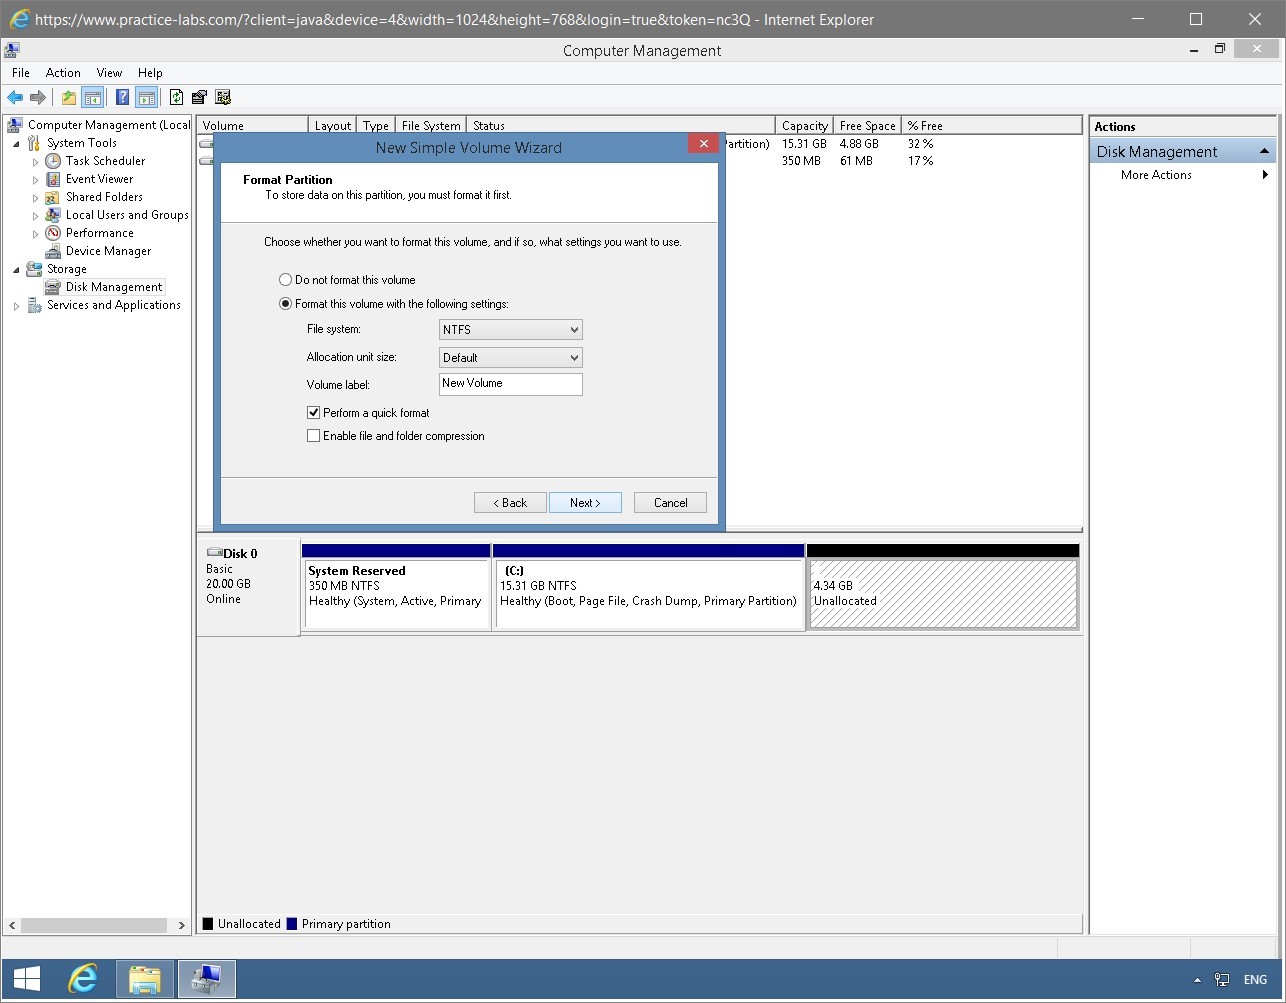
Step 9
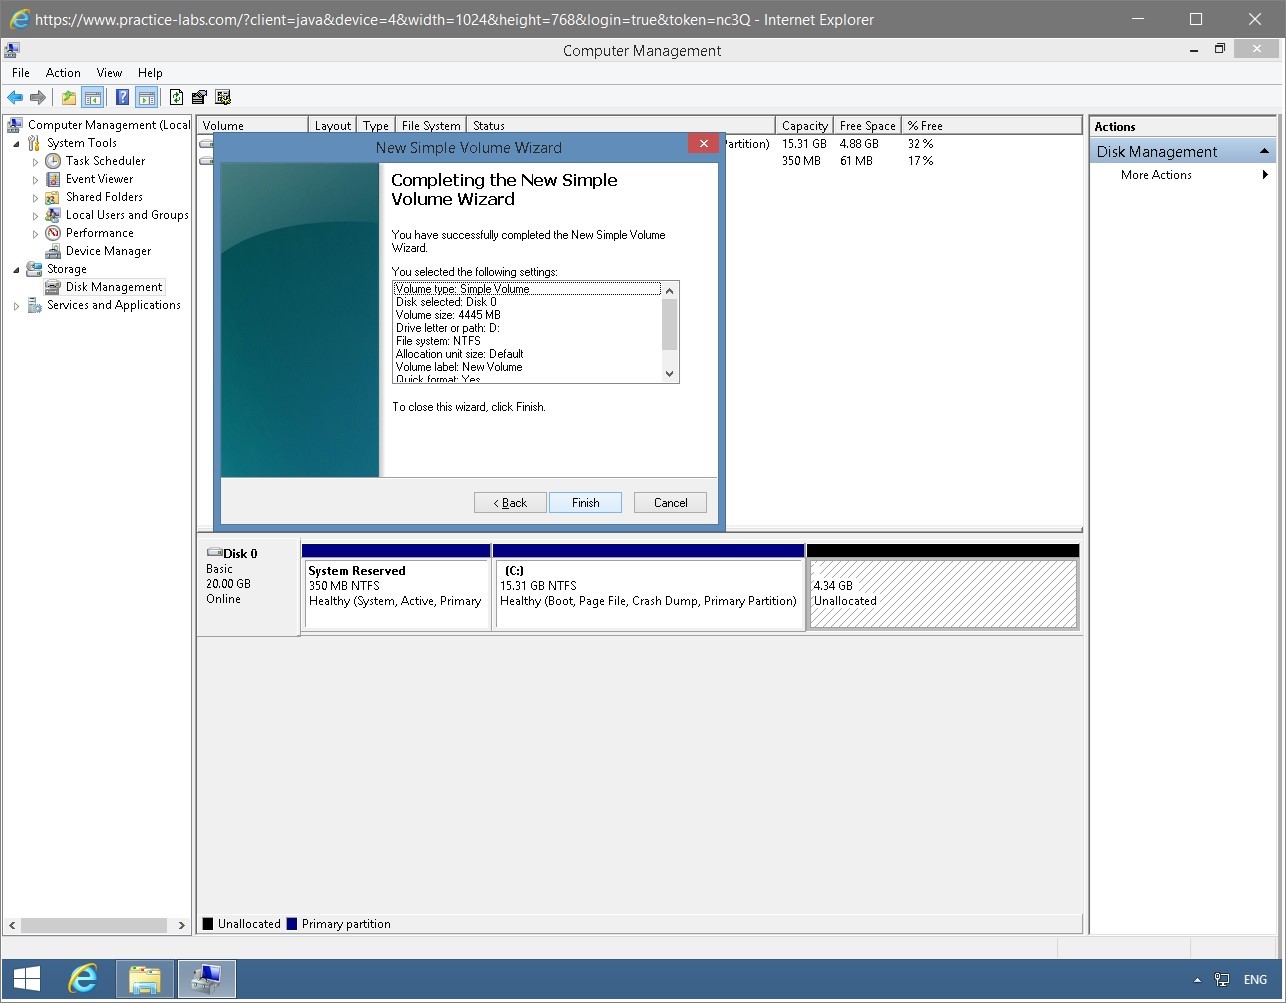
On the Completing the New Simple Volume Wizard page, review the settings and click Finish.
Step 10
Notice that the D partition is now ready for use. Close the Computer Management window.
Note: You may see the a dialog box asking you to format the new partition. Click Cancel.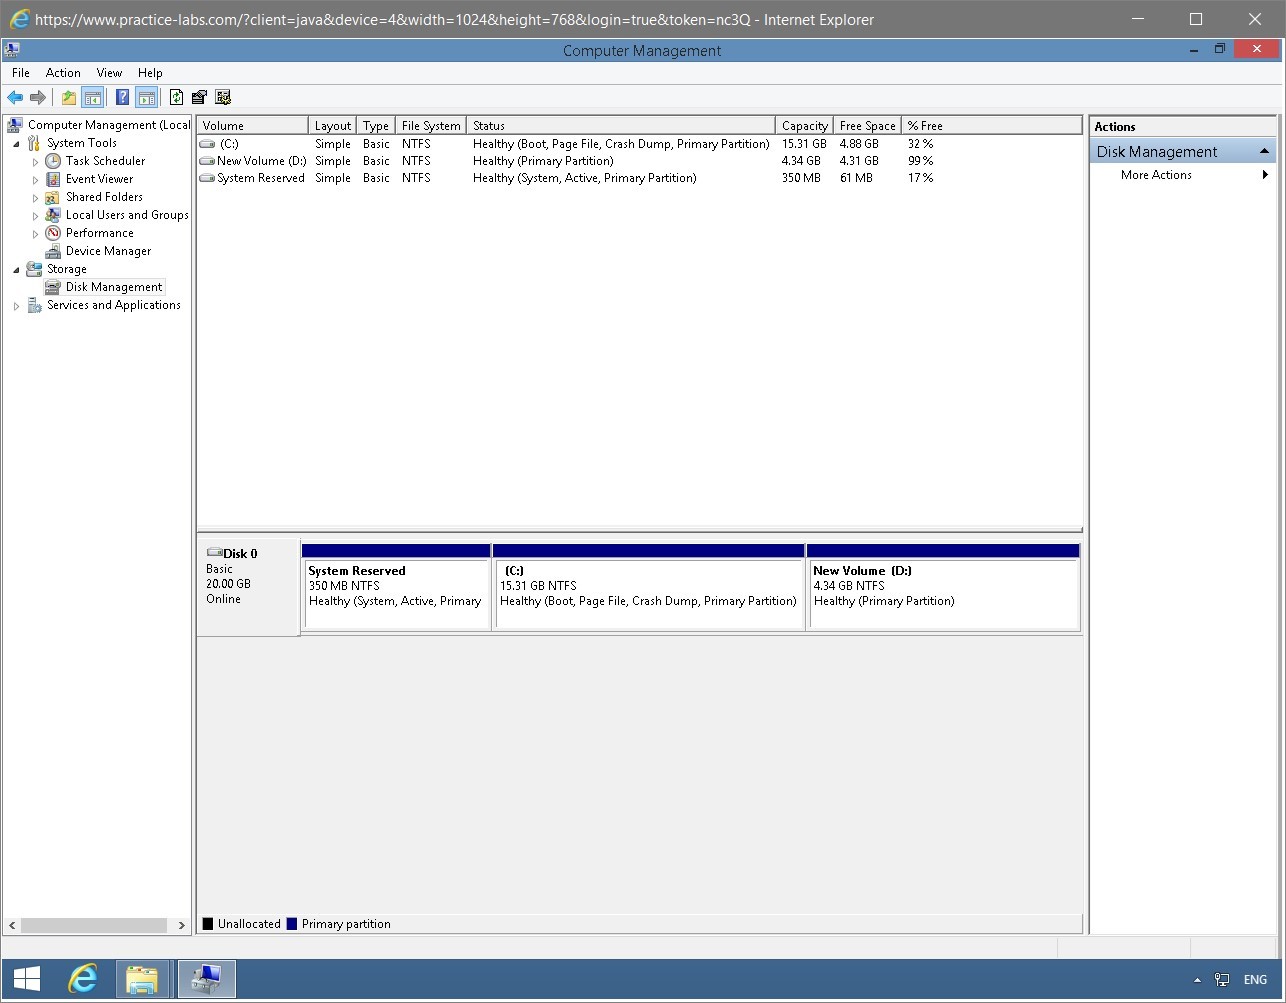
Keep all devices powered on in their current state and proceed to the next task.
Task 3 - Enable BitLocker
To encrypt the selected disk volume using BitLocker, you must have administrative privileges on the computer.
To enable BitLocker on Windows 8.1 device, perform the following steps:
Step 1
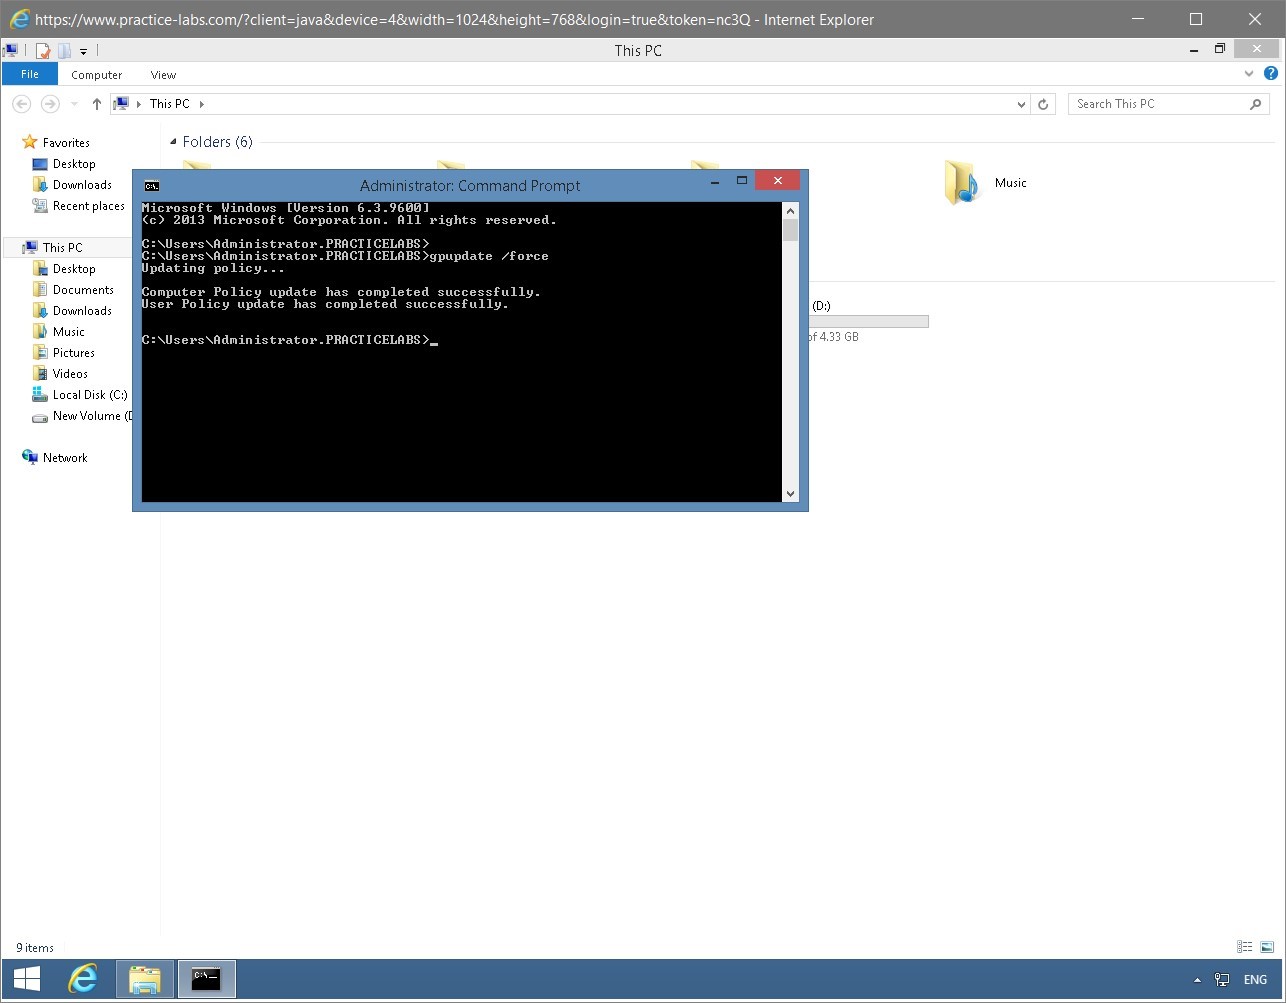
On PLABWIN810, you need to ensure the Bitlocker for desktops policy is applied. You can quickly apply the Group Policy using the following command:
gpupdate /force
Minimize the command prompt window.
Step 2
Open Windows Explorer and select This PC in the left pane if already not selected.
Right-click Local Disk (D:) and select Turn on Bitlocker.

Step 3
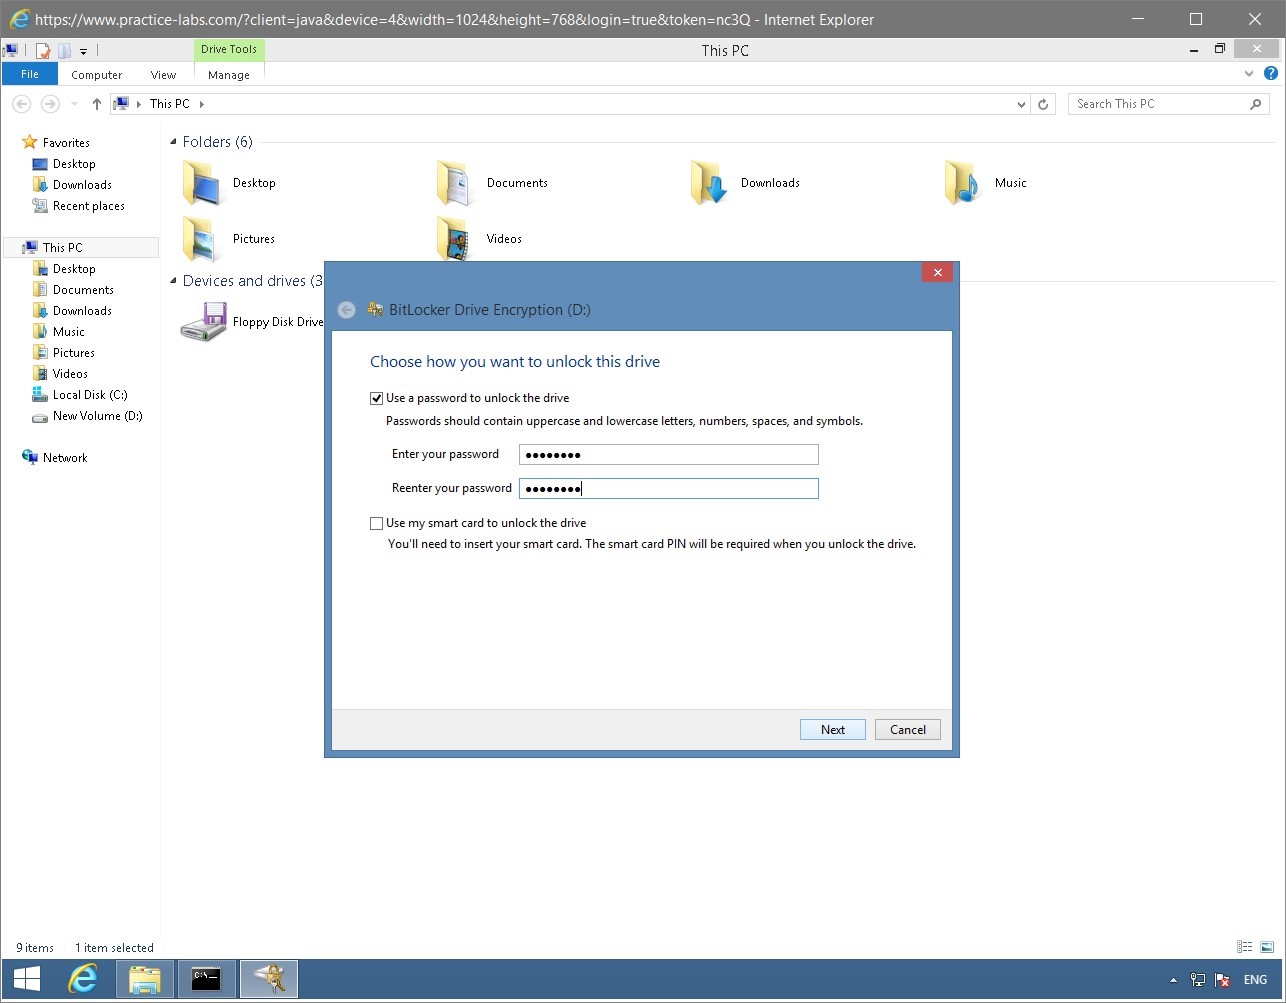
On the Choose how you want to unlock this drive page, you have two options to select on how you want to unlock D drive.
Select Use a password to unlock this drive and then in the Enter your password and Reenter your password textboxes, type:
Password
Click Next.
Step 4
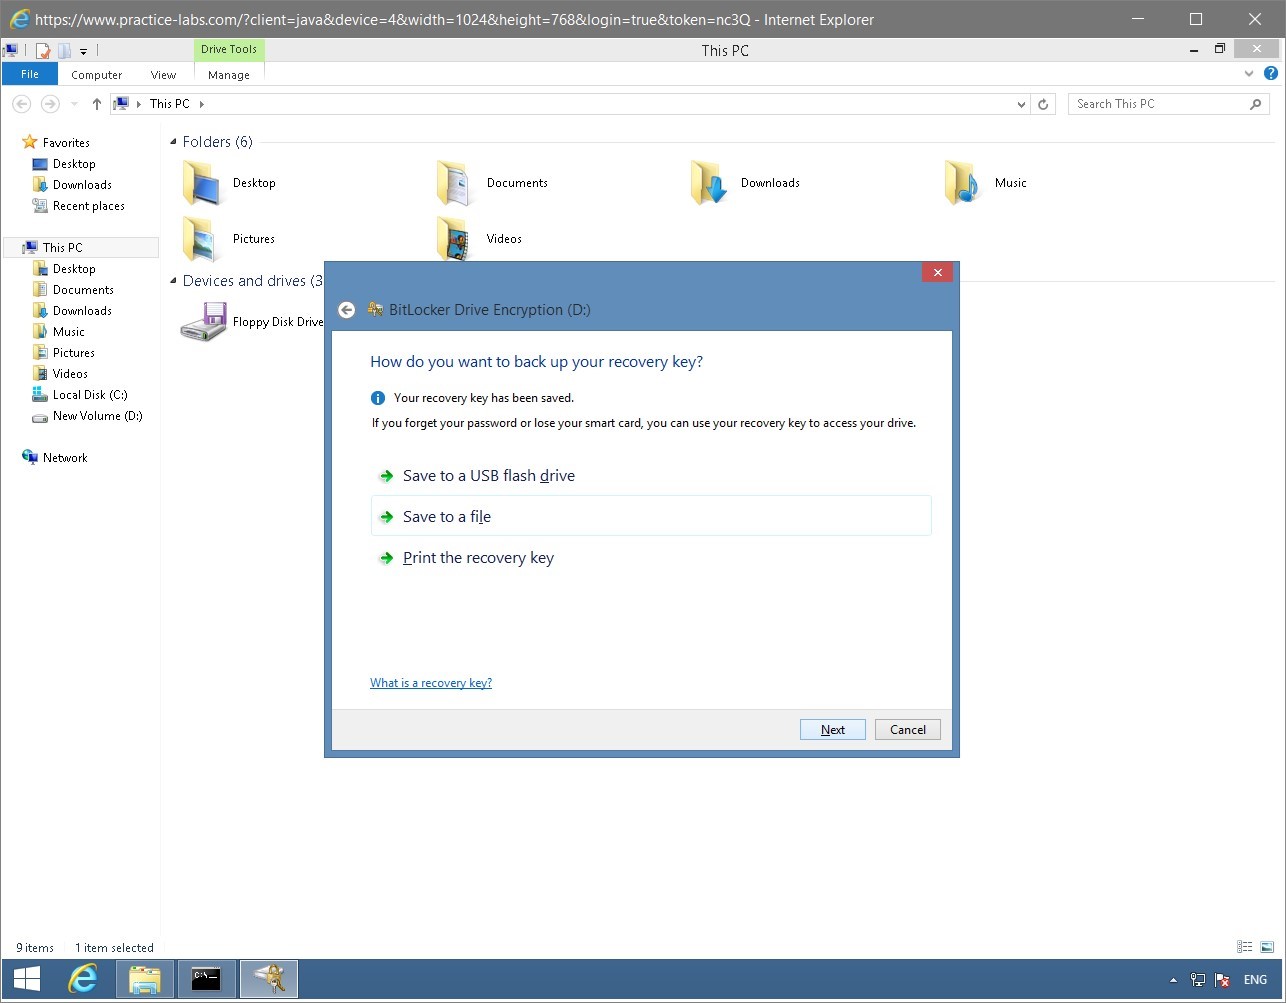
On the How do you want to back up your recovery key? page, select Save to a file.
The Recovery Key is required if the administrator forgets the password or loses the smart card to access the encrypted drive.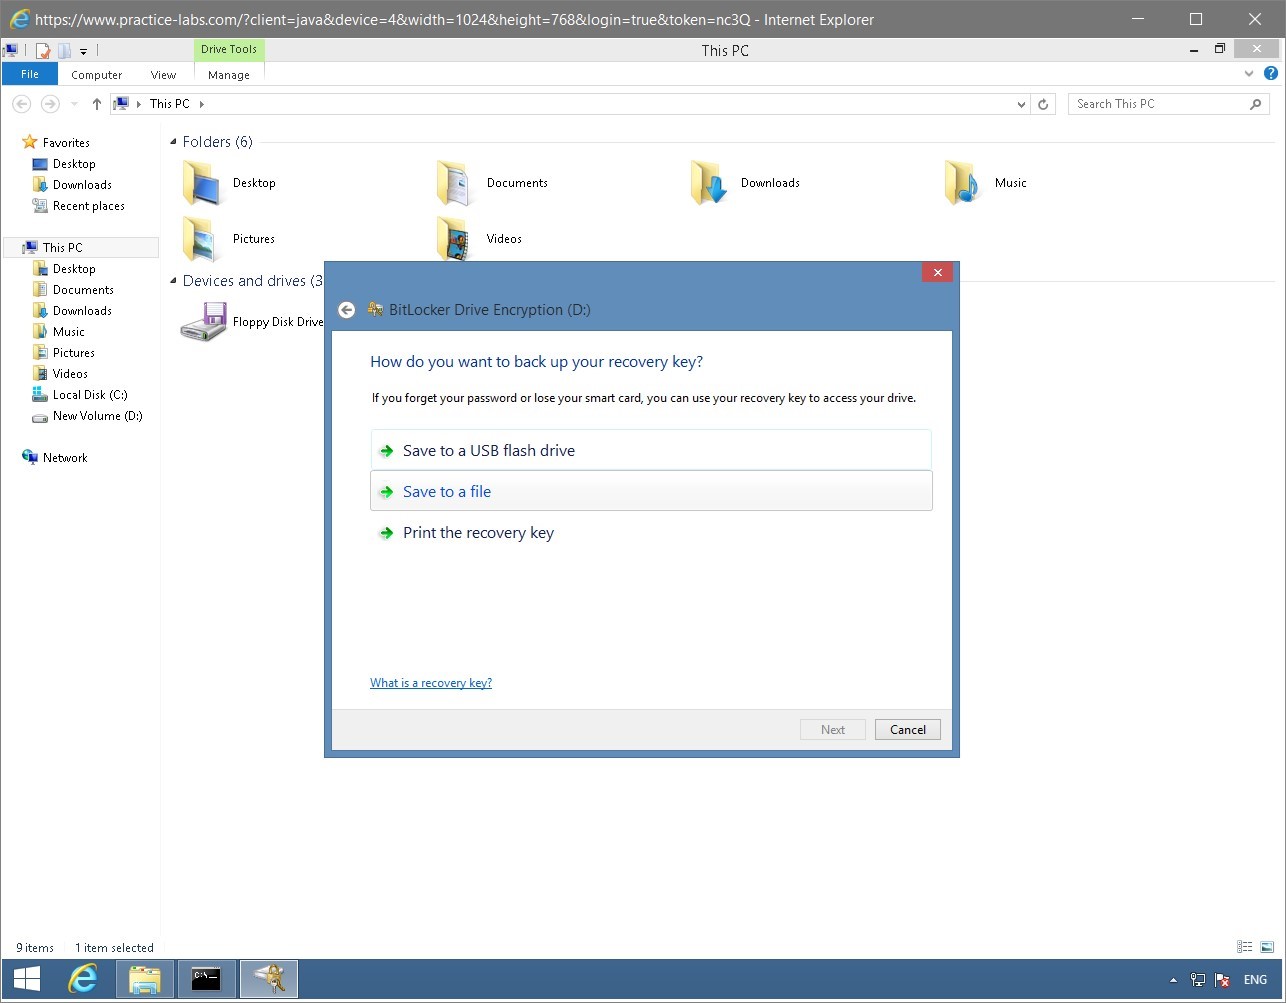
Step 5
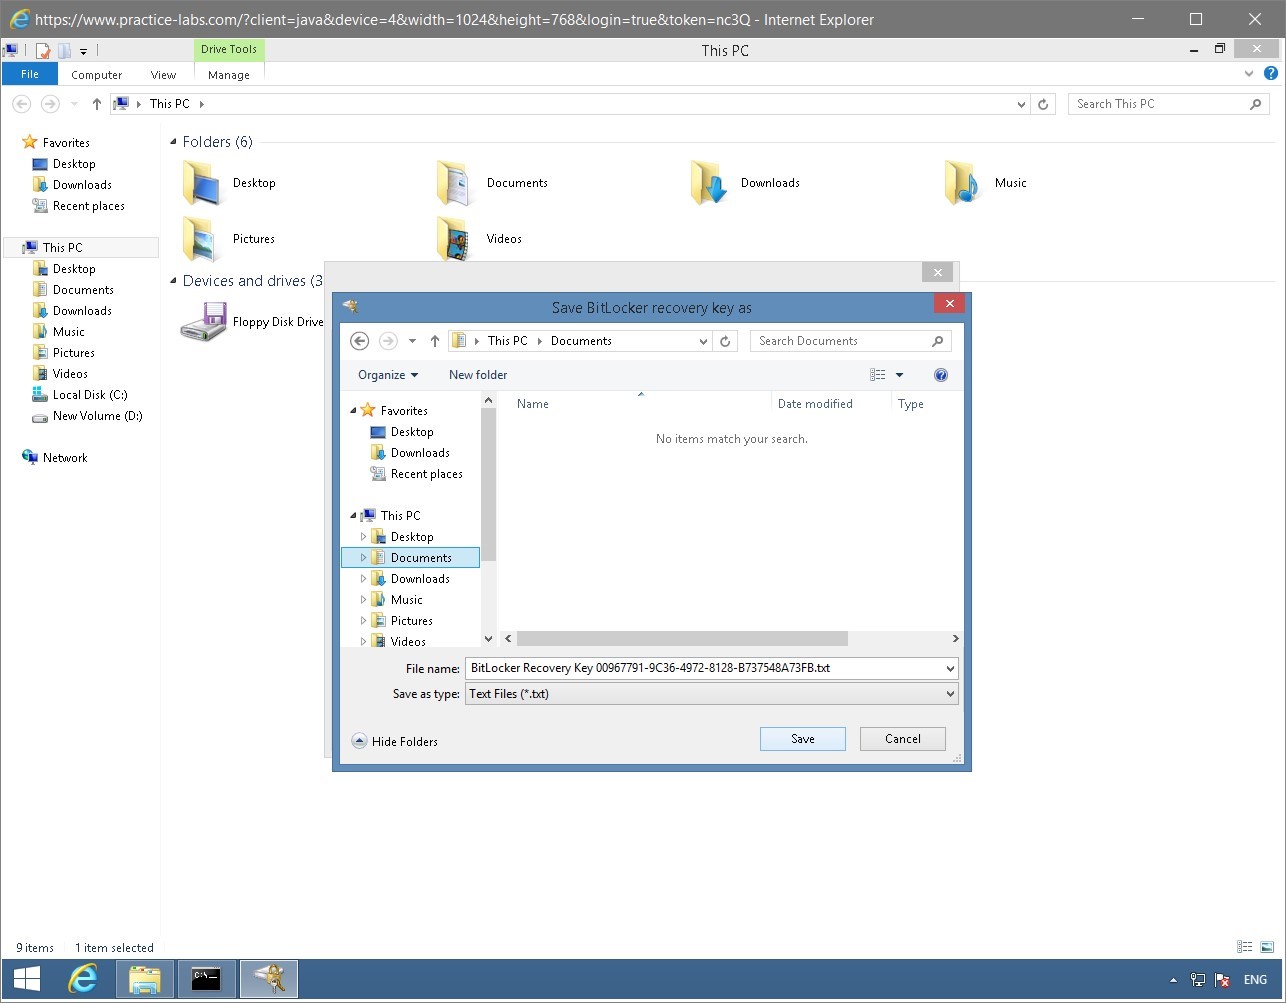
On the Save Bitlocker recovery key as dialog box, notice that Windows has assigned the file name as BitLocker Recovery Key <xxxxxx>.
Select Documents from the left pane if already not selected and then click Save.Note: In your lab, you will get different recovery key compared to the screen shot. Do NOT change the recovery key given to you as you will need this, if you forget the password used for unlocking this drive.
Step 6
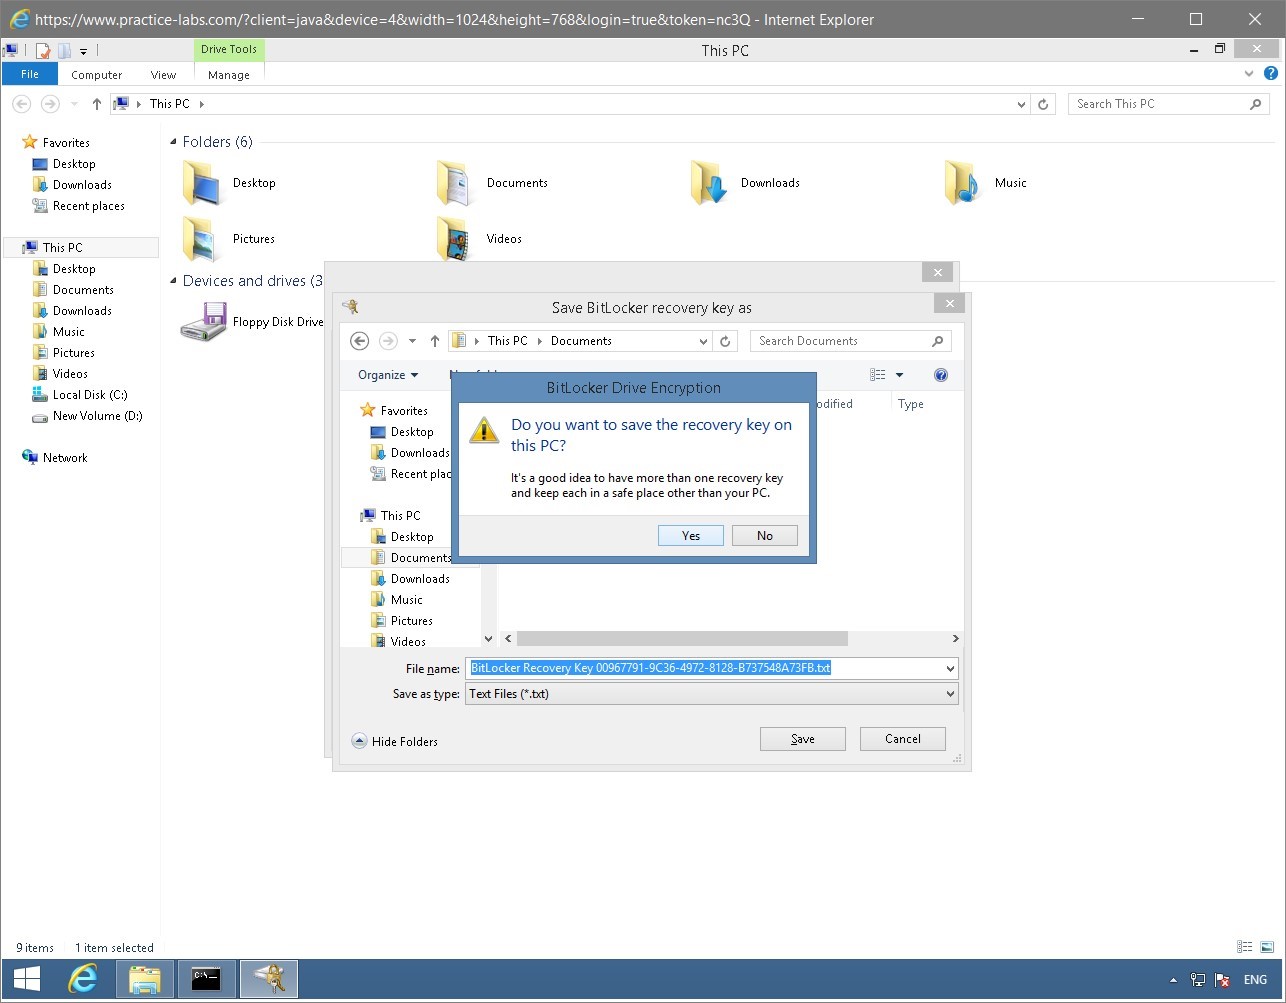
On the BitLocker Drive Encryption dialog box, click Yes.
Step 7
Back on the wizard, click Next.
Step 8
On the Are you ready to encrypt this drive? page, click Start encrypting.

Step 9
On the BitLocker Drive Enryption dialog box, click Close when encryption of D is complete.
Note: Please be aware this confirmation may not appear. This is expected and you can continue to the next step.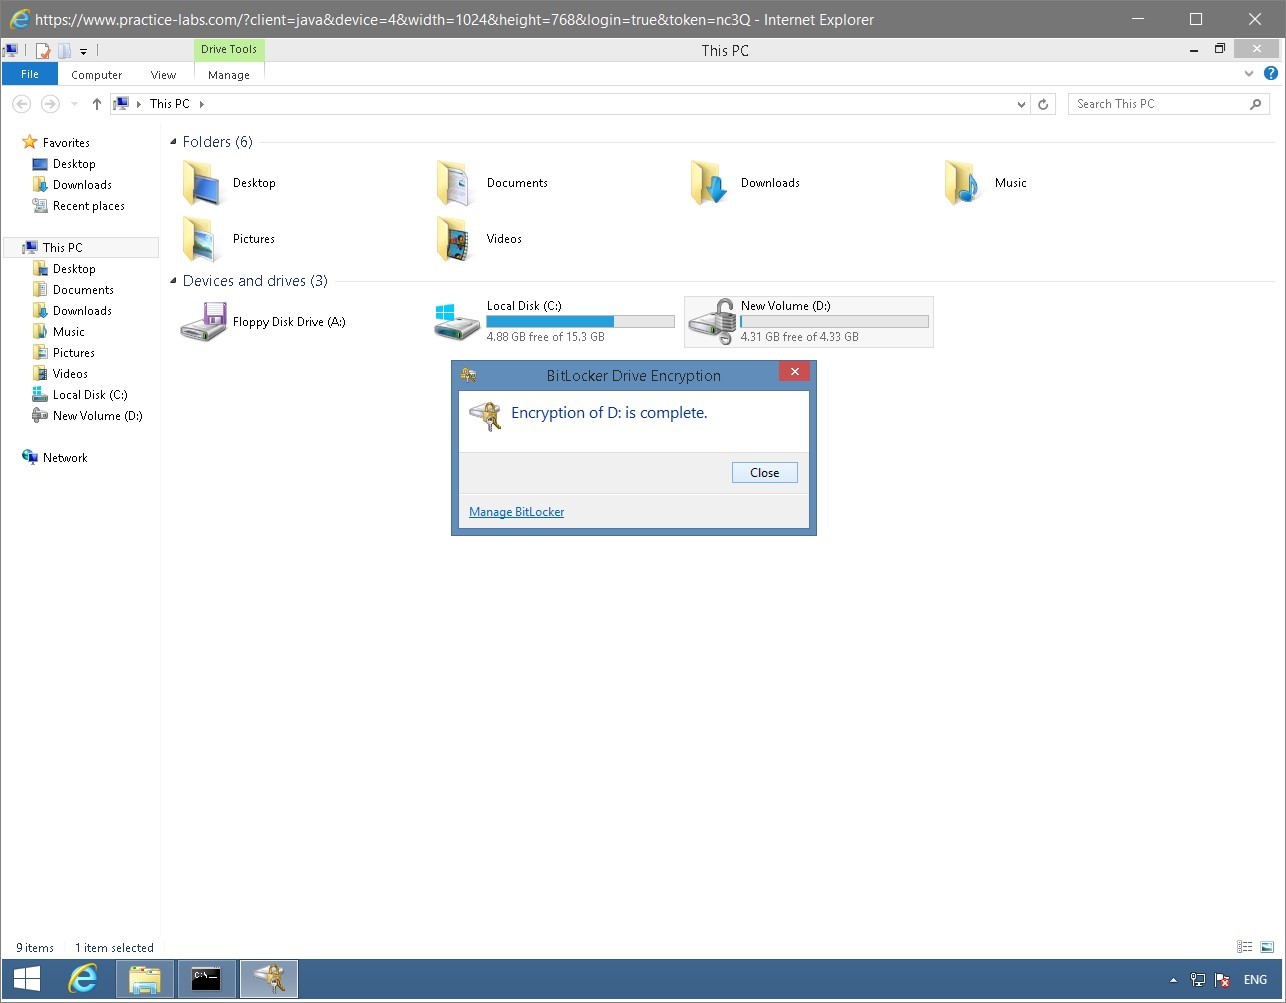
Step 10
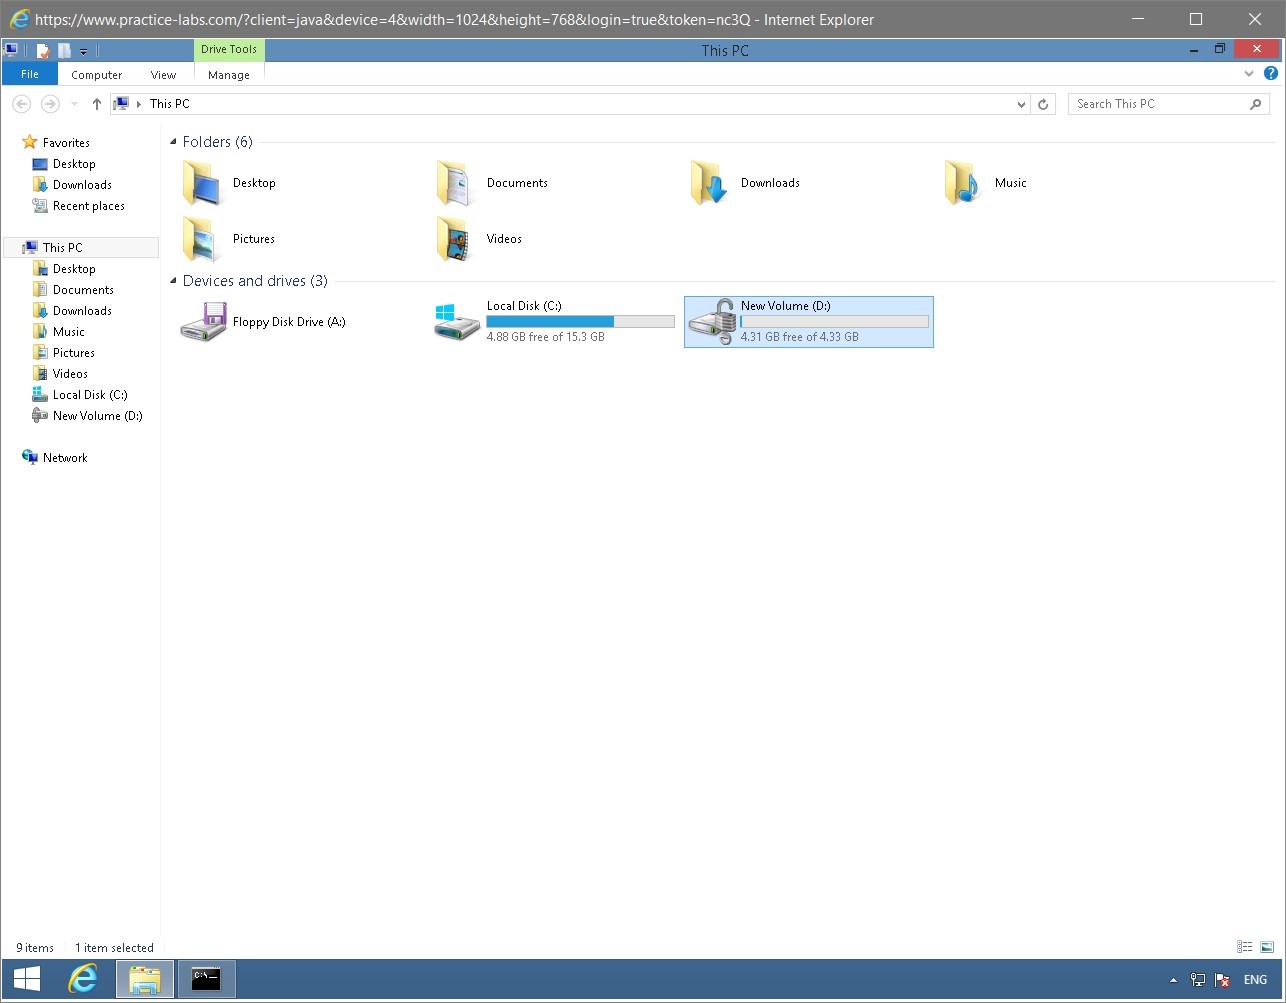
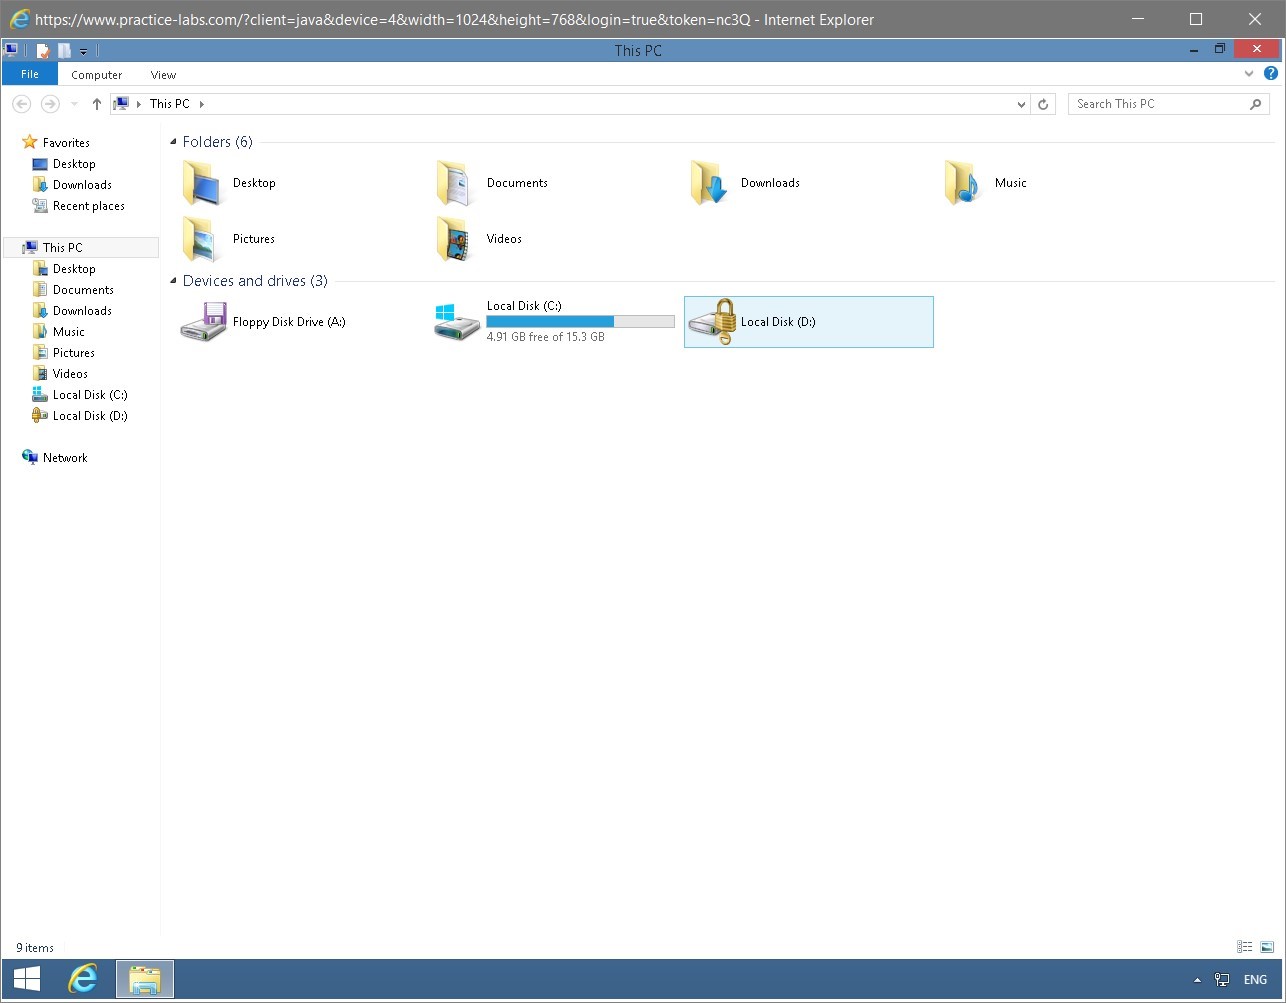
Notice the BitLocker icon now appended on Drive Volume D.
The drive is still in its unlocked state as indicated by the icon.
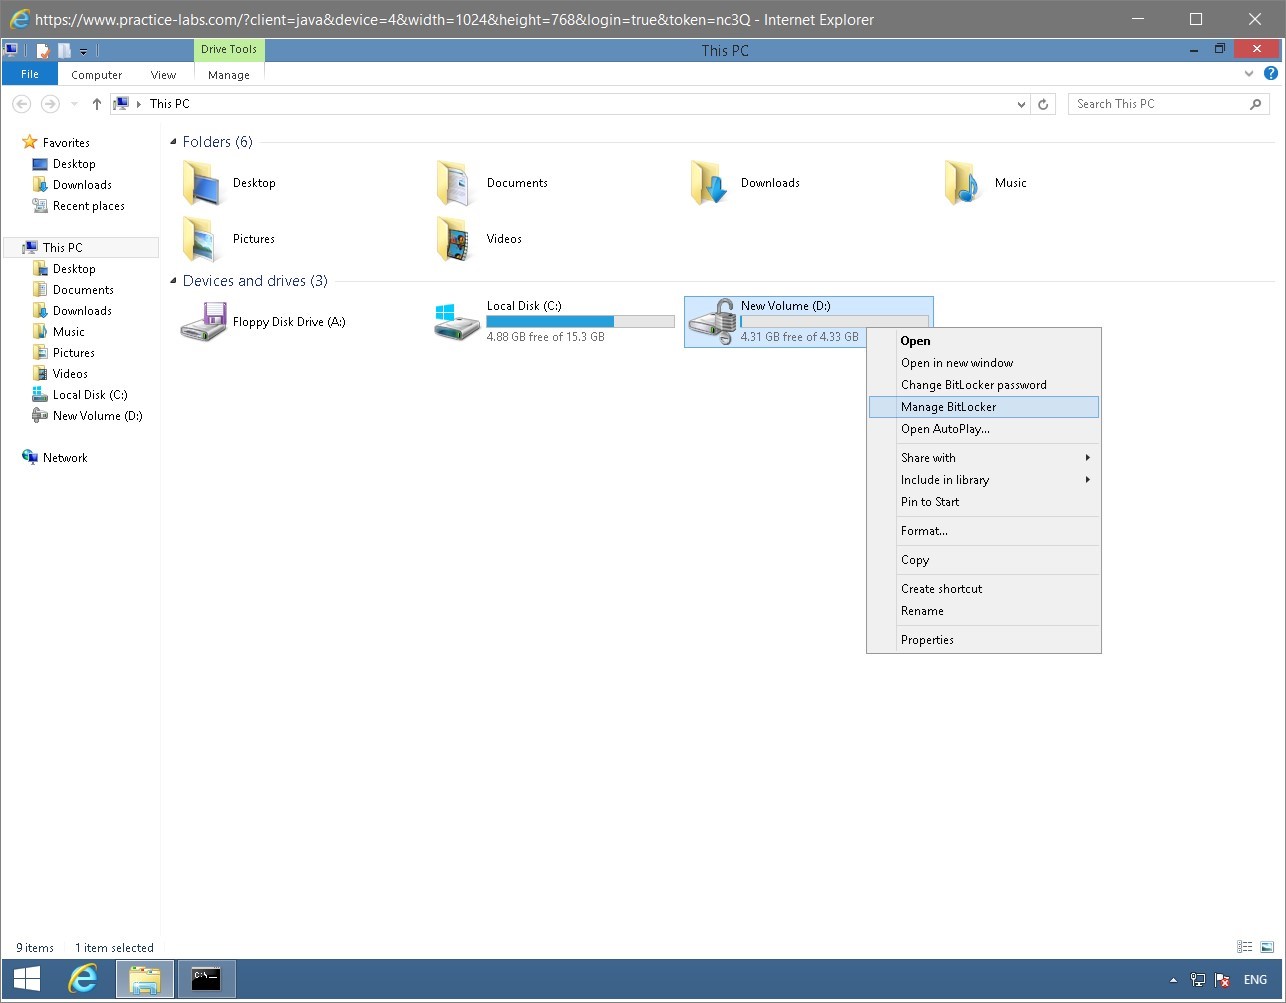
Step 11
To manage the properties of this newly-encrypted drive, right-click on Bitlocker volume (D:) and select Manage Bitlocker.
Step 12
The BitLocker Drive Encryption window opens.
Notice the different options available for managing New Volume (D:).
Keep this window open for the next task.
Keep all devices powered on in their current state and proceed to the next task.
Task 4 - Verify BitLocker functionality
The previous task enabled the drive E for BitLocker. To find out how BitLocker works and to test the unlock drive password, perform the following steps:
Step 1
While the BitLocker Drive Encryption window is open, click in the address bar and type:
Shutdown /r /t 0
Press Enter.
Note: Before reconnecting to PLABWIN810, wait for about 1 minute to let PLABWIN810 complete its restart.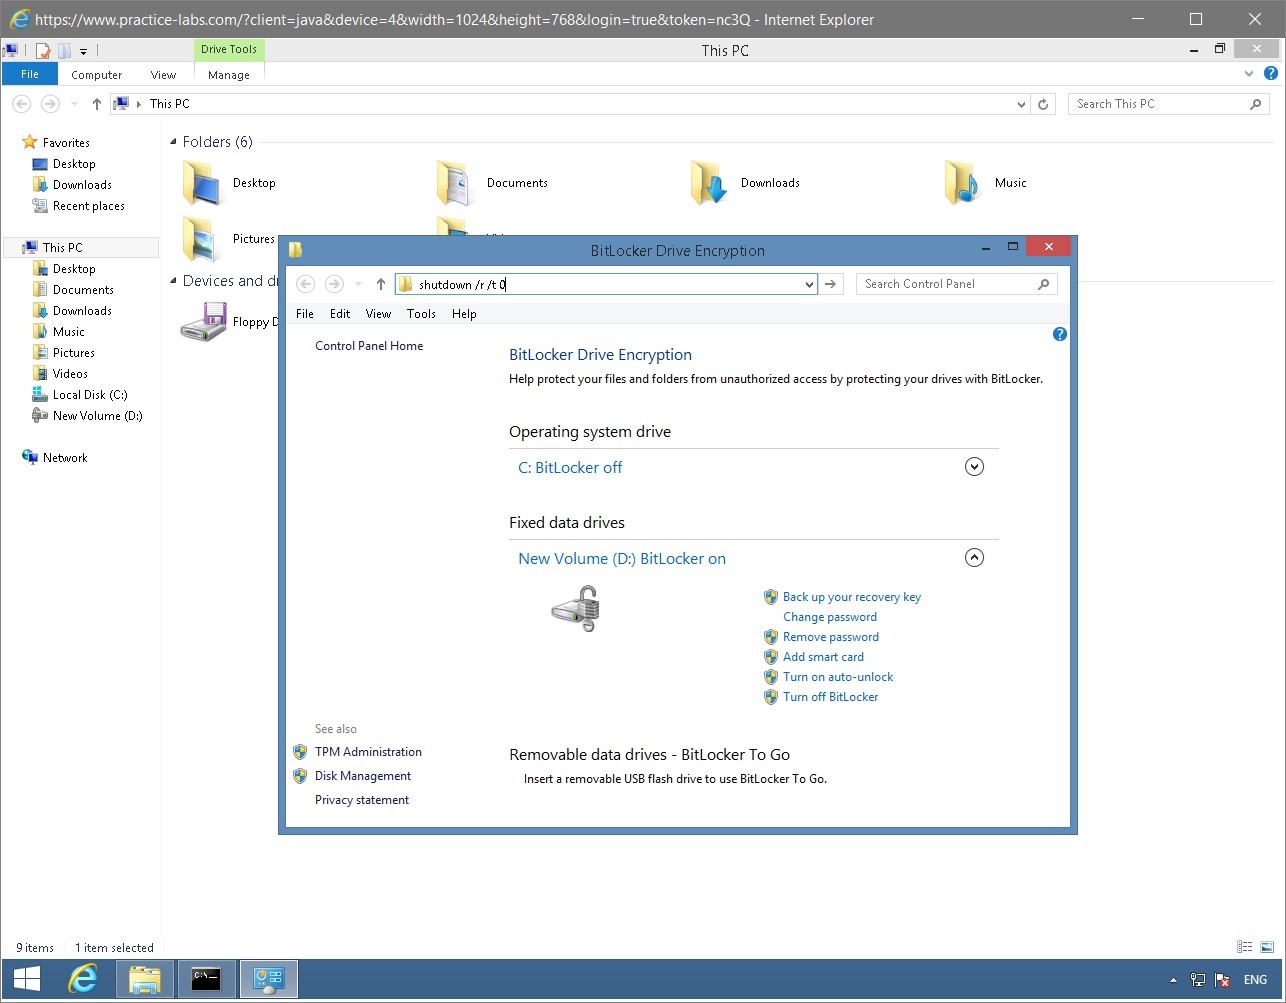
Step 2
On your computer, go to the Practice Labs web application.
After 1 minute, reconnect to PLABWIN810 device.
When signed on to PLABWIN810 computer, click File Explorer on taskbar.
Step 3
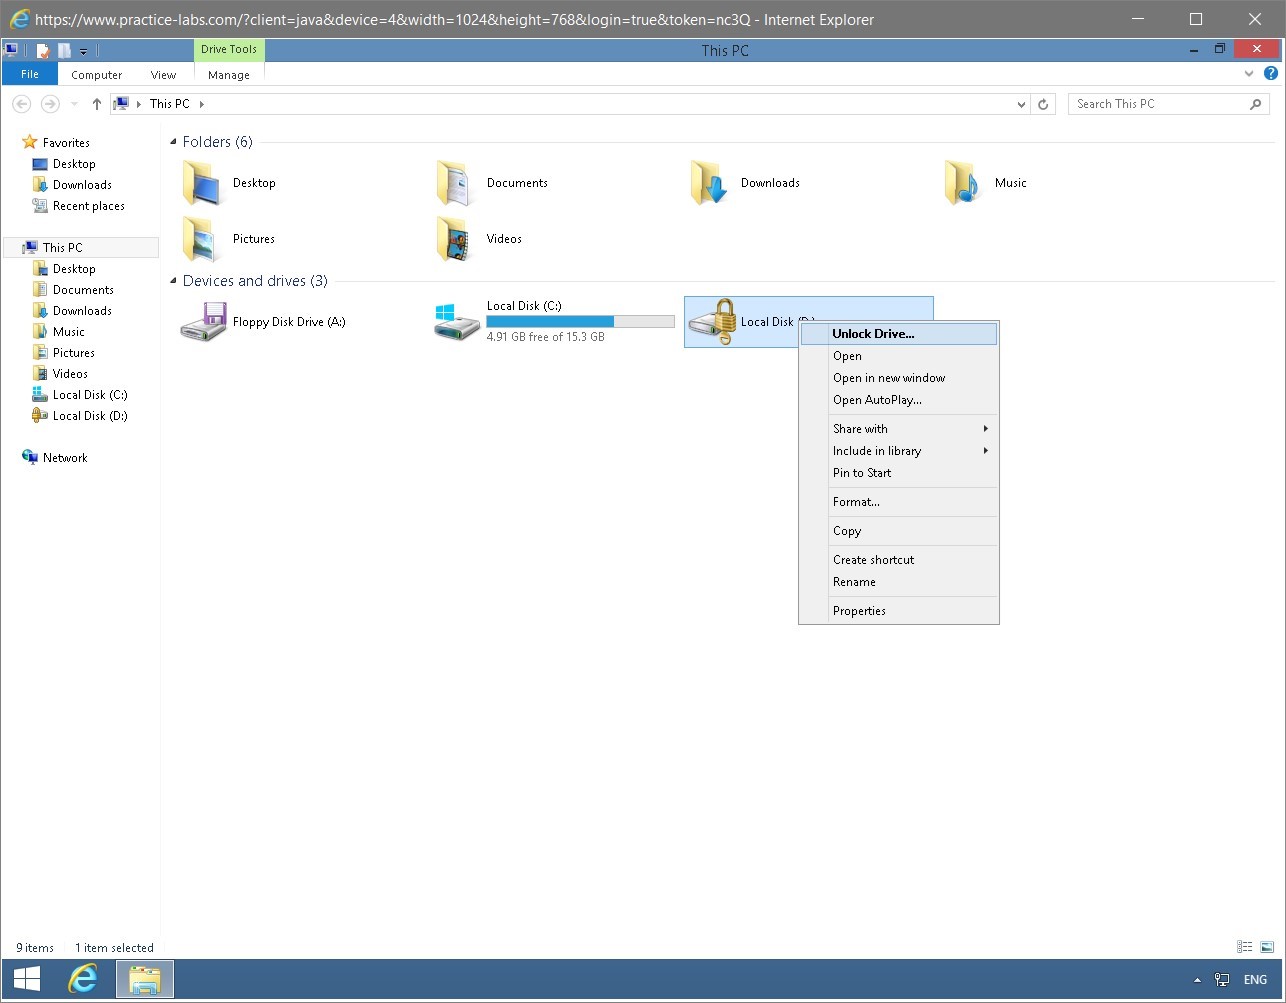
Notice that Local Disk D is now locked.
Step 4
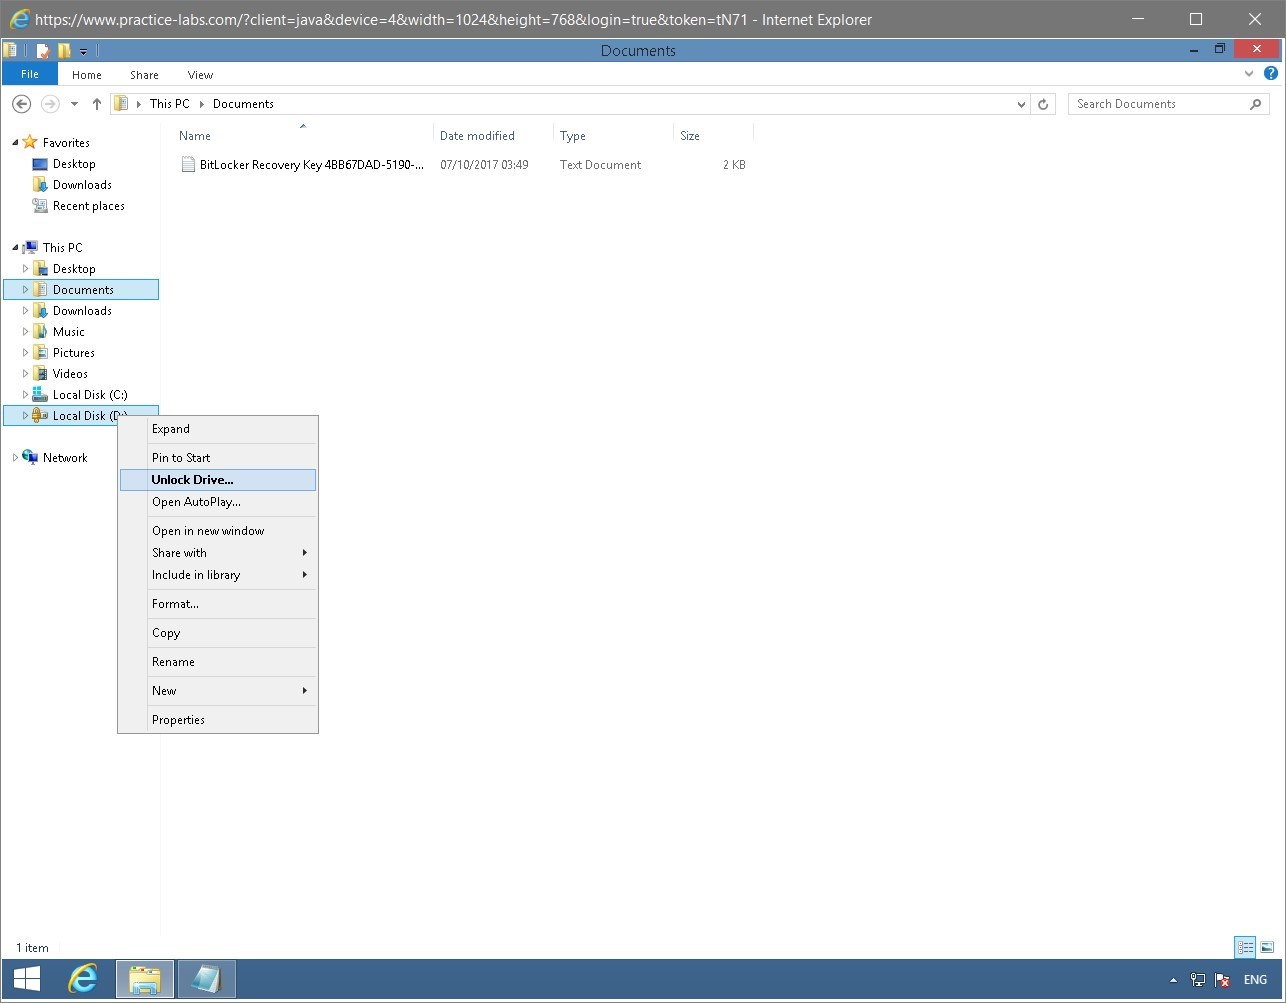
Right-click on Local Disk D and select Unlock Drive…
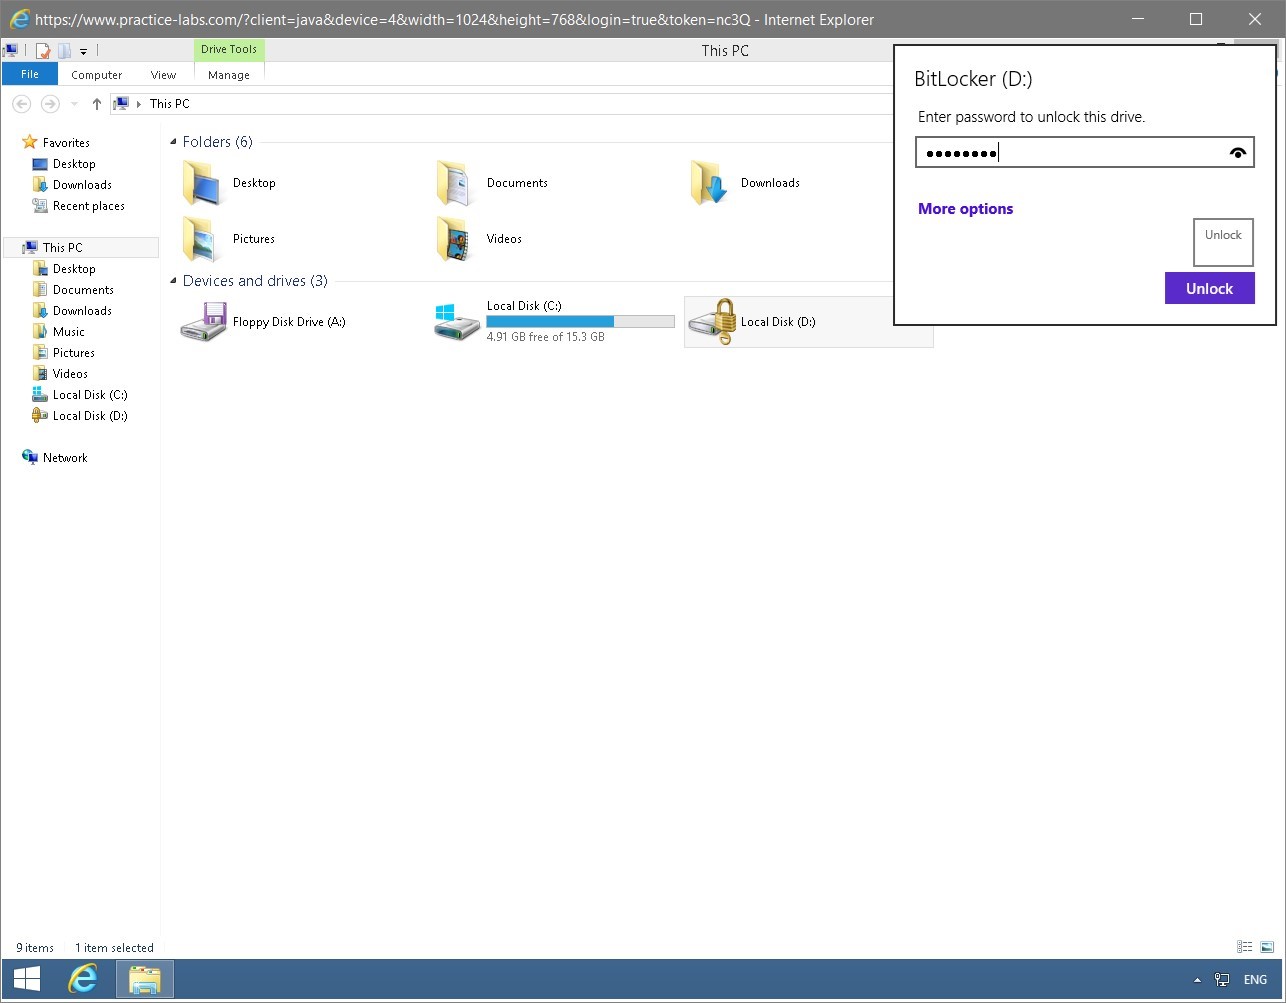
Step 5
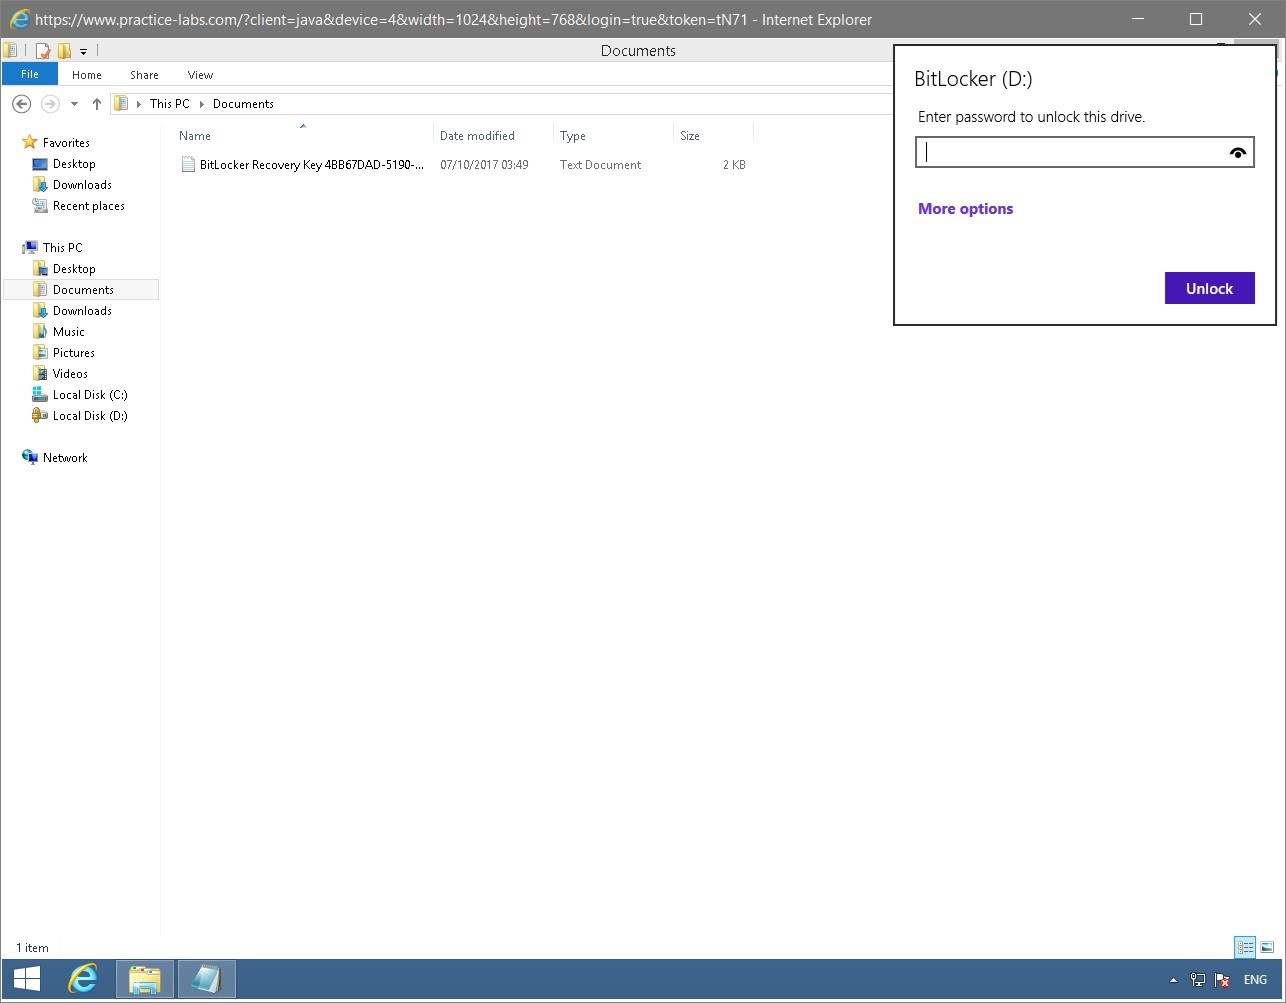
On the BitLocker D dialog box, type:
Password
Click Unlock.
Step 6
The Bitlocker Volume D is now unlocked.
Keep all devices powered on in their current state and proceed to the next task.
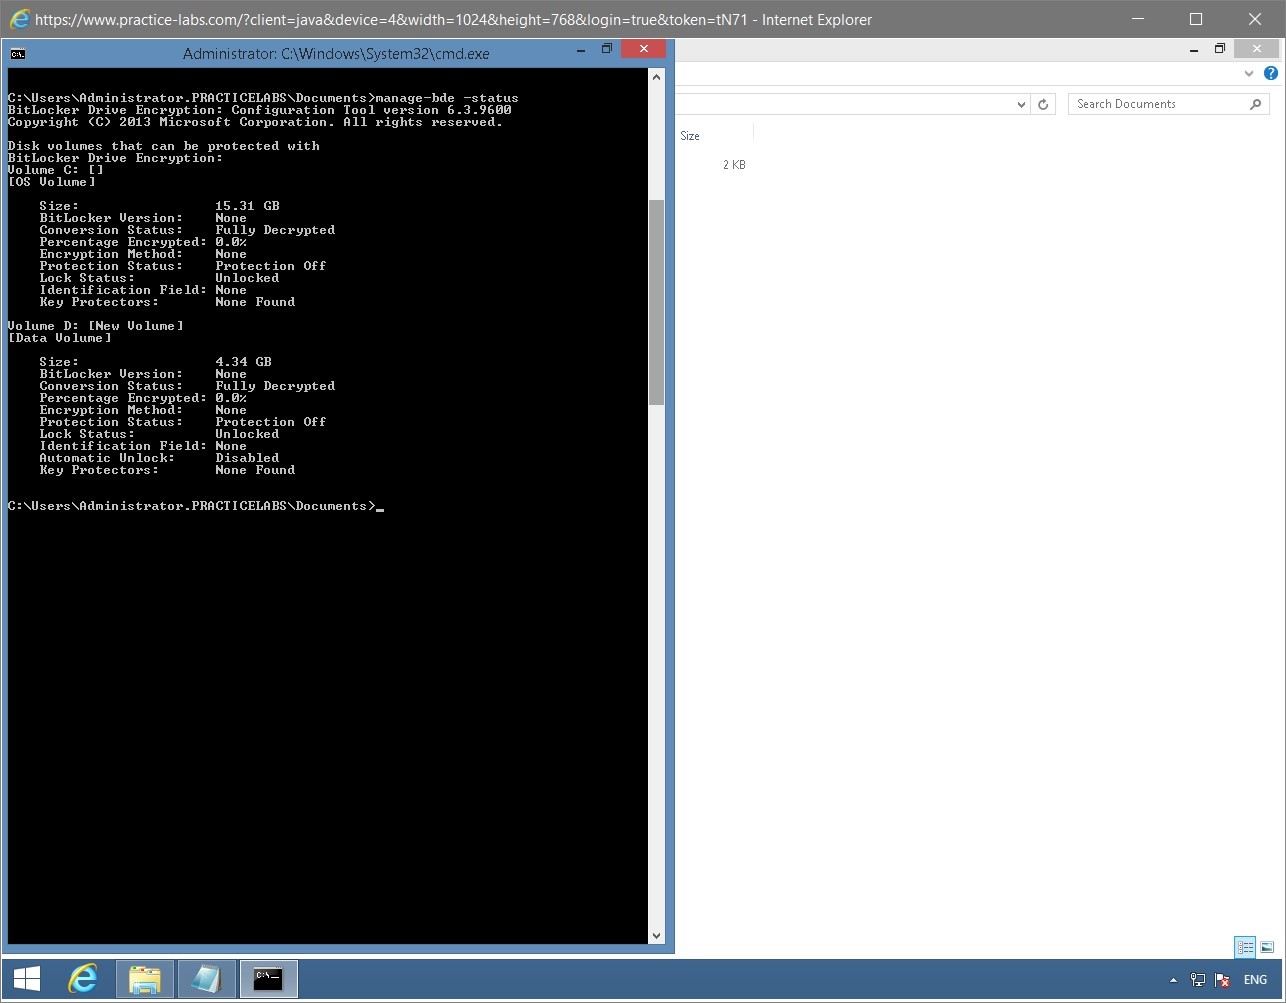
Task 5 - Manage BitLocker using the command prompt
Windows BitLocker can managed by using a command prompt tool called manage-bde.exe.
To know how the manage-bde command works, perform the following steps:
Step 1
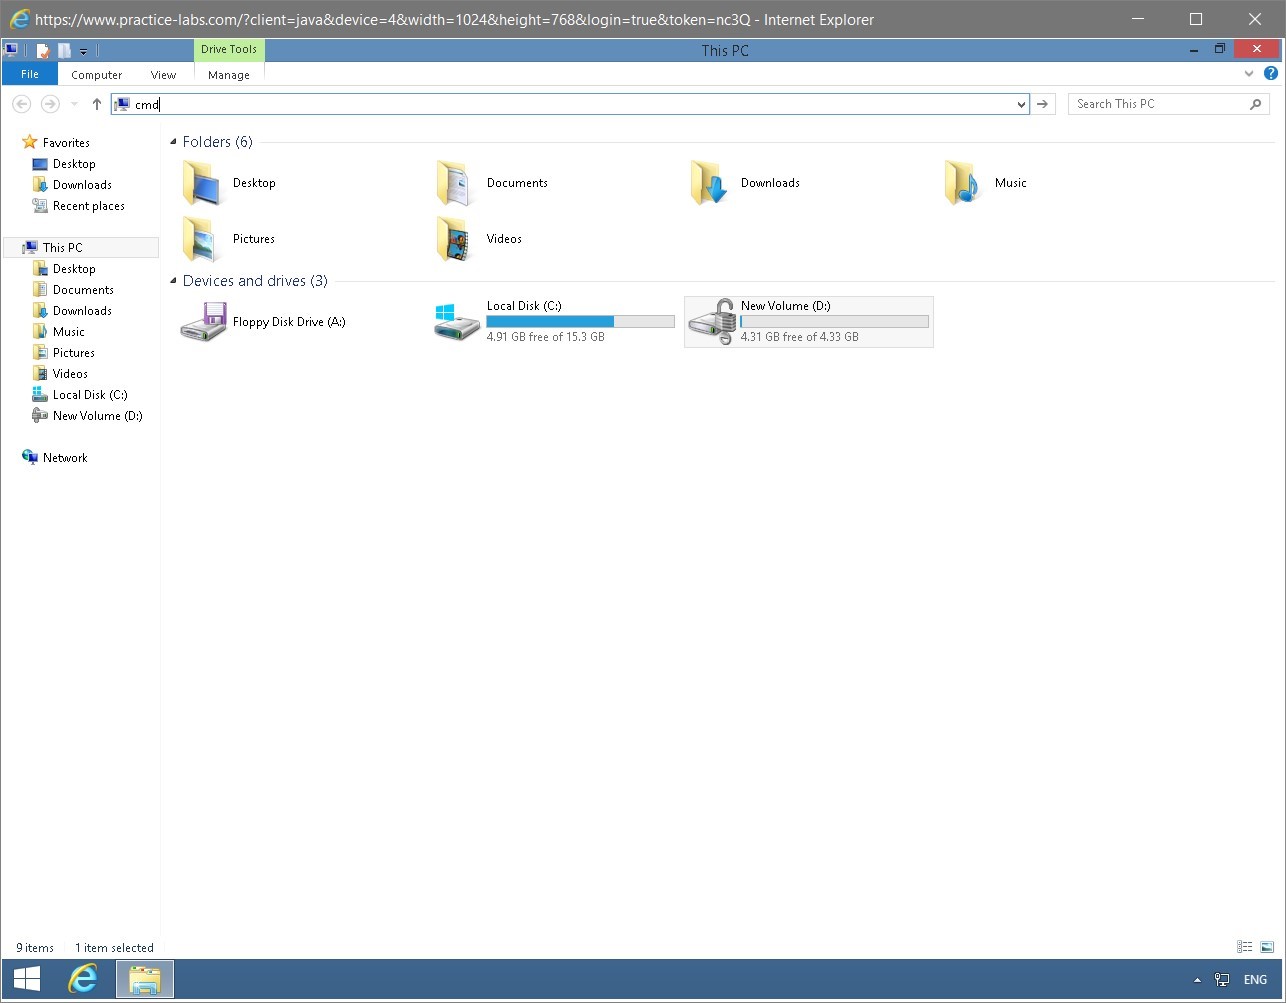
Connect to PLABWIN810 while the BitLocker window is open, click in the address bar and type:
cmd
Press Enter.
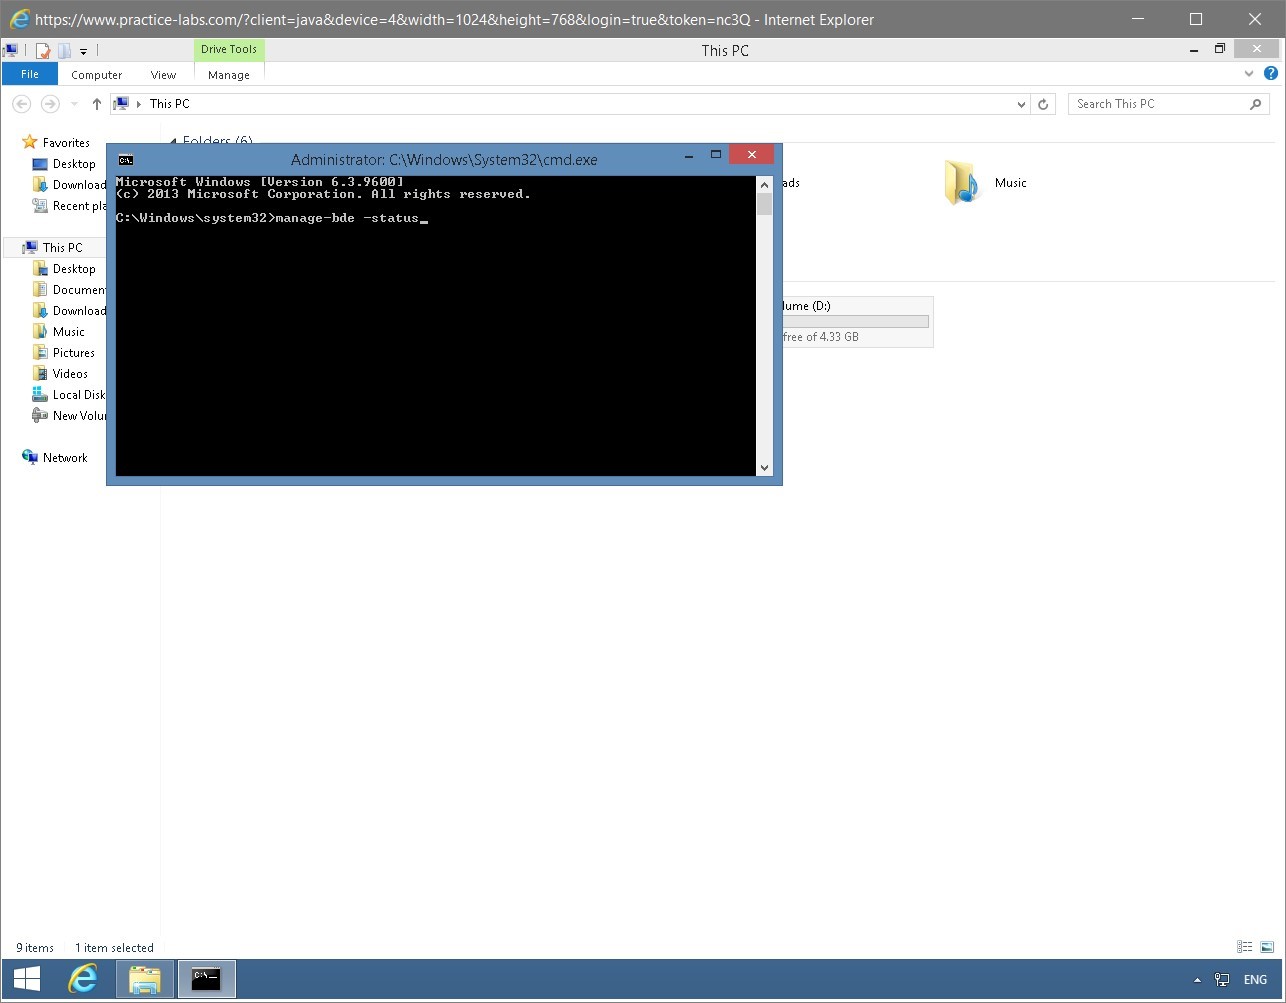
Step 2
On the command prompt window, type the following
manage-bde -status
Press Enter.
Step 3
The result of manage-bde command is now displayed.
Notice that Drive D is Fully Encrypted.
Keep all devices powered on in their current state and proceed to the next task.
Task 6 - Unlock the Encrypted Drive using Recovery Keys
If the password used for unlocking this bitlocker-enabled drive is forgotten, you can use the Recovery Key that was created earlier to unlock Drive E.
In this task, you will not enter a password and simulate a recovery of the encrypted volume using the Recovery Keys.
To use the recovery keys, perform the following steps:
Step 1
On PLABWIN810, while the command prompt is still open, type:
shutdown /r /t 0
Press Enter.
Note: You need to restart PLABWIN810 computer, as you have unlocked Drive E using the password. You need to restart the computer to lock the encrypted drive.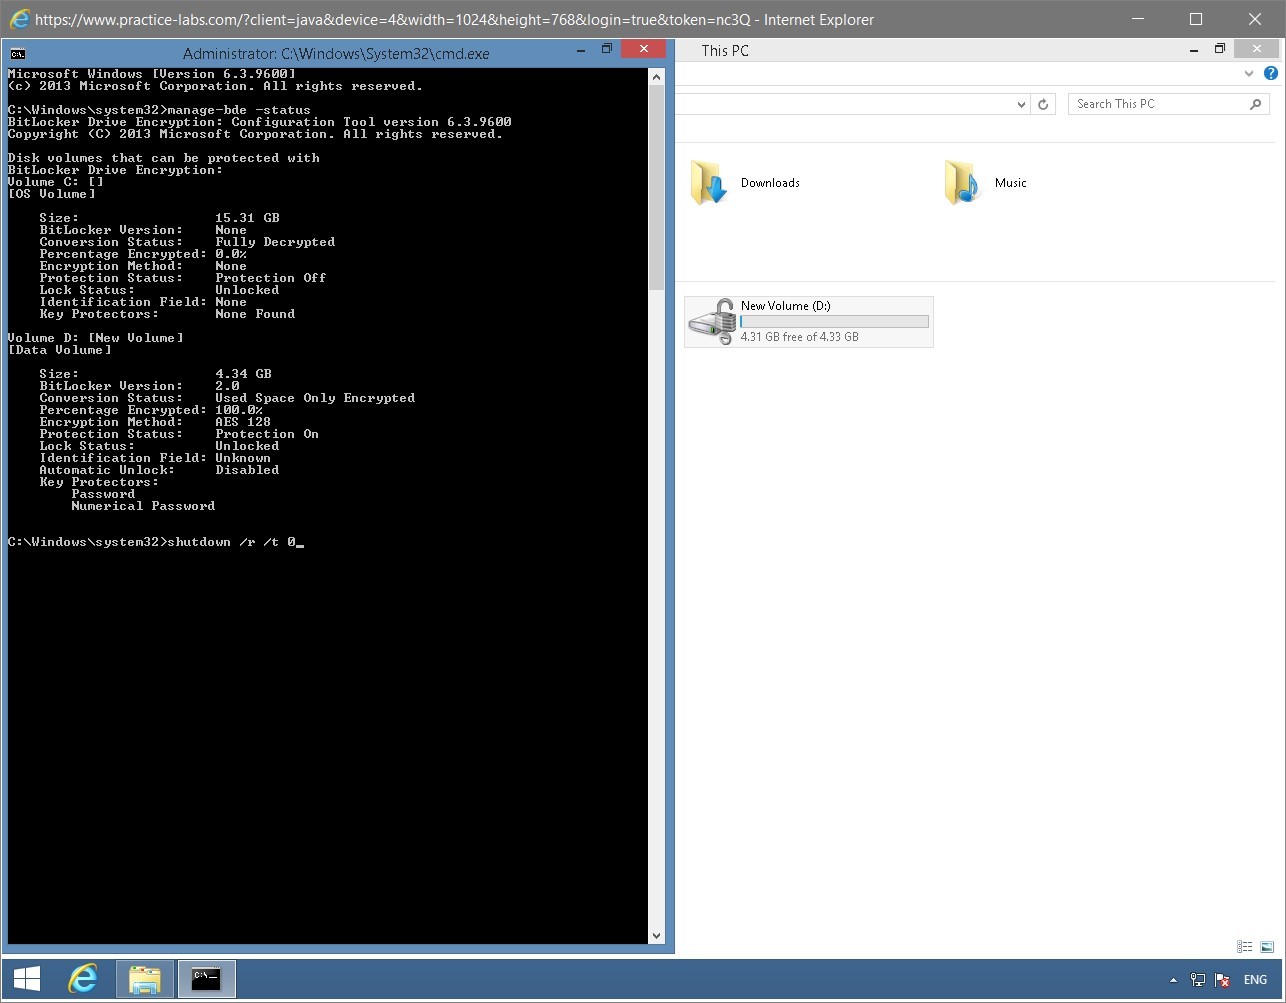
Step 2
A minute after the restart, reconnect to the PLABWIN810 device.
Click File Explorer on the taskbar.

Step 3
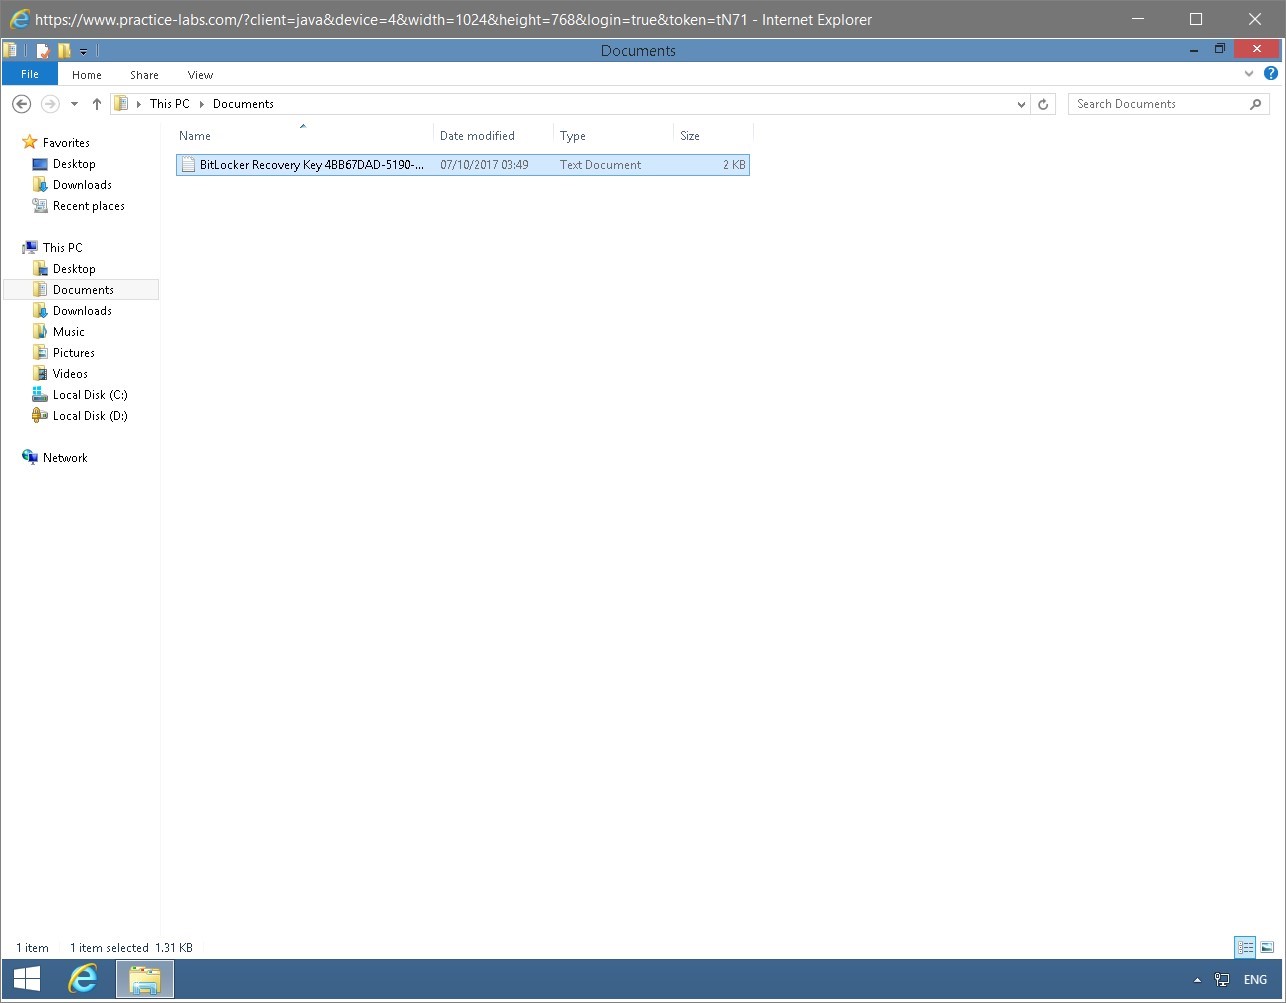
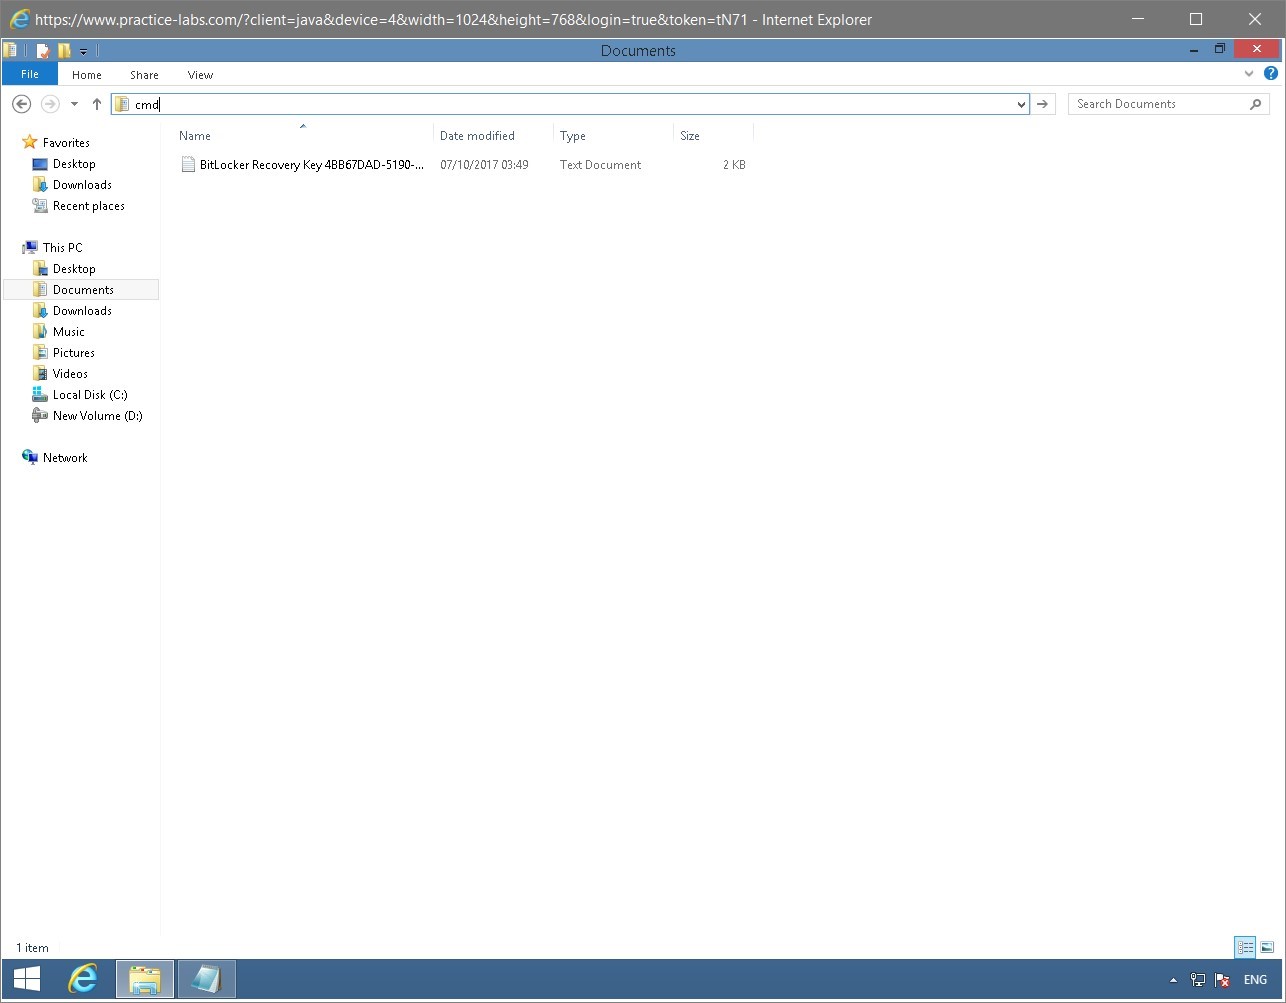
On File Explorer window, expand This PC and then select Documents folder in the right pane.
The contents of Documents folder is displayed including the Bitlocker Recovery Key file.
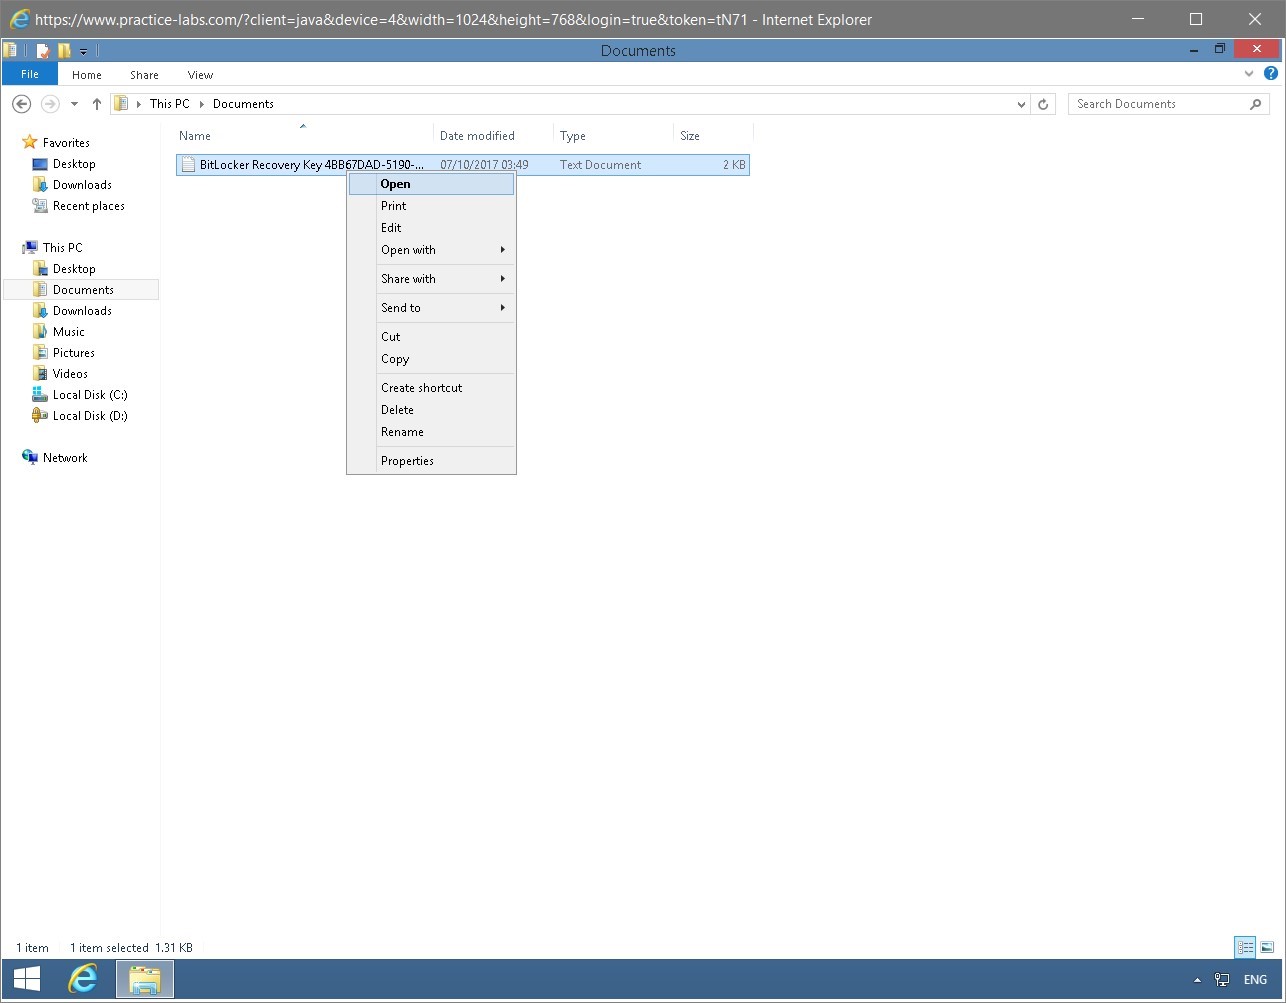
Step 4
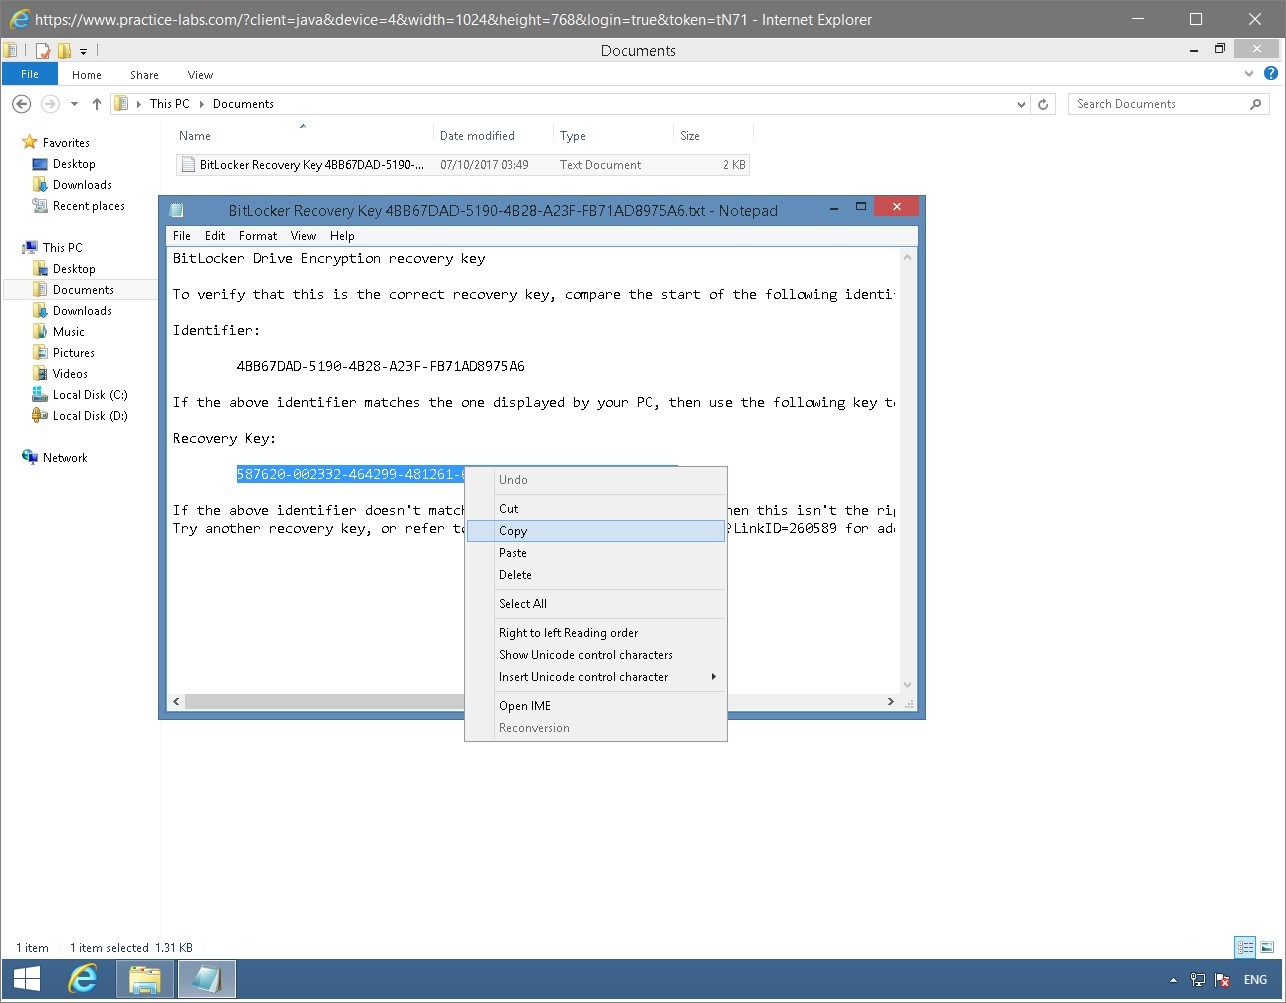
Right-click the BitLocker Recovery Key file and select Open.
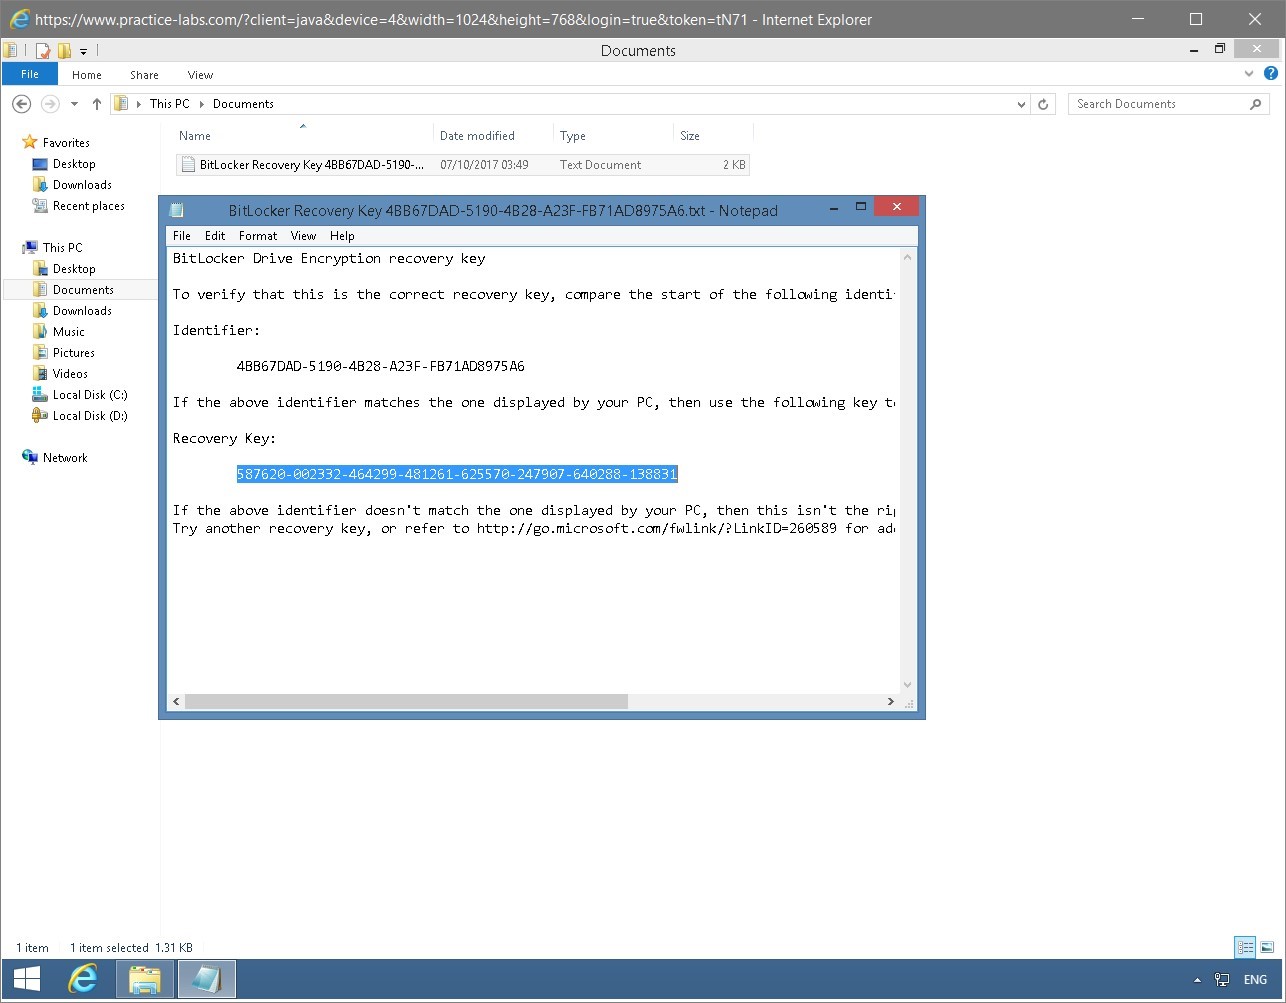
Step 5
When BitLocker Recovery File is opened, locate the Recovery Key section.
Note: The Recovery Key that you will get in your lab, will be different from the screen shot.Keep the BitLocker Recovery File window open.
Step 6
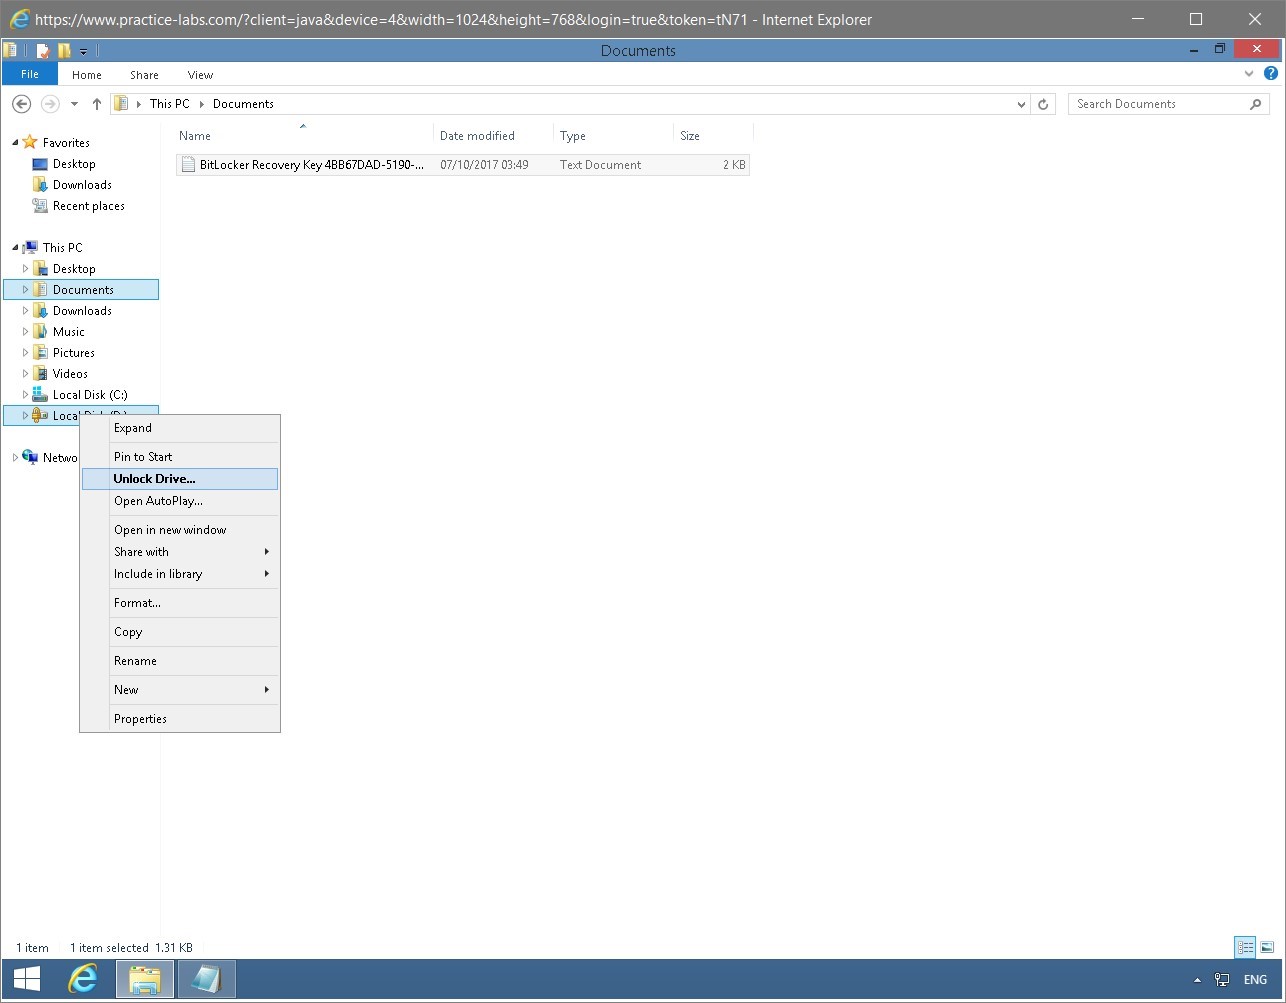
Go back to File Explorer window that you opened earlier.
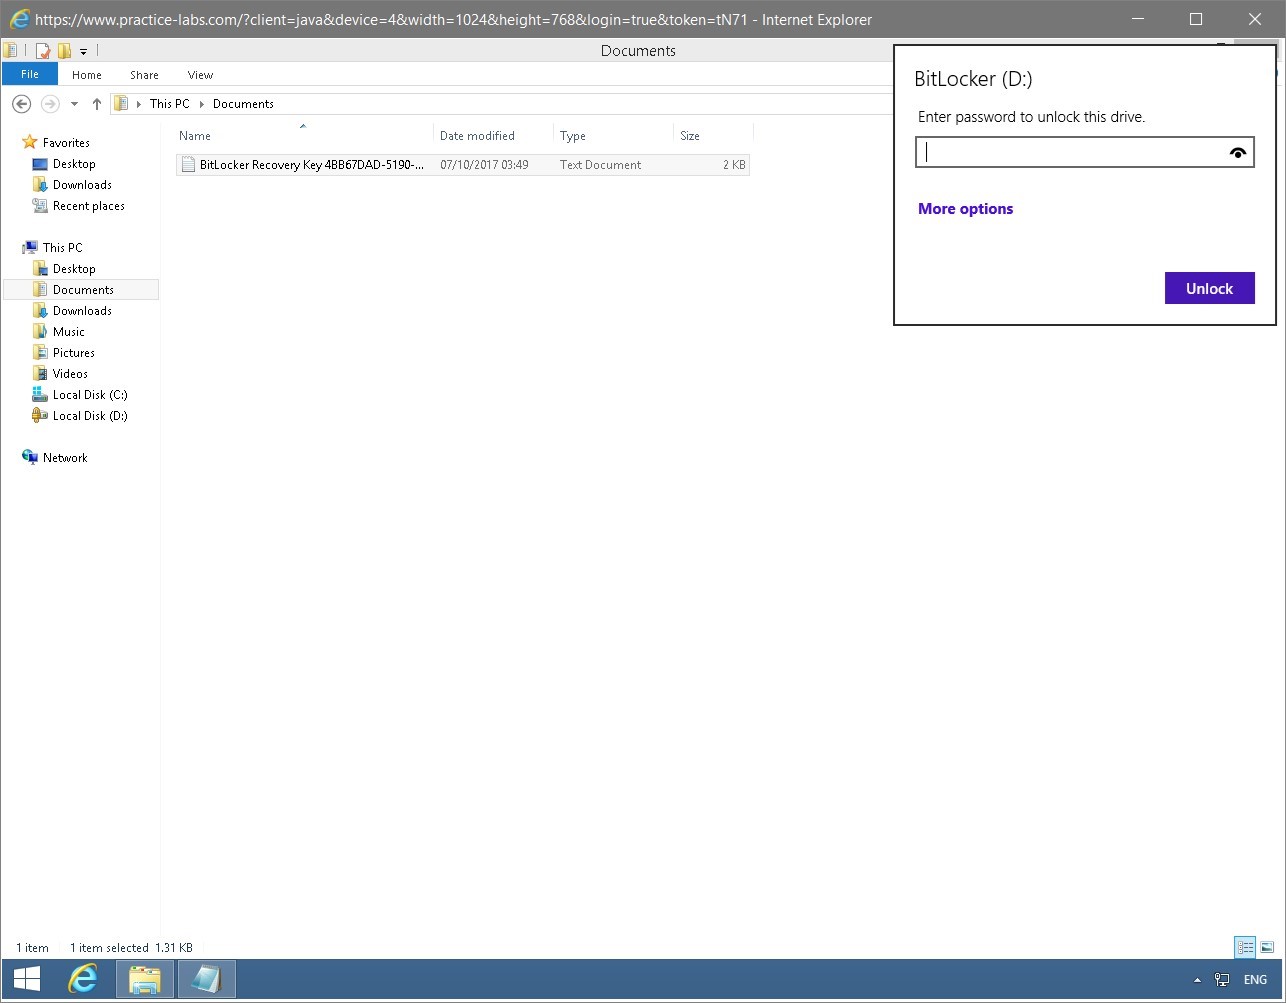
Right-click on Local Disk (D :) and select Unlock Drive…
Step 7
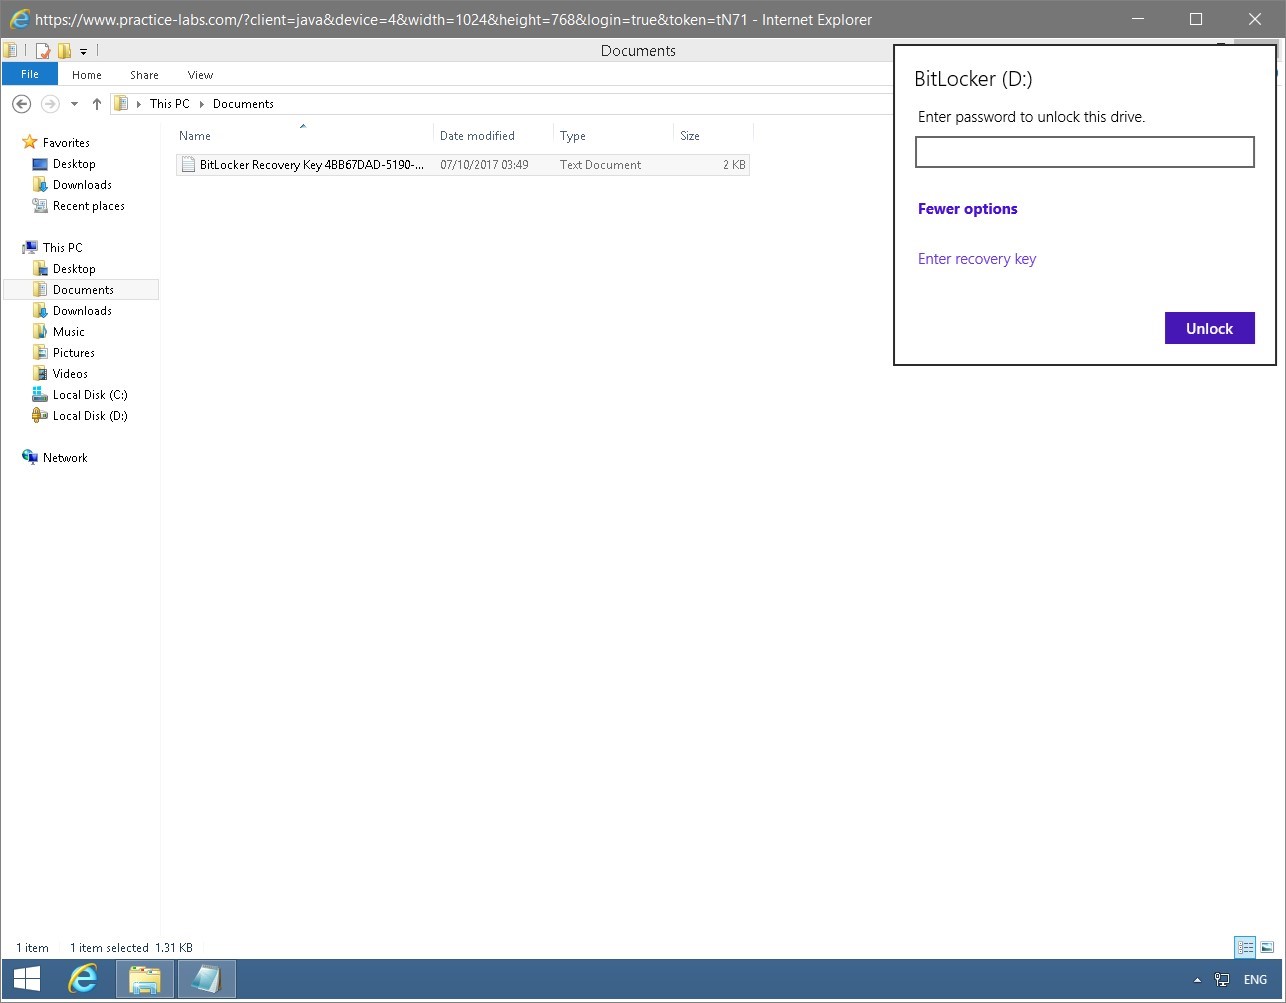
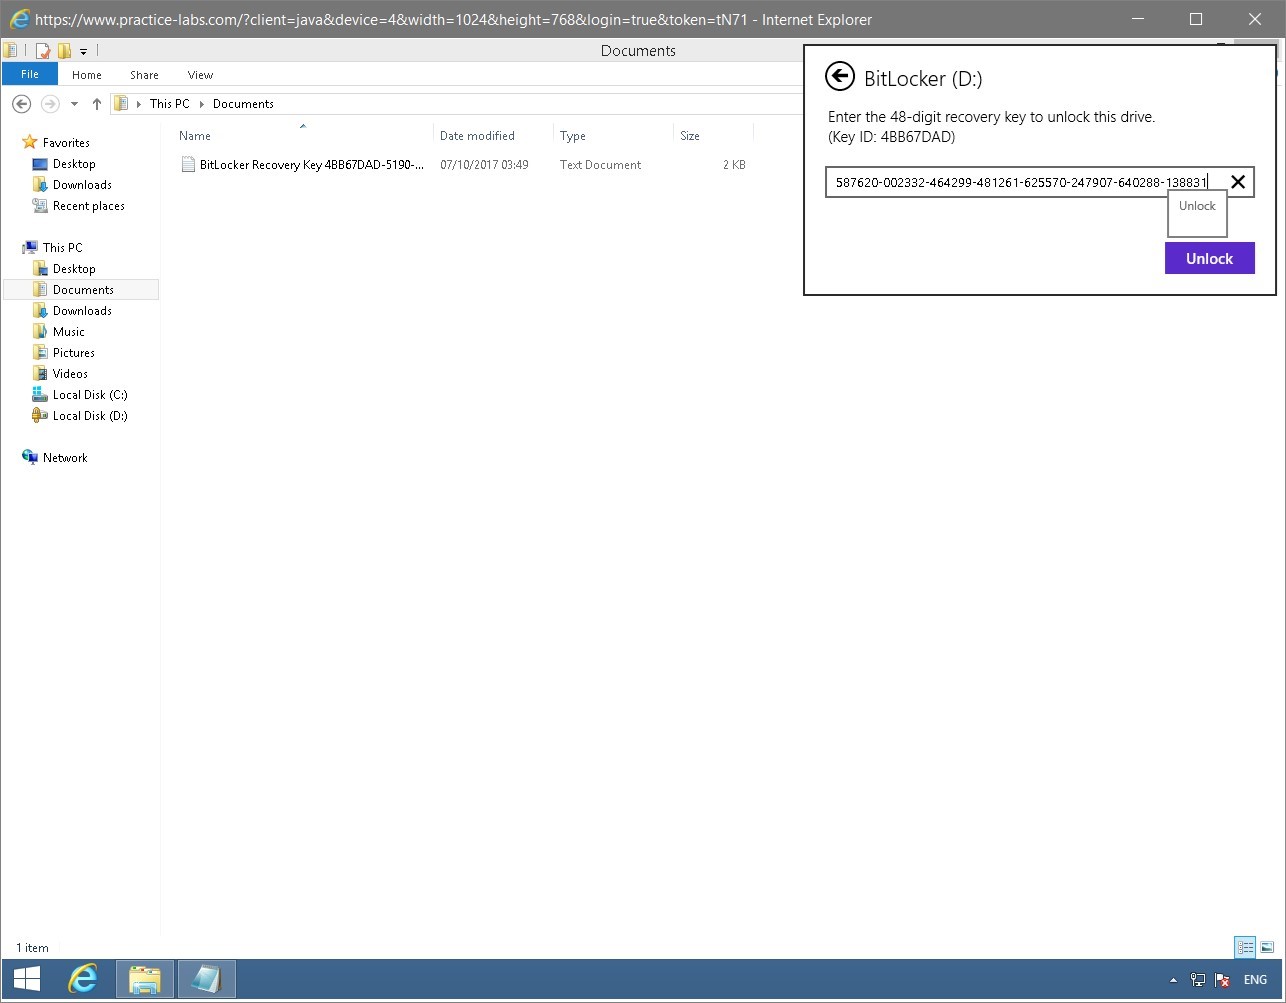
On the BitLocker (E:) dialog box, click More options link.
Step 8
The BitLocker (D:) dialog box expands and now include Enter recovery key link.
Click the Enter recovery key link.
Step 9
You are now asked to enter the 48-digit recovery key to unlock this drive.
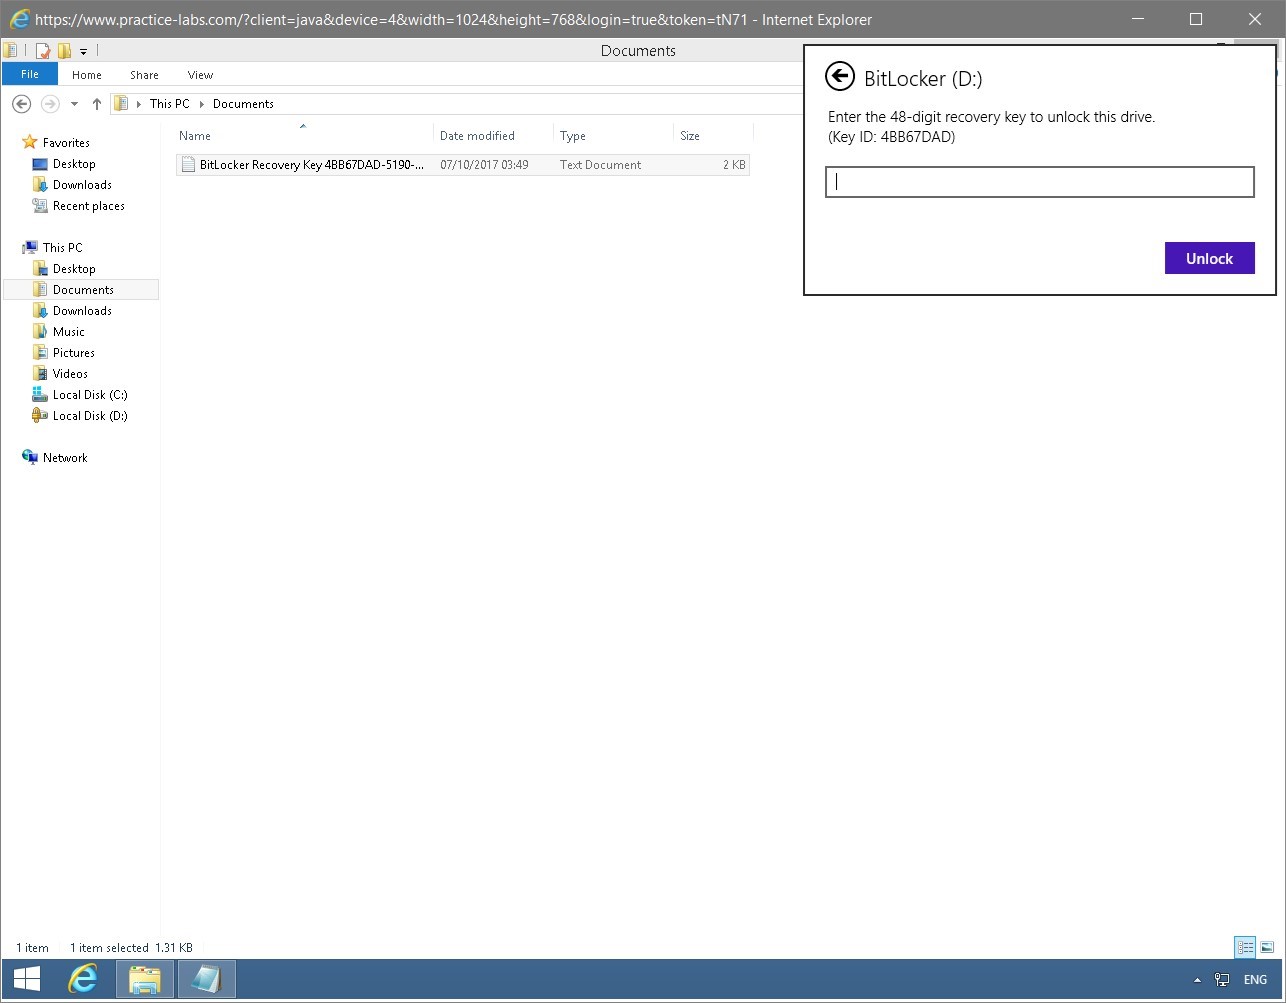
Step 10
Go back to BitLocker Recovery Key text file and copy the Recovery Key.
Step 11
The dialog box to enter the Recovery Key has closed since you clicked outside of it earlier.
Right-click again on Local Disk D then select Unlock Drive…
Step 12
On the BitLocker D dialog box, click More options.
Step 13
Still on the BitLocker D dialog box, click Enter recovery key.

Step 14
Click inside the textbox and press CTRL+V to paste the recovery key you copied from the Recovery Key text document.
Click Unlock.
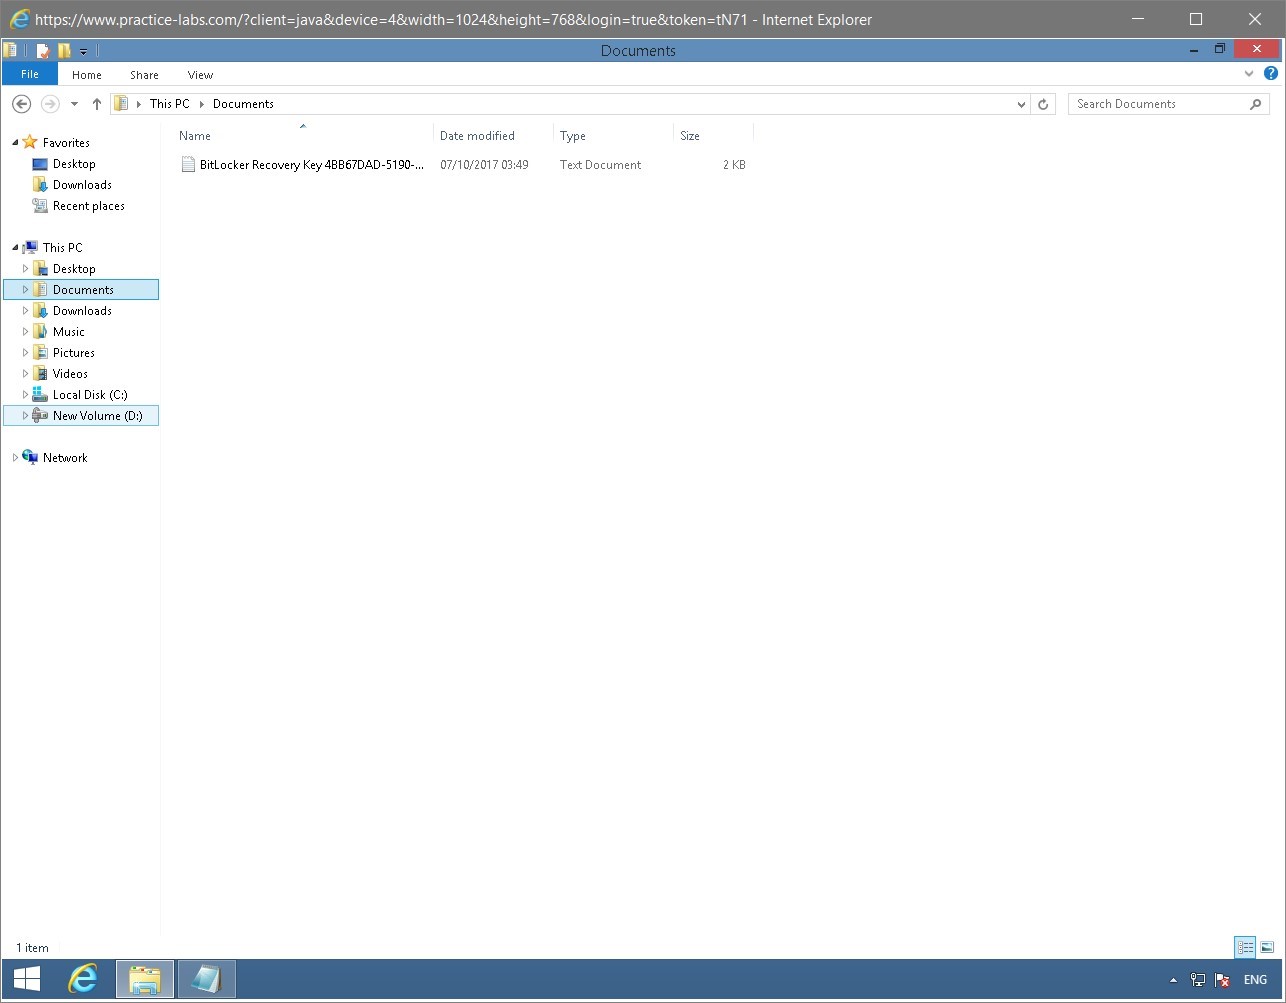
Step 15
Notice that BitLocker volume (D:) is now unlocked.
Therefore, the Recovery Key worked.
Keep the File Explorer window open for the next task.
Keep all devices powered on in their current state and proceed to the next task.
Task 7 - Remove BitLocker disk encryption on Drive E
To remove BitLocker encryption on the volume E, follow these steps:
Step 1
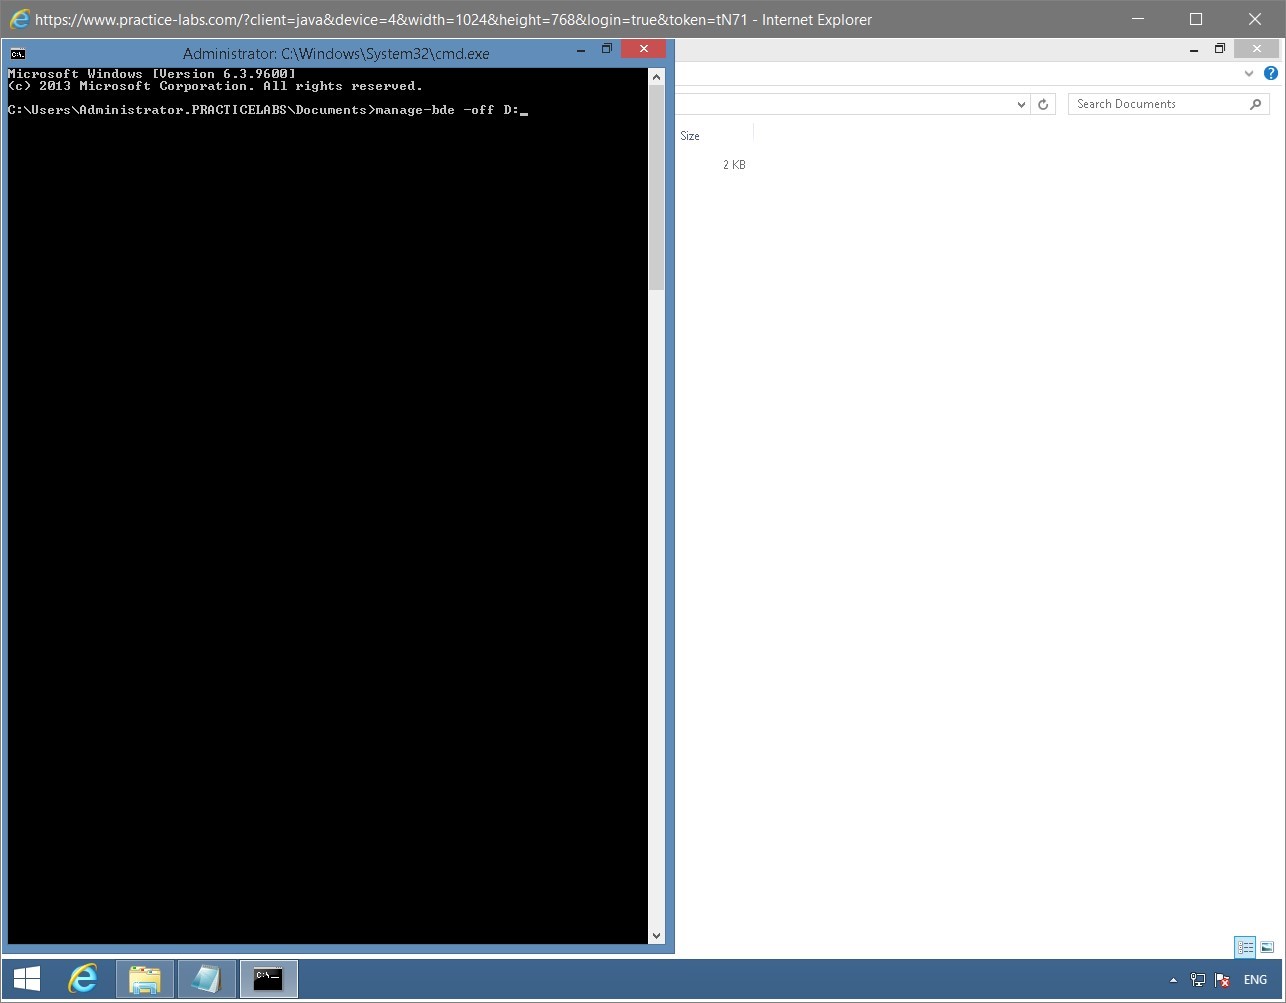
On PLABWIN810, while File Explorer is open, click in the address bar and type:
cmd
Press Enter.
Step 2
On the command prompt window, to decrypt Volume D type the following:
manage-bde -off D:
Press Enter.
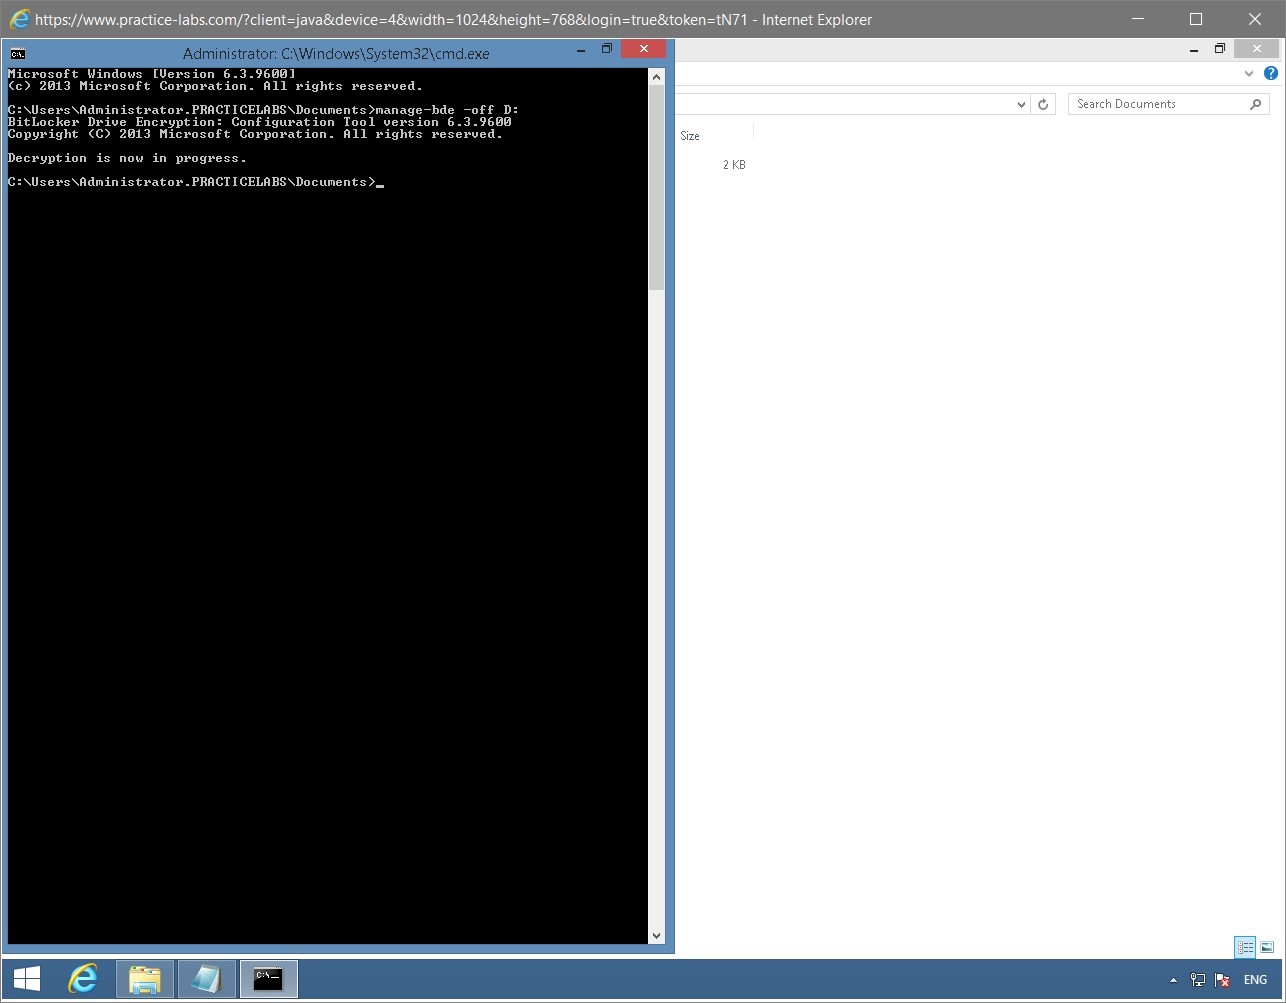
Step 3
The system will now indicate that decryption is in progress.
This process will take a few minutes to finish.
Step 4
To verify the status of Drive D, type:
Manage-bde -status
Press Enter.
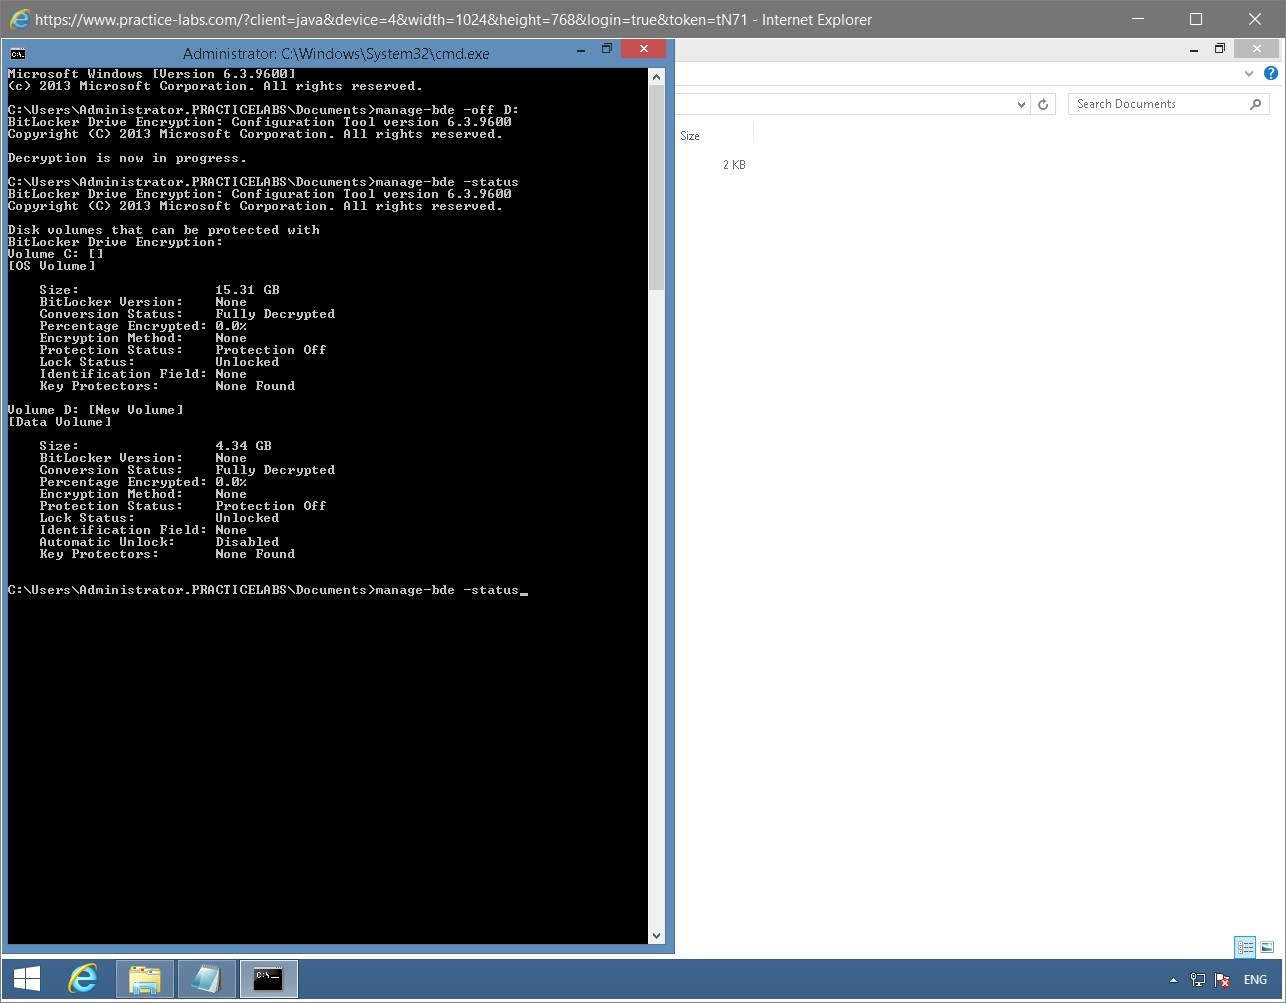
Step 5
The output of the manage-bde command is displayed.
On the following screen, the Volumes D and C are Fully Decrypted.
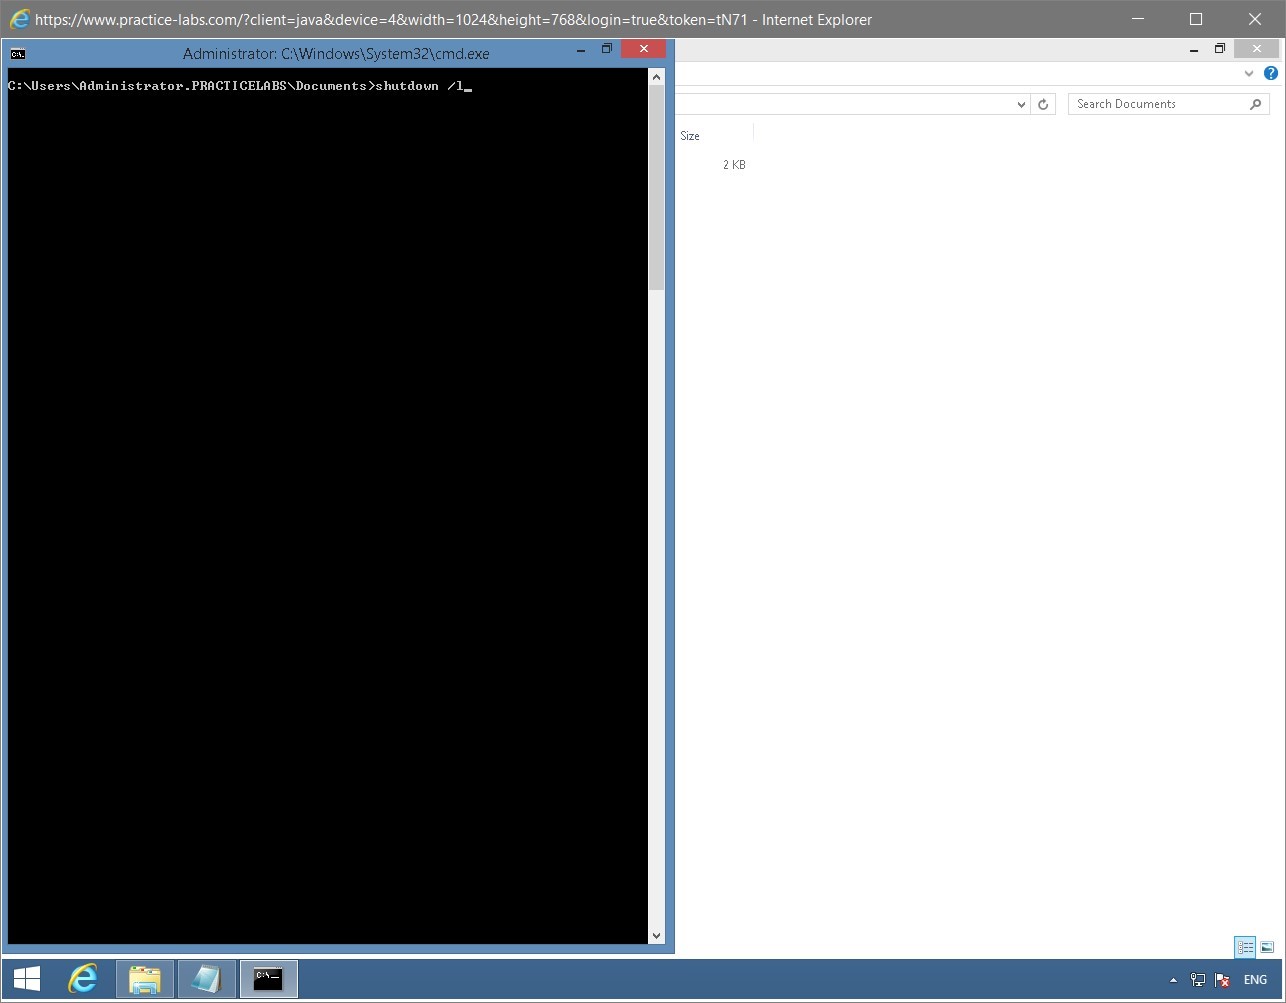
Step 6
Clear the screen using the following command:
cls
To sign out of PLABWIN810, type:
shutdown /l
Press Enter.
Manage Security for Removable Media
For security reasons, most organizations will prohibit their users from using personal storage devices for transporting proprietary information. This is to avoid theft of confidential data that may put the company’s trade secrets at risk. In this exercise, you will configure basic security for portable storage media to disallow their usage by configuring Group Policy Objects or GPO.
To get a better understanding of this technology, please refer to your course material or use your preferred search engine to research this topic in more detail.
Task 1 - Configure restrictions for removable media using GPO
To prevent users from using portable media to save their data files, perform the following steps:
Step 1
Switch back to PLABDC01 device.
From Server Manager Dashboard, go to Tools > Group Policy Management.

Step 2
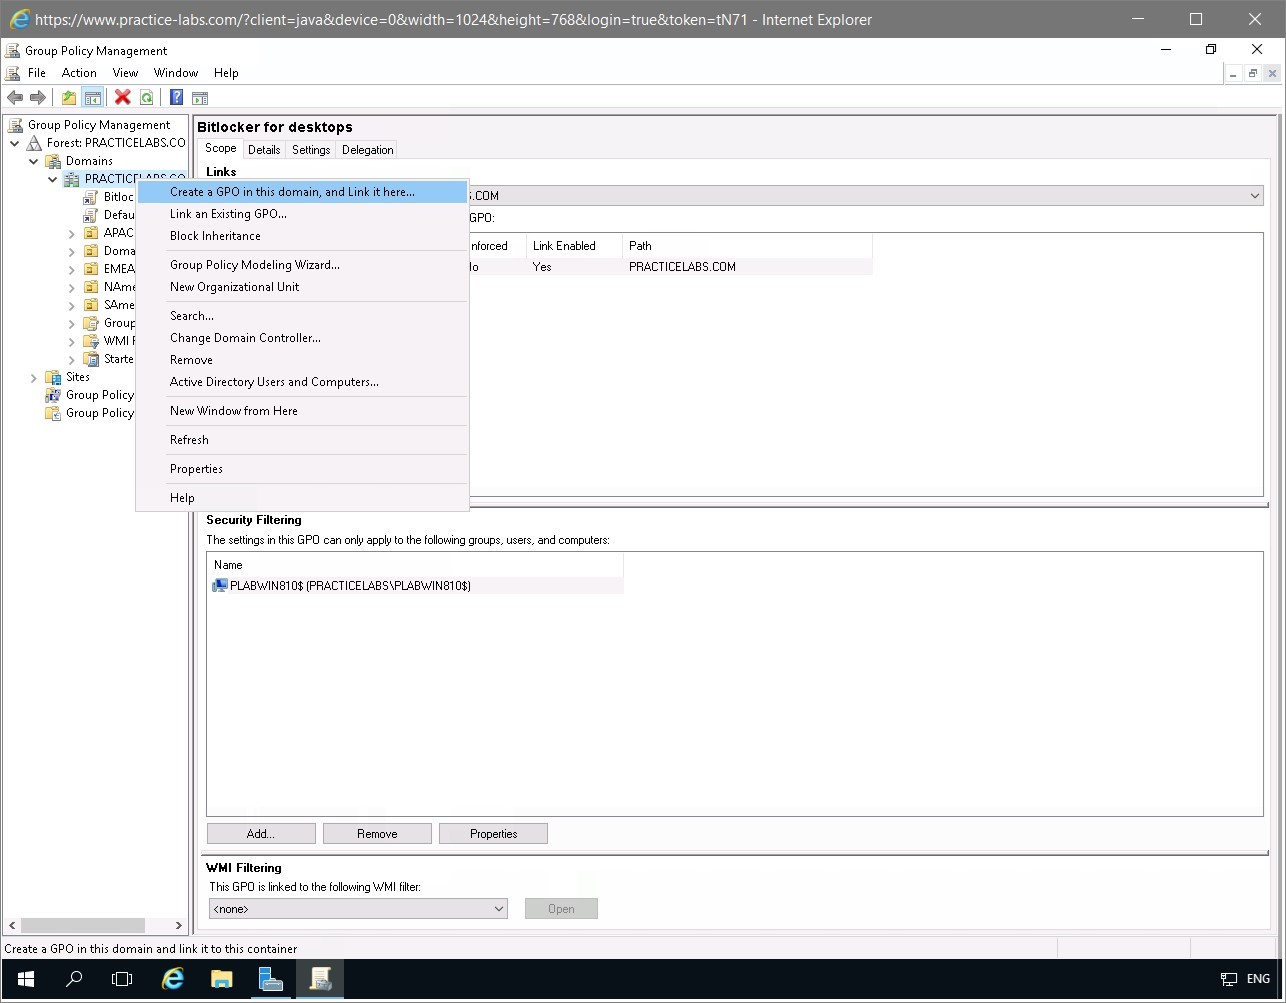
On the Group Policy Management console, expand Forest: PRACTICELABS.COM, then expand Domains if already not expanded.
Right-click PRACTICELABS.COM and select Create a GPO in this domain, and link it here.
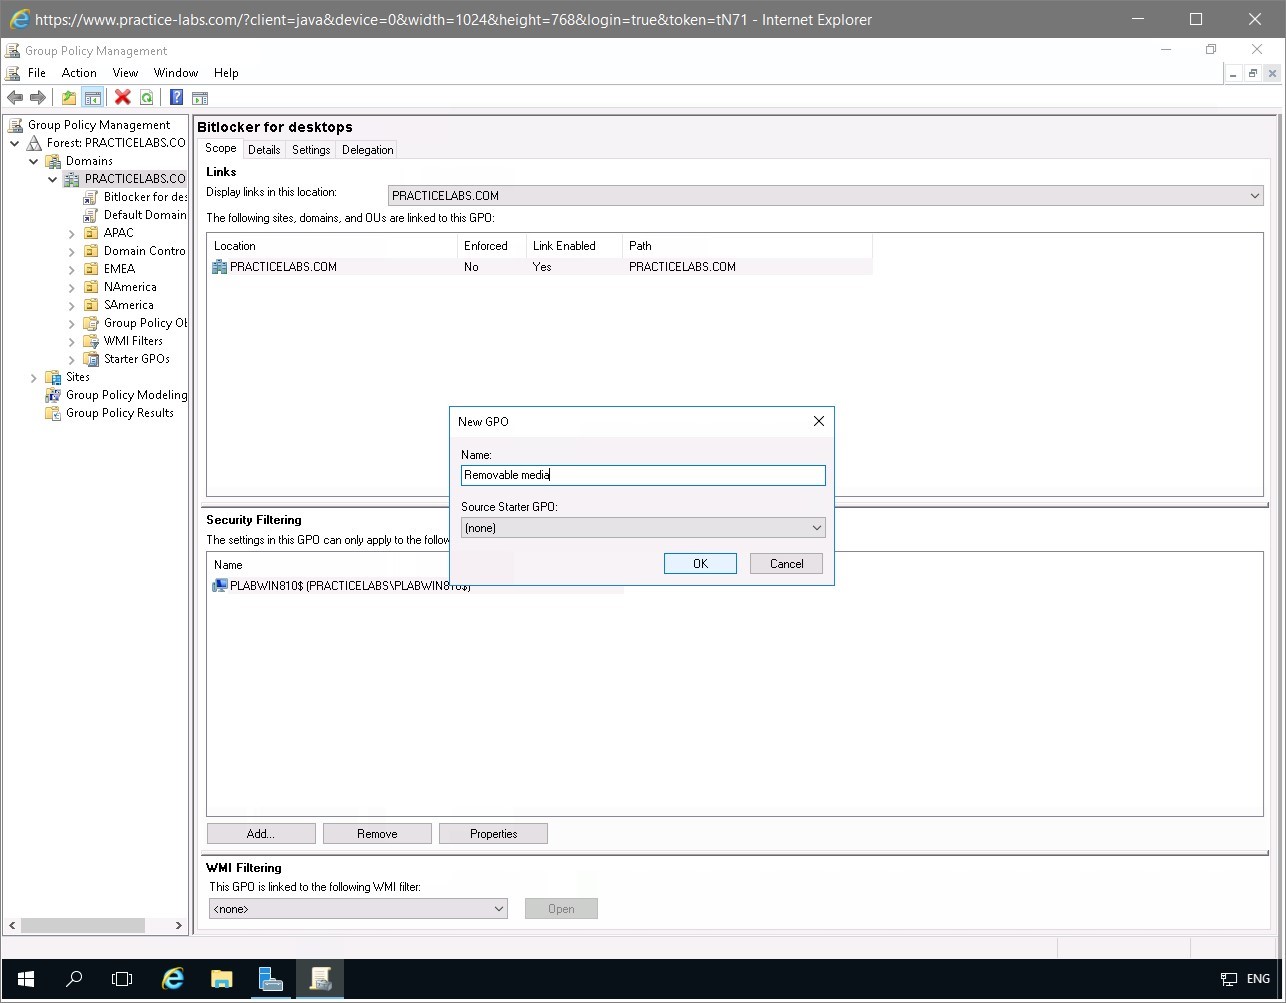
Step 3
On the New GPO dialog box, type:
Removable media
Click OK.
Step 4
Right-click Removable media and select Edit.
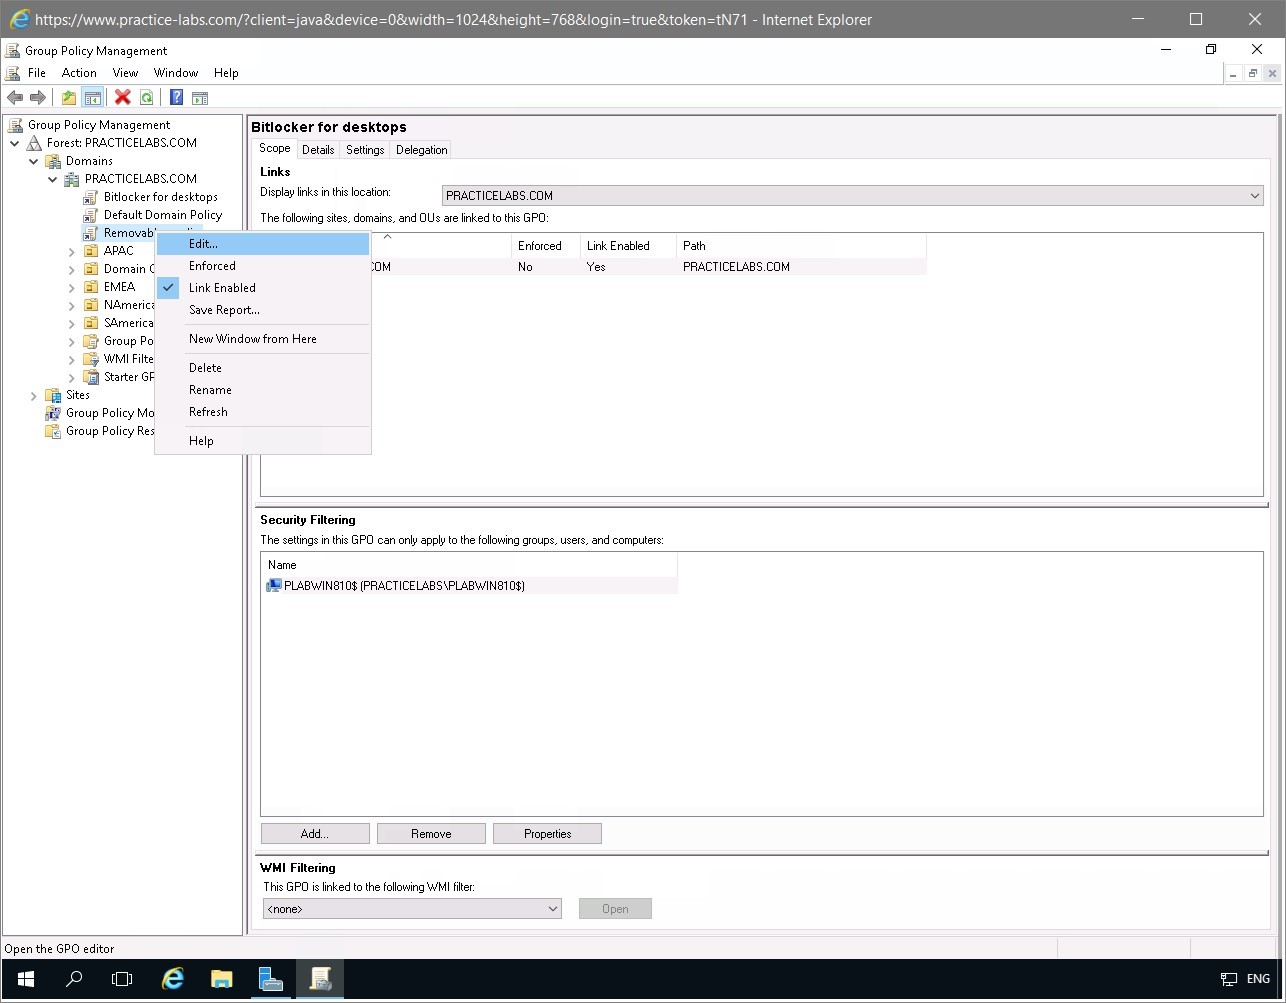
Step 5
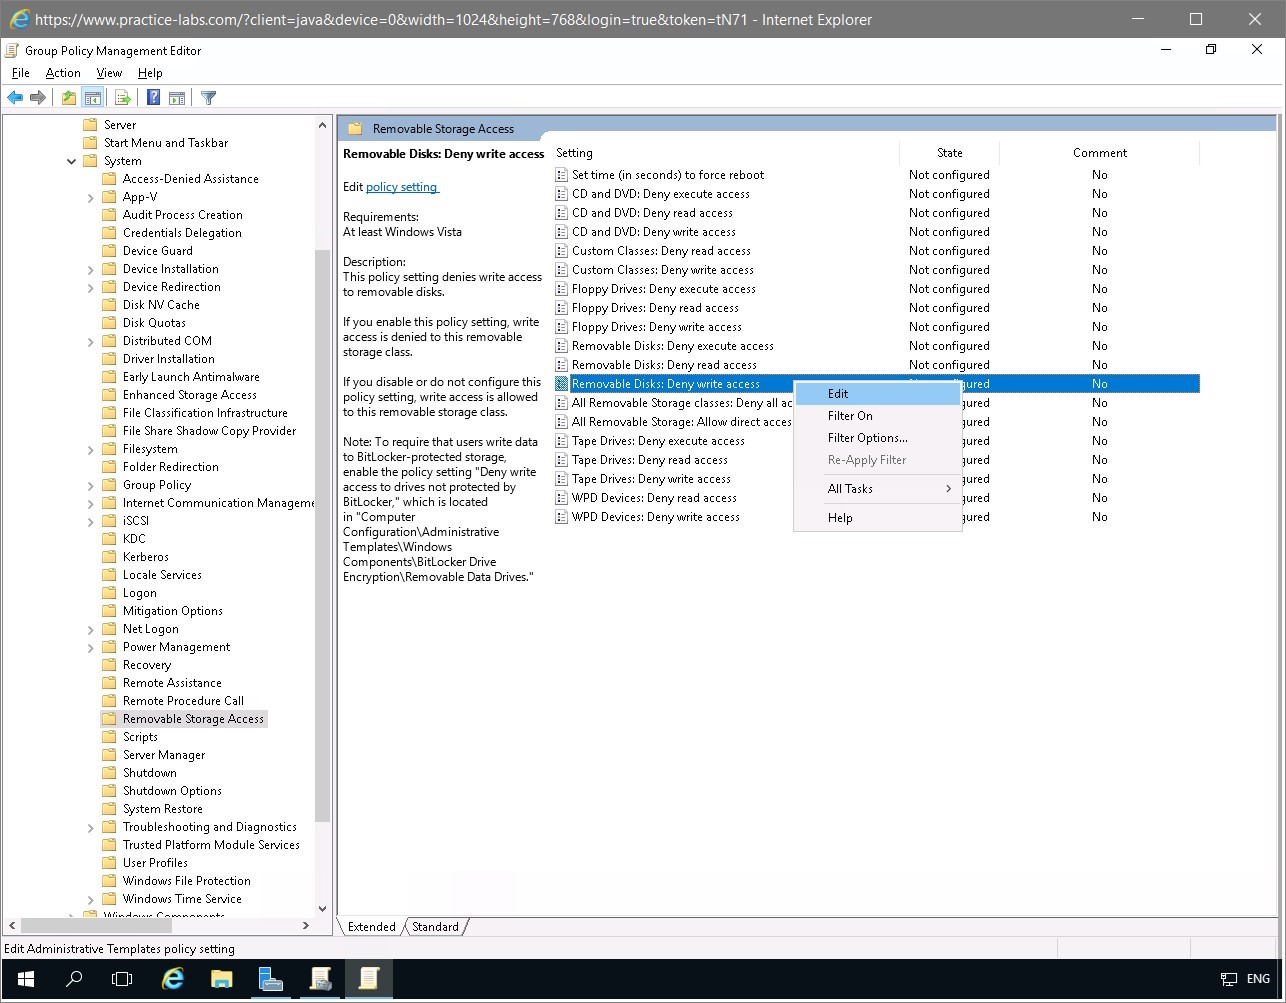
On the Group Policy Management Editor window, navigate to Computer Configuration > Policies > Administrative Templates > System and select Removable Storage Access.
On the details pane on the right side, right-click on Removable Disks: Deny write access and select Edit.
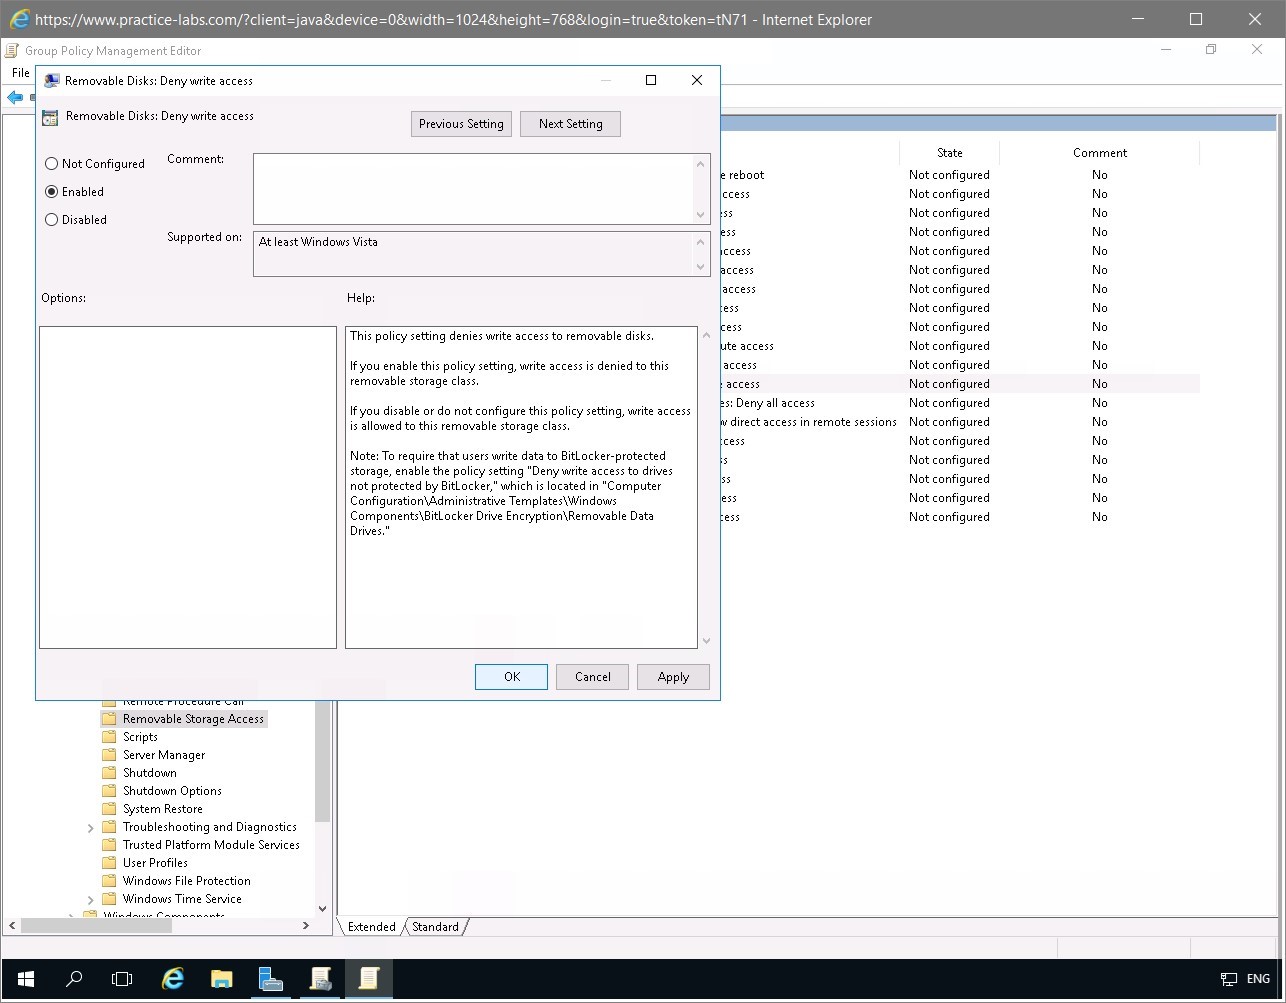
Step 6
From the Removable Disks: Deny write access dialog box, select Enabled.
Click OK.
Step 7
Close Group Policy Management Editor and Group Policy Management console.
Note: Due to the system limitations of this lab, it will not show the actual policy of blocking removable storage on the devices.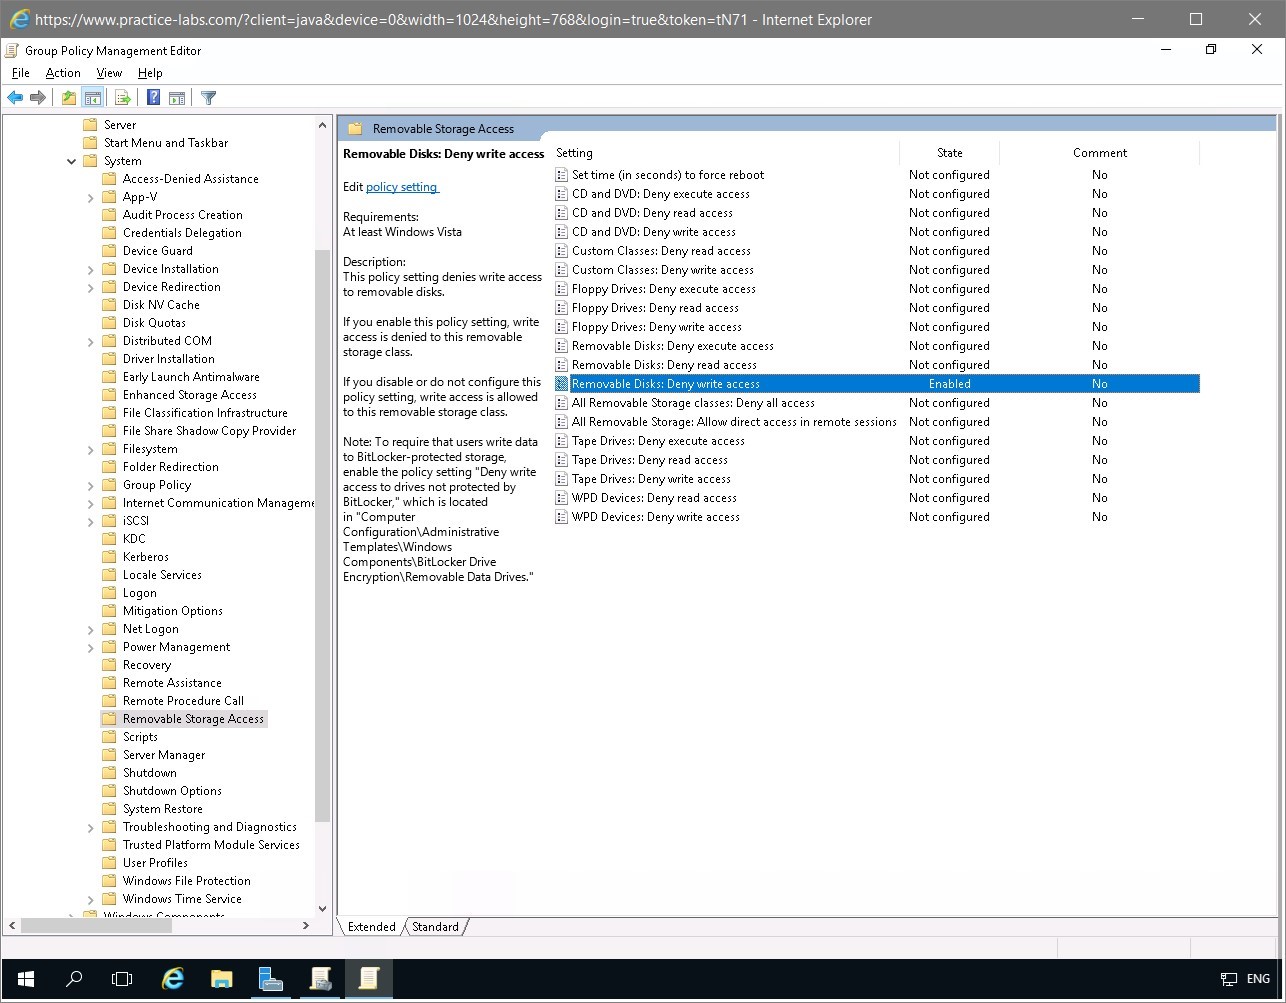

Comments
Post a Comment