Encryption and hashing
Cryptographic Basics
Cryptographic tools are used to generate and confirm the integrity of information or data and can be used for confidentially to protect from the unauthorized viewing of materials.
This greatly assists with the security of information you are receiving from the source location. Further with hashing, you can confirm, for example, a program you have downloaded has not been modified in some manner by checking its hash value produced by the author with your own value.
In this exercise, you will learn the following:
- CryptoDemo Installation
- CryptoDemo Encryption
- CryptoDemo Decryption
- Key Values
- Hashing
Please refer to your course material or use your favorite search engine to research this topic in more detail.
Task 1 - CryptoDemo Installation
Here we will install the tool and prepare to use it to learn more about cryptographic basics.
Step 1
Ensure you have powered the required devices indicated in the introduction, then connect to PLABWIN10.
The desktop is displayed.
Step 2
Open Internet Explorer; the default homepage is the Practice Labs Intranet.
Go to Tools, then to the Hacking Tools folder.
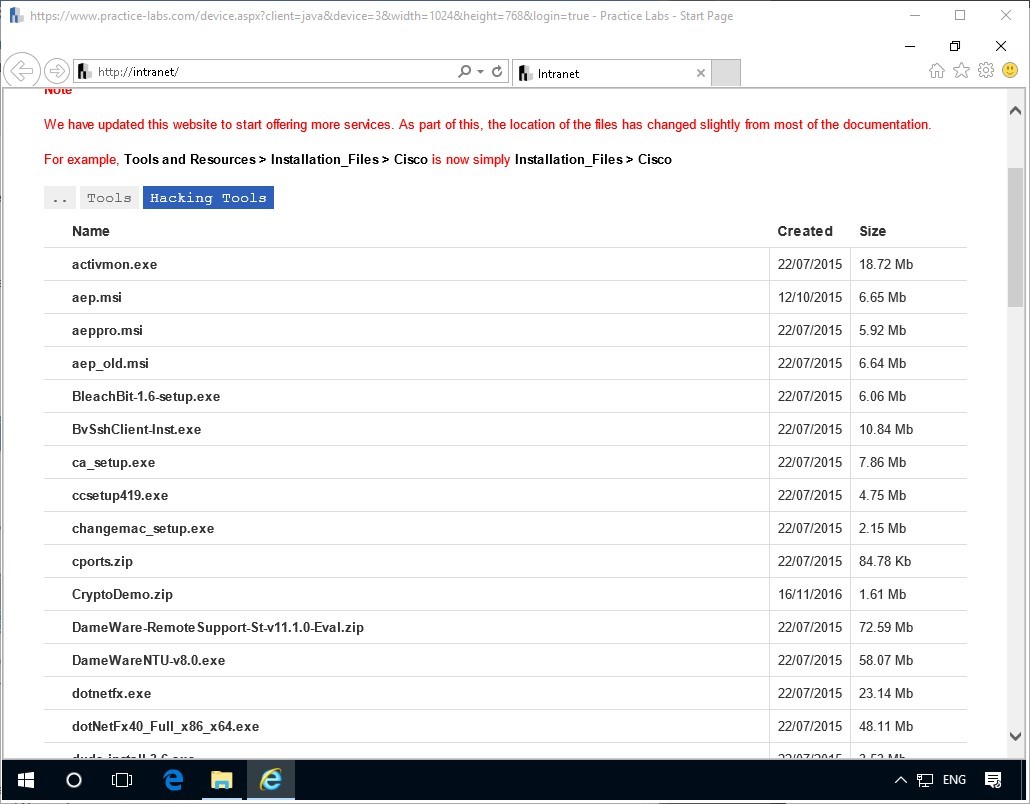
At the beginning of the Hacking Tools page, you will find the zipped program.
Save CrytoDemo.zip to the Downloads Folder.
Step 3
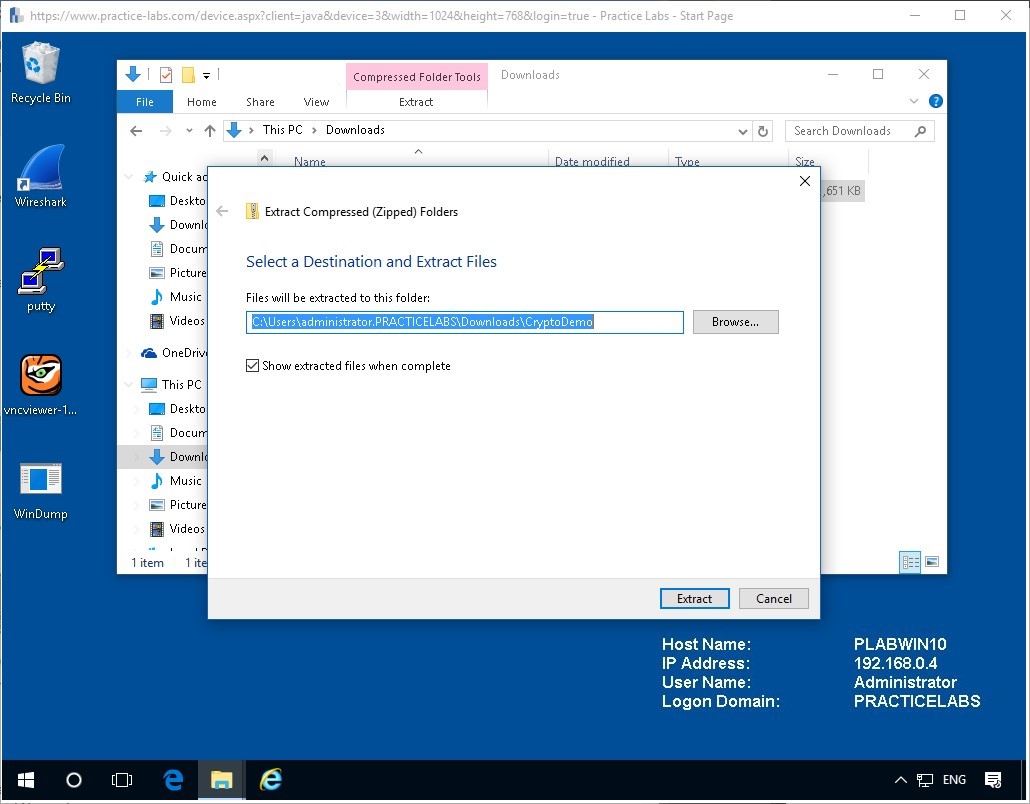
Navigate to the Downloads folder.
Right-click on the zipped document and click the Extract All option from the list and click the extract button.
Step 4
Double-click the extracted folder and view the contents as below.
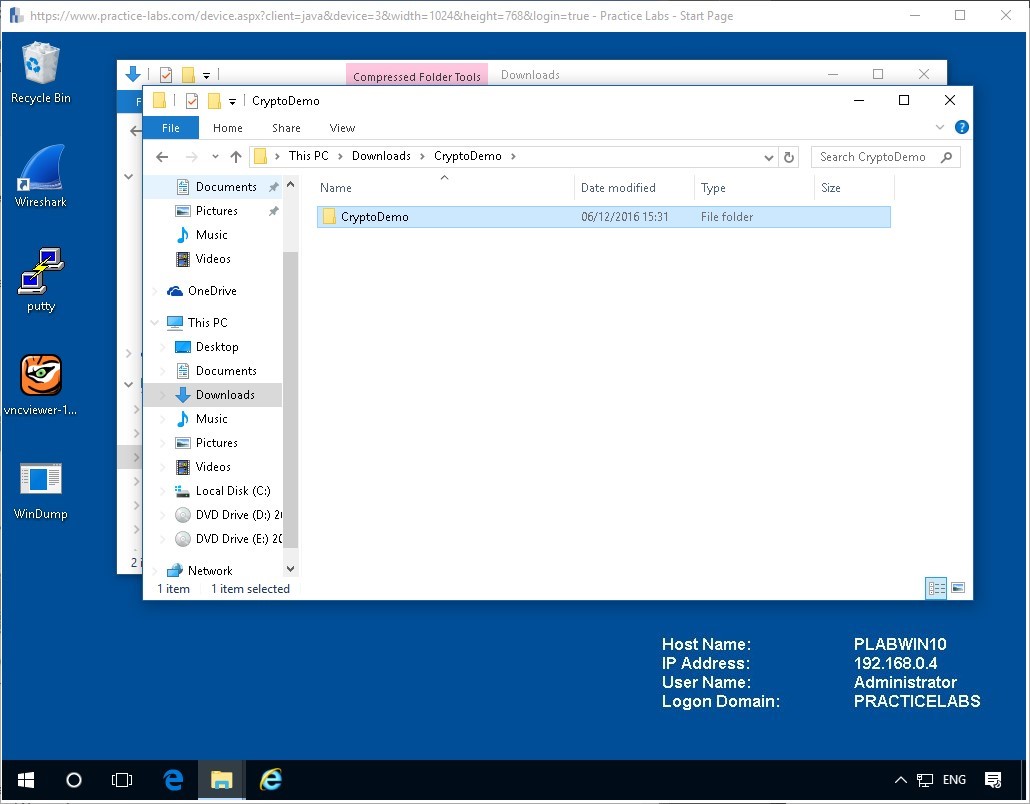
Navigate to the setup file and double-click the Setup file.
Note: You might get a User Account Control warning. Press Yes and continue with the installation.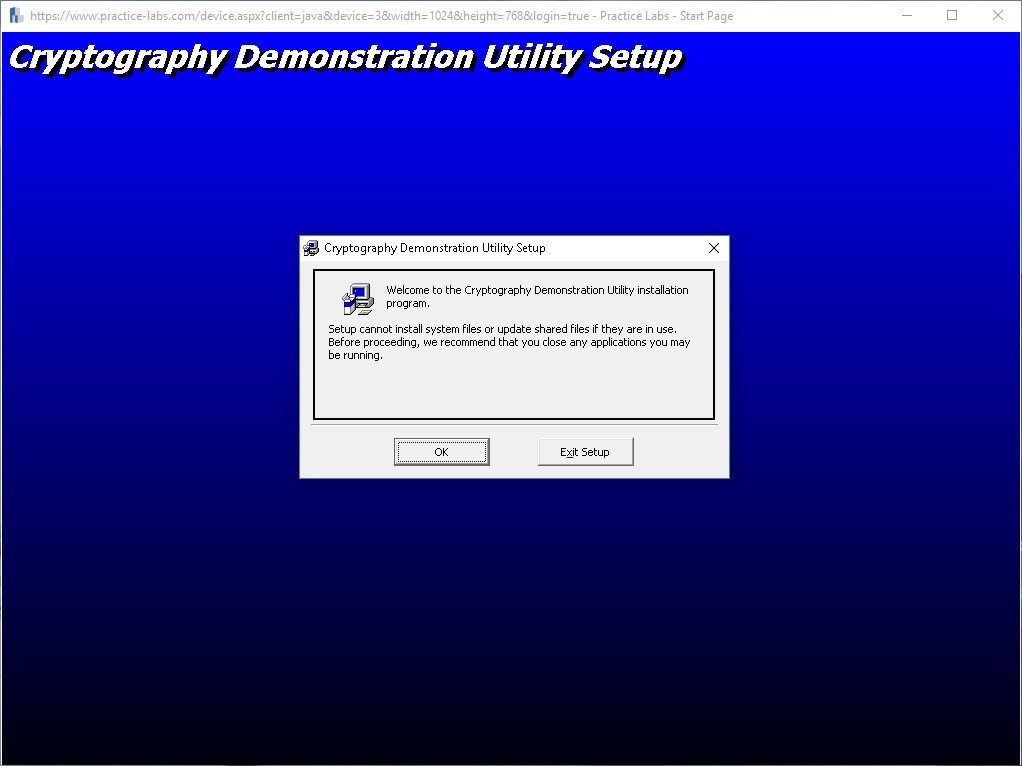
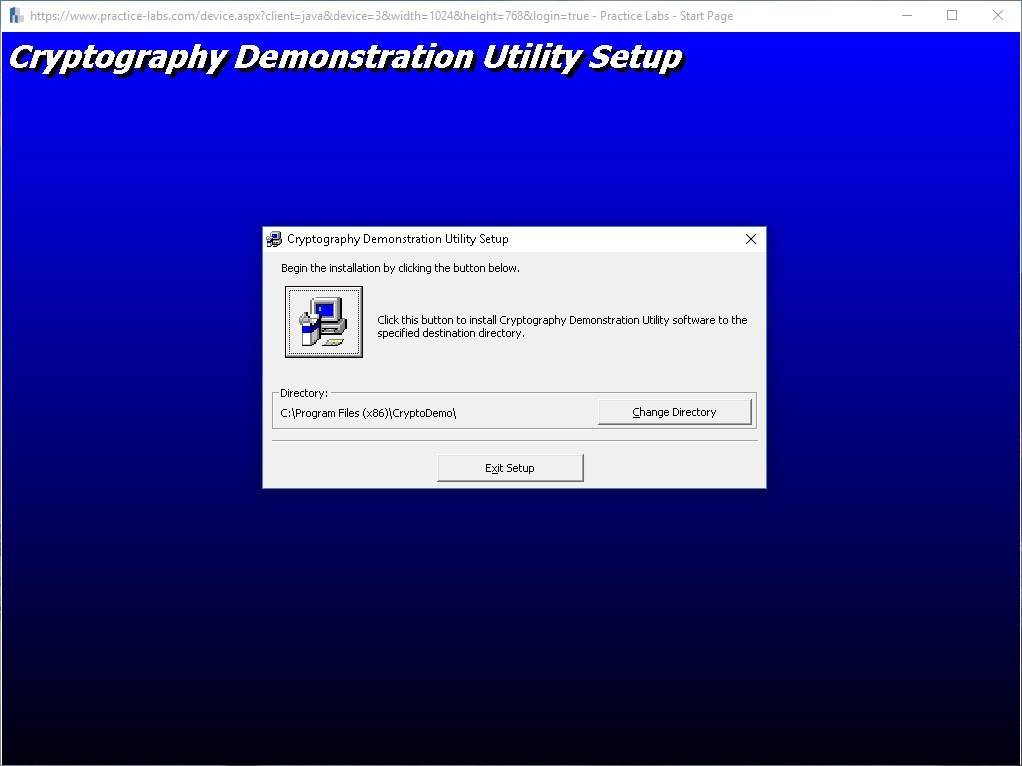
Step 5
Click the computer button icon to begin the install.
Click Continue on each further stage to complete the installation.
Step 6
Close all the explorer windows and click on the Windows 10 Start Icon.
Then navigate to the Cryptography Demonstration and click on the CrytoDemo1.0 program to start.
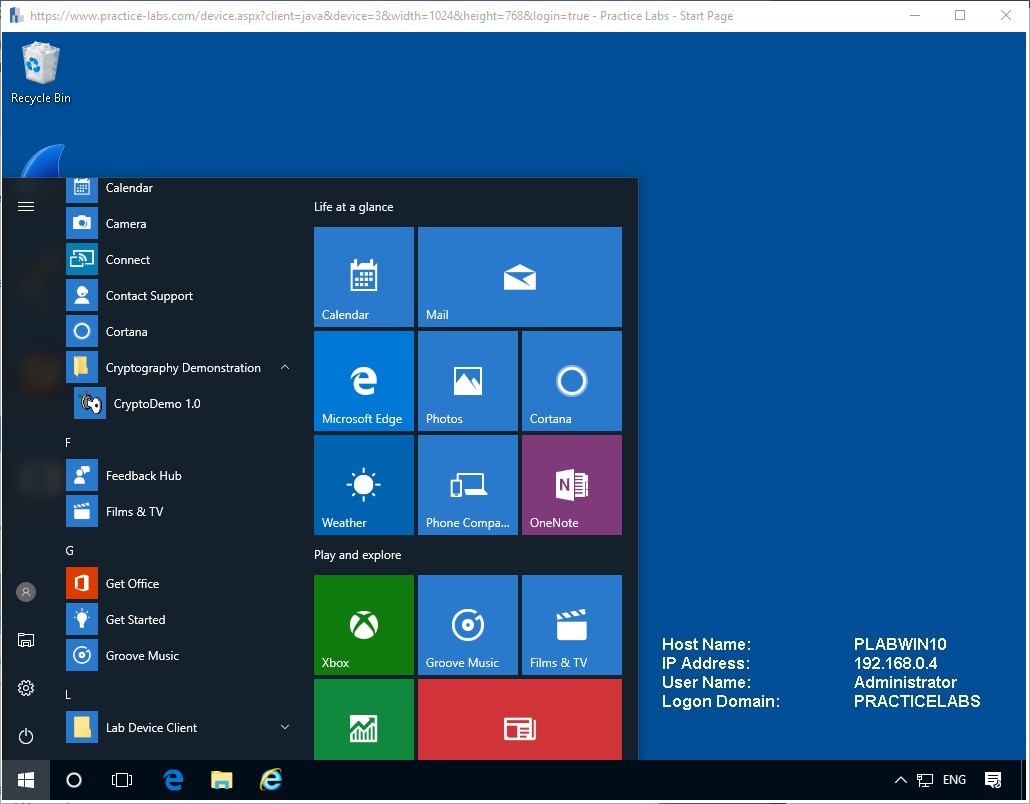
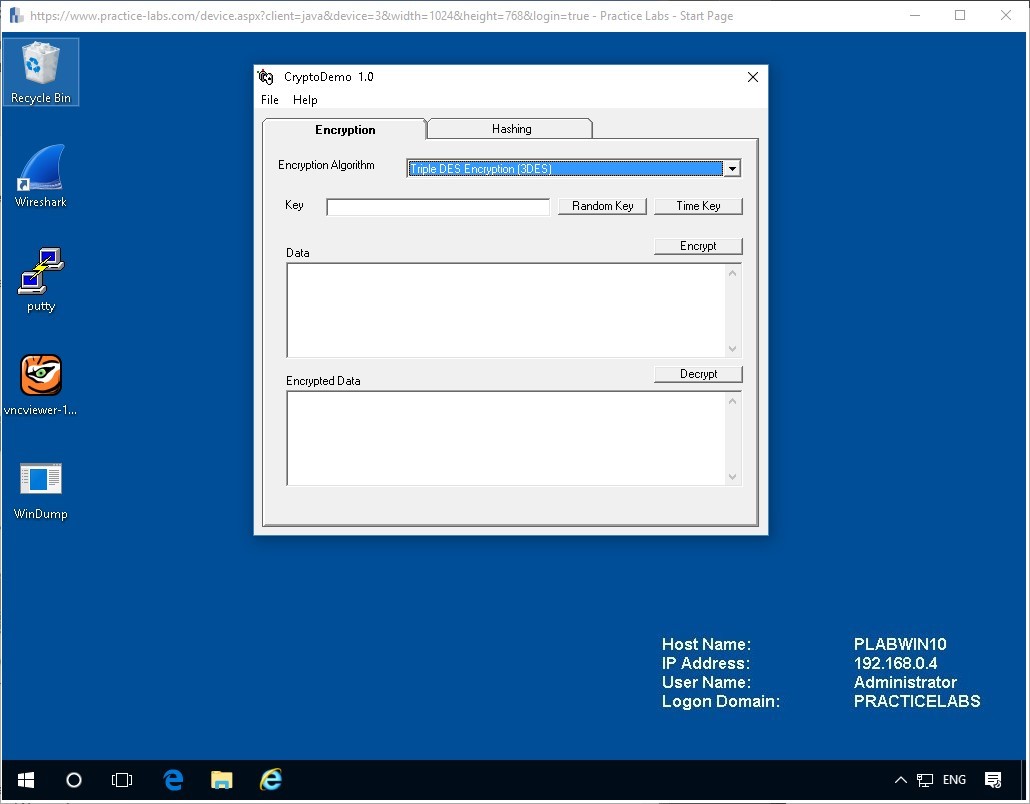
Above we can see the program in the start menu, and below we can see the same program once it has been opened.
Now we are ready to continue with the next task.
Task 2 - CryptoDemo Encryption
We will now apply the encryption algorithm 3DES to see the output and begin to recognize what such an output generates in terms of values. This, in fact, helps experienced persons recognize different algorithms just on sight.
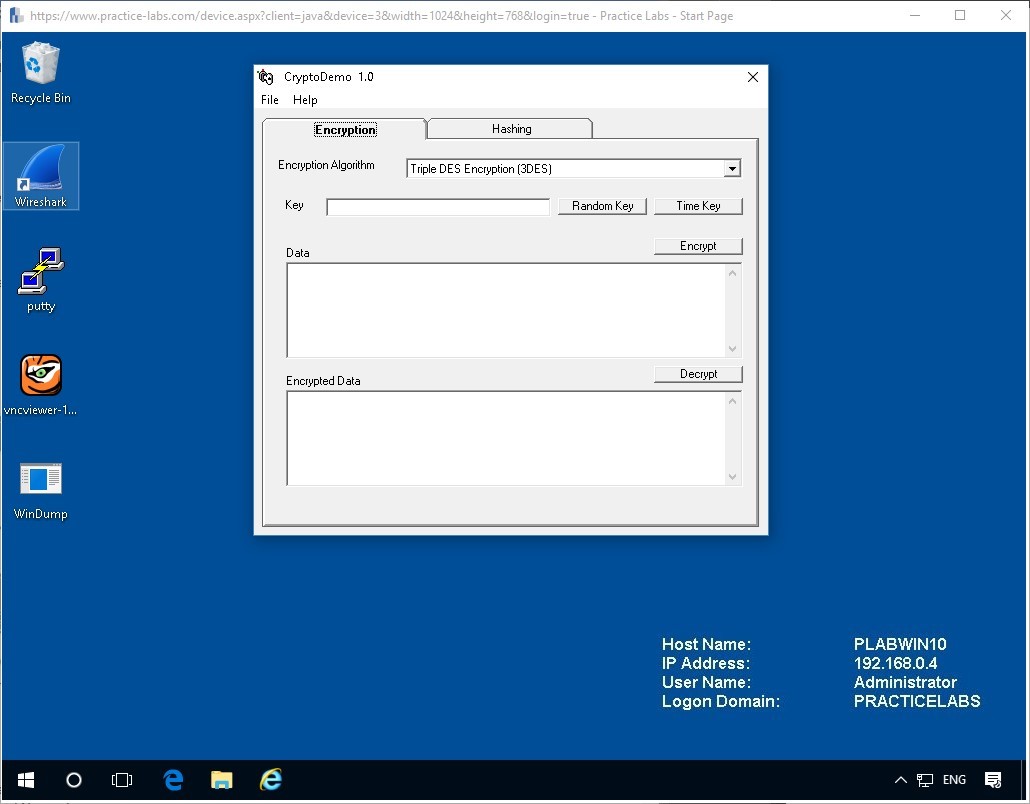
Step 1
Take a moment to study the interface; this program is designed to assist in practicing and learning more about Encryption.
Expand the drop down menu for the Encryption Algorithm and choose Triple DES Encryption (3DES).
Step 2
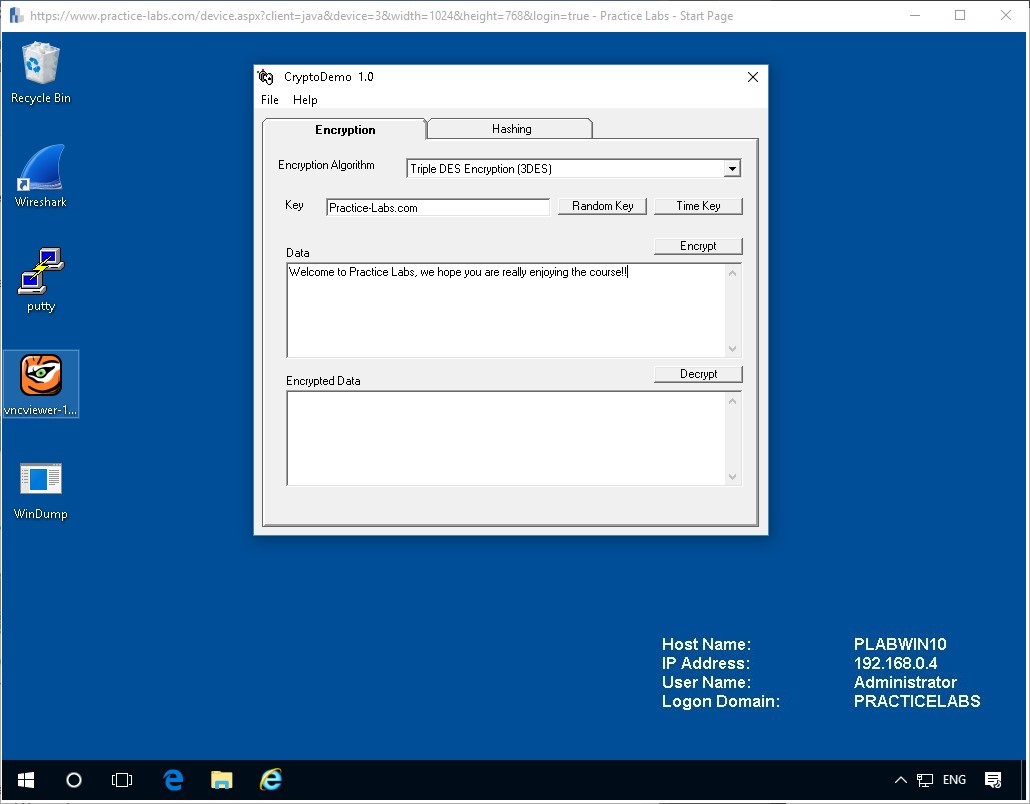
On the section below you can enter a key of your own choice or use the following key.
Type the following into the field:
Practice-Labs.com
Step 3
Now we will enter some text into the Data field to be encrypted.
Welcome to Practice Labs, we hope you are really enjoying the course!!
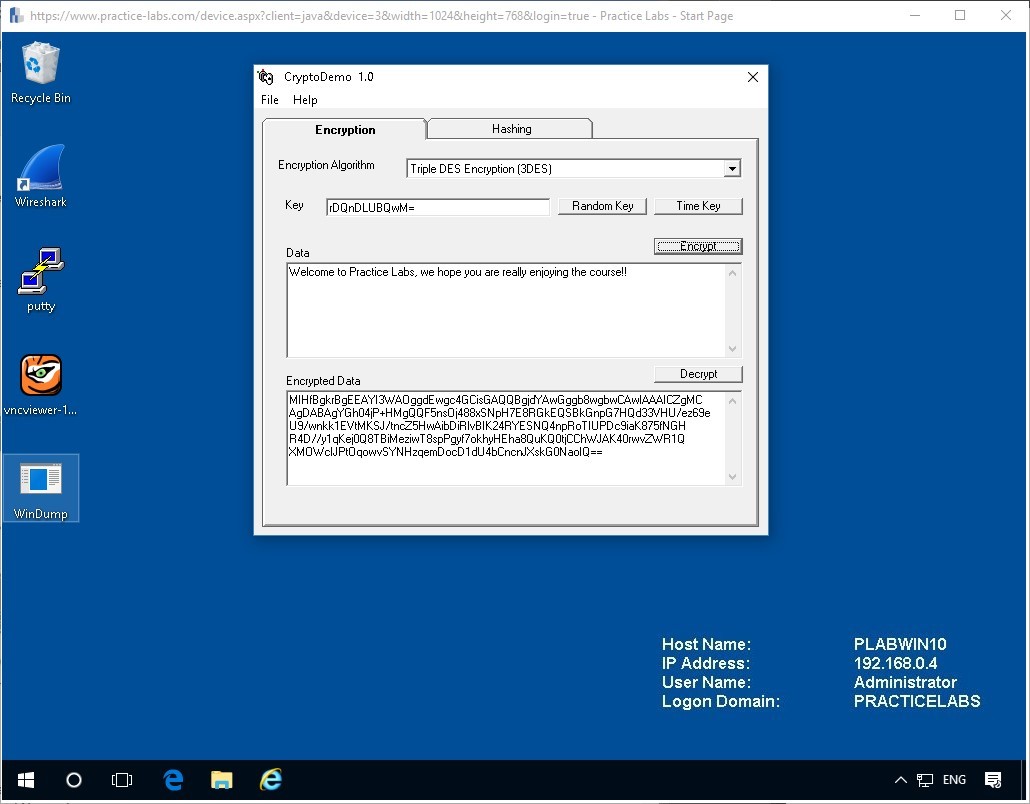
Now click the Encrypt button to see the result of the encryption and a result will be displayed in the Encrypted Data field.
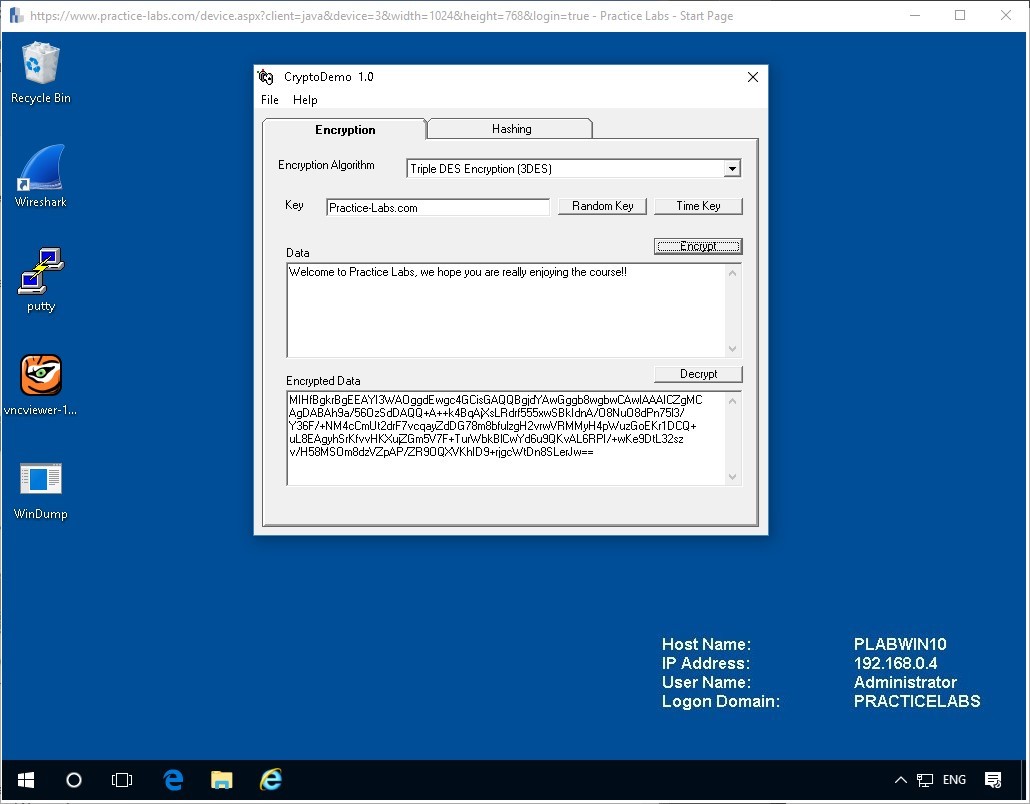
You can click the Encrypt button as many time as you like and you will see different results of output data; this is one of the most important conceptions behind encrypting a text. The cipher text should be different and unreadable.
Task 3 - CryptoDemo Decryption
Now we must move on to decrypting the content and making sure, it has the same content as originally intended.
Step 1
Now be careful, delete only the Data field containing the written text you entered and don’t change the Key or the Algorithm type.

Click the Decrypt button to see the result back in the Data field.

You will have the same original text decrypted from the data.
You can now try the other algorithm types of DES, RC2, RC4 to see the output from these.
Step 2
Try deleting a single character or more from the Encrypted Data. Here the last = signed was deleted presenting the following image.
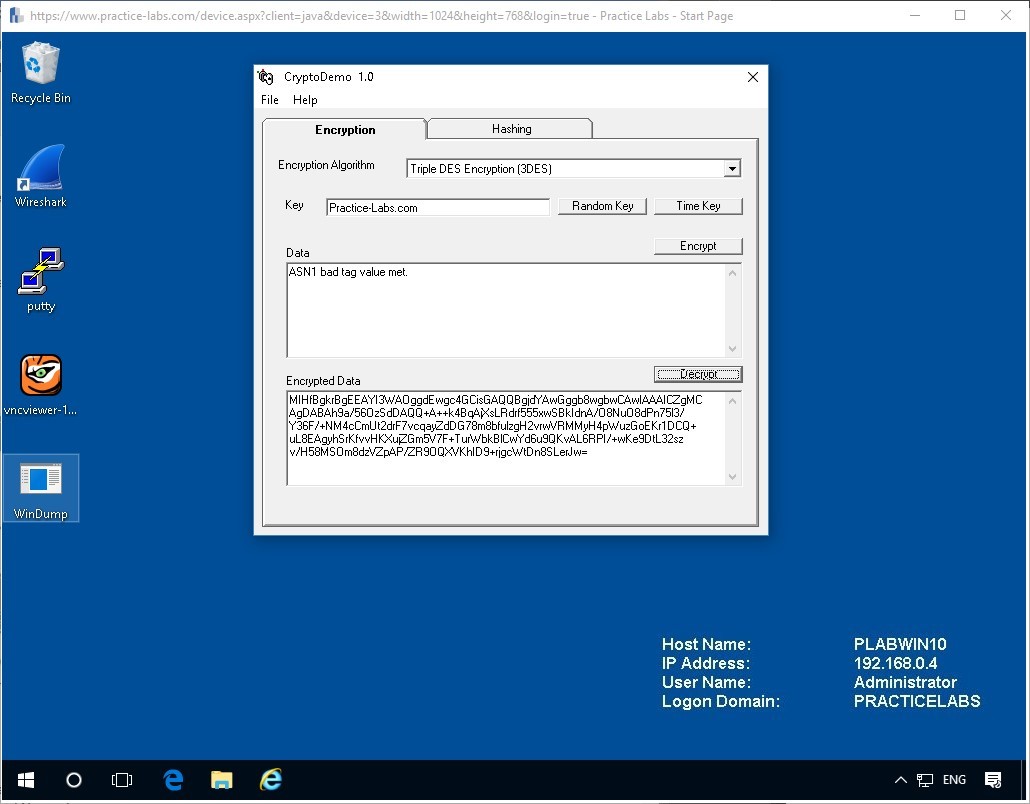
You should get something similar as the program was unable to decode the encrypted data. This is a positive result.
Task 4 - Key Values
In general, mixing up as many variables as possible with long string lengths produces a strong key to encrypt or hash against, however here we will use options presented of Random Key and Time Key.
We will now apply these key formats to see the results.
Step 1
Previously we input our own however, in reality, this is a poorly secured key and a better option would be to generate a random or time value key which is a lot more secure.
Delete the contents of the Encrypted Data.
Let’s try the Random Key button to see what key you are presented with.
Note: It’s random so your key should not match the images, neither will your time values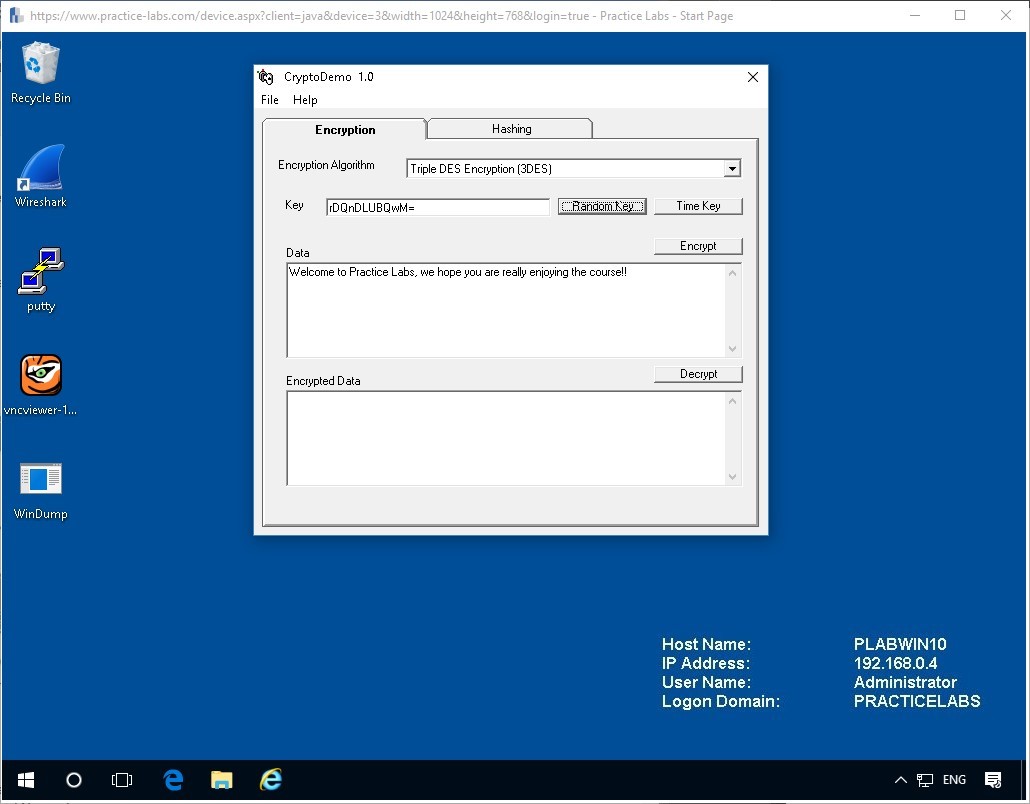
Again click the Encrypt button to see the cipher text generated using this type of key.
From the image above we can see a very different result using this key value.
Step 2
Now delete the Encrypted data again and click the Time Key button.

Again let’s click the Encrypt button and see the values generated.

Once more we see another output which differs from the first result.
Task 5 - Hashing
Hashing a value is used to map data of any size and provide a method for verifying the integrity and also the authenticity of data and their authors.
Here we will apply the same tool to see hash results.
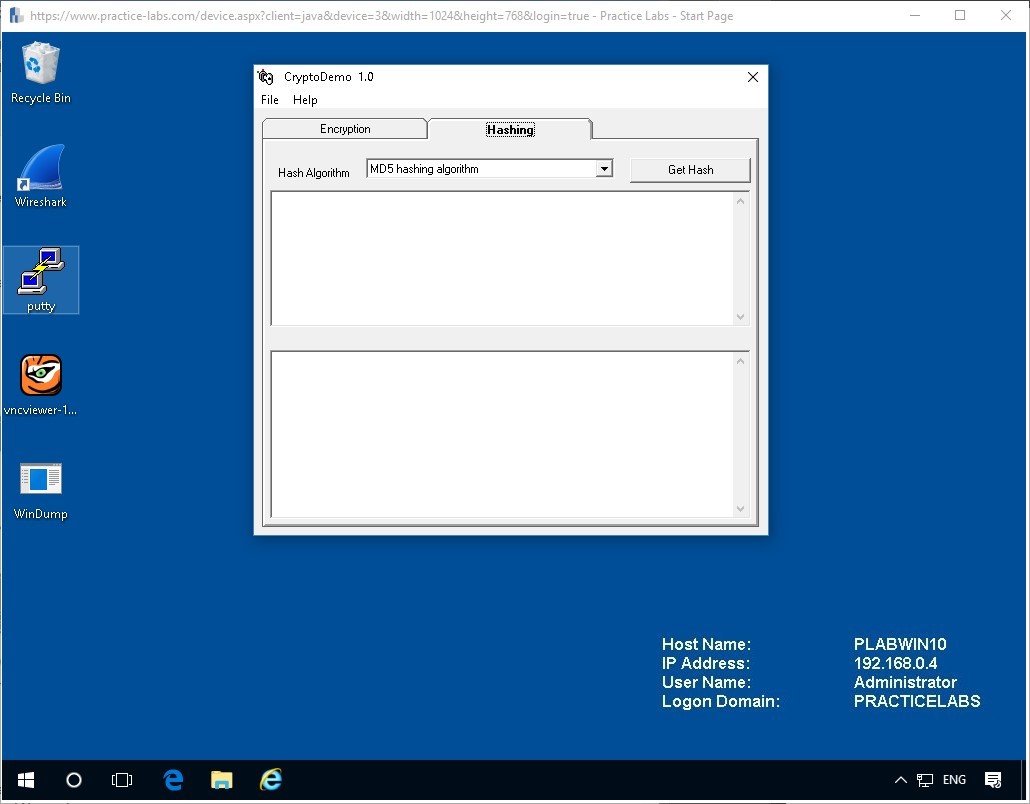
Step 1
Click on the Hashing tab on the top, and you will see the Hash Algorithm has been set to MD5 which is a very common hash type.
Step 2
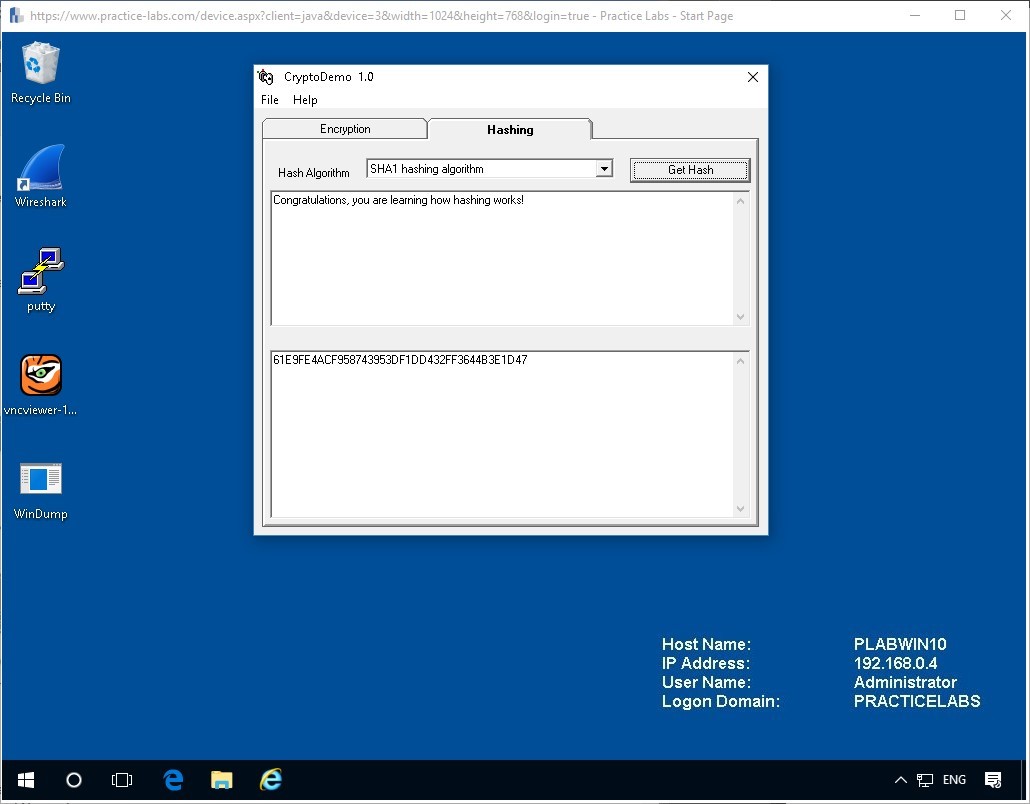
Within the top field, write the following:
Congratulations, you are learning how hashing works!

Unlike the encryption stage before, this hash will not change if you click the button.
Get Hash

Step 3
From the drop down menu of the Hash Algorithm, click on one of the other types such as SHA1 and then click the button.
Get Hash
You will now see a different result for each algorithm.
Comparing Hashing Algorithms
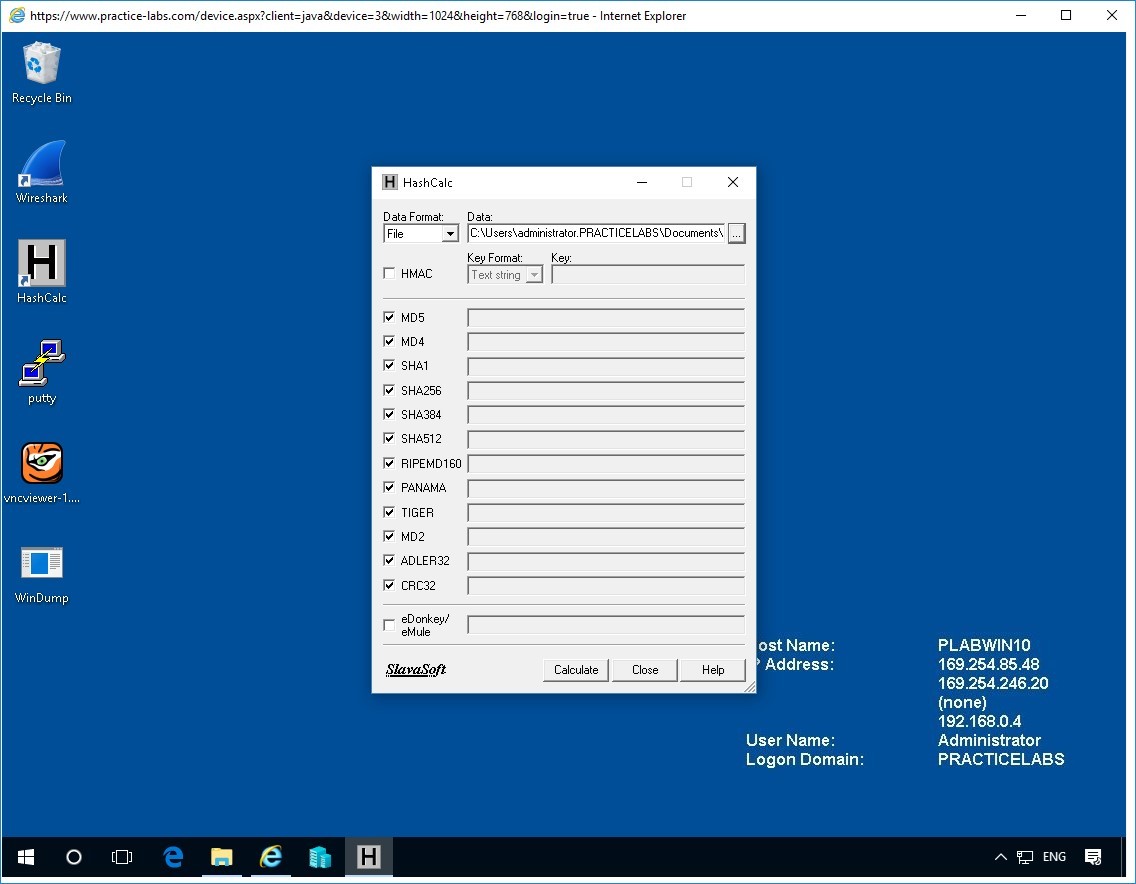
We will now have a look at a different variety of algorithms in a direct comparison and using Hash Calc which is a calculator that computes message digests, checksums, and HMACs for files, as well as for text and hex strings. It provides 13 popular hash and checksum algorithms for calculations.
In this exercise, you will learn the following:
- Install of Hash Calc
- Using Hash Calc
Please refer to your course material or use your favorite search engine to research this topic in more detail.
Task 1 - Install HashCalc
In this task we will install Hash Calc and learn a little more about how it works, especially interesting is the ability to compare numerous results together and see how they appear.
Step 1
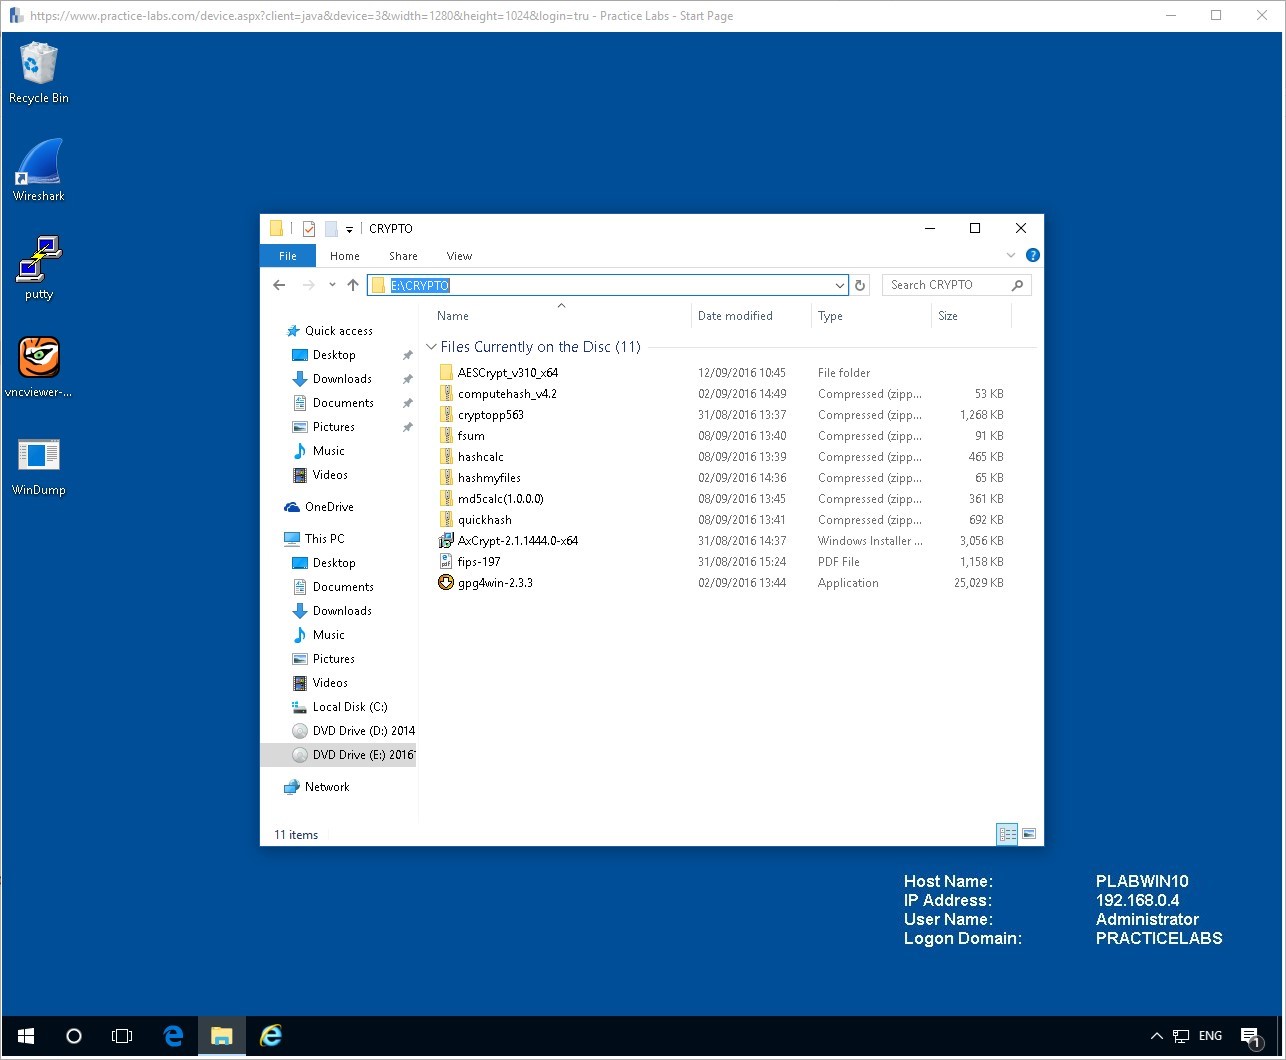
Go the directory Drive
E:\CRYPTO
then double click on the file Hashcalc.zip.
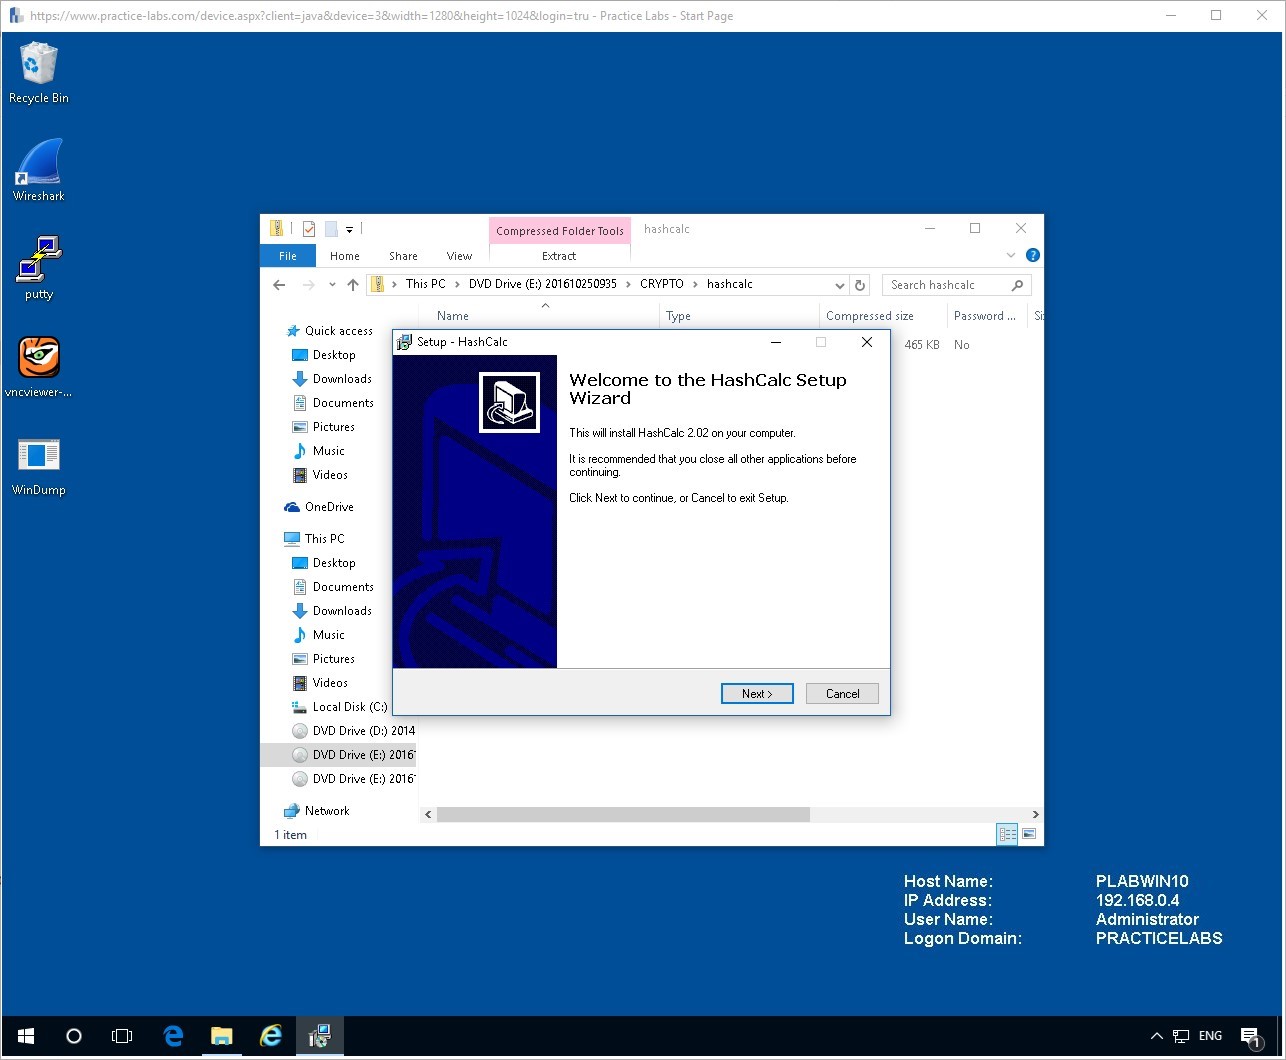
Double click the setup file.
Follow the installation steps and install to the C:\Program Files directory.
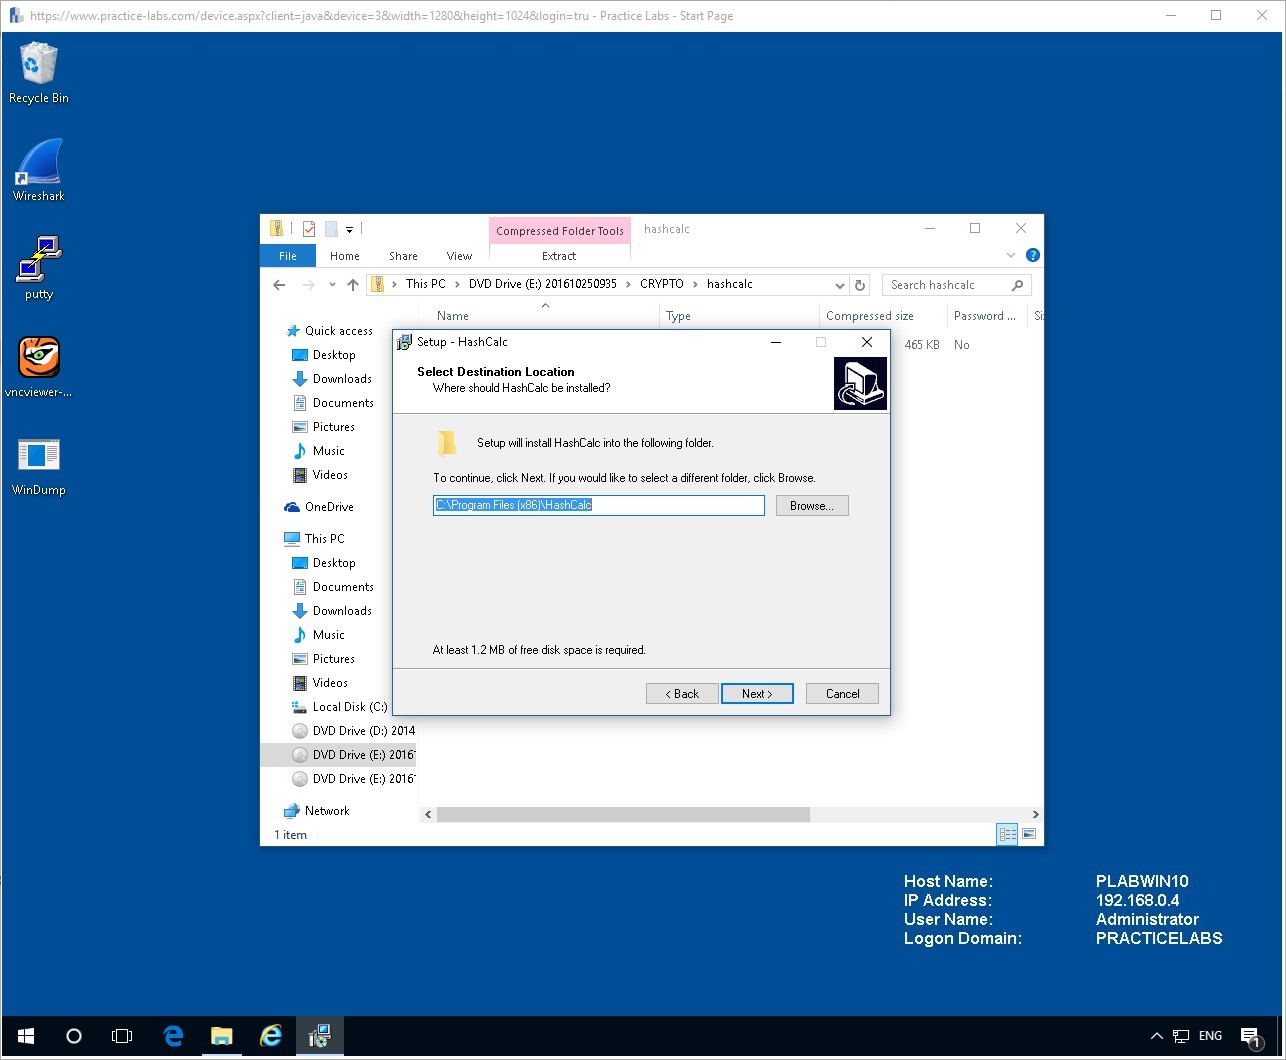
Continue with installation accept all the default options.

Task 2 - Using HashCalc
Now we will apply HashCalc to see the results once we apply some data as string text.
Step 1
Click on the Data Format field and change it to Text String.

Enter some text into the Data field such as:
Welcome to Device PLABWIN10
After this make sure all the tick boxes are confirmed for all the hashing algorithms except for HMAC which should be left empty.
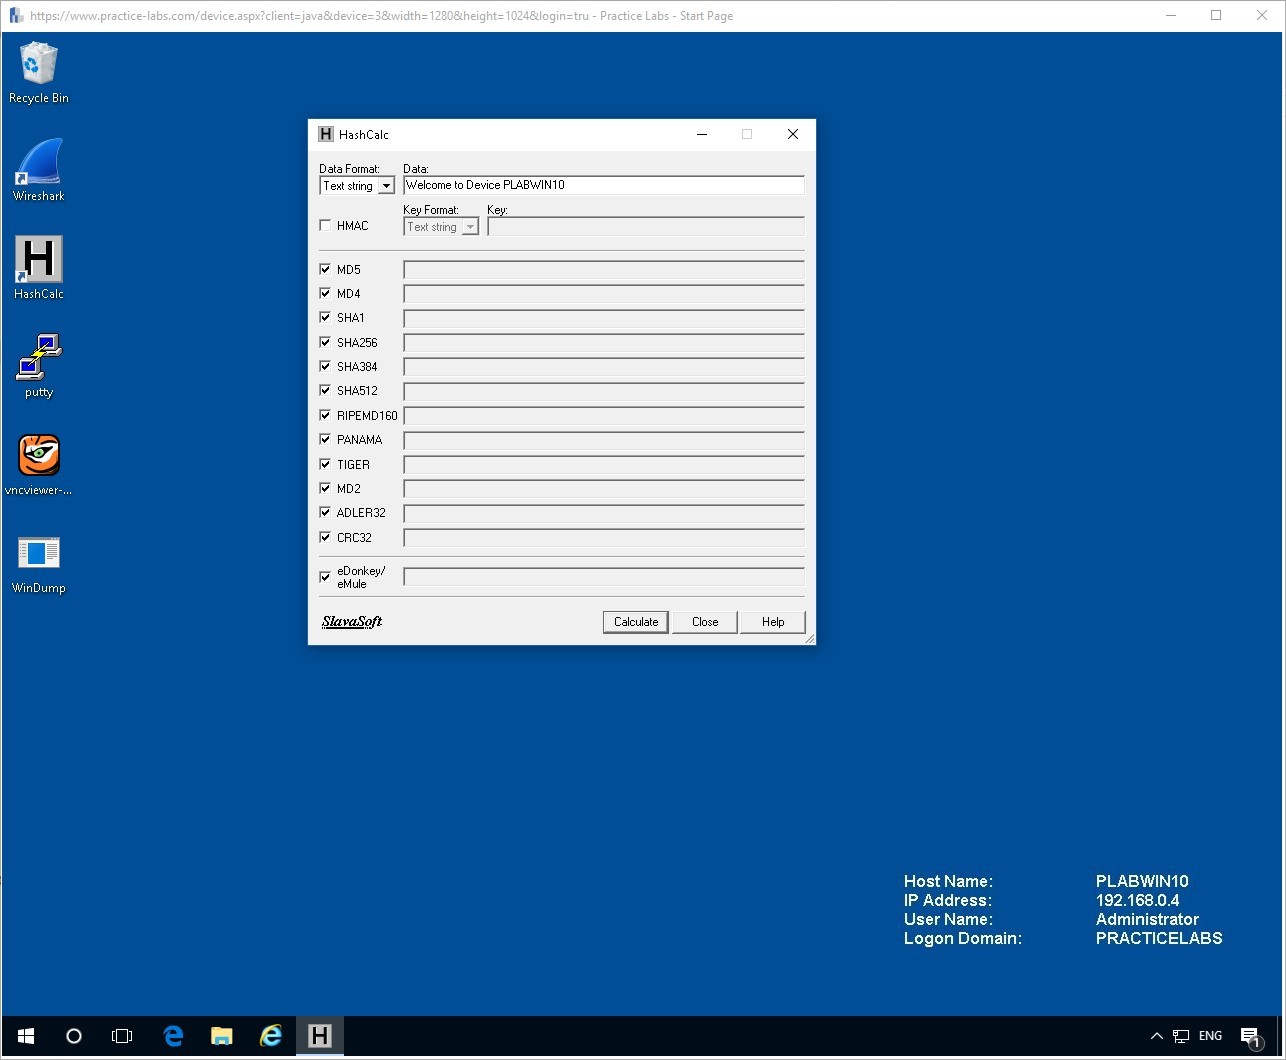
Click Calculate to see your results.
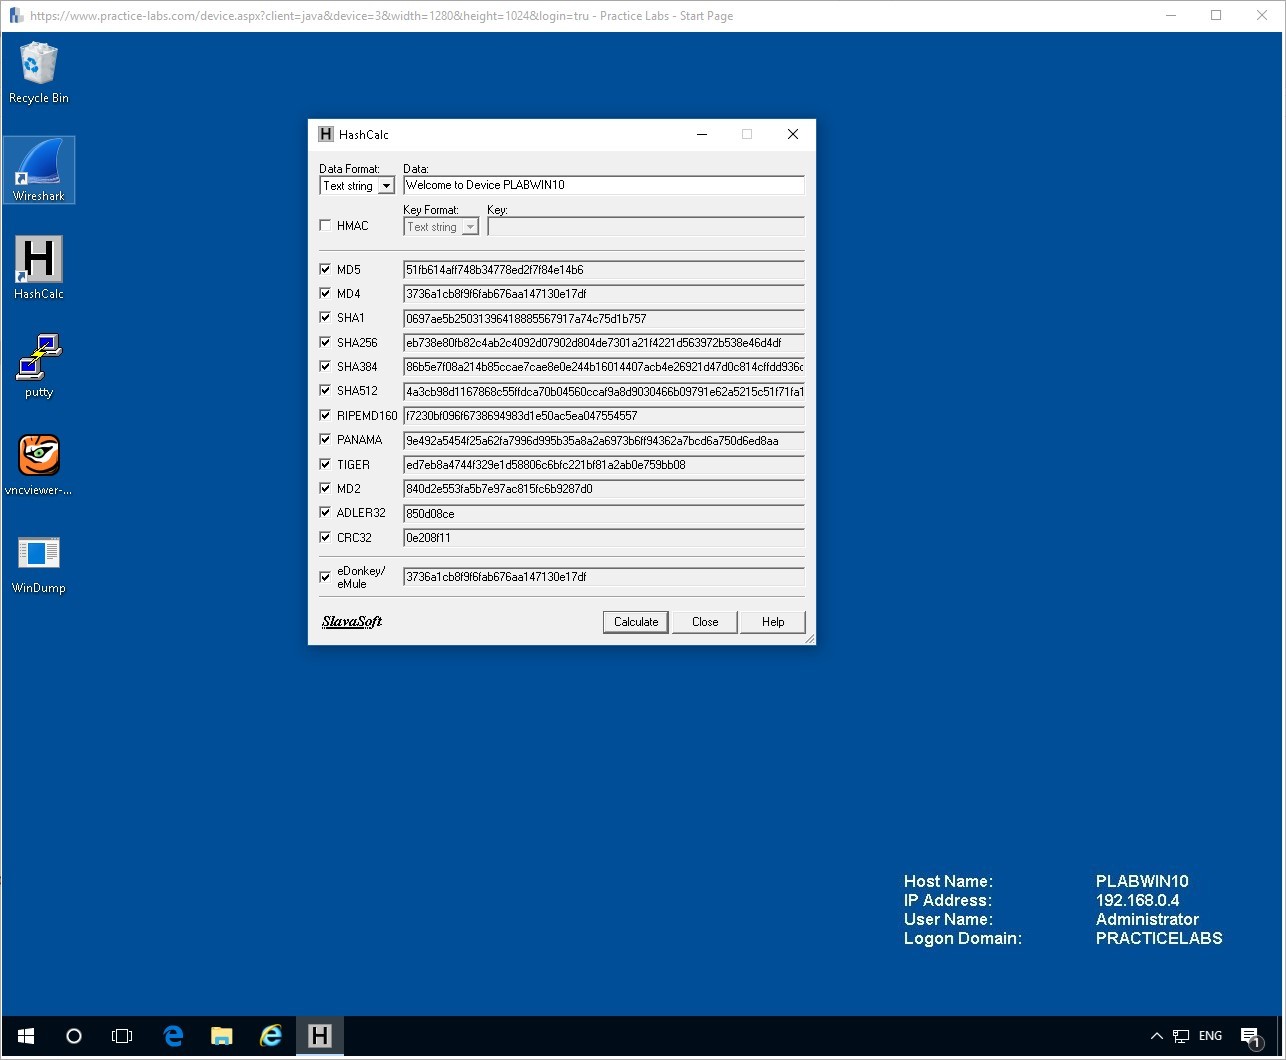
Change the Data in the field to anything you like and see how the different values of Hashes compare to each other. You will notice that essentially the differing algorithms produce hashes of set lengths which can be used to identify them.
Step 2
Now check the HMAC value, and you will see only a specified number of Hash types will be permitted. This is because a keyed-hash message authentication code is a specifically uses hash functions.
Within the HMAC you can edit the Key format to allow Text Strings or Hex Strings, we will use Text Strings.
For the Key Value, enter the Key of your choice or use the one below.
TidyMind
Welcome to Device PLABWIN10
Now click the calculate button to see your results.

Remember these Hashes were made with the specific key that was entered and usually this would be a secret key.
Step 3
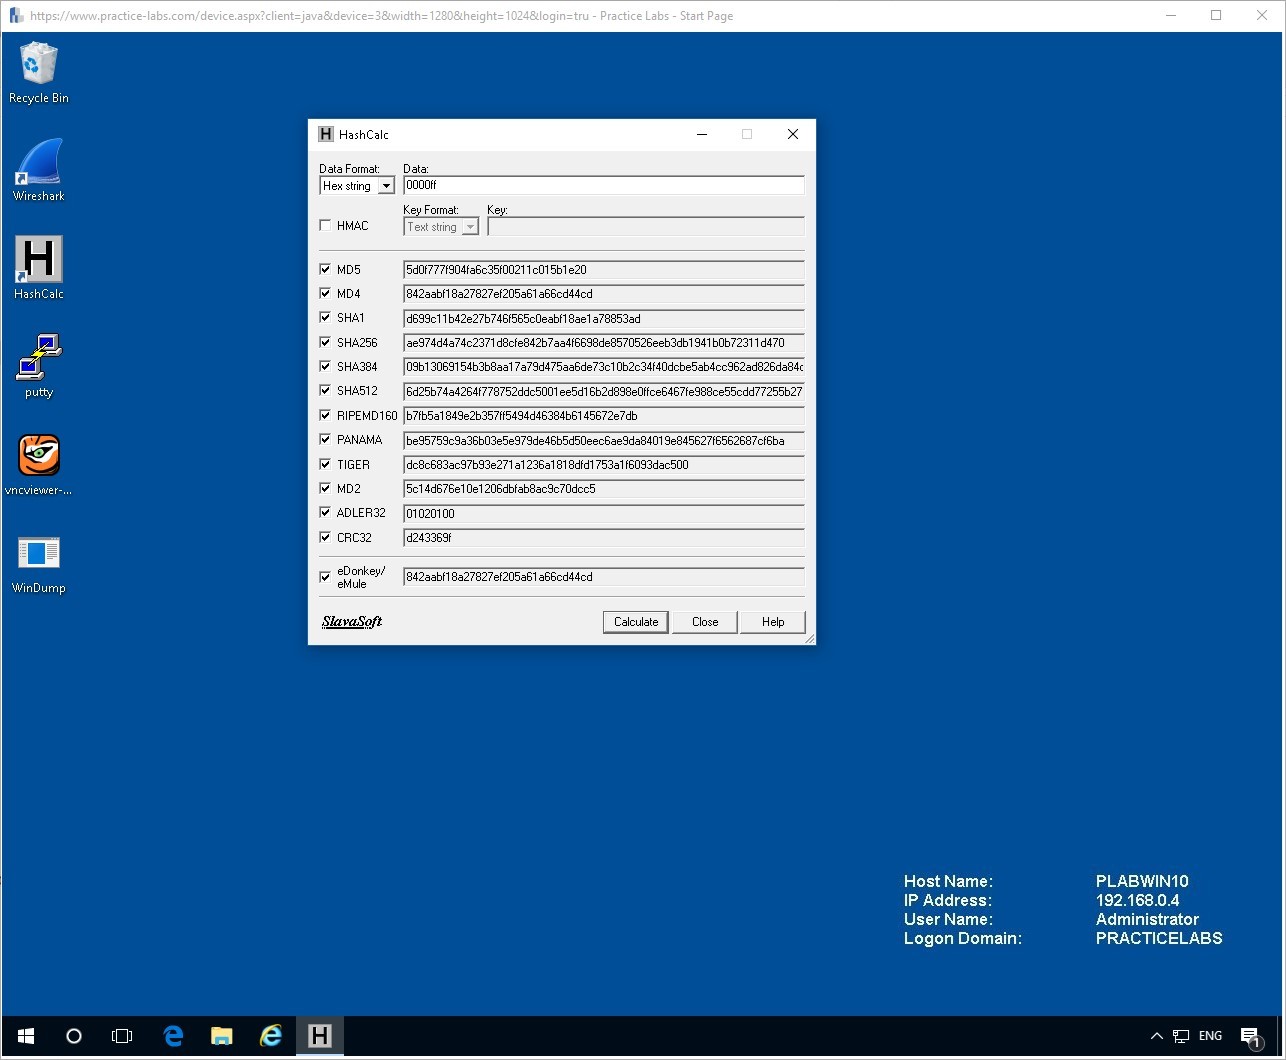
You can now change the Data Format to Hex String and try that out.
Here is a Hex Value for the color Blue.
Type it into the Data field, then press Calculate.
0000ff
Step 4
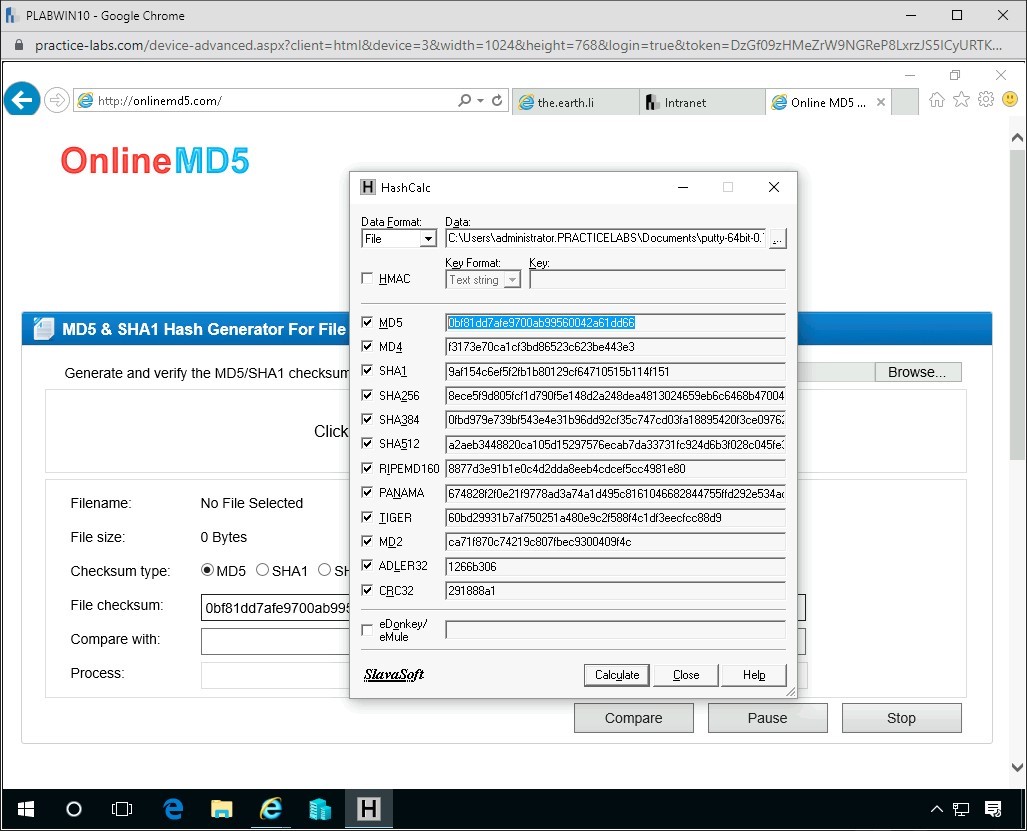
Finally, we will load a file to Hashcalc to be evaluated. On the Data Format change the field to File.
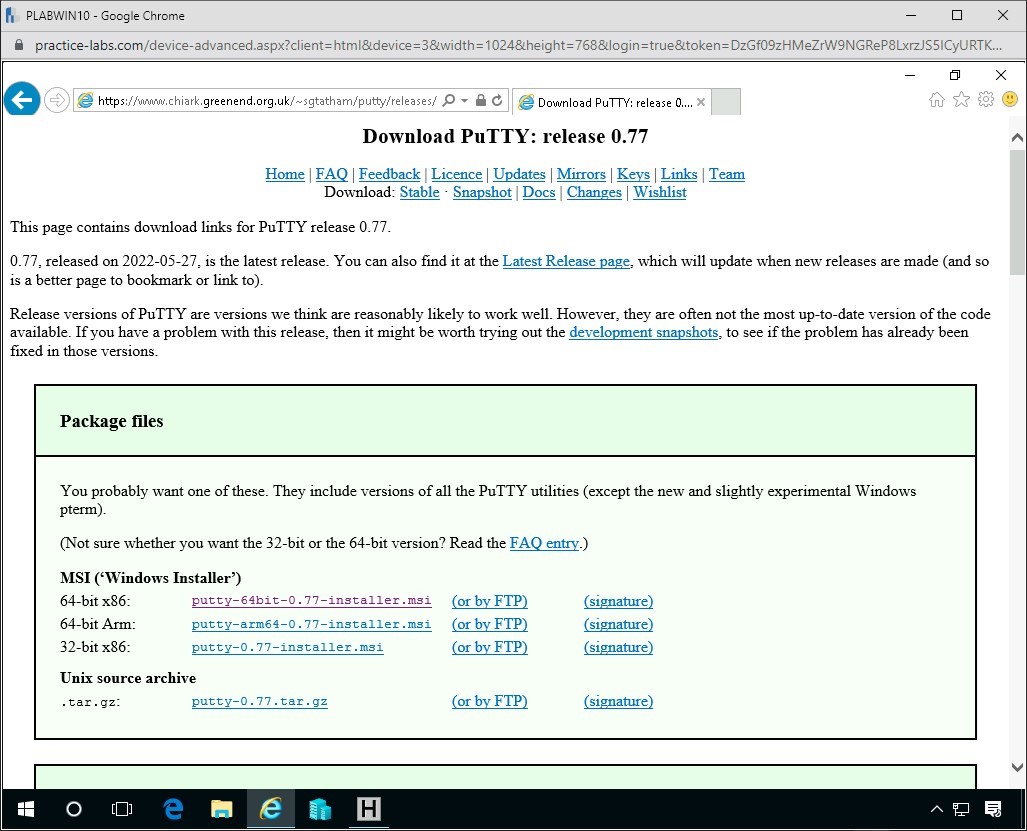
First we will install the latest version of Putty, Please open internet explorer and navigate to:
http://www.chiark.greenend.org.uk/~sgtatham/putty/latest.html
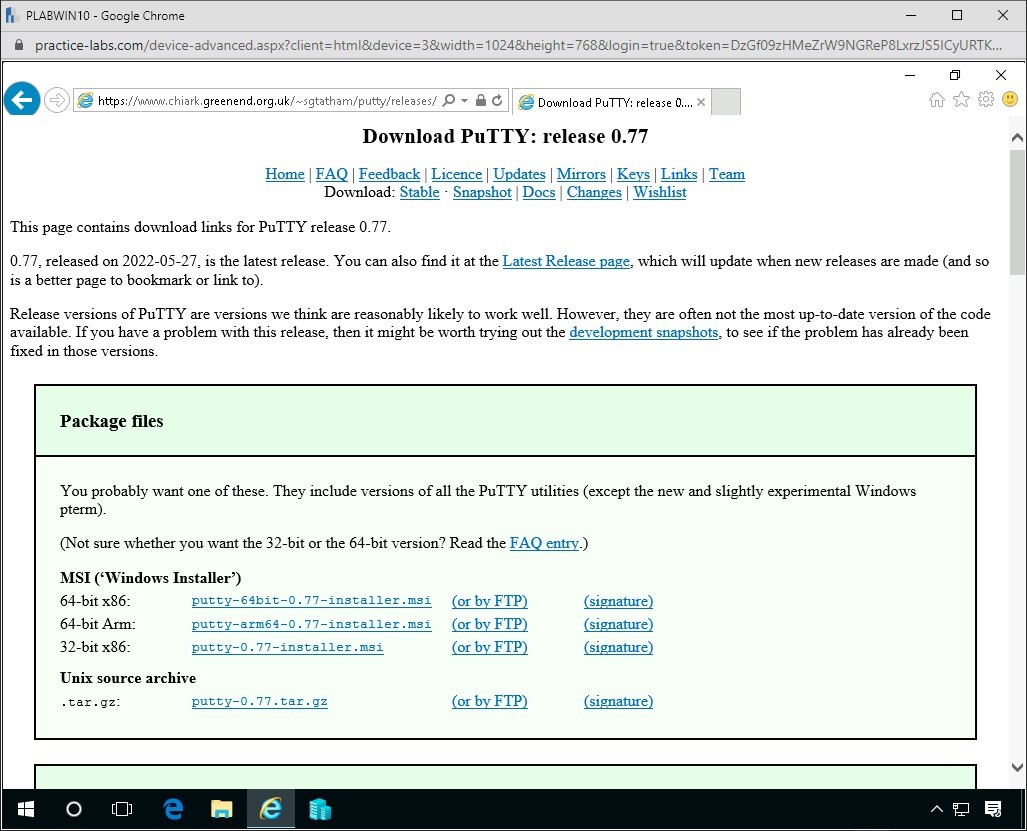
Step 5
Select putty-64bit-0.72 installer.msi and save to the Documents folder.
Note: putty-64bit-0.69-installer.msi is the latest version as of the time of this module creation, please download the version to the right of the 64-bit.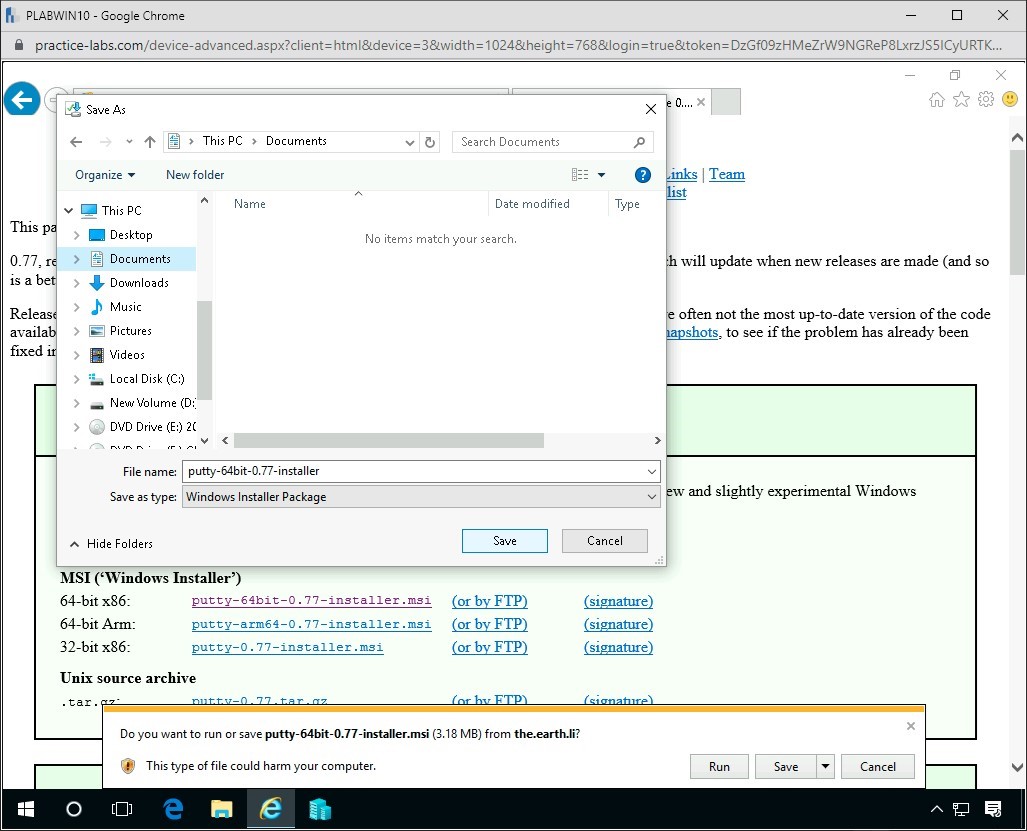
Step 6
Go back to the HashCalc program and Click the “...” icon. Navigate to the documents folder and locate the putty-64bit-0.69-installer.
Click Open. This will load the file into Hashcalc to see what values are produced.
Once entered click the Calculate button to see the results of the hashed file.
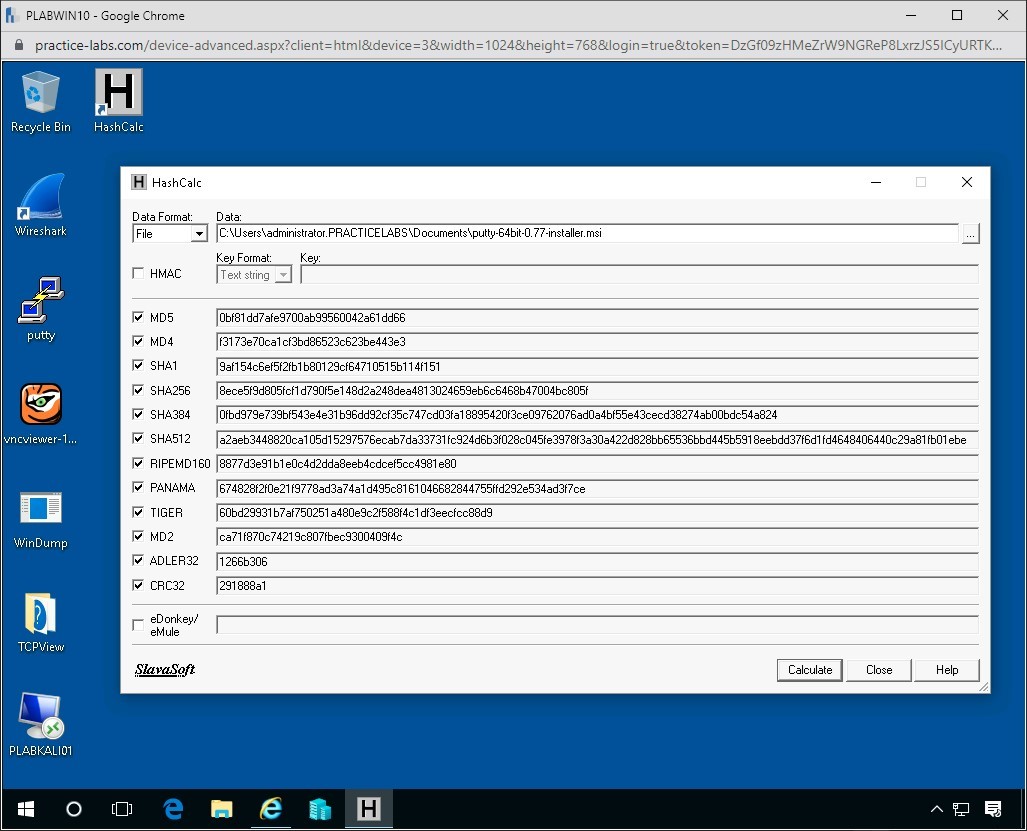
Now we can compare these hashes for this file to the hashes which are online for the Putty.exe. However you notice these values are long and can be difficult to read.
In the next exercise we will show you how to compare the hash you calculated with a downloaded file with the official hash provided to you by the creator of the file.
This would allow you to confirm the file you have is the correct file and has not been modified in anyway. This is important to know especially if you have received a file from an external site rather than from the creator of the file directly.
Comparing Hash Values
Here we will compare different hash values and get a better understanding of how hashes visually compare to each other in that state.
In this exercise, you will learn the following:
- Grabbing website hashes
- Using an online comparison tool
Please refer to your course material or use your favorite search engine to research this topic in more detail.
Task 1 - Grabbing Website Hash Values
Often each website has a Hash value of the programs it has authored. These values are made by the author, and we can use them to confirm the integrity of the programs or files to confirm they are original and are unaltered during transit.
Step 1
Using the Hash values produced by HashCalc we will now compare them to the official values.
This is used to make sure we have files which maintain their integrity; it helps to ensure that files have not been edited, added to or changed in any many without official notification being given.
In terms of programs, it’s an essential component to confirm that malicious code has not been injected into the Putty.exe.
Re-open Internet Explorer
Once here navigate to the Checksums for all the above files.
Denoted by the header Checksums for all the above files
We are looking for two files to check against
- MD5
- SHA-1
Click on the Link for md5sums
You will be greeted by a long list of Hash Sums for MD5.
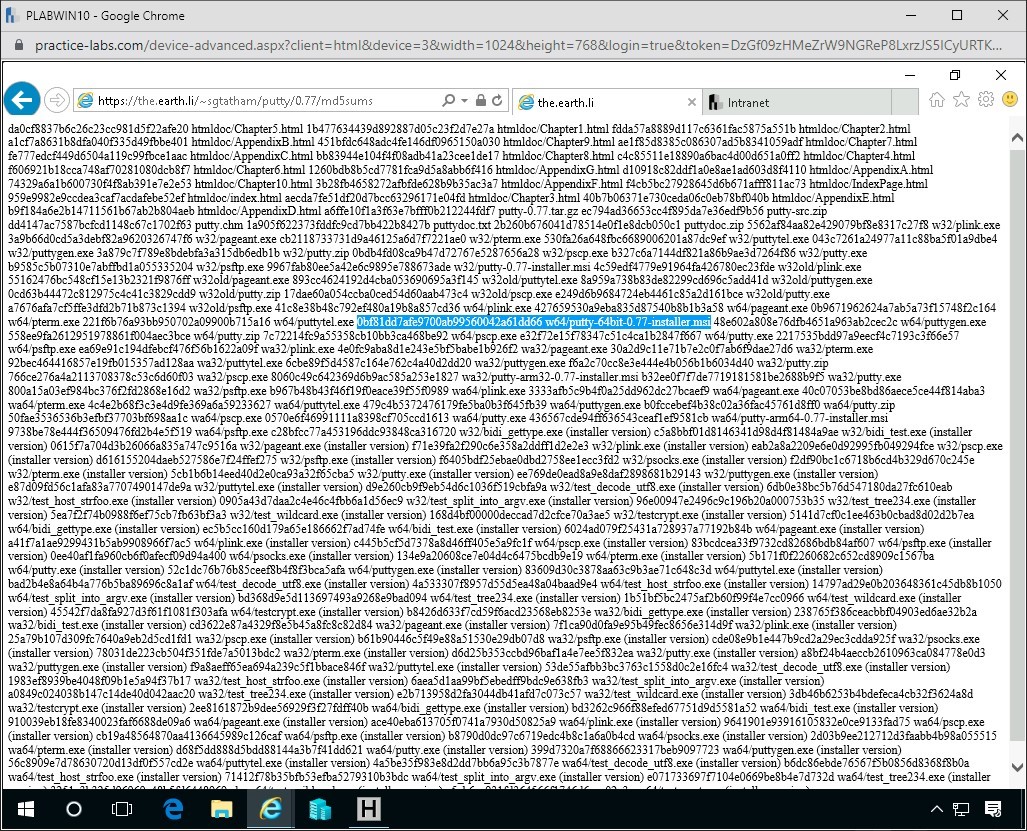
The md5sum for the w64/putty-64bit-0.72-installer.msi is:
df9ae309152b758ee80201f30f53c w64/putty-64bit-0.72-installer.msi
Click on the Link for sha1sums
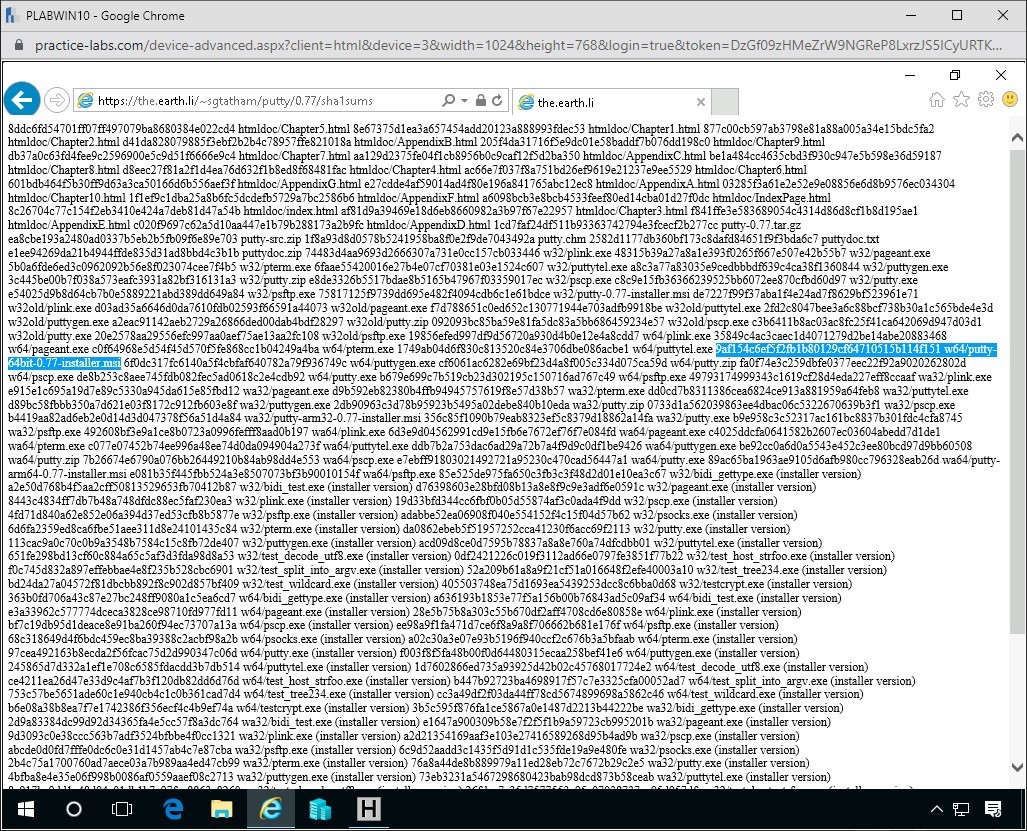
The sha1sum for the Putty.exe is:
42d3cdcdbc212c27c4ff4814acf0c09d90483077 w64/putty-64bit-0.72-installer.msi
Task 2 - Using Online Comparison Tool
The online site aids comparing values against each other to check whether we have the same hash values as the original.
Here we will use this online tool and combine that with HashCalc results.
Step 1
Open another tab in Internet Explorer and navigate to the following page:
http://onlinemd5.com/
Now we will compare the values for the both the MD5 and SHA1 found on the website with the values generated by the Hash Calculator.
Alert: Make sure MD5 radio button has been checked on the site.Step 2
Copy the hashed MD5 HashCalc value to the website field produced by HashCalc for w64/putty-64bit-0.72-installer.msi as completed in the earlier exercise.
File Checksum:
Copy the value from the putty website into the Onlinemd5 calculator in the field
Compare with:
Press the Compare button.
If the same, we have a pass on these Hash Values and the data file is exactly the same as the authors.
Step 3
Now perform the same job on with the SHA1 by copying the SHA1 values from the Hashcalc and from the putty website to OnlineMD5.
Alert: Be sure to tick the SHA1 radio button.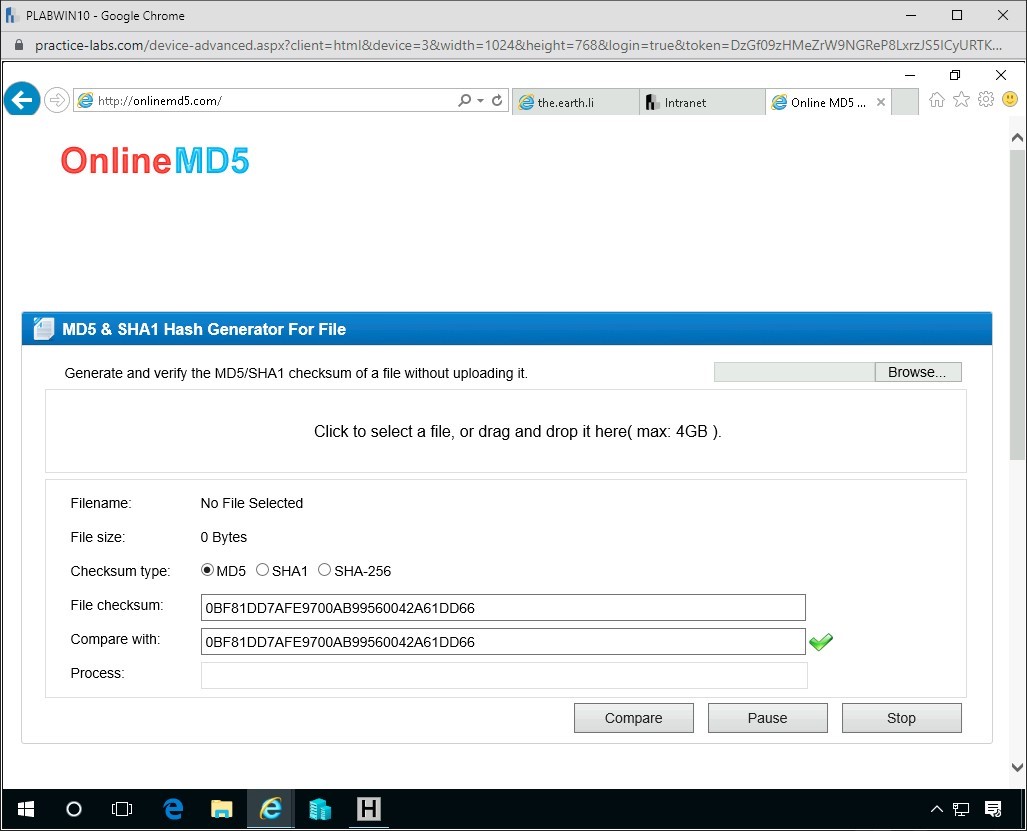
You should have a positive result of a pass on these Hash Values.
If you wish, you can continue to perform a check further with SHA-256.
evices you have powered on in their current state and proceed to the next exercise.

Comments
Post a Comment