Enumeration
Enumeration Techniques using Windows-based Tools
Enumeration allows you to establish an active connection with a target. Your intent is to extract different types of information from the target. Some of the information that you can extract is:
- Usernames
- Group names
- Hostnames
- Network shares and services
- Routing tables
- Web application
- Web servers
- SNMP information
- DNS information
There are various types of enumerations that can be performed. Some of these are:
- Windows Enumeration
- Linux Enumeration
- NetBIOS Enumeration
- SNMP Enumeration
- LDAP Enumeration
- NTP Enumeration
- SMTP Enumeration
- DNS Enumeration
In this exercise, you will learn to use some of the enumeration techniques using Windows-based tools.
Learning Outcomes
After completing this exercise, you will be able to:
- Use SuperScan for NetBIOS Enumeration
- Use Hyena for Enumeration
- Perform LDAP Enumeration using Softerra LDAP Administrator
- Perform SNMP Enumeration using IP Network Browser
Your Devices
You will be using the following devices in this lab. Please power these on now.
- PLABDC01 - (Windows Server 2019 - Domain Server)
- PLABDM01 - (Windows Server 2019 - Domain Member)
- PLABWIN10 - (Windows 10 - Workstation)
- PLABKALI01 - (Kali 2019.2 - Linux Kali Workstation)

Task 1 - Use SuperScan for NetBIOS Enumeration
SuperScan is a network management tool that has the following capabilities:
- NetBIOS information
- User and group accounts
- Network shares
- Services status
To use SuperScan, for NetBIOS enumeration perform the following steps:
Step 1
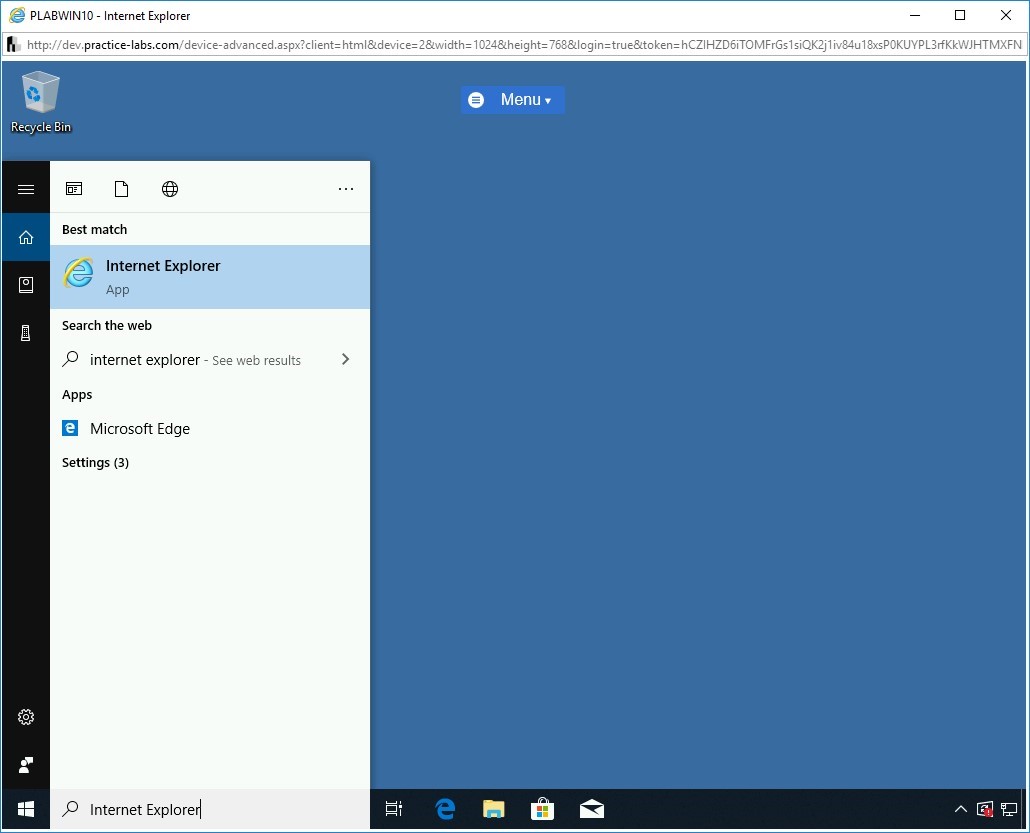
Ensure you have powered on all the devices listed in the introduction and connect to PLABWIN10. In the Type here to search text box, type the following:
Internet Explorer
From the search results, select Internet Explorer.
Step 2
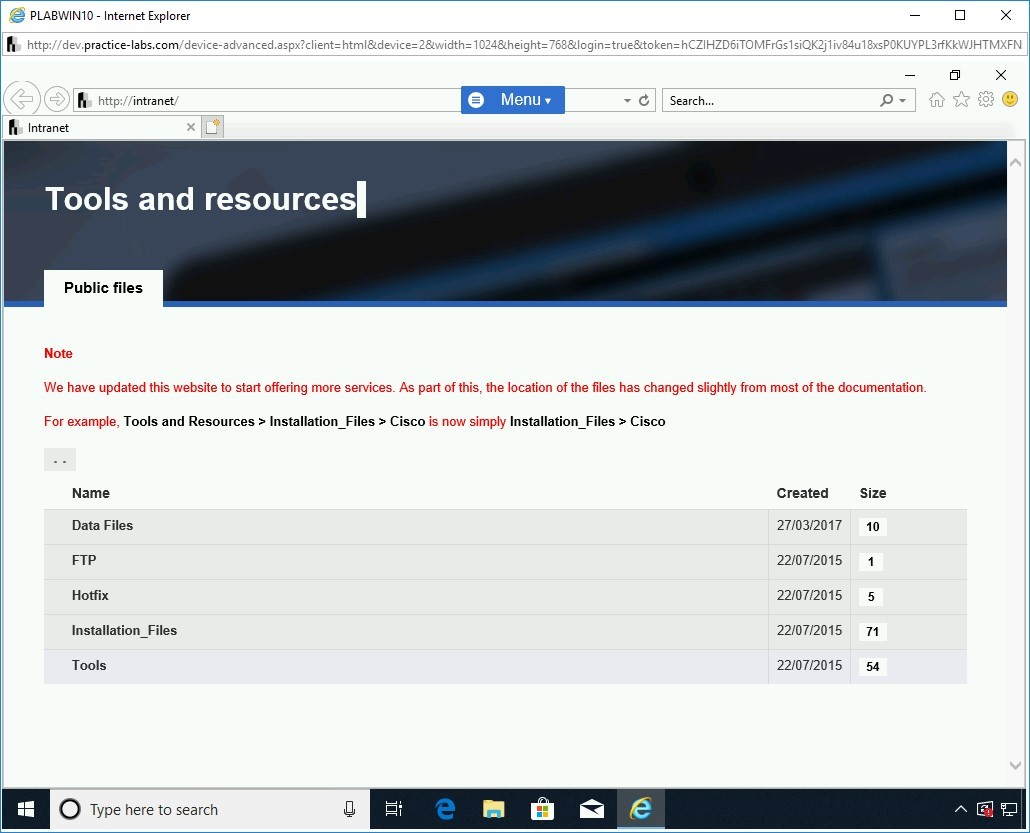
Internet Explorer opens the Tools and resources webpage.
Click Tools.
Step 3
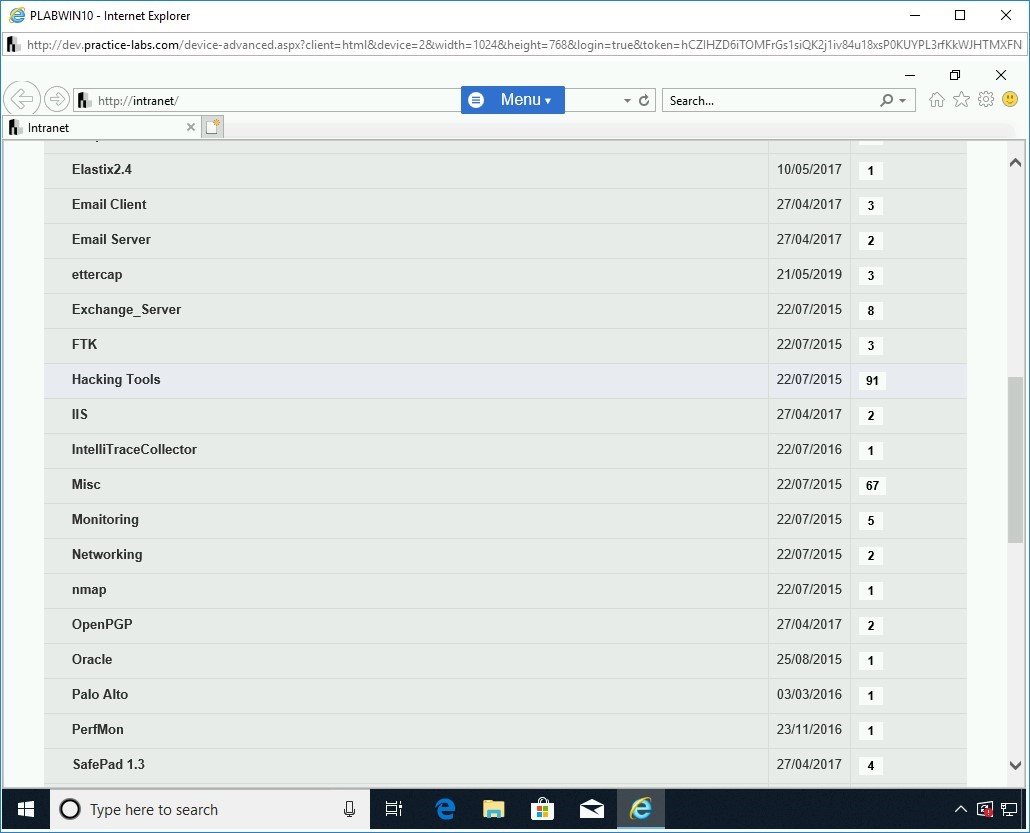
You will be directed to [..] > Tools.
Scroll down a bit and locate Hacking Tools.
Click Hacking Tools.
Step 4
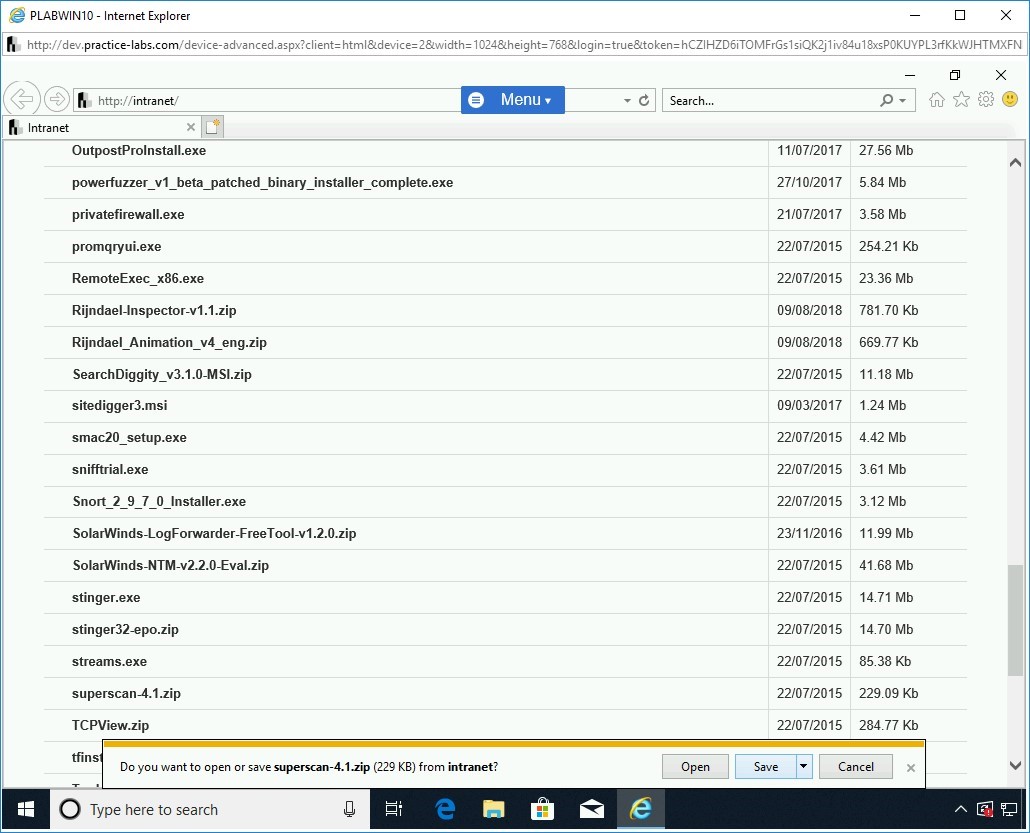
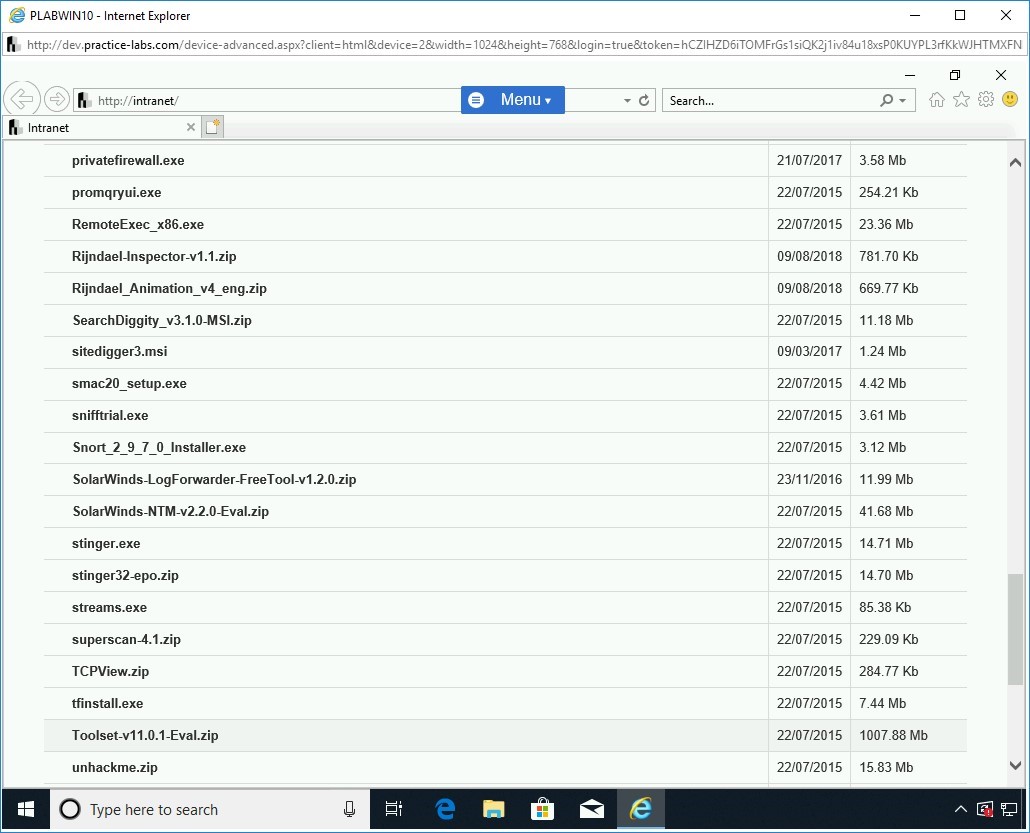
On the [..] > Tools > Hacking Tools page, scroll down the page and locate superscan-4.1.zip.
Click superscan-4.1.zip.

Step 5
In the notification bar, click Save.
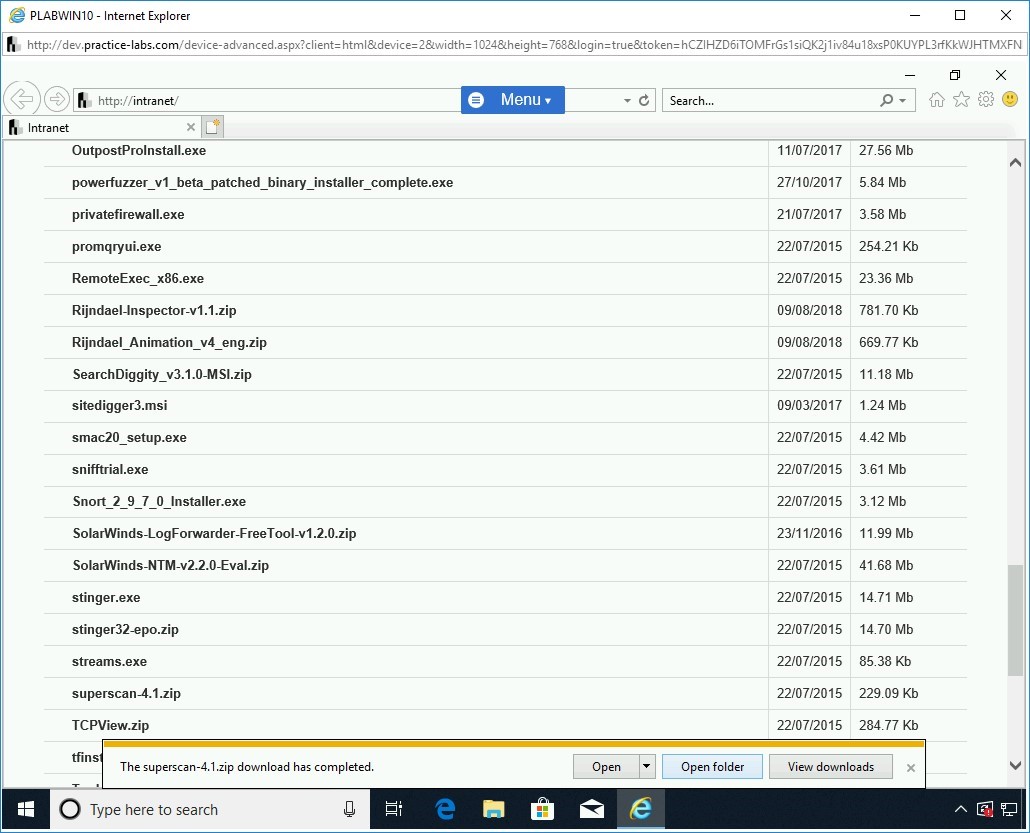
Step 6
When the file download is successfully completed, in the notification bar, click Open folder.
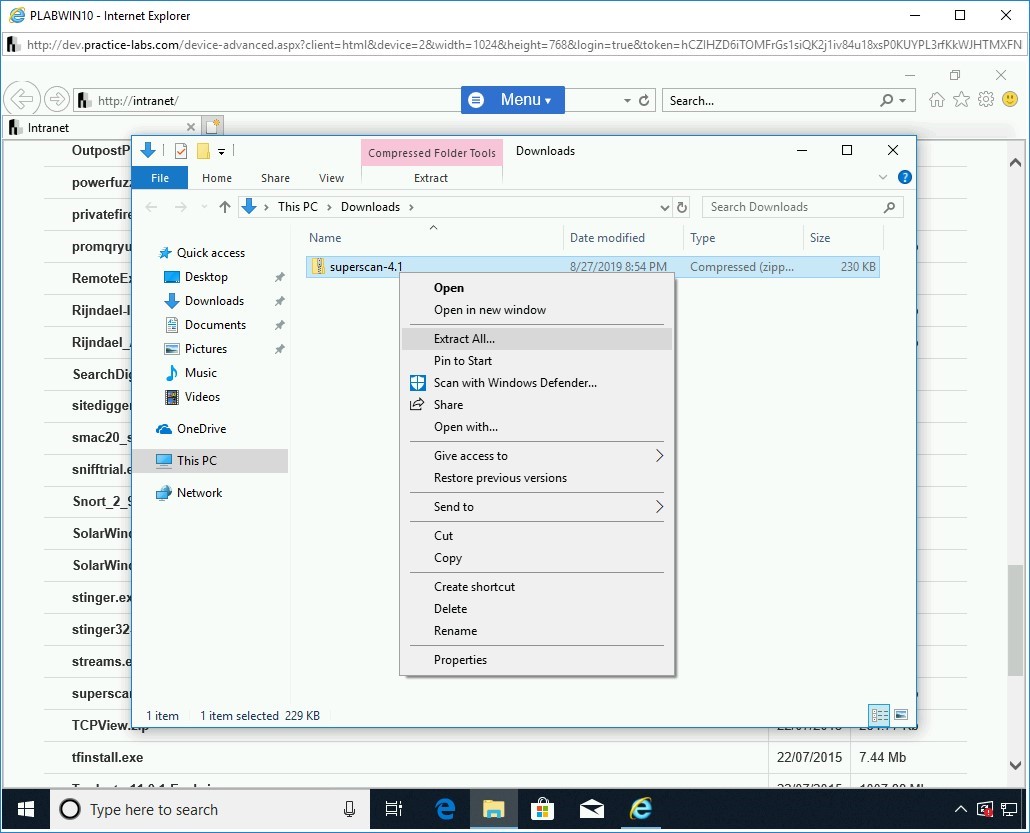
Step 7
File Explorer opens the Downloads folder that contains the superscan-4.1.zip file.
Right-click superscan-4.1 and select Extract All.
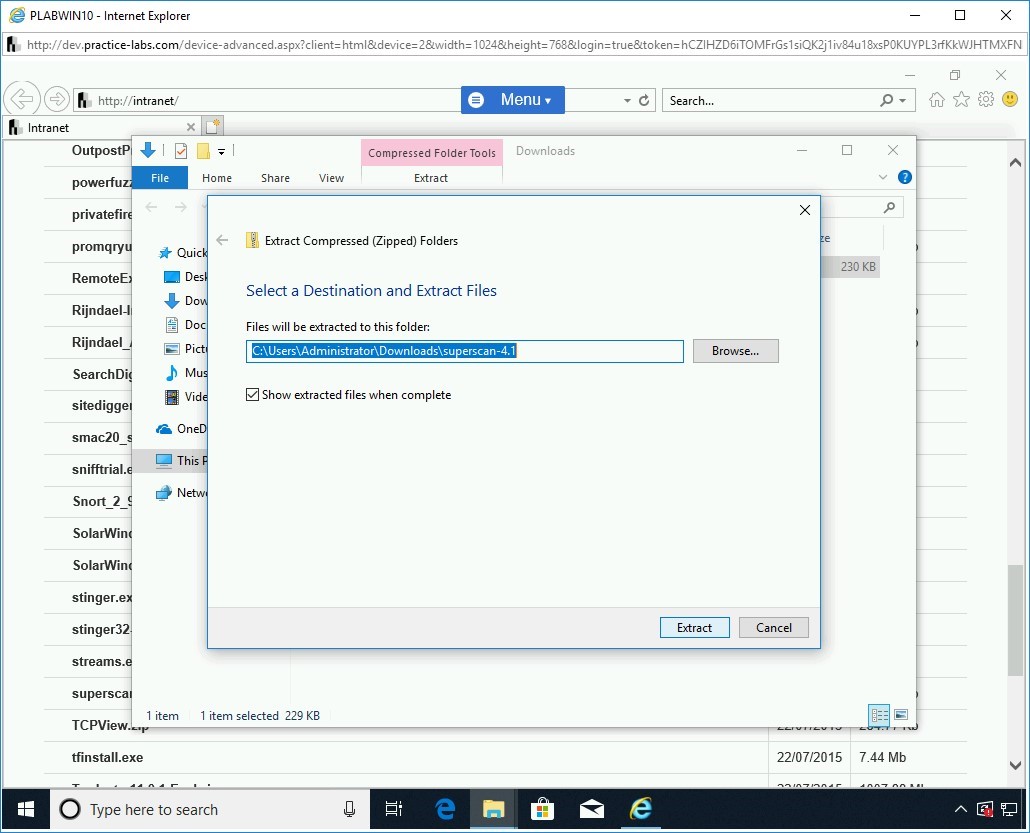
Step 8
In the Extract Compressed (Zipped) Folders dialog box, keep the default path and click Extract.
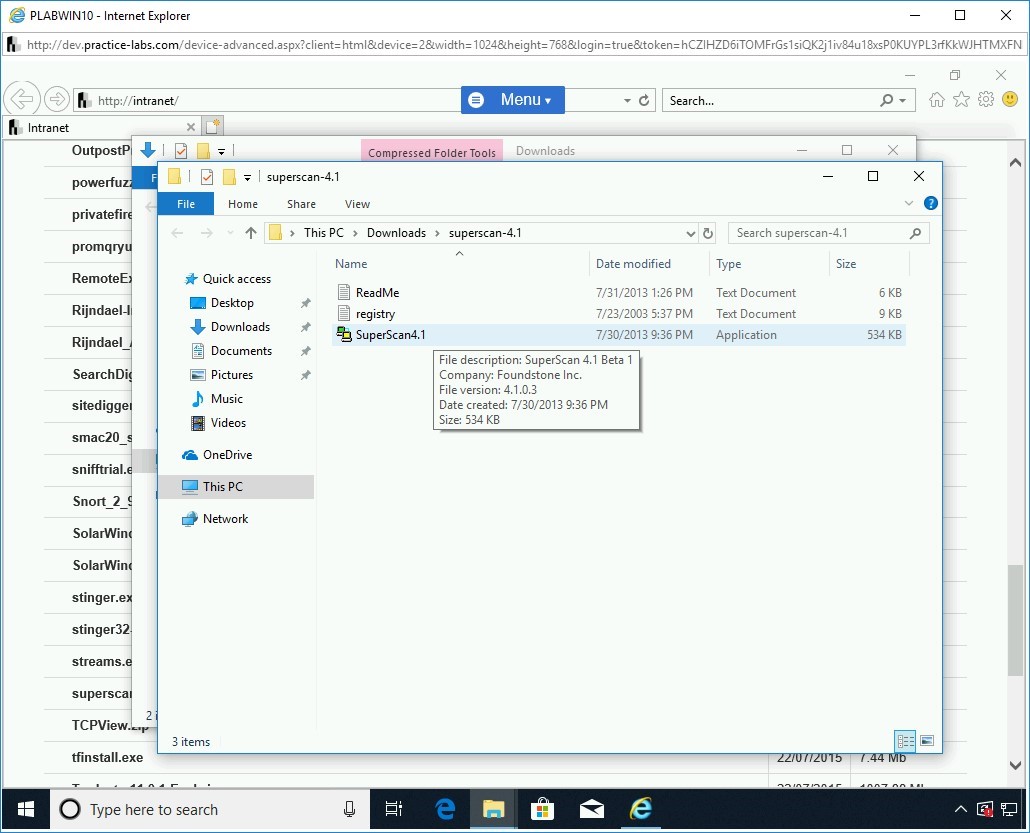
Step 9
A new File Explorer window opens with the extracted files. Double-click SuperScan4.1.
Step 10
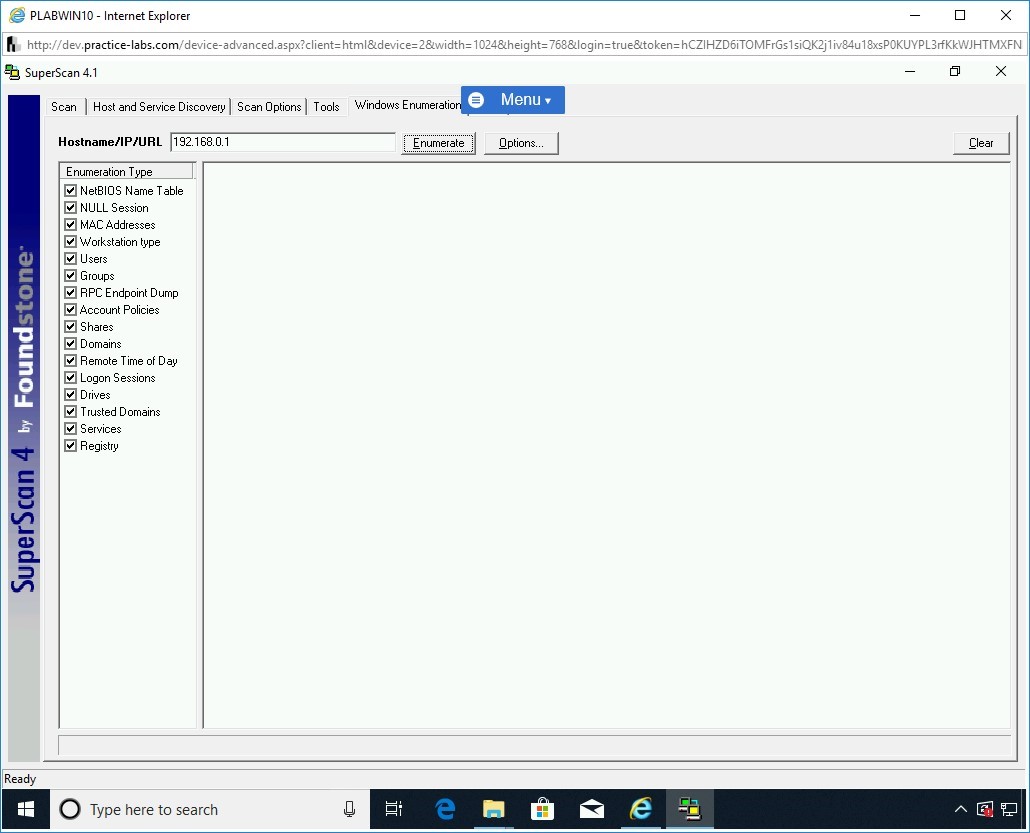
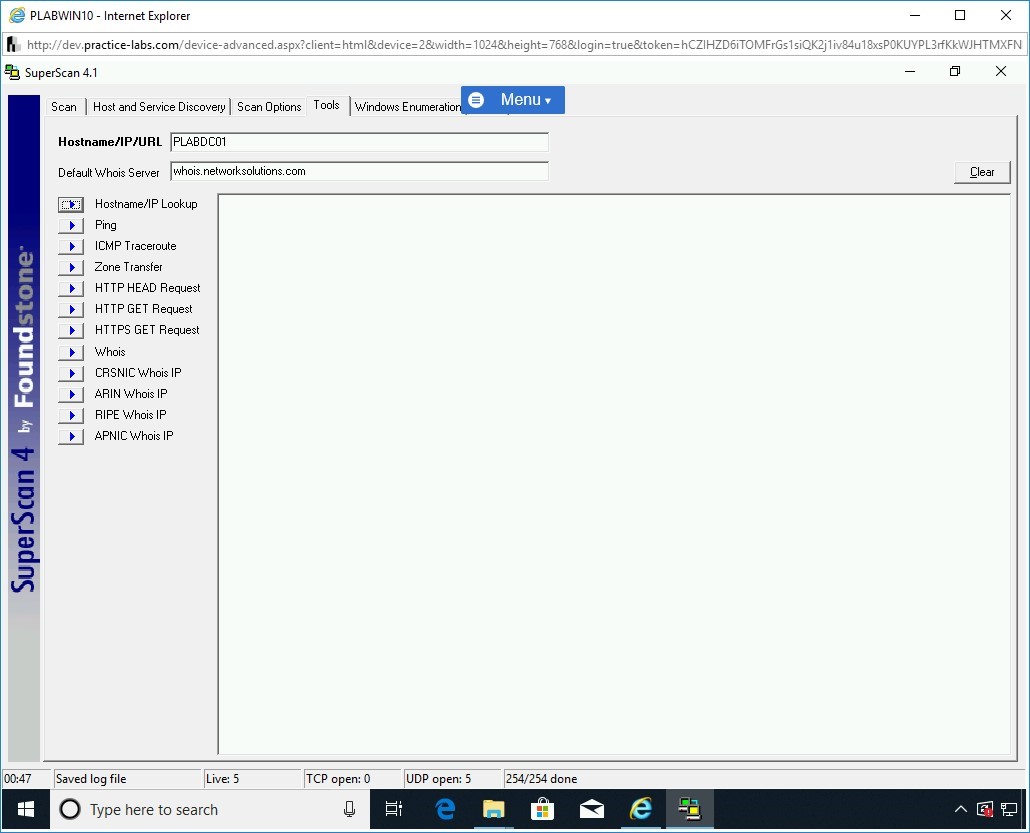
The SuperScan 4.1 window is displayed.
In the SuperScan 4.1 window, click the Windows Enumeration tab.

Step 11
There are two panes in the Windows Enumeration tab. The left pane contains the Enumeration types, and the right pane will display the result of the enumeration. In the Hostname/IP/URL text box, type the following IP address:
192.168.0.1
Click Enumerate.
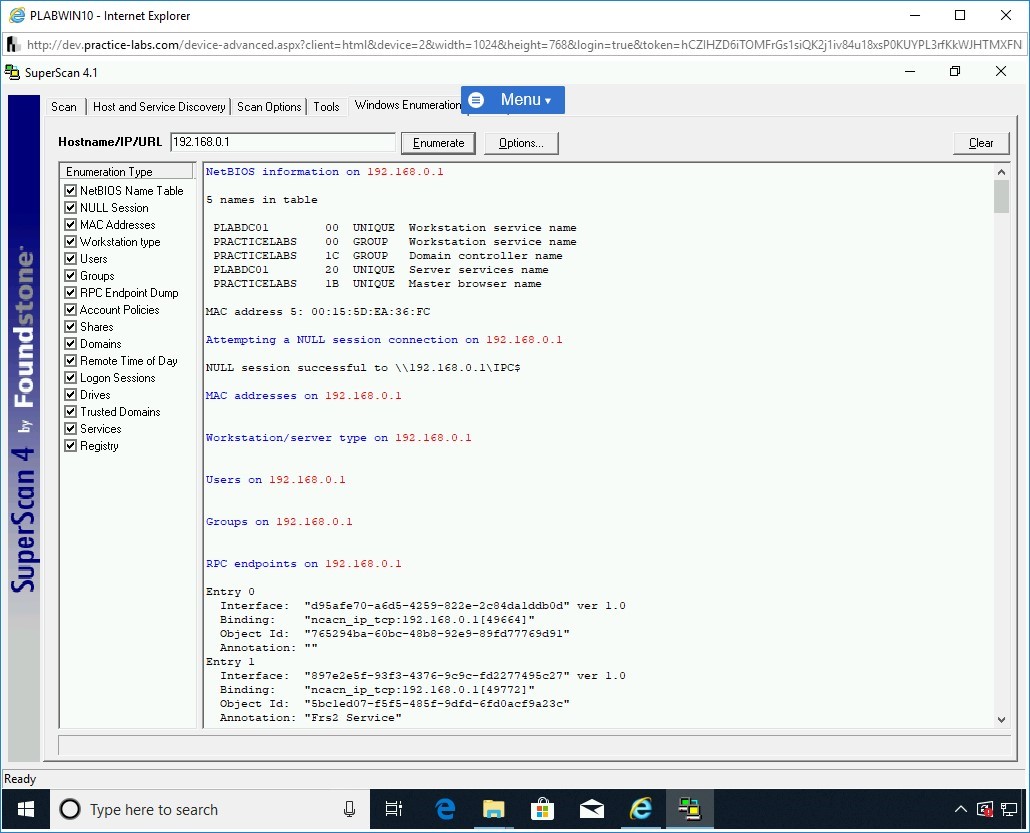
Step 12
The results are displayed in the right pane. Scroll up to view the results from the beginning.
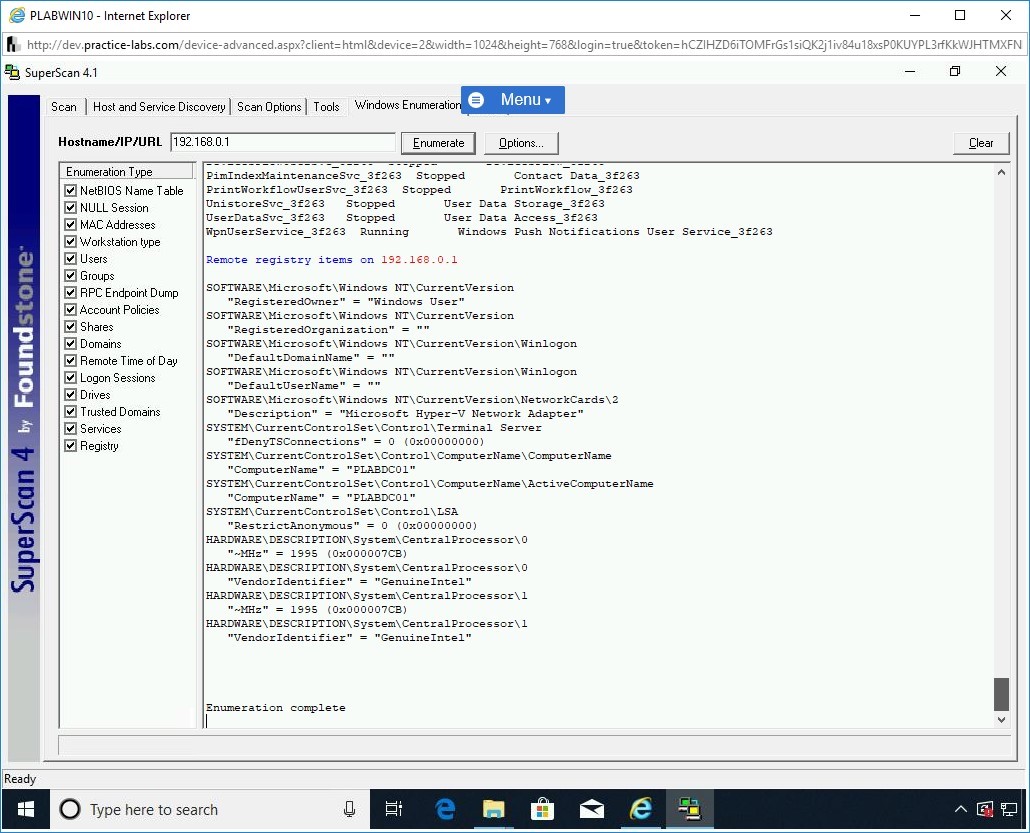
Step 13
You can view the complete results by scrolling down.
Step 14
Using SuperScan, you can also perform a network scan.
From the SuperScan 4.1 window, select the Scan tab.

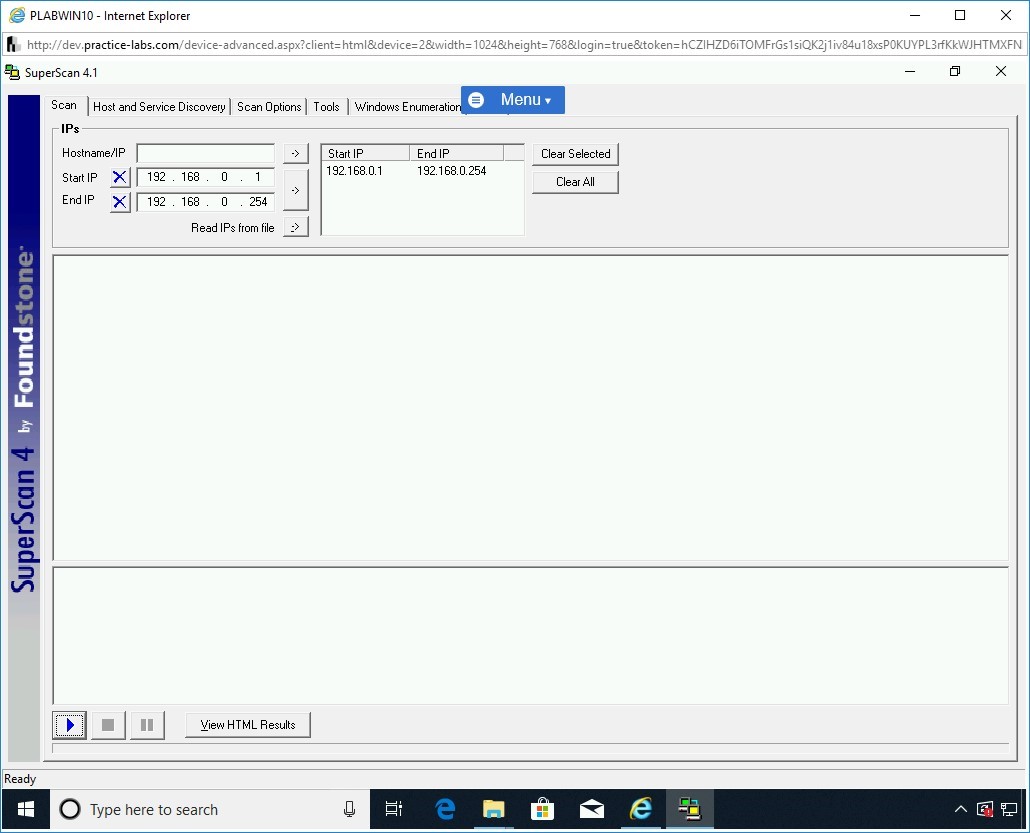
Step 15
On the Scan tab, in the Start IP text box, type the following IP address:
192.168.0.1
Click inside the End IP text box. Notice that the End IP text information is automatically populated with the following IP address:
192.168.0.254
Click the middle right arrow to add information in the right text box.

Step 16
The IP address range is now added in the right text box.

Step 17
Minimize the SuperScan 4.1 window and all other open windows.
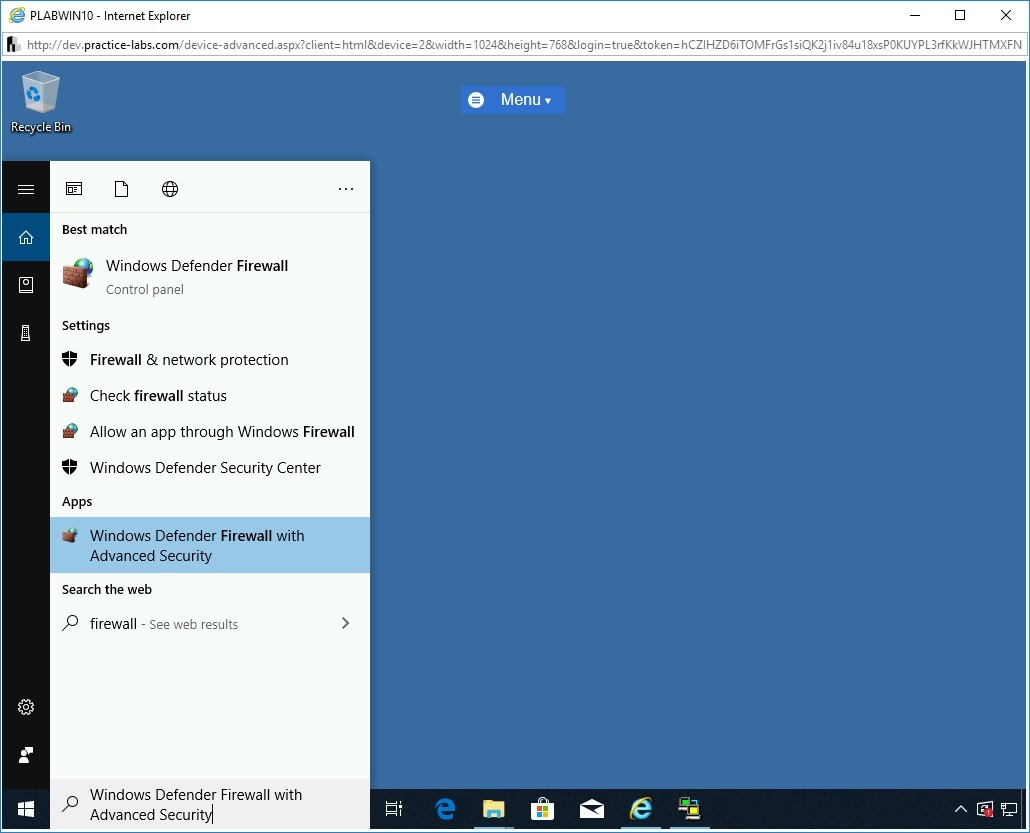
Before proceeding, you will need to disable the firewall, click Start.
In the Type here to search text box, type the following:
Windows Defender Firewall with Advanced Security
Click on Windows Firewall with Advanced Security.
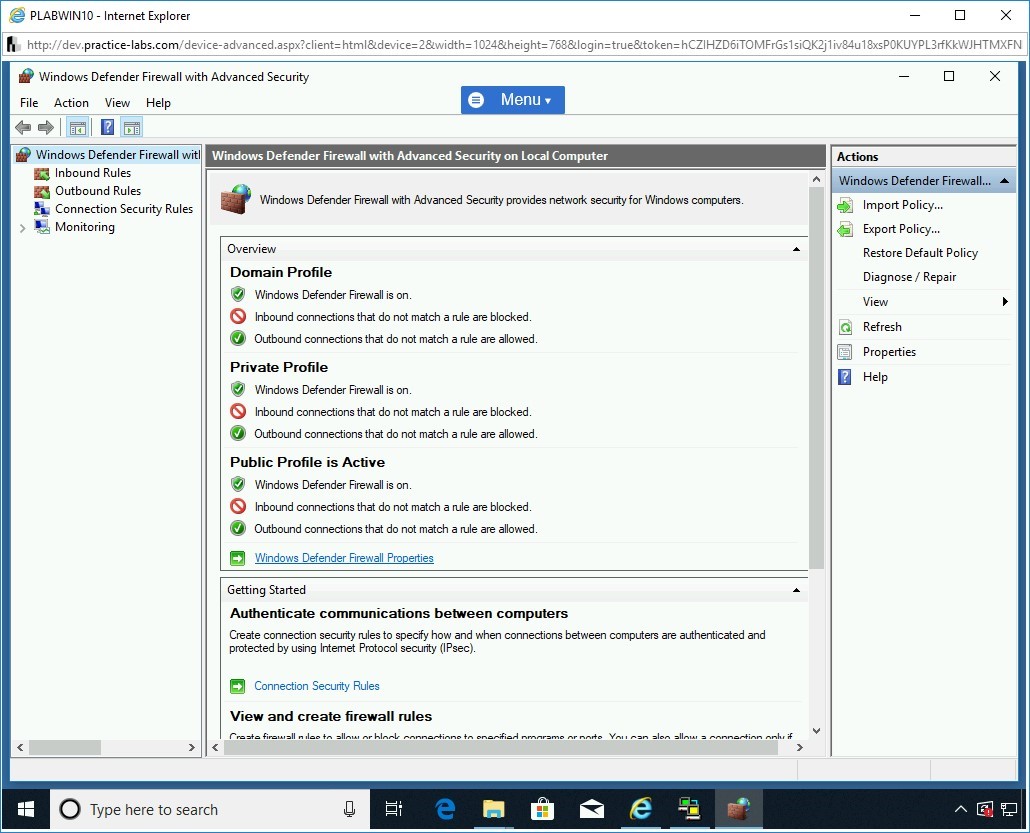
Step 18
The Windows Defender Firewall with Advanced Security window is displayed. You will notice that only the Domain Profile is Active, click Windows Defender Firewall Properties link in the middle pane.
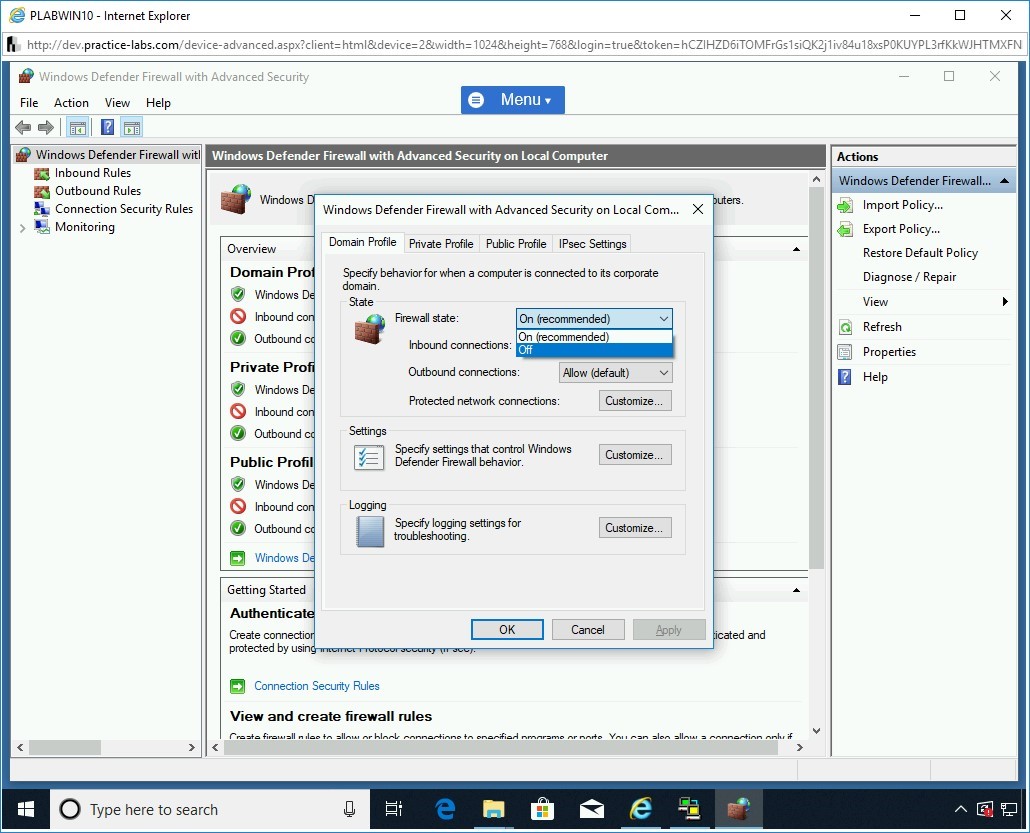
Step 19
On the Windows Defender Firewall with Advanced Security on Local Computer Properties dialog box, the Domain Profile tab is displayed.
You need to change the Firewall state to Off. Click the Firewall state drop-down and select Off.
Step 20
After the Firewall state is set to Off, click the Private Profile tab.

Step 21
You need to change the Firewall state to Off. Click the Firewall state drop-down and select Off.

Step 22
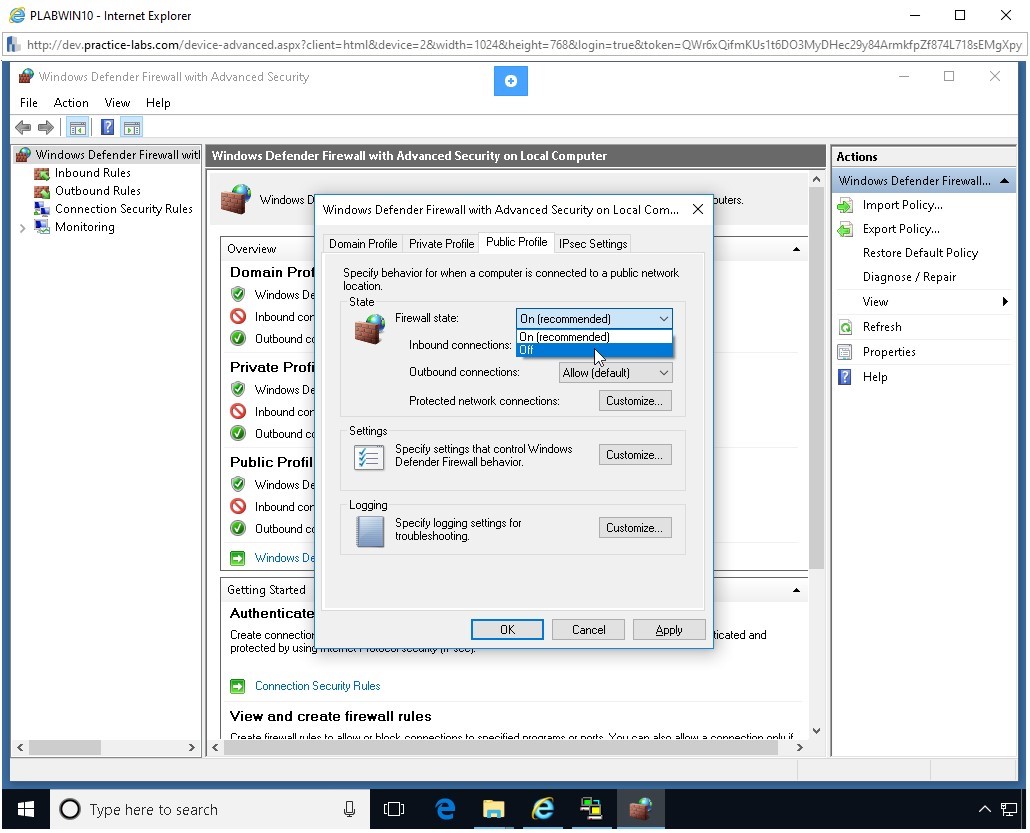
After the Firewall state is set to Off, click the Public Profile tab.

Step 23
You need to change the Firewall state to Off. Click the Firewall state drop-down and select Off.
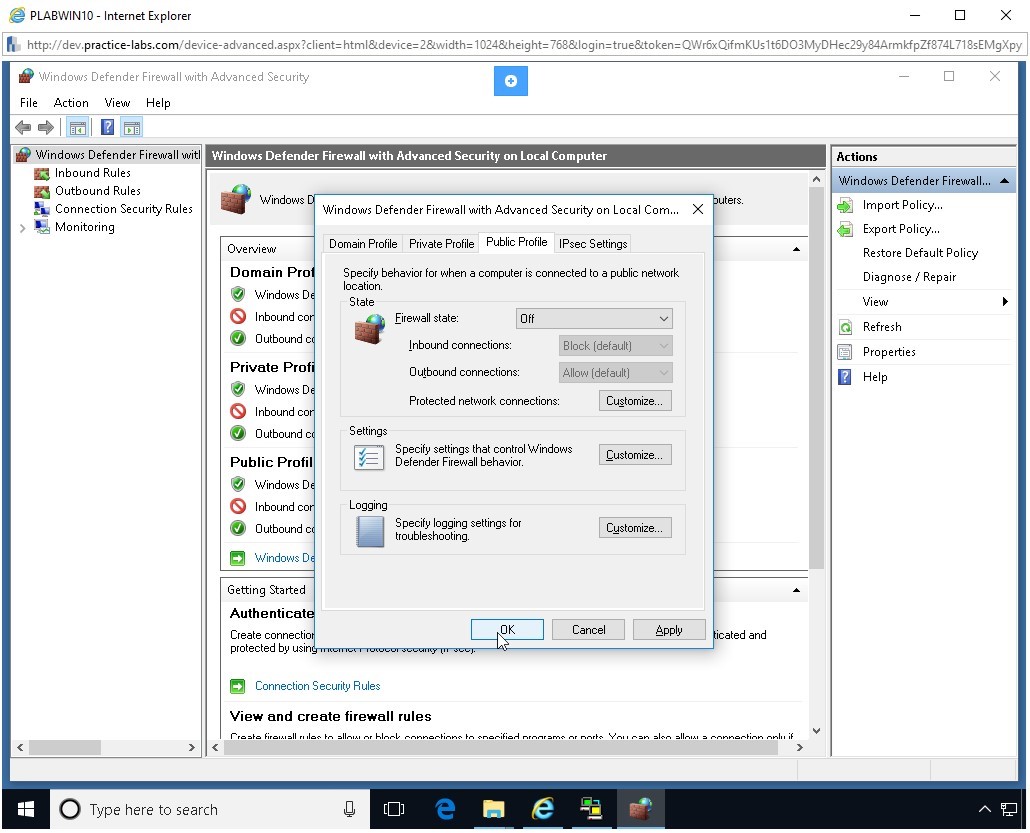
Step 24
After the firewall has been turned off on all three tabs, Domain Profile, Private Profile, and Public Profile, click OK.
Step 25
Close the Windows Defender Firewall with Advanced Security window.
Note: In a production environment, you would not do this as it exposes the device to a number of threats.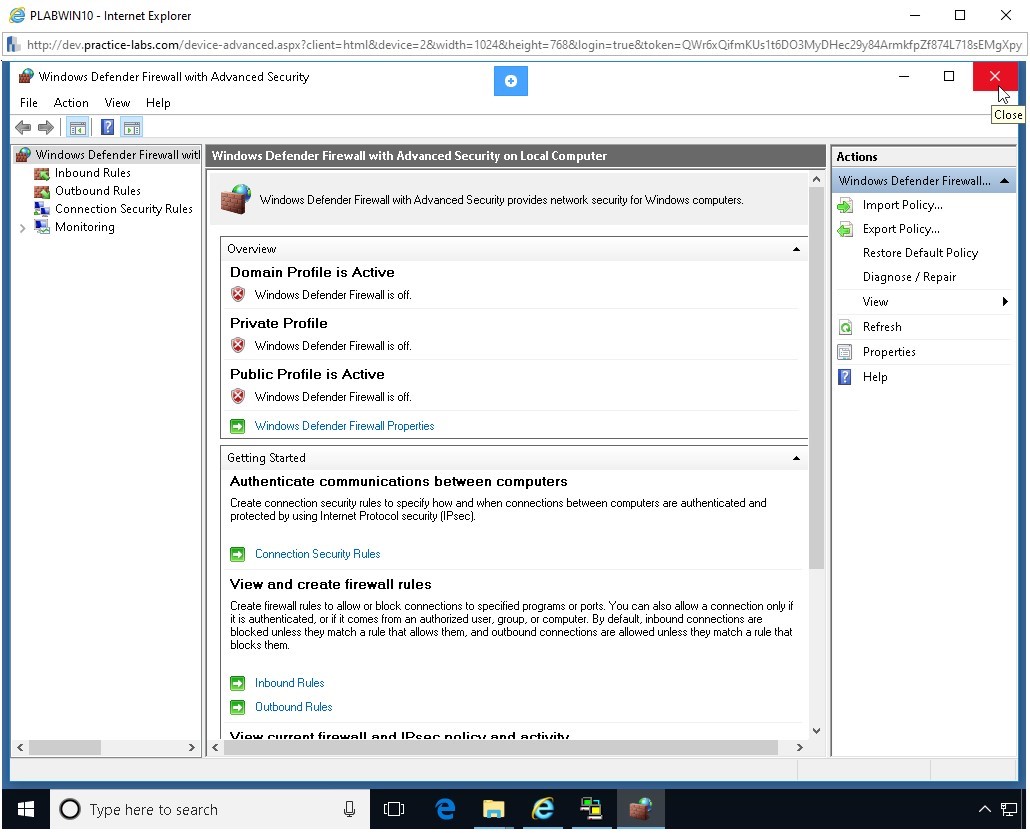
Step 26
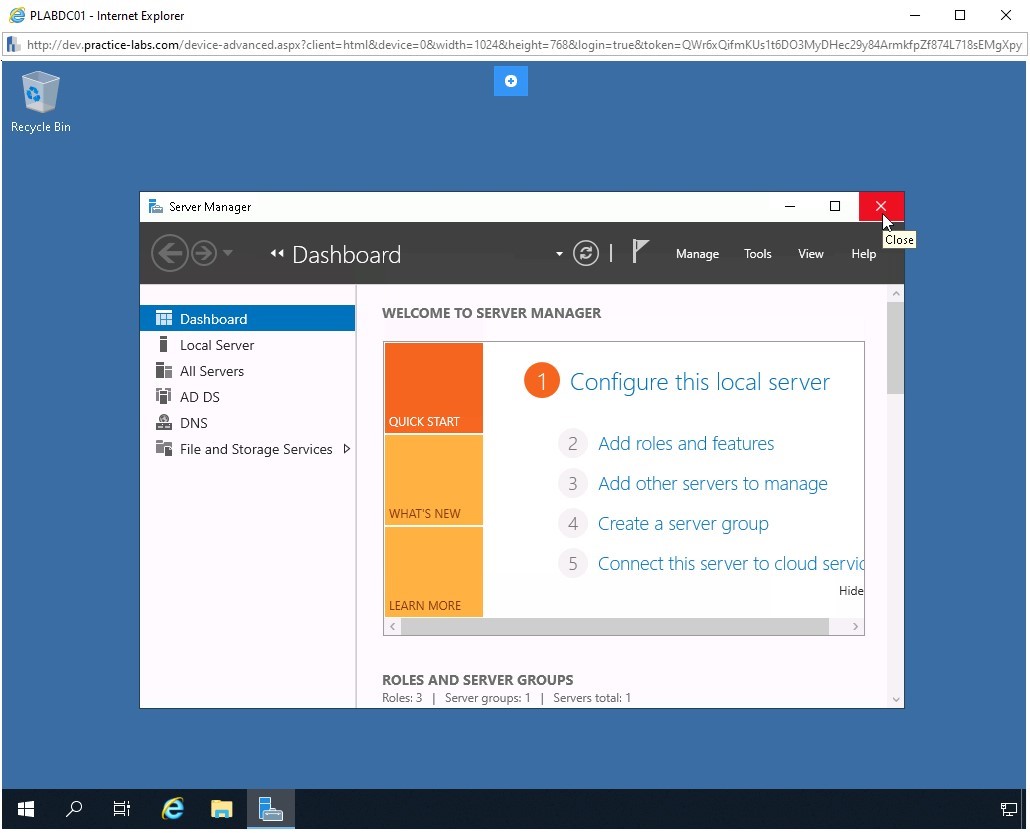
Minimize PLABWIN10 and connect to PLABDC01.
The Server Manager window is displayed. Click Close.
Step 27
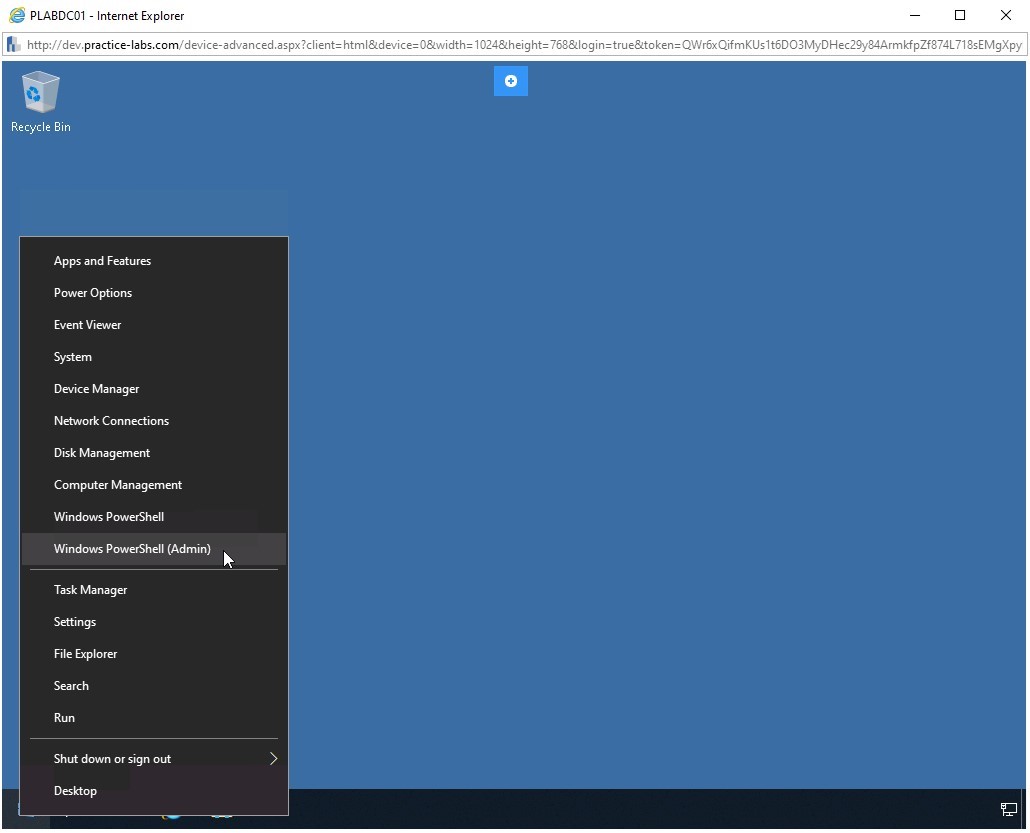
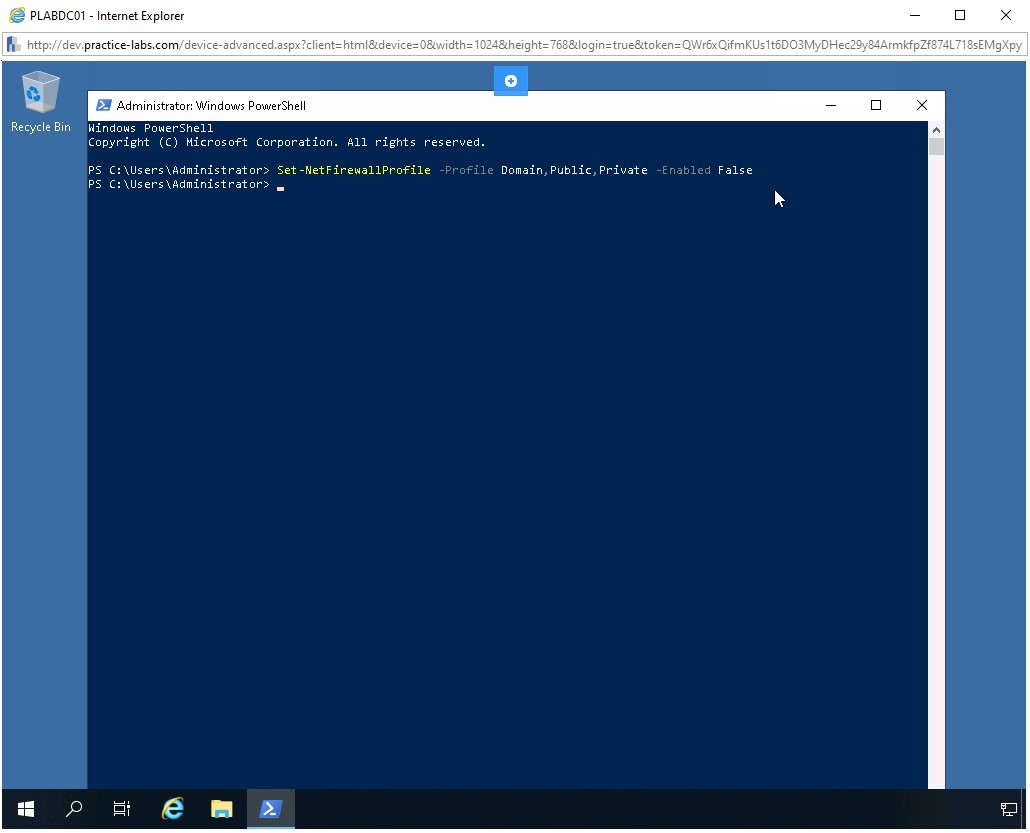
Right-click the Windows charm and select Windows PowerShell (Admin).
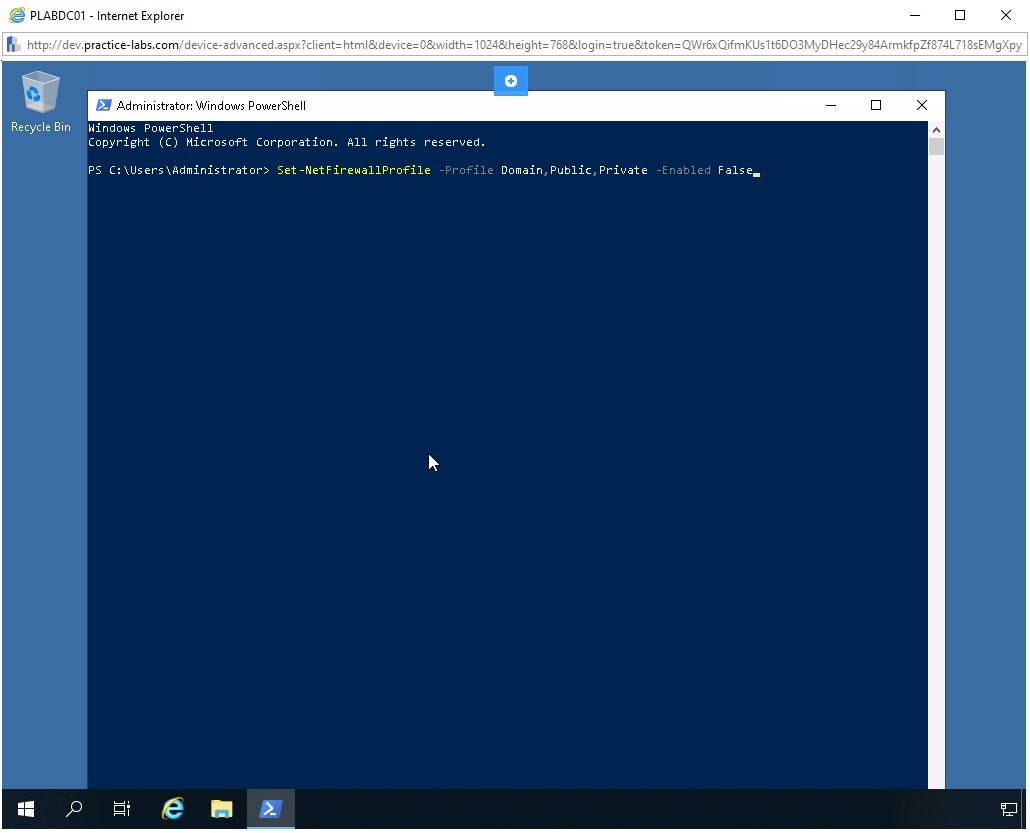
Step 28
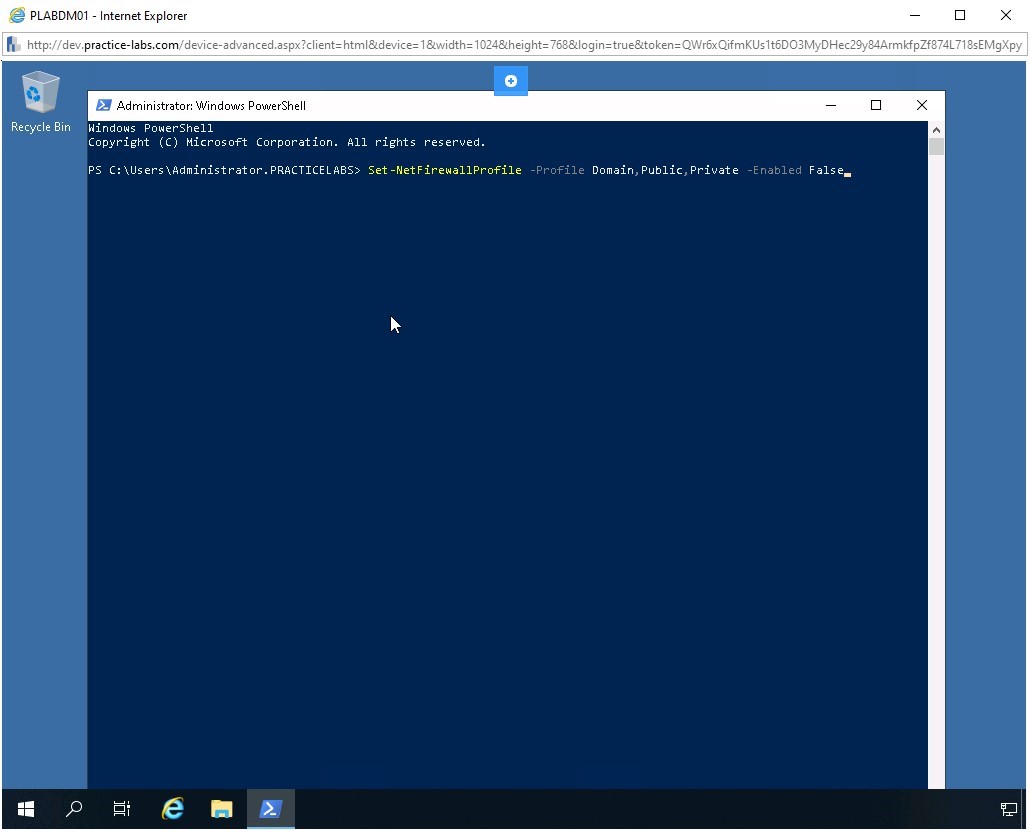
Using a PowerShell cmdlet, you will turn off the firewall on PLABDC01. You can turn off all three profiles using a single command. To do this, type the following command:
Set-NetFirewallProfile -Profile Domain,Public,Private -Enabled False
Press Enter.
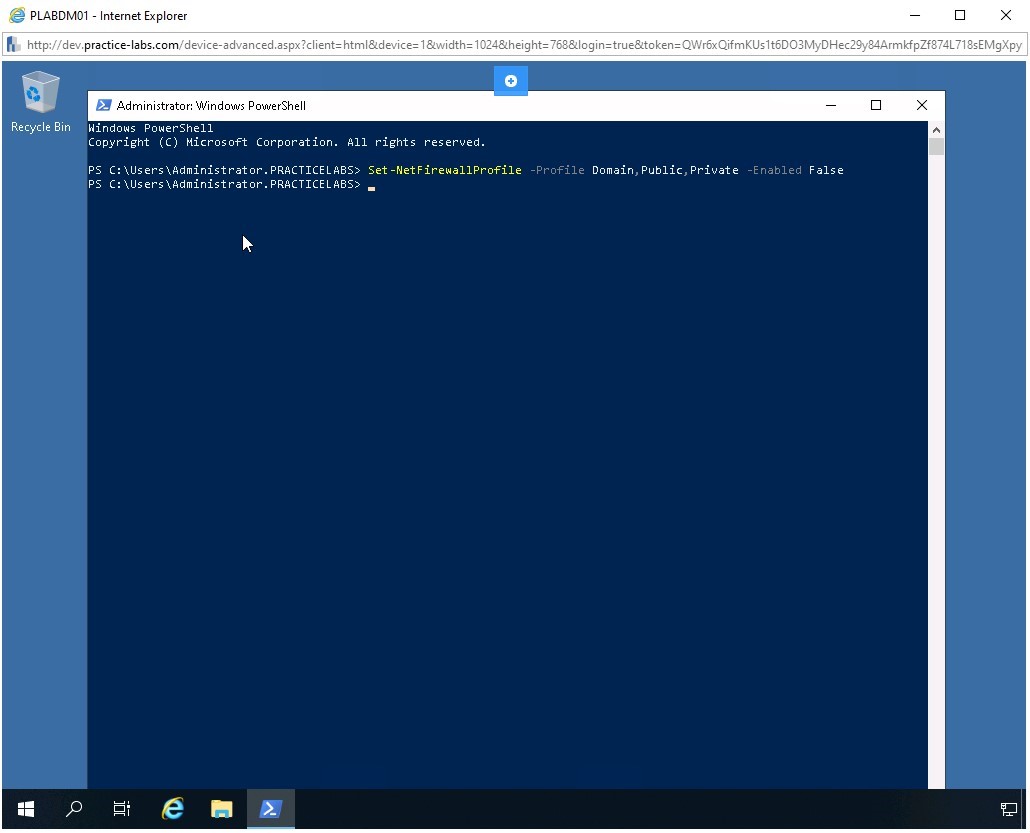
Step 29
Notice that the command does not return any output. Windows Firewall is now switched off.
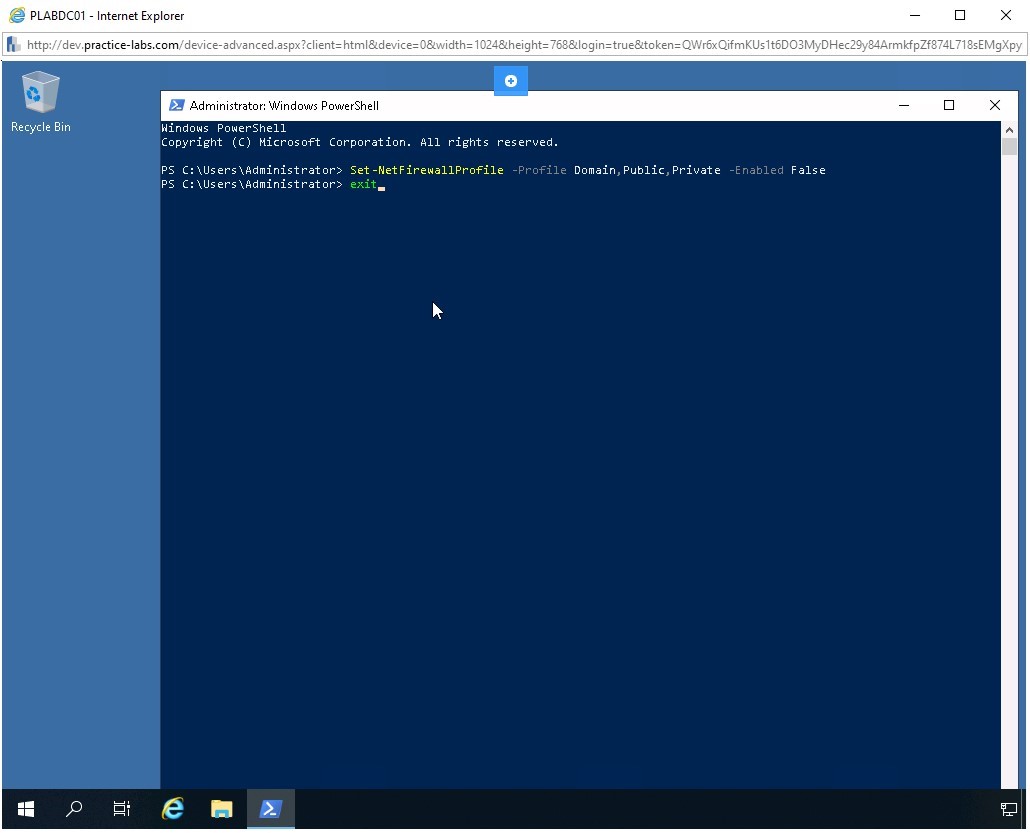
Step 30
To exit from the PowerShell window, type the following command:
exit
Press Enter.
Step 31
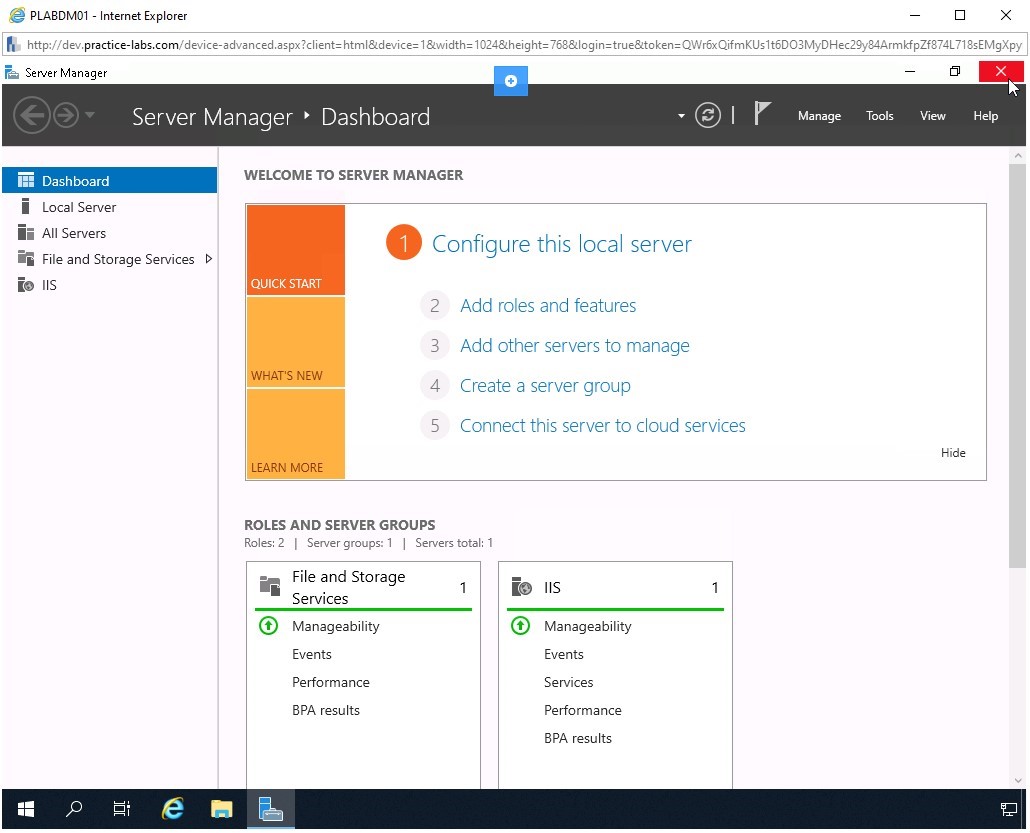
Minimize PLABDC01 and connect to PLABDM01.
The Server Manager window is displayed. Click Close.
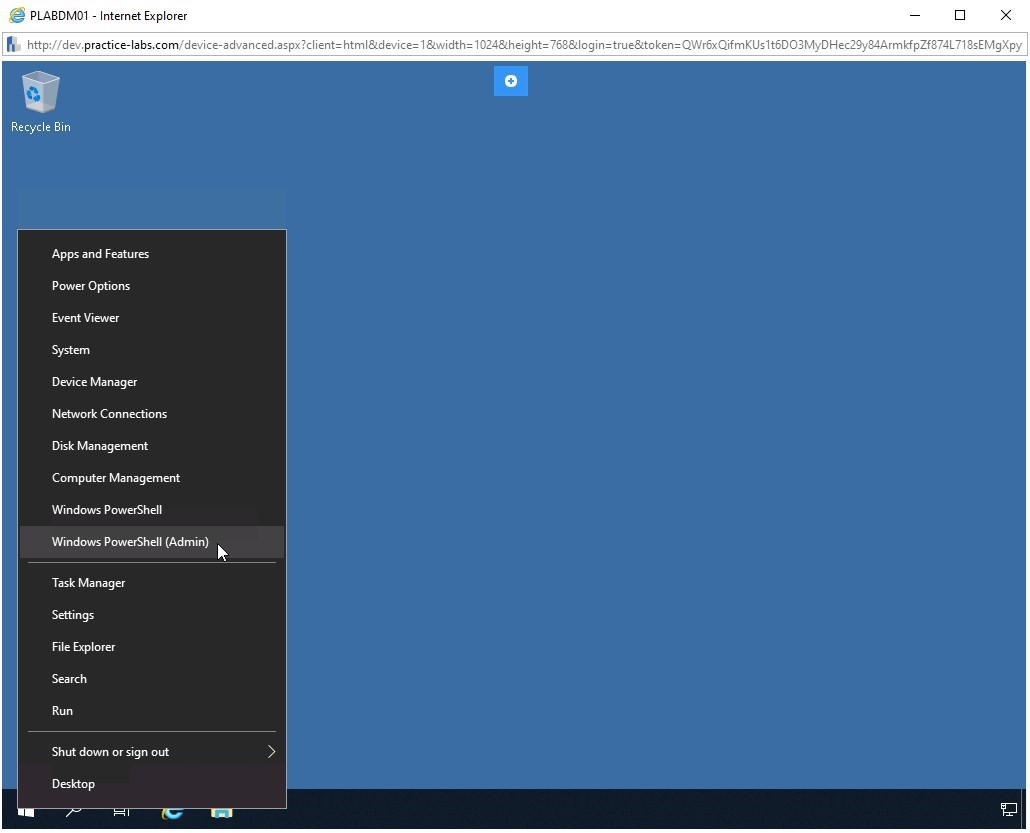
Step 32
Right-click the Windows charm and select Windows PowerShell (Admin).
Step 33
Using a PowerShell cmdlet, you will turn off the firewall on PLABDC01. You can turn off all three profiles using a single command. To do this, type the following command:
Set-NetFirewallProfile -Profile Domain,Public,Private -Enabled False
Press Enter.
Step 34
Notice that the command does not return any output. Windows Firewall is now switched off.
Step 35
To exit from the PowerShell window, type the following command:
exit
Press Enter.

Step 36
Switch back to PLABWIN10. Restore the SuperScan 4.1 window from the taskbar and click the Play button in the bottom section.
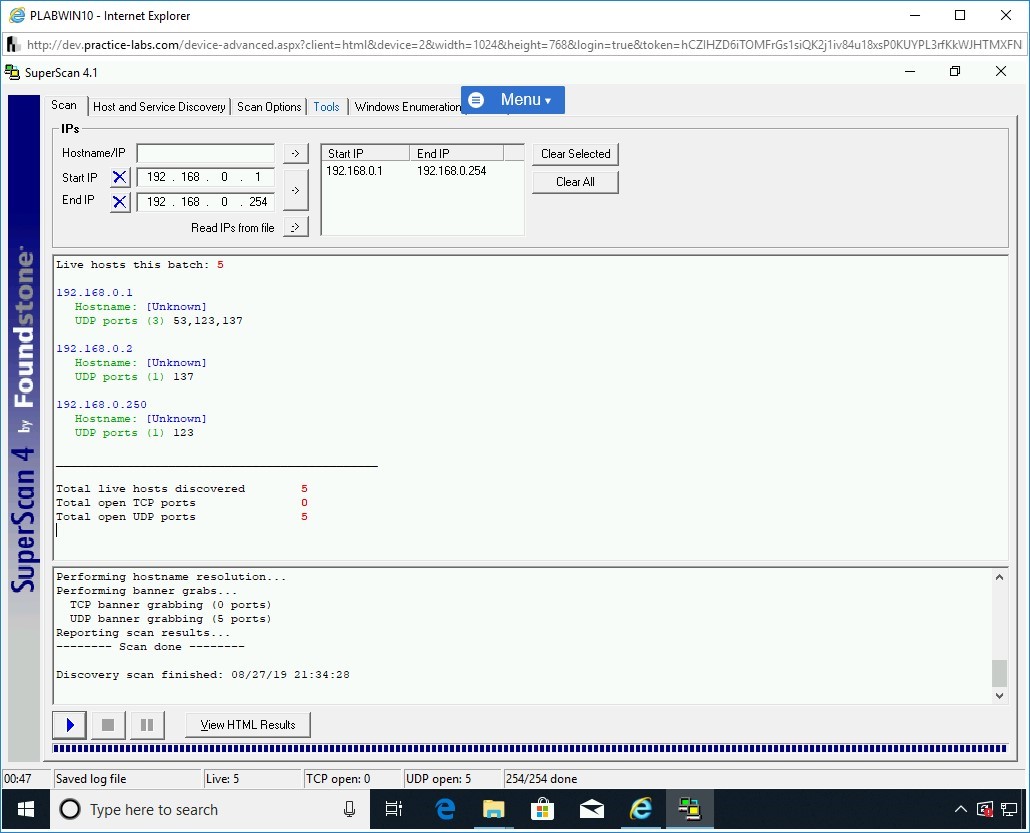
Step 37
Note that the network scan of the defined IP address range has started.
Once the scan is completed, and the progress bar has reached the end, a detailed report is displayed.
You need to read through the generated report by SuperScan.
Click the Tools tab to proceed to the next step.
Step 38
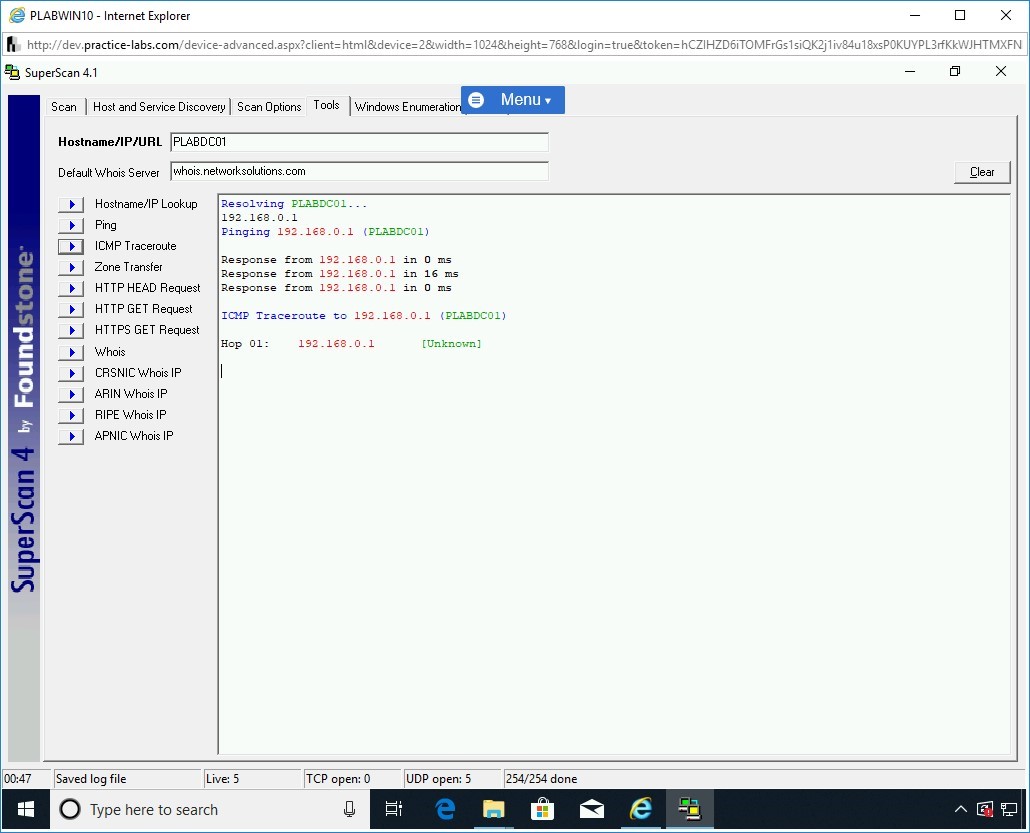
On the Tools tab, click inside the Hostname/IP/URL textbox, type the following name:
PLABDC01
Click the Hostname/IP Lookup button.
Step 39
Note that the results of the hostname will be now resolved to its IP address in the right pane.
Click the Ping button.

Step 40
The ping response from PLABDC01 is received.
Click the ICMP Traceroute button.

Step 41
Note that the results are displayed.
There is a single hop to PLABDC01.
Note: You can try the remaining options if time permits.Close the SuperScan 4.1 window.
Task 2 - Use Hyena for Enumeration
Hyena is one of the most renowned tools for system management used by network administrators. Hyena with its system management capabilities can perform enumeration of various types of information:
- users
- shares
- services
In this task, you will learn to use Hyena for enumeration. To use Hyena, perform the following steps:
Step 1
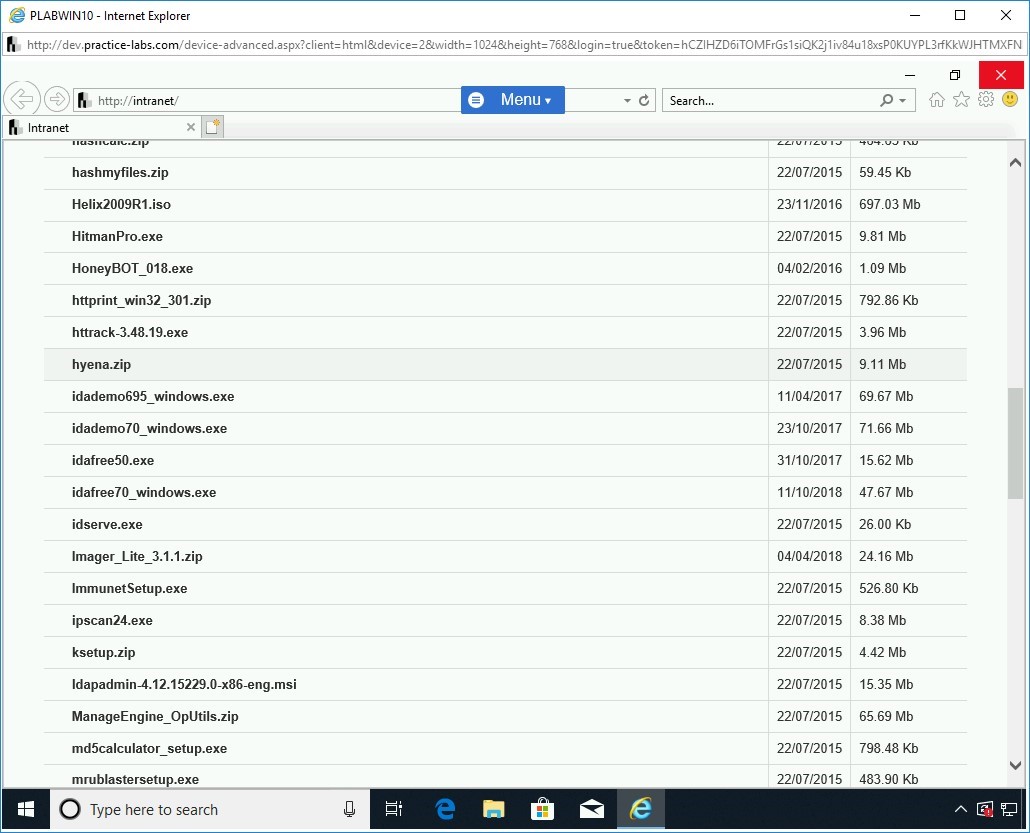
Ensure you have powered on all the devices listed in the introduction and connect to PLABWIN10. Ensure that Internet Explorer is open, and you are on the Hacking Tools page.
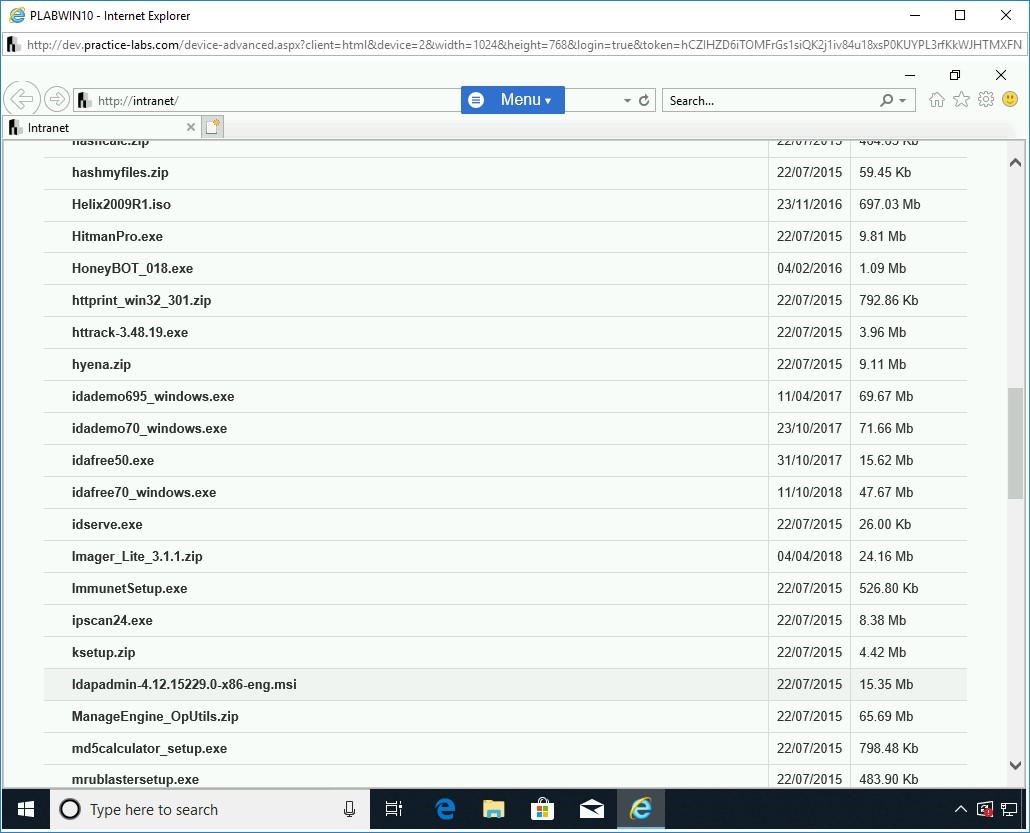
Note: If you closed Internet Explorer in the previous task, please ensure you follow the steps provided in Task 1 to reach the Hacking Tools page.On the Hacking Tools Webpage, scroll to locate hyena.zip. Click hyena.zip.
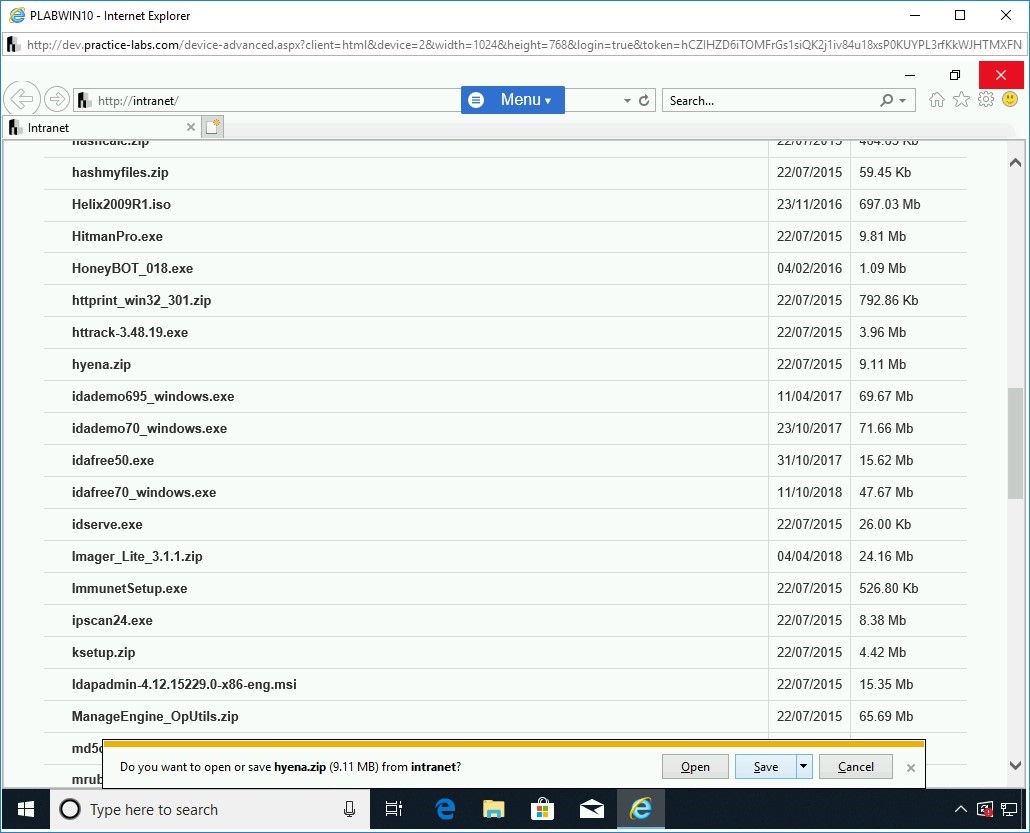
Step 2
In the notification bar, click Save.
Step 3
When the file is successfully downloaded, in the notification bar, click Open folder.
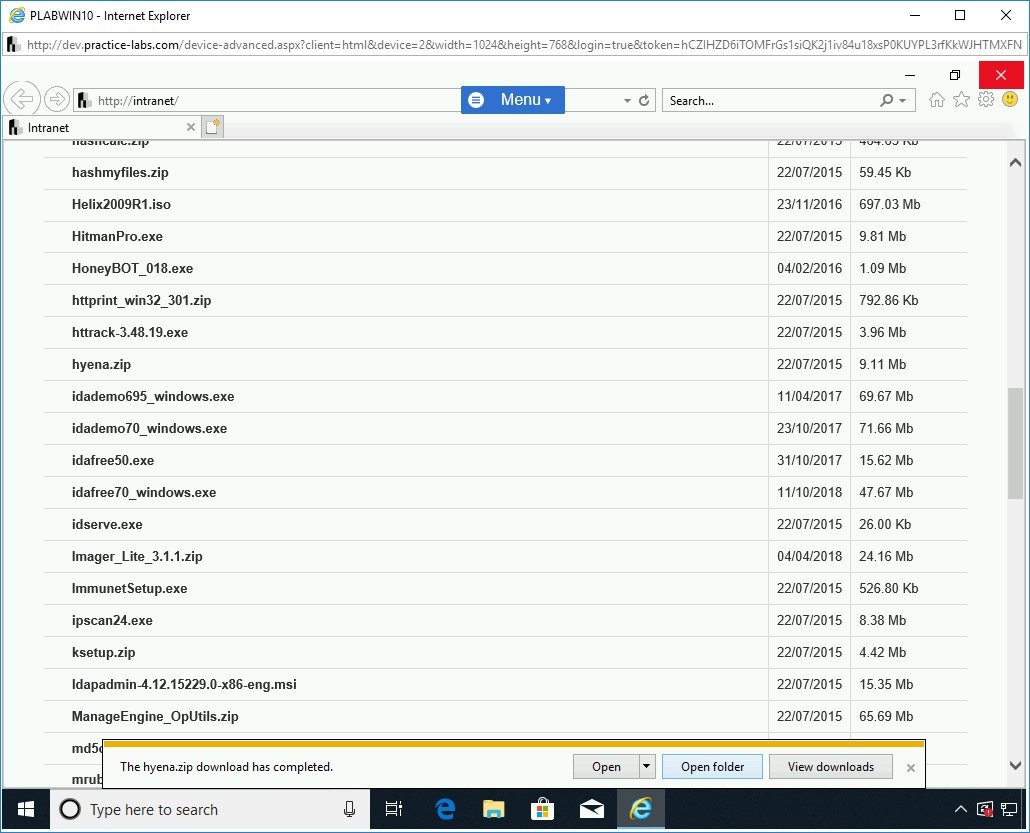
Step 4
In the File Explorer window, right-click hyena.zip and select Extract All.
Note: The files in the download folder may differ in your lab environment.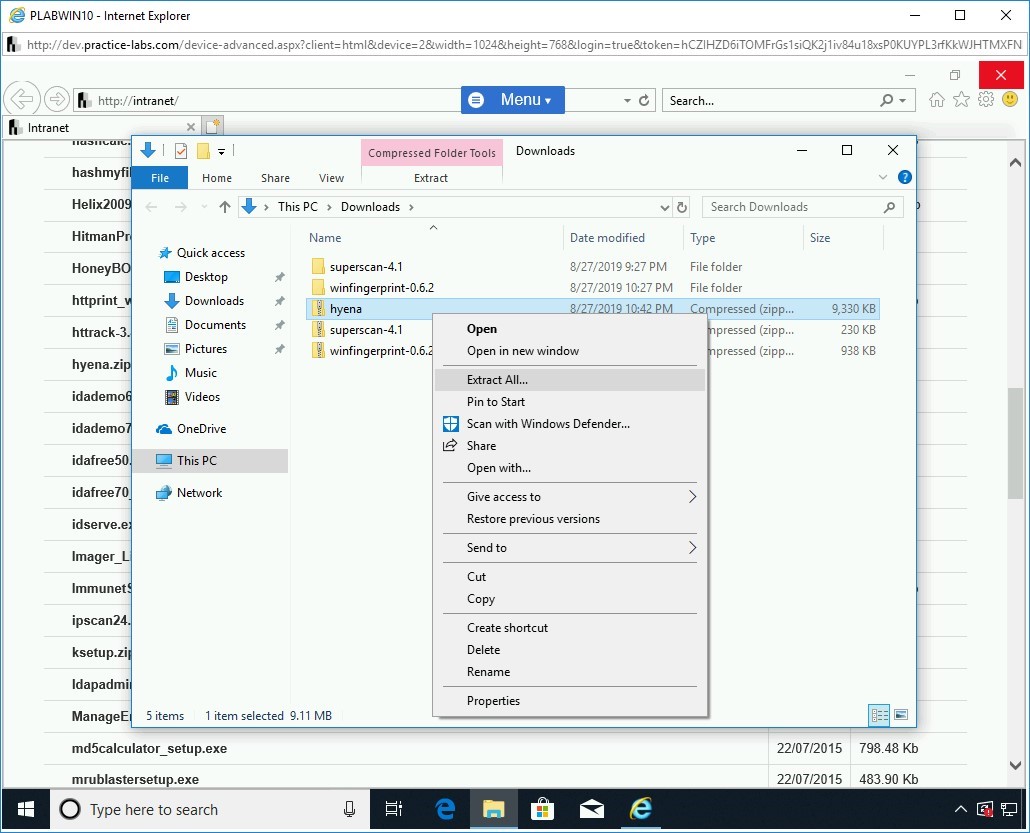
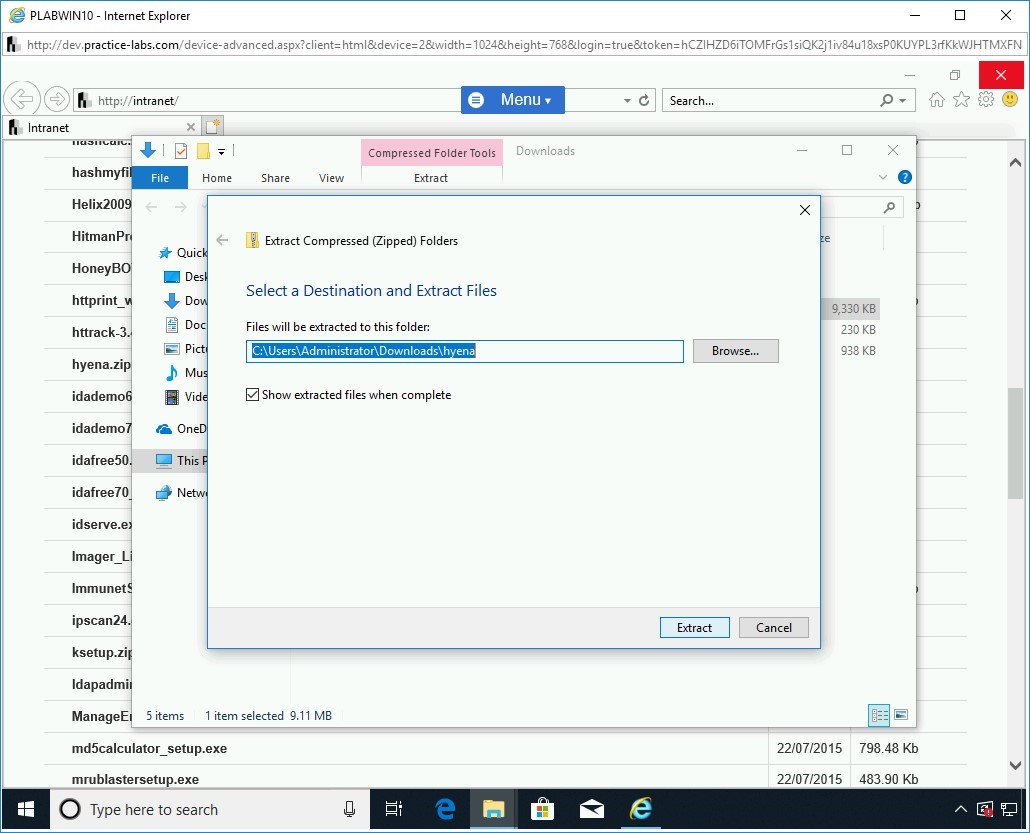
Step 5
In the Extract Compressed (Zipped) Folders dialog box, keep the default path and click Extract.
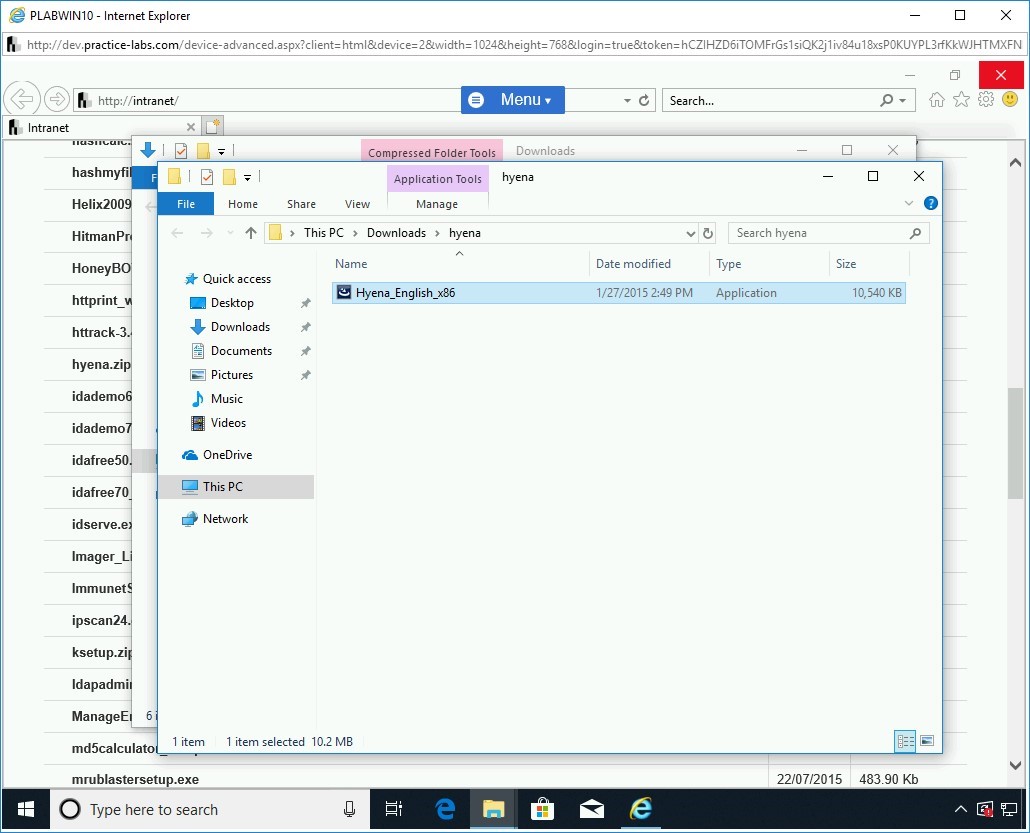
Step 6
A new File Explorer window is displayed with the Hyena_English_x86 file. Double-click the Hyena_English_x86 file.
Step 7
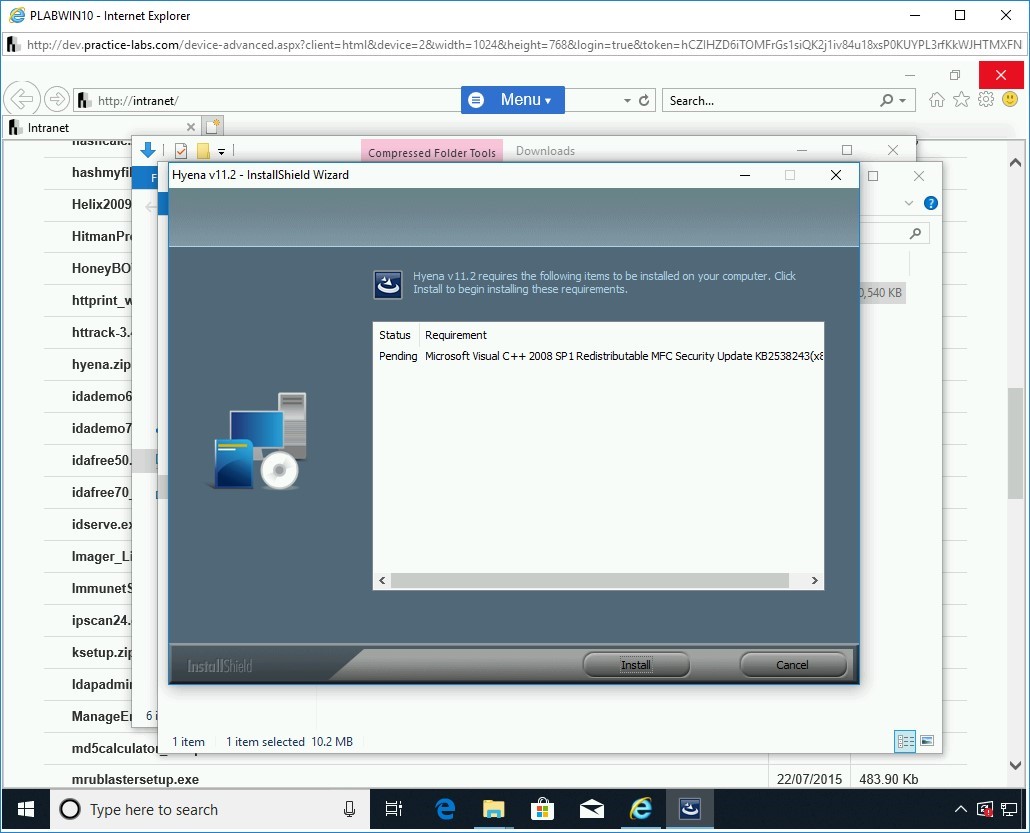
The Hyena v11.2 - InstallShield Wizard is displayed. It prompts with a pre-requisite application, which is Microsoft Visual C++ 2008 SP1, to be installed before installing Hyena. To begin the installation of Microsoft Visual C++ 2008 SP1, click Install.
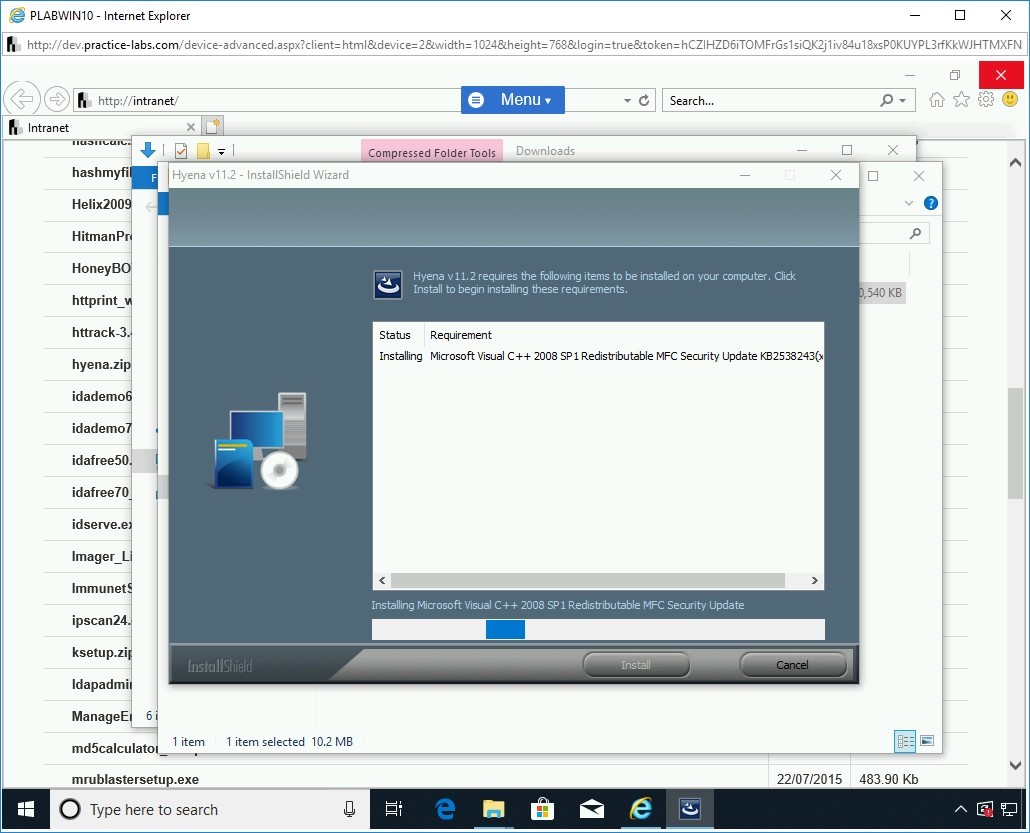
Step 8
The installation of the required application starts.
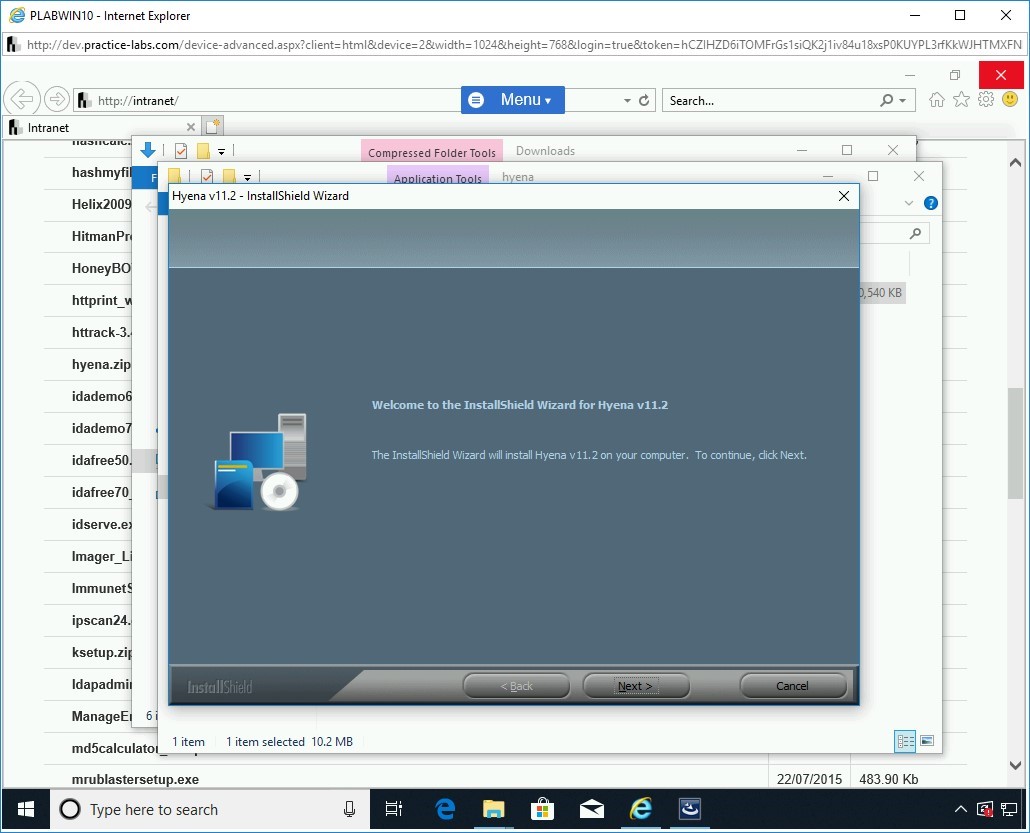
Step 9
After the required application is installed, you are navigated to the Welcome to the InstallShield Wizard for Hyena v11.2 page. Click Next.
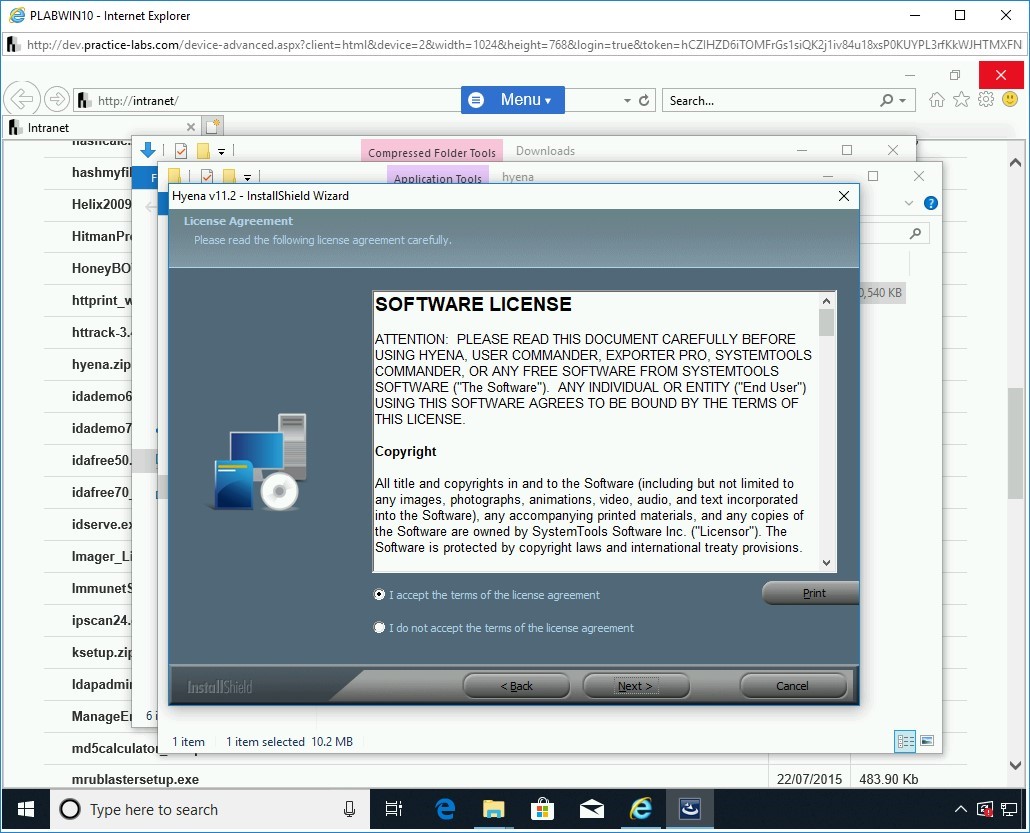
Step 10
On the License Agreement page, select I accept the terms of the license agreement and click Next.
Step 11
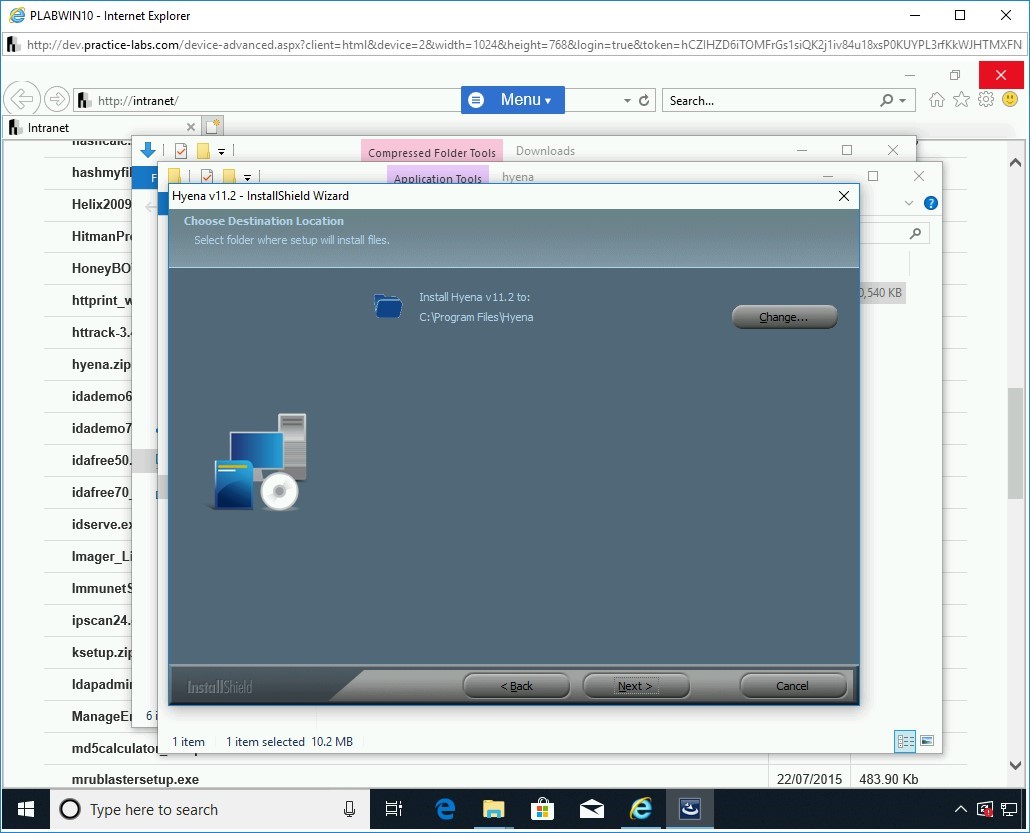
On the Choose Destination Location page, keep the default installation path and click Next.
Step 12
On the Ready to Install the Program page, click Install.

Step 13
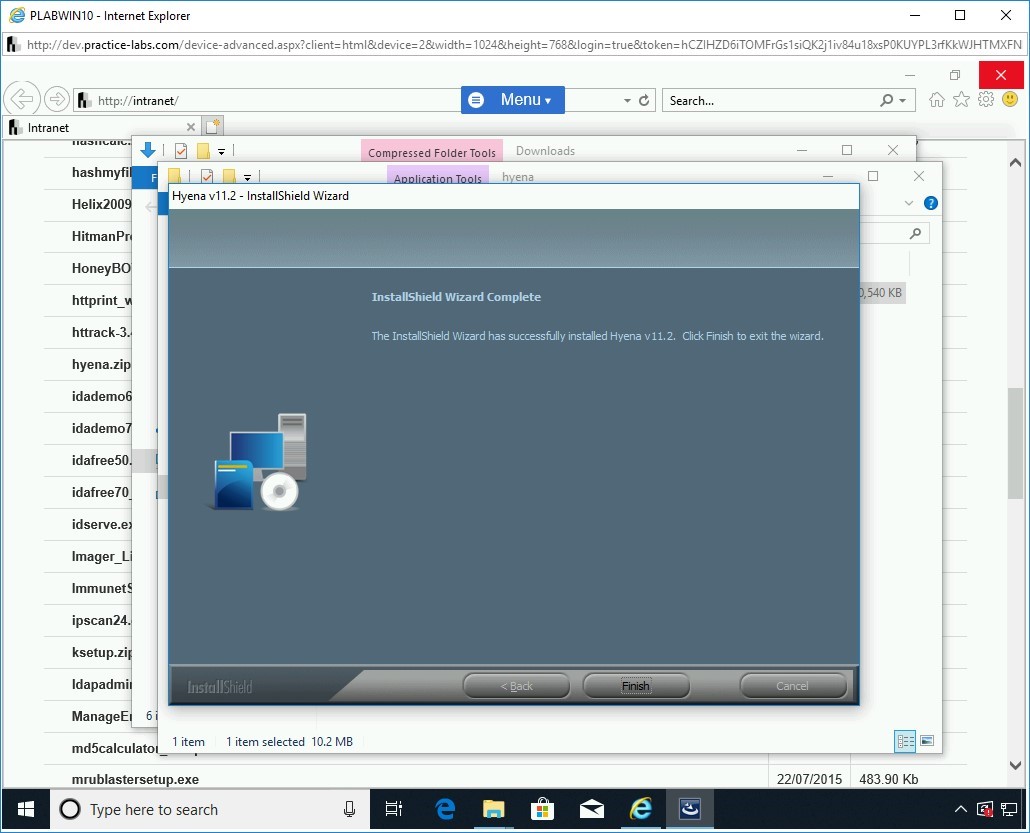
On the InstallShield Wizard Complete page, click Finish.
Step 14
Close all instances of File Explorer windows. Minimize the Internet Explorer window.
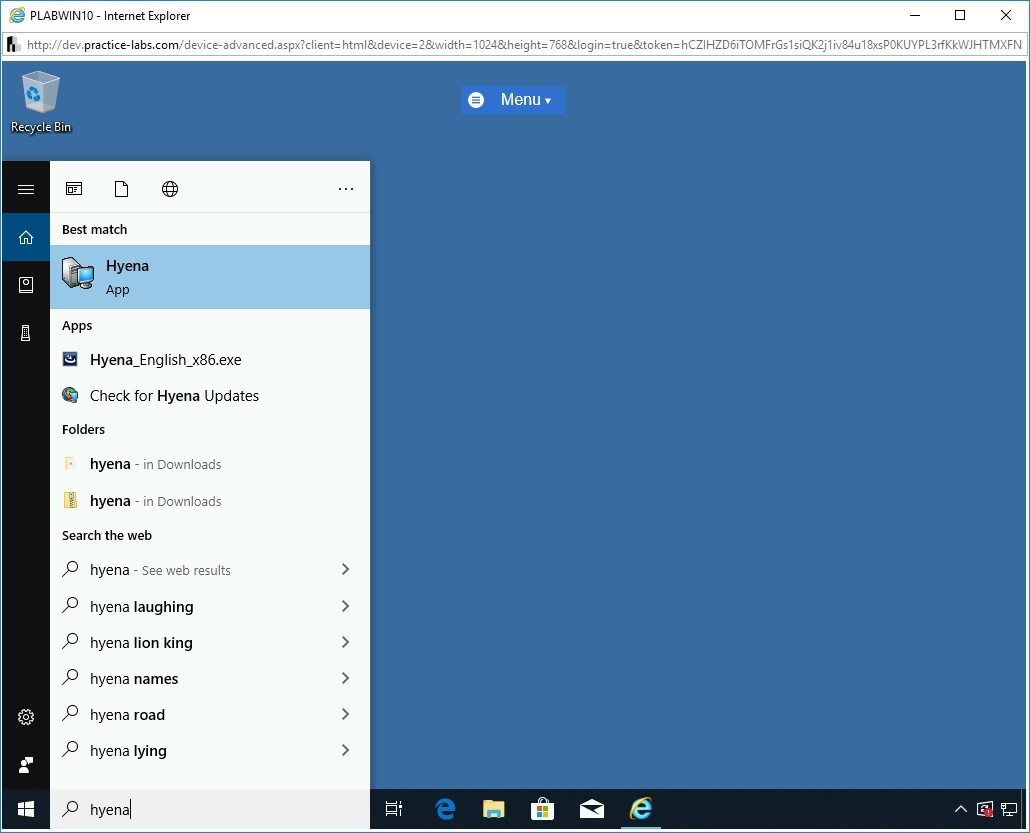
In the Type here to search text box, type the following:
hyena
From the search results, select Hyena.
Step 15
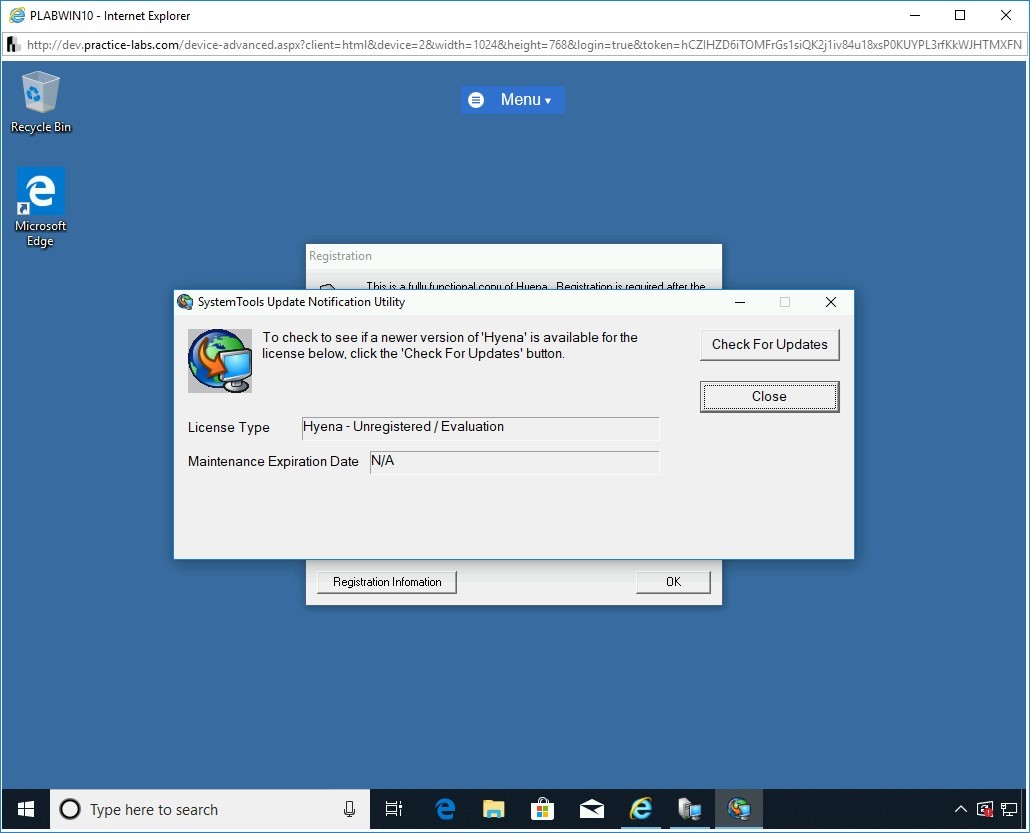
The SystemTools Update Notification Utility dialog box is displayed.
Click Close.
Step 16
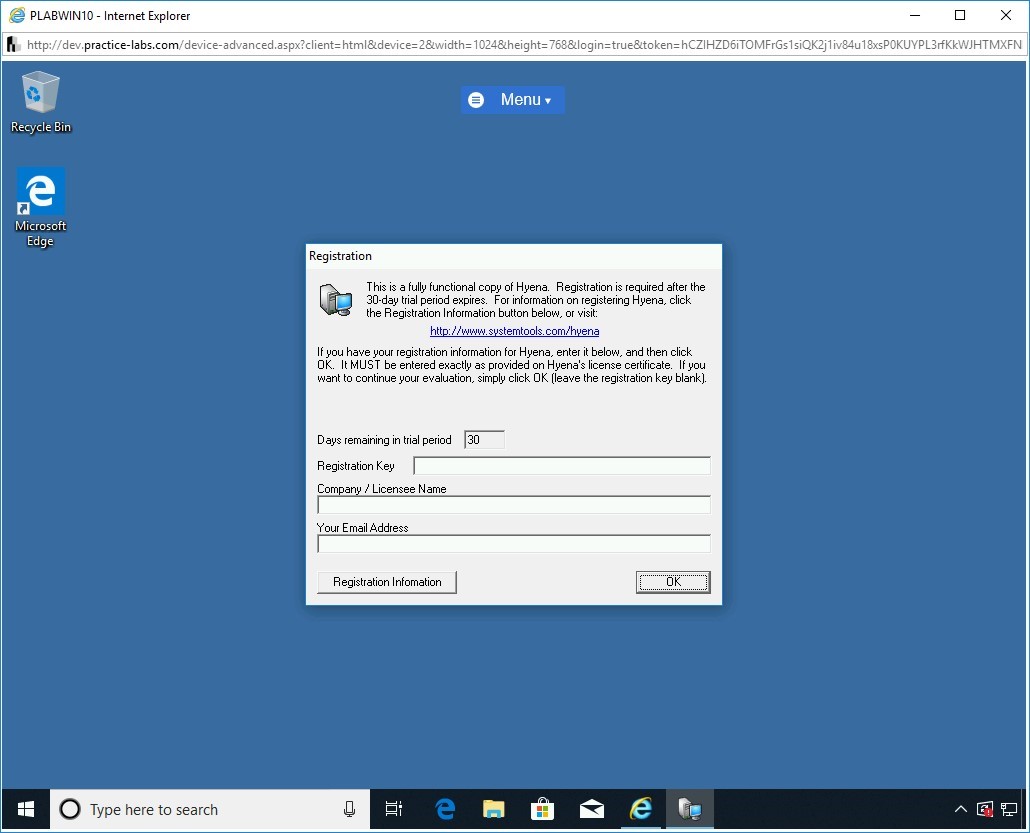
On the Registration dialog box, click OK.
You can skip the registration process.
Step 17
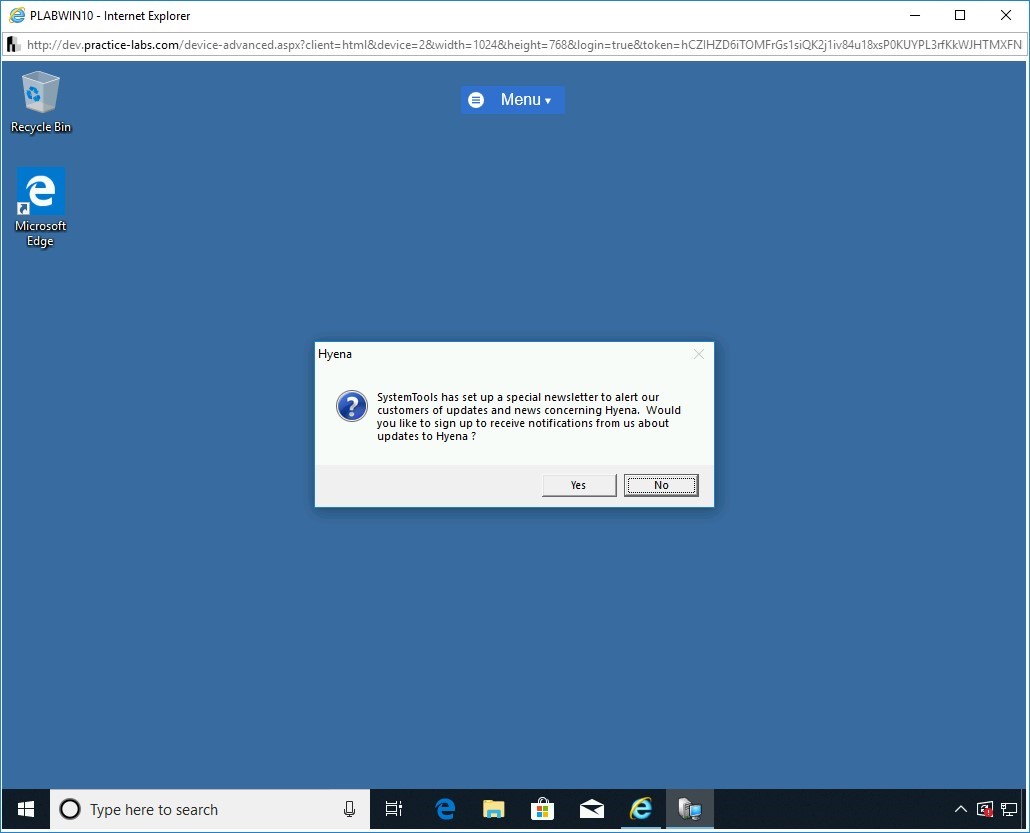
On the Hyena dialog box, click No.
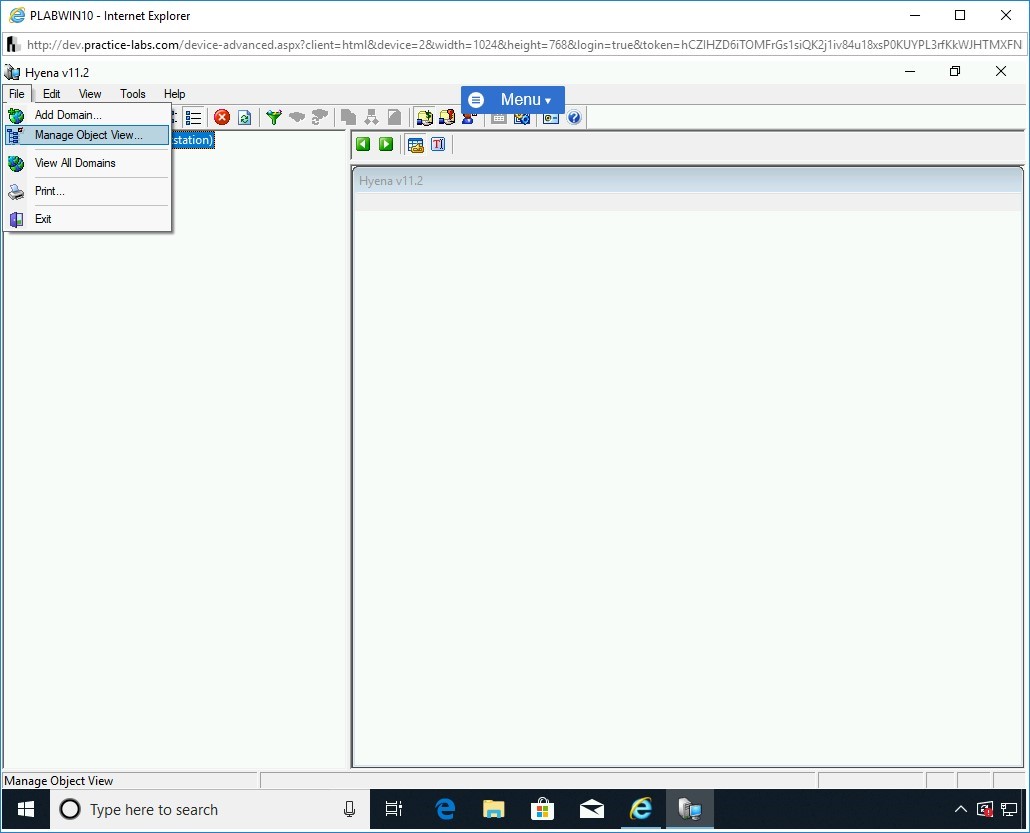
Step 18
The Hyena v11.2 window is displayed. It is divided into the left and right pane.
In the left pane, the PRACTICELABS.COM domain has already been added automatically.
To remove a domain, click File and then select Manage object View.
Step 19
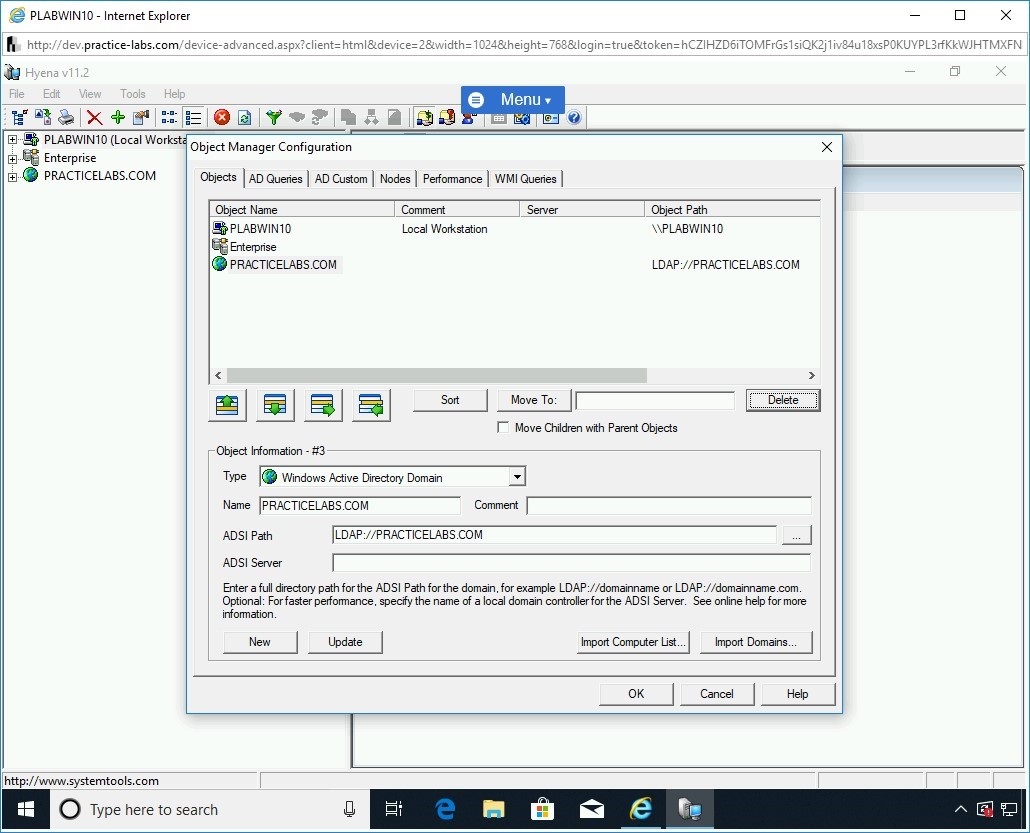
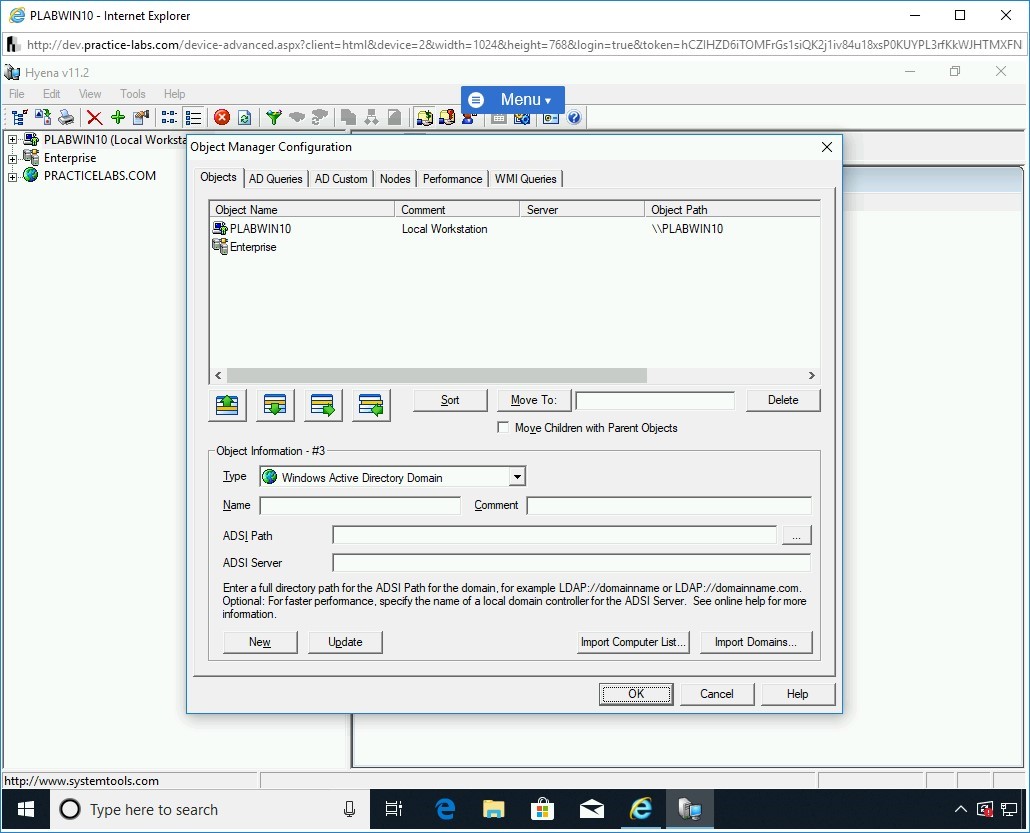
In the Object Manager Configuration dialog box, select the PRACTICELABS.COM domain under the Object Name column and then click Delete.
Step 20
The PRACTICELABS.COM domain is removed now. Click OK to close the Object Manager Configuration dialog box.
Step 21
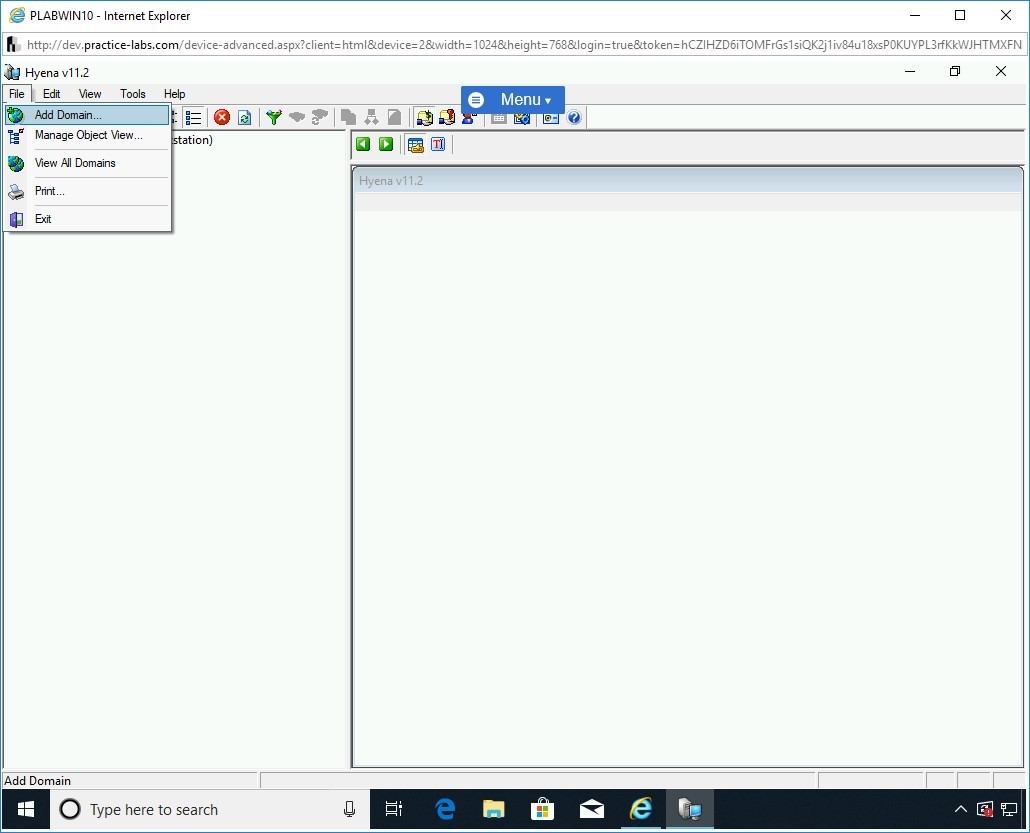
You are back on the Hyena v11.2 window. Notice that the PRACTICELABS.COM domain is no longer listed in the left pane. To add a domain, click File and select Add Domain.
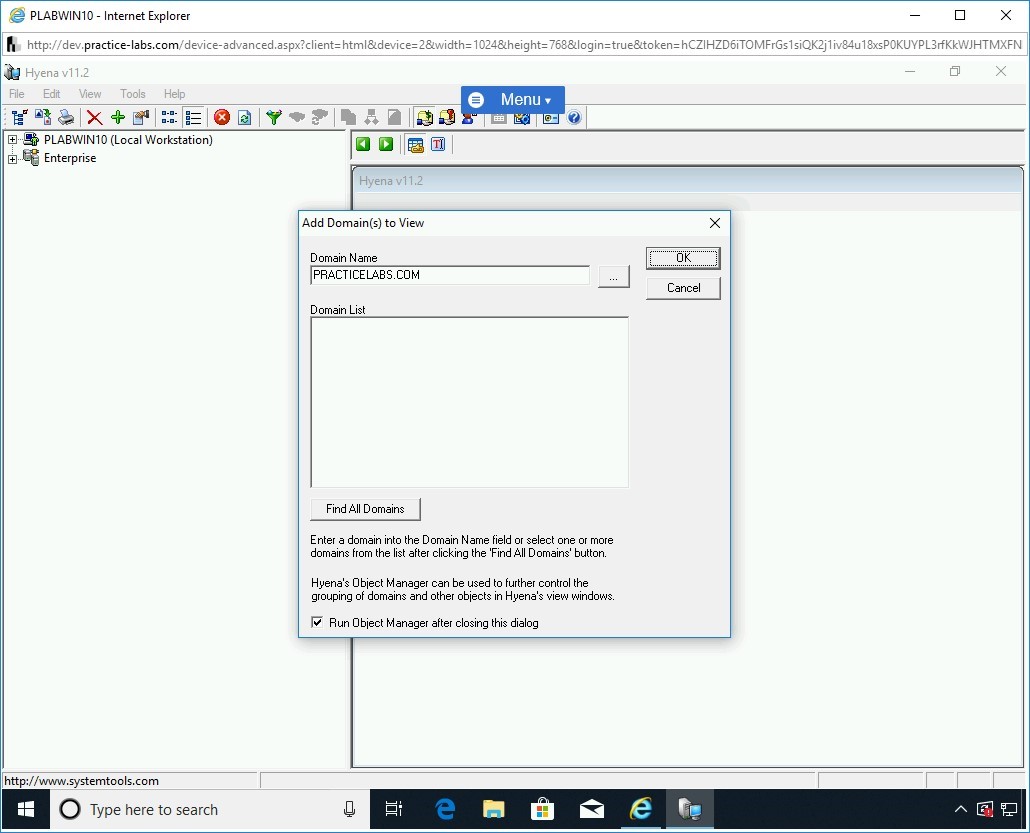
Step 22
The Add Domain(s) to View dialog box is displayed. In the Domain Name text box, type the following domain name:
PRACTICELABS.COM
Click OK.
Step 23
The PRACTICELABS.COM domain appears in the left pane. Along with this, the Object manager Configuration opens automatically.
Click OK to close it.

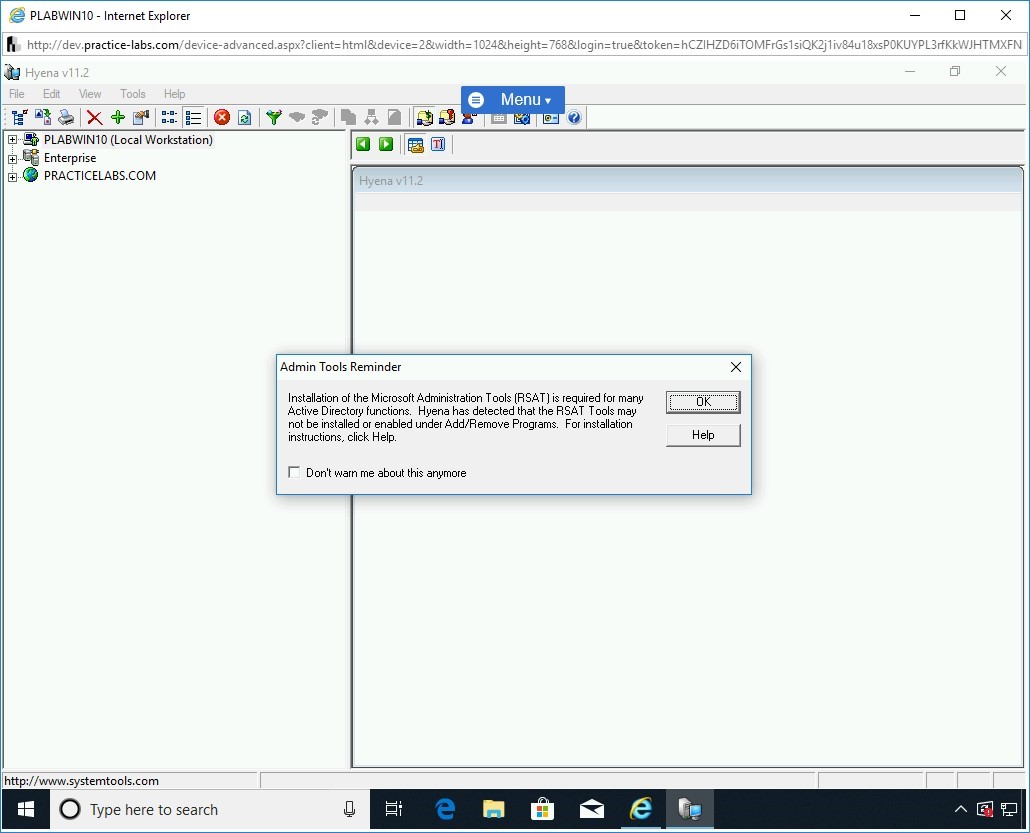
Step 24
In the left pane, expand PRACTICELABS.COM. The Admin Tools Reminder dialog box is displayed. Click OK.
Step 25
You should now notice several nodes that are now visible below PRACTICELABS.COM.
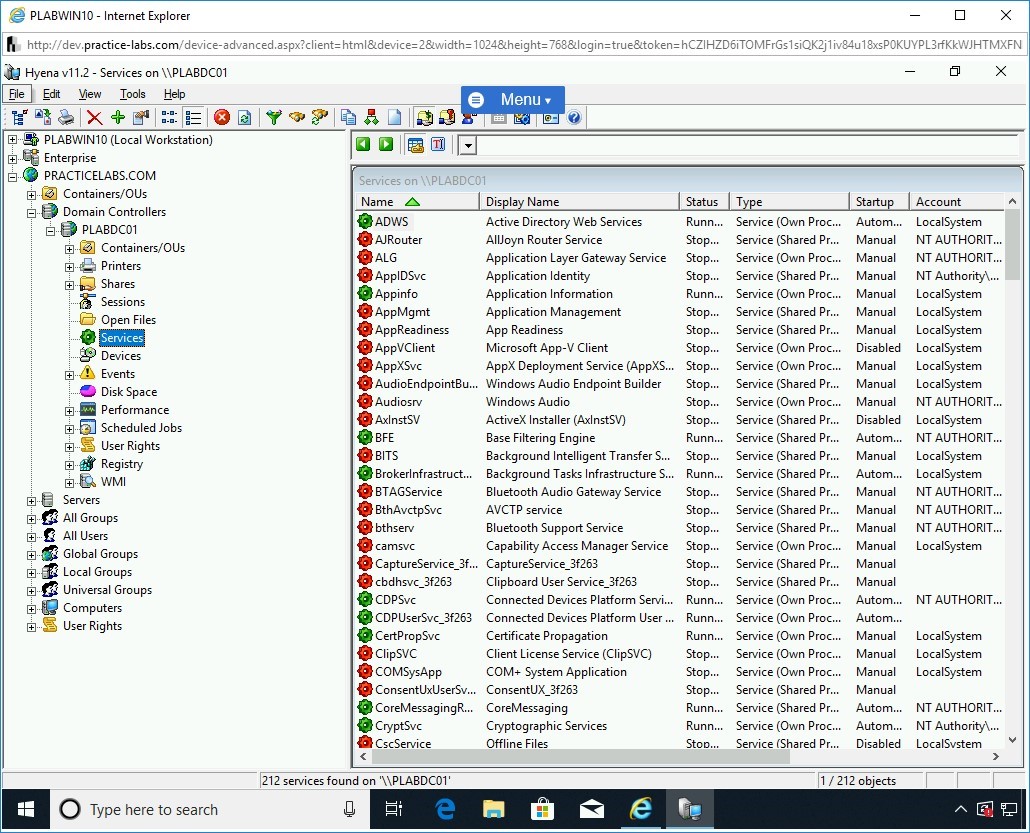
Expand Domain Controllers, expand PLABDC01, and then double-click Services.
Note: You can click on various nodes and view information.Notice that a list of services running on PLABDC01 is displayed. You can also view their current status.
Step 26
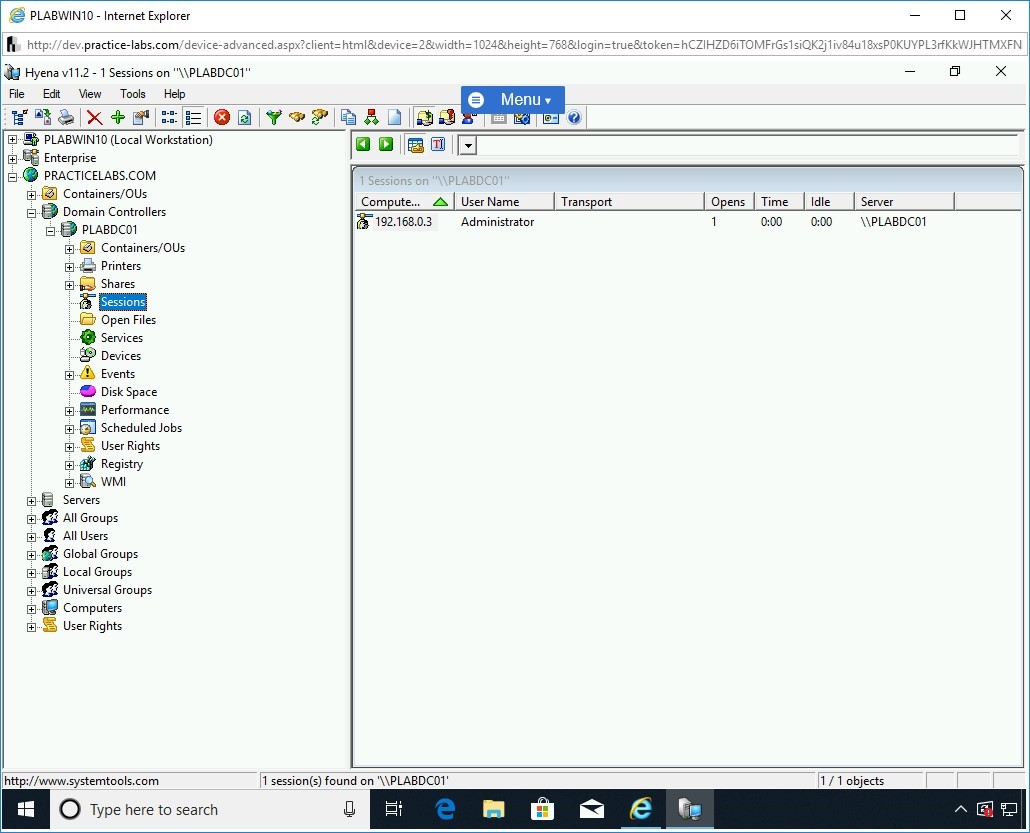
Double-click Sessions.
The right pane displays the number of established sessions.
Note: The current number of users may vary from the screenshot below.At present, there is only one session, which is established by the Administrator.
Step 27
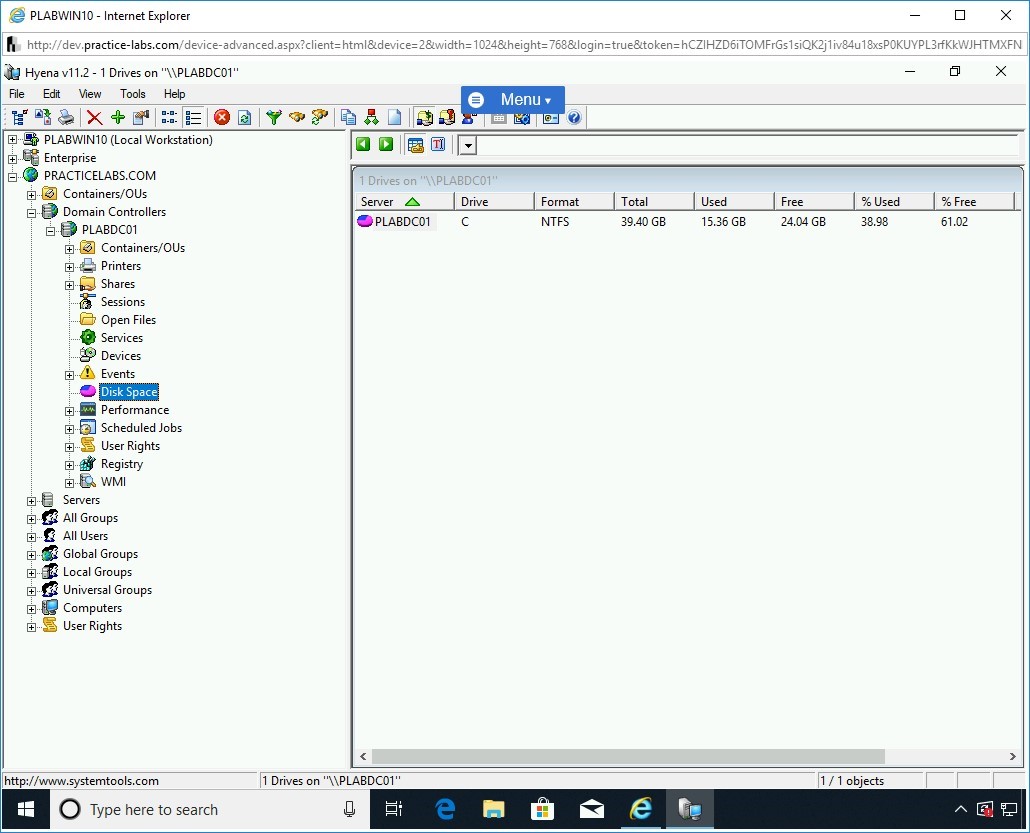
Double-click Disk Space.
The right pane displays the available drives and information on disk space, such as total, free, and used space.
Close the Hyena v11.2 window.
Task 3 - Perform LDAP Enumeration Using Softerra LDAP Administrator
Softerra LDAP Administrator is an LDAP management tool. You can use it to perform various LDAP operations.
In this task, you will perform LDAP enumeration using Softerra LDAP Administrator. To do this, perform the following steps:
Step 1
Ensure you have powered on all the devices listed in the introduction and connect to PLABWIN10.
Ensure that Internet Explorer is open, and you are on the Hacking Tools page.
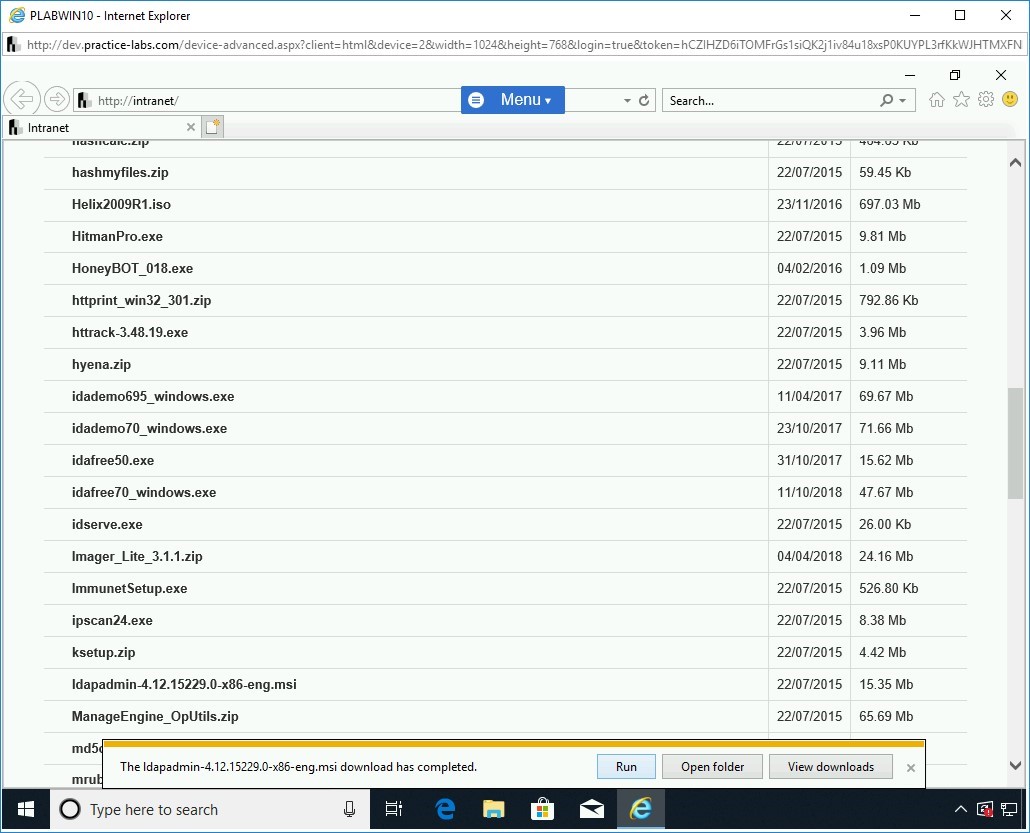
Note: If you closed Internet Explorer in the previous task, please ensure you follow the steps provided in Task 1 to reach the Hacking Tools page.On the Hacking Tools Webpage, scroll to locate ldapadmin-4.12.15229.0-x86-eng.msi. Click ldapadmin-4.12.15229.0-x86-eng.msi.
Step 2
In the notification bar, click Save.

Step 3
In the notification bar, click Run.
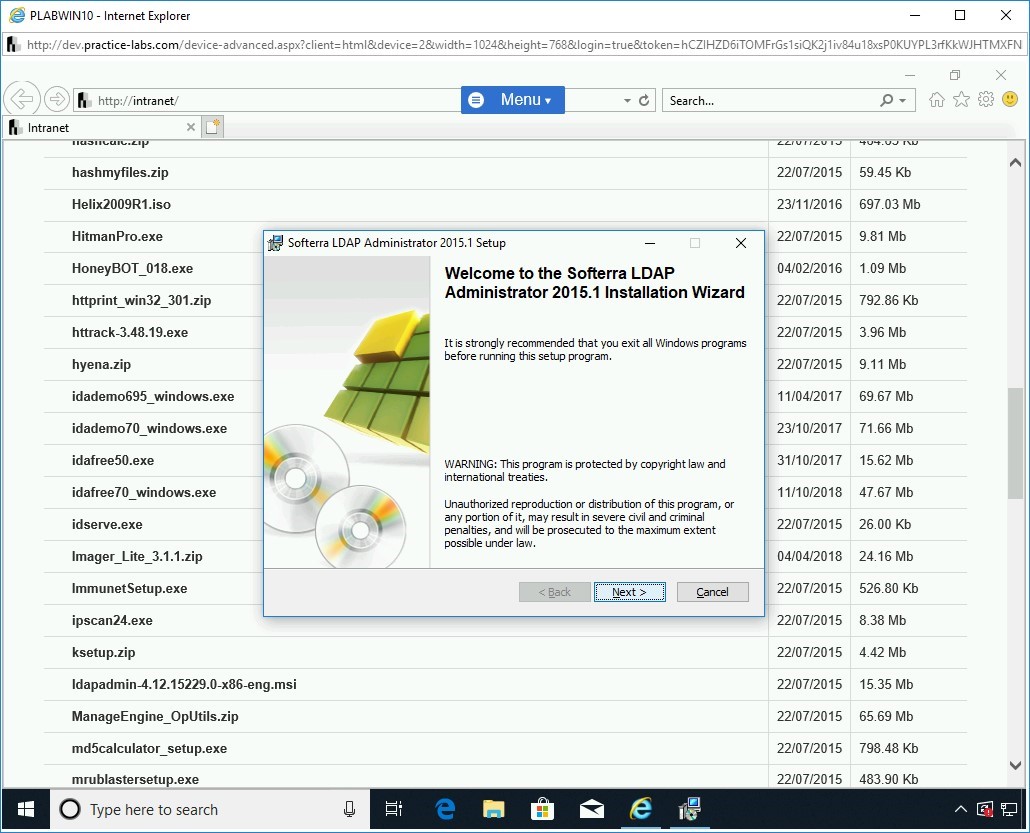
Step 4
On the Welcome to the Softerra LDAP Administrator 2015.1 Installation Wizard page of the Softerra LDAP Administrator 2015.1 Setup wizard, click Next.
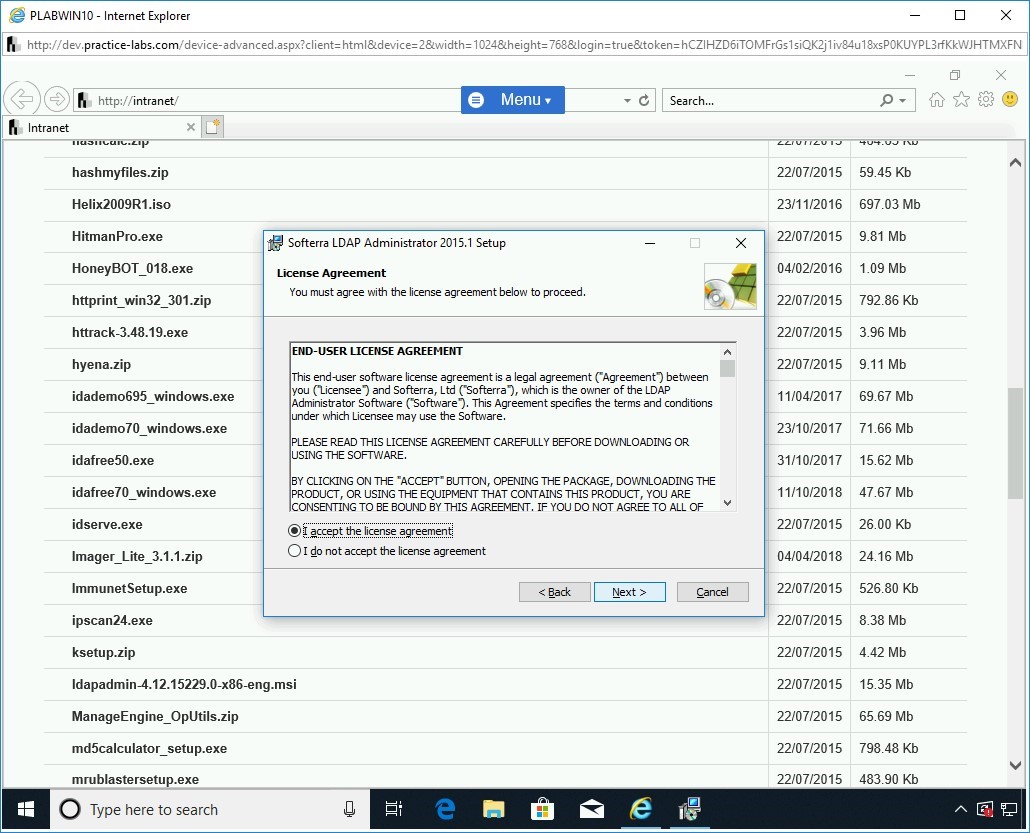
Step 5
On the License Agreement page, select I accept the license agreement and click Next.
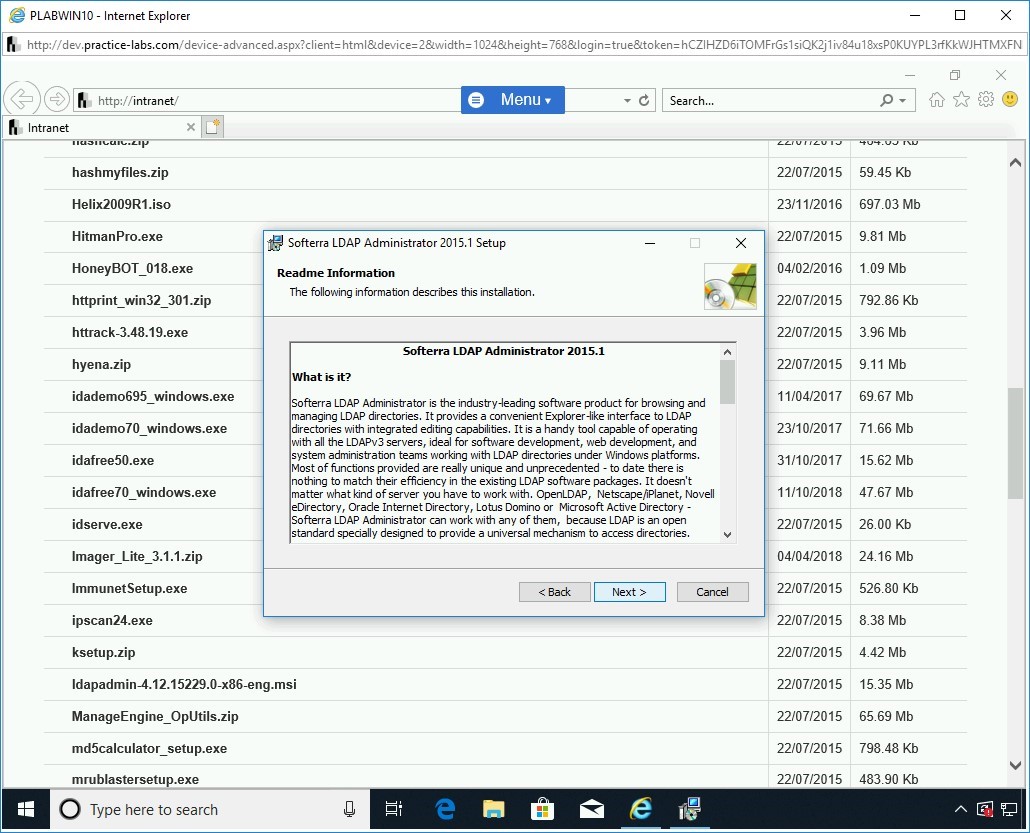
Step 6
On the Readme Information page, scroll and read through the information. Click Next.
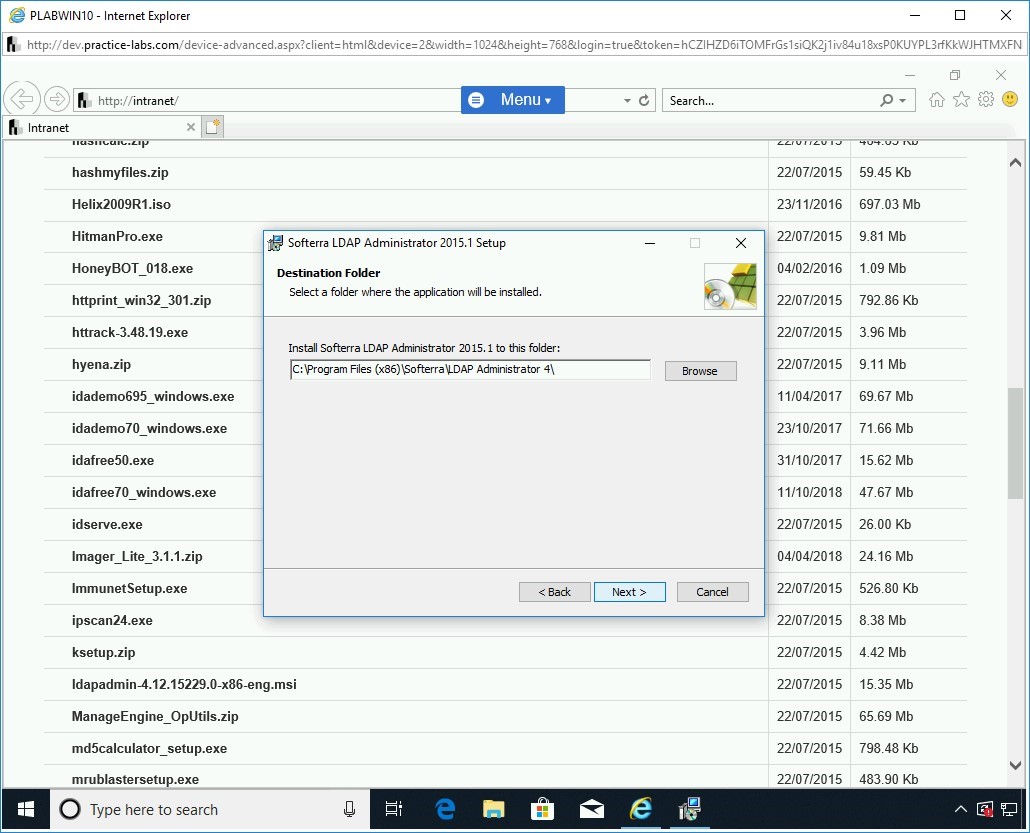
Step 7
On the Destination Folder page, keep the default installation path and click Next.
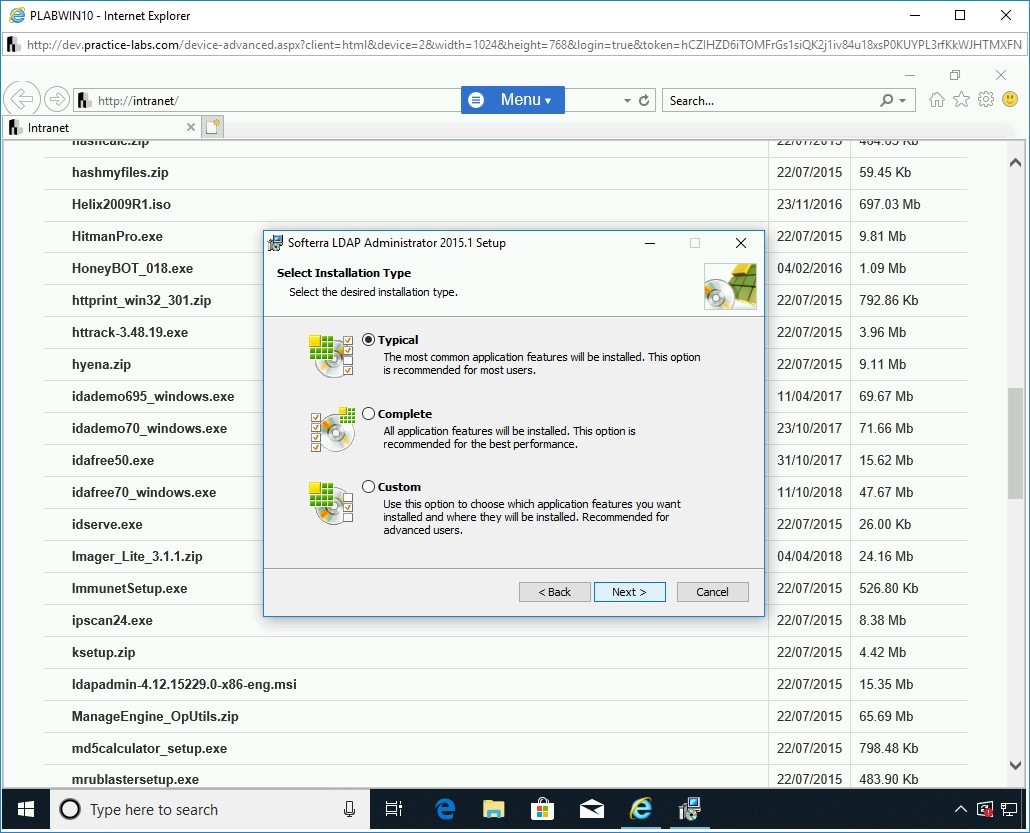
Step 8
On the Select Installation Type page, Typical is selected by default. Keep the default selection, click Next.
Step 9
On the Ready to Install the Application page, click Next.

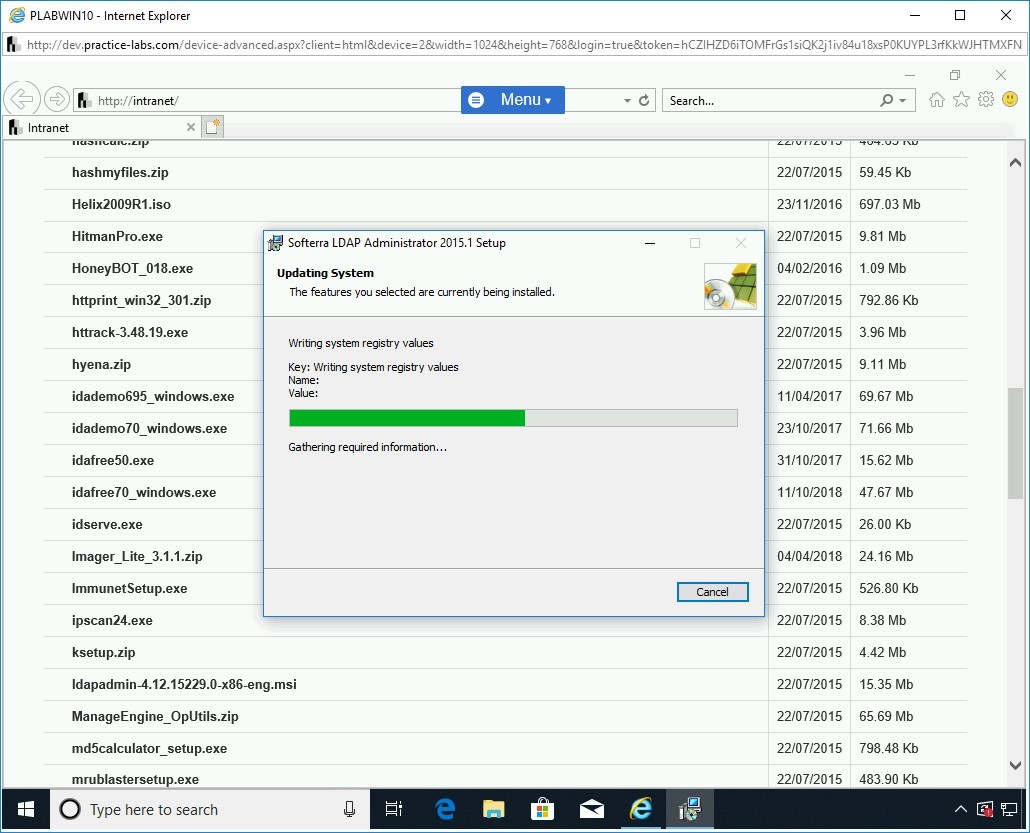
Step 10
On the Updating System page, installation progress is displayed.
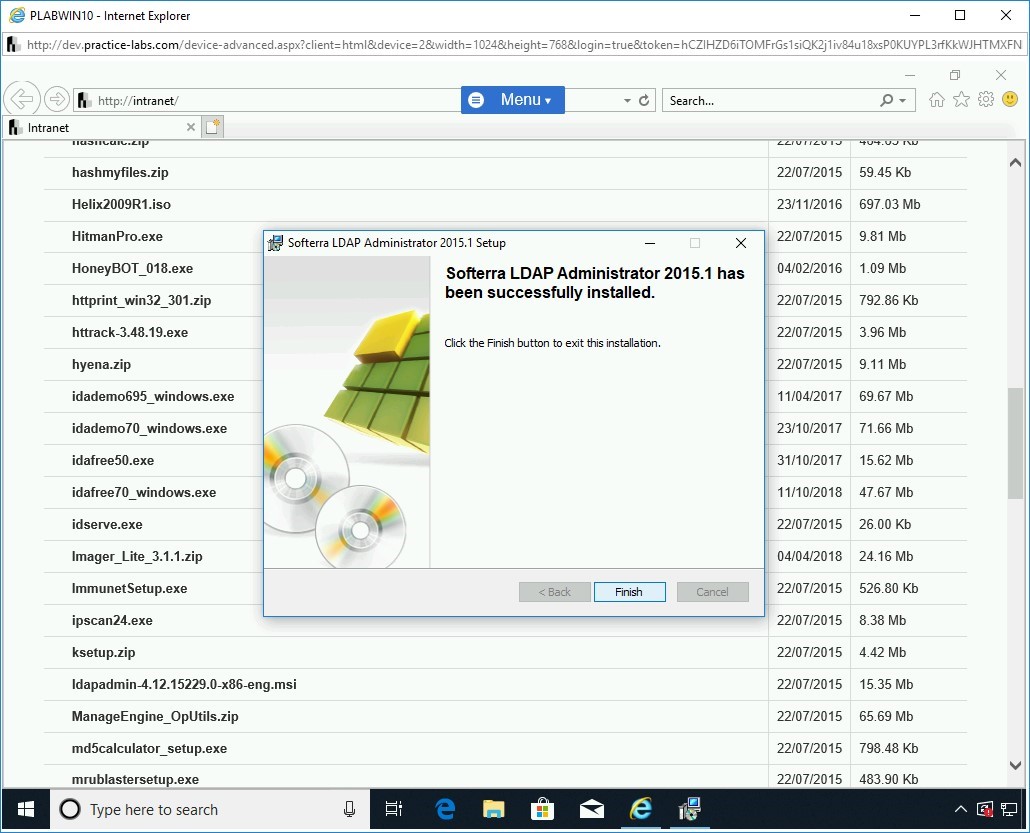
Step 11
On the Softerra LDAP Administrator 2015.1 has been successfully installed page, click Finish.
Minimize the Internet Explorer window.
Step 12
Double-click the Softerra LDAP Administrator 2015.1 icon on the desktop.
Step 13
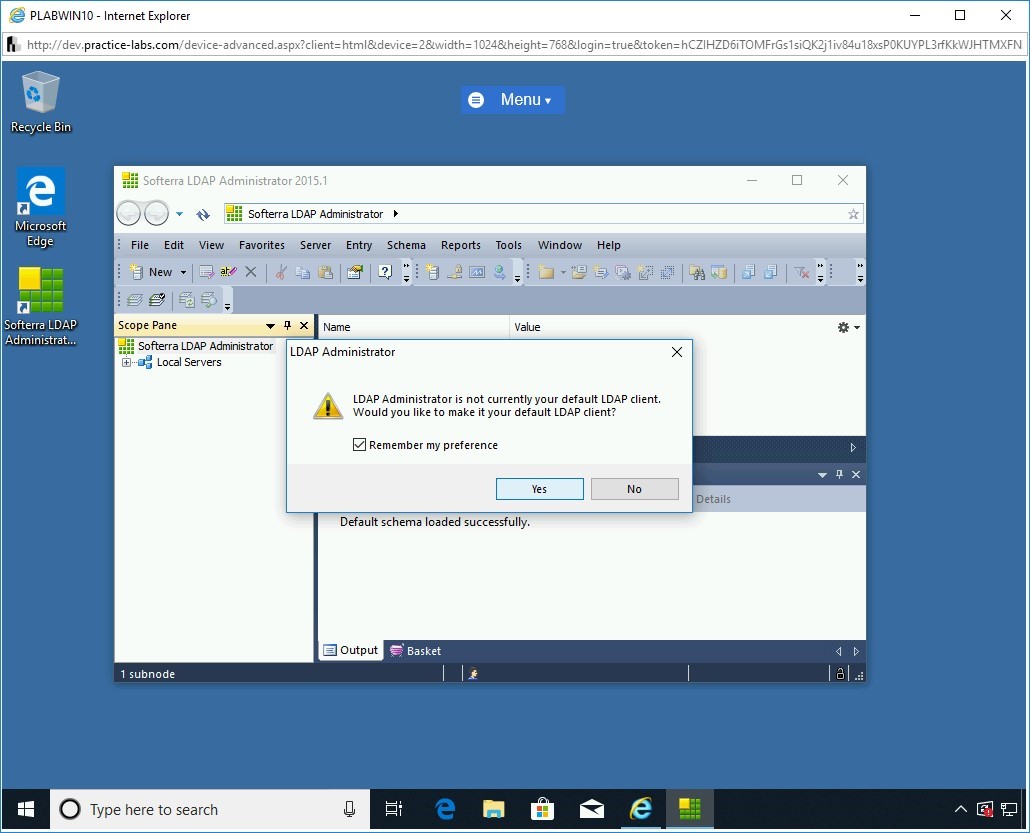
The Softerra LDAP Administrator 2015.1 window is displayed.
Select Remember my preference and click Yes.
Step 14
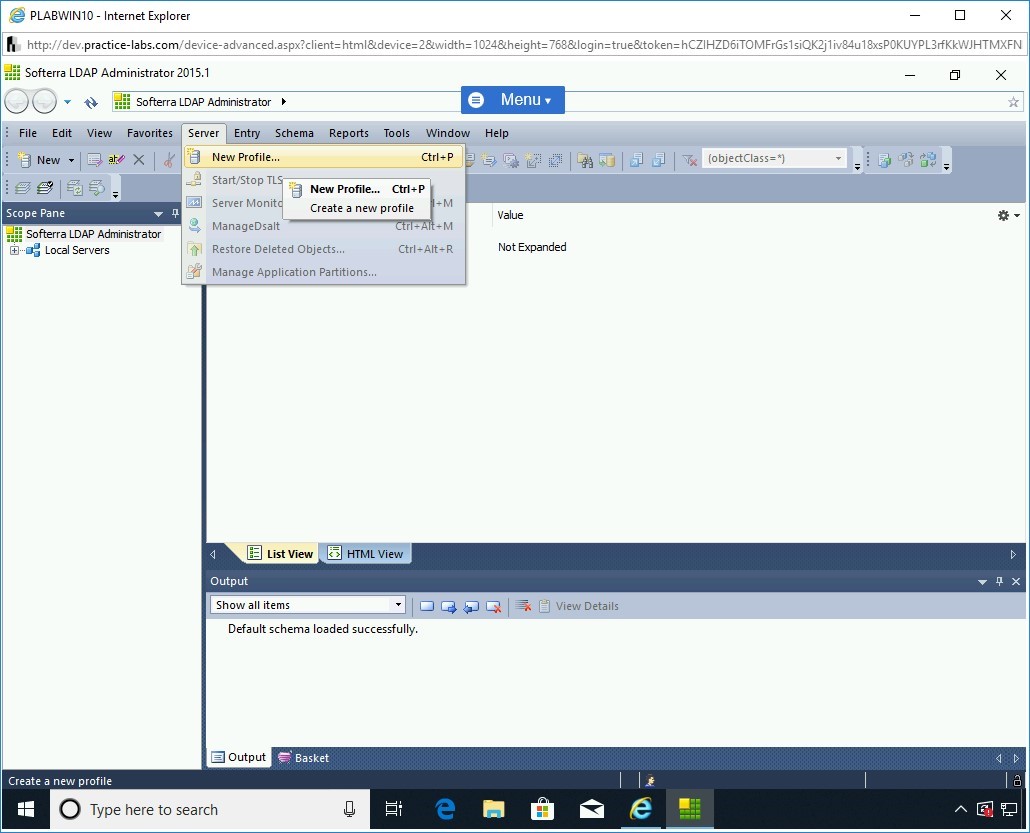
From the top menu bar, click Server and select New Profile.
Step 15
The Profile Creation Wizard - Step 1 wizard is displayed. On the Server Profile Name page, enter the following in the Profile Name textbox:
PLAB
Click Next.

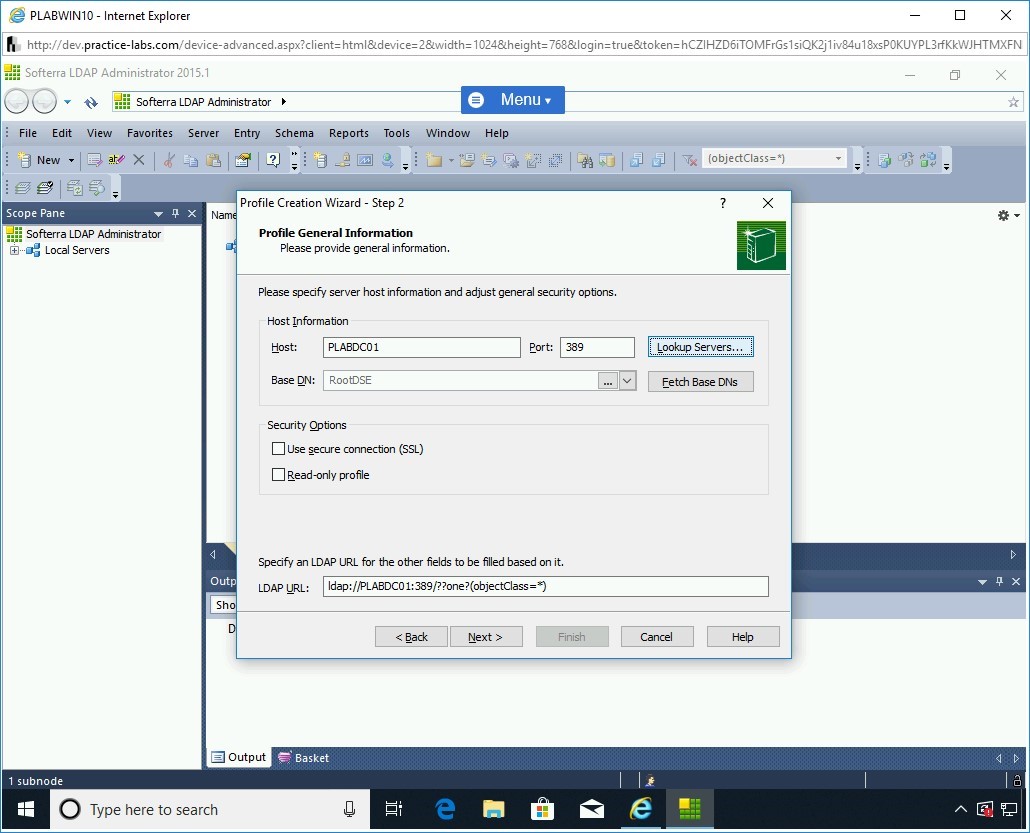
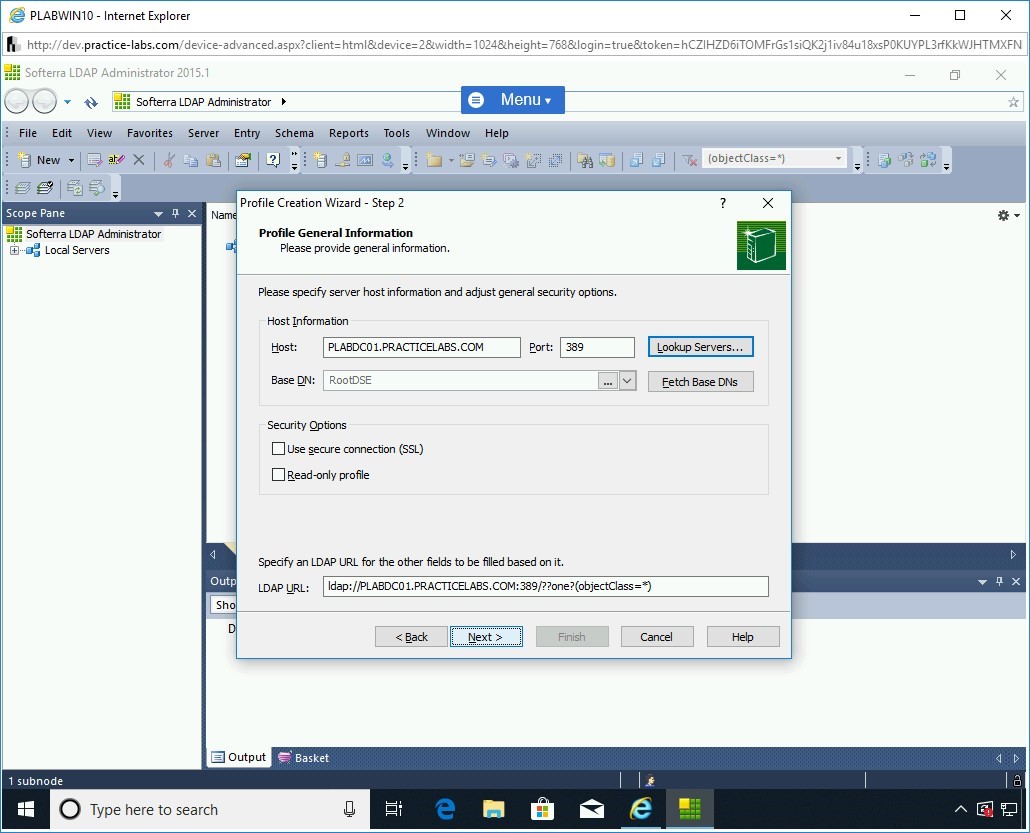
Step 16
On the Profile Generation Information page, in the Host text box, type the following name:
PLABDC01
Click Lookup Servers.
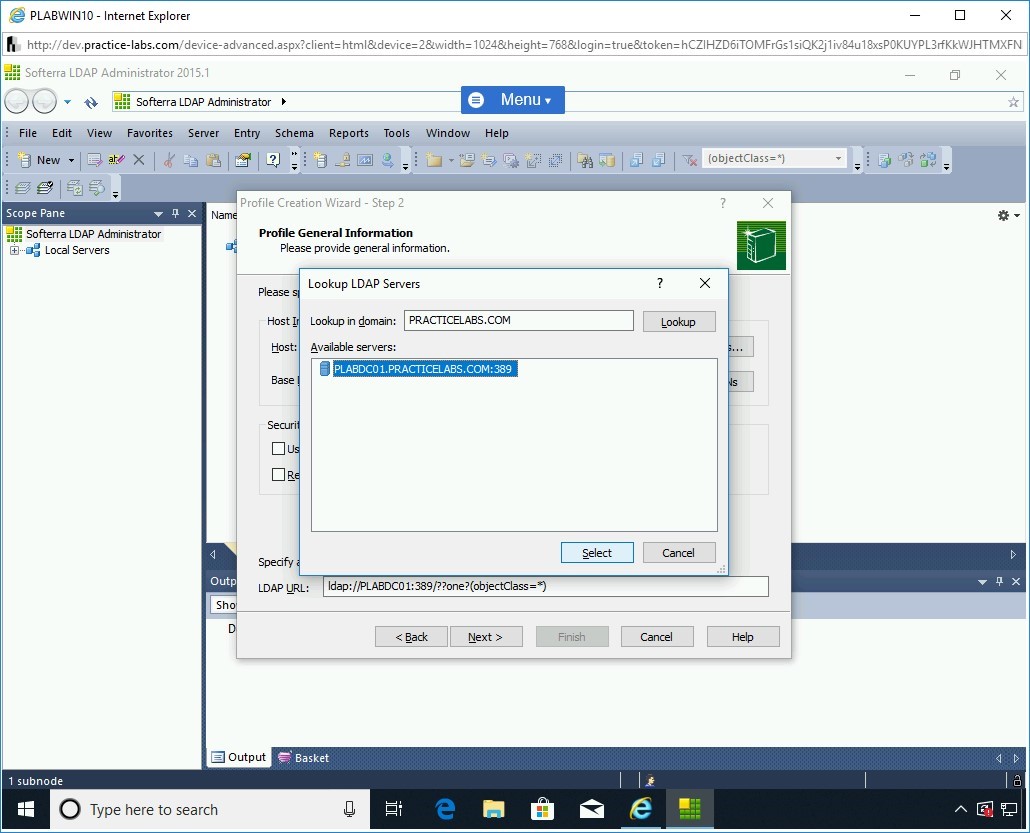
Step 17
The Lookup LDAP Servers dialog box is displayed. PRACTICELABS.COM will be populated automatically in the Lookup in domain textbox.
The Available servers textbox displays PLABDC01.PRACTICELABS.COM:389. Select it and click Select.
Step 18
You are back on the Profile Creation Wizard. Note that all the information is now populated. Click Next.
Step 19
On the User Authentication Information page, select Currently logged on user (Active Directory only) and click Next.

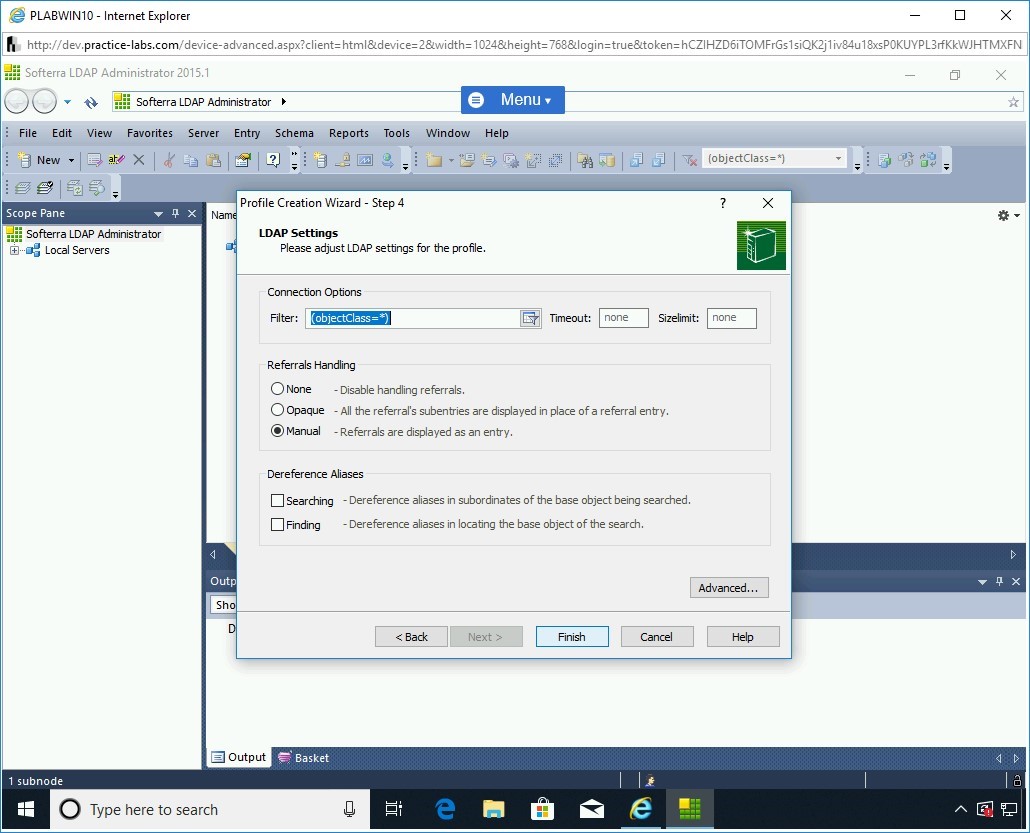
Step 20
On the LDAP Settings page, keep the default settings and click Finish.
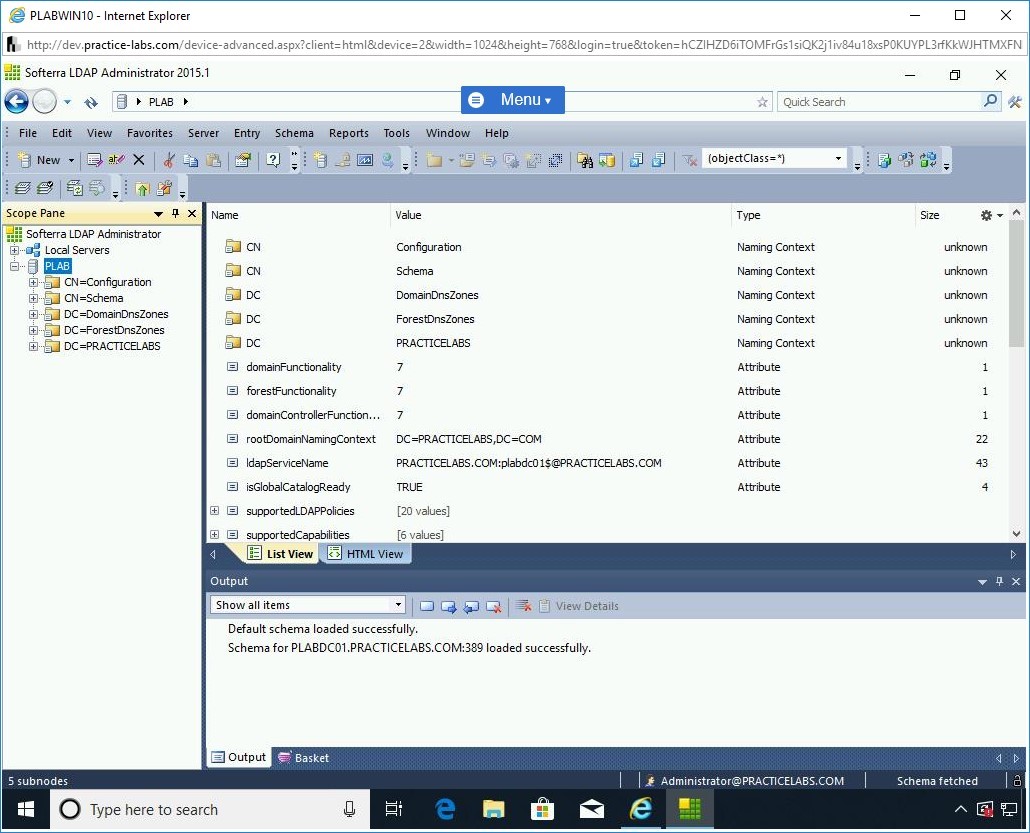
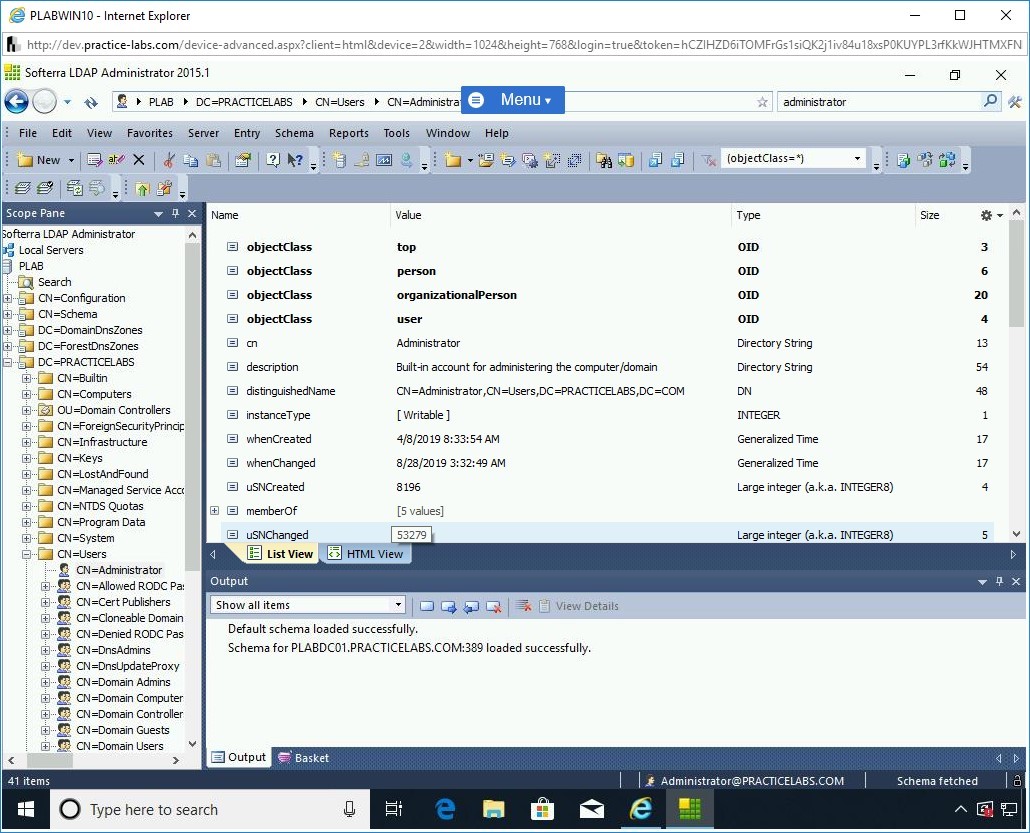
Step 21
The left pane displays several nodes under PLAB. The right pane displays various attributes.
Step 22
In the left pane, expand DC=PRACTICELABS and then expand CN=Users and select it.
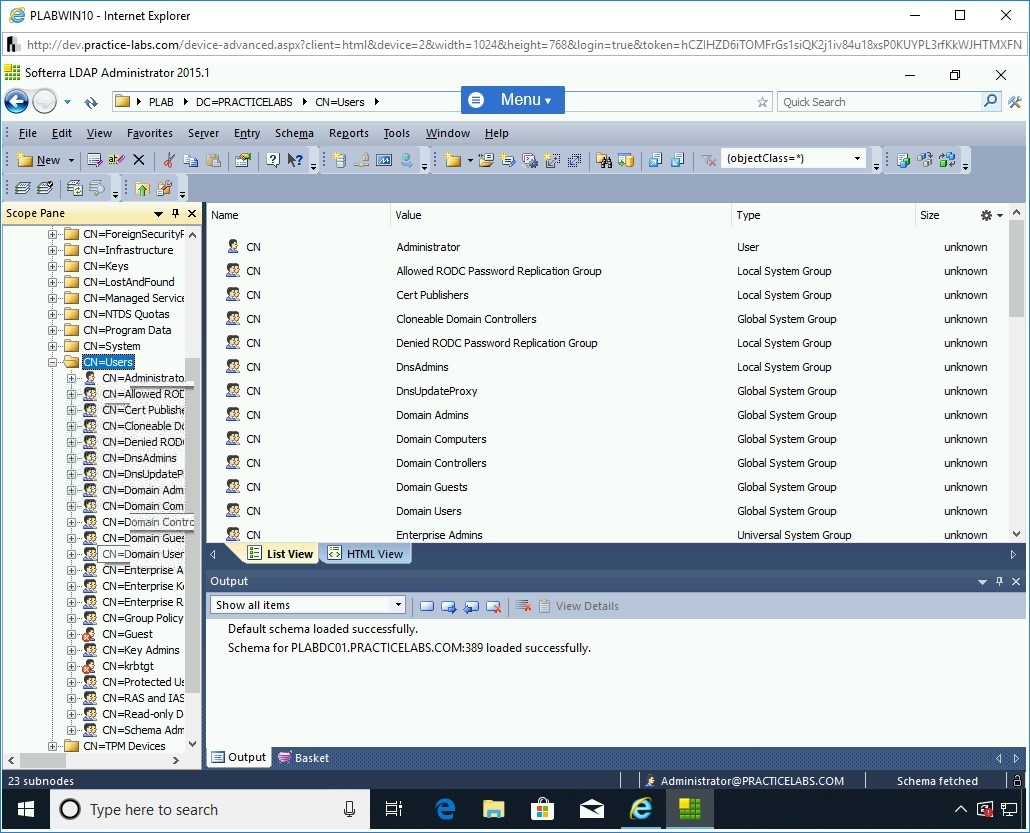
Step 23
The quickest method to locate information in LDAP Administrator is by using search.
You can use Quick Search, which is located on the right side above the menu bar, to find the required information.
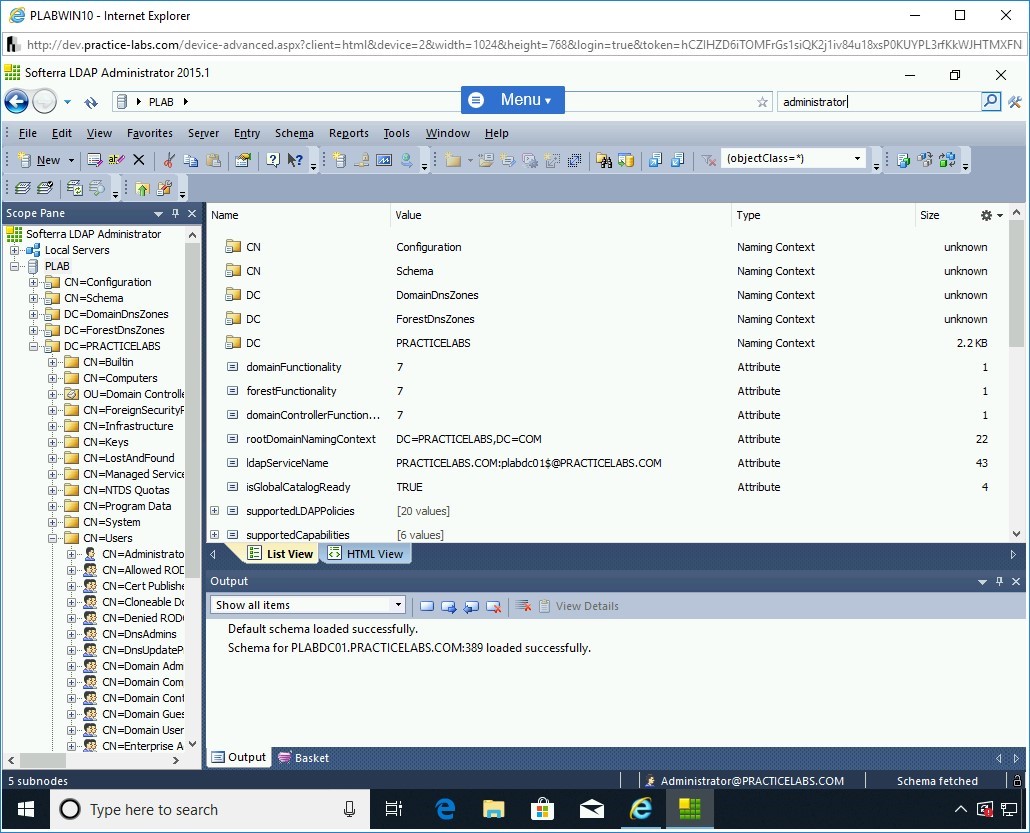
Click on PLAB at the top of the Scope pane and enter the following in Quick Search:
administrator
Once entered, click the search button adjacent to the search box.
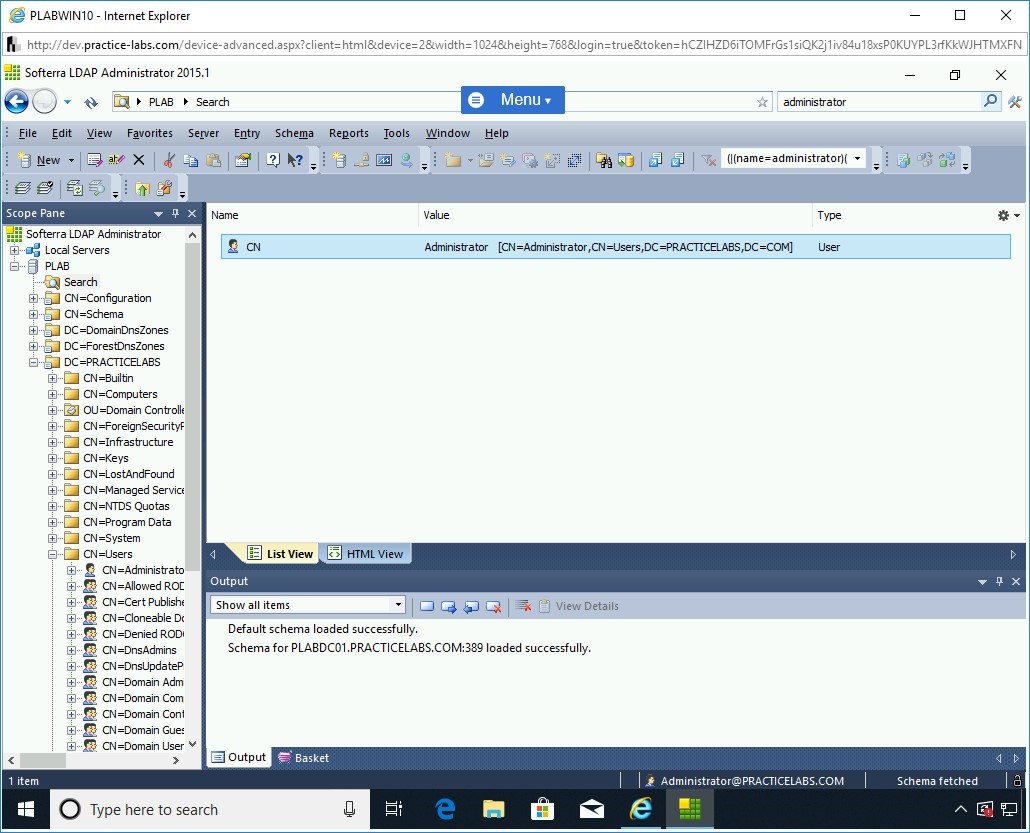
Step 24
The search result is displayed. Now, only the Administrator account is listed in the search result.
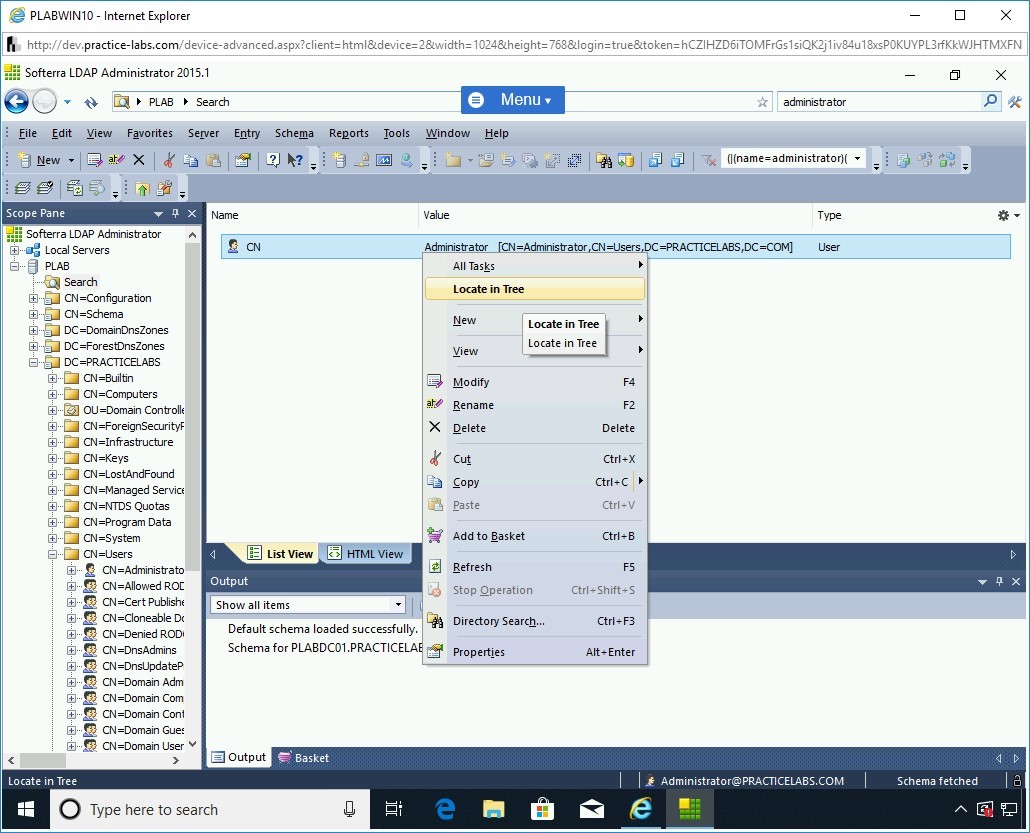
Step 25
Right-click the result and select Locate in Tree.
Step 26
Note that the nodes in the left pane are automatically expanded, and CN=Administrator is highlighted.
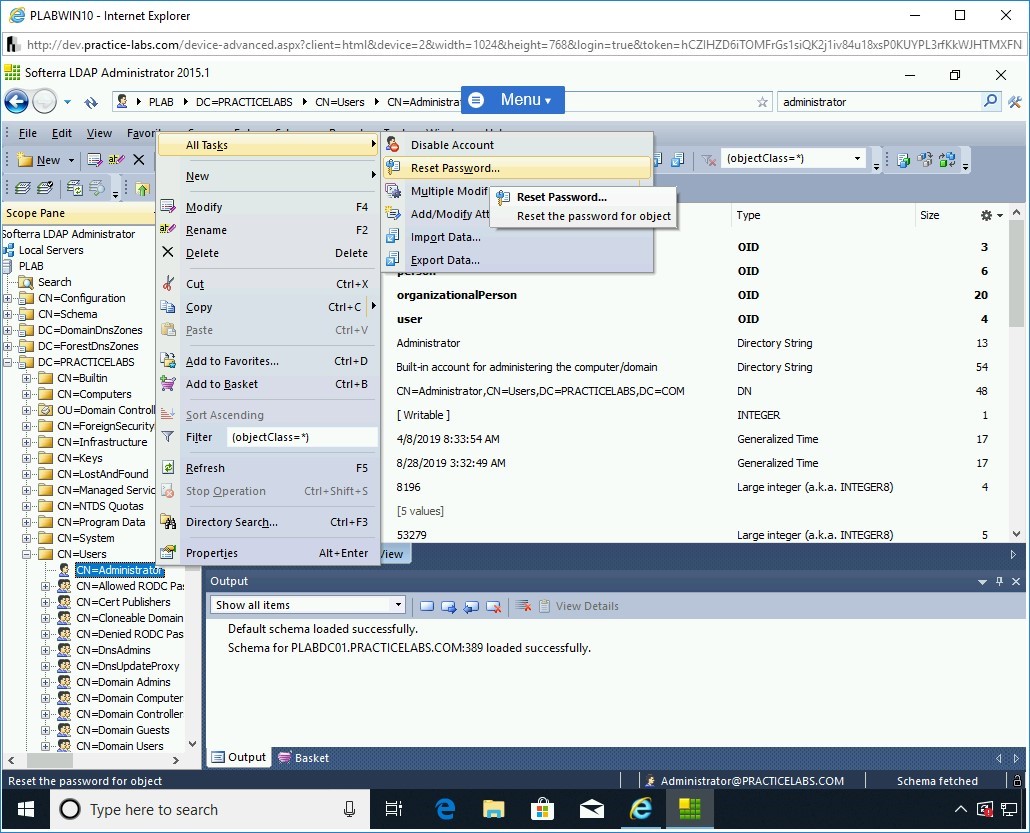
Step 27
You can also perform several tasks on LDAP, which is Active Directory in this case. For example, you can modify a user.
Note: If you would like to try the other available tasks/options, you can perform at your own pace.In the left pane, right-click CN=Administrator, select All Tasks, and then select Reset Password.
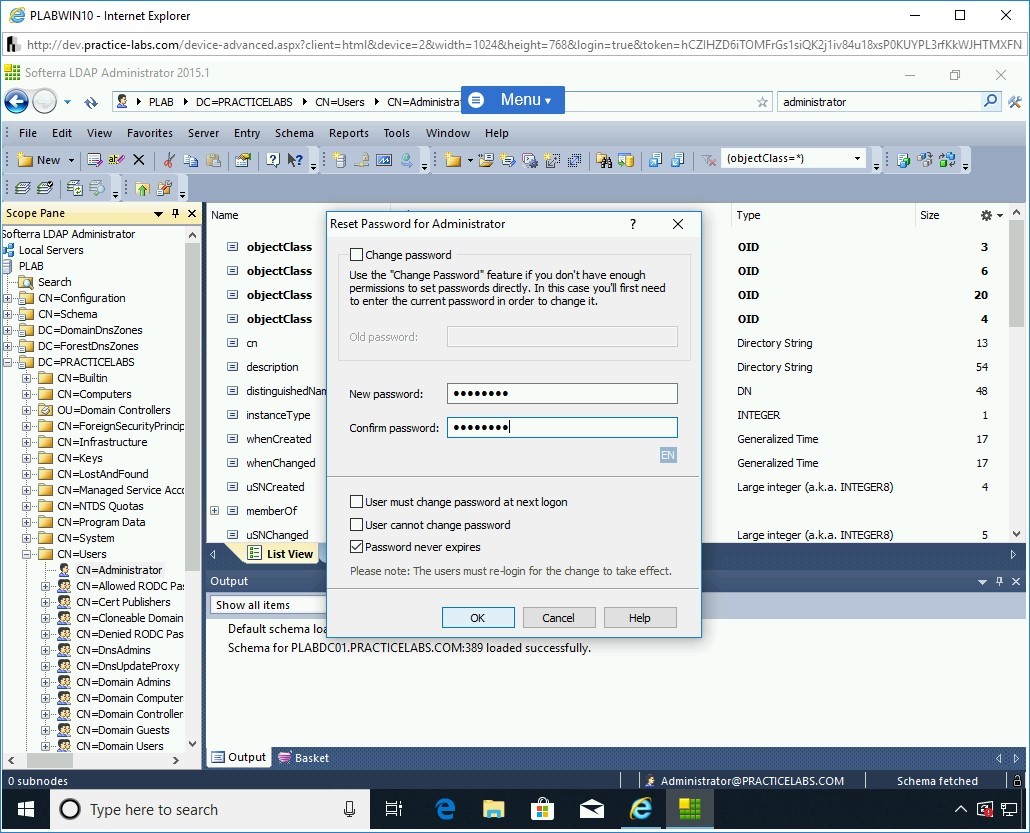
Step 28
The Reset Password for Administrator dialog box is displayed.
In the New password text box, type the following password:
Passw0rd
In the Confirm password text box, type the following password:
Passw0rd
Click OK.
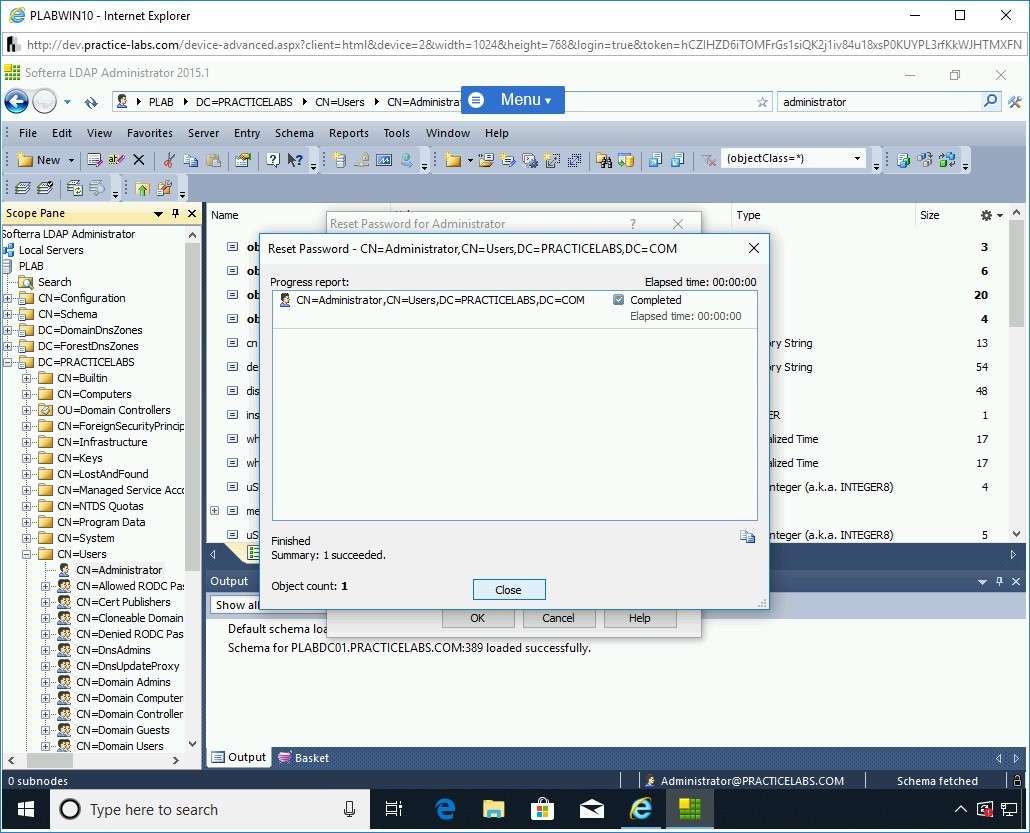
Step 29
The Reset Password dialog box is displayed. Note that the status is now marked as Completed. Click Close. The password for the Administrator user is now changed.
Note: This tool has many more capabilities than just the ones demonstrated in the lab environment, you can explore these if you have time.Close the Softerra LDAP Administrator 2015.1 window.
Task 4 - Perform SNMP Enumeration Using IP Network Browser
There are various tools available in the market for SNMP enumeration. Two key tools are:
- SolarWind’s IP Network Browser
- ManageEngine OpUtils
IP Network Browser is a that is used for performing network discovery. It can use either ICMP or SNMP to perform network discovery. In this task, you will use the IP Network Browser. To do this, perform the following steps:
Step 1
Ensure you have powered on all the devices listed in the introduction and connect to PLABWIN10.
Ensure that Internet Explorer is open, and you are on the Hacking Tools page.
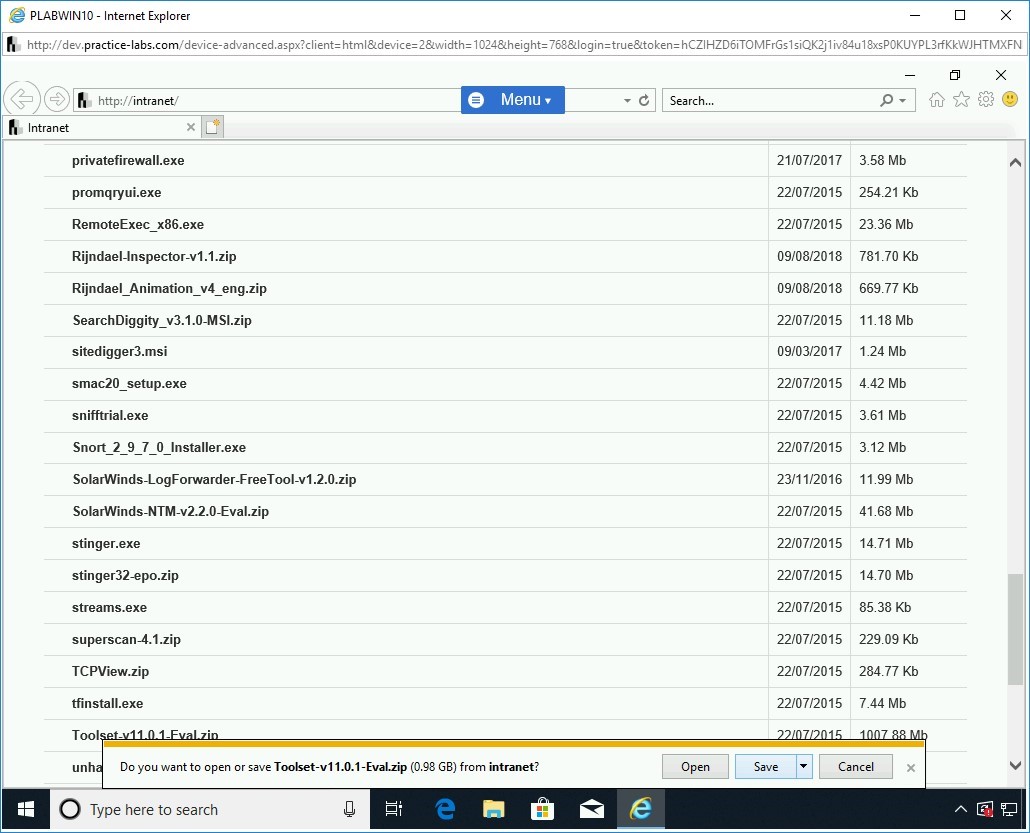
Note: If you closed Internet Explorer in the previous task, please ensure you follow the steps provided in Task 1 to reach the Hacking Tools page.On the Hacking Tools Webpage, scroll to locate Toolset-v11.0.1-Eval.zip. Click Toolset-v11.0.1-Eval.zip.
Step 2
In the notification bar, click Save.
Step 3
When the file download is successfully completed, in the notification bar, click Open folder.

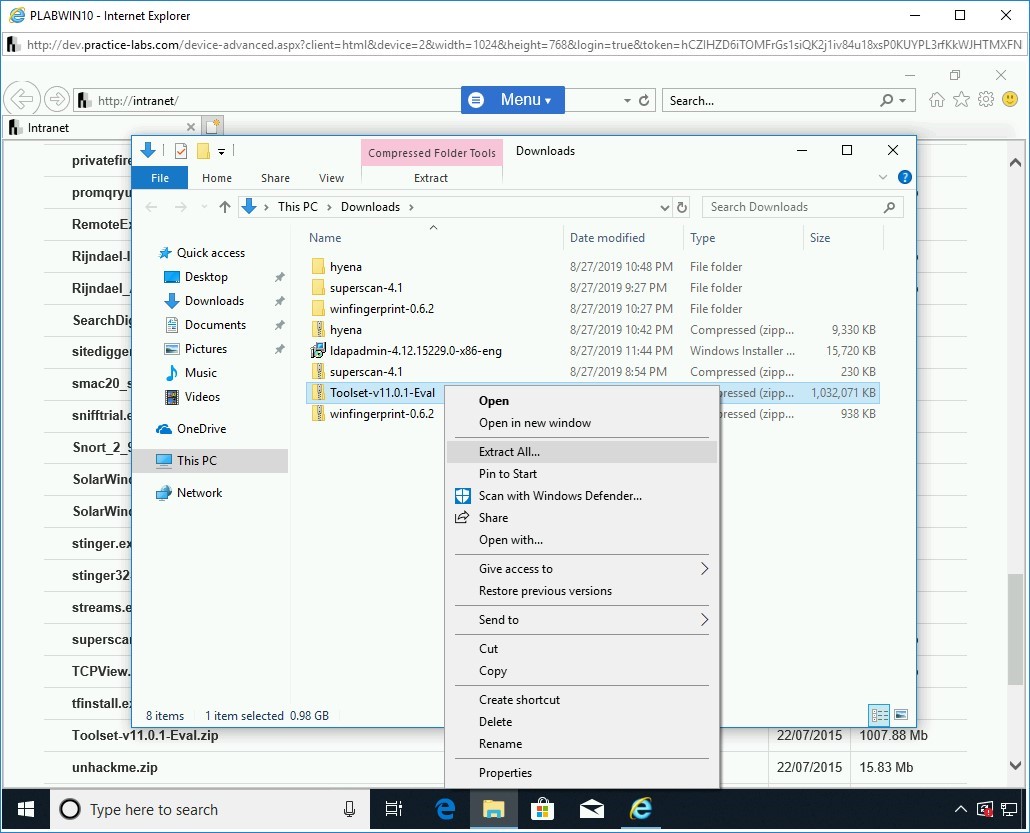
Step 4
In the File Explorer window, right-click Toolset-v11.0.1-Eval.zip and select Extract All.
Step 5
In the Extract Compressed (Zipped) Folders dialog box, keep the default path and click Extract.

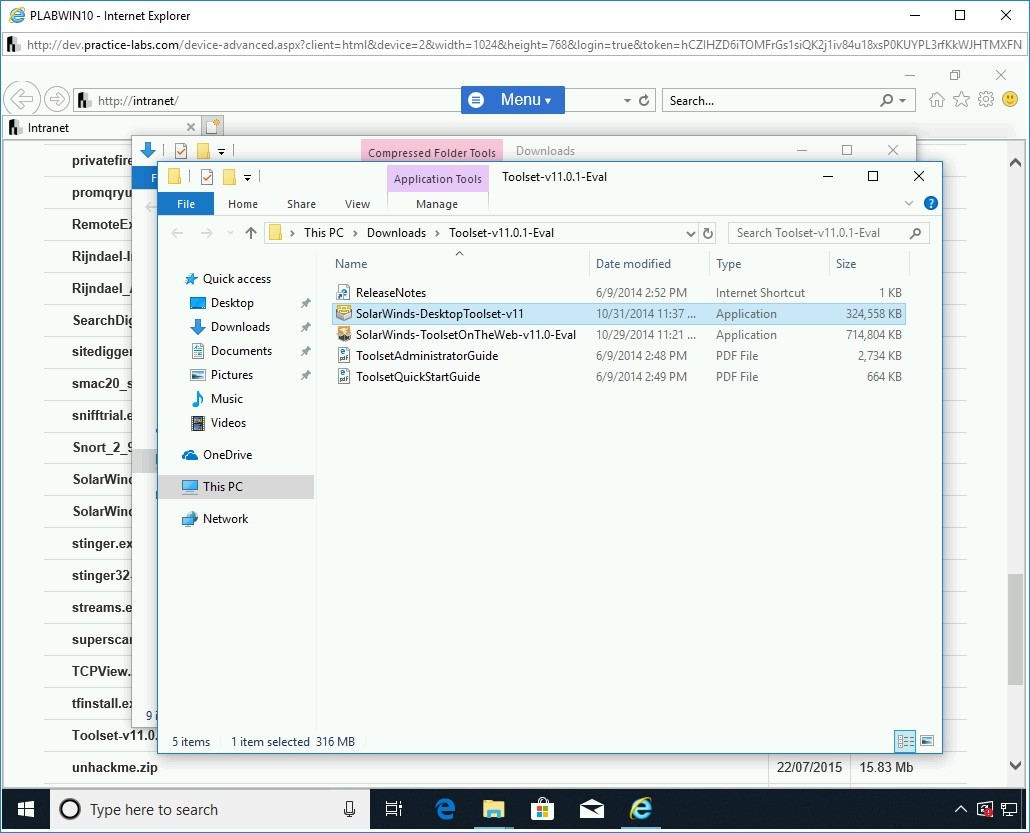
Step 6
A file copying dialog box will be displayed. After the file copying process is complete, a new File Explorer window is displayed with various files. Double-click the SolarWinds-DesktopToolset-v11 file.
Step 7
The Solarwinds Toolset v11.0.1 Setup dialog box is displayed. It displays a message that Microsoft .Net Framework 3.5 SP1 is being installed.
Alert: In your lab environment, if .Net Framework is already installed, this step will not appear.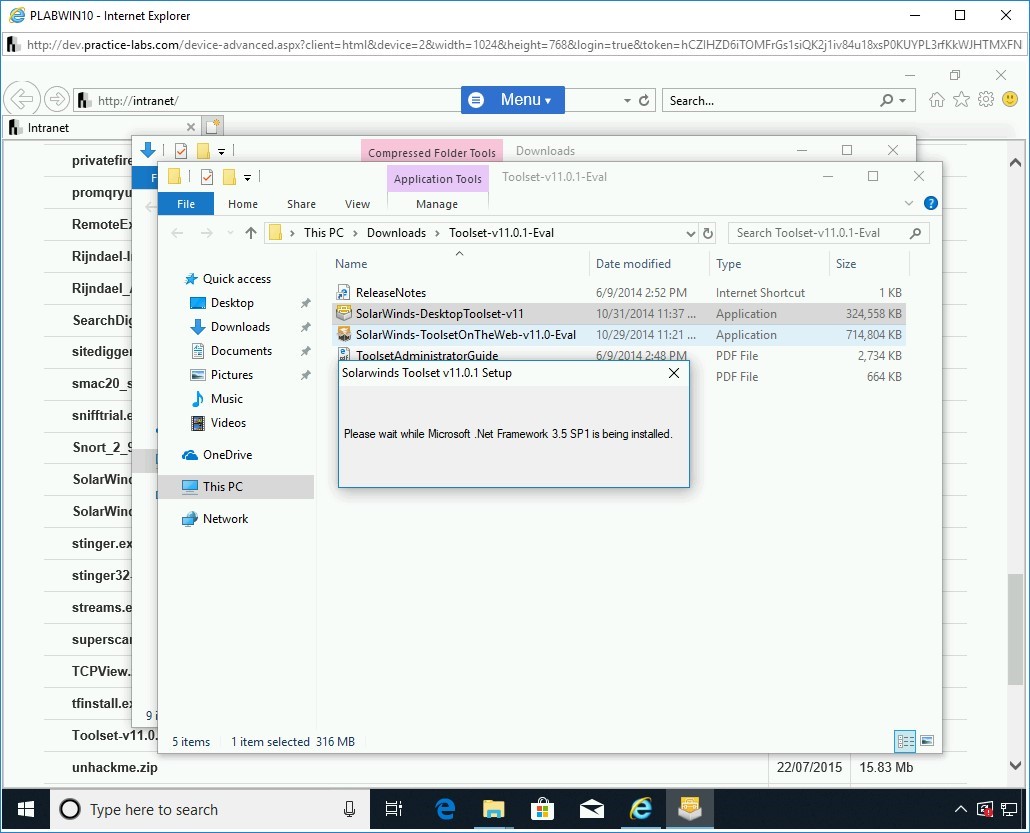
Step 8
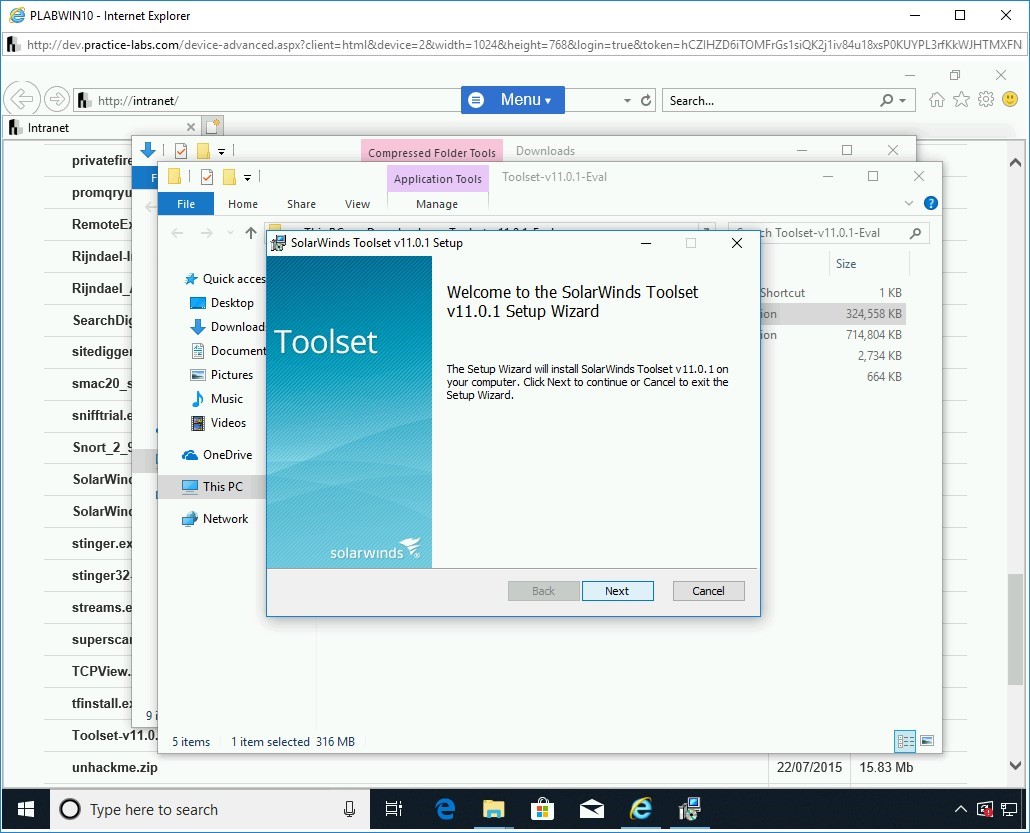
After the Microsoft .Net installation is complete, Toolset installation will start.
On the Welcome to the SolarWinds Toolset v11.0.1 Setup Wizard page of the Solarwinds Toolset v11.0.1 Setup, click Next.
Step 9
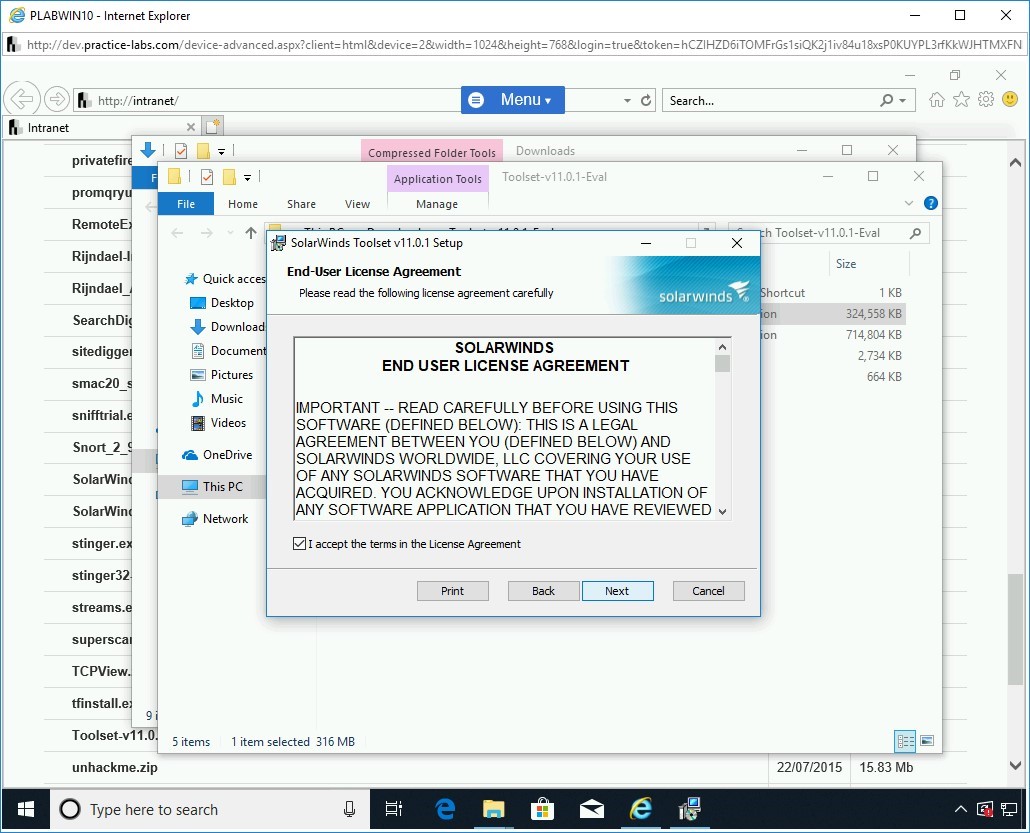
On the End-User License Agreement page, select I Accept the terms in the License Agreement and click Next.
Step 10
On the Destination Folder page, keep the default path and click Next.

Step 11
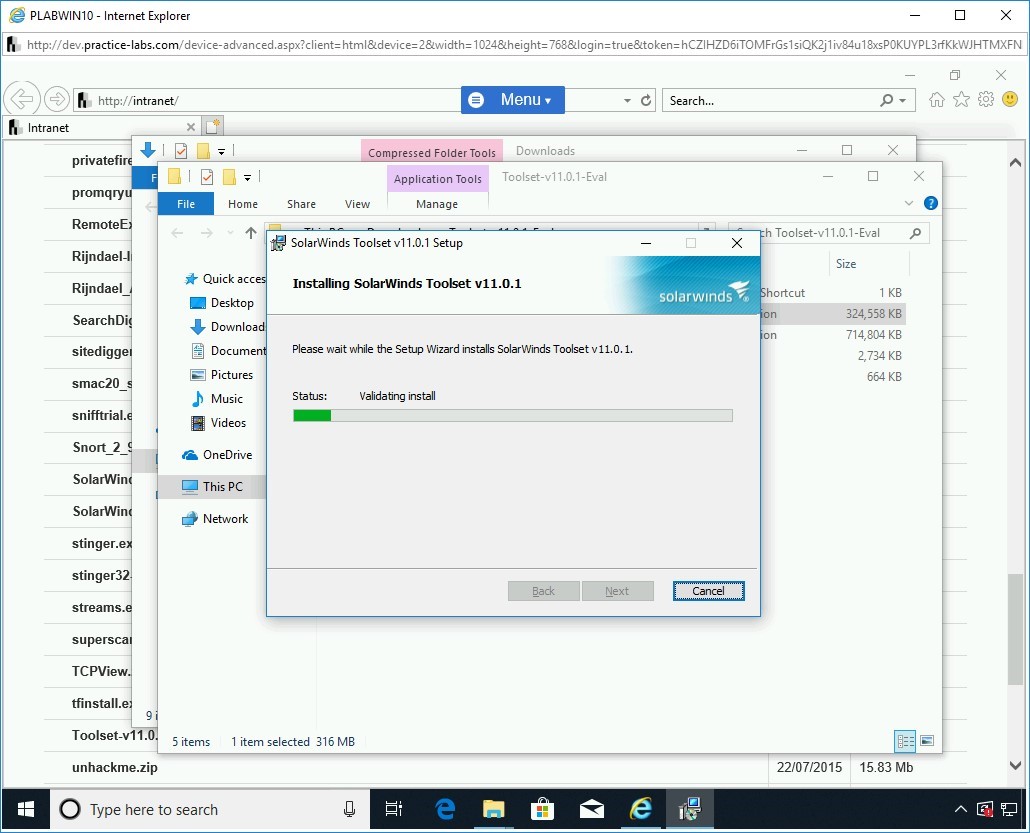
On the Ready to install SolarWinds Toolset v11.0.1 page, click Install.

Step 12
The installation will now begin; it should take a few minutes to complete.
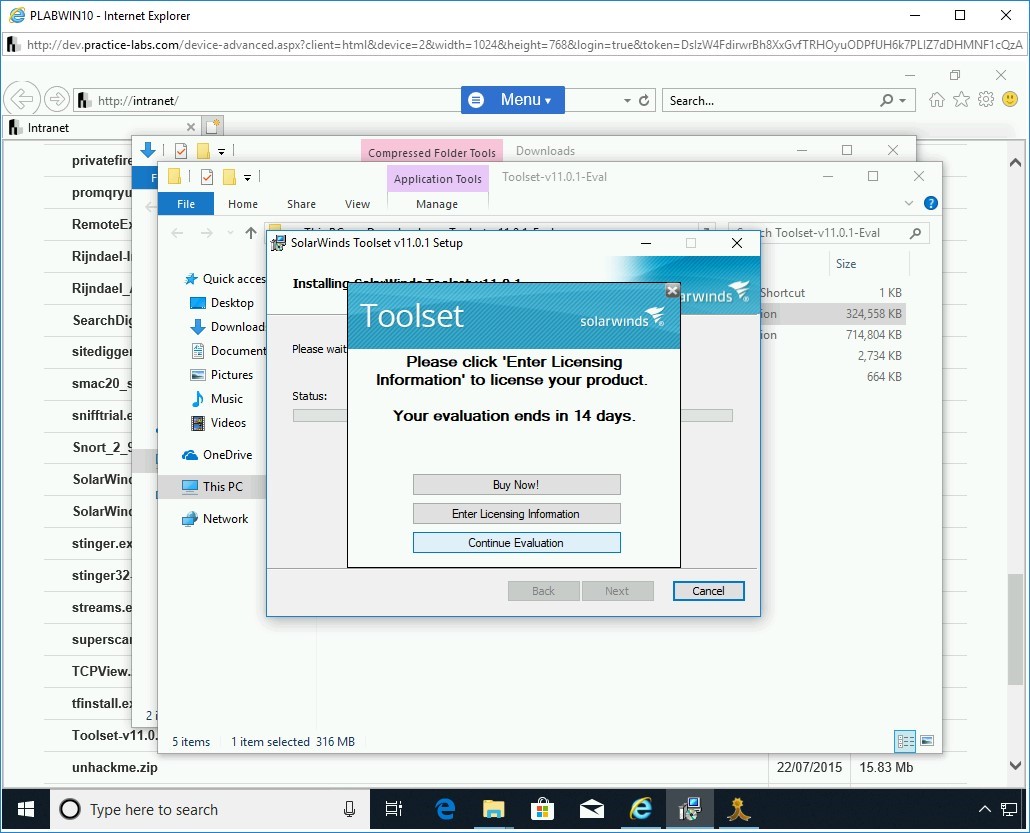
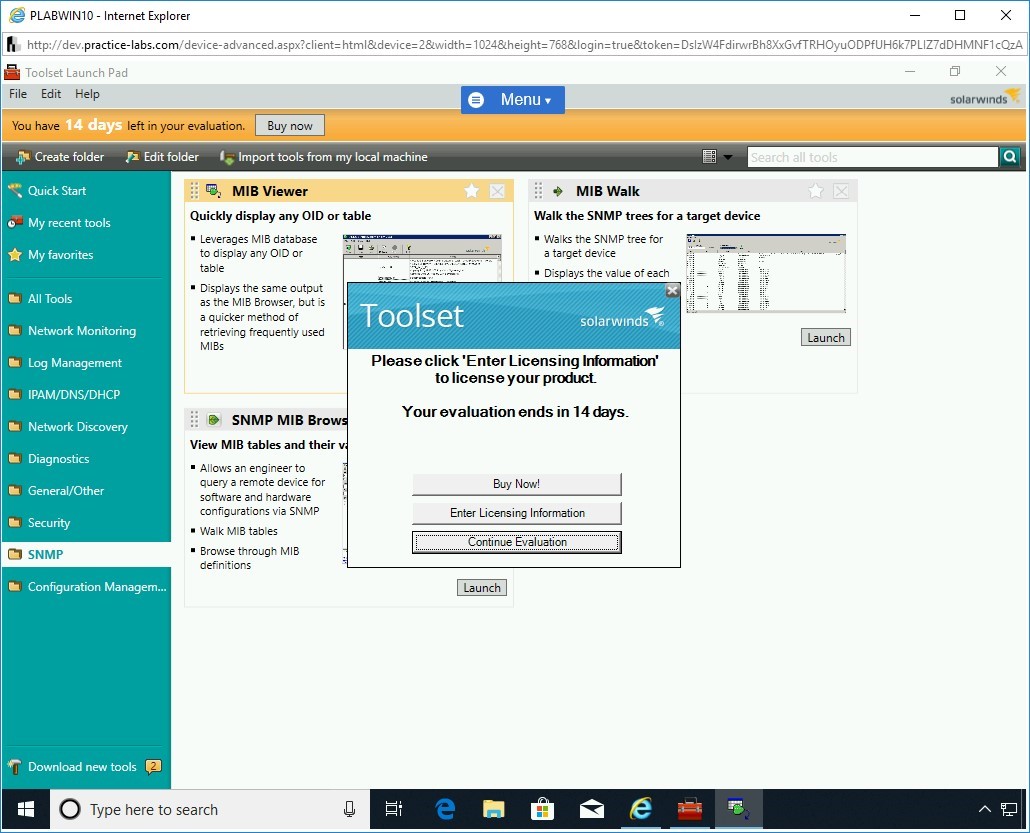
Step 13
After the installation has completed, on the Toolset dialog box, click Continue Evaluation.
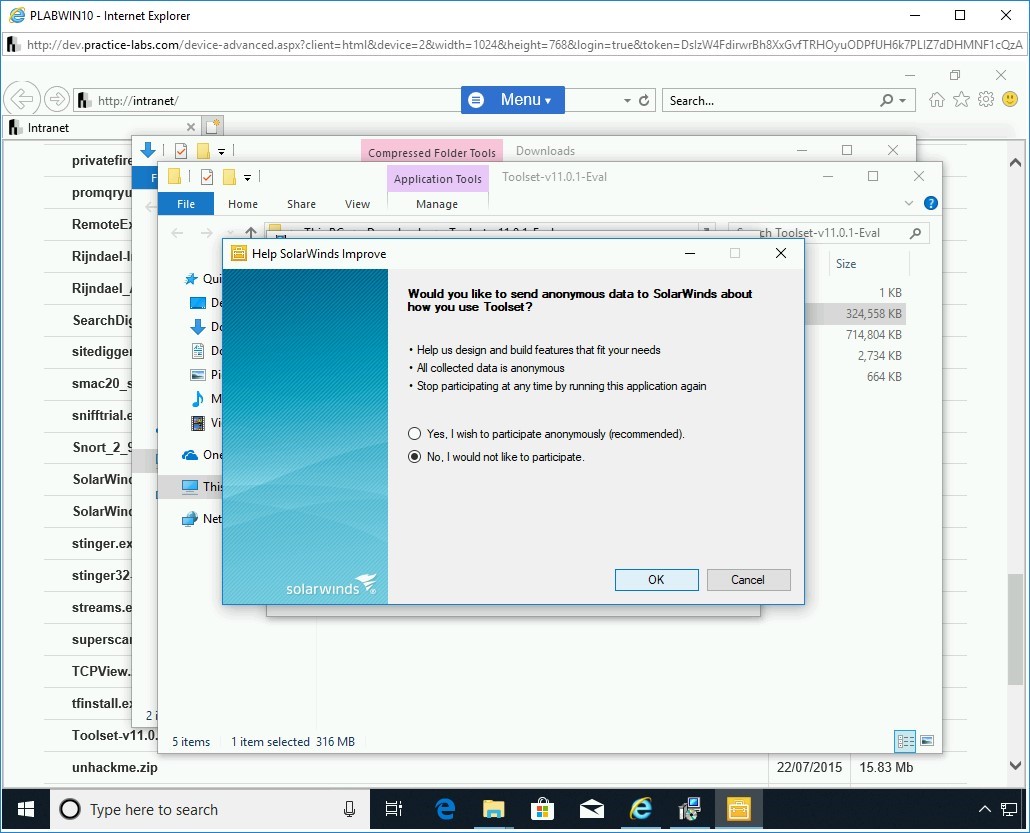
Step 14
You will finally be asked if you would like to send solar winds anonymous data, select No, I would not like to participate, and then click OK.
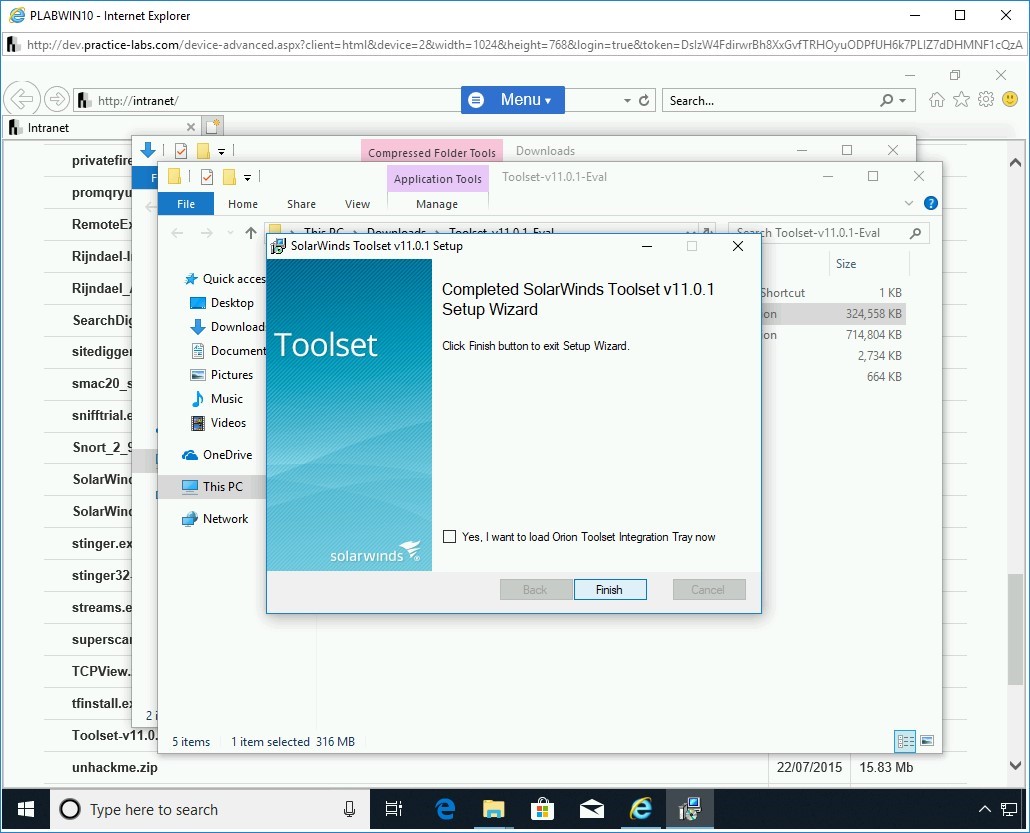
Step 15
The installation is now in progress.
When setup is successfully completed, click Finish.
Close all instances of File Explorer.
Minimize the Internet Explorer window.
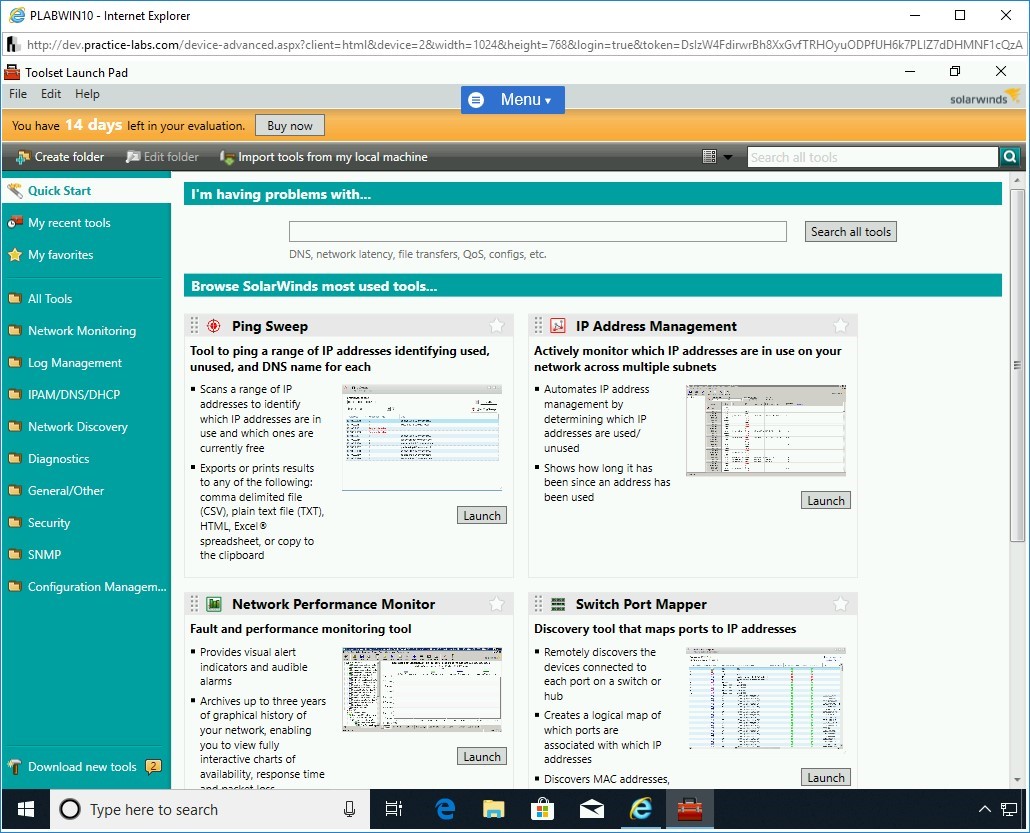
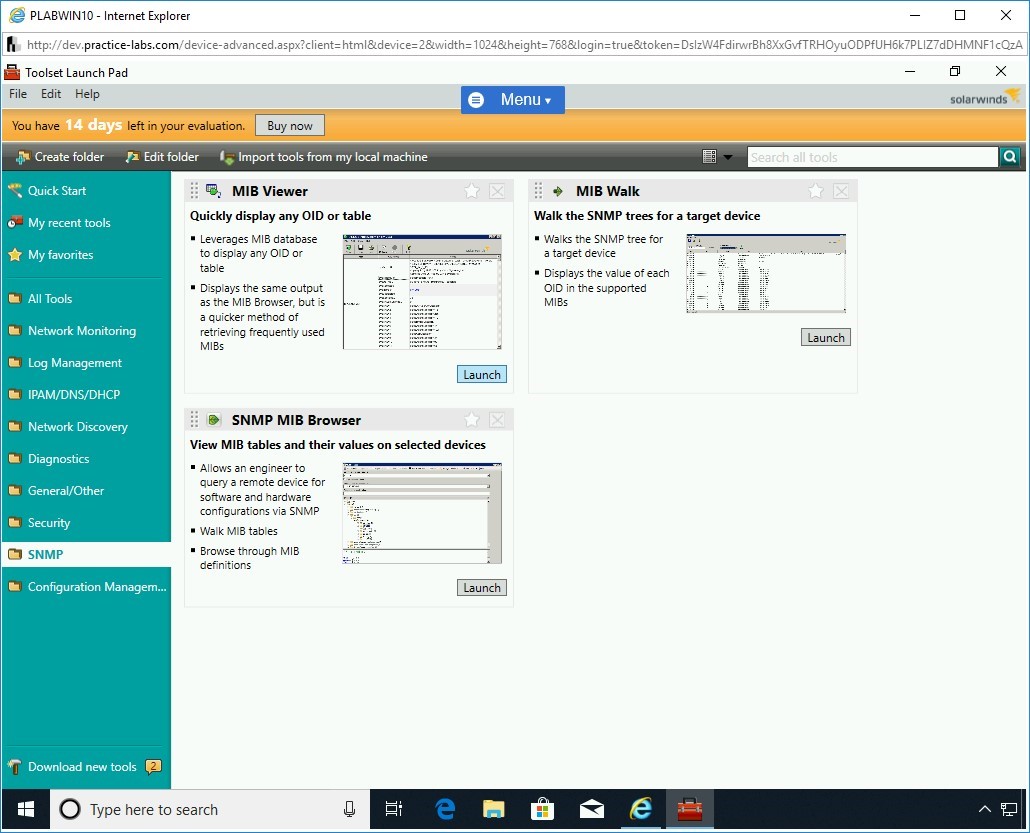
Step 16
The Toolset Launch pad will now be displayed.
Step 17
Before performing SNMP enumeration, you need to ensure that the target machine is set to accept requests.
In this task, you will configure PLABDC01 for accepting the requests.
Connect to PLABDC01. The desktop is displayed.
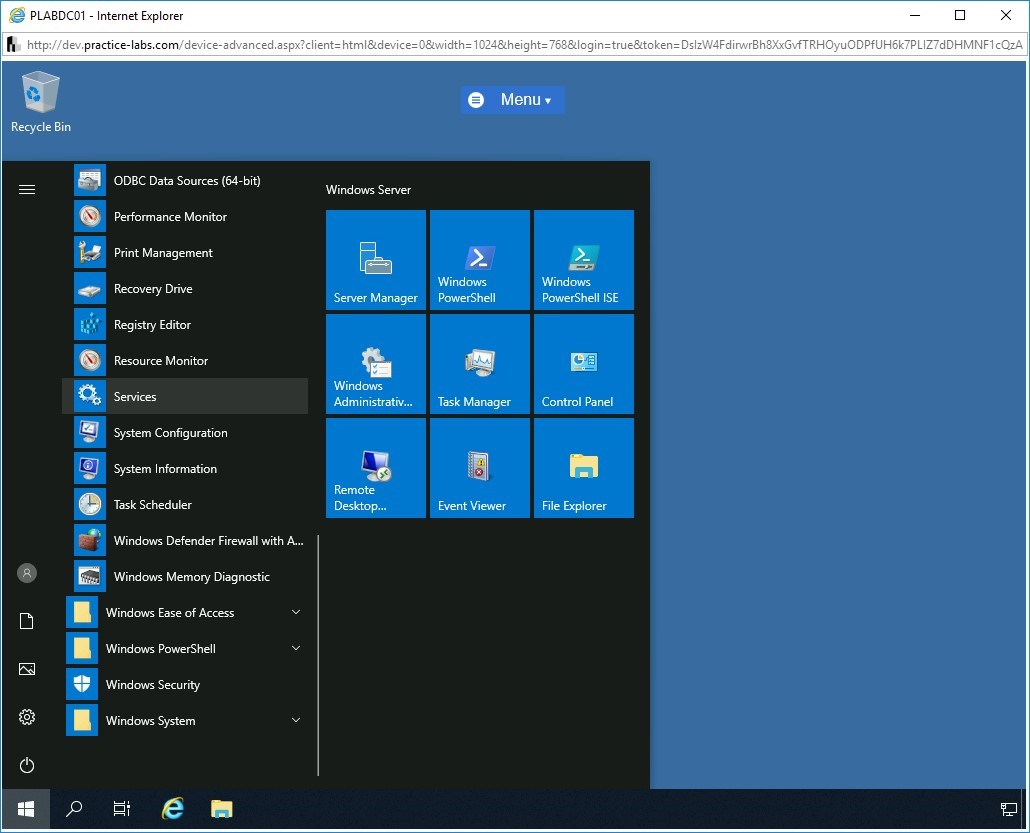
Step 18
Click the Start charm, click Windows Administrative Tools, and then select Services.
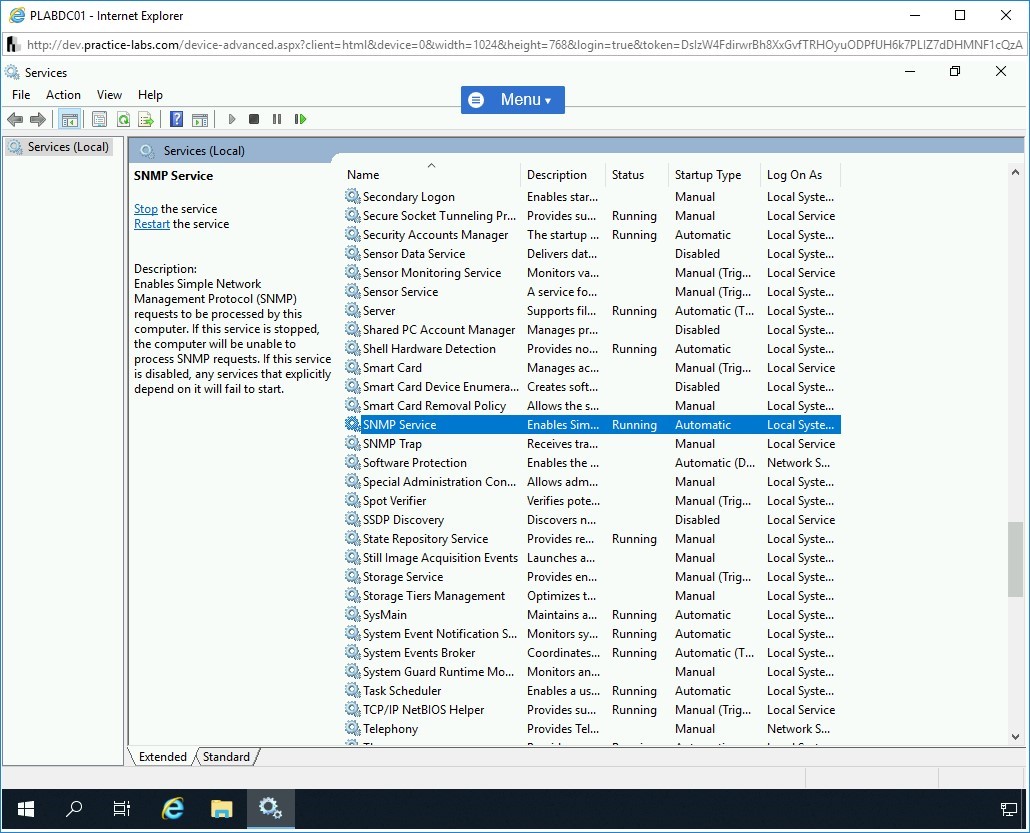
Step 19
The Services snap-in is displayed.
Scroll down and select SNMP Service.
Double-click SNMP Service.
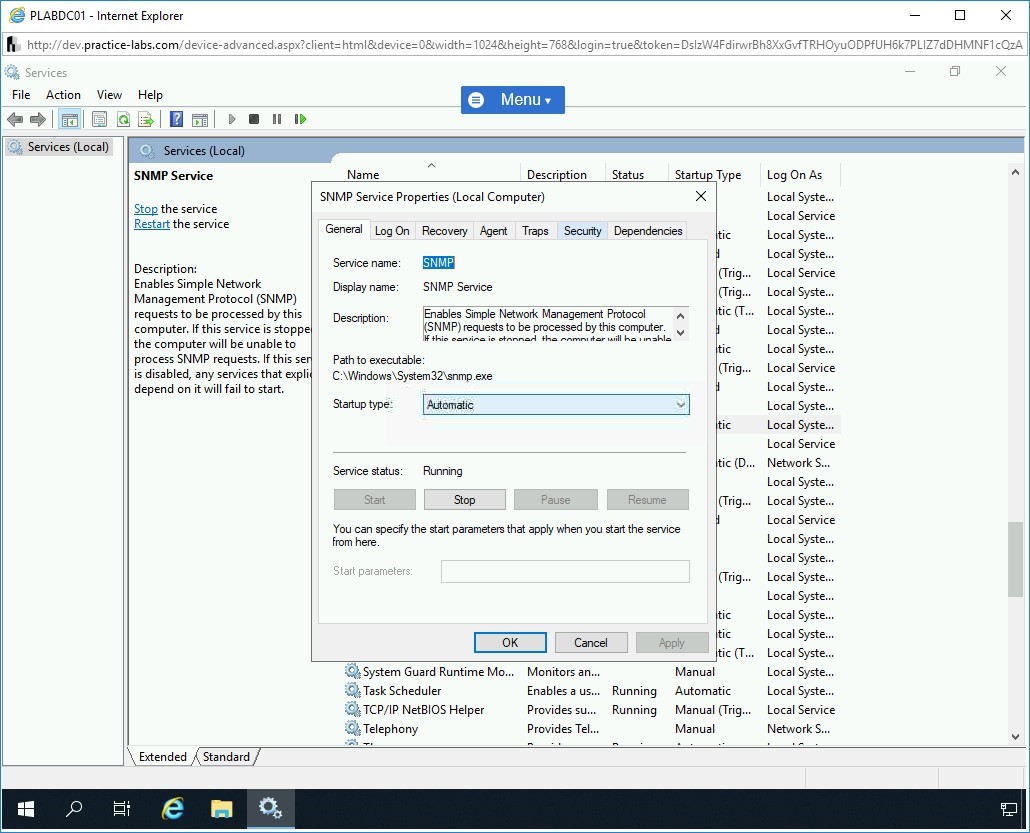
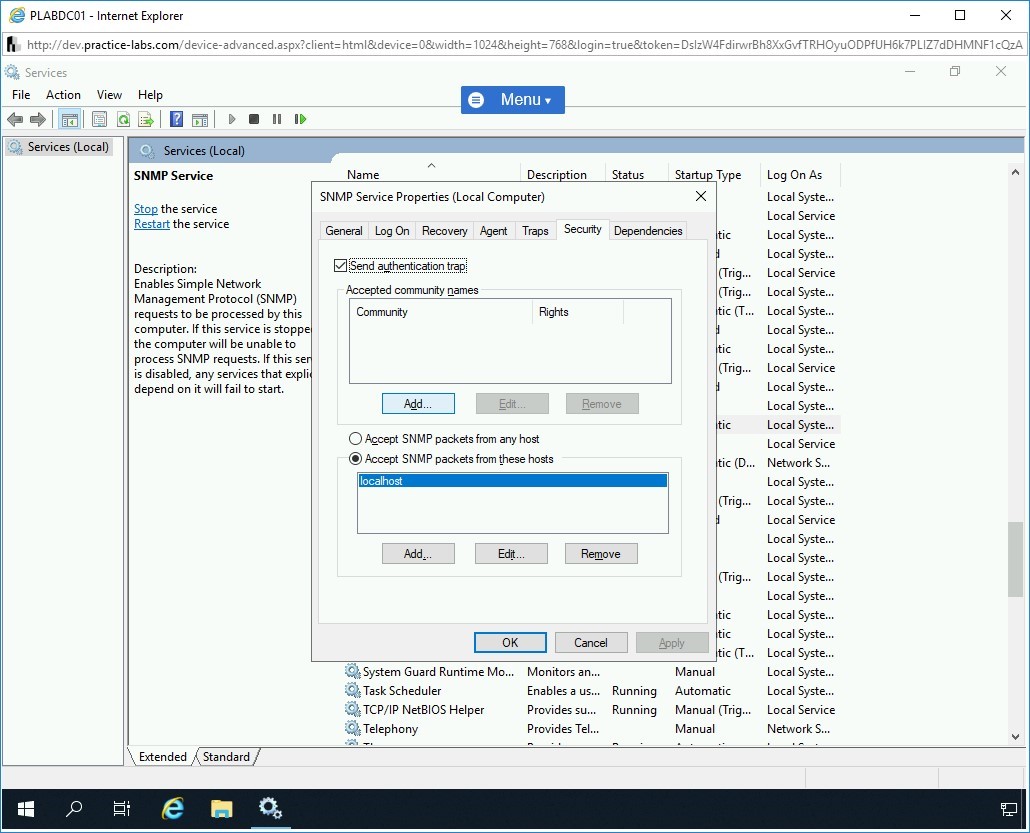
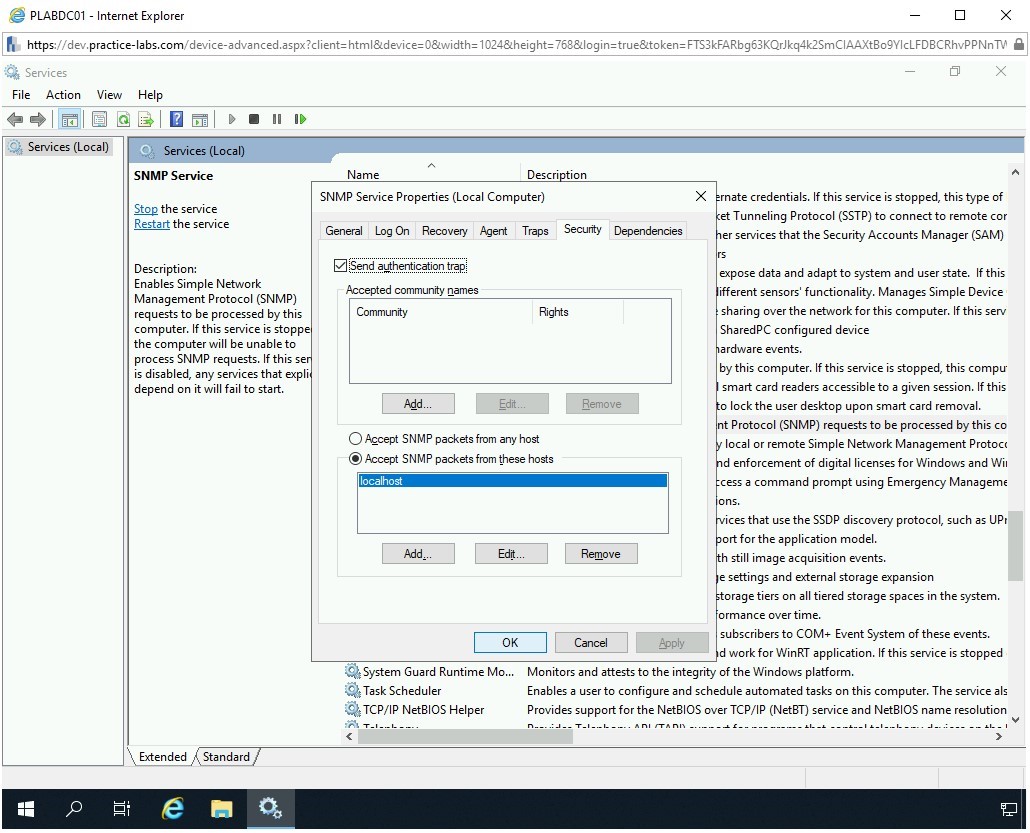
Step 20
The SNMP Service Properties (Local Computer) dialog box is displayed.
Click the Security tab.
Step 21
Here, you will define a community and allow this system to accept SNMP packets from other systems.
Click Add under the Accepted community names section.
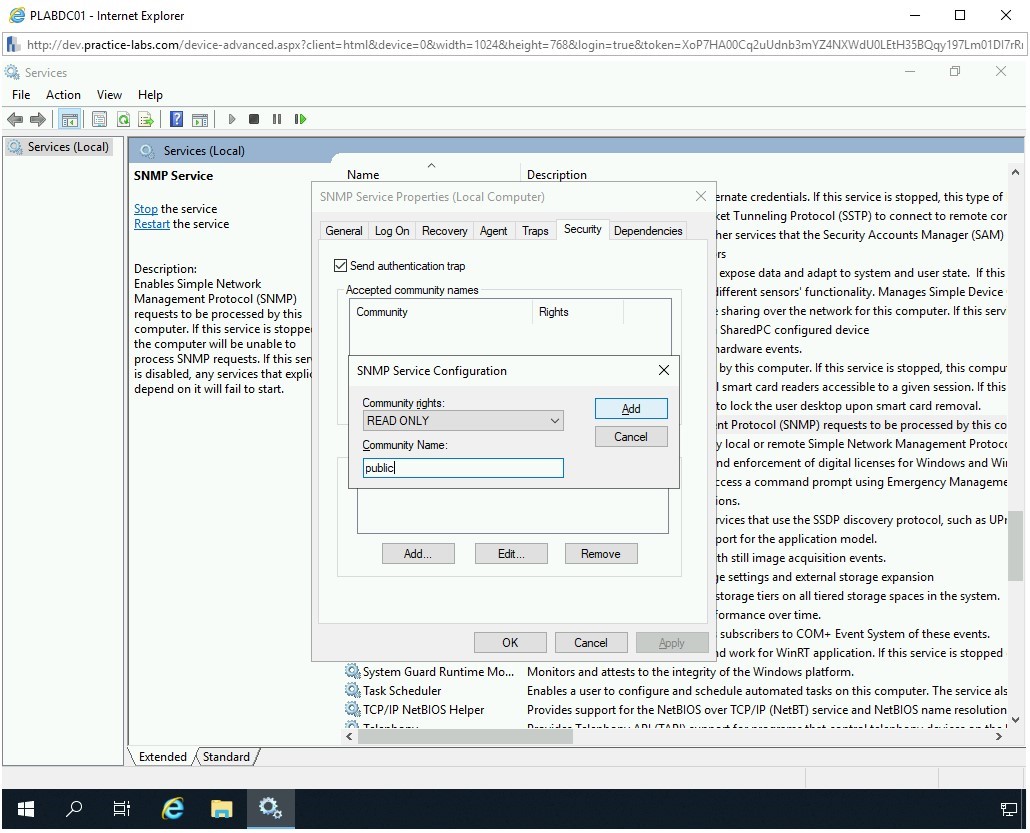
Step 22
The SNMP Service Configuration dialog box is displayed.
In the Community Name text box, type the following name:
public
Click Add.
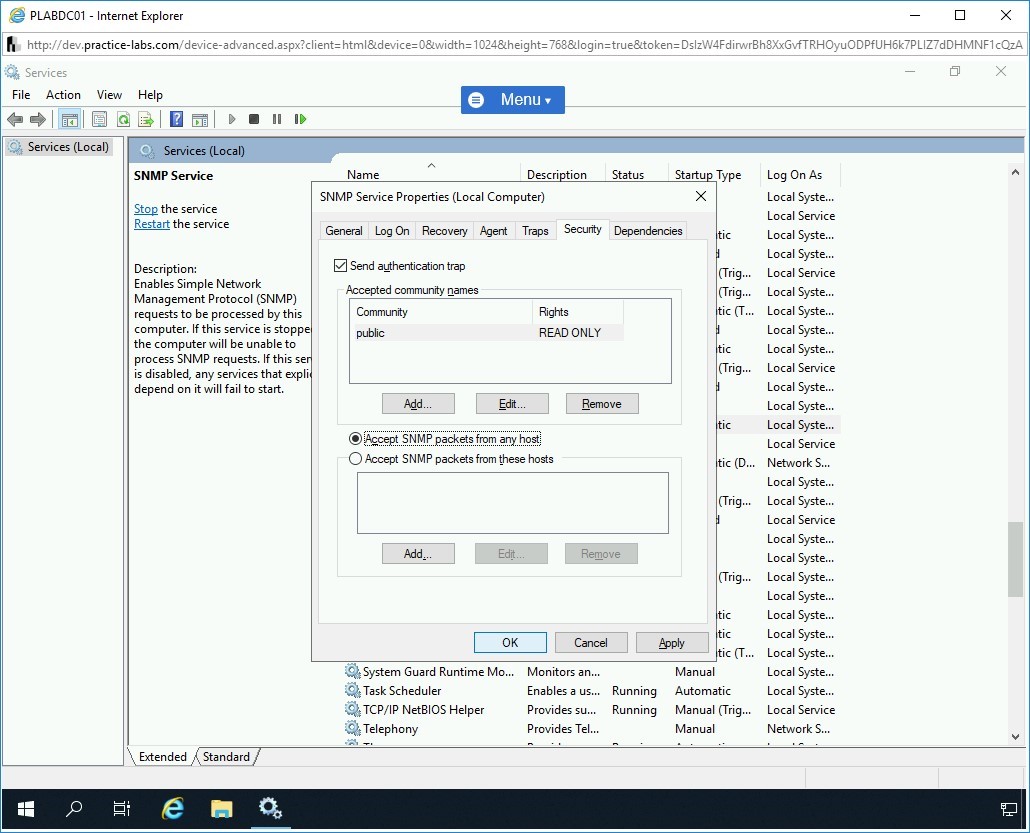
Step 23
Notice that the community public appears in the Accepted Community names section. Select Accept SNMP packets from any host and click OK.
Step 24
Connect to PLABWIN10. The Toolset LaunchPad window is already open. Click SNMP in the left pane.
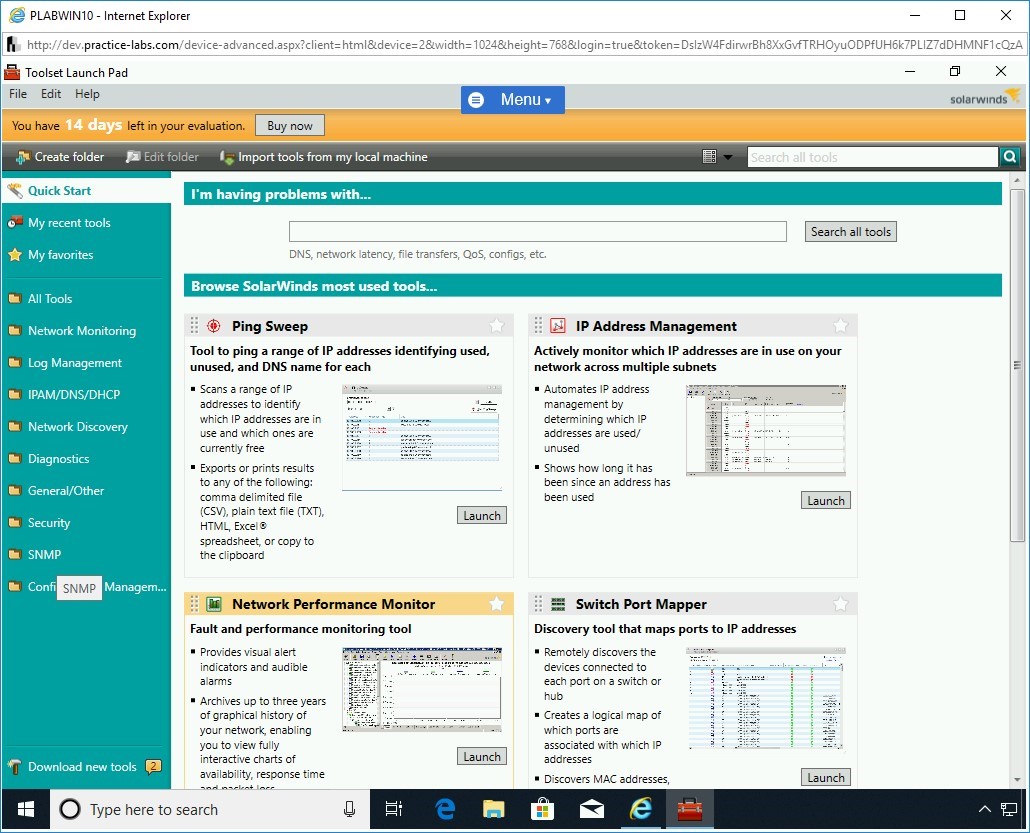
Step 25
The right pane lists several SNMP related tools.
Click Launch under MIB Viewer.
Step 26
The Toolset dialog box is displayed.
Click Continue Evaluation.
Step 27
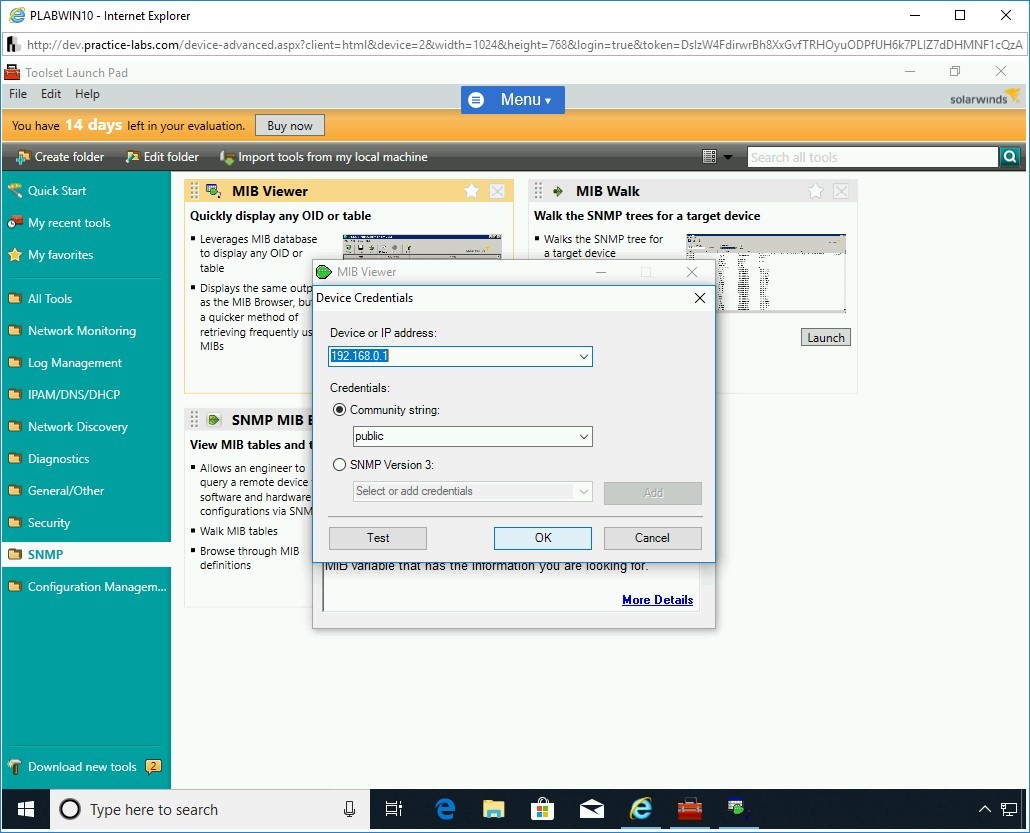
The MIB Viewer dialog box is displayed.
Click inside the Hostname or IP Address textbox.
The Device Credentials dialog box is displayed. in the Device or IP address drop-down, enter:
192.168.0.1
From the Community string drop-down, type:
public
Click OK.
Step 28
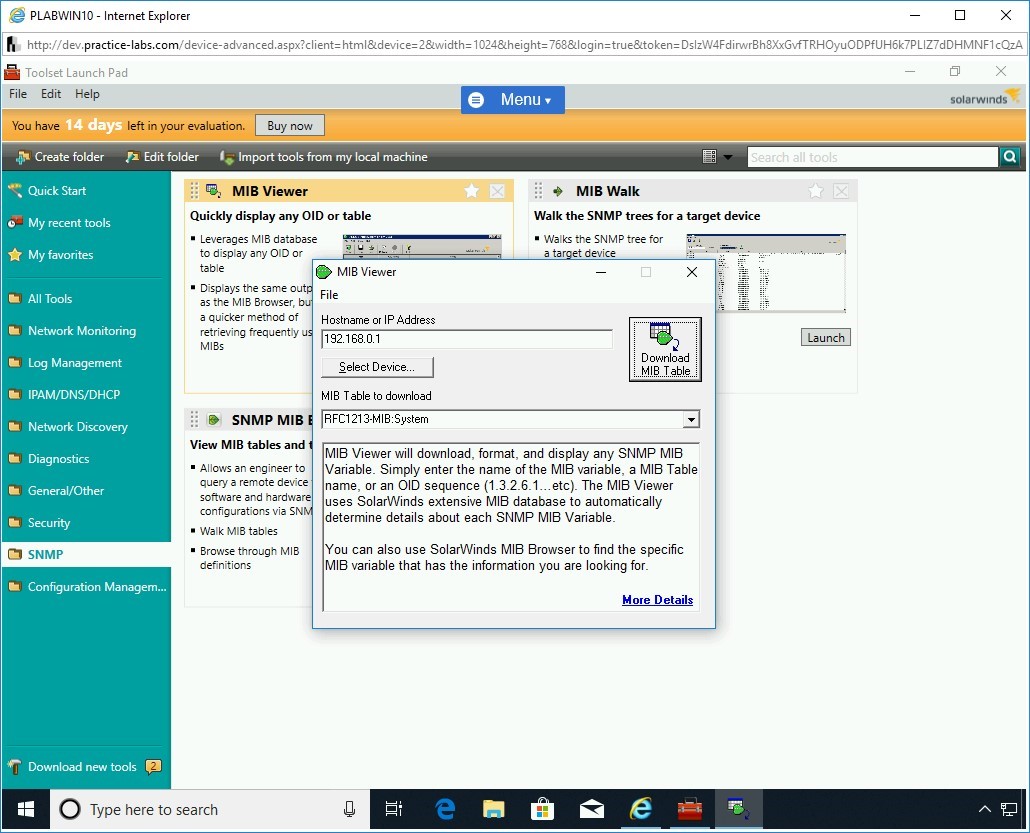
You will then be prompted to store the Community string, click Yes.
Note that the name is now populated in the Hostname or IP Address textbox.
From the MIB Table to download drop-down, select any of the given MIB Table names.
Click Download MIB Table.
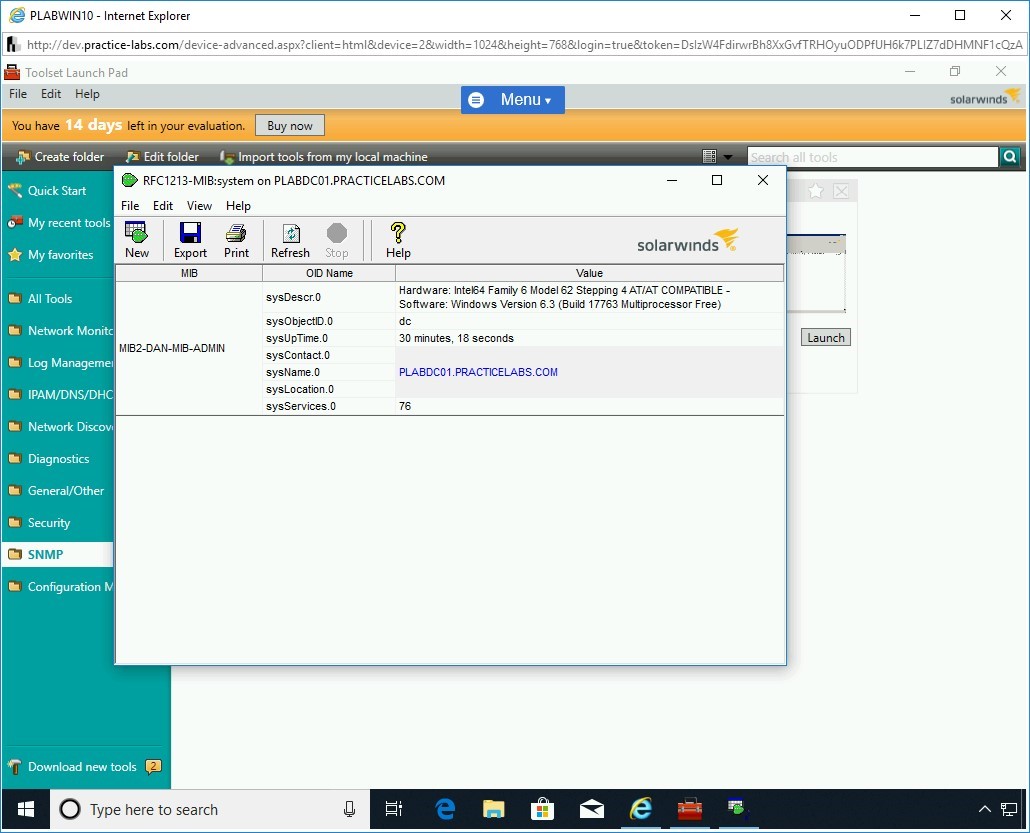
Step 29
The RFC1213-MIB:system on PLABDC01.PRACTICELABS.COM dialog box is displayed. The required information is displayed. Similar to this tool, you can try other listed tools.
Close the MIB table.
Close the Toolset Launch Pad.
Enumeration Techniques using Kali Linux Tools
Just like the Windows-based tools, there are several enumeration tools available in Kali Linux. Some of the key tools are rpcclient, dnsenum, and nmap. With the help of these tools, you can perform different types of enumeration, such as web application, web server, Domain Name Service (DNS), and so on.
In this exercise, you will learn about enumeration techniques using Kali Linux tools.
Learning Outcomes
After completing this exercise, you will be able to:
- Perform DNS Enumeration
- Perform Windows Host Enumeration using Rpcclient
- Perform Linux Host Enumeration using Nmap
- Perform Website Enumeration using Nmap
- Perform Server Message Block (SMB) Enumeration
Your Devices
You will be using the following devices in this lab. Please power these on now.
- PLABDC01 - (Windows Server 2019 - Domain Server)
- PLABDM01 - (Windows Server 2019 - Domain Member)
- PLABWIN10 - (Windows 10 - Workstation)
- PLABKALI01 - (Kali 2019.2 - Linux Kali Workstation)
Task 1 - Perform DNS Enumeration
DNS plays a vital role on the Internet. It translates a domain name to an IP address. By probing a DNS, you can find information about the DNS and mail servers for a specific domain.
In this task, you will perform DNS enumeration. To do this, perform the following steps:
Step 1
Ensure you have powered on all the devices listed in the introduction and connect to PLABKALI01.
Credentials are:
Username:
rootPassword:
Passw0rd
Step 2
On the desktop, in the left pane, click the Terminal icon.
Step 3
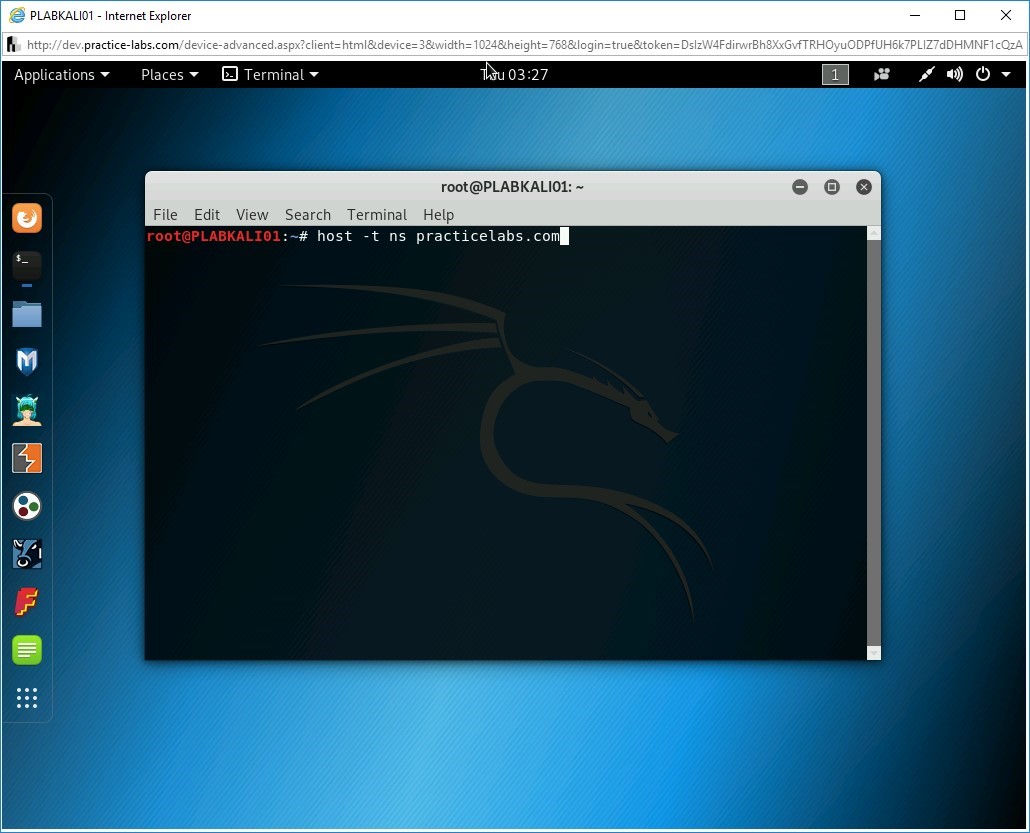
The terminal window is displayed. Let’s first find the nameserver for the practicelabs.com domain. You can use the host command with the -t parameter to do the same. The ns parameter is for the nameserver. Type the following command:
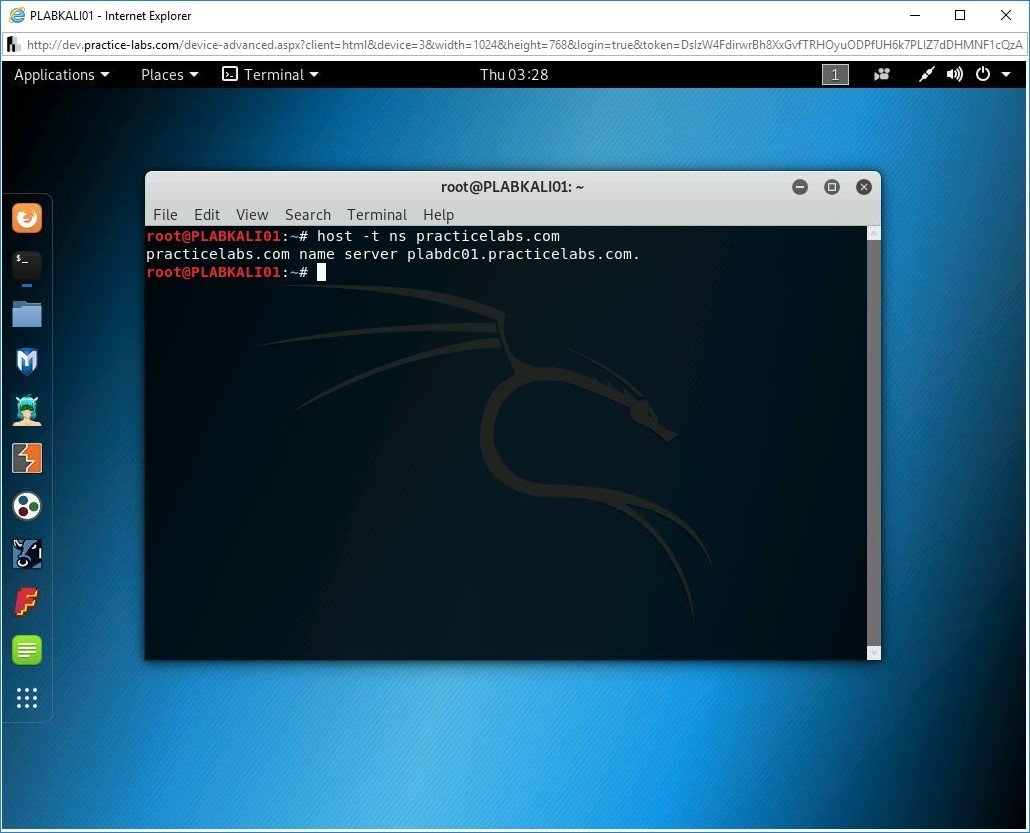
host -t ns practicelabs.com
Press Enter.
Step 4
Notice that the name server details are displayed.
Step 5
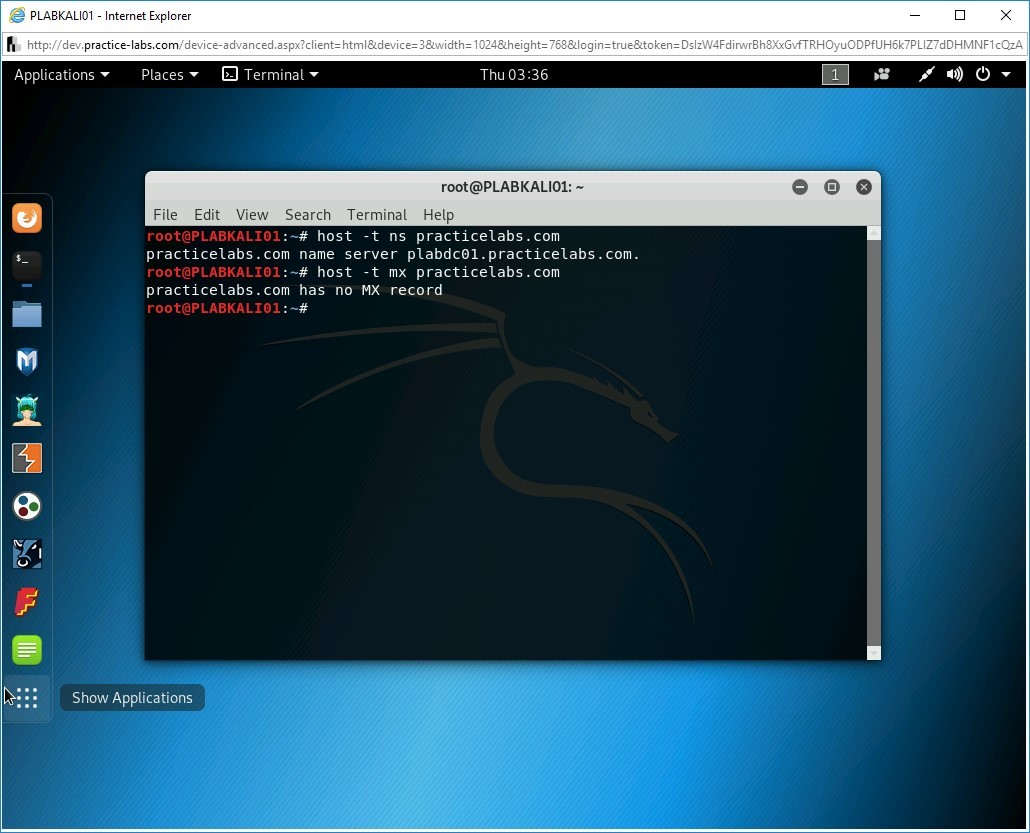
Let’s now find the mail server for the practicelabs.com domain. You can use the host command with the -t parameter to do the same. The mx parameter is for the mail server. Type the following command:
host -t mx practicelabs.com
Press Enter.

Step 6
Notice that there are no messaging servers.
Step 7
Clear the screen by entering the following command:
clear
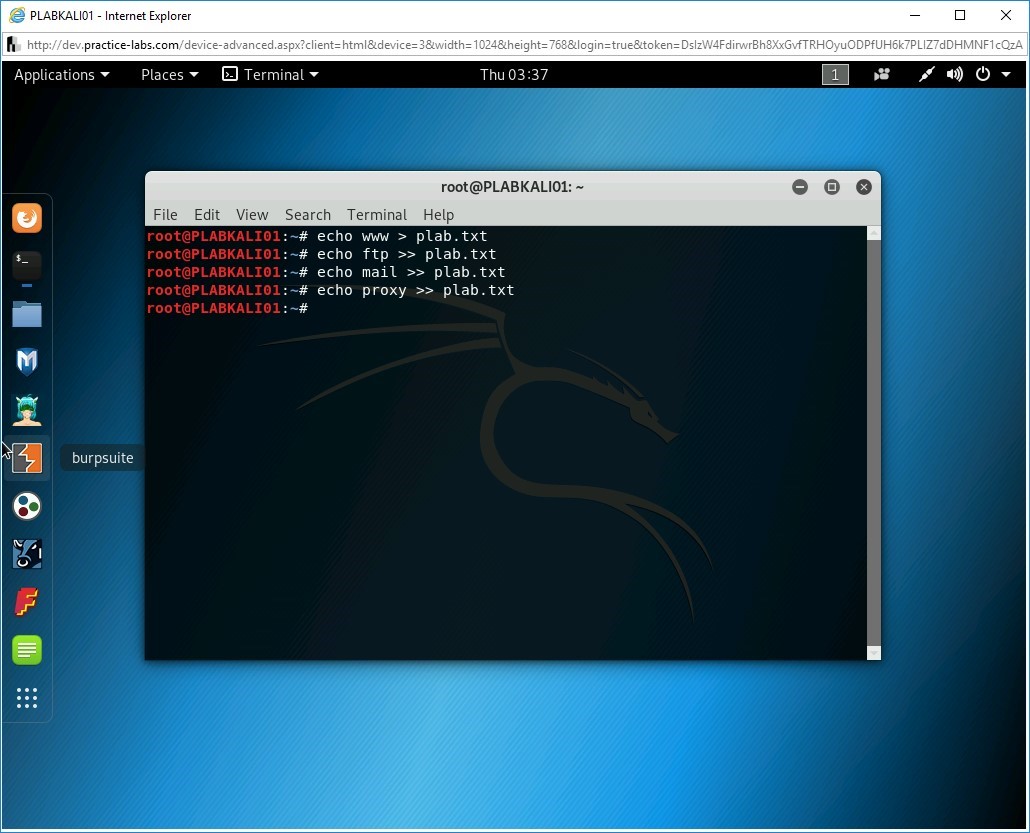
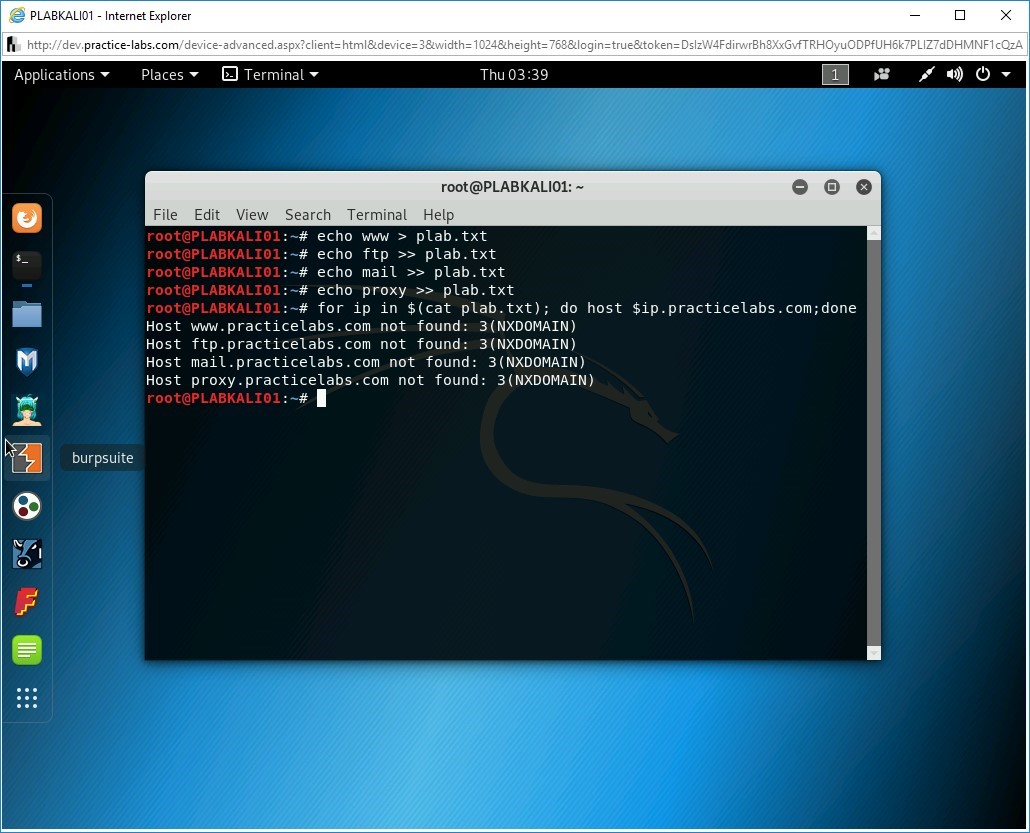
You will now gather the information about various services in a text file named plab.txt. Later, you will create a loop with the hostname and display the details of each service if it exists.
Note: The first command will write the output of the echo command in a file named plab.txt using the > operator. The second to the last command will append the output to the plab.txt file using the >> operator.Type the following commands:
echo www > plab.txt
echo ftp >> plab.txt
echo mail >> plab.txt
echo proxy >> plab.txt
Press Enter after each command.
Step 8
Next, you will create a for loop to generate the list of services with their IP addresses. In this command, you are automating the Forward DNS Lookup using the host command in a script. You can attempt to guess valid names for the servers using this script. For example, if there is a web server configured as www.practicelabs.com, you will be able to find it using this script.
Type the following command:
for ip in $(cat plab.txt); do host $ip.practicelabs.com;done
Press Enter.

Step 9
Notice the output of the loop. None of these services were found.
Step 10
Clear the screen by entering the following command:
clear
Let’s now look at DNS zone transfer. In a secure environment, DNS zone transfer would be limited to authorized slave DNS servers. If you do not configure it properly, then the zone transfer can be configured to any DNS server.
You will now try zone transfer on plabdc01.practicelabs.com. To do this, type the following command:
host -l practicelabs.com plabdc01.practicelabs.com
Press Enter.

Step 11
The outcome of this command is displayed. In this outcome, the plabdc01.practicelabs.com nameserver has refused the zone transfer request.

Step 12
Clear the screen by entering the following command:
clear
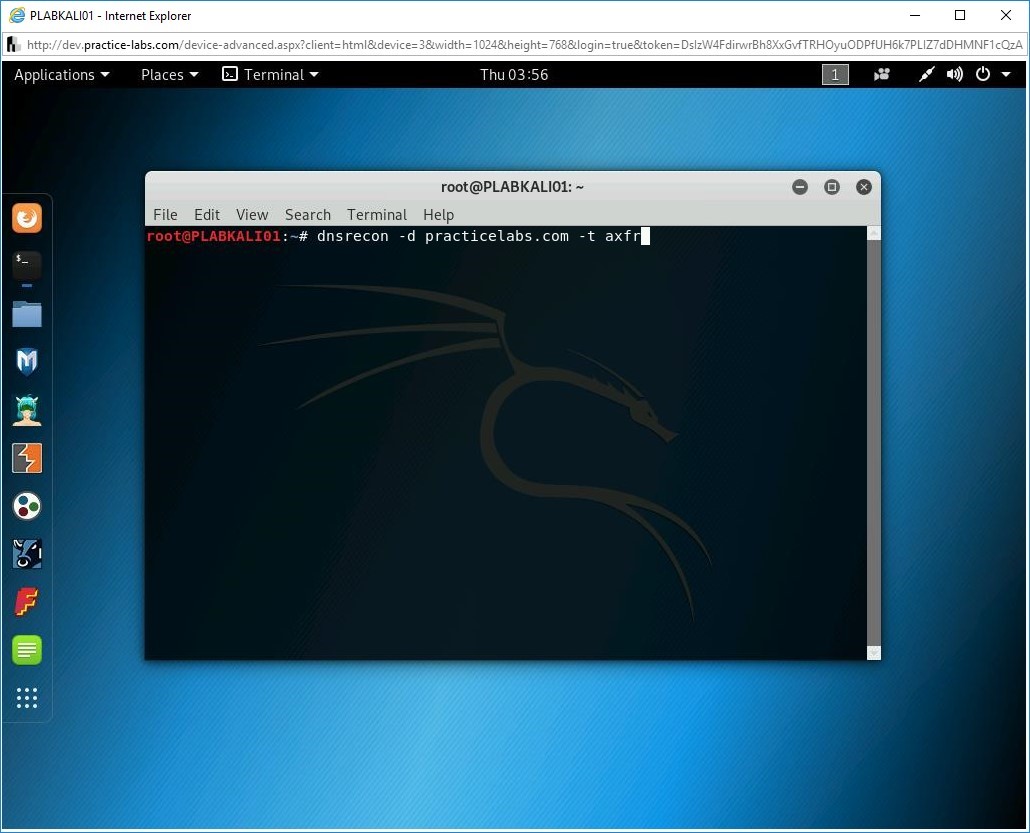
Kali Linux also contains a DNS enumeration tool named DNSRecon. To use DNSRecon, type the following command:
Note: The -d parameter defines the domain name. The -t parameter defines the type of the enumeration.dnsrecon -d practicelabs.com -t axfr
Press Enter.
Step 13
Notice the output of this command. It tests the zone transfer, which fails, and lists the NS servers. It also provides the open ports on the server.

Step 14
Clear the screen by entering the following command:
clear
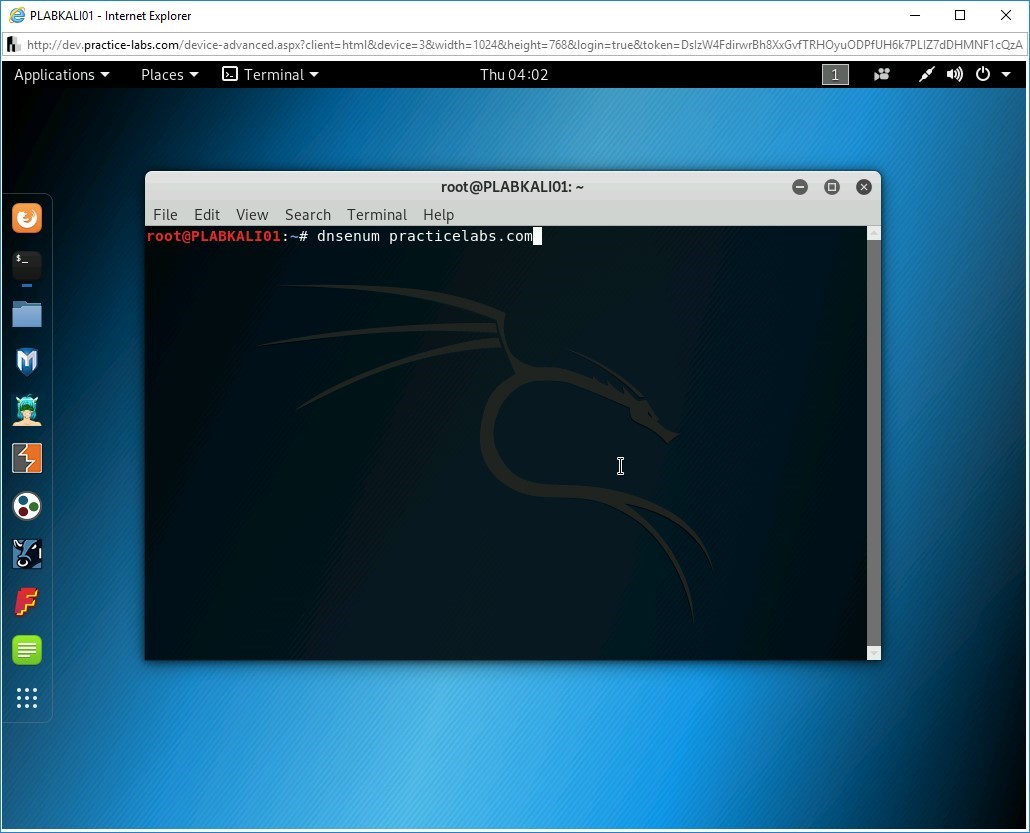
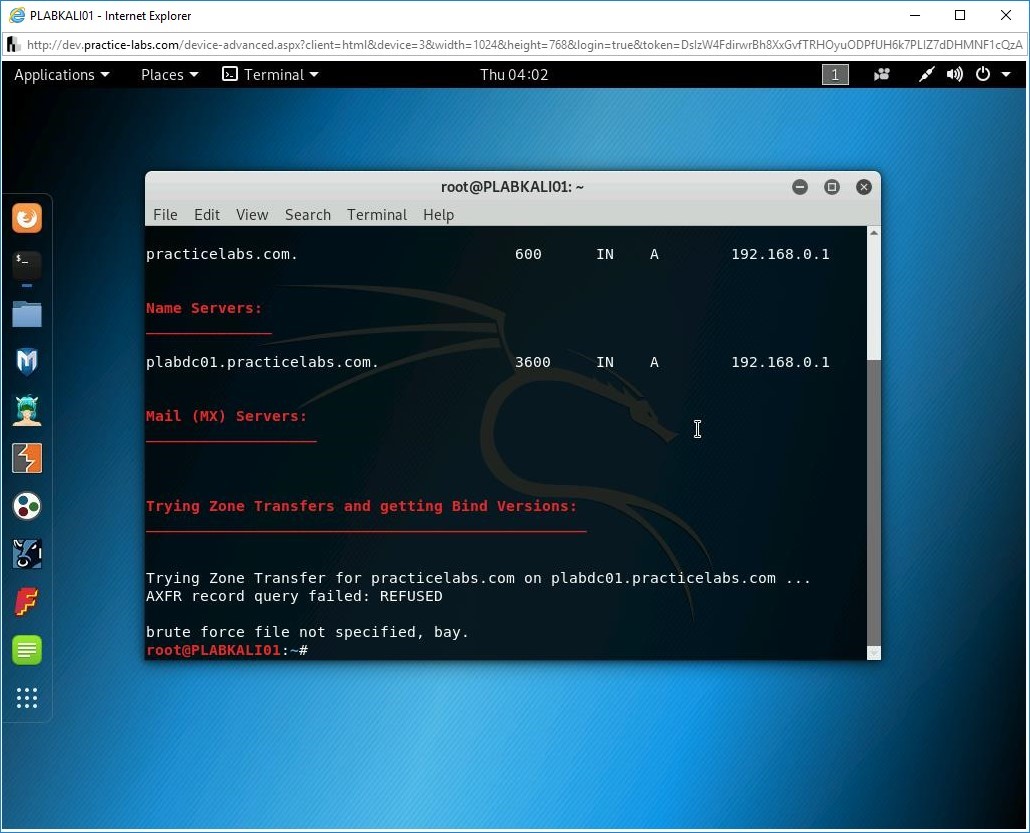
Next, you can also use another tool named DNSEnum, which also provides similar information to the DNSRecon tool. Type the following command:
dnsenum practicelabs.com
Press Enter.
Step 15
Notice that the output nameserver name and IP address and mail server. It also shows zone transfer results.
Task 2 - Perform Windows Host Enumeration using Rpcclient
There are different ways to enumerate a Windows host. Using enumeration, you can discover information, such as:
- OS version
- Users
- Services
- Groups
- Privileges
- Shares
- Configuration settings
A Windows host can be enumerated using different methods. For example, you can enumerate a Windows host using:
- Built-in commands
- Nmap
- Rpcclient
- Metasploit framework
Other than the commands, Nmap also contains ready-made scripts that can be used for various reasons, such as enumerating a Windows host. For example, consider the following command:
nmap 192.168.0.10 --script smb-os-discovery.nse
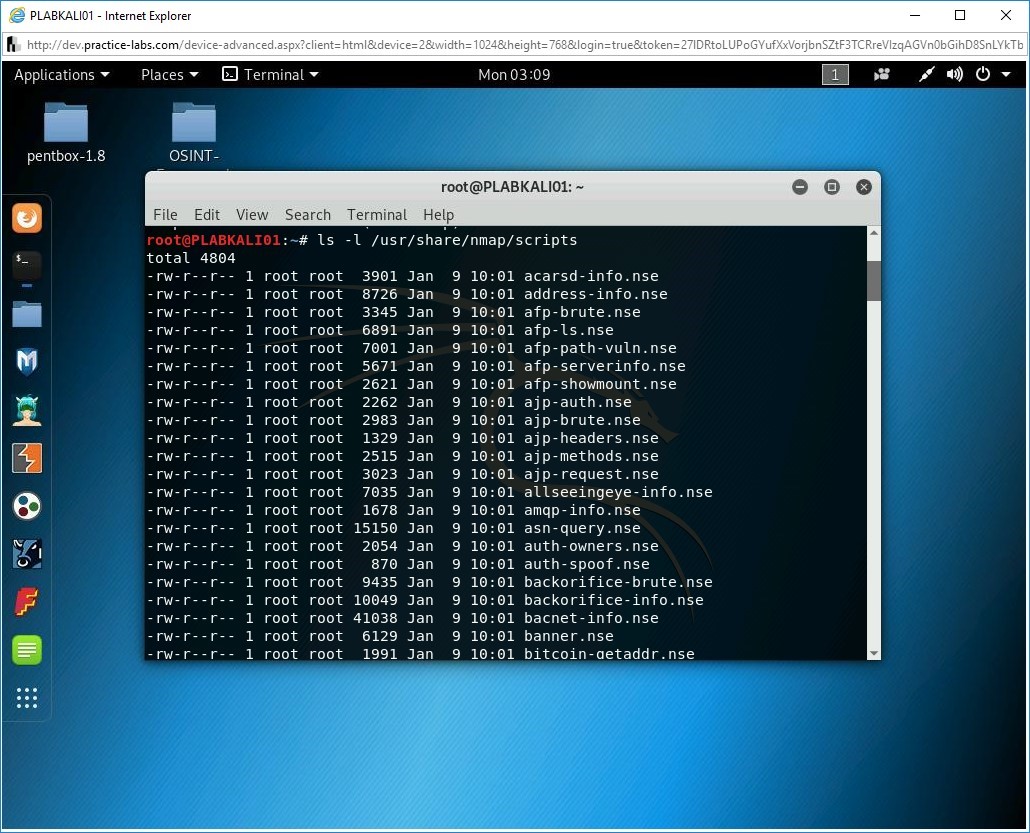
You can find hundreds of ready-made scripts in the /usr/share/nmap/scripts directory.
Some of the built-in commands in Windows that are commonly used are :
- dir
- ipconfig
- arp
- route
- net share
- net user
Other than the Windows command, Windows PowerShell also offers several built-in cmdlets that can be used. Some of the key cmdlets are:
- Get-Website
- Get-LocalUser
- Get-LocalGroup
- Get-Command
This is not an exhaustive list. You can get a detailed list by searching your favorite search engine.
In this task, you will learn to perform Windows host enumeration. To do this, perform the following steps:
Alert: Before performing this task, ensure the Windows Defender Firewall on PLABWIN10 Is turned off.Step 1
Ensure you have powered on all the devices listed in the introduction and connect to PLABKALI01.
Clear the screen by entering the following command:
clear
First, you will work with Rpcclient. Type the following command to connect to PLABWIN10:
rpcclient 192.168.0.3 -U admin
Press Enter.

Step 2
You are now prompted for the admin password. Type the following:
Passw0rd
Press Enter.
Note: Password, when entered, will not be visible.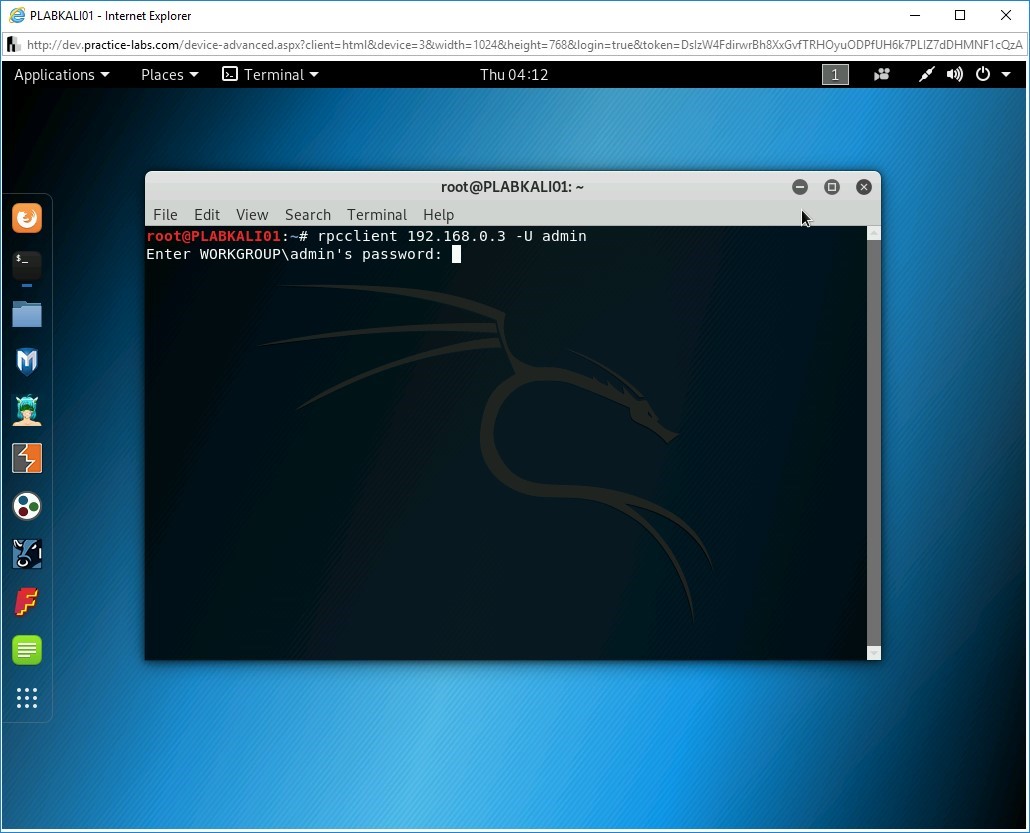
Step 3
Notice that the rpcclient prompt appears. This indicates that you have connected to PLABWIN10 successfully.

Step 4
To display the PLABWIN10 details, type the following command:
srvinfo
Press Enter.

Step 5
Notice the output of the srvinfo command. It displays the IP address, type of operating system, its version, and so on.

Step 6
Let’s find out the Security ID (SID) of the admin account. Type the following command:
lookupnames admin
Press Enter.

Step 7
Notice that the SID for the admin account is now displayed. SID for the admin account ends with 1001.
Note: If this was the built-in administrator account, then its SID will always end with 500. SID will never change even if you rename the administrator account.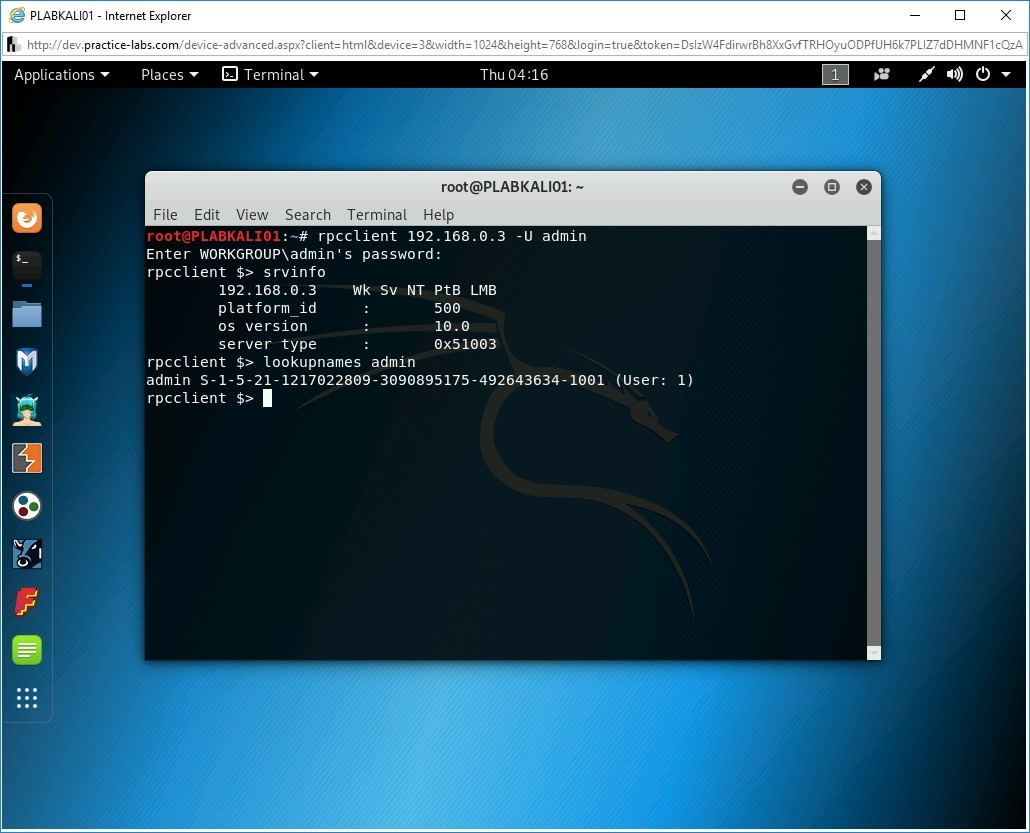
Step 8
To clear the screen, press Ctrl + l.
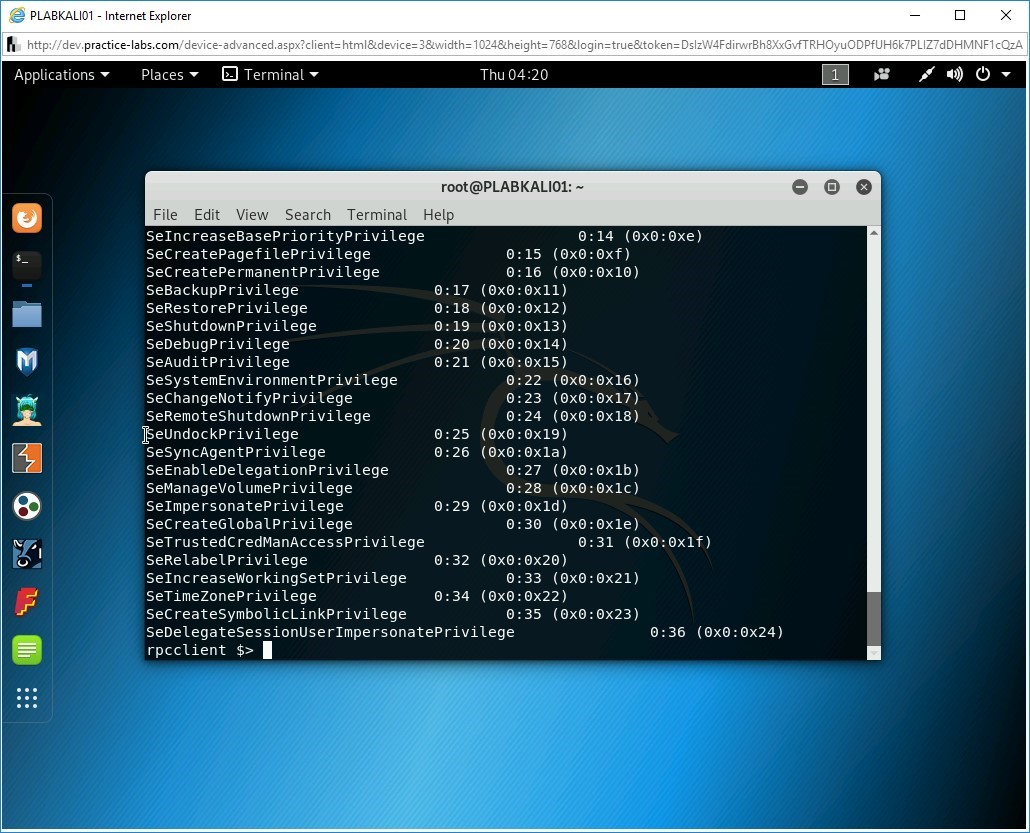
You can also list the privileges that are known in this domain. Type the following command:
enumprivs
Press Enter.
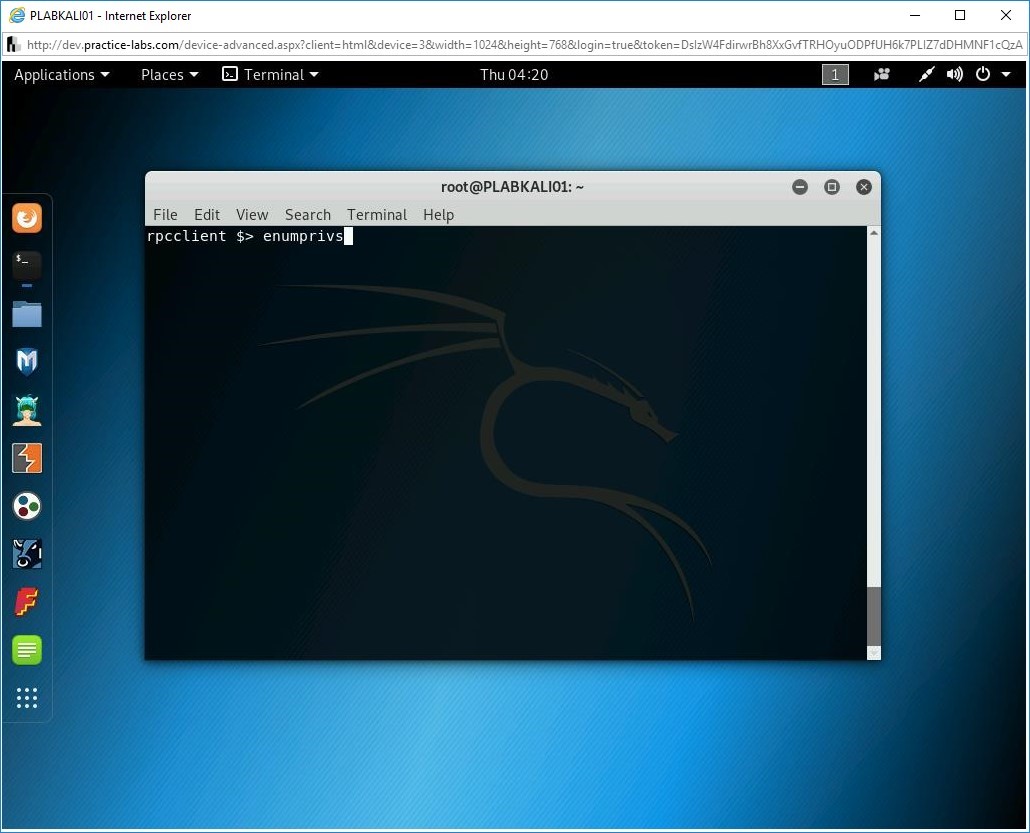
Step 9
The output for the enumprivs command is displayed.
Step 10
To clear the screen, press Ctrl + l.
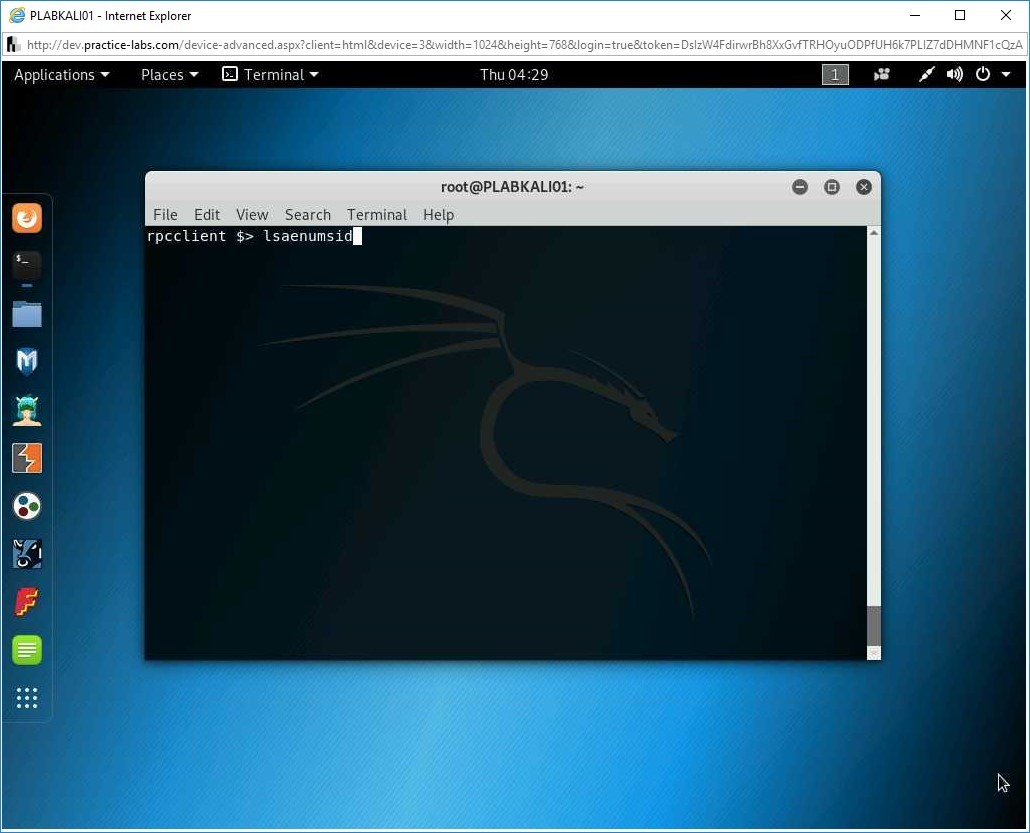
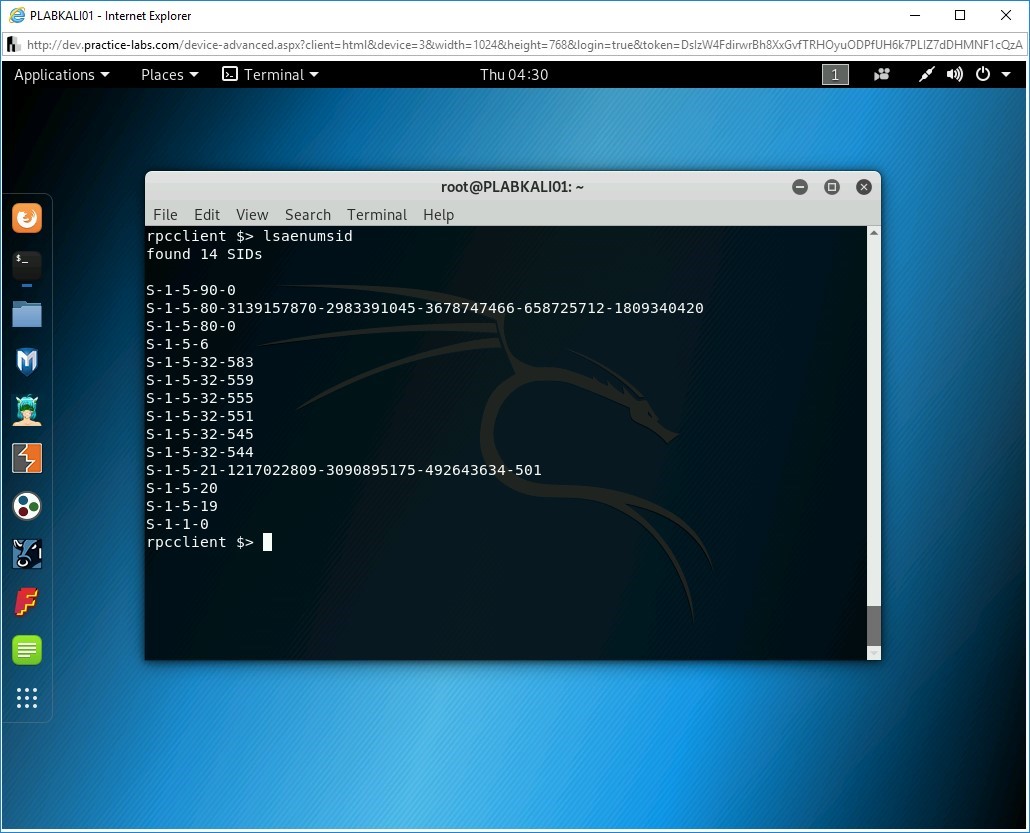
You can also list the SIDs for the local LSA. Type the following command:
lsaenumsid
Press Enter.
Step 11
Notice that the SIDs for the local LSA is now listed.
Step 12
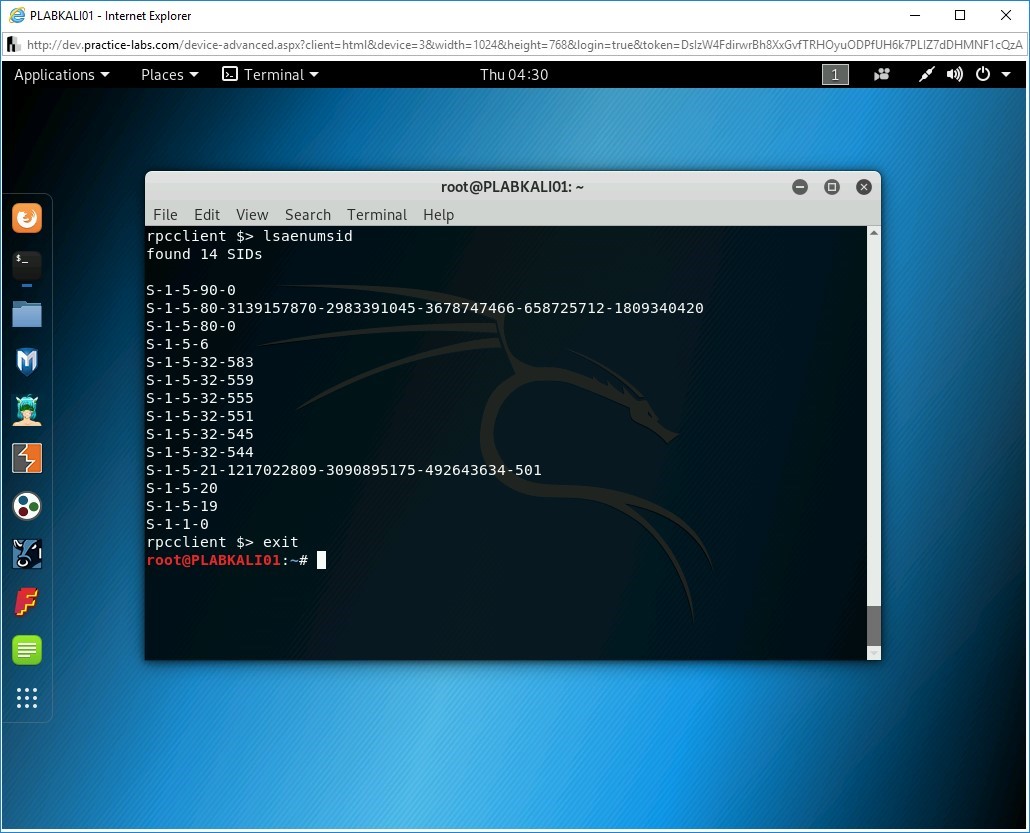
To exit from the rpcclient, type the following command:
exit
Press Enter.

Step 13
You are now back on the terminal prompt.
Task 3 - Perform Linux Host Enumeration using Nmap
Just like Windows, you can also perform Linux host enumeration. Linux also offers several built-in commands that can be useful in the enumeration. Some of the key commands are:
- uname -a
- hostname
- route
- arp
- ifconfig
- mount
- whoami
An example of the uname -a command:

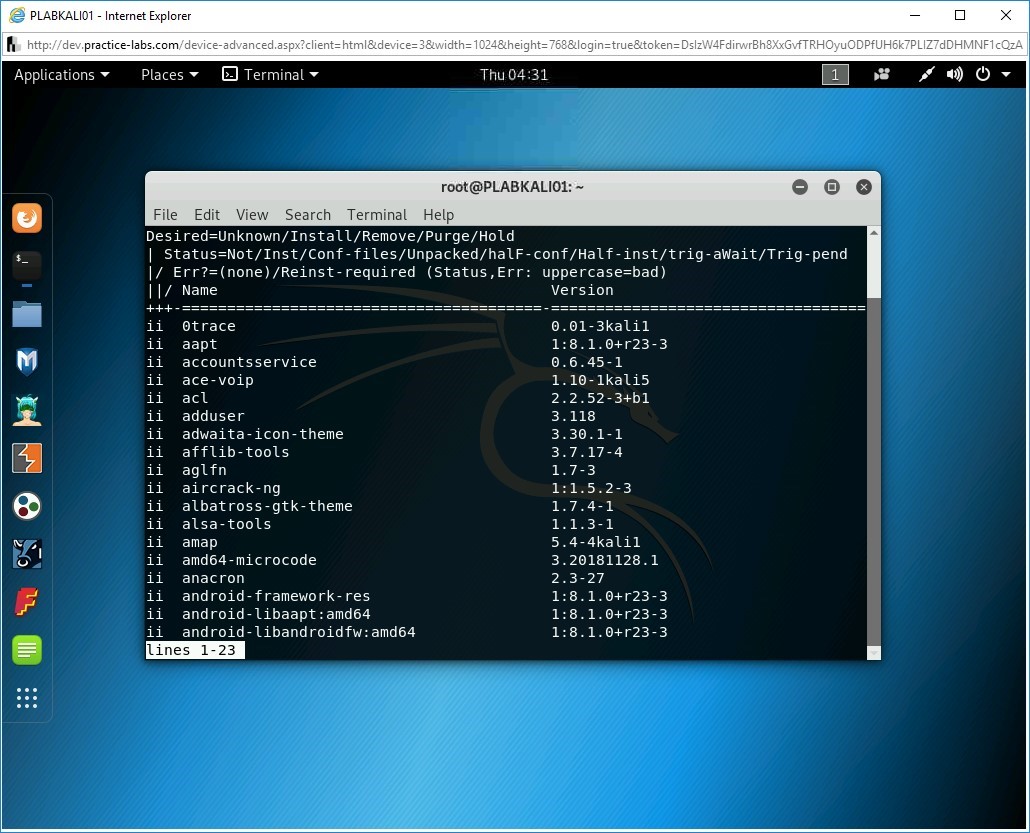
In a situation where you are inside the system and want to find information about the installed packages, you can run the dpkg command.
An example of dpkg -l command:
In this task, you will use nmap to enumerate a Linux host. To do this, perform the following steps:
Step 1
Ensure you have powered on all the devices listed in the introduction and connect to PLABKALI01.
Clear the screen by entering the following command:
clear
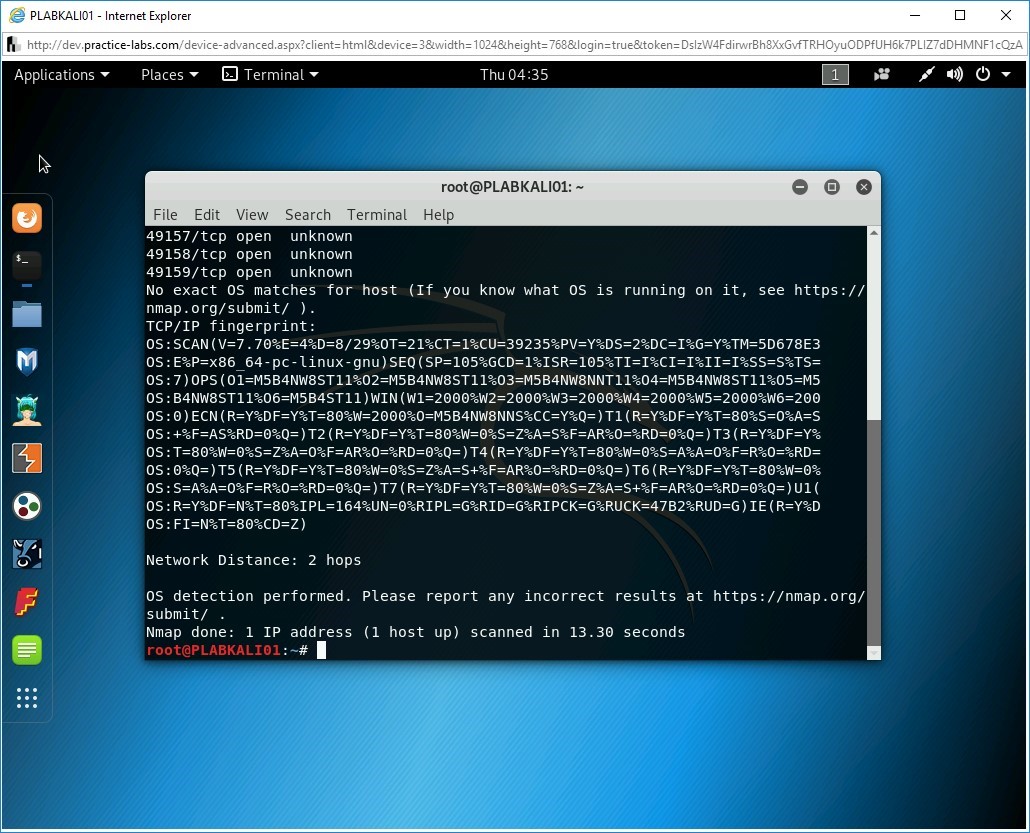
You will first perform operating system detection. Type the following command:
nmap -O intranet
Press Enter.

Step 2
Notice that the output provides several pointers. It lists the open ports along with TCP/IP fingerprint.
Step 3
Clear the screen by entering the following command:
clear
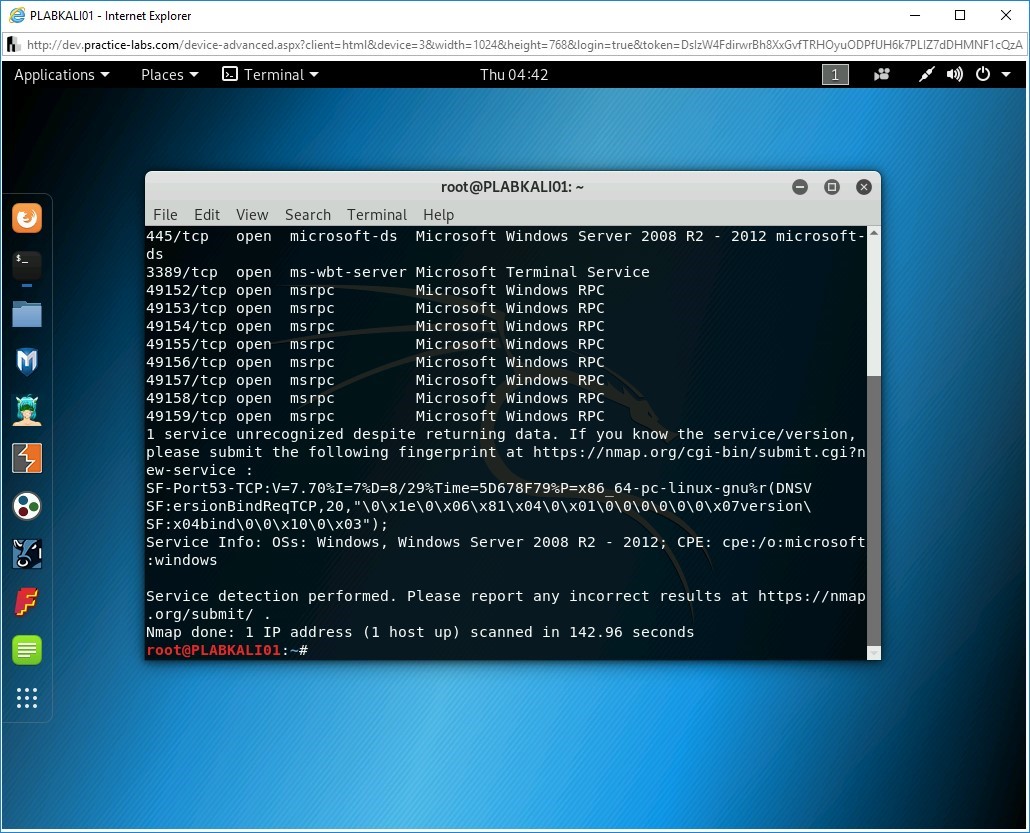
You can perform detailed enumeration, such as list the running services on a Linux host. Type the following command:
nmap -sV intranet
Press Enter.

Step 4
Notice the output lists the open ports, running services, and their versions.
Step 5
Clear the screen by entering the following command:
clear
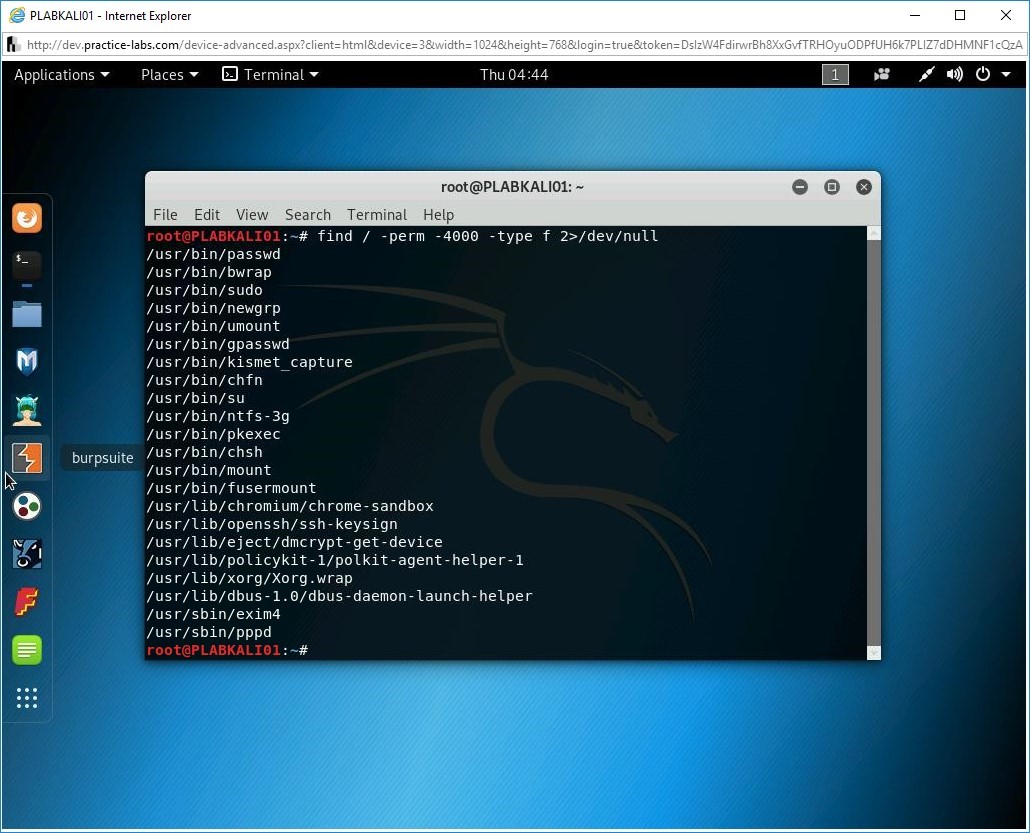
You can also use several built-in commands to extract information that can be useful in ethical hacking. For example, you can find all SUID files. To do this, type the following command:
find / -perm -4000 -type f 2>/dev/null
Press Enter.

Step 6
The output lists several files.
Step 7
Clear the screen by entering the following command:
clear
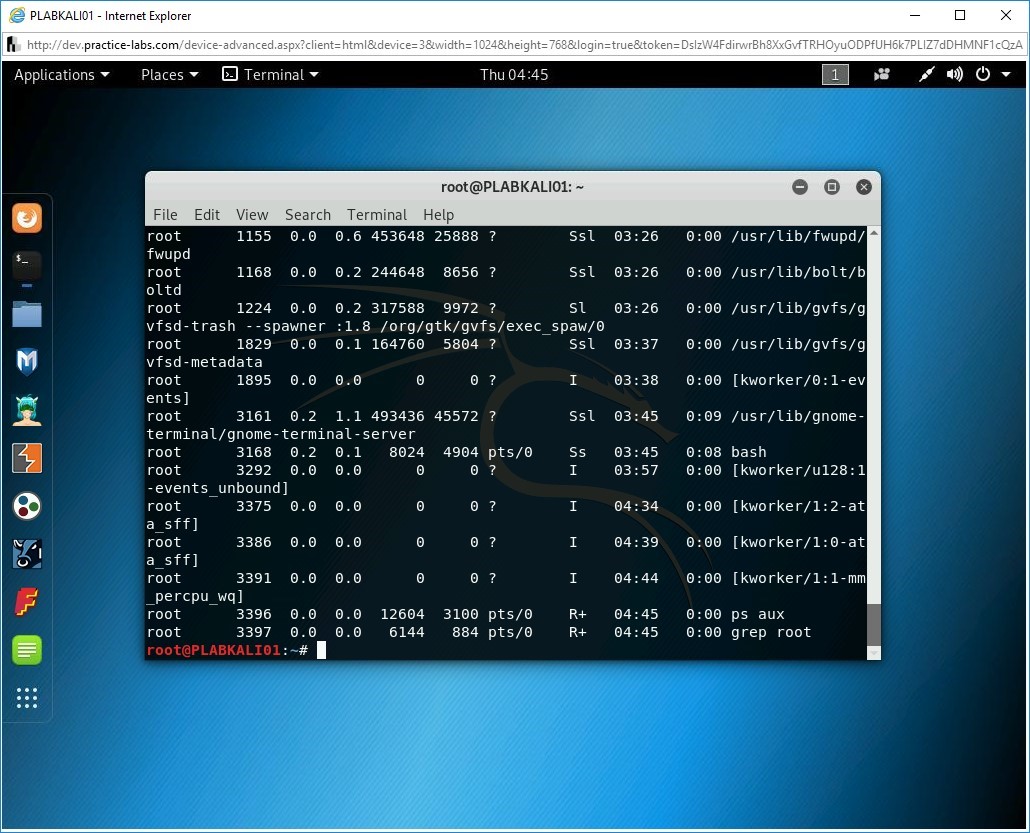
You might also want to list services that are running as root. Type the following command:
ps aux | grep root
Press Enter.

Step 8
A set of services is listed as the output.
Task 4 - Perform Website Enumeration using Nmap
There are different methods to enumerate a Website. For example, you can use a manual method using a Web browser. You can try:
http://www.plab.com/admin
After the URL, you can add a directory name, such as admin. You are likely to get one of the following responses:
- 200 - OK
- 401 - Unauthorized
- 402 - Payment Required
- 403 - Forbidden
- 404 - Not Found
If the admin does not return 404 error but something else, such as 403, it indicates clearly that this directory exists.
You can also enumerate a website using Nmap, which provides several scripts to enumerate different types of websites, such as WordPress or Drupal.
In this task, you will perform website enumeration using Nmap. To do this, perform the following steps:
Step 1
Ensure you have powered on all the devices listed in the introduction and connect to PLABKALI01.
Clear the screen by entering the following command:
clear
To perform a website enumeration, type the following command:
nmap -script=http-enum intranet
Press Enter.
Note: This command may take a few minutes to provide an output.
Step 2
Notice the output. It has been able to list the open ports and a possible admin folder.

Task 5 - Perform Server Message Block (SMB) Enumeration
The SMB protocol is used by operating systems, such as Windows, to share files and printers. It is known to be a weak protocol, and there have been various versions that have been included in different versions of Windows.
- SMB1 - Windows 2000, Windows XP, and Windows Server 2003
- SMB2 - Windows Vista SP1 and Windows Server 2008
- SMB2.1 - Windows 7 and Windows Server 2008 R2
- SMB3 - Windows 8 and above, Windows Server 2012 and above
In this task, you will perform SMB enumeration. To do this, perform the following steps:
Step 1
Ensure you have powered on all the devices listed in the introduction and connect to PLABKALI01.
Clear the screen by entering the following command:
clear
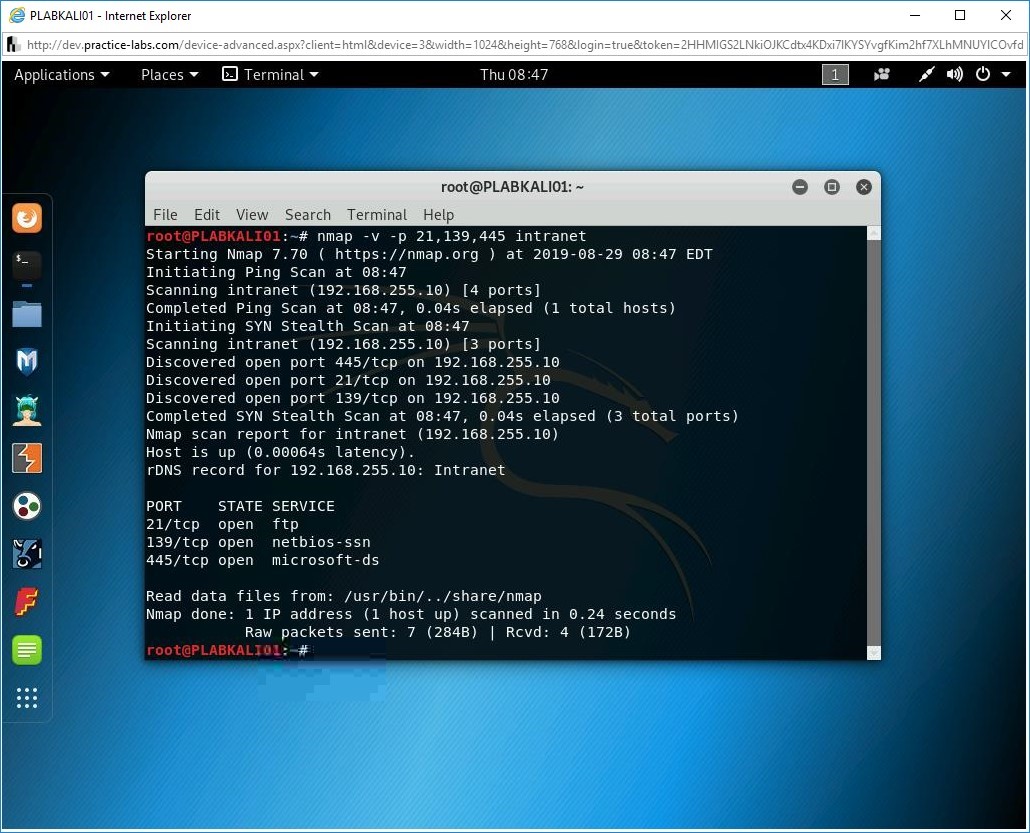
You can use Nmap to perform SMB NetBIOS enumeration. To do this, type the following command:
Note: SMB uses TCP ports 139 and 445. When using the nmap command, you should specify both ports.nmap -v -p 21,139,445 intranet
Press Enter.

Step 2
Notice the outcome of this command.
Step 3
Clear the screen by entering the following command:
clear
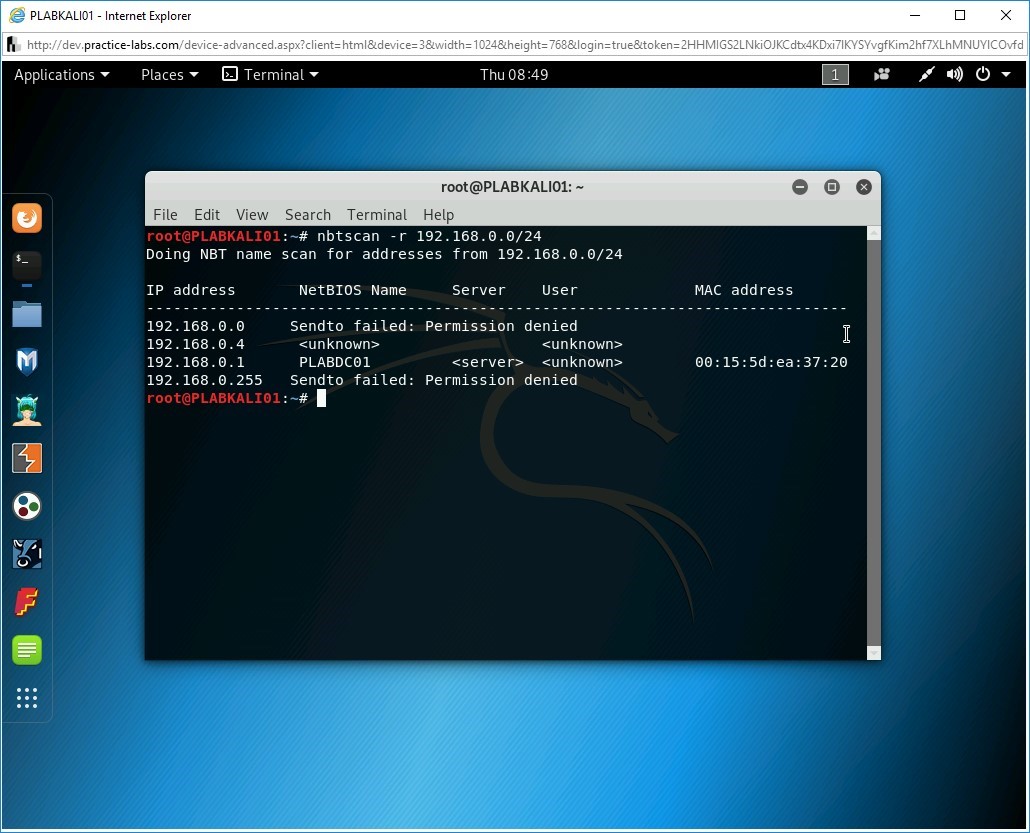
To identify the NetBIOS information, you can use the nbtscan command. Type the following command:
nbtscan -r 192.168.0.0/24
Press Enter.

Step 4
The output reveals the NetBIOS information.
Step 5
Clear the screen by entering the following command:
clear
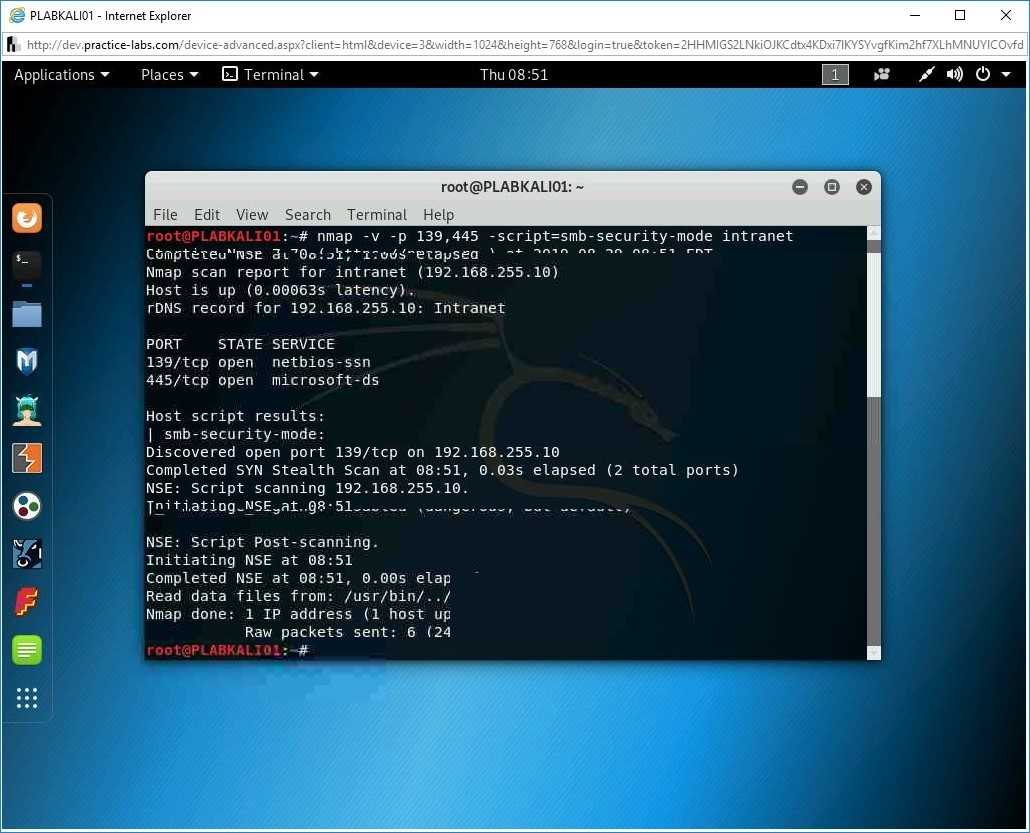
You can check the security level of the SMB server using Nmap script. To do this, type the following command:
nmap -v -p 139,445 -script=smb-security-mode intranet
Press Enter.
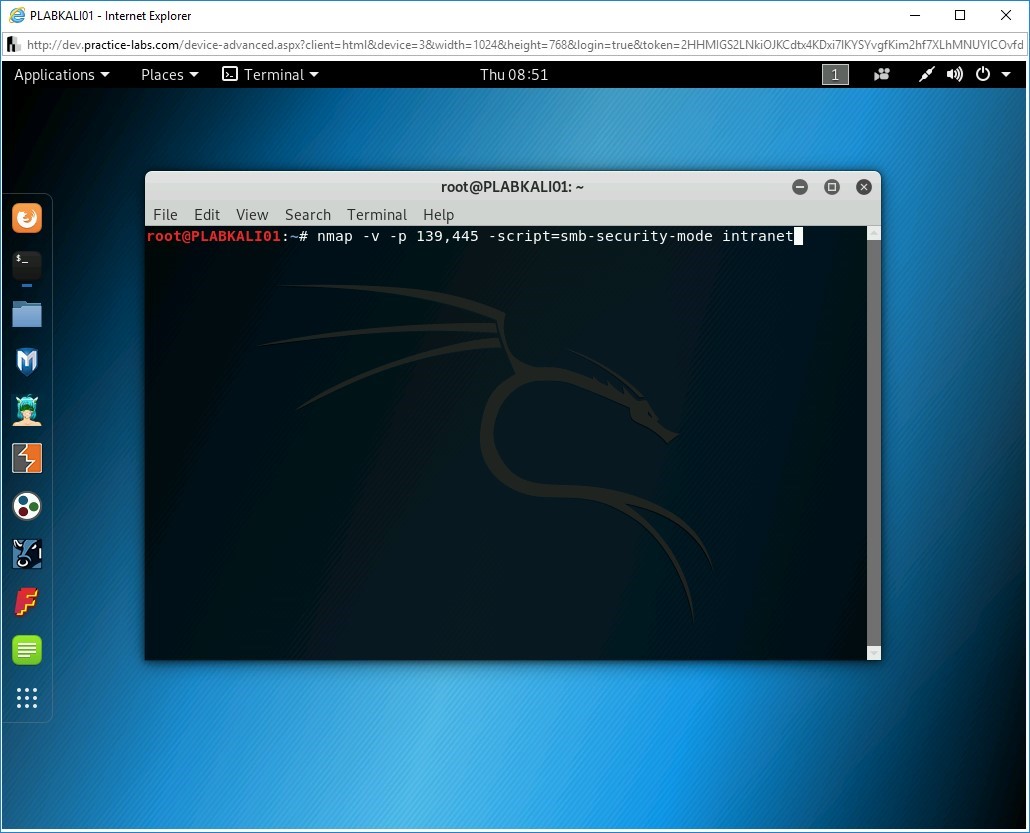
Step 6
Notice the output as it details out the SMB security details.
Enumeration Prevention Techniques
Since there are different types of enumerations, such as SNMP, DNS, and so on, you need to use different prevention methods. For example, a web application enumeration can be prevented by using a Web Application Firewall (WAF).
In this exercise, you will learn about enumeration prevention techniques using Kali Linux tools.
Learning Outcomes
After completing this exercise, you will be able to:
- Prevent Web Applications Enumeration
- Prevent SNMP Enumeration
- Prevent LDAP Enumeration
- Prevent DNS Enumeration
- Prevent Windows Enumeration
Your Devices
You will be using the following device in this lab. Please power this on now.
- PLABKALI01 - (Kali 2019.2 - Linux Kali Workstation)

Task 1 - Prevent Web Applications Enumeration
A Web application enumeration can be prevented by using a Web Application Firewall (WAF). The wafw00f tool helps to determine whether the Web application is behind a WAF.
In the most typical scenario, a hacker performs the reconnaissance on the Web application, which is simply analyzing it. Then, after collecting enough information, the hacker will perform the attack using various tools, wafw00f is one such tool that can be used. It helps you to detect if the web application is being protected by a firewall.
In this task, you will learn to use wafw00f. To do this, perform the following steps:
Step 1
Ensure you have powered on all the devices listed in the introduction and connect to PLABKALI01.
Clear the screen by entering the following command:
clear
You will attempt to find out whether a web application is behind the Web Application Firewall (WAF). You will use a tool named wafw00f for this purpose. Type the following command:
wafw00f http://intranet
Press Enter.

Step 2
Notice that the output has detected a WAF.

Task 2 - Prevent SNMP Enumeration
In Exercise 1, Task 4 - Perform SNMP Enumeration Using IP Network Browser, you learned that with the small configuration of SNMP service, you were able to enumerate it using the IP Network Browser. This can be easily prevented.
To prevent SNMP enumeration, you need to stop the SNMP service. An alternate method is to restrict it to the localhost. You can open the Services console by typing services.msc in the Run prompt. In the Services console, locate the SNMP Service and double-click to open its properties dialog box.
There might be a possibility that your organization is using an application that uses SNMP agents. You can remove the agent to prevent SNMP enumeration.
Some of the other methods to prevent SNMP enumeration are:
- Never use the default public community string
- Ensure that you use SNMPv3 to encrypt the community strings and messages
- Restrict anonymous connections using Group Policy
- Enable firewall and block access to TCP/UDP ports 161
Task 3 - Prevent LDAP Enumeration
Any authenticated user in Active Directory domain can send a query to the domain controller and retrieve a list of the all users, which means the user information. You can also retrieve the information about the security groups and the members they have. You can also retrieve a list of computers that are listed in the domain.
There are tools that can help you enumerate LDAP. Some of these tools are:
- Softerra LDAP Administrator
- LDAP Admin Tool
- LDAP Administrator tool
- Jxplorer
There are methods that can be used to prevent LDAP enumeration. Some of the key methods are:
- Always use SSL to encrypt LDAP communication.
- Use Kerberos to restrict access only to known users.
- Enable account lockout policy.
In this task, you will enable account lockout policy. To do this, perform the following steps:
Step 1
Ensure you have powered on all the devices listed in the introduction and connect to PLABDC01.
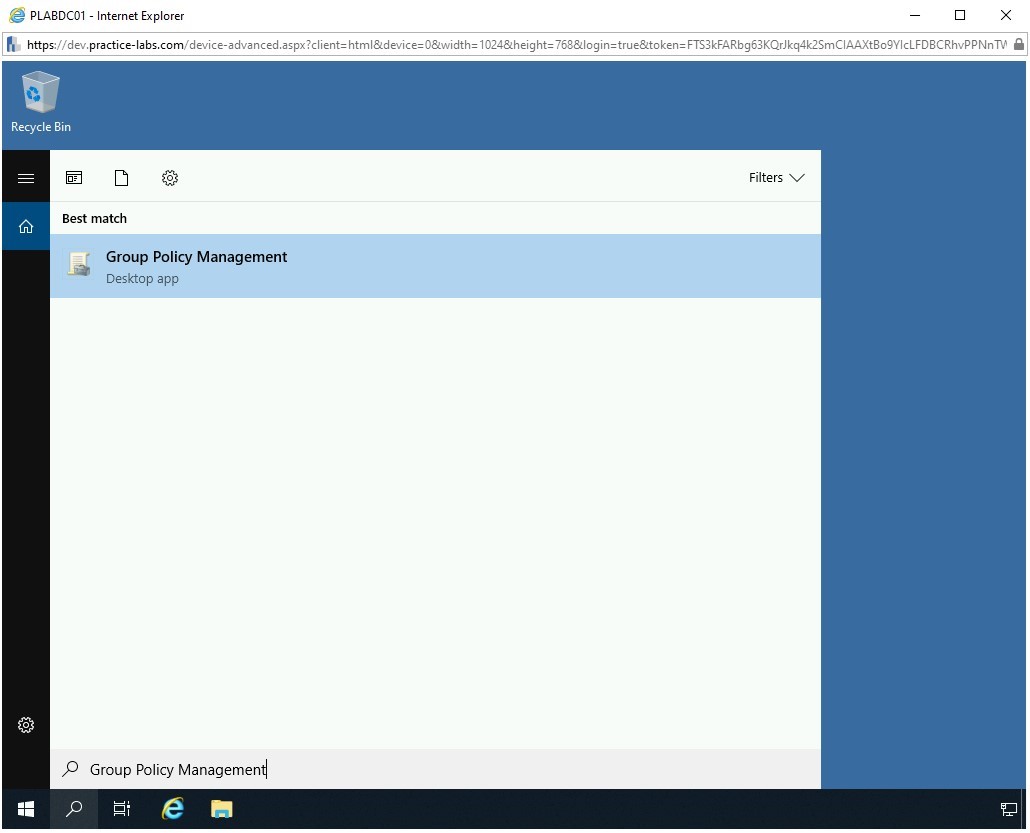
Click the Type here to search icon in the taskbar.
Step 2
In the search text box, type the following:
Group Policy Management
From the search results, select Group Policy Management.
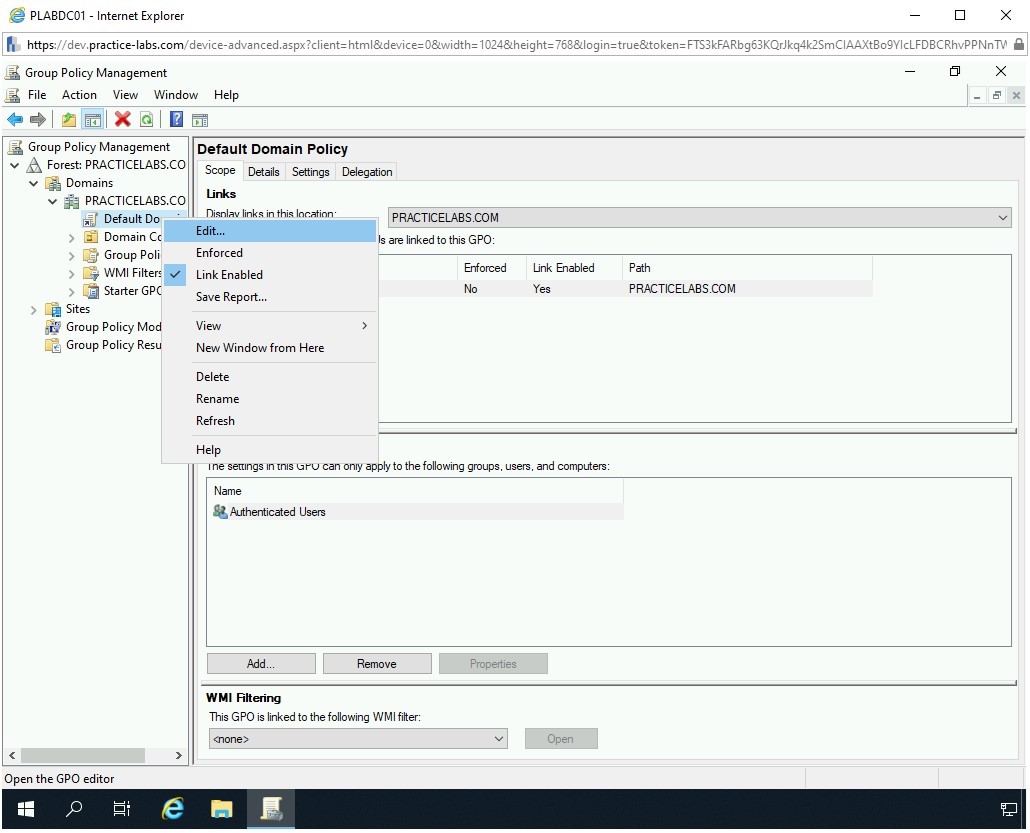
Step 3
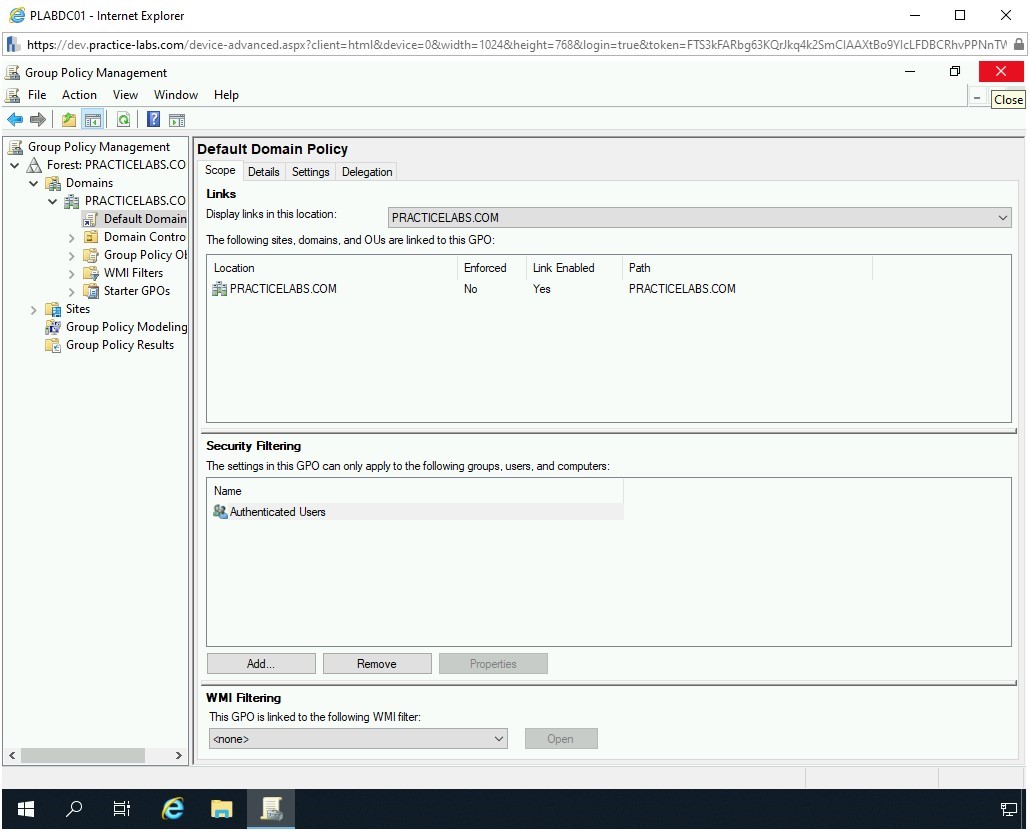
If already not expanded, expand Domains, then expand PRACTICELABS.COM, and then right-click Default Domain Policy to select Edit.
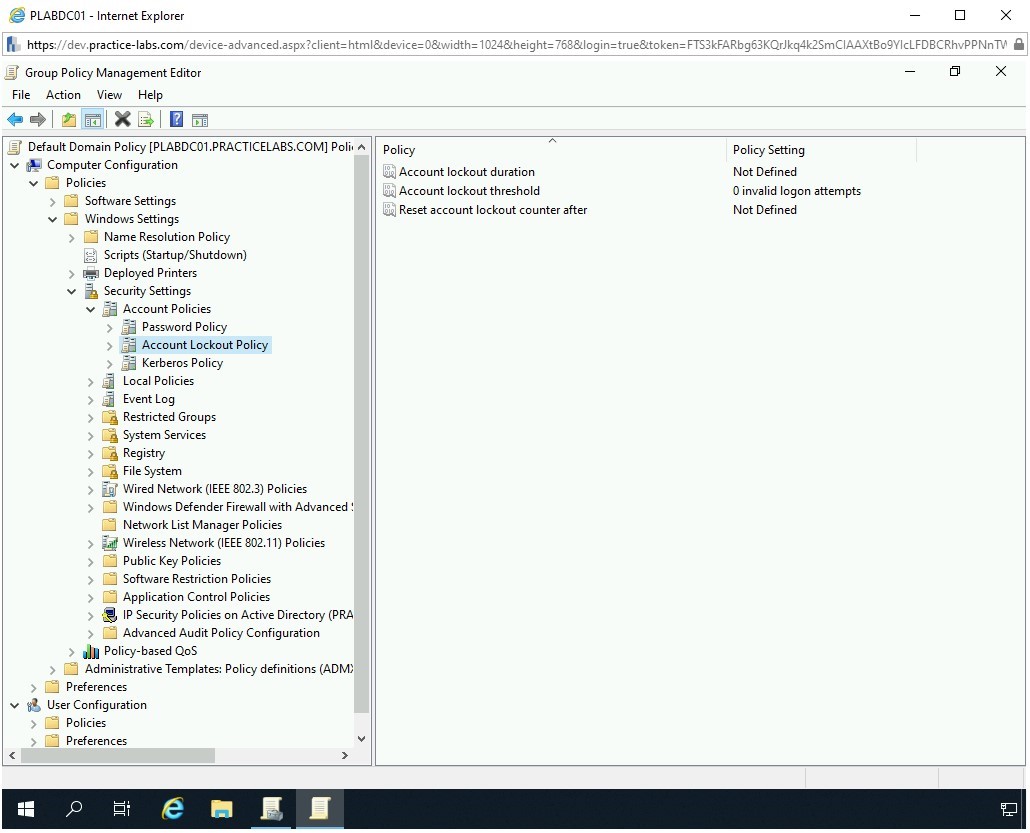
Step 4
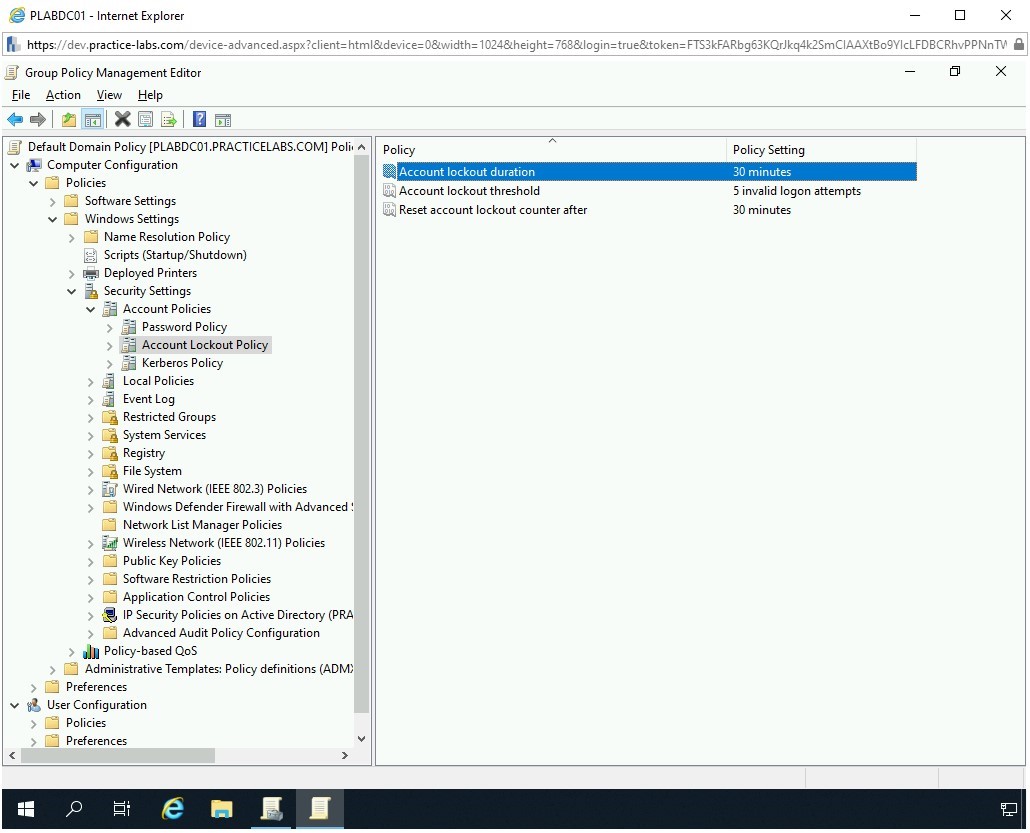
The Group Policy Management Editor window is displayed. In the left pane, under the Computer Configuration node, expand Policies, then expand Windows Settings. Further, you need to expand Security Settings and then select Account Lockout Policy.
Notice that the right pane displays three policies.
Step 5
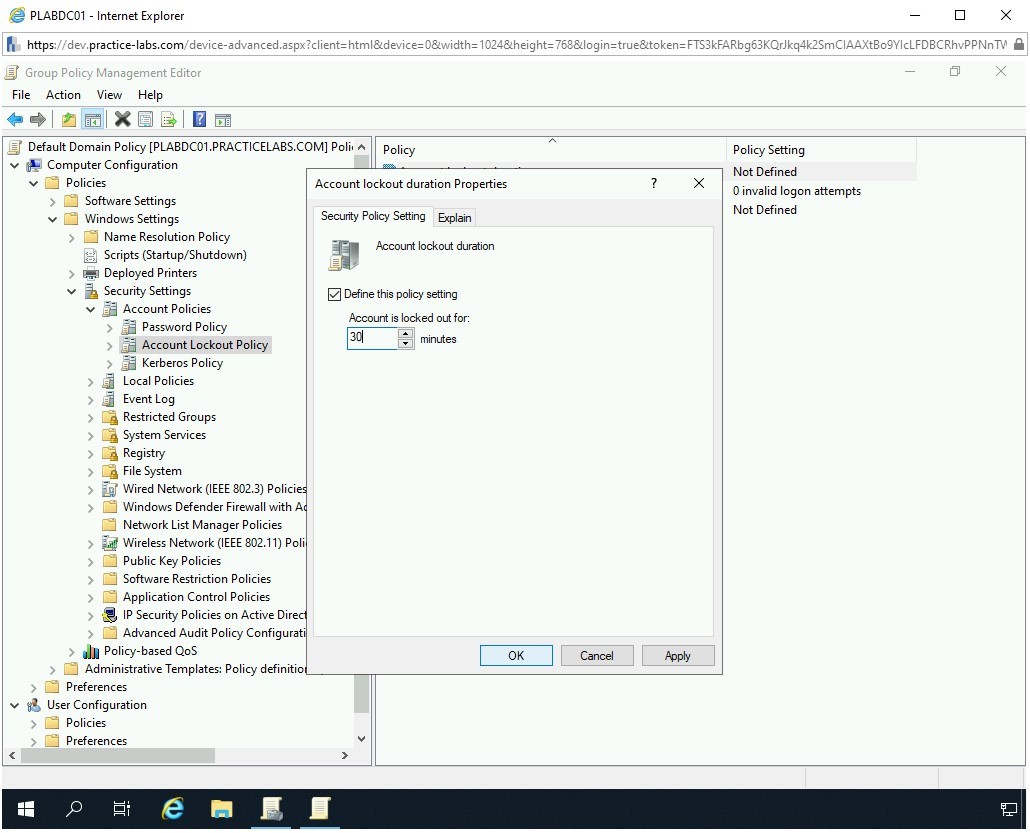
In the right pane, double-click the Account lockout duration policy.

Step 6
The Account lockout duration Propeties dialog box is displayed. Select Define this policy setting. Notic that minutes listbox is enabled by default and has a default value of 30. Keep the default setting and click OK.
Step 7
The Suggested Value Changes dialog box is displayed. Review the suggested status of the remaining two policies and click OK.
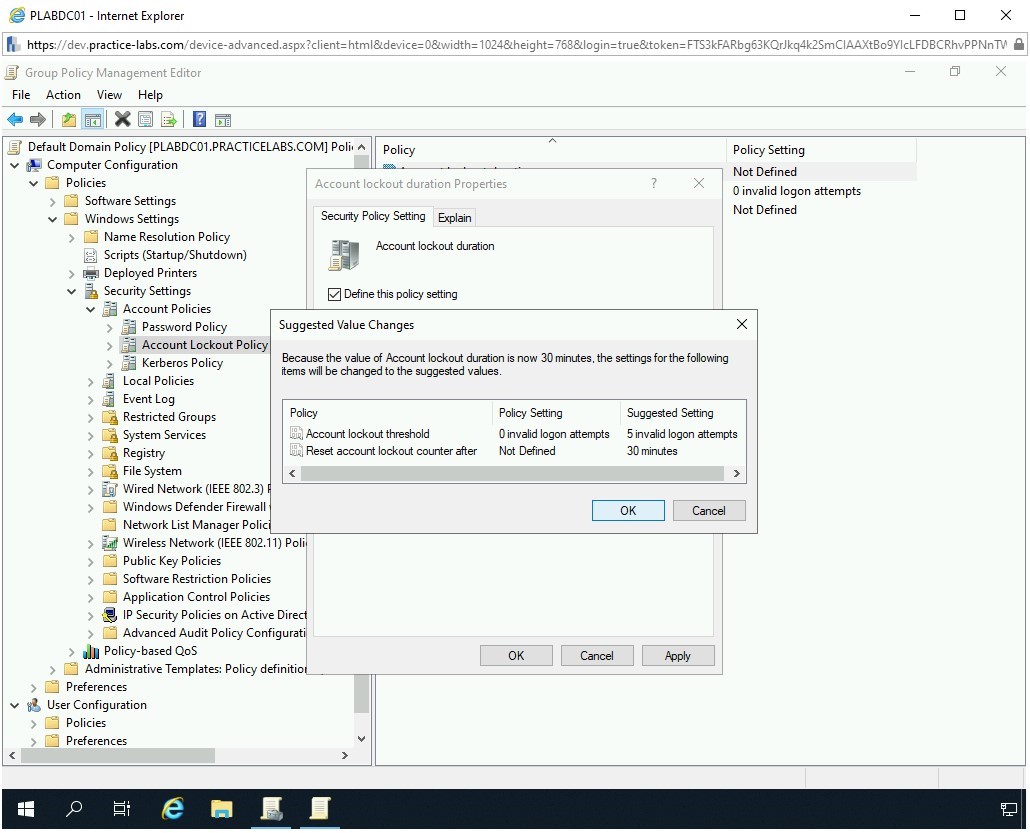
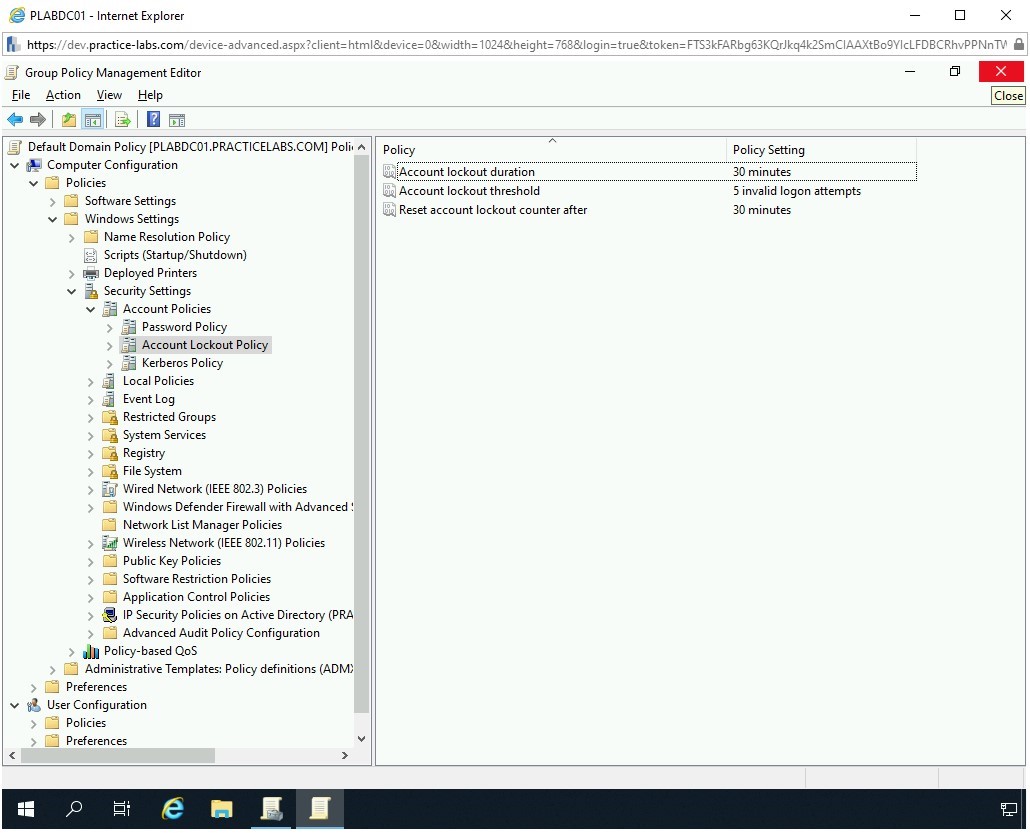
Step 8
Notice that the remaining two policies, Account lockout threshold and Reset account lockout counter after policies are enabled with the default values. You can either choose to keep the default values or change them as required.
For this task, you can keep the default values.
Step 9
Close the Group Policy Management Editor window.
Step 10
Close the Group Policy Management window.
Step 11
You should now be on the desktop.
Task 4 - Prevent DNS Enumeration
DNS enumeration can reveal sensitive DNS information. In this process, the DNS servers of an organization are tracked and certain requests are made to them to reveal their records and zone information.
There are various tools that can be used for DNS enumeration. Some of these tools are:
- Nslookup
- DNS Dumpster
- DNS Recon
An organization must use certain methods to protect their DNS servers from revealing critical information. Some of the method that can be used to prevent DNS enumeration:
- DNS zone transfers should be performed with the authenticated and known DNS servers.
- DNS zone transfers must not include HINFO information.
Along with the two suggested methods, you should ensure that DNS zone files include only the necessary information. These files should not be able to reveal extra information.
In this task, you will configure DNS zone transfer with the known servers. To do this, perform the following steps:
Step 1
Ensure you have powered on all the devices listed in the introduction and connect to PLABDC01.
Click the Type here to search icon in the taskbar.

Step 2
In the search text box, type the following:
DNS
From the search results, select DNS.

Step 3
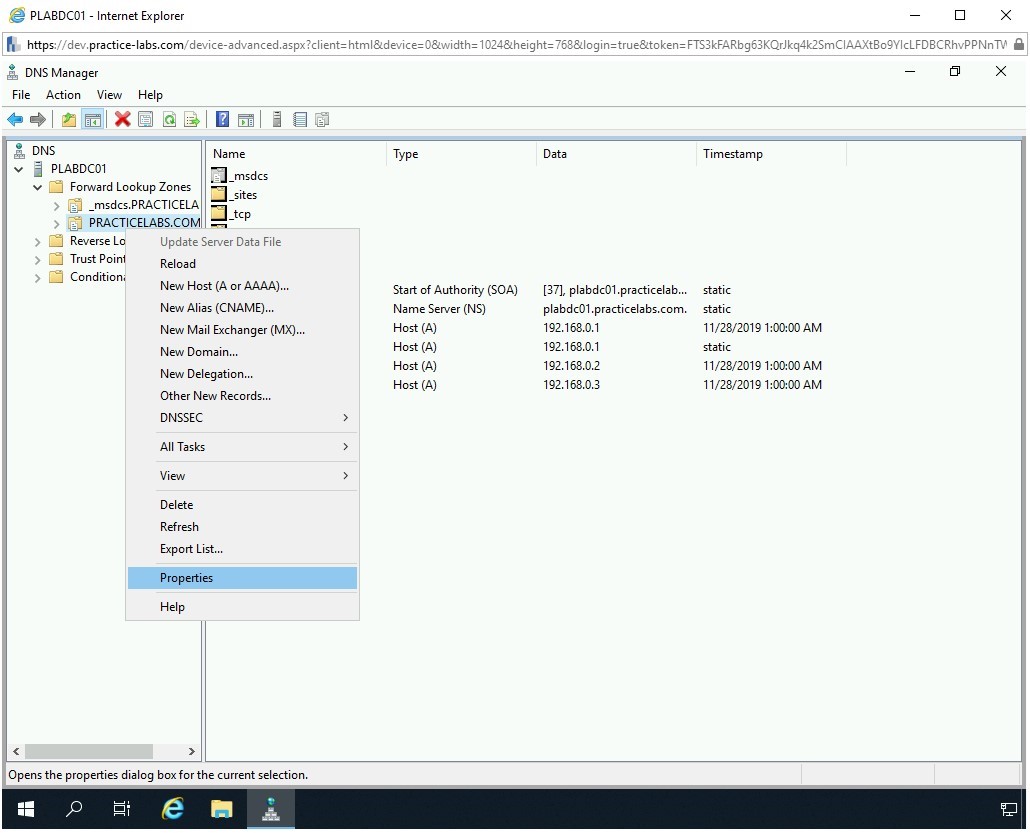
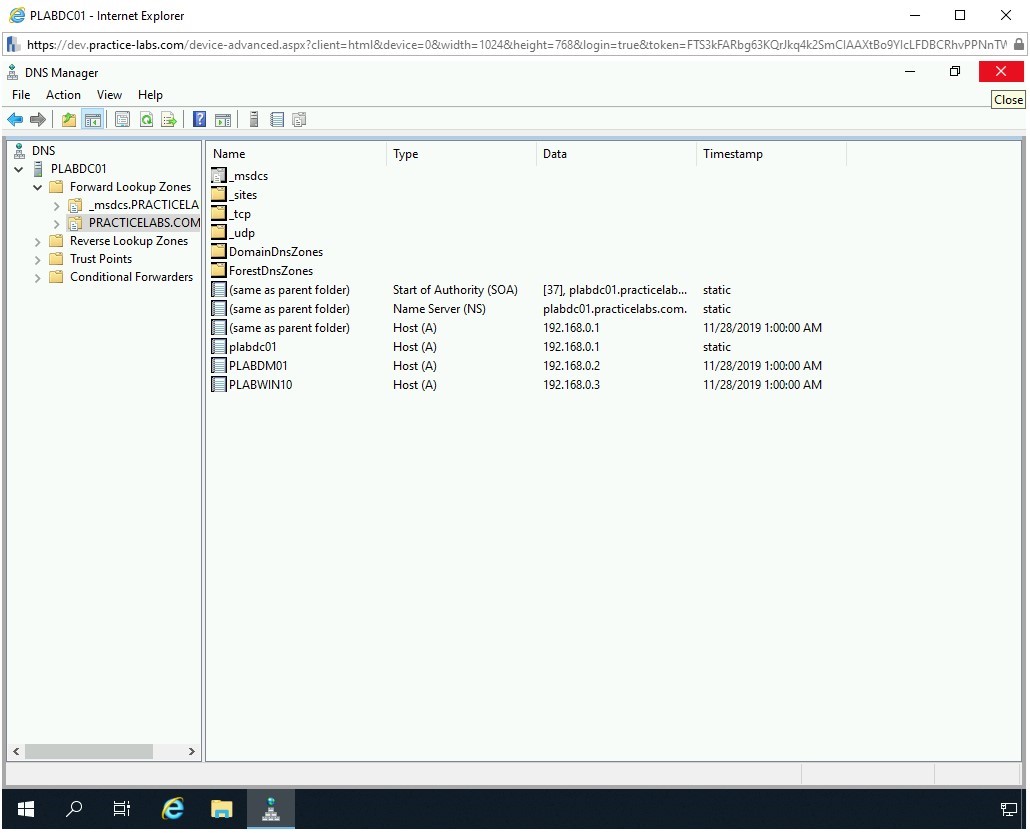
The DNS Manager window is displayed. In the left pane, expand PLABDC01 if not expanded already. Then, expand Forward Lookup Zones and then select PRACTICELABS.COM.

Step 4
In the left pane, right-click PRACTICELABS.COM and select Properties.
Step 5
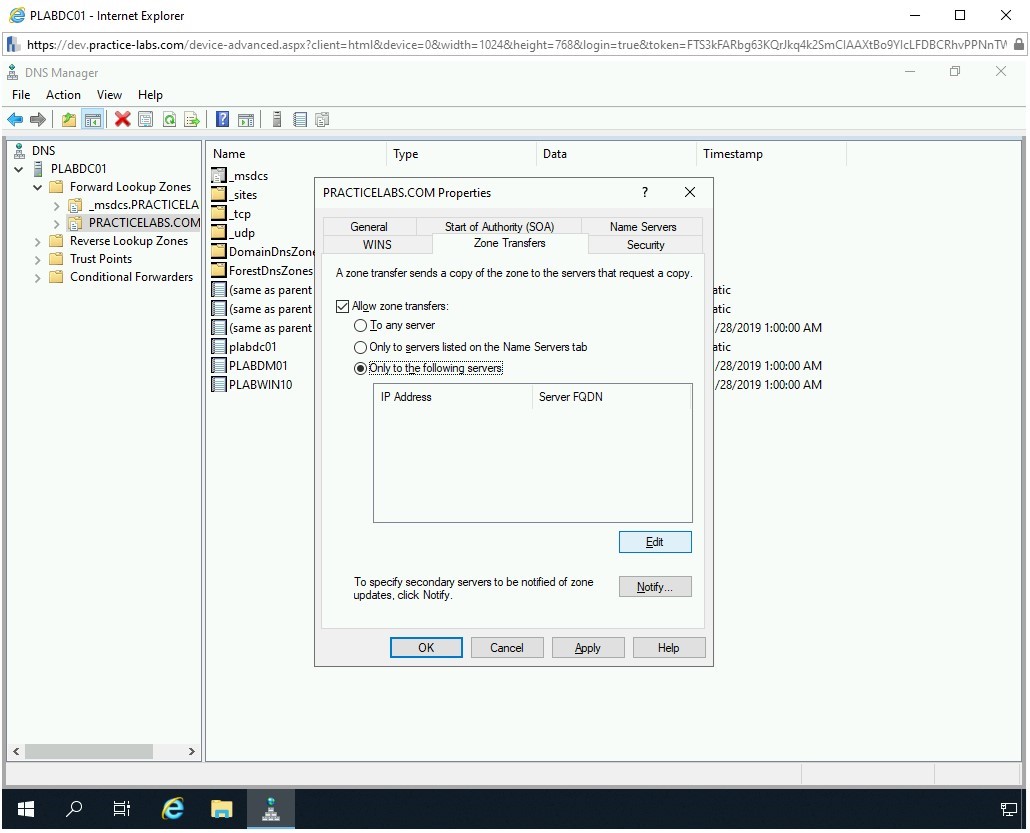
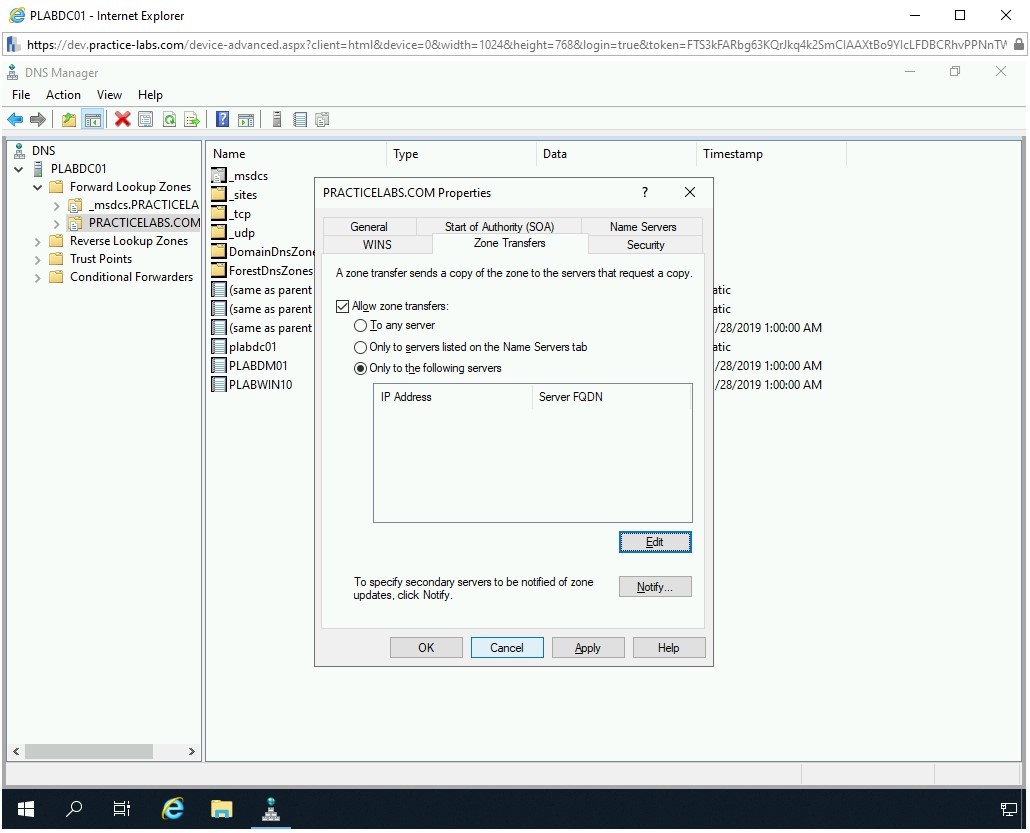
The PRACTICELABS.COM Properties dialog box is displayed. Click the Zone Transfers tab.

Step 6
The Zone Transfers tab is displayed. Select Allow zone transfers and then select Only to the following servers.
Click Edit.
Step 7
The Allow Zone Transfers dialog box is displayed.
Note: In the lab environment, there is only one DNS Server available. Therefore, if you add the IP address here, you will be prompted with an error. However, in the real environment, you can add the IP address or name of the DNS server and it should get resolved.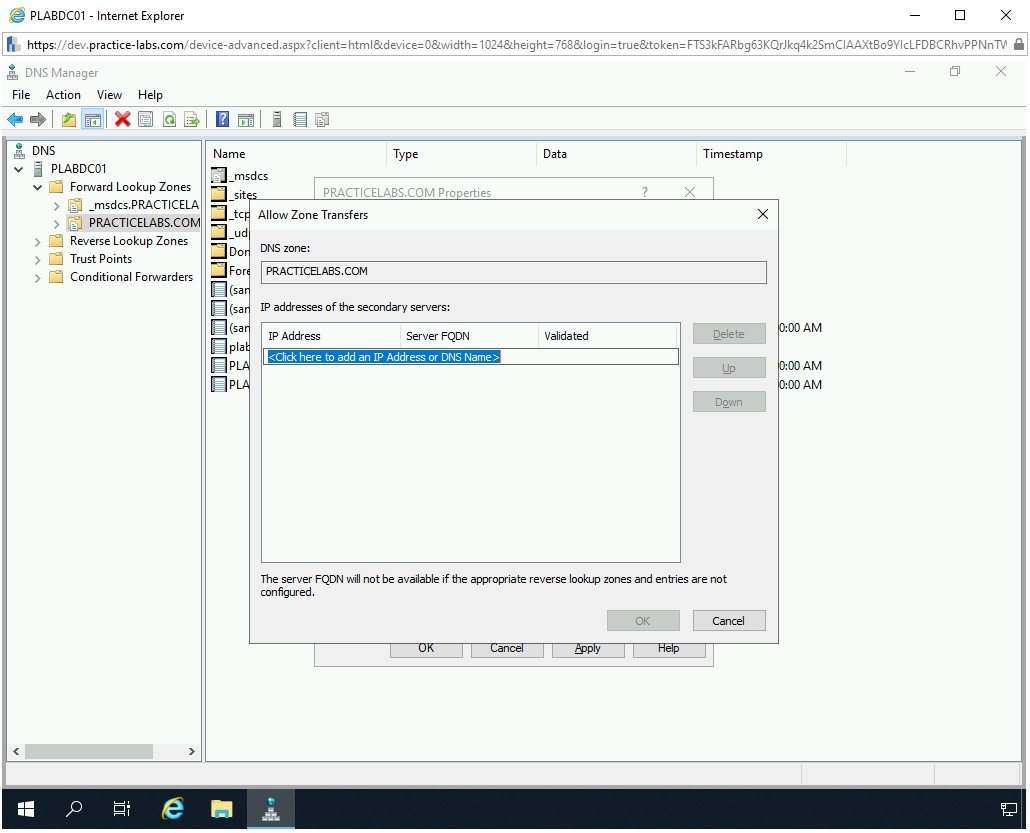
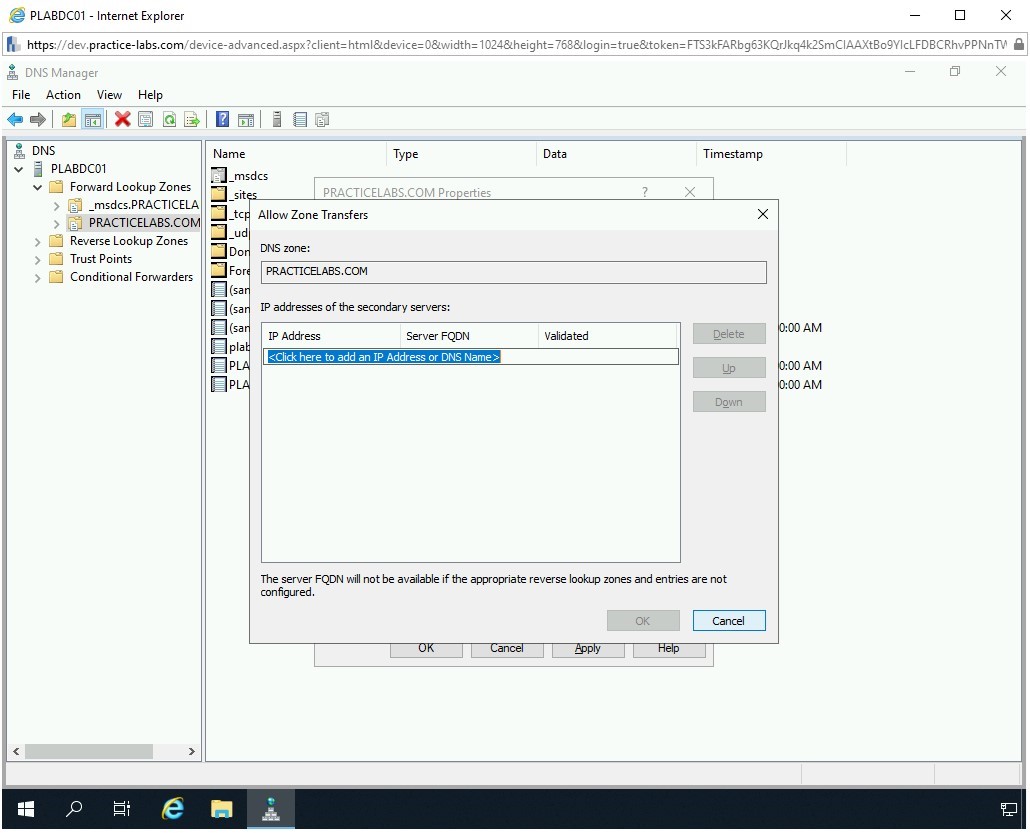
Step 8
On the Allow Zone Transfers dialog box, click Cancel.
Step 9
Click Cancel on the PRACTICELABS.COM Properties dialog box.
Step 10
Close the DNS Manager window.
Task 5 - Prevent Windows Enumeration
Windows Enumeration helps you locate information about a system that is running Windows. You can find information, such as open ports and running services. This type of information can be used to exploit a Windows system.
For example, running a simple Nmap command will scan all ports on a system with the IP address, 192.168.0.1.
nmap -p 1-65535 192.168.0.1
You can also perform operating system detection using the following command:
nmap -A -T4 192.168.0.1
Various tools can be used in Windows enumeration:
- PsExec
- PsInfo
- PsList
- PsFile
- PsLoggedOn
- PsLogList
- PsGetSid
- PsKill
Windows enumeration can be prevented with the following methods:
- Stop unnecessary services from running.
- Configure a firewall on the Windows host.
In this task, you will take a look at the unnecessary services running on Windows 10. To do this, perform the following steps:
Step 1
Ensure you have powered on all the devices listed in the introduction and connect to PLABWIN10.
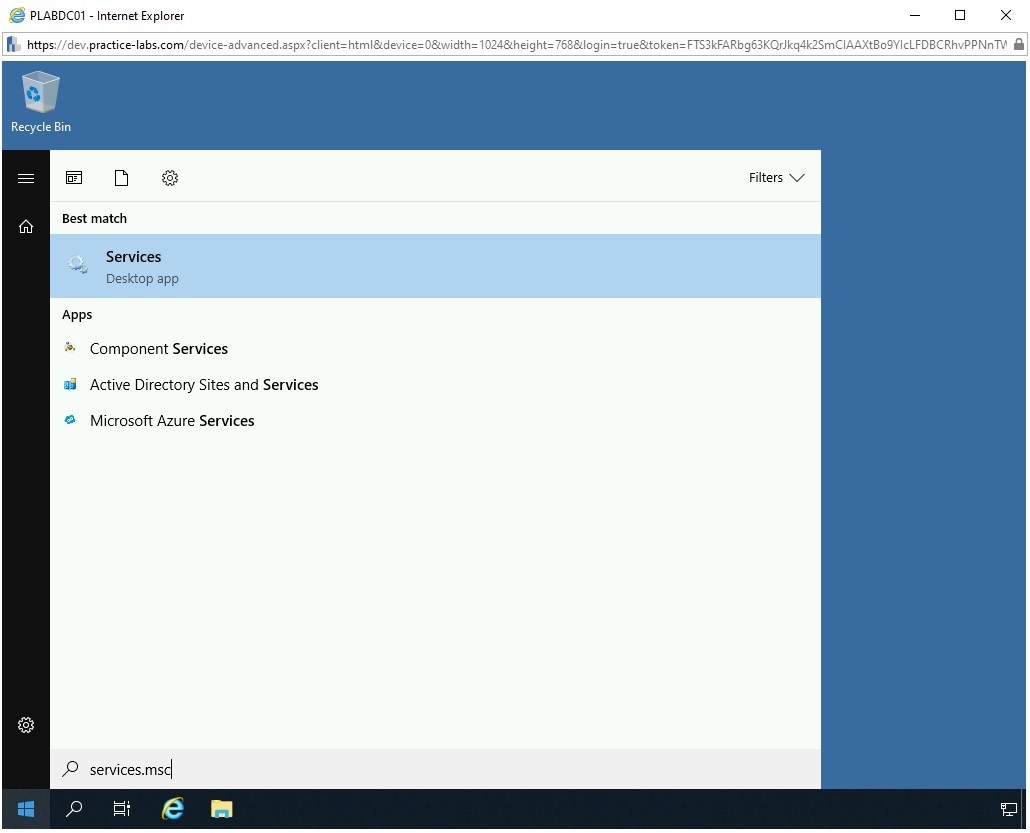
In the Type here to search text box, type the following:
services.msc
From the search results, select Services.
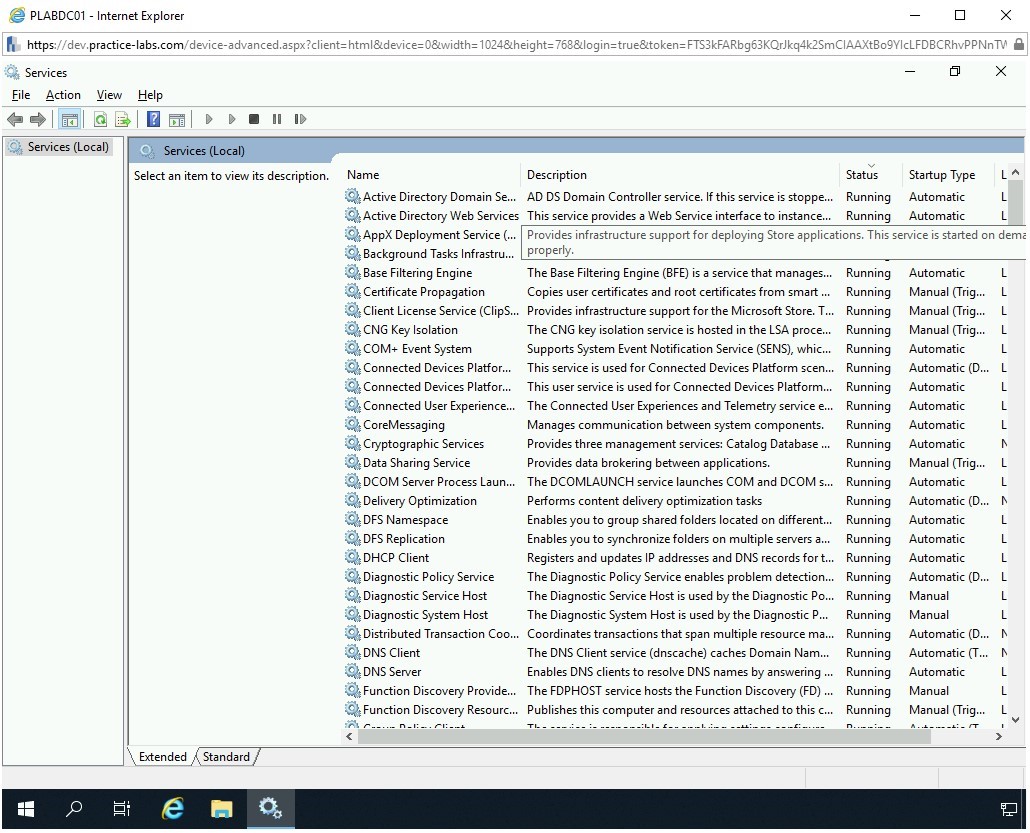
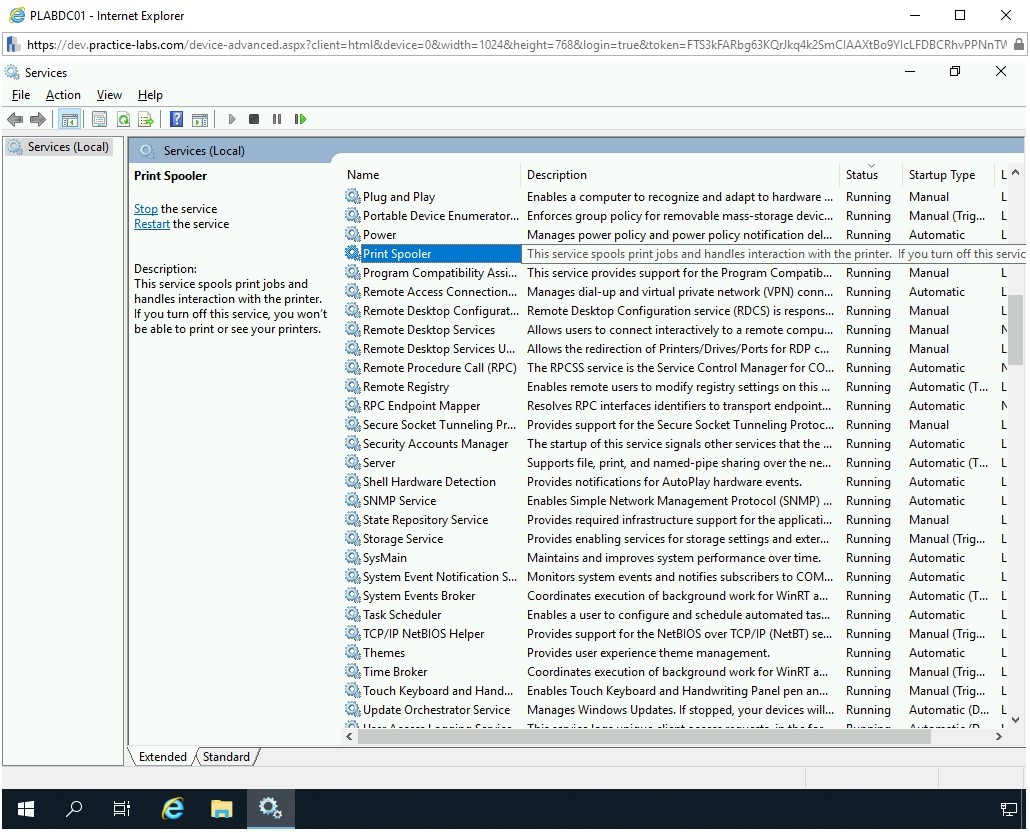
Step 2
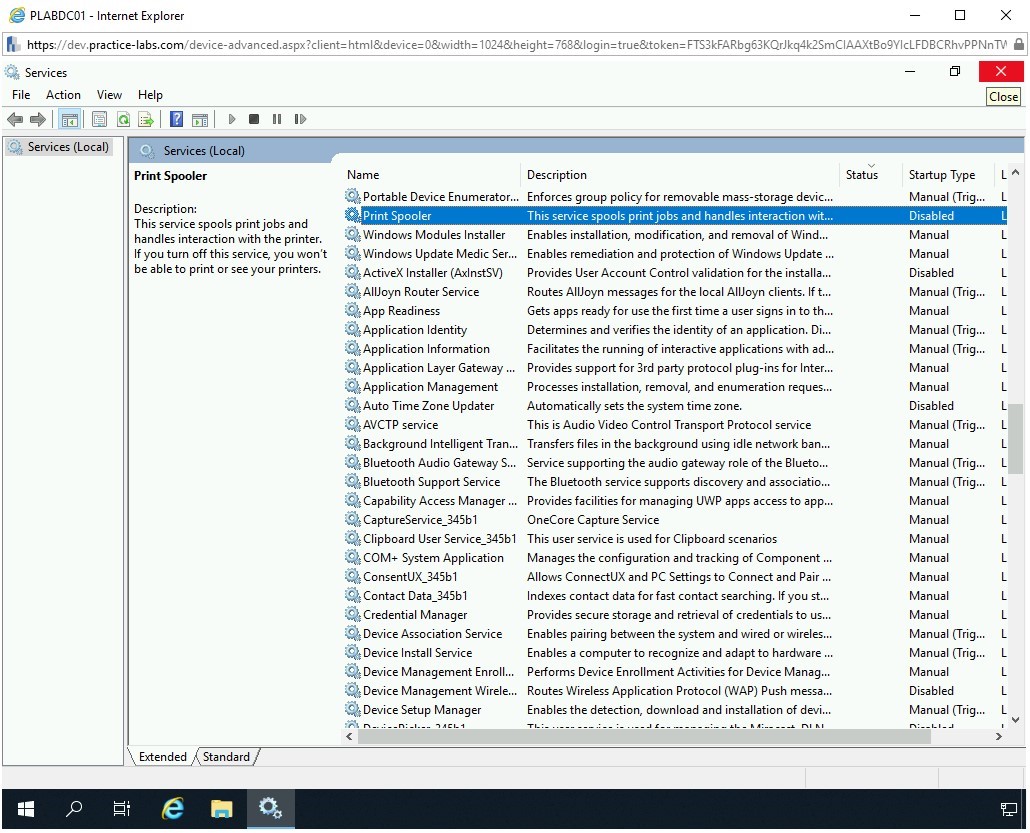
The Services window is displayed. In the right pane, click the Status header twice to list the services with the Running status.

Step 3
Notice that the services with the Running status are listed on the top of the window.
Step 4
You will now need to find services that you can shut down as they will not be required on PLABWIN10.
Scroll down to locate the Print Spooler service. Notice that the service is running currently. Double-click the Print Spooler service.
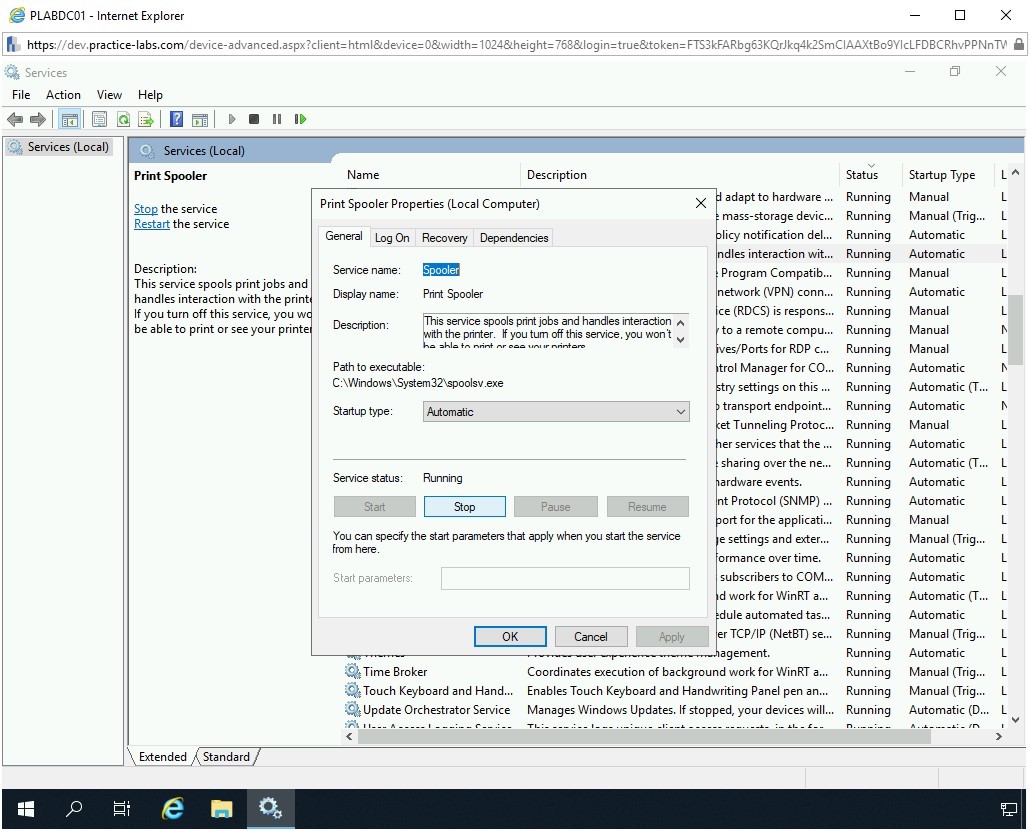
Step 5
The Print Spooler Properties (Local Computer) dialog box is displayed. Click Stop.
Step 6
Notice that the service status has changed to Stopped.
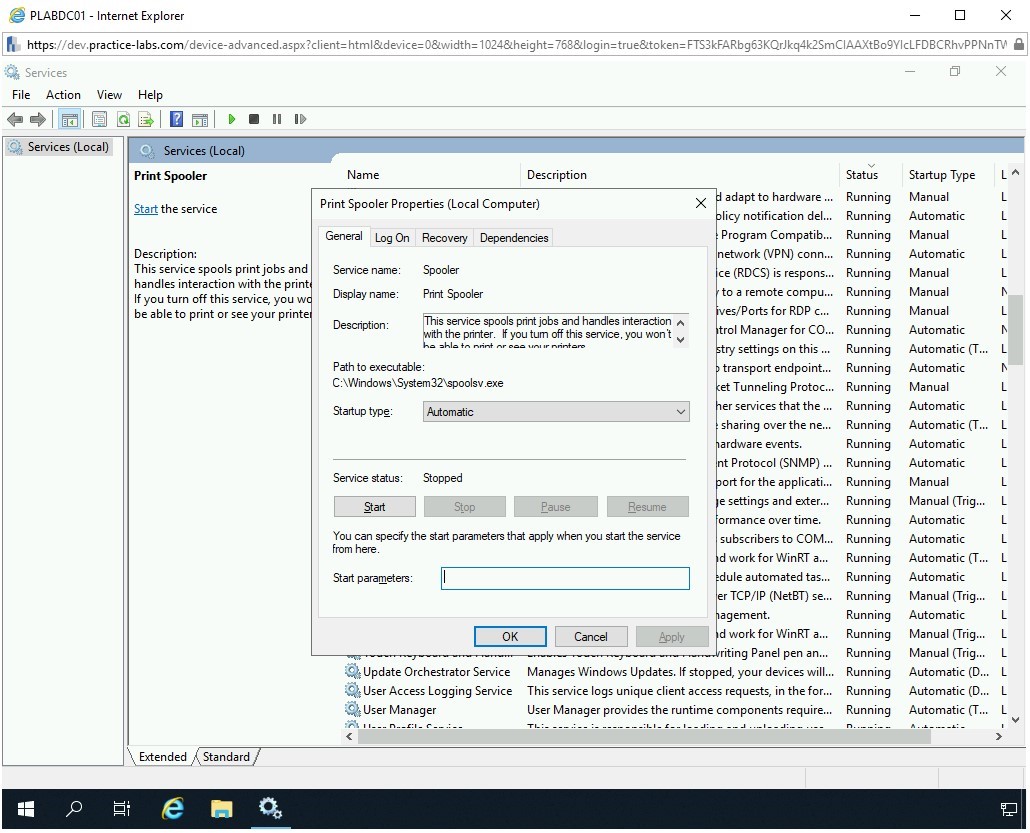
Step 7
You also want to ensure that the service does not start automatically when you reboot the system. You should change the startup type to Disabled. From the Startup type drop-down, select Disabled.
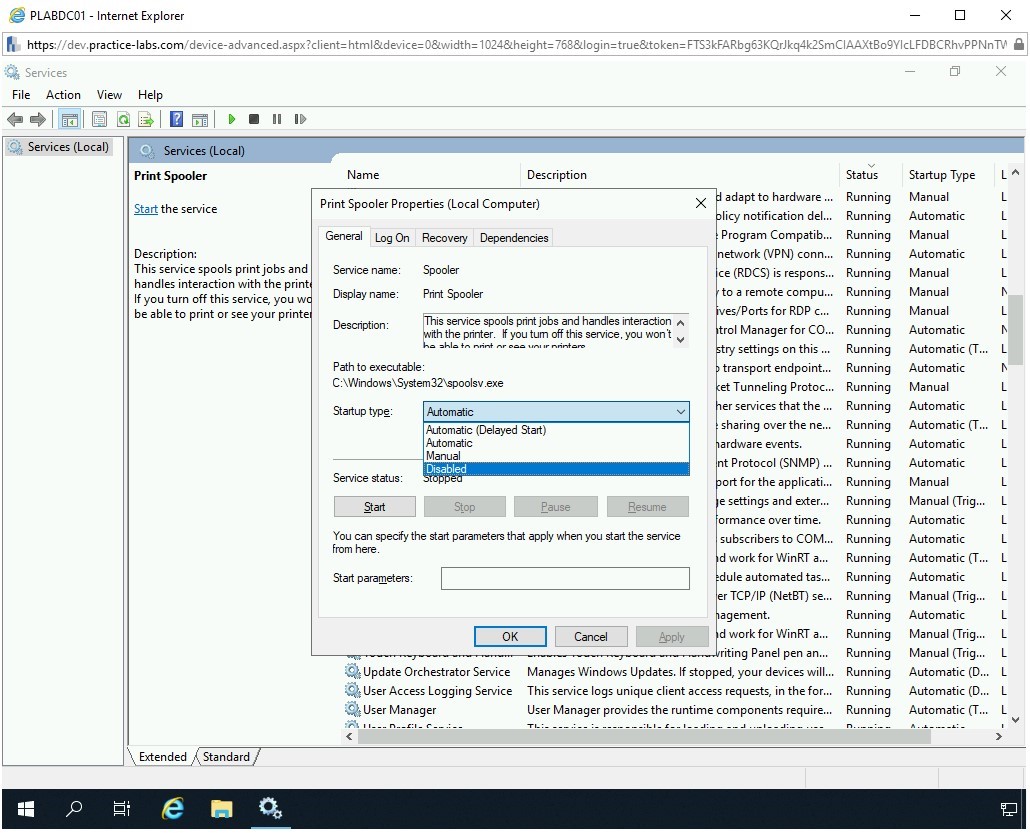
Step 8
Notice that the Startup type is now set to Disabled. Click OK.
Note: Just like Print Spooler service, you can find more services that you do not require to run in Windows. You can then stop these services and disable them so that they do not start automatically when you reboot the system.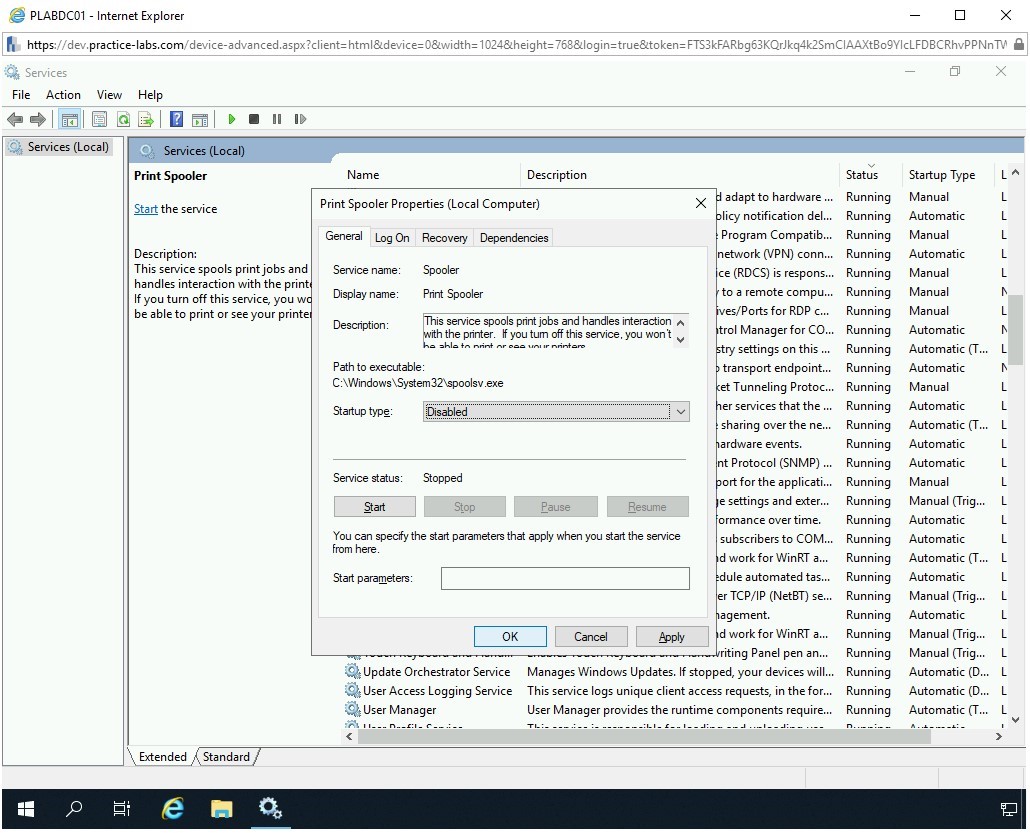
Step 9
Back on the Services window, click Startup Type header and then locate Print Spooler. Notice that it is now set to Disabled.

Step 10
Close the Services window.
Comments
Post a Comment