Implementing network level security hijacking
Performing Man-in-the-Middle (MITM) Attack
Session hijacking is an attack on the user sessions in a network by the attackers or data hijackers. An attacker can employ various session hijacking techniques and gain easy access to critical and sensitive session data. Session hijacking can happen at two levels. These are as follows:
- Application level: To hijack the data, the attackers can steal the valid session IDs of the existing user sessions or create new unauthorized sessions.
- Network level: The attackers intercept and tamper the data packets transmitted between the client and the server in a network. There are various techniques of session hijacking at the network level such as Transmission Control Protocol (TCP) hijacking, User Datagram Protocol (UDP) hijacking, Man-in-the-Middle (MITM) attack, and so on.
In MITM attack, the attacker sits in between the victim and the server in the network. The attacker runs a packet sniffing application to sniff all the data packets flowing between the victim and the server. Thus, the attacker can gain unauthorized access to sensitive data such as user credentials. One of the techniques to perform MITM attack is through Address Resolution Protocol (ARP) spoofing.
In this exercise, you will perform MITM attack using ARP spoofing to implement network-level session hijacking. For the purpose of this demonstration, PLABSA01 is the server, PLABWIN10 is the victim, and PLABKALI01 is the attacker. You will use Ettercap as the packet sniffing application on PLABKALI01.
Please refer to your course material or use your preferred search engine to research this topic in more detail.
Task 1 - Enable Web Services on PLABSA01
XAMPP is a free, lightweight, simple, and open source cross-platform Apache distribution. It enables the creation of a local web server for deployment and testing requirements. It works on multiple operating systems.
In this task, you will start the XAMPP application to enable the web services on PLABSA01 device.
Step 1
Ensure you have powered on the required devices and connect to PLABSA01.
Close the Server Manager window.
Click the XAMPP application icon on the taskbar.
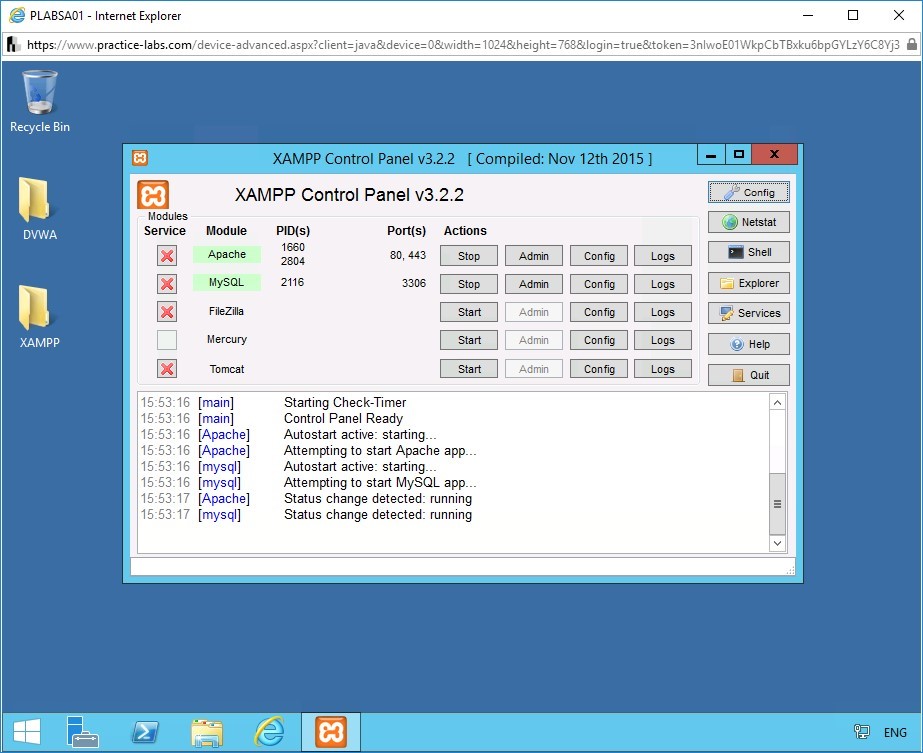
The XAMP Control Panel v3.2.2 window opens.
The Apache web service with Damn Vulnerable Web Application (DVWA) running on port 80 is enabled.
Task 2 - Open Ettercap
Ettercap is free, open source software used in MITM attacks on local area networks. It runs on multiple operating systems. You can use Ettercap to capture user credentials and intercept network traffic.
In this task, you will:
- Connect to the PLABKALI01 device.
- Open the GUI version of Ettercap on PLABKALI01.
Step 1
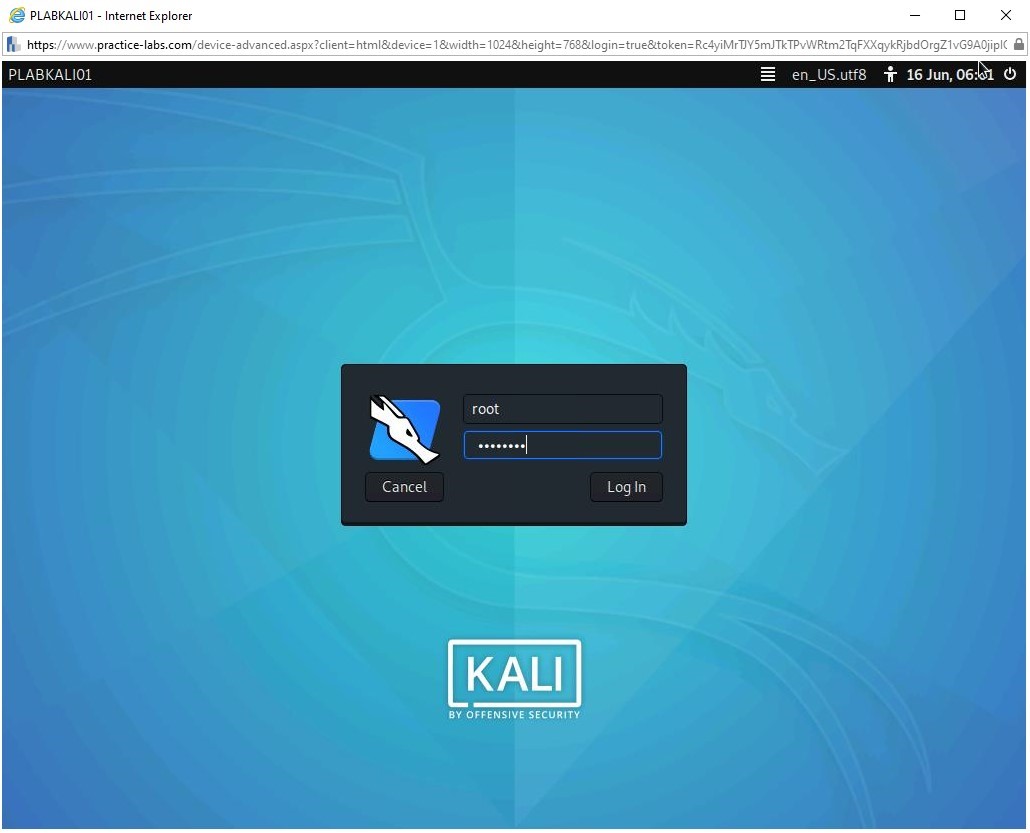
Connect to PLABKALI01.
In the Username field, type:
root
In the Password box, type the following password:
Passw0rdPress Enter.
Step 2
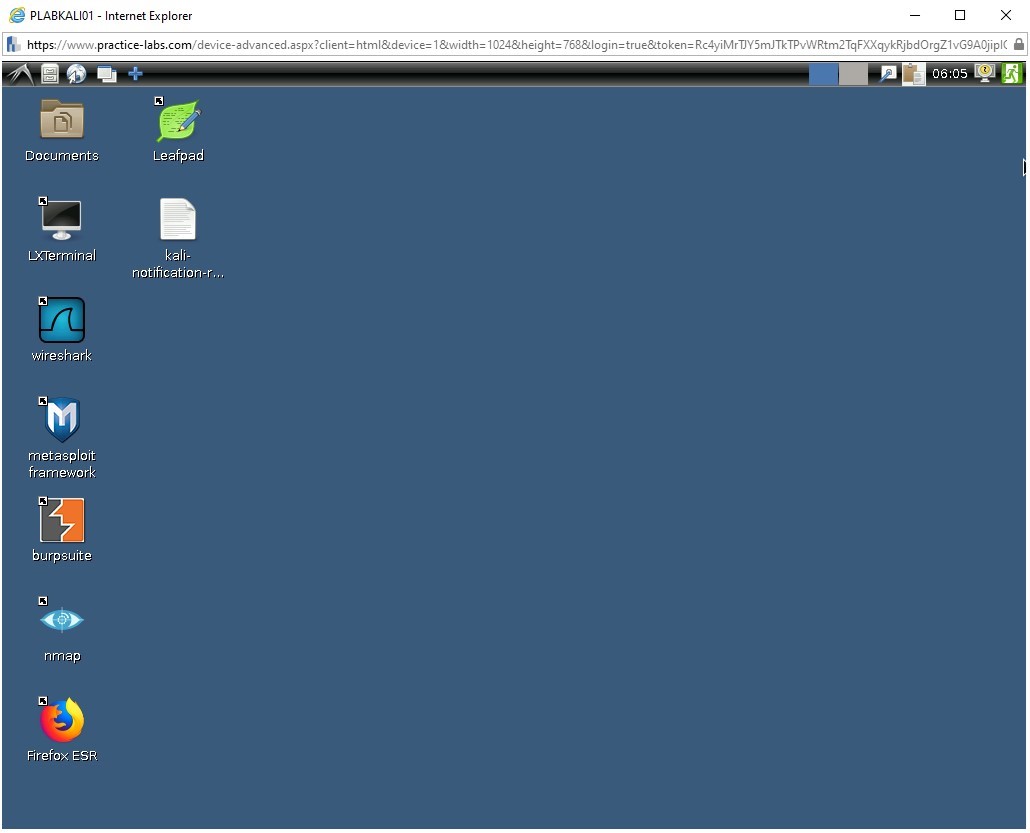
The connection to PLABKALI01 device is successfully established.
Step 3
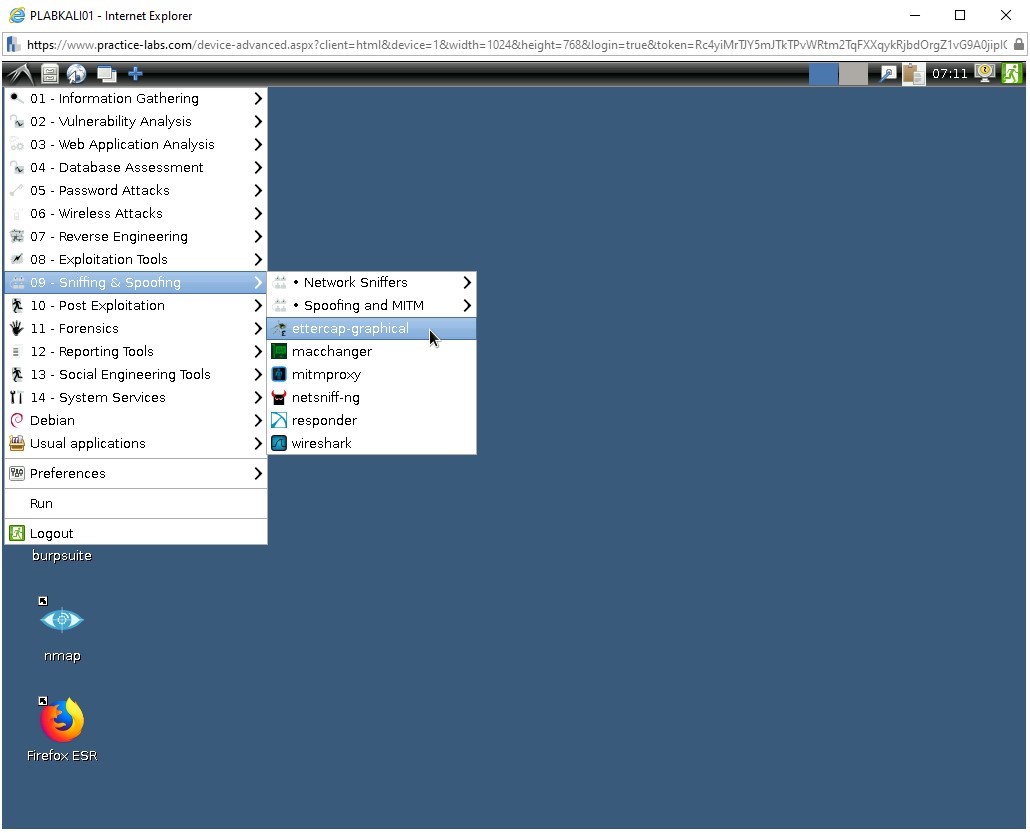
To open Ettercap, from PLABKALI01 desktop, click Applications.
From the menu that appears, click Sniffing & Spoofing->ettercap-graphical.
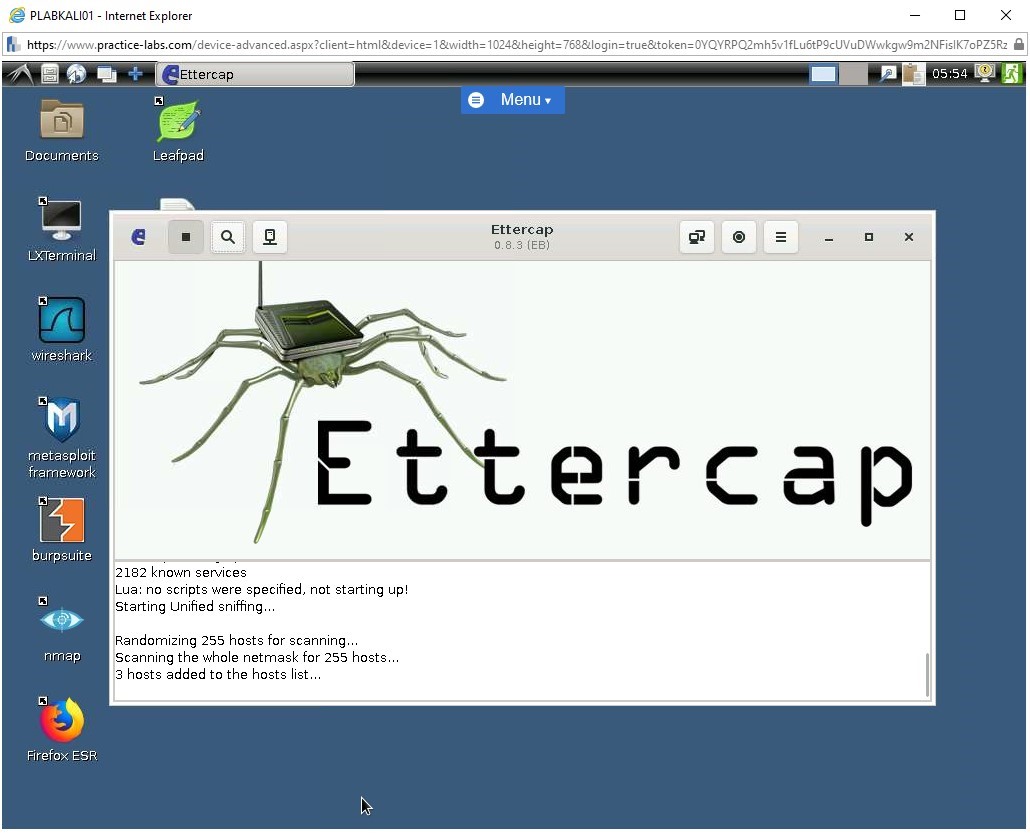
Step 4
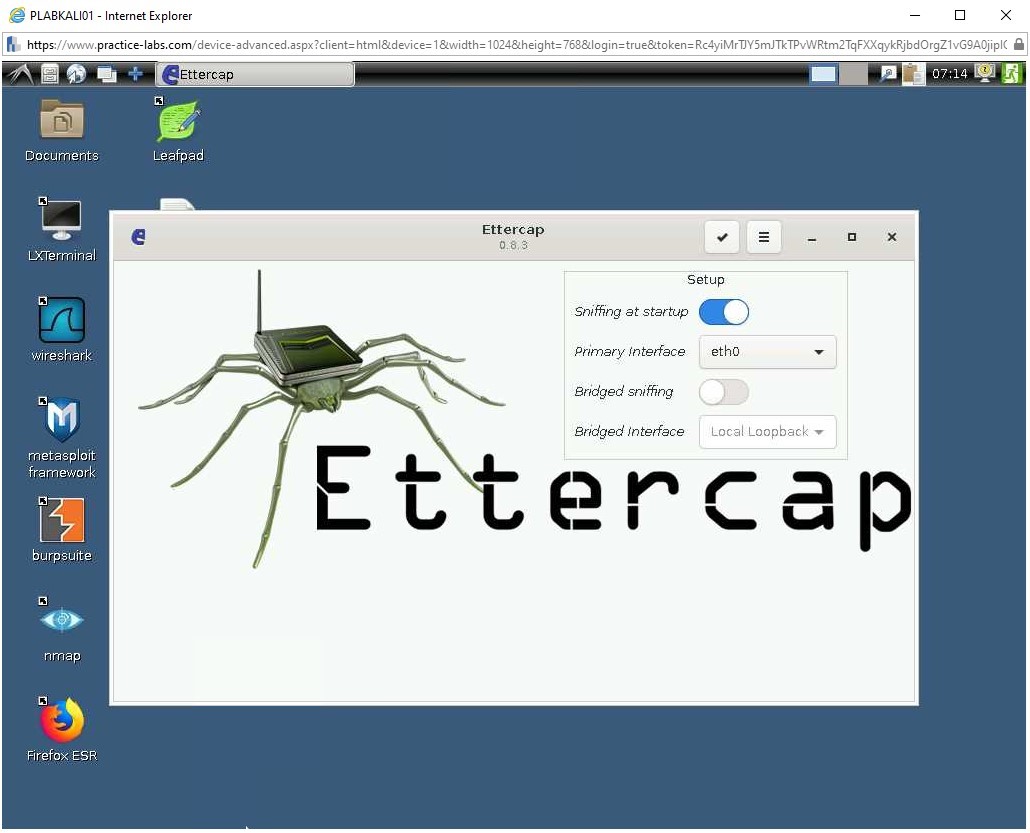
The GUI version of Ettercap application is open.
Task 3 - Perform ARP Spoofing
Address Resolution Protocol (ARP) spoofing or ARP poisoning is a technique where the attacker sends manipulated messages to the victim’s ARP cache and poisons the local area network. You can perform MITM attack using ARP spoofing.
In this task, you will poison the ARP cache to intercept communication between the victim and the server. For the purpose of this demonstration, the victim is 192.168.0.4, which is PLABWIN10. The server is 192.168.0.1, which is PLABSA01. The attacker is PLABKALI01 on which Ettercap is running. To perform this task, you need to:
- Start unified sniffing in Ettercap. In the unified sniffing process, all the data packets passed between the victim and server are sniffed or captured.
- Select the network interface.
- Scan the hosts.
- Add the victim and server to target 1 and target 2 respectively.
- Start ARP poisoning to perform MITM attack.
Step 1
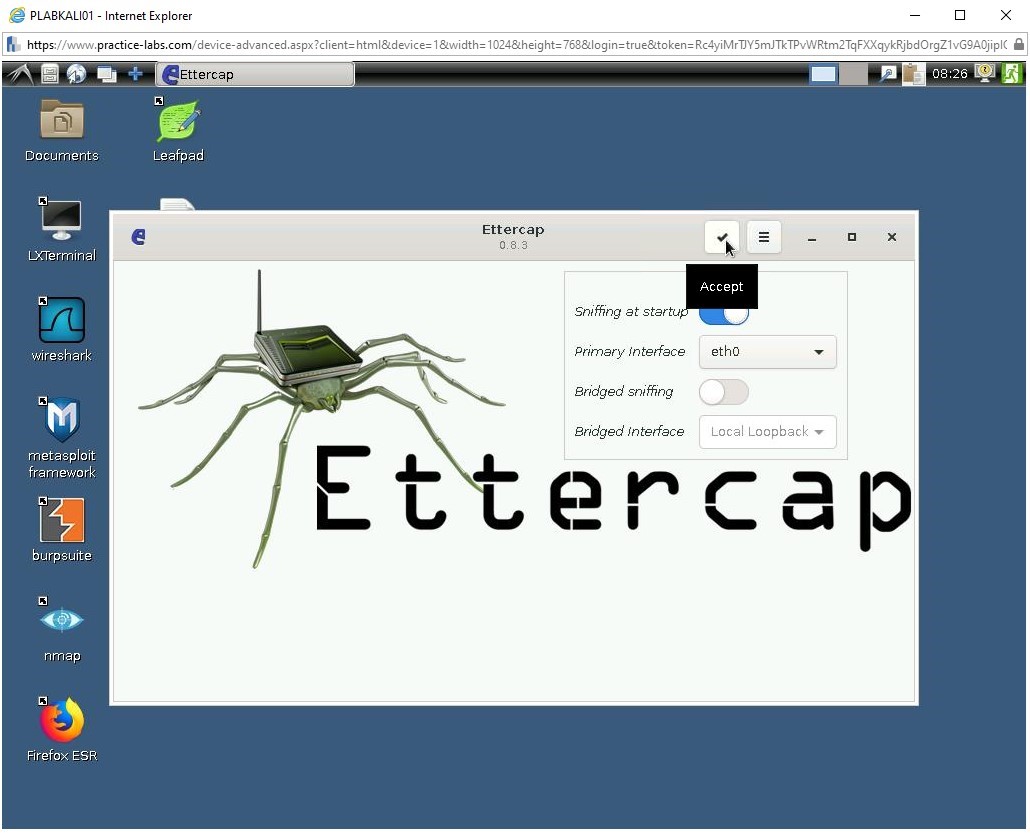
Before starting the Ettercap application, there are a list of options to change. In this case, keep the default options.
Click Accept.
Step 2
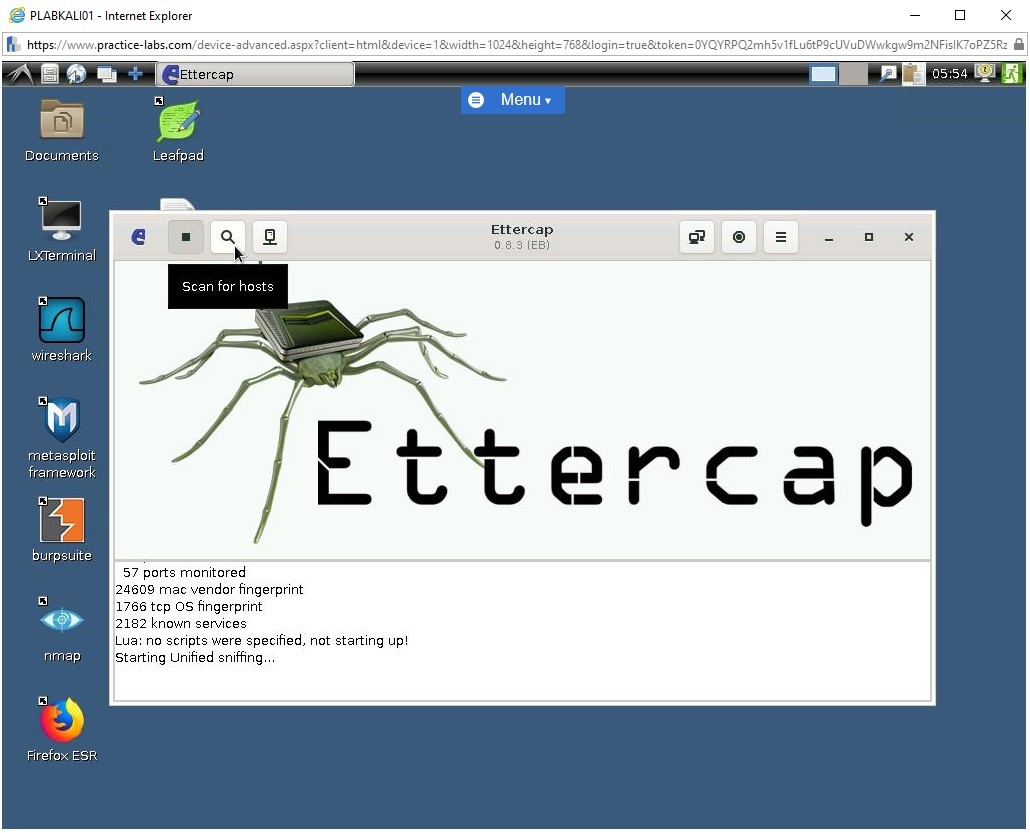
To start the scanning of hosts, from the menu bar, click Hosts->Scan for hosts.
Step 3
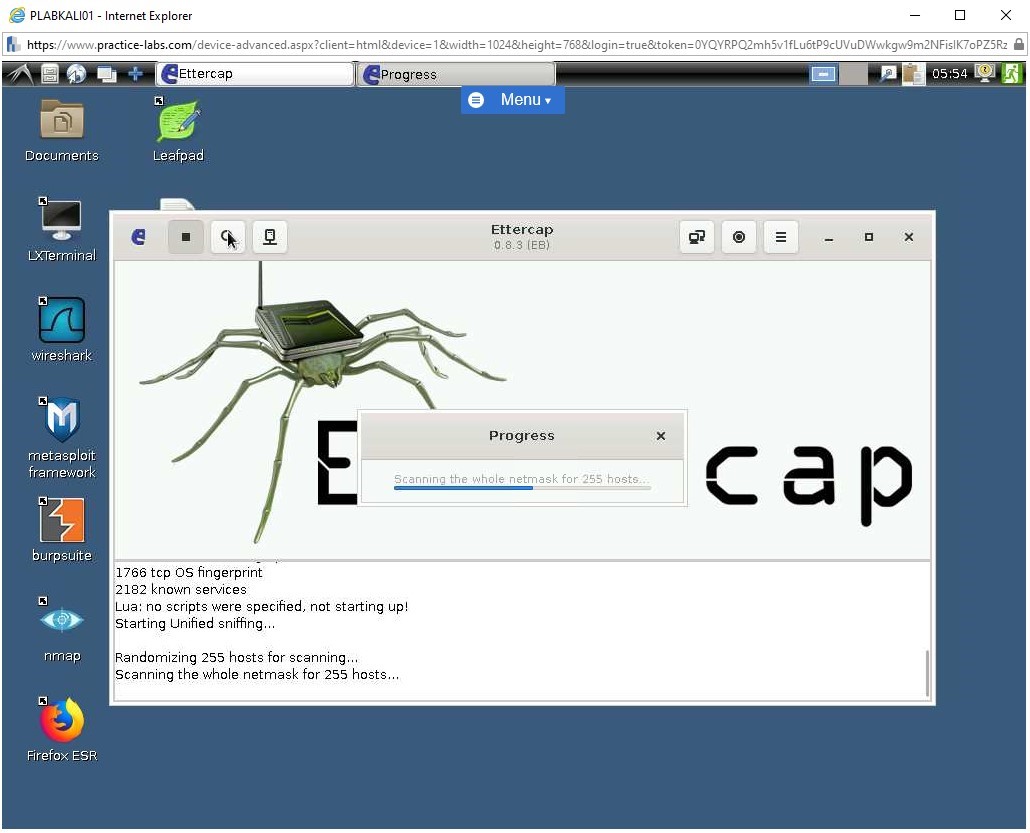
Ettercap will now start the scanning of hosts in the network automatically.
Please wait while the scanning is in progress.
Step 4
The scan is complete. The identified hosts are added to the host list.
Step 5
To view the host list, from the menu bar, click Hosts list.
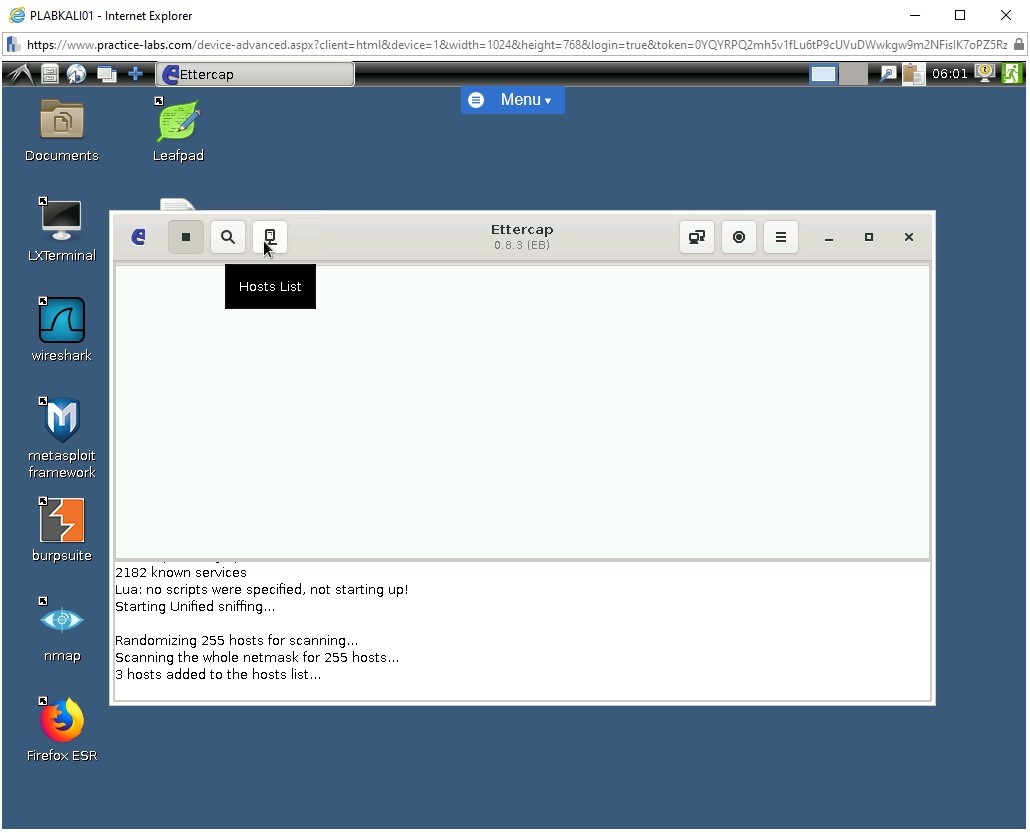
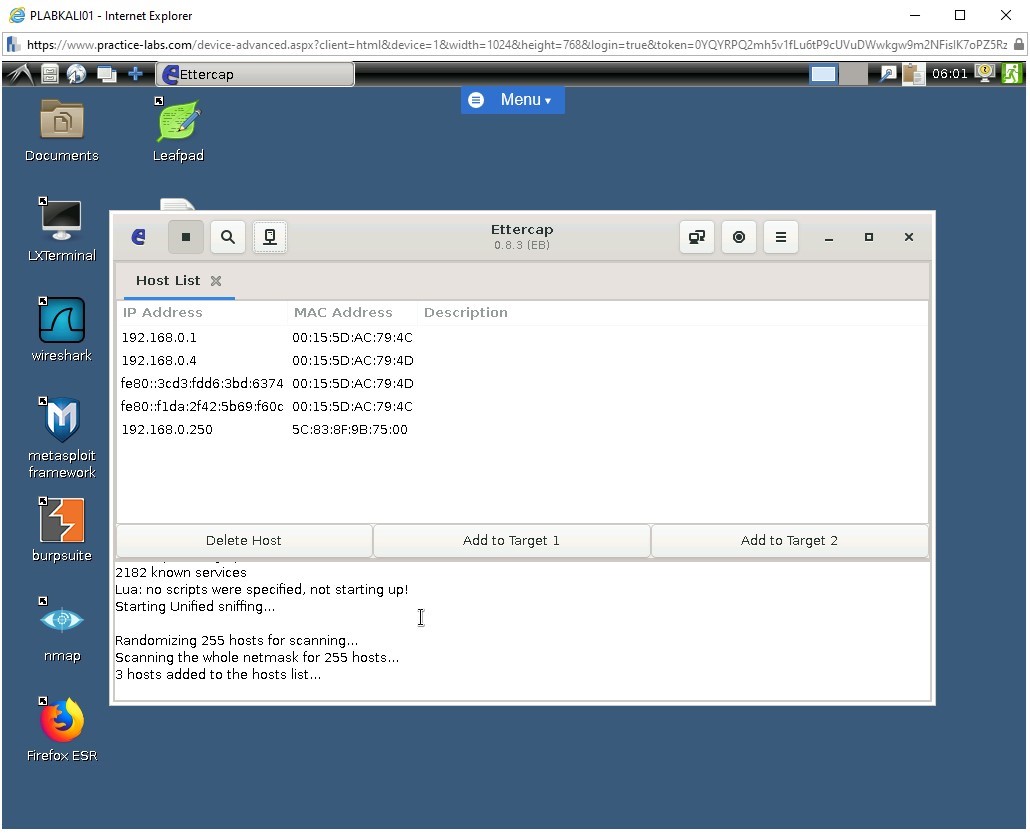
Step 6
The Host List shows the list of hosts added to Ettercap.
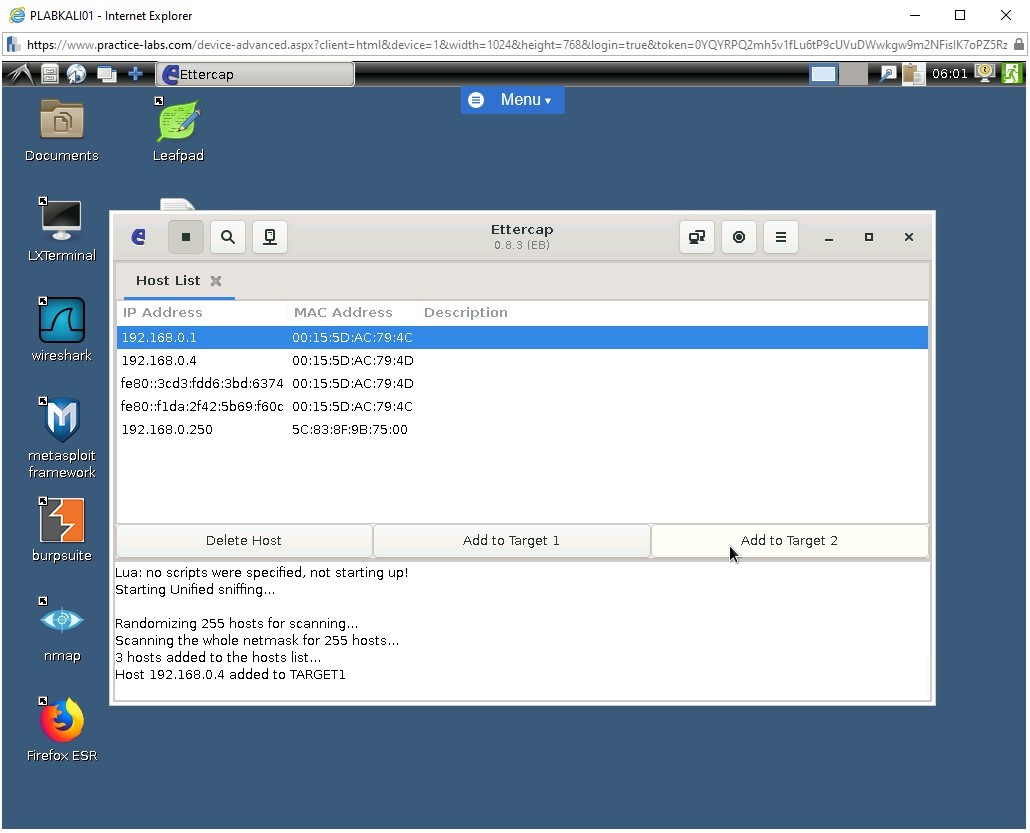
Step 7
To select PLABWIN10 from the host list, in the ettercap window, under the Host List tab, click 192.168.0.4.
To add PLABWIN10 to Target 1, click Add to Target 1.

Step 8
To select PLABSA01 from the host list, in the ettercap window, under the Host List tab, click 192.168.0.1.
To add PLABSA01 to Target 2, click Add to Target 2.
Step 9
To start the process of ARP poisoning, from the menu bar, click Mitm->ARP poisoning.
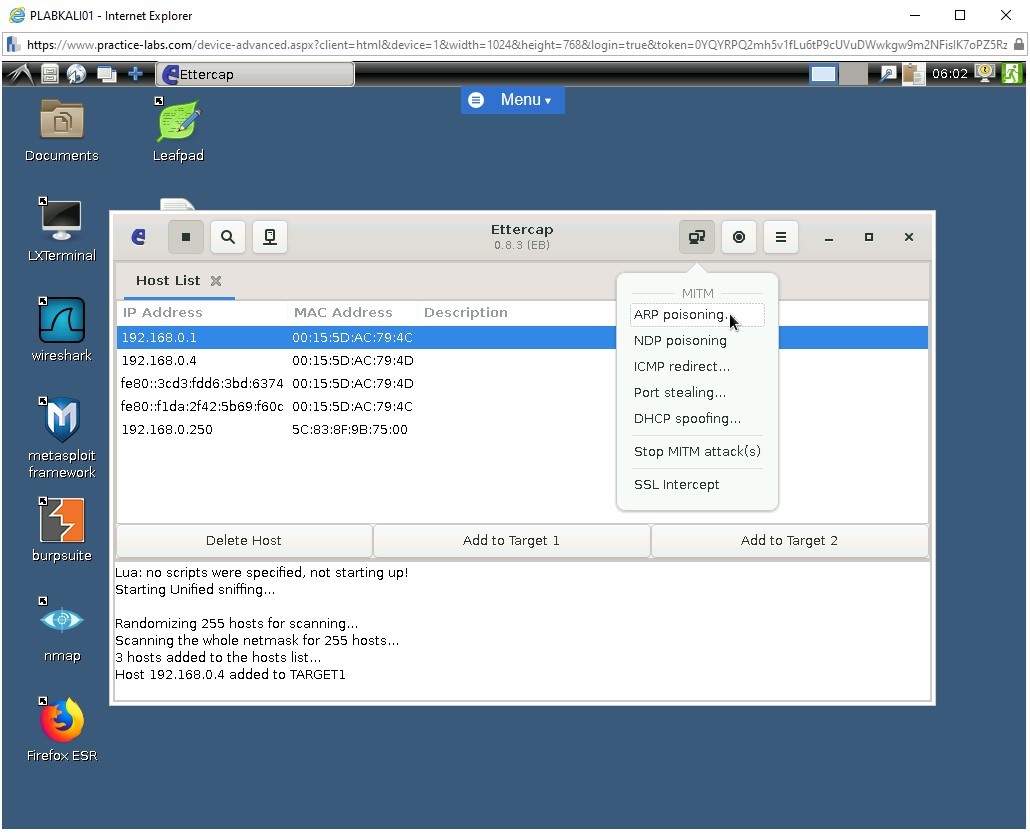
Step 10
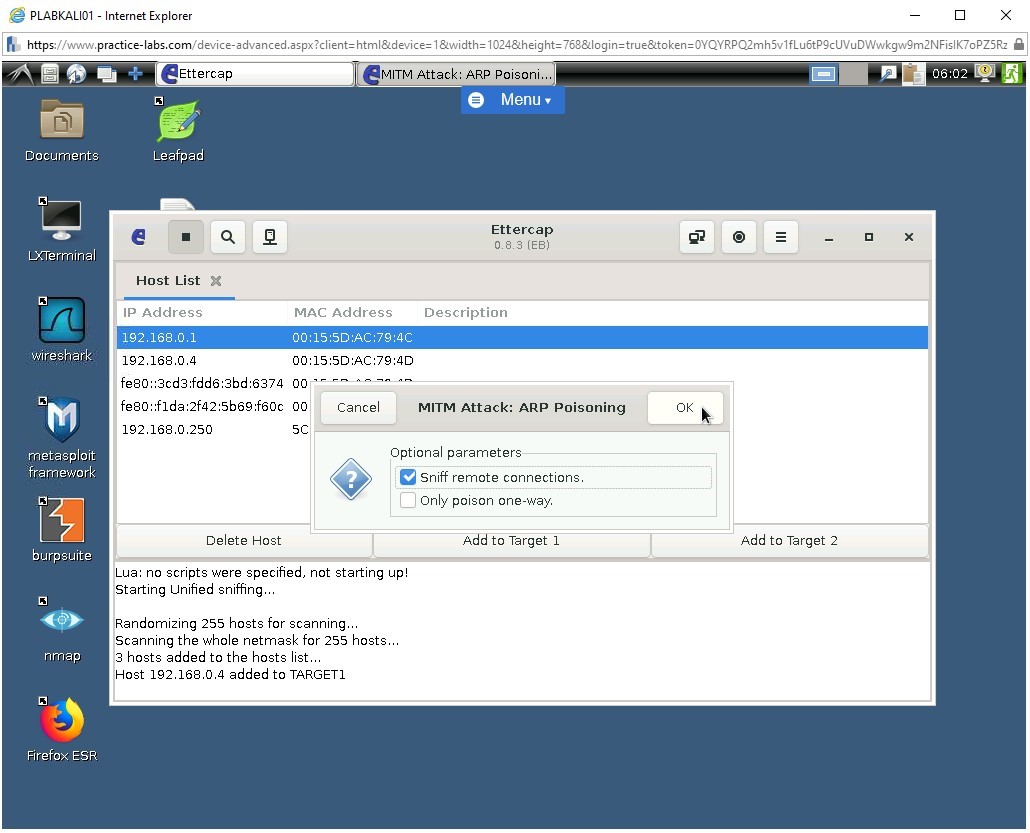
MITM Attack: ARP Poisoning dialog box appears.
Under Optional parameters, click the Sniff remote connections checkbox.
Click OK.
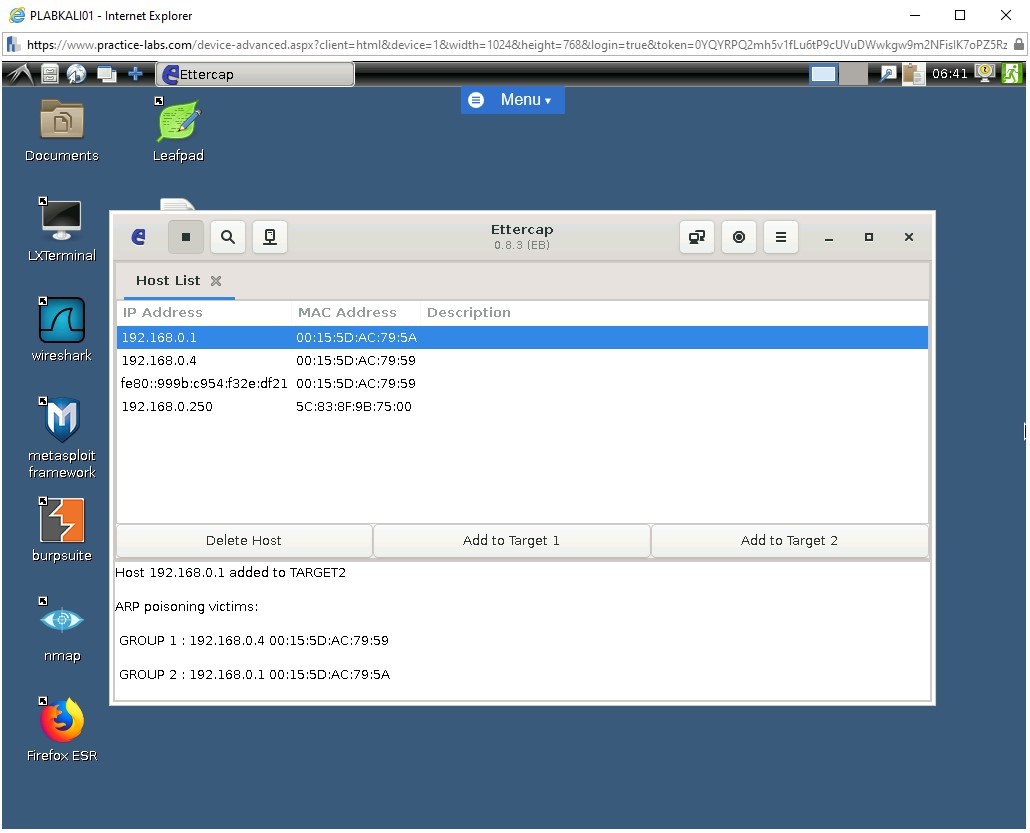
Step 11
You have successfully poisoned the ARP cache and the network traffic between PLABWIN10 and PLABSA01 devices. The network traffic will now pass through PLABKALI01, which is the attacker device.
Task 4 - Capture User Credentials
In the previous task, you have successfully poisoned the ARP cache. In this task, you will start listening to the traffic that is flowing between PLABWIN10 (victim) and PLABSA01 (server). You will login to the DVWA application on PLABWIN10 as an administrator. The Ettercap application running on the attacker device PLABKALI01 captures the credentials entered in the DVWA application.
Step 1
To open Internet Explorer, connect to PLABWIN10 and on the taskbar of, click the Internet Explorer icon.
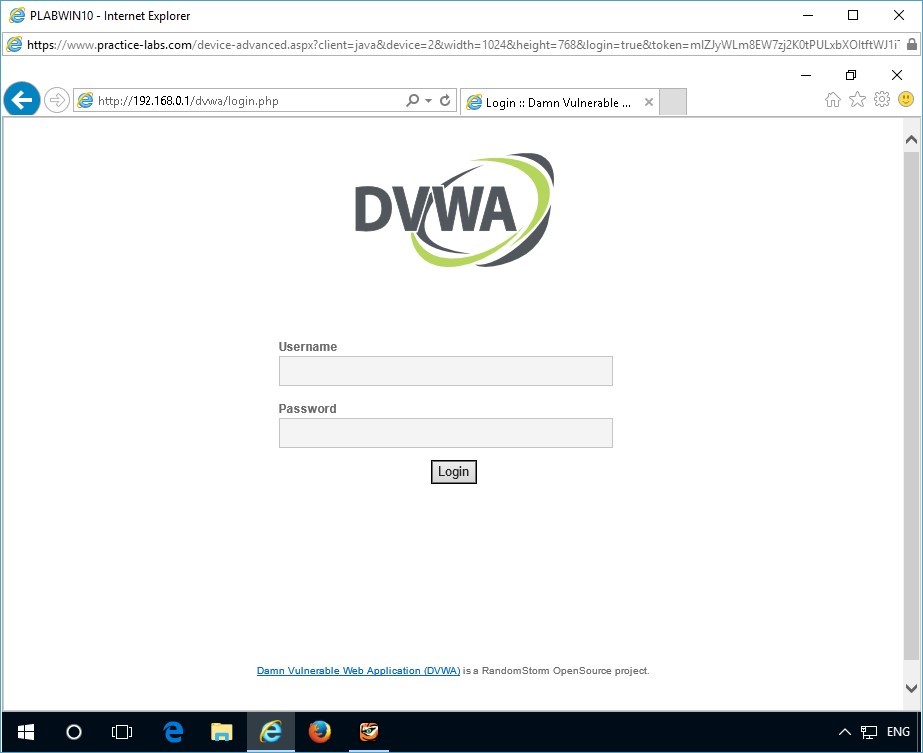
In the address bar of the Internet Explorer window, delete the existing text, and type the following URL:
http://192.168.0.1/dvwa
Press Enter.
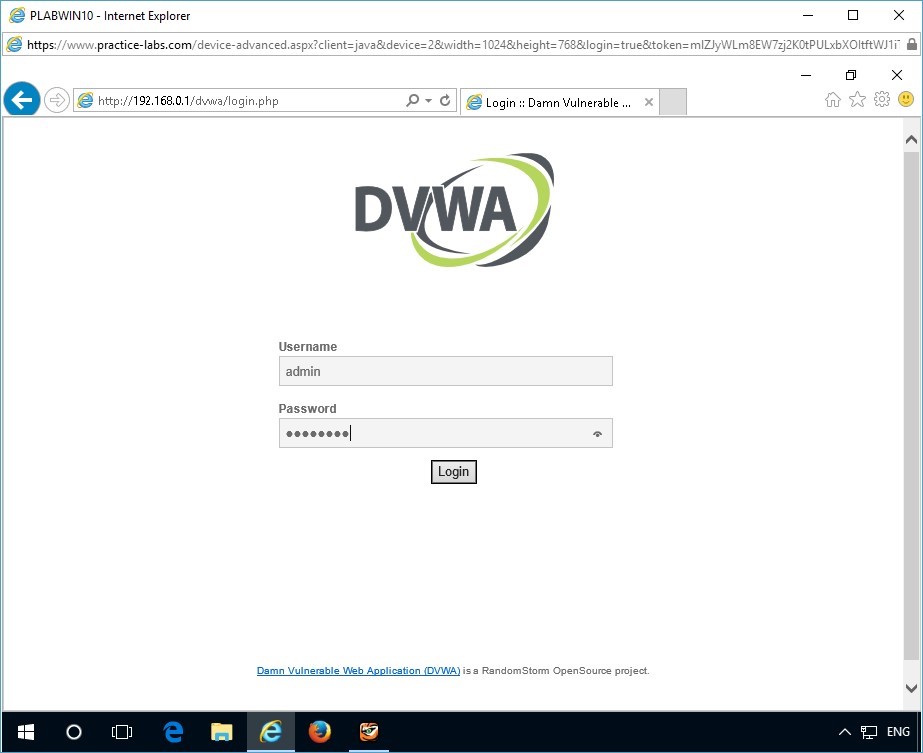
The login page of the DVWA application is displayed.
Step 4
To login to the DVWA application, in the Username box, type the following username:
admin
In the Password box, type the following password:
passwordClick Login.
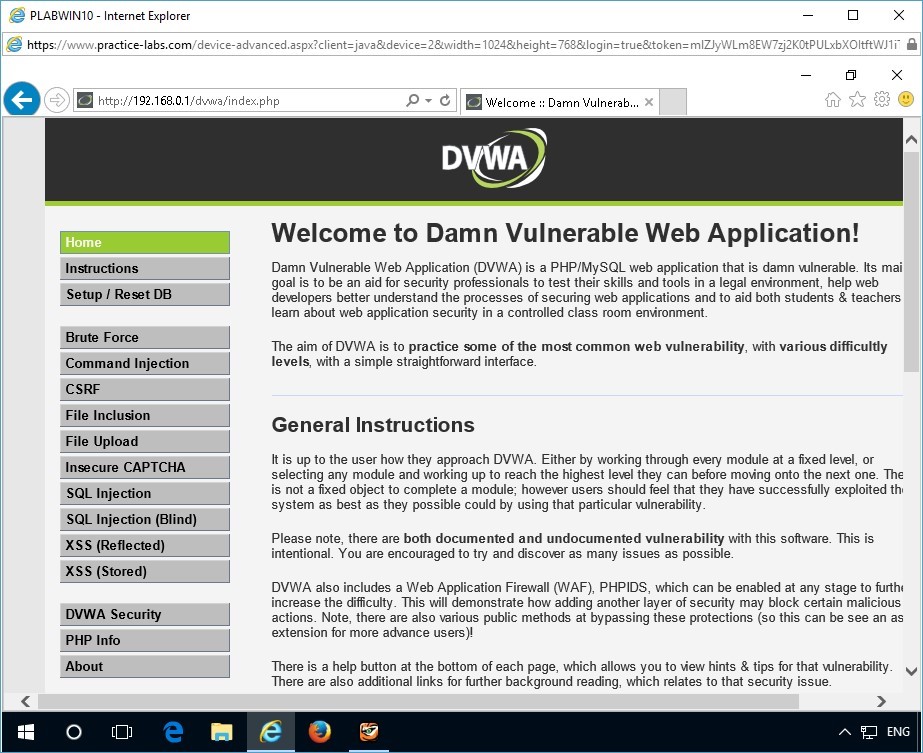
Step 5
You have successfully logged into the DVWA application on PLABWIN10 device.
The Welcome page of the DVWA application is displayed.
For the purpose of this demonstration, the ARP cache of PLABWIN10 has been poisoned.
Step 6
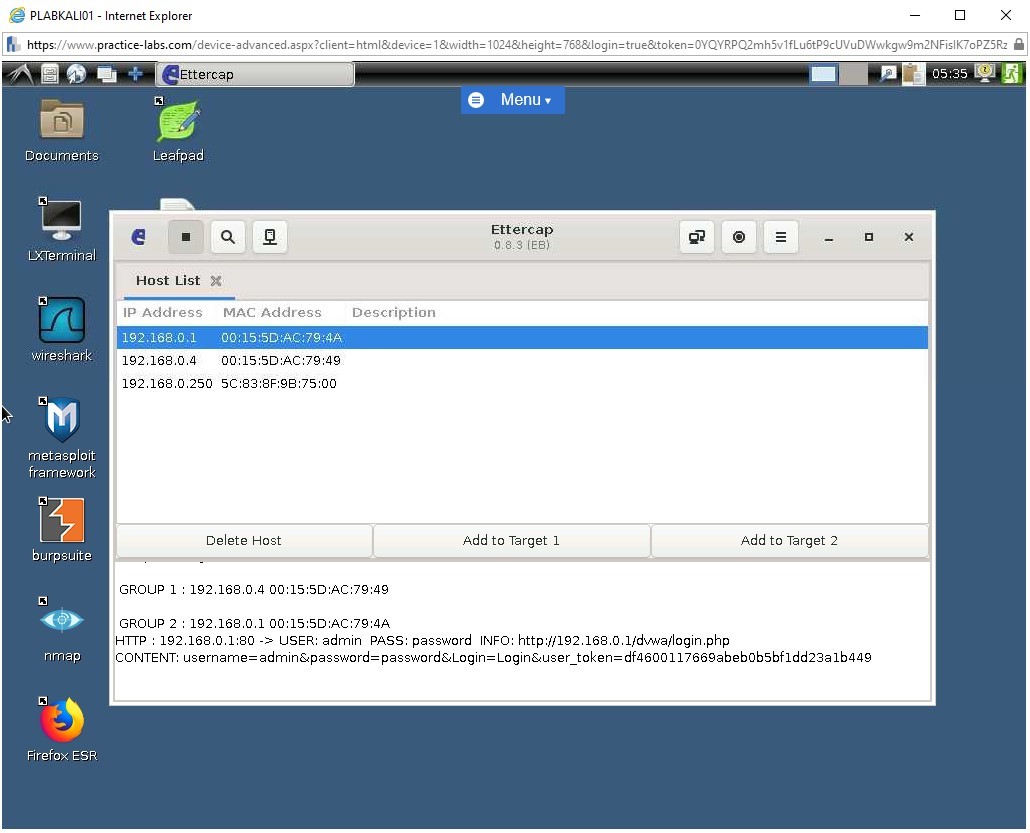
Connect to PLABKALI01.
Navigate to the Ettercap application window from the taskbar.
The user credentials entered in the DVWA application on PLABWIN10 is successfully captured and displayed in the Ettercap console.
This will enable the attacker to login to the DVWA application using the captured credentials from another device.
Close all open windows.

Comments
Post a Comment