implementing partching using wsus(Installing and configuring wsus)
Exercise 1 - Install and Configure WSUS
Exercise 1 - Install and Configure WSUS
Windows Server Update Services (WSUS) provides a cost effective patch management solution to deploy updates to domain-joined Windows servers and workstation in a corporate network. WSUS is fully integrated in Windows Server 2012 and can be enabled on Windows clients by configuring settings in Group Policy Objects - GPO.
To get a better understanding of this technology, please refer to your course material or use your preferred search engine to research this topic in more detail.
Task 1 - Initialize Disk Storage for WSUS
In this task, you will use PLABDM01 as the designated server to run Windows Server Update Services. To prepare this server to assume the role of WSUS server, you must prepare the disk volume that will be used for storage of operating system updates. To configure the disk on PLABDM01 server, follow these steps:
Step 1
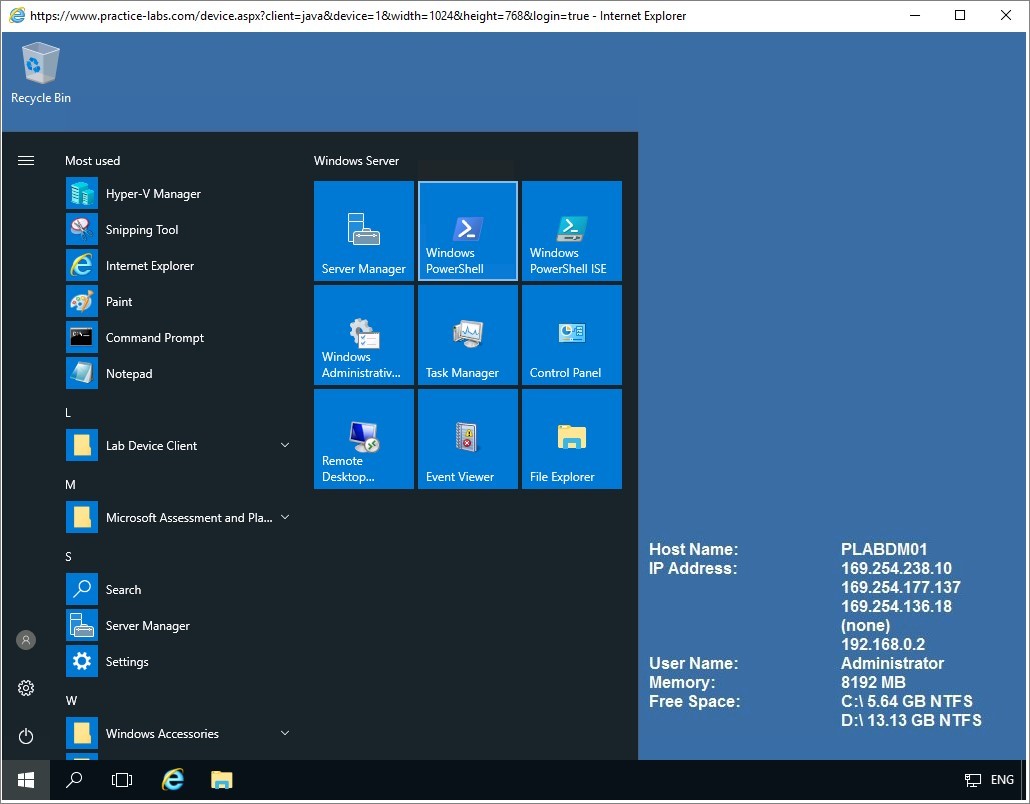
Ensure you have powered on the required devices and connect to PLABDM01.
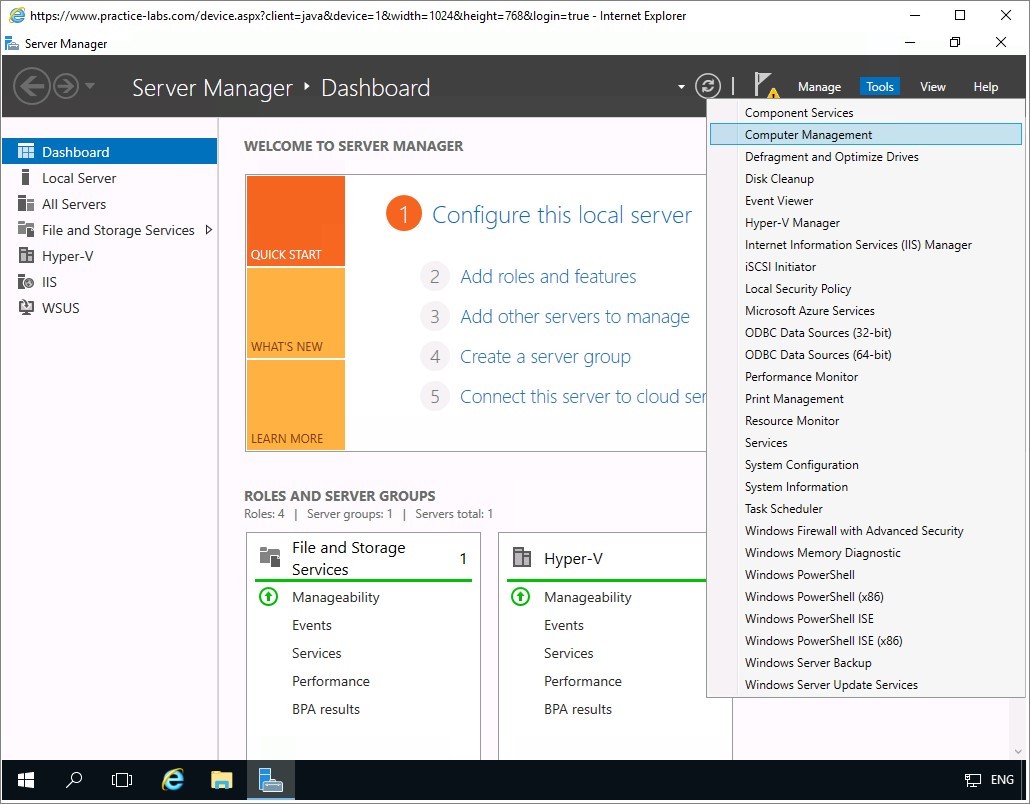
From Server Manager Dashboard, click on Tools > Computer Management.
Step 2
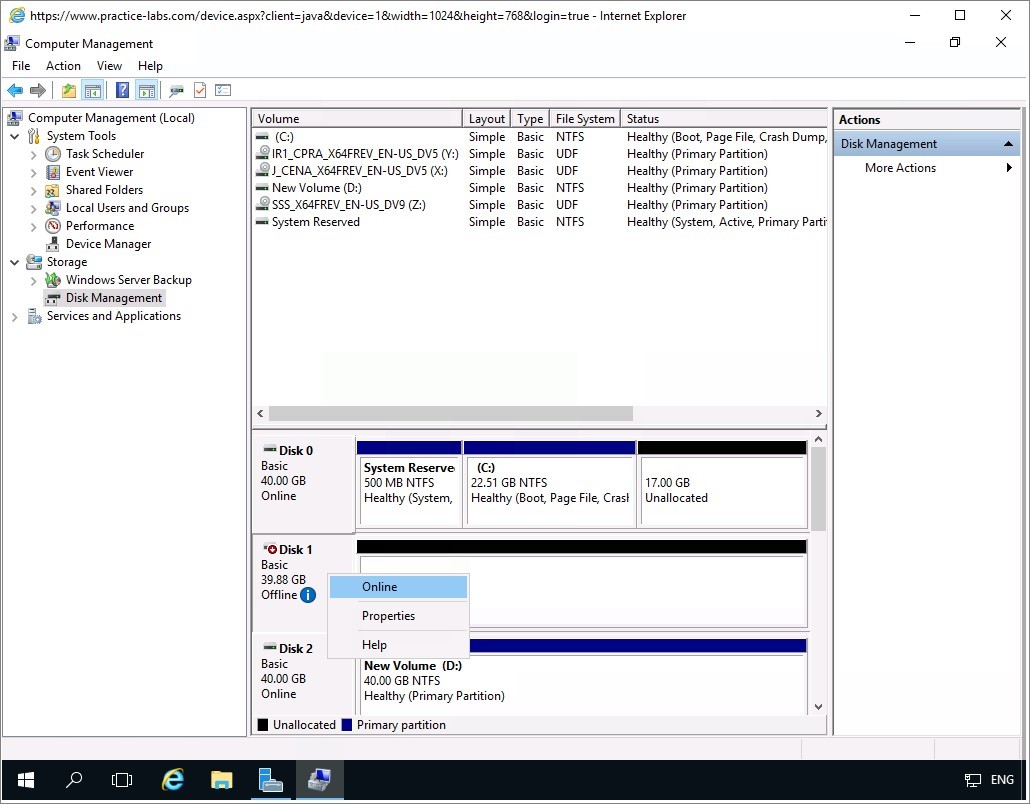
On the Computer Management console, on the left pane, click Storage node and click Disk Management.
On the right-details pane, scroll down a bit to see the list of available disk volumes.
Then right-click Disk 1 and select Online.
Step 3
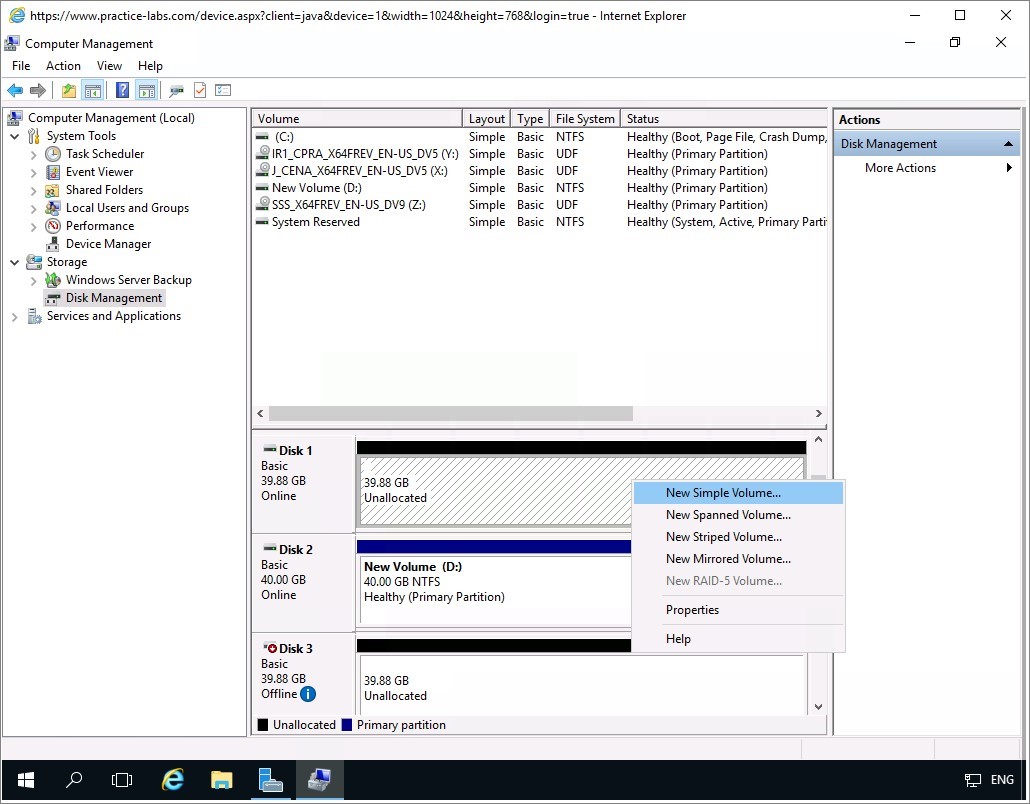
Right-click on Disk 1's unallocated partition and choose New Simple Volume.
The New Simple Volume Wizard will launch.
Click Next twice on the wizard, keeping the default settings.
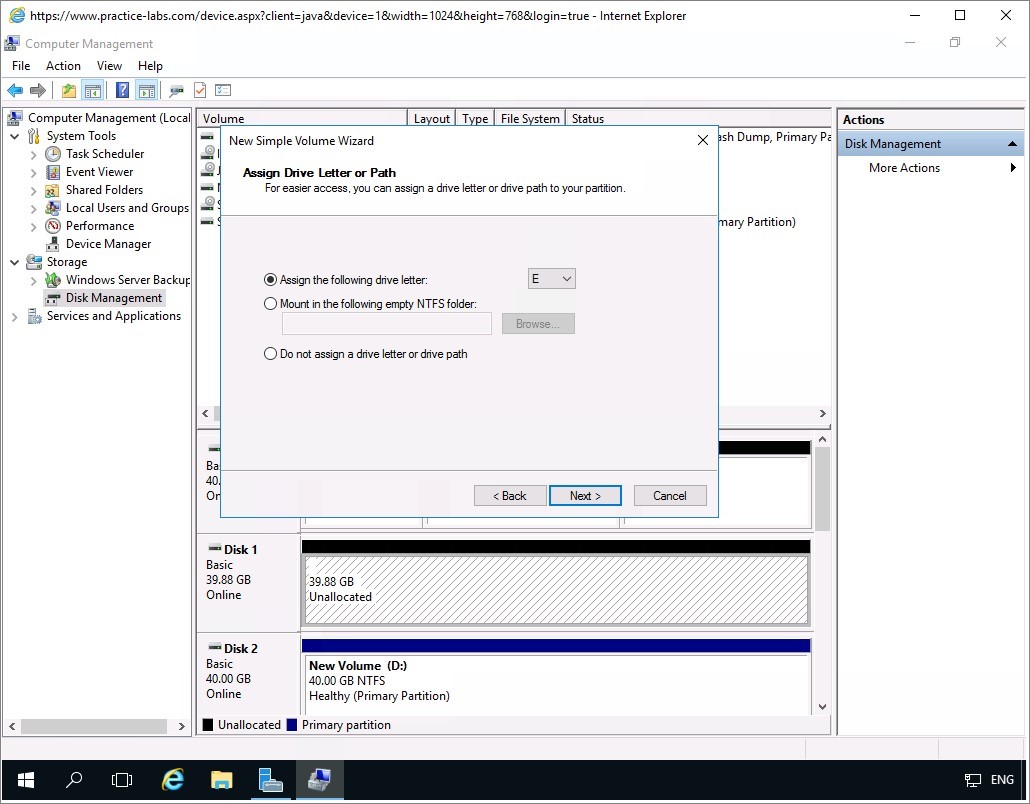
Step 4
When you reach the Assign Drive Letter or Path options, make sure drive letter E is selected.
Click Next.
Step 5
Keep the default Format Partition options and click Next.
Click Finish to close the Completing the New Simple Volume Wizard page.
Wait for the formatting process to be completed before installing WSUS.

Close Computer Management.
Keep all devices powered on in their current state and proceed to the next task.
Task 2 - Install and Configure WSUS
To install the Windows Server Update Services server, follow these steps:
Step 1
Connect to PLABDM01.
Click on the Start button and select Windows PowerShell from the menu.
Step 2
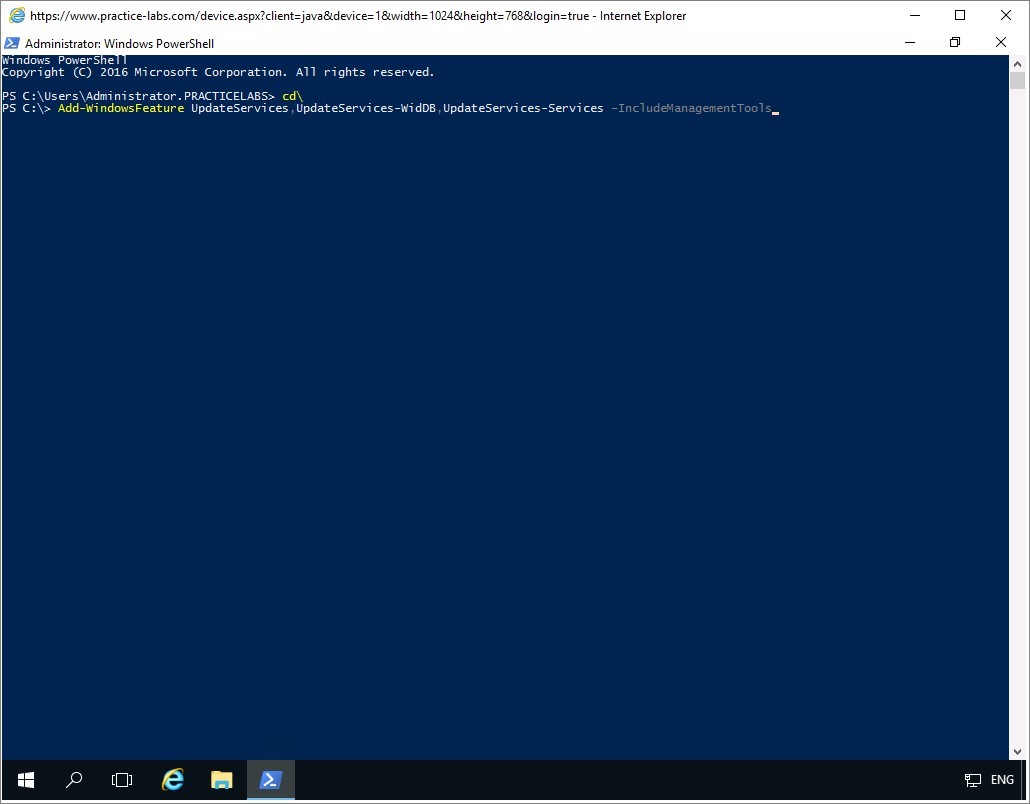
On the Windows PowerShell prompt, type the following:
cd\
Add-WindowsFeature UpdateServices,UpdateServices-WidDB,UpdateServices-Services -IncludeManagementTools
Press Enter.
Step 3
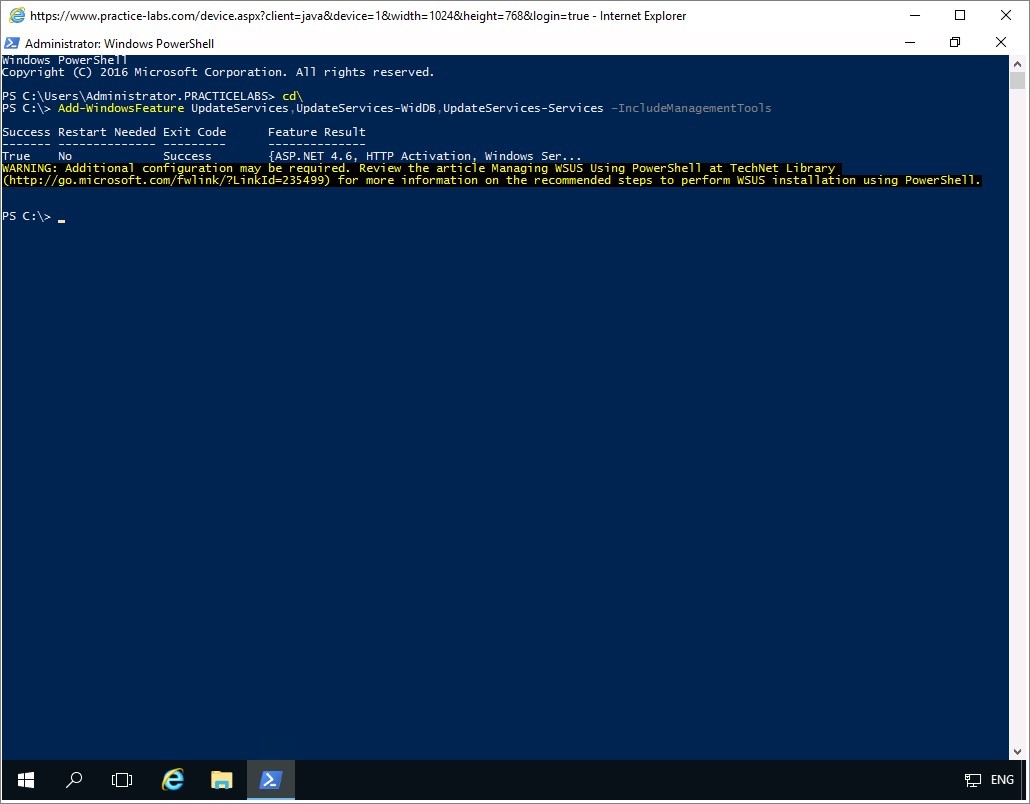
Windows indicates that the services and their dependencies were successfully installed.
Close Windows PowerShell window.
Step 4
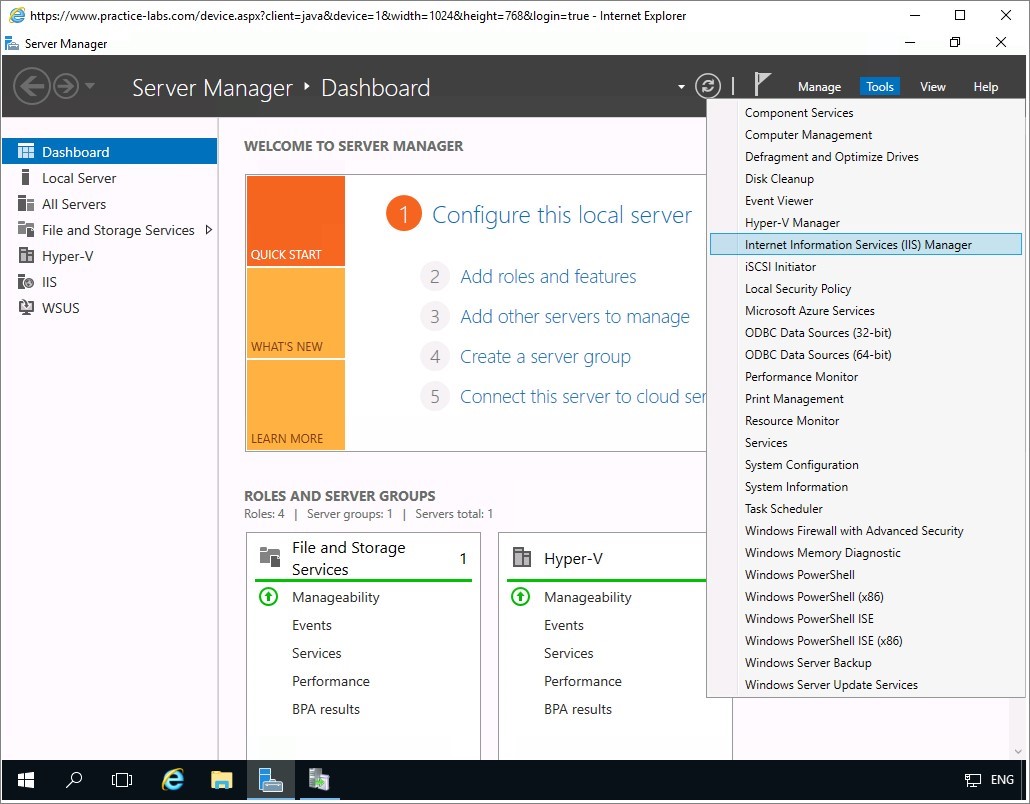
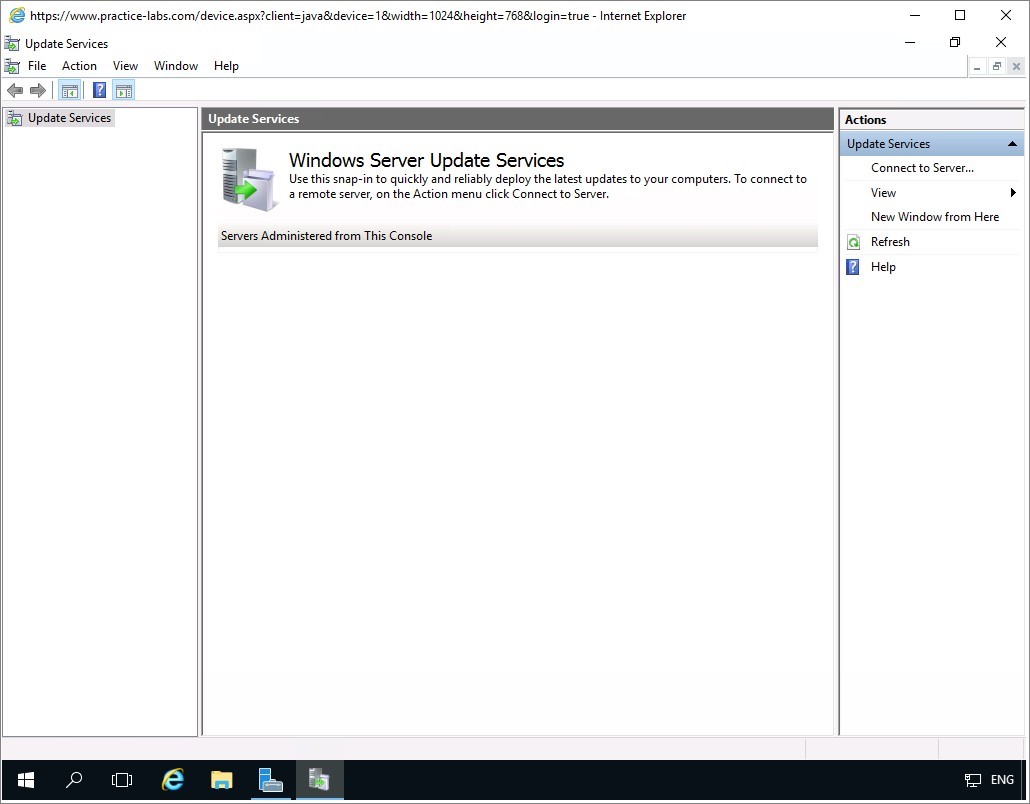
Reopen Server Manager Dashboard, click the Tools menu and select Windows Server Update Services.
Step 5
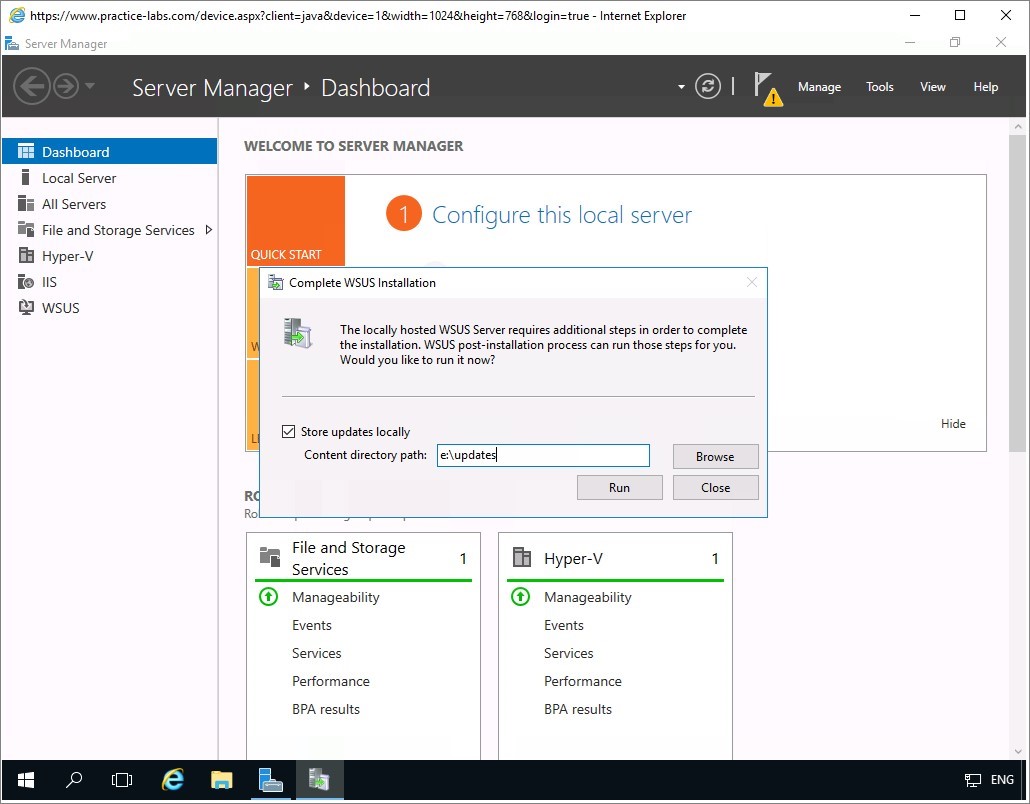
On Complete WSUS Installation dialogue box, select Store updates locally box.
In Content directory path type:
e:\Updates
Select Run.
Note: Wait for the configuration of WSUS to be completed. This process will take a few minutes to finish.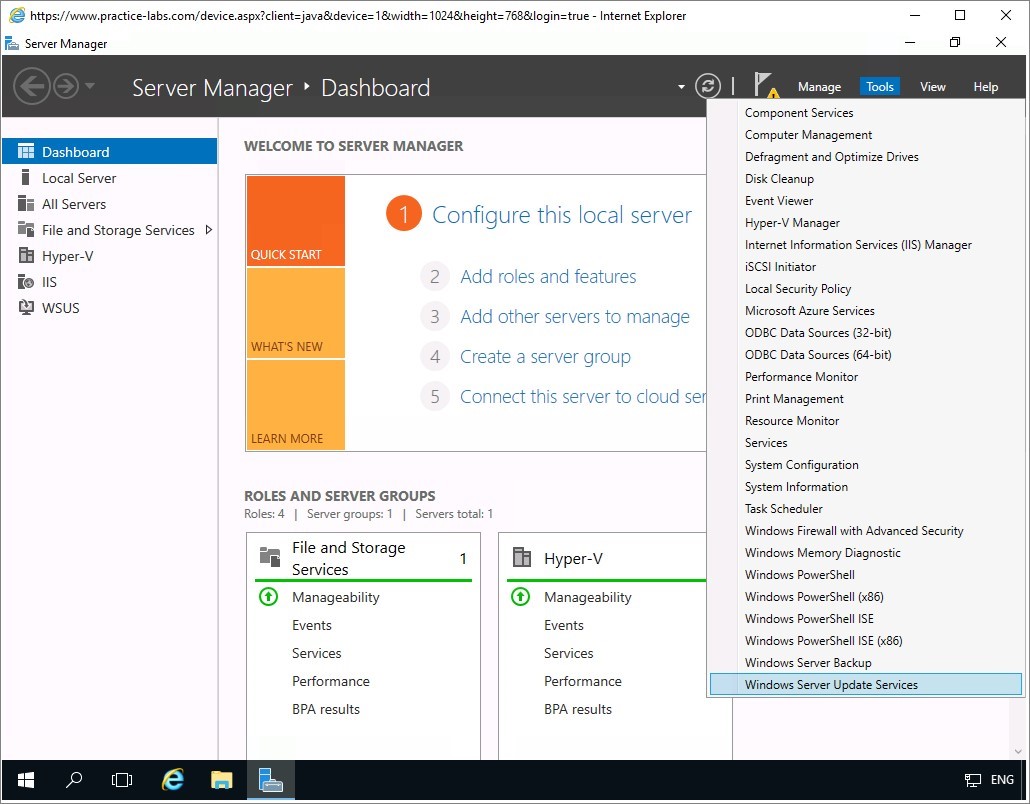
On Complete WSUS Installation, click Close when the progress bar has reached the end.
Note: On the Server Manager Dashboard, you will notice a yellow exclamation point icon, appended to the flag. This indicates that additional required configuration is needed. WSUS will automatically launch a wizard to address this requirement.Step 6
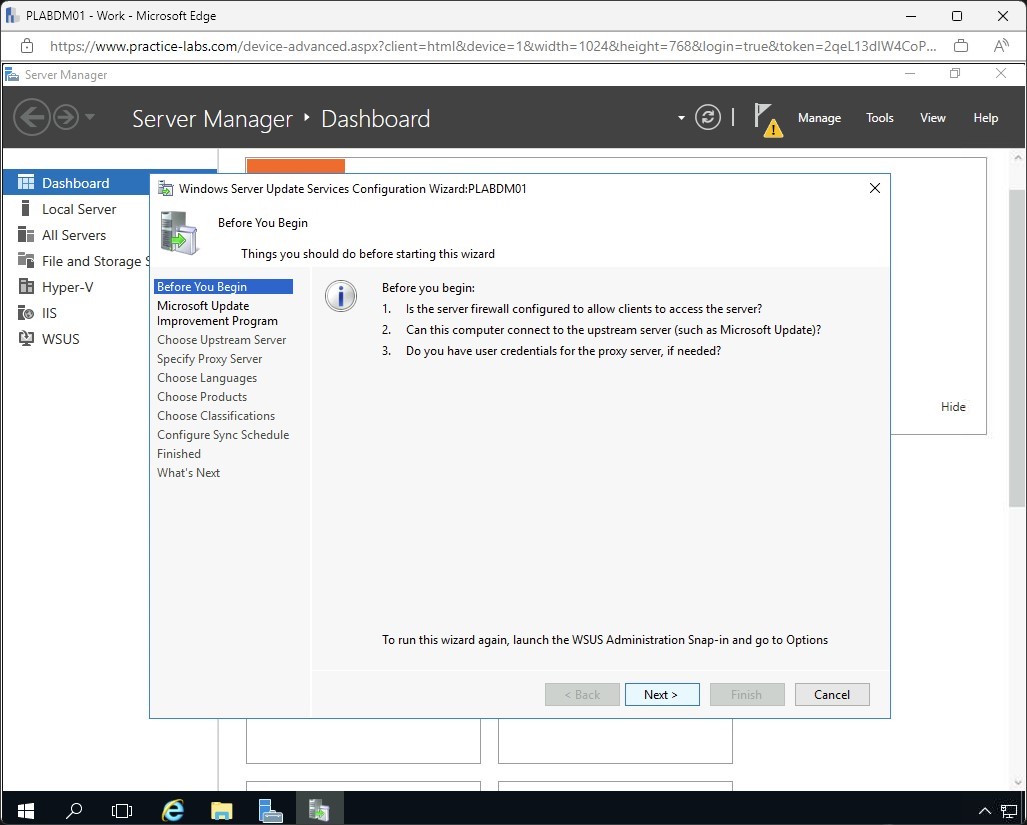
The WSUS configuration wizard page automatically opens.
On the Before you begin page, click Next.
Step 7
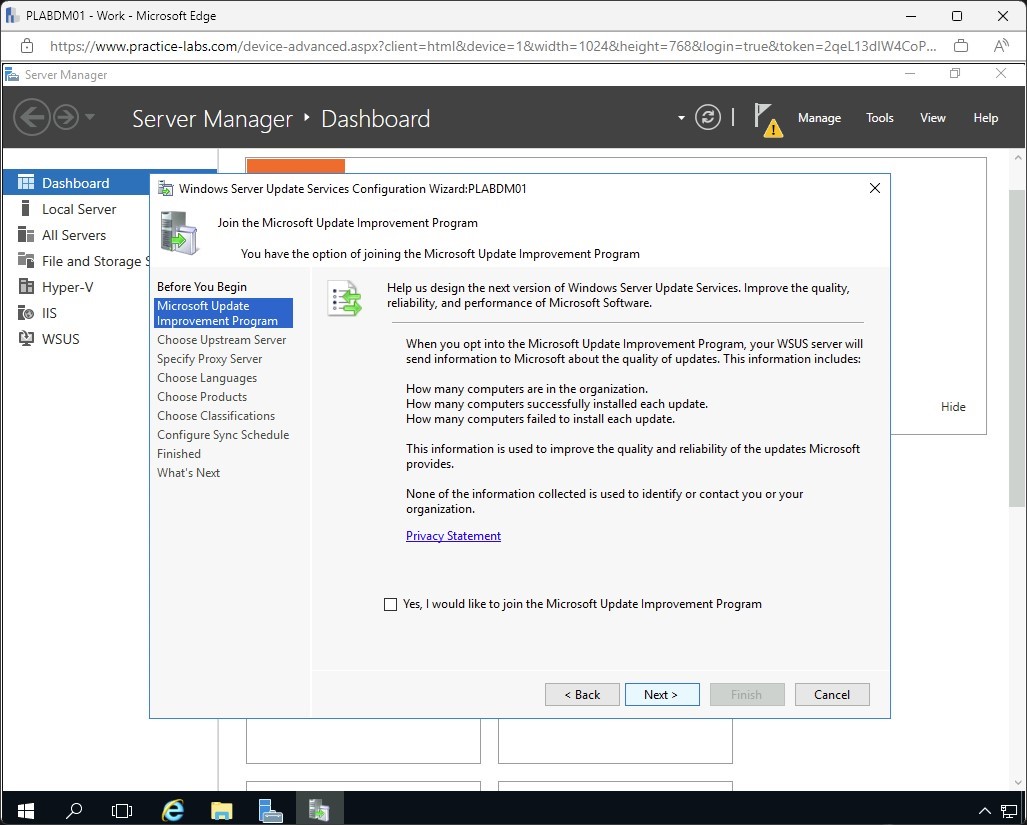
On Microsoft Update Improvement Program page, clear Yes, I would like to join the Microsoft Update Improvement Program check box.
Click Next.
Step 8
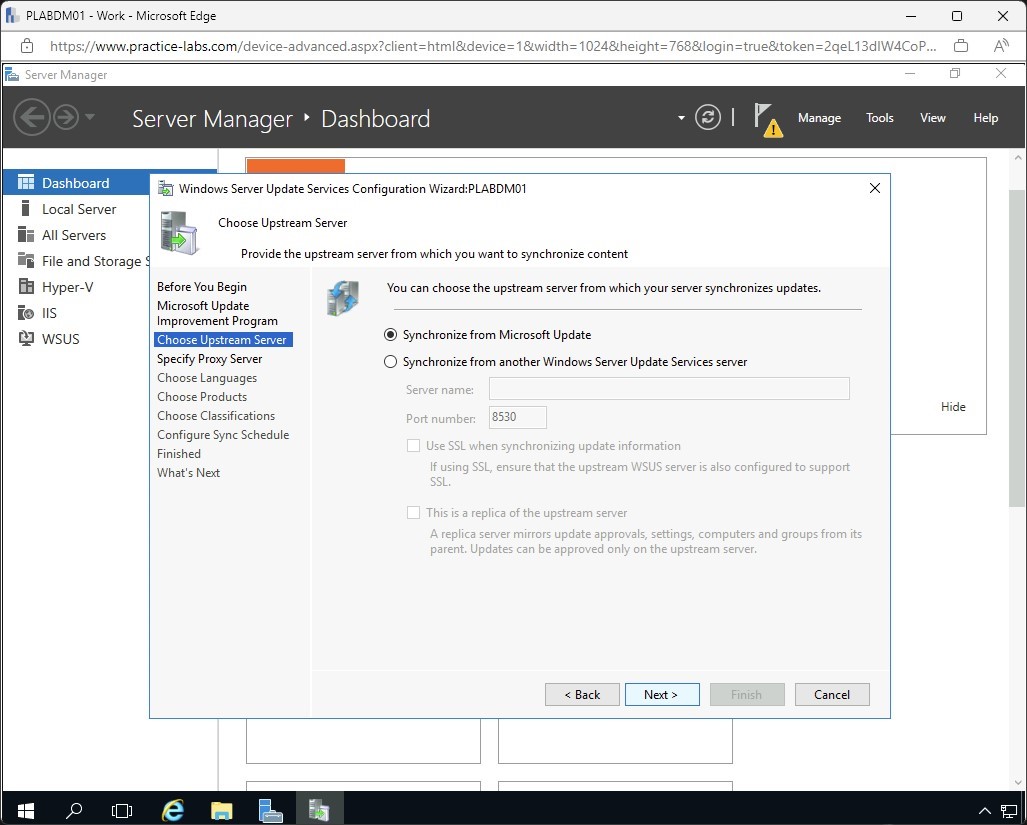
Since this is the first WSUS server to be rolled out for this lab, accept the default setting to Synchronise from Microsoft Update option.
Click Next.
Step 9
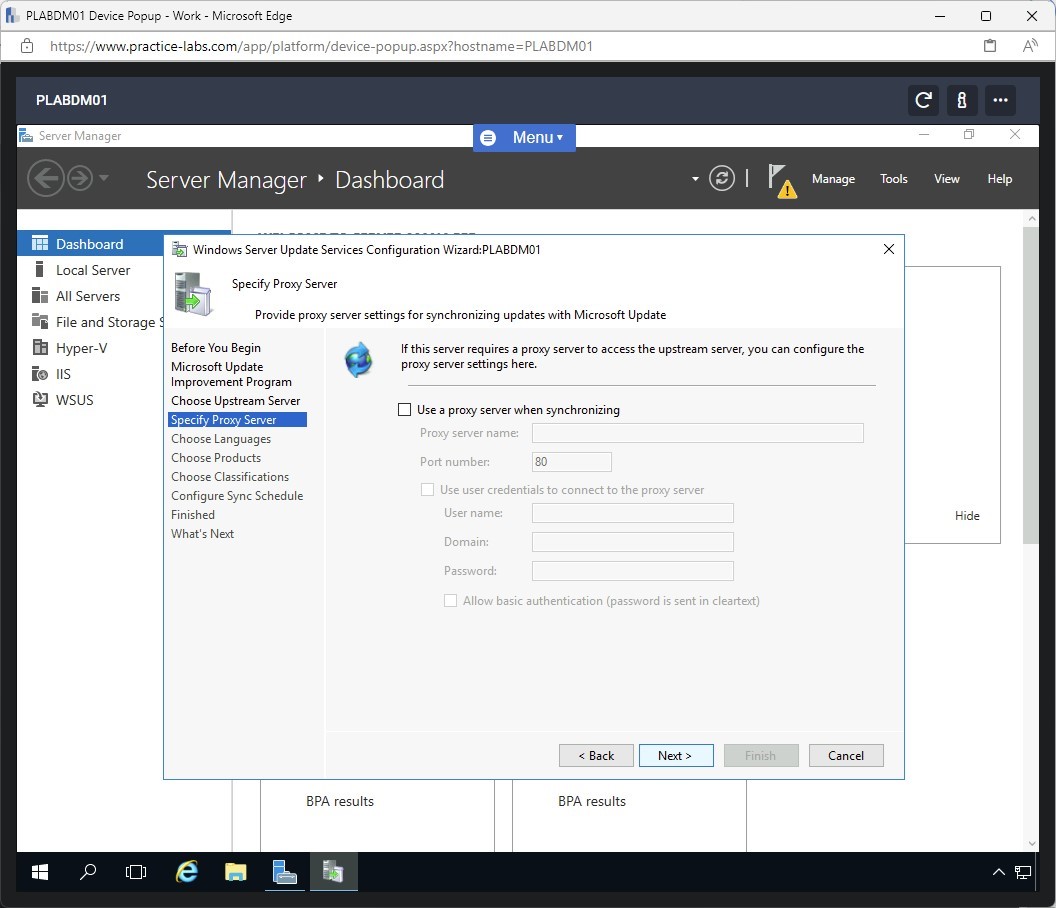
On Specify Proxy Server page, select Use a proxy when synchronizing. Enter the following information:
Proxy server name: proxy
Port number: 8080
Click Next.
Step 10
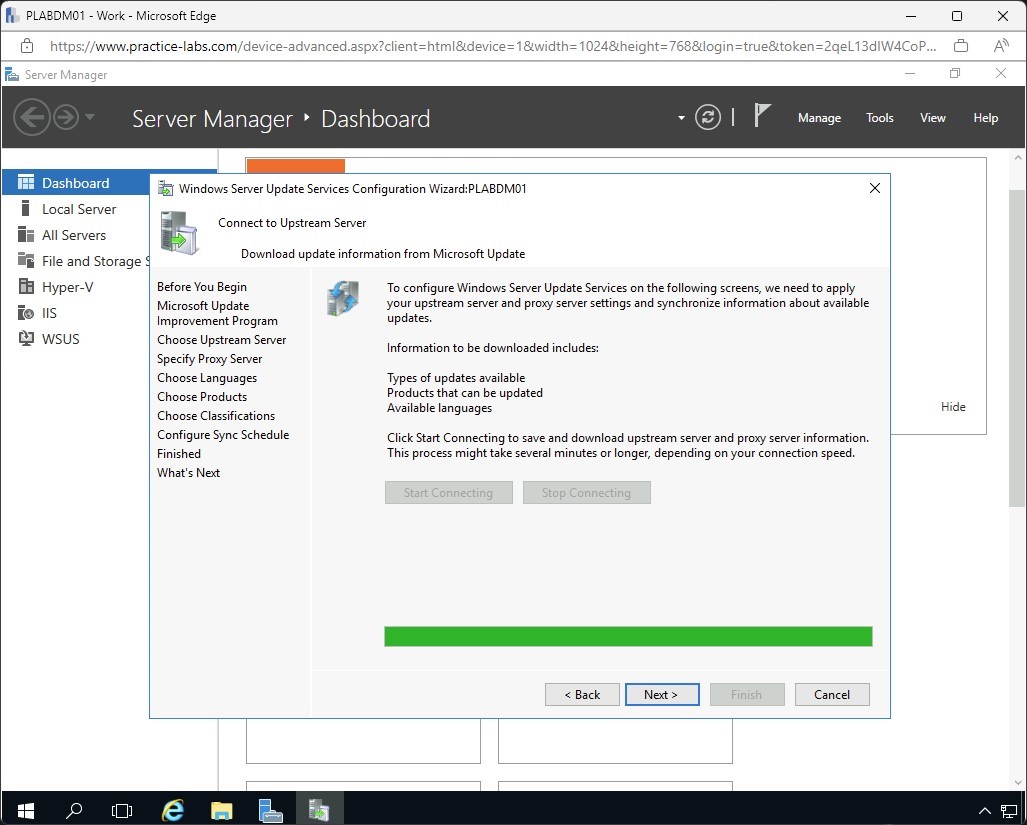
On Connect to Upstream Server, click on Start Connecting.
On Connect to Upstream Server screen, please wait while it downloads update information from Microsoft.
Step 11
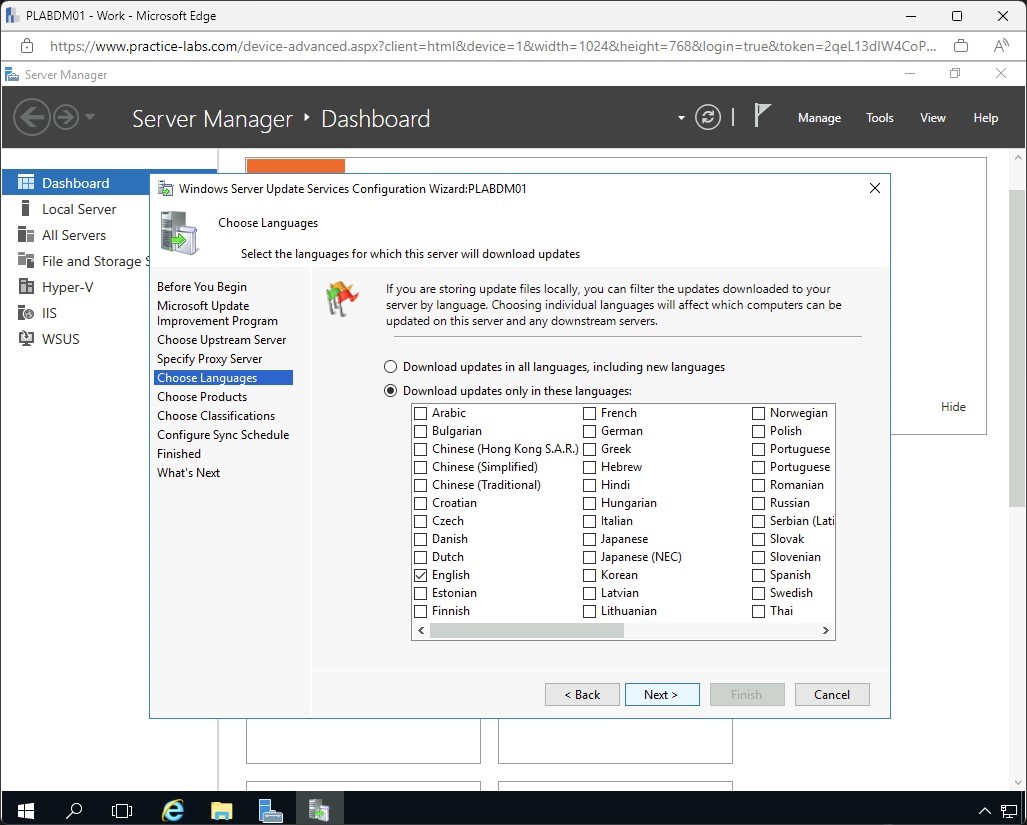
On Choose Languages page, verify that only English check box is selected.
Click Next.
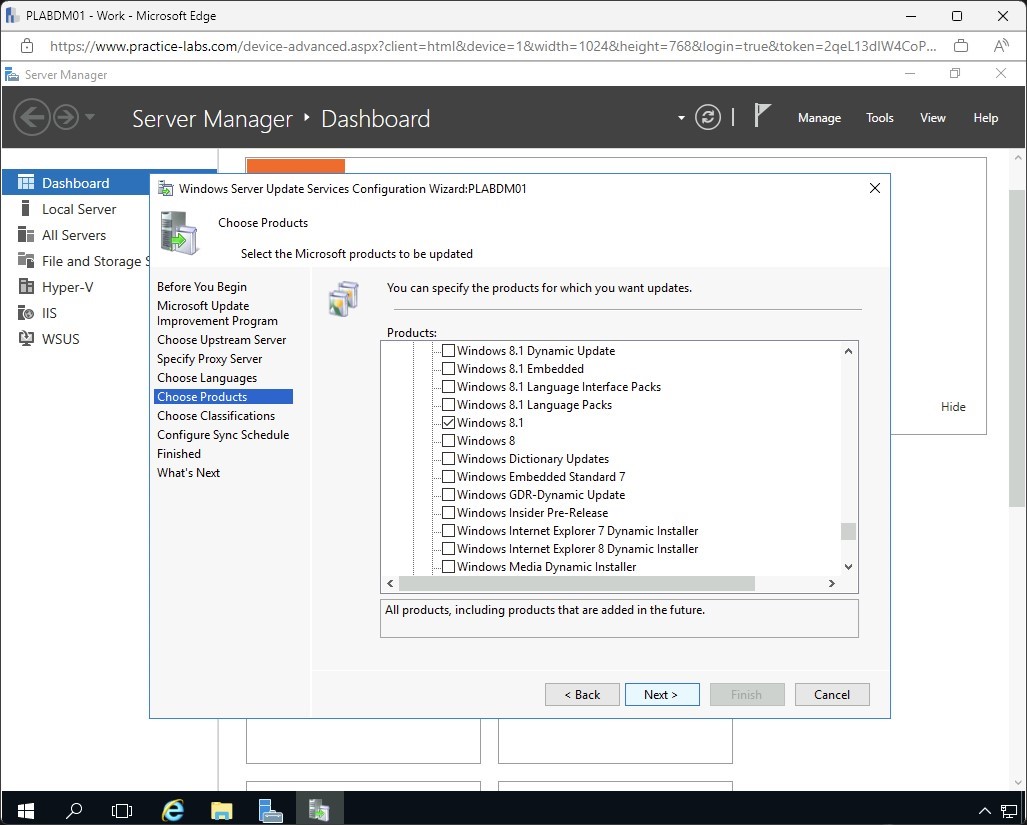
Step 12
Scroll down the list of products and select Windows 10 and Windows 8.1.
Click Next.
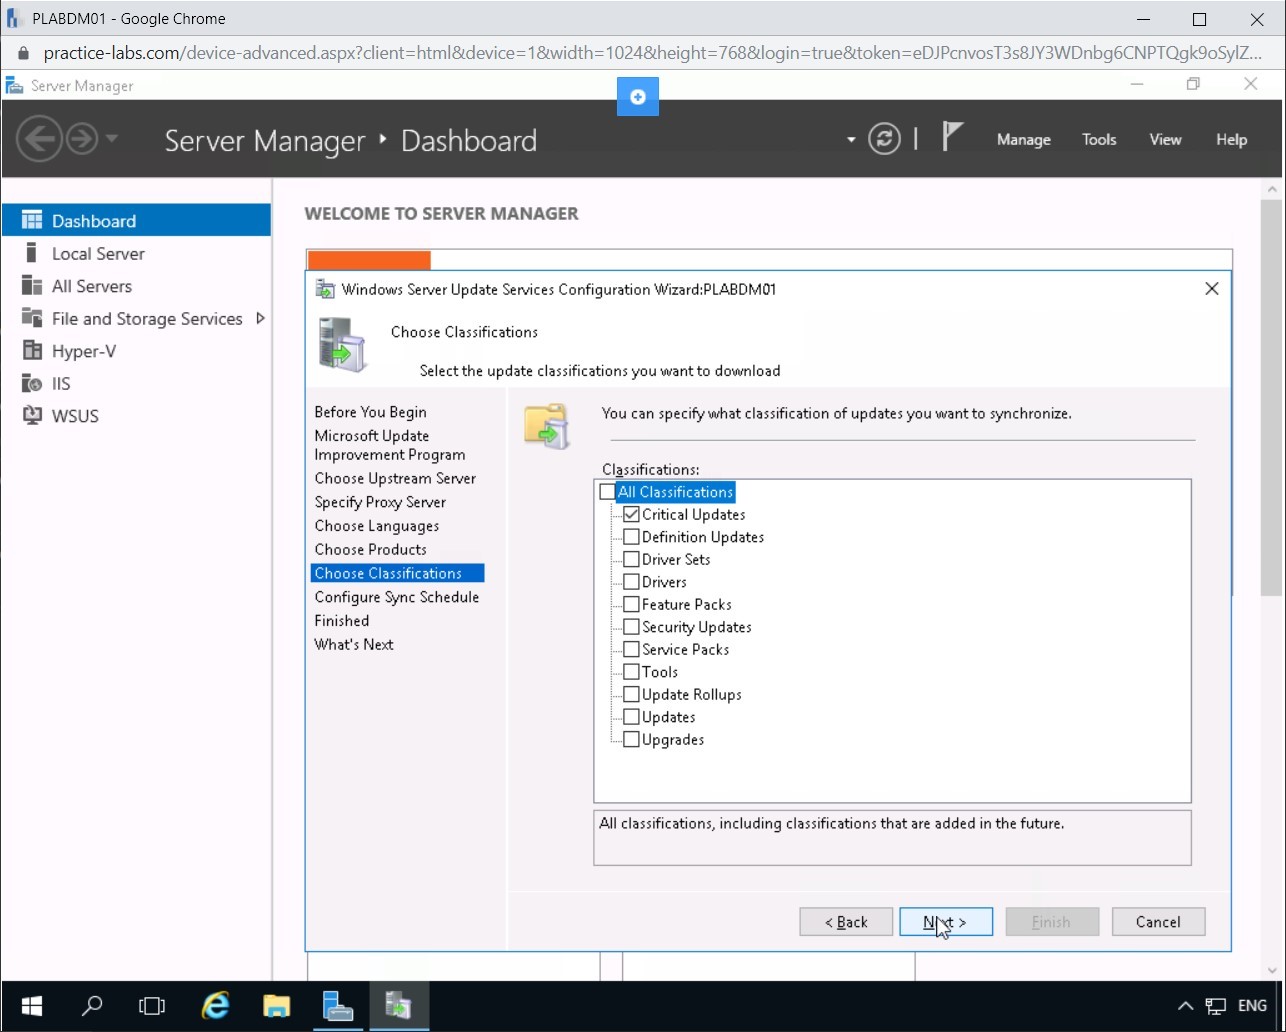
Step 13
On the Choose Classifications page, select only Critical Updates check box.
Choose Next.

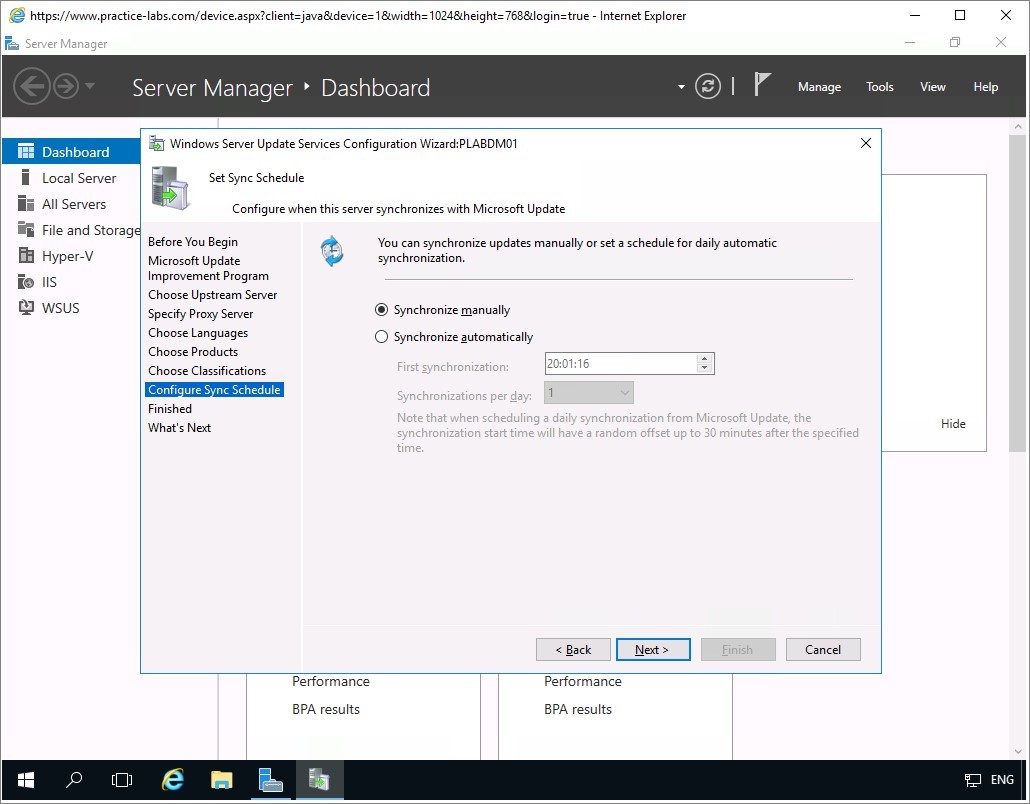
Step 14
On the Set Sync Schedule page, accept the default to Synchronise manually.
Click Next.
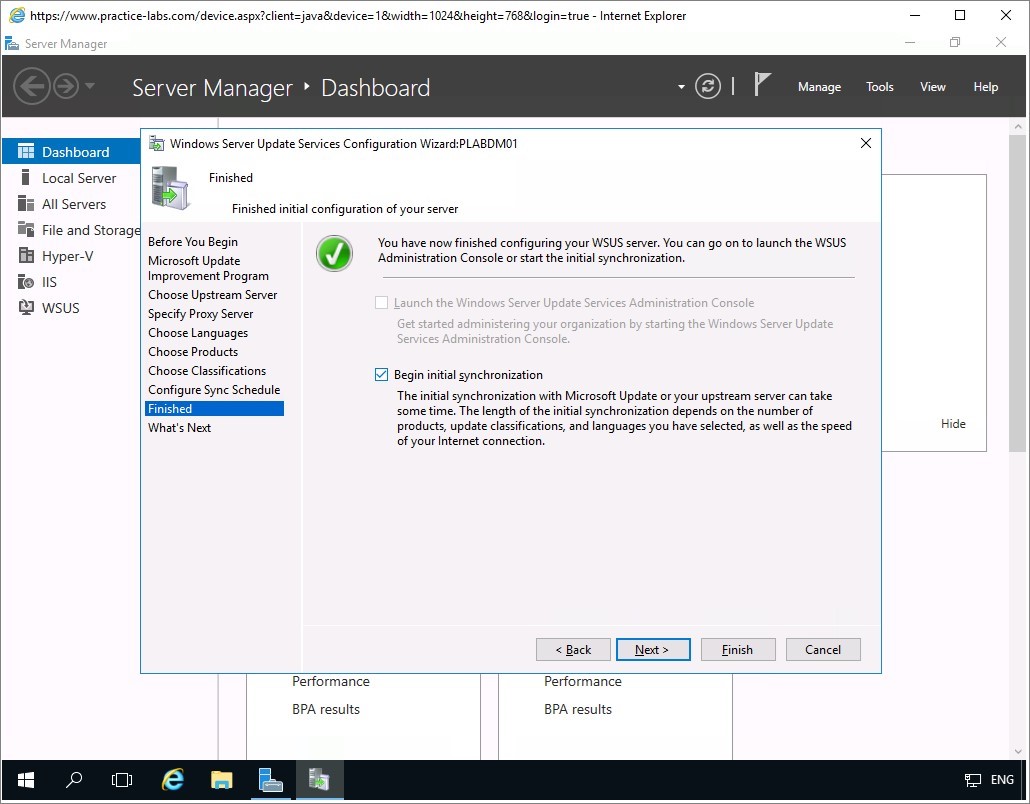
Step 15
On the Finished screen, select Begin initial synchronisation check box and choose Next.
On the What's Next page, click Finish.
Step 16
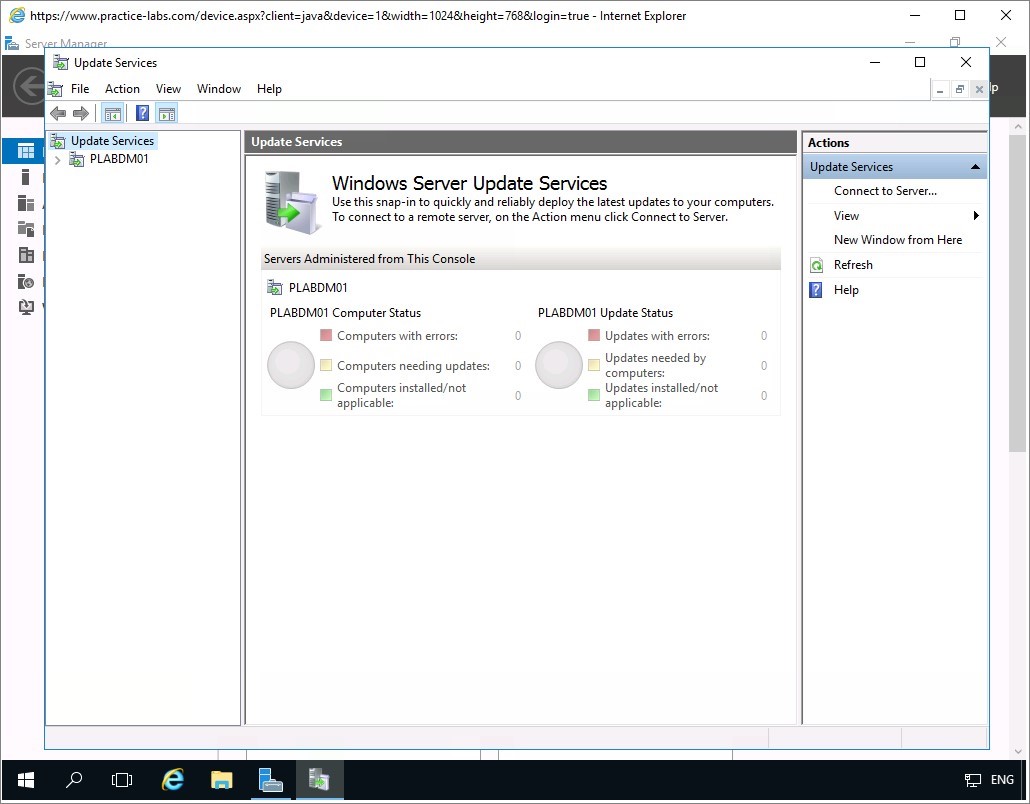
The Update Services console will automatically open.
If you don’t see it, click on the taskbar as it appears as a minimized icon.
Step 17
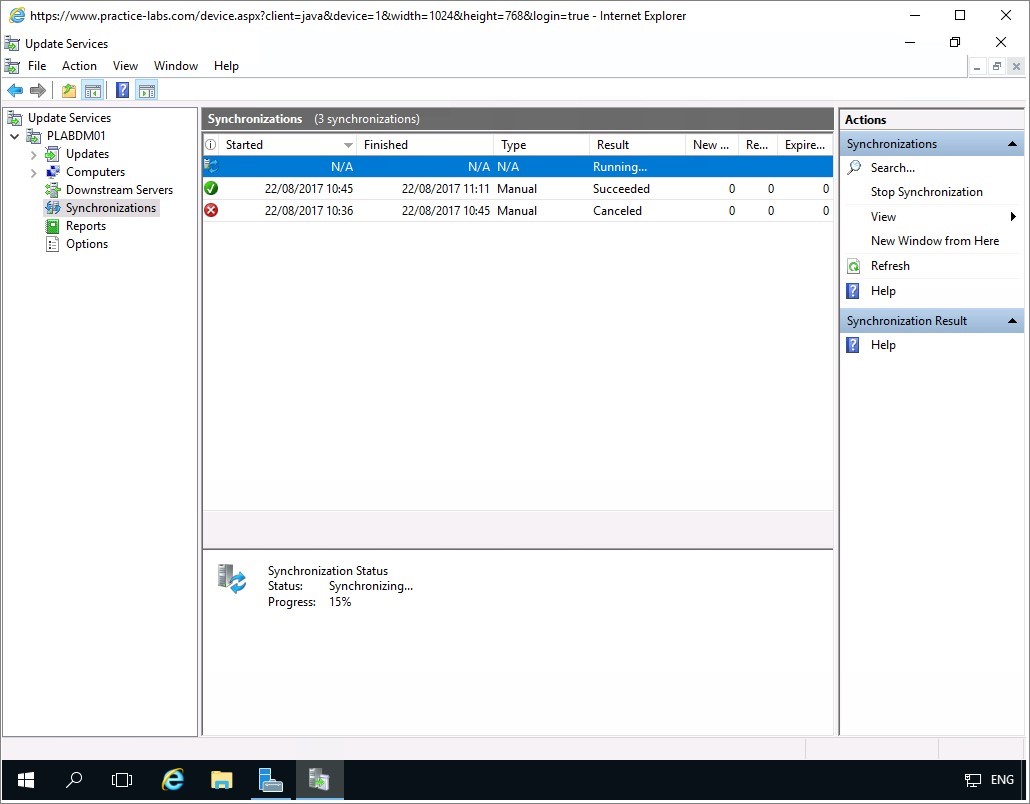
Expand PLABDM01 node.
Click on Synchronizations node, and you can see the progress of downloading the updates from Microsoft on the bottom center pane.
Wait for the synchronization to complete. This will take a few minutes to finish.
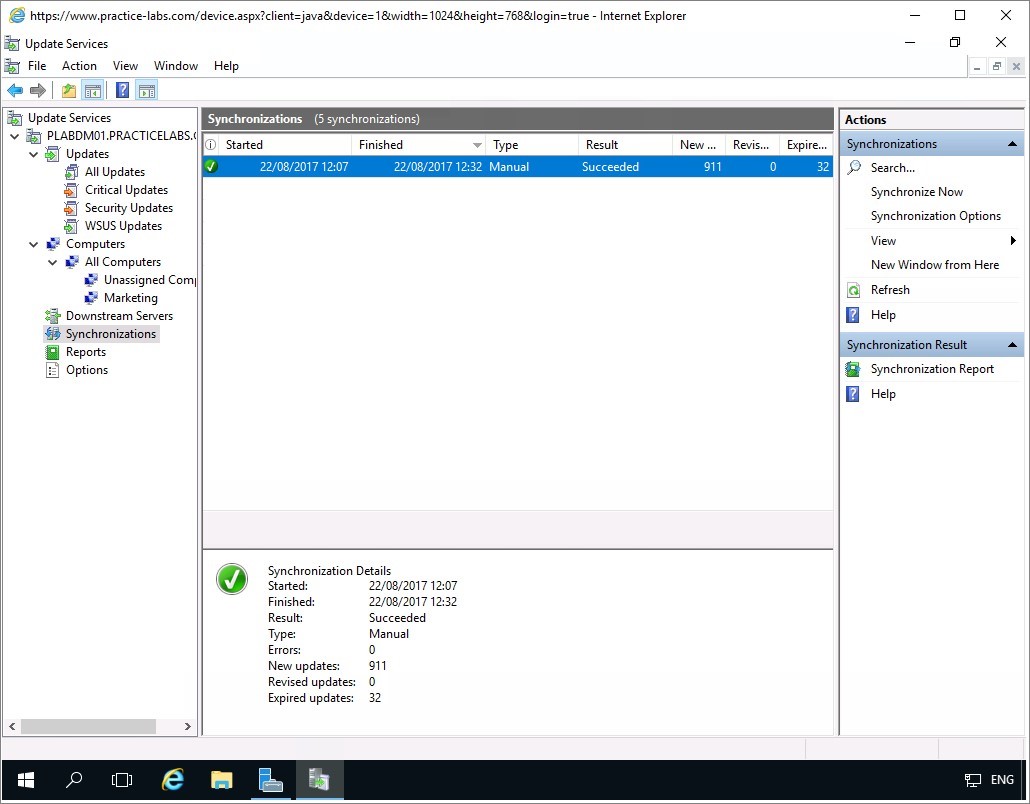
Step 18
When Synchronization is complete, you can see the details of the download.
Minimize Update Services console.
Keep all devices powered on in their current state and proceed to the next task.
Task 3 - Enable SSL for WSUS Server
For security reasons, it is important that you enable secure sockets layer for WSUS server to encrypt web network traffic between the server and the requesting clients. In addition, SSL verifies the identity of the WSUS server when Windows update clients make a connection to it.
To enable SSL on the WSUS server, perform the following steps:
Step 1
On PLABDM01 device, go to Server Manager Dashboard, click on Tools and select Internet Information Services Manager.
Step 2
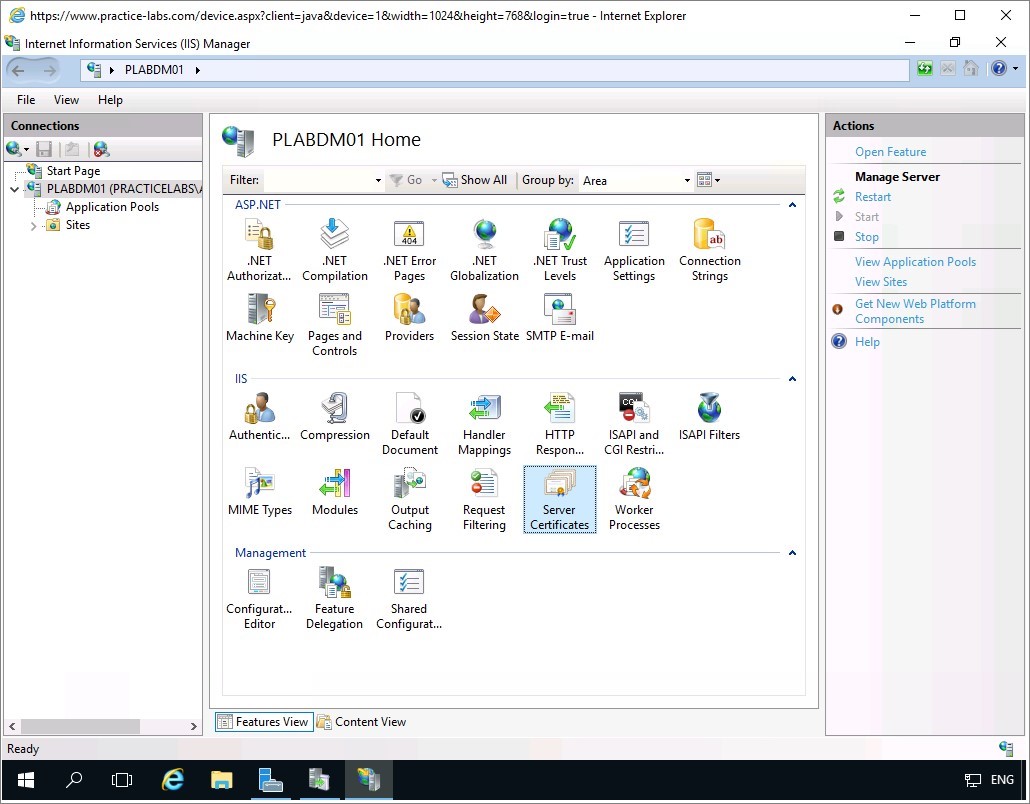
Alert: If you get a prompt about updating to latest web platform components, click No.On IIS Manager, click on PLABDM01 and on centre pane select Server Certificates.
On Actions pane, click Open Feature.
Step 3
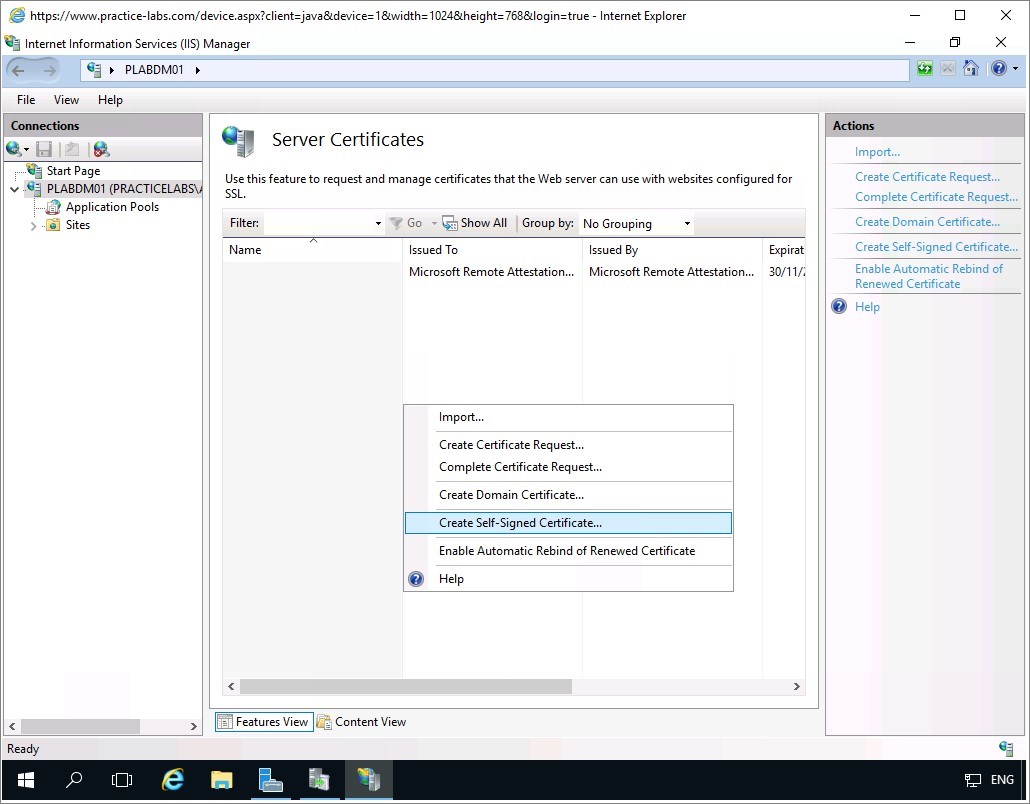
On Actions pane, click Create Self-Signed Certificate.
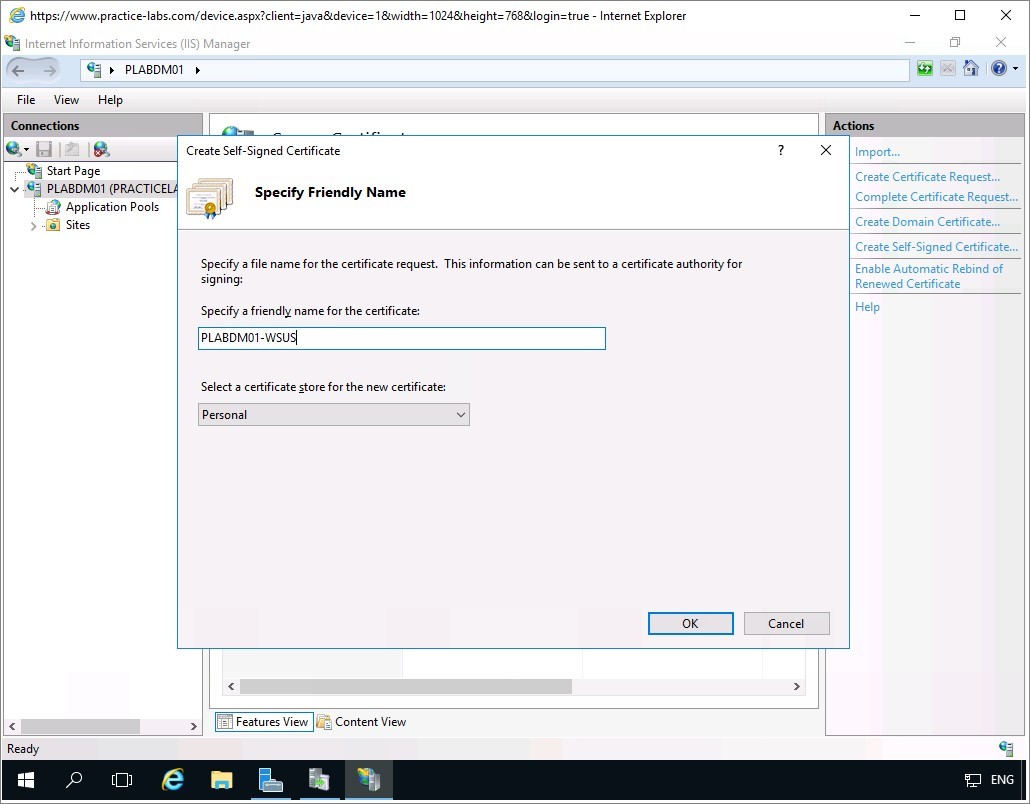
Step 4
On the Specify Friendly Name dialog box, use the following information:
Specify a friendly name for the certificate: PLABDM01-WSUS
Select a certificate store for the new certificate: Personal
Click OK.
Step 5
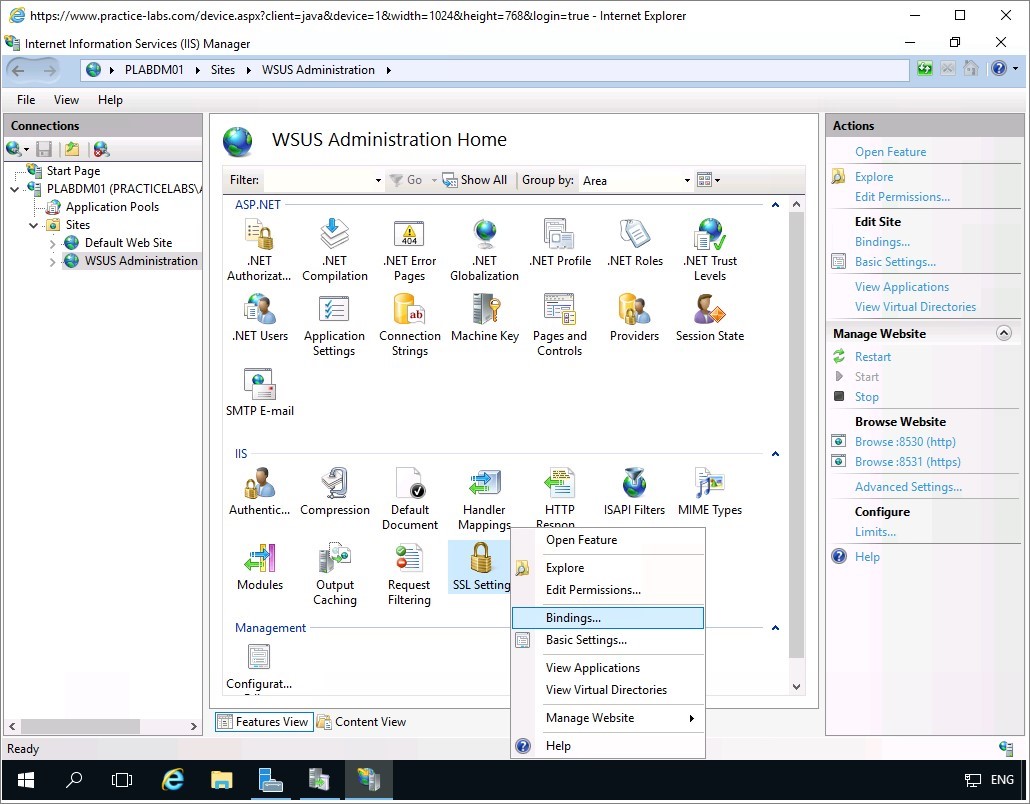
Expand Sites and then click on WSUS Administration.
On the centre pane, right-click on SSL Settings and choose Bindings...
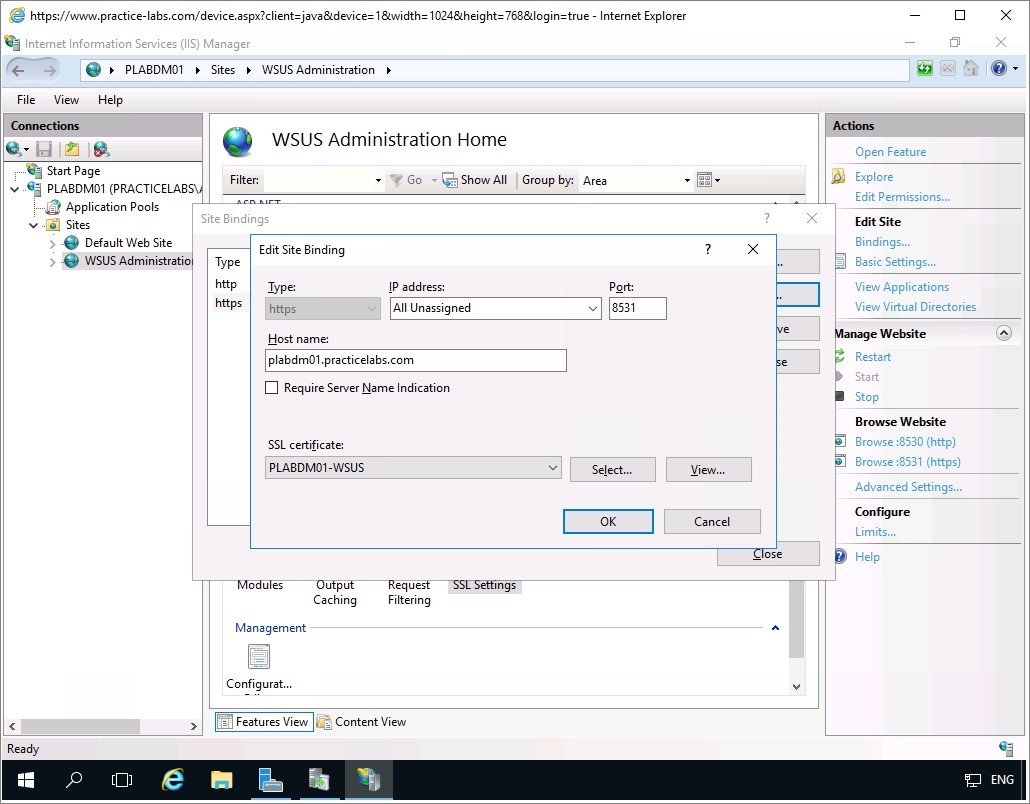
Step 6
On the Site Bindings dialog box, select https and click Edit.
Step 7
On the Edit Site Binding dialog box, use the following information:
Hostname: plabdm01.practicelabs.com
Choose SSL certificate PLABDM01-WSUS from the drop down list.
Click OK.
Click Close to save changes in Edit Bindings.
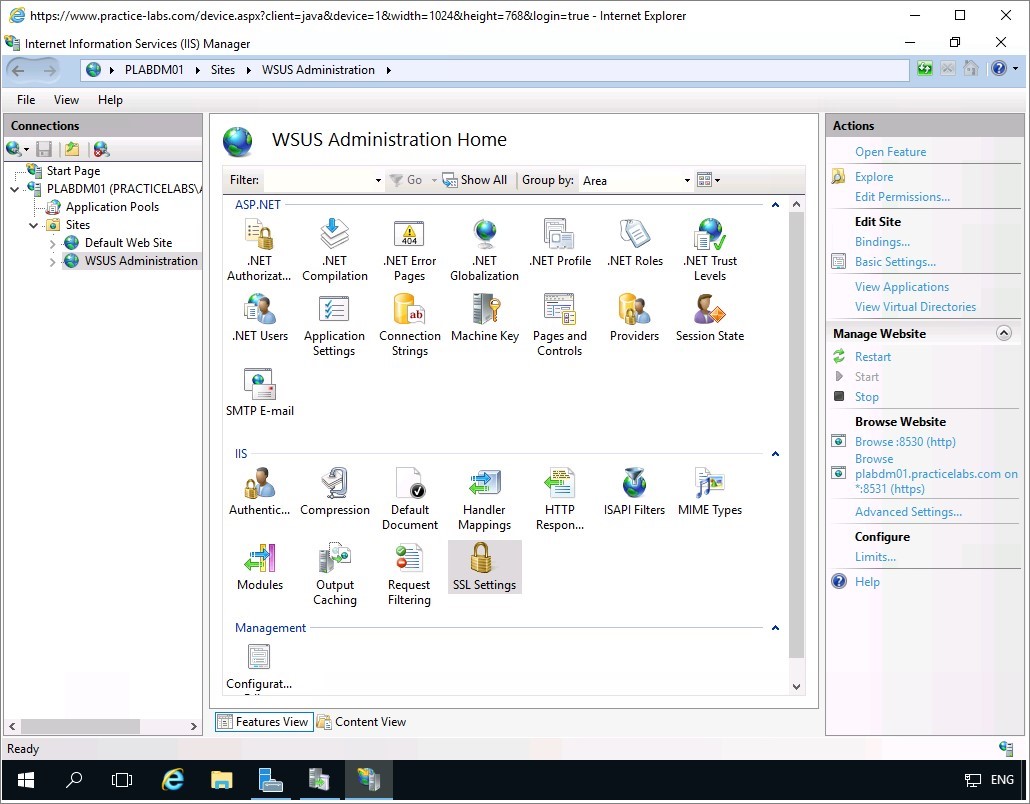
Step 8
Back in the IIS Manager, click on WSUS Administration and on centre pane right-click on SSL Settings, and select Open Feature.
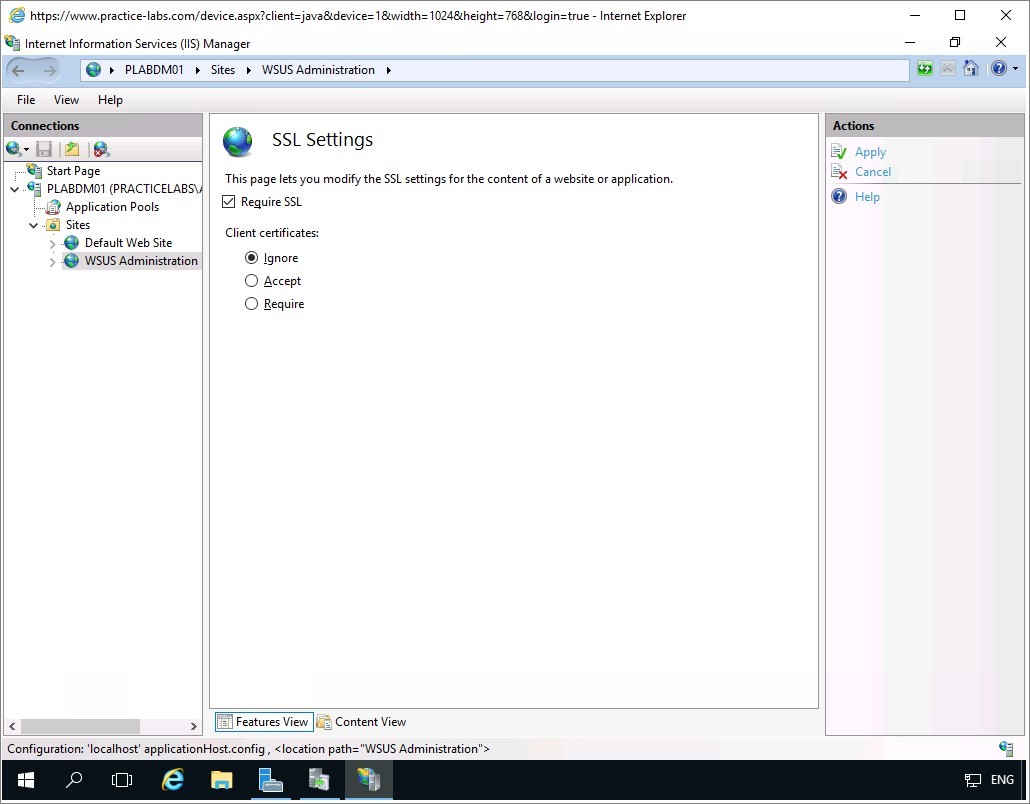
Step 9
On the SSL Settings dialog box, select Require SSL check box.
Then on Actions pane, click Apply.
Step 10
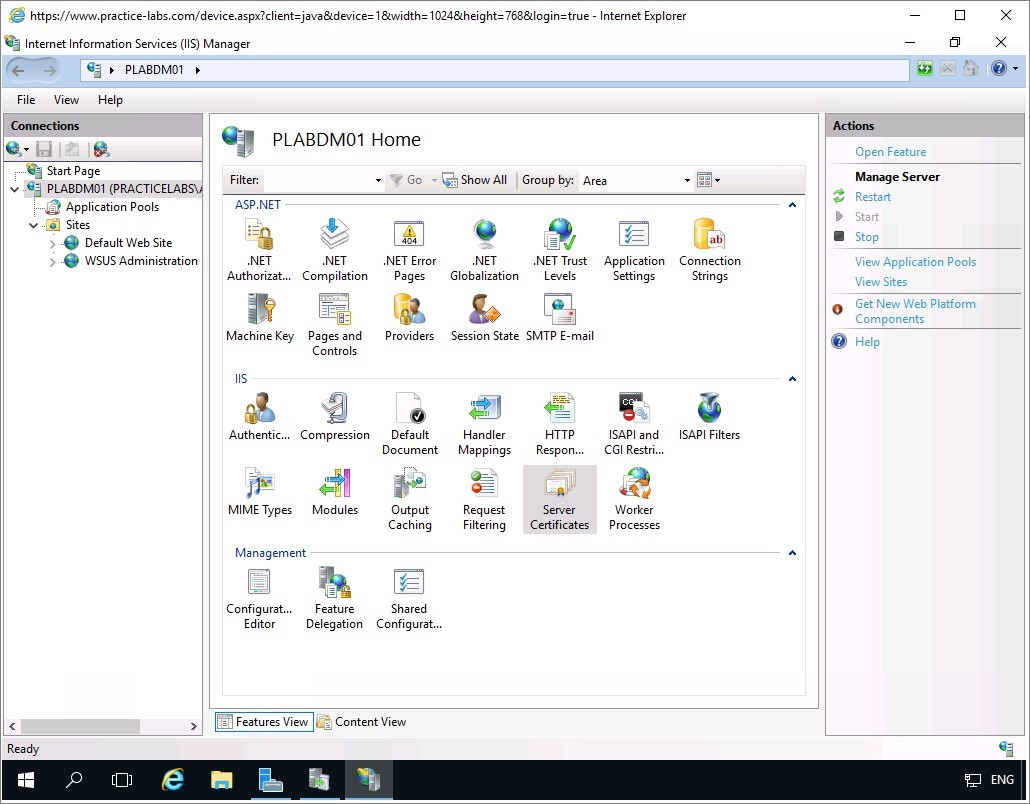
In this step, you will export the self-signed certificate to a file.
Click on PLABDM01.PRACTICELABS.COM and on the centre pane, right-click on Server Certificates and choose Open Feature.
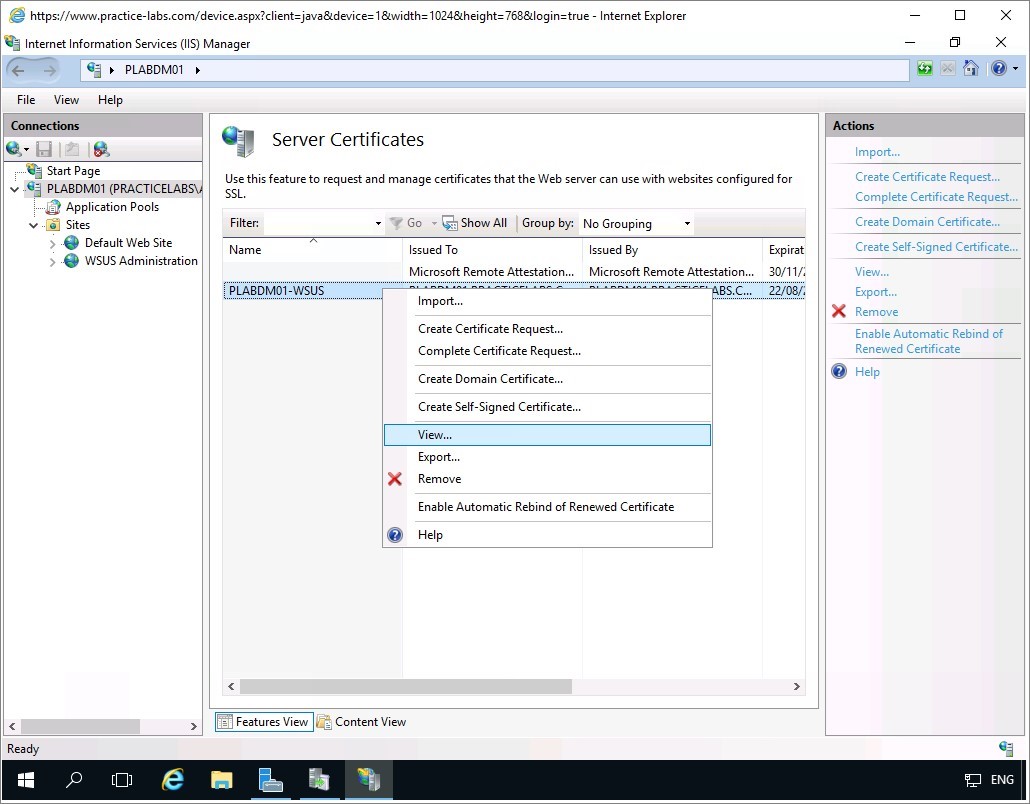
Step 11
On the Server Certificates pane, right-click on PLABDM01-WSUS on the middle pane and choose View…
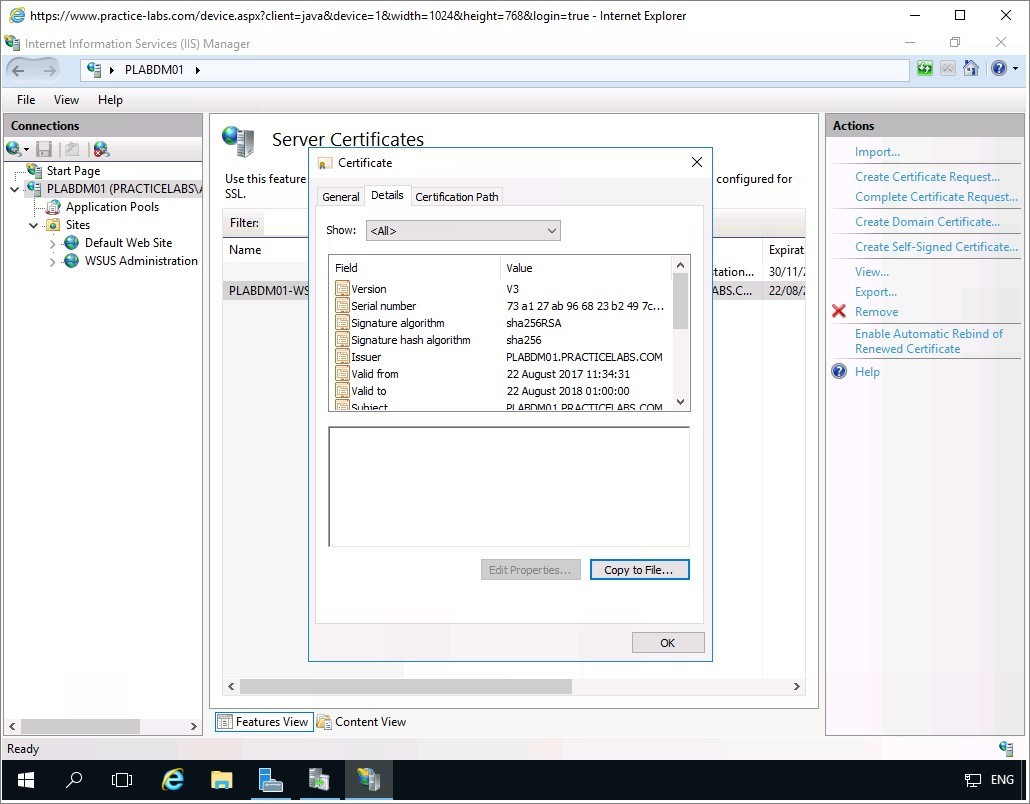
Step 12
From Certificate dialogue box, go to Details tab.
Click Copy to File…
On the Welcome to the Certificate Export Wizard page, click Next.
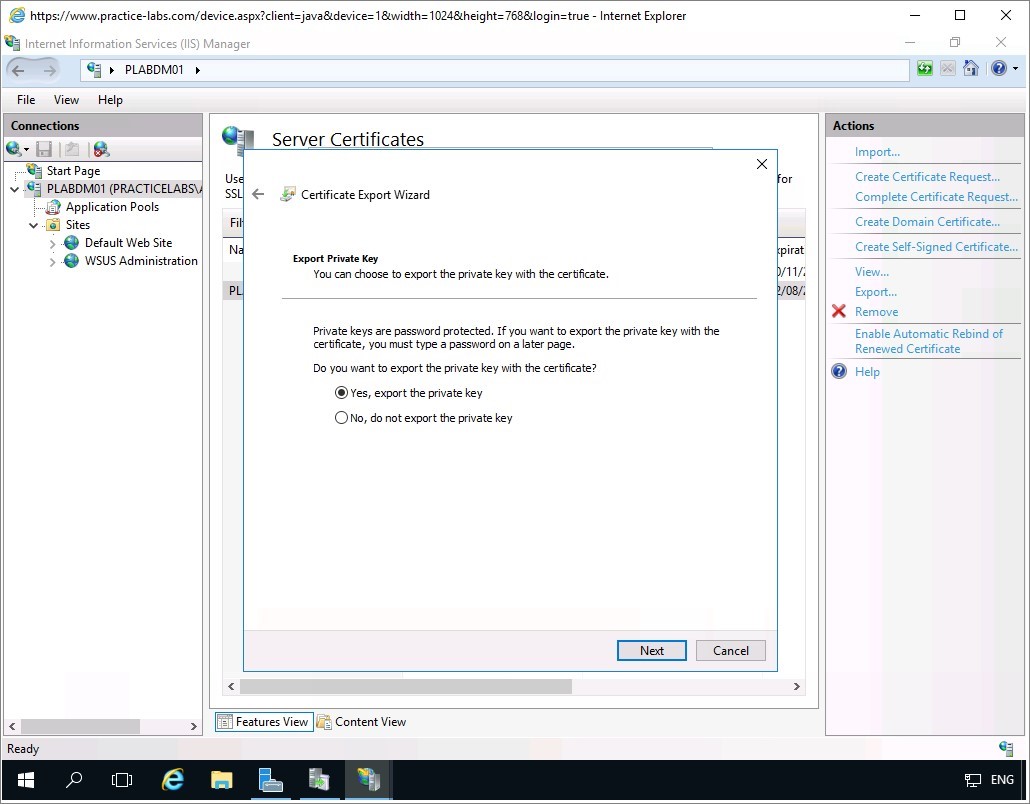
Step 13
From the Export Private Key page, click Yes, export the private key option button. Click Next.
Keep the default Export File Format options and click Next.
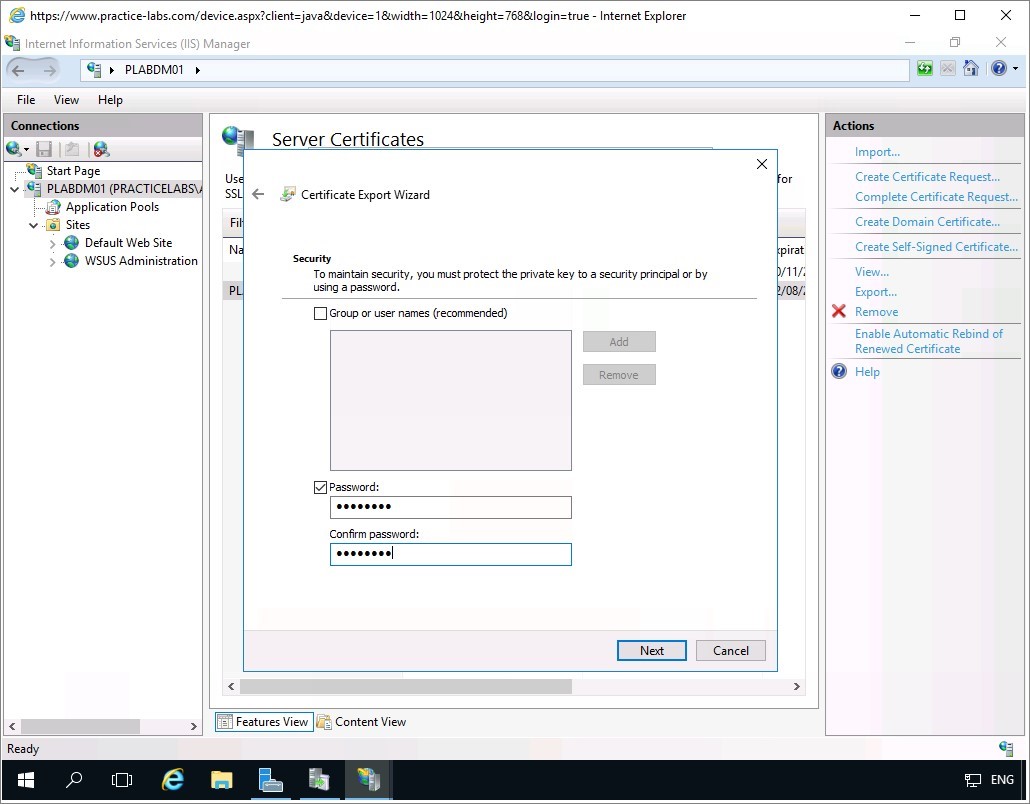
Step 14
In the Security page, click Password check box and then type the following in each text box:
Passw0rdClick Next.
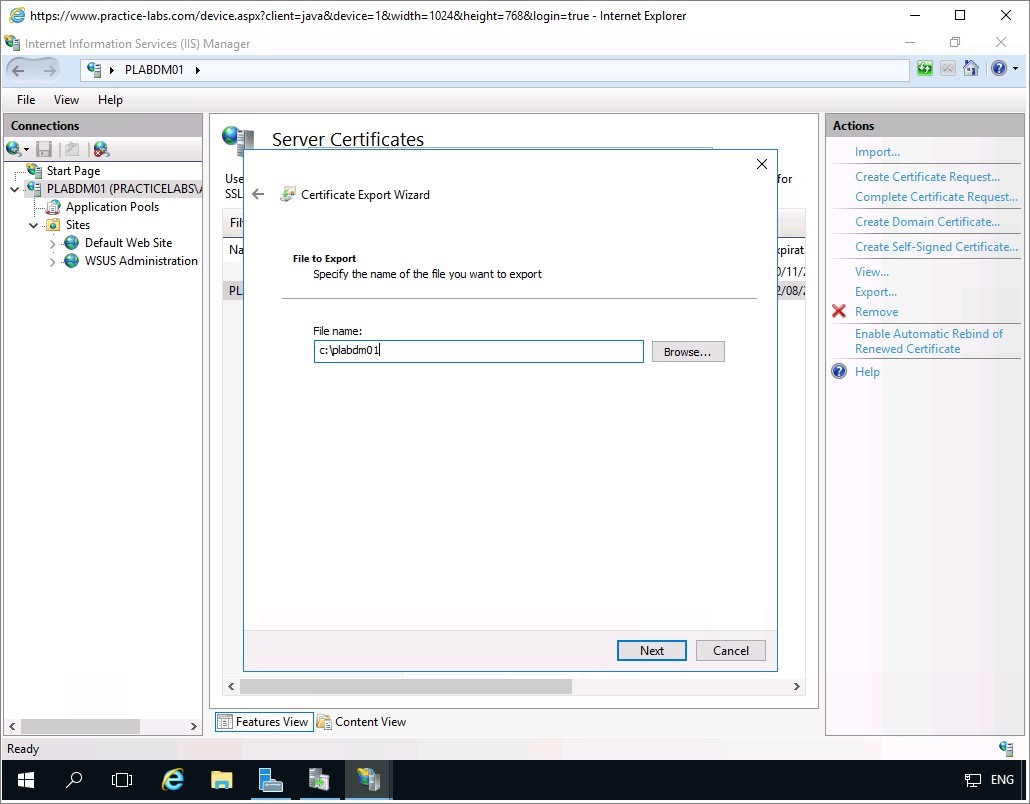
Step 15
From the File to Export page, type:
C:\plabdm01
Click Next.
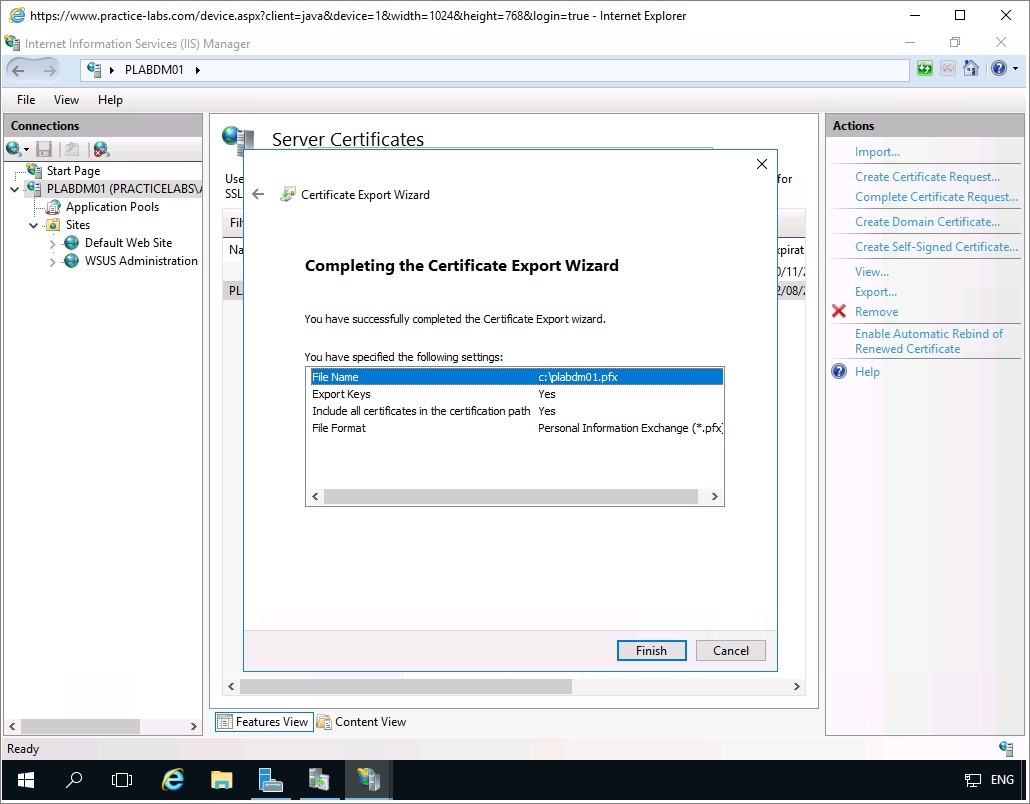
Step 16
In the Completing the Certificate Export Wizard page, click Finish.
Click OK when notified that the export was successful. Click OK to close Certificate dialogue box. Close the IIS Manager console.
Keep all devices powered on in their current state and proceed to the next task.
Task 4 - Configure domain to trust self-signed certificate
To setup the self-signed certificate to be trusted by the Windows domain, follow these steps:
Step 1
Connect to PLABDC01.
From Server Manager Dashboard, Click on Tools menu and select Group Policy Management.
Step 2
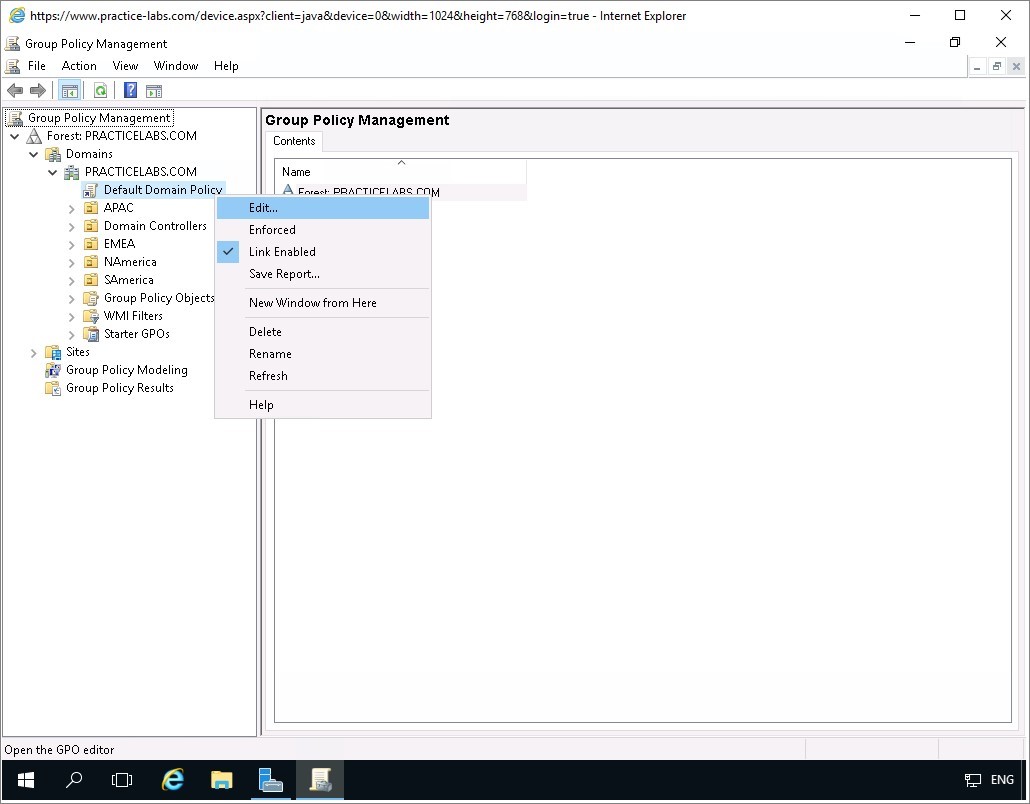
Expand Forest: PRACTICELABS.COM, then expand Domains and finally expand PRACTICELABS.COM.
Note: Ignore the screen prompt about GPO links by choosing OK.Right-click on Default Domain Policy, then select Edit…
Step 3
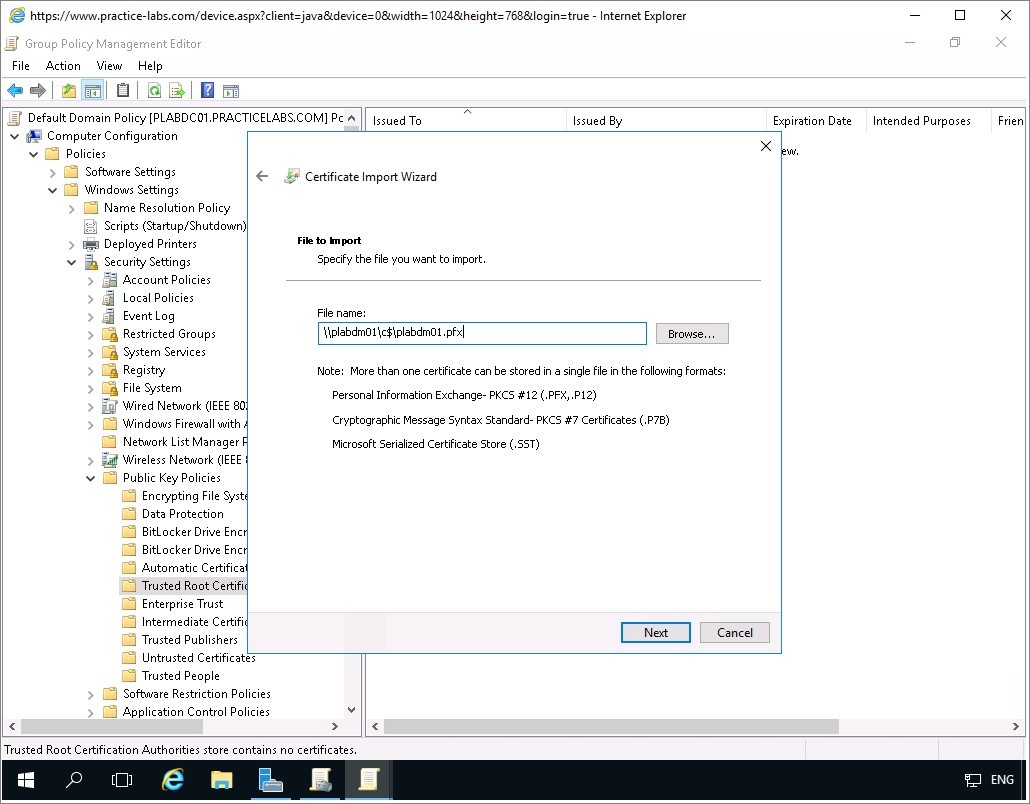
In Group Policy Management Editor window, navigate to Computer Configuration > Policies > Windows Settings > Security Settings > Public Key Policies > Trusted Root Certification Authorities.
Right-click on details pane and then select Import…
Click Next in the Welcome to the Certificate Import Wizard page.

Step 4
From the File to Import page, click in File name box and type:
\\plabdm01\c$\plabdm01.pfx
Click Next.
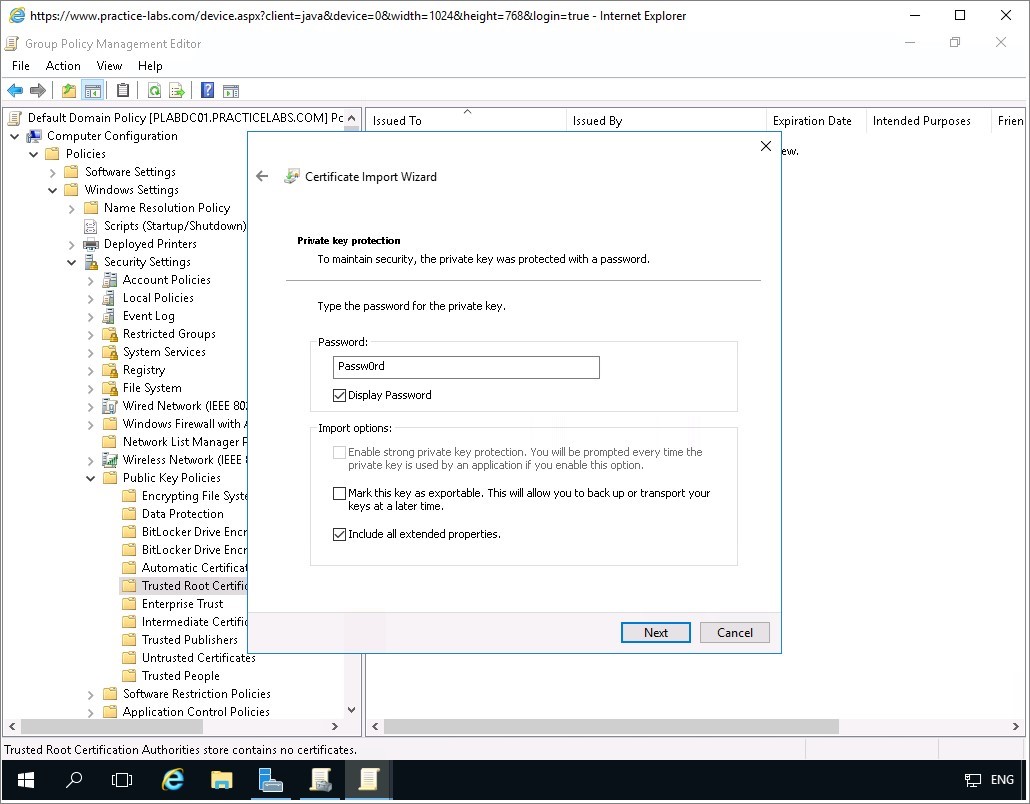
Step 5
From the Private key protection page, type:
Passw0rdKeep the other default settings. Click Next.
In Certificate Store page, click Next.

Step 6
Click Finish to close Completing the Certification Import Wizard page.
Click OK when prompted that the import was successful.
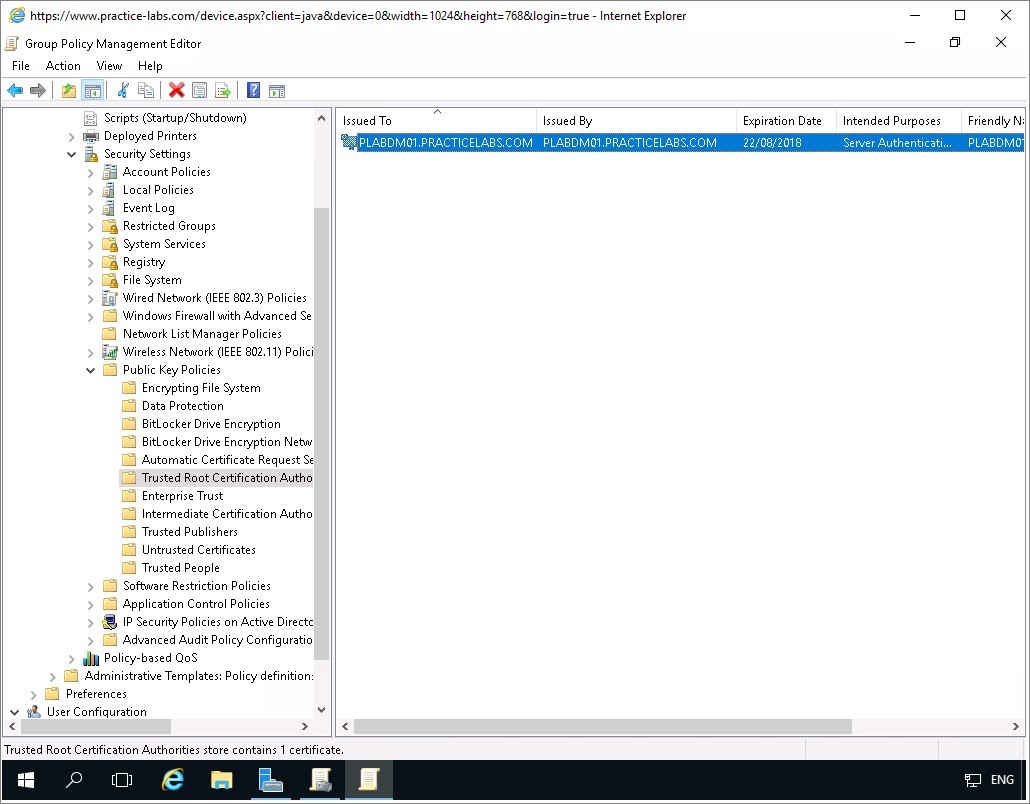
Step 7
The self-signed certificate is now added.
Close Group Policy Management Editor and Group Policy Management Console windows.
Create Computer Groups for WSUS
Computer groups enable you to target updates to specific computers. In this exercise you will go through the steps of creating and assigning these groups.
Please refer to your course material or use your preferred search engine to research this topic in more detail.
Task 1 - Create Computer Groups
To create the computer groups, follow these steps:
Step 1
On PLABDM01, go back to Windows Server Update Services.
Press F5 to refresh the screen.
Alert: If a Connection Error is presented, go to Actions pane and click on Remove from Console. This error is caused by binding the self-signed certificate to PLADM01 - the Windows Server Update Services server.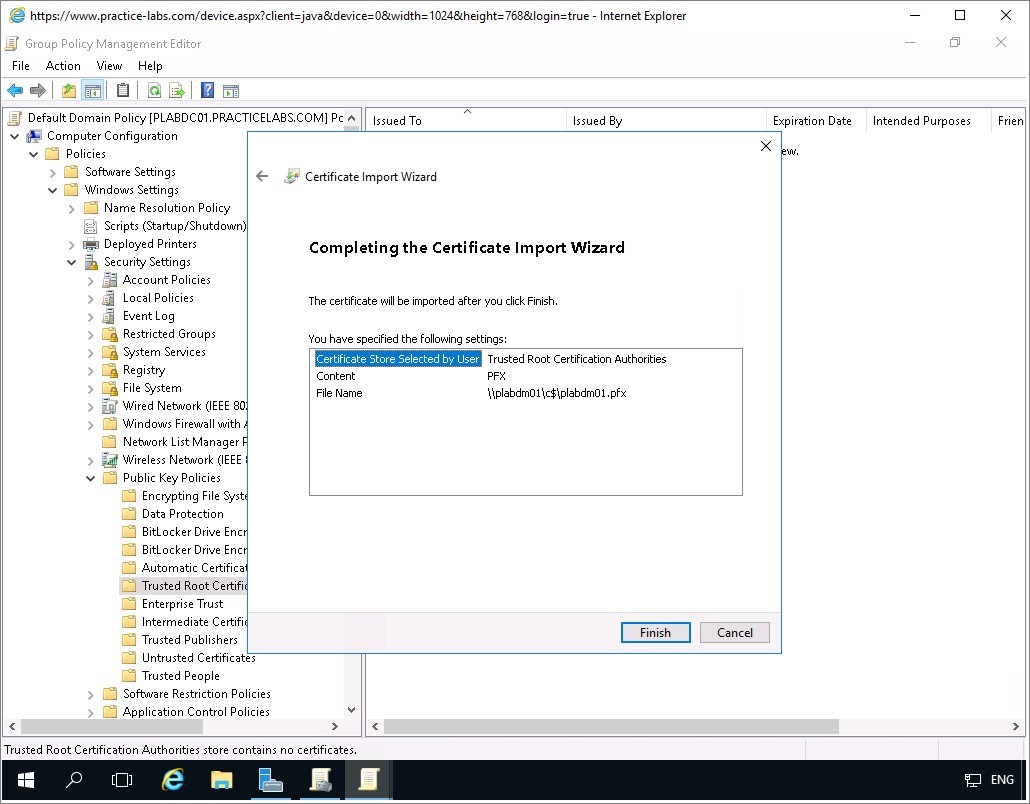
Step 2
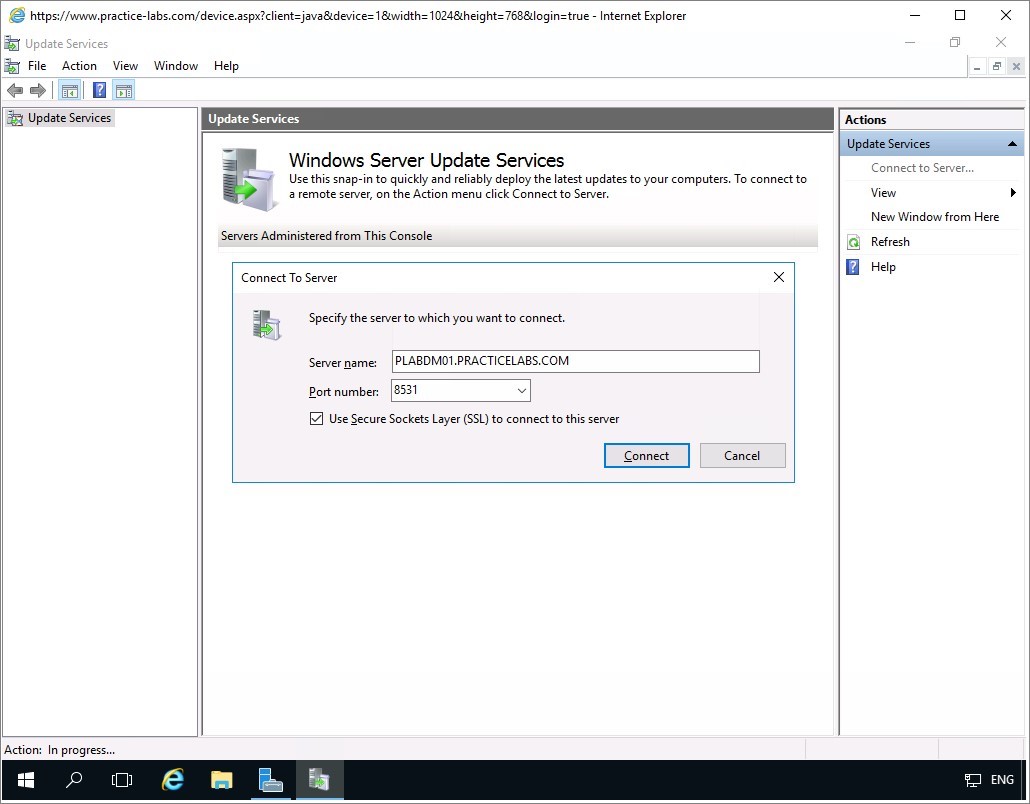
On the Actions pane, click Connect to Server.
On Connect to server dialogue box, in the Server name box, type PLABDM01.PRACTICELABS.COM.
Select Use Secure Sockets Layer (SSL) to connect to this server check box.
Choose Connect.
Step 3
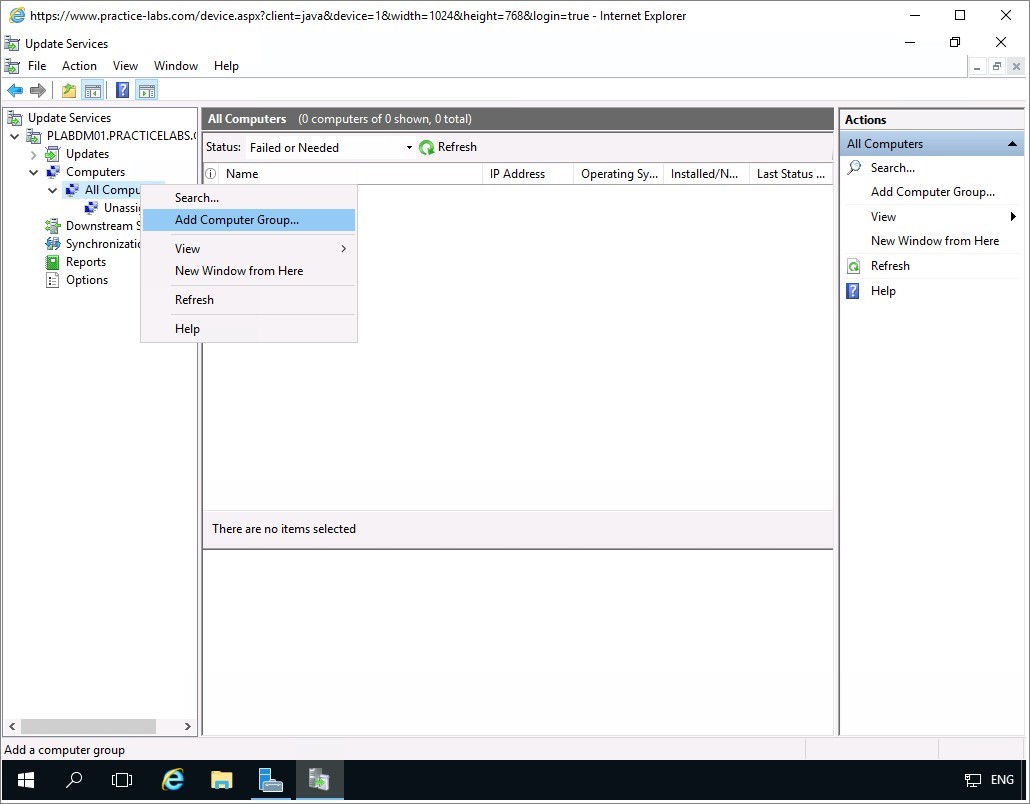
Expand the PLABDM01.PRACTICELABS.COM node.
The expand Computers and right-click on All Computers, and then select Add Computer Group...
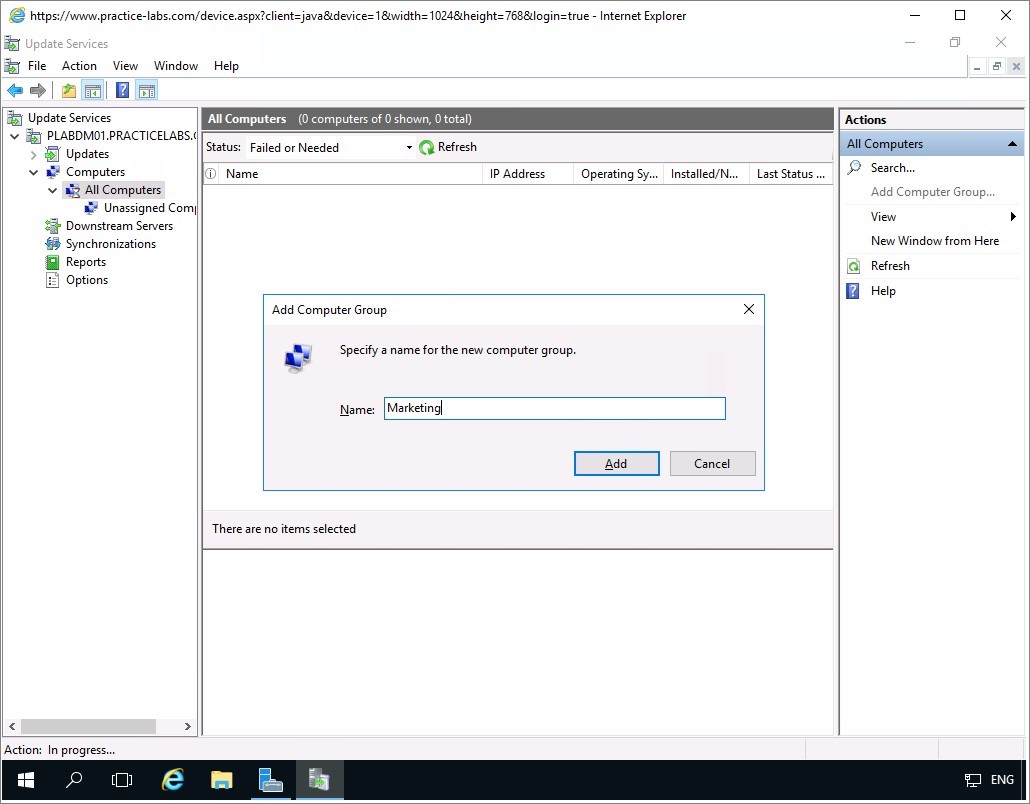
Step 4
On the Add Computer Group dialogue box, type Marketing and then choose Add.
Step 5
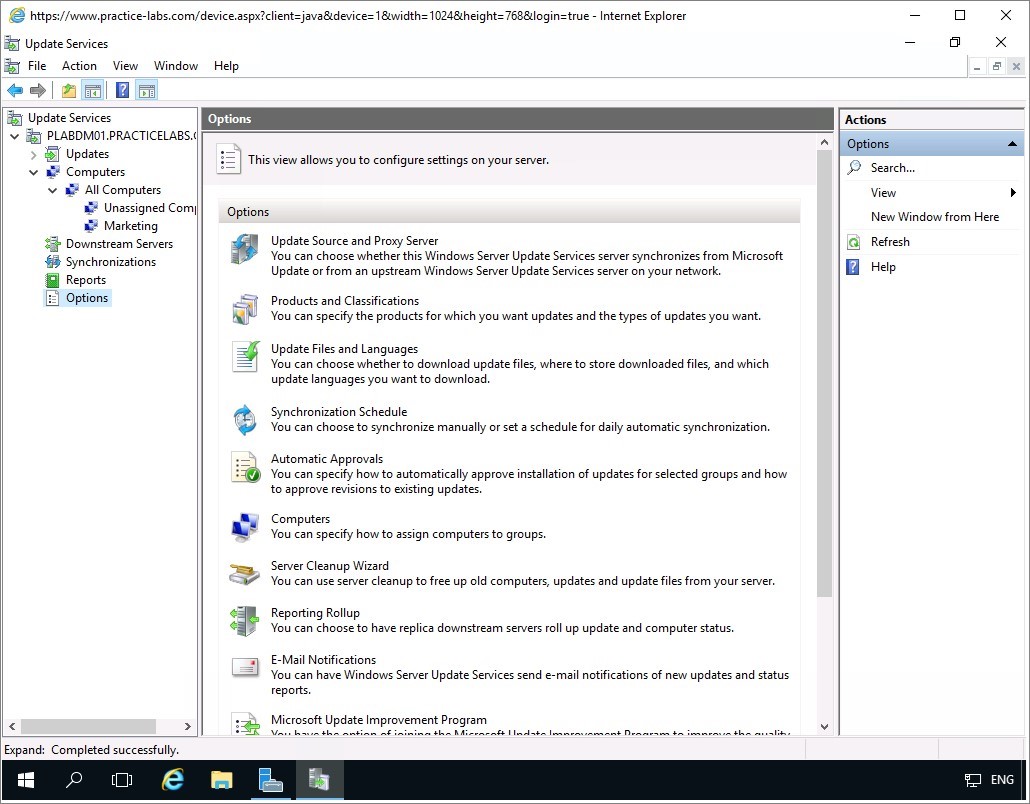
You will be redirected back to Update Services window.
Click on Options node and then on centre pane select Computers.
Step 6
On the Computers dialogue box, select Use Group Policy or registry settings on computers option button.
Click OK.
Keep all devices powered on in their current state and proceed to the next task.
Task 2 - Approve Downloaded Updates
To approve the downloaded updates, follow these steps:
Step 1
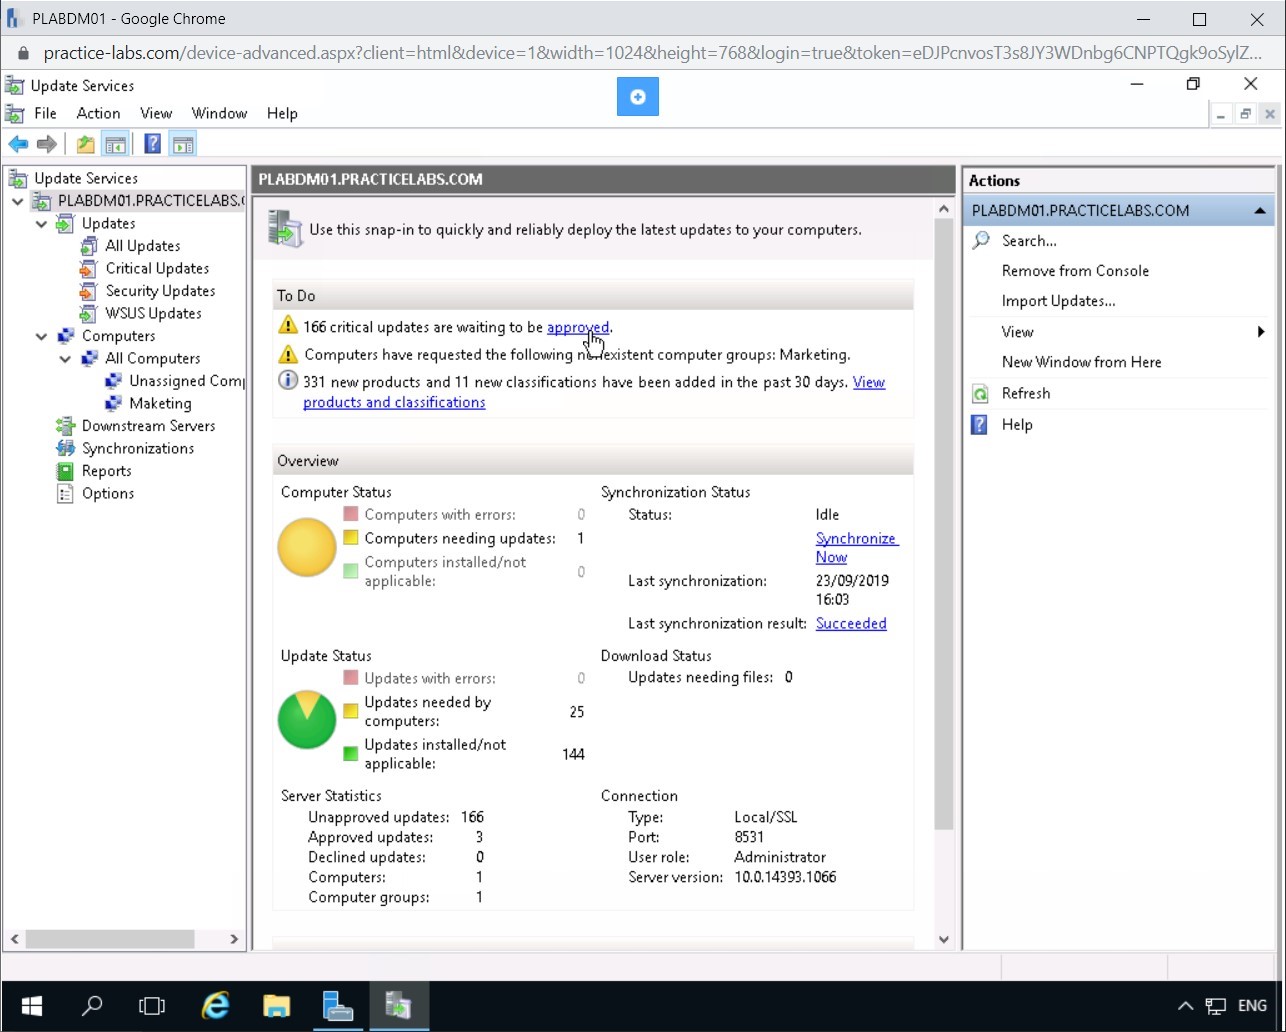
On PLABDM01, with the Update Services window open click on PLABDM01.PRACTICELABS.COM.
On the centre pane, under To Do section, click on X critical updates are waiting to be approved section,
Step 2
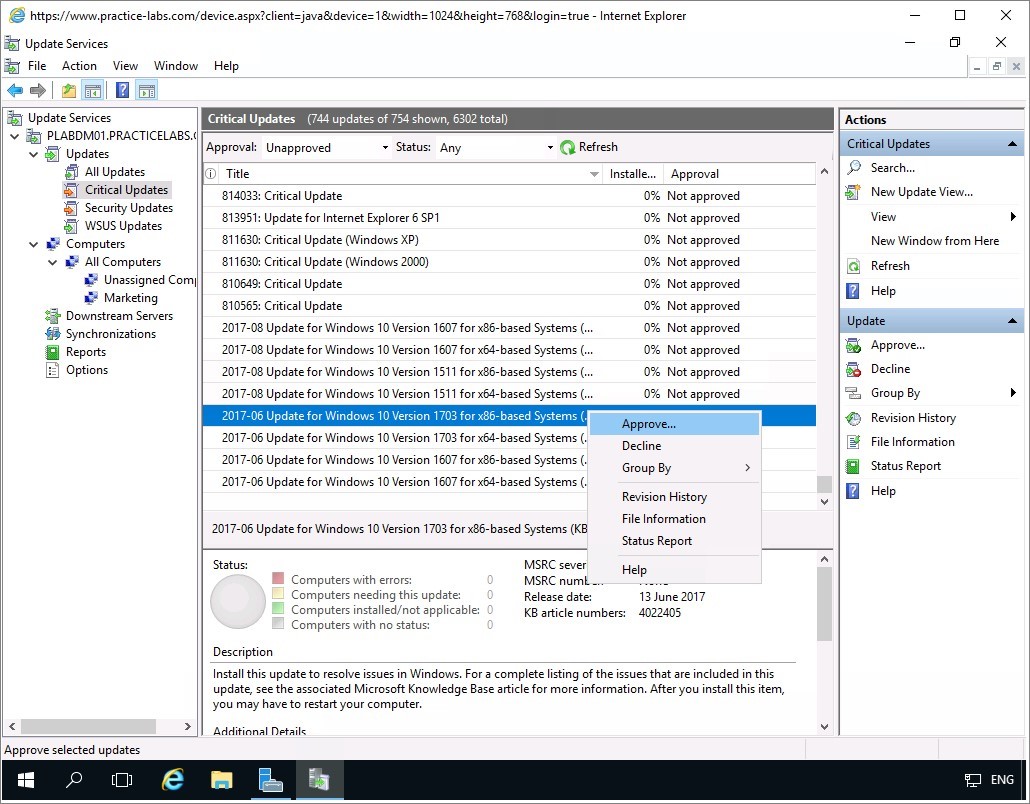
On the list of Critical Updates, choose any update and right-click on it and choose Approve.
Important: Select any Windows 10 critical update that has NOT been superseded by another update.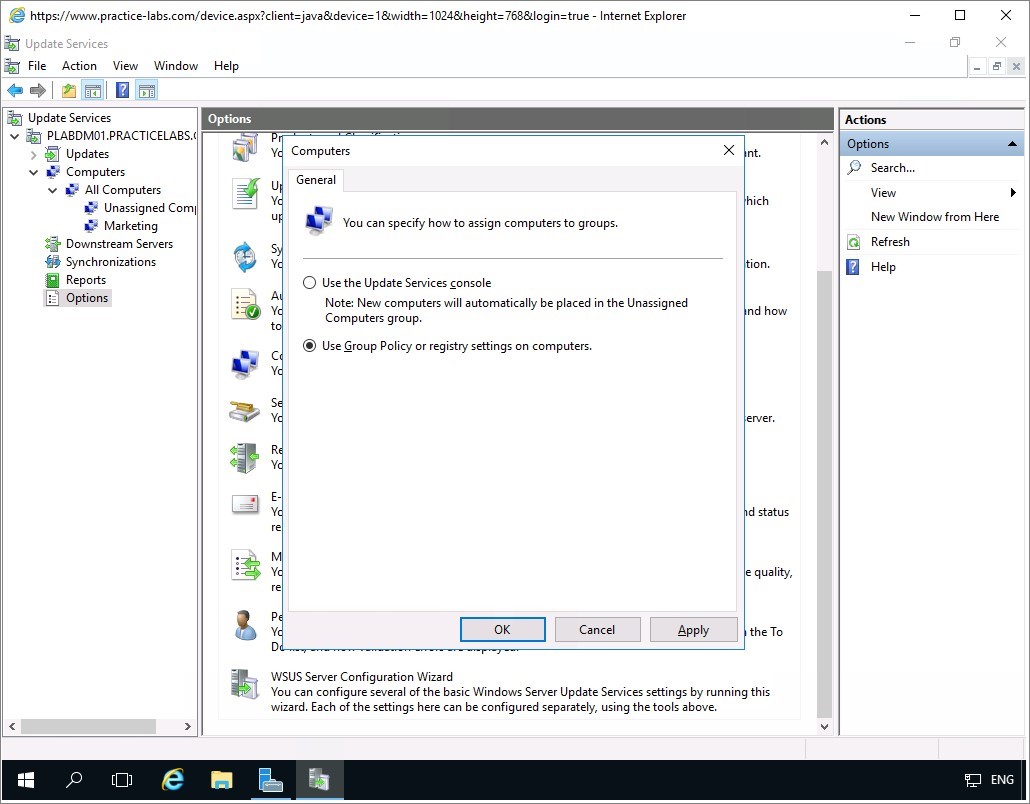
Step 3
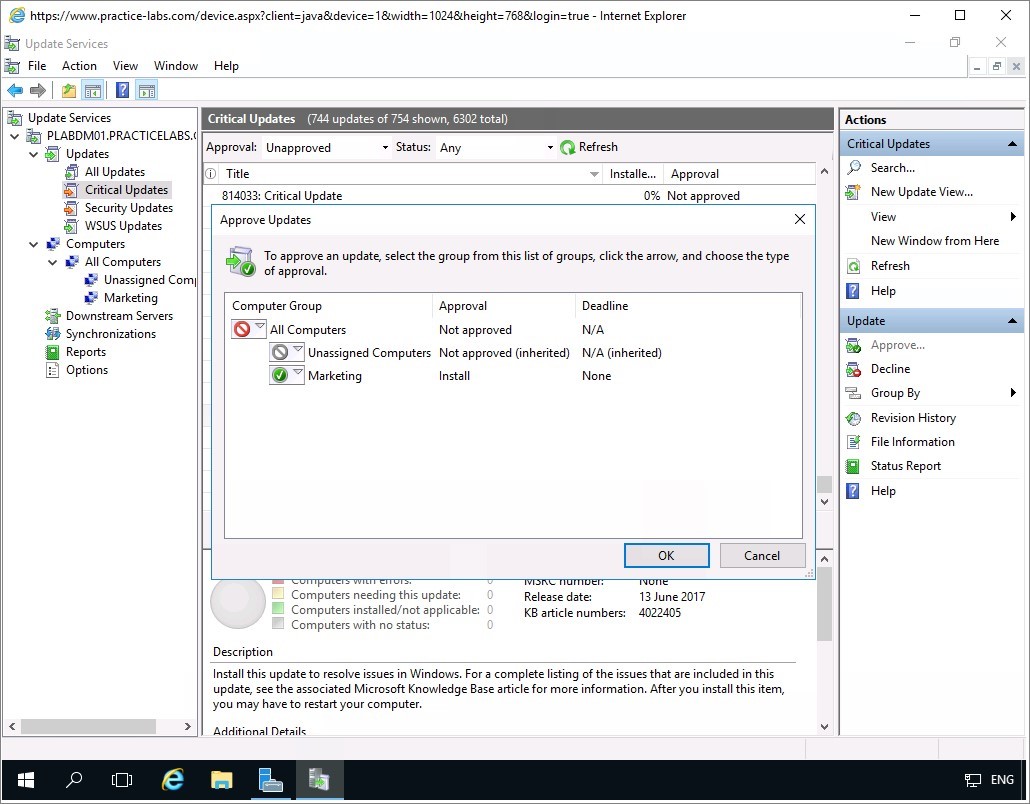
On Approve Updates dialogue box, click Marketing and select Approved for Install.
On the Approve Updates dialogue box, click OK.
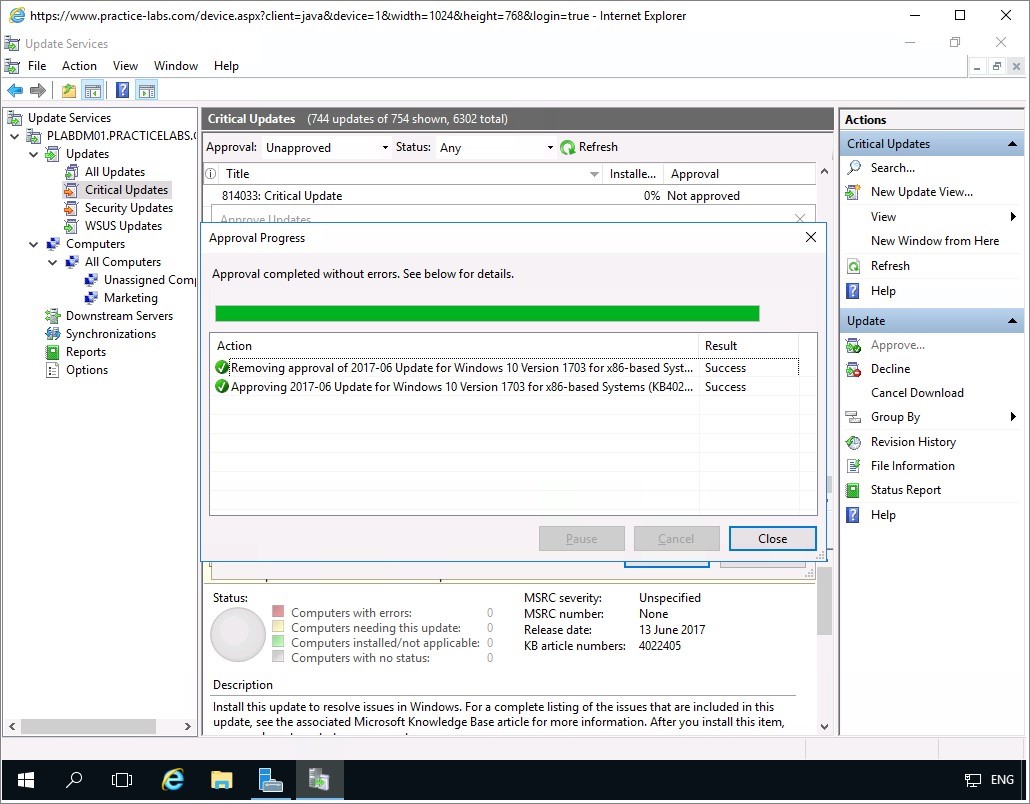
Step 4
On the Approval Progress dialogue box, WSUS will approve the update.
Click Close when the result Success is displayed.
Step 5
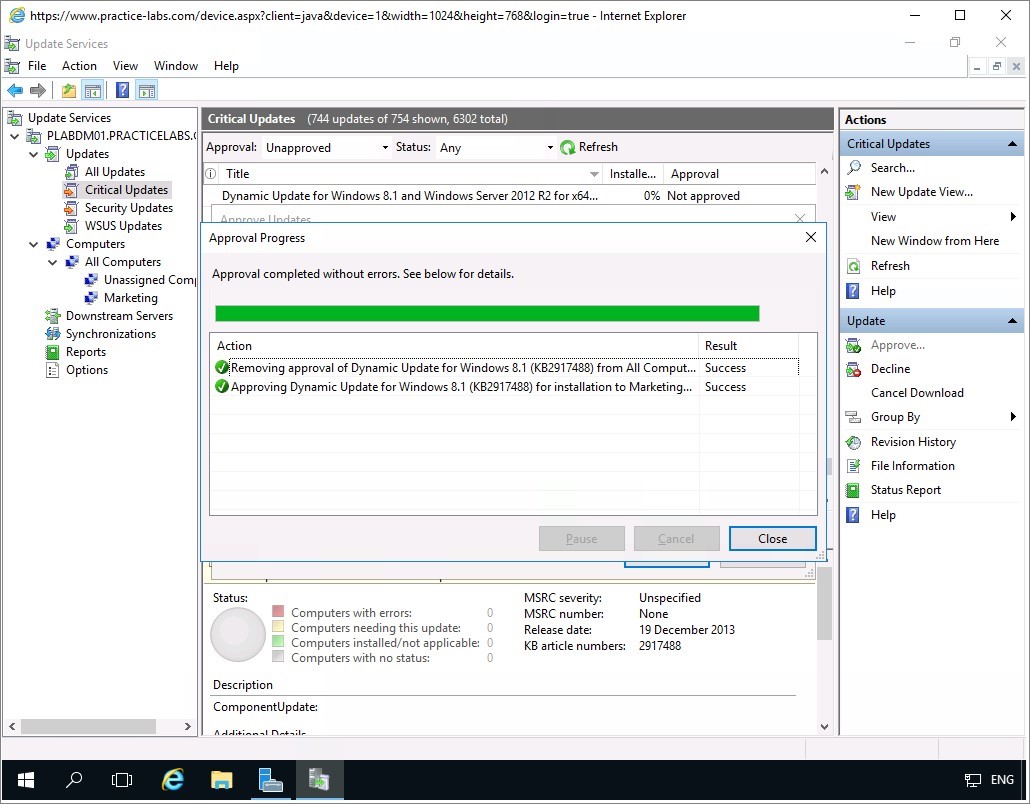
Look for a Windows 8.1 critical update.
Note: Choose a Windows 8.1 critical update that has NOT been superseded by another update.In this step, right-click on any update and choose Approve.
Click OK to save changes in Approve Updates screen.
Minimize Update Services console.
Configure GPO Policy for WSUS
In the following exercise you will implement the tasks to deploy WSUS updates via group policy.
To get a better understanding of this technology, please refer to your course material or use your preferred search engine to research this topic in more detail.
Task 1 - Create a GPO for Update Services Client
To configure a GPO for WSUS client, follow these steps:
Step 1
Connect to PLABDC01 device.
Open Server Manager Dashboard, click Tools menu and select Active Directory Users and Computers.
Step 2
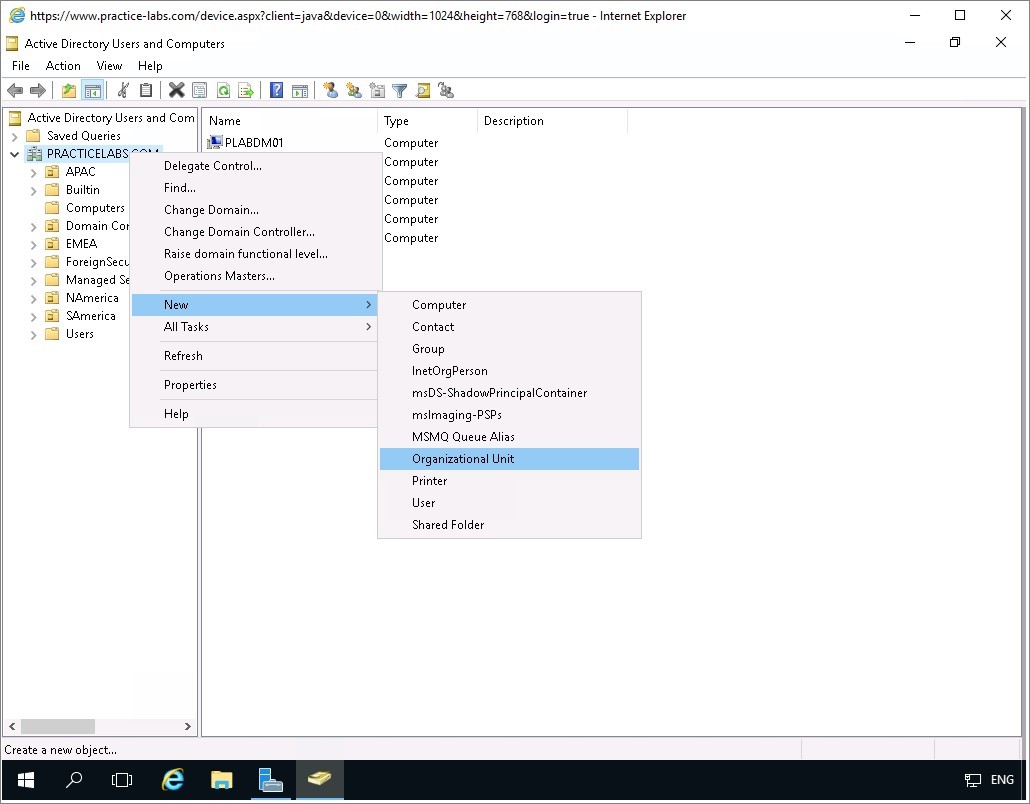
Right-click on PRACTICELABS.COM and choose New > Organizational Unit.
Step 3
On the New Object-Organizational Unit dialog box, type WSUS Clients and click OK.

Step 4
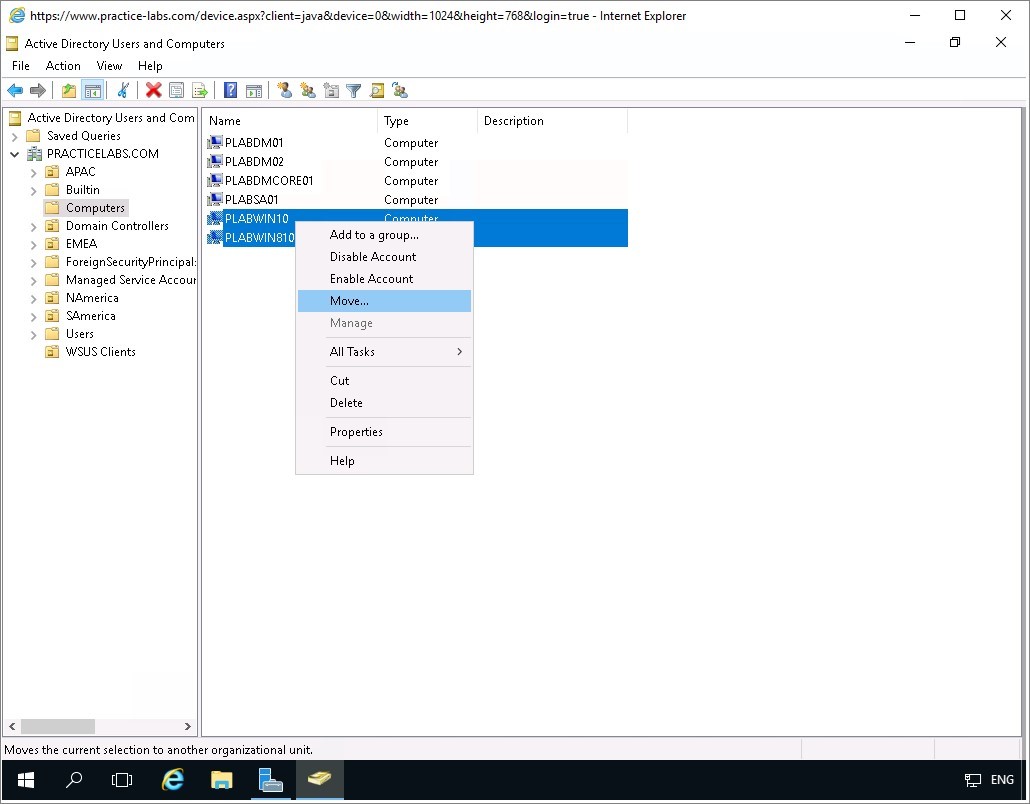
Go to Computers container, select PLABWIN10 and PLABWIN810 and then right-click on the selection and click Move.
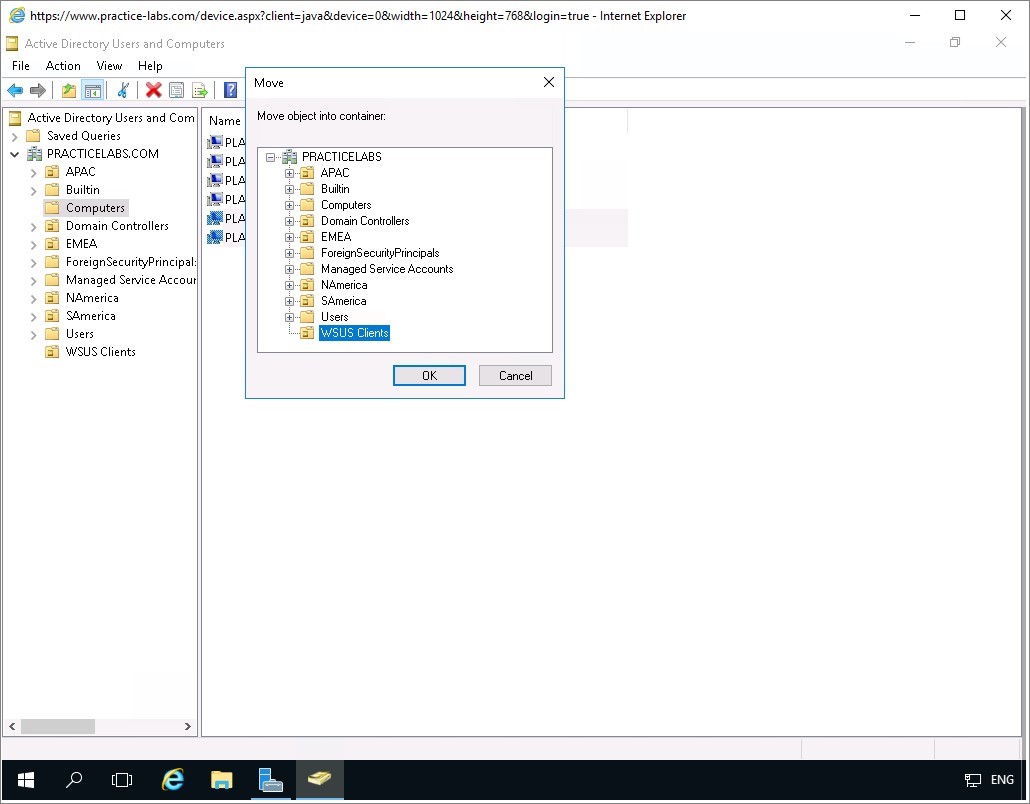
Step 5
On Move dialogue box, select WSUS Clients and click OK.
Note: PLABWIN10 and PLABWIN810 will be used as test computers for distribution of updates via WSUS.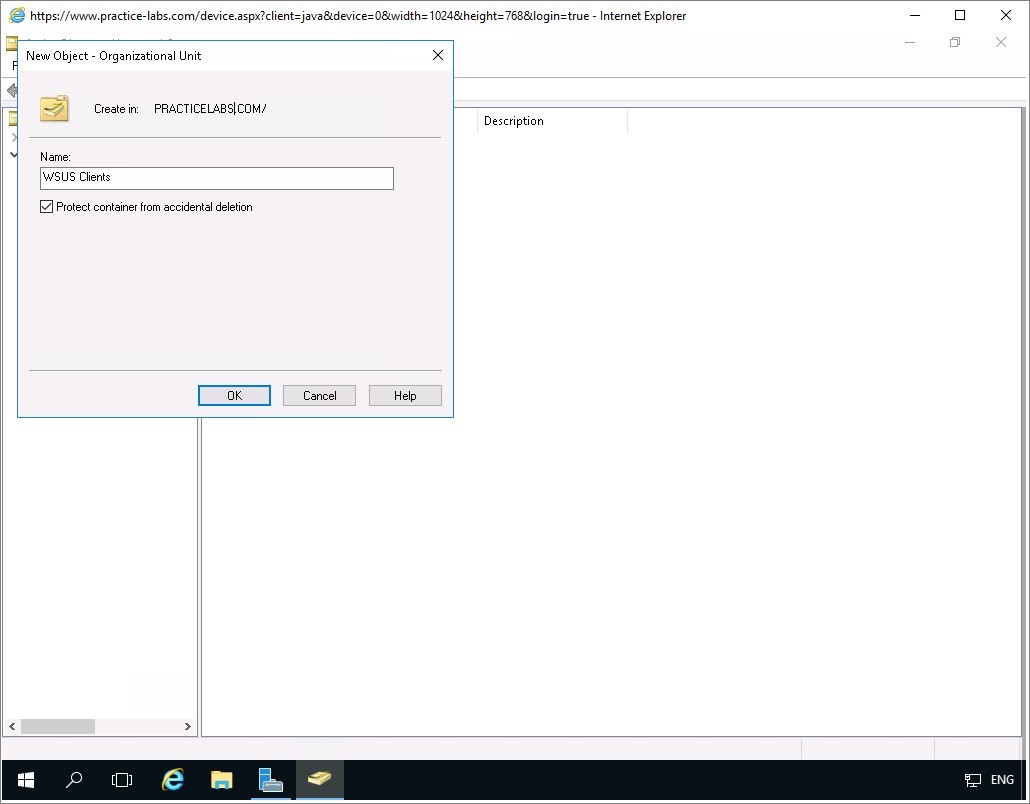
Step 6
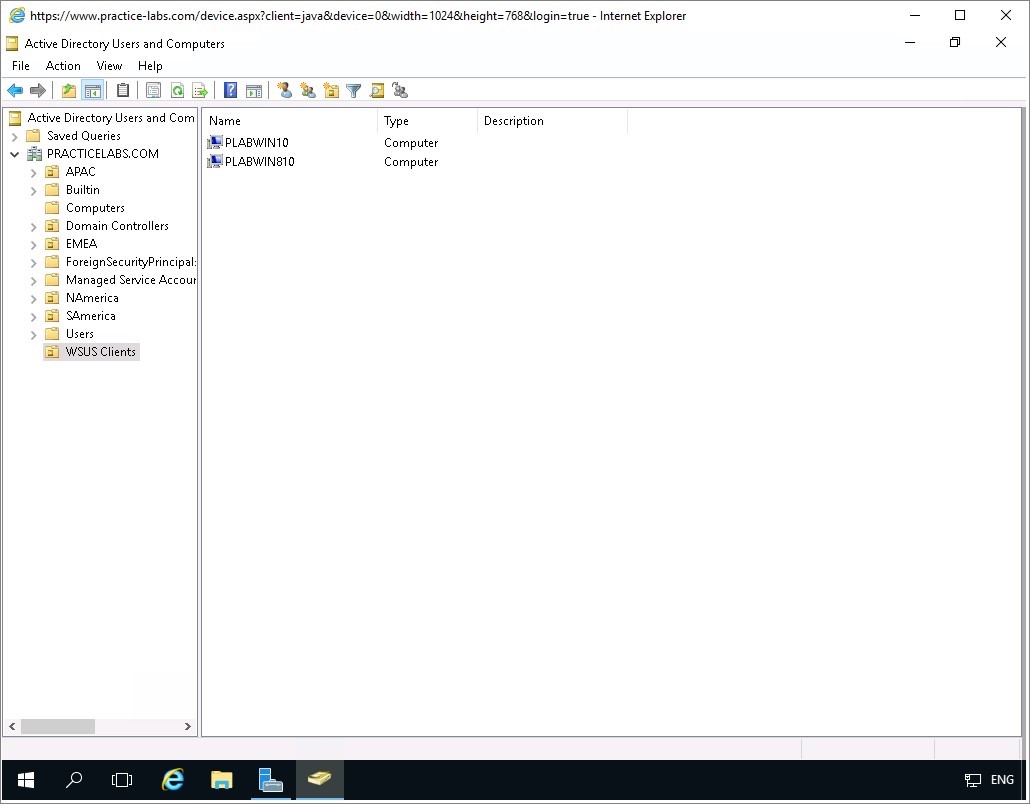
Click on WSUS Clients OU.
Verify that the two computers are present.
Close Active Directory Users and Computers.
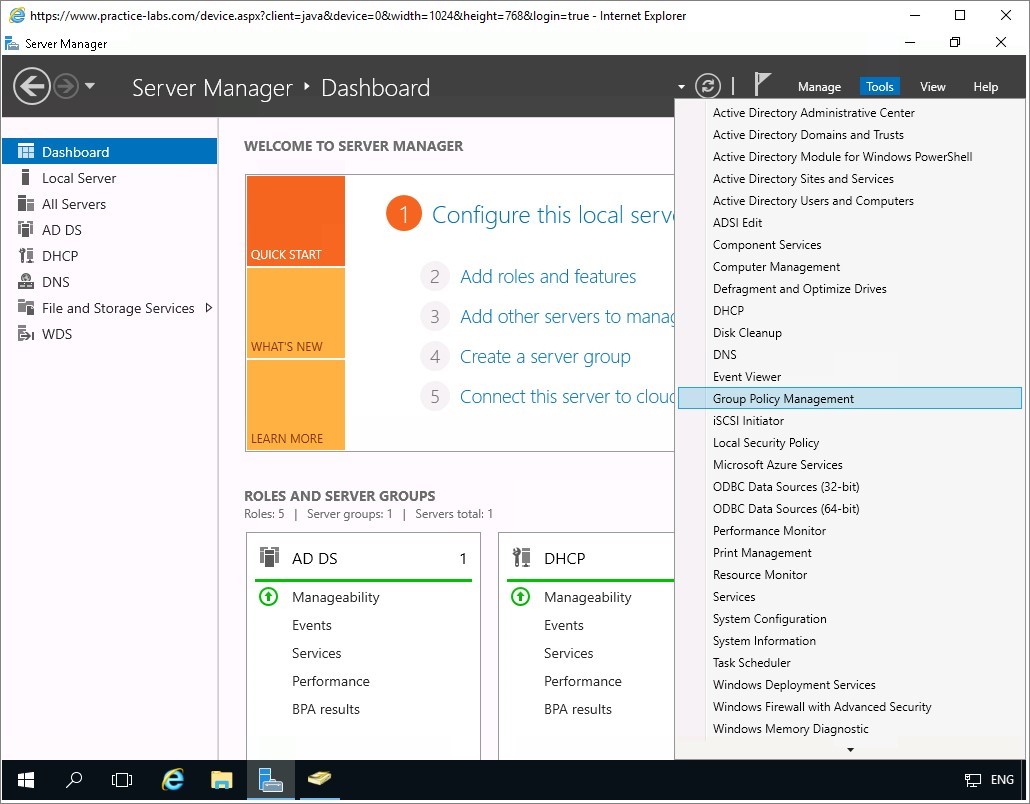
Step 7
From Server Manager, go to Tools and click Group Policy Management.
Step 8
Expand Forest: PRACTICELABS.COM > Domains > PRACTICELABS.COM.
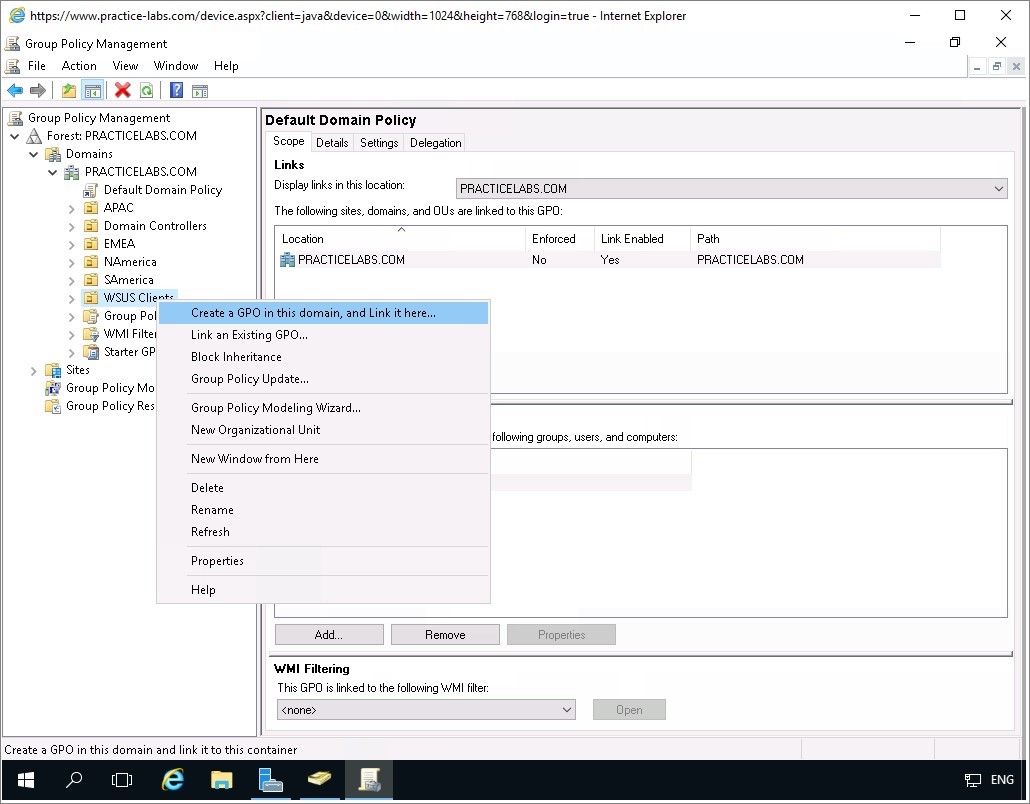
Right-click on WSUS Clients then choose Create a GPO in this domain and link it here…
Step 9
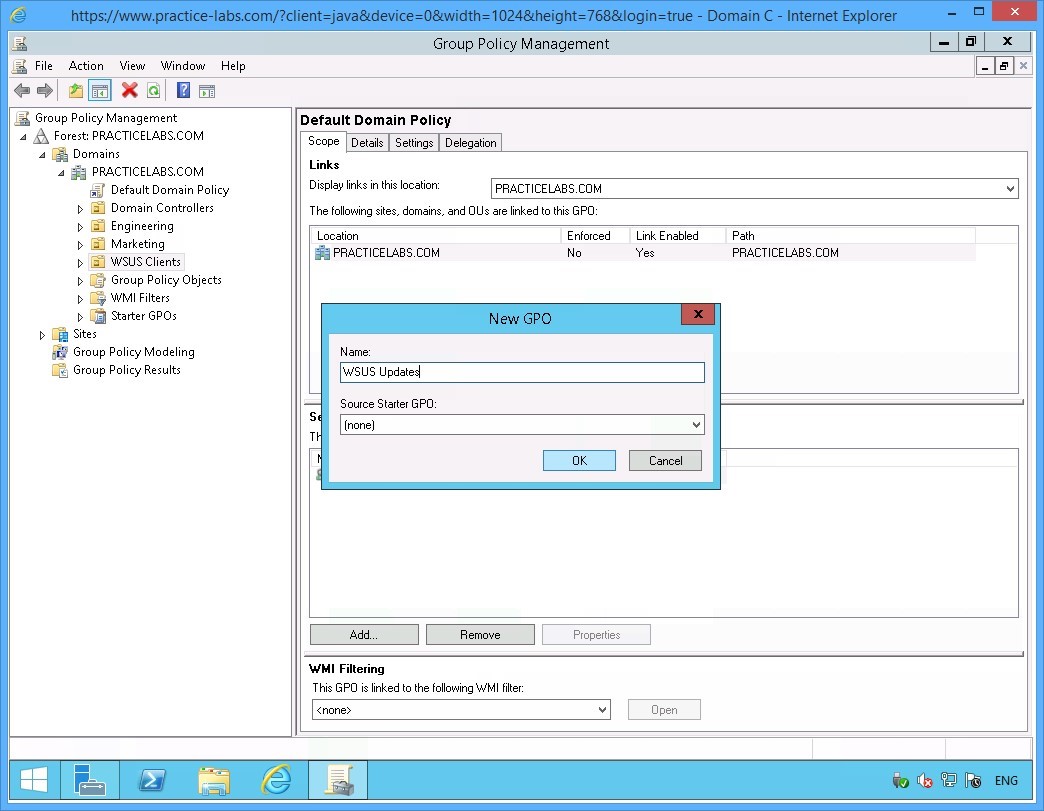
On the New GPO dialog box, type WSUS Updates and click OK.
Step 10
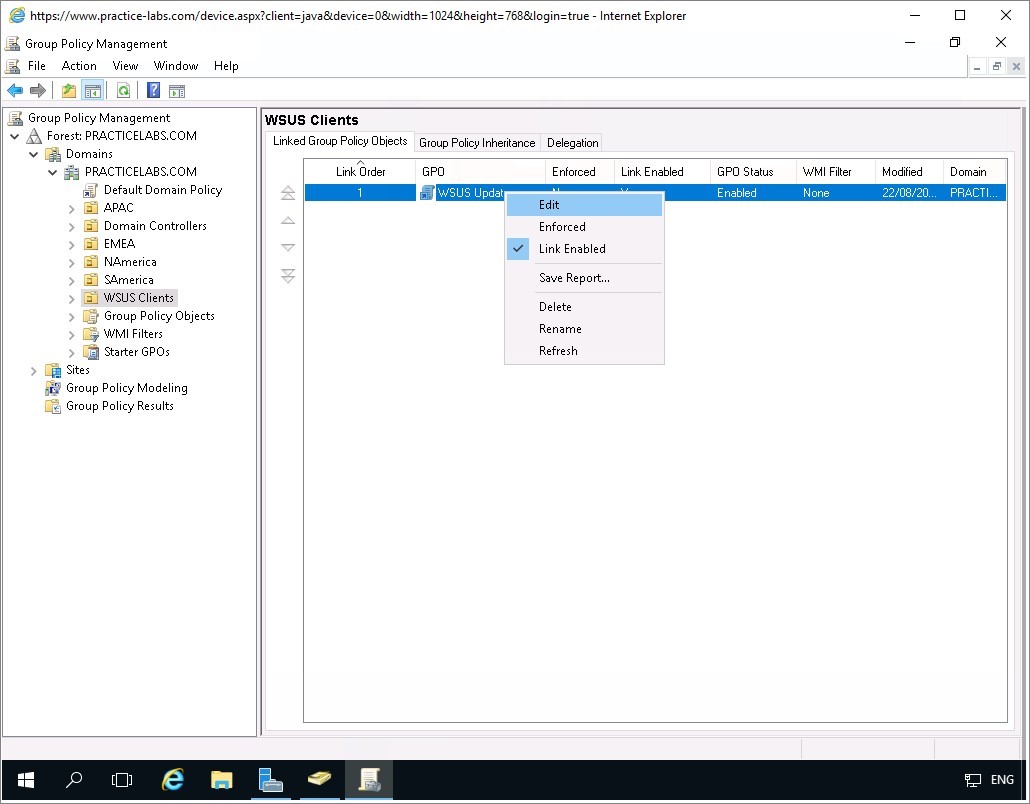
Right-click on WSUS Updates GPO link and select Edit.
Step 11
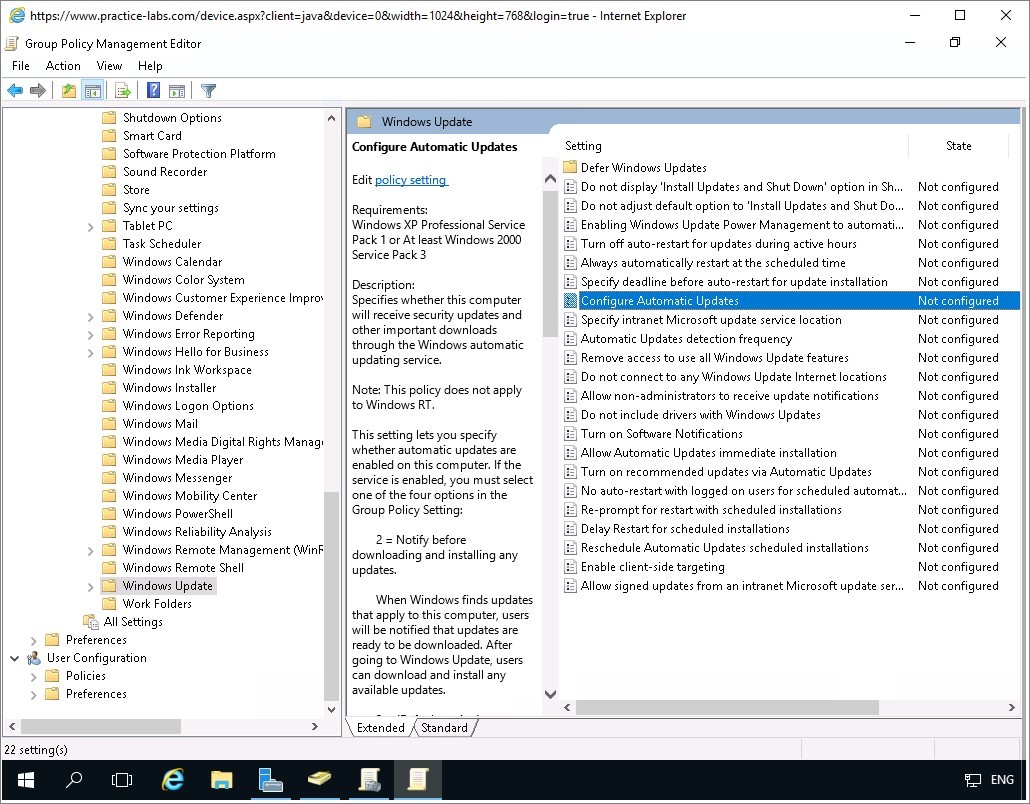
On the Group Policy Management Editor window, navigate to Computer Configuration > Policies > Administrative Templates > Windows Components and click on Windows Update.
On the details pane, right-click on Configure Automatic Updates and choose Edit.
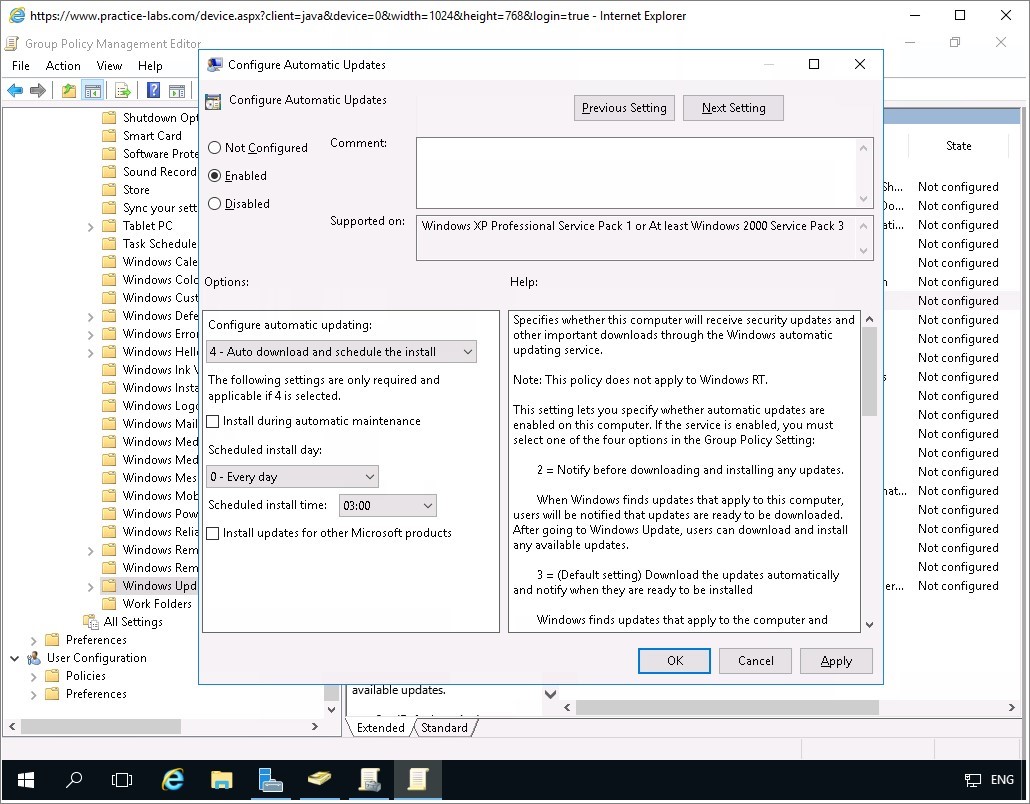
Step 12
On Configure Automatic Updates, use the following settings:
Click Enabled option button.
Configure automatic updating: 4-Auto download and schedule the install
Scheduled install day: 0 - Every day
Scheduled install time: 03:00
Click OK.
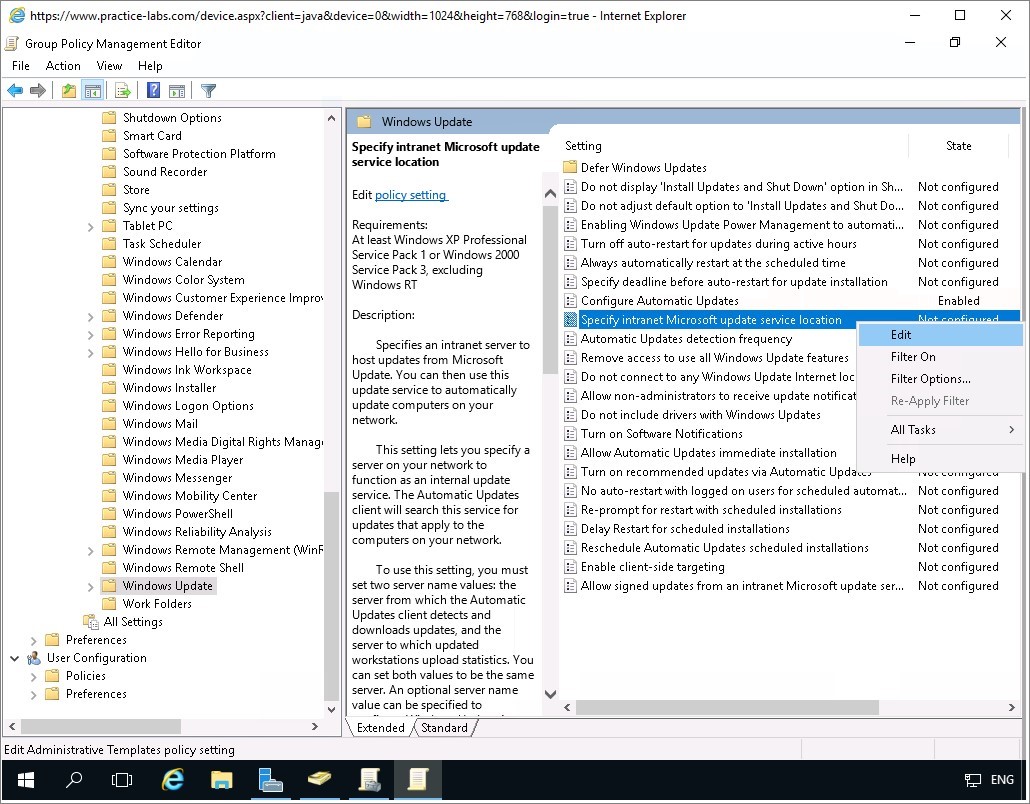
Step 13
Back on the Group Policy Management Editor window, right-click on Specify intranet Microsoft update service location and choose Edit.
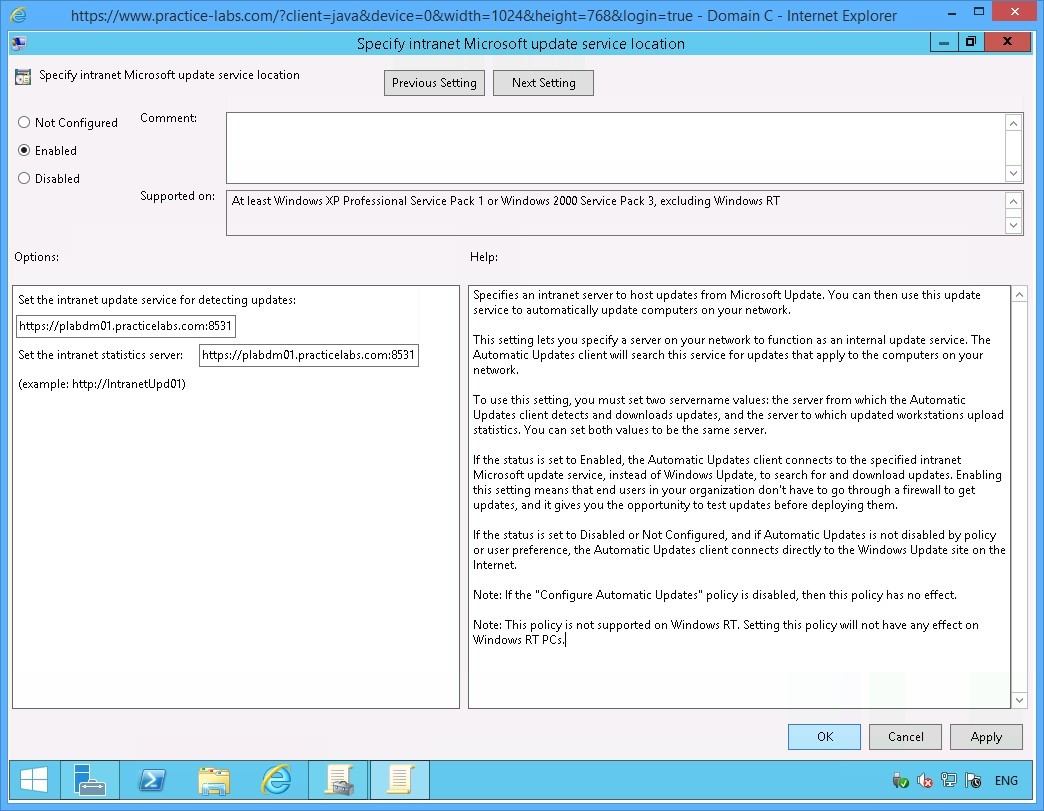
Step 14
On Specify intranet Microsoft update service location, use the following settings:
Click on Enabled radio button.
Set the intranet update service for detecting updates:
https://plabdm01.practicelabs.com:8531Set the intranet statistics server:
https://plabdm01.practicelabs.com:8531Click OK.
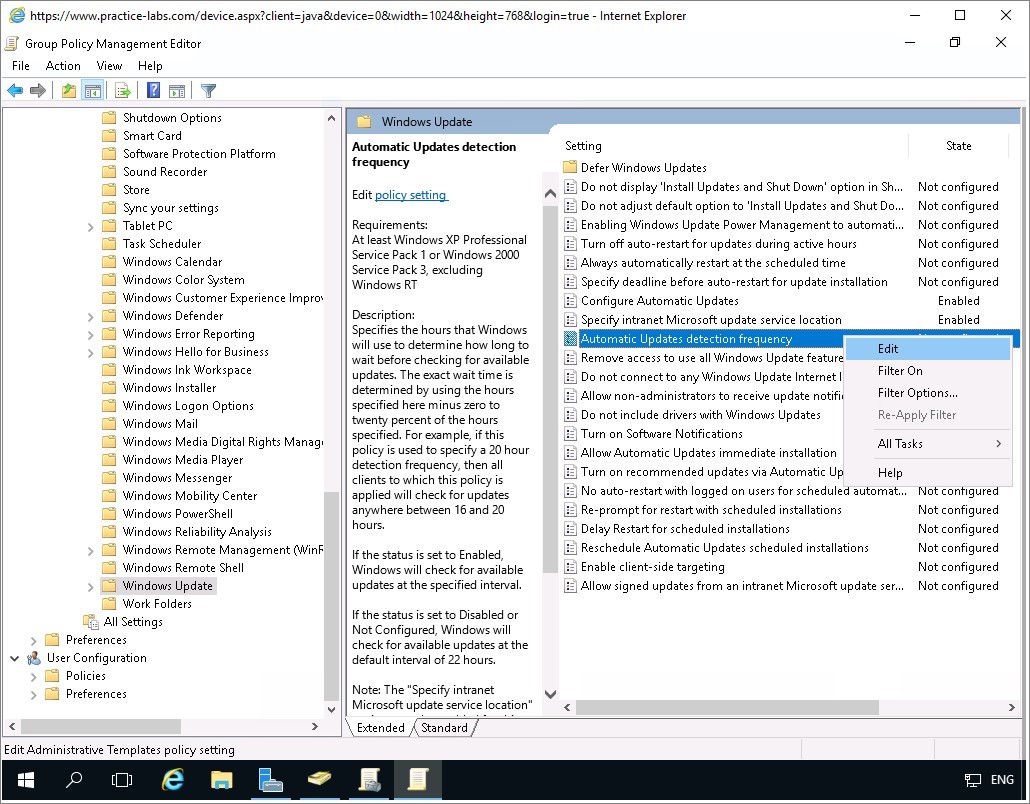
Step 15
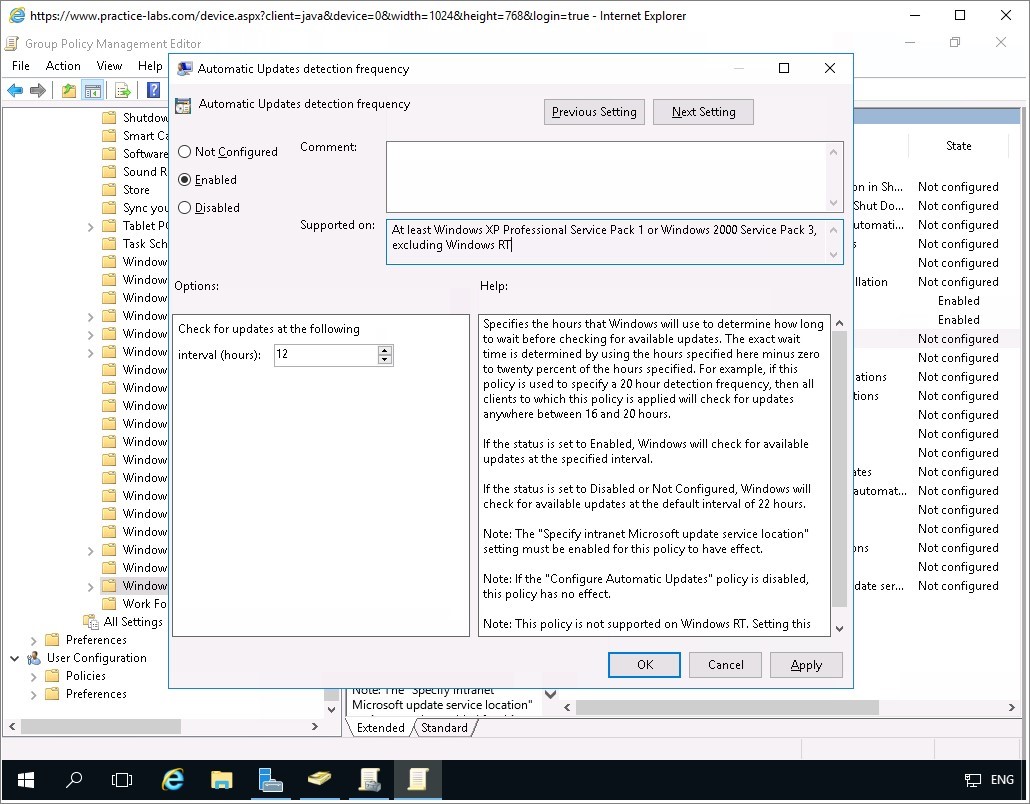
Back on the Group Policy Management Editor window, right-click on Automatic Updates detection frequency, choose Edit.
Step 16
On Automatic Updates detection frequency, use the following values:
Click Enabled option button.
Check for updates at the following interval (hours): 12
Click OK.
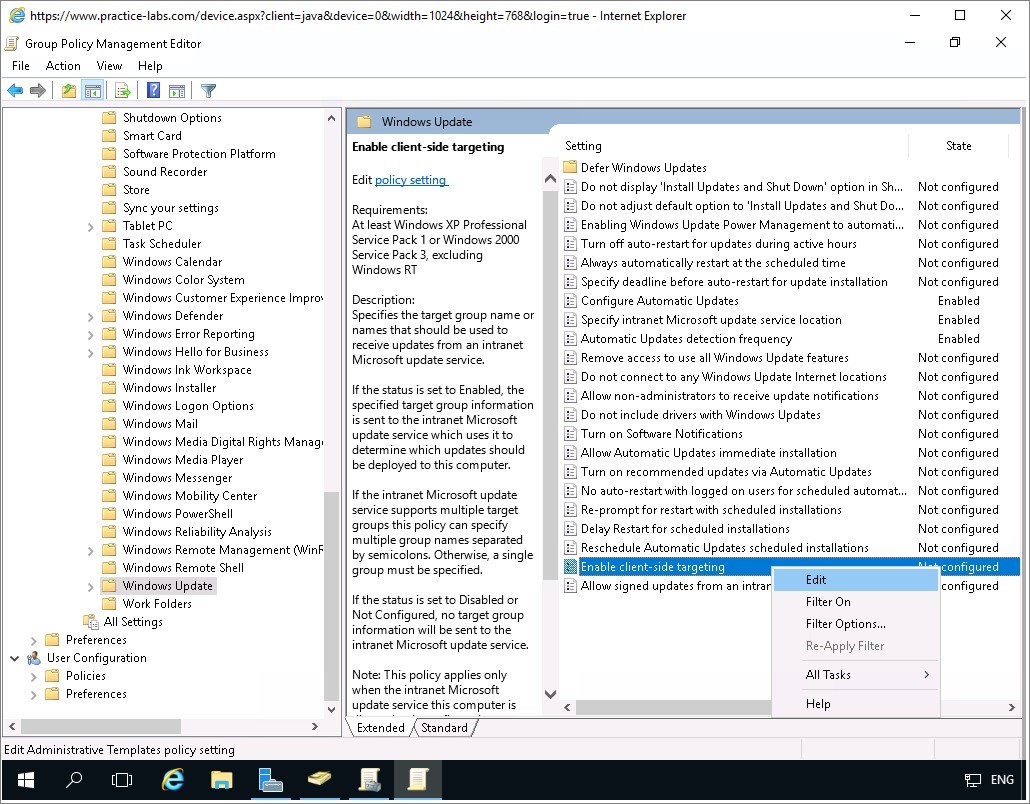
Step 17
Again on the Group Policy Management Editor window, right-click on Enable client-side targeting and choose Edit.
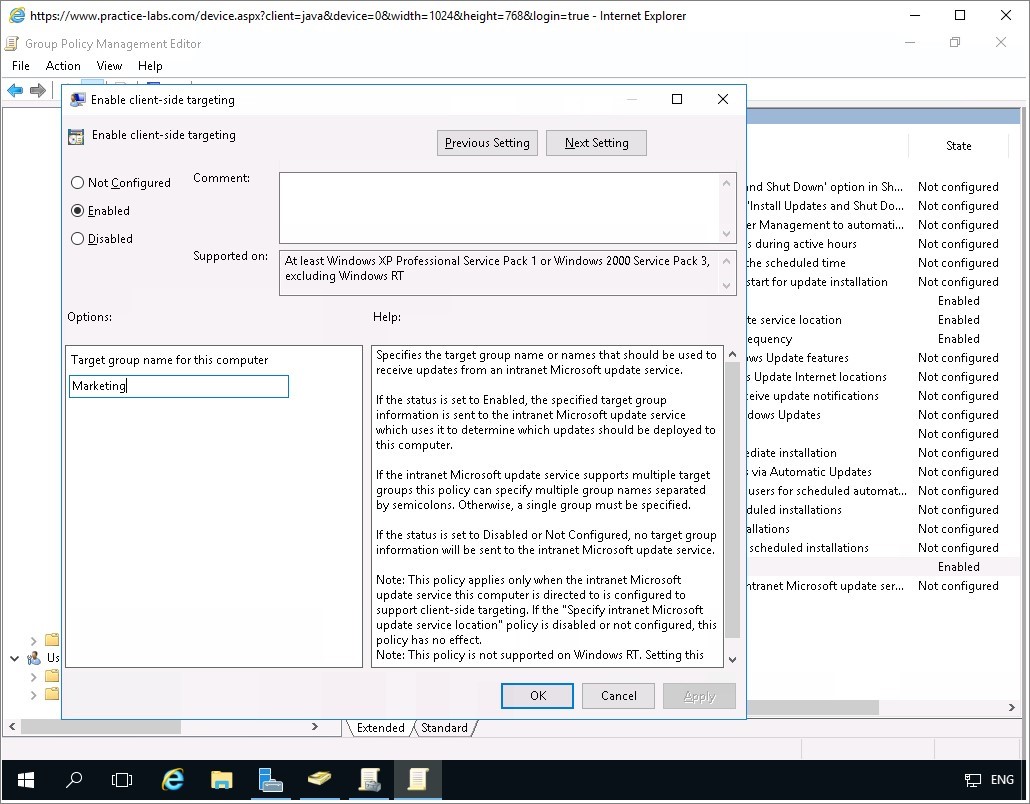
Step 18
On Enable client-side targeting, click Enabled.
In Target group name for this computer, type:
Marketing
Click OK.
After defining the WSUS settings in GPO, close Group Policy Management Editor and Group Policy Management Console.
Keep all devices powered on in their current state and proceed to the next task.
Task 2 - Verify WSUS Client Functionality
To verify if the WSUS GPO policies apply to the client, follow these steps:
Step 1
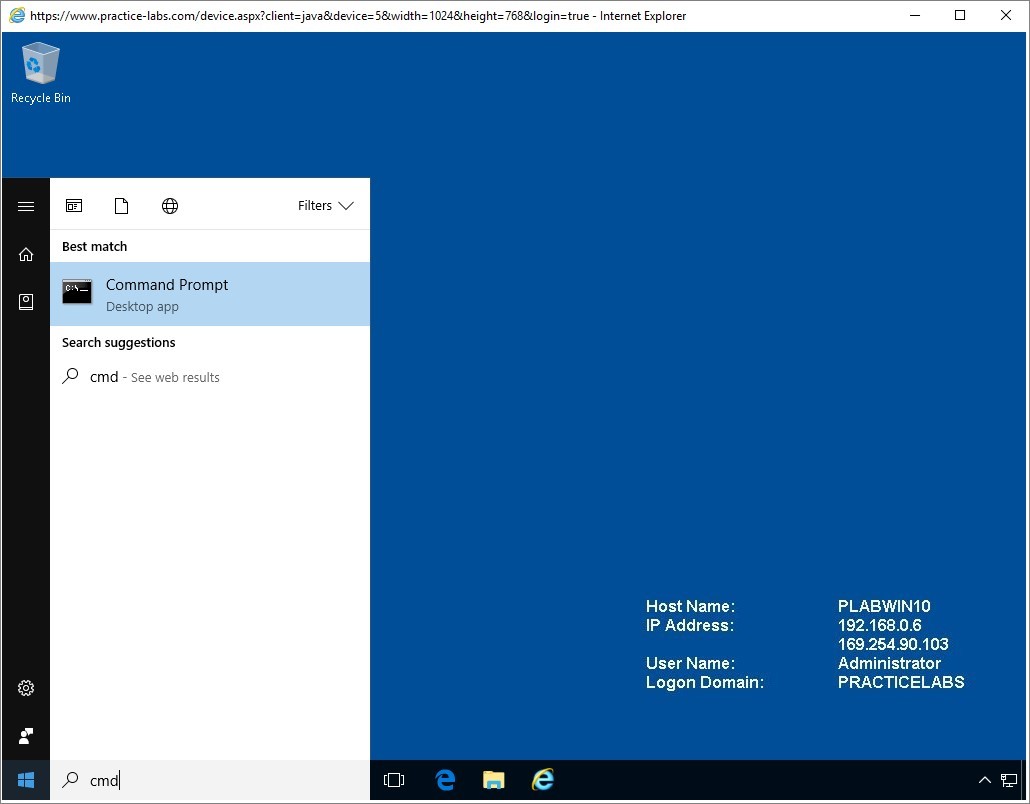
Ensure you have powered on the required devices and connect to PLABWIN10 device.
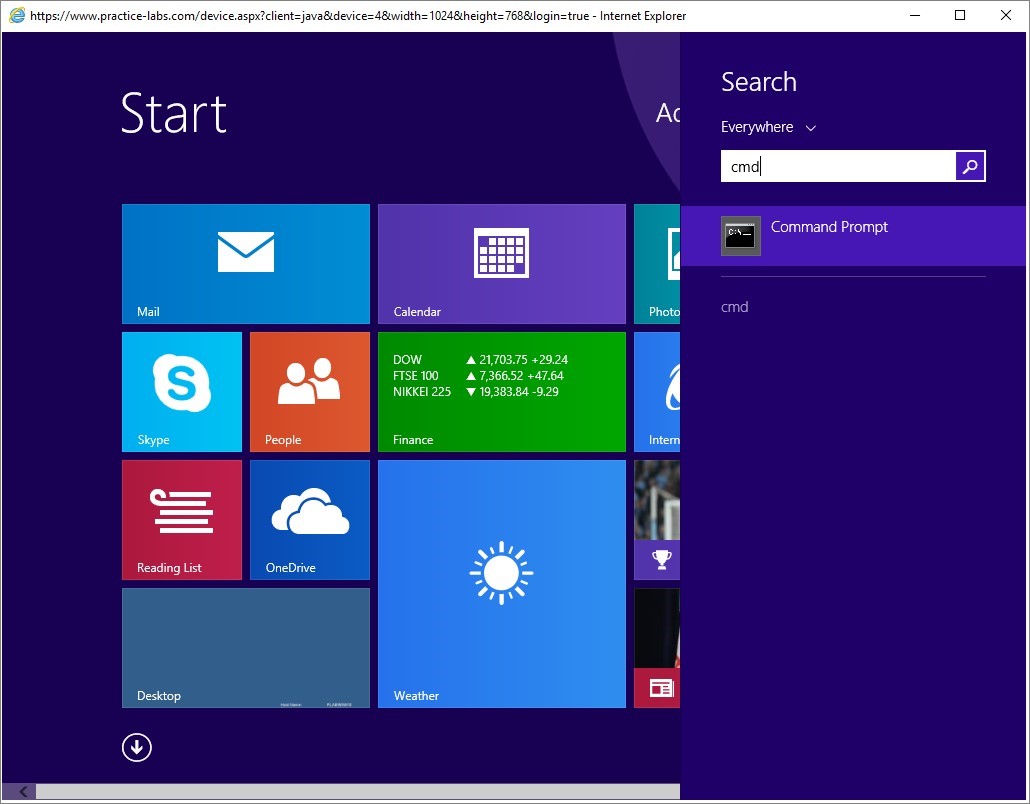
Click on the Start button and type cmd to launch the command prompt.
Step 2
The following commands will force an update of the group policy, then initiate a registration and detection of WSUS server, then finally restart PLABWIN10 computer.
Type the following commands, press Enter after each line.
Gpupdate /force
Wuauclt /registernow /detectnow
Shutdown /r /t 0
PLABWIN10 will reboot.
Step 3
Connect to PLABWIN810 device.
Click on the Start button and type cmd to launch the command prompt.
Step 4
Like in PLABWIN10 device, you will type the following commands here on PLABWIN810.
Gpupdate /force
Wuauclt /registernow /detectnow
Shutdown /r /t 0

PLABWIN810 will now reboot.
Step 5
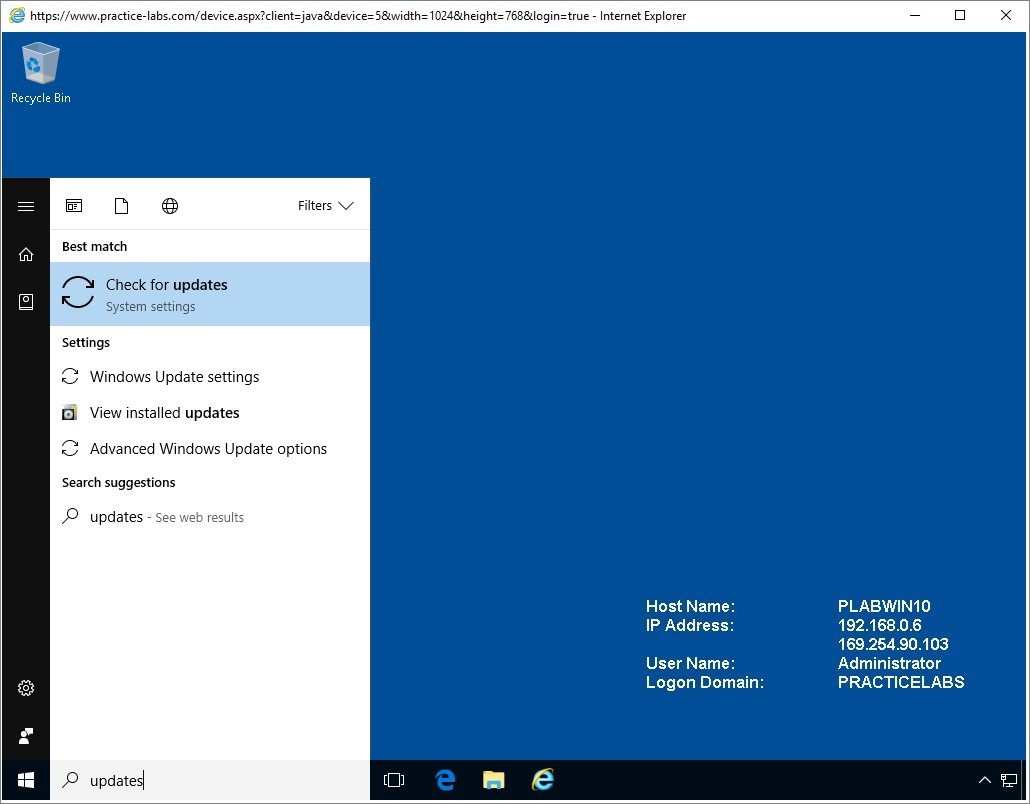
A 1 minute after the restart, reconnect to PLABWIN10 device.
Click Start and in Search programs and files box, type:
Updates
Press Enter.
Step 6
Depending on the critical update you had chosen earlier for PLABWIN10 and its availability on the PLABDM01 server, the update may have been detected or otherwise.
In the below screenshot, PLABWIN10 has detected 1 important update.
Important: Please note that although the update has been detected on the Windows client, the Update Server (PLABDM01) will have to successfully download the update first, from the Microsoft Update site.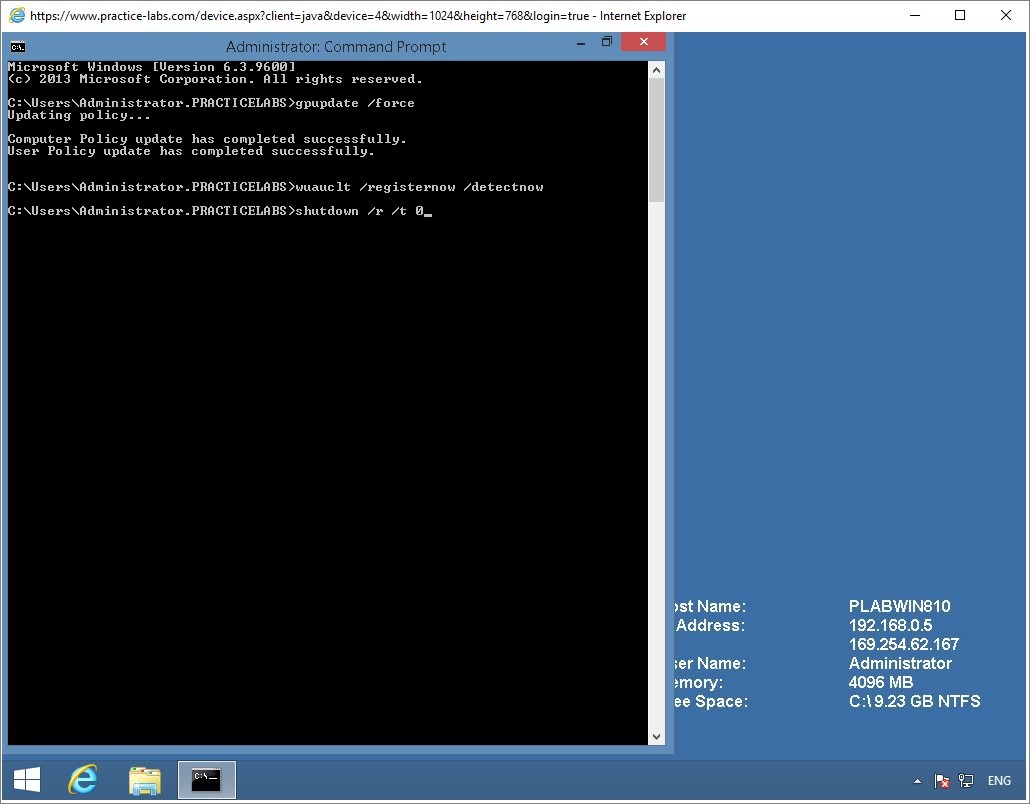
Step 7
Now connect to PLABWIN810 device.
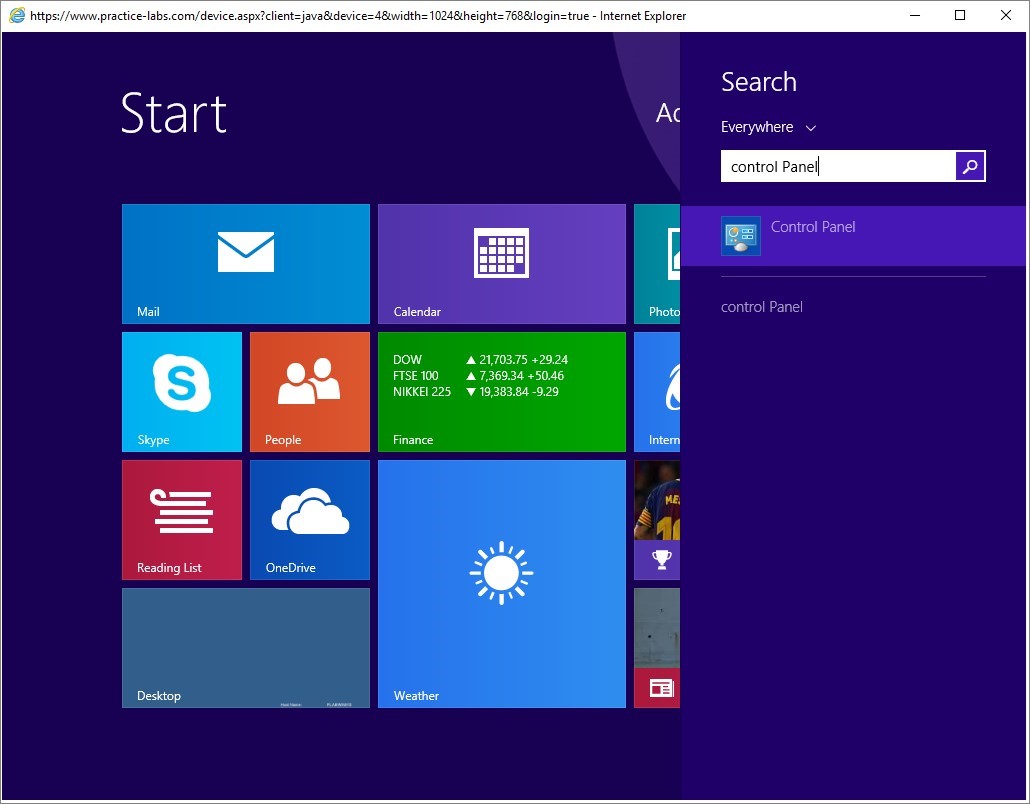
Click on the Start button and type the following:
control panel
Press Enter.
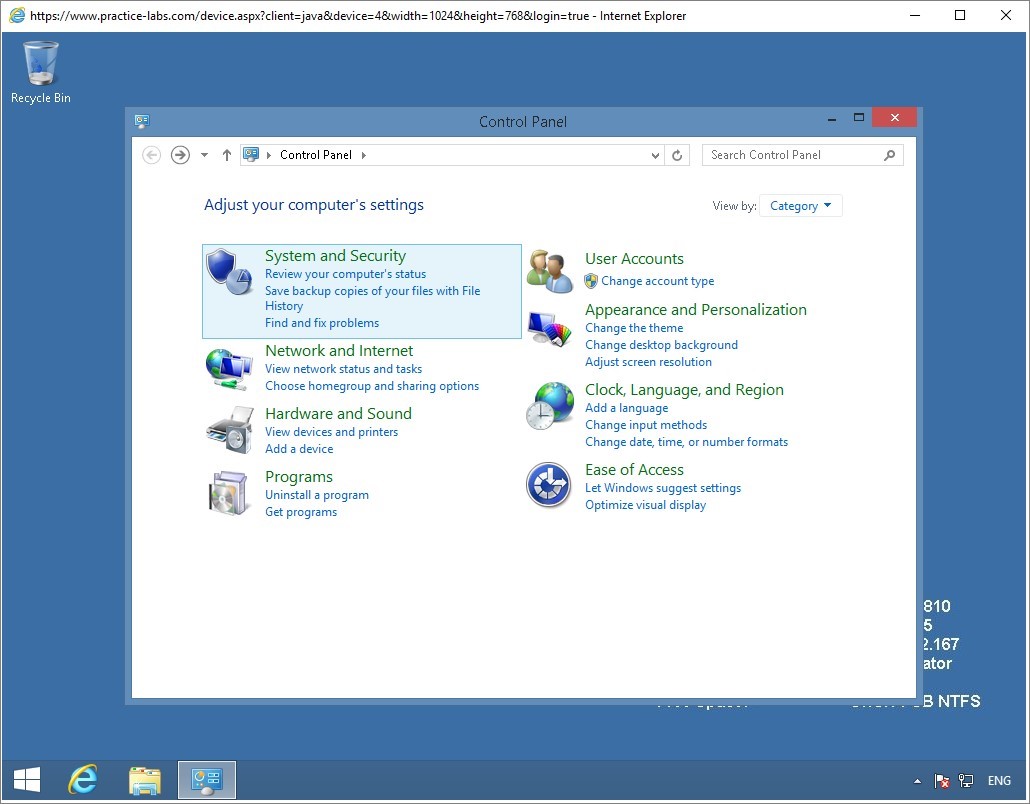
Step 8
On the Control Panel window, click on System and Security link.
Note: Since Windows Update has been configured on PLABWIN810 device, ignore any prompt for a Windows Update, which may appear any time on screen.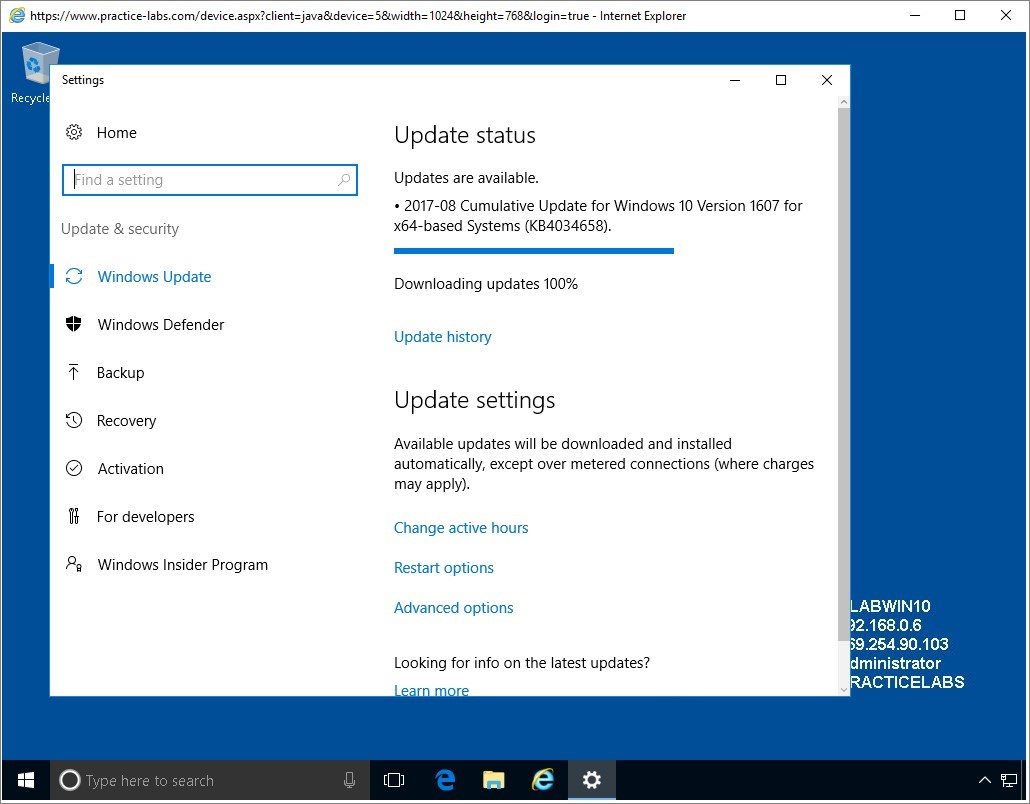
Step 9
On System and Security window, click Windows Update link.
Step 10
On Windows Update screen, click on Change settings link.
Step 11
You can see here that this PLABWIN810 workstation is configured to receive updates.
It may take a few hours before updates are downloaded to this computer.
Click OK.
Note: Updates may not download immediately after the initial install of WSUS on the server. You may need to manually run WSUS synchronization again to force the WSUS server to download the updates available from Microsoft. The important thing here is that Windows Update Services server on PLABDM01 was able to synchronize with the Microsoft update site and build a list of updates that can be downloaded at the next synchronization.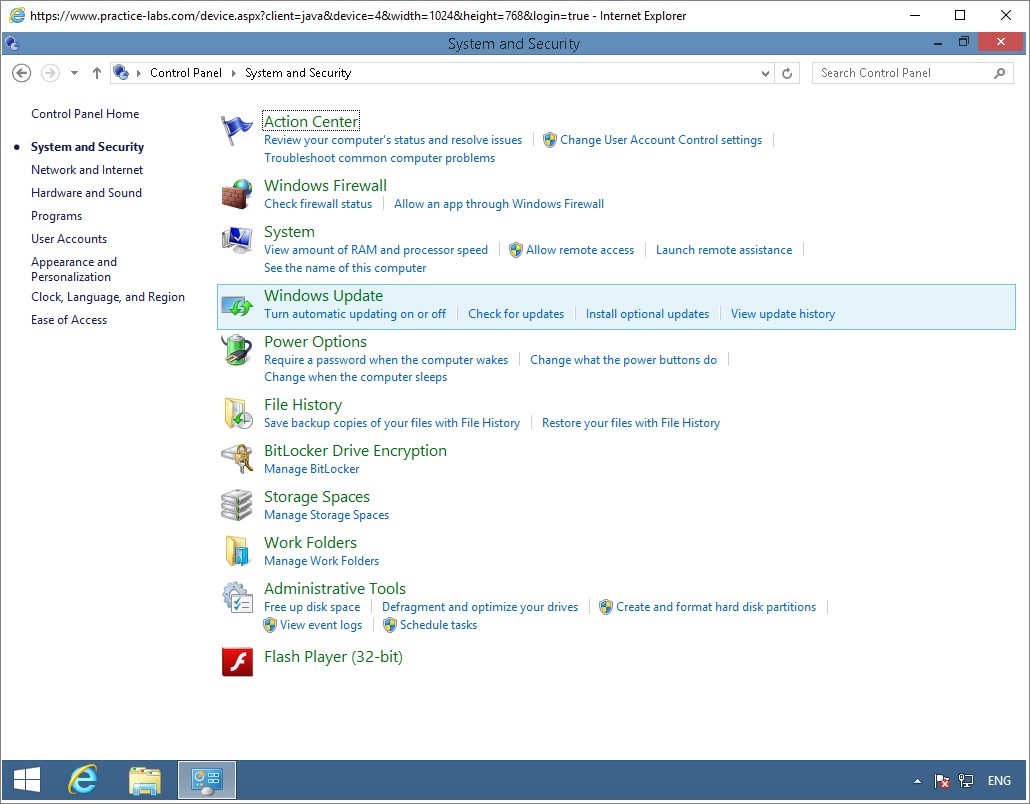

Comments
Post a Comment