Managing certificate template
1 - Managing Certificate Templates
Certificate Templates are used by Enterprise Certification Authorities (CA) to define the purpose and content of certificates that can be issued to a requesting entity like user, computer or network service.
In this exercise, you will first install AD Certificate Services and its required components and later customize the certificate template properties.
To get more information about managing certificate templates, please refer to your course material or use your preferred search engine to research this topic in more detail.
Task 1 - Add AD Certificate Services and Certificate Web Enrollment Services
Typically, in a corporate network a dedicated server is set aside to handle certificate issuance and management to requesting users, computers or network service. In this task, you will add AD Certificate Services (AD CS) and Certificate Authority Web Enrollment Services on the PLABDM01 server.
To add AD CS and Certificate Web Enrollment, perform the following steps:
Step 1
Ensure you have powered on the required devices indicated in the Introduction.
Connect to the PLABDM01.
In the Server Manager > Dashboard window, click on the Tools menu and select Windows PowerShell.
Step 2
Please note that Windows PowerShell commands are not case-sensitive.
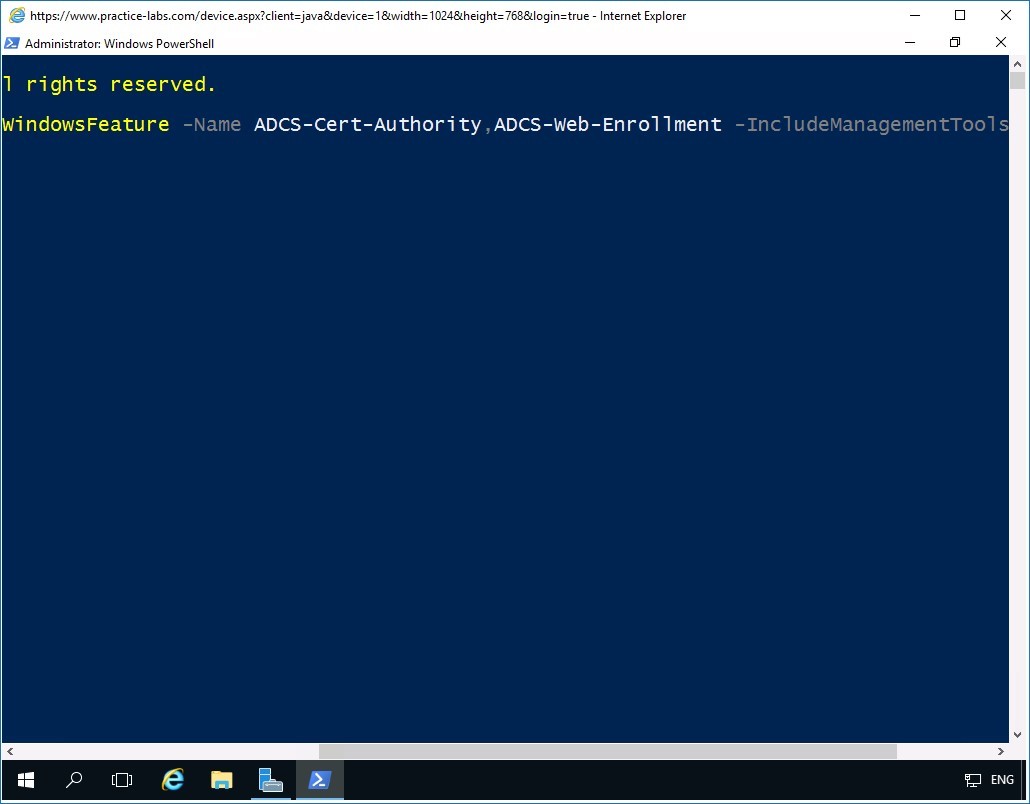
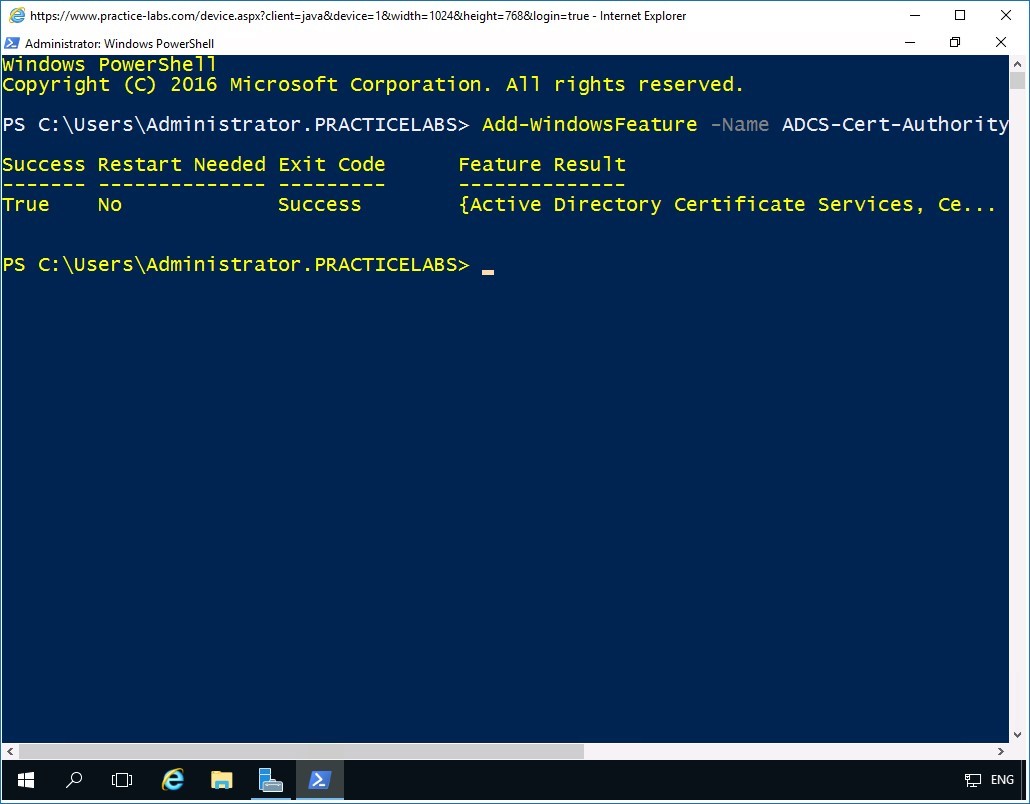
In the Windows PowerShell window, to add Active Directory Certificate Services and Certification Authority Web Enrollment features, type the following command:
Add-WindowsFeature -Name ADCS-Cert-Authority,ADCS-Web-Enrollment -IncludeManagementTools
Press Enter.
Step 3
Please wait while installation of the selected Windows features is in progress. This will take a few minutes.
Important: You may notice a bit of a time lag about 2 minutes as the features are being installed. Installation may seem to have frozen or stopped processing. Should this happen, click inside the Windows PowerShell window and press Enter to refresh the screen. If you are using HTML5 client, pressing Enter will display the Clipboard window. Close the clipboard window if it opens while working in the labs.Step 4
Windows PowerShell confirms the successful installation of the Active Directory Certificate Services and Certification Authority Web Enrollment features.
Keep Windows PowerShell window open.
Task 2 - Install AD Certificate Enterprise CA and CA Web Enrollment Service
In the earlier task, you simply added the AD Certificate Services and CA Web Enrollment features into Windows. It is essential that those two services be installed and configured with their respective system settings to make them capable of issuing certificates to requesting user, computer or service.
To install and configure AD Certificate Services and CA Web Enrollment, perform the following steps:
Step 1
In PLABDM01, Windows PowerShell is open.
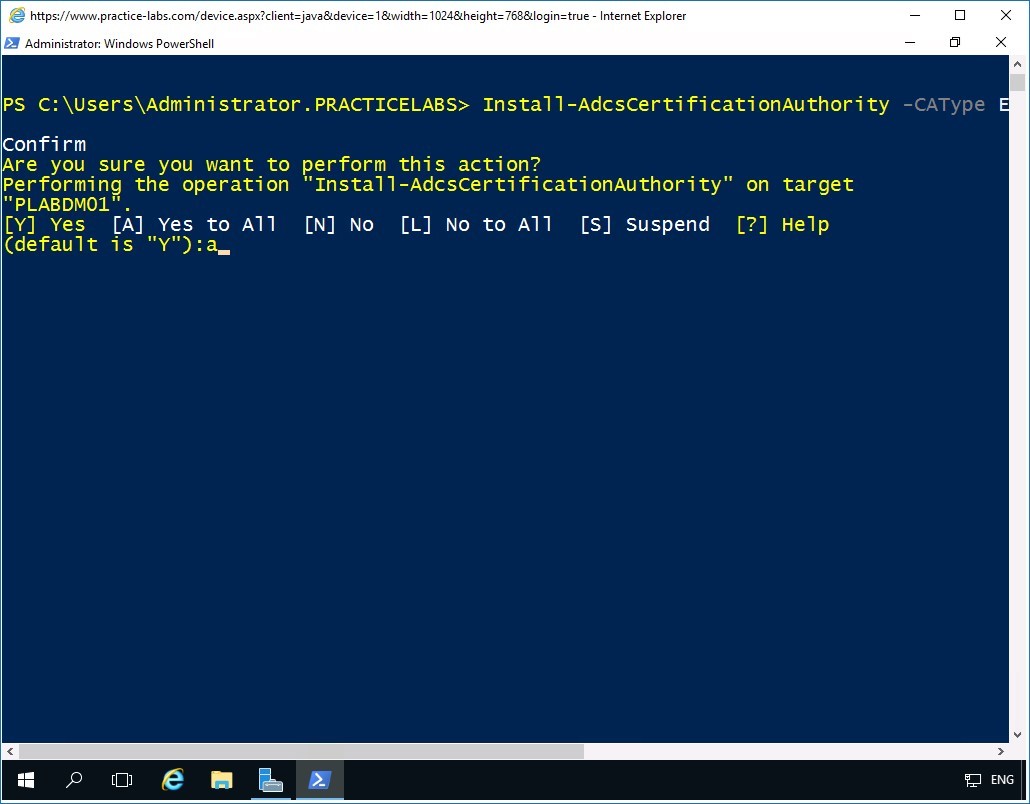
To install AD Certification Authority as an Enterprise Root CA using default settings, type the following command:
Install-AdcsCertificationAuthority -CAType EnterpriseRootCA
Press Enter.
On the next prompt, to accept the default settings, type:
a
Press Enter.
Step 2
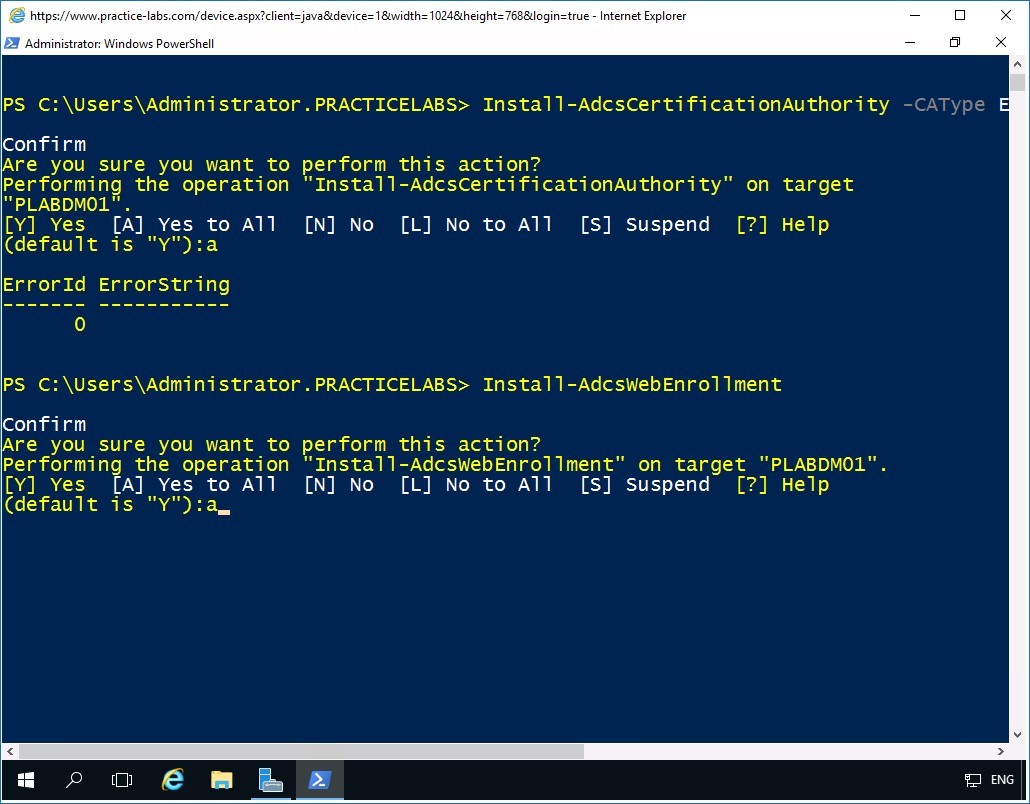
The installation of AD Certification Authority is successfully confirmed with ErrorId of “0.”
On the next prompt, to install AD Certification Authority Web Enrollment, type:
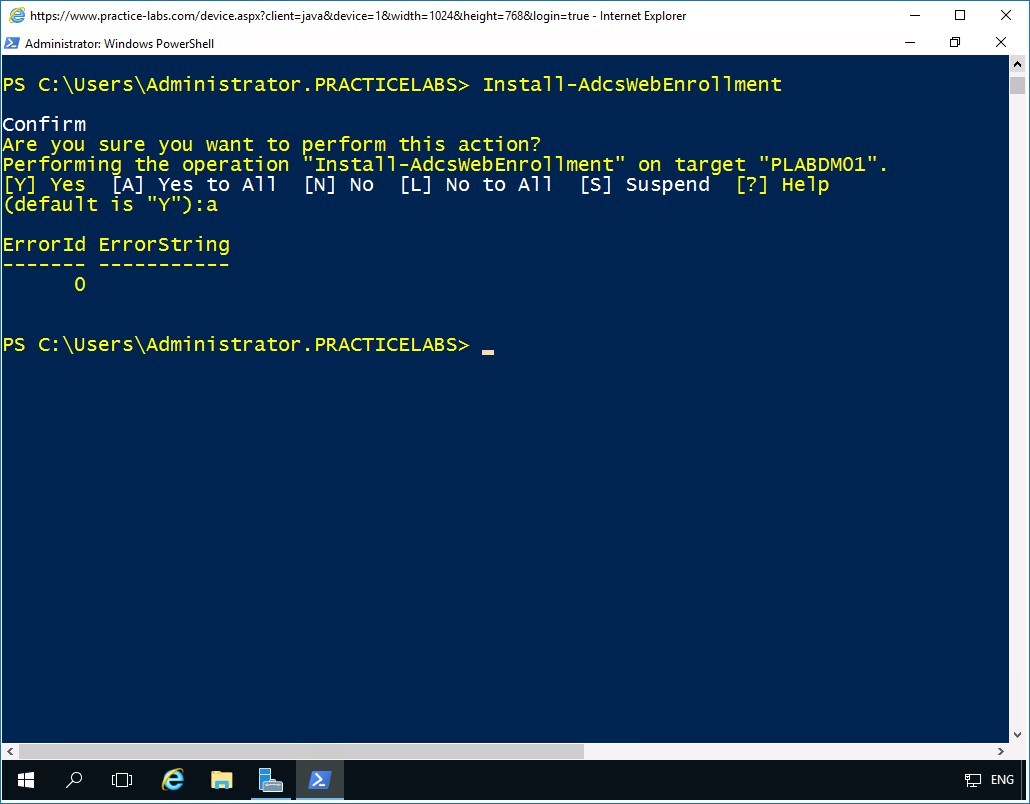
Install-AdcsWebEnrollment
Press Enter.
On the next prompt to install AD Certification Authority Web Enrollment with default settings, type:
a
Press Enter.
Step 3
The installation of AD Certification Authority Web Enrollment is successfully confirmed with ErrorId of “0.”
Minimize Windows PowerShell window.
Step 4
Click Server Manager icon from taskbar.
In the Server Manager > Dashboard window, click Tools and select Certification Authority.
Step 5
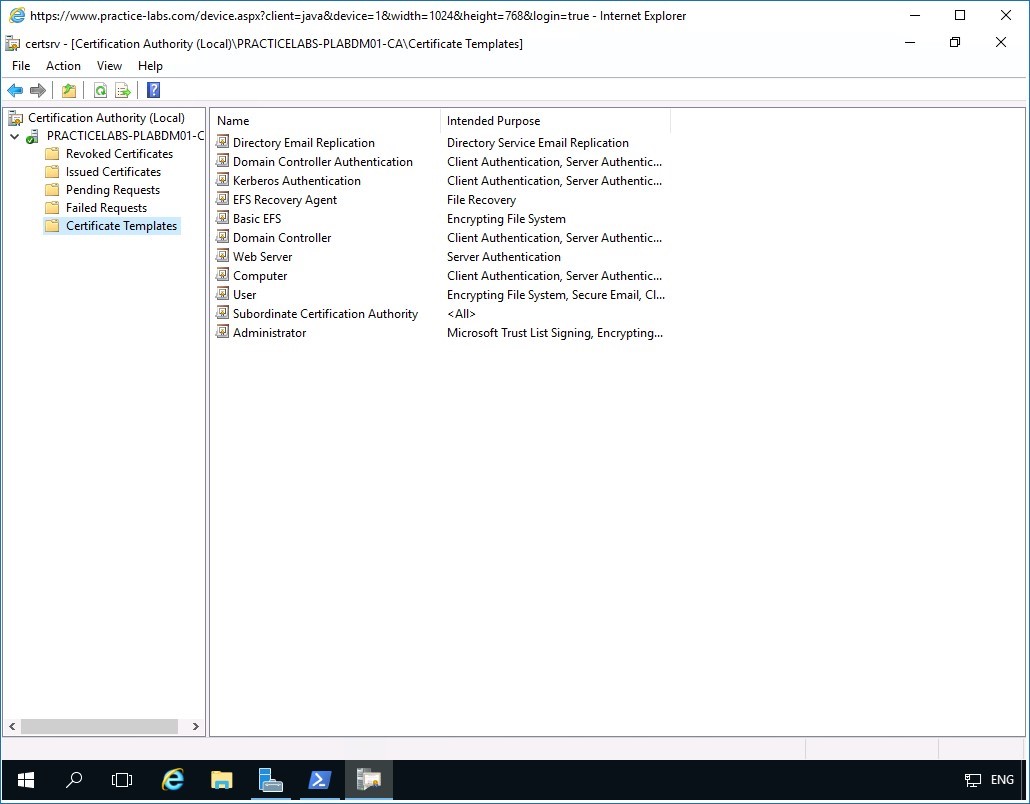
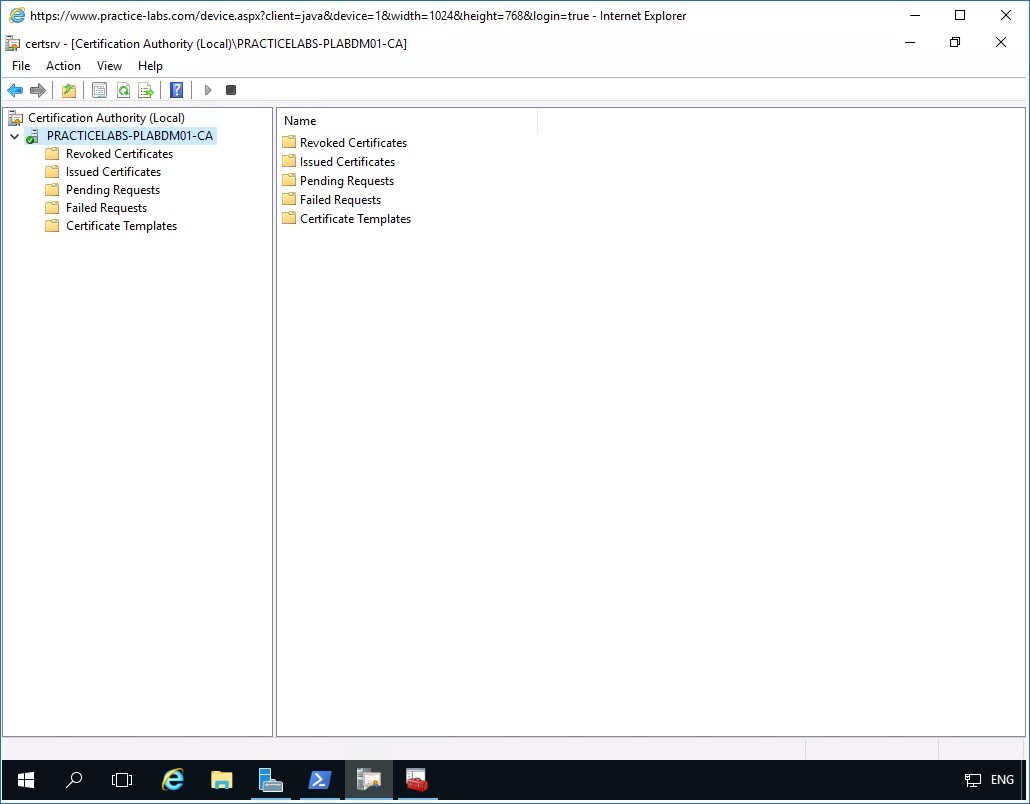
The certsrv - [Certification Authority (Local)] window opens.
Expand PRACTICELABS-PLABDM01-CA node.
Then click Certificate Templates folder.
The details pane of the Certificates Template folder at the right, indicates the type of certificates can be issued by PLABDM01.
Keep Certification Authority open.
2 - Configuring Certificate Auto Enrollment
Enrollment for machine or user certificate can be done manually by using certificates request wizard through the Microsoft Management Console (MMC) in a small organization. For big companies that maintain hundreds of network users, certificate enrollment can be streamlined by customizing a certificate template. A customized certificate template allows you to set properties such as auto enrollment and simplify certificates deployment to domain users by using Group Policy Objects.
In this exercise, you will learn how to manage certificates by setting the different properties for a custom template such security that indicate which user or security group has access to the certificate, timeline that illustrate validity of an issued certificate and other properties relating to a certificate templates.
To learn more about managing certificate templates and enrollment, please refer to your course material or use your preferred search engine to research this topic in more detail.
Task 1 - Configure a customized certificate template
A customized certificate template gives the certificate administrator the flexibility to change the properties of a template like security, extensions among others.
To set up a customized certificate template, perform the following steps:
Step 1
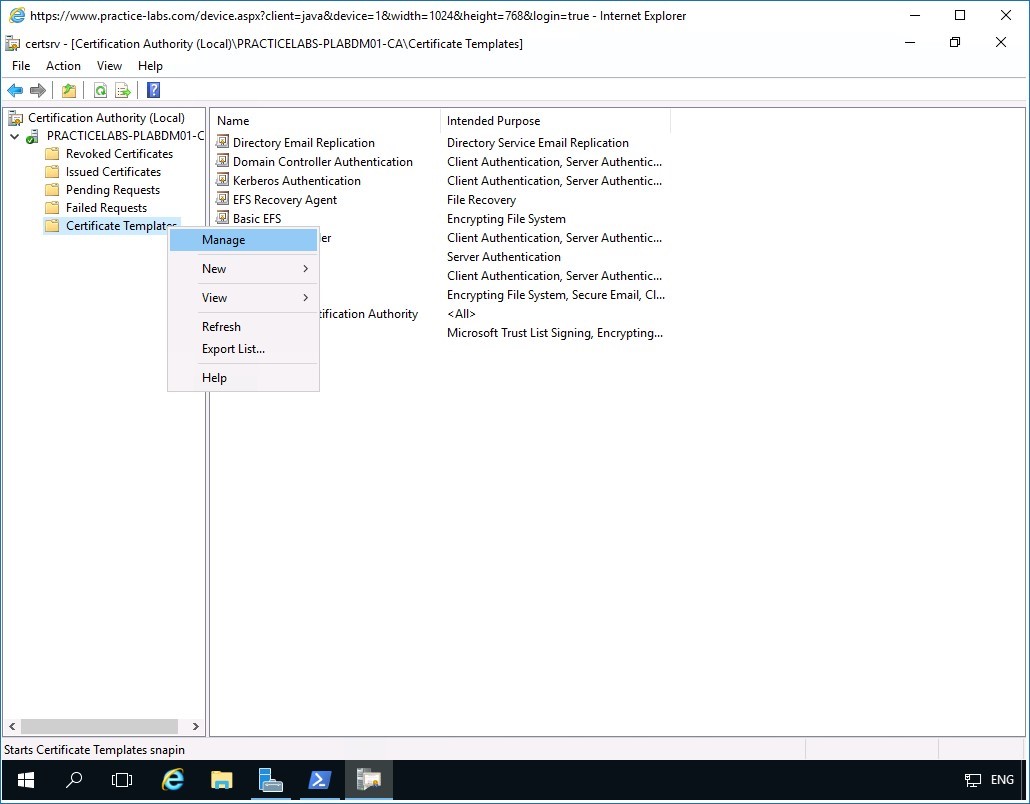
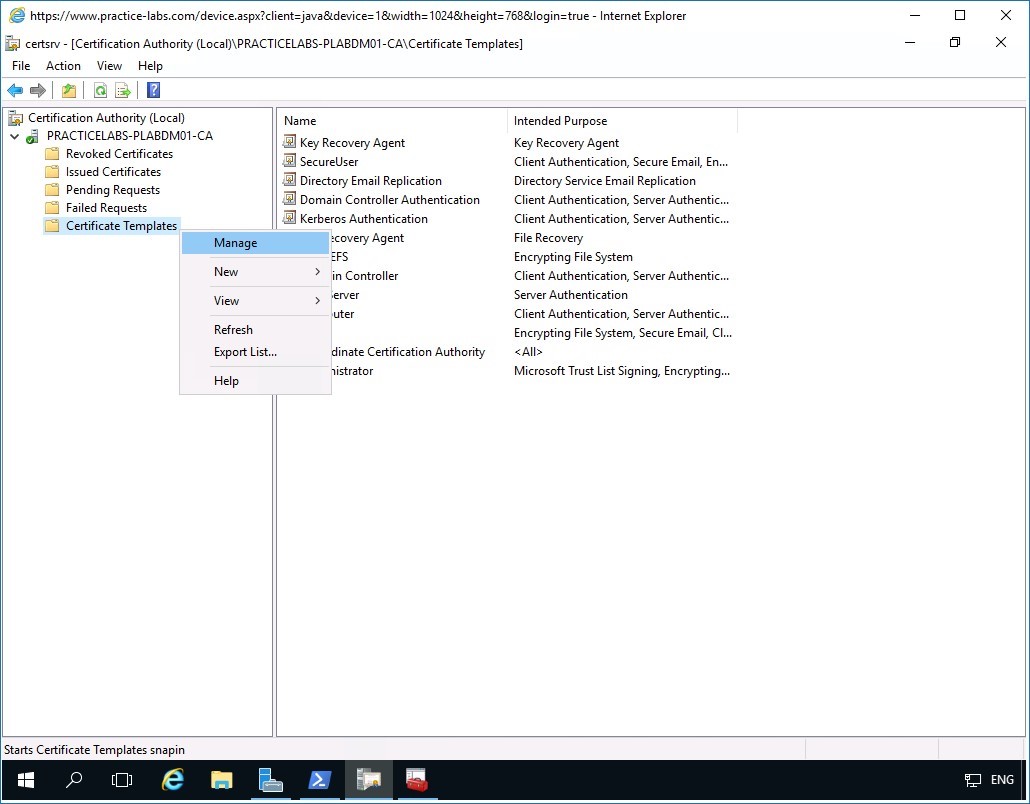
On PLABDM01, the Certification Authority console window is open.
Then right-click on Certificate Templates folder and select Manage.
Step 2
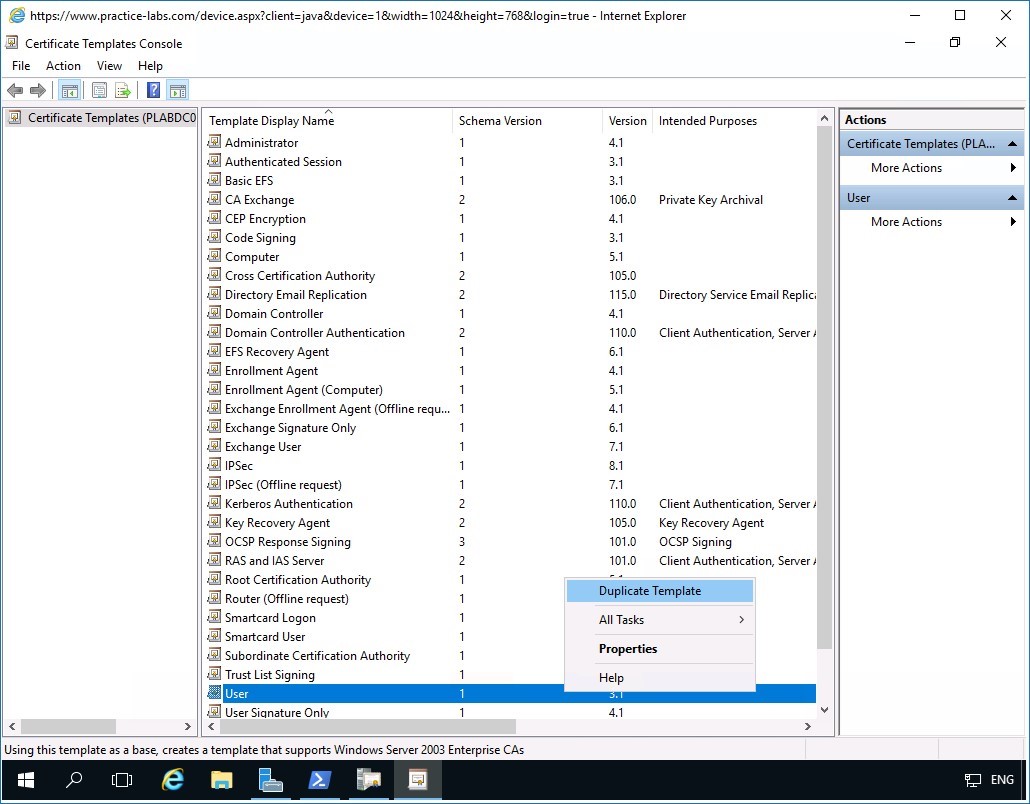
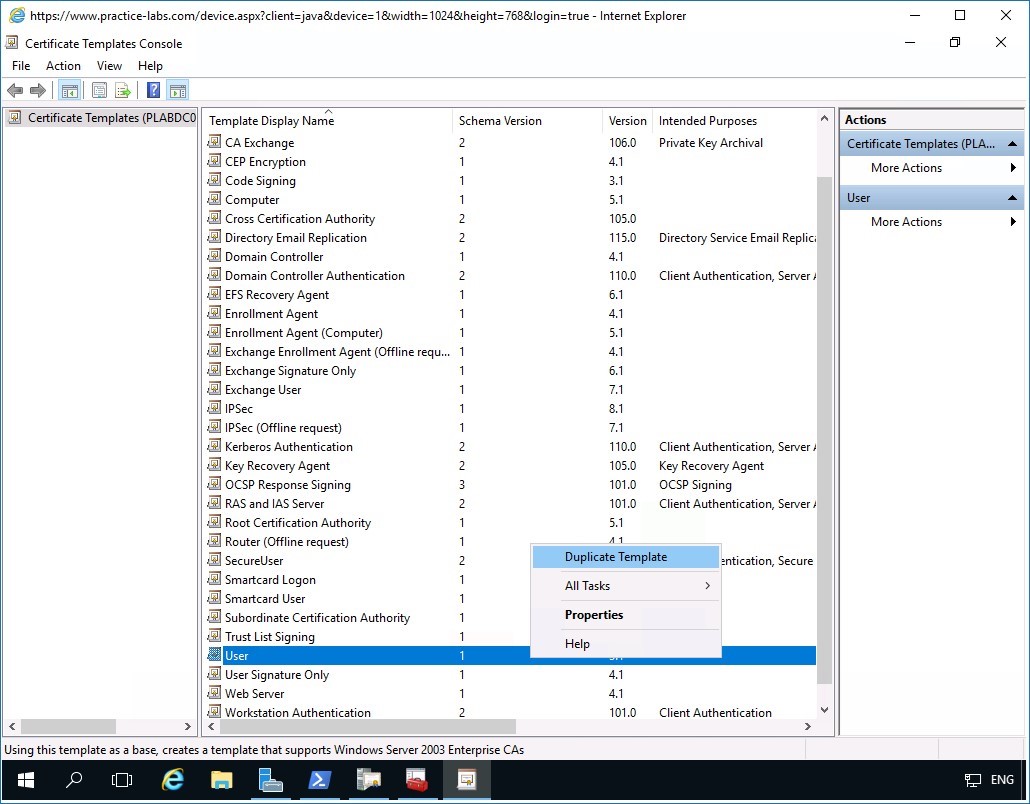
The Certificate Templates Console window opens.
Scroll down the templates list and right-click on User, then select Duplicate Template.
Step 3
On the Properties of New Template dialog box, click General tab.
Step 4
In the General tab, click in the Template display name text box and type-over the existing text with the following:
SecureUser
Click Apply.
Then click Request Handling tab.

Step 5
In the Request Handling tab, select Prompt the user during enrollment option.
Click Apply.
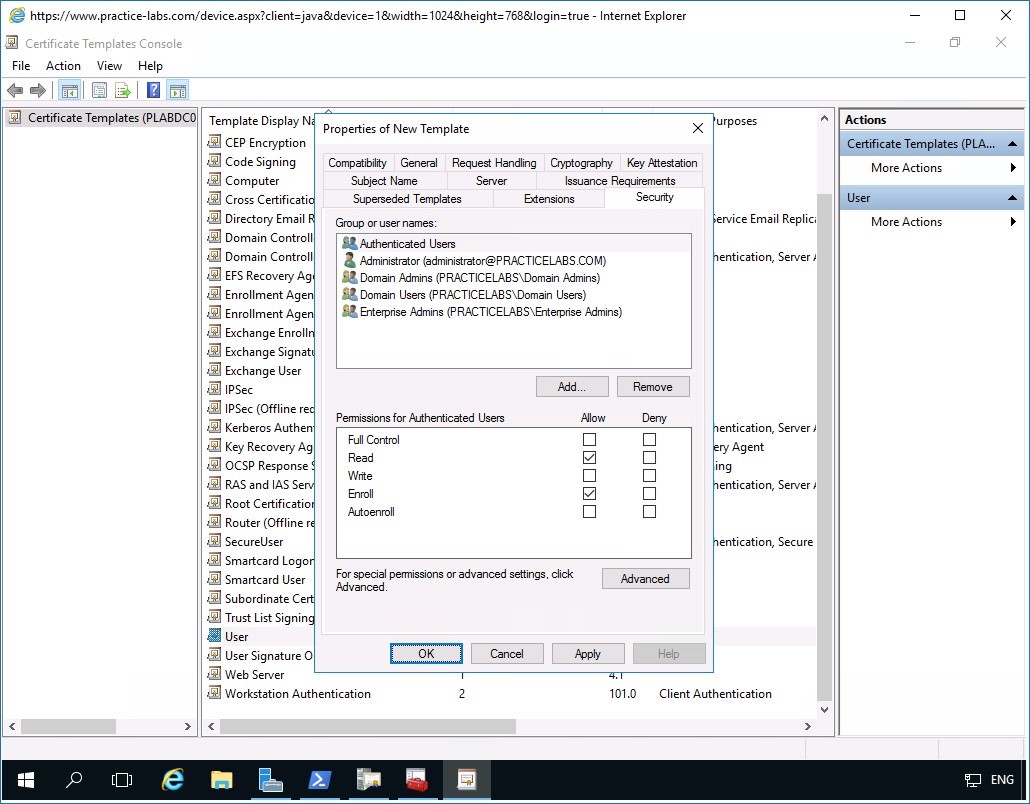
Note: For the purpose of this lab, we will use this option Prompt the user during enrollment. In an actual deployment, users are not prompted by any message when they are automatically enrolled for a certificate.Then click Security tab.
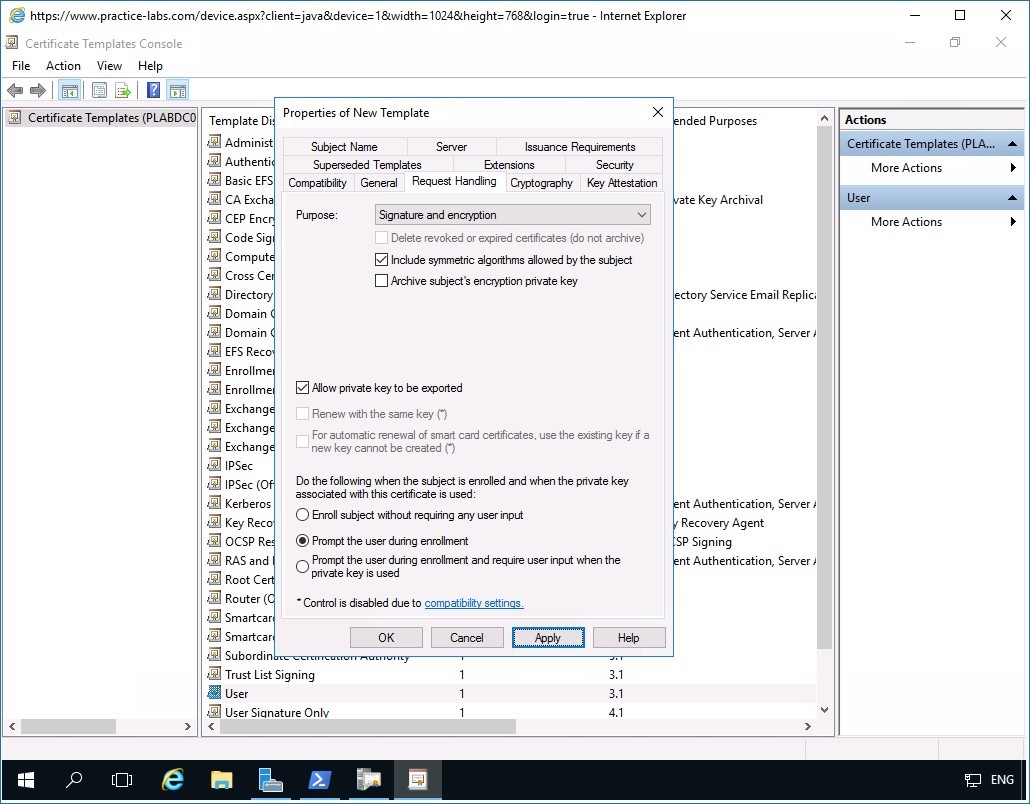
Figure 2.4 Screenshot of PLABDM01: The Properties of New Template dialog box is displayed.
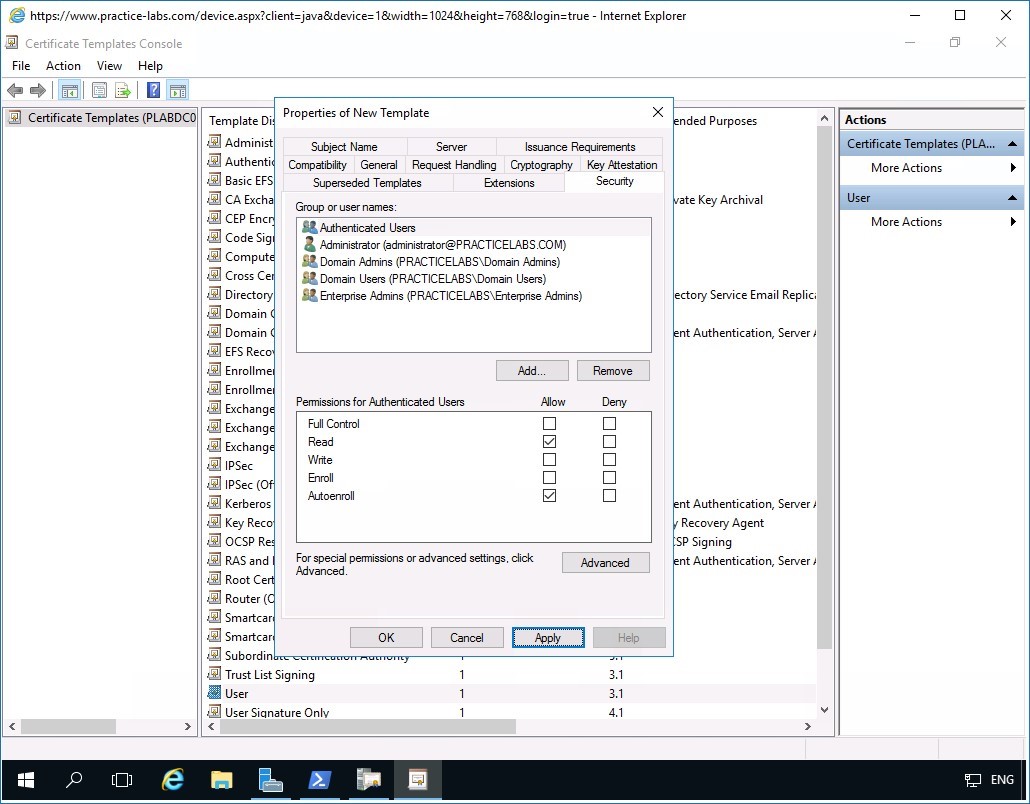
Step 6
In the Security tab, ensure that Authenticated Users security group is selected.
Under the Permissions for Authenticated Users section, select AutoEnroll check box.
Click Apply.
Then select Superseded Templates tab.
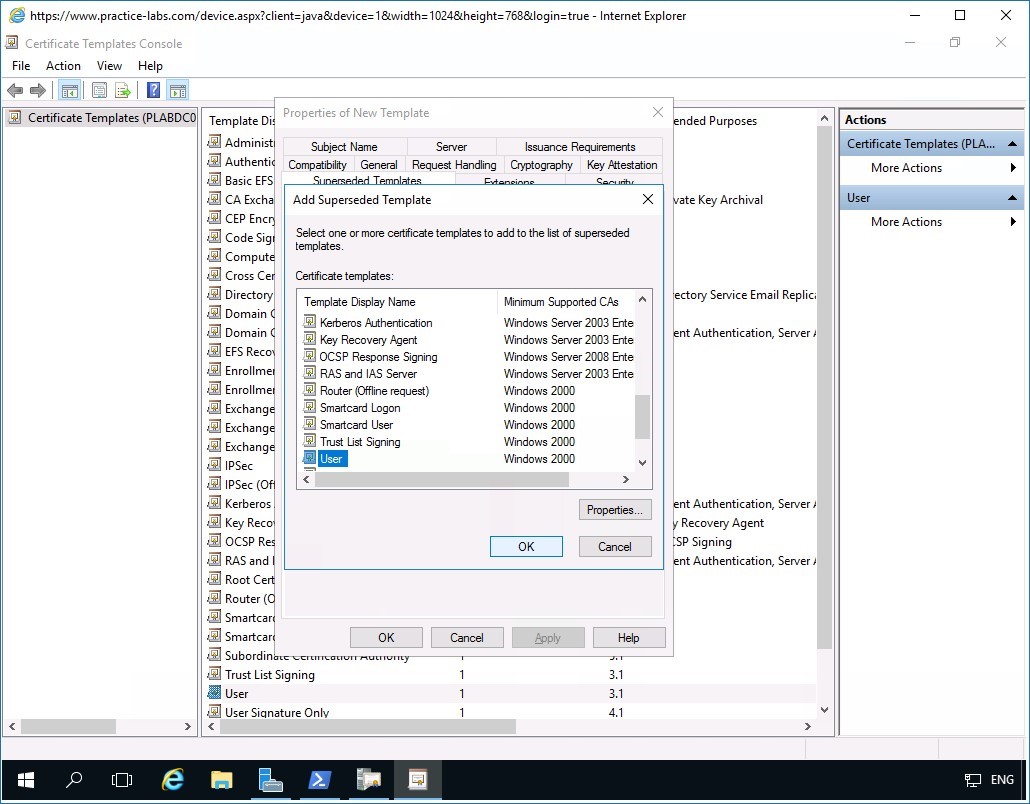
Step 7
In the Superseded Templates folder tab and click Add.

Step 8
In the Add Superseded Template tab, scroll down the list of Certificate templates.
Select User and click OK.
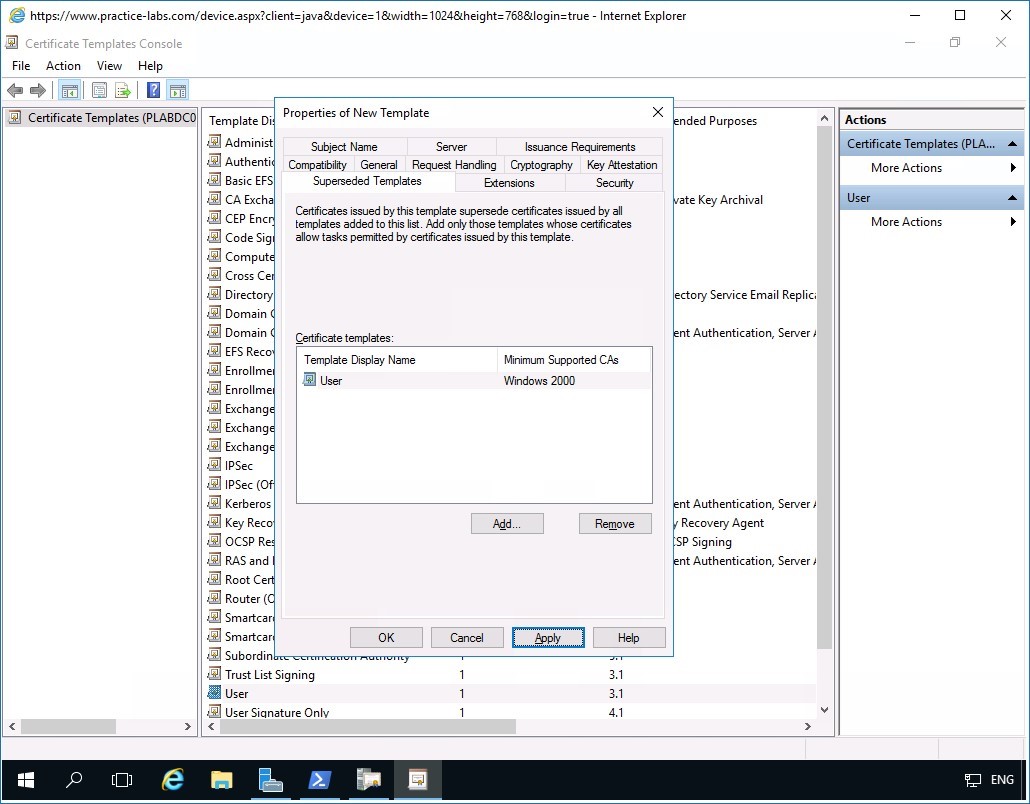
Step 9
Back in the Superseded Templates tab, the User template is now added.
Click Apply.
Then select Subject Name tab.
Step 10
In the Subject Name tab, clear the following check boxes:
- Include e-mail name in subject name
- E-mail name
Click OK.
Note: You cleared the two check boxes as AD users in Practice Labs domain do not have those attributes defined in their accounts.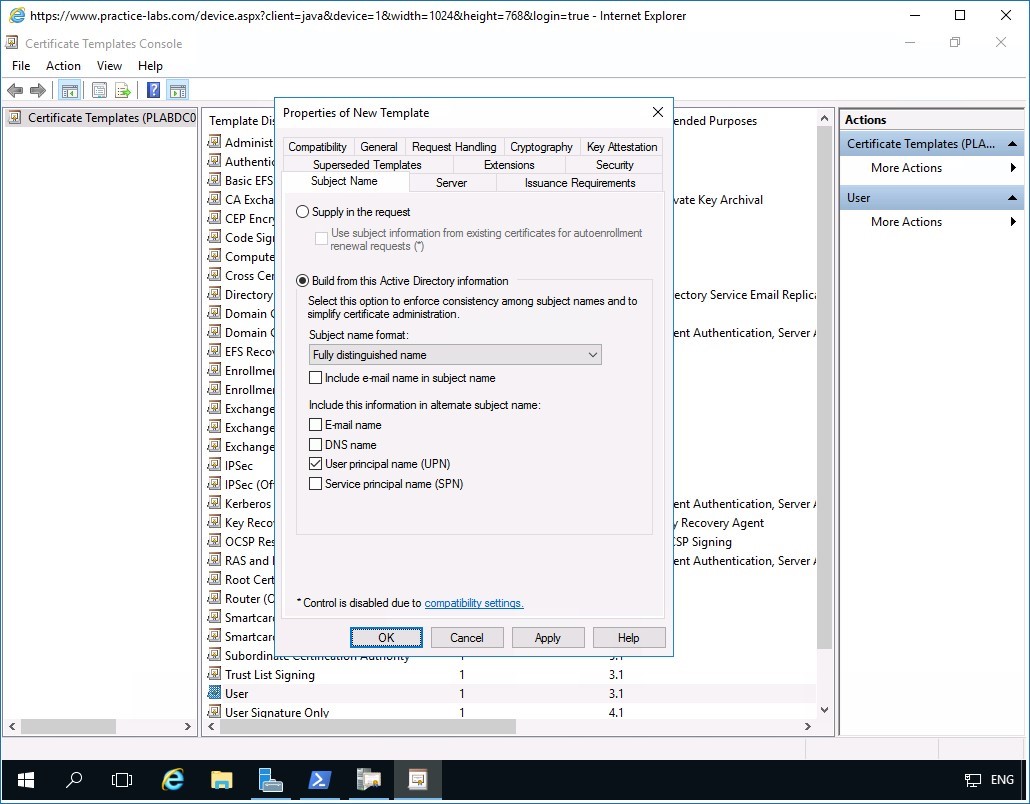
Step 11
Close Certificate Templates Console window.
Step 12
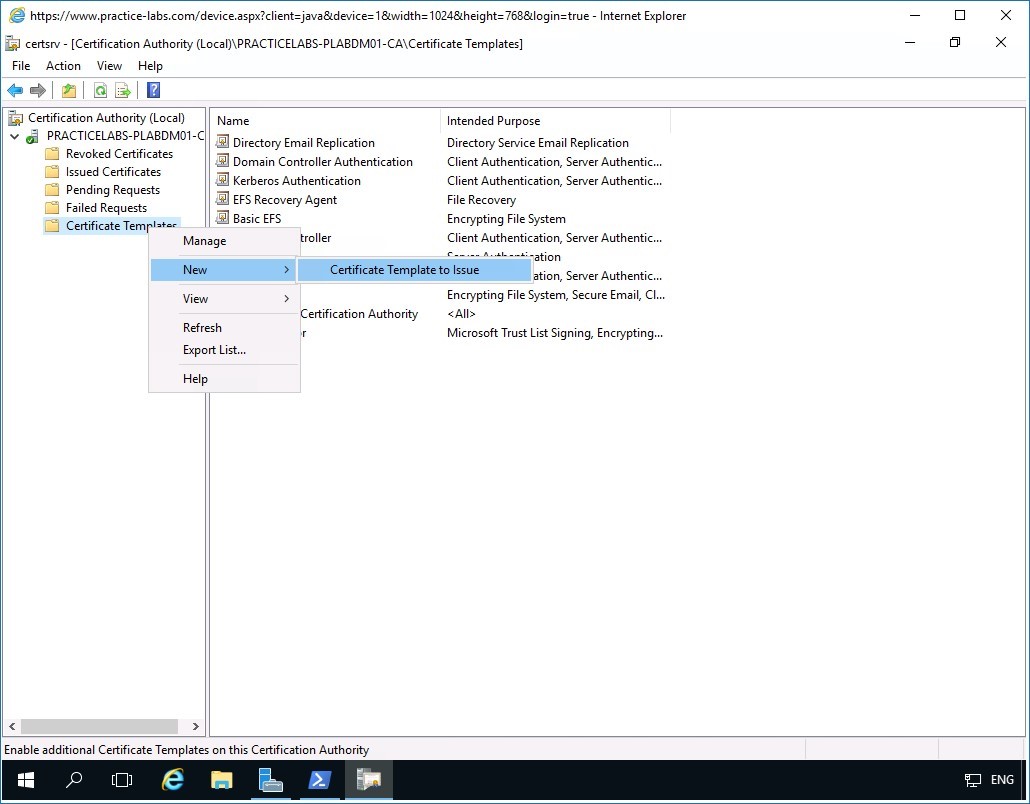
Next is to include SecureUser certificate template in the list of certificates that can issued by PLABDM01.
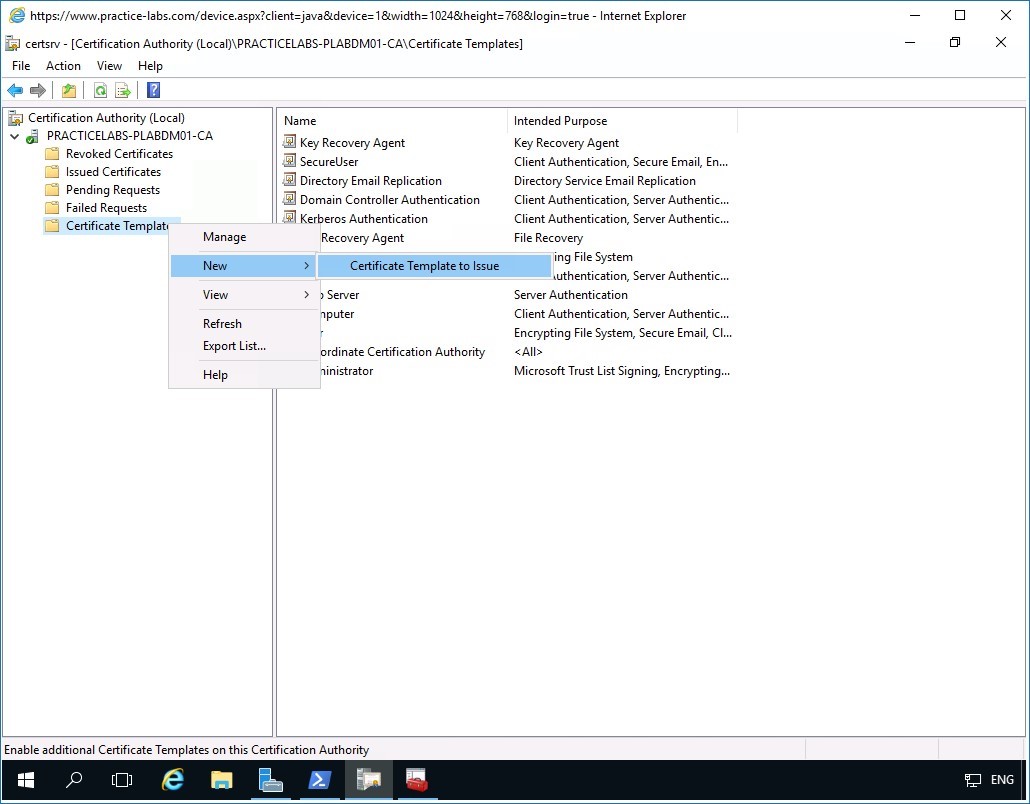
Ensure that you are back on the Certification Authority console window.
Right-click on Certificate Templates folder, then point to New and select Certificate Template to Issue.
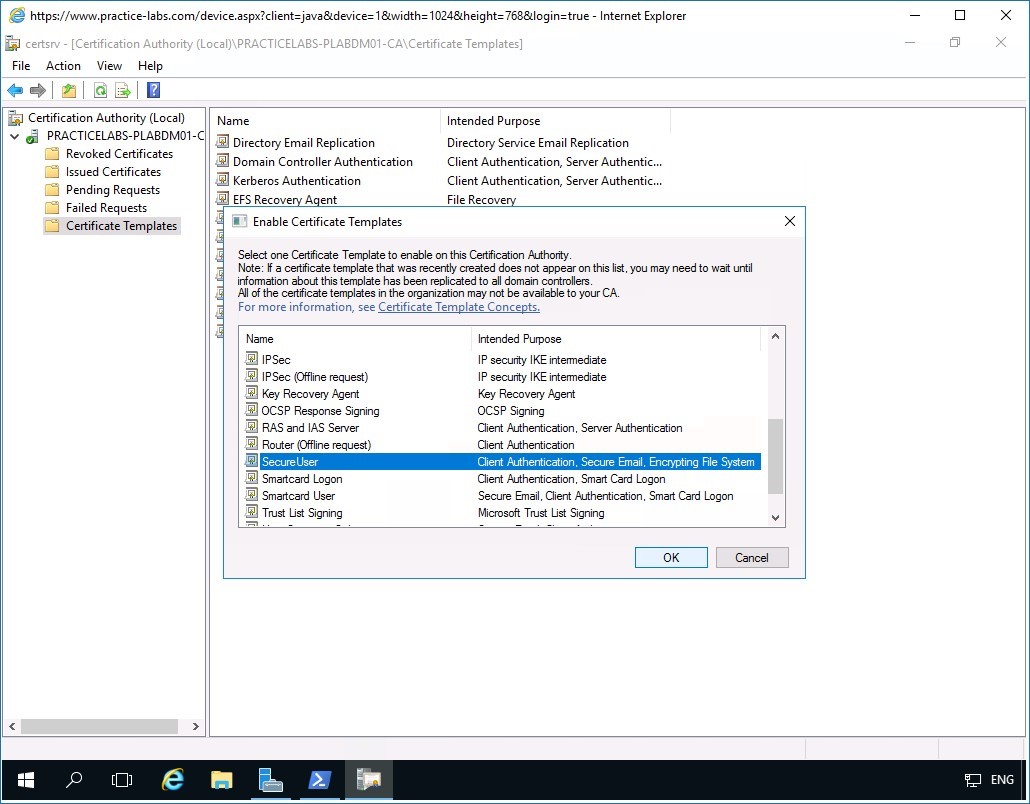
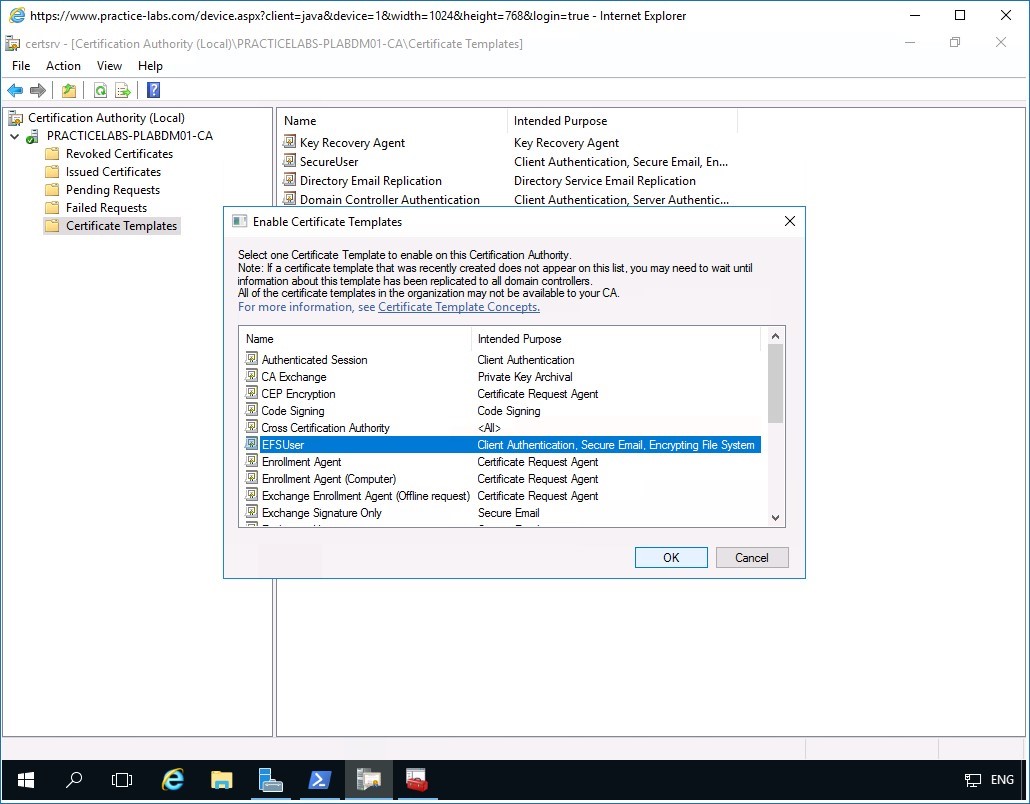
Step 13
In the Enable Certificate Templates dialog box, scroll down the list of templates and select SecureUser and click OK.
Step 14
If you get a system message indicating that the certificate couldn’t be added this time, click Cancel. This can happen due to some system delays in the Certification Authority Server.
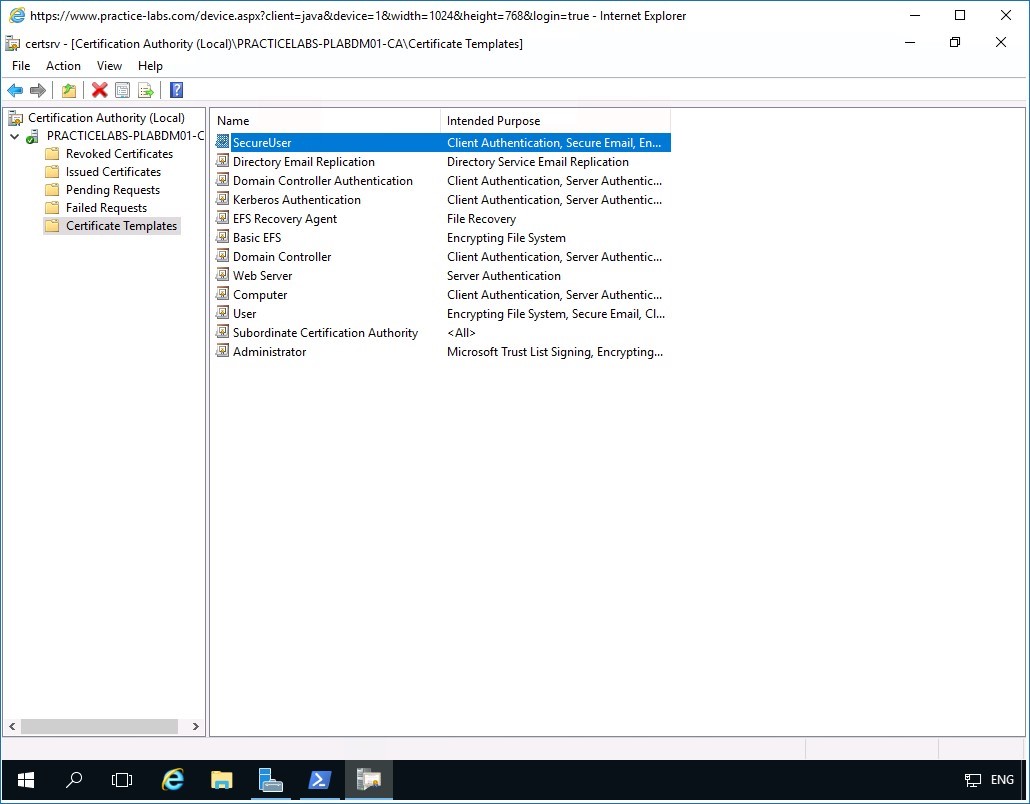
Start over with Step 13 to attempt to add the new certificate template.
You have just added SecureUser template as one of the certificate templates that can be issued by PLABDM01 server.
Minimize Certification Authority window as you will need this application in a later task.
Task 2 - Create group policy for certificate auto enrollment
In this task you will create a Group Policy Object to automate the deployment of user certificates to domain network users.
To create a GPO for user certificate auto-enrollment, perform the following steps:
Step 1
Connect to PLABDC01.
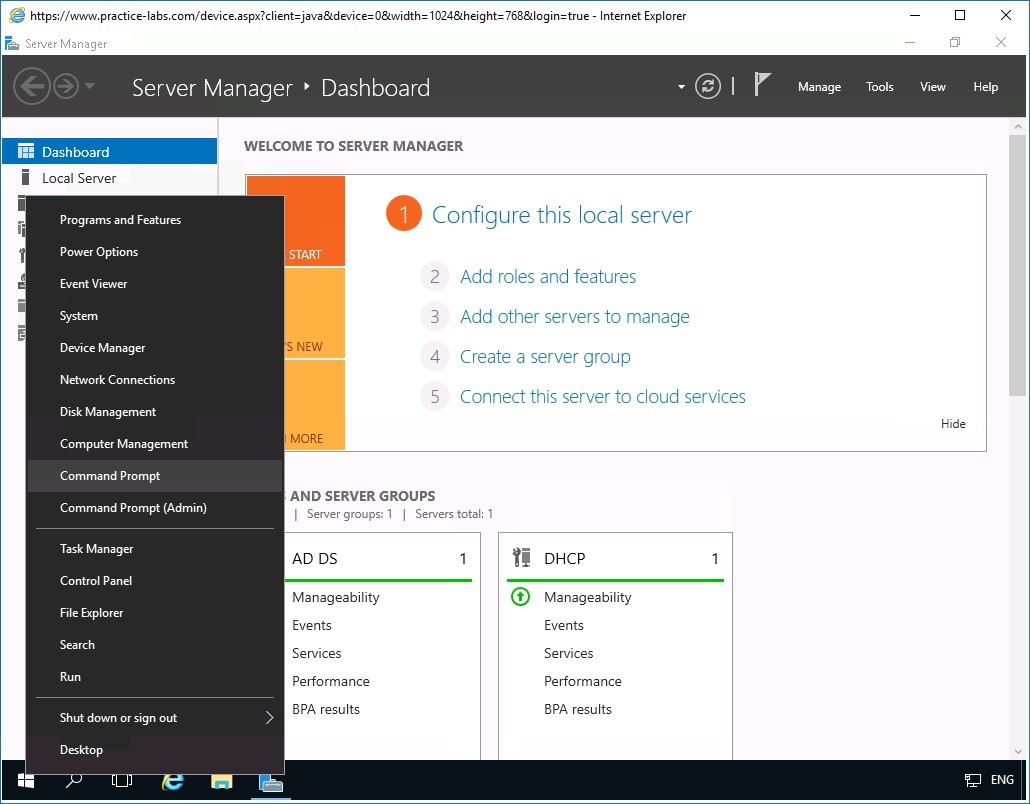
In the Server Manager > Dashboard window, click Tools menu and select Group Policy Management.
Step 2
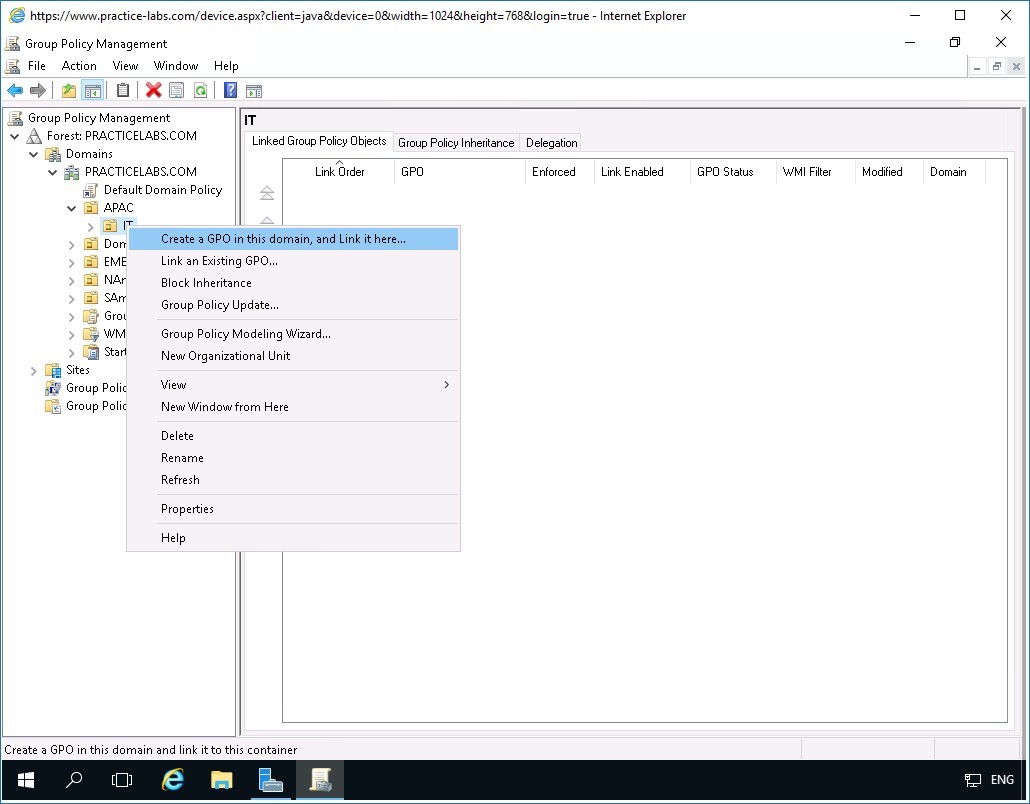
In the Group Policy Management console window, expand Forest: PRACTICELABS.COM > Domains > PRACTICELABS.COM > APAC and click IT organizational unit.
Right-click on IT OU and select Create a GPO in this domain and link it here…
Step 3
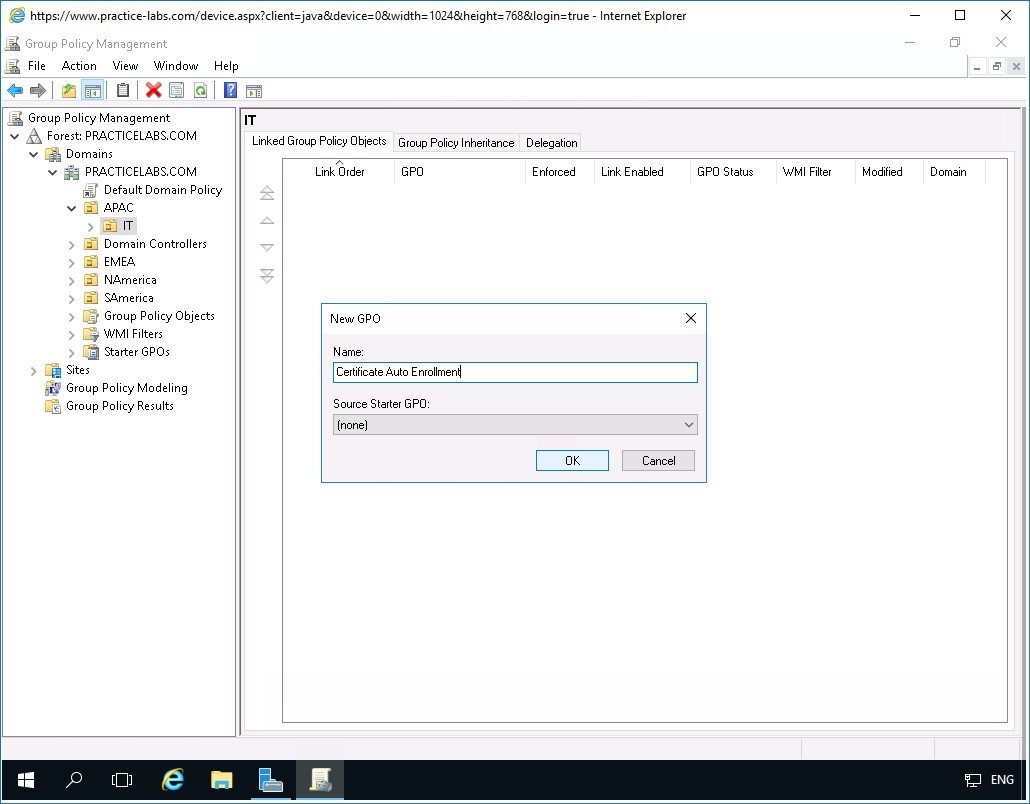
In the New GPO dialog box, type:
Certificate Auto Enrollment
Click OK.
Step 4
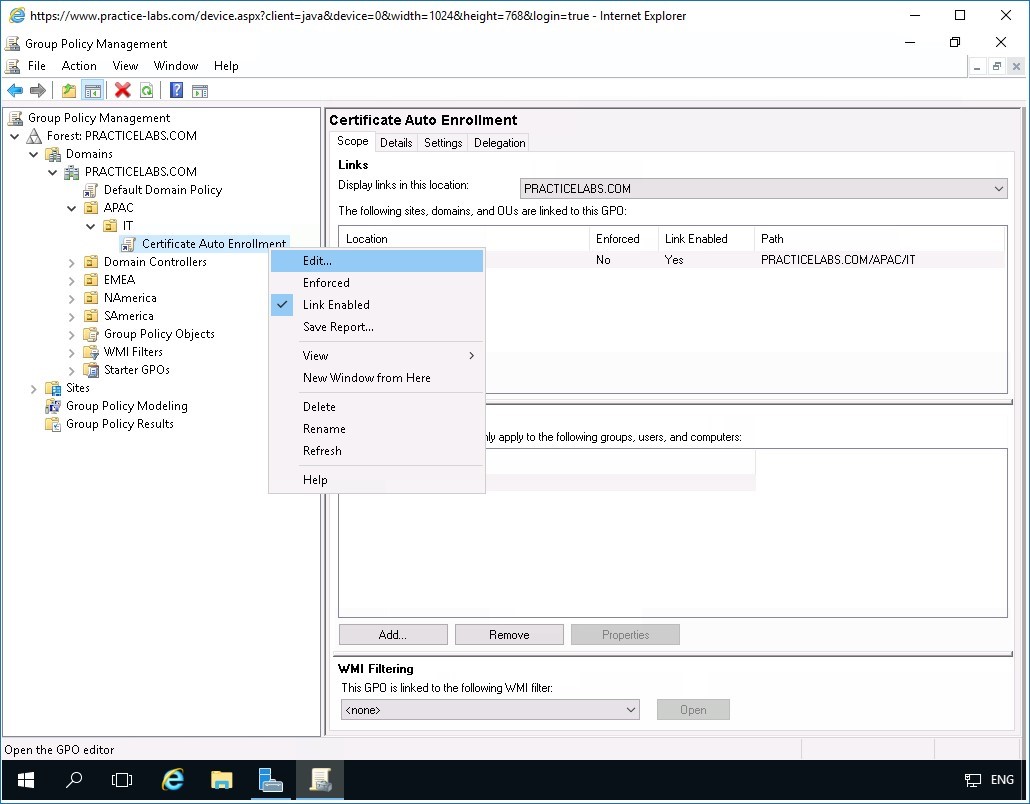
Expand the IT OU then right-click on Certificate Auto Enrollment group policy object link.
Note: If the Group Policy Management Console message box appears indicating you have selected a link to a Group Policy Object (GPO), click Do not show this message again check box then click OK.Select Edit.
Step 5
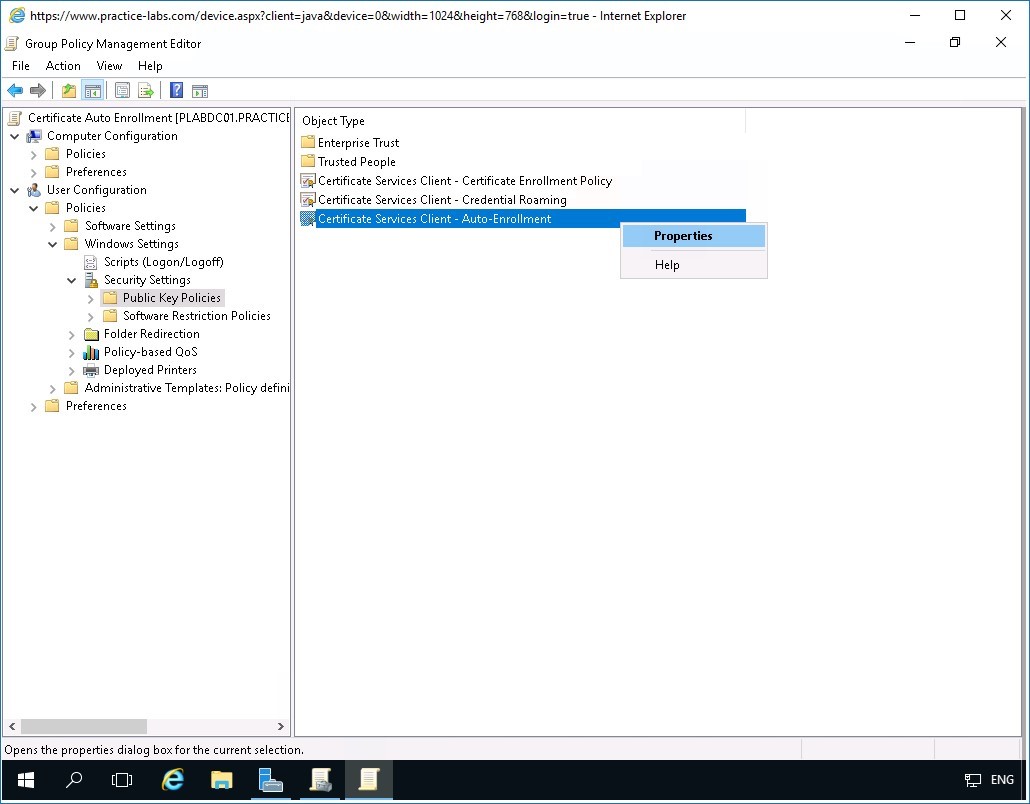
The Group Policy Management Editor window opens.
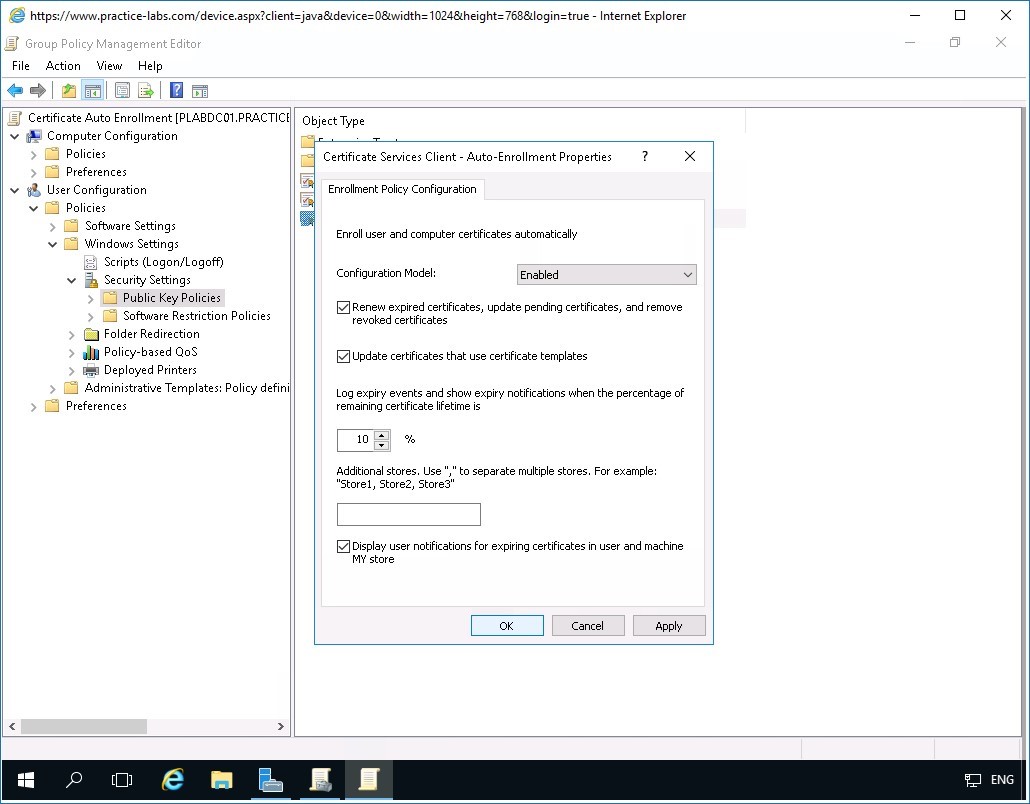
Expand User Configuration > Policies > Windows Settings > Security Settings then click Public Key Policies.
Observe the Public Key Policies details at the right. Then right-click on Certificate Services Client - Auto-Enrollment and select Properties.
Step 6
In the Certificate Services Client-Auto-Enrollment… dialog box, change the Configuration Model drop-down list to Enabled.
Step 7
A number of check boxes will become available as a result.
Select the following check boxes:
- Renew expired certificates, update pending certificates, and remove revoked certificates
- Update certificates that use certificate templates
- Display user notifications for expiring certificates in user and machine MY store
Click OK.
Step 8
Close Group Policy Management Editor application window.
Similarly, exit from the Group Policy Management console window.
Step 9
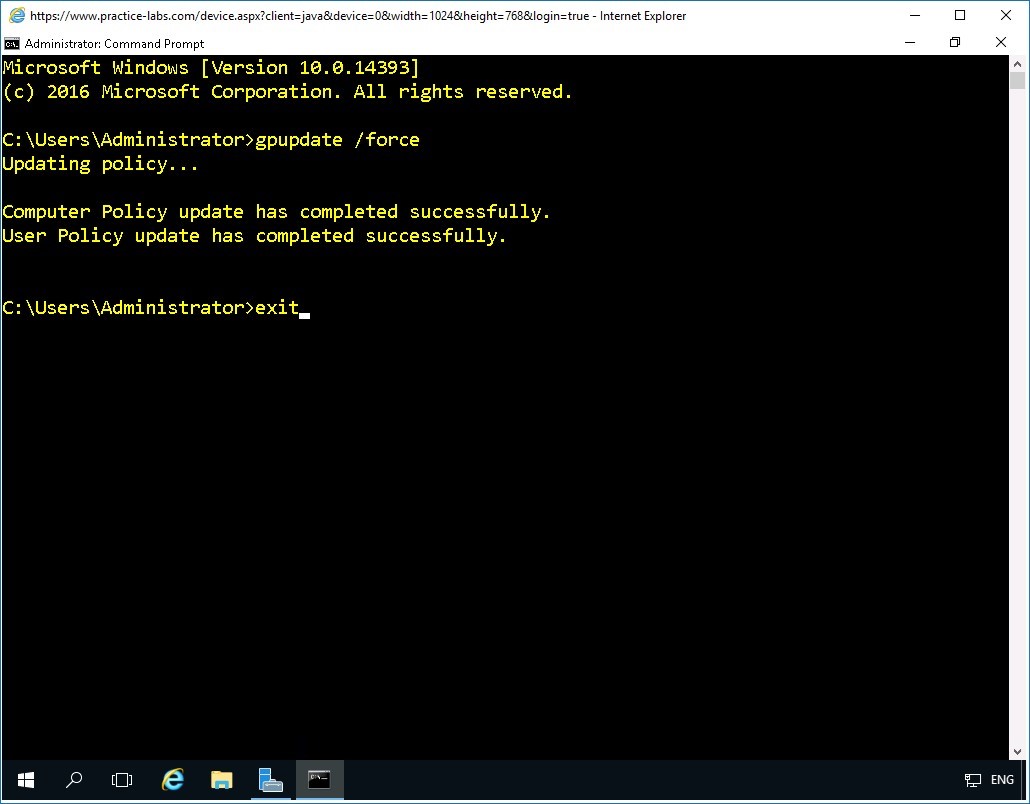
Right-click on Start and select Command Prompt from the shortcut menu.
Step 10
To propagate the new user Group Policy settings to the domain, type:
gpupdate /force
Press Enter.
On the next prompt, type:
exit
Press Enter.
Task 3 - Verify the certificate issuance
After configuring the certificate auto enrolment policy in the previous task, you will now sign on as a domain user located in the IT organizational unit and verify that a certificate is issued to the user.
To verify certificate issuance, perform the following steps:
Step 1
You need to temporarily disable server auto login to be able log on to the lab devices using another user account.
On the content panel please click the Access your settings tab, under Device > Server auto login, click the Disable button. Please note that this Server auto login setting is saved in your profile and will apply in EVERY lab session that you will perform with Practice Labs.
Please note that you can select Enable button again in the Device > Server auto login to have the convenience of being automatically logged on as the default administrator after this exercise.
Step 2
Connect to PLABWIN10 computer.
Important: Since Server auto logon was disabled previously, you may see the PRACTICELABS\Administrator already signed in. If this is the case, please sign out PRACTICELABS\Administrator from PLABWIN10.Connect again to PLABWIN10.
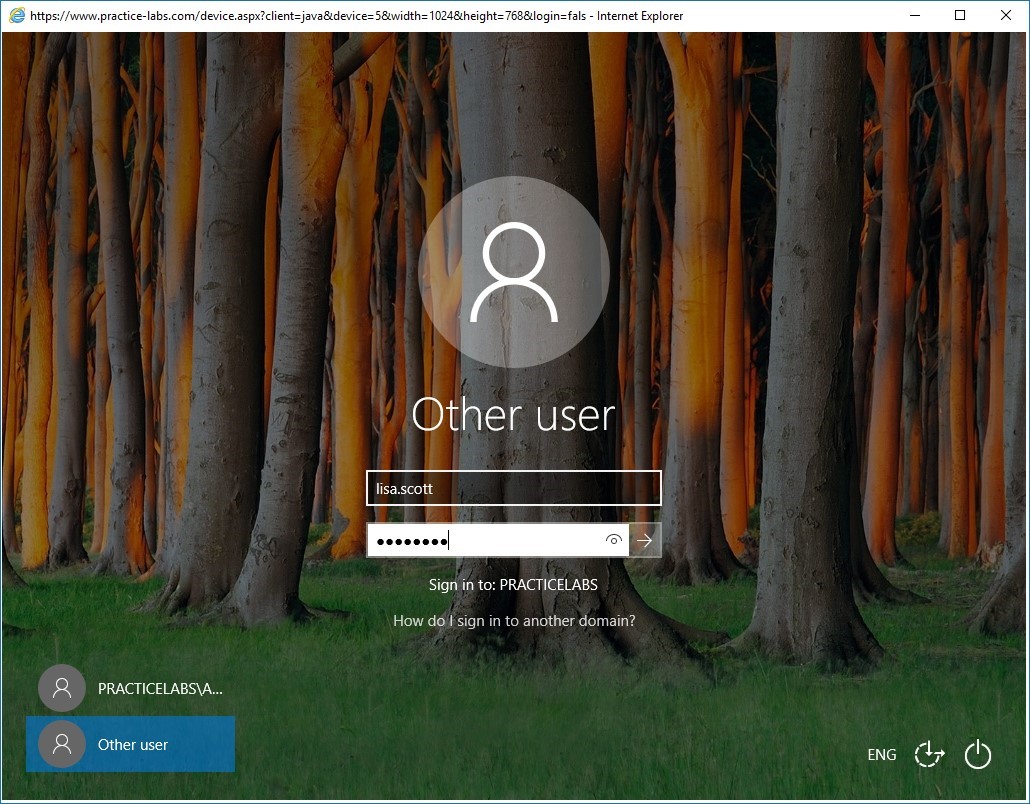
On the sign on screen, click Other User.
Step 3
In the User name box, type:
lisa.scott
In the password text box, type:
Passw0rdPress Enter.
Step 4
If the Application Install - Security Warning message box appears, click Close [x] button.
This application is for the assessment engine in the lab.
Click Agree if presented with BGInfo License Agreement page.
Step 5
When signed on, access the system tray and click the arrow to expand.
You should get a certificate icon. Then click on the certificate icon to proceed with the enrollment of the user certificate for Lisa Scott.
Important: There will be a slight delay about 1 minute, before the certificate icon appears at the system tray. If you don't get a certificate, open a command prompt and type gpupdate /force. A certificate icon will appear on the system tray. If no certificate icon appears, sign out and sign back in as lisa.scott.
Step 6
In the Certificate Enrollment, Before you begin page, click Next.
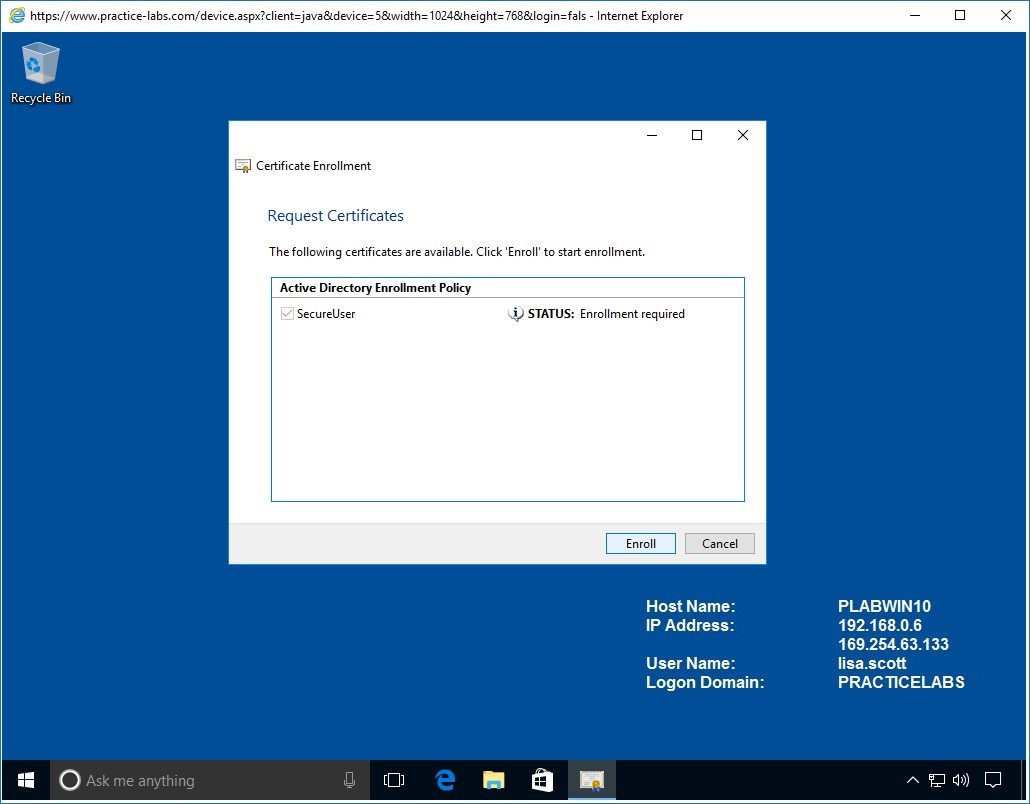
Step 7
The Request Certificates page will display SecureUser certificate template that you created earlier.
Click Enroll.
Step 8
Please wait while certificate enrolment is being processed.
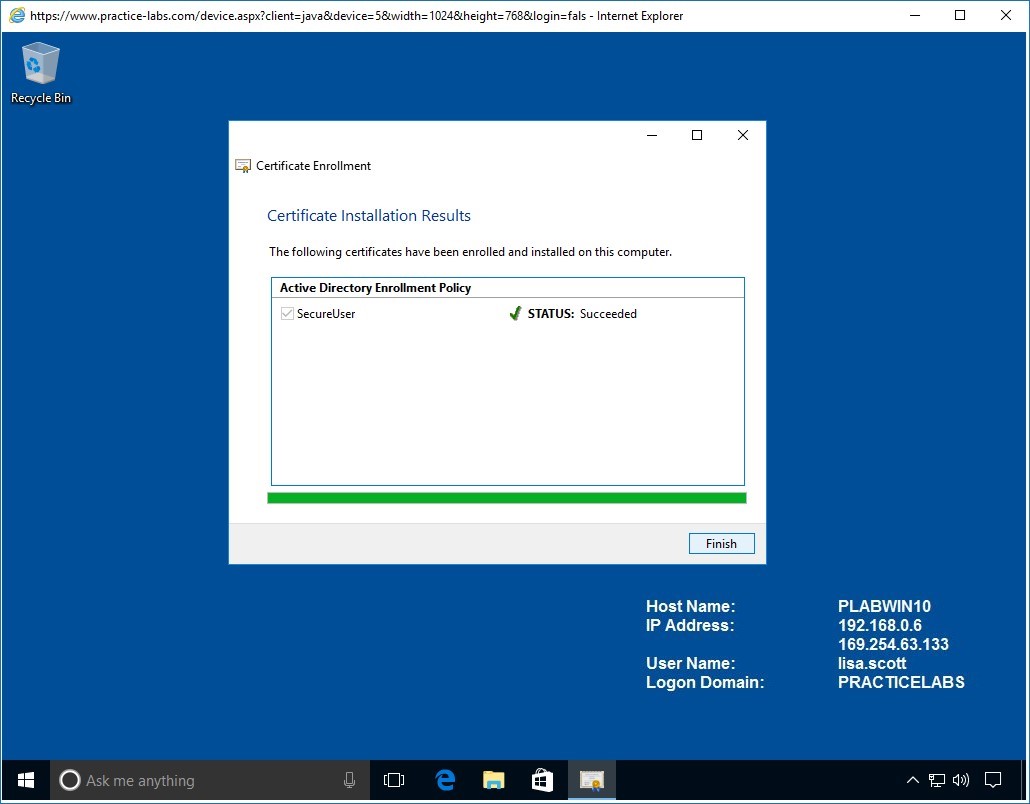
Step 9
Lisa Scott will enroll successfully for the SecureUser certificate template.
Click Finish.
The certificate issued to Lisa Scott can be used for a number of tasks like protecting her personal files using EFS and send encrypted e-mail messages, if there is an existing e-mail server in the network.
Step 10
Right-click Start and mouse over Shut down or sign out.
Then click Sign out.
Implementing Key Archival
To ensure the recoverability of issued certificates, a certification authority (CA) server must be configured to archive keys or certificates that it has issued to users and computers. Key archival means that the CA server has a copy of all issued certificates and therefore allows recovery of certificates lost by the user due to a number of reasons such as theft of smart card, an accidental reformat of the user workstation where the user certificate is saved and among other things.
In this exercise, you will learn to how set up key archival by first enabling a key recovery agent in certification authority and issue a recovery agent certificate to the CA administrator.
To get additional information about how to configure key archival, please refer to your course material or use your preferred search engine to research this topic in more detail.
Task 1 - Enable a Key Recovery Agent
The Key Recovery Agent role is security-sensitive role that must be manually configured to be able to recover lost keys issued by the Certification Authority to users in the domain network. In this task, you will enable the administrator account for Key Recovery Agent role.
To enable the key recovery agent, perform the following steps:
Step 1
Connect to PLABDM01 device.
The Server Manager > Dashboard window is open.
Restore the Certification Authority from taskbar.
Step 2
In the Certificate Authority window, right-click on Certificate Templates folder and select New > Certificate Template to Issue.

Step 3
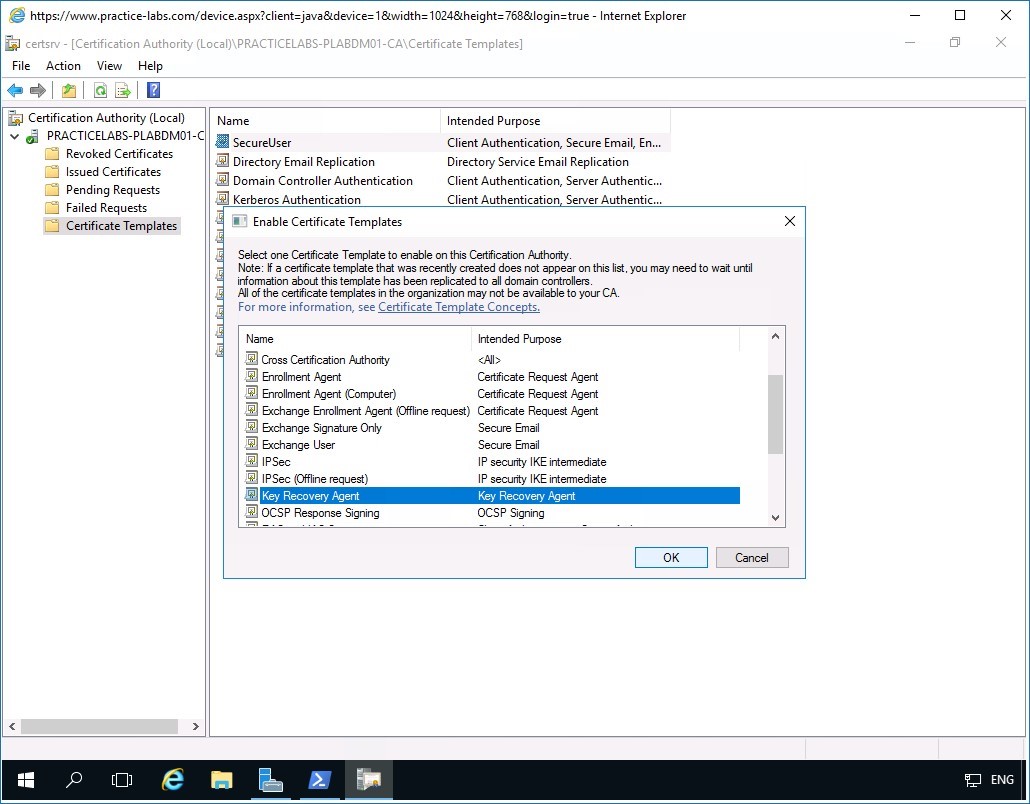
In the Enable Certificate Templates dialog box, scroll down the list.
Then select Key Recovery Agent and click OK.
Minimize Certification Authority snap-in.
Task 2 - Request for Key Recovery Agent Certificate
To request for a Key Recovery Agent Certificate for the administrator account, do the following steps:
Step 1
In the next few steps, you will enroll the PRACTICELABS\Administrator account to use a Key Recovery Agent certificate.
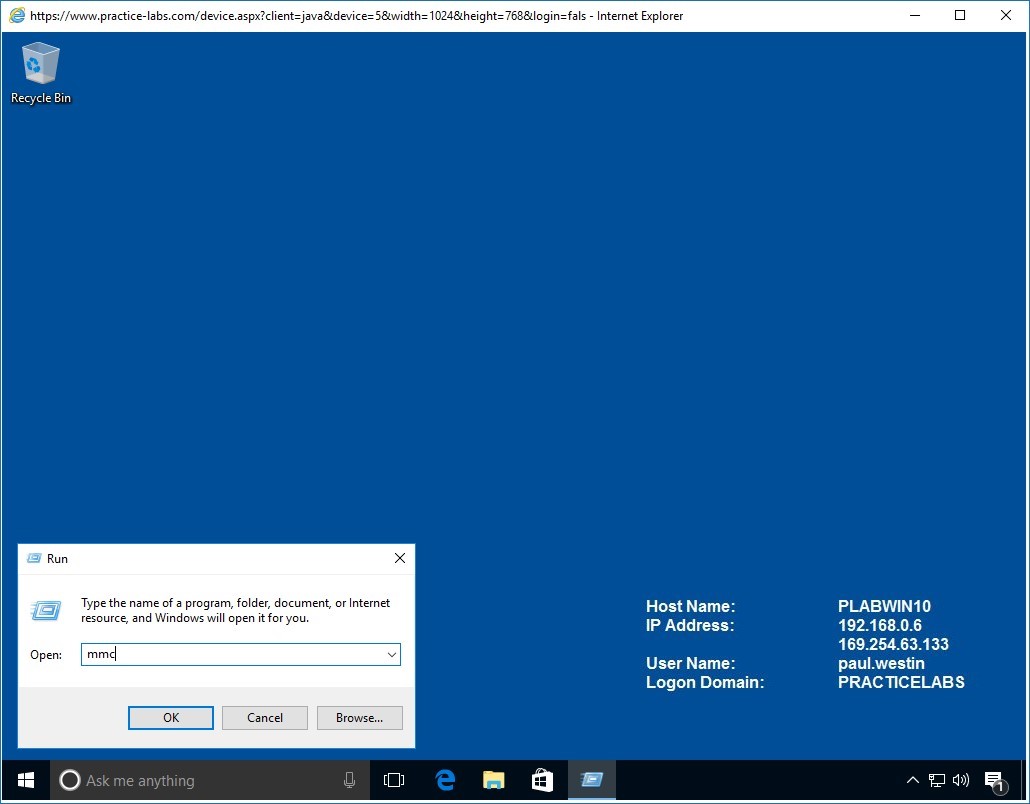
On PLABDM01, right-click Start and select Run.
Step 2
In the Run dialog box, type:
mmc
Click OK.

Step 3
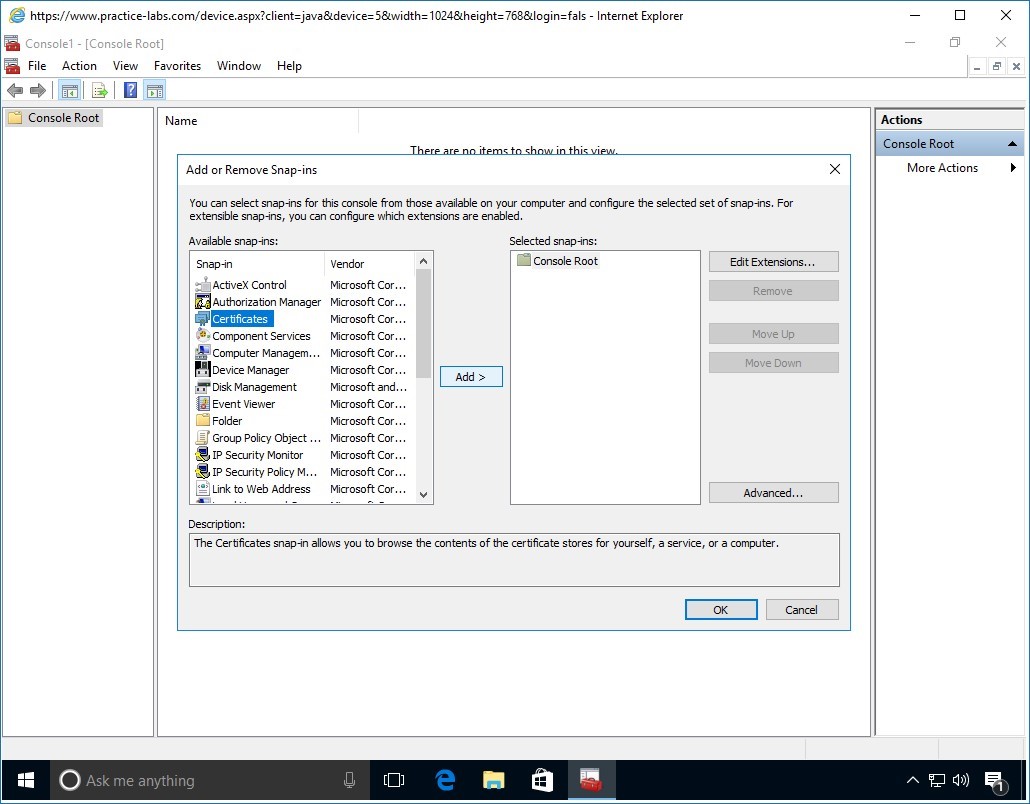
In the Console1 window, click File and select Add/Remove Snap-in.
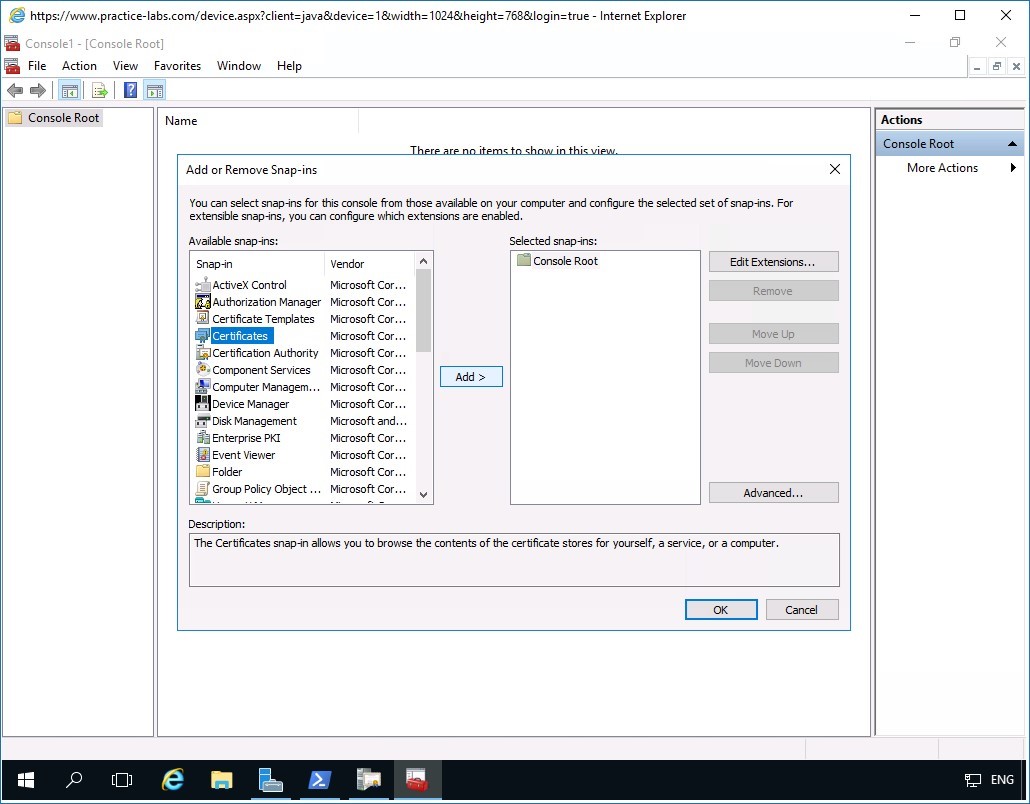
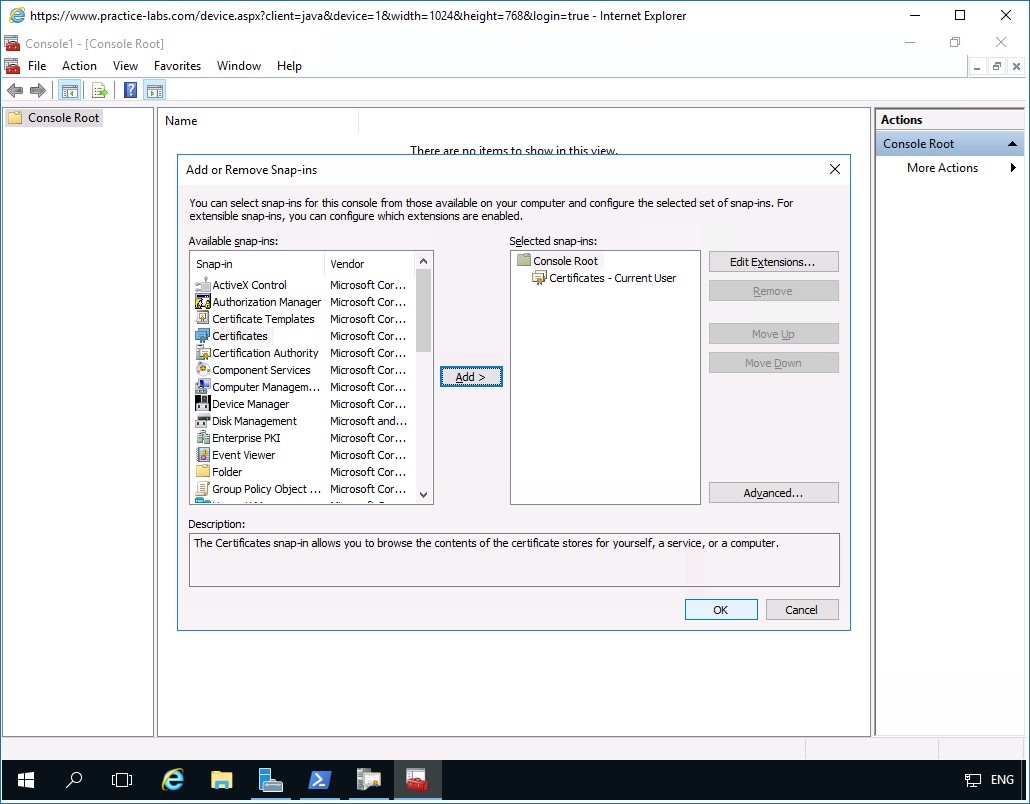
Step 4
In the Add or Remove Snap-ins window, select Certificates and click Add.
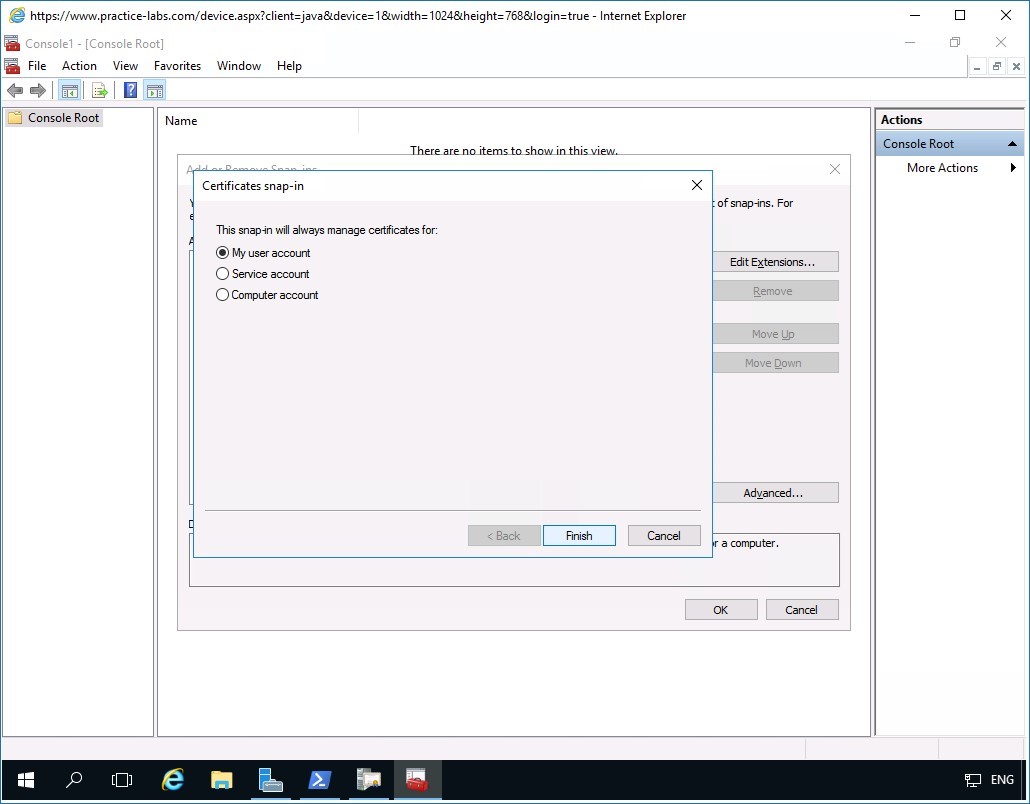
Step 5
In the Certificates dialog box, ensure that My user account option is selected.
Click Finish.
Step 6
Click OK to close Add/Remove Snap-ins dialog box.
Step 7
Back on the Console1 window.
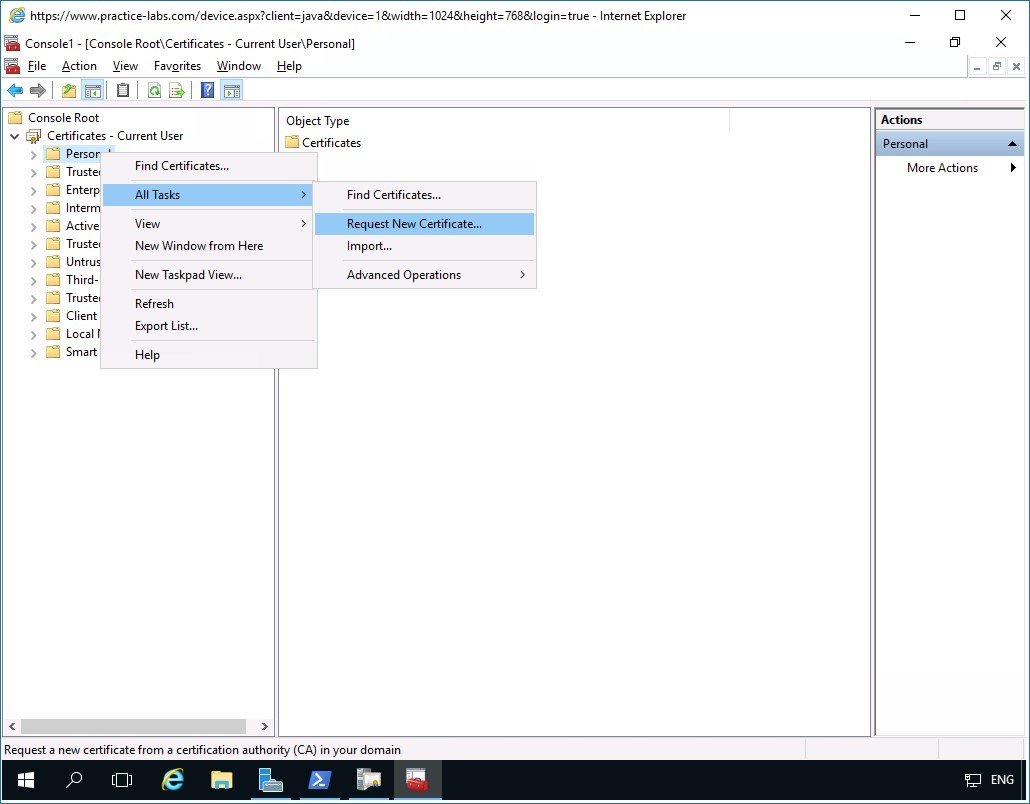
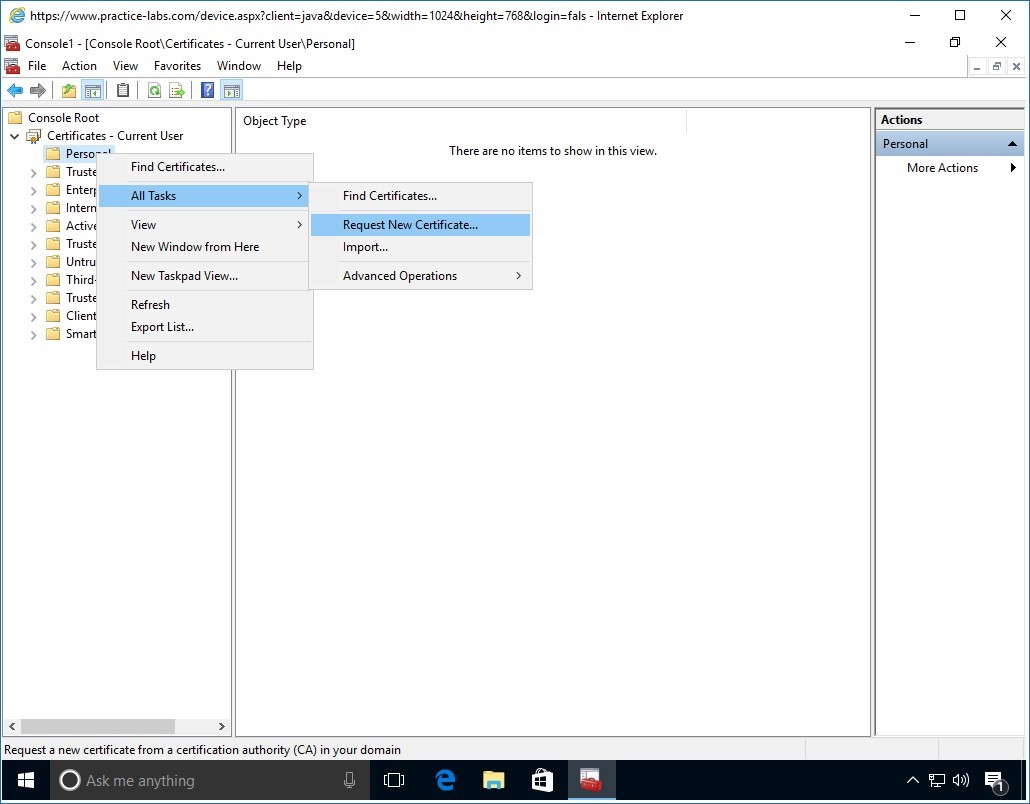
Expand Certificates-Current User node.
Then right-click on Personal folder, point to All Tasks and select Request New Certificate.
Step 8
Click Next in the Before you begin page.
Step 9
In the Select Certificate Enrollment Policy page, click Next.
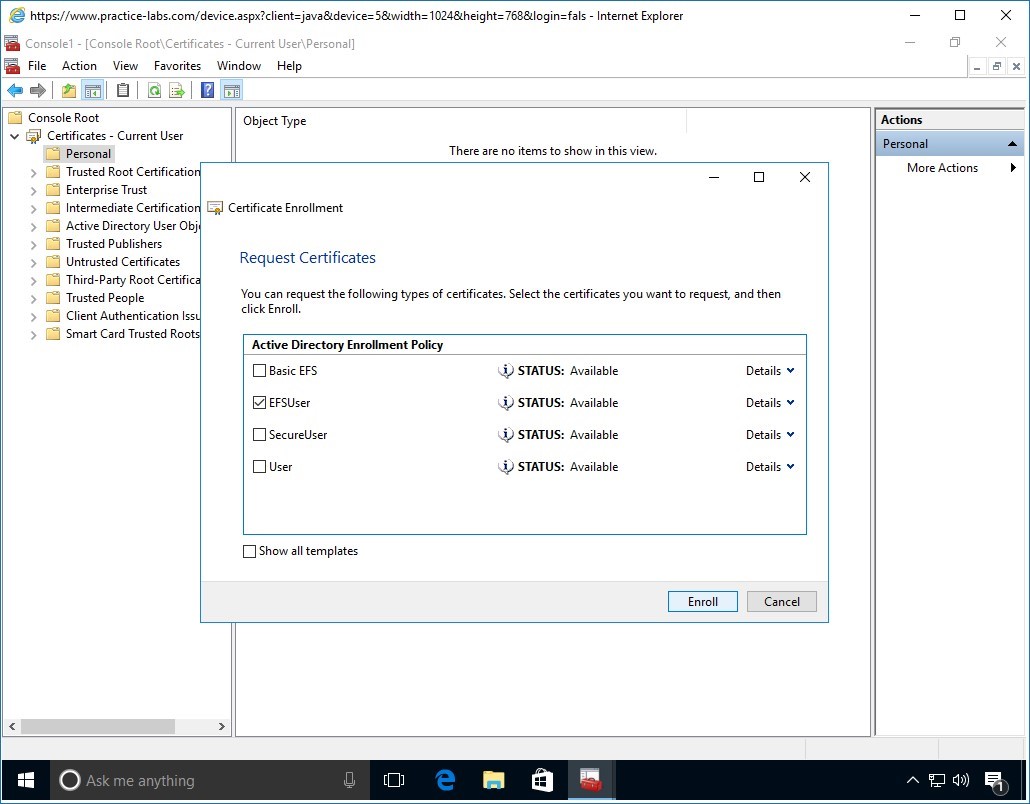
Step 10
In the Request Certificates page, select Key Recovery Agent check box.
Click Enroll.
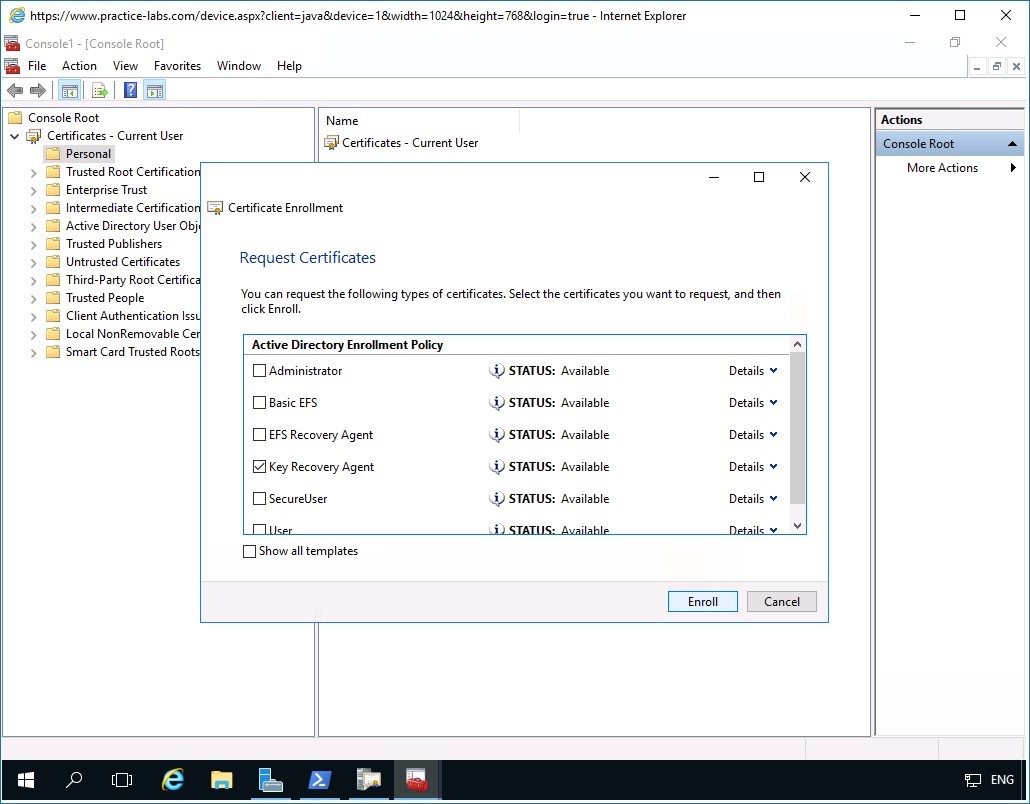
Figure 3.8 Screenshot of PLABDM01: The Request Certificates window is displayed.
Step 11
Please wait while enrolment for Key Recovery Agent is being processed.
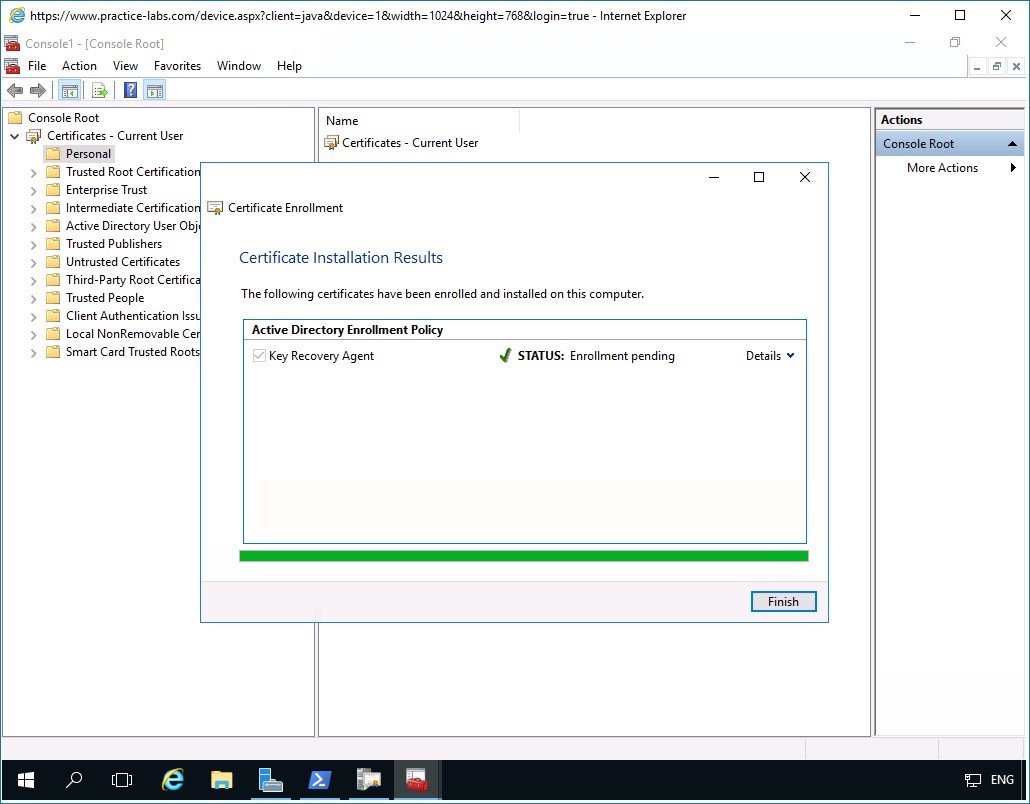
Click Finish when Certificate Installation Results page reports a pending enrollment.
Since Key Recovery Agent certificate is a security-sensitive key, as it indicates “Enrollment pending” meaning it will have to be issued (approved) manually to the user who requested for it.
Step 12
Minimize Console1 window.
Task 3- Issue Key Recovery Agent certificate
To approve the issuance of the Key Recovery Agent Certificate, perform the following steps:
Step 1
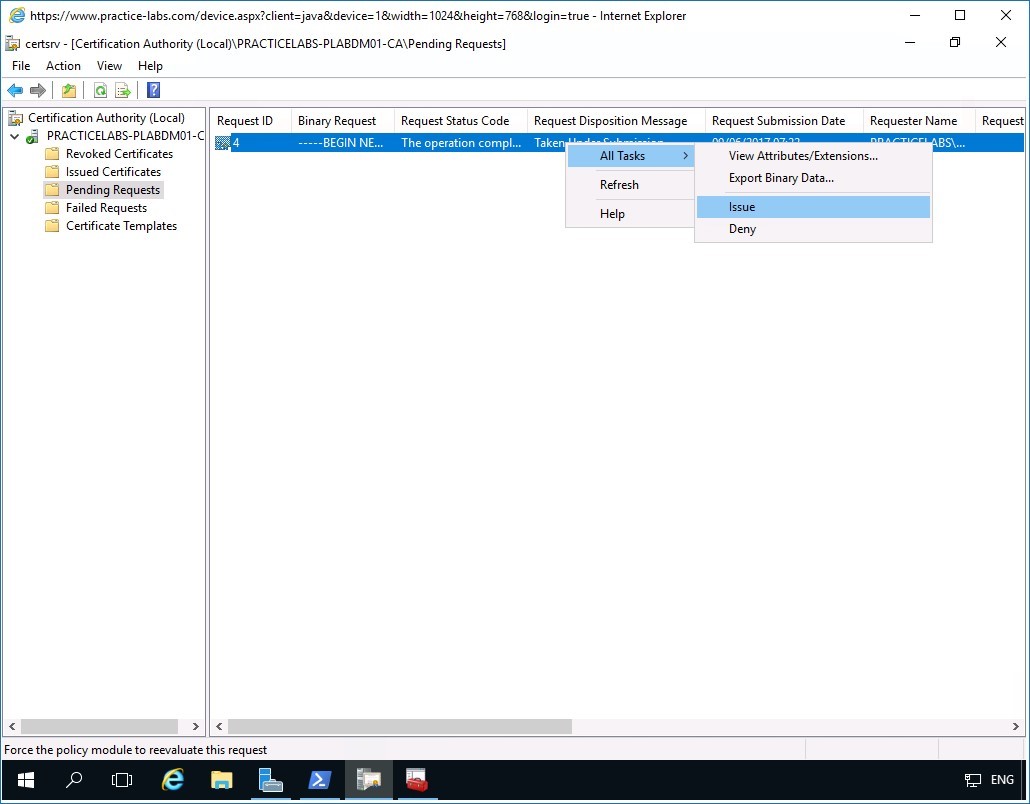
On PLABDM01, restore the Certification Authority window from the taskbar.
Navigate to Pending Requests folder, on the details pane right-click on the Certificate, point to All Tasks then click Issue.
Step 2
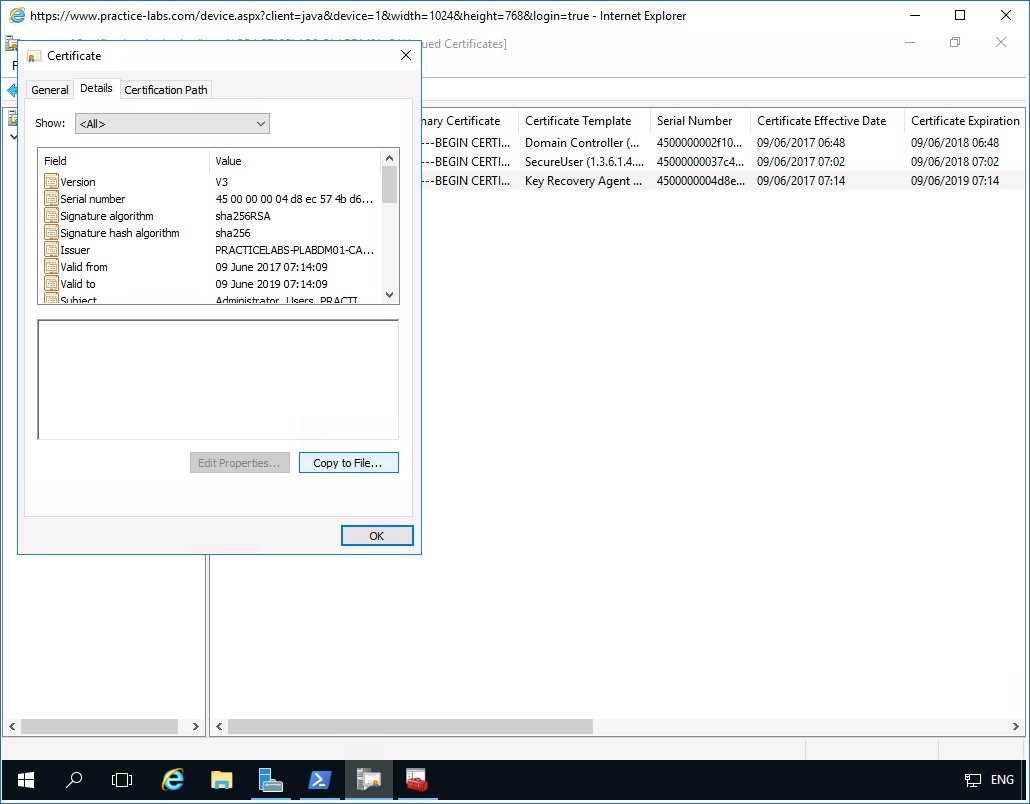
Click on the Issued Certificates folder, right-click on the certificate based on Key Recovery Agent template.
Then select Open.

Step 3
In the Certificates dialog box, click Details tab.
Step 4
Under the Details tab, click Copy to File.
Step 5
In the Welcome to the Certificate Export Wizard page, click Next.
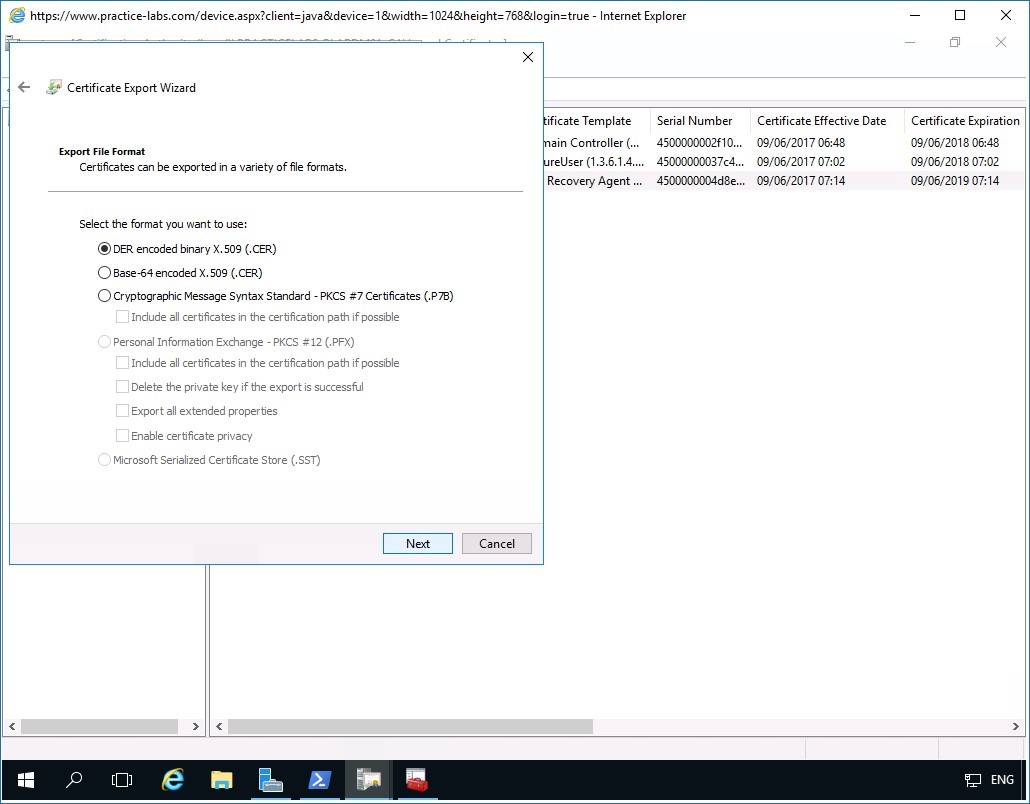
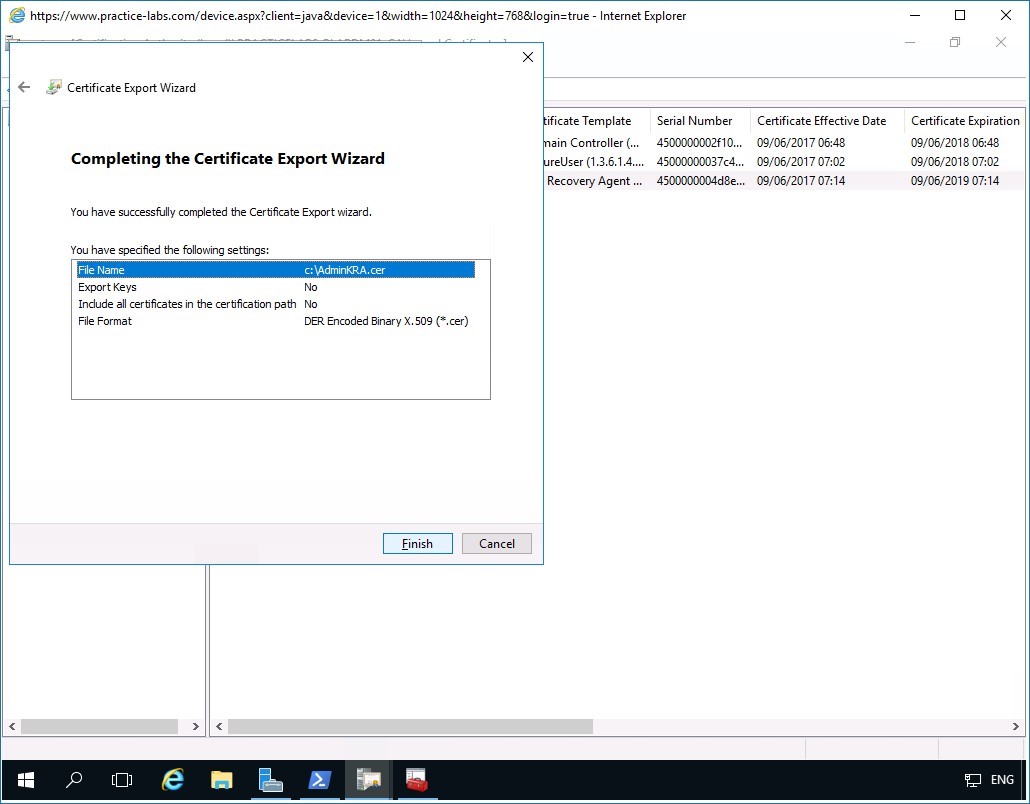
Step 6
In the Export File Format page, the default DER encoded binary X.509 (.CER) format option is selected.
Click Next to proceed.
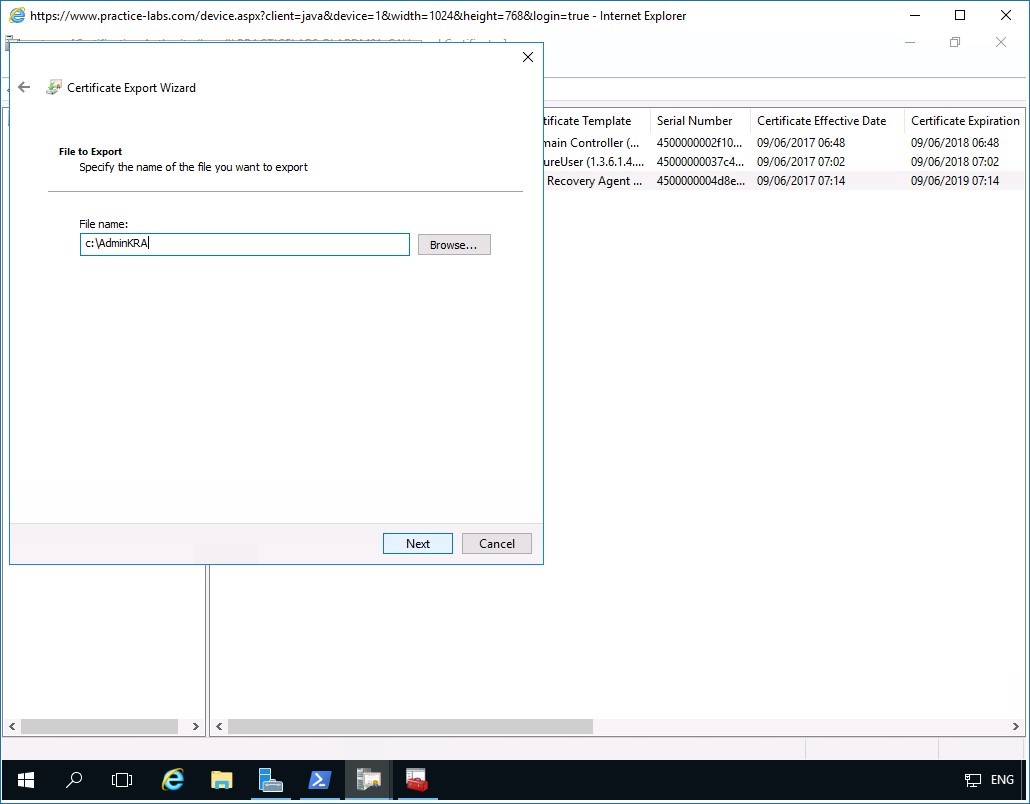
Step 7
In the File to Export page, click in the File name box and type:
c:\AdminKRA
Click Next.
Step 8
Click Finish when you see Completing the Certificate Export Wizard box.
Step 9
Click OK when the message box "The export was successful" appears.
Similarly, click OK on the Certificate dialog box to close it.
Minimize Certification Authority window.
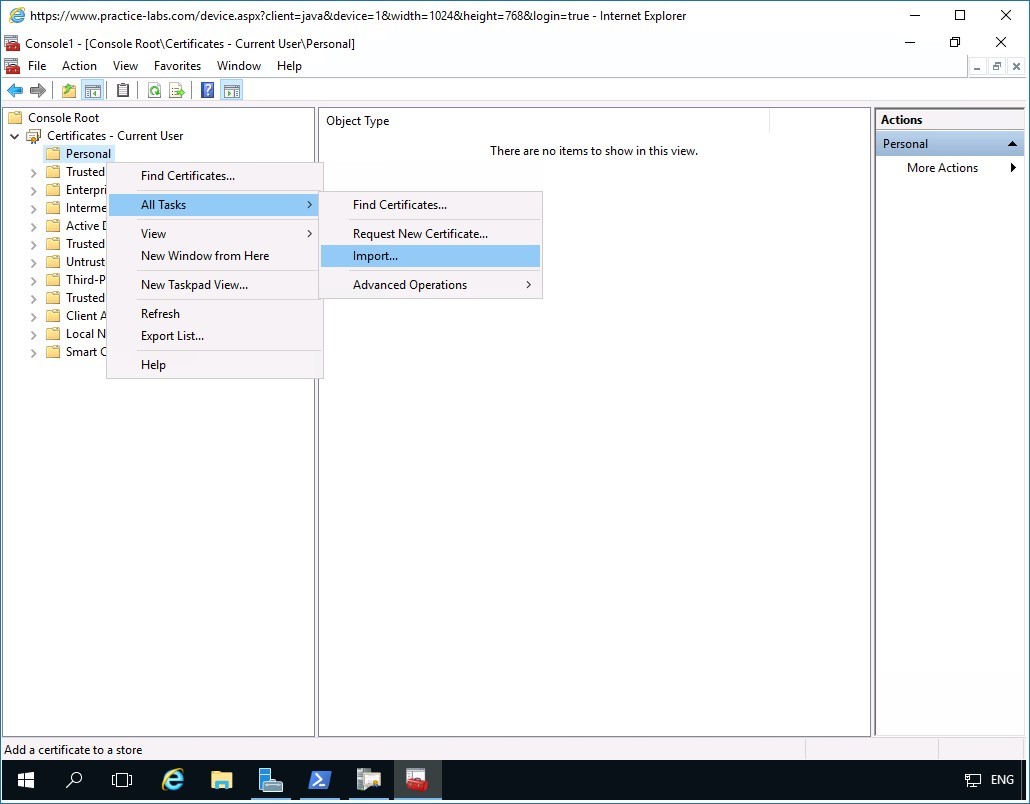
Step 10
Restore the Console1 window from the taskbar.
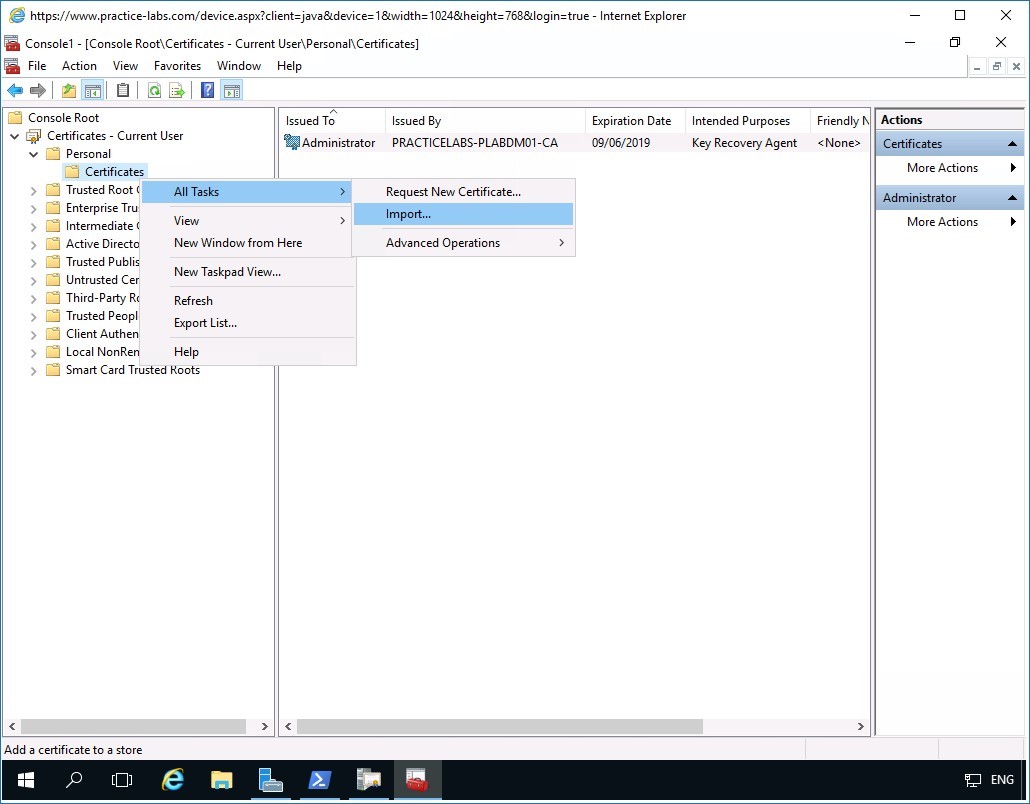
Right-click on Personal folder then point to All Tasks and select Import.
Step 11
In the Welcome to the Certificate Import Wizard page, click Next.
Step 12
In the File to Import page, click in the File name box and type:
c:\AdminKRA.cer
Click Next.
Note: Please note that you can use Browse… button to find the AdminKRA.cer certificate file.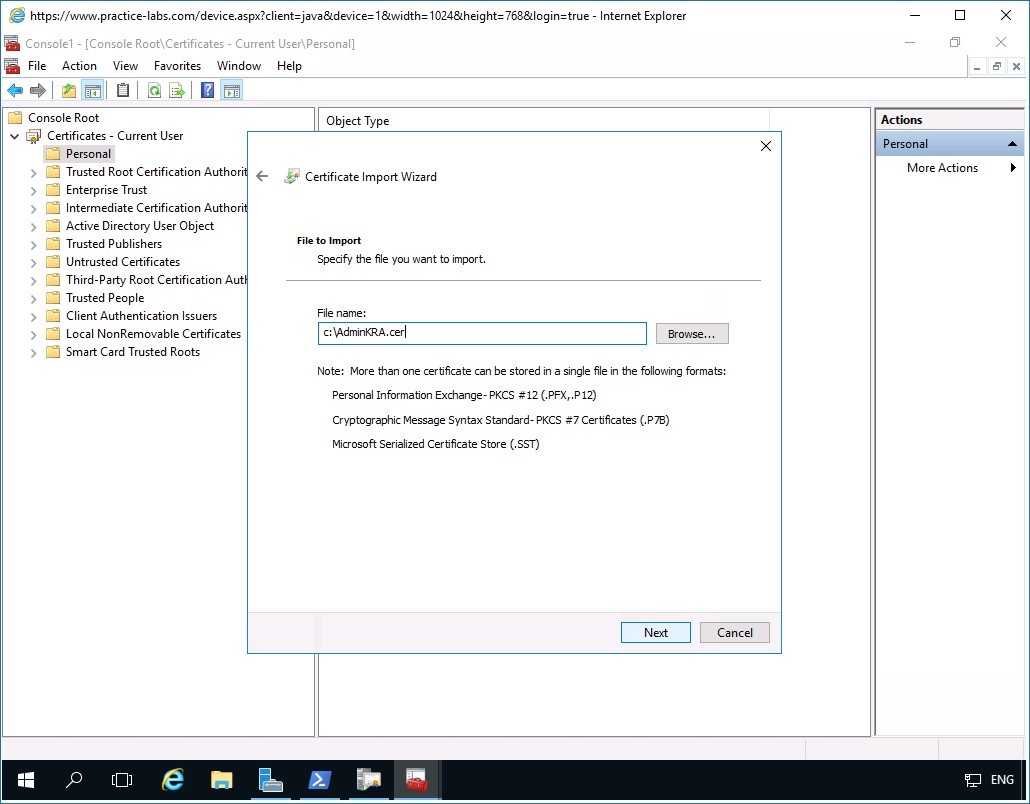
Step 13
In the Certificate Store page, click Next to accept the default location for certificate in the Personal store.
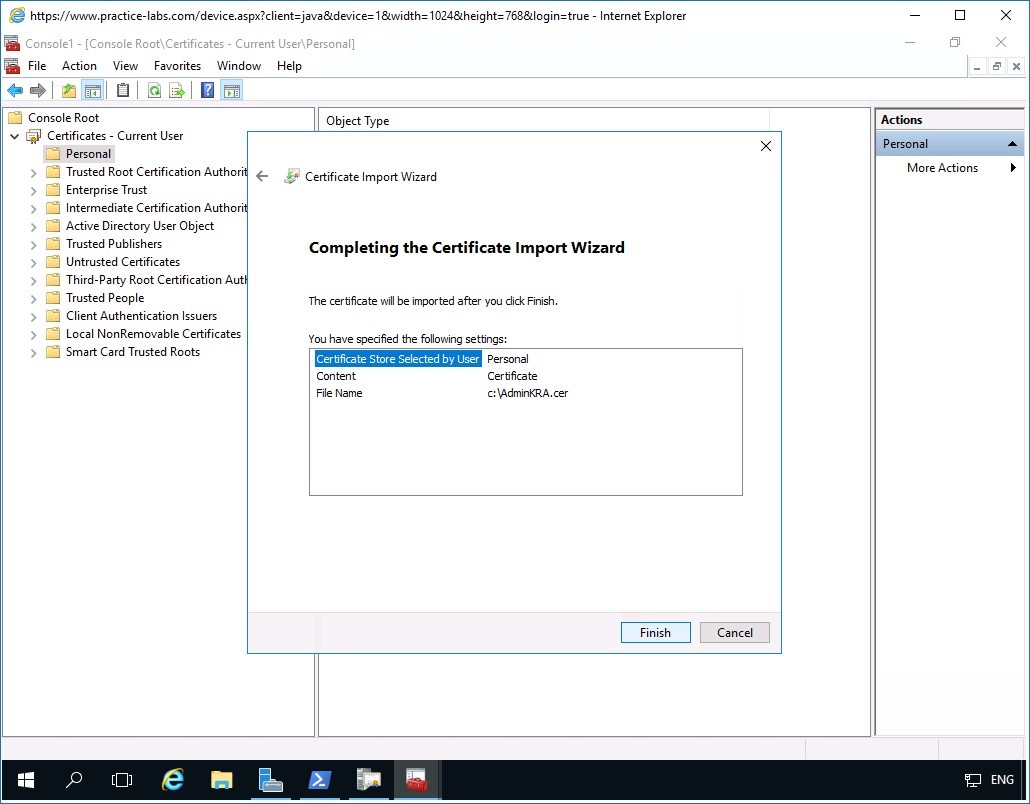
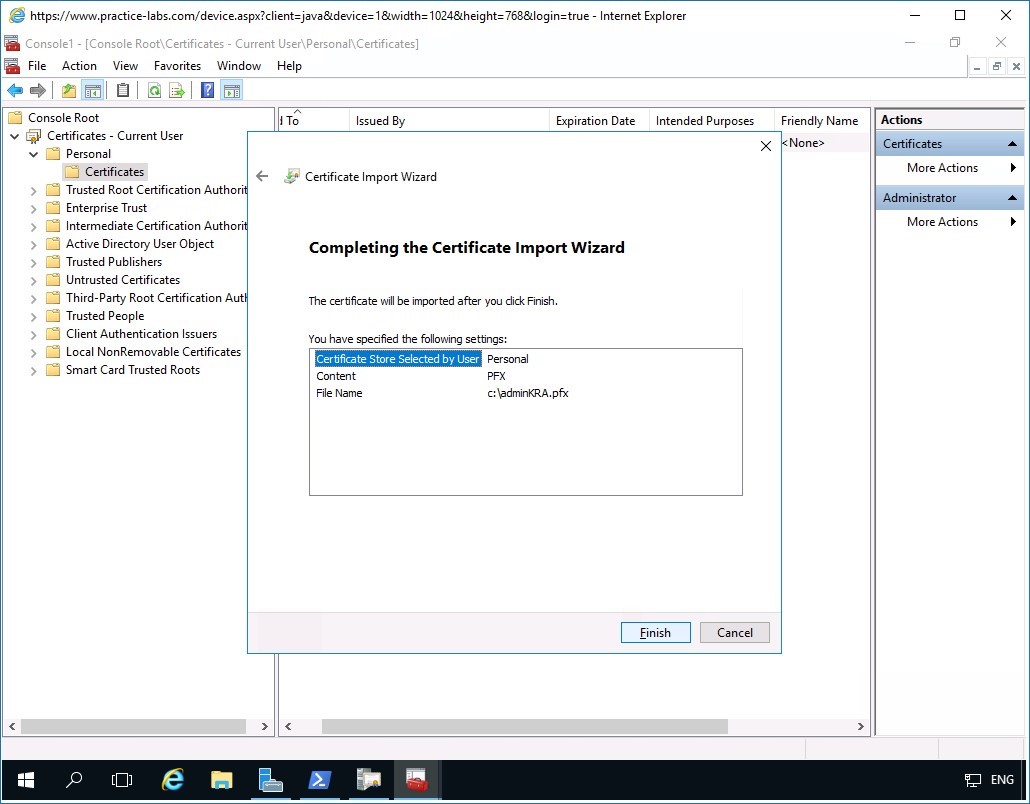
Step 14
When the Completing the Certificate Import Wizard page appears, click Finish.
Step 15
Click OK when prompted that the import was successful.
Step 16
Back in the Console1 window, expand Certificates - Current User > Personal and click Certificates folder.
Notice the certificate issued to Administrator with the Intended Purpose -Key Recovery Agent is now available.
Minimize Console1 window as you will need this for later.

Task 4 - Configure CA for Key Archival
In this task, you will configure the Certification Authority to keep a copy of all issued certificates by enabling key archival.
To setup key archival on the CA, perform the following steps:
Step 1
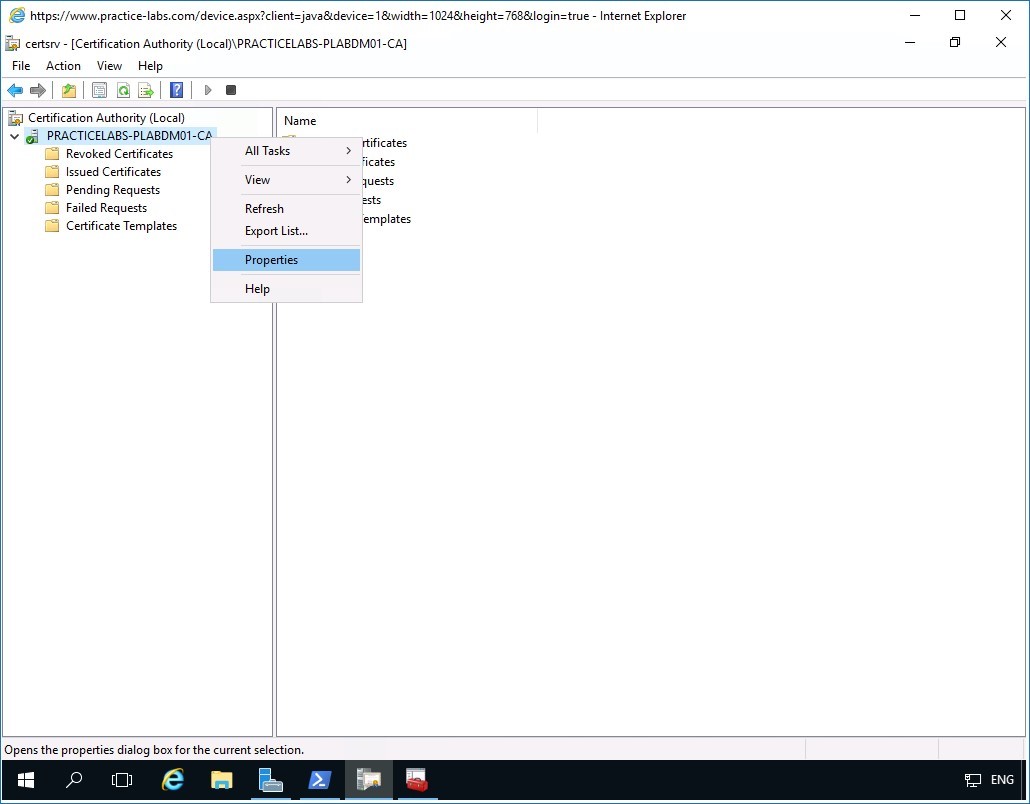
On PLABDM01 server, restore Certification Authority window from taskbar if not yet open.
Right-click on PRACTICELABS-PLABDM01-CA and select Properties.
Step 2
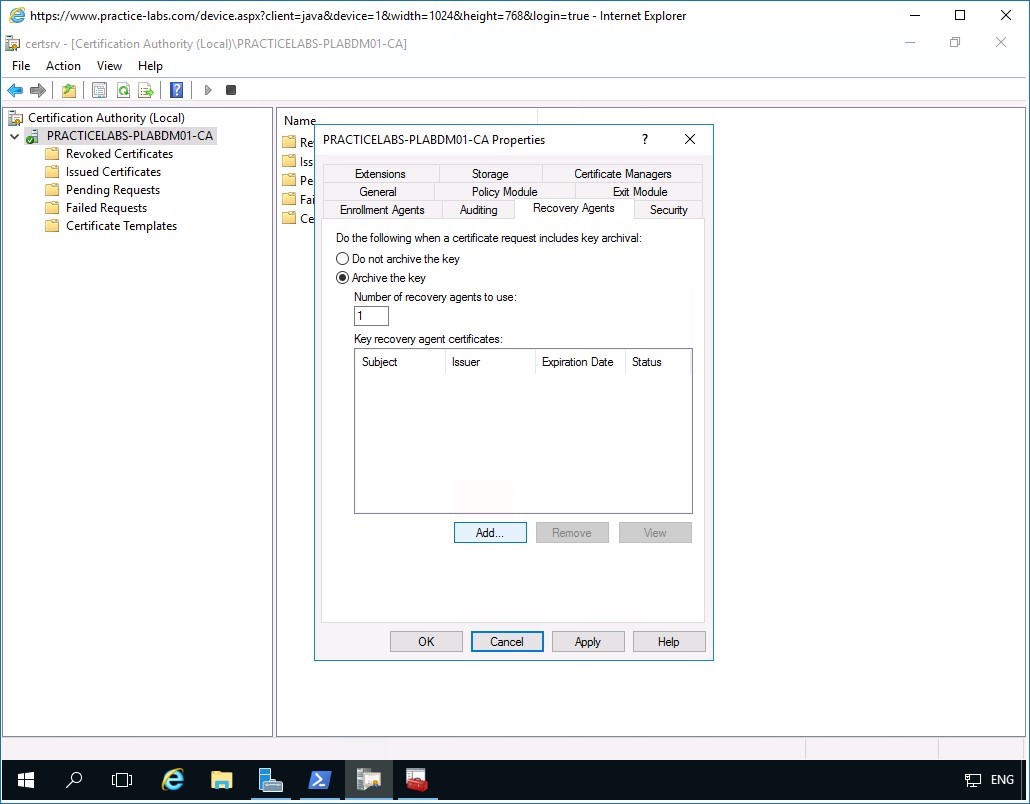
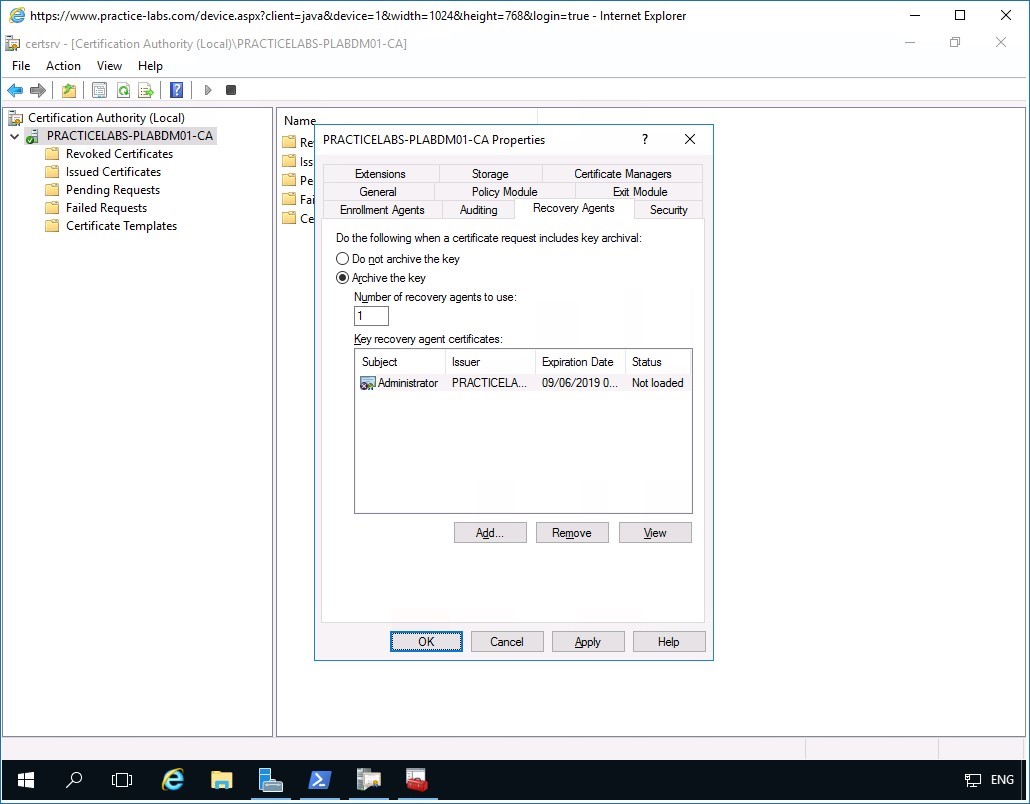
In the PRACTICELABS-PLABDM01-CA Properties window, select Recovery Agents tab.
Step 3
Under the Recovery Agents tab, click Archive the key option.
Click Add…
Step 4
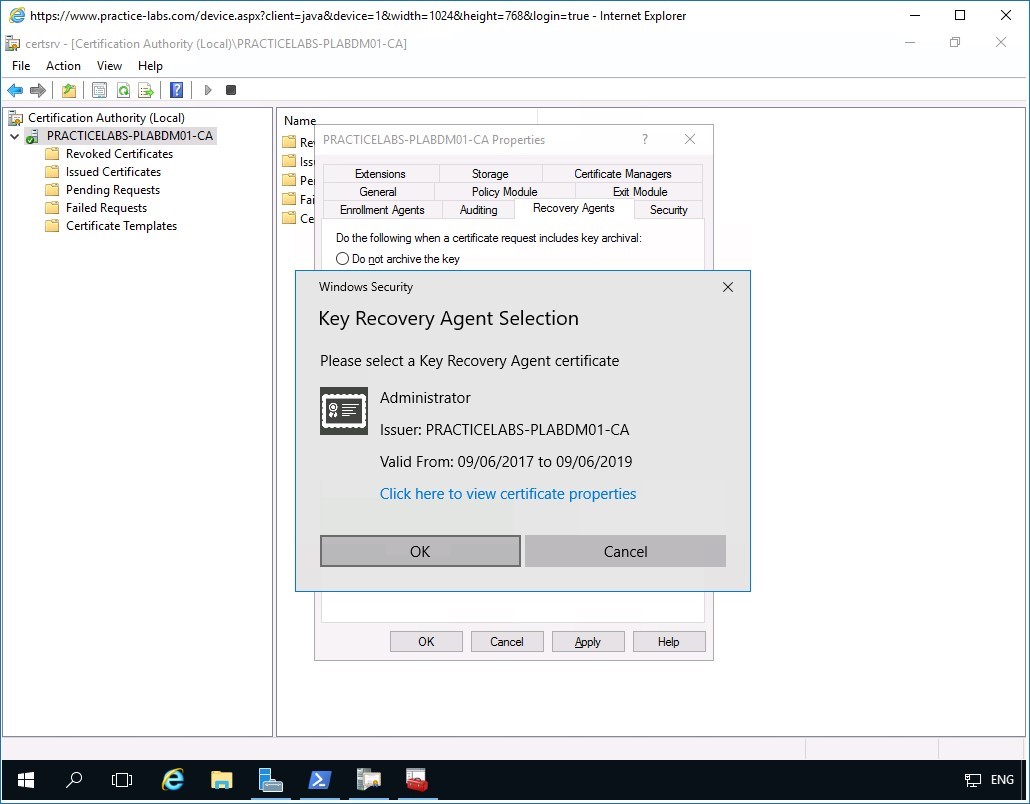
The Key Recovery Agent Selection message box displays the certificate that was issued earlier to the Administrator.
Click OK.
Step 5
Back in the PRACTITCELABS-PLABDM01-CA Properties dialog, click OK when the certificate is added.
Step 6
In the Certification Authority message box, select Yes to restart Active Directory Certificate Services.
Step 7
Please wait while the Active Directory Certificate Services is stopped and started.
Keep Certification Authority window open for the next activity.
Task 5 - Create a new certificate template enabled for archiving
In this task, you will create a duplicate of an existing certificate template, then customize the properties of the new template and enable it for certificate archiving.
To enable a custom certificate template for archiving, perform the following steps:
Step 1
On PLABDM01, ensure that the Certification Authority window is open.
Click on Certificate Templates folder and then right-click on it.
Select Manage.
Step 2
In the Certificate Templates Console window, scroll down and right-click on User then select Duplicate Template.
Step 3
In the Properties of New Template window, click General tab.
Step 4
In the General tab, in the Template display name box, type-over the existing text with the following:
EFSUser
Click Apply.
Then click Request Handling tab.

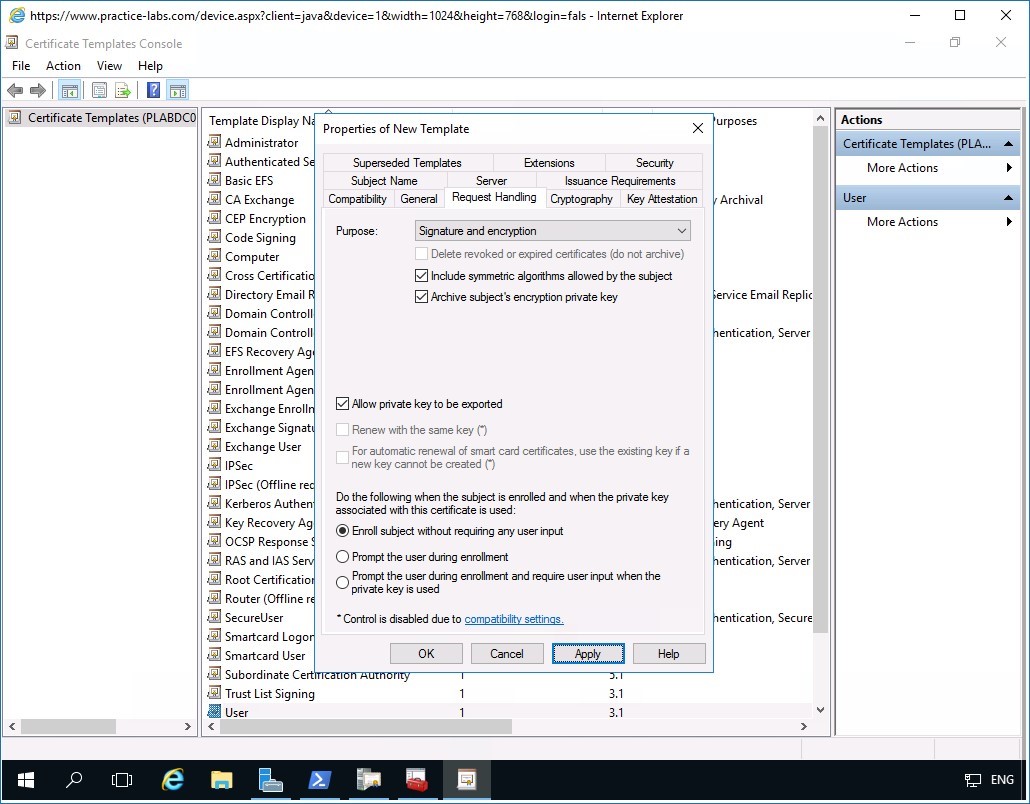
Step 5
Under the Request Handling tab, click on Archive Subject's encryption private key check box.
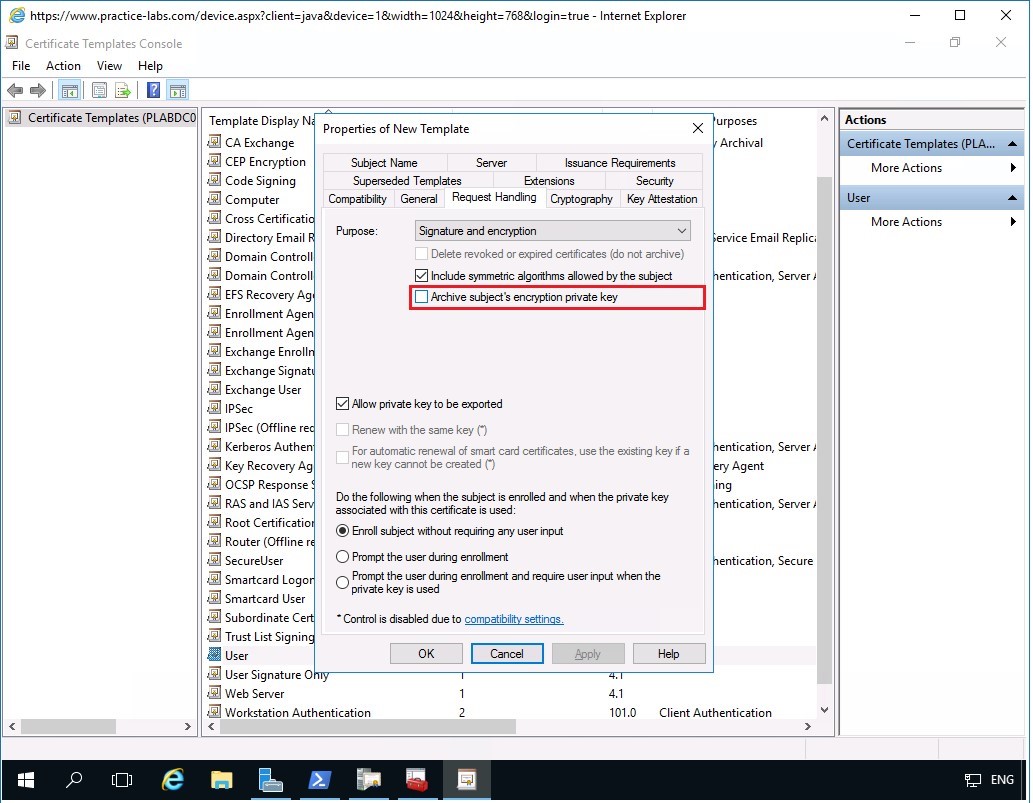
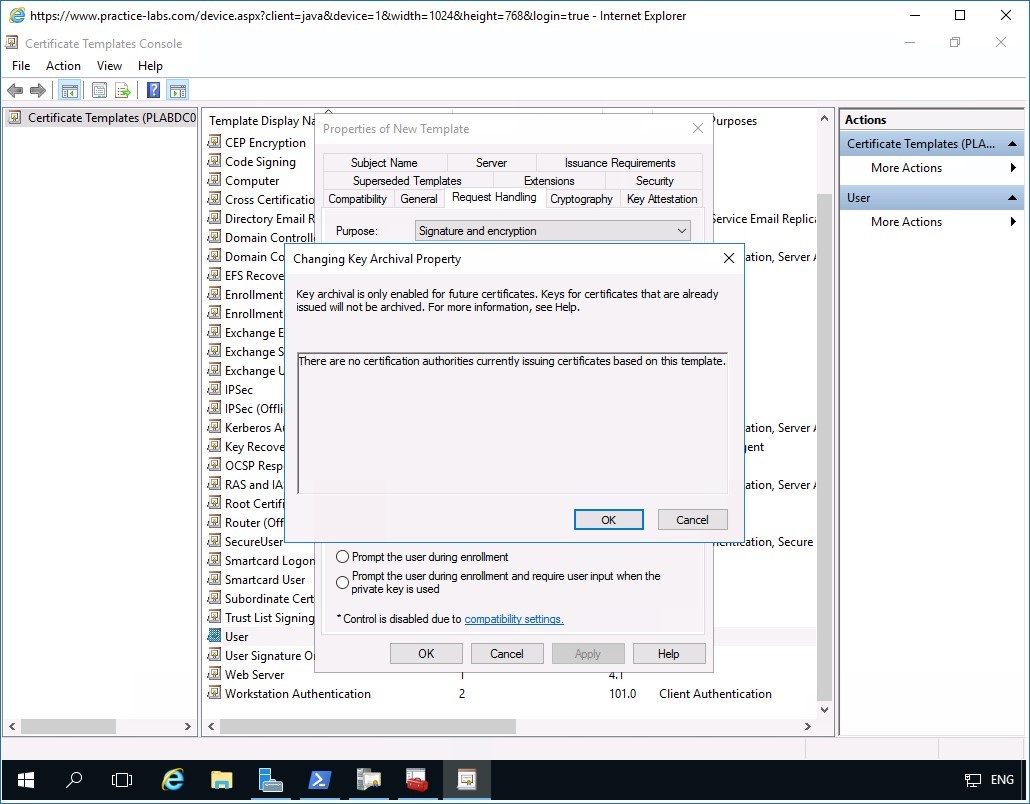
Step 6
The Changing Key Archival Property message box appears saying "Key archive is only enabled for future certificates" just click OK.
Step 7
Back in the Properties of New Template dialog box, click Apply.
Then click Subject name tab.
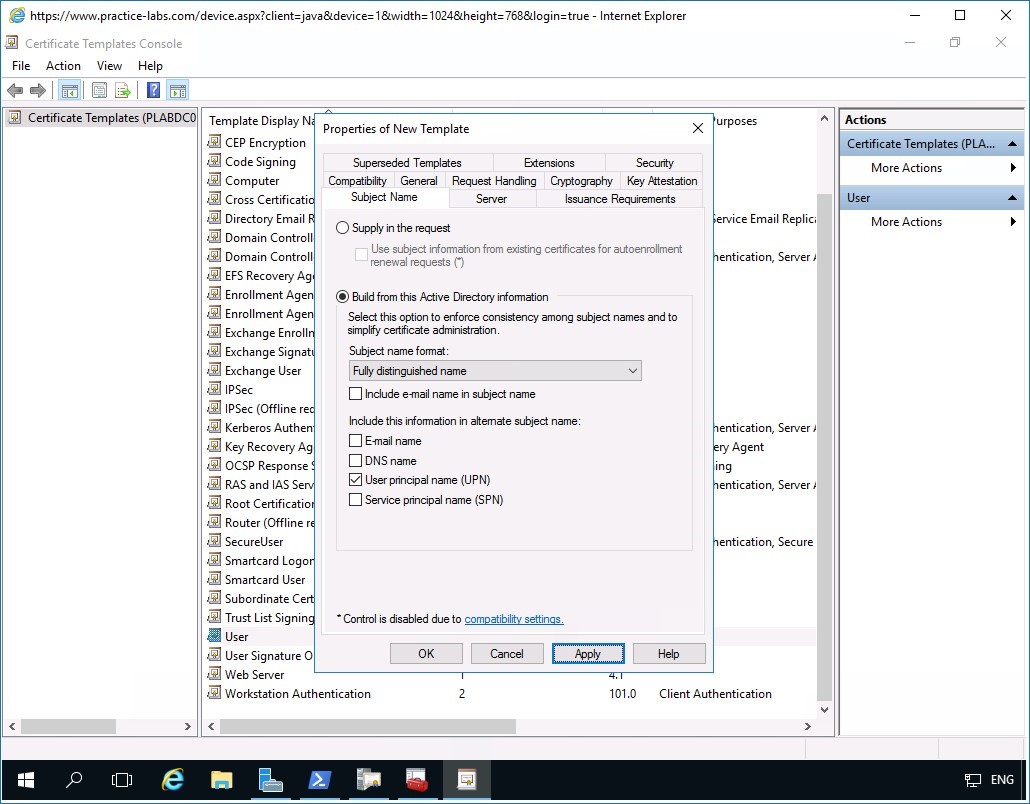
Step 8
In the Subject Name tab, clear the following check boxes:
- Include e-mail name in subject name
- E-mail name
Click Apply.
Go to Security tab.
Step 9
In the Security tab, select Authenticated Users, click Enroll check box.
Click OK to save the changes.
Step 10
Close the Certificate Templates Console window.
Step 11
Ensure that you are back to Certification Authority console window.
Right-click Certificate Templates and point to New and select Certificate Template to Issue.
Step 12
In the Enable Certificate Templates dialog box, select EFSUser and click OK.
Keep Certification Authority console window open.
Enrolling for User Certificate
In the previous exercise, you have performed the essential tasks to set up key archival in a CA server. These tasks include the following: creating a custom certificate for key recovery agent, configured the administrator account to request for a key recovery agent certificate, enabled the CA server to archive issued certificate and created a custom certificate template enabled for archiving.
In this task, you will test a new user to enroll for a custom certificate that was enabled for certificate archiving.
To learn more about enrolling for a user certificate, please refer to your course material or use your preferred search engine to research this topic in more detail.
Task 1 - Request for new certificate
In this task, you sign-in as a regular user and request for a certificate based on the EFSUser custom template.
To request for a new certificate, perform the following steps:
Step 1
Connect to PLABWIN10 device.
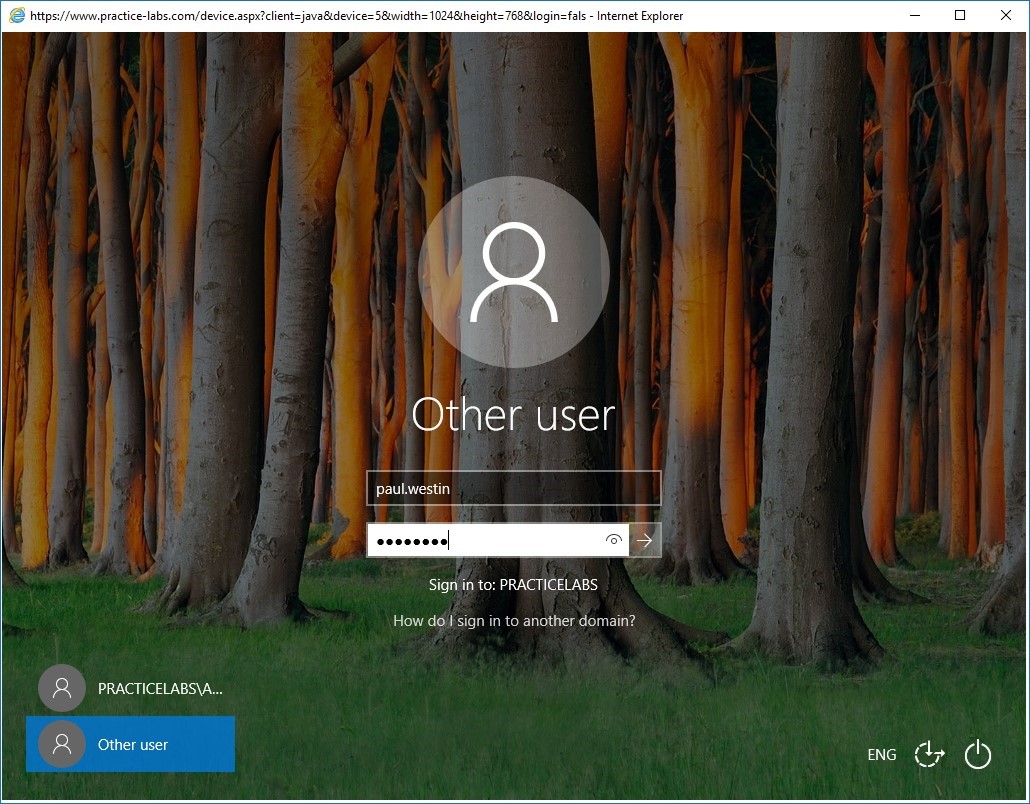
On the sign on screen, click Other User.
Step 2
In the User name text box, type:
paul.westin
In the Password box, type:
Passw0rdPress Enter.
Step 3
As before, click Agree when presented with the BGInfo License Agreement window.
If the Application Install - Security Warning message box appears, click Close [X].
Right-click Start and select Run.
Step 4
In the Run dialog box, type:
mmc
Press Enter.
Step 5
In the blank MMC console, click File menu and choose Add Remove Snap-in.
Step 6
In the Add or Remove Snap-ins dialog box, select Certificates and click Add.
Step 7
Keep the default selection of My user account on the popup and click Finish. Click OK to close Add or Remove Snap-ins dialog box.
Step 8
In the Console1 window, expand Certificates-Current User node.
Then right-click on Personal and choose Request New Certificate.
Step 9
In the Before you begin page, click Next.
Step 10
In the Select Certificate Enrollment Policy page, choose Next.
Step 11
In the Request Certificates page, select EFSUser check box and click Enroll.
Step 12
In the Certificate Installation Results page, click Finish.
Minimize Console1 window.
Important: If you get a certification root not trusted error, click Close. This error usually manifests itself when the PLABWIN10 computer is unable to detect the newly-added custom certificate template called EFSUser. You can resolve this error by first saving Console1 on desktop for easy access. Then restart PLABWIN10. Start over with Task 1 - Request for new certificate.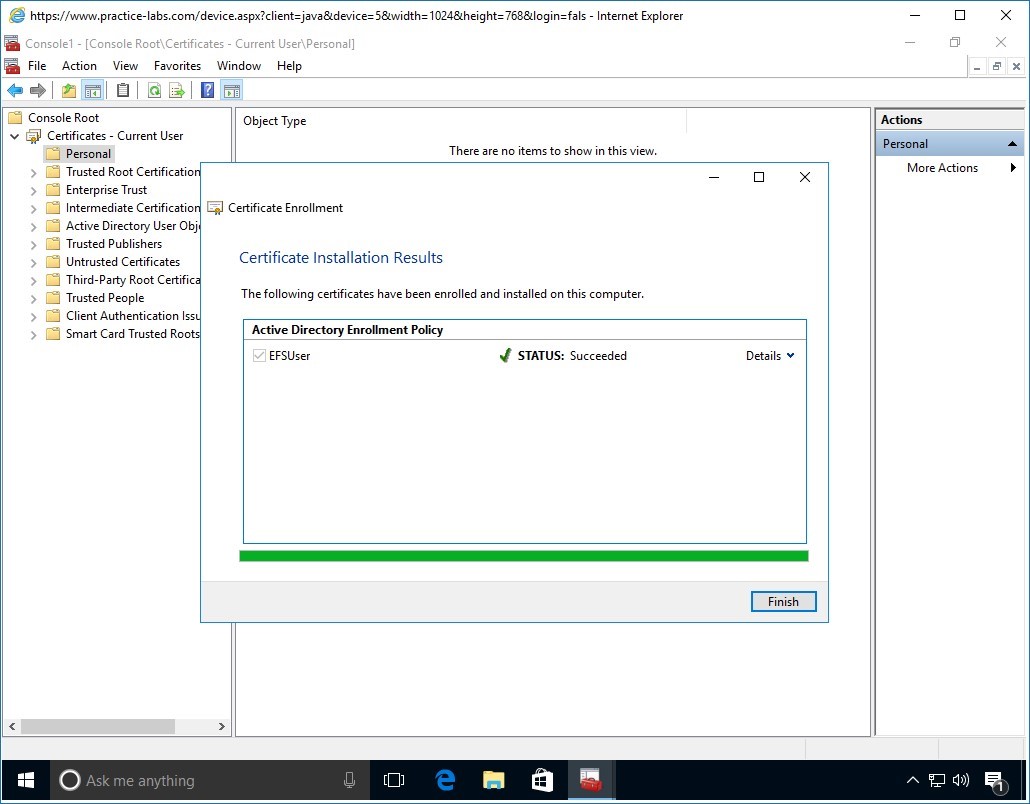
Task 2 - Encrypt user folder using EFS
The user has been successfully enrolled for a certificate that can be used for a number of applications like encrypting file system (EFS).
In this task, you will encrypt a folder using the certificate that was issue to the domain user.
Step 1
On PLABWIN10, user Paul Westin is signed in.
Click File Explorer on taskbar.
Step 2
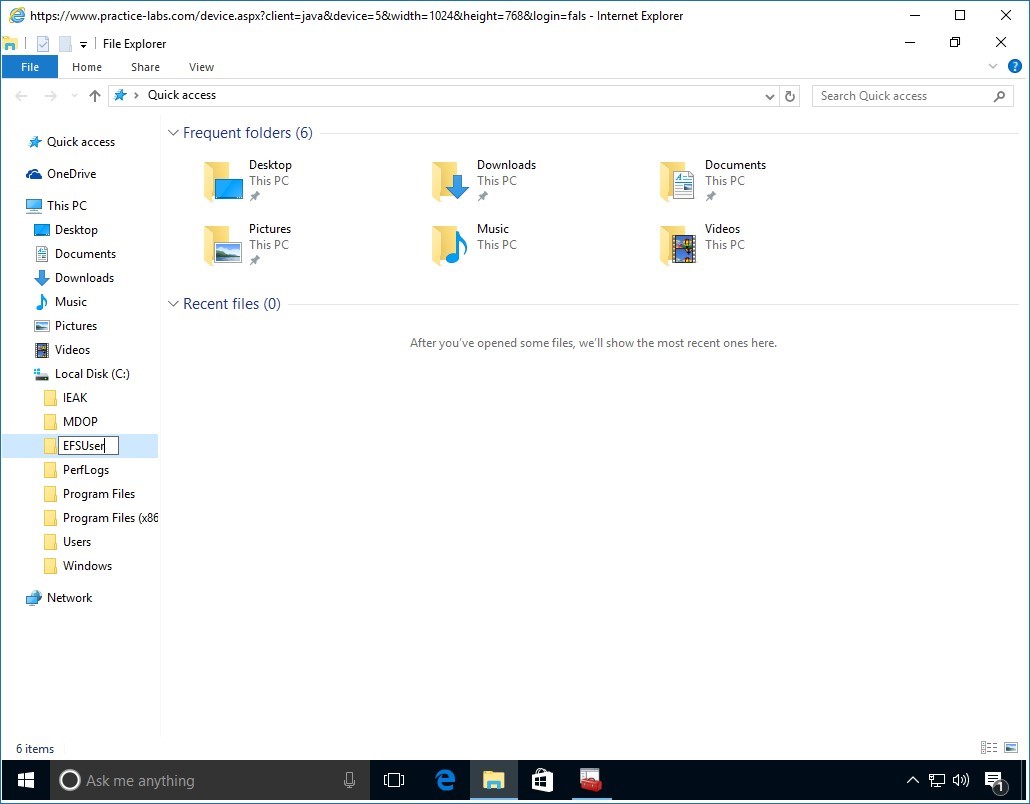
In the File Explorer window, expand This PC node then click Local Disk C drive.
Create a folder called EFSUser.
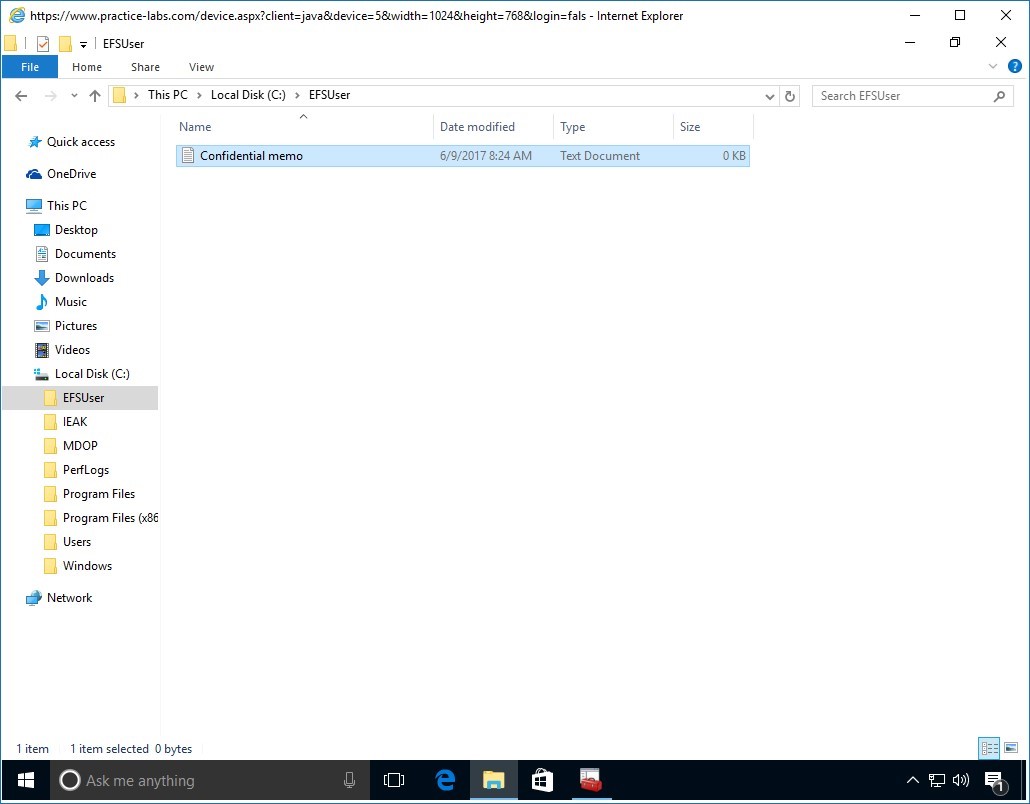
Step 3
Click EFSUser folder and create a text document.
Rename the text document as Confidential memo.
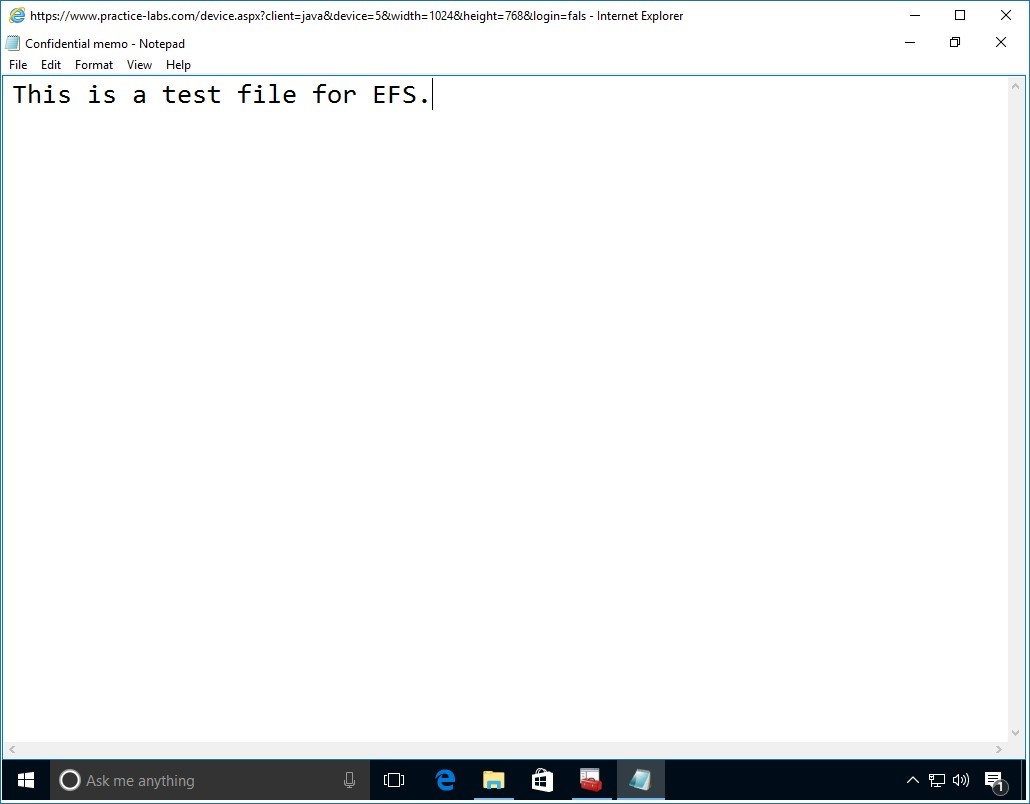
Step 4
Open Confidential memo text file and type a one liner text, such as:
This is a test file for EFS.
Save Confidential memo text file and close Notepad.
Step 5
Right-click on Confidential memo text document and select Properties.
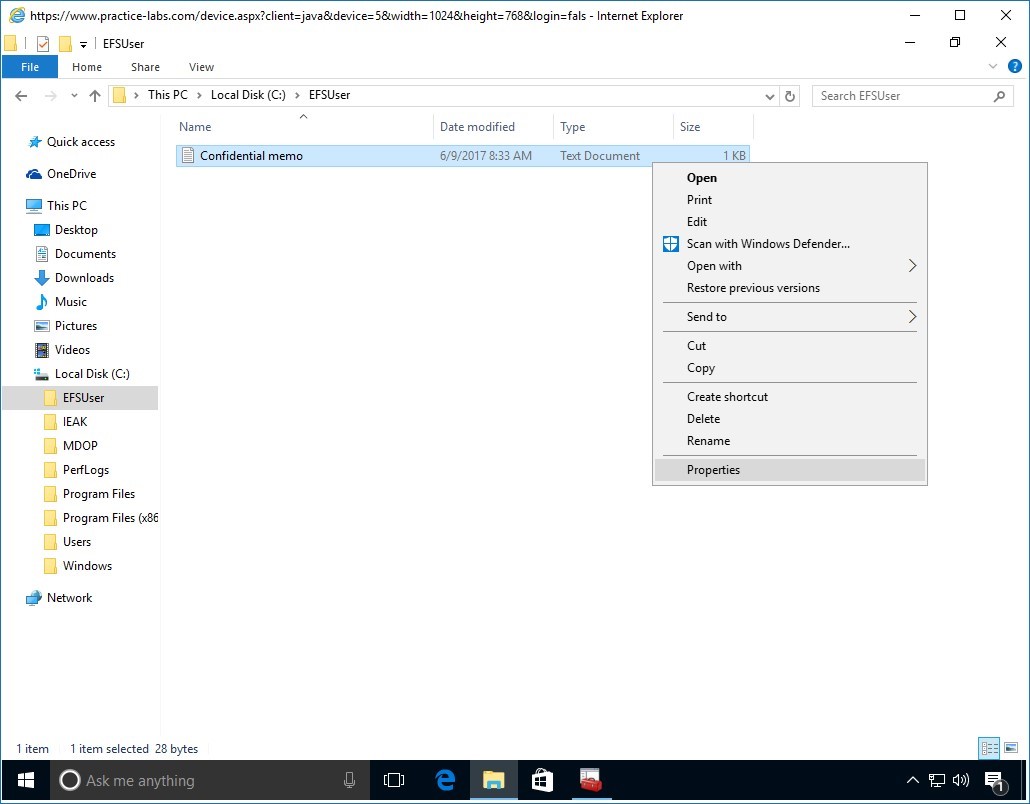
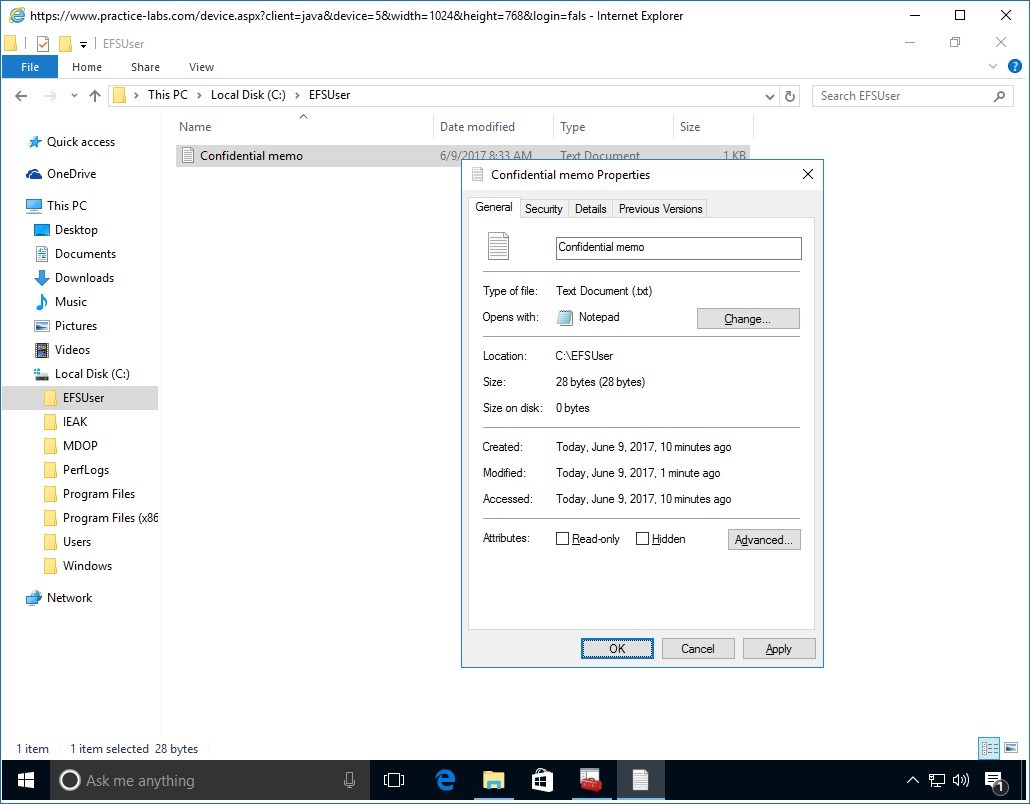
Step 6
In the Confidential memo Properties dialog box, from the General tab, click Advanced.
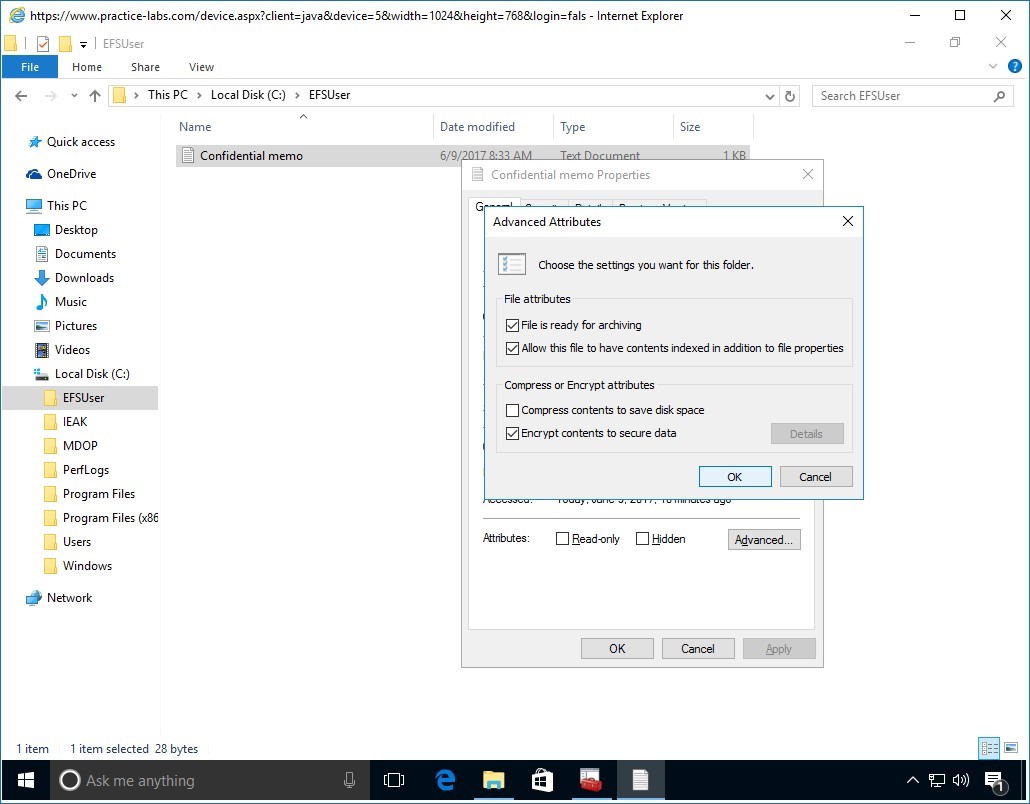
Step 7
In the Advanced Attributes window, select Encrypt contents to secure data.
Click OK.
Step 8
Similarly, click OK on the Confidential memo Properties dialog box to save changes.
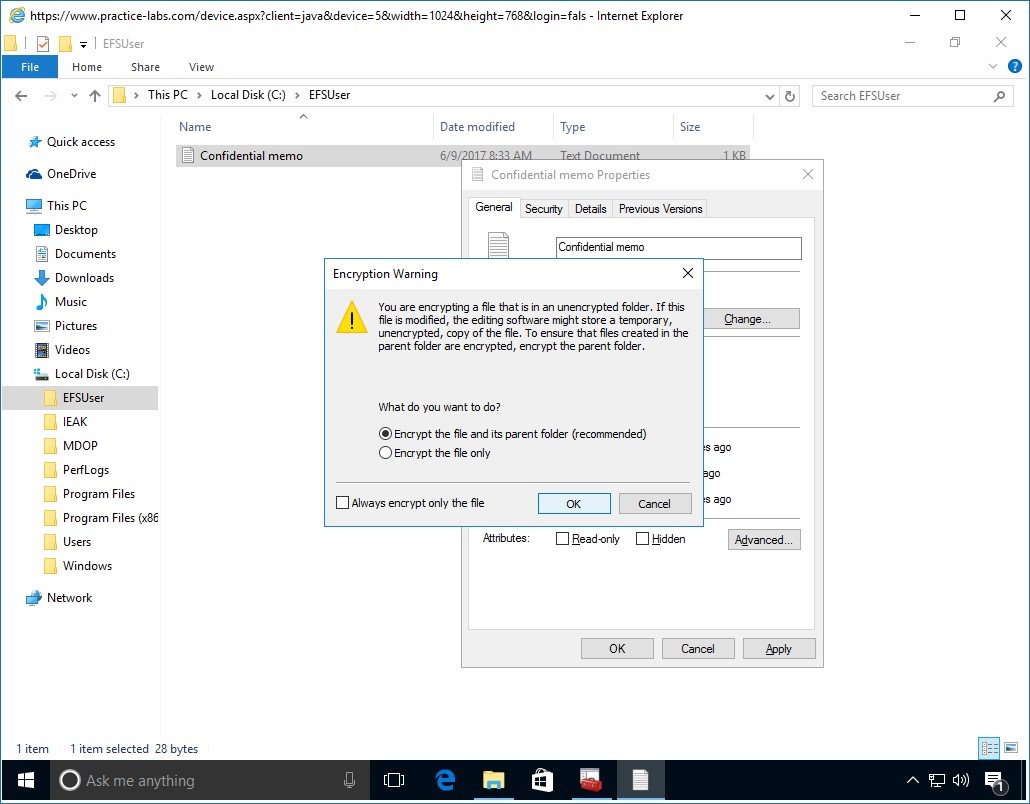
Step 9
In the Encryption Warning message box, verify that Encrypt the file and parent folder (recommended) option is selected.
Click OK.
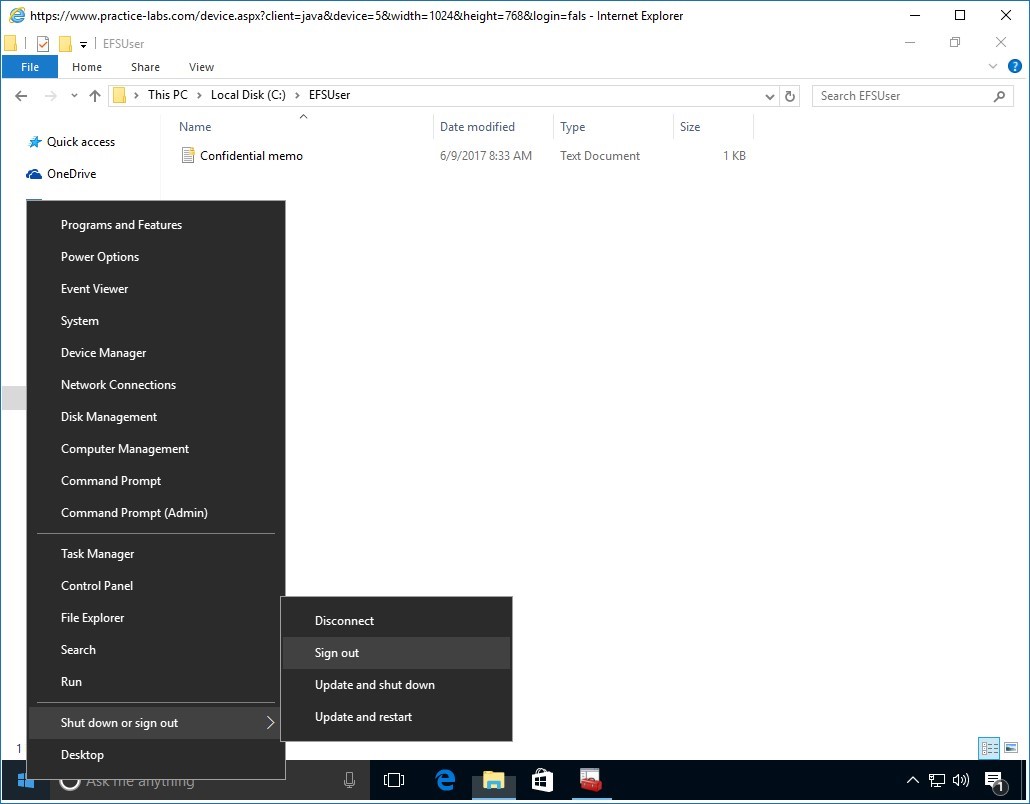
Step 10
You will notice a mini lock icon is added to the Confidential memo text document. This indicates that the text document and the folder are now encrypted.
Right-click Start charm and mouse-over Shut down or sign out and click Sign out.
Task 3 - Delete and re-create user account
In this task, you will test the functionality of the Key Recovery Agent user account by deleting a user object, re-create it and then recover its lost keys.
Step 1
Connect to PLABDC01.
Ensure that Server Manager > Dashboard window is open.
Click Tools menu and select Active Directory Users and Computers.
Step 2
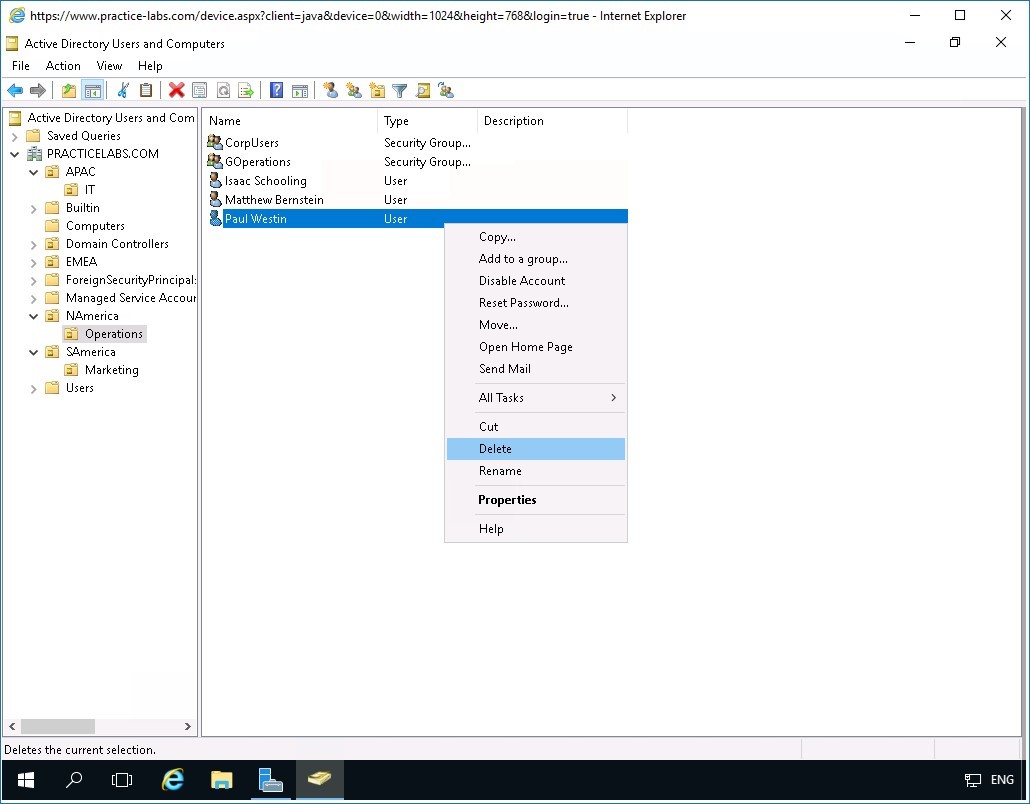
Expand PRACTICELABS.COM > NAmerica and click Operations organizational unit.
Right-click Paul Westin and select Delete.
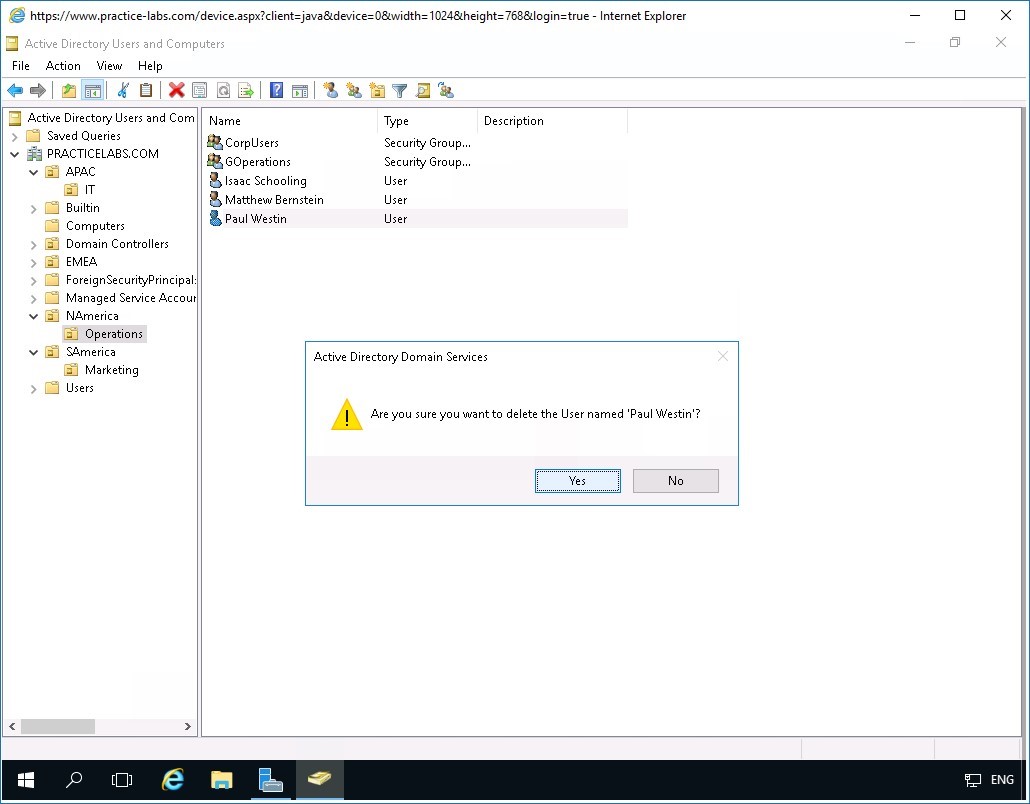
Step 3
Click Yes to proceed with the deletion of the user account.
Step 4
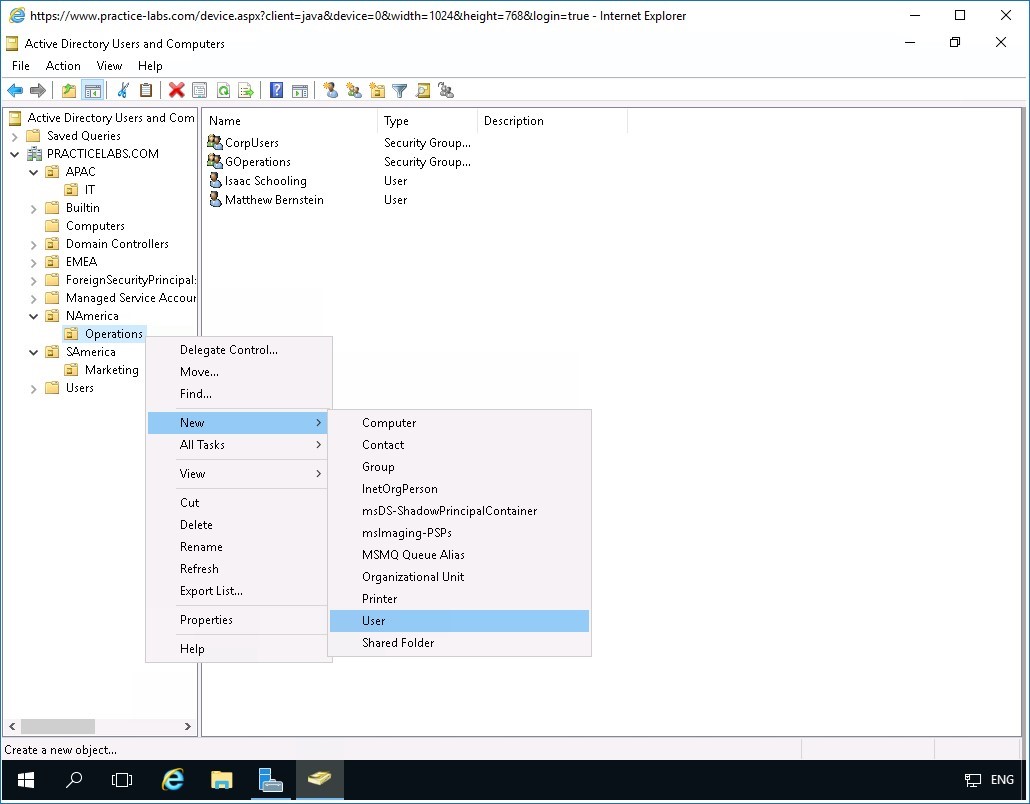
To test recovery agent functionality, you will re-create a user named Paul Westin in NAmerica/Operations OU using the same properties of the mentioned user.
While Operations OU is selected, right-click on the details pane and select New > User.
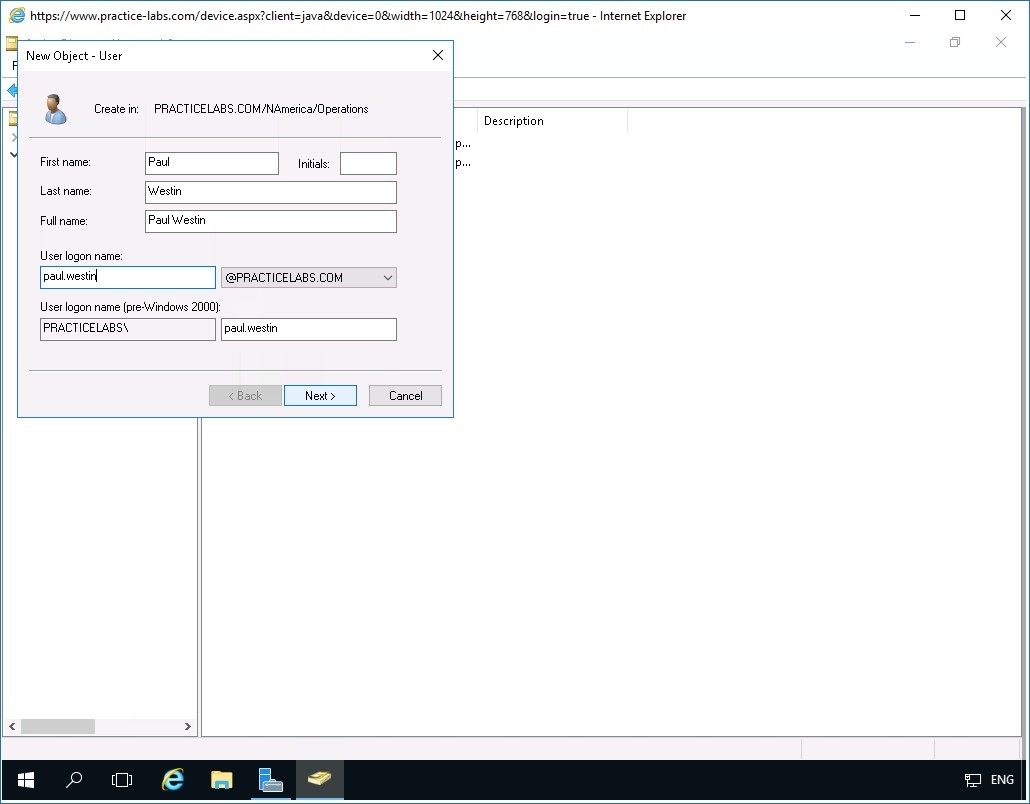
Step 5
In the New Object - User dialog box, in the First name text box, type:
Paul
In the Last name text box, type:
Westin
In the User logon name text box, type:
paul.westin
Click Next.
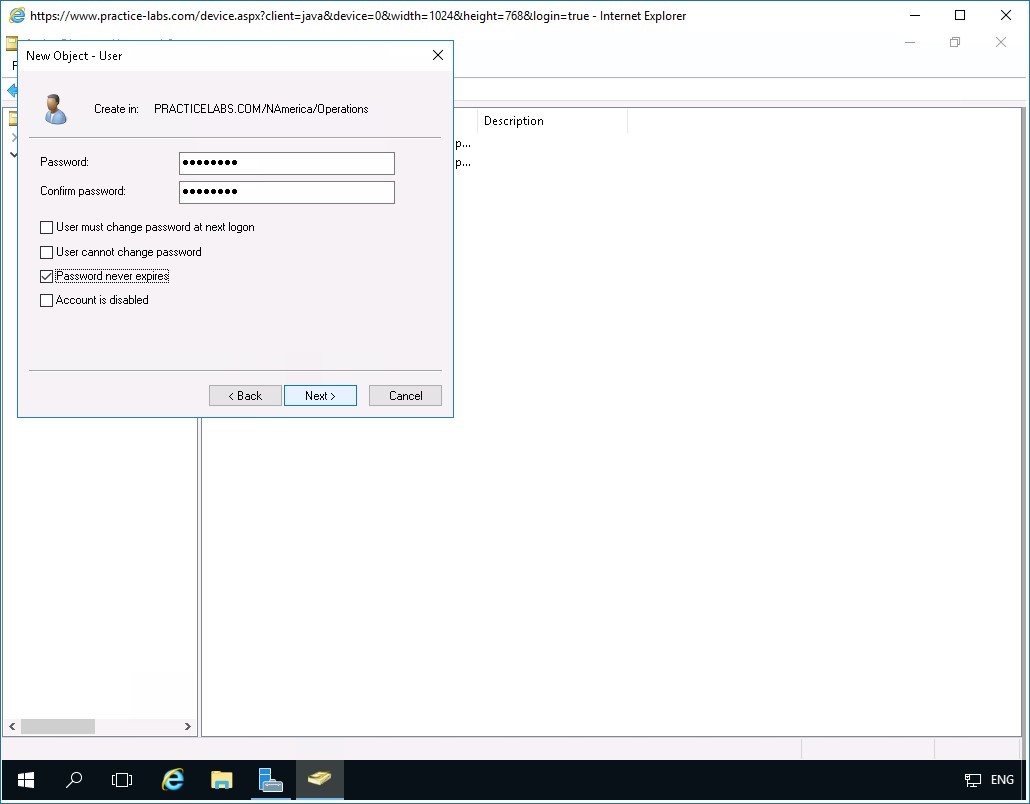
Step 6
In the Password and Confirm password text boxes, type:
Passw0rdClear User must change password at next logon check box.
Then select Password never expires check box.
Click Next.
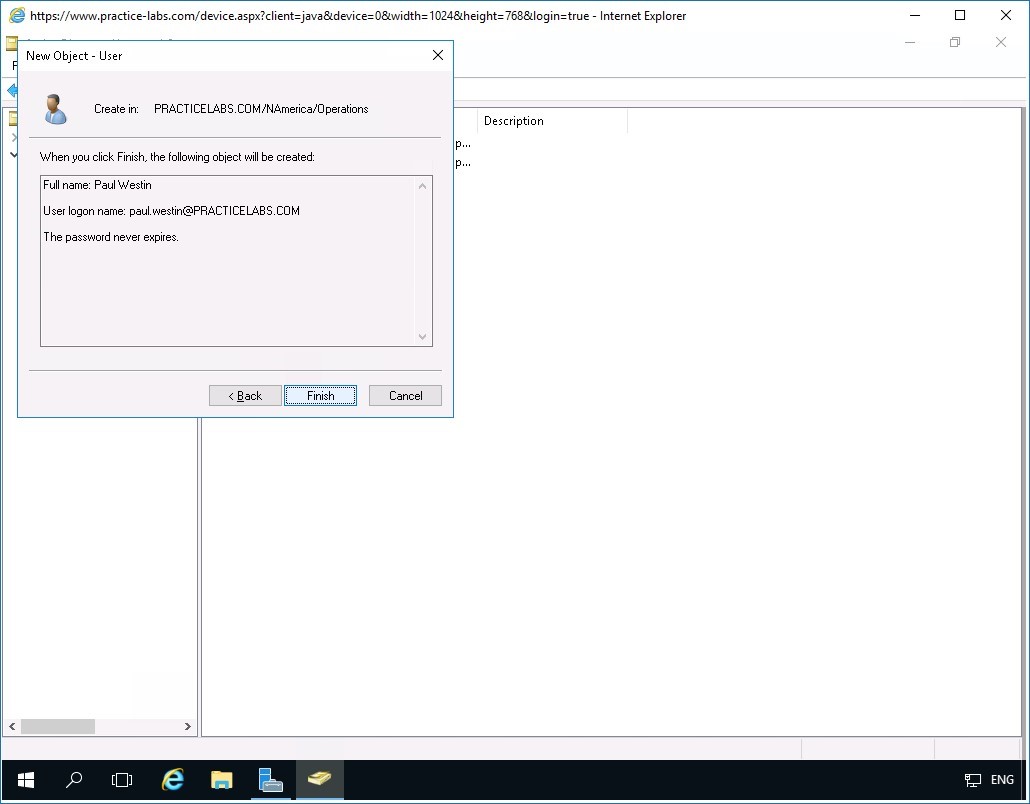
Step 7
Click Finish when you reach the summary page.
Minimize Active Directory Users and Computers window.
Task 4 - Test access to encrypted folder as re-created user account
To see the effects accessing the encrypted folder using a re-created the user account, perform the following steps:
Step 1
Connect PLABWIN10 computer.
Click Other user.
Step 2
As before, sign-in as:
paul.westin
In the Password text box, type:
Passw0rdPress Enter.
Step 3
Click Agree if presented with BGInfo License Agreement window.
Click Close [X] if the Application Install - Security Warning message box appears.
Step 4
Launch File Explorer from taskbar.
Then expand This PC > Local Disk (C:) drive and click EFSUser folder.
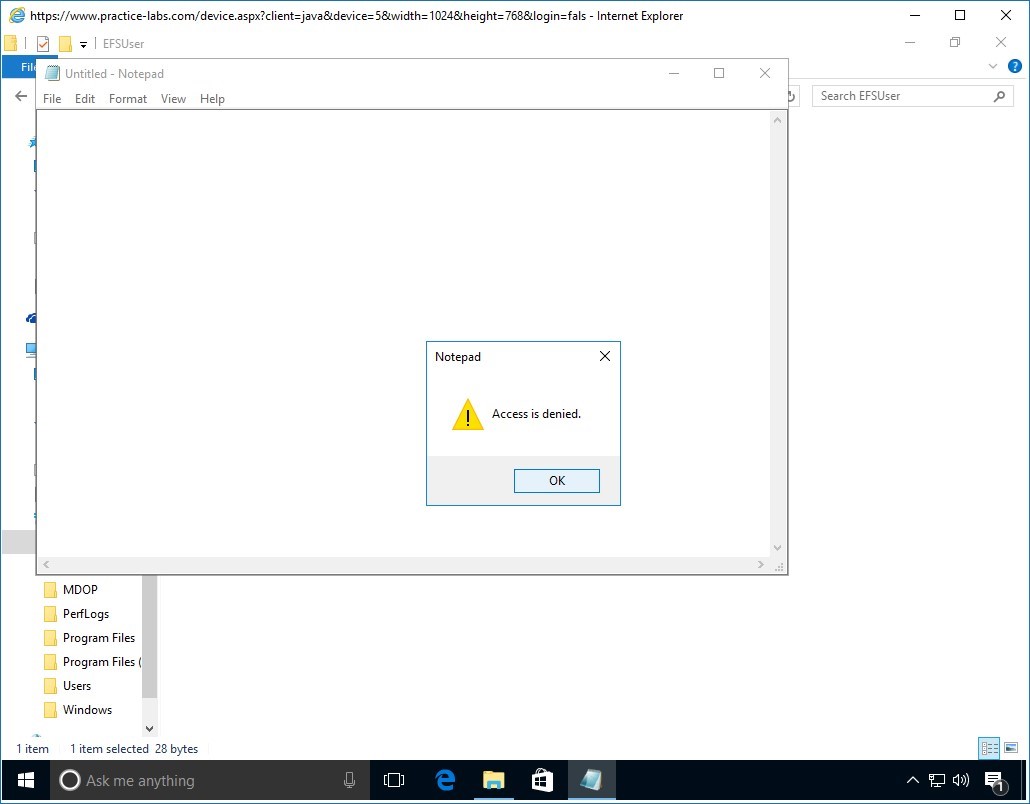
Right-click on Confidential memo text file and select Open.
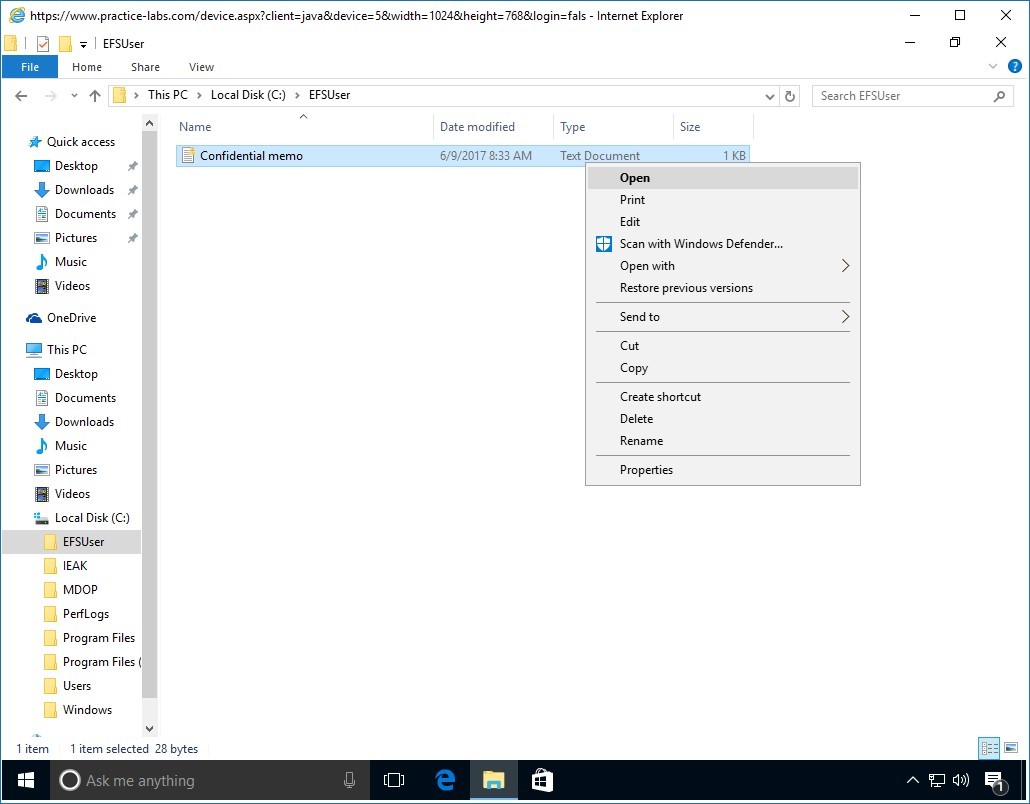
Step 5
You get an access denied message, because Paul Westin doesn't have the certificate to unlock this file.
This is the result of deleting the user account that was performed in an earlier task.
Click OK.
Then close the Notepad window.
In the next exercise, you will recover Paul Westin’s certificate that was used to encrypt the EFSUser folder and the file contained within it.
Minimize File Explorer window.
CompTIA Security+
Managing Certificates
Exercise 5 - Managing Key Recovery
Exercise 5 - Managing Key Recovery
The previous exercise illustrated that if a user account having access to the encrypted file is deleted, it will be denied access to the folder/file it had encrypted even if the account is re-created with the exact same properties as the old user account. This exercise will demonstrate how to recover an archived certificate/key that was issued to the user and show how to link the certificate to its rightful owner. After which you will perform an export of the key to a file and finally test if the recovered key can be used for decrypting a protected document.
To learn more about managing and recovering archived keys, please consult your reference material or use your preferred search engine to research this topic in greater detail.
Task 1 - Import Key Recovery Agent certificate
In this task, you will import keys that are archived on the PLABDM01.
Recall that you have imported the file called AdminKRA.cer into PLABDM01 in an earlier exercise.
Step 1
Connect to PLABDM01.
Reopen the Console1 window that you minimized earlier.
Under Certificates- Current User node, expand Personal then click Certificates folder.
Notice on the details pane at the right, the Key Recovery Agent certificate.
Important: The file you imported in this MMC is just .cer file which is not capable of decrypting the encrypted file as this is only a certificate. You will need to export this file into .pfx format that includes a certificate and key that will unlock an encrypted file.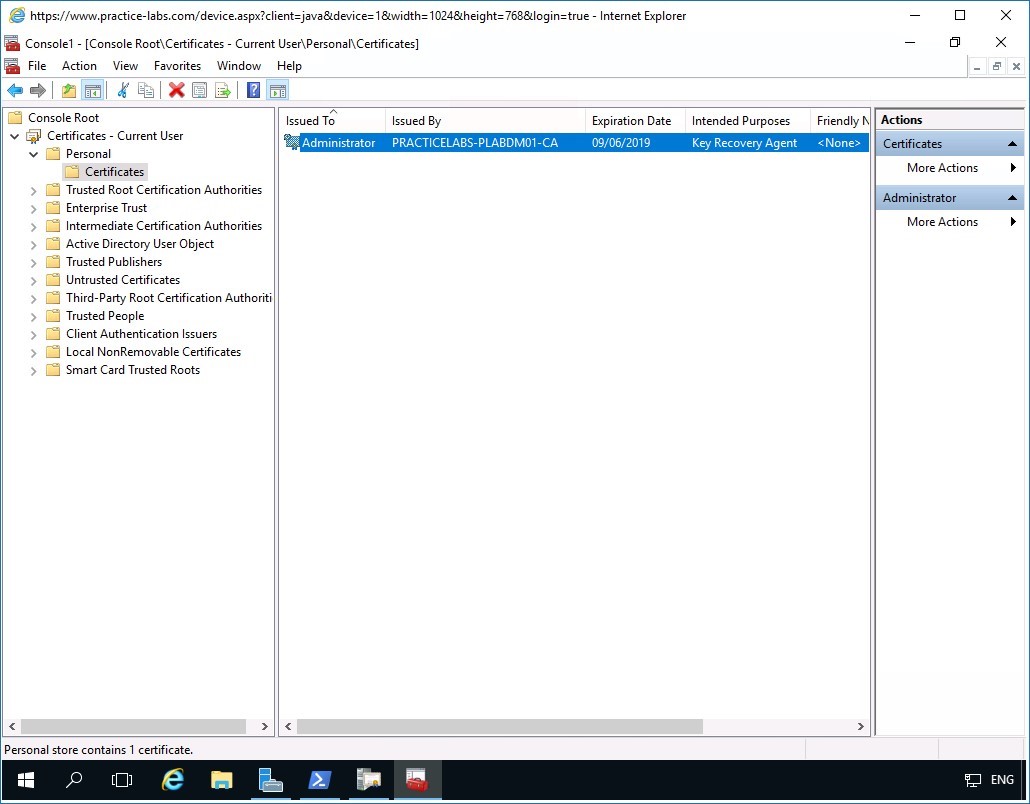
Step 2
Right-click Administrator certificate and point to All Tasks and select Export.
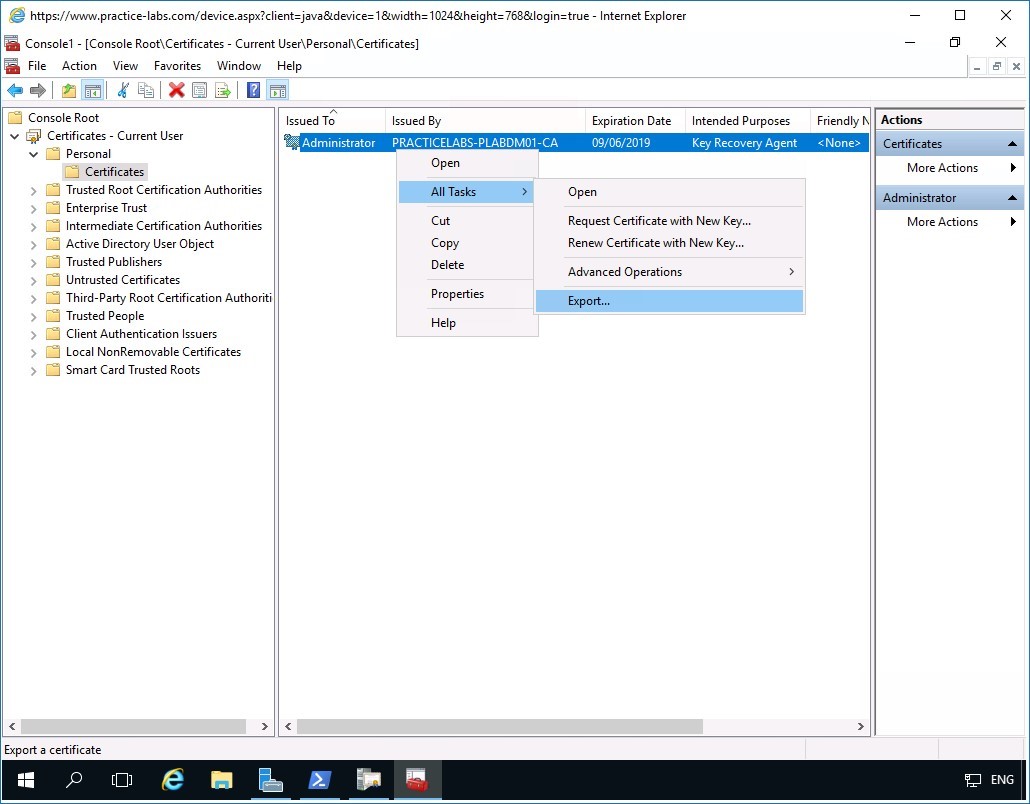
Step 3
Click Next in the Welcome to the Certificate Export Wizard page.
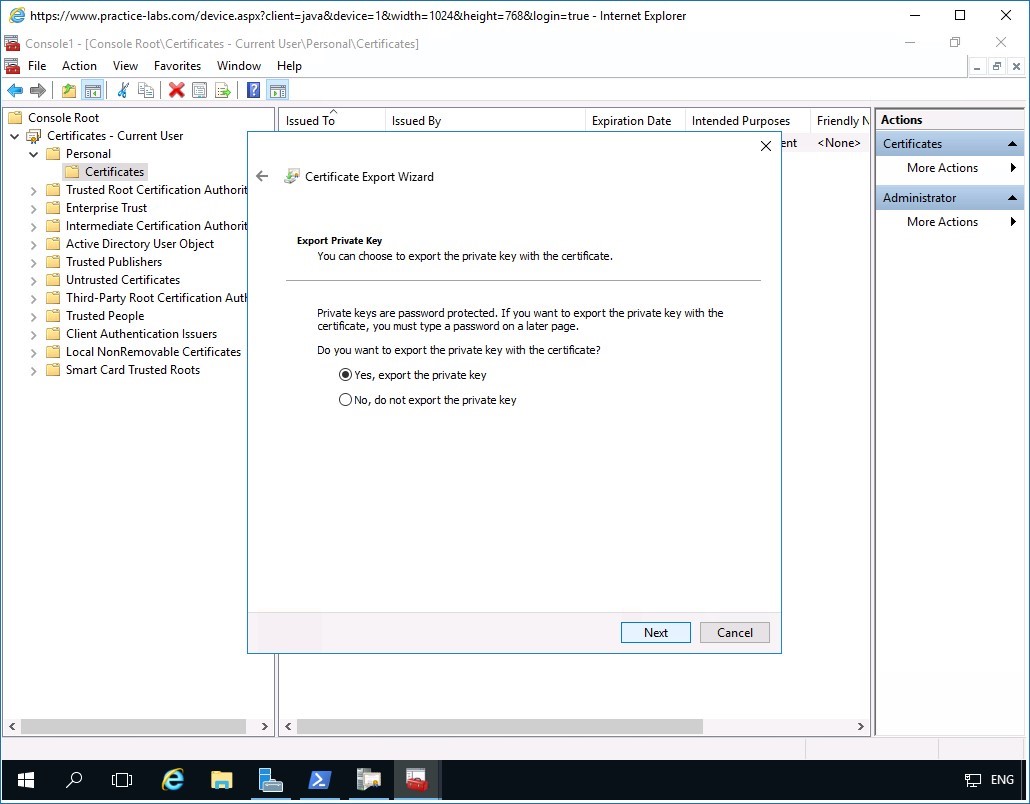
Step 4
In the Export Private Key page, select Yes, export the private key option button.
Click Next.
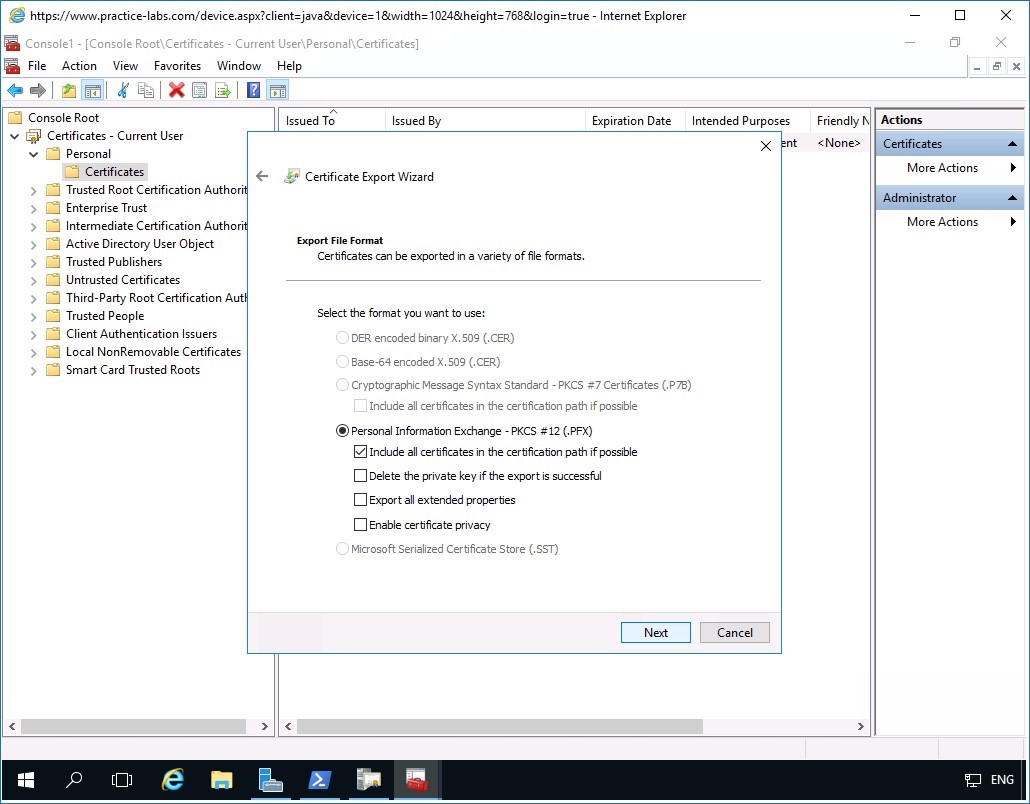
Step 5
In the Export file format page, verify that Personal Information Exchange - PKCS #12 (.PFX) option button is selected.
Verify that Include all certificates in the certification path if possible check box is selected as well.
Click Next.
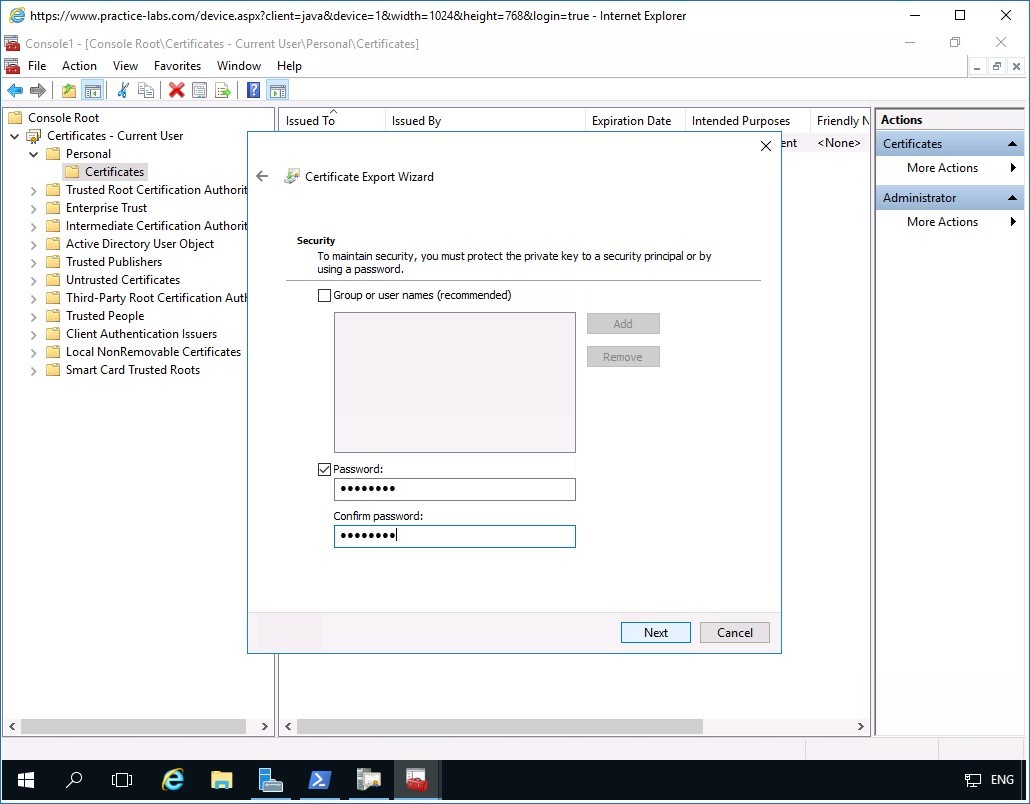
Step 6
In the Security page, select Password check box.
Click in the Password and Confirm password text boxes, type:
Passw0rdClick Next.
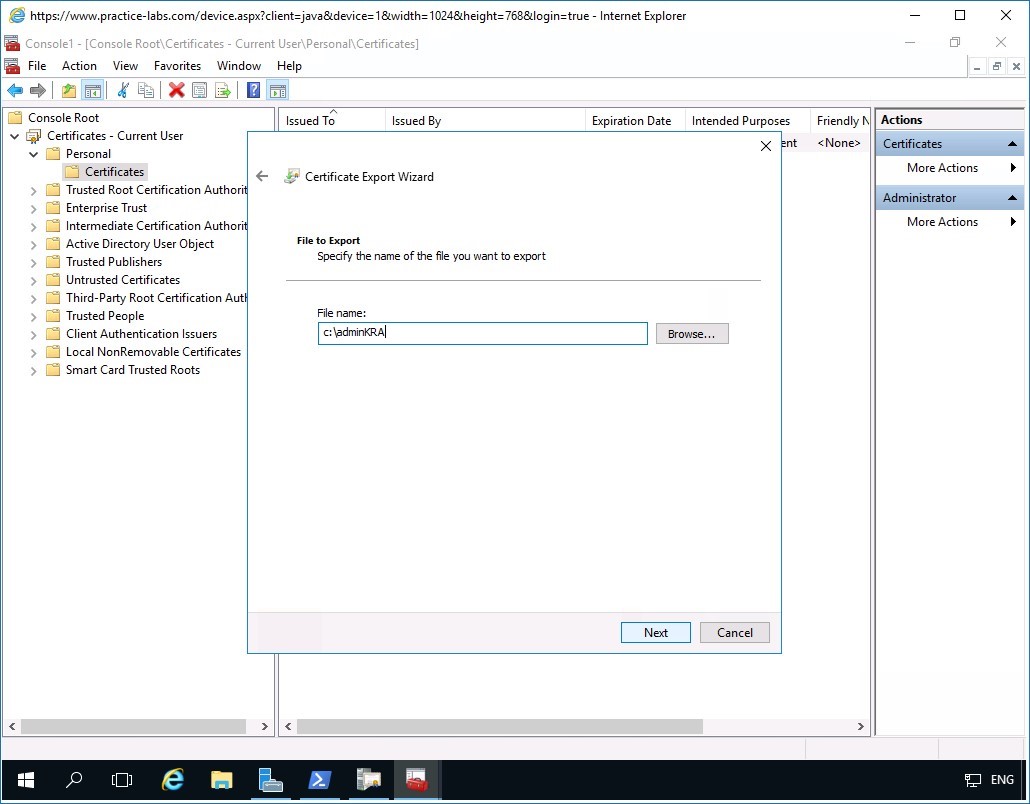
Step 7
In the File to Export page, click File name box and type:
c:\adminKRA
Please note that the extension name .pfx will be added automatically.
Click Next.
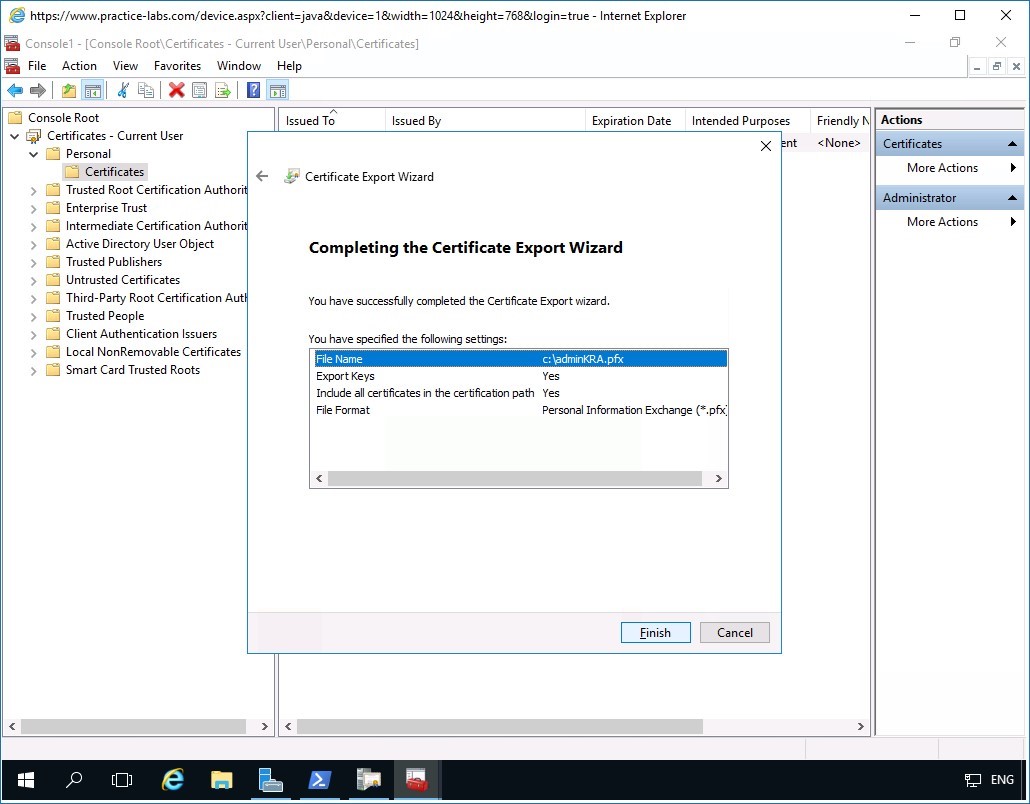
Step 8
Click Finish when Completing the Certificate Export Wizard page is displayed.
Step 9
Click OK when Windows notifies you that the certificate export was successful.
Step 10
After exporting the .cer to .pfx in the previous example, you will import the .pfx file back into Console1.
The Administrator needs the .pfx file to be able to recover archived keys from the CA server.
From Console1, select Personal folder right-click Certificates point to All Tasks then select Import
Step 11
In the Welcome to the Certificate Import Wizard, click Next.
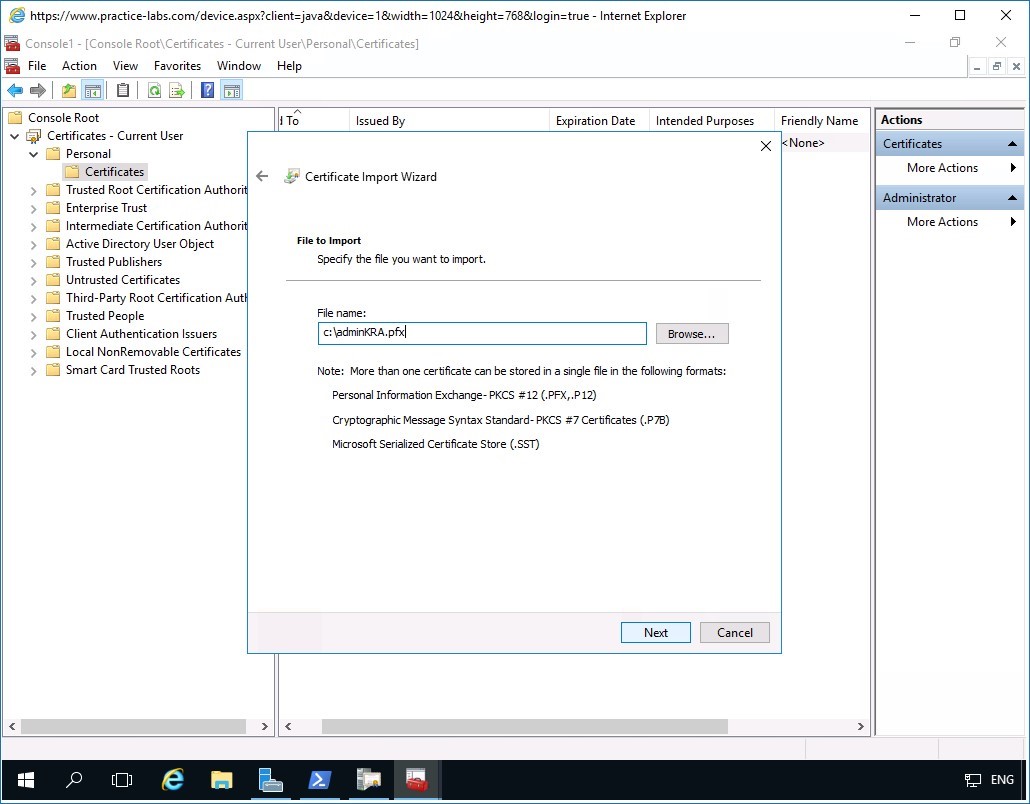
Step 12
In the File to Import page, click in the File name text box and type:
c:\adminKRA.pfx
Click Next.
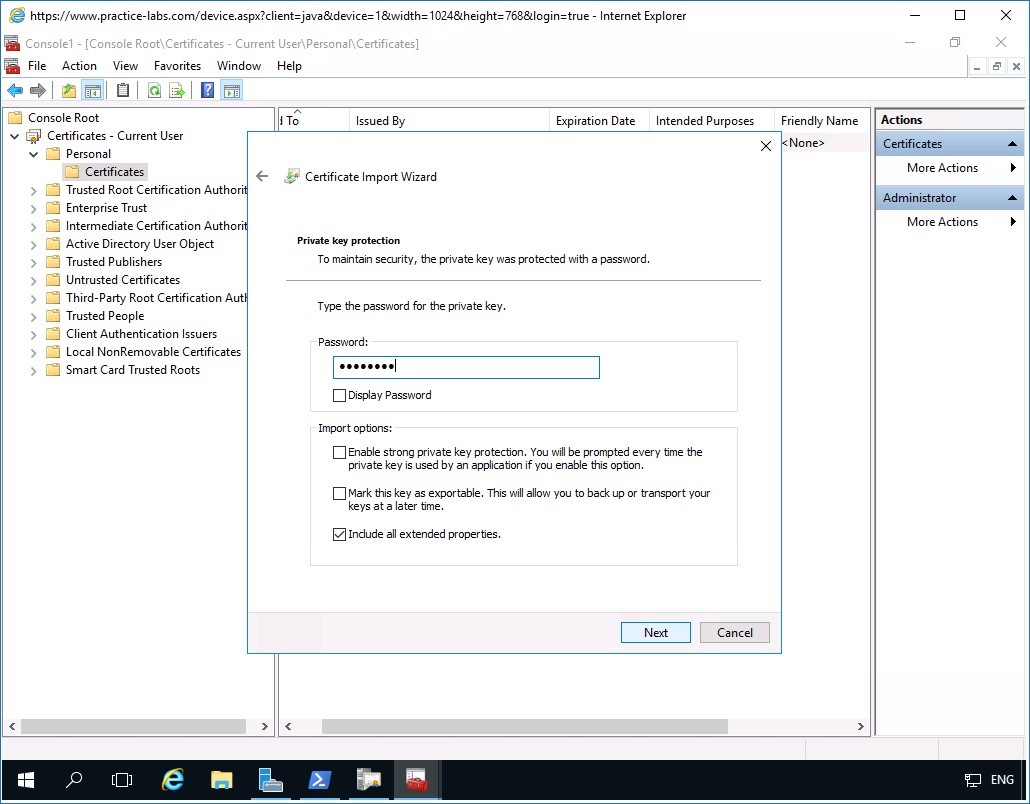
Step 13
In the Private key protection page, in the Password text box, type:
Passw0rdClick Next.
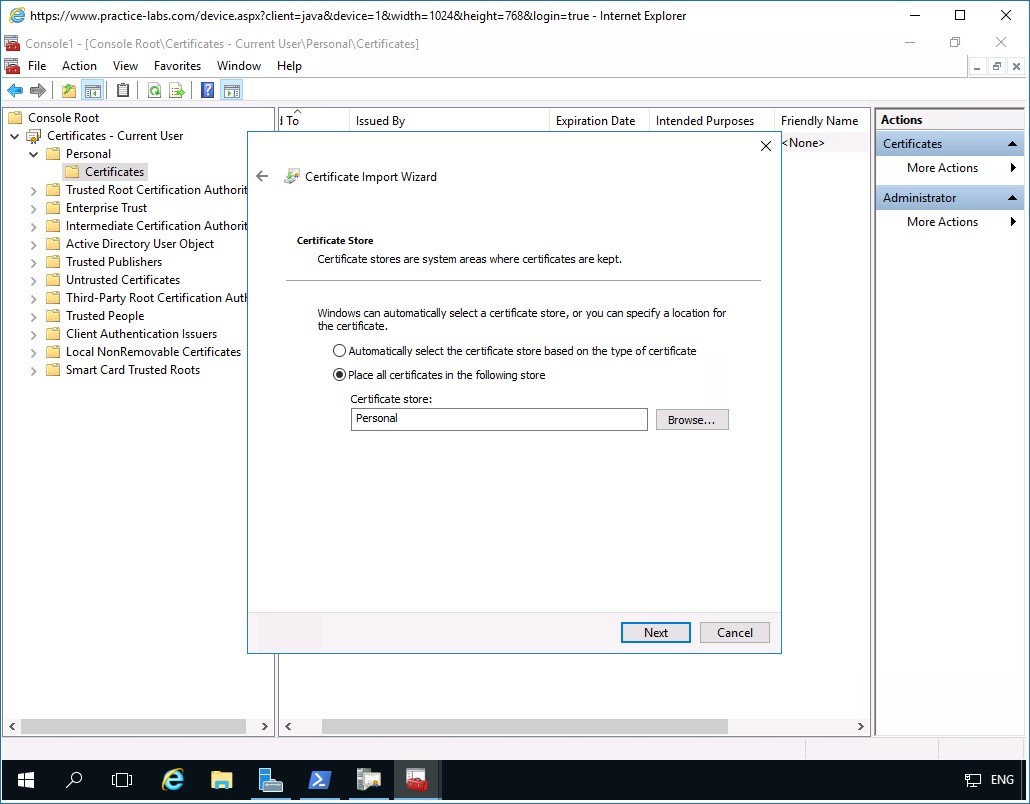
Step 14
In the Certificate Store page, verify that Place all certificates in the following store is selected.
Click Next.
Step 15
In the Completing the Certificate Import Wizard page, click Finish.
Step 16
Click OK when the system tells you that the import was successful.
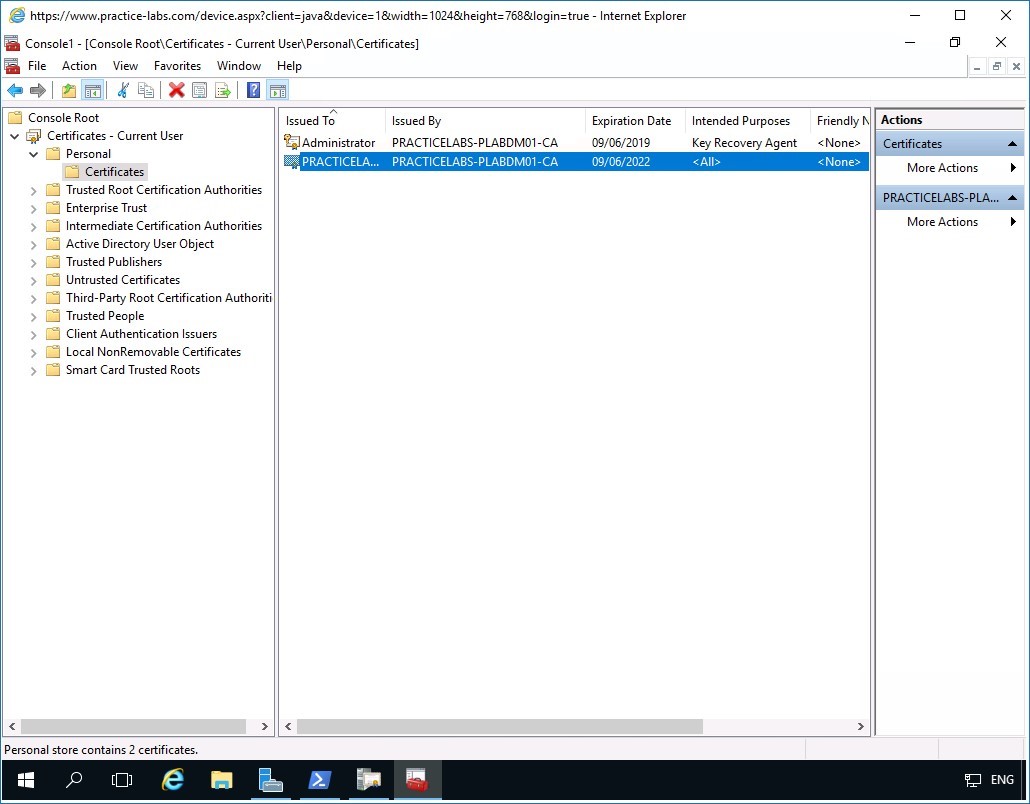
Step 17
Notice that a second certificate has been added to the list.
Minimize Console1 window.
Step 18
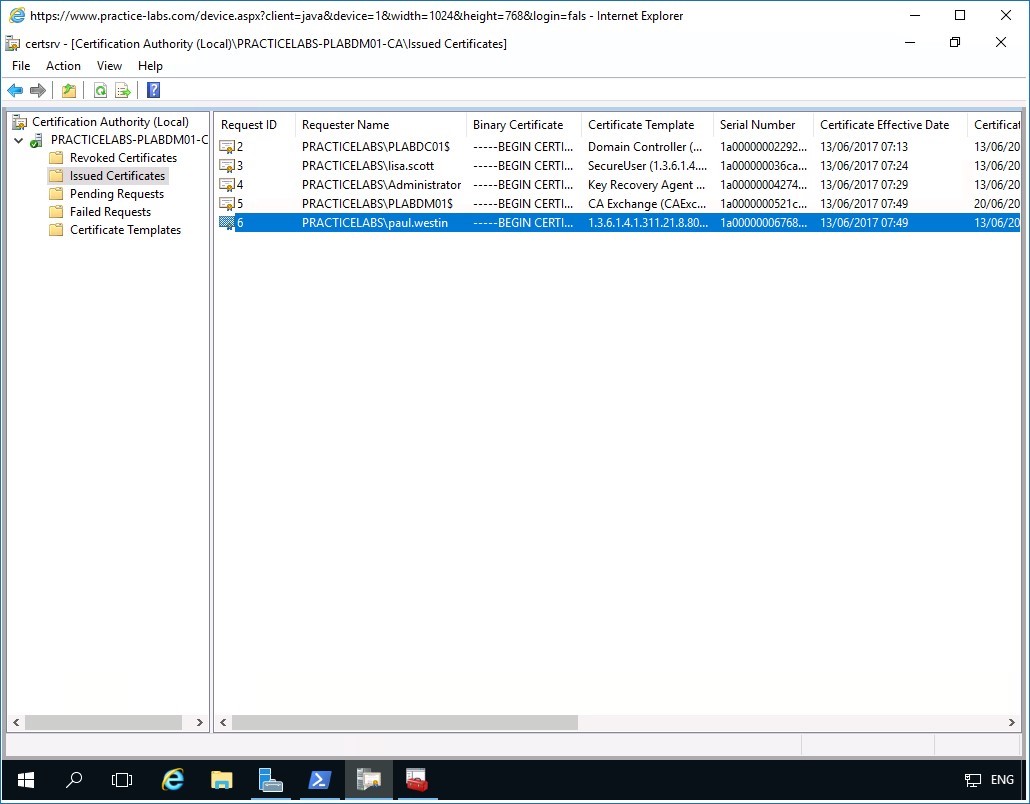
Restore the Certification Authority console window from taskbar if not yet open.
Click Issued Certificates folder.
Locate the column Requester name by expanding the column header and find PRACTICELABS\paul.westin.
Please note the requester name indicated above as you will recover the archived certificate of this user account.
Task 2 - Using CERTUTIL to recover archived keys
To run the certutil.exe to recover archived keys in the PLABDM01 server, perform the following steps:
Step 1
On PLABDM01 computer, right-click Start and select Command Prompt (Admin) from the shortcut menu.
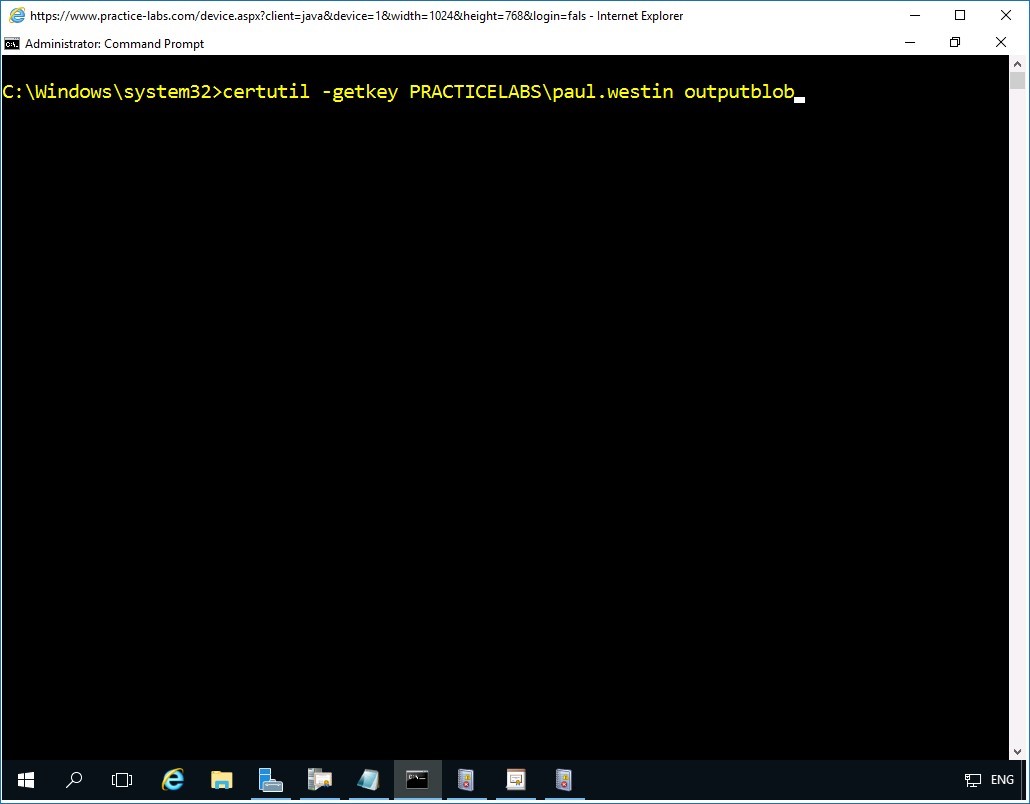
Step 2
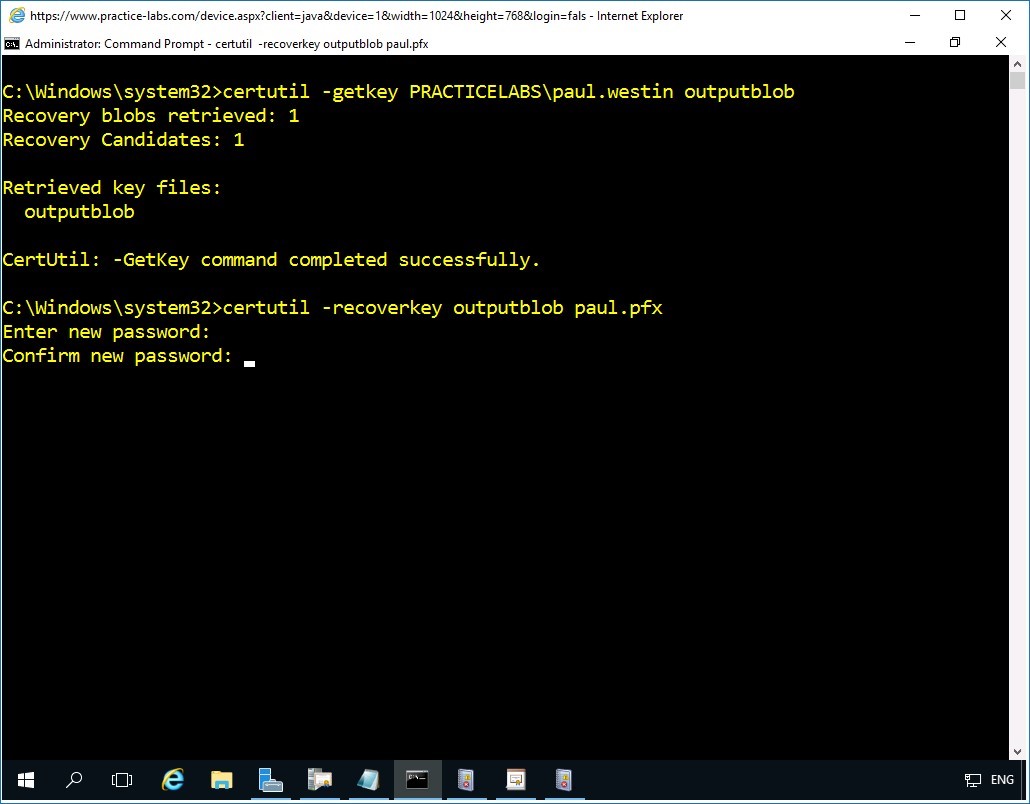
In the command prompt type the following:
certutil -getkey PRACTICELABS\paul.westin outputblob
Press Enter.
Step 3
On the command prompt window, click the Command prompt icon on the top left corner.
Click Edit and select Paste.

Step 4
To create a certificate that can unlock the encrypted file, you need to create a .PFX file from the retrieved key file.
Type the following
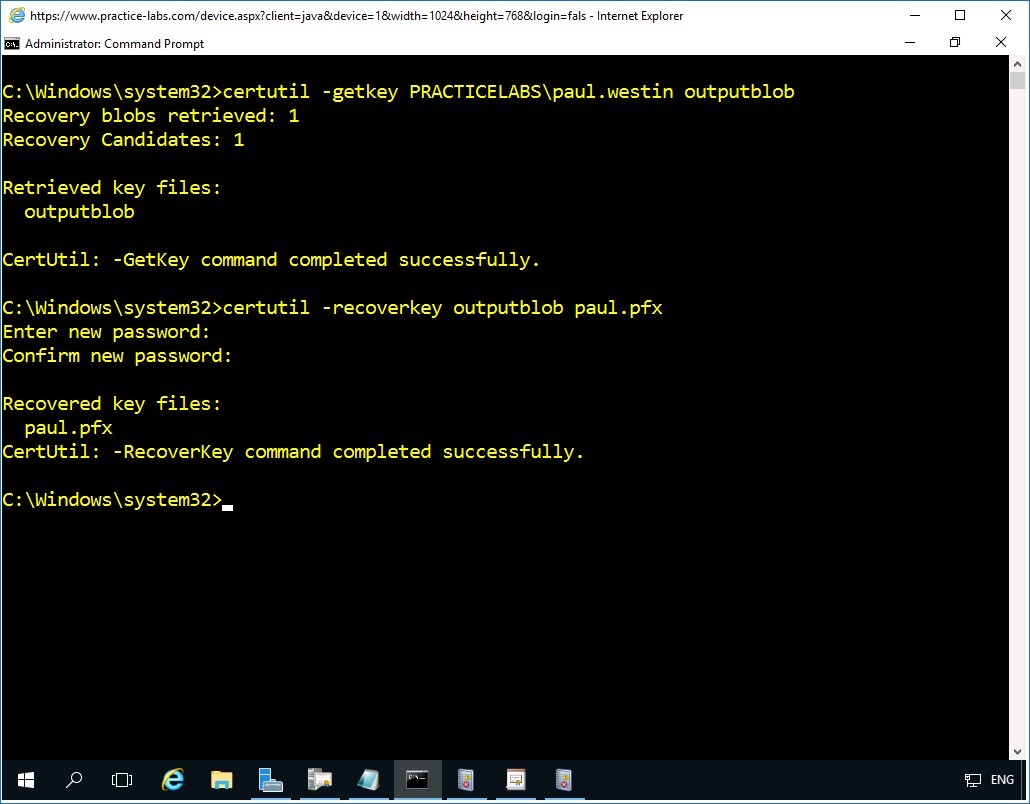
certutil -recoverkey outputblob paul.pfx
Press Enter.
In the Enter new password prompt, type:
Passw0rdPress Enter.
In the Confirm new password prompt, type:
Passw0rdPress Enter.
Step 5
The .PFX file called paul.pfx is successfully created.
Step 6
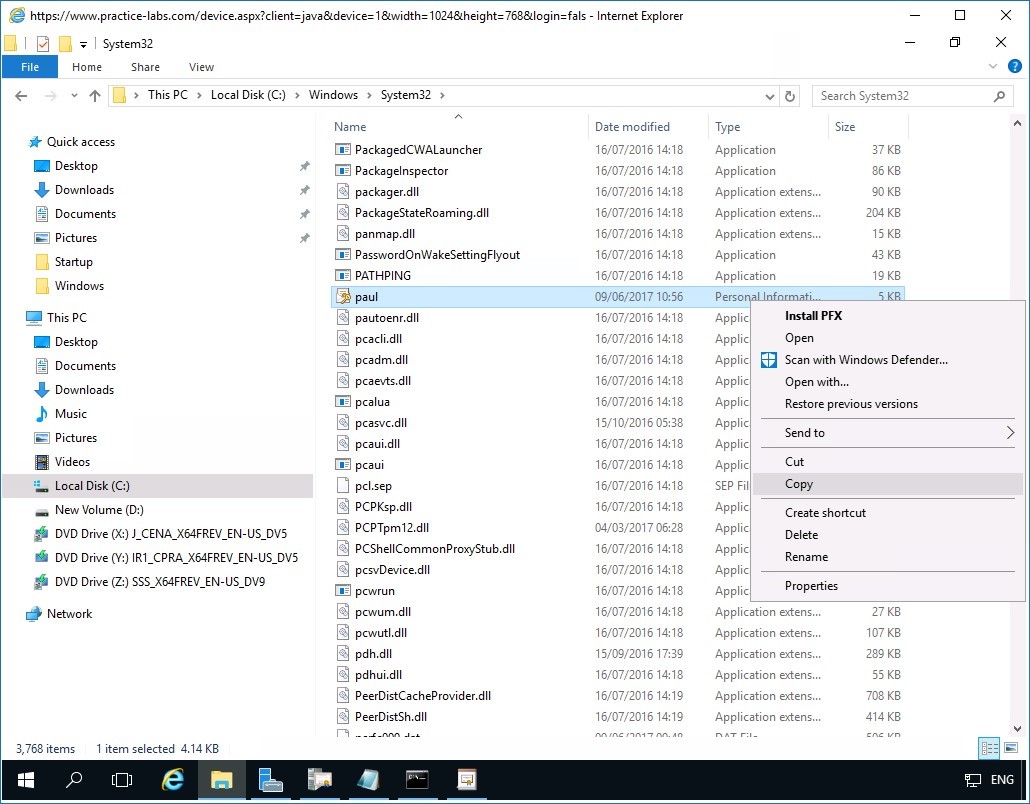
Open File Explorer, navigate to Local Disk C > Windows > system32 folder.
Scroll down the list and locate paul - Personal Information file type.
Note that the file will look like a certificate with a key appended to it.
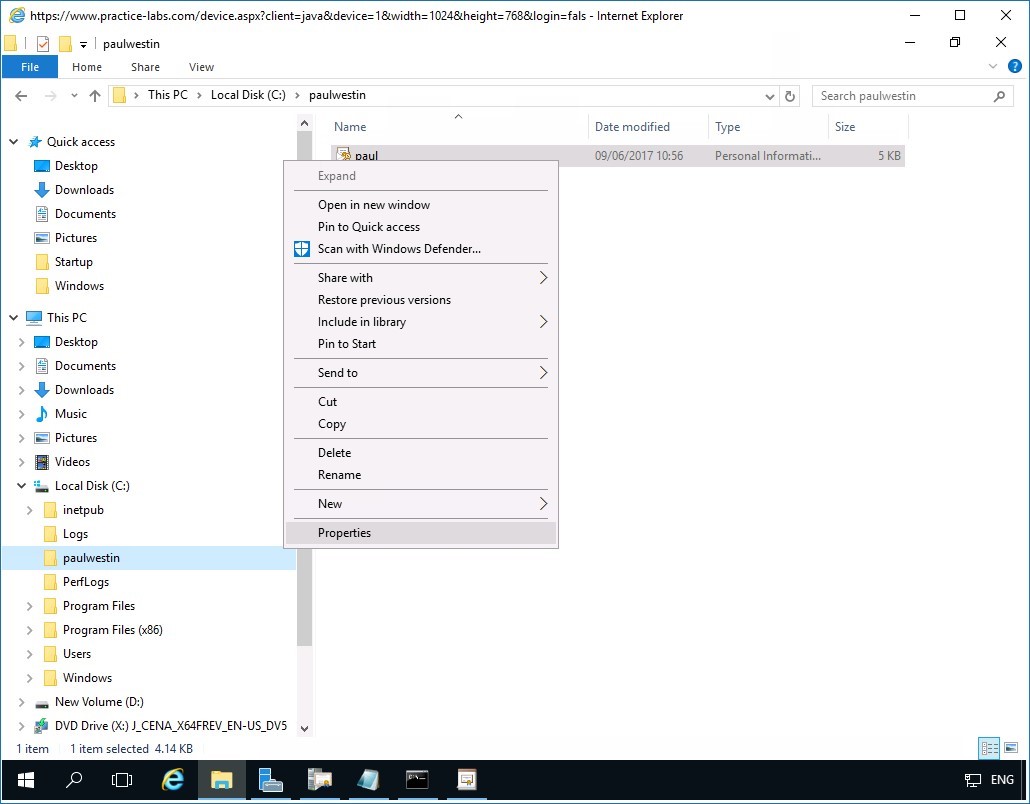
Right-click on paul and select Copy.
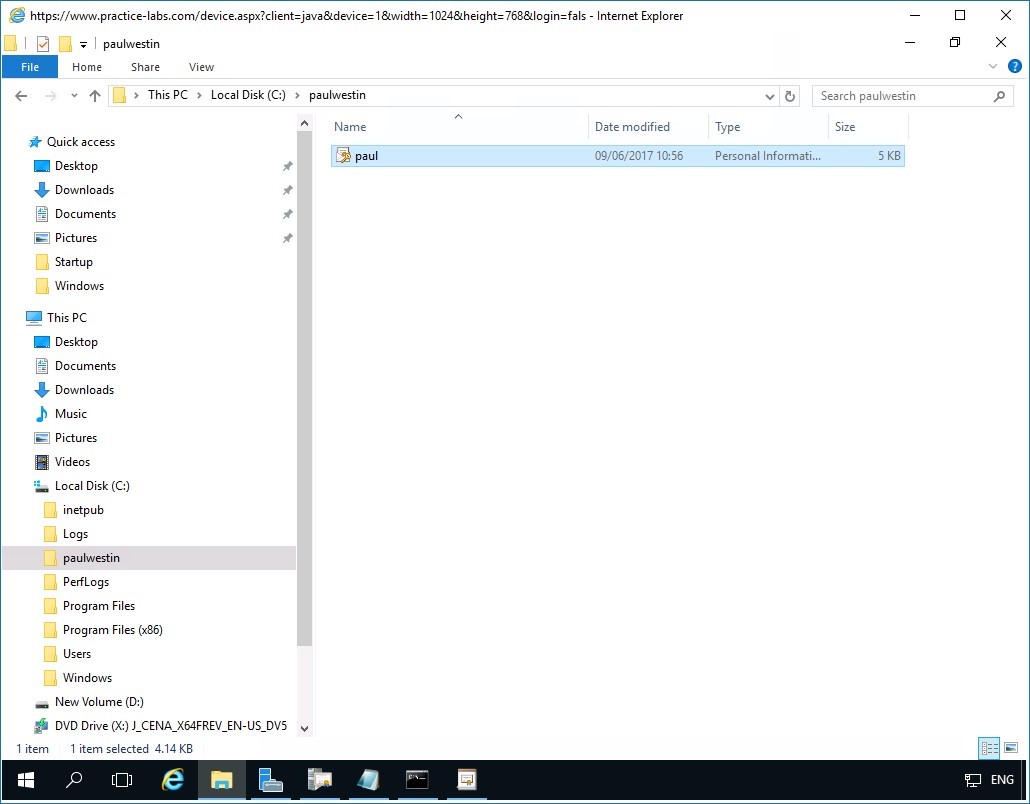
Step 7
Create a folder on Local Disk C: called paulwestin and paste the .pfx certificate file there.
Step 8
You will share paulwestin folder to allow the user to access the .pfx file over the network.
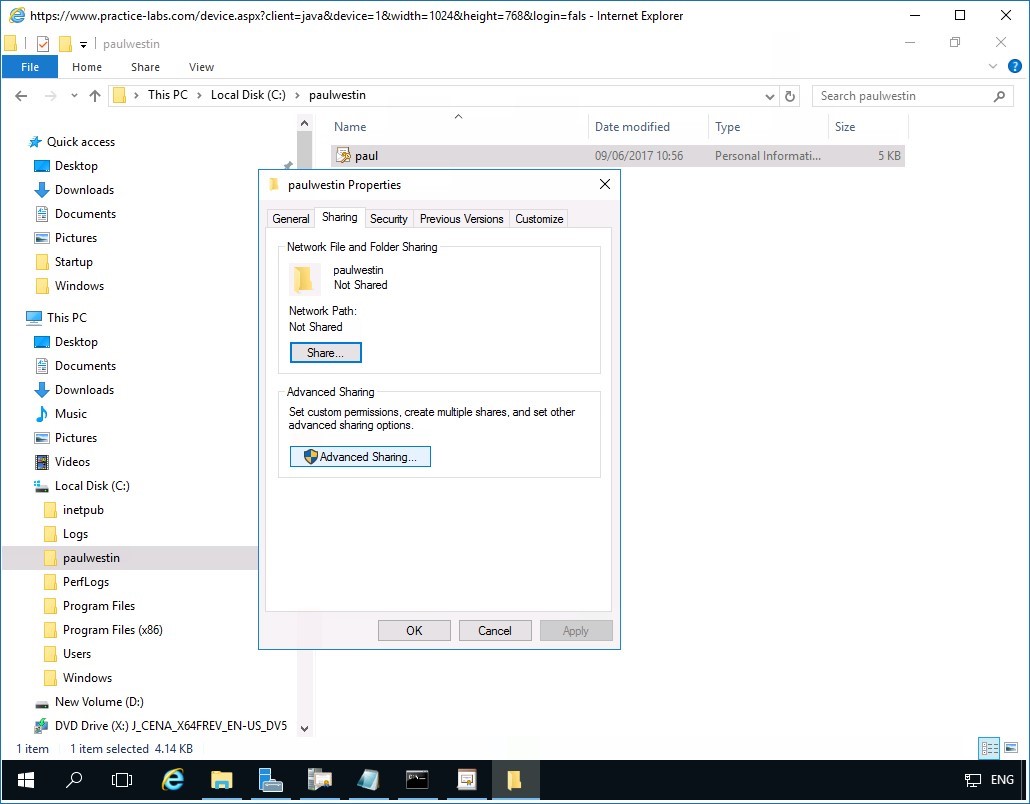
Right-click on paulwestin folder and choose Properties.
Step 9
On the paulwestin Properties window, select Sharing tab.
Step 10
Under the Sharing tab and click on Advanced Sharing.
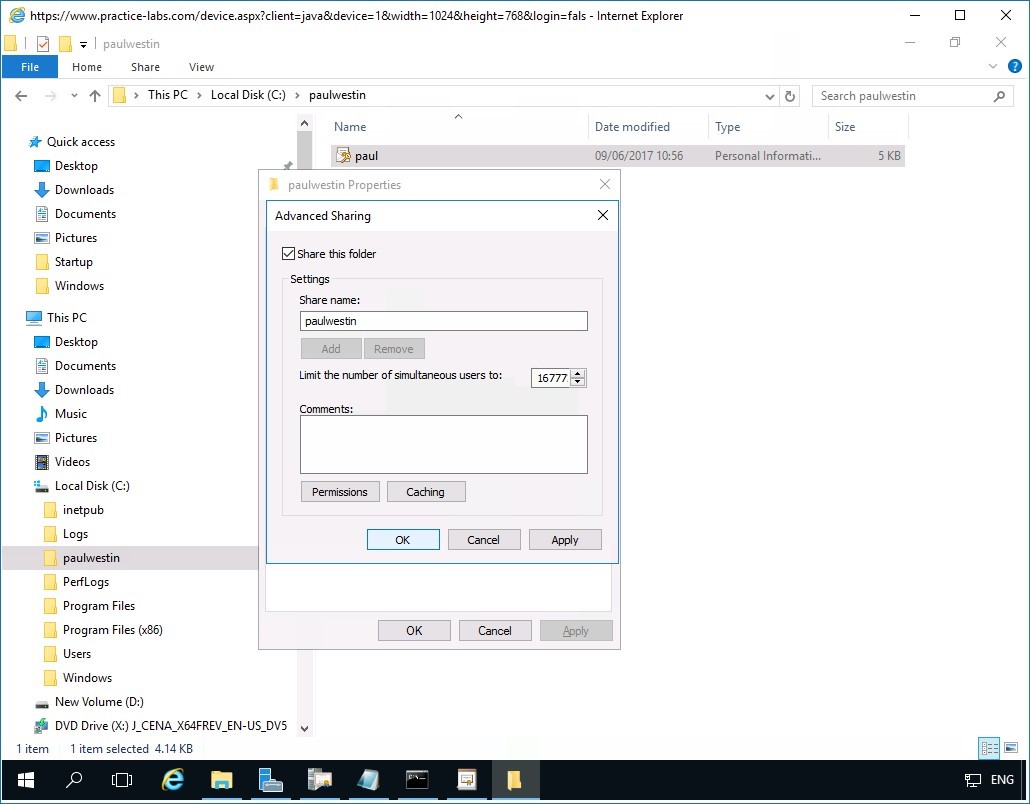
Step 11
In the Advanced Sharing window, click Share this folder box and then click OK.
Similarly, click Close on the paulwestin folder.
Task 3 - Test user access to encrypted file
To verify that user Lisa Weybridge can access the file that was encrypted earlier, perform the following steps:
Step 1
Connect to PLABWIN10 where paul.westin is signed in.
File Explorer is open.
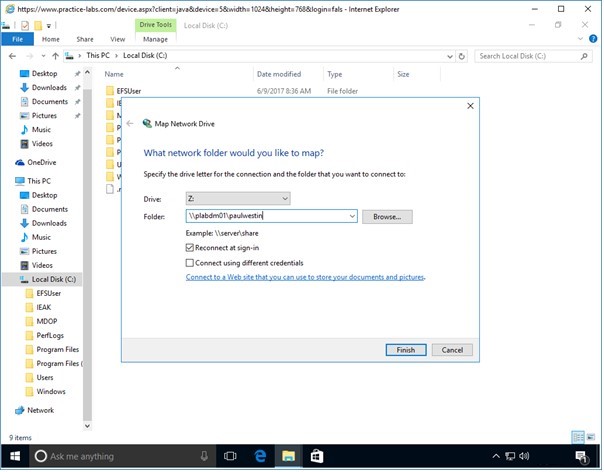
Right-click on This PC, choose Map network drive.
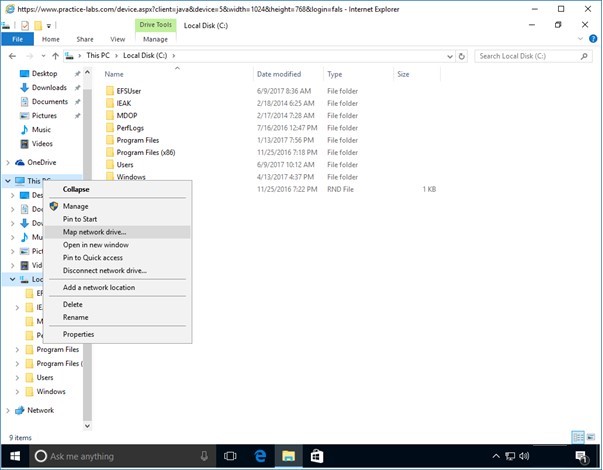
Step 2
In the Map network drive window, in the Folder text box, type:
\\plabdm01\paulwestin
Click Finish.
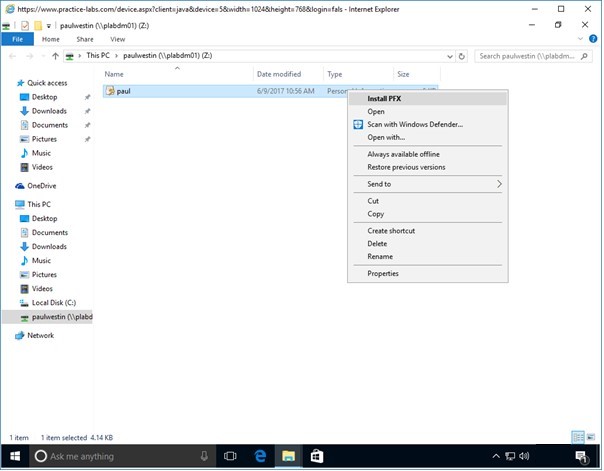
Step 3
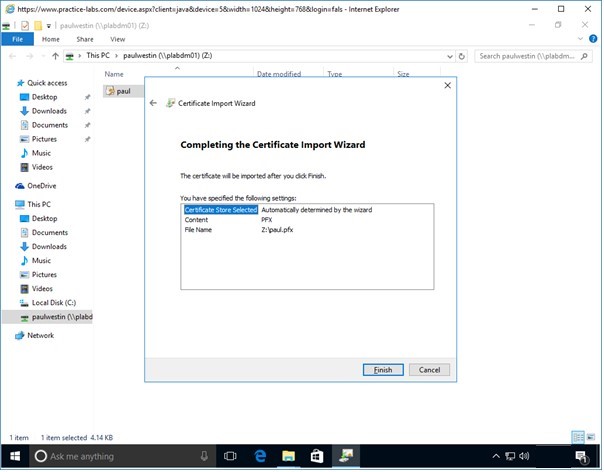
A new File Explorer window opens indicating a successful connection.
Once connected right-click on paul.pfx file and choose InstallPFX.
Step 4
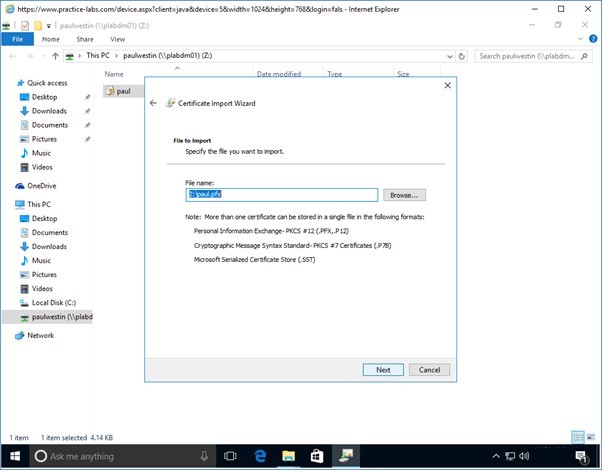
In the Welcome to the Certificate Import Wizard page, click Next.
Step 5
The File to Import page, displays the path of the .pfx file.
In this case it is in z:\paul.pfx path.
Click Next.
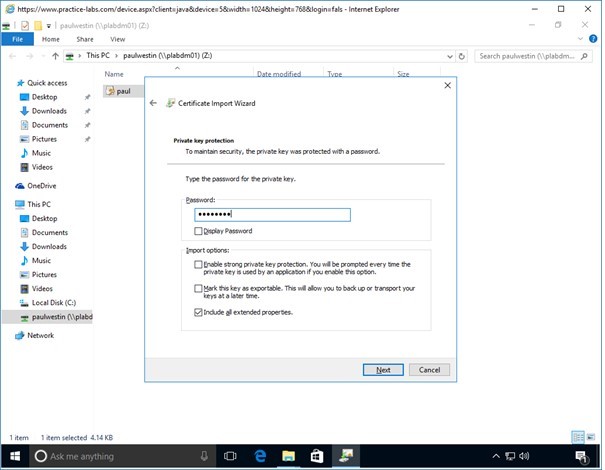
Step 6
In the Private key protection page, type:
Passw0rdClick Next.
Step 7
In the Certificate Store page, the Automatically select the certificate store based on the type of certificate option is selected.
Click Next.
Step 8
When Completing the Certificate Import Wizard page shows up, click Finish.
Step 9
Click OK when import is successful.
Step 10
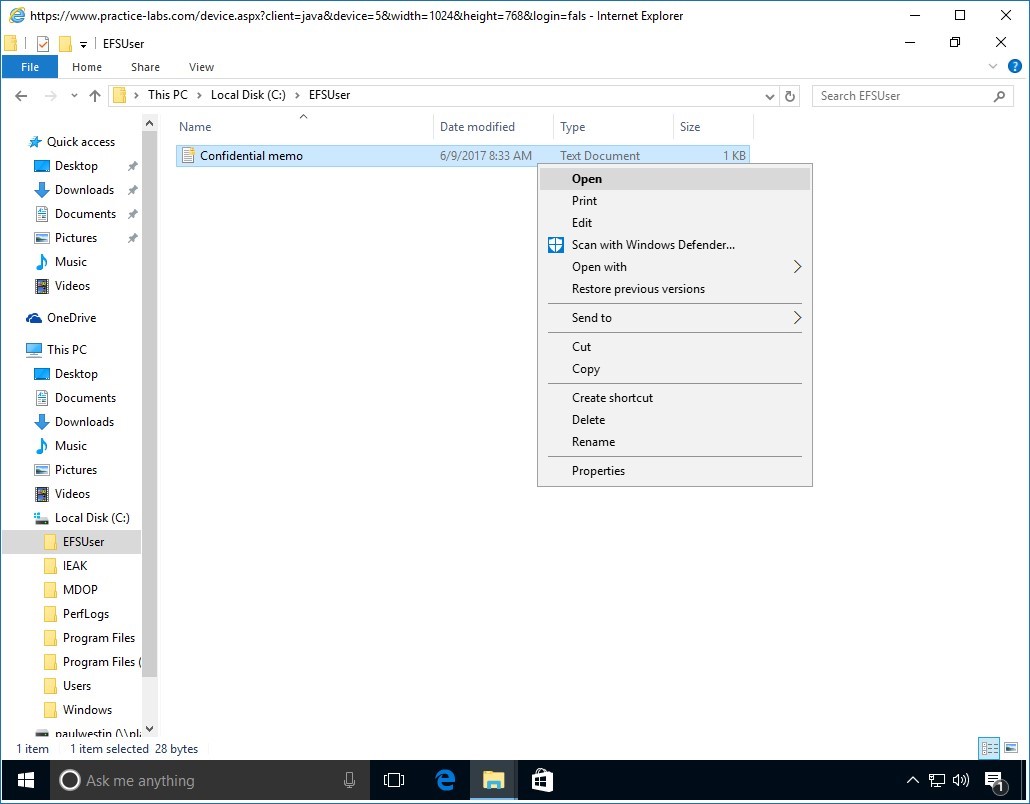
Back on File Explorer window, navigate to Local Disk C then click EFSUser folder.
Right-click on Confidential memo then select Open.
Step 11
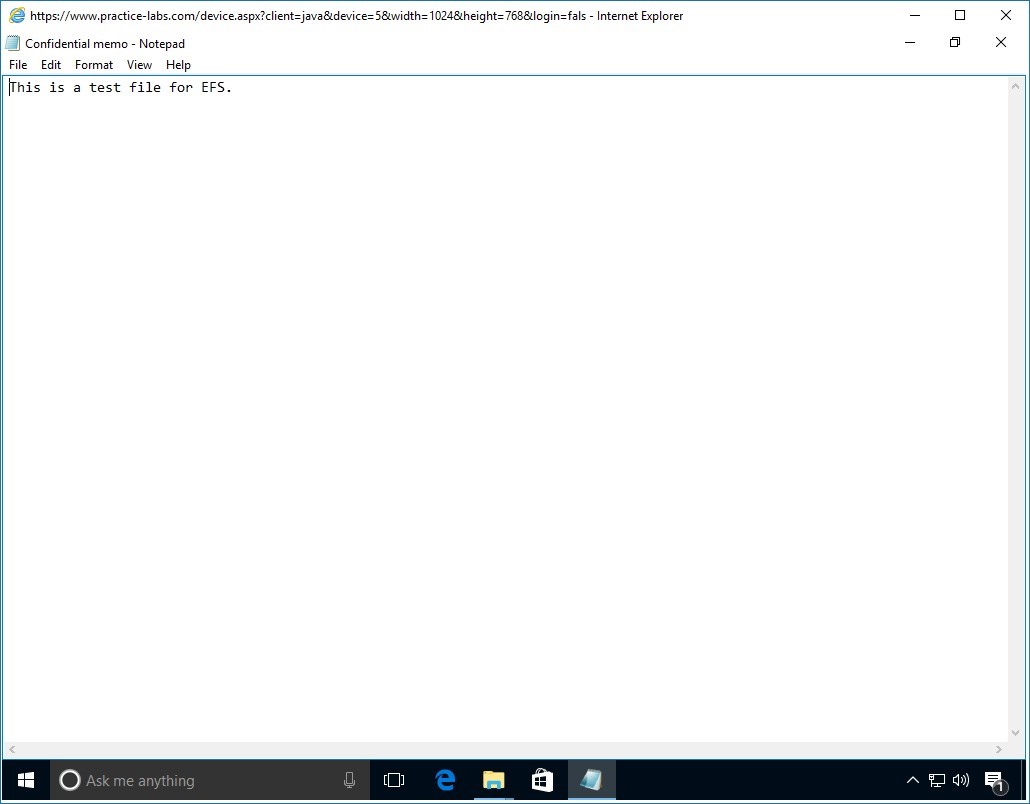
Paul should be able to read the contents of the confidential file.
Paul Westin’s key was recovered successfully.
Task 4 - Enable server auto login
By default, when you connect to a device in Practice Labs you are automatically logged in - usually as the administrator. For this task, you will need to re-enable this feature and so you will be logged in automatically in the next exercise.
Step 1
On the Practice Labs web page, click the Access your settings tab.
Under the Device heading there is an option named Server auto login, click the Enable button.
Result - You have completed the necessary tasks for managing certificate archiving and recovery.
Shutdown all virtual machines used in this lab, by using the power functions located in the Tools bar before proceeding to the next module. Alternatively, you can log out of the lab platform.
Comments
Post a Comment