Packet sniffing
Packet Sniffing for Passwords
Many protocols display information in plaintext which is not a secure method for transmission. Telnet is one of the primary communication and contention protocols used for essentially any enabled computing device. Most Routers, Switches, and Servers will have this function. However, that doesn’t mean it’s been enabled.
Task 1 - Obtaining Passwords
In this task, we will be sniffing out traffic crossing the network and primarily looking for the telnet password.
Now a quick recap, Telnet is an application layer TCP/IP protocol which connects to telnet services. Where a telnet application is listening it operates on port 23.
Step 1
Ensure all the devices stated in the introduction are powered on.
Connect to PLABDM01.
Launch Wireshark and double click the option Ethernet 3 under the Capture heading. This will allow Wireshark to begin listening to traffic on the network.
Note: Remember to Run as Administrator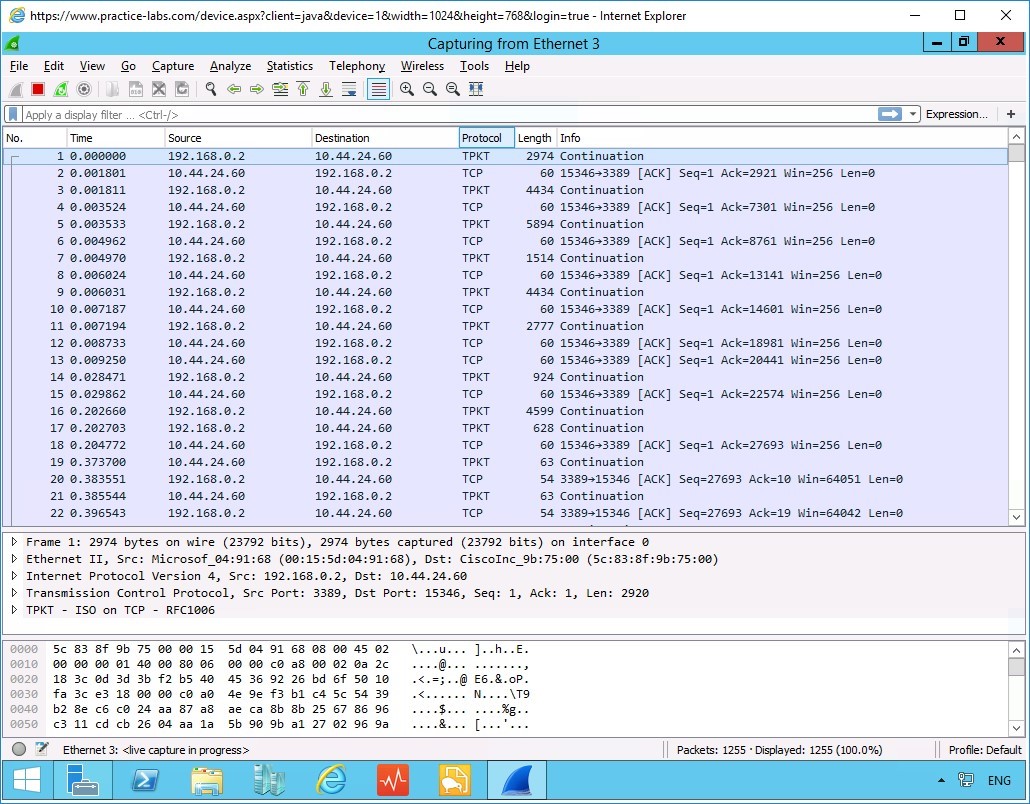
Step 2
Now there is putty on the desktop, and we have 2 servers to and establish a connection with:
- Server 1: PLABDC01.
- Server 2: PLABDM01.
Open up putty on PLABWIN10.
Type into the Host Name the Address for PLABDC01 - 192.168.0.1
Select Telnet radio button.
Then click on the Open button.
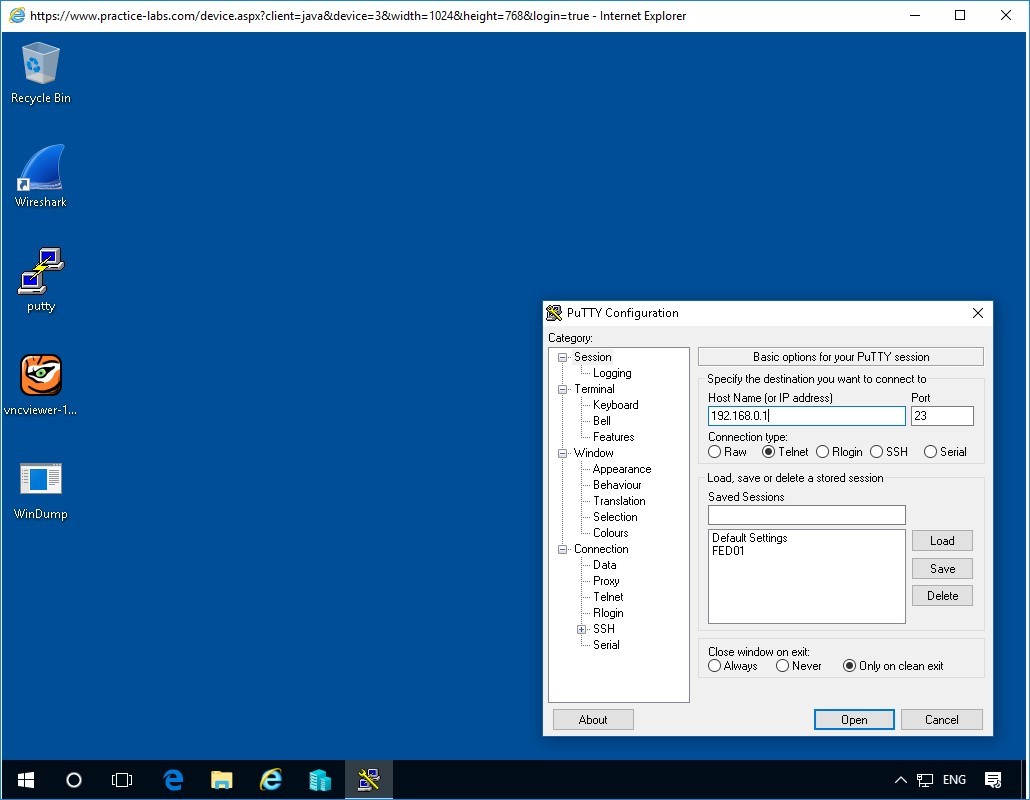
The above image shows the Putty terminal interface using the address of 192.168.0.1 with the telnet protocol being used.
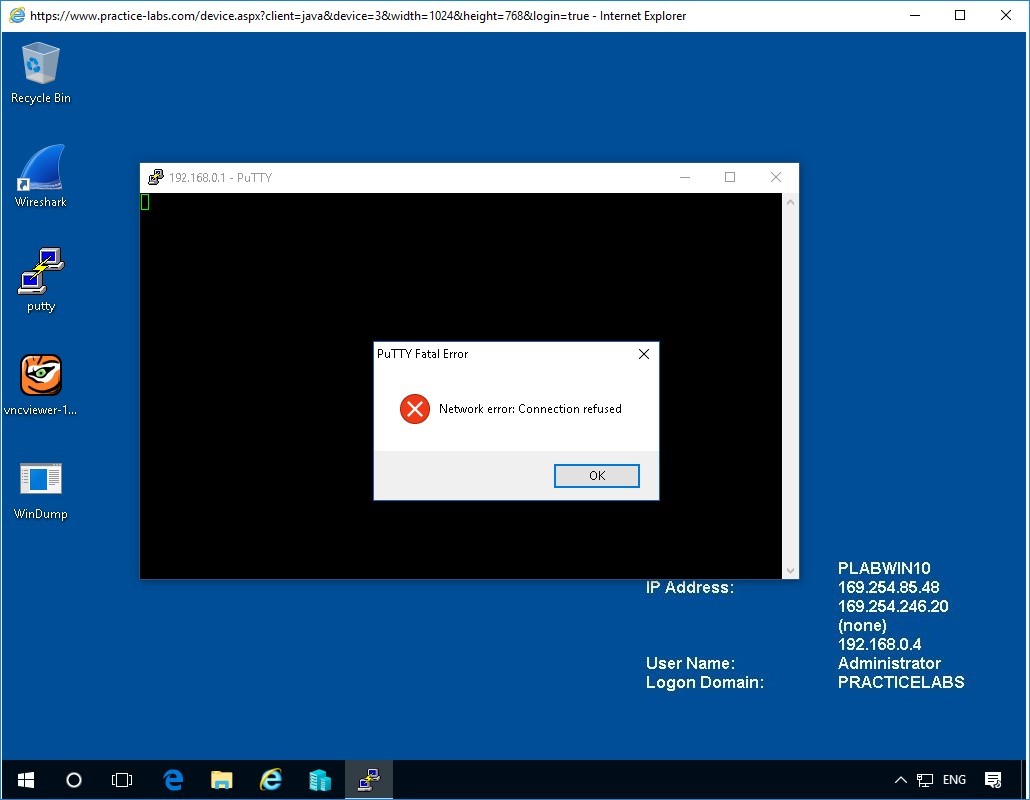
We are greeted with the following screen. Telnet Service here might not be running, or it is not listening on that port.
Step 3
Let’s now try for PLABDM01. Type into the Host Name the Address for PLABDM01 - 192.168.0.2
Select Telnet radio button
Then click on the Open button

Perfect we have a connection established with Telnet on the server.
Step 4
Now we are in the privileged position of knowing the exact credentials for the Administer, however, in reality, a more nefarious activity would take place with a password cracking tools.
Now let’s type in the details:
Login: Administrator
Password: Passw0rd
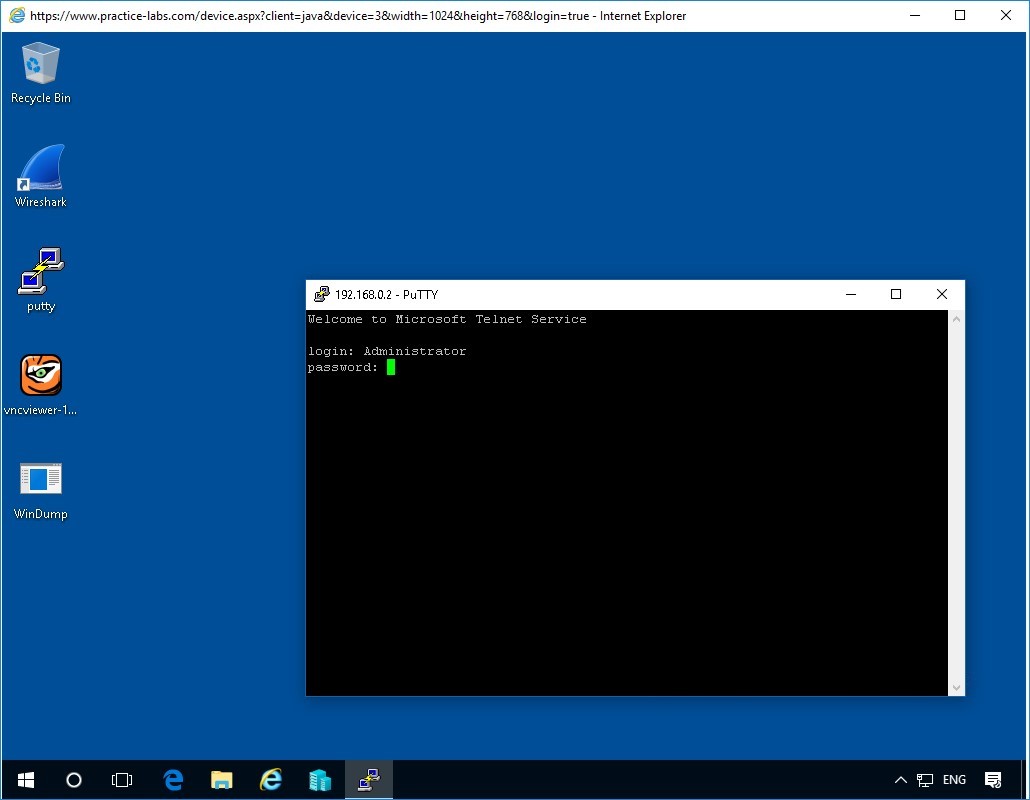
As we enter the Administrator Username and then the password, it might take a few moments for the credentials to be authenticated so be patient.
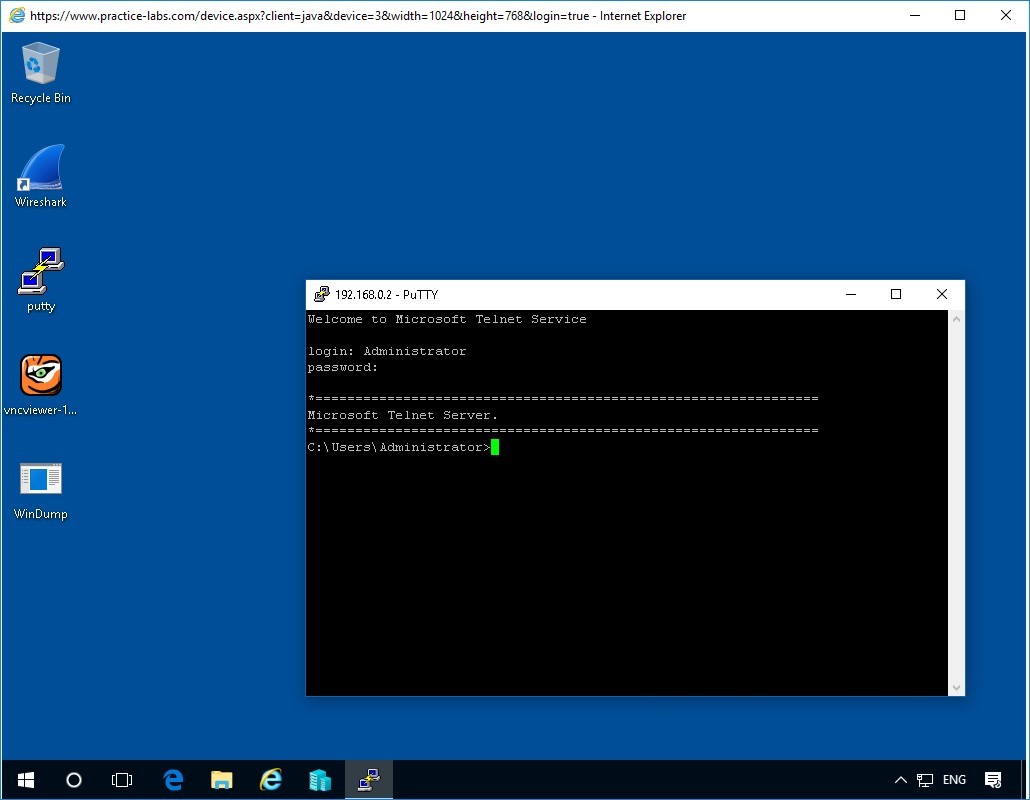
With a successful logon we have established a connection to the PLABDM01 Server.
Step 5
Now let’s stop the Wireshark Capture recording any further packets by clicking on the icon and pressing the red Square.

Once again there is a lot of information which is great but now let’s enter a filter based on what we know about protocols. Before we learned that telnet operates on Port 23 and it was a TCP/IP protocol.
Let’s use this information to set the filter.
Step 6
Simply type into the filter and press the blue arrow to enter this:
telnet
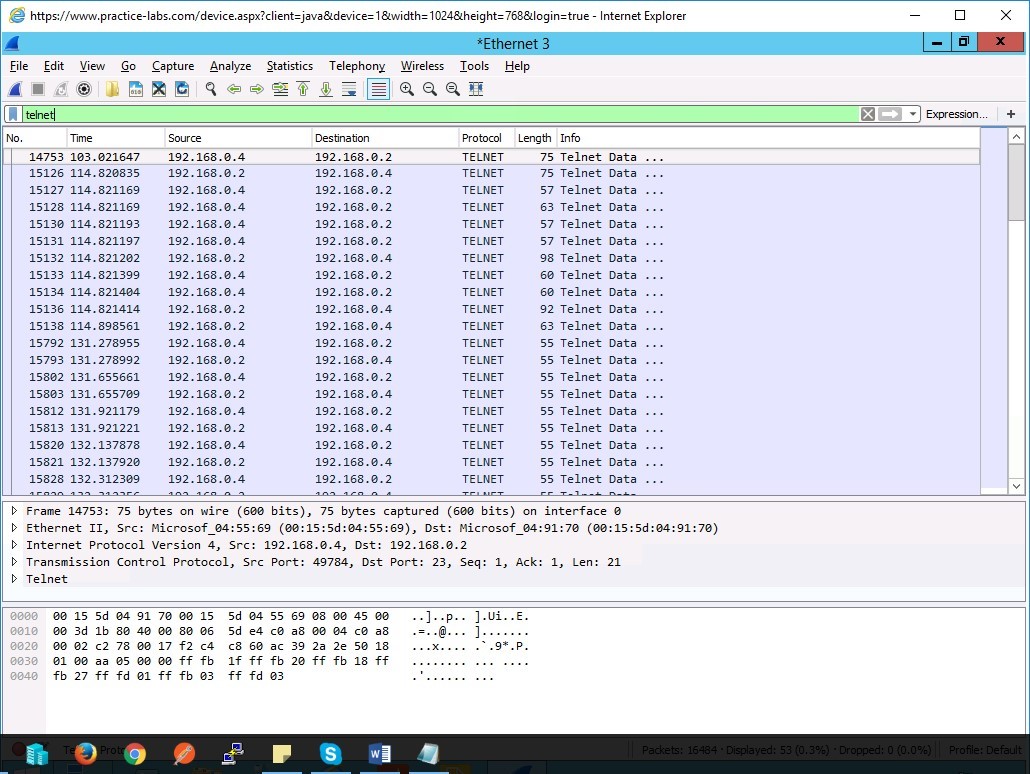
This will single out the traffic for that protocol only. Now click on any frame capture you like and right click as we know there was only one telnet capture happening at that time.
Step 7
Right-click and Follow the TCP stream.
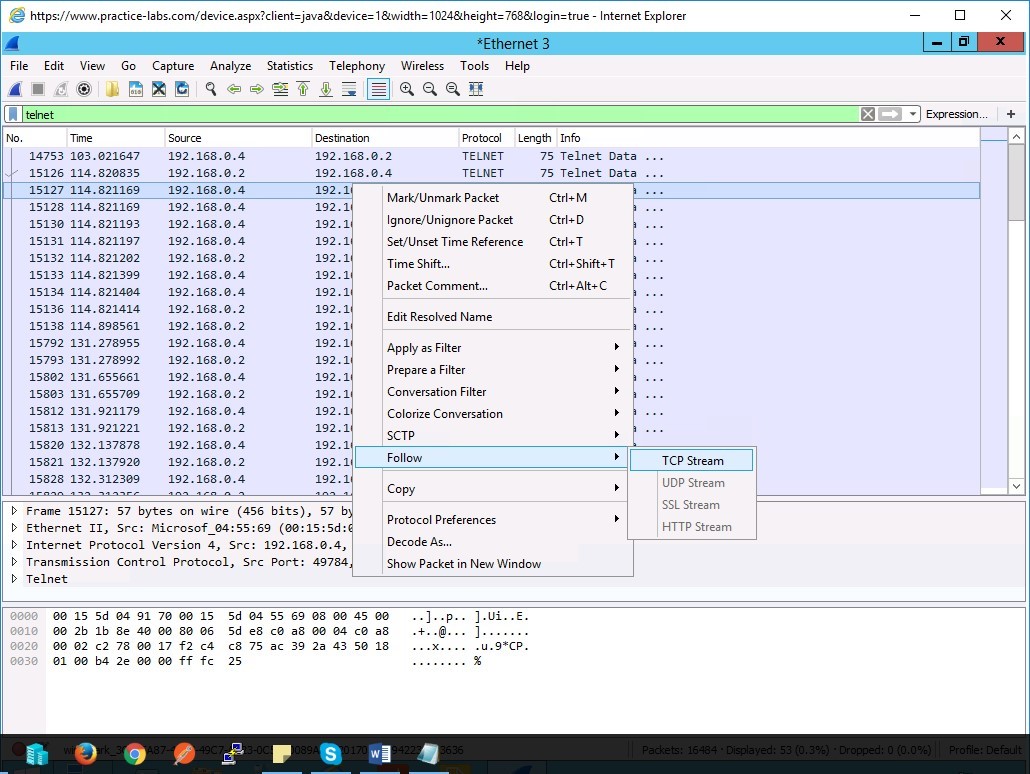
This will collect the stream together and present the output of those packets.
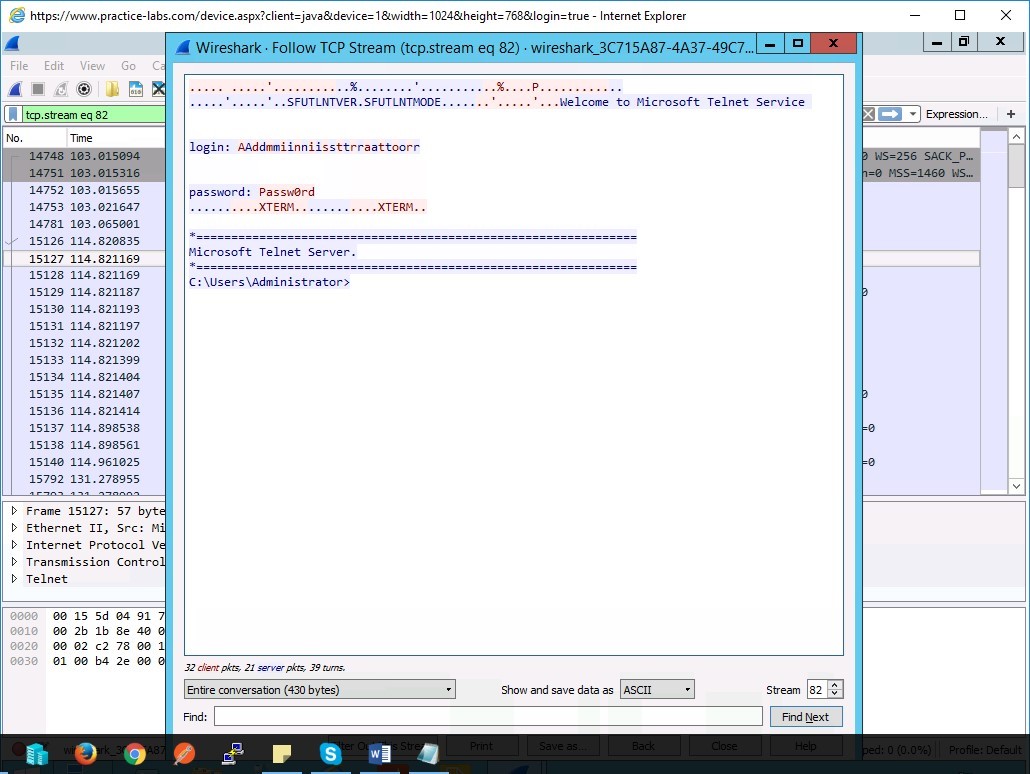
We can clearly see really important details here that were transmitted in plaintext. First, we can confirm that Telnet Service was being used. It literally says this in the read out.
The Login information was Administrator and the Password was PAssw0rd.Leave the devices you have powered on in their current state
Exercise 2 - Packet Sniffing for Image Capture and Extraction
Through traffic capture, Wireshark can be used to view all information during transit, if this data is unencrypted such as images flowing to a device, Wireshark will record them and save the traffic information which can be extracted into Jpeg formats for by an analyst.
Note: In this exercise, you will access external websites, as these websites are outside of our control, they are subject to change. If you do notice anything is out of date, please let us know via our support desk so we can implement an update.Task 1 - Capturing and Reviewing Images
We are going to start a new capture and then browse the internet from the PLABWIN10 device to an HTTP site. After which we will review the captured packets from this device and extract the images which were sent from website to the PLABWIN801 device.
Step 1
As from the previous steps, begin a new capture from the PLABDM01 device and leave it running.
Step 2
Click onto the PLABWIN801 device and go to Internet Explorer.
Now importantly, we must access an HTTP site as information is transmitted in plaintext.
Type into the search bar or using google lookup the website:
http://zero.webappsecurity.com
Perfect now access the article and allow it load. Ideally, it's better if there are plenty of images to view on the page.
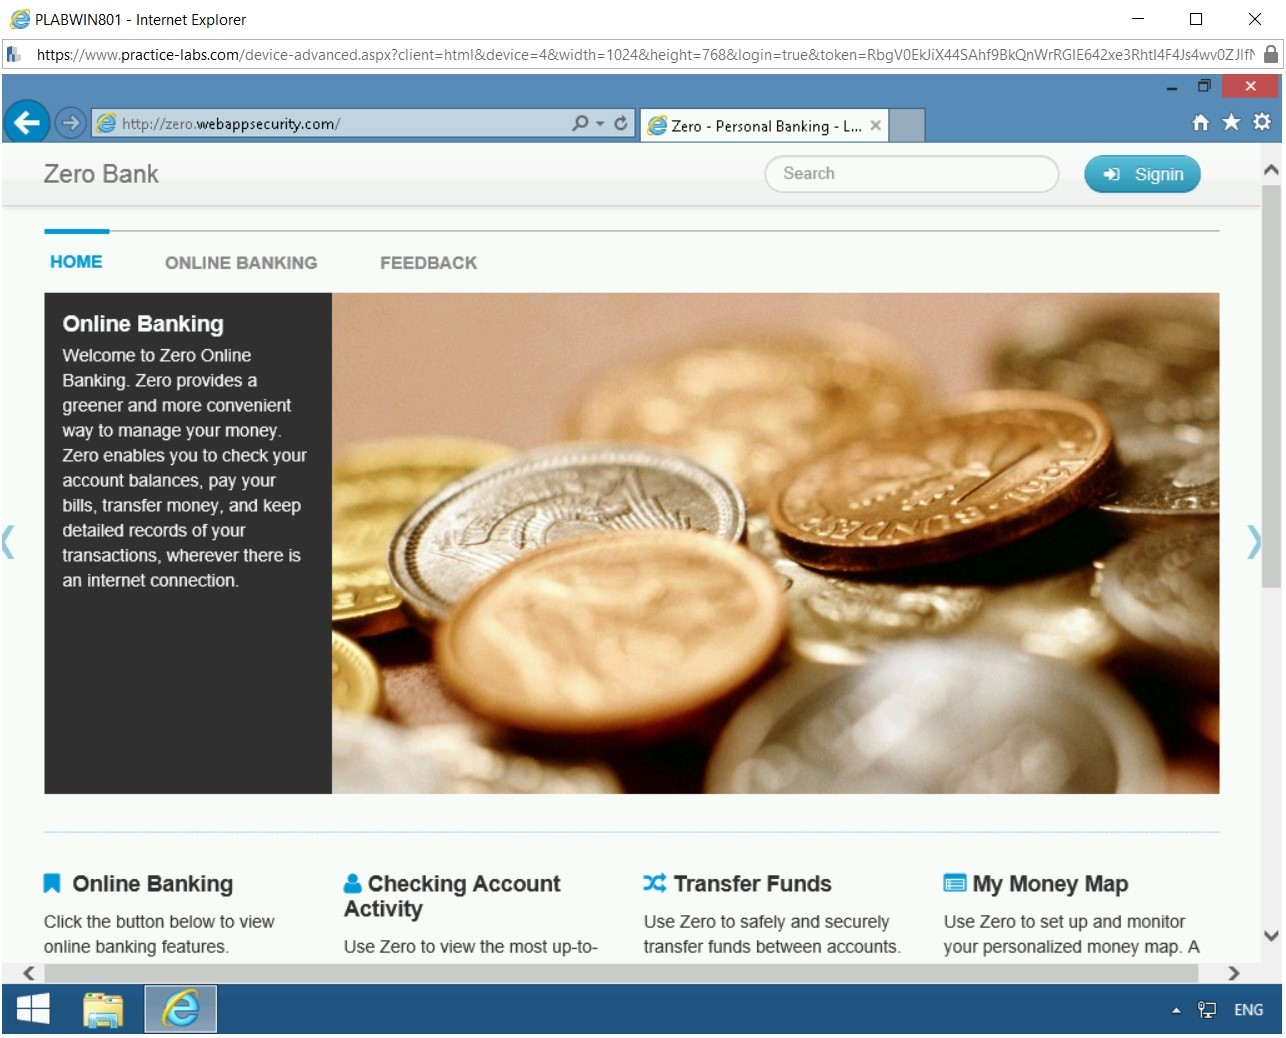
By now, we should have generated enough traffic flow from the website to the PLABWIN801 device.
Step 3
Switch back to the PLABDM01 device and stop the traffic capture.
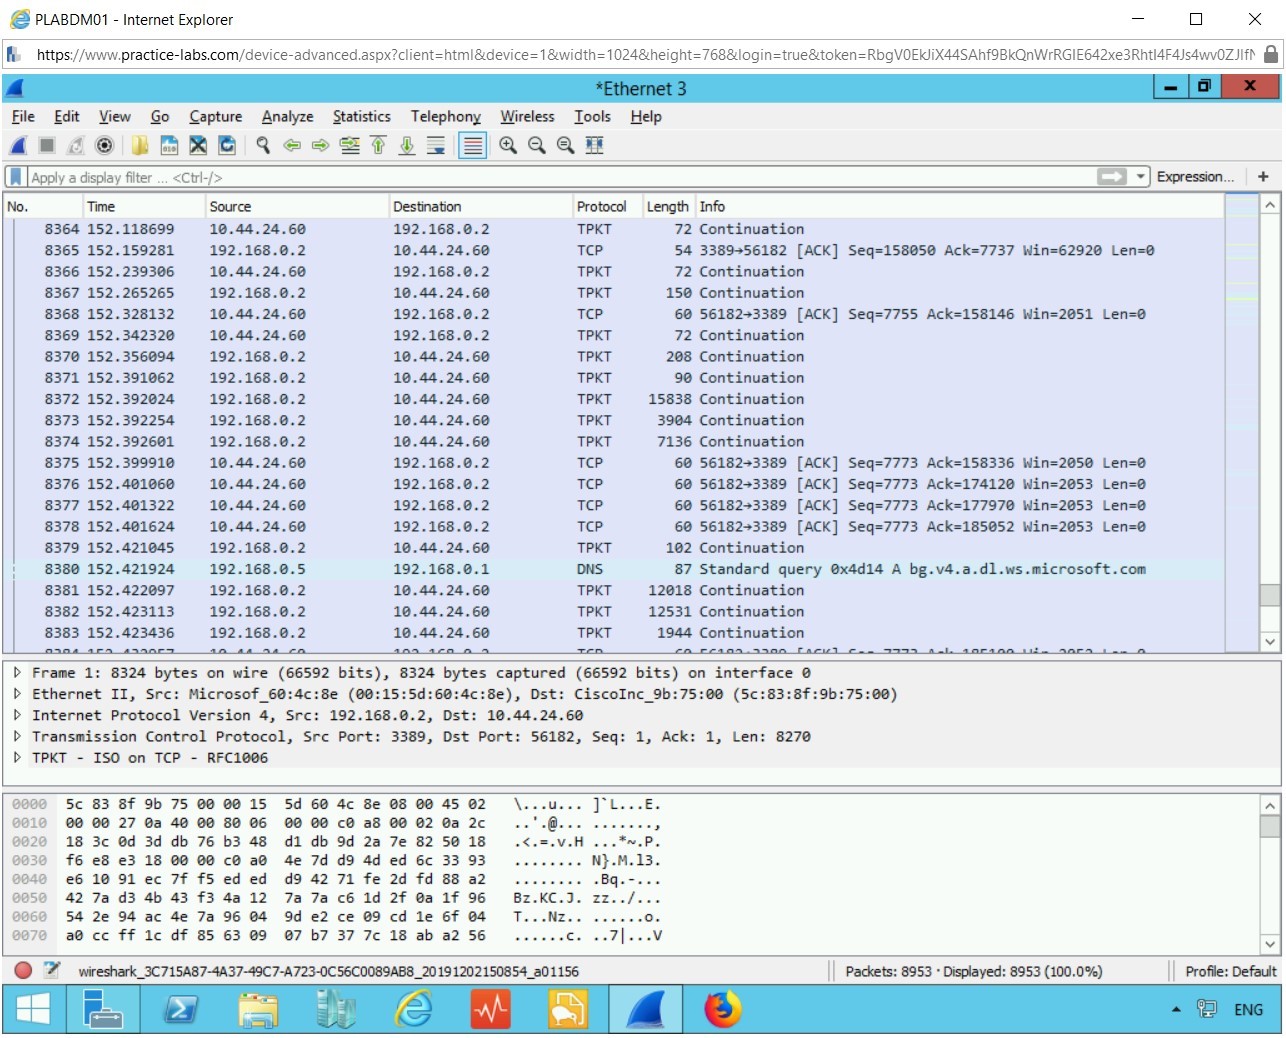
We also know the IP address of PLABWIN801, which is listed in the diagram at the beginning of this document as 192.168.0.5.
Scrolling through the capture, we will see the IP address listed in this capture.
We also see plenty of information about the HTTP protocol, and in the Info tab, we can see http://zero.webappsecurity.com. Great, that is the website we used.
Step 4
Now enter into the filter HTTP and press the Blue Arrow to enter.
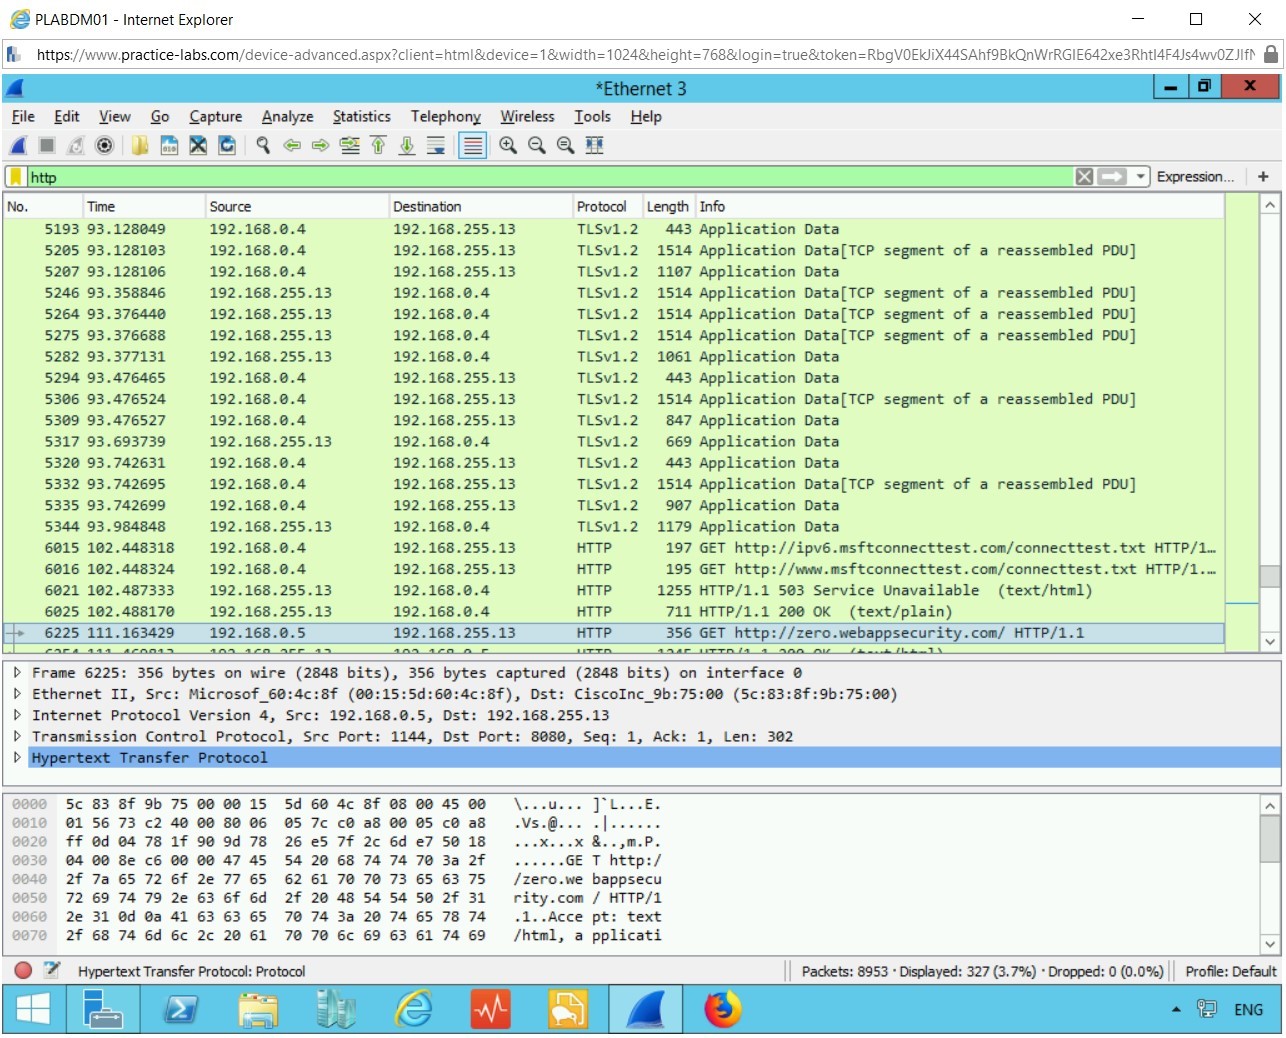
Initially looking at the capture, we have a lot of information. But we know we were using HTTP traffic. Therefore, within the filter type in HTTP. We are presented with only traffic on this protocol now.
The majority of which comes from the IP address 192.168.0.5, as this was the main machine accessing the internet.
Step 5
Now click on one of the HTTP packets, which has a source address of 192.168.0.5. Please ensure that in the Info section, it contains the word GET.
Right-click the Follow then HTTP stream.
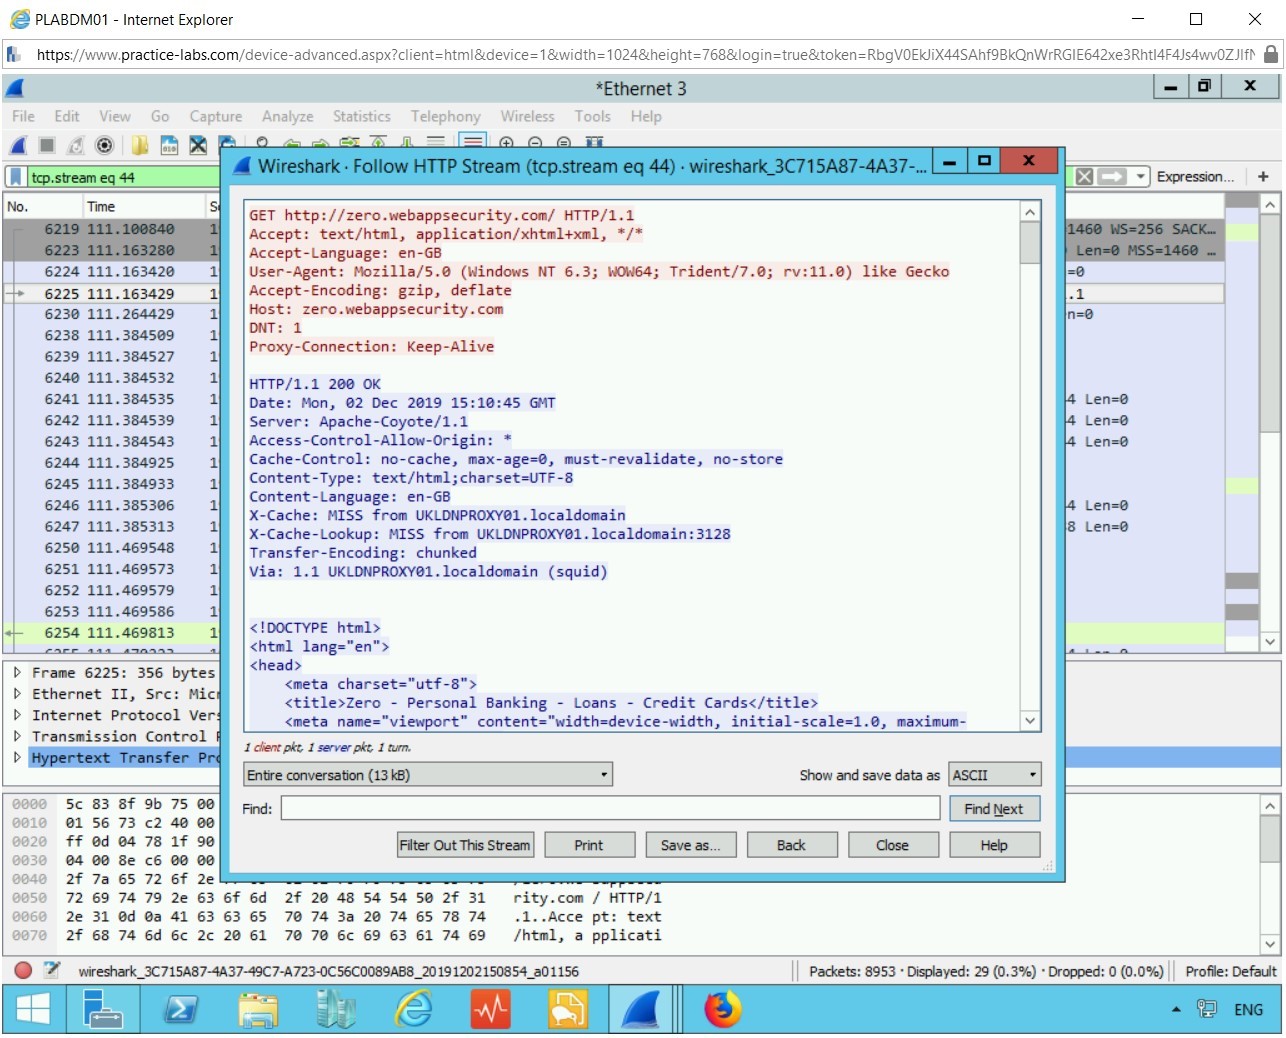
Here we see plenty of detailed information about the GET HTTP site, the language, the Host address, and cookie information.
Moving down this page, you will see CSS information and font family details.
Step 6
Type the following into the Find field:
jpg
Press Enter to find image details
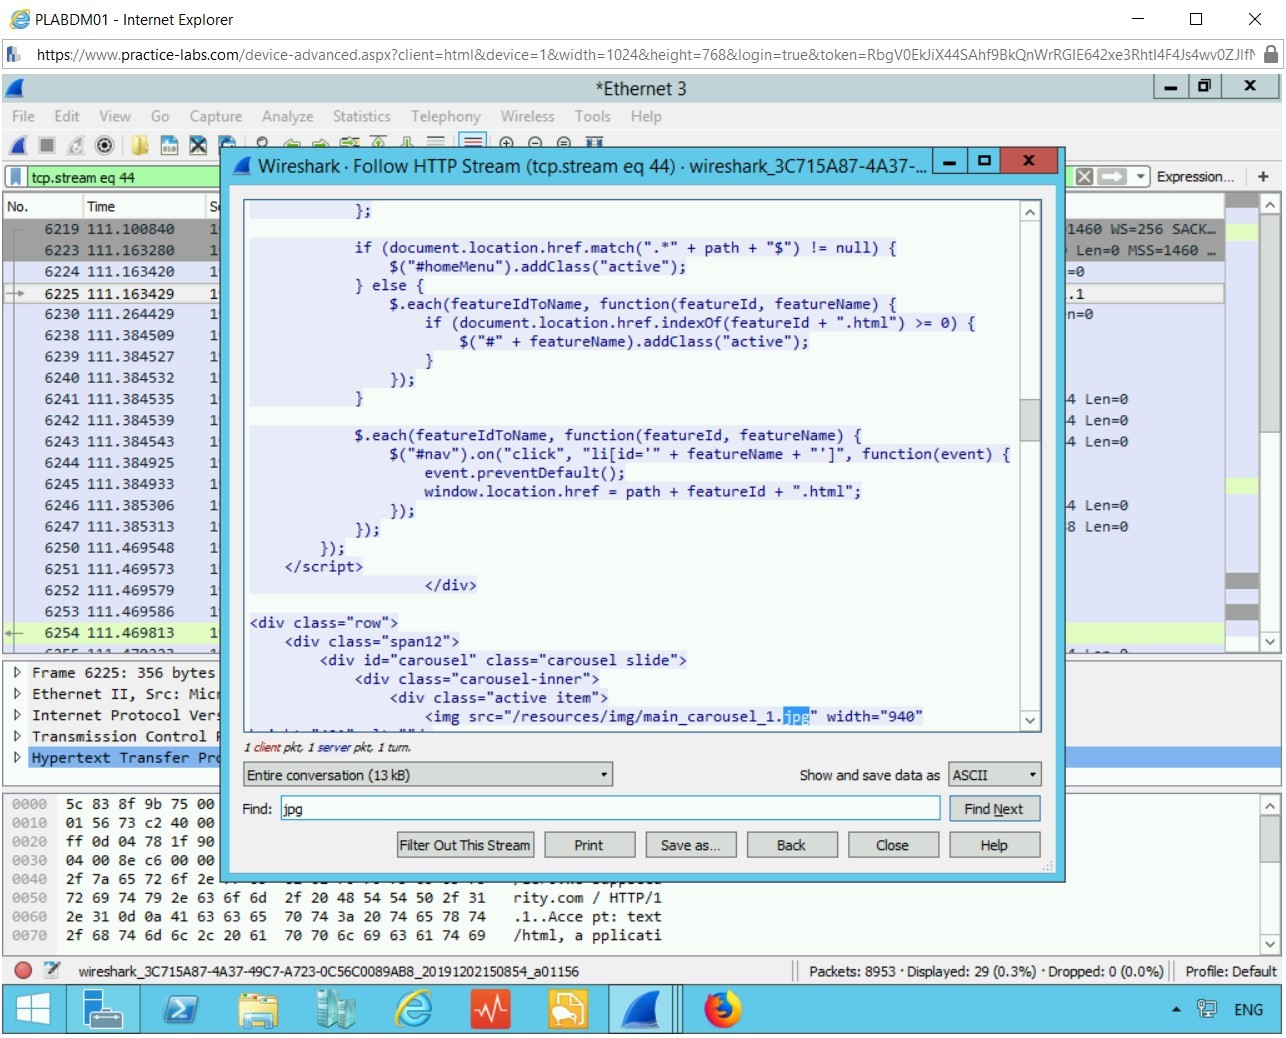
Here we can see many jpeg files on the webpage, and hopefully, we have captured all those which were downloaded as a webpage.
Step 7
Now we will specifically look for a file called main_carousel_2.jpg, but you can choose any file you like as the process is exactly the same.
Now close this screen, and go to:
File > Export Objects> HTTP

A list of objects captured is shown here.
Step 8
You can either save only the one you are interested in or save them all. Let’s focus on the main_carousel_2.jpg.
Click the Save button and save it to the Documents folder.
After saving the images to the folder, minimize Wireshark.
Go to your File Manager and open up the folder you made.
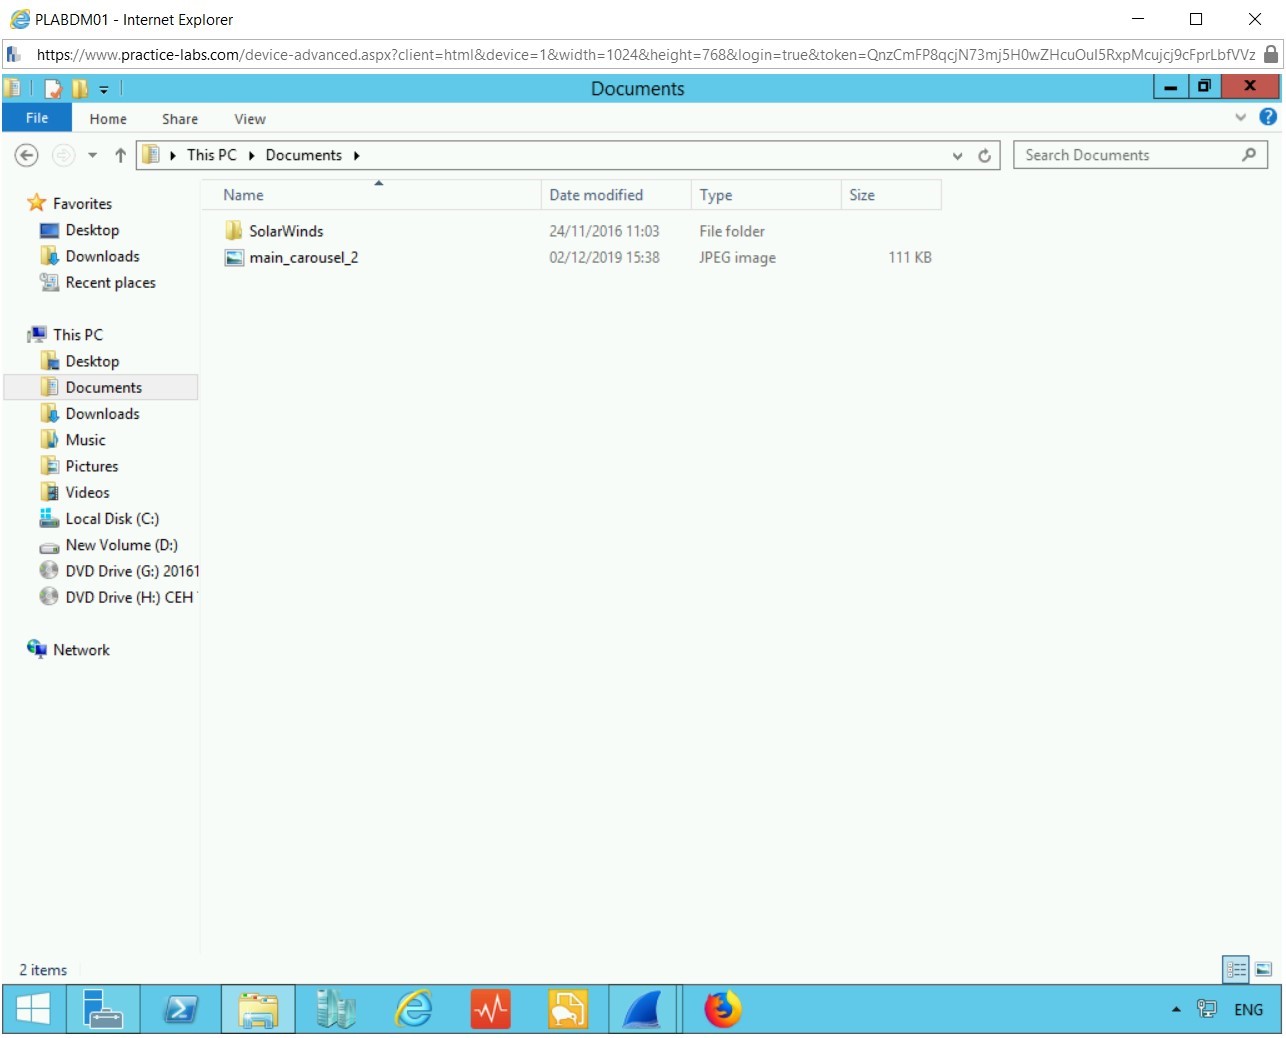
Here you can see all the picture jpeg file from the website has been saved is ready to be viewed.
Step 9
Open the file with Windows Picture Viewer.
Just double-click the file.
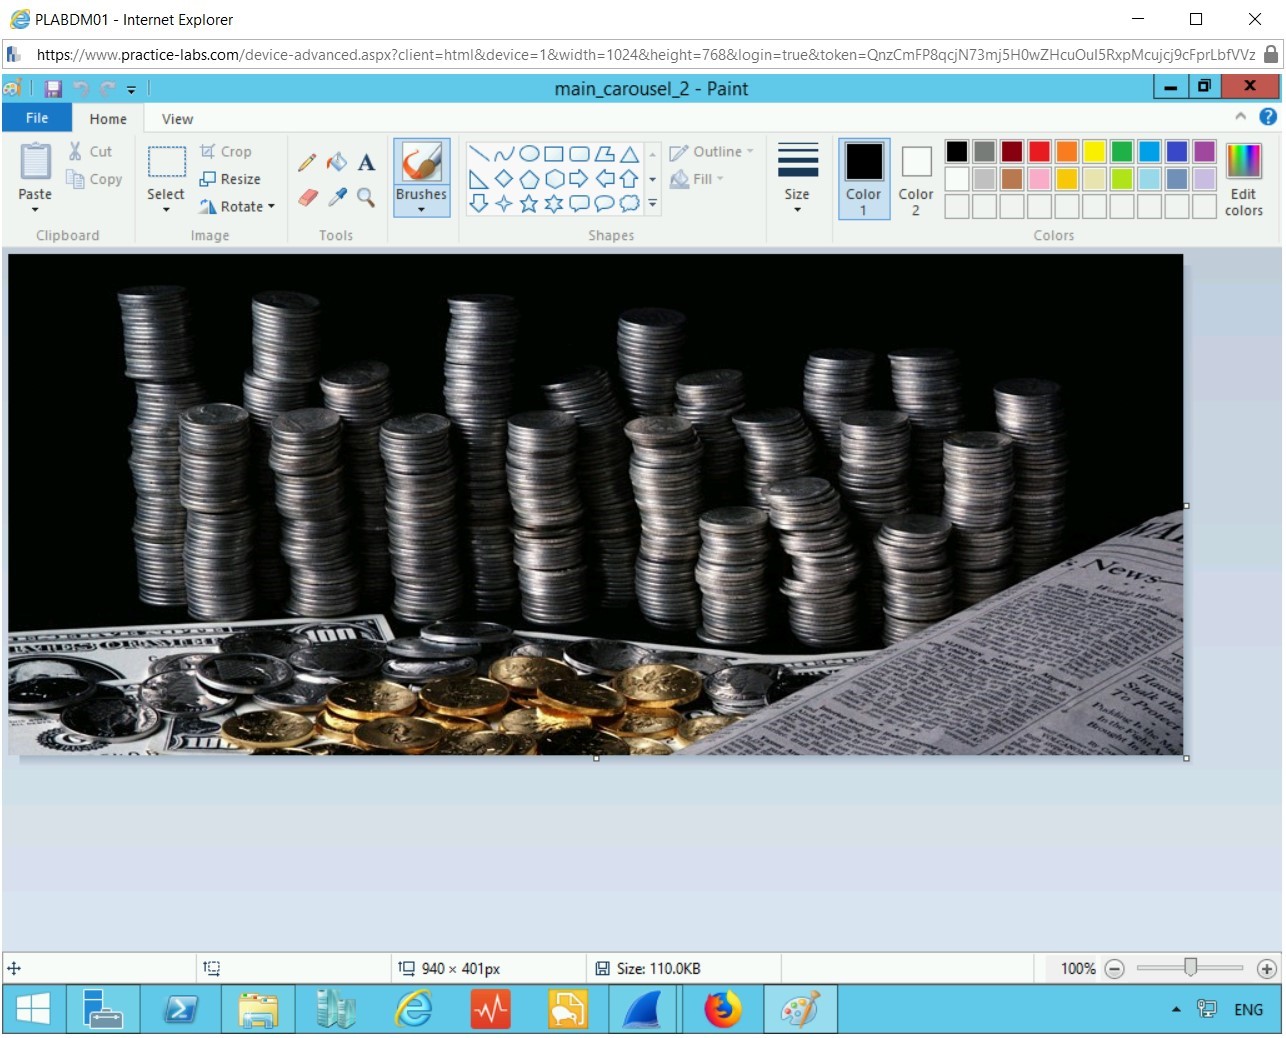
We have a nice picture of a piece of technology captured by Wireshark that we viewed on PLAWIN801, captured using PLABDM01 with Wireshark.
Shut down all virtual machines used in this exercise using Practice Labs power button function to revert these devices to their default settings. Alternatively, you may sign out to power down all devices.
Comments
Post a Comment