Scanning and remediting devices with ooenvas
Exercise 1 - OpenVAS Scanning
OpenVAS stands for Open Vulnerability Assessment System and is a fork from an older version of Nessus, formally known as GNessUs. It’s a free tool to use and can be quite comprehensive in its scanning techniques as well as assisting in finding vulnerabilities. It can be used in conjunction with other Kali tools to help pen test environments more efficiently.
Task 1 - Starting up OpenVAS
In this task, we start up the OpenVAS services and access the Dashboard interface.
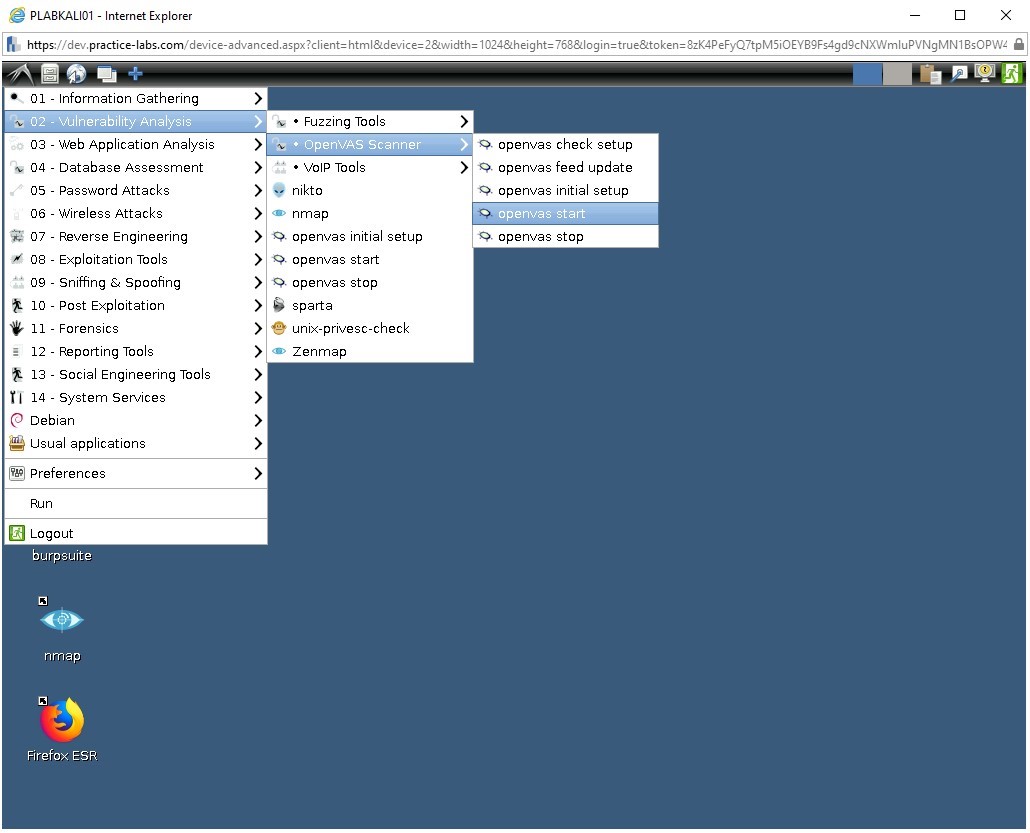
Click on the Applications button found in the top left.
Then use the following path.
Step 1
Ensure you have powered on the required devices and connect to PLABKALI01.
Type root in the Username field.
When prompted, type the following password in the Password field:
Passw0rd02-Vulnerability Analysis > OpenVAS Scanner > openvas start
The terminal screen will be opened to show that OpenVas has begun, give it a moment to initialize the processes.
Step 2
Please wait while the openvas service starts up.

Step 3
Once Firefox has opened click Advanced and then click Accept the Risk and Continue.
Note: If you get the error “Your Connection is not Secure”, click “Advanced” and add an exception for this page.Enter the following credentials.
admin
Passw0rd
We are now presented with the main front page of Greenbone Security Assistant.
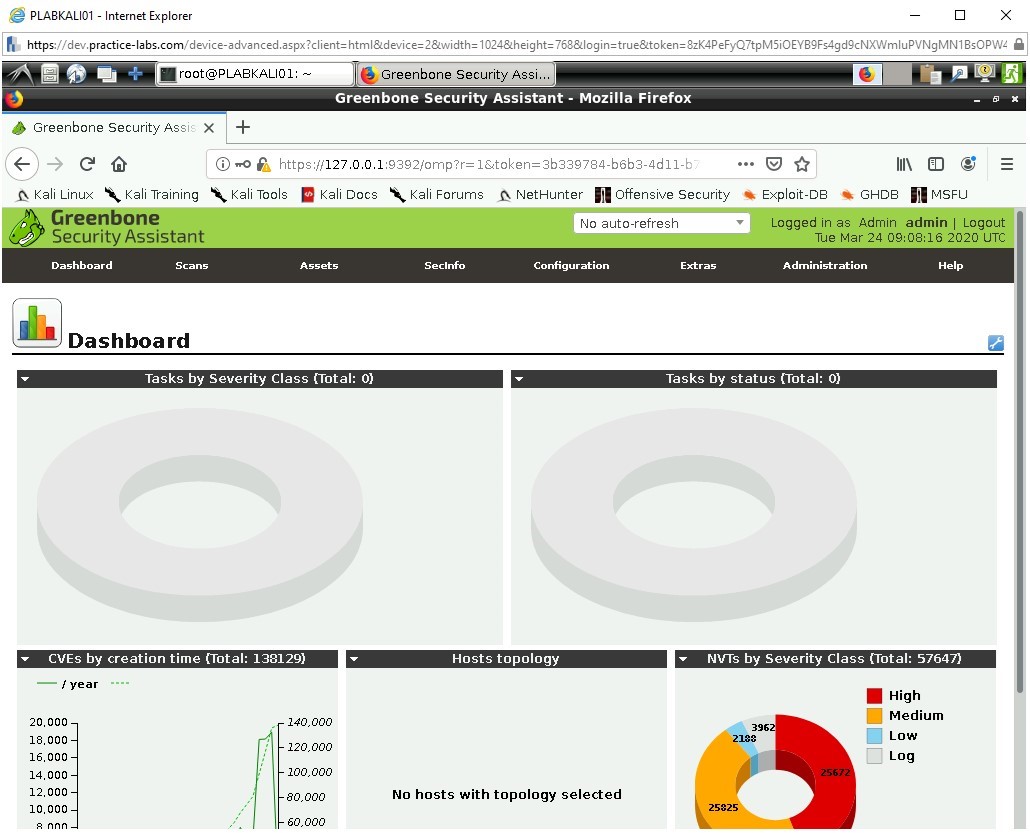
There are quite a few options in this area.
- Scan Management where ‘New Tasks’ can be set,
- Asset Management for monitoring and presenting a list of hosts where scans have been performed.
- SecInfo Management which is used to organize vulnerability databases, Configuration works to organize target ports and scanning types.
- Extras allows for Web UI configuration itself.
- Administration is used to organize User and Feed Management updates.
- Help provides some useful hints and tips on the above.
Task 2 - Using OpenVAS
In this task, we will briefly explore OpenVAS and perform a scan with the application.
Step 1
We are now logged into the OpenVAS interface.
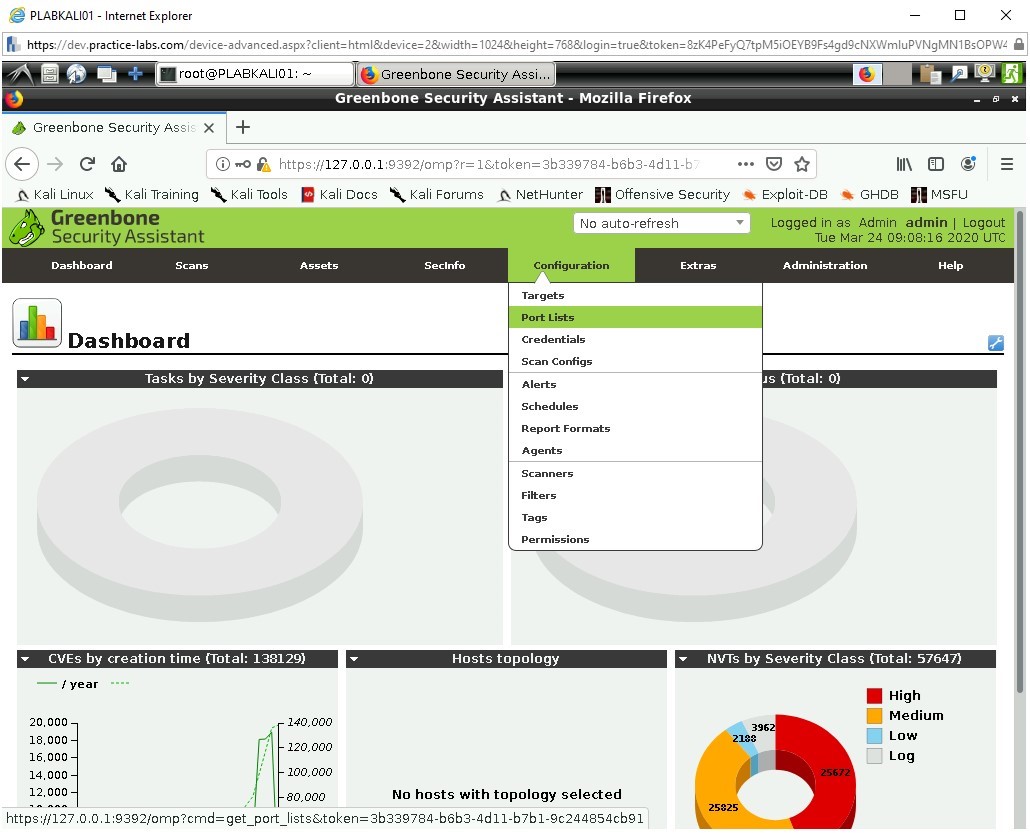
Let’s review some of the configuration files to familiarize ourselves with the scanner.
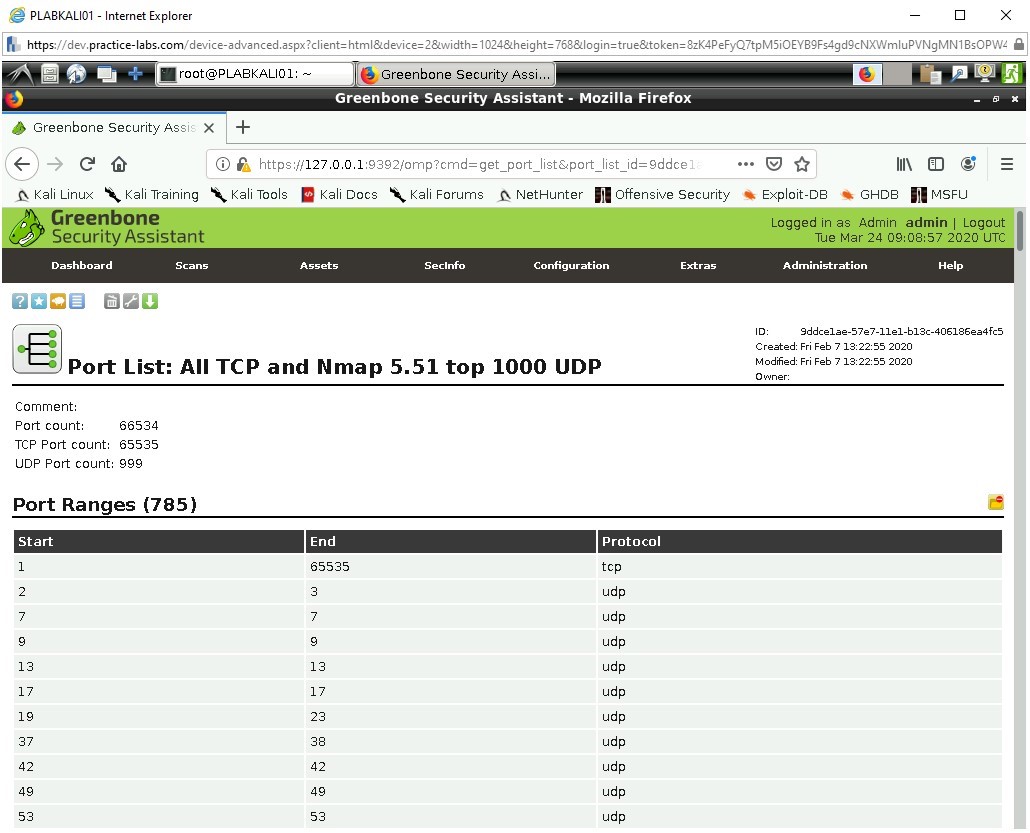
Click on Configuration then move down to Port Lists.
Step 2
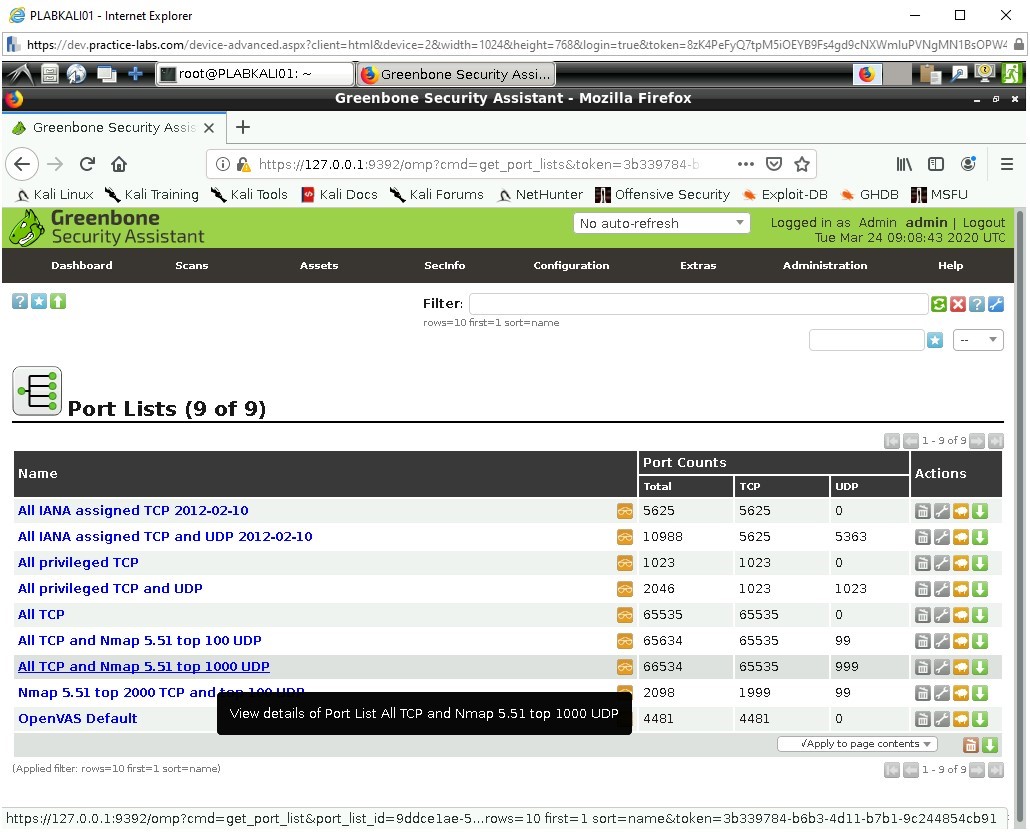
Click on the first entry to the list which:
All TCP and NMAP 5.51 top 1000 UDP
Step 3
A brief review of this list shows all the ports that NMAP scanner will check against. This list is designed against the NMAP version 5.5.1.
This is a very invasive scan as it takes places against all the TCP ports from 1-65535 and then focuses on famous UDP ports which are more selectively chosen at a total of 999. UDP port scanning can take a while longer to complete so knowing which ports are important can be a great time saver.
Reviewing this on your favorite search engine or theory support materials would be advisable.
Step 4
Again hover over the Configuration tab and then move down to Scan Configs.
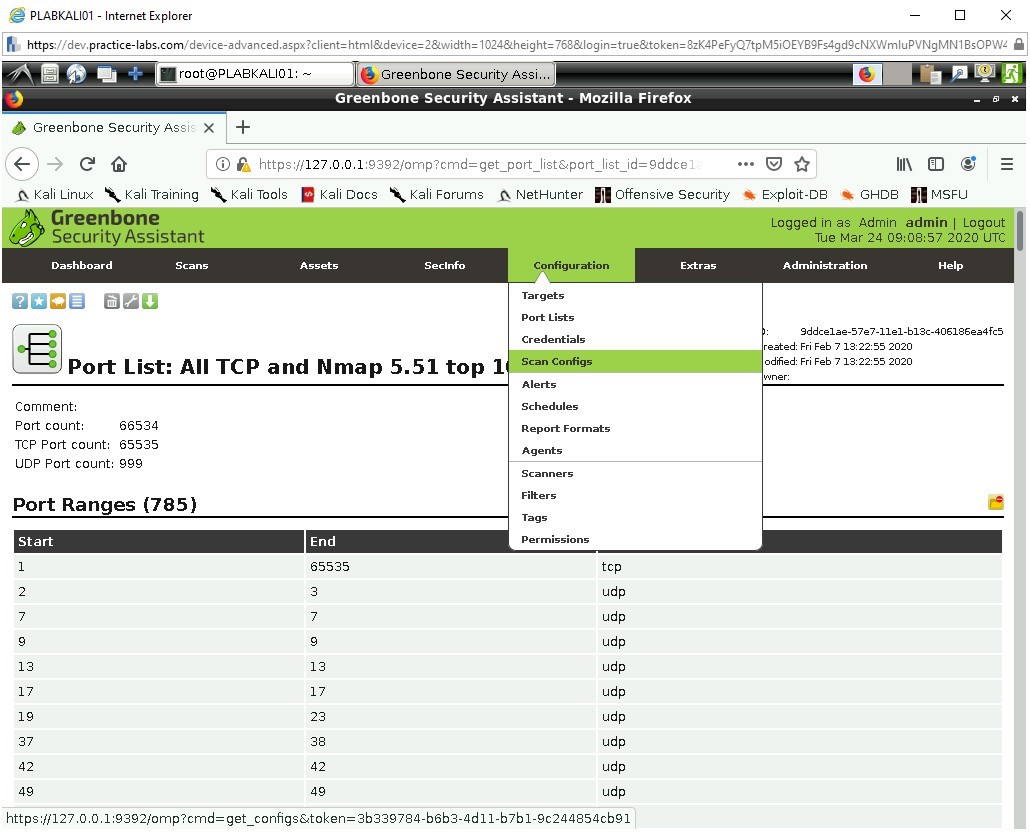
These are the scanning types which are installed by default to OpenVAS, when performing a scan, one of these is typically chosen. However, customized scans are possible.

Step 5
Click on:
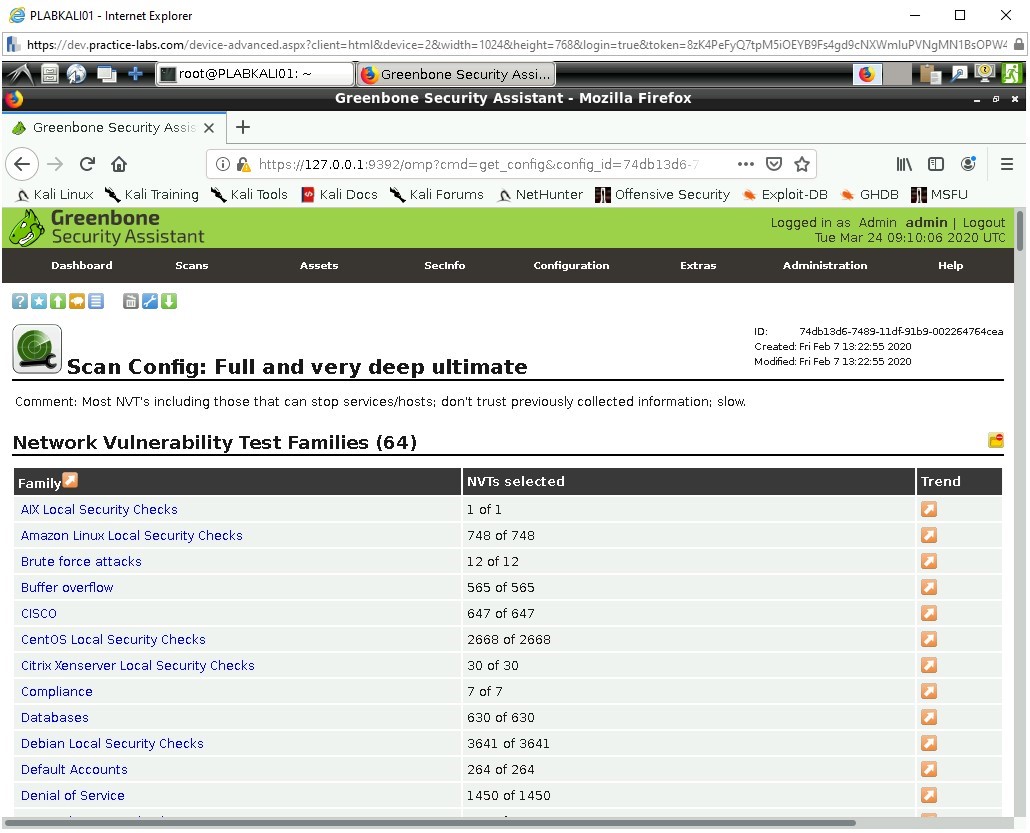
Full and very deep ultimate
Under Network Vulnerability Test Families.
This scan is very intrusive and provides a great deal of depth; it looks for a very wide range of faults and some of which might not be very useful depending on the device being scanned.
For example, this scan will check the device against CISCO, CentOS, and Amazon Linux security checks. If you know the network has multiple facing devices with these services, then this type of scan can be very productive. Understanding the network and device scope is important to maintaining useful scan types and results.
Step 6
Click on the back button within Firefox.
Click on:
Full and fast
Under Network Vulnerability Test Families.
Reviewing that scan type shows it’s similar to the previous one except its quicker on a performance level. With multiple tests for Buffer Overflow and multiple OS, scroll down and there is a section for Windows.

Step 7
Scroll down the page to view the Network Vulnerability Test Preferences.
Within this area we can see multiple tests used against SSL, LDAP, Services, etc. Review these to have a better understanding of what exactly the test is going to perform.

Step 8
Feel free to choose any of interest, for this example, we will investigate the value:
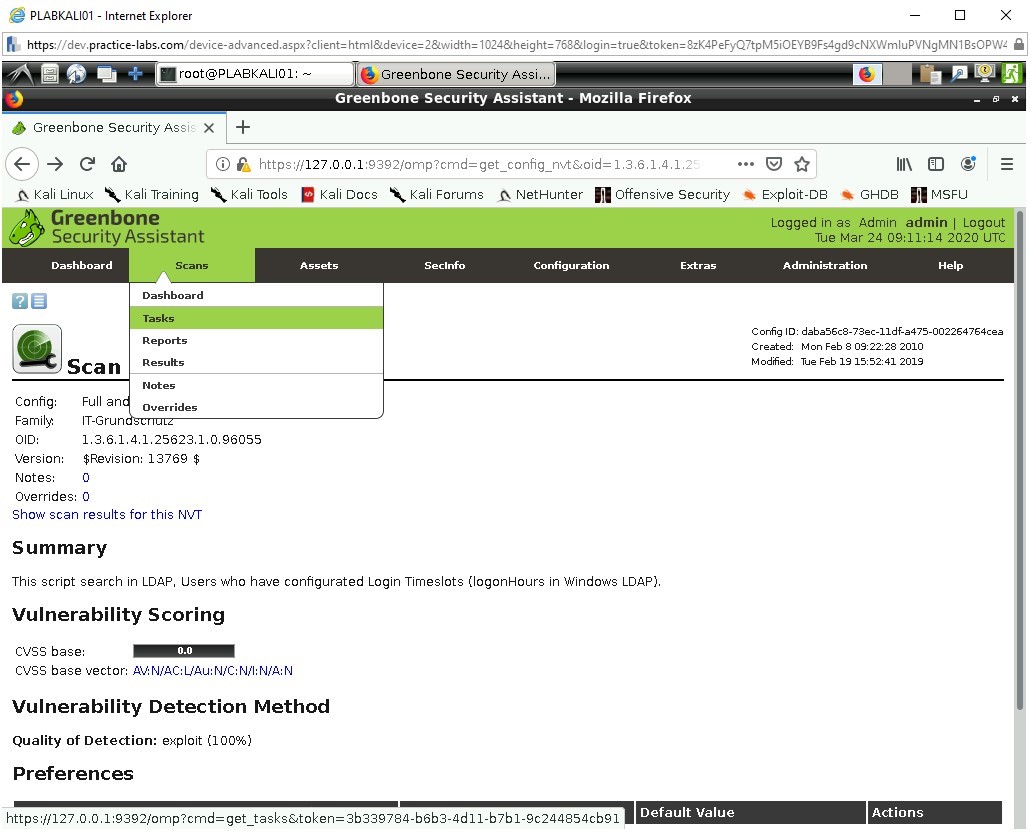
Search in LDAP, Users with conf.LogonHours
Click on the search icon in blue on the left-hand tab of the screen.

Here we can see the family this vulnerability belongs to:
IT-Grundschutz
They are a German agency who specialize in secure and are the authors of locating this vulnerability.
Moving to the bottom we can see the Current Value and Default Value has been assigned to test against.
Task 3 - OpenVAS Scanning
In this task, we will perform the scanning procedure using OpenVAS.
Step 1
Let’s begin with a scan against some of the key devices on the system.
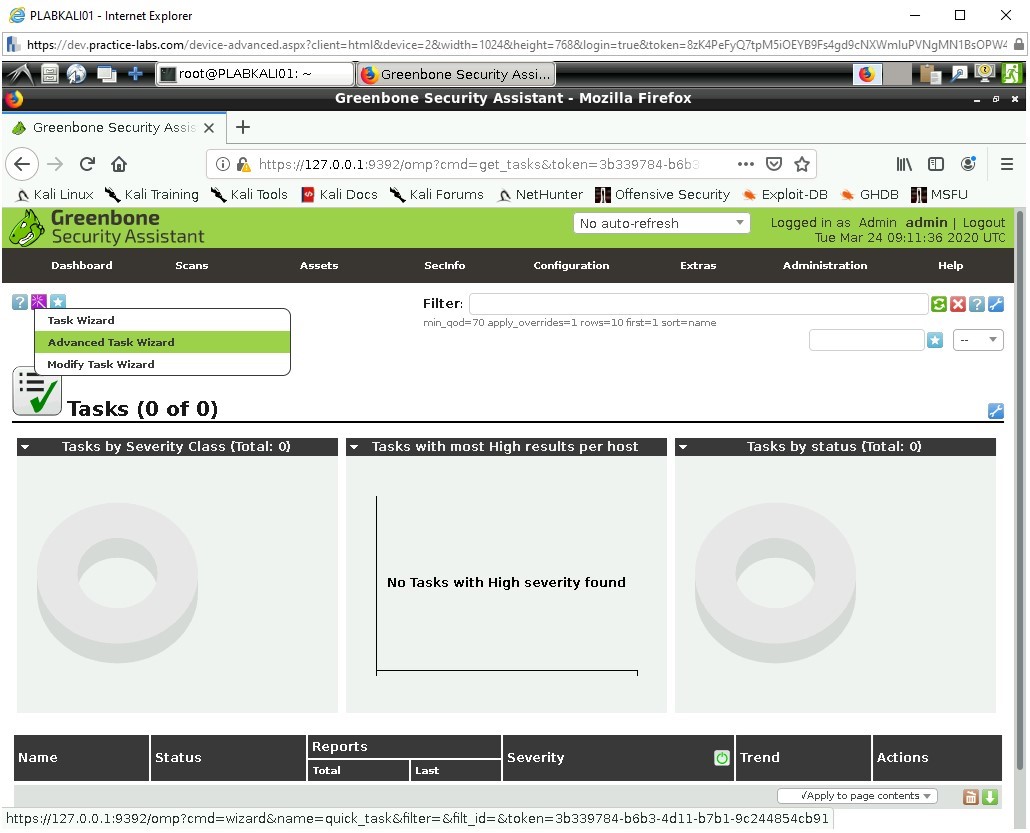
Click on Scans - Tasks to go onto the tasks page.
Step 2
Now hover the mouse over the purple Wand icon to see a drop down.
Click on Advanced Task Wizard.
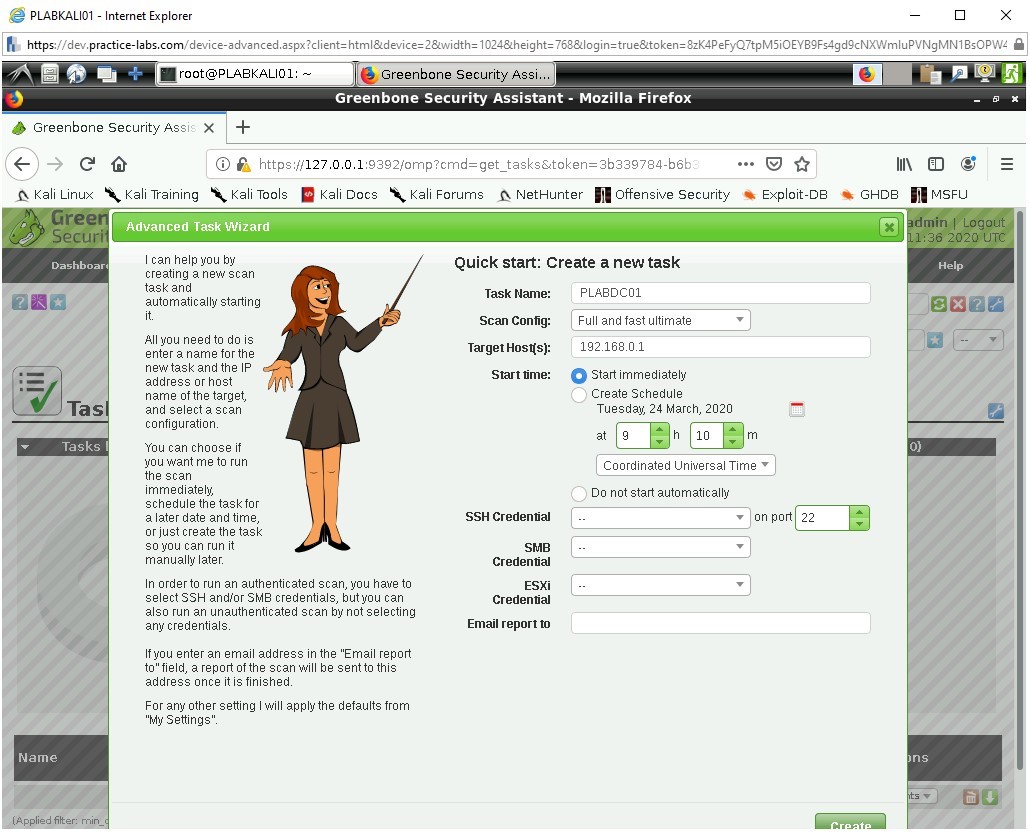
Step 3
Change the details to the following.
Task Name: PLABDC01
Scan Config: Full and fast ultimate
Target Host: 192.168.0.1
Leave the rest as default options.
Click on Create Task.
Step 4
Greenbone will then generate the task and it will be shown as Orange for requested.
It will automatically initiate and begin to scan the target against the scanning type.
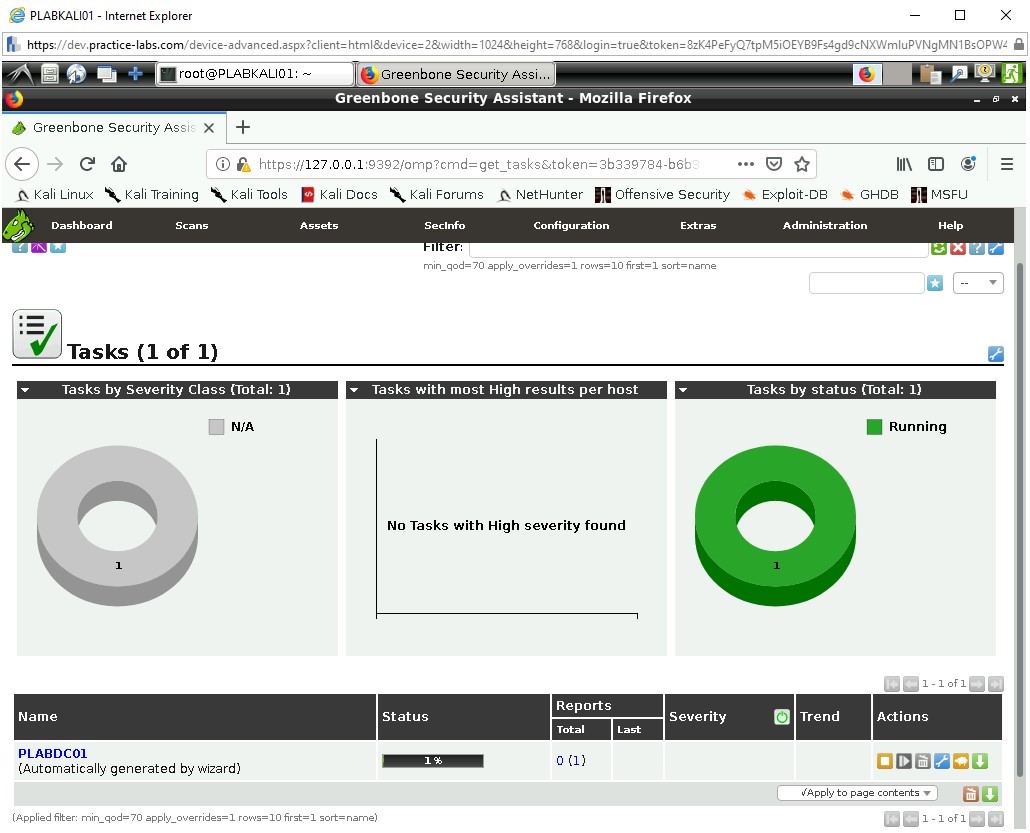
You will have to refresh the page in order to see the progress update.
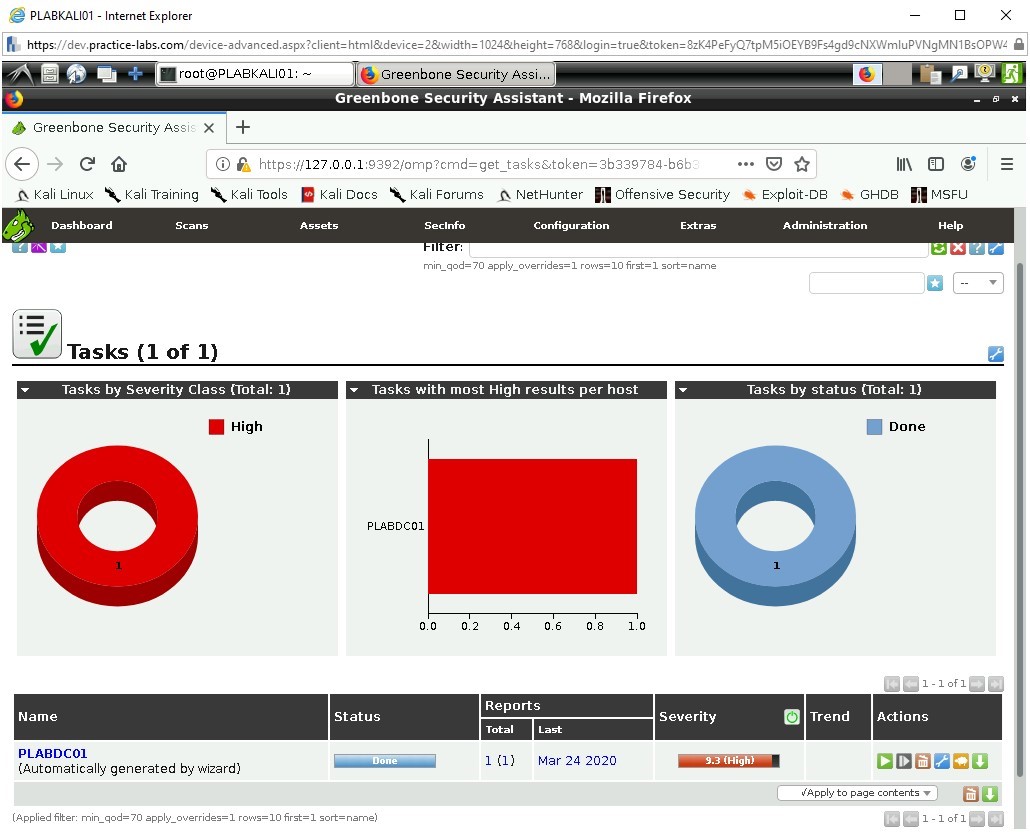
Step 5
The report is generated and presented on a Dashboard; Greenbone gives us an initial response which is High.
Step 6
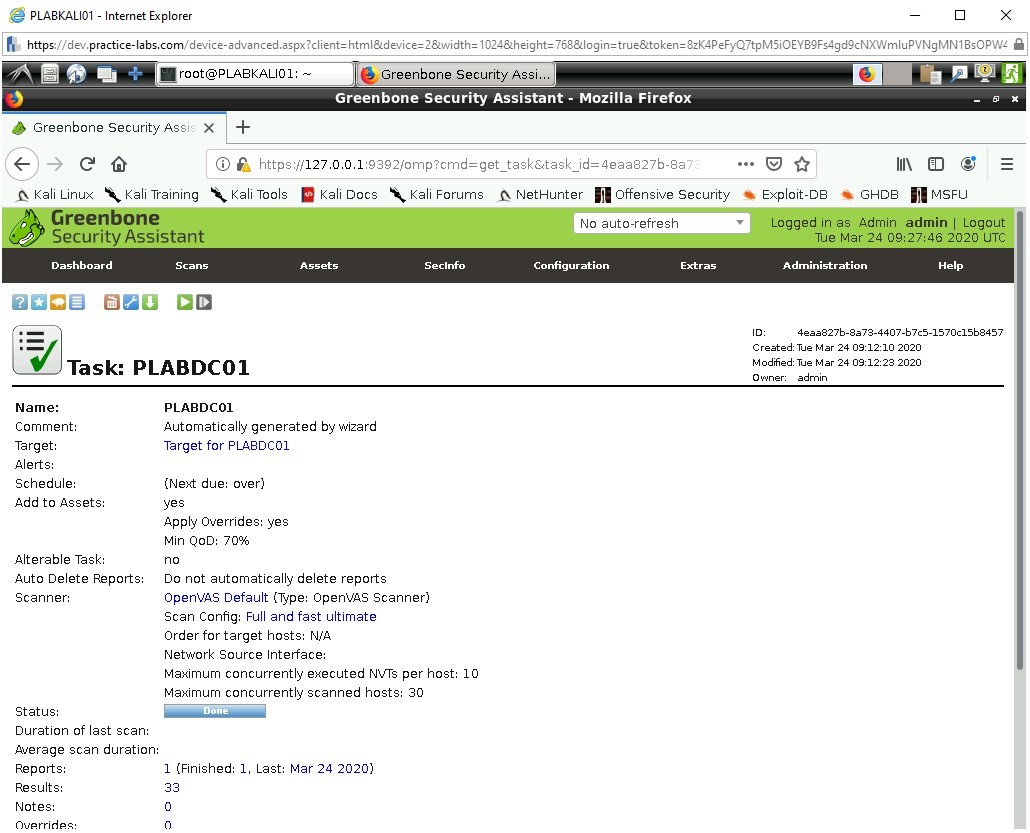
Click on the Name of the scan to review the results in more detail.
PLABDC01
We see some more breakdown of the results, mainly referring to dates and scanner type which in this case the OpenVAS Default type used against the Full and Fast Scan.
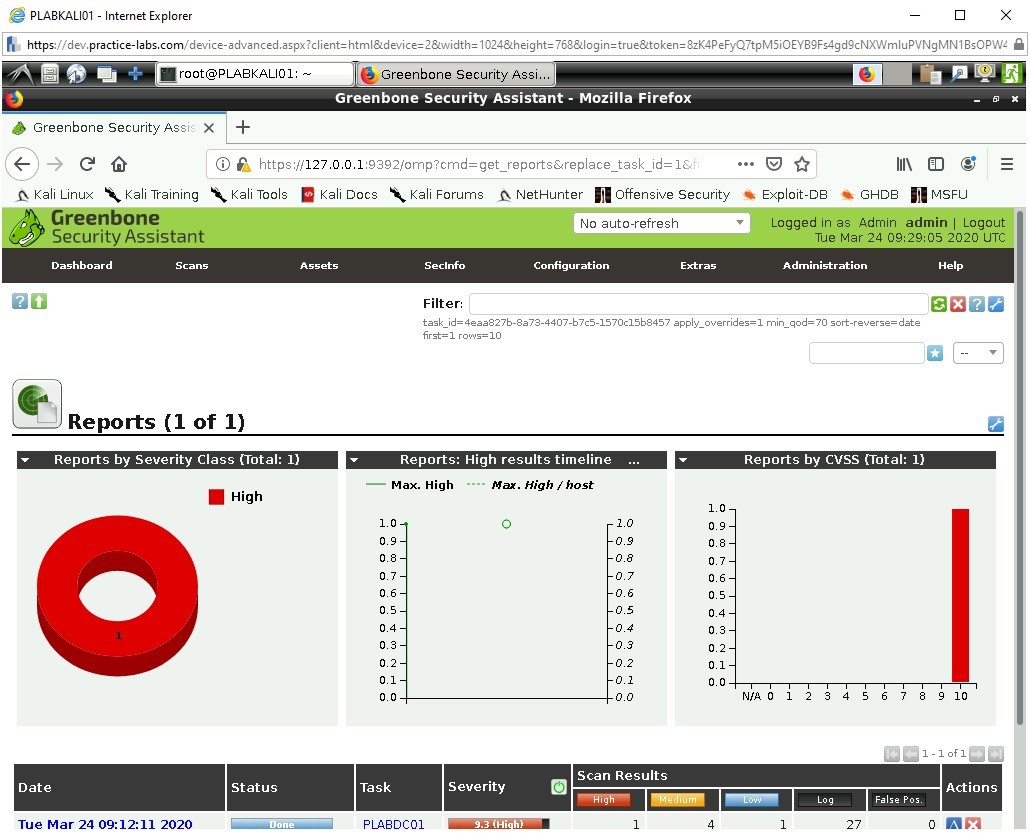
Now click on the Reports value which in this case is 1.
Step 7
A slightly more detailed breakdown is given with High, medium and low results to be considered and confirmed, we are also provided with a log output which might contain useful information, logs, however, laborious to look over can hold information about possible vulnerabilities which are yet undiscovered. Remember it's possible some of the results could be false positives.
Step 8
Click on the Date to now view those results.
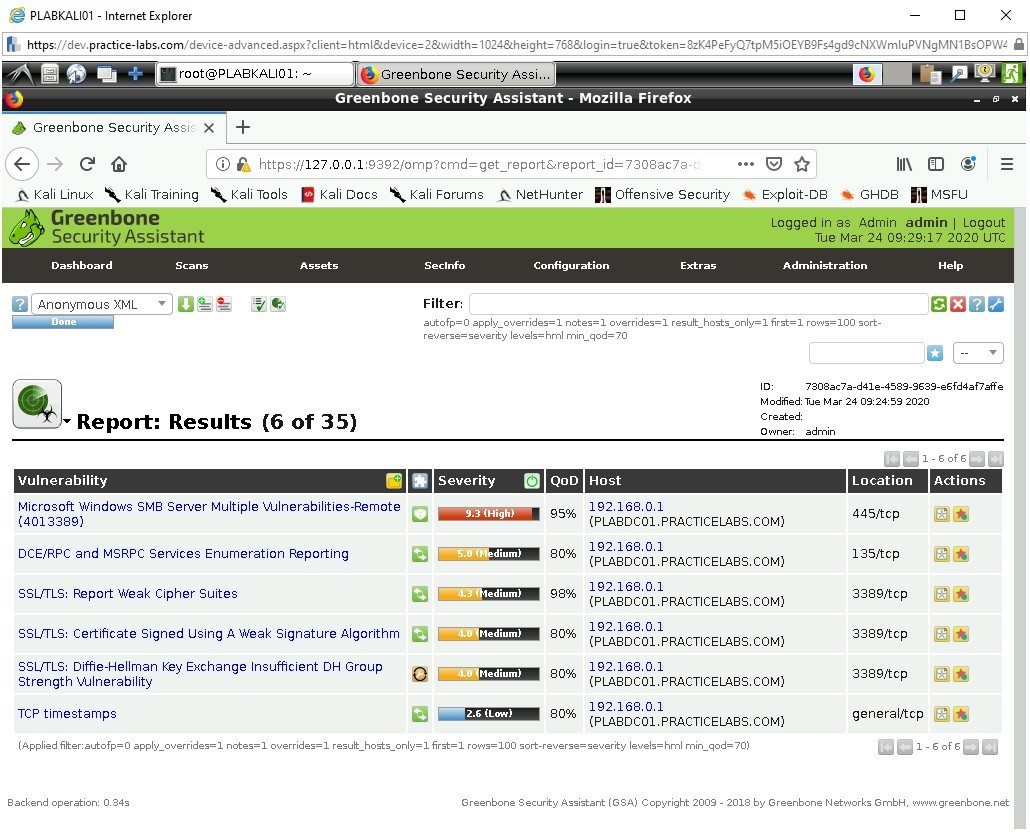
Step 9
Click on the vulnerability listed as:
Microsoft Windows SMB Server Mulitple Vulnerabilities-Remote (4013389)
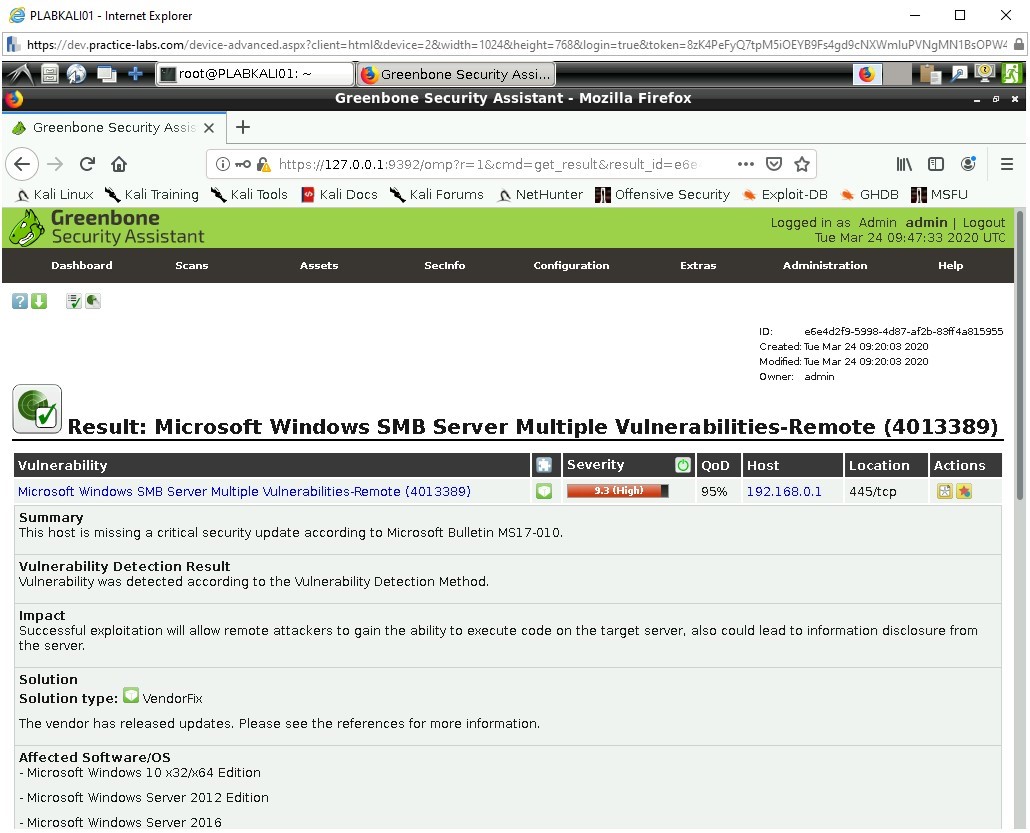
We see a more detailed output regarding this vulnerability, Greenbone details that LDAP could be leaking data via an enumeration which would allow information about Server and Site Names to be disclosed. This could aid an attacker who is trying to credential details and for use when logging into devices, or impersonating devices on the network so that they appear legitimate. Additionally, it could be used for social engineering, if the attacker was to learn key information they could pose as an employee and call the IT office for additional help and use key words to hint at the fact they are legitimate users accessing devices.
Greenbone provides us with a solution option to consider (if we are not concern about compatibility with pre-Windows 2000 devices). This very useful and something we will be implementing very soon.
Storage and Virtual Hard Disks
Exercise 2 - Managing Virtual Hard Disks
Exercise 2 - Managing Virtual Hard Disks
A Virtual Hard Disk (VHD) is a file used as disk storage by virtual machine guests in virtualization software like Windows Hyper-V. Virtual hard disks (VHDs) is supported in Windows as an alternative to adding physical disks for data storage for setting up storage pools or as storage for installing a new instance of Windows Server in the same computer.
In this exercise, you will create and mount virtual hard disks using the Hyper-V PowerShell module for managing VHDs.
Please refer to your course material or use your favourite search engine to research for more information about this topic.
Task 1 - Create a Virtual Hard Disk
To create a virtual hard disk on a Hyper-V host, perform the following steps:
Step 1
Connect to PLABDM01 device.
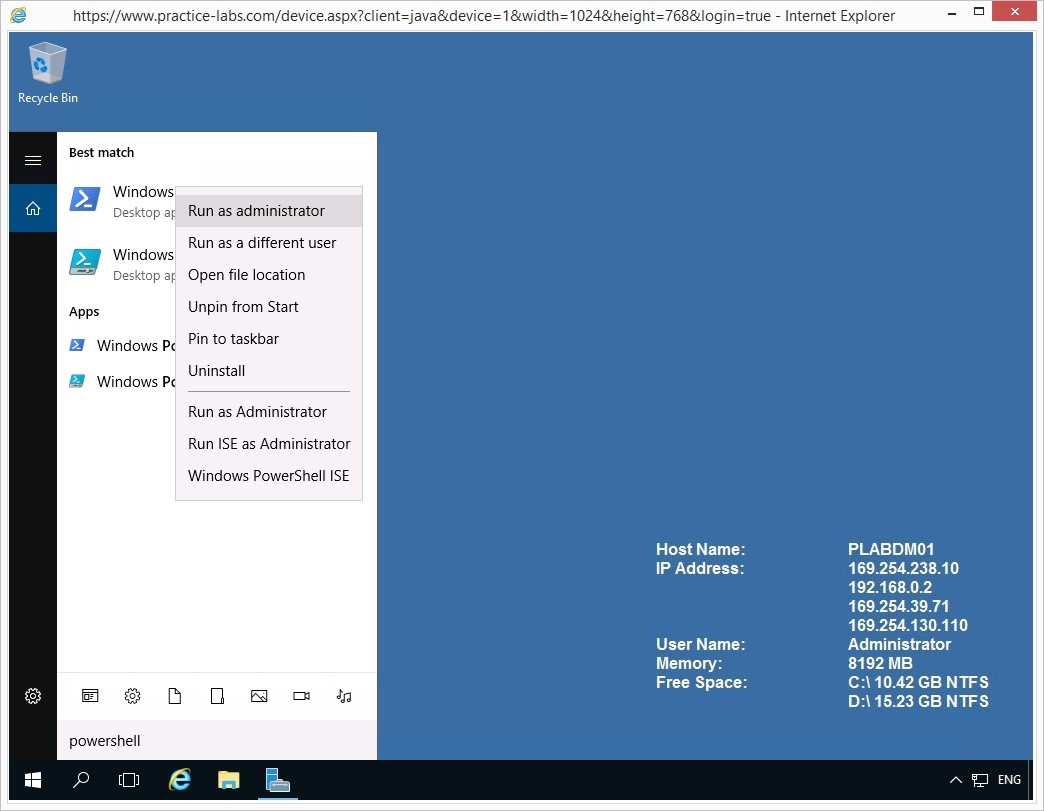
As before, click Search Windows on taskbar.
Then type:
powershell
Right-click Windows PowerShell Desktop app and select Run as administrator.
Step 2
Please note that Windows PowerShell commands are not case-sensitive.
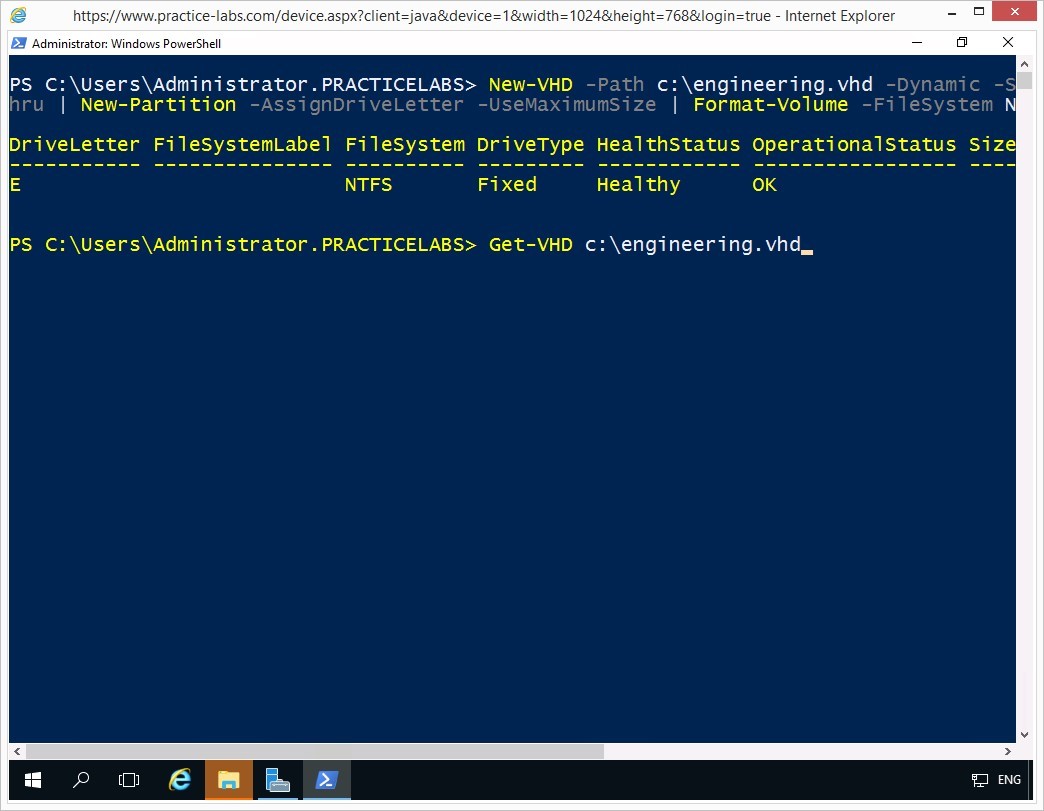
On the Windows PowerShell window, to create a new virtual hard disk, type the following command:
New-VHD -Path c:\engineering.vhd -Dynamic -SizeBytes 5Gb | Mount-VHD -Passthru | Initialize-Disk -Passthru | New-Partition -AssignDriveLetter -UseMaximumSize | Format-Volume -FileSystem NTFS
Press Enter.
Note: Similarly, you can create virtual hard disks using Computer Management > Disk Management tool.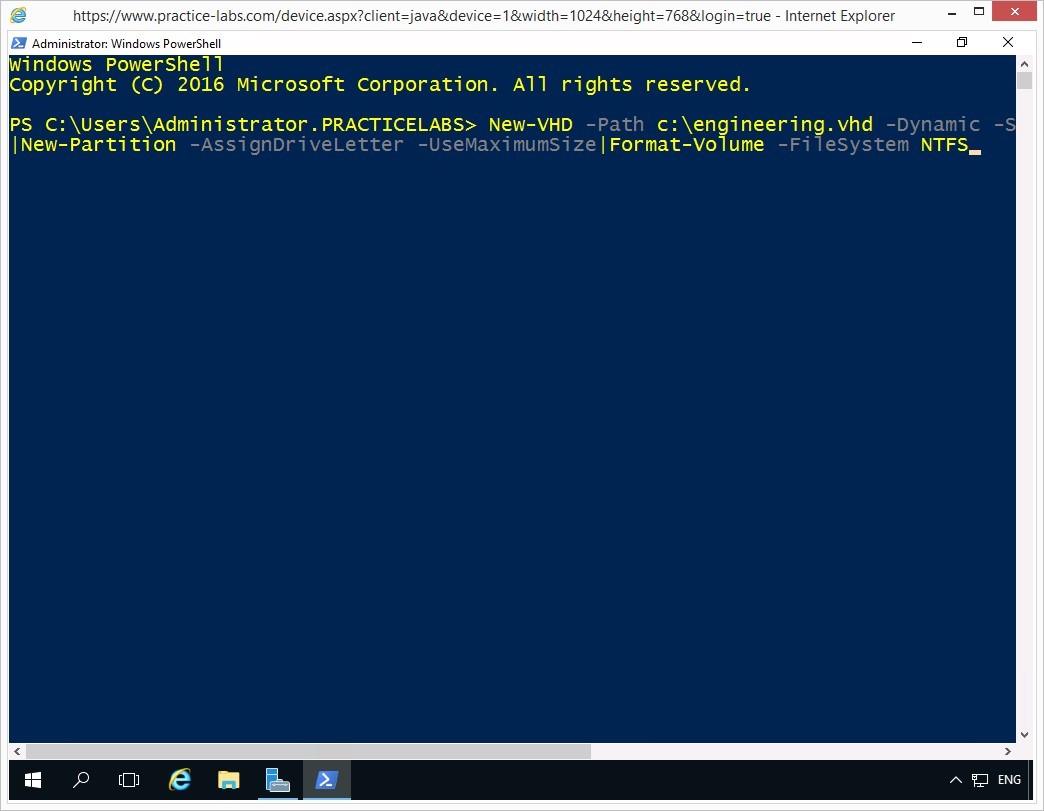
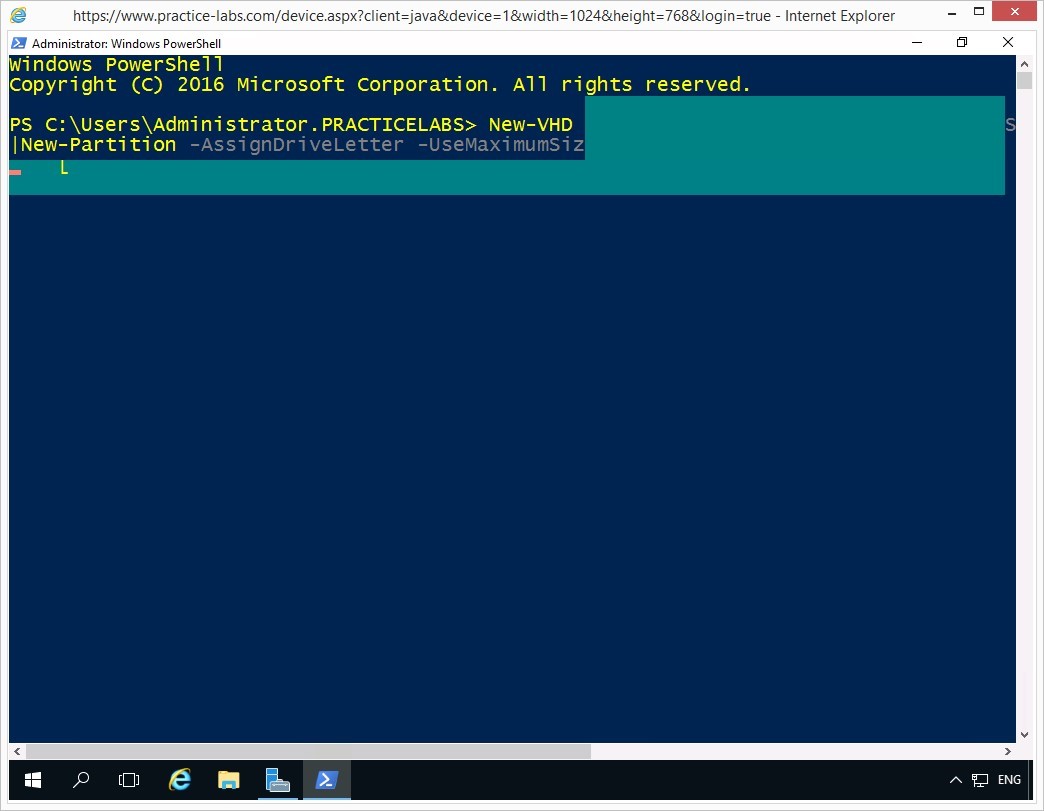
Step 3
Please wait while the VHD is being created, initialized, formatted and mounted by Windows.
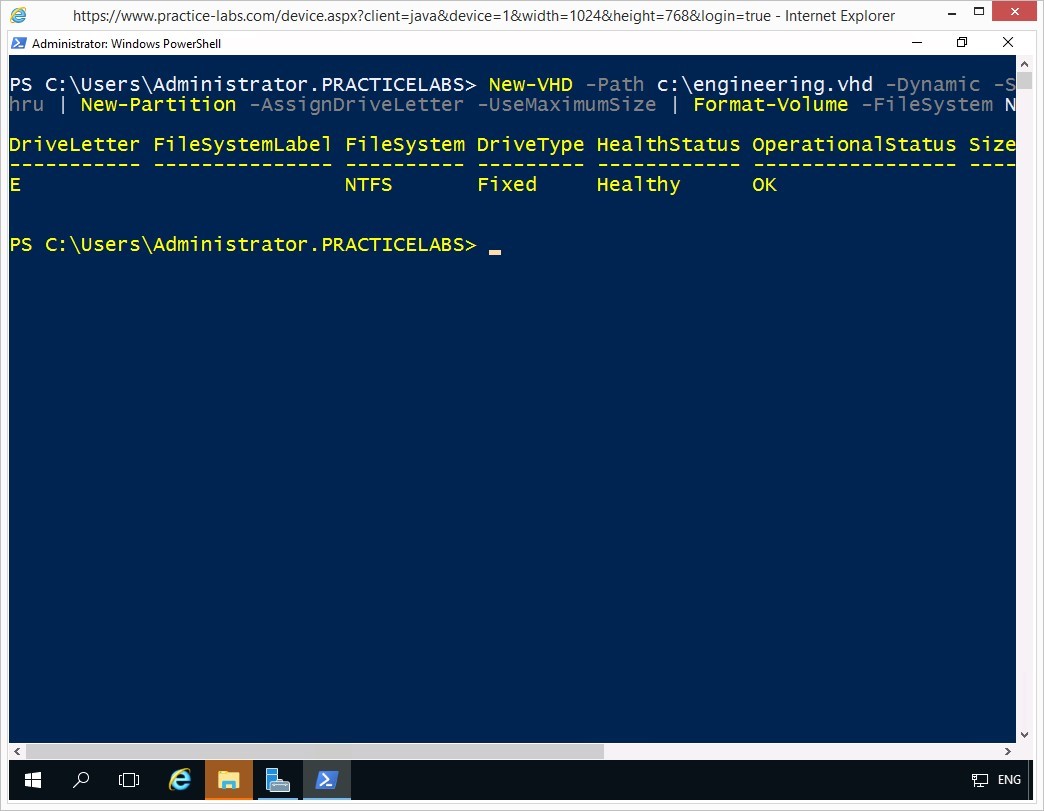
Step 4
Windows PowerShell confirms a successful creation of the virtual hard disk.
Please note that Windows PowerShell will take the next available drive letter for the newly-created virtual hard disk.
You can ignore system notifications (found in the taskbar) to format a new disk volume by clicking Cancel.
Keep Windows PowerShell window open.
Task 2 - Managing Virtual Hard Disks
In this task you attempt to, verify the system properties, dismount, change the VHD type to VHDX and optimize the virtual hard disk.
To learn how to manage VHD settings, perform the following steps:
Step 1
On the PLABDM01 device, Windows PowerShell window is open.
To verify the system properties of VHD file, type the following:
Get-VHD c:\engineering.vhd
Press Enter.
Step 2
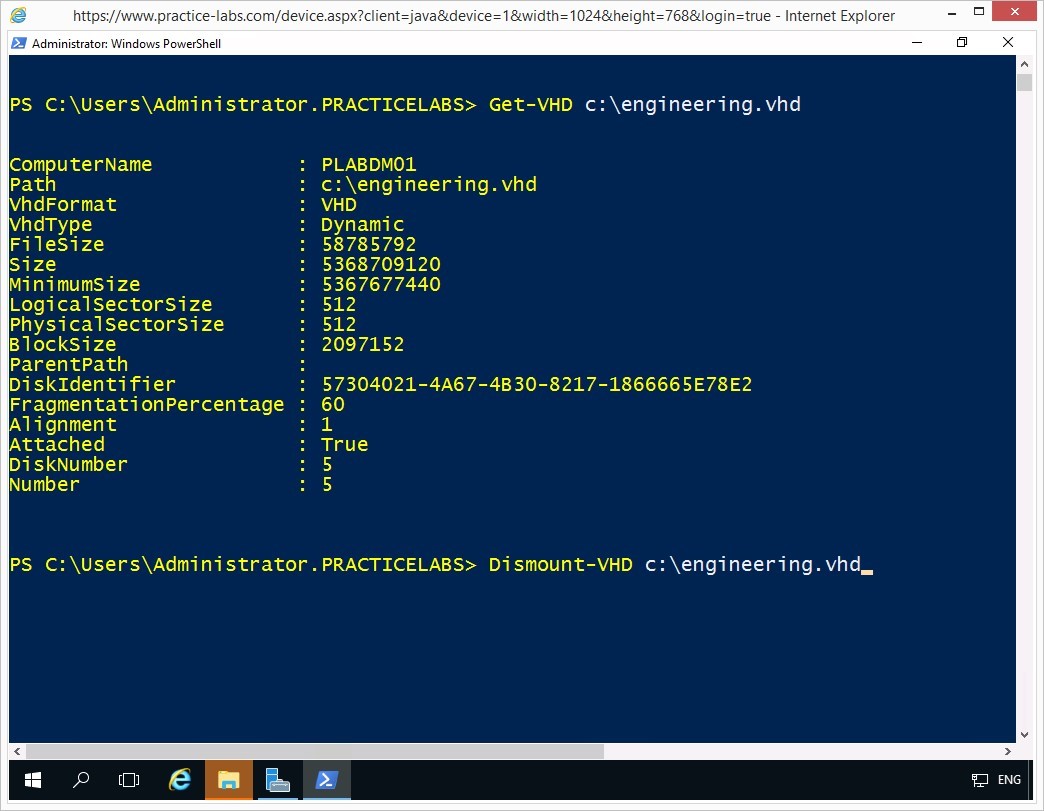
System information about the c:\engineering.vhd is displayed.
To be able to change some of the properties of a virtual hard disk, it must be dismounted first.
On the next prompt, to dismount the engineering.vhd, type:
Dismount-VHD c:\engineering.vhd
Press Enter.
Step 3
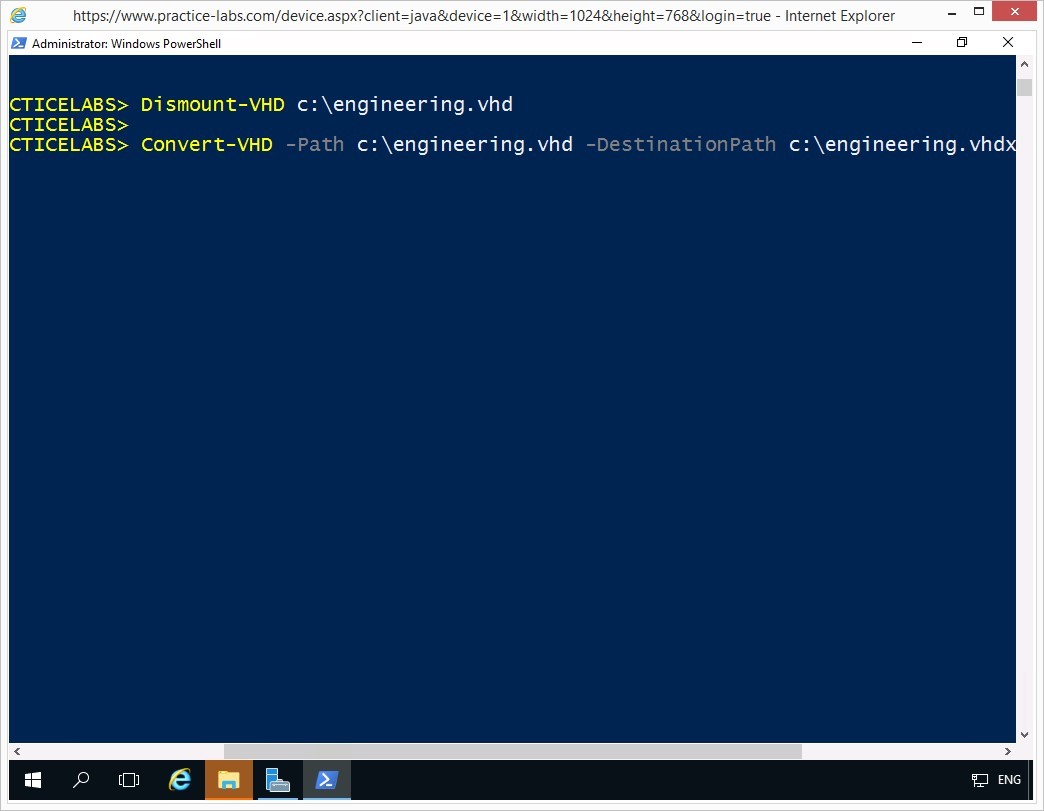
The c:\engineering.vhd is now dismounted.
On the next prompt, you will convert engineering.vhd to a VHDX virtual disk type.
Type the following command:
Convert-VHD -Path c:\engineering.vhd -DestinationPath c:\engineering.vhdx
Press Enter.
Step 4
The convert VHD status will briefly appear on screen.

Step 5
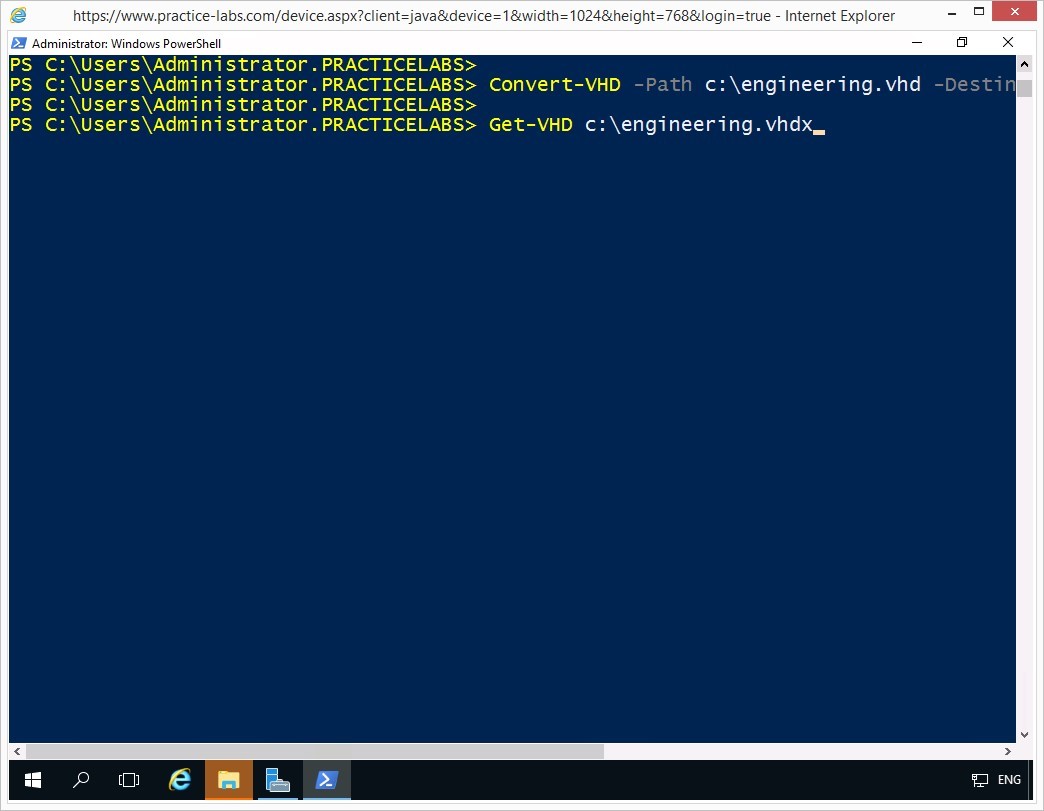
The engineering.vhd has been successfully converted to a VHDX type.
On the next prompt, you will collect system information about the disk, type the following command:
Get-VHD c:\engineering.vhdx
Press Enter.
Step 6
The properties of the engineering.vhdx virtual hard disk is displayed.
Observe the VhdFormat property.

Step 7
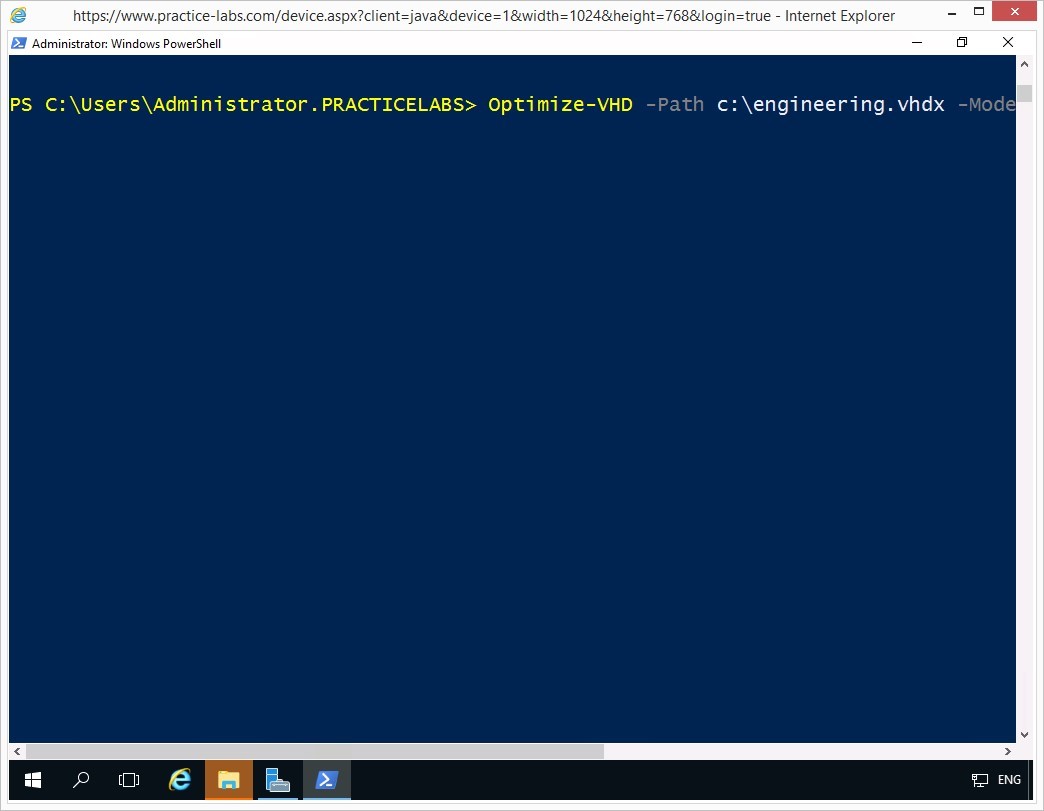
On the next prompt, to optimize the newly-created virtual hard disk file, type the following command:
Optimize-VHD -Path c:\engineering.vhdx -Mode Full
Press Enter.
Step 8
Please wait while the virtual hard disk is being optimized.
Step 9
Since the engineering.vhdx is a small file, the optimization will proceed faster.
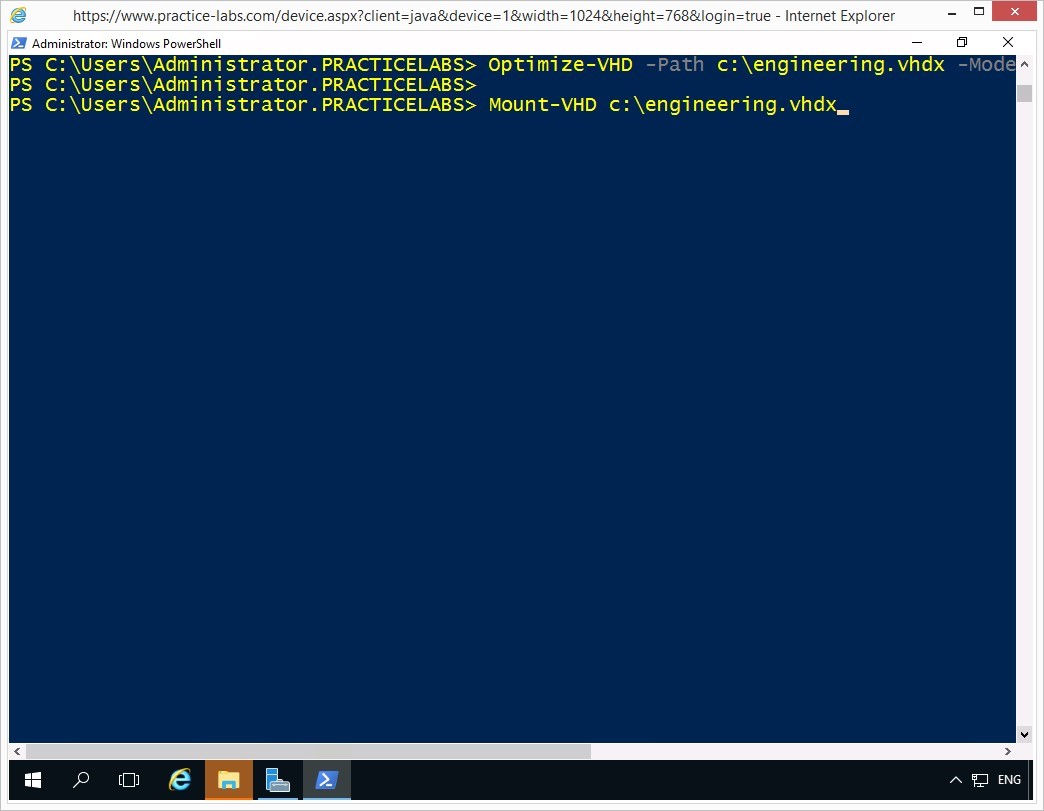
To mount the engineering.vhdx virtual hard disk, type:
Mount-VHD c:\engineering.vhdx
Press Enter.
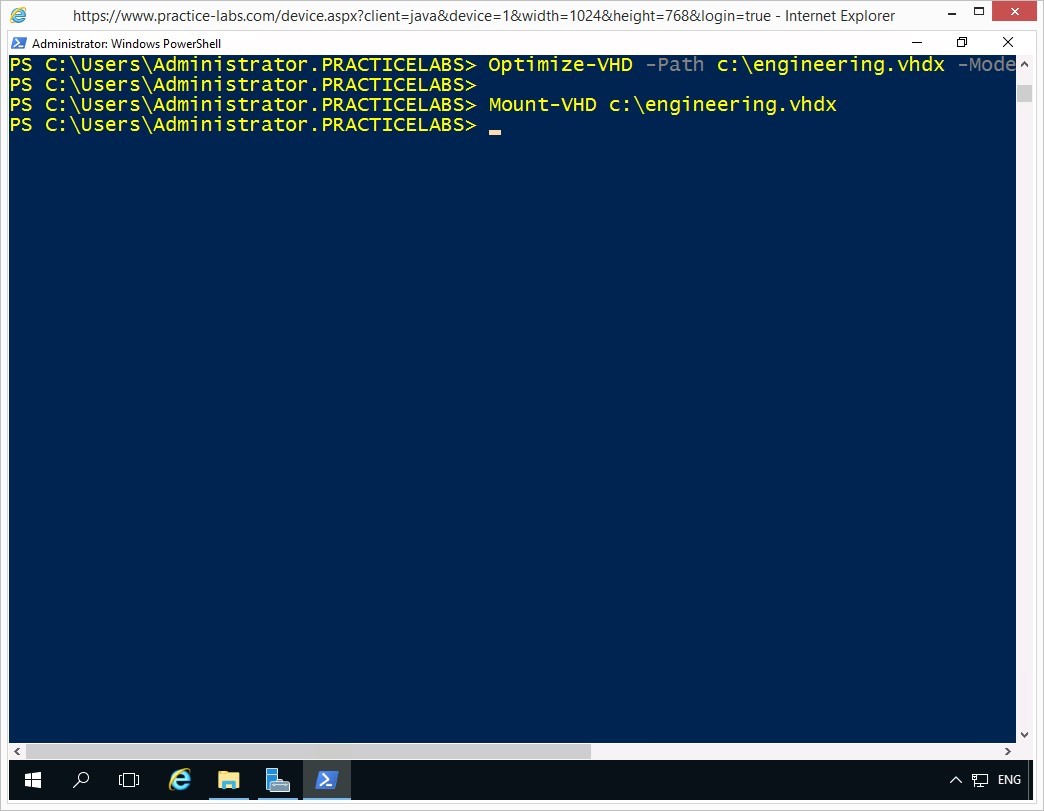
Step 10
You will not get a system confirmation after successfully mounting the virtual hard disk file.
Results - You have successfully completed the important tasks about managing local storage and virtual hard disks.

Comments
Post a Comment