Session hijacking
Exercise 1- Exploiting the Network Vulnerabilities
Penetration Testing, or Pentest, is a simulated cyber attack to exploit the vulnerabilities in a network and the systems. It locates the vulnerabilities and then attempts to exploit them. A person conducting the pentest can attempt a breach of applications, protocols, Application Programming Interfaces (APIs), servers, firewalls, and anything that can be exploited on a network. The core intent is to discover the vulnerabilities before an attacker from the outside world can and then exploit them to simulate the amount of damage that can be caused.
In this exercise, you will learn about Penetration Testing and its importance.
Learning Outcomes
After completing this exercise, you will be able to:
- Perform a Slowloris Attack on a Website
- Conduct an Address Resolution Protocol (ARP) Poisoning Attack
- Conduct Man-In-The-Middle Attacks Using Ettercap
- Track the Sniffing Network Interface Cards (NICs) on the Network
- Perform DNS Spoofing Attack
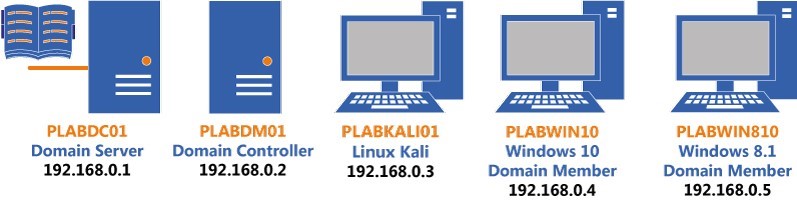
Your Devices
You will be using the following devices in this lab. Please power these on now.
- PLABDC01 - (Windows Server 2019 - Domain Server)
- PLABDM01 - (Windows Server 2019 - Domain Controller)
- PLABKALI01 - (Kali 2019.2 - Linux Kali)
- PLABWIN10 - (Windows 10 - Domain Member)
- PLABWIN810 - (Windows 8.1 - Domain Member)
Task 1 - Perform a Slowloris Attack on a Website
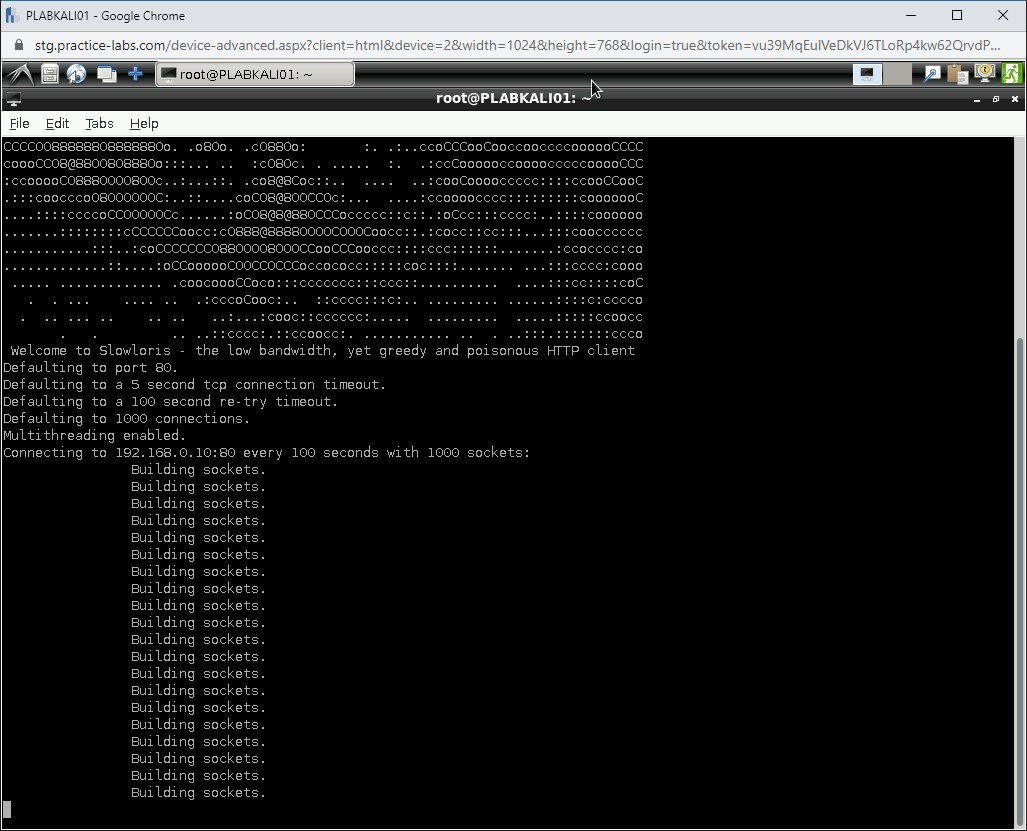
Slowloris is an effective Denial-of-Service attack tool that uses low bandwidth. It triggers and sends partial HTTP requests to a Web server and continues sending to prevent sockets from being closed. The Web server cannot close the sockets on its own and continues opening the sockets as the requests are received from Slowloris. Finally, the requests sent by Slowloris overwhelm the Web server, and when the Web server’s maximum connection limit is reached, it starts to deny the legitimate requests. To prevent this attack, you can use some of the following methods:
- Use hardware-based load balancers that do not accept the partial http requests.
- Limit the connections to the Web server in a firewall, such as Iptables
- Configure the timeout in the Web server configuration
To perform the Slowloris attack on a Website, perform the following steps:
Step 1
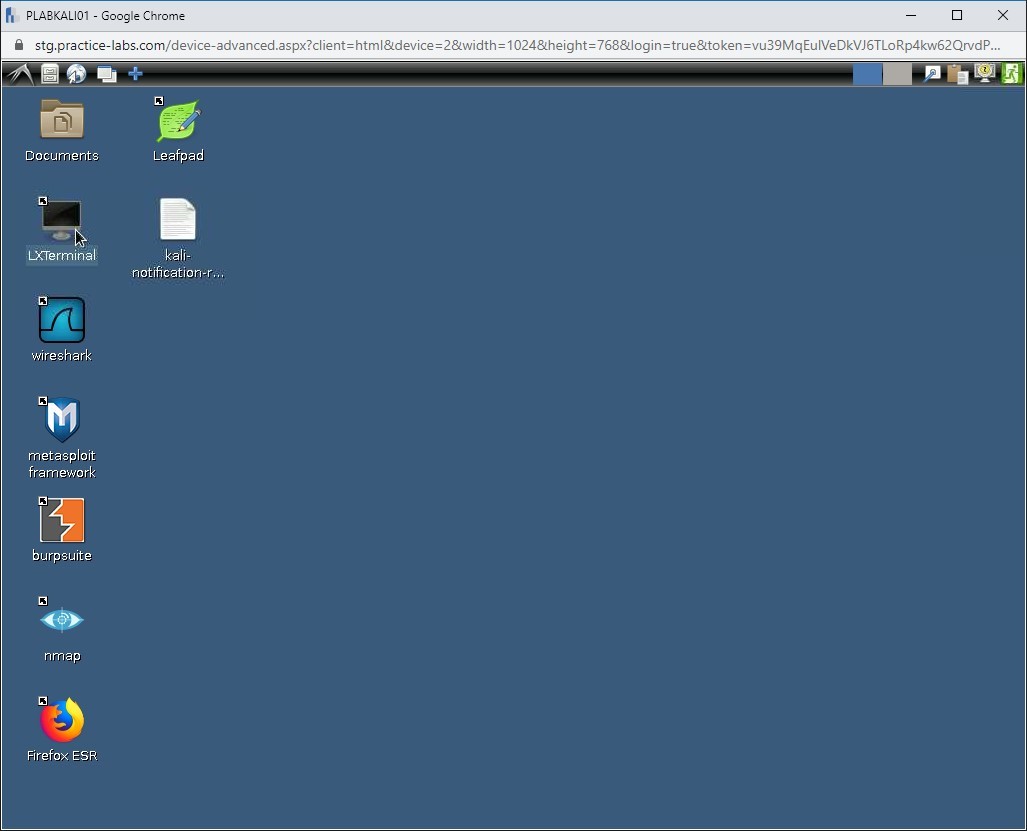
Ensure you have powered on all the devices listed in the introduction and connect to PLABKALI01.
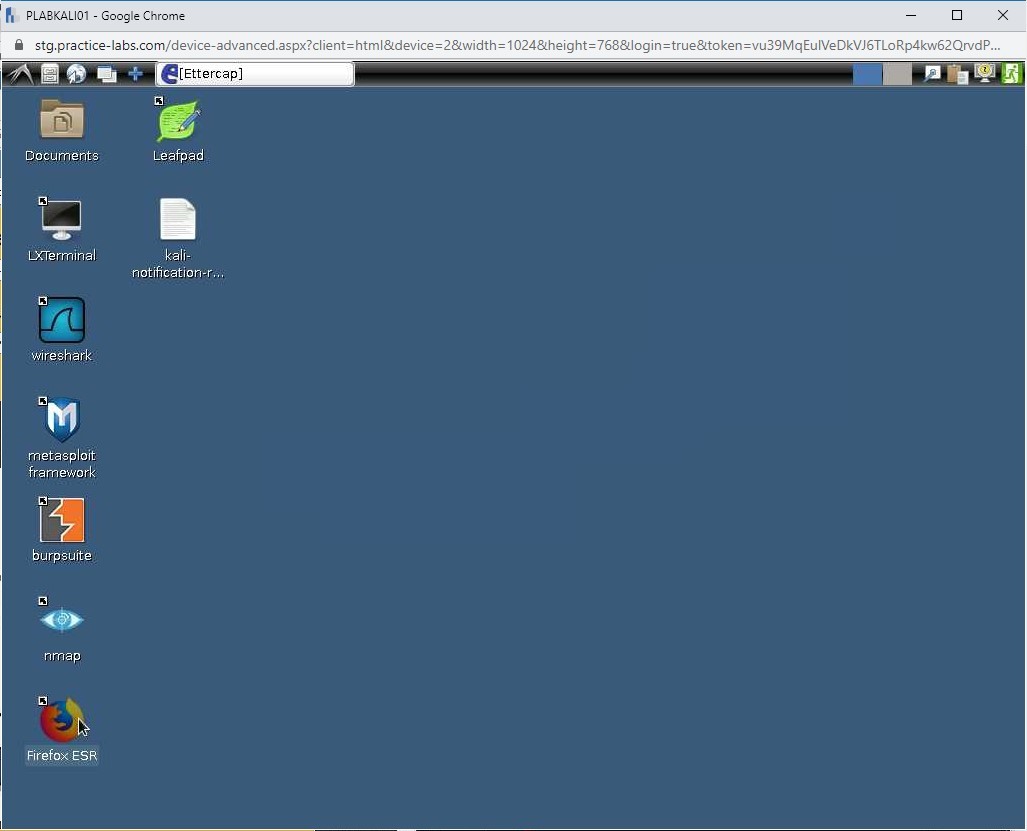
On the desktop, click the Terminal icon.
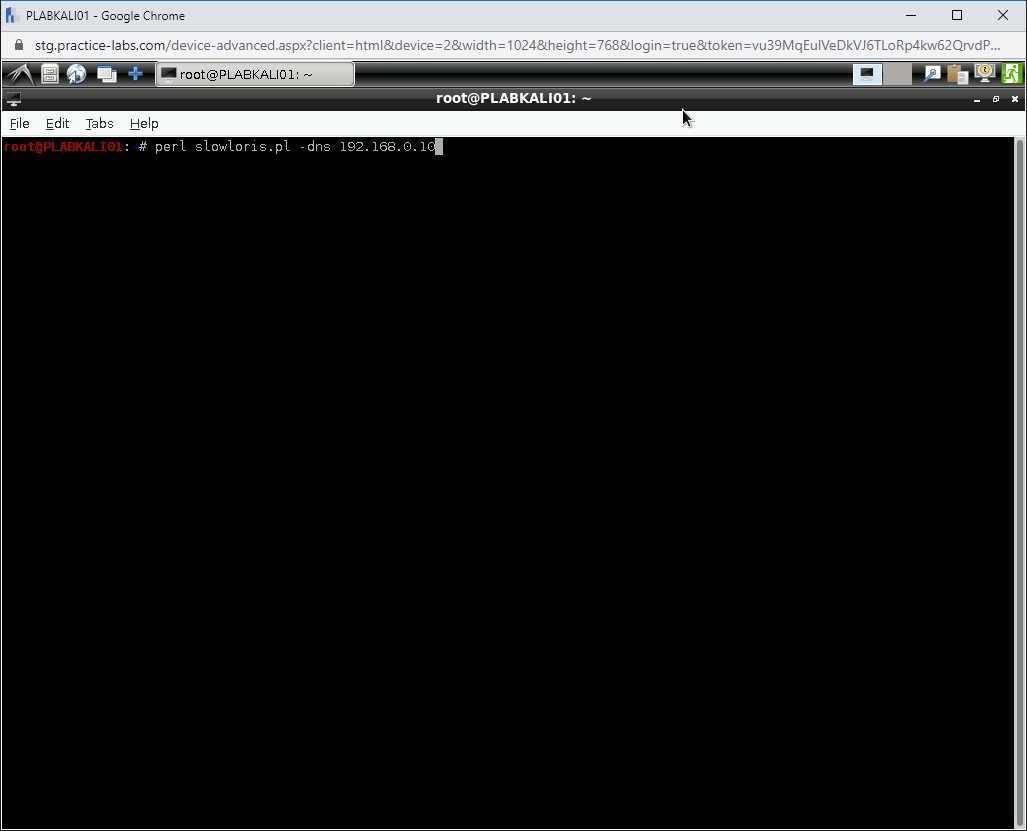
Step 2
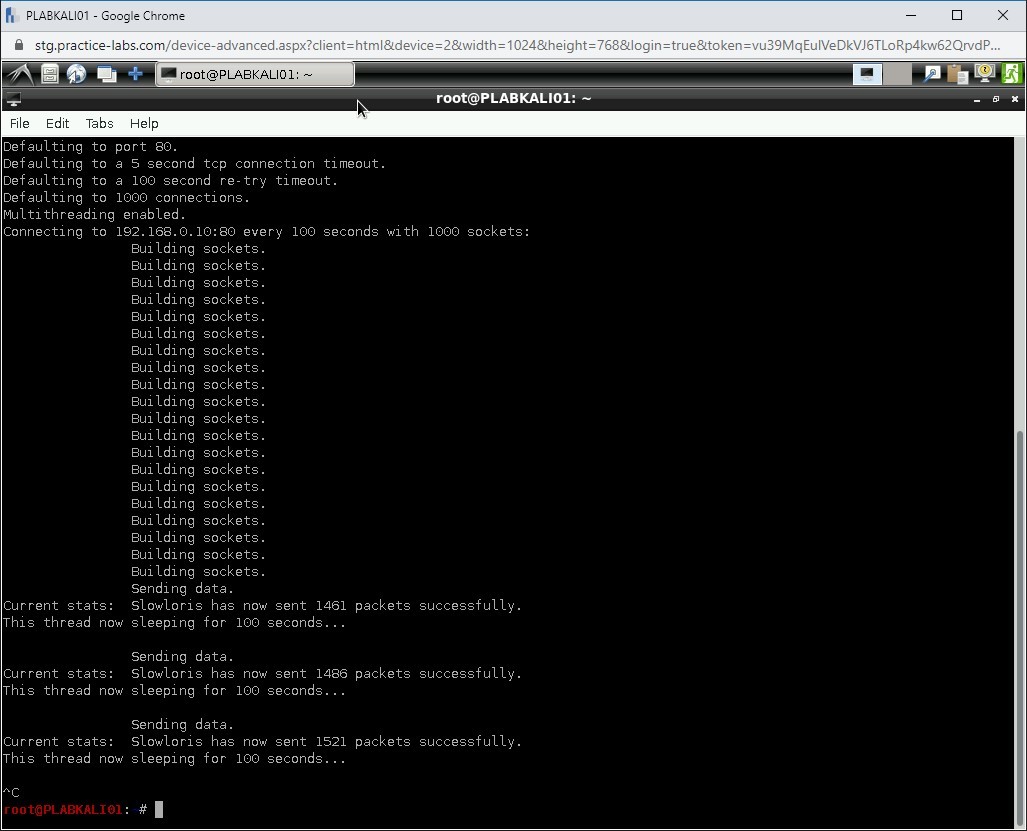
Now, you will execute the slowloris.perl script. To do this, type the following command:
perl slowloris.pl -dns 192.168.0.10
Press Enter.
Step 3
Notice that Slowloris has started to consume sockets.
Step 4
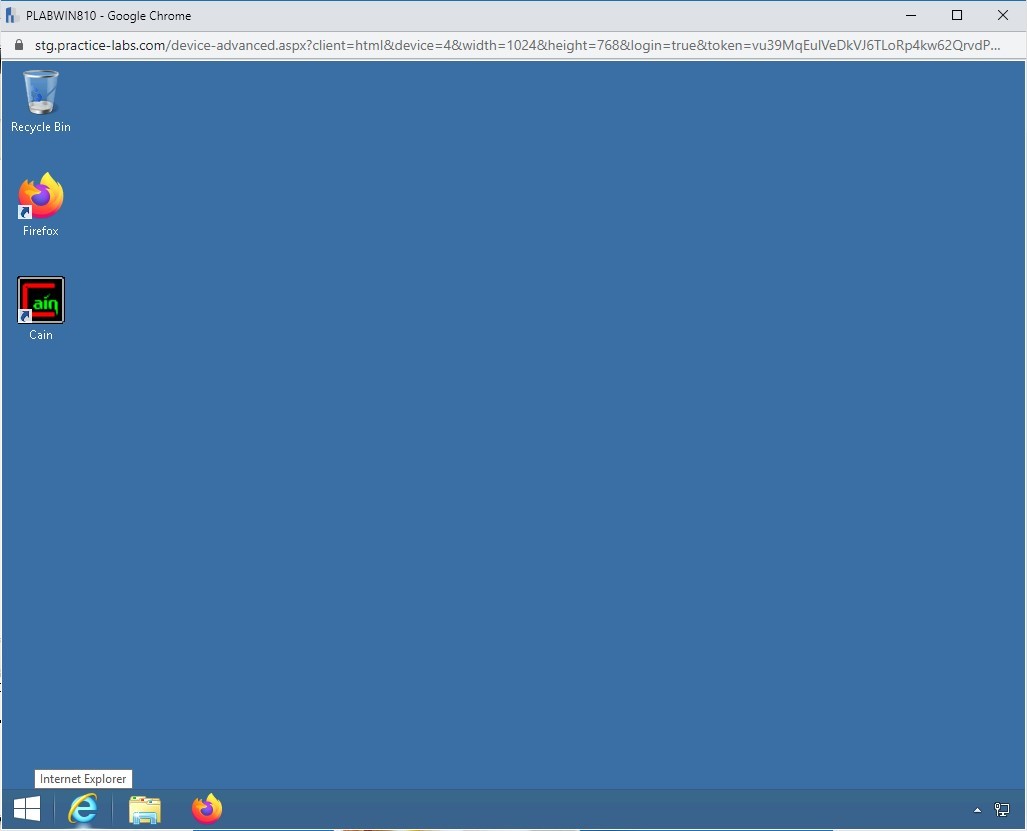
Let’s connect to the Website running on 192.168.0.10. Connect to PLABWIN810. The desktop of PLABWIN810 is displayed.
Click the Internet Explorer icon in the taskbar.

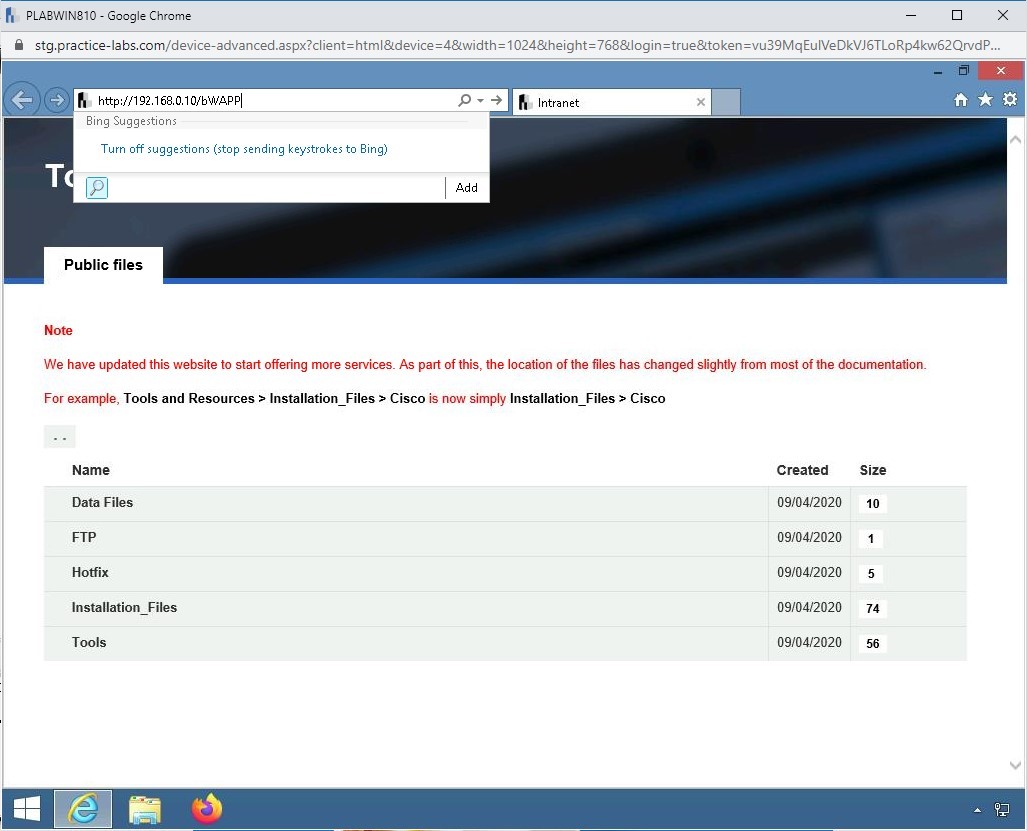
Step 5
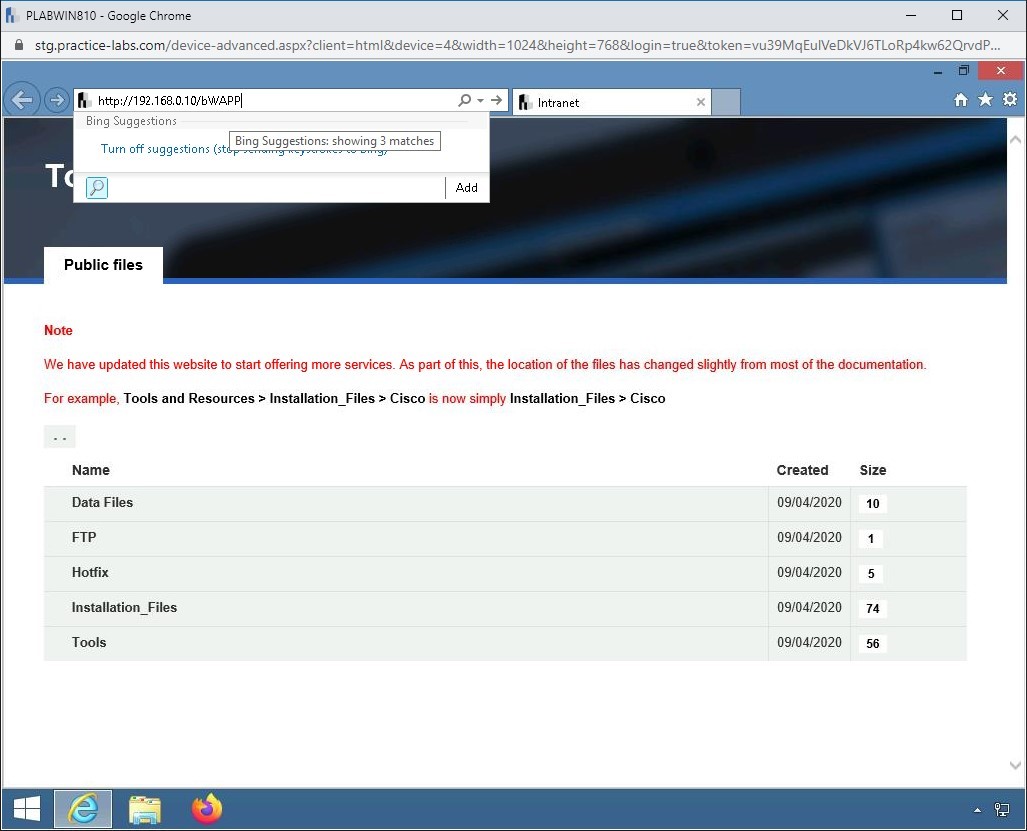
The Internet Explorer window is displayed. In the address bar, type the following URL:
http://192.168.0.10/bWAPP
Press Enter.
Step 6
Notice the error. The Website fails to load.
Note: It may load in some cases, but it will eventually time out or become unresponsive.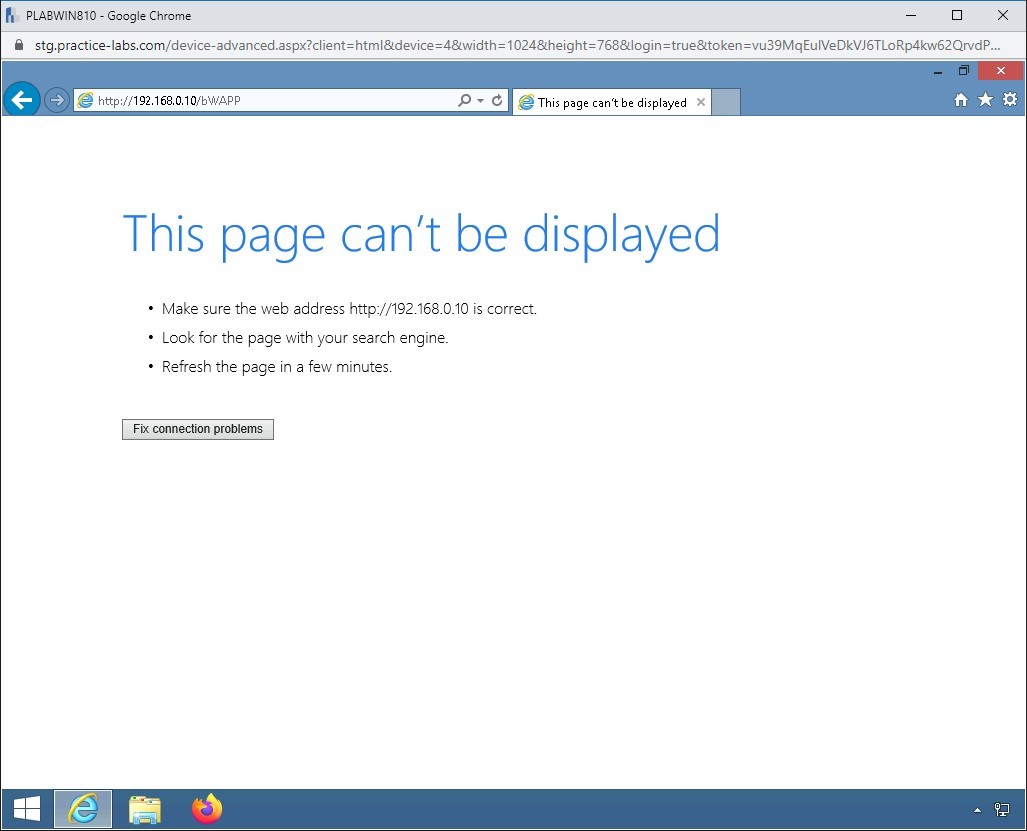
Step 7
Press Ctrl + c command to terminate the slowloris command.
Step 8
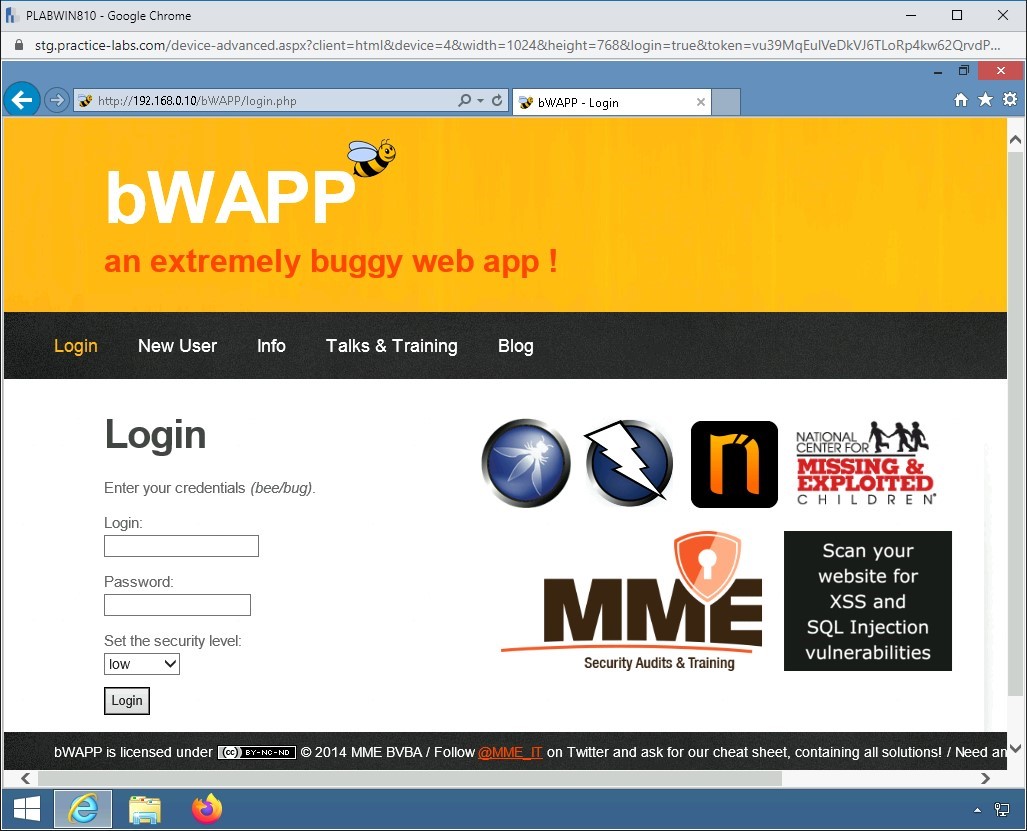
Switch back to PLABWIN810. Wait for a minute or so and then attempt to reload the Website in PLABWIN810. You can press F5 or Fn + F5.
Notice that the Website now loads without any issue.
Close the Internet Explorer window on PLABWIN810. Exit from the terminal window on PLABKALI01.
Task 2 - Conduct an Address Resolution Protocol (ARP) Poisoning Attack
ARP Poisoning or ARP Spoofing is a method of sending falsified ARP messages over a network. In this attack, the attacker links its system’s MAC address with the IP addresses of one or more legitimate systems on the network. The attacker can then receive messages that were intended to be sent to the owner of the IP address. However, instead of the owner, the attacker receives the messages. ARP spoofing can occur if both the parties, the attacker, and the victim, have the systems in the same broadcast domain.
To conduct an ARP Poisoning attack, perform the following steps:
Step 1
Ensure you have powered on all the devices listed in the introduction and connect to PLABKALI01. The desktop of PLABKALI01 is displayed.
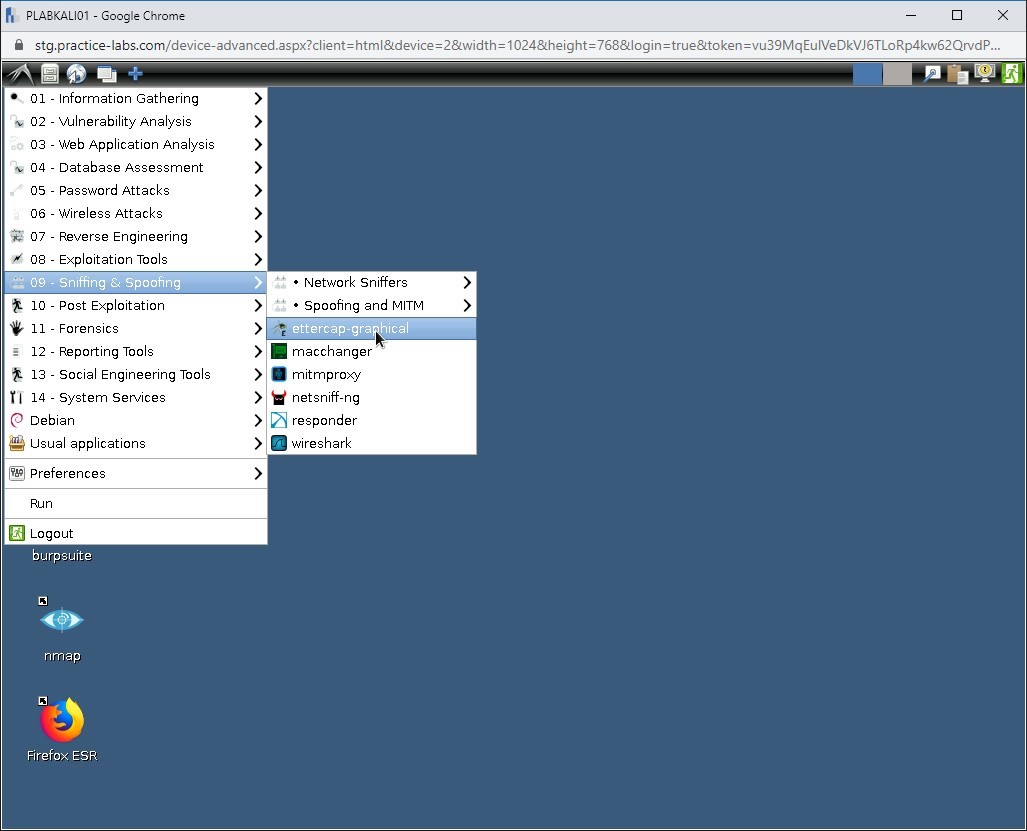
In this task, you will use Ettercap, which is a tool specifically designed for Man-In-The-Middle (MITM) attacks.
Click Applications, select Sniffing & Spoofing, and then select ettercap-graphical.
Step 2
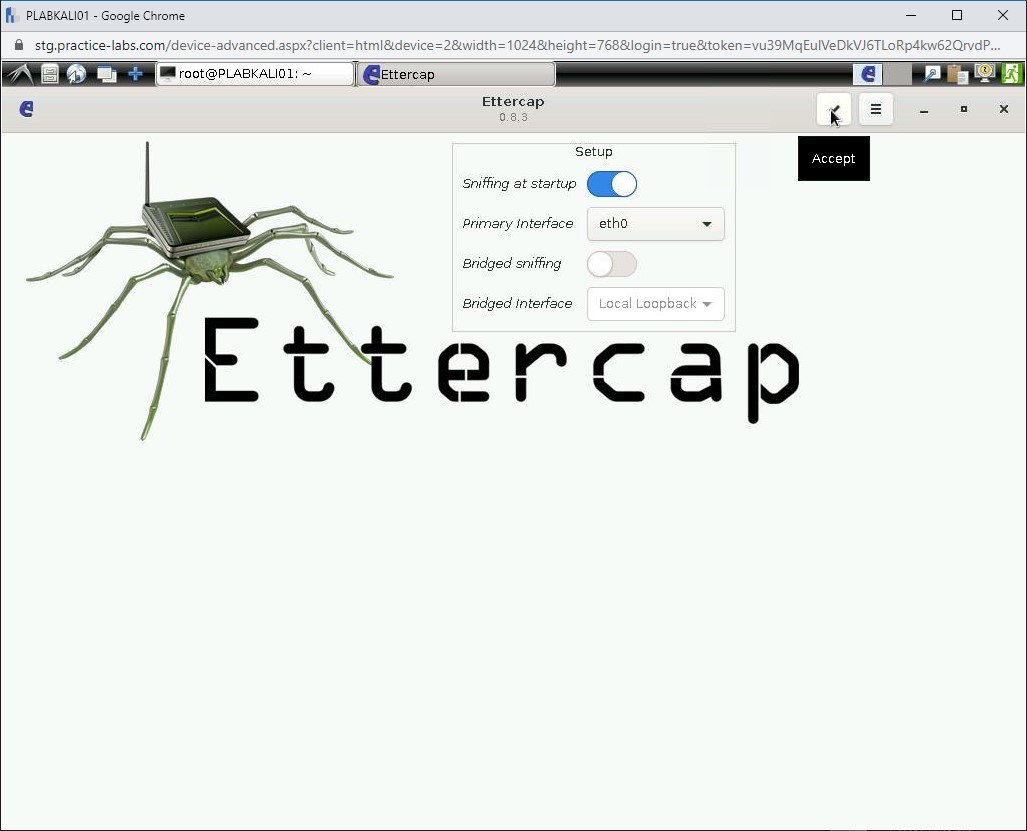
Click the Accept button in the Ettercap window.

Step 3
Before you proceed further with the ARP Poisoning attack, let’s first check the ARP table on PLABWIN810 system.
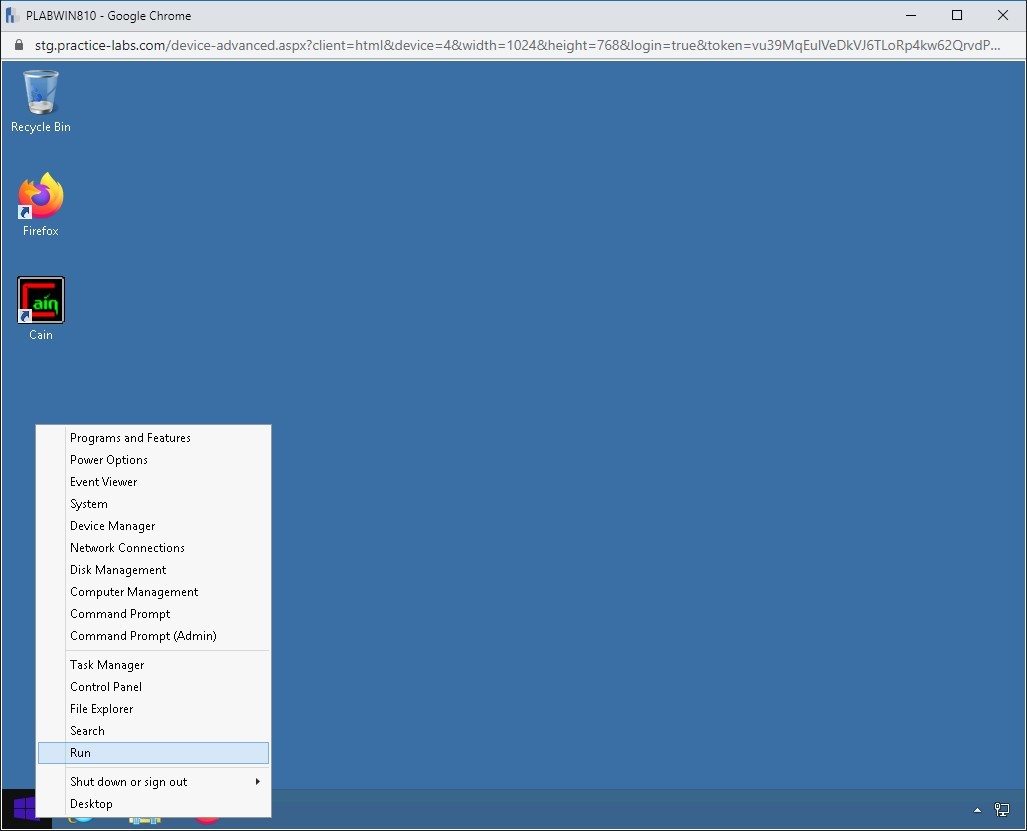
Connect to PLABWIN810. Right-click the Windows charm and select Run.
Step 4
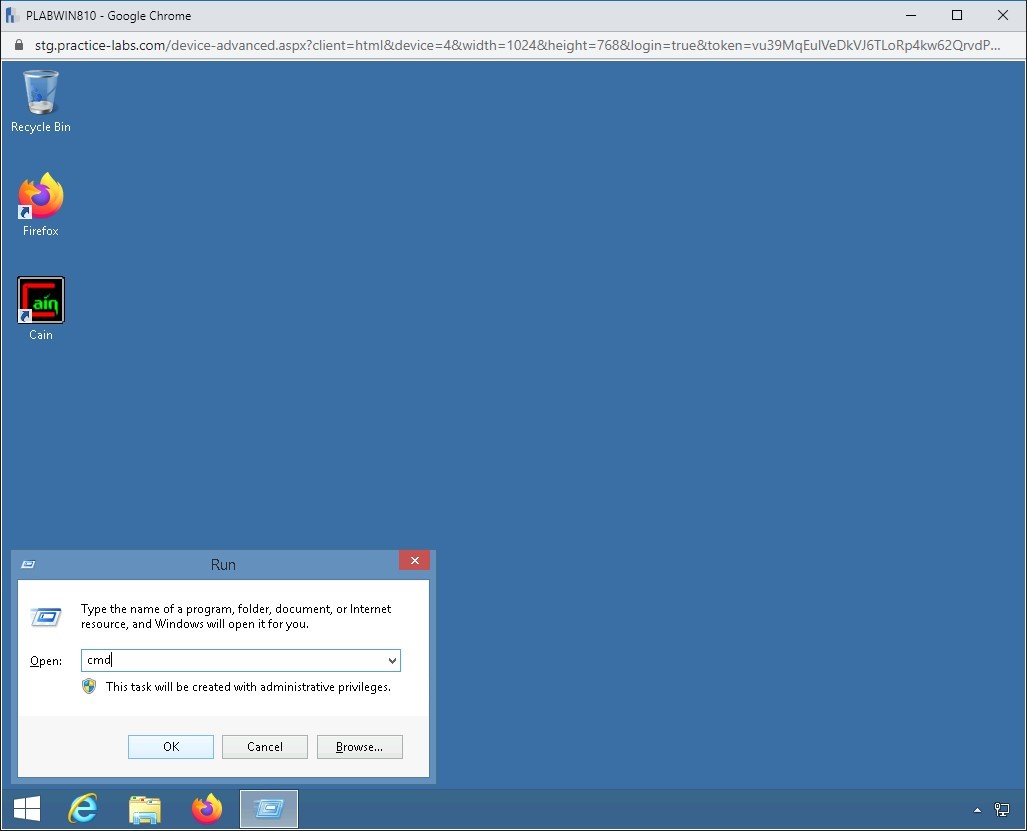
In the Run dialog box, type the following command in the Open text box:
cmd
Click OK.
Step 5
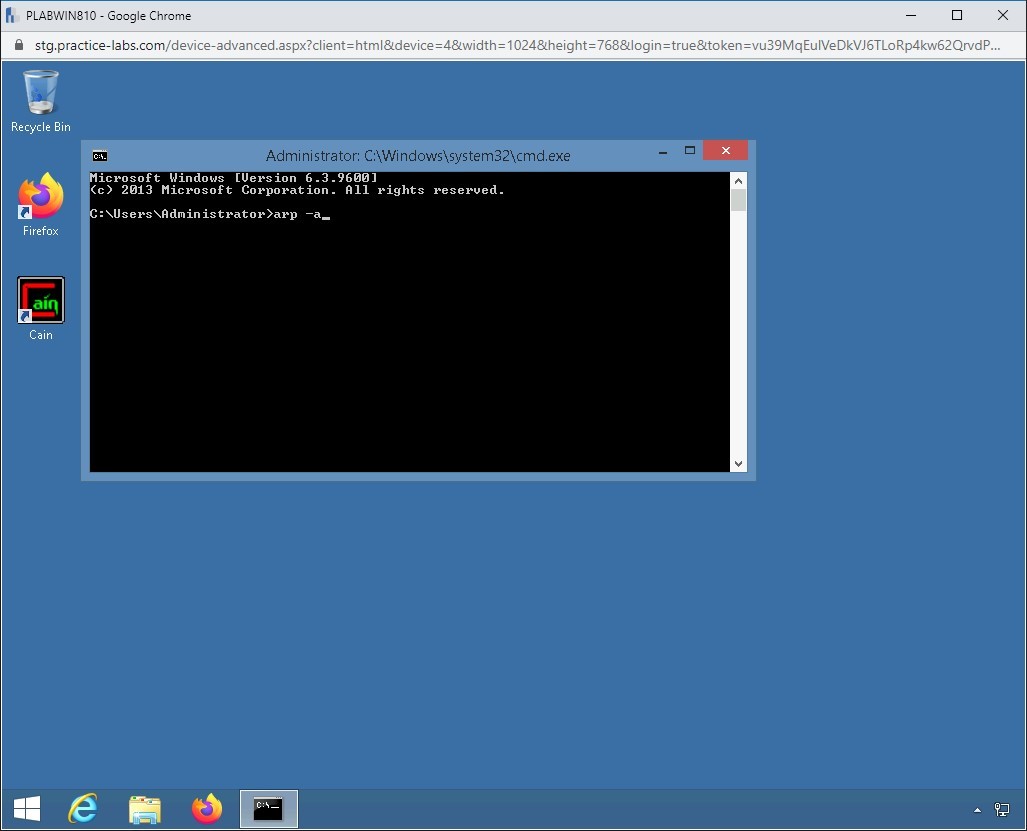
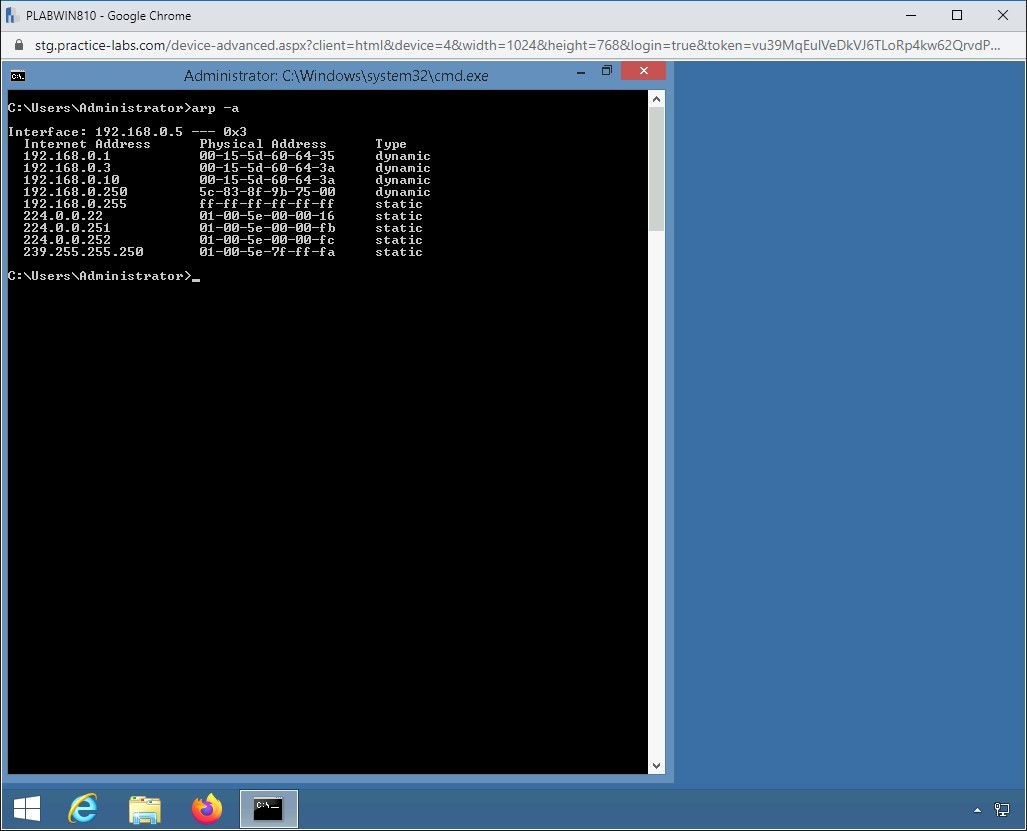
The command prompt window is displayed. Type the following command to check the ARP table:
arp -a
Press Enter.
Step 6
Notice that each system has a different MAC address.

Step 7
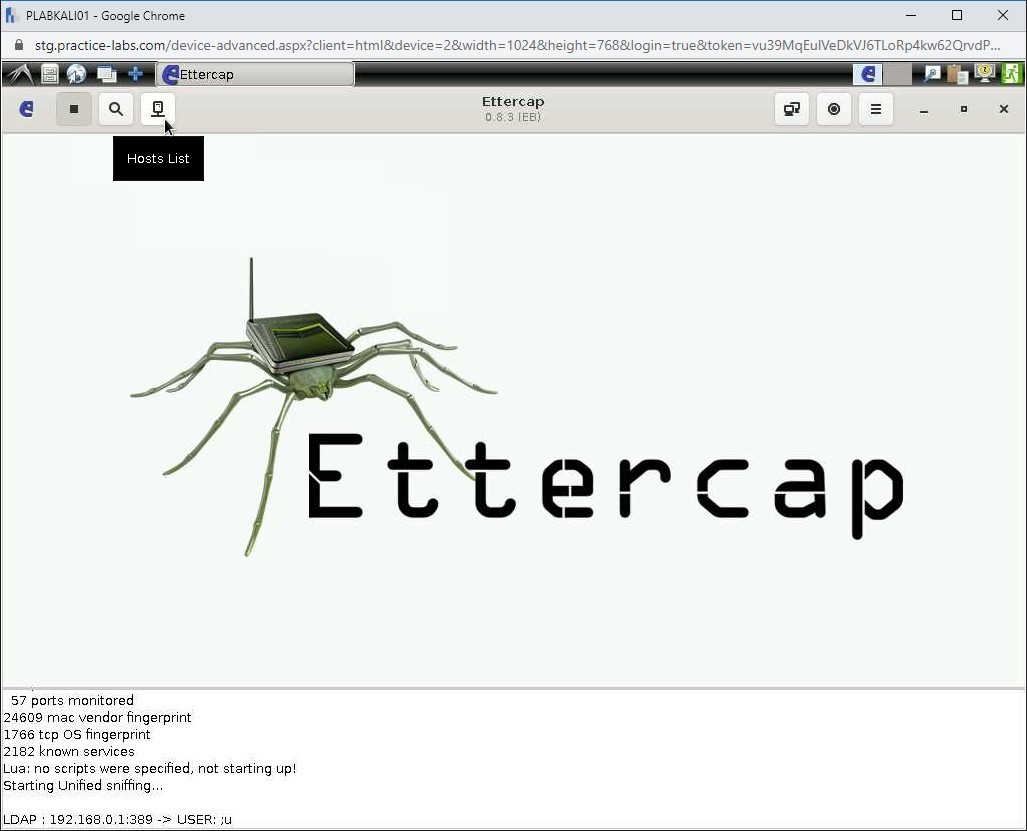
Notice the output in the bottom pane of Ettercap. The Unified sniffing is now starting.
Step 8
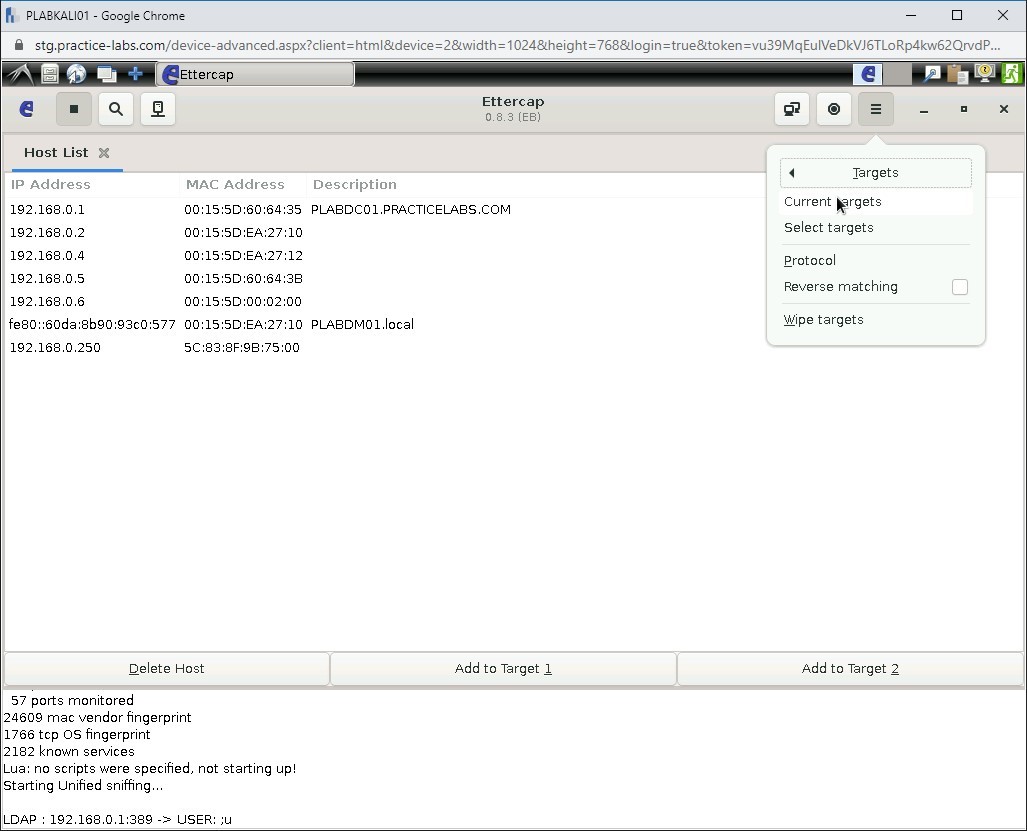
Click the Hosts List on the toolbar at the top.
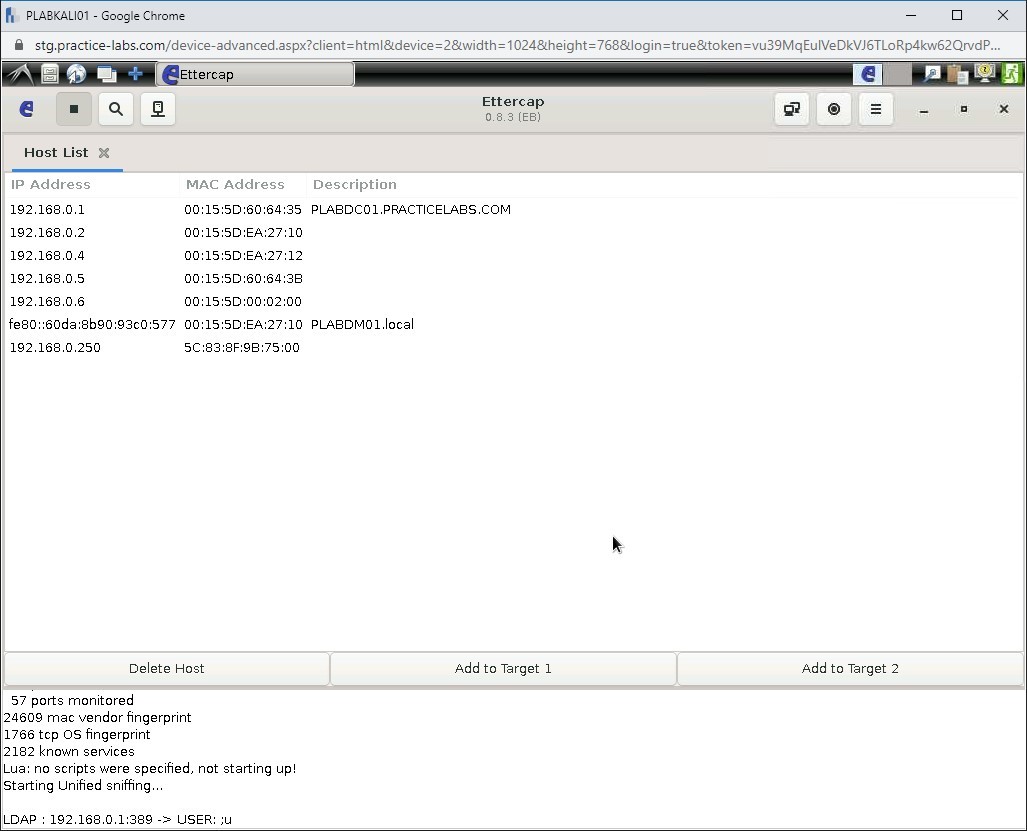
Step 9
Notice several systems appear on the list.
Click the Ettercap menu icon on the toolbar at the top.
Step 10
Click Targets.
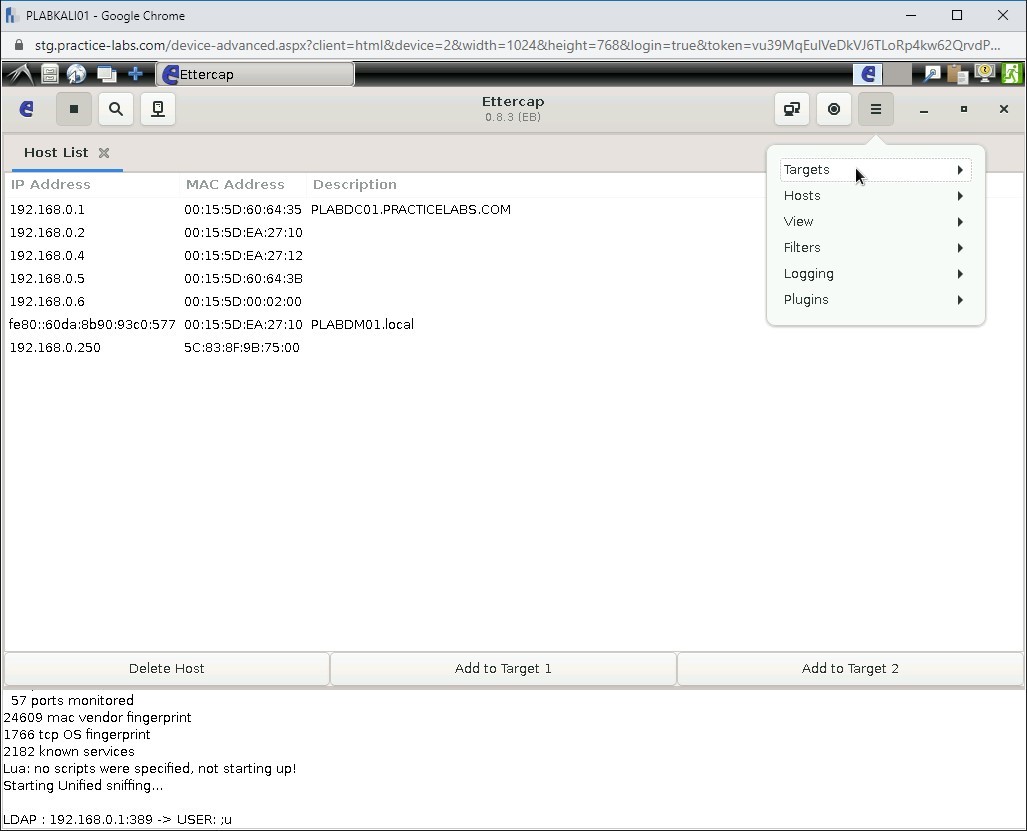
Step 11
Select Current targets.
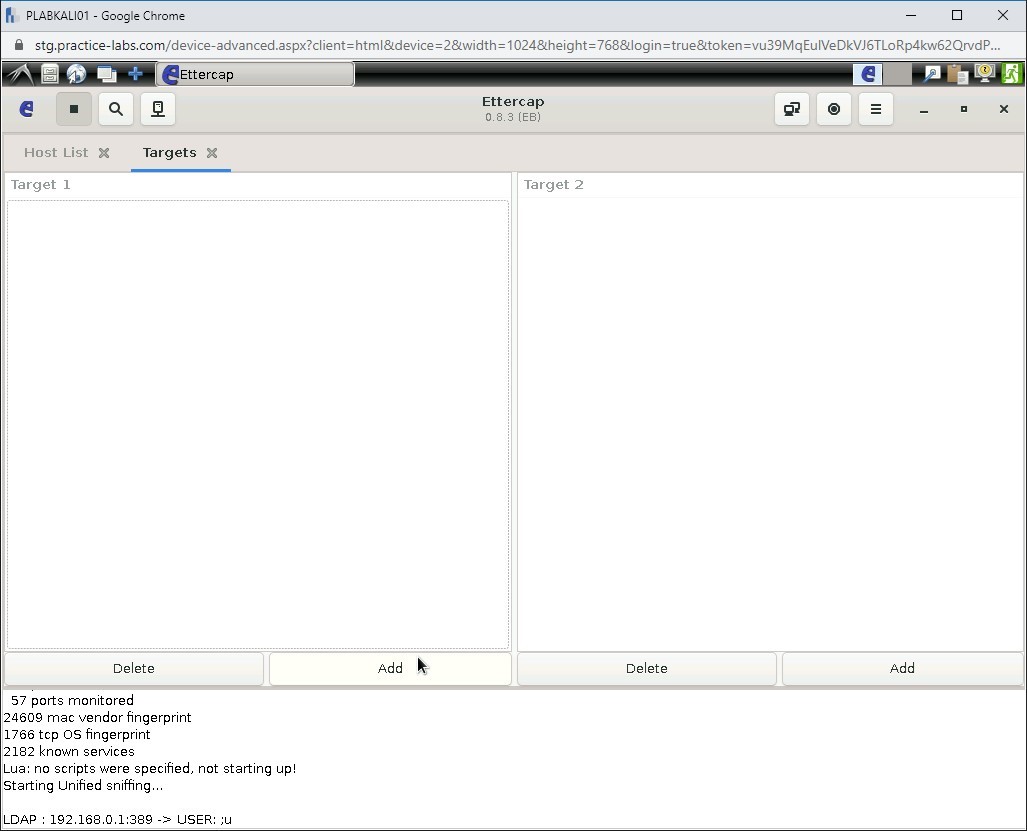
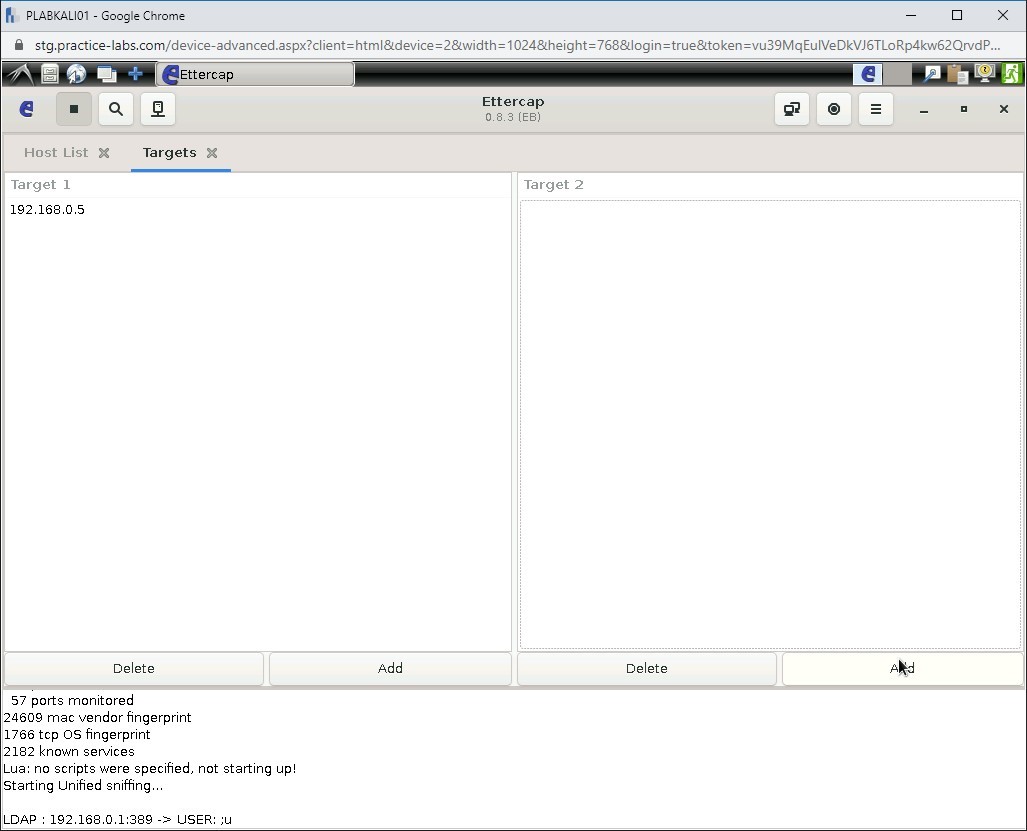
Step 12
Sections Target 1 and Target 2 are displayed.
Click the Add button in section Target 1.
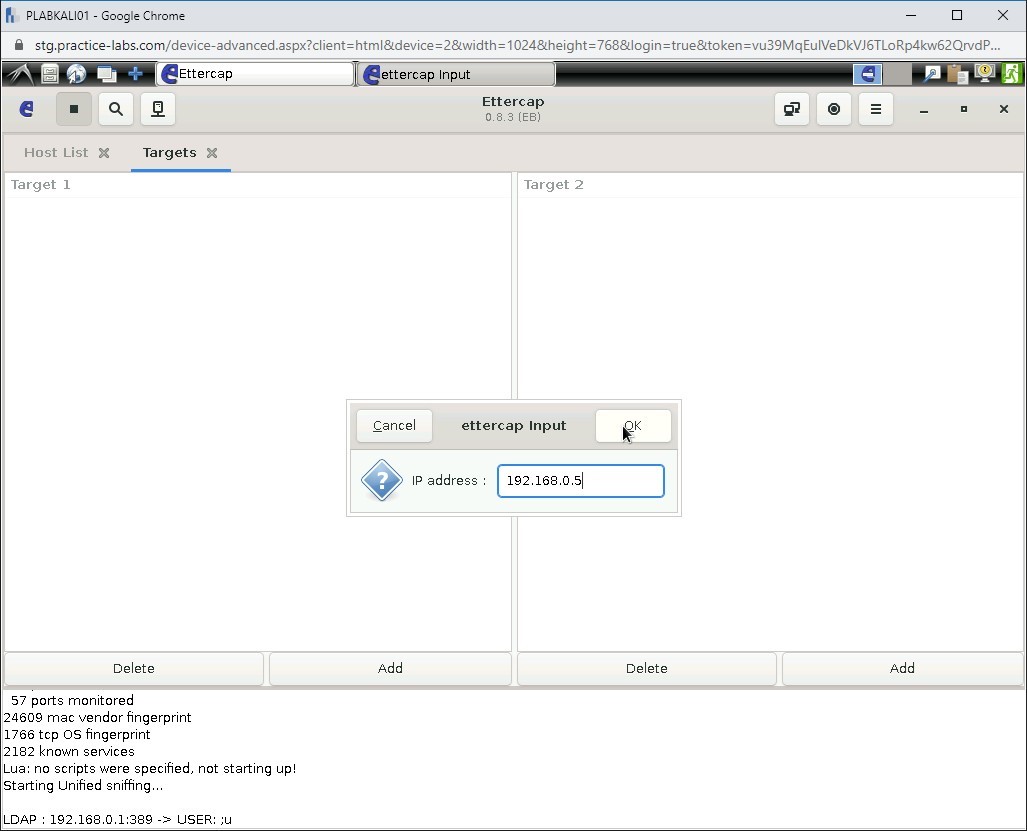
Step 13
In the ettercap Input dialog box, add the following IP address in the IP address text box:
192.168.0.5
Click OK.
Step 14
In the Target 1 section, an IP address is added.
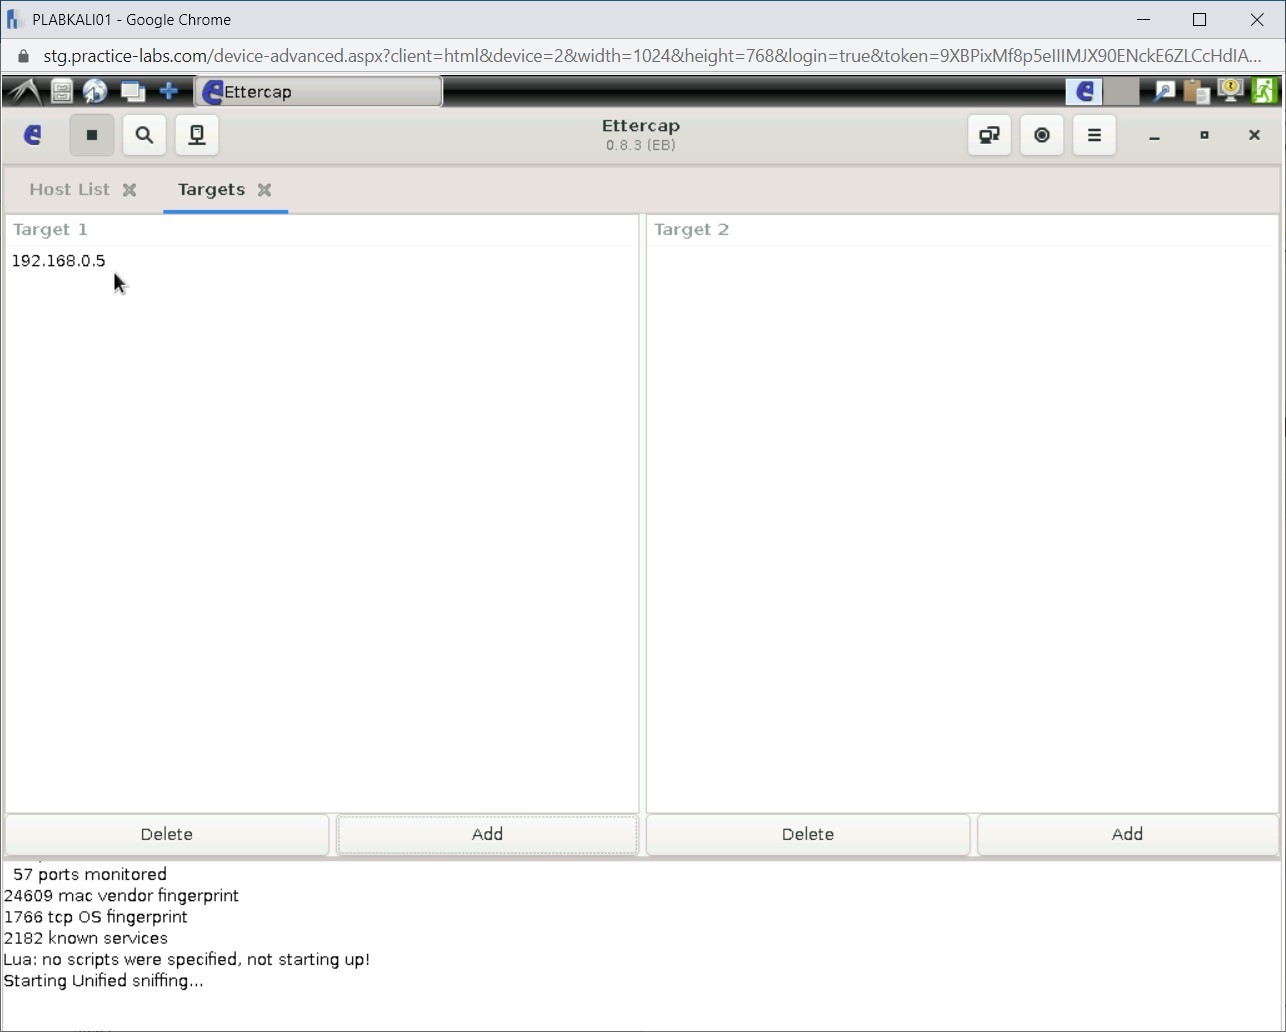
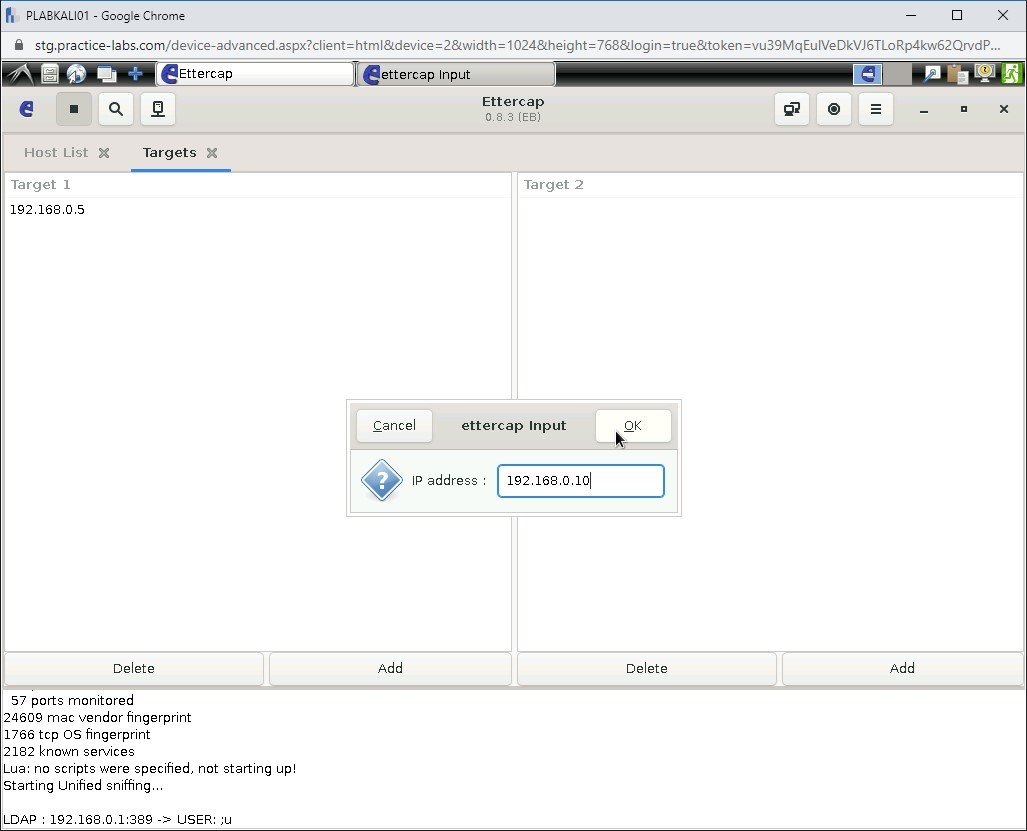
Step 15
In the Target 2 section, click Add.
Step 16
In the ettercap Input dialog box, add the following IP address in the IP address text box:
192.168.0.10
Click OK.
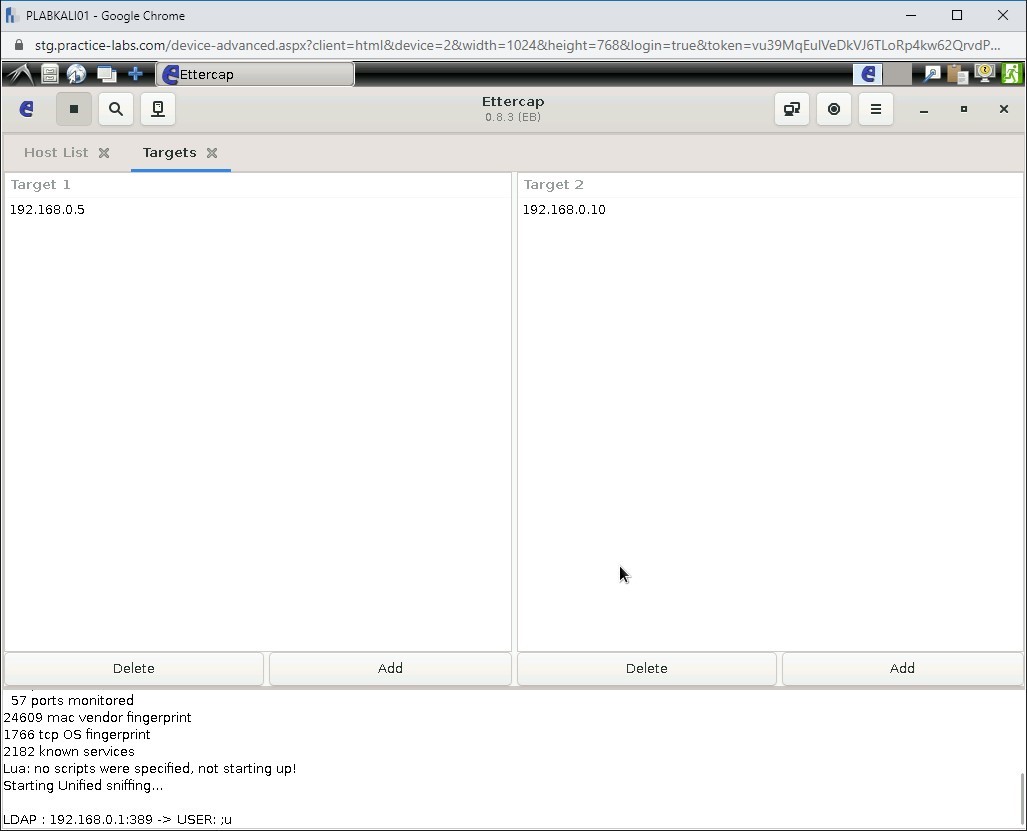
Step 17
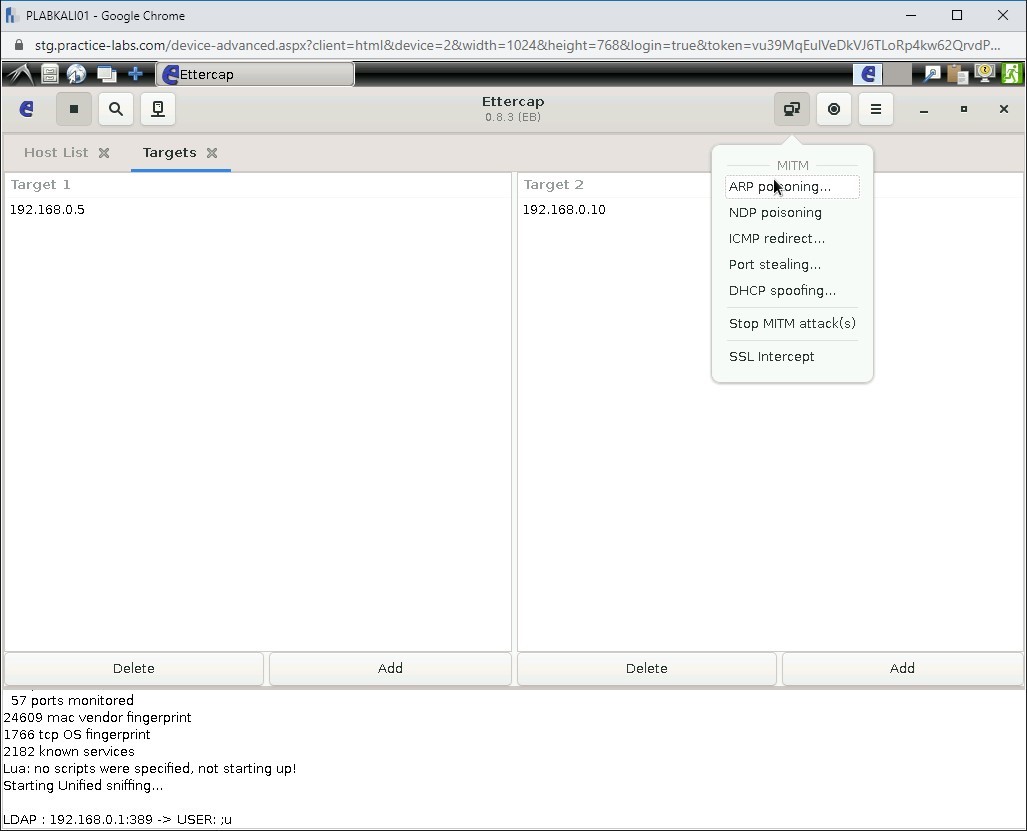
Notice that the IP addresses are now added in the Target 1 and Target 2 sections.
Step 18
Next, you will perform the ARP Poisoning attack. Click Mitm menu icon on the icon bar at the top.
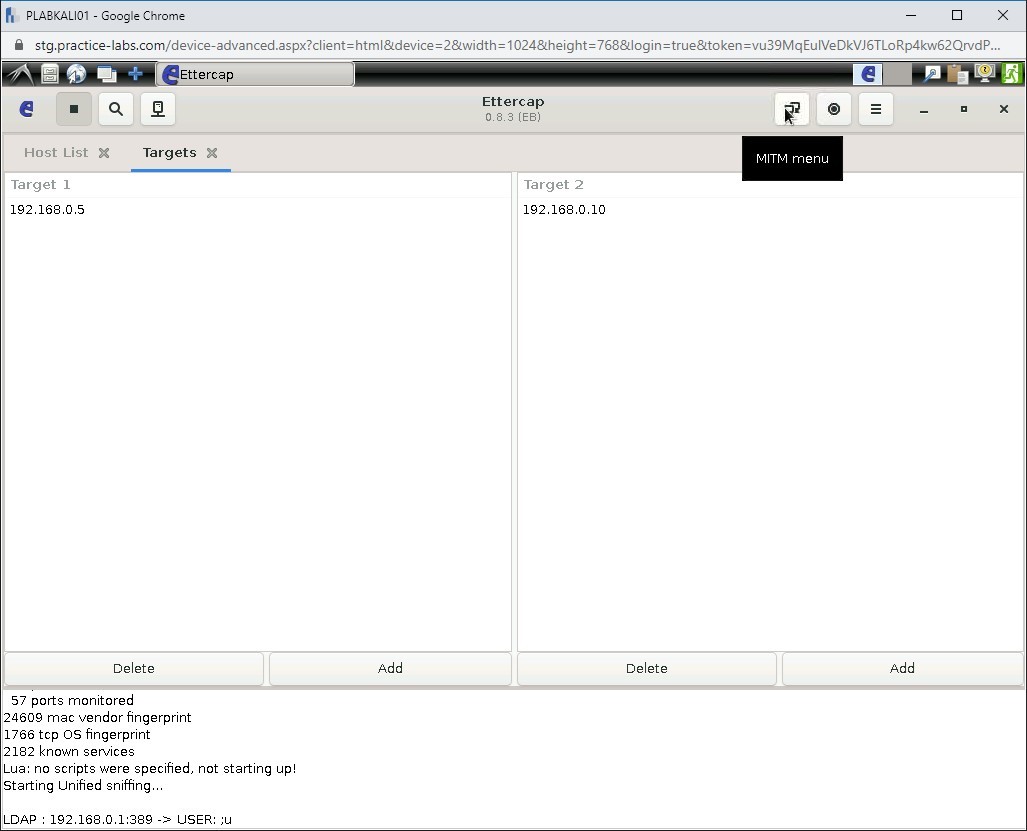
Step 19
Select ARP poisoning.
Step 20
In the MITM Attack: ARP Poisoning dialog box, select Sniff remote connections and click OK.
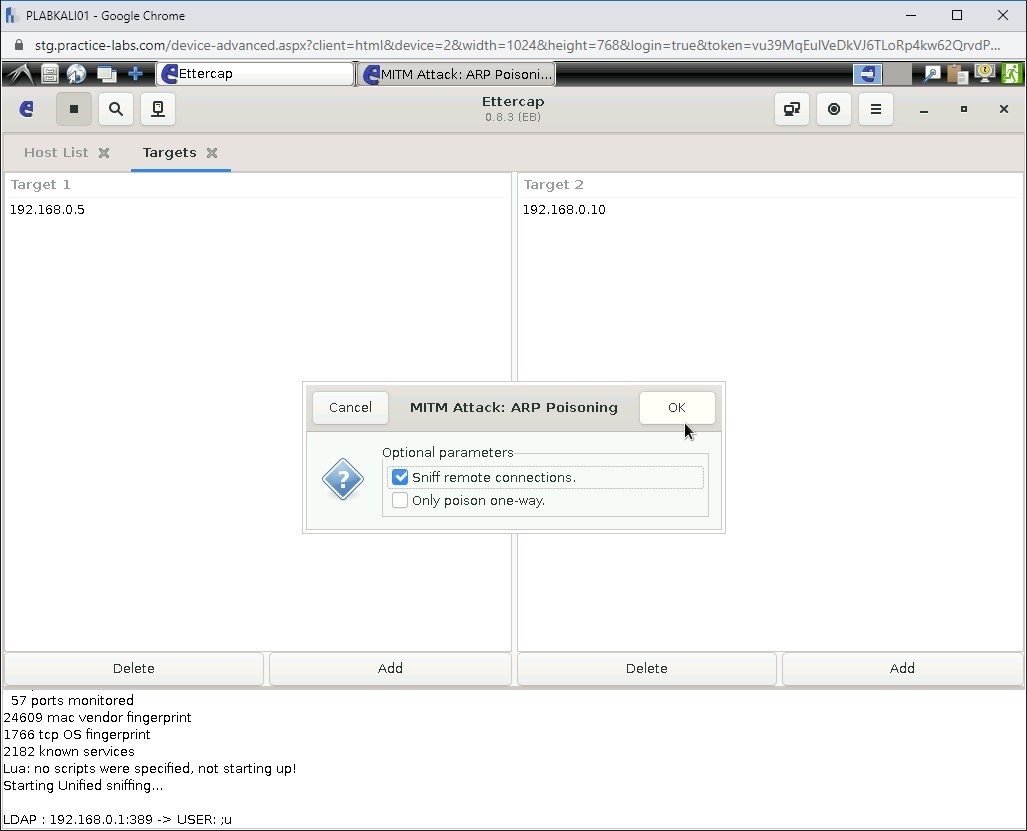
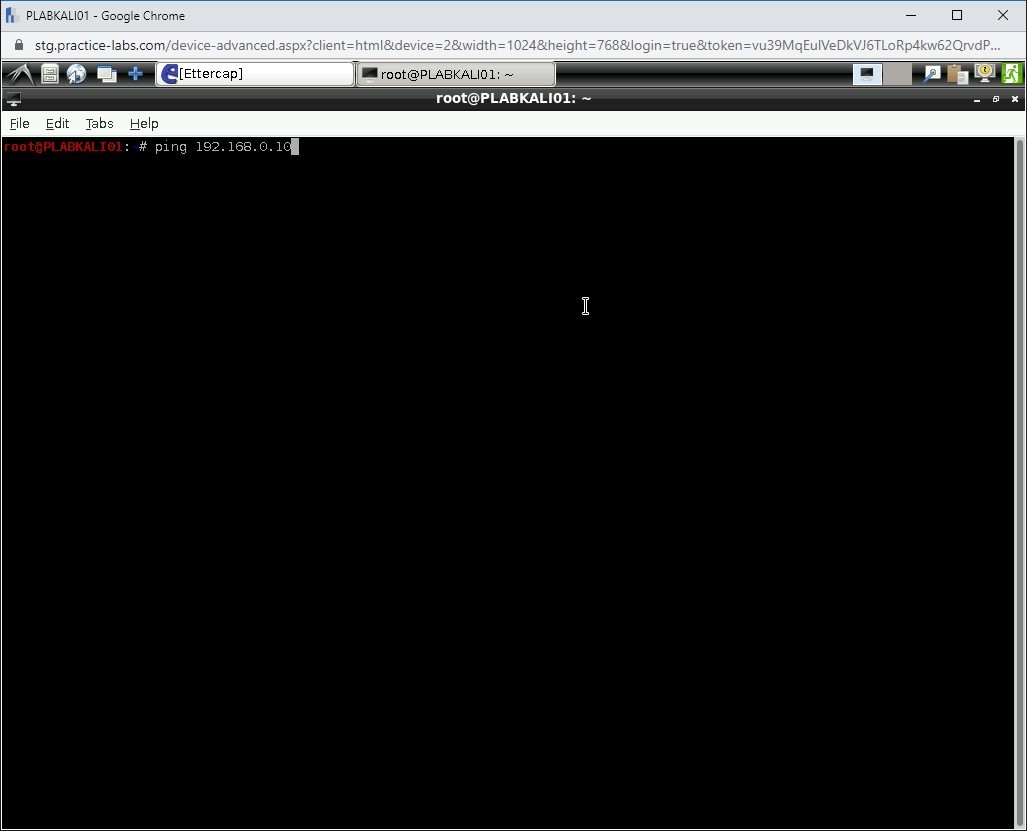
Step 21
Open a terminal window.
Type the following command:
ping 192.168.0.10
Press Enter.
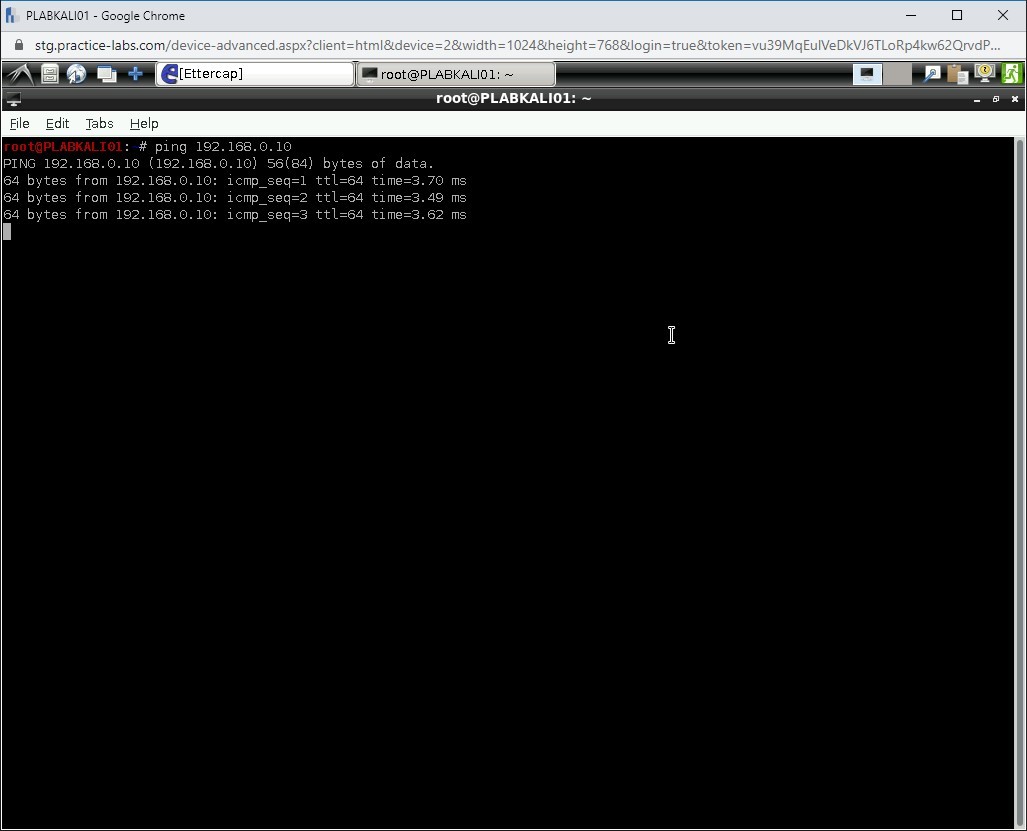
Step 22
The specified IP is now pinged.
Step 23
Switch over to PLABWIN810.
Clear the screen by entering the following command:
cls
Type the following command:
arp -a
Press Enter.
Notice that the MAC address for both 192.168.0.3 and 192.168.0.10 are the same. This means ARP Poisoning has been successful.
Close the command prompt.
Task 3 - Conduct Man-In-The-Middle Attack Using Ettercap
Man-in-the-middle (MITM) is a type of attack that allows an attacker to position himself between two legitimate parties. The main goal of the attacker is to listen to the conversation between both parties and intercept the conversation, which can be used later.
MITM attacks can be performed using different methods, such as:
- ARP Poisoning
- ICMP Redirects
- DNS Poisoning
In this task, you will learn to conduct a MITM attack using Ettercap. To do this, perform the following steps:
Step 1
Ensure you have powered on all the devices listed in the introduction and connect to PLABKALI01. The Ettercap window is displayed.
Note: If due to some reason, you have closed the Ettercap window or logged out of the lab, you need to perform Task 2 once again to continue with this task.
Step 2
Connect to PLABWIN810.
And close the Command Prompt window.
Click the Internet Explorer icon in the taskbar.
Step 3
In the address bar, type the following URL:
http://192.168.0.10/bWAPP
Press Enter.
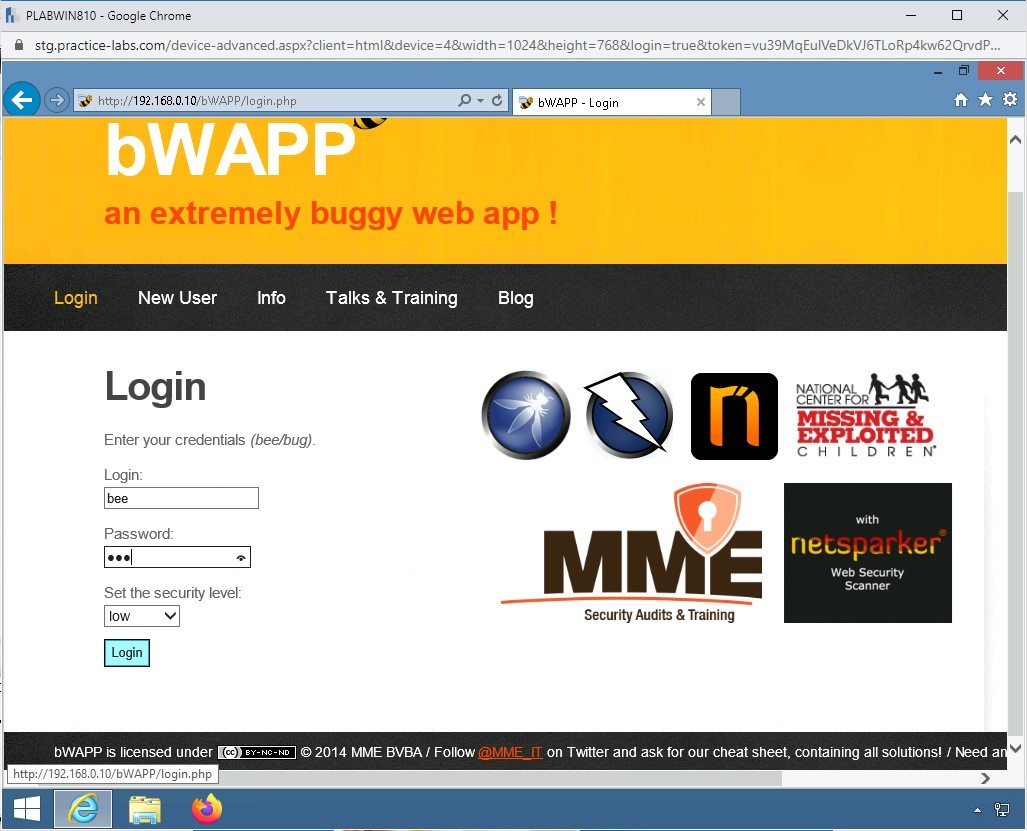
Step 4
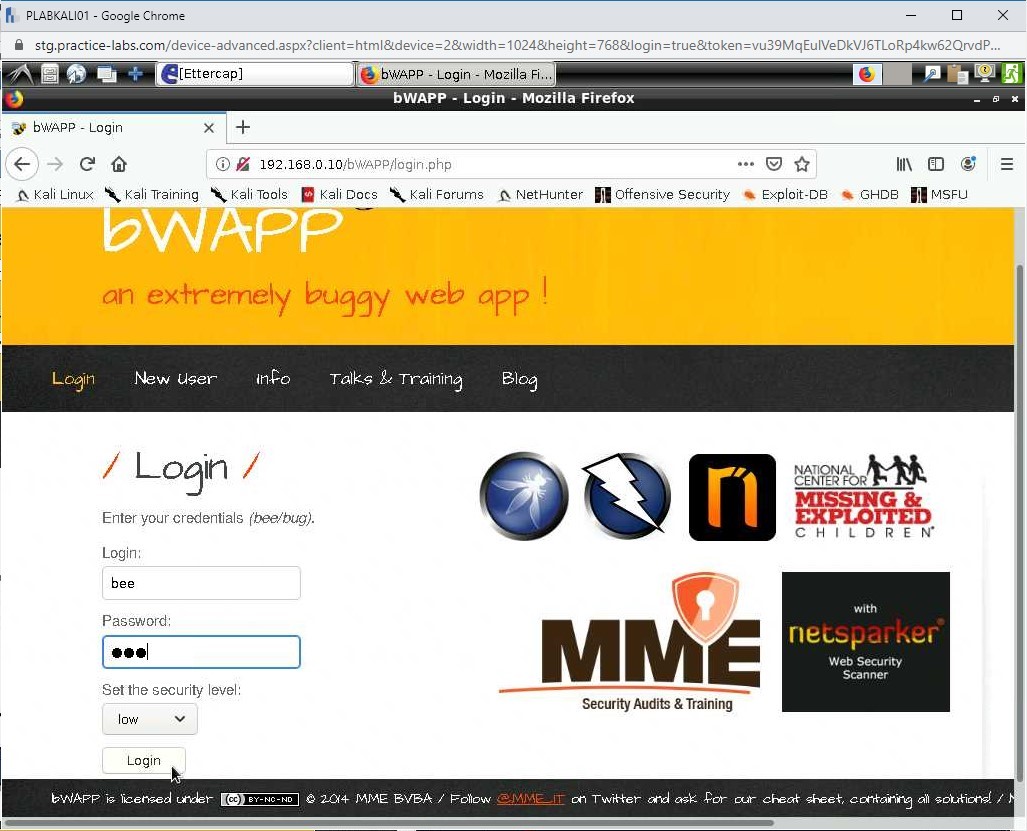
The Login page is displayed. Type the following:
Login:
bee
Password
bugClick Login.
Step 5
Switch over to PLABKALI01. Notice that you have been able to intercept the user credentials.
Make a note of the user credentials and login URL.

Step 6
Minimize the Ettercap window. Click the Firefox ESR icon.
Step 7
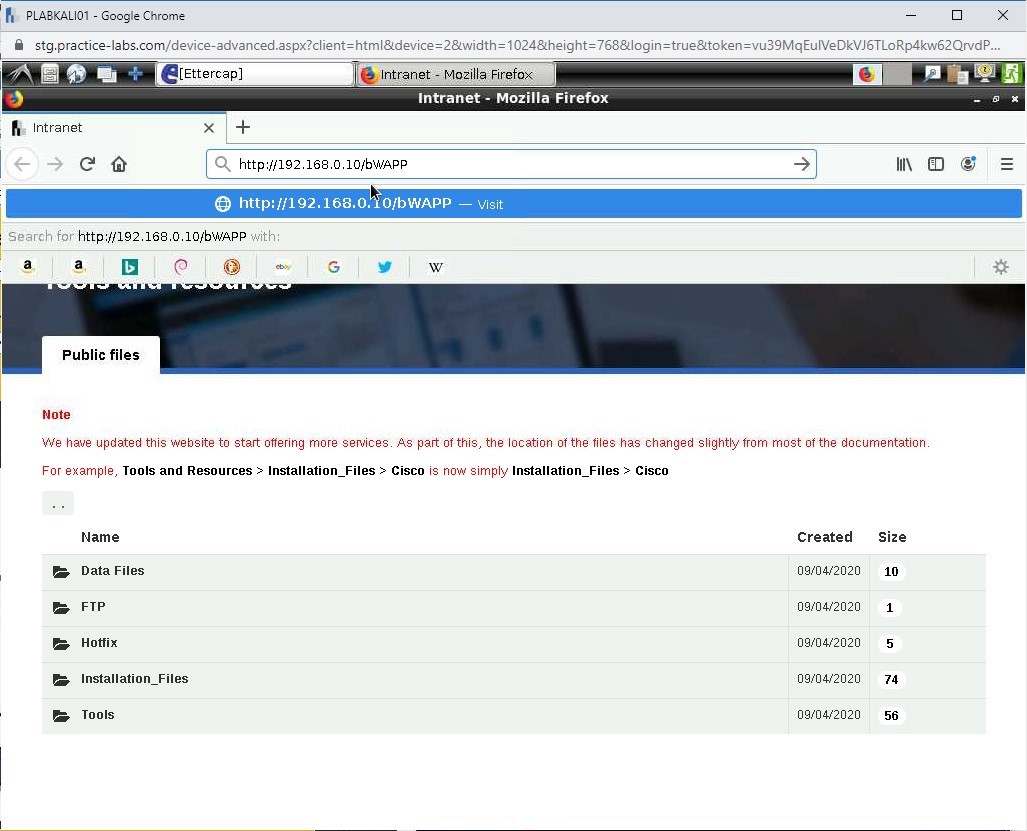
The Firefox window is displayed. In the address bar, type the following URL:
http://192.168.0.10/bWAPP
Press Enter.
Step 8
You can now use the credentials that you had captured.
Login:
bee
Password
bugClick Login.
Step 9
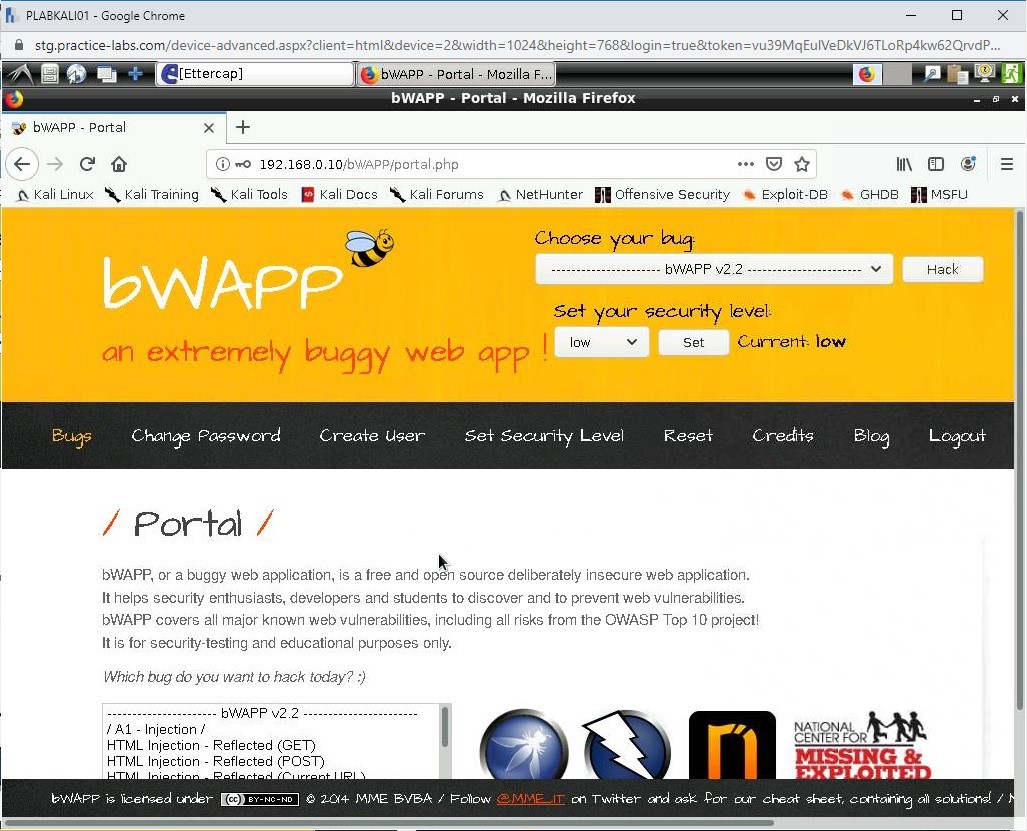
Notice that you have been able to use the captured credentials successfully.
You are now logged into the Website.
Close the Firefox ESR and Ettercap on PLABKALI01. Close the Internet Explorer window on PLABWIN810.
Task 4 - Track the Sniffing Network Interface Cards (NICs) on the Network
As part of penetration testing, you should also check if there are NICs on the network devices and servers that are configured in promiscuous mode. In this mode, a NIC can listen and read every packet that flows through the network. NICs should not be used with general-purpose servers, user systems, and network devices. You, however, should use this mode for network monitoring purposes.
In this task, you will learn to track the sniffing NICs on the network. To do this, perform the following steps:
Step 1
Ensure you have powered on all the devices listed in the introduction and connect to PLABKALI01.
From the left pane, click the Terminal icon.
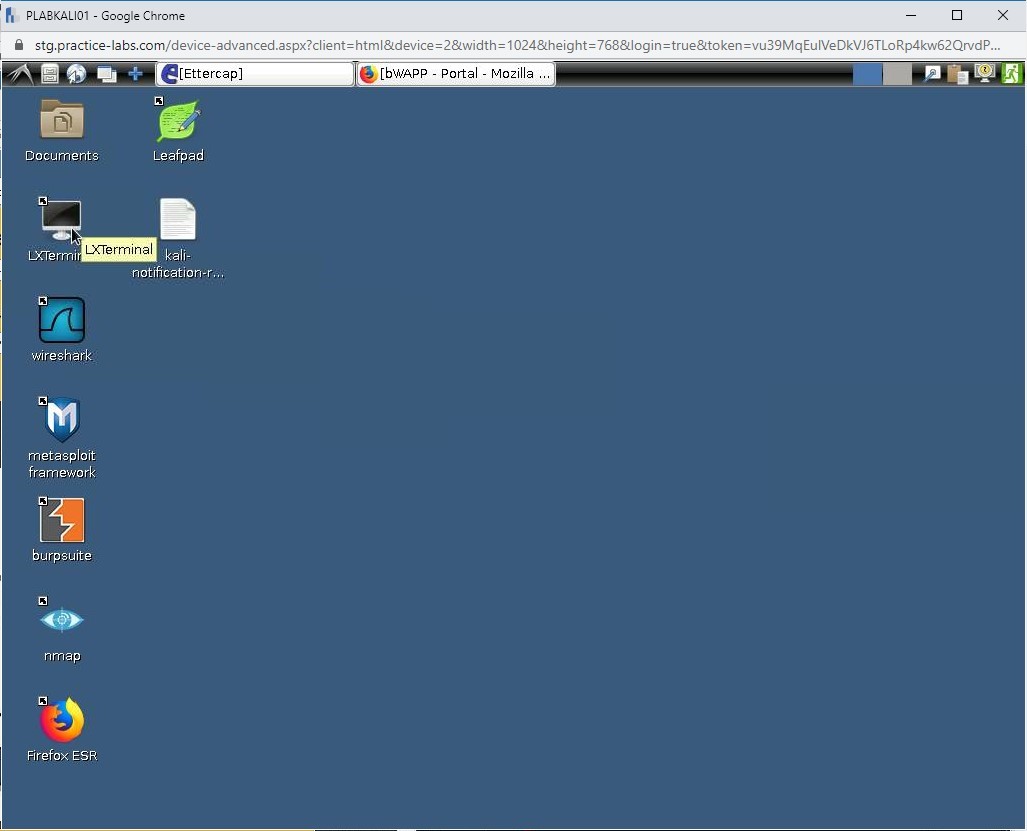
Step 2
The Terminal window is displayed.
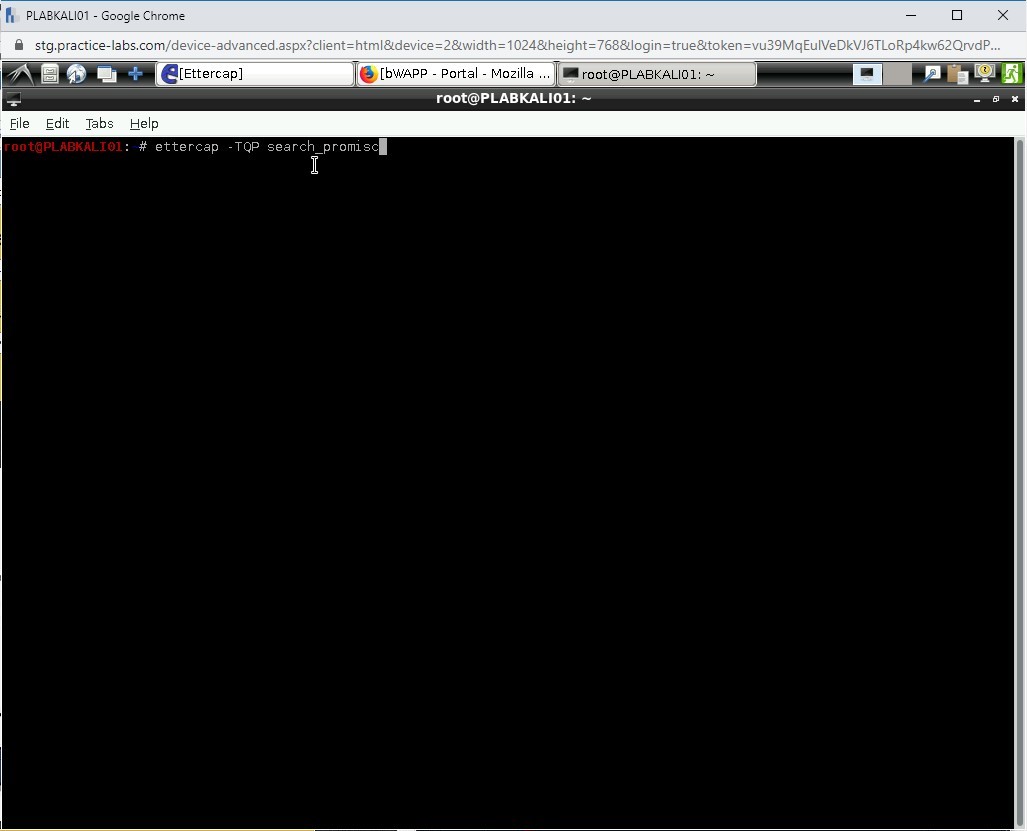
To find the NICs that are in the promiscuous mode, type the following command.
ettercap -TQP search_promisc
Press Enter.
Step 3
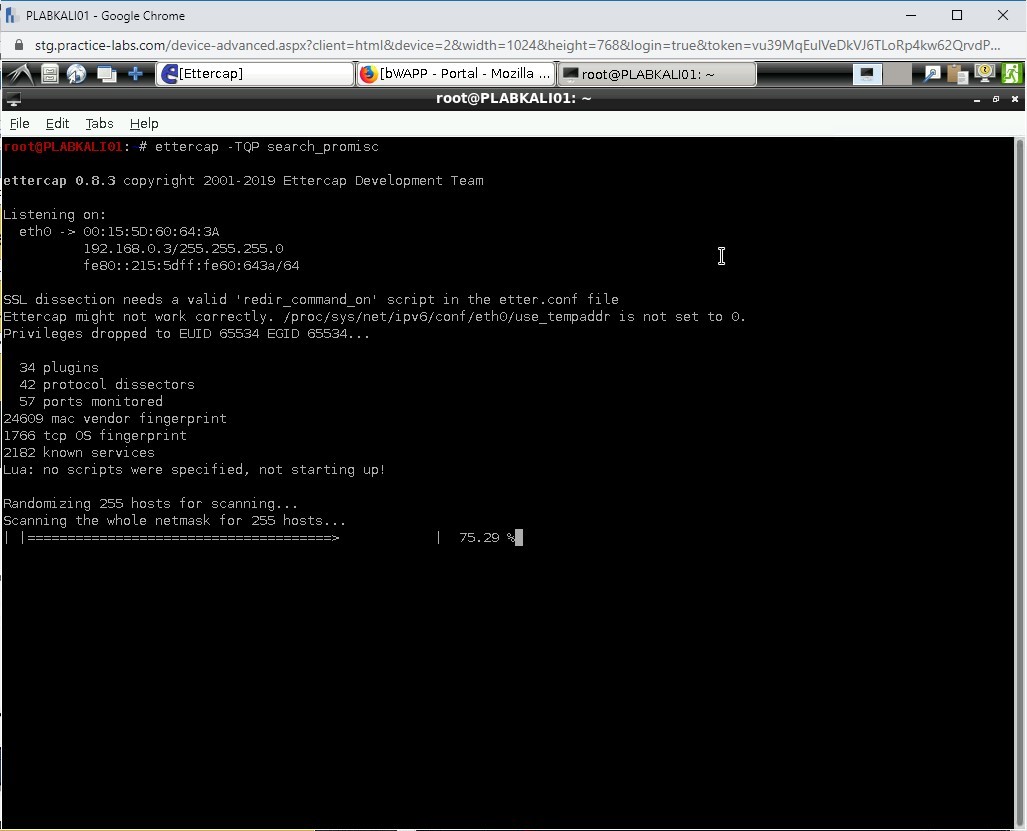
Ettercap starts to locate the NICs that are running in the promiscuous mode.
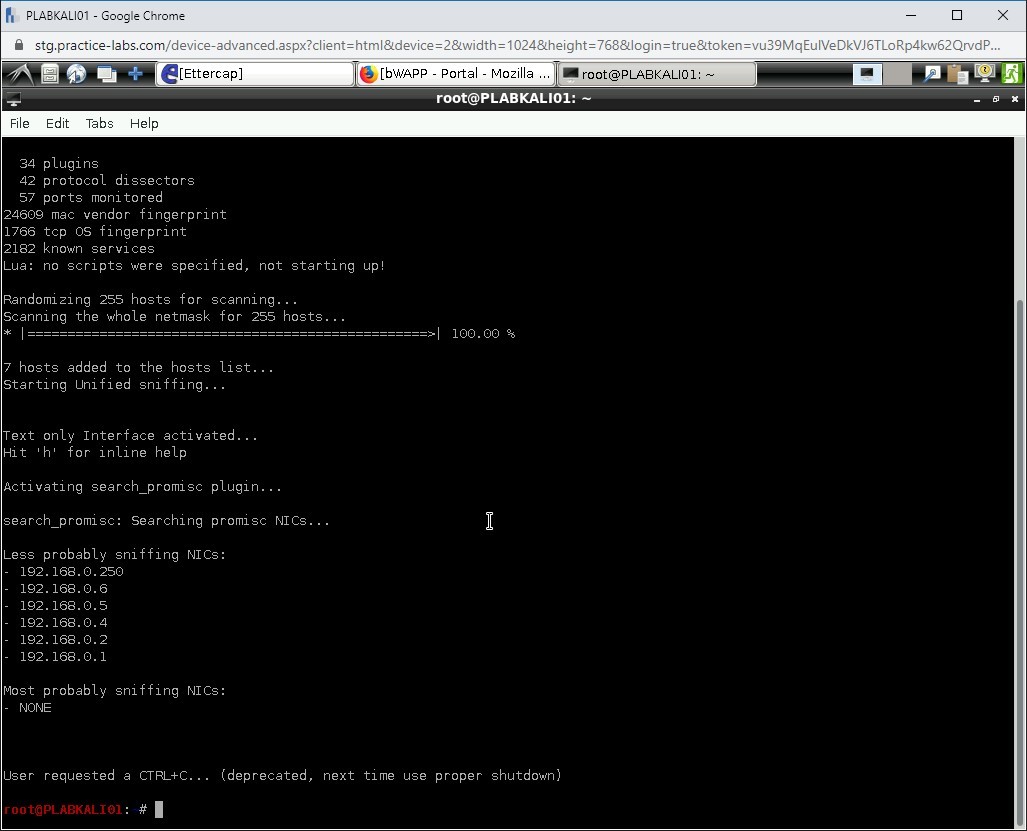
Step 4
Notice that it has not found any NIC in the promiscuous mode. Press Ctrl + c to terminate the command.
Task 5 - Perform DNS Spoofing Attack
DNS spoofing refers to an attack that diverts a domain name to an incorrect IP address. When a victim searches for a domain name, which is mapped to an incorrect IP address of the attacker’s system, the user is diverted to it. Therefore, the victim does not get to see the correct Website, but instead, the attacker’s Website is displayed.
For example, a victim attempts to connect to www.google.com. Instead of reaching www.google.com, the victim is redirected to a similar-looking Website on the attacker’s system. This is because, in DNS spoofing, www.google.com is mapped to the IP address of the attacker’s choice.
In this task, you will learn to perform a DNS spoofing attack. To do this, perform the following steps:
Step 1
Ensure you have powered on all the devices listed in the introduction and connect to PLABKALI01. Ensure that the terminal window is open.
Clear the screen by entering the following command:
clear
There are many tools that are available for DNS spoofing. Ettercap, however, is one of the prominent tools that reduced the effort in conducting a DNS spoofing attack.
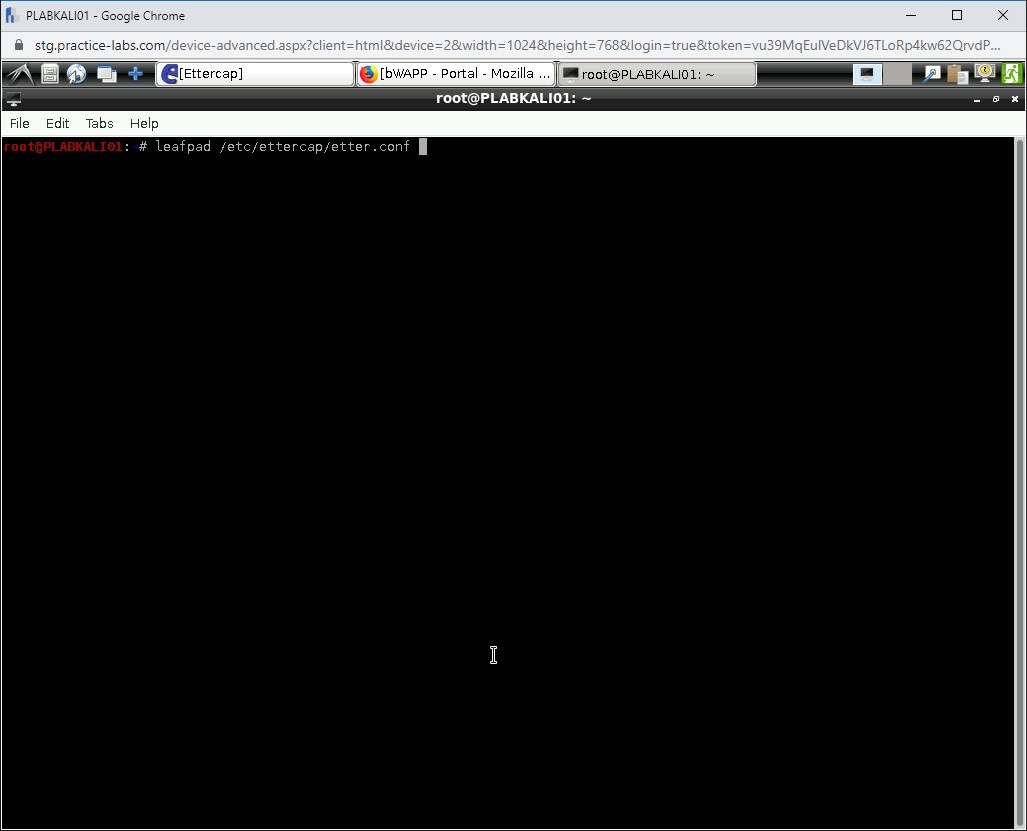
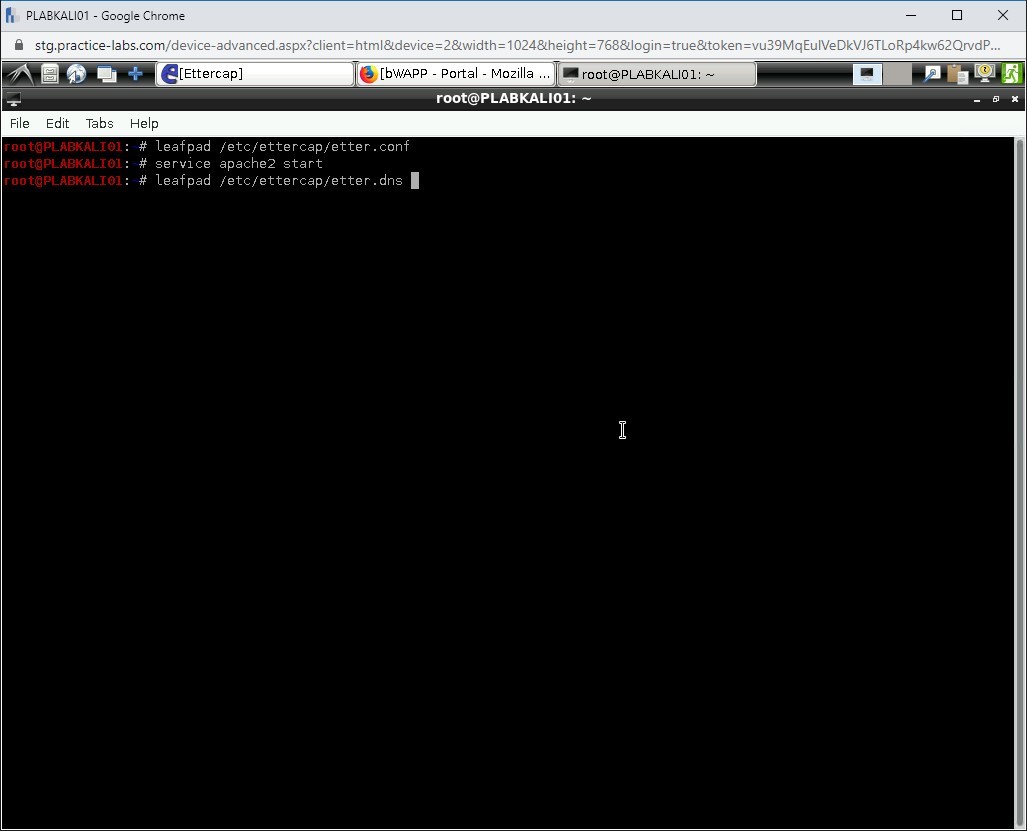
There are specific tasks that you need to perform to conduct this attack. At first, you need to modify the /etc/ettercap/etter.conf file. To do this, type the following command:
leafpad /etc/ettercap/etter.conf
Press Enter.
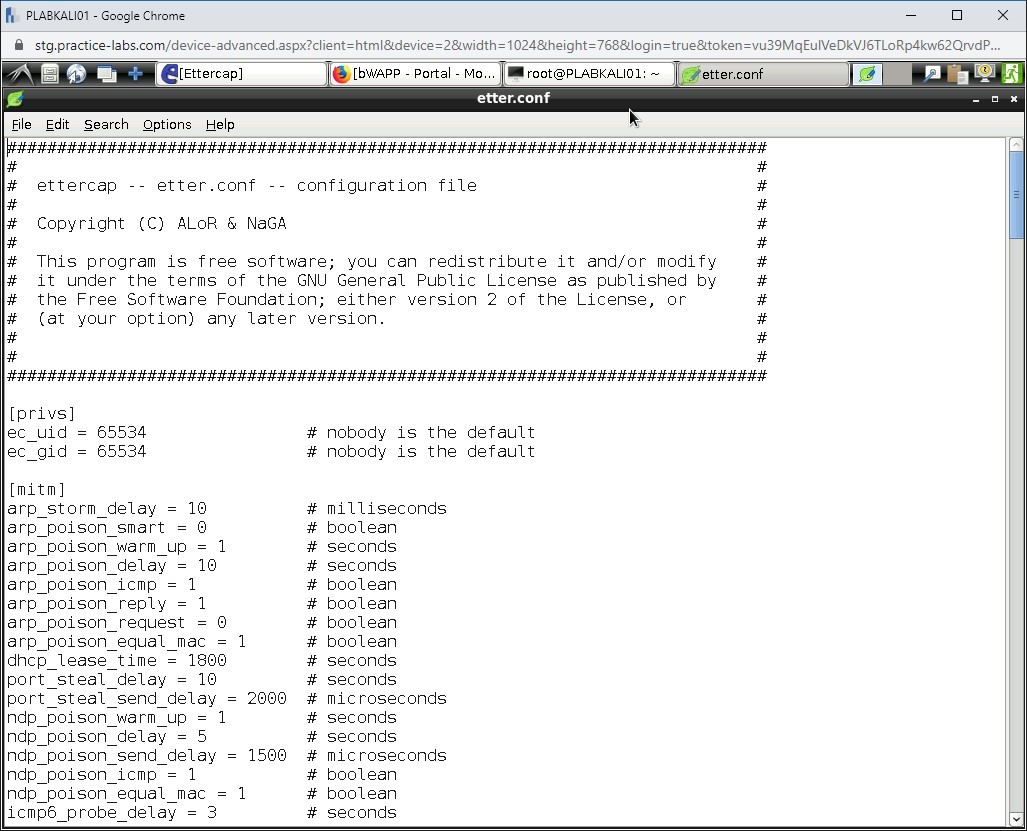
Step 2
The etter.conf file is displayed.
Step 3
Scroll down to the Linux section. You will need to remove # from both the commands in the # if you use iptables section.
Alert: Also remove the # from the IPv6 section.
Step 4
Press Ctrl +s to save the file. After the file is saved, close the file.
Note: File can also be saved by clicking File and Save As option. If prompted to overwrite etter.conf file, click Yes.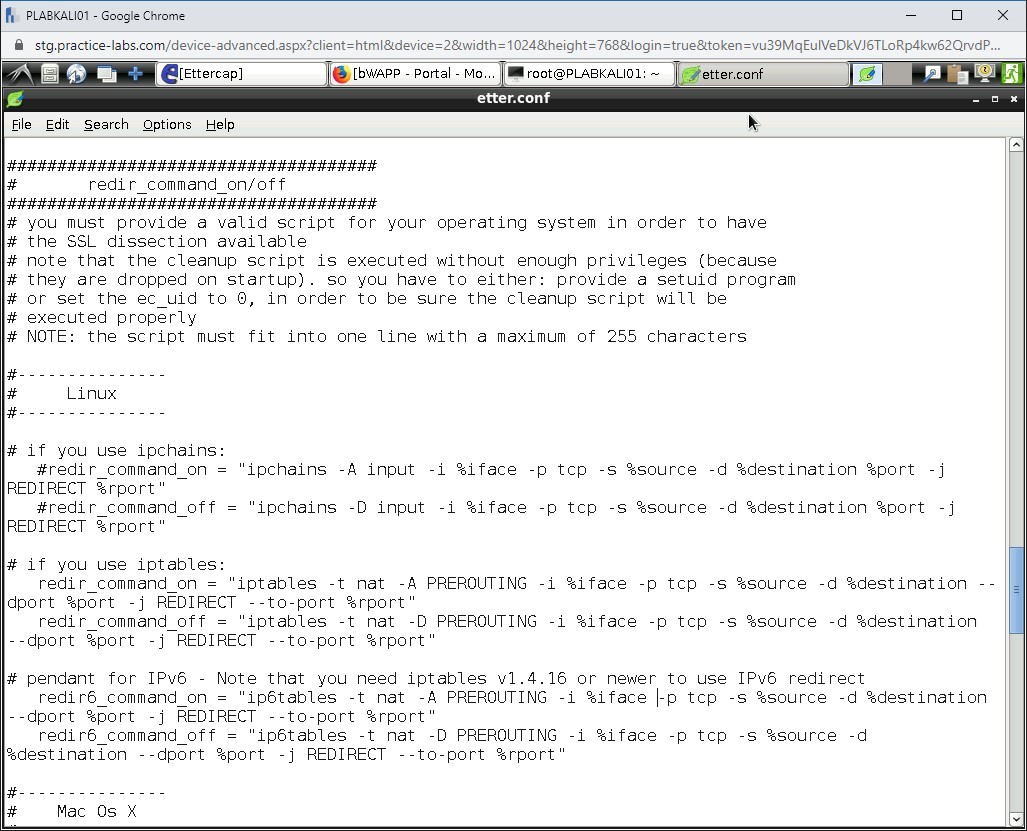
Step 5
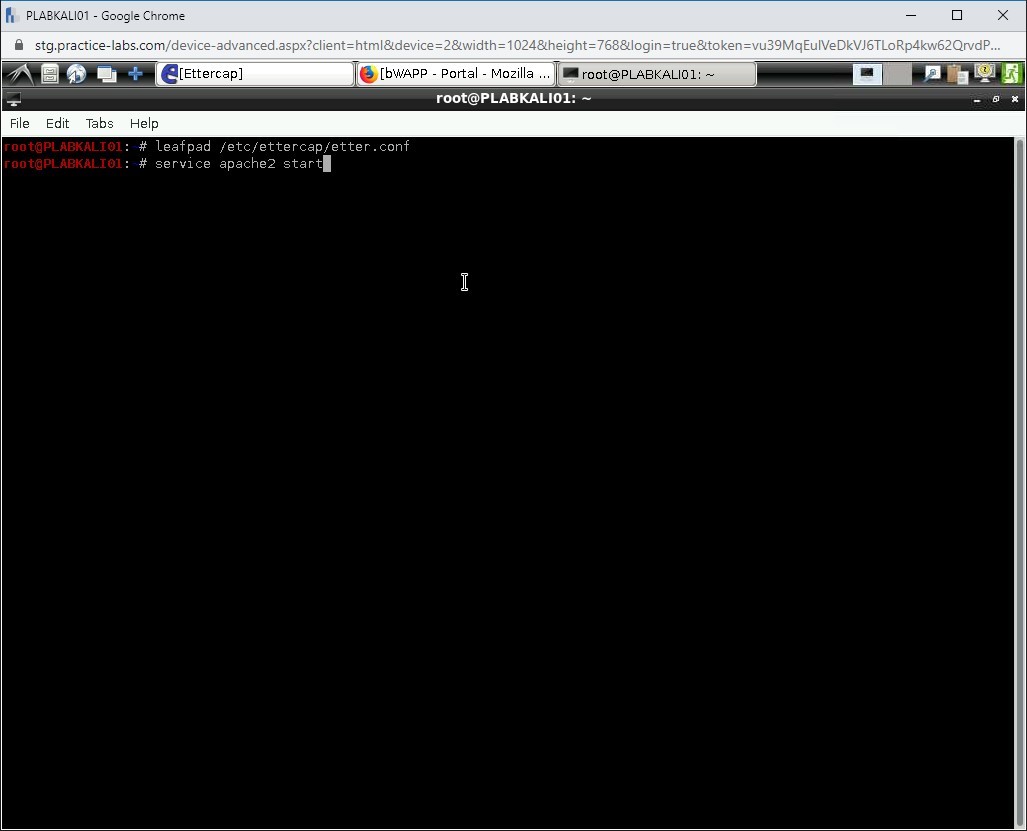
You are back on the terminal window.
Next, you need to start the Apache server running on Kali Linux. To do this, type the following command:
service apache2 start
Press Enter.
Step 6
No error is produced, and Apache is now started.

Step 7
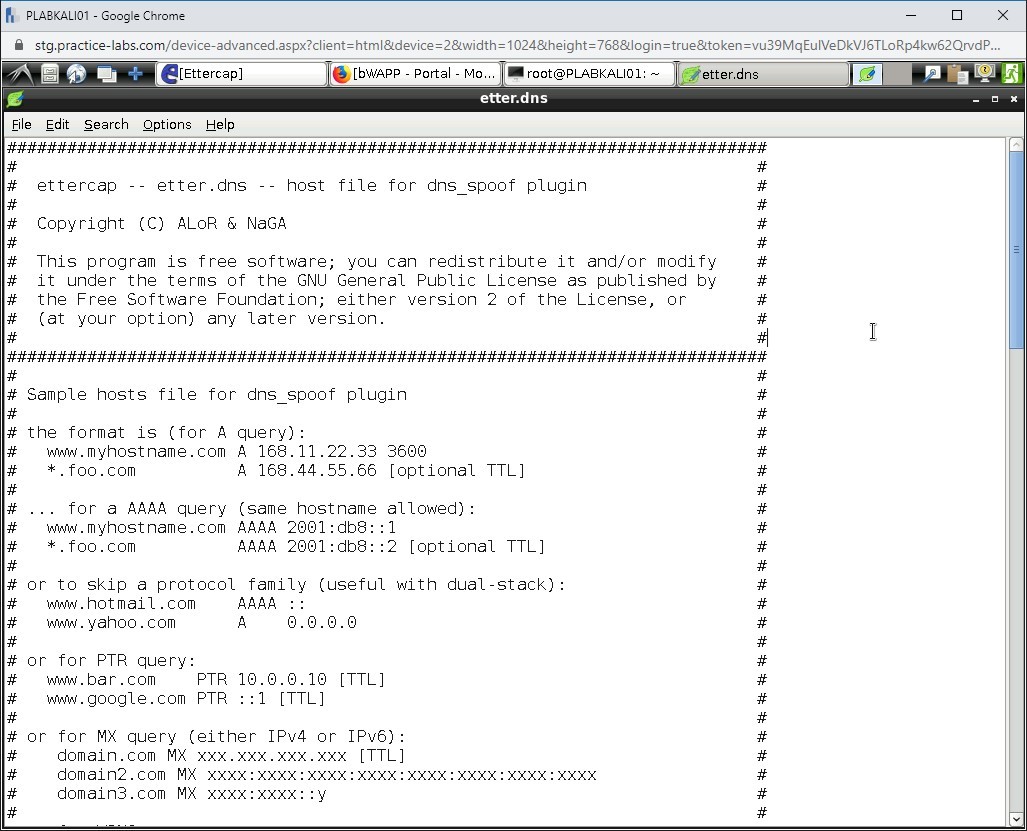
Next, you need to edit the etter.dns file. To do this, type the following command:
leafpad /etc/ettercap/etter.dns
Press Enter.
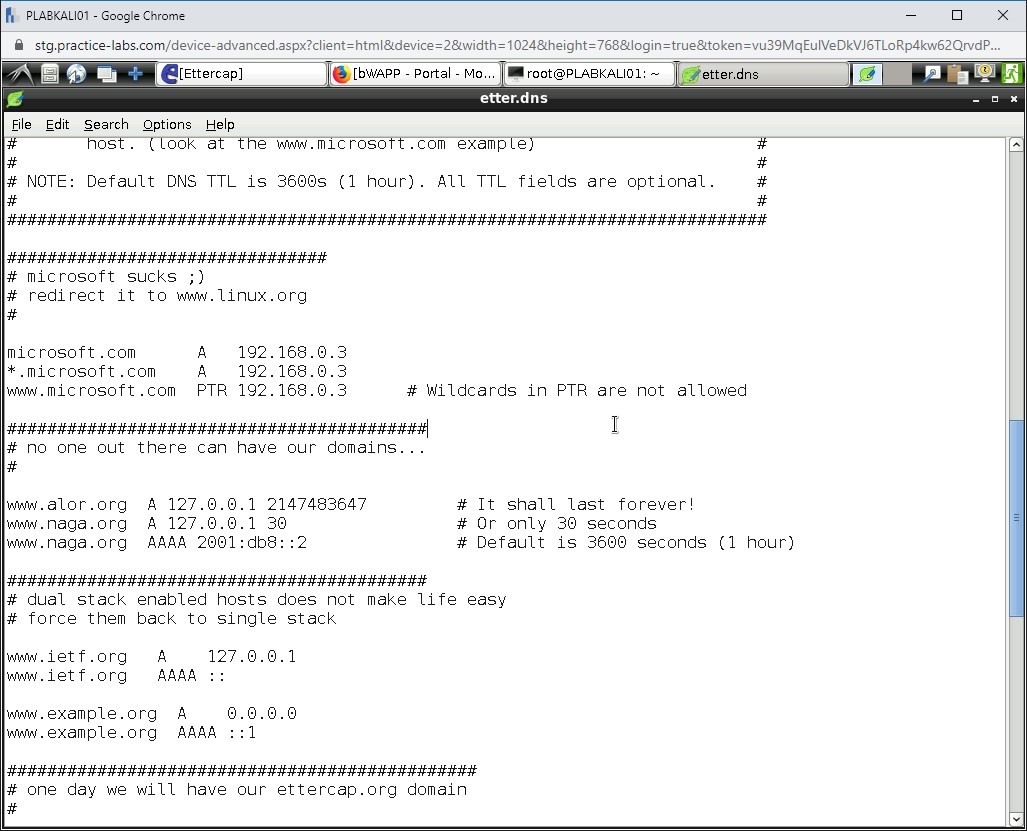
Step 8
The etter.dns file is now displayed.
Step 9
Scroll down to the microsoft sucks section.
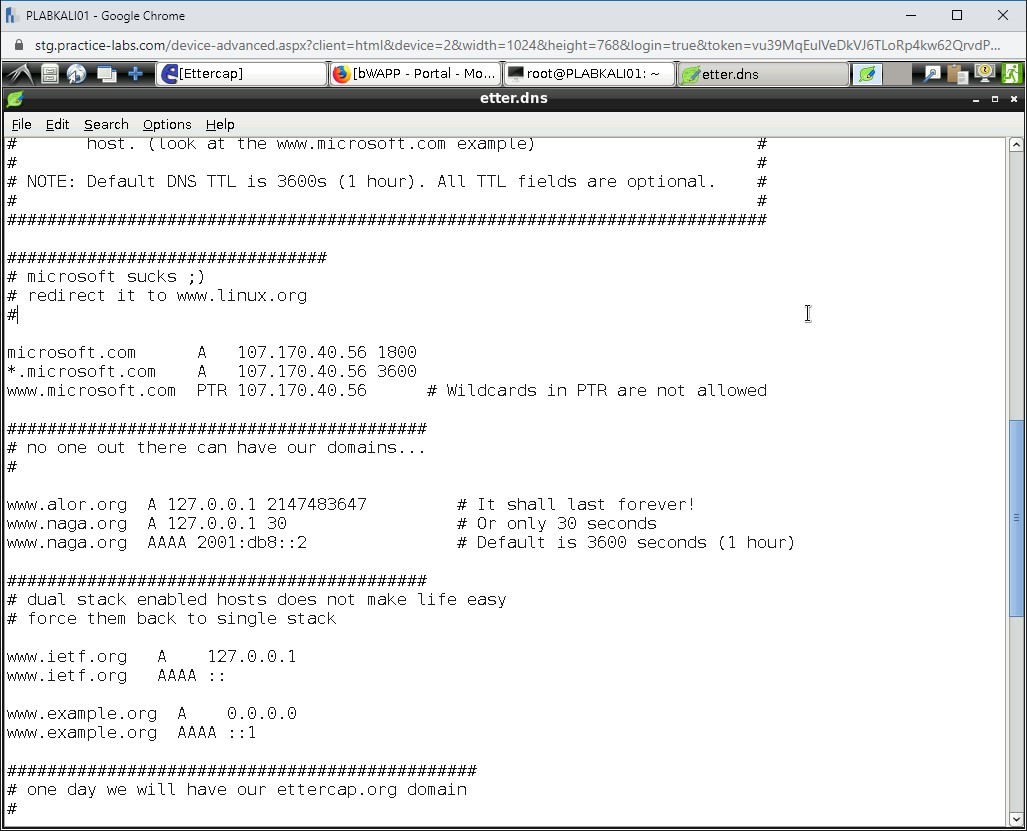
Step 10
Replace the existing IP addresses with the following IP addresses:
192.168.0.3
192.168.0.3
192.168.0.3
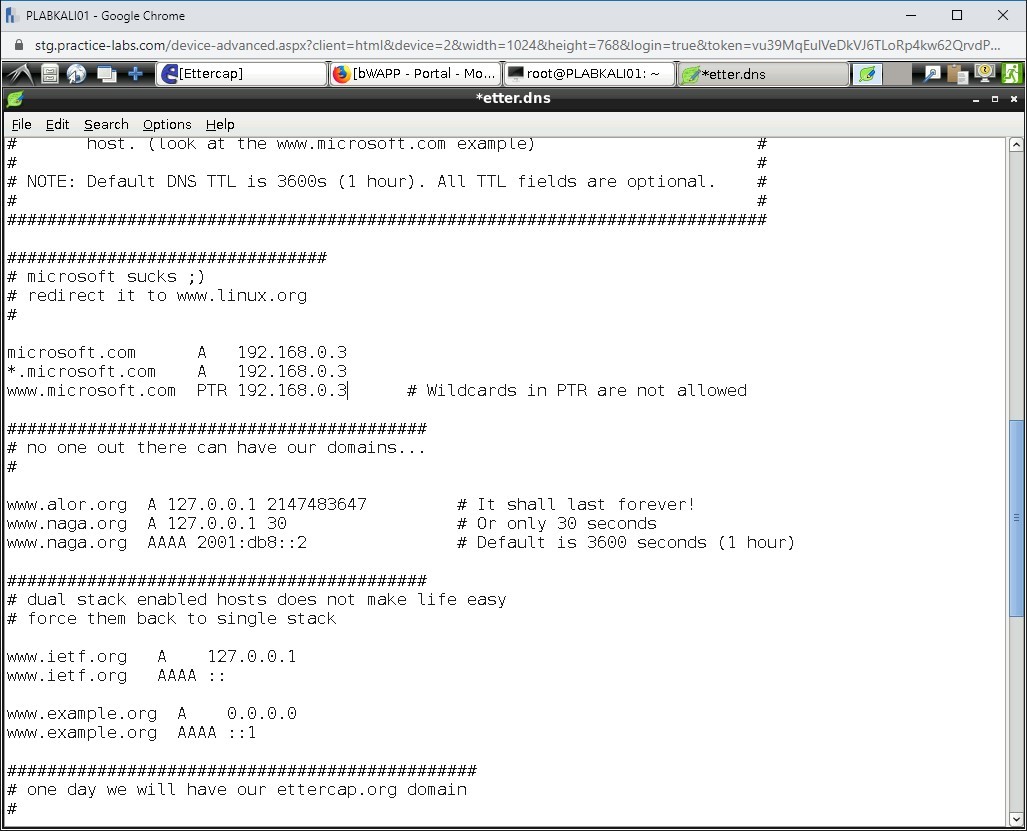
Step 11
Press Ctrl +s to save the file. After the file is saved, close the file.
Step 12
Next, let’s start Ettercap in GUI mode. In the previous tasks, you started Ettercap using the Applications menu. You can also start Ettercap in GUI mode from the command prompt. Type the following command:
ettercap -G
Press Enter.
Alert: If you encounter a segmentation fault please close all open windows and open terminal and enter: ettercap -G once more.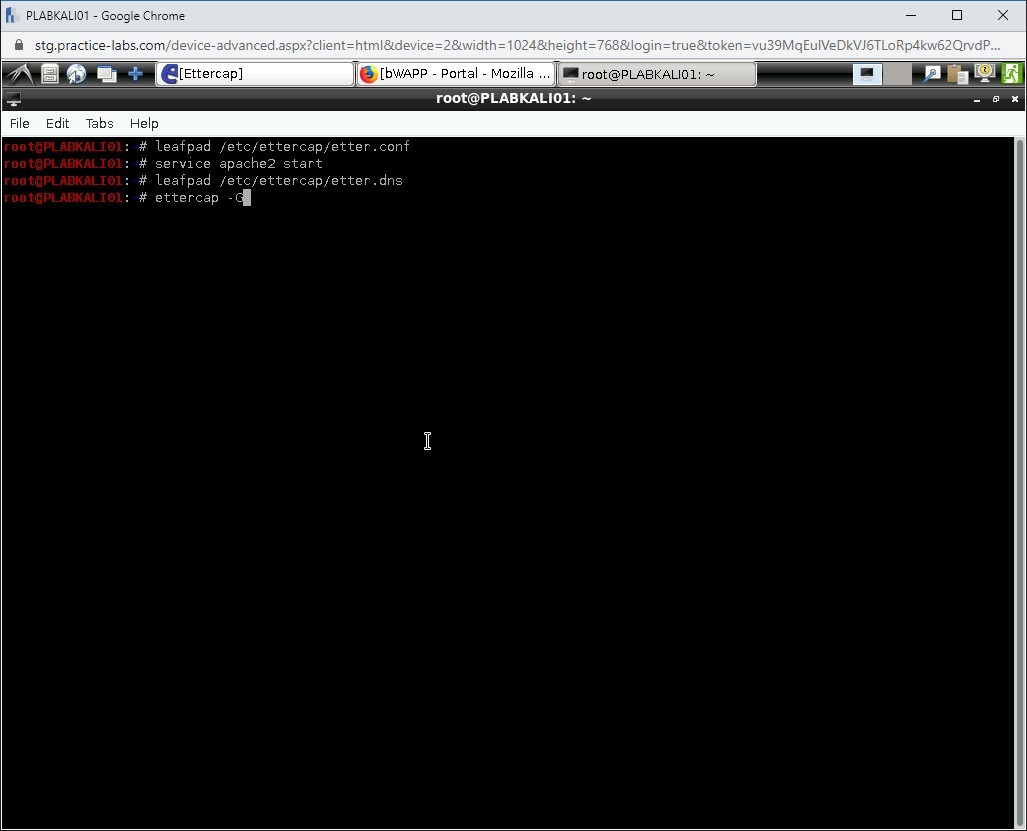
Step 13
Step 14
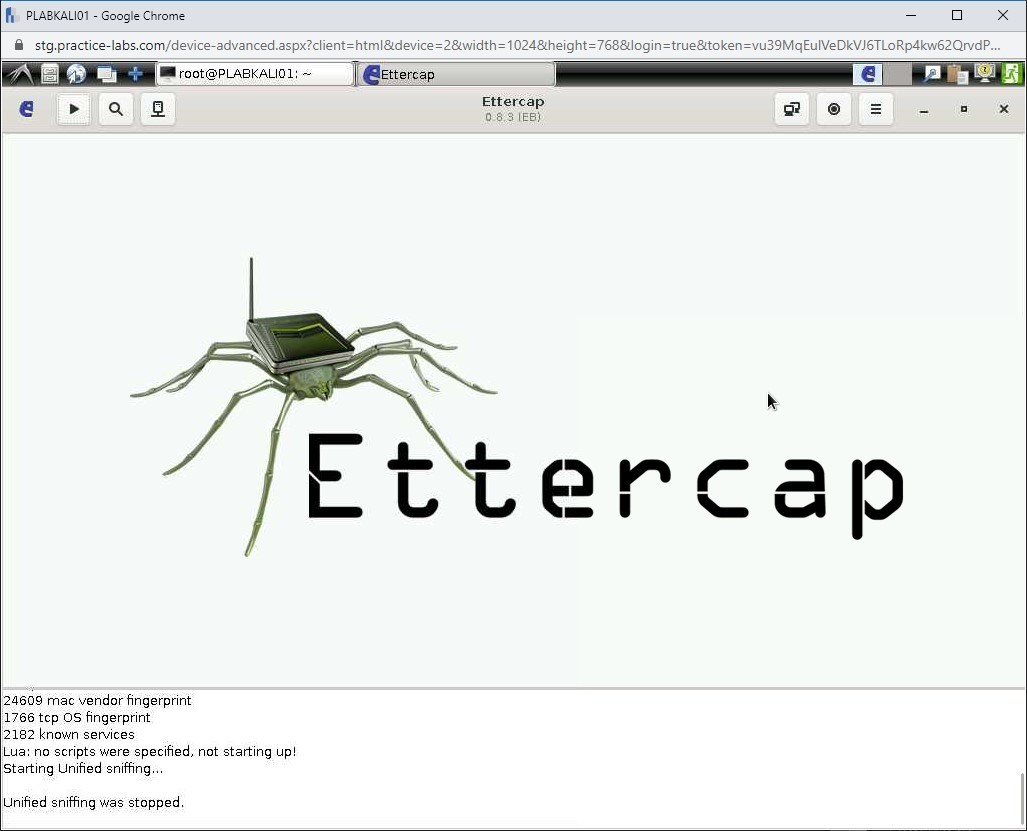
Ettercap now starts in GUI mode.
Click Start/ Stop Sniffing . You will start sniffing later.
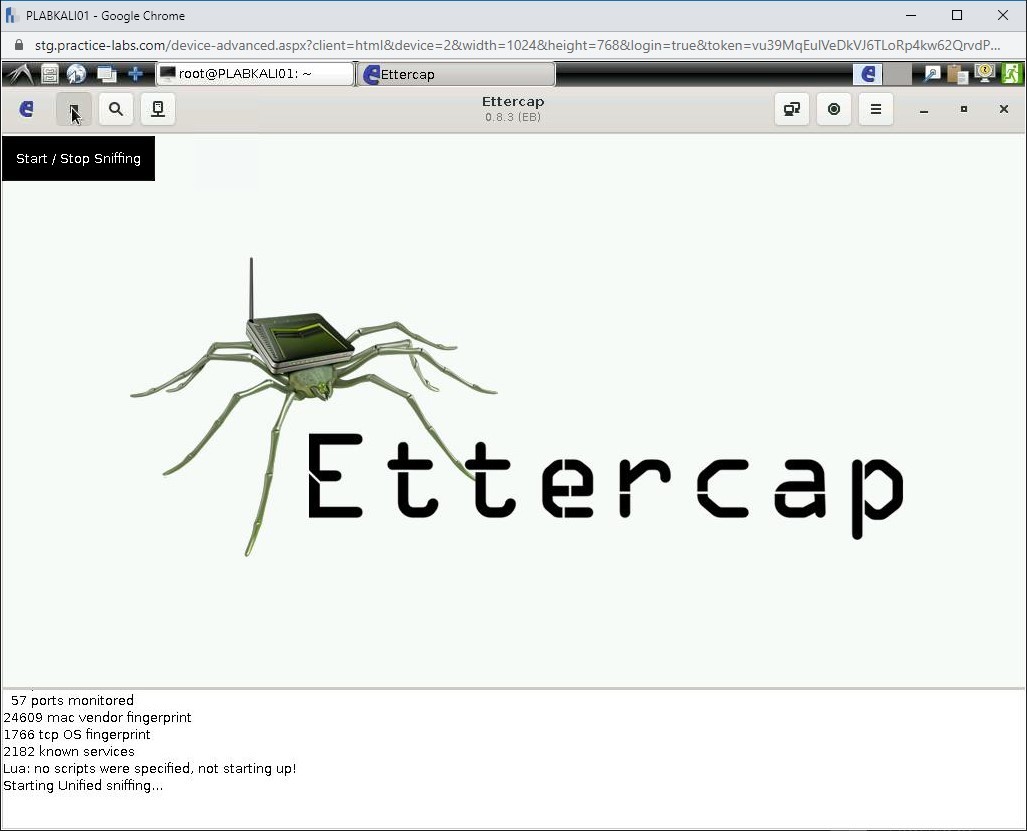
Step 15
Notice that the bottom pane states that sniffing has stopped.
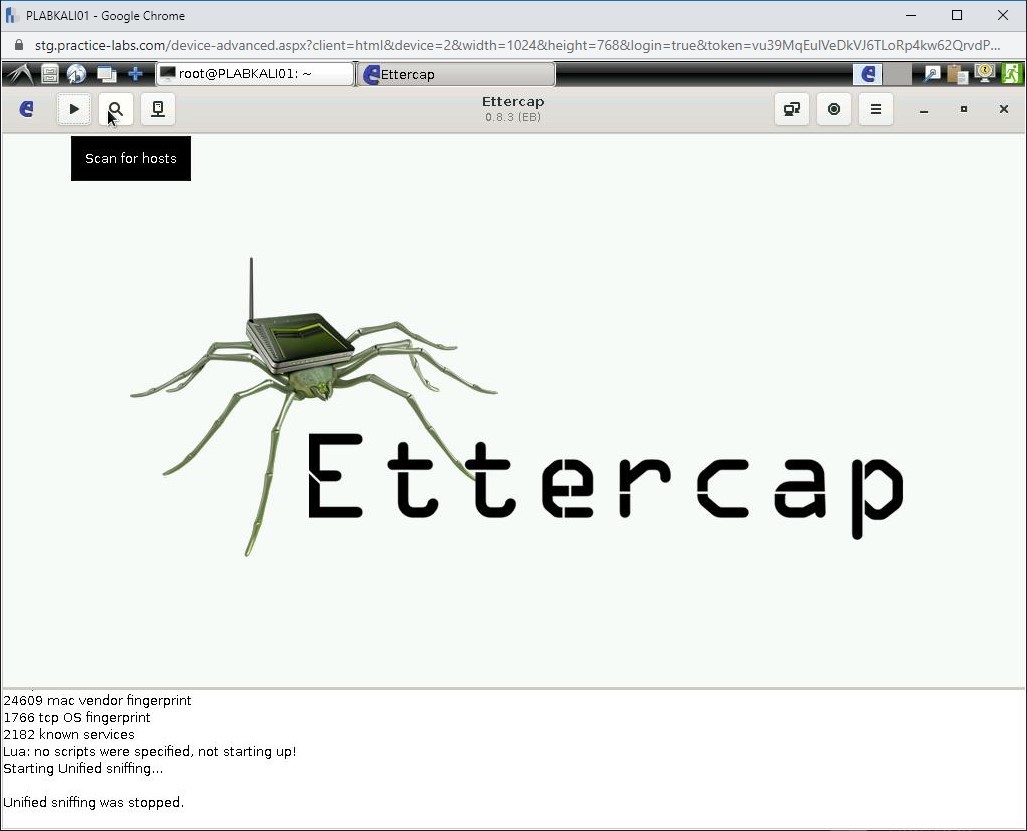
Step 16
Click Scan for hosts.
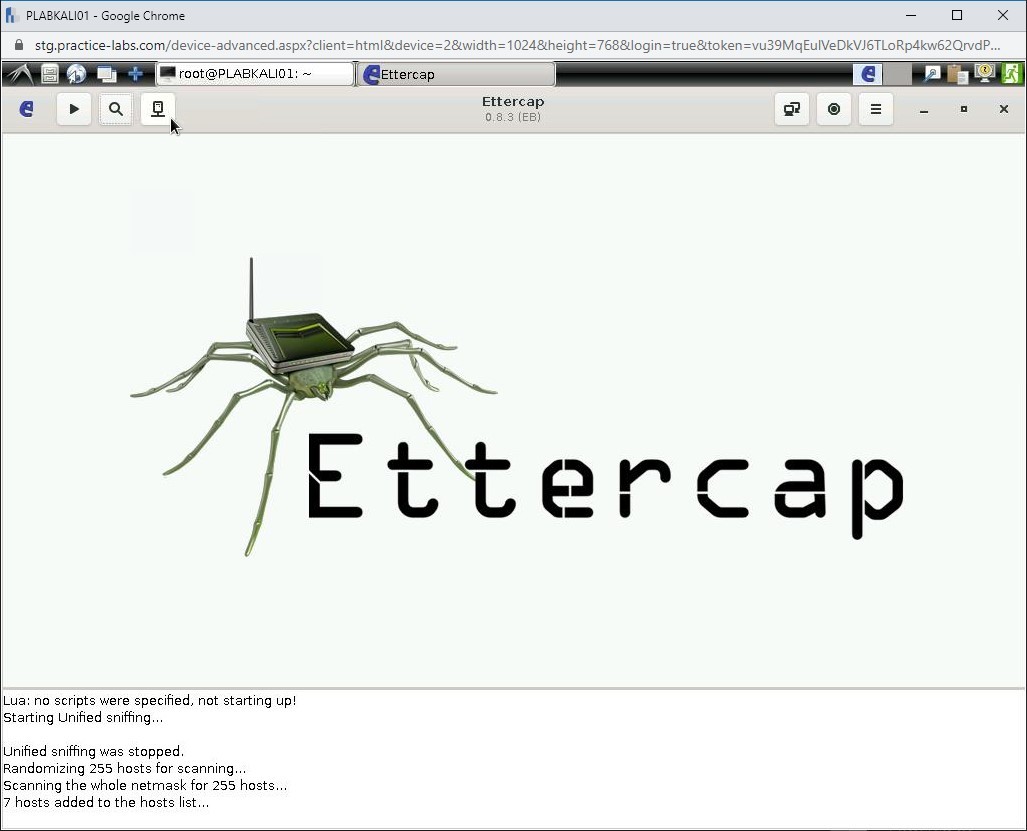
Step 17
Next, select Hosts list.
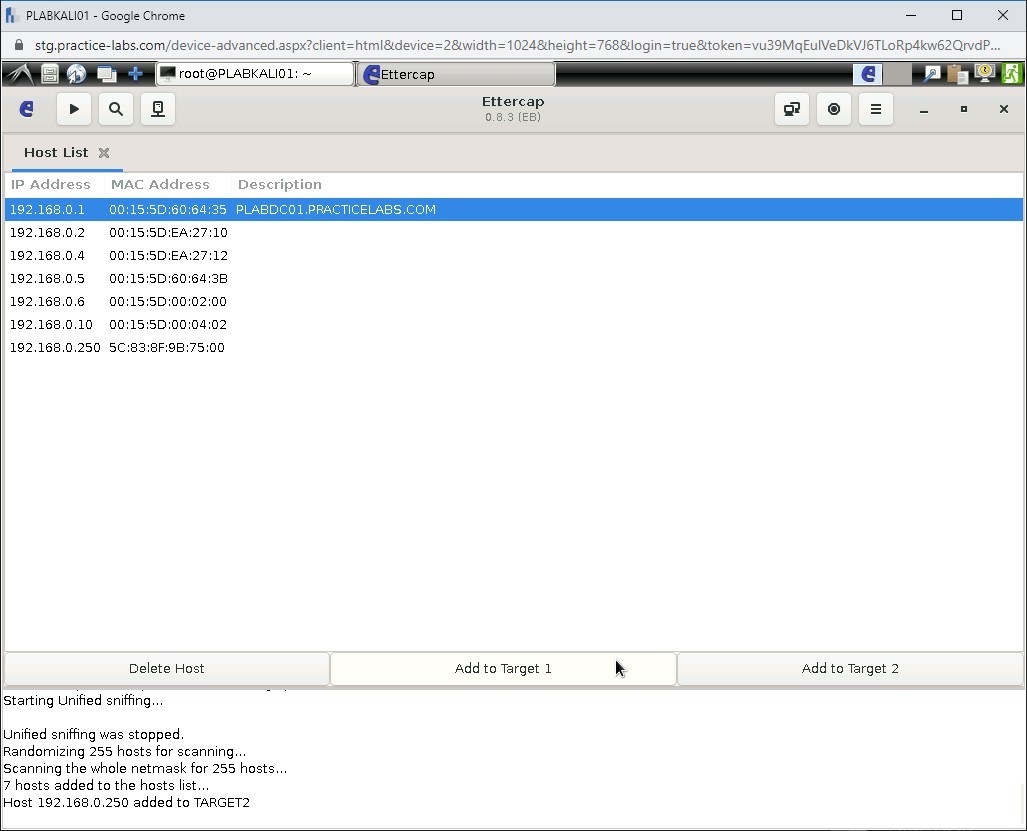
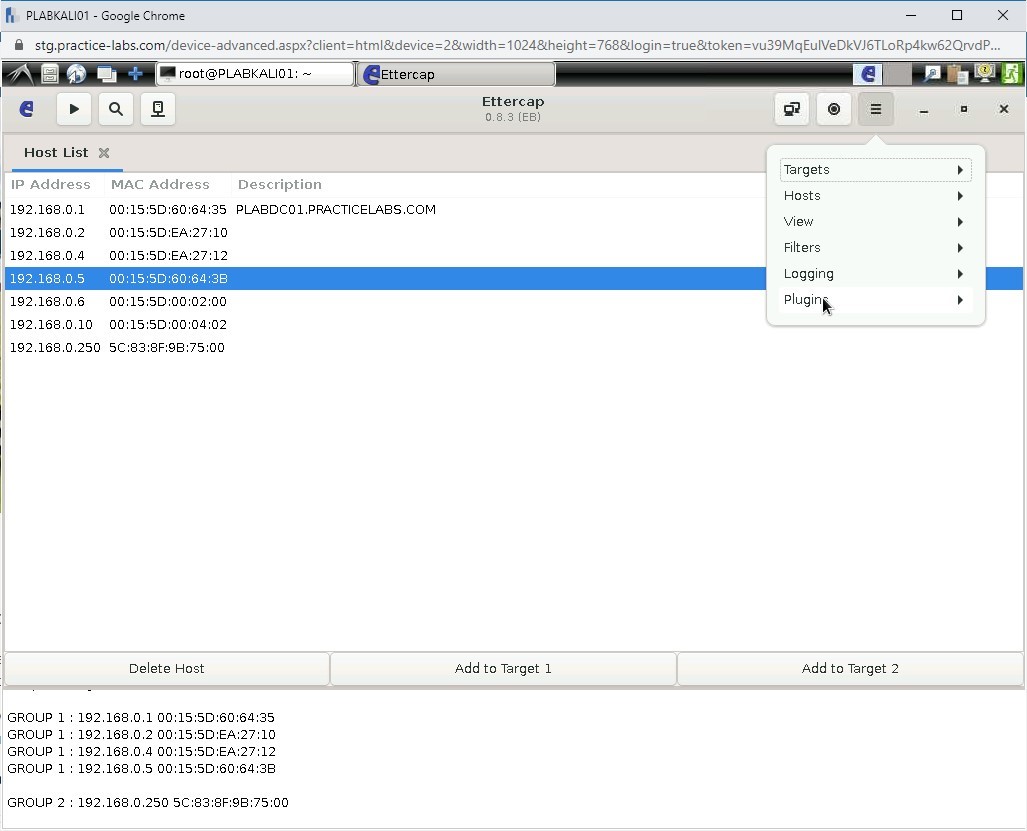
Step 18
The Host List is displayed. Select the gateway IP address, which is 192.168.0.250 and click Add to Target 2.
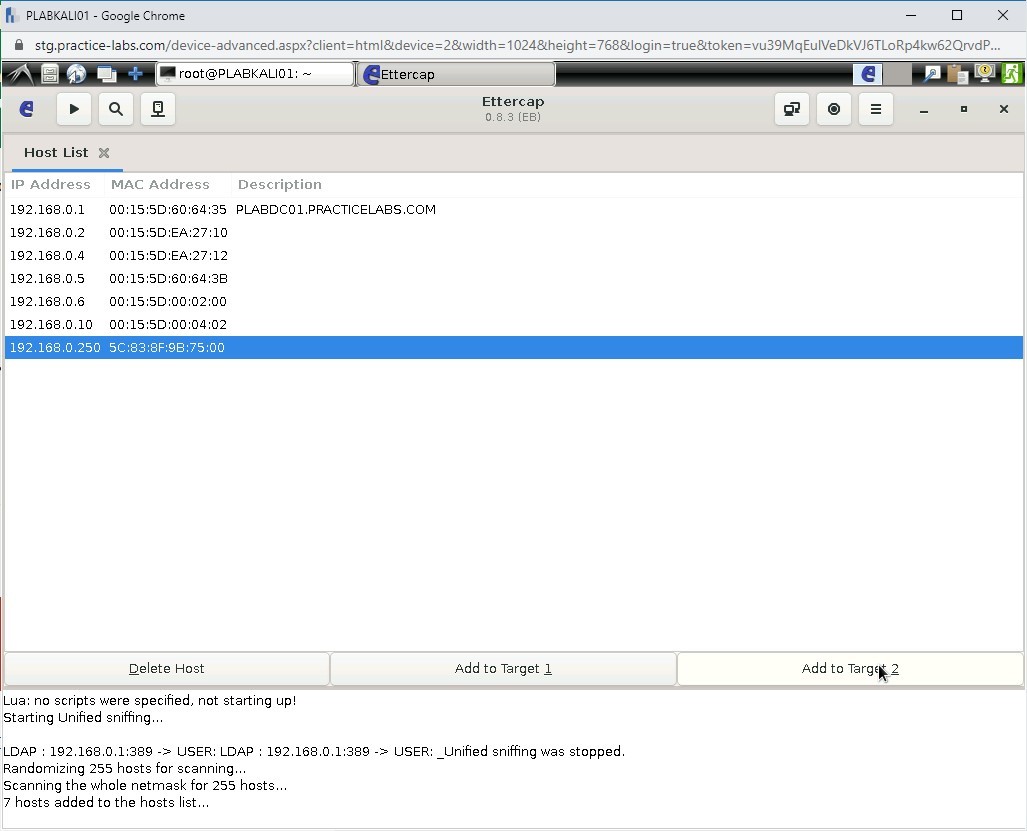
Step 19
Now, select 192.168.0.1 and click Add to Target 1.
Step 20
Repeat the steps for the following IPs and add them to Target 1:
192.168.0.2
192.168.0.4
192.168.0.5
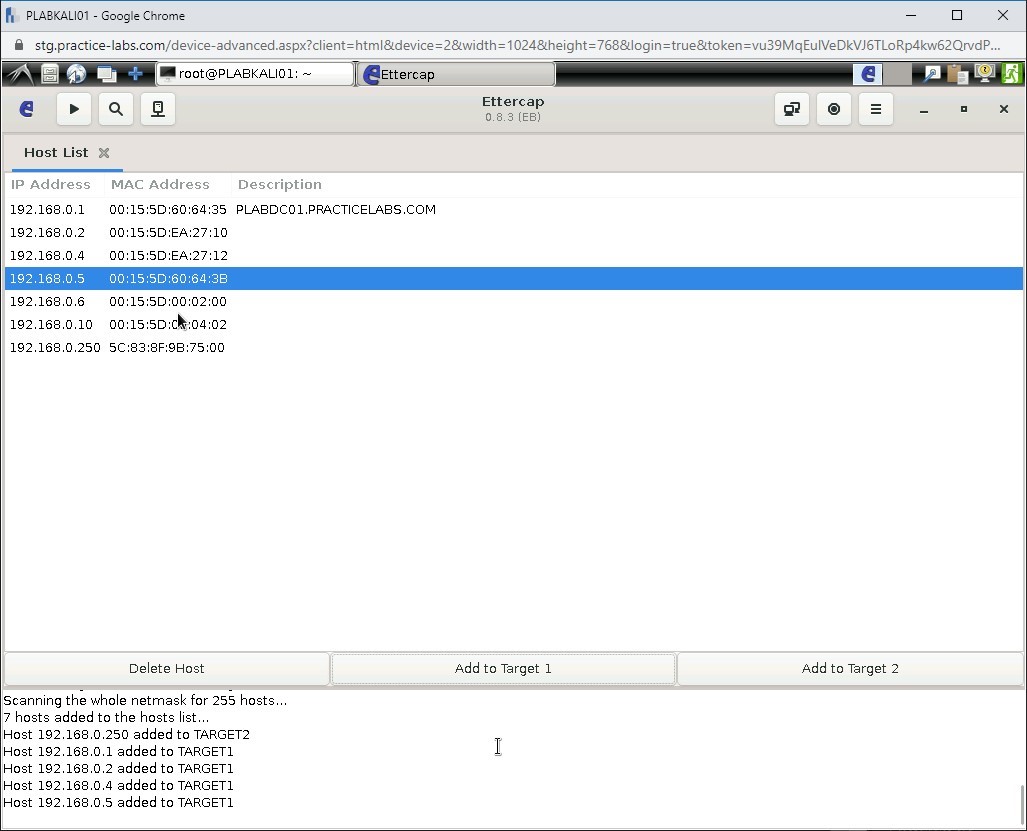
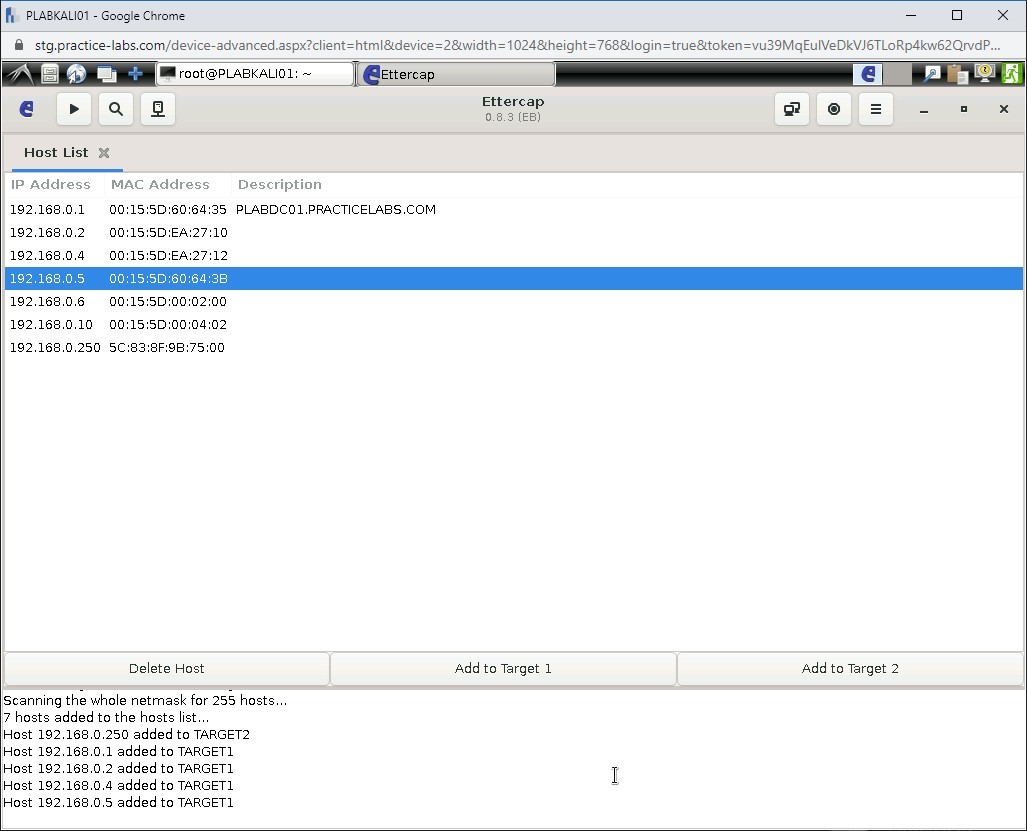
Step 21
Notice that the bottom pane lists four IP addresses that are added to Target 1.
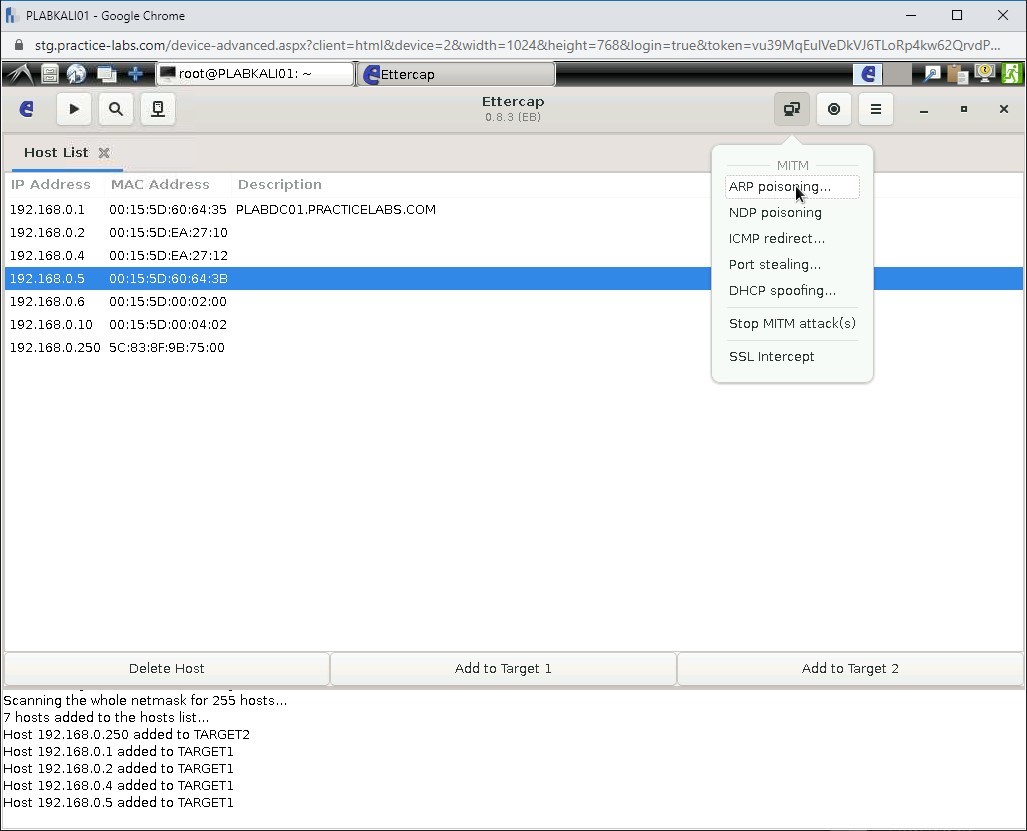
Step 22
Click Mitm and then select ARP poisoning.
Step 23
In the MITM Attack: ARP Poisoning dialog box, select Sniff remote connections and click OK.

Step 24
Click Plugins from the options.
Step 25
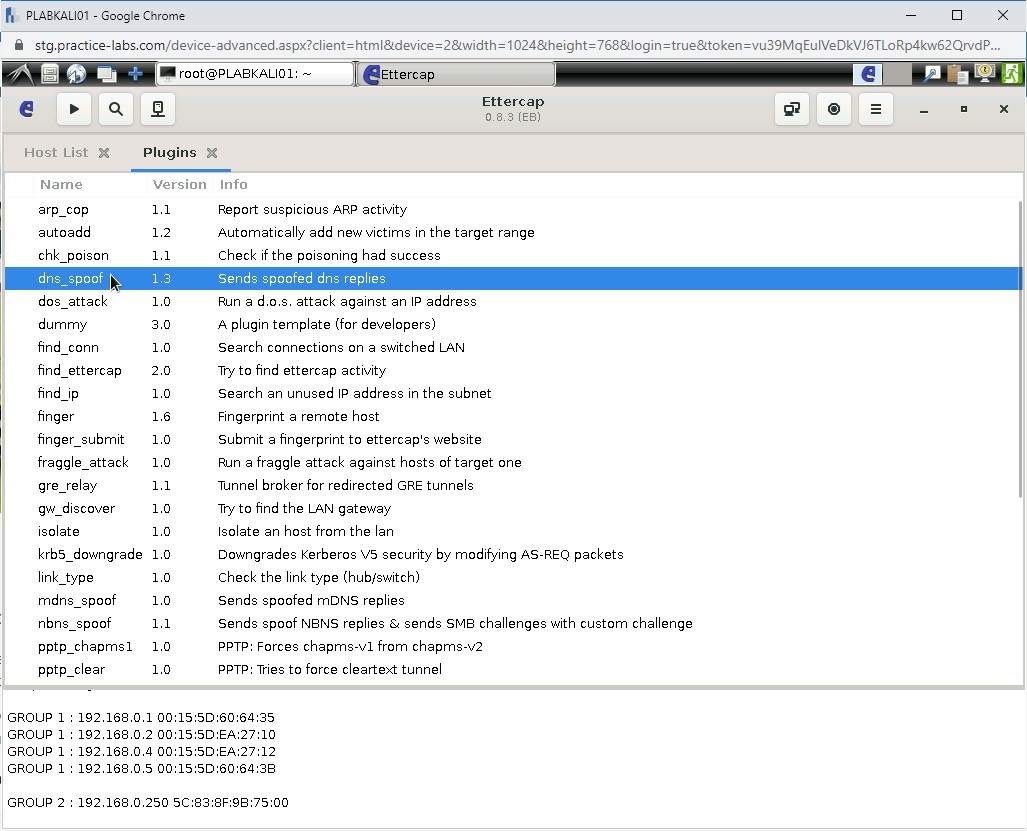
Select Manage plugins from the list.

Step 26
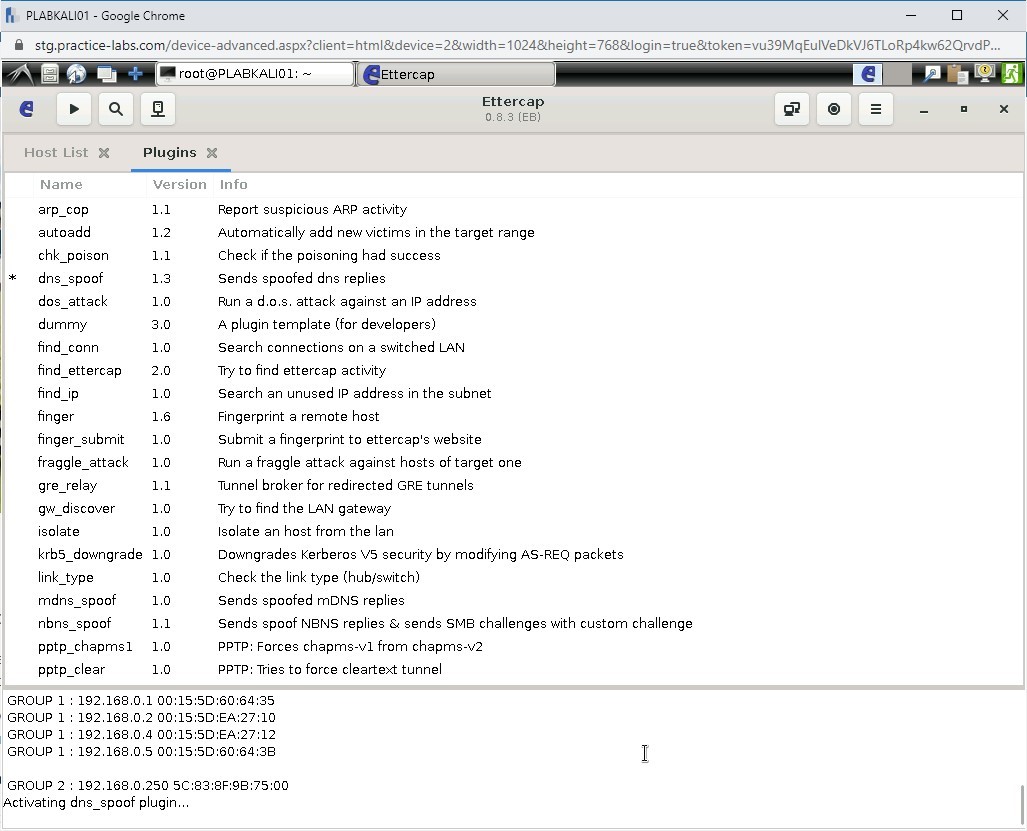
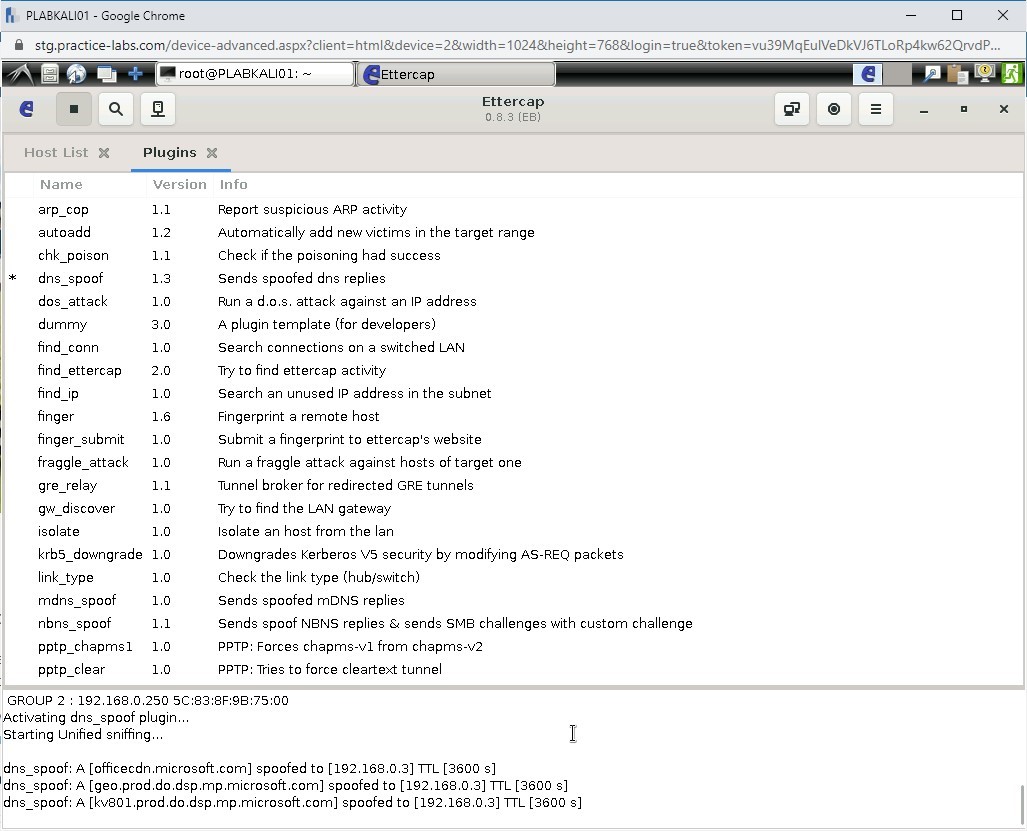
The Plugins tab is displayed. Double-click the dns_spoof plugin.
Step 27
Notice that the bottom pane displays the Activating dns_spoof plugin.
Step 28
Now, click Start and select Start sniffing.
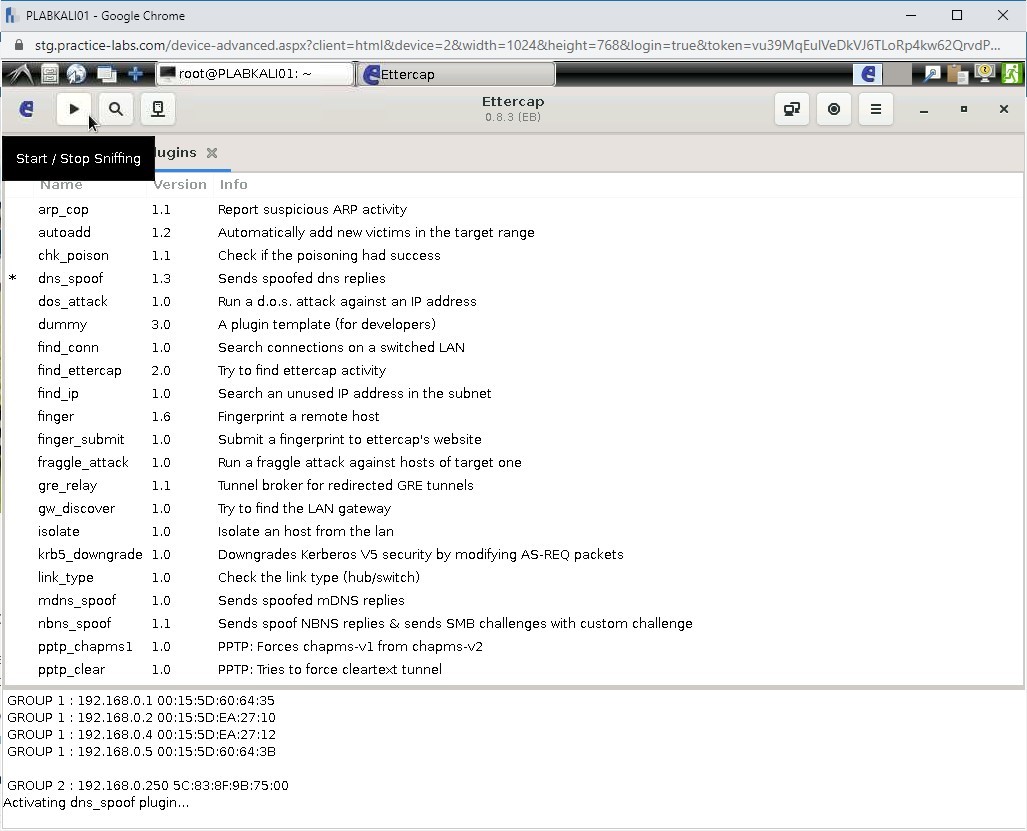
Step 29
Notice that sniffing has started, as shown in the bottom pane. The DNS spoofing has also started.
Step 30
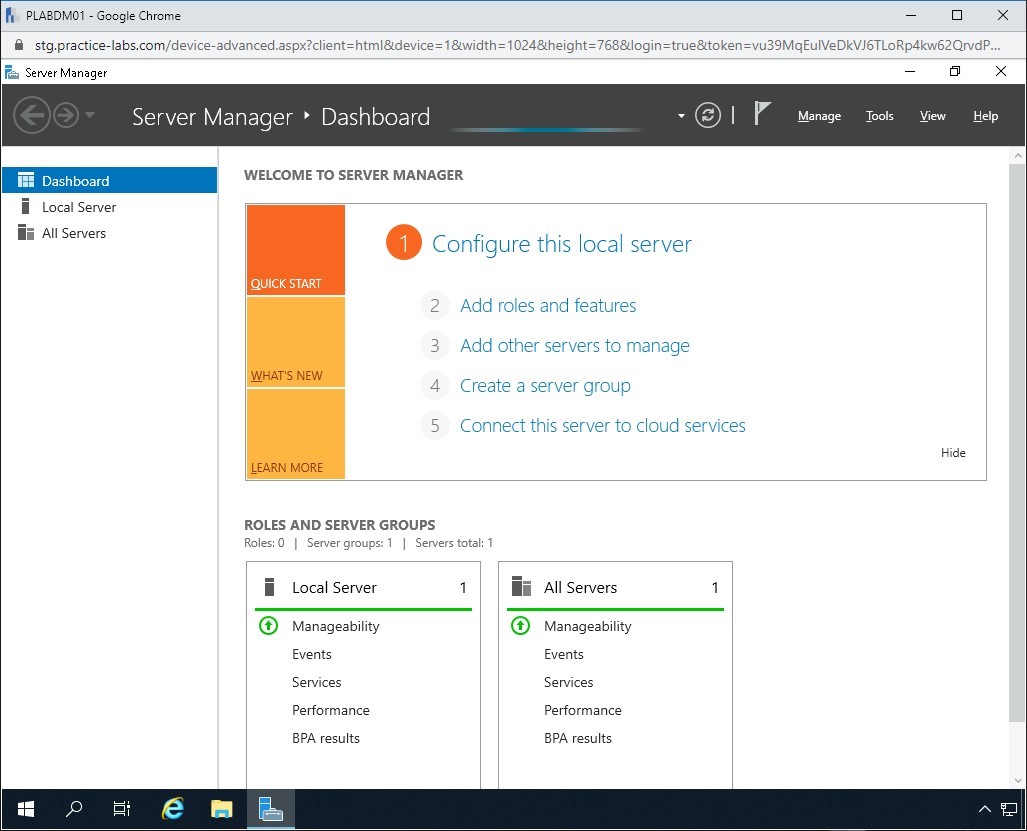
Connect to PLABDM01.
Close the Server Manager window.
Step 31
Click the Internet Explorer icon in the taskbar.
Step 32
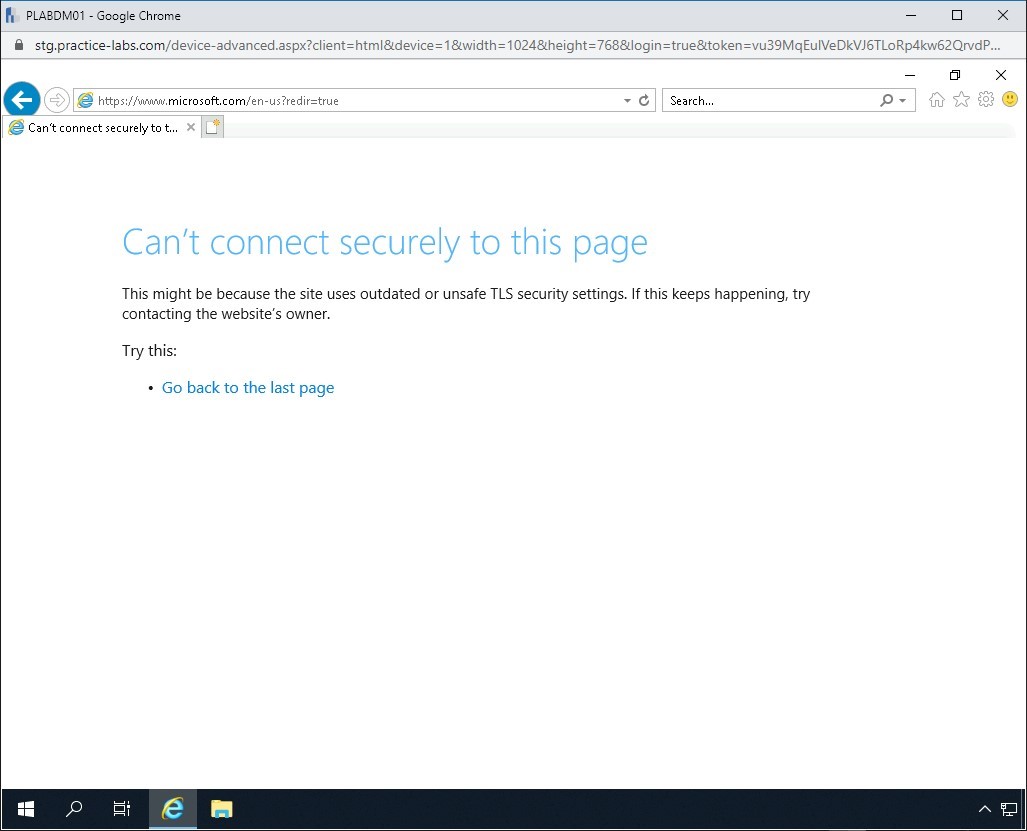
The Internet Explorer window is displayed. In the address bar, type the following URL:
http://www.microsoft.com
Press Enter.

Step 33
Notice that an error is displayed. The DNS spoofing attack is now successful. You are not able to go to the Microsoft Website.

Comments
Post a Comment