setting up honepots and configuring ides
Snort
Exercise 2 - Test Snort
Snort is an open source intrusion detection system that can monitor and log the traffic in real time. With the help of signatures, it can respond to a number of threats.
Task 1 - Running Snort Tool
To start running Snort tool, perform the following steps:
Step 1
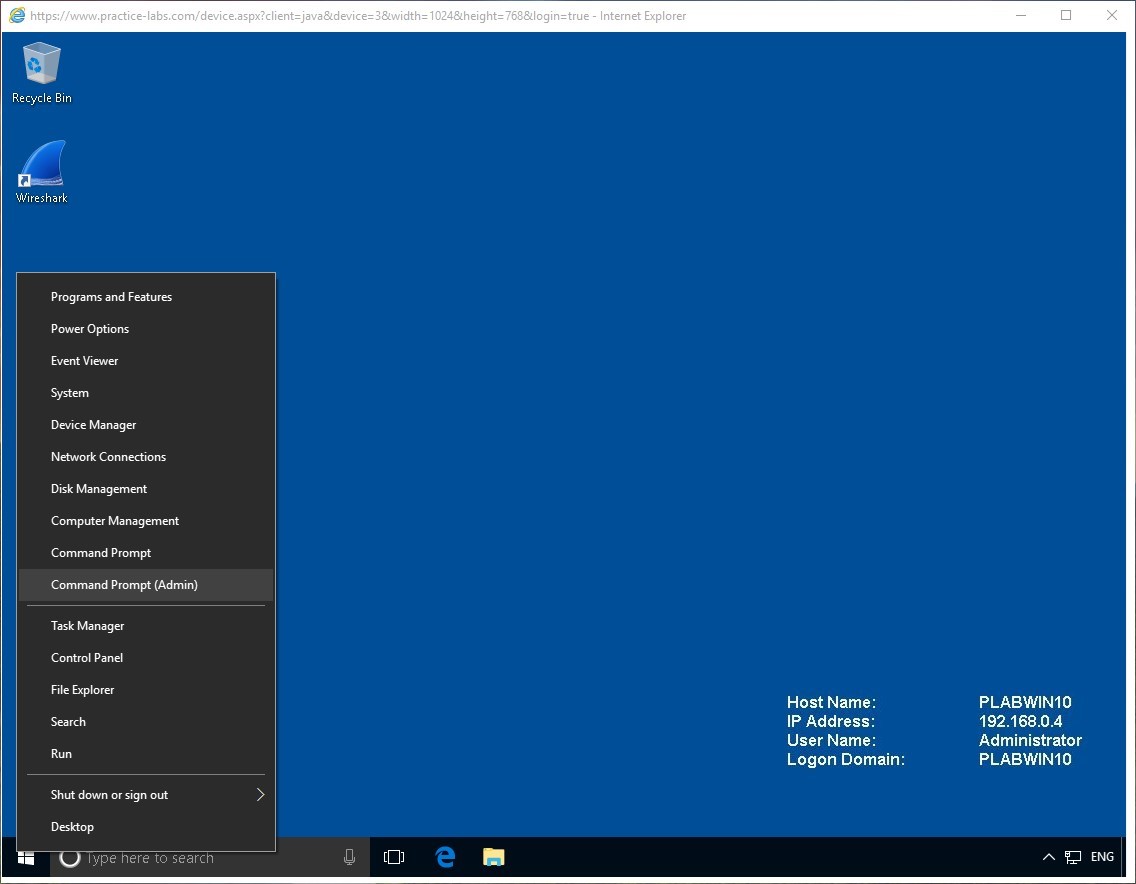
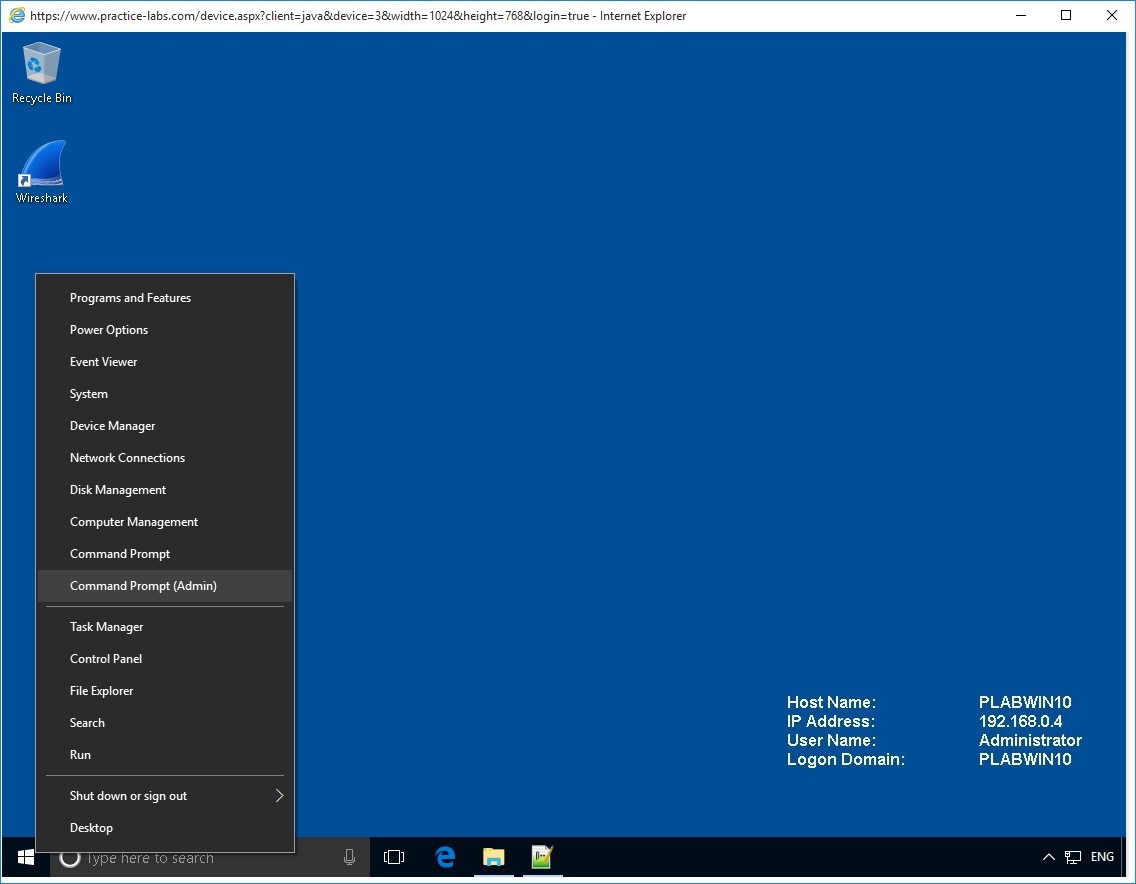
On PLABWIN10 device, right-click Start and click on Command Prompt (Admin).
Click Yes to the User Account Control.
Step 2
On the command prompt window, change to different directory by typing:
Cd\snort\bin
Press Enter.

Step 3
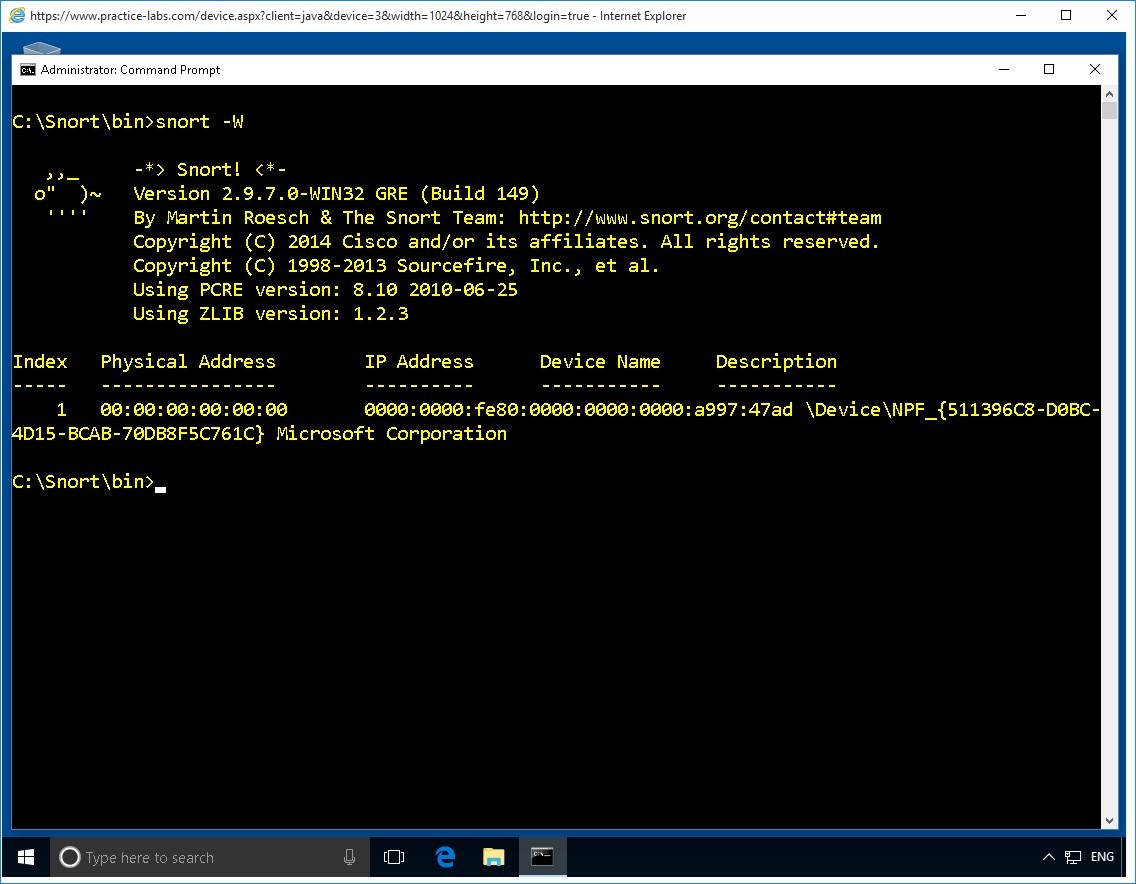
While in the c:>\snort\bin path, to display the available network interfaces for Snort type:
snort -W
Press Enter.
The result of this command displays two network interfaces #1 as indicated by the Index column.
Step 4
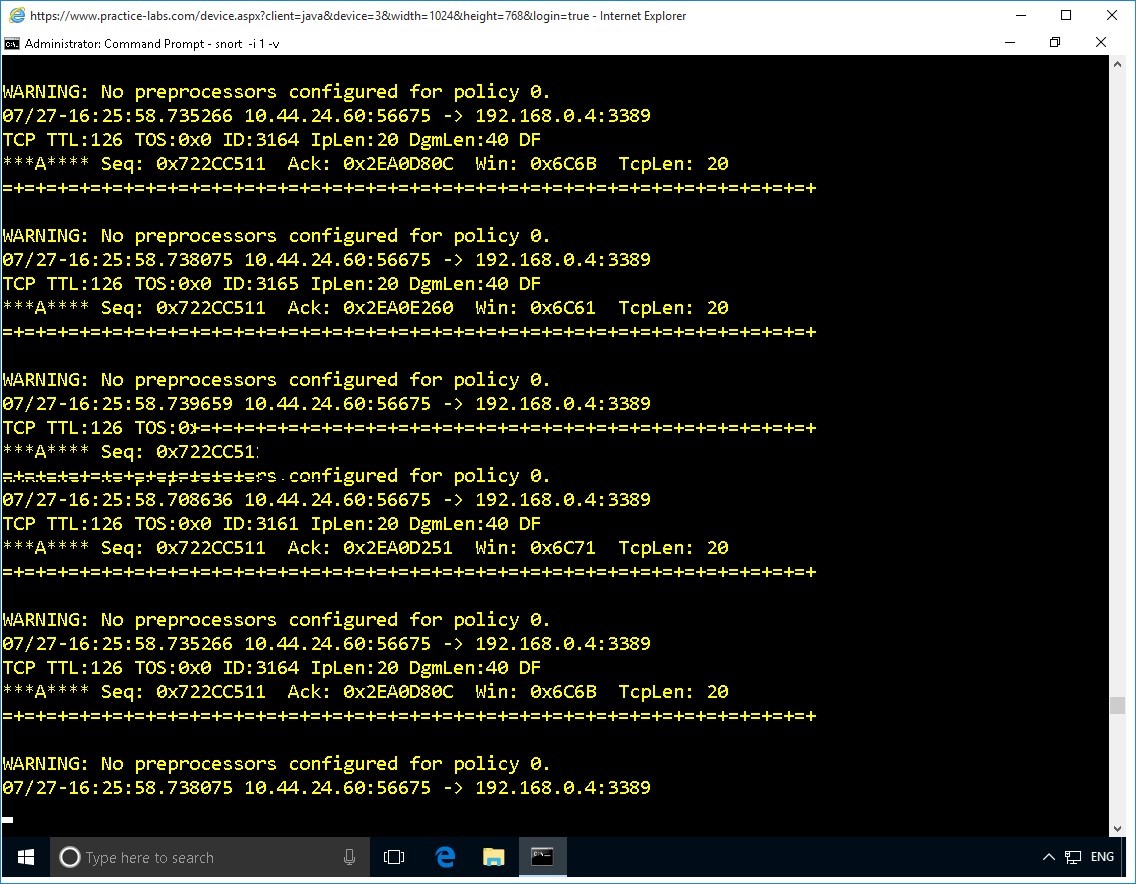
Let's use network interface 1 to listen to all traffic.
Type the following command:
snort -i 1 -v
Press Enter.
Step 5
Snort will listen to network traffic on network interface #1.
Notice that the Snort runs continuously.
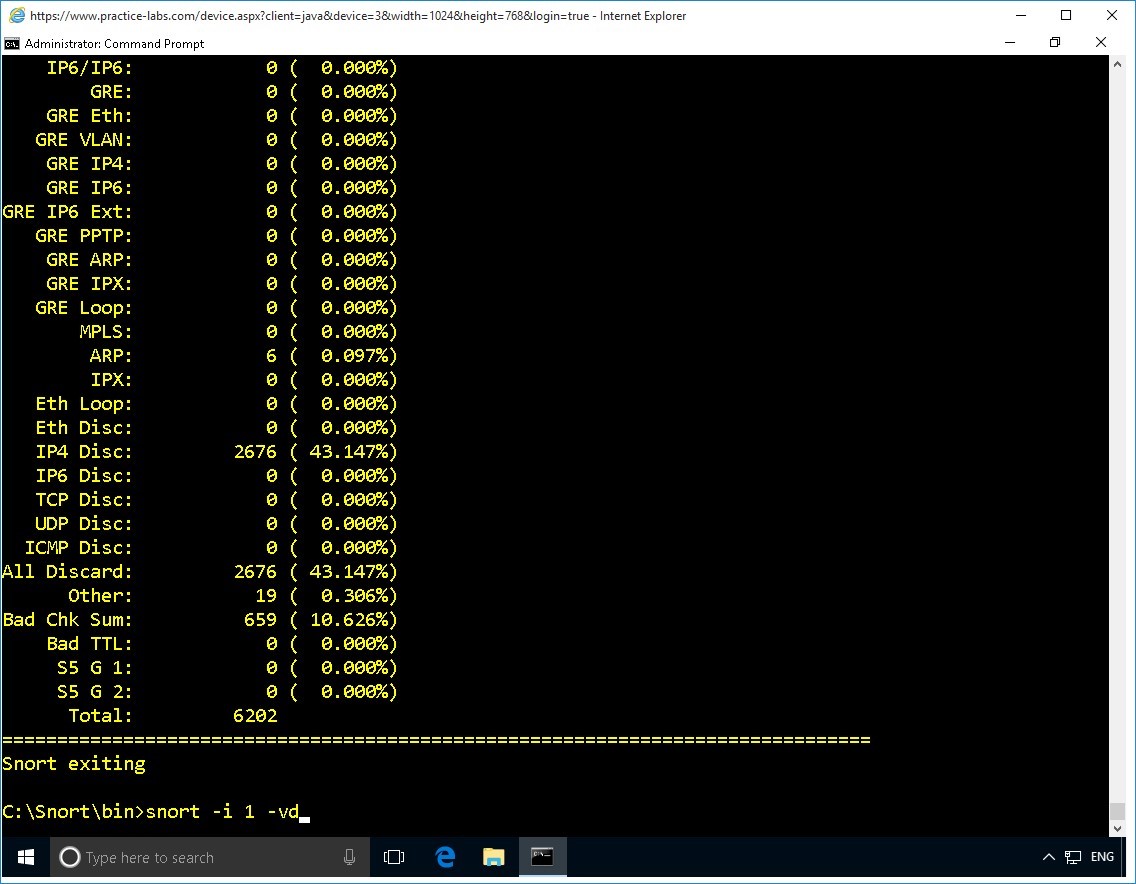
Step 6
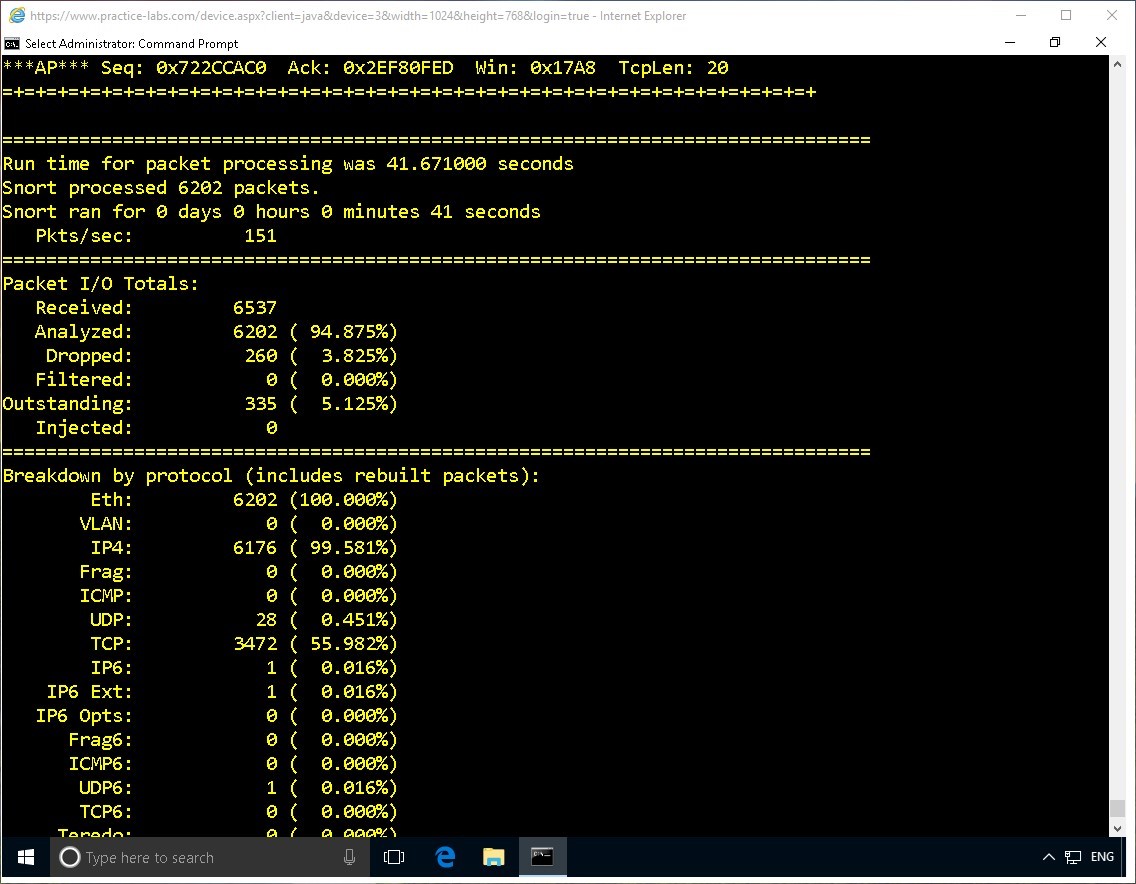
First, break the previous command by pressing CTRL + C.
Snort will exit.
Note that a list of protocol is displayed with packet details.
Step 7
Enter the following command to capture and display packet payload:
snort -i 1 -vd
Press Enter.
Step 8
Note the following output.
Snort will continue running as it listens on the selected interface.
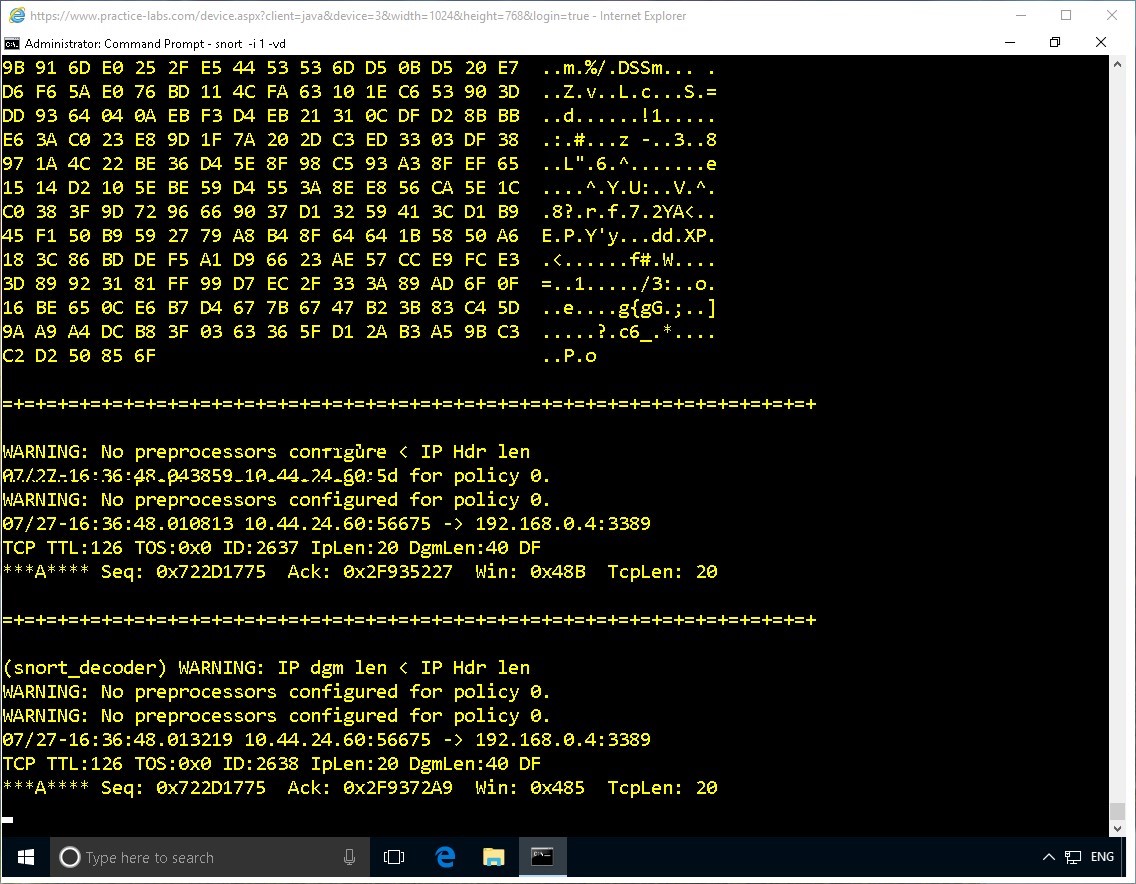
Step 9
Press CTRL + C to break it.
After you break the command, the protocol and packet details are displayed.
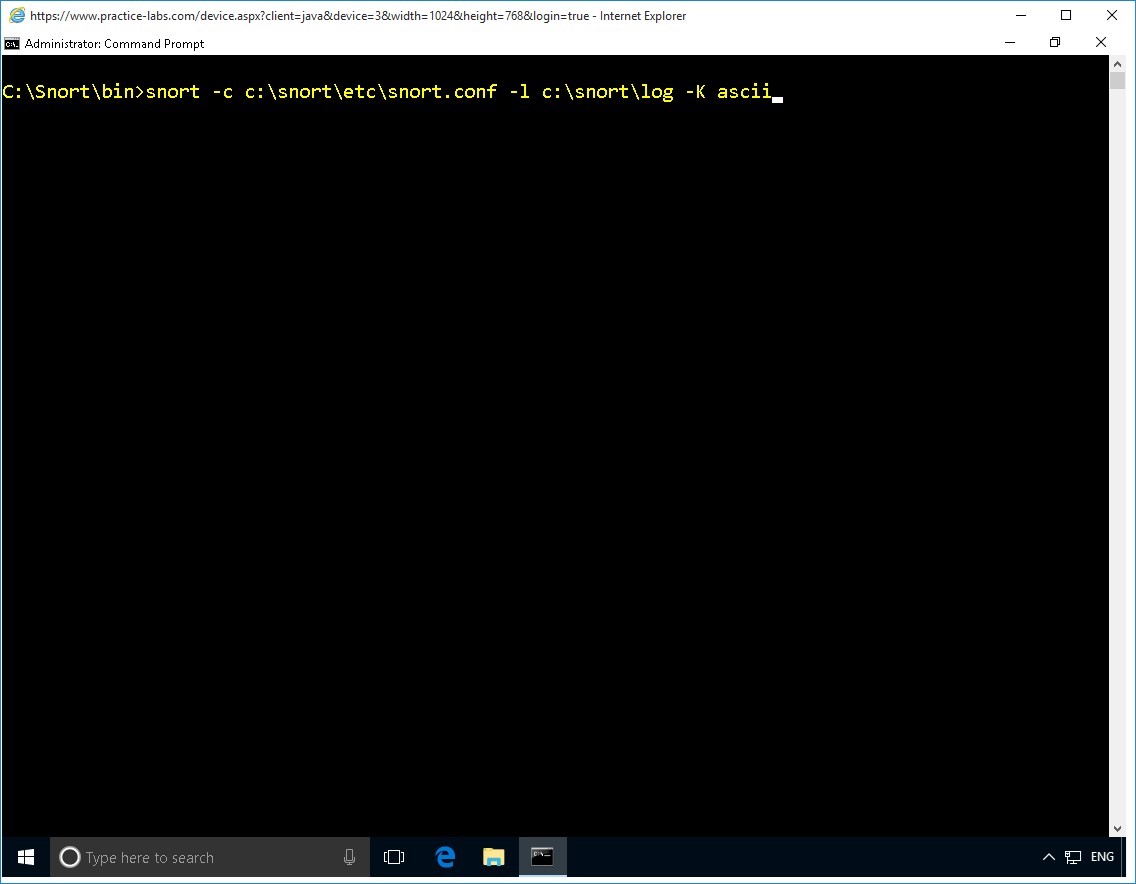
Step 10
Let's run Snort in the IDS mode.
Type the following command:
snort -c c:\snort\etc\snort.conf -l c:\snort\log -K ascii
Press Enter.
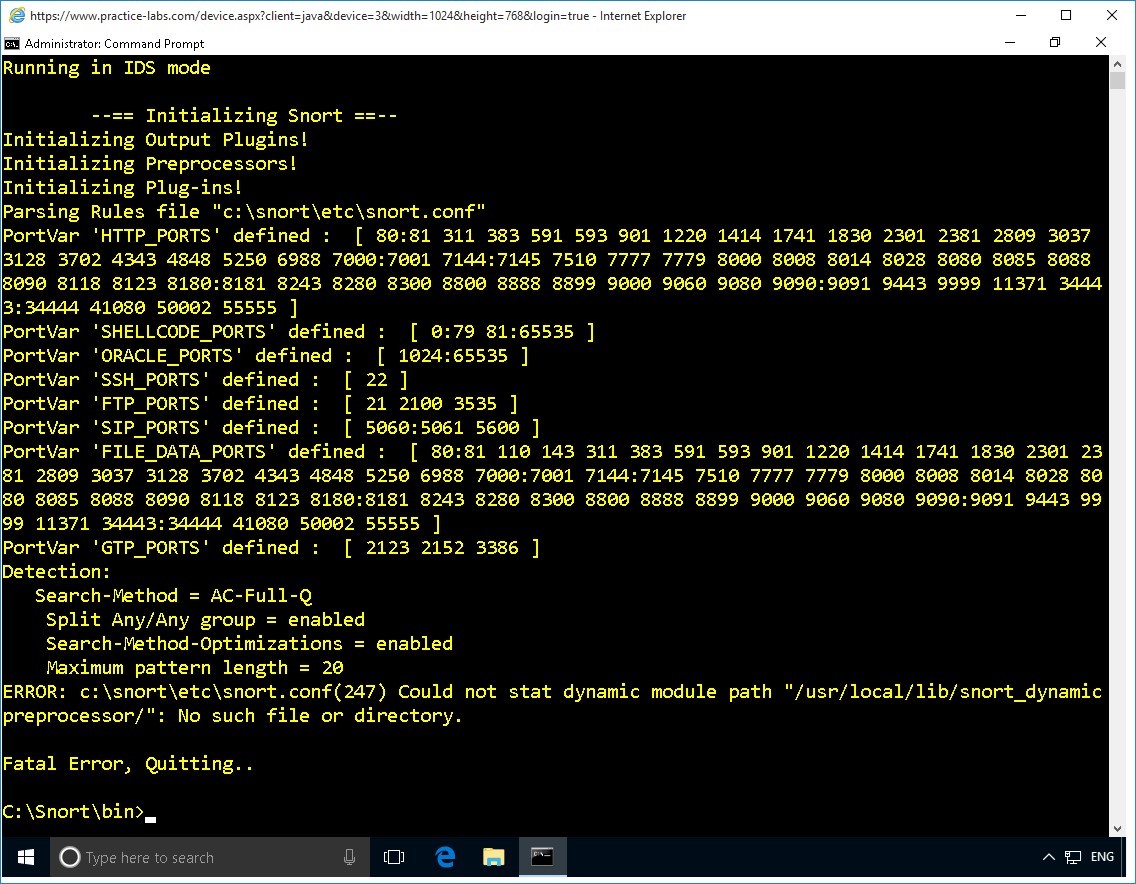
Step 11
Snort reports a fatal error.
You will need to resolve this error to ensure that you are able to run Snort in IDS mode.
Minimize command prompt window.
Keep all devices powered on in their current state and proceed to the next task.
Task 2 - Create folder and rules file in snort folder
To create the folder and rules file, follow these steps:
Step 1
On PLABWIN10, launch Windows Explorer on taskbar.
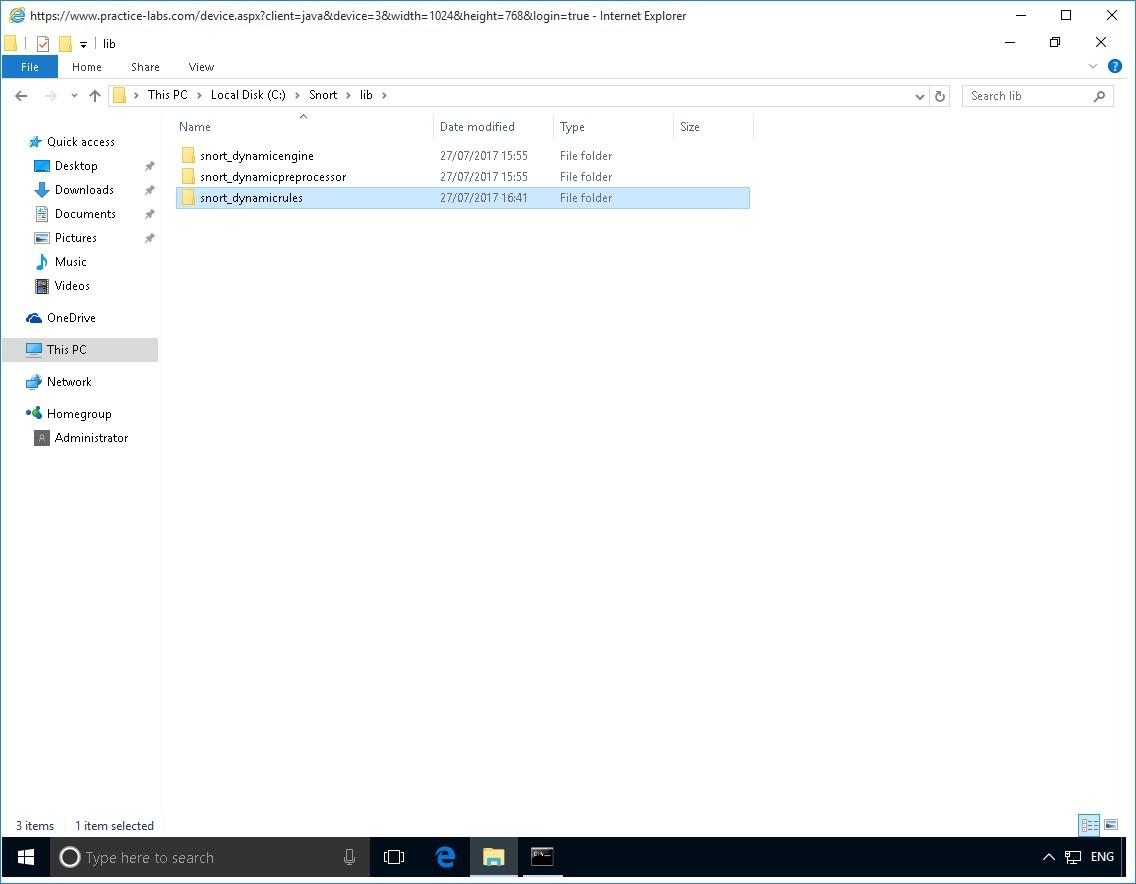
Navigate to C:\snort\lib path
Create a folder called snort_dynamicrules
Step 2
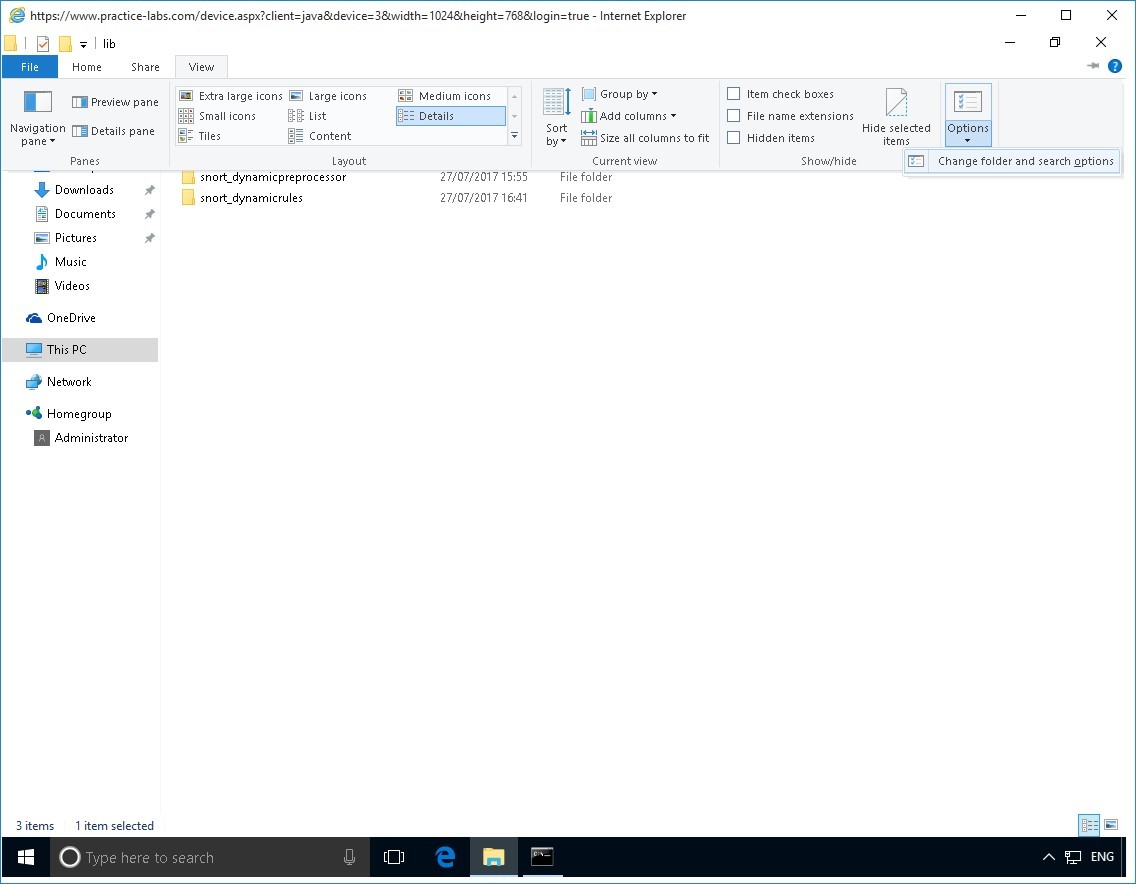
Press the ALT key to display the top menus.
Click View menu and select Options then Change folder and search options…
Step 3
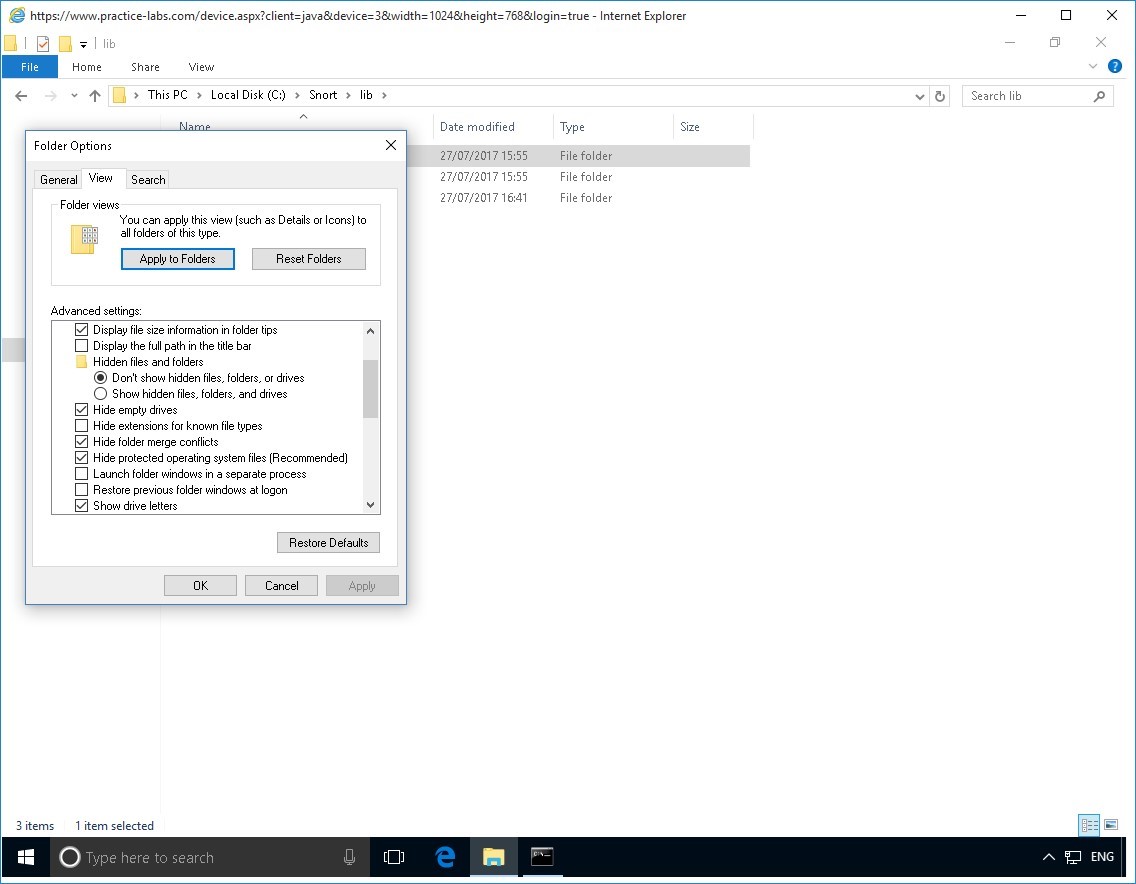
On the Folder options, click View tab.
On the View tab, clear Hide extensions for known file types check box.
Click OK.
Step 4
Back in Windows Explorer window.
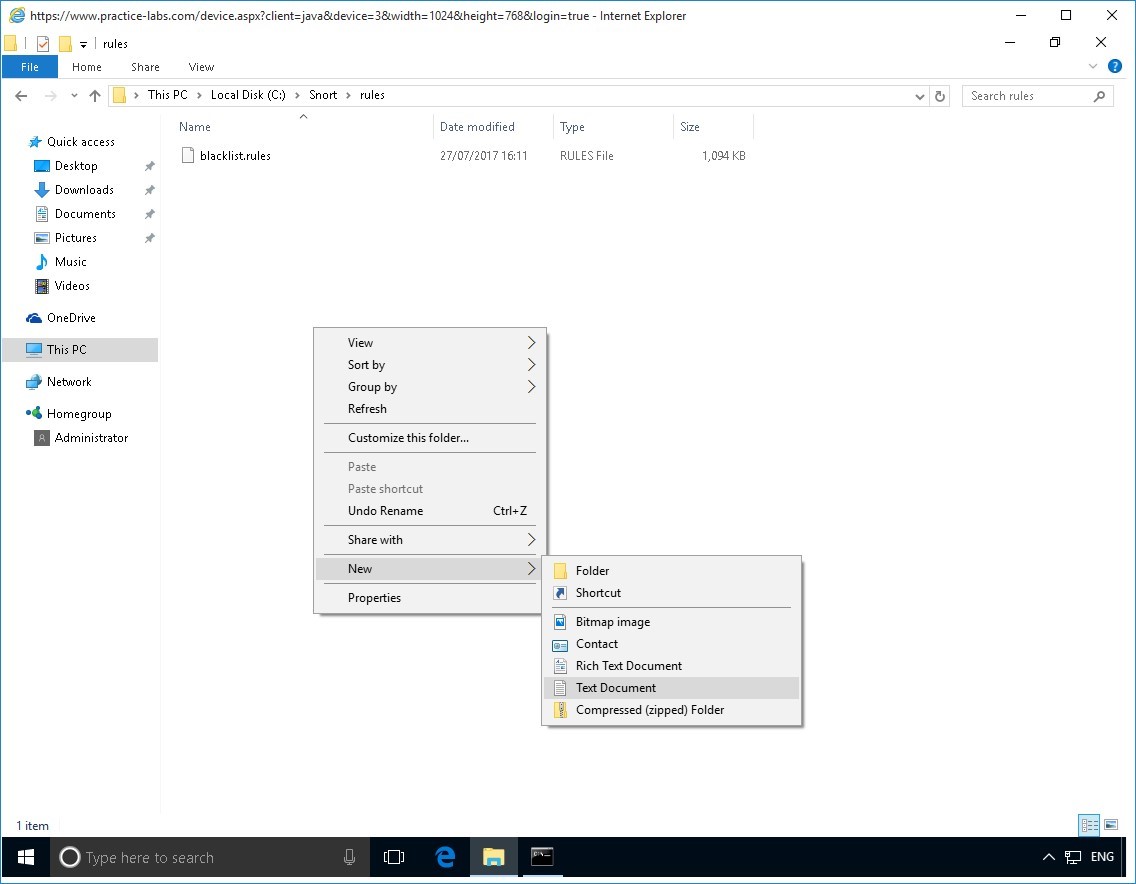
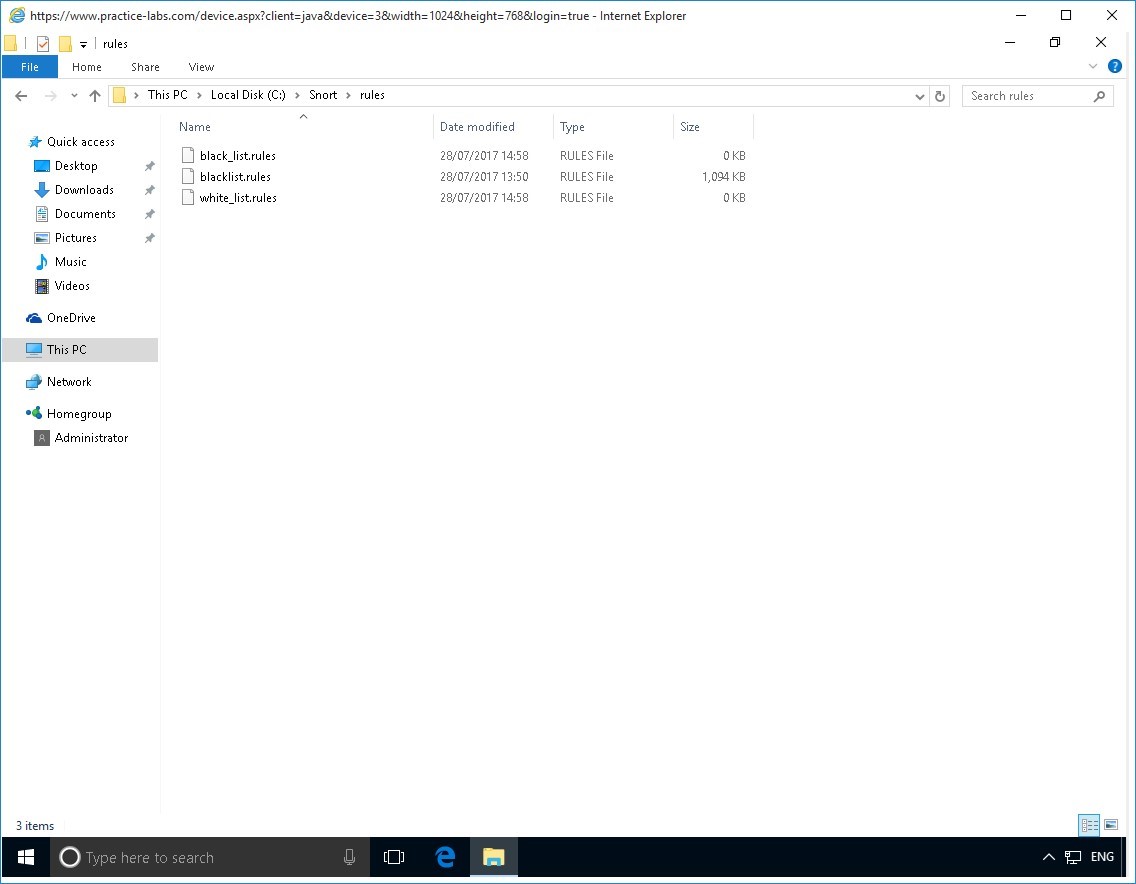
Navigate to c:\snort\rules folder path.
Create two text files.
Right-click on the details pane and select New > Text Document.
Step 5
Rename the text file to:
white_list.rules
Click Yes when you get a warning about renaming a file.
Step 6
Right-click on white_list.rules file and select Copy and then Paste.
Step 7
Rename it to:
black_list.rules
While retaining the “.rules” extension name.
Step 8
The black_list.rules and white_list.rules are now created.
Please note that these two rules file are empty.
If you want to get more information about writing your own rules, consult the snort documentation file.
Step 9
Navigate to c:\Snort\etc folder.
Create a folder called WHITE_LIST_PATH.
From the c:\Snort\rules folder, copy white_list.rules into c:\Snort\etc\WHITE_LIST_PATH folder.
Step 10
Navigate to c:\Snort\etc folder.
Create a folder called BLACK_LIST_PATH.
From the c:\Snort\rules folder, copy black_list.rules into c:\Snort\etc\BLACK_LIST_PATH folder.
Minimize Win
CompTIA Security+
Configuring IDS and Honeypots
Exercise 3 - Configure and Re-Test Snort
Exercise 3 - Configure and Re-Test Snort
This exercise will consist of modifying the configuration files and then re-testing snort to confirm that it works.
Task 1 - Modify snort configuration file
In this task, you will modify a configuration file to resolve the error that you found in the earlier task.
Step 1
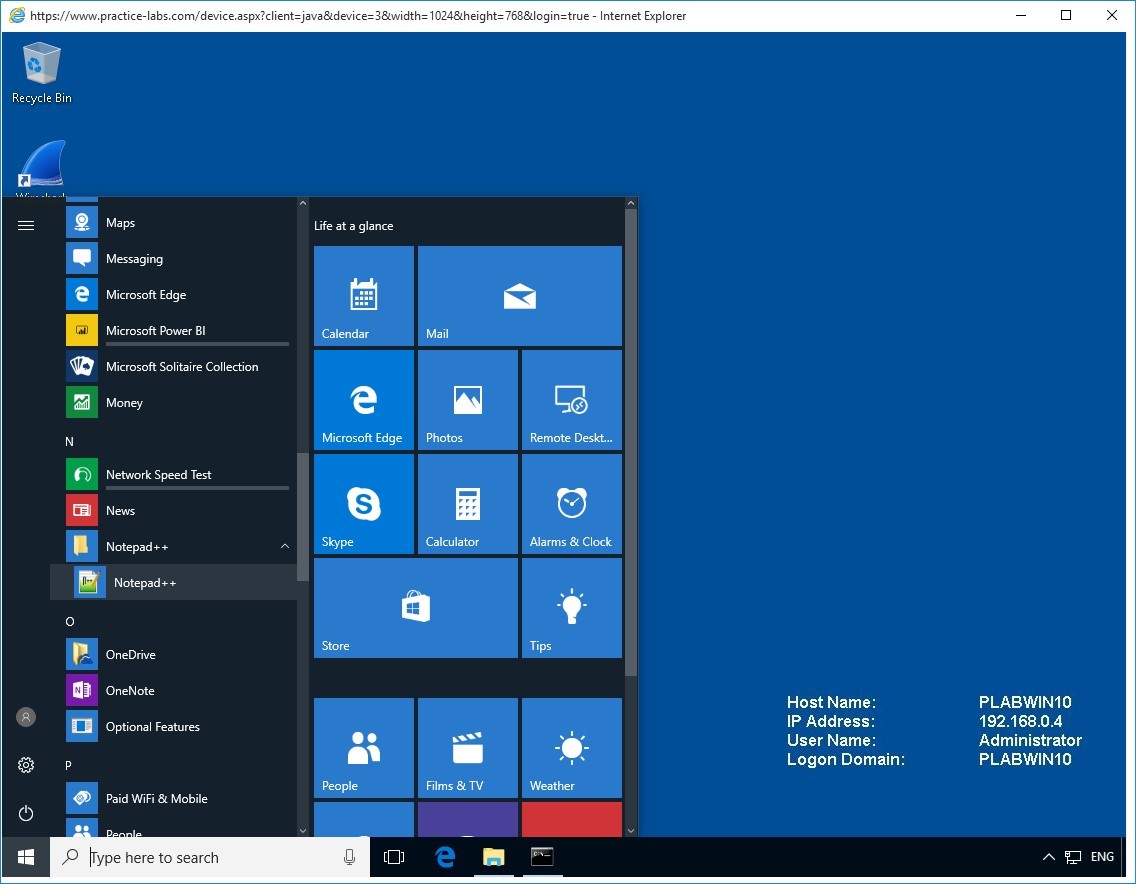
On PLABWIN10 device, click Start and click on Notepad++.
Step 2
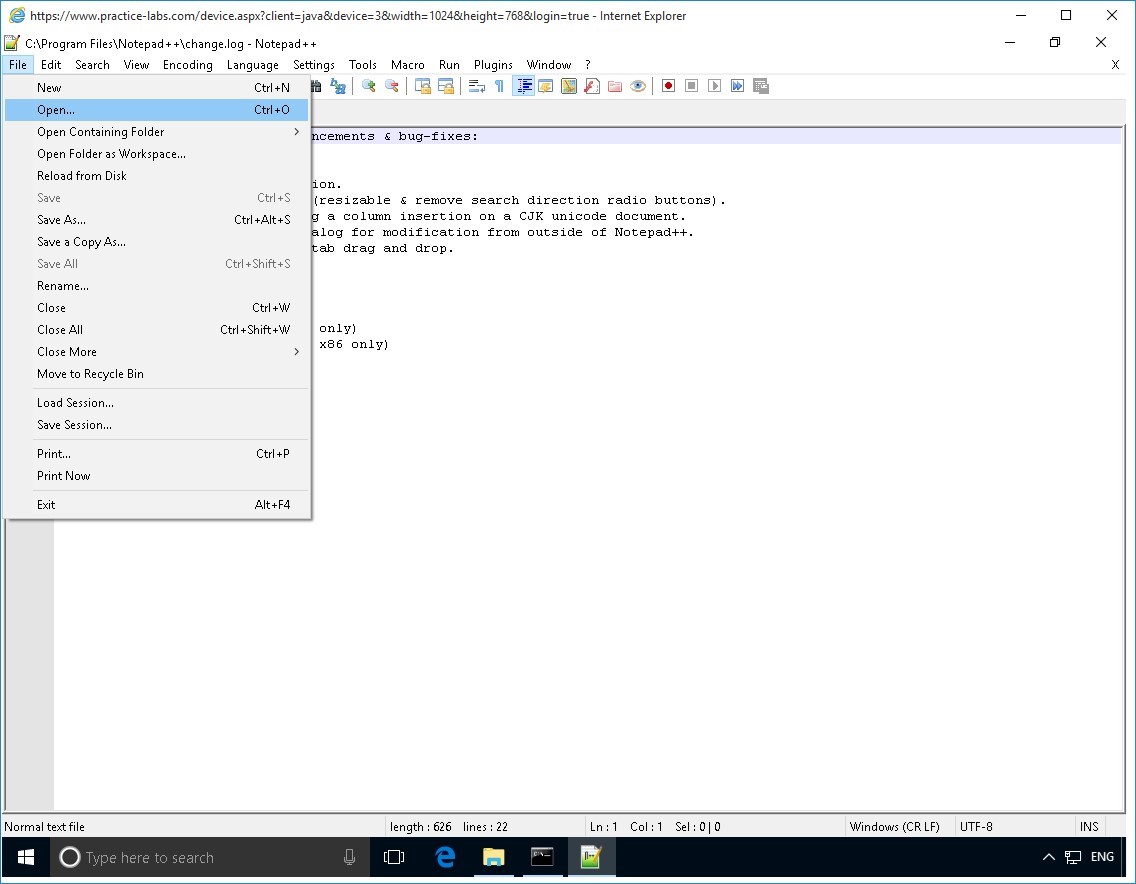
On Notepad++, click File menu and select Open.
Step 3
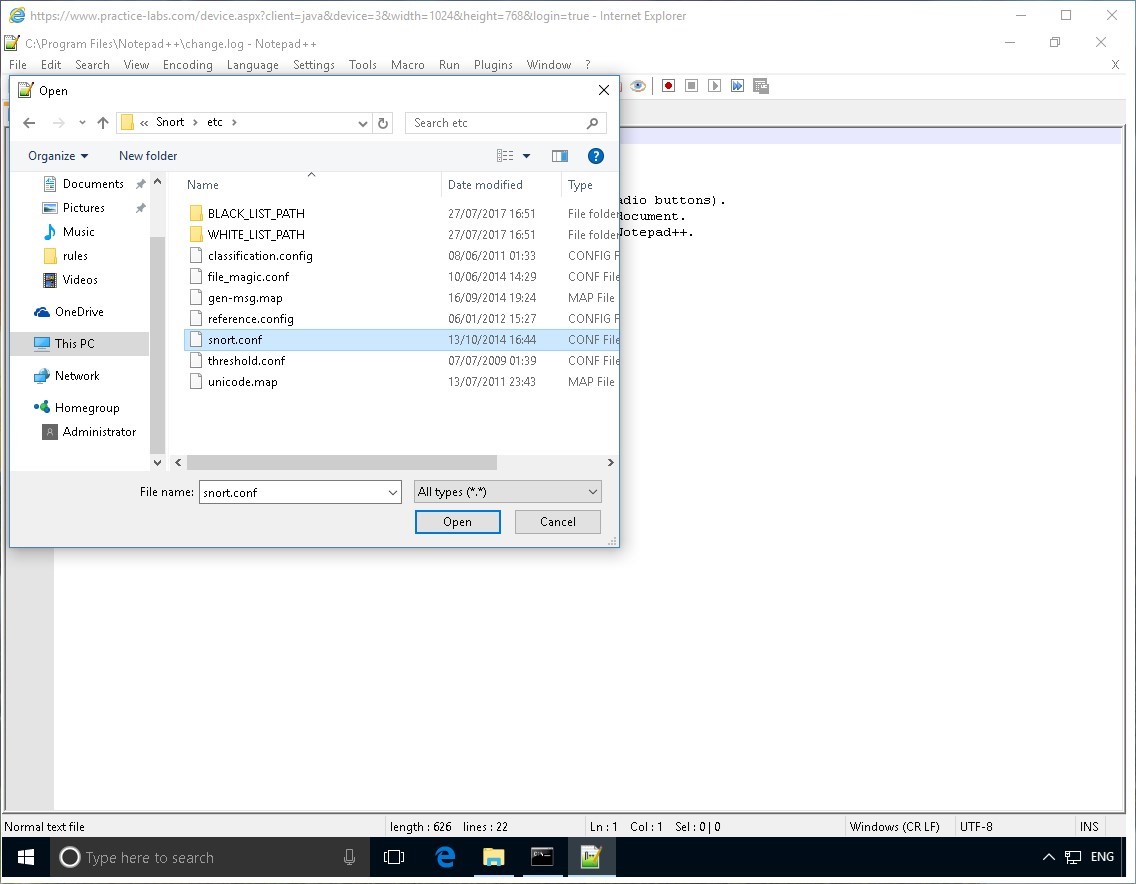
On the Open dialog box, expand Local Disk C, expand Snort folder.
Click on etc folder.
Notice that a number of files are available.
On the details pane, click snort.conf file and select Open.
Step 4
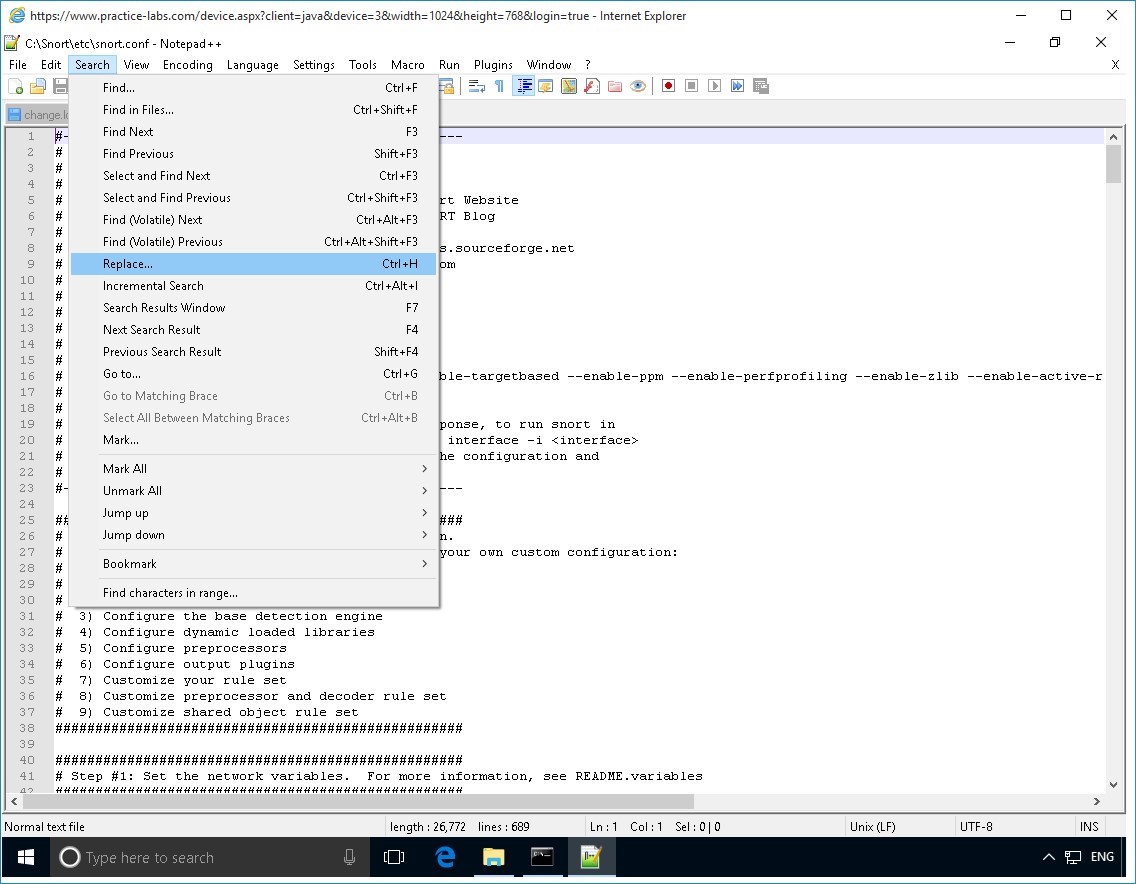
The snort.conf file opens.
Click on Search menu and select Replace…
Step 5
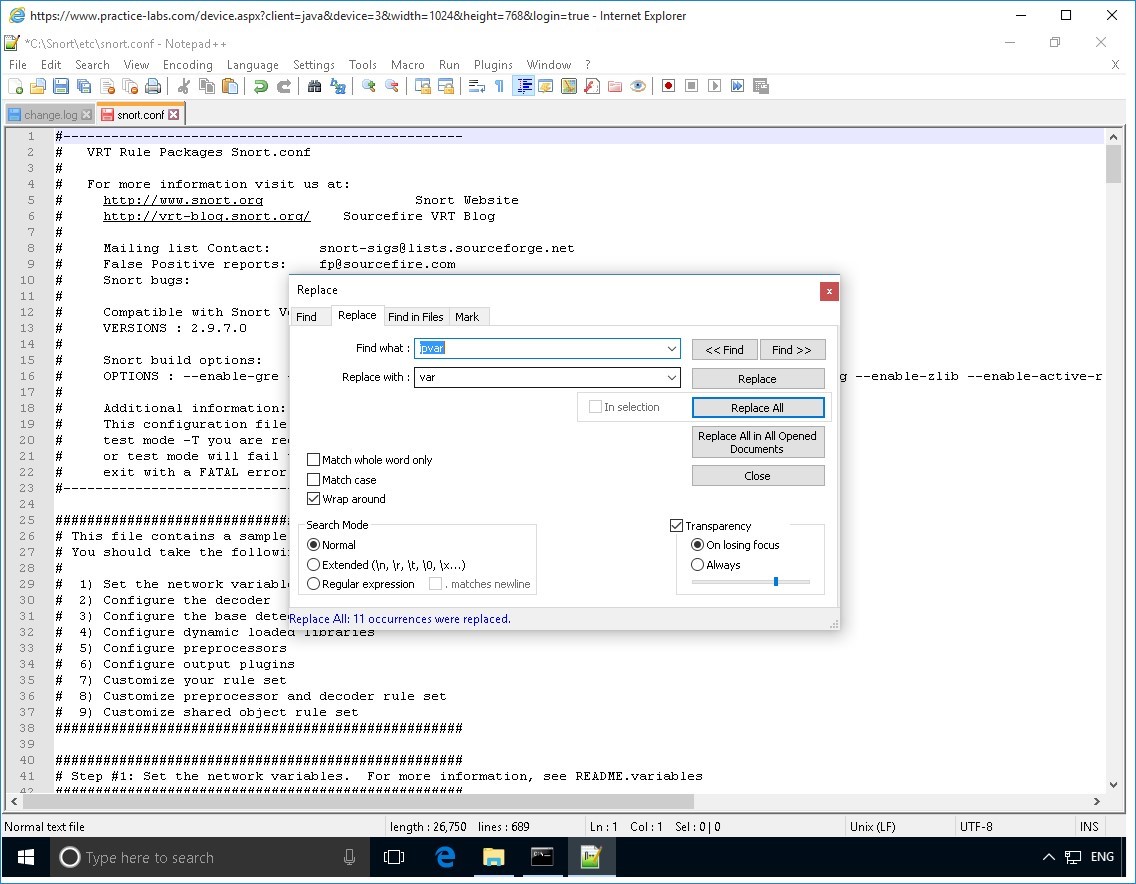
You will find all instances of ipvar and replace with var.
On the Replace dialog box, click in the Find what text box and type:
ipvar
Click in the Replace with text box, and type:
var
Click Replace All.
The Replace dialog box is displayed indicating it has searched the document and made 11 occurrences were replaced.
Click Close.
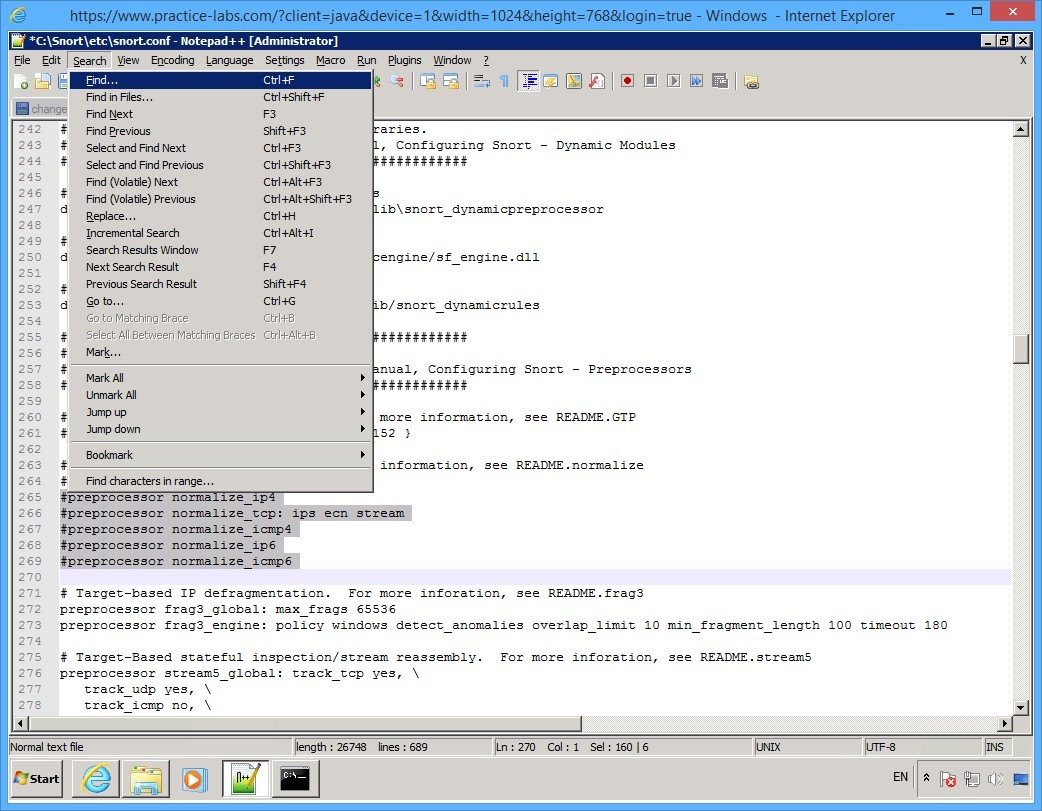
Step 6
Click Search menu and select Find…
On the Find dialog box, click in the Find what text box and type:
dynamicpreprocessor directory
Click the forward Find.
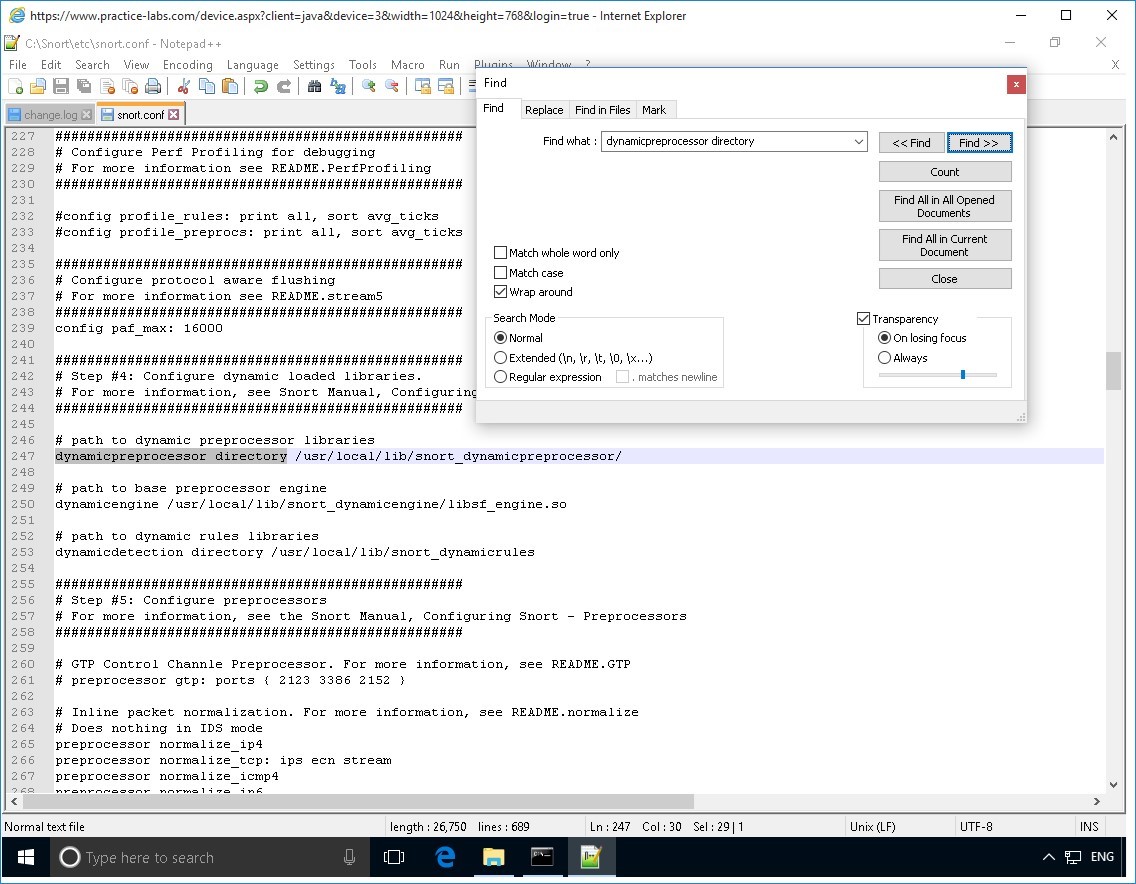
Step 7
Once the dynamicpreprocessor directory keyword is found, you will notice a highlight or a selection at the back of the Find dialog box.
Move the Find dialog box out of the way so you can see highlighted section.
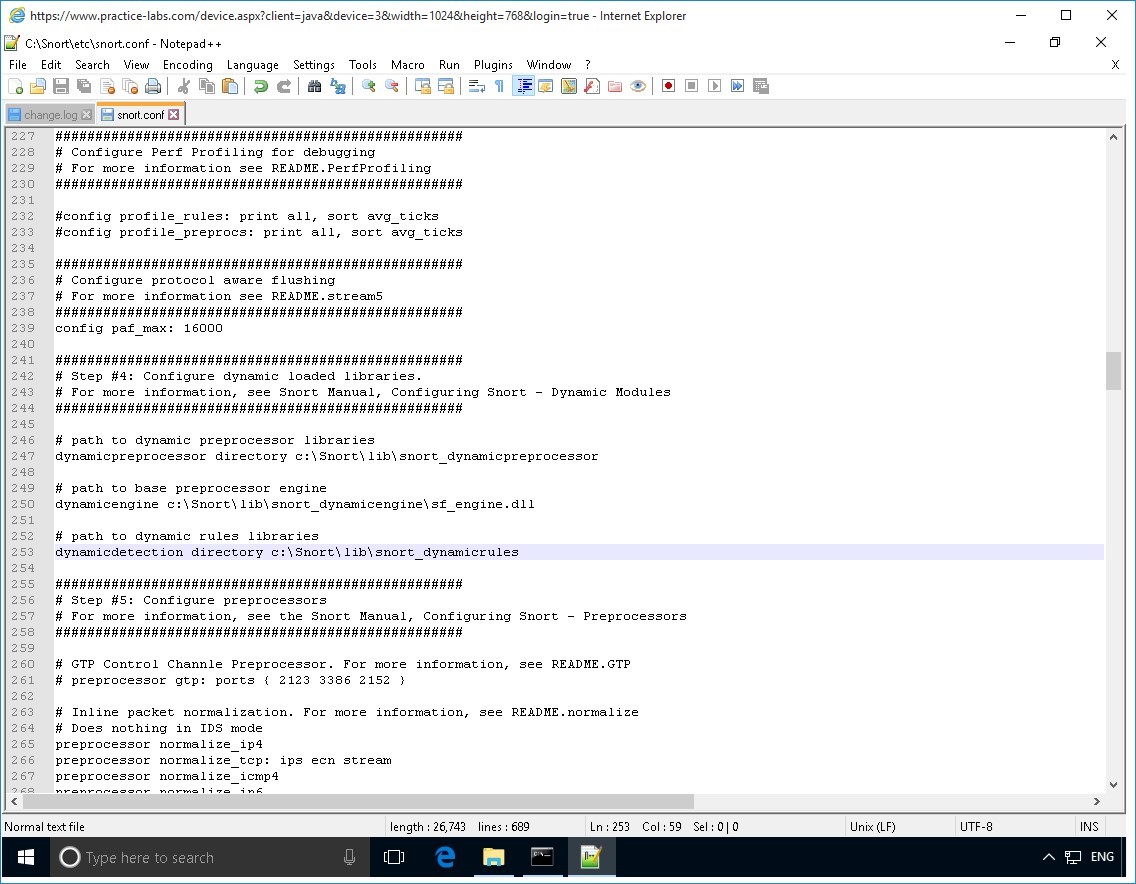
Locate the dynamicpreprocessor directory section.
Change the path located beside dynamicpreprocessor directory to:
c:\Snort\lib\snort_dynamicpreprocessor
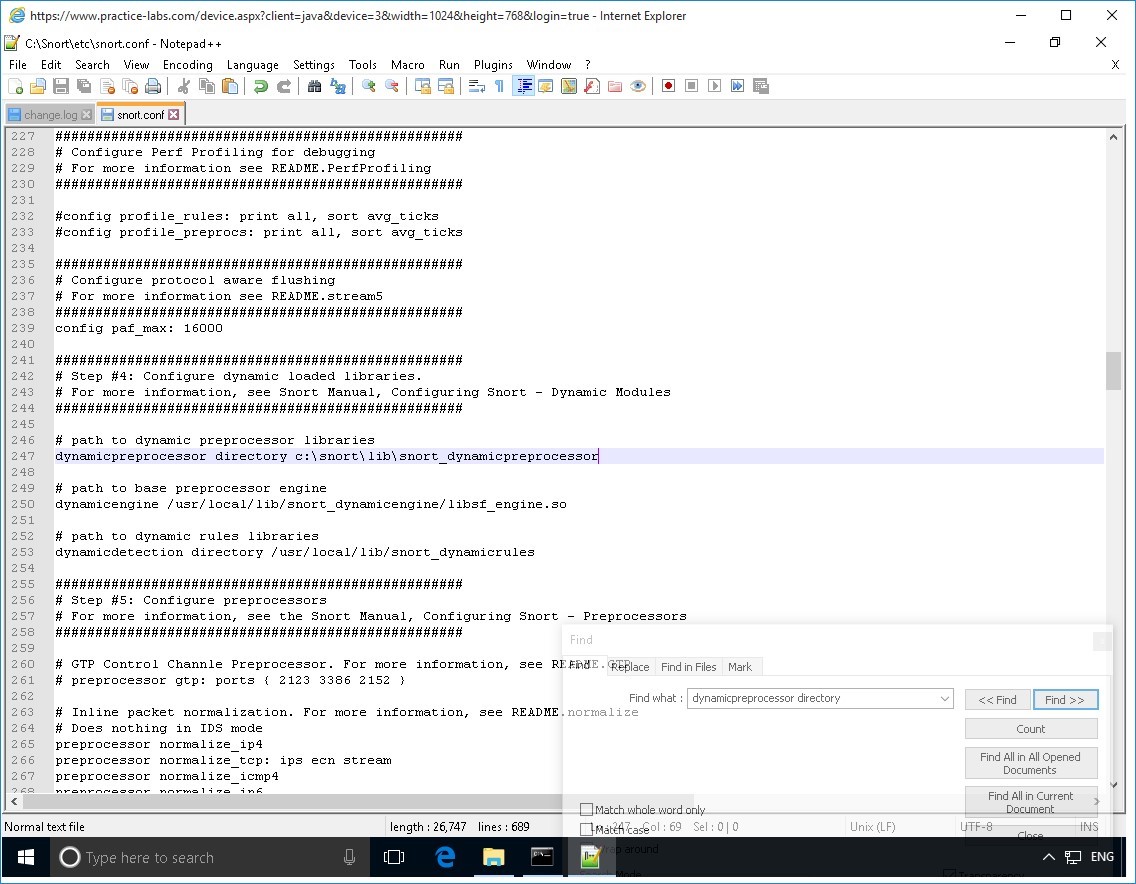
Step 8
Click on the Find dialog box to activate it.
Then click Close button.
Perform the same editing changes to the following lines numbered 250 and 253.
dynamicengine /usr/local/lib/snort_dynamicengine/sf_engine.so
dynamicdetection directory /usr/local/lib/snort_dynamicrules
So that they read as the following.
dynamicengine c:\Snort\lib\snort_dynamicengine\sf_engine.dll
dynamicdetection directory c:\Snort\lib\snort_dynamicrules
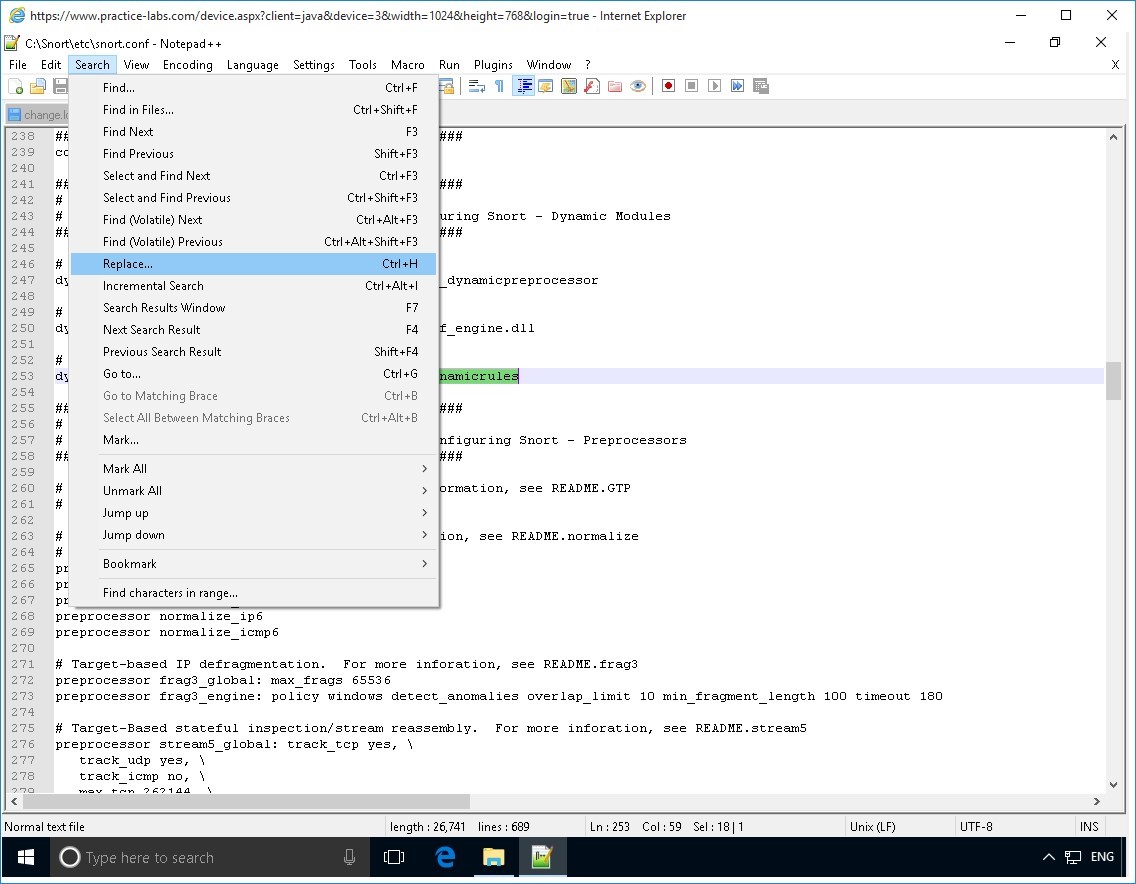
Step 9
For this step, you will comment on keywords that start with pre-processor normalize.
Click Search and select Replace…
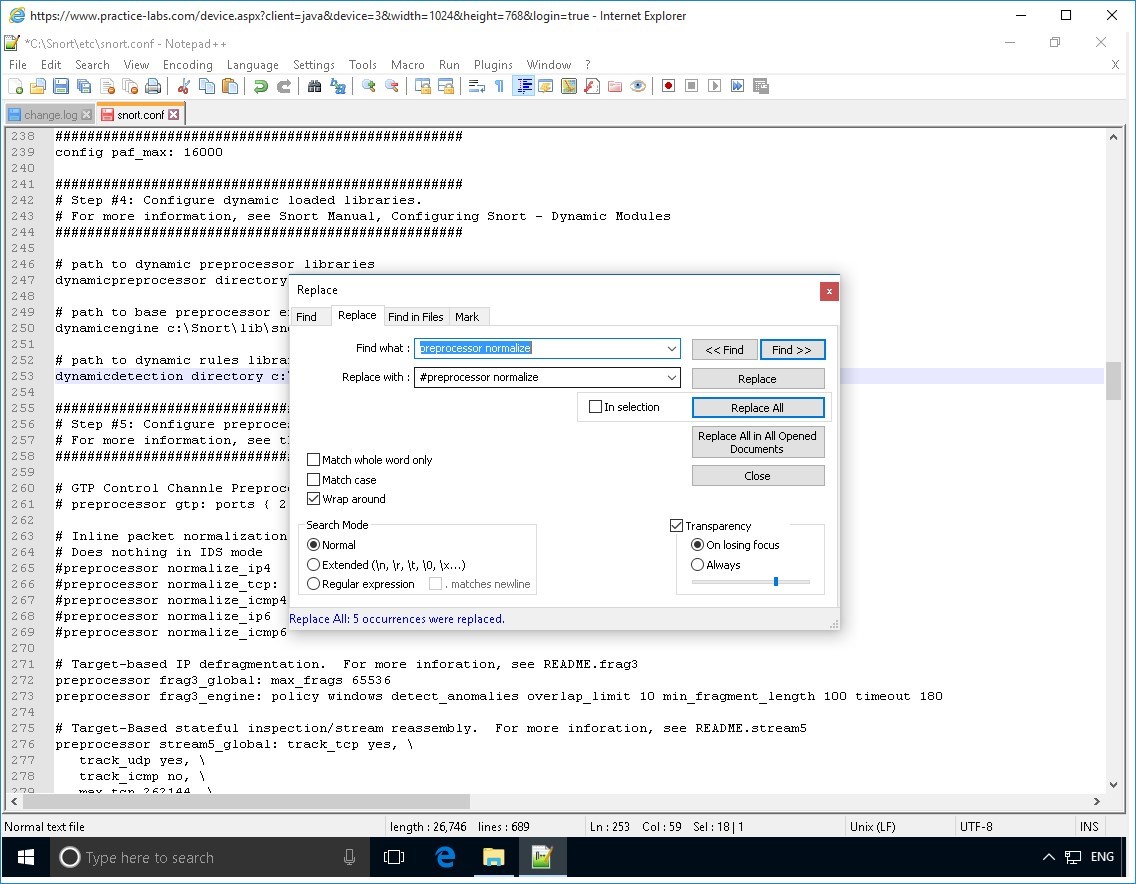
Step 10
On the Replace dialog box, click in the Find what text box and type:
preprocessor normalize
Click in the Replace with text box and type:
#preprocessor normalize
Click Replace All.
The Replace dialog box reports that “5 occurrences were replaced.”
Click Close button.
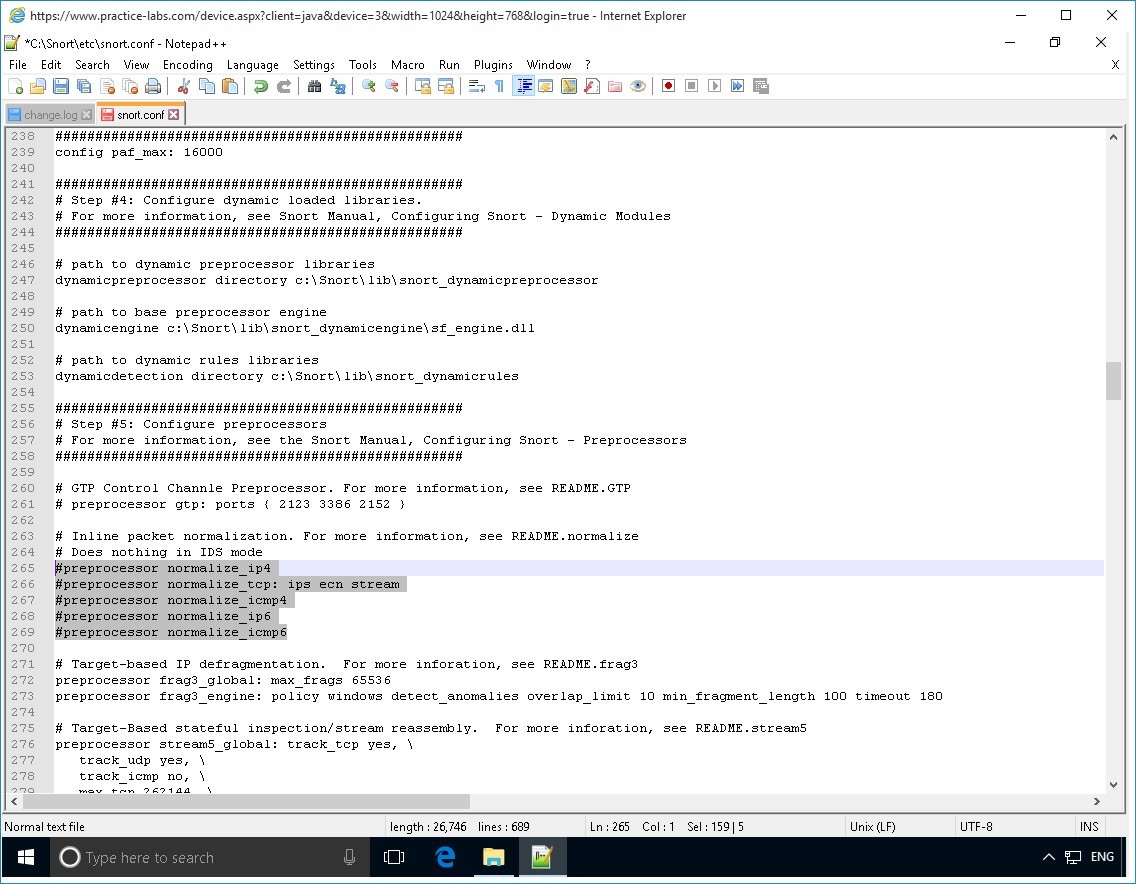
Step 11
Notice that “#” is now appended to the preprocessor normalize keywords.
Step 12
Click Search menu and select Find…
Step 13
On the Find dialog box, click in the Find what text box, type:
var WHITE_LIST_PATH
Click Find Next.
Step 14
As before, move the Find dialog box out of the way.
Beside the var WHITE_LIST_PATH keyword, replace the .. /rules with:
c:\Snort\rules
Beside the var BLACK_LIST_PATH keyword, replace the .. /rules with:
c:\Snort\rules

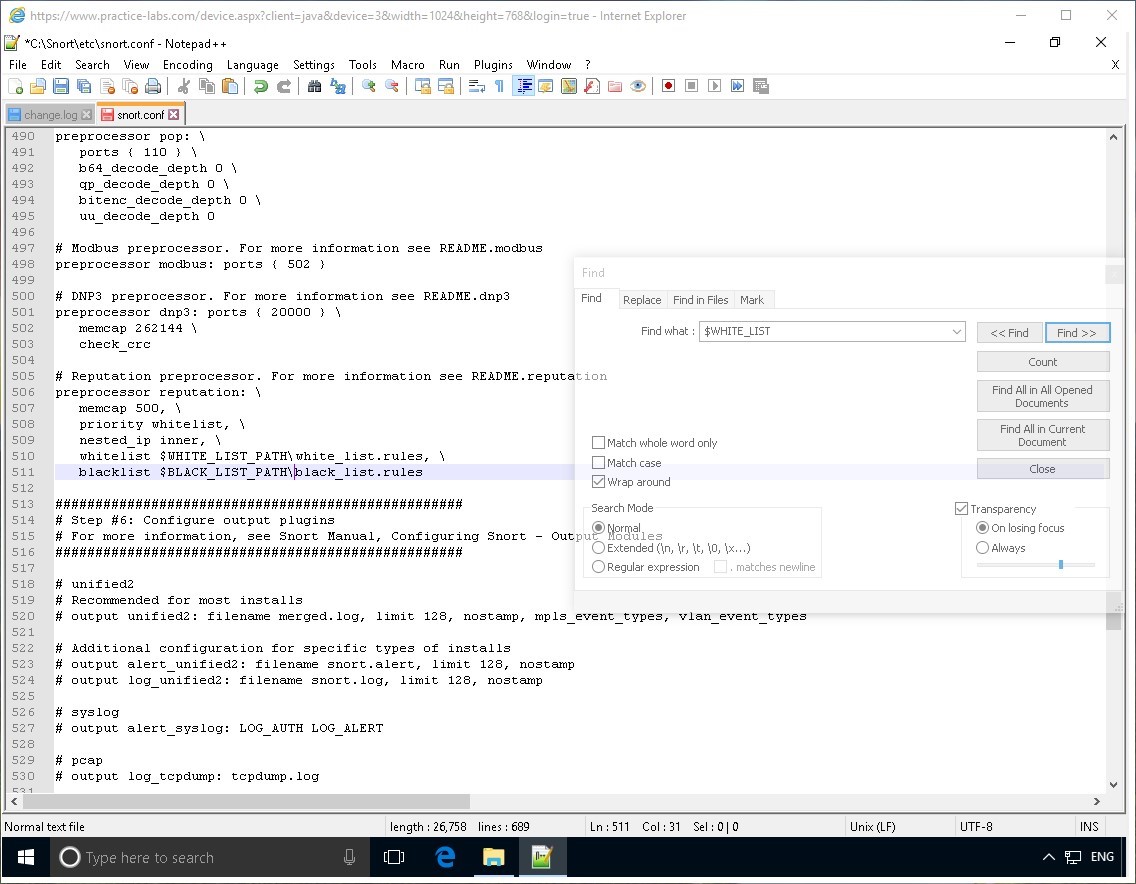
Step 15
Click again on Find dialog box to activate it.
Click in the Find what text box and type:
$WHITE_LIST
Click Find Next.
Step 16
Beside the whitelist keyword, change $WHITE_LIST_PATH/white_list.rules, \
to:
$WHITE_LIST_PATH\white_list.rules, \
Change $BLACK_LIST_PATH/black_list.rules
to:
$BLACK_LIST_PATH\black_list.rules
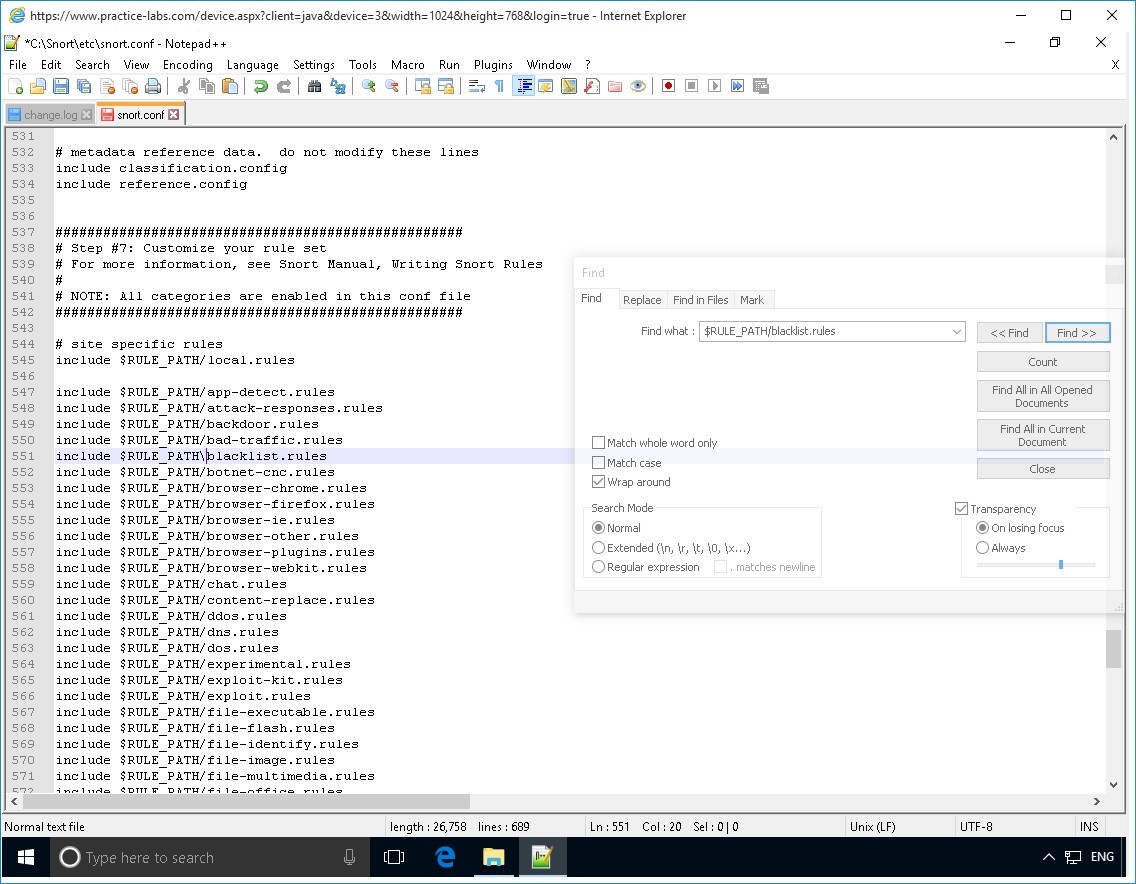
Step 17
Click again on Find dialog box.
In the Find what text box, type:
$RULE_PATH/blacklist.rules
Click Find Next.
Step 18
The Find Next command found the keyword and makes a selection.
Click and drag the Find dialog box to see the highlighted keyword.
Now change the following entry $RULE_PATH/blacklist.rules
To:
$RULE_PATH\black_list.rules
Step 19
Since you do not have rule files available for other rules see #site specific rules section, you need comment all of them by adding the “#” symbol.
Else, you will get error on each line where Snort finds missing rules file.
Click the Find dialog box and click Close button.
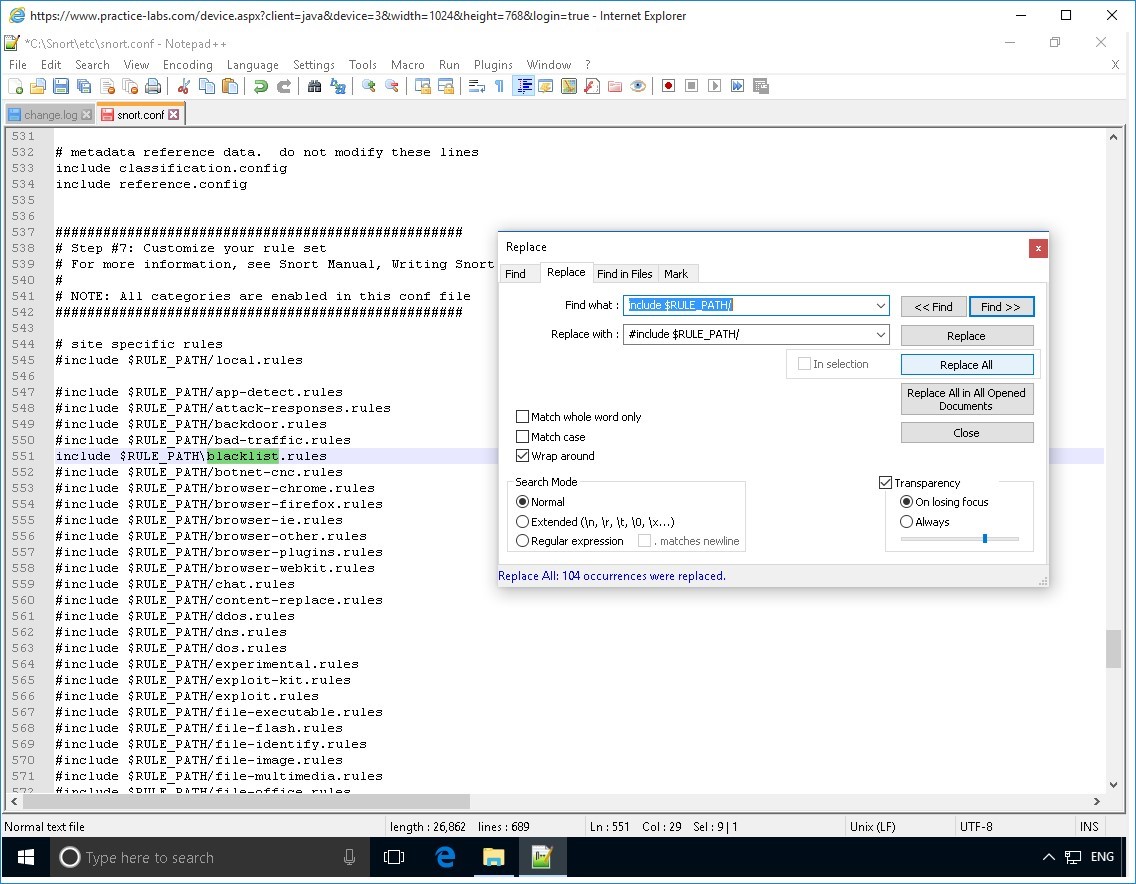
Step 20
To add the “#” symbol to other traffic rules, click Search menu and select Replace…
On the Replace dialog box, click in the Find what text box and type:
include $RULE_PATH/
Click in the Replace with text box and type:
#include $RULE_PATH/
Click Replace All button
Step 21
The Replace dialog box, reports “All 104 occurrences were replaced.”
Click Close button.
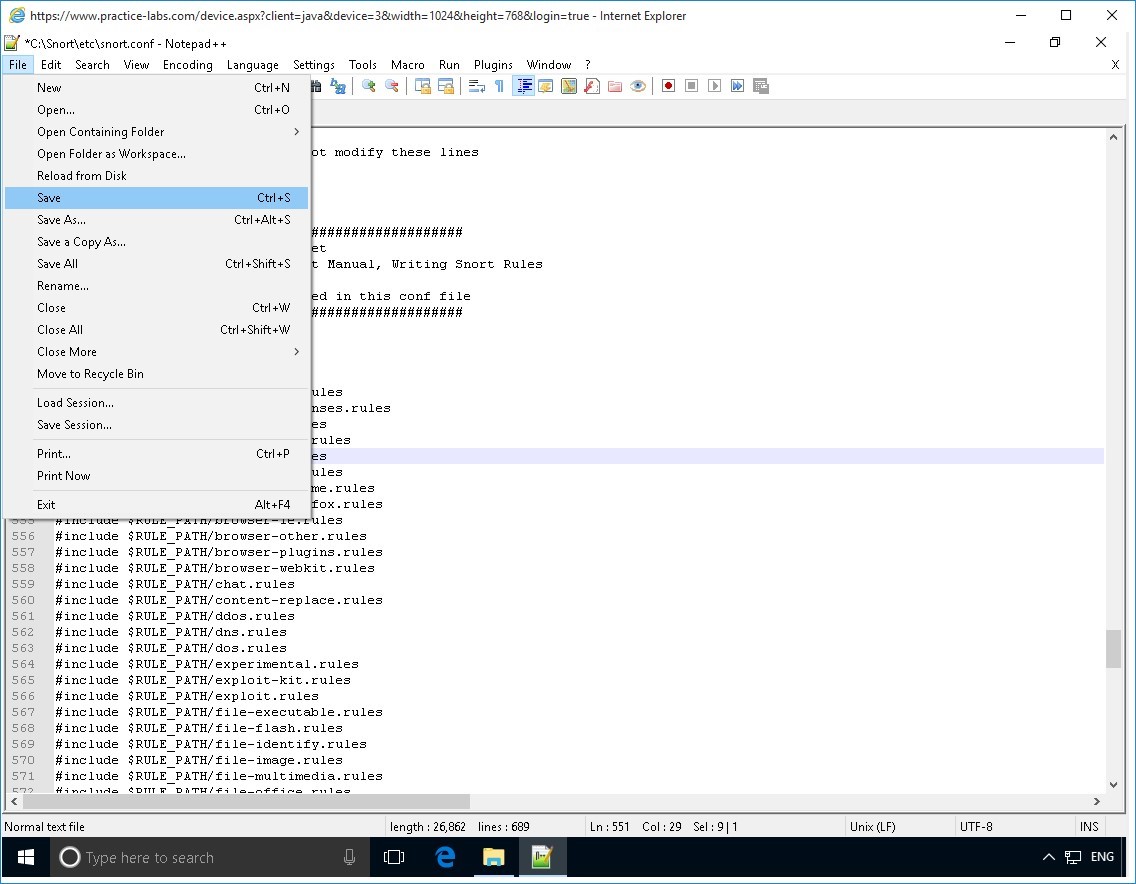
Step 22
Finally click File menu and select Save.
Minimize C:\snort\etc\snort.conf - Notepad++ (Administrator) window.
Keep all devices powered on in their current state and proceed to the next task.
Task 2 - Re-run Snort IDS tool
After configuring the snort.conf file in earlier task, you will retry running the snort IDS tool.
To re-run the snort IDS tool, perform the following steps:
Step 1
On PLABWIN10 device, open the Command Prompt (Admin).
Step 2
Re-navigate to the Snort directory.
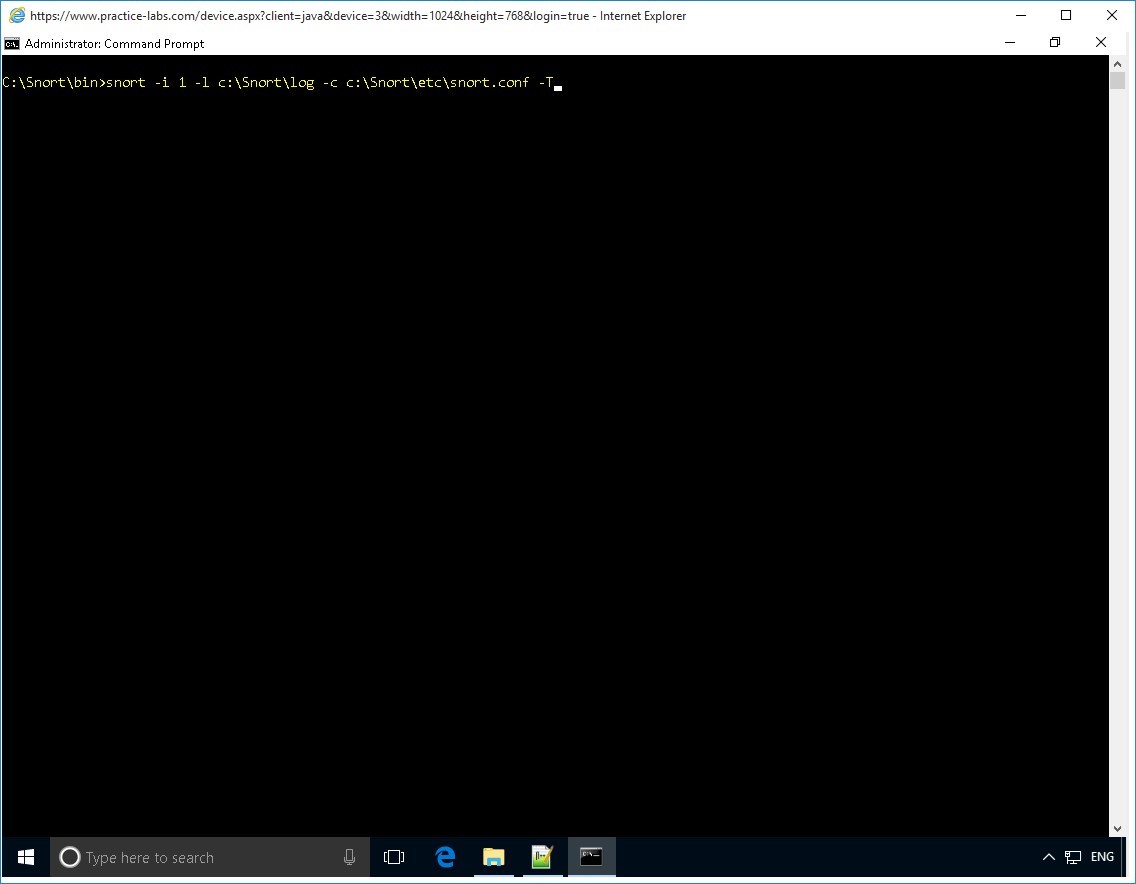
Test the snort configuration by typing the following command:
snort -i 1 -l c:\Snort\log -c c:\Snort\etc\snort.conf -T
Press Enter.
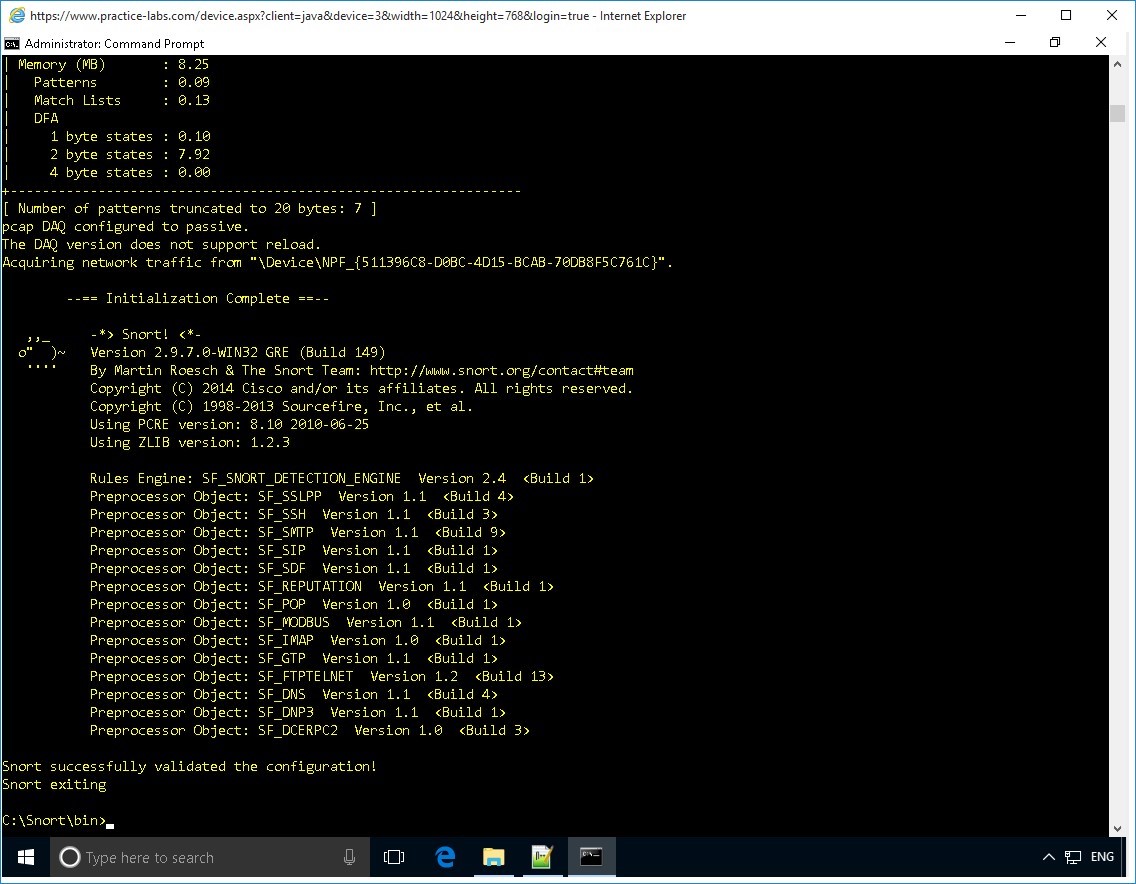
Step 3
You should get successful result.
Step 4
Enter the following command:
snort -c c:\Snort\etc\snort.conf -l c:\Snort\log -K ascii
Press Enter.
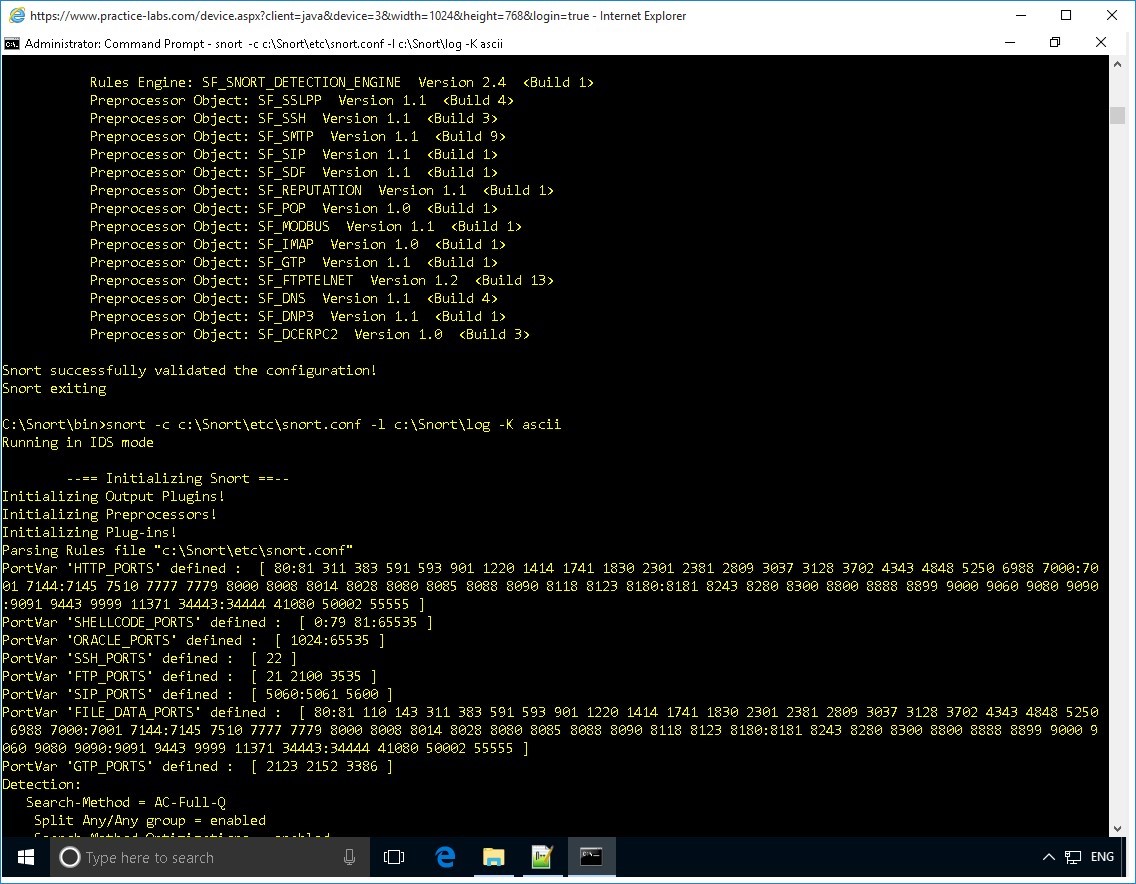
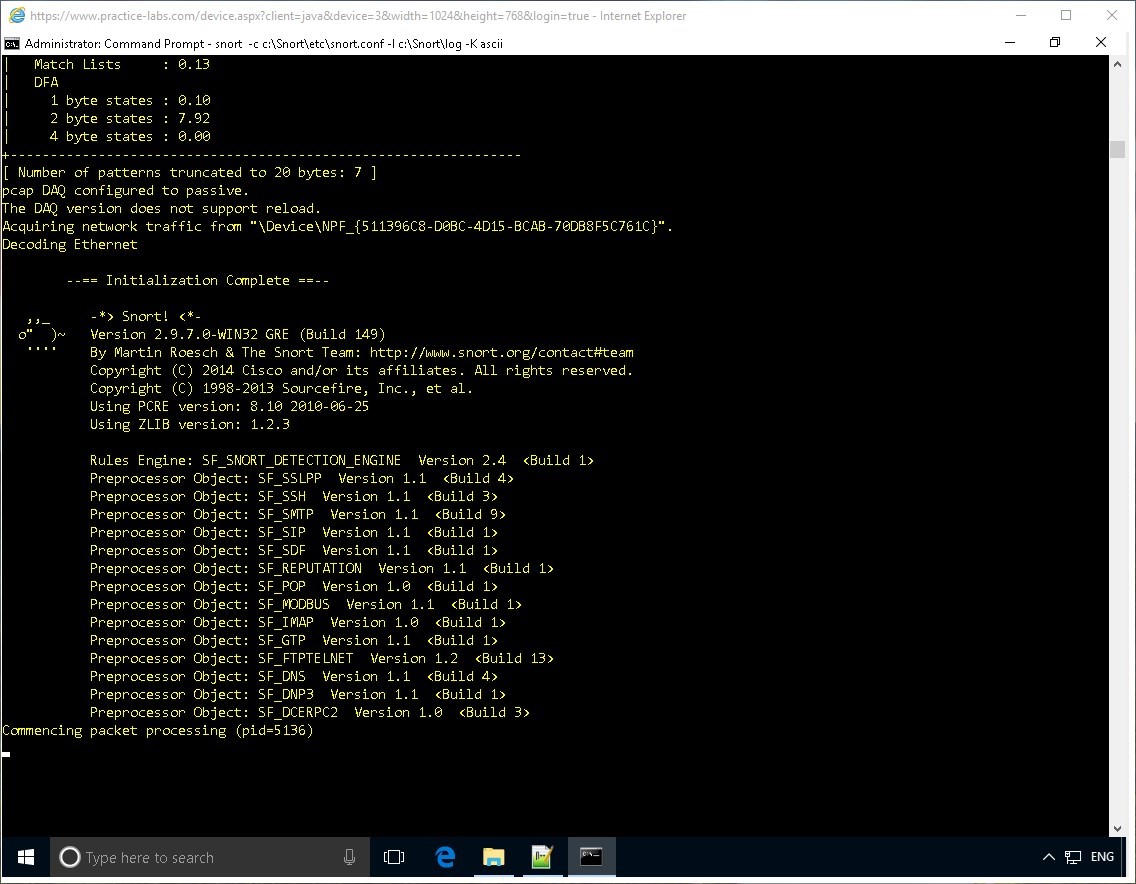
Step 5
Note that Snort IDS is now up and running.
Close the command prompt window.

Comments
Post a Comment