Using enumeration tools
Performing Zone Transfers
The DNS (Domain Name System) server service provides three types of zones such as primary, secondary, and stub zones. Zone transfer is a mechanism with the help of which the changes that are made to the zone on a master server are replicated on all the secondary servers for that particular zone.
In this exercise, you will learn to perform zone transfers using command-line tools such as nslookup and dig.
Please refer to your course material or use your preferred search engine to research this topic in more detail.
Task 1 - Use Nslookup to Perform Zone Transfer
The nslookup command-line tool displays information related to a DNS domain.
In this task, you will use the nslookup command-line tool to perform zone transfer.
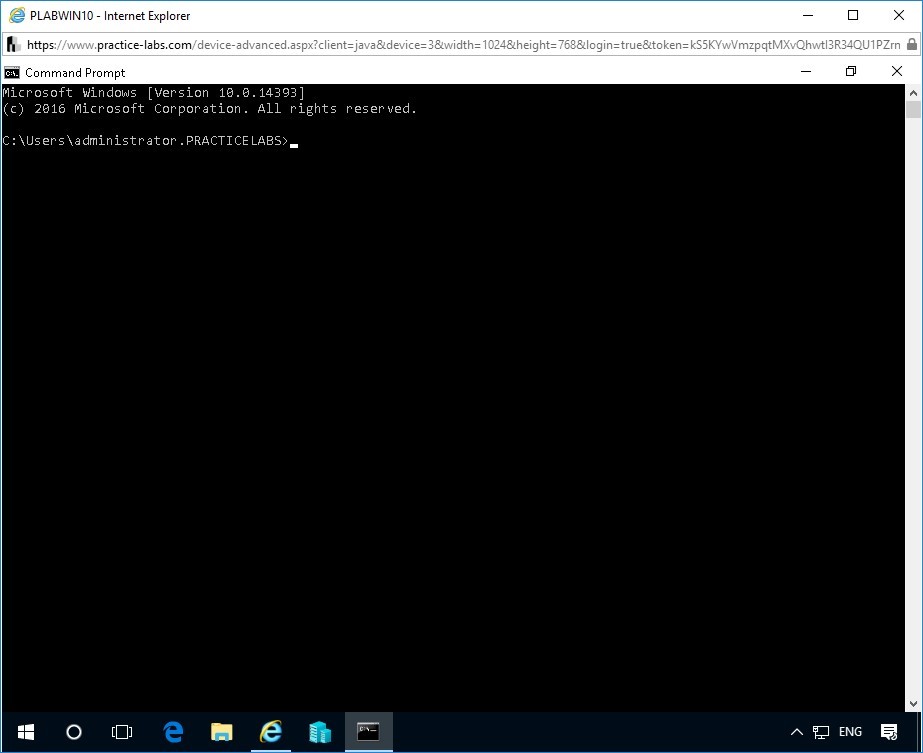
Step 1
Ensure you have powered on the required devices and connect to PLABWIN10.
To open Command Prompt, on the taskbar, click Search.
In the Search box, type:
cmd
The Best match menu appears.
From the Best match menu, click Command Prompt Desktop app.
Command Prompt window opens.
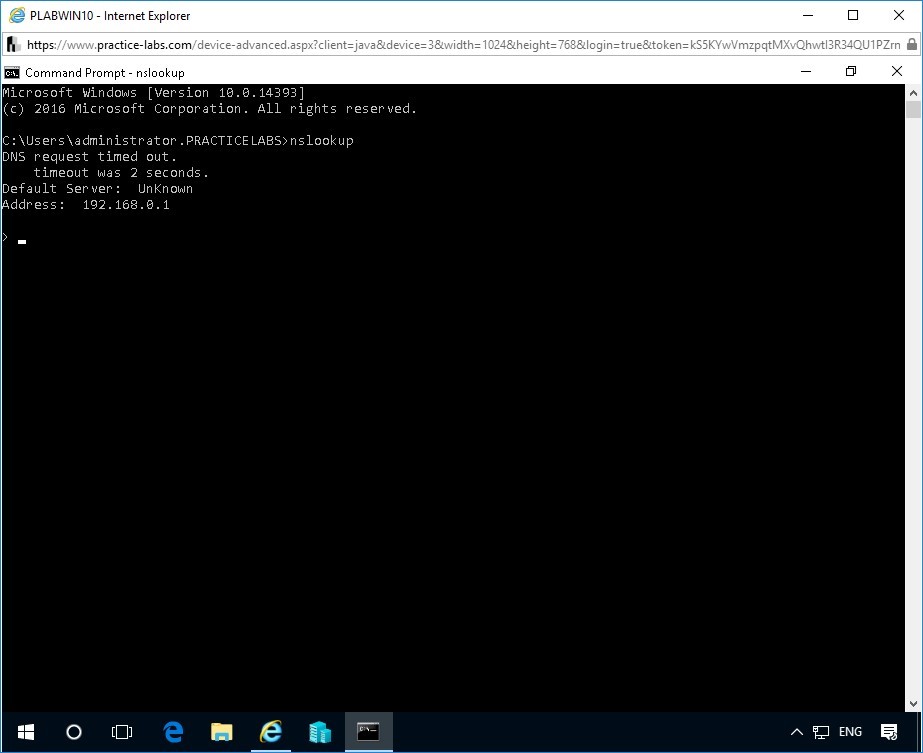
Step 2
At the prompt, type the following command:
nslookup
Press Enter.
The command prompt will change to a > symbol.
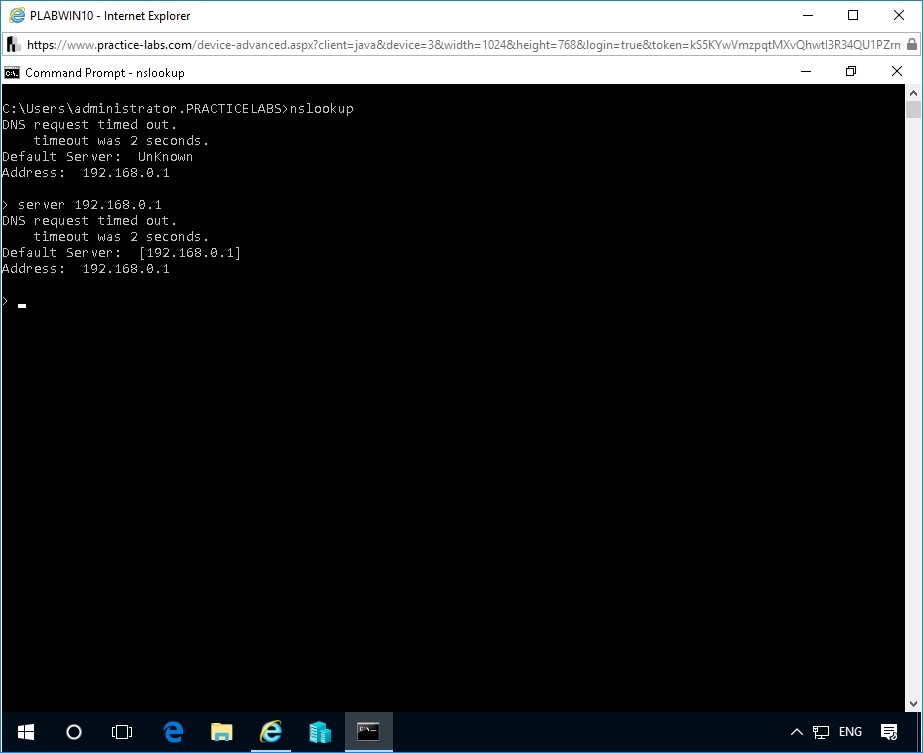
Step 3
At the next prompt, type the following command:
server 192.168.0.1
Press Enter.
For the purpose of this demonstration, 192.168.0.1 is considered as the IP address of the DNS server.
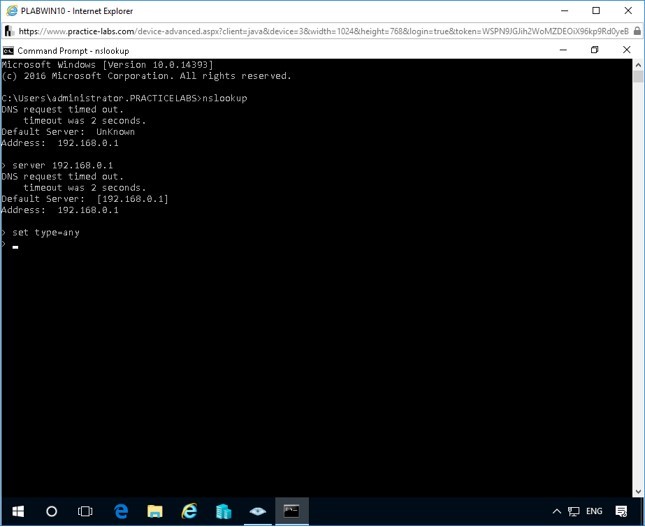
Step 4
At the next prompt, type the following command:
set type=any
Press Enter.
This command retrieves all the records from the server.
Step 5
At the next prompt, type the following command:
ls -d practise-labs.com
Press Enter.
This command allows the DNS server to transfer practise-labs.com zone to PLABWIN10.
Note: The DNS server used in this demonstration is not vulnerable for zone transfers. In addition, the external domain practise-labs.com is a fictitious domain and is not available in the environment. Therefore, the command will not display any successful output.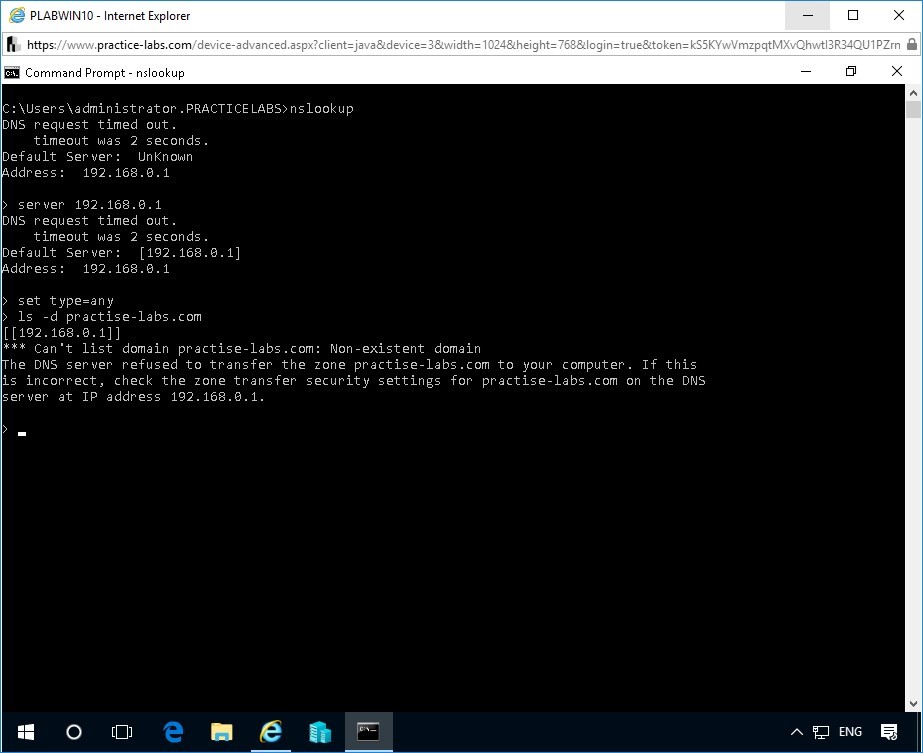
Task 2 - Use the DIG Tool to Perform Zone Transfer
The DIG (Domain Information Groper) command-line tool is used to query DNS servers. It helps the network administrations to troubleshoot network related issues. You can use the DIG command-line tool if you want to perform the zone transfer from a Linux system. This tool exists on KALI by default.
In this task, you will connect to PLABKALI01 and use the DIG tool to query the DNS server.
Step 1
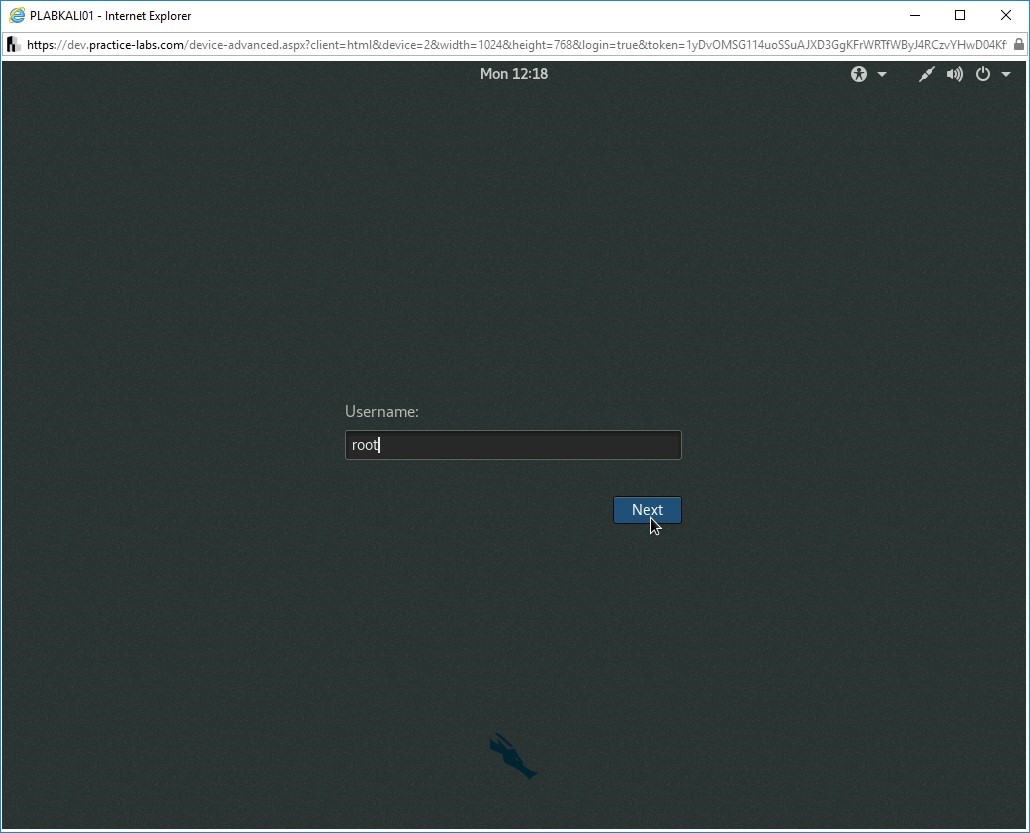
Connect to PLABKALI01.
In the Username: field, type:
root
Press Enter.
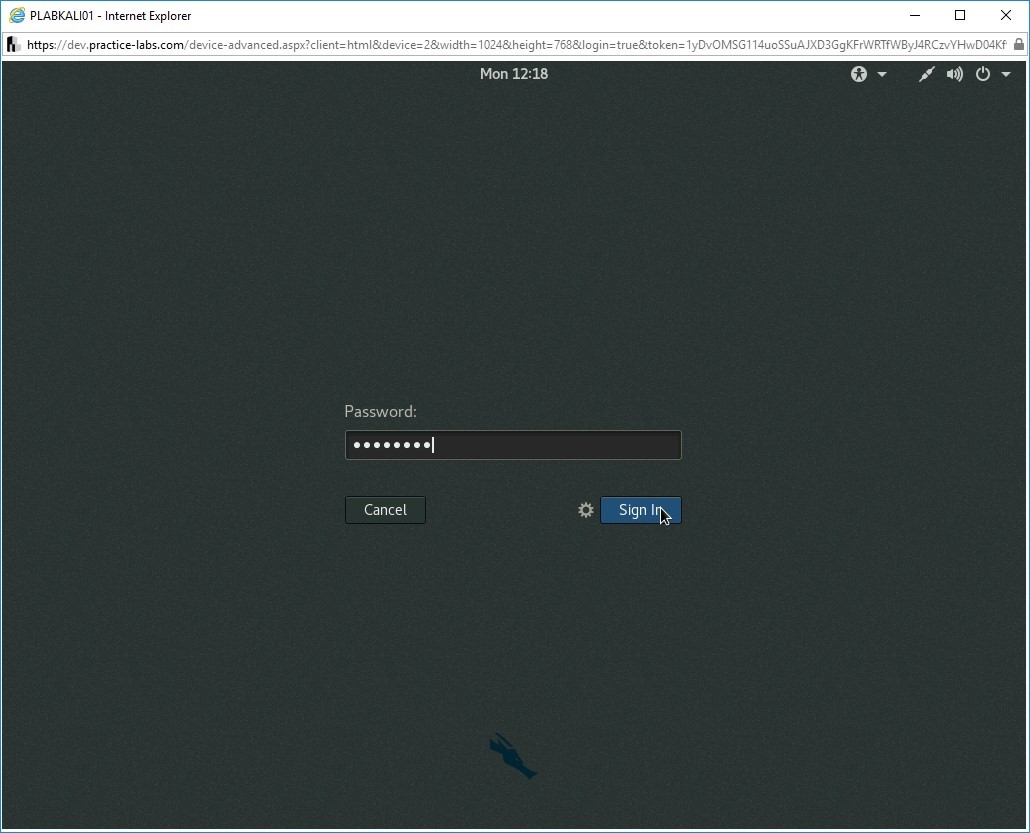
Step 2
In the Password: field, type:
Passw0rdPress Enter.
Step 3
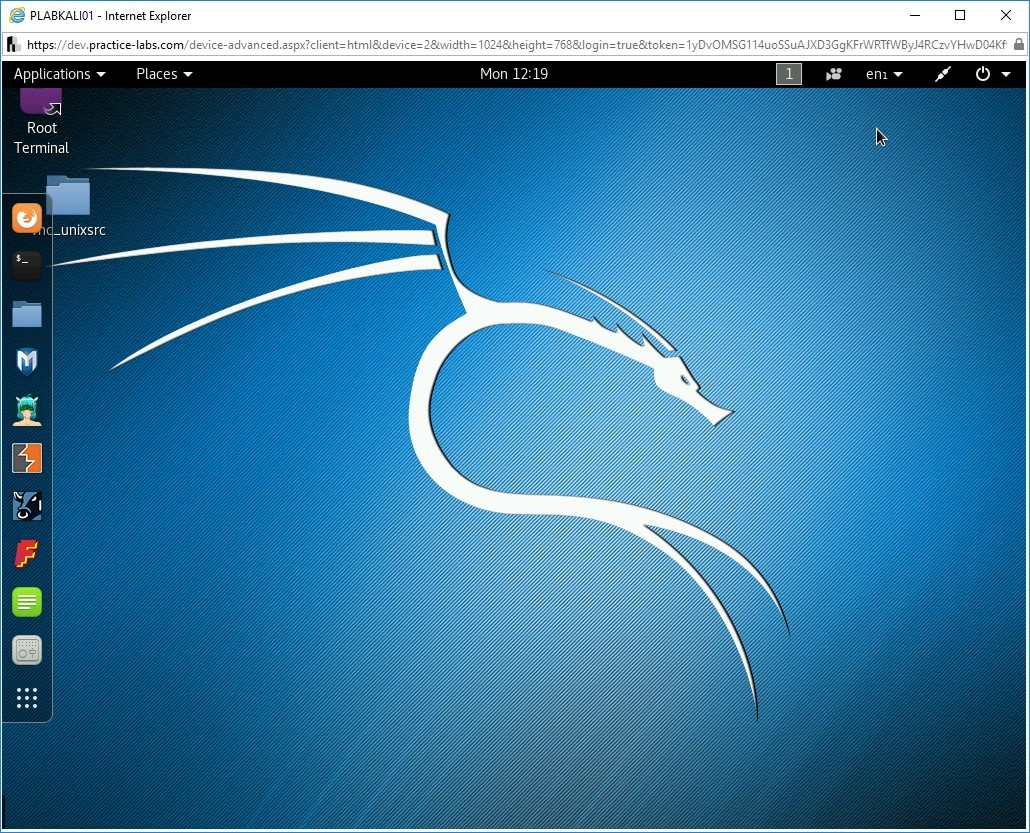
The connection to PLABKALI01 device is successfully established.
Step 4
To run the root terminal, from the desktop of PLABKALI01 device, double-click the Root Terminal icon on the desktop

Step 5
The root@kali: ~ window opens. You can maximise the window by clicking the square in the top right corner.
Step 6
To perform the zone transfer, at the command prompt of the root terminal window, type the following command:
dig axfr practise-labs.com 192.168.0.1
Press Enter.
This axfr parameter provides the complete listing of the domain records.
Note: The server used in this demonstration is not vulnerable for zone transfers. In addition, the external domain practise-labs.com is a fictitious domain and is not available in the environment. Therefore, the command will not display any successful output.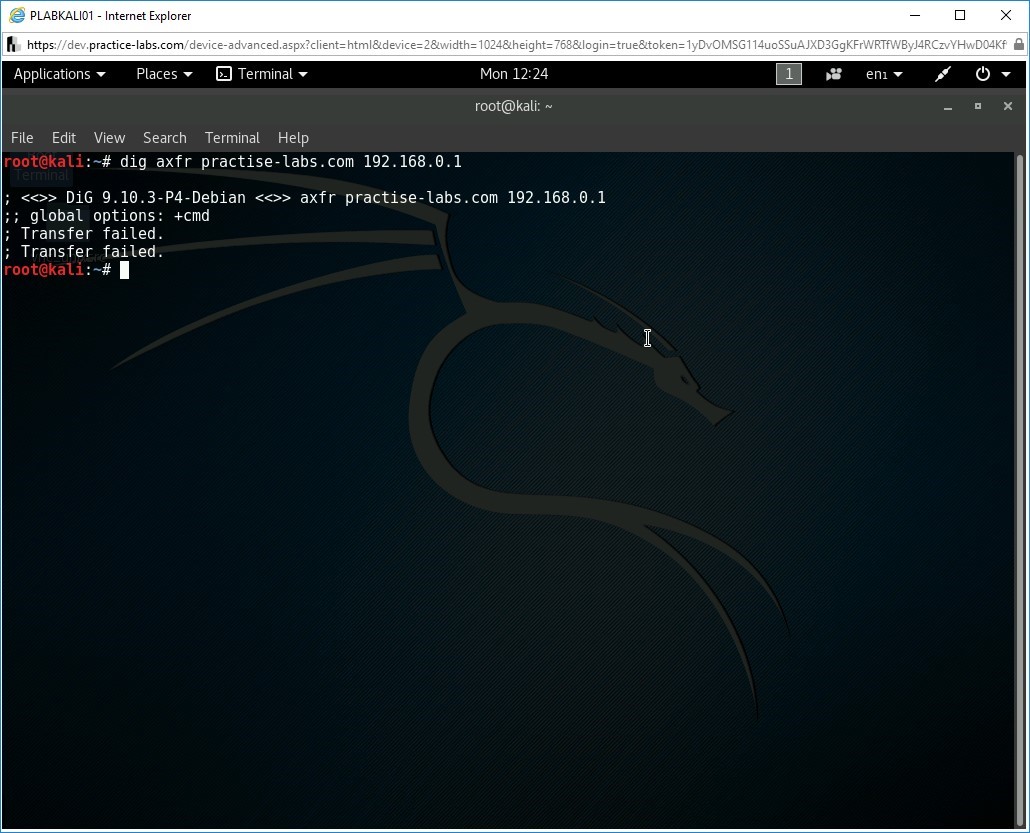
Exercise 2 - Working with Remote Targets
PsInfo is a command-line tool that comes bundled with Microsoft Sysinternals suite. By default, this tool provides local system information. However, you can use this tool to retrieve information about remote systems in the network.
In this exercise, you will use the PsInfo command-line tool.
Please refer to your course material or use your preferred search engine to research this topic in more detail.
Task 1 - Use PsInfo Command-line Tool
In this task, you will use the PsInfo command-line tool to retrieve the system information of PLABDC01.
Step 1
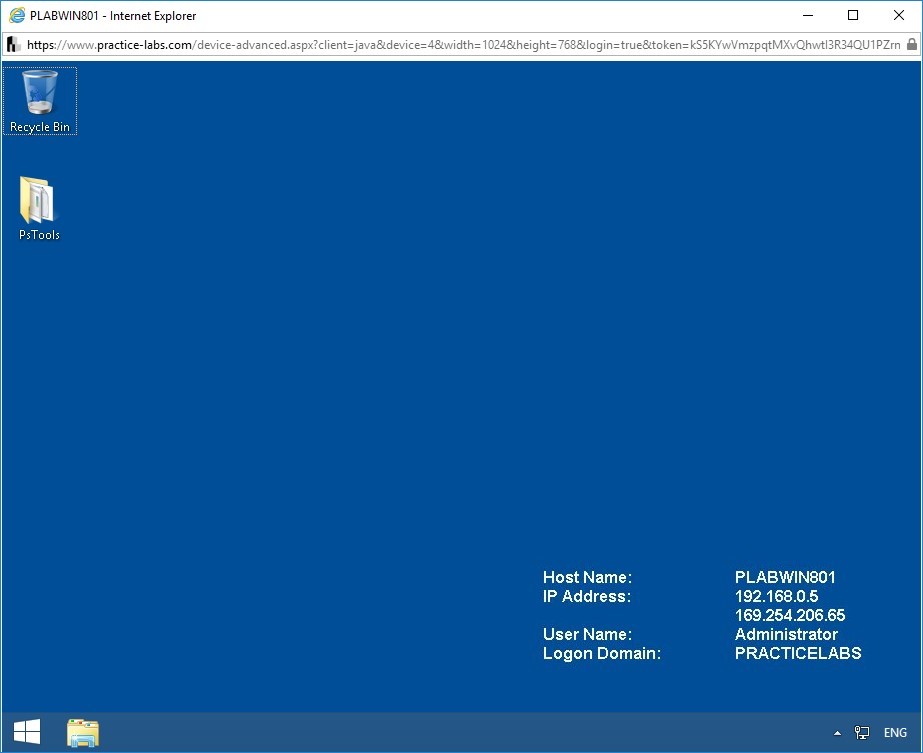
Connect to PLABWIN801.
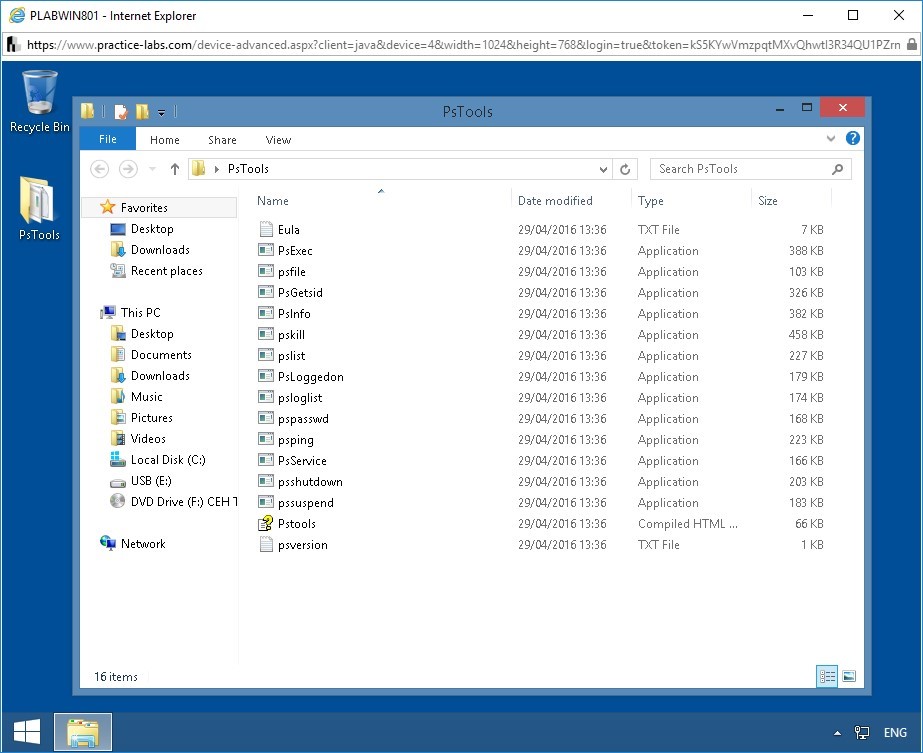
From PLABWIN801 desktop, double-click the PsTools folder.
Step 2
The File Explorer window opens and the PsTools folder list is displayed.
Step 3
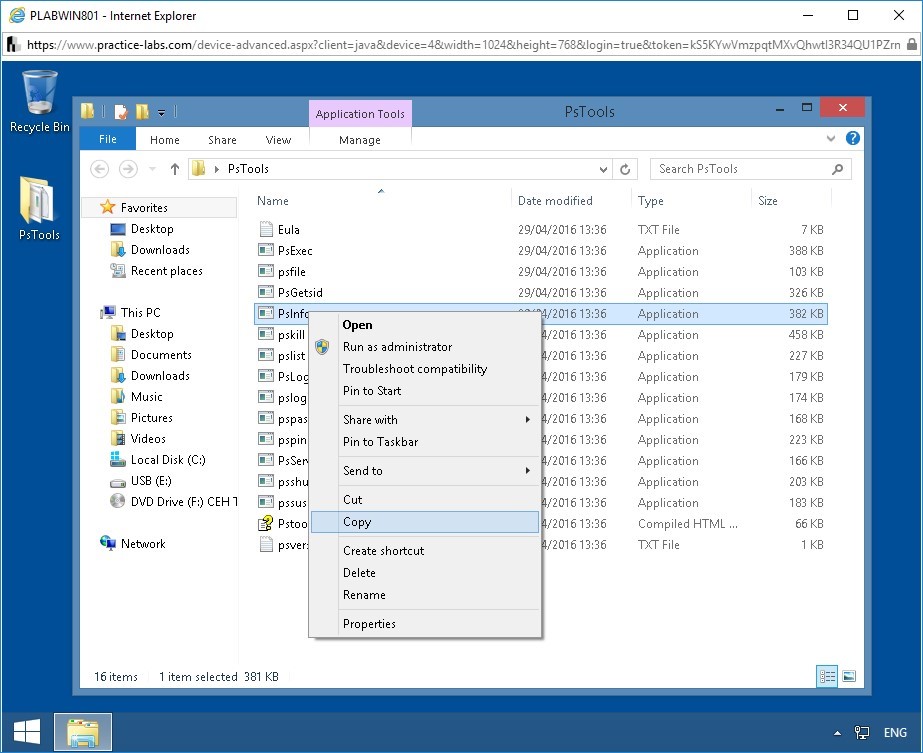
To copy PsInfo.exe file to the desktop, in the details pane, right-click PsInfo.
A context menu appears.
From the context menu, click Copy.
In the console tree, click Desktop.
In the details pane of the Desktop folder, right-click.
From the context menu, click Paste.
The PsInfo.exe file is copied on the desktop.
Step 4
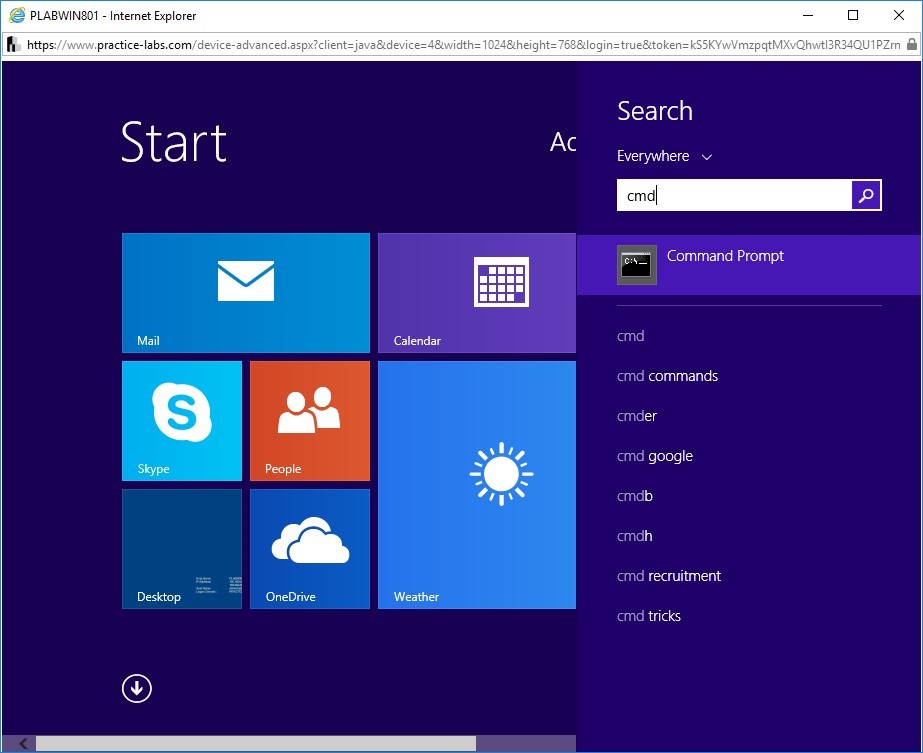
To open Command Prompt, click the Start charm.
In the Search box, type:
cmd
From the search list, click Command Prompt.
Step 5
Command Prompt window opens.
To navigate to the desktop folder, at the prompt, type the following command:
cd Desktop
Press Enter.

Step 6
To retrieve and display the system information of PLABDC01, at the prompt, type the following command:
Psinfo.exe \\192.168.0.1 -h -d
Press Enter.
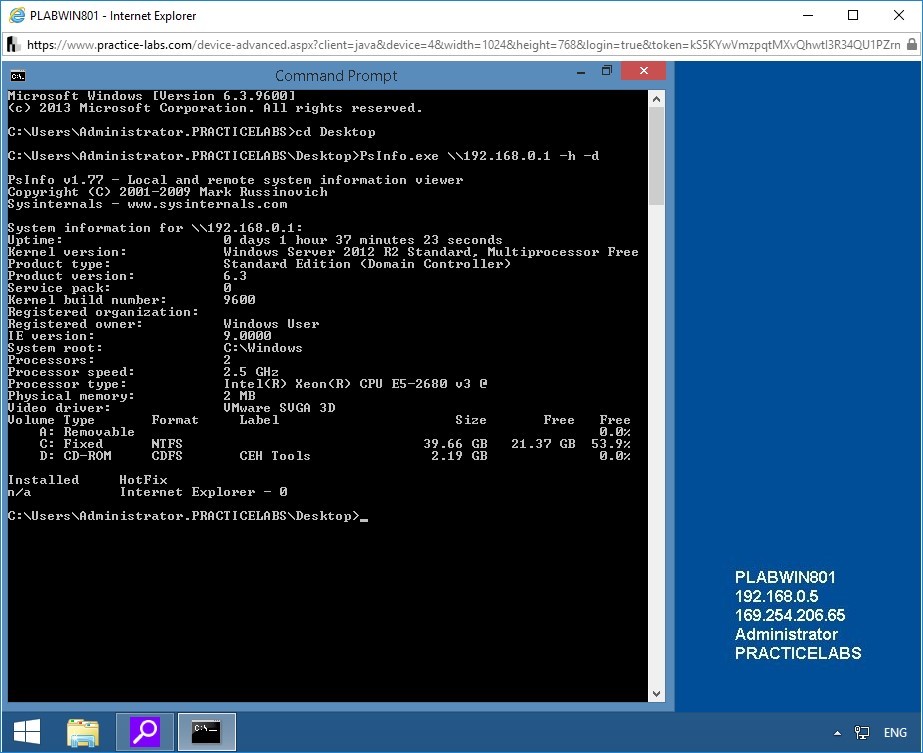
The parameter -h displays a list of installed hotfixes. The parameter -d displays the information related to the disk volume.
Note: If the PsInfo tool’s license agreement window appears, click Agree.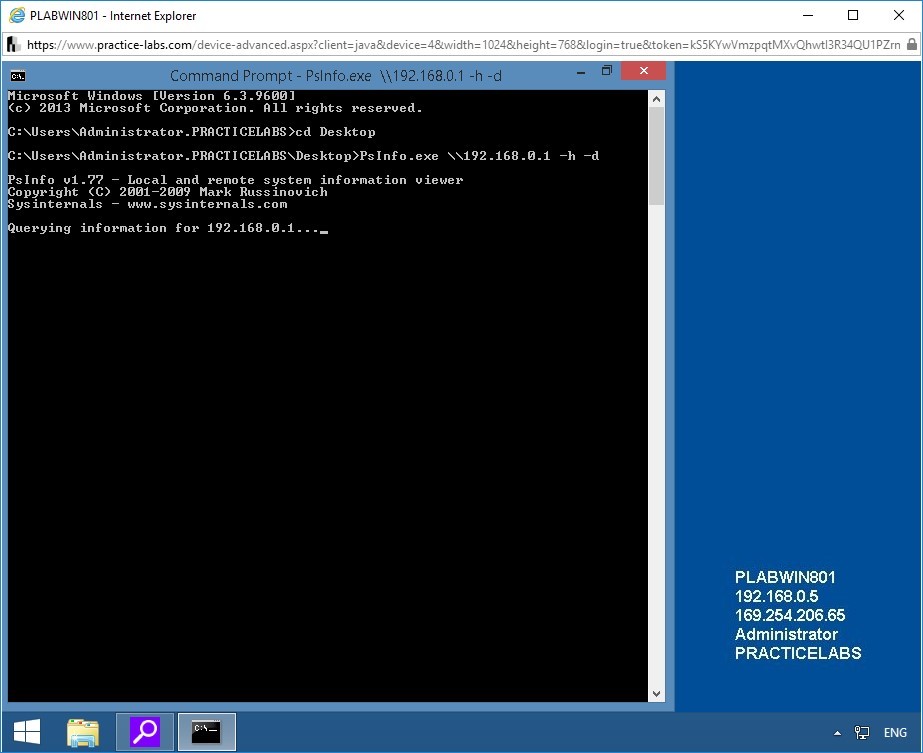
Step 7
PsInfo tool displays the system information of PLABDC01.
Exercise 3 - Working with Finger Command
In Unix/Linux, you can use the finger command to retrieve information about the system users in the network.
In this exercise, you will work with the finger command.
Please refer to your course material or use your preferred search engine to research this topic in more detail.
Task 1 - Use the Finger Command
In this task, you will use the finger command with different parameters.
Step 1
Connect to PLABKALI01 from PLABWIN10.
Root terminal window is open on PLABKALI01.
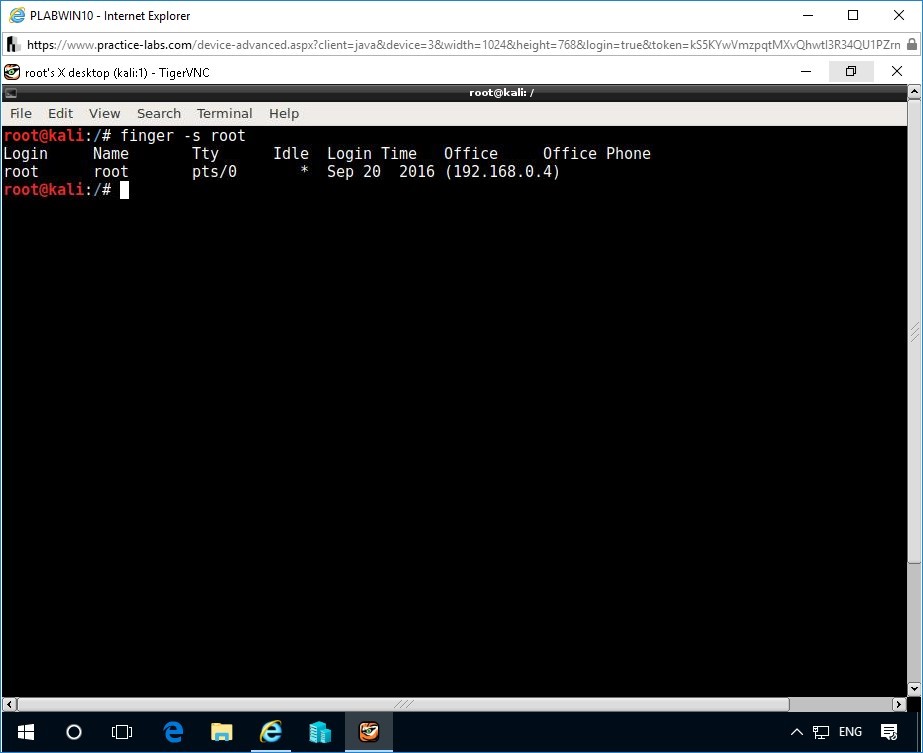
At the command prompt of the root terminal window, type the following command:
finger -s root
Press Enter.
This command displays the information about all the users available on the system.
You can also retrieve user information from remote Linux systems in the network by using the “-1” parameter with the finger command. The syntax of the command is as follows:
finger -l user@host
In this command, user is the username and host is the machine name you wish to target.
Close all open windows.

Comments
Post a Comment