Capture session cookies
- Capture Session Cookies
You can view cookie information from unencrypted sites using session hijacking, also known as cookie hijacking. Session hijacking occurs at the network and application level. At the application level session hijacking, you will intercept the session ID of a particular session with the help of cookies and use it to gain unauthorized access to sensitive or critical data.
In this exercise, you will perform the following tasks to perform application-level session hijacking:
- Enable HTTP web service on PLABSA01
- Configure Burp Suite on PLABWIN10
- Configure Firefox to use Burp Suite proxy listeners
- Capture cookies
- Hijack the session
Learning Outcomes
After completing this exercise, you will be able to:
- Install Burp Suite on PLABWIN10
- Install Firefox
- Configure Burp Suite on PLABWIN10
- Configure Firefox to Use Burp Suite Proxy Listeners
- Capture Cookies
Your Devices
You will be using the following devices in this lab. Please power these on now.
- PLABDC01 - (Windows Server 2019 - Domain Server)
- PLABWIN10 - (Windows 10 - Workstation)

Task 1 - Install Firefox
Firefox is a Web browser developed by Mozilla. It is mainly used for surfing the web, and it is also used with Burp Suite for intercepting traffic.
In this task, you will learn to install Firefox. To do this, perform the following steps:
Step 1
Ensure you have powered on all the devices and connect to PLABWIN10.
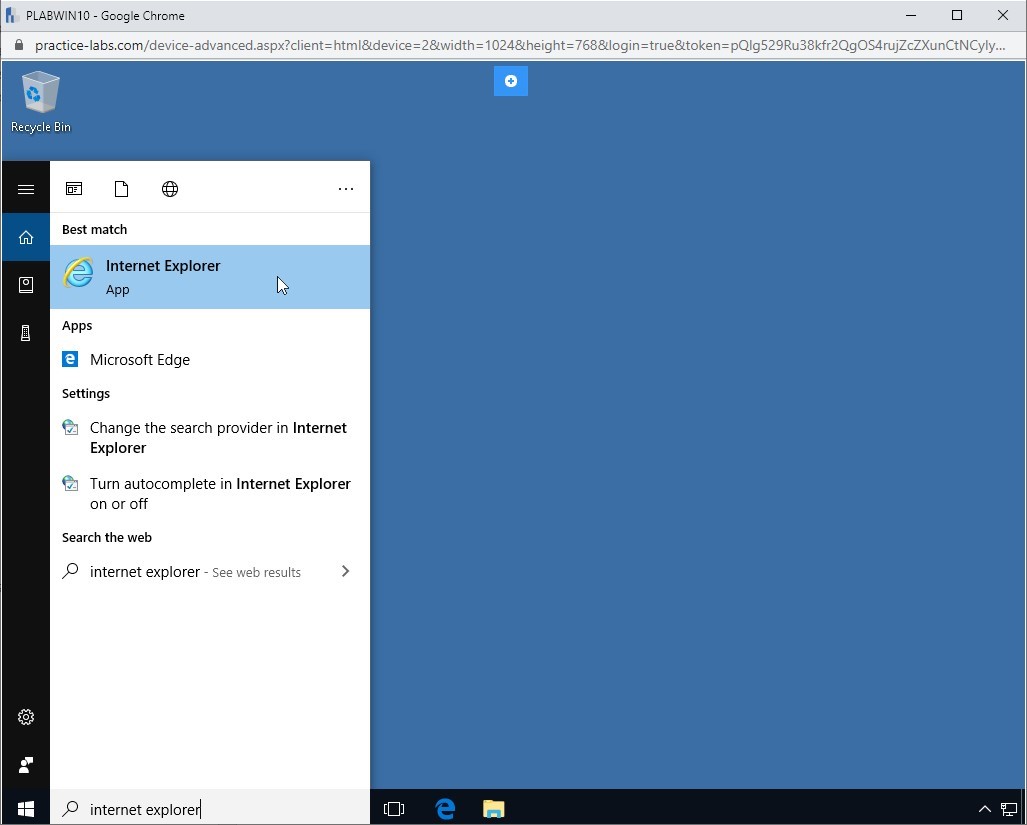
In the Type here to search text box on the taskbar, type the following:
Internet Explorer
From the search results, select Internet Explorer.
Step 2
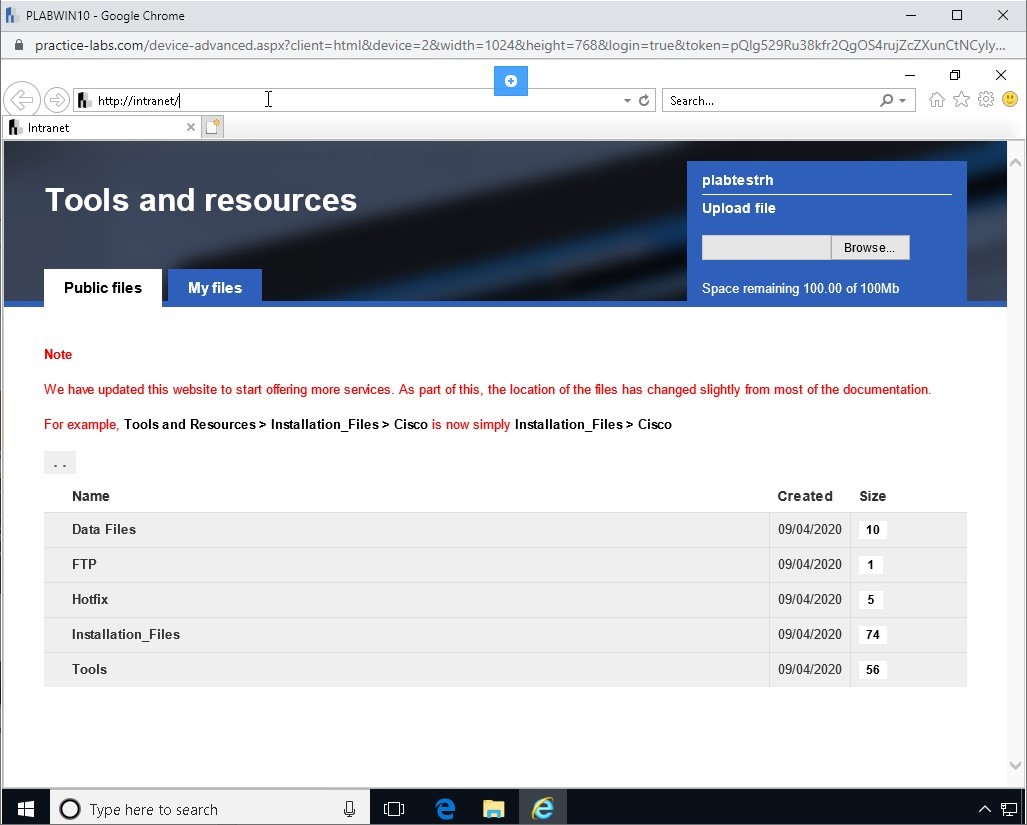
Internet Explorer is now opened.
The Intranet page should be automatically opened, if not,
In the address bar, type the following URL:
http://intranet
Press Enter.
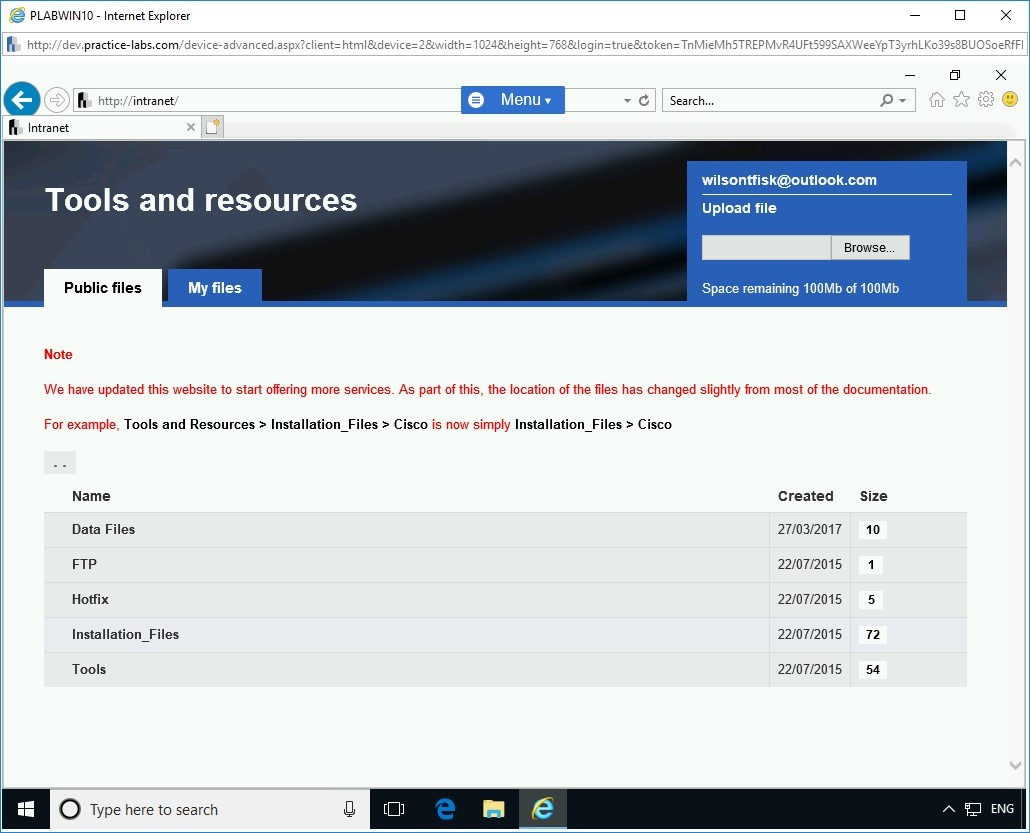
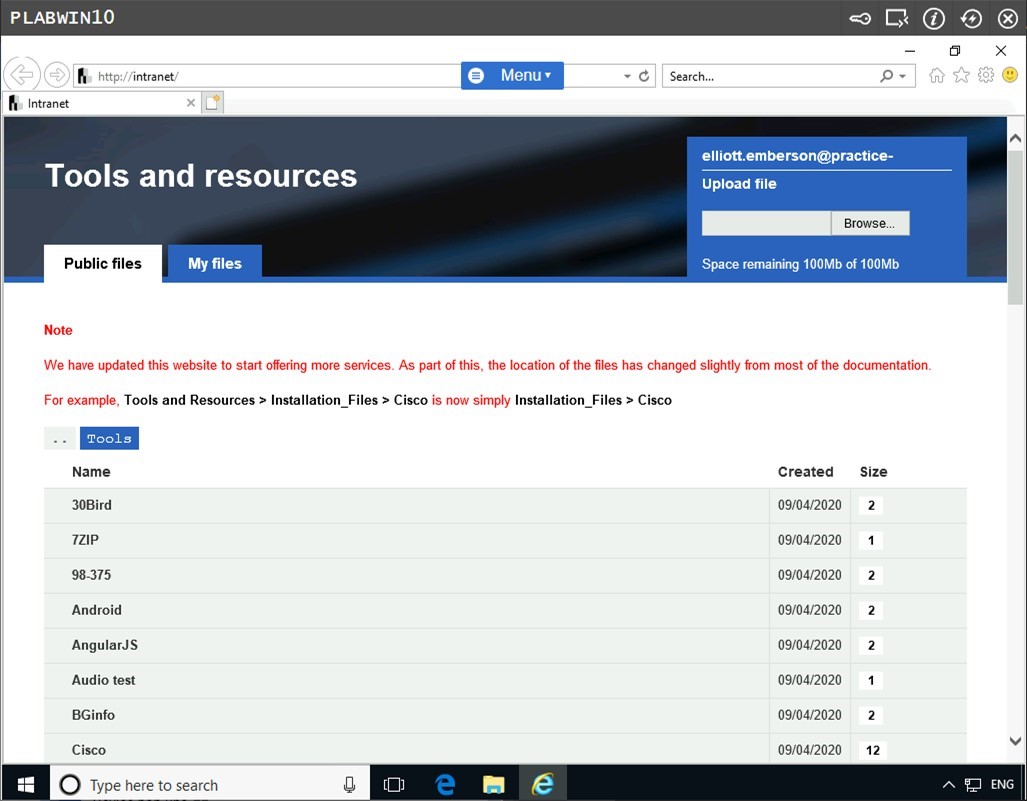
Step 3
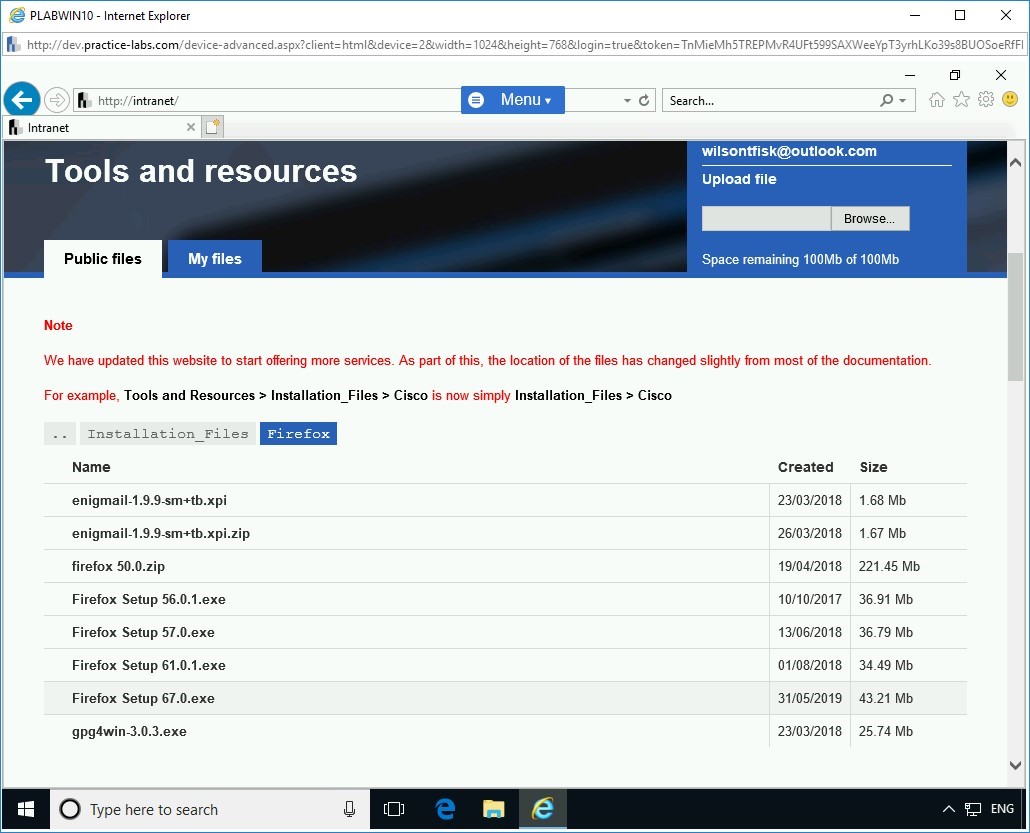
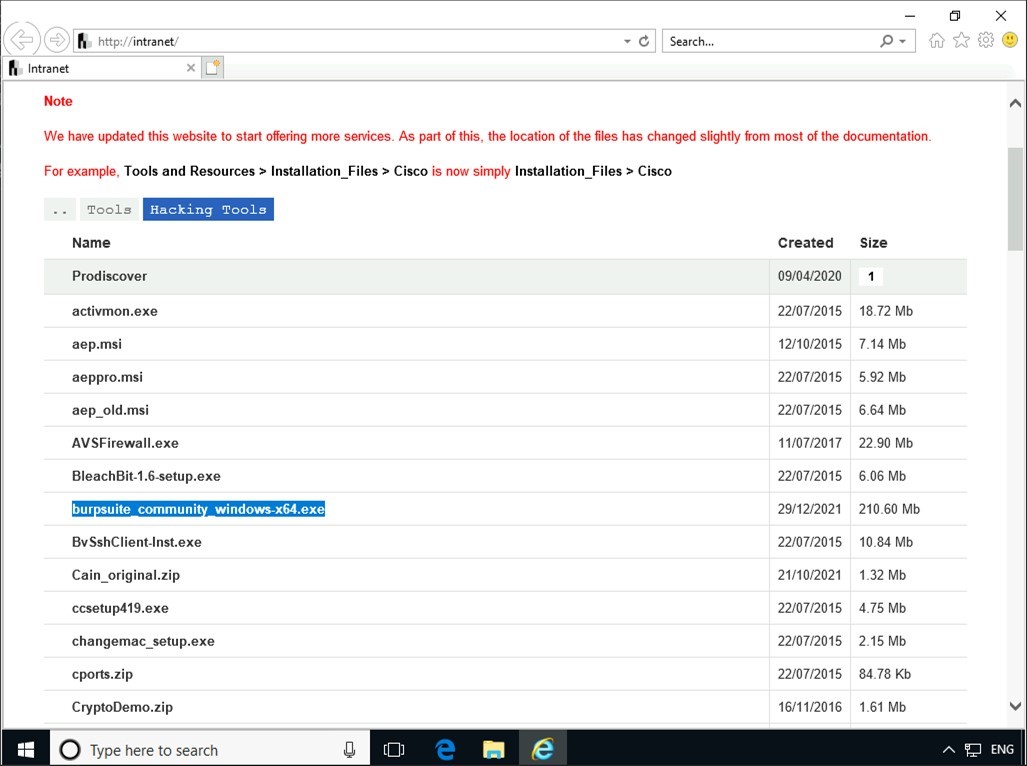
After the Intranet Website has loaded, click Installation_Files.
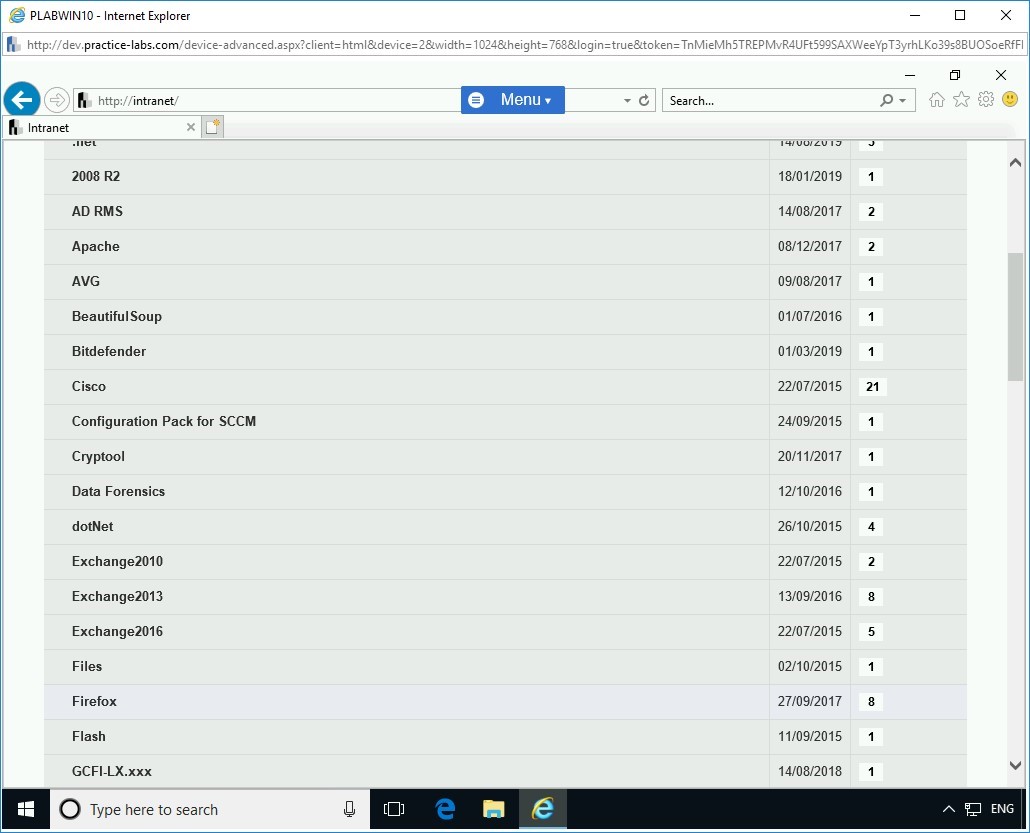
Step 4
On the Installation_Files page, click Firefox.
Step 5
On the Firefox page, click Firefox Setup 67.0.exe.
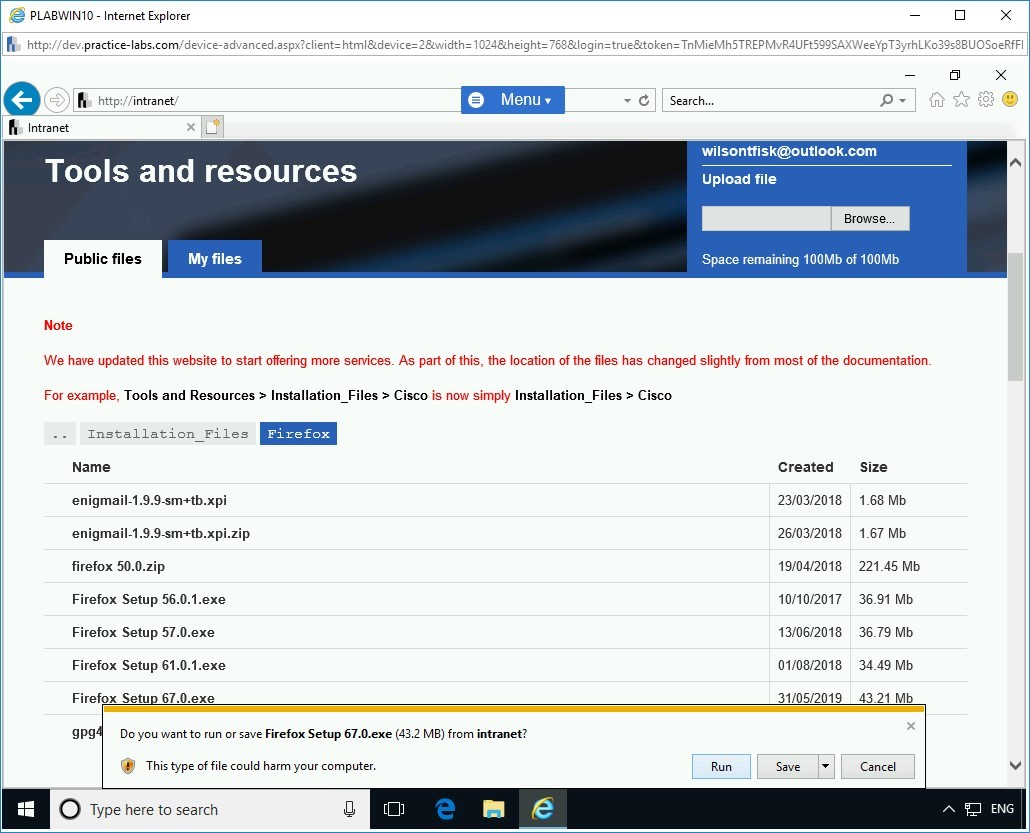
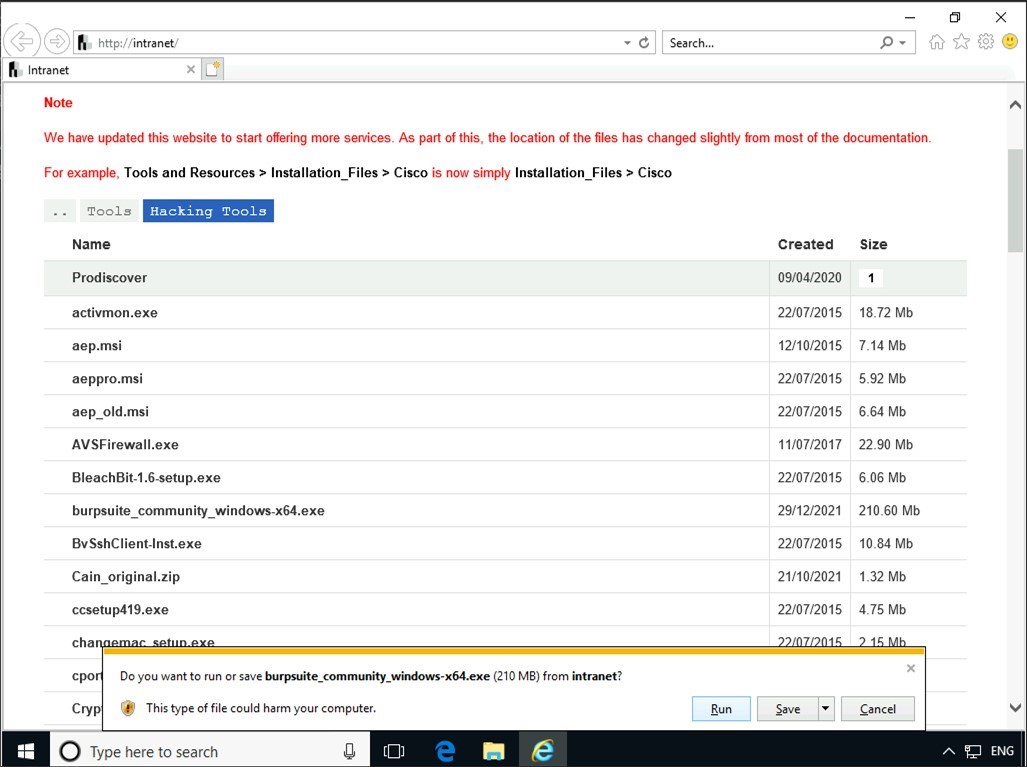
Step 6
In the notification bar, click Run.
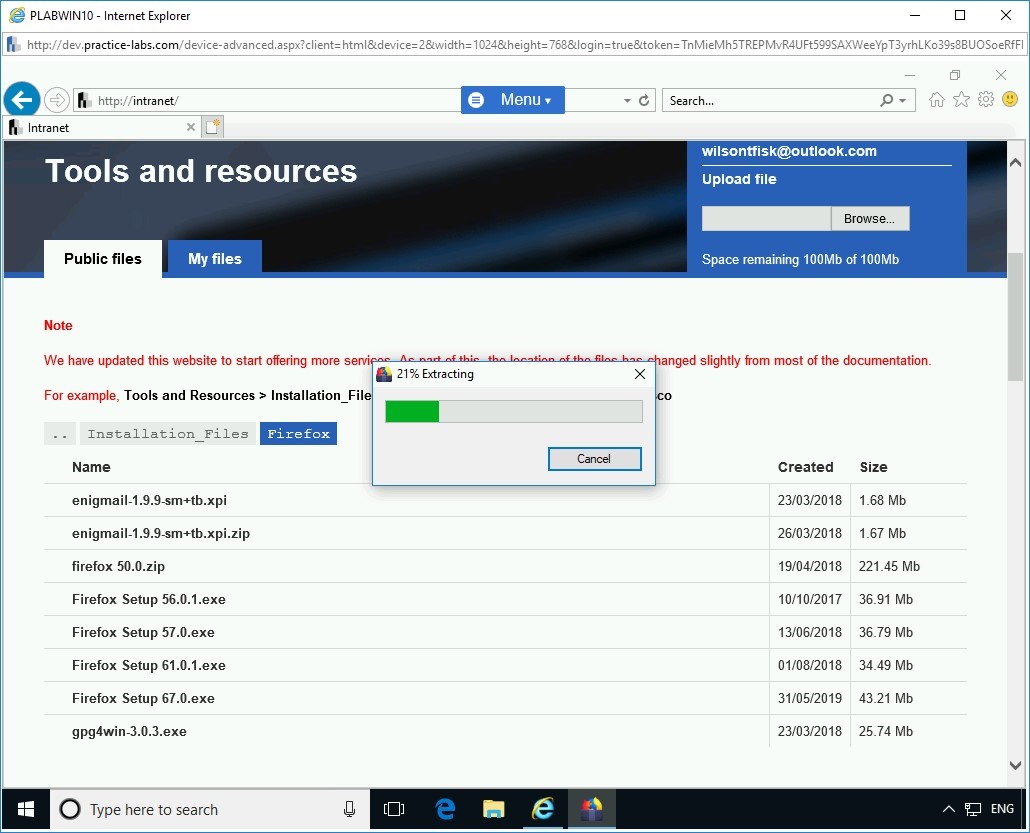
Step 7
A dialog box displays the file extraction in progress.
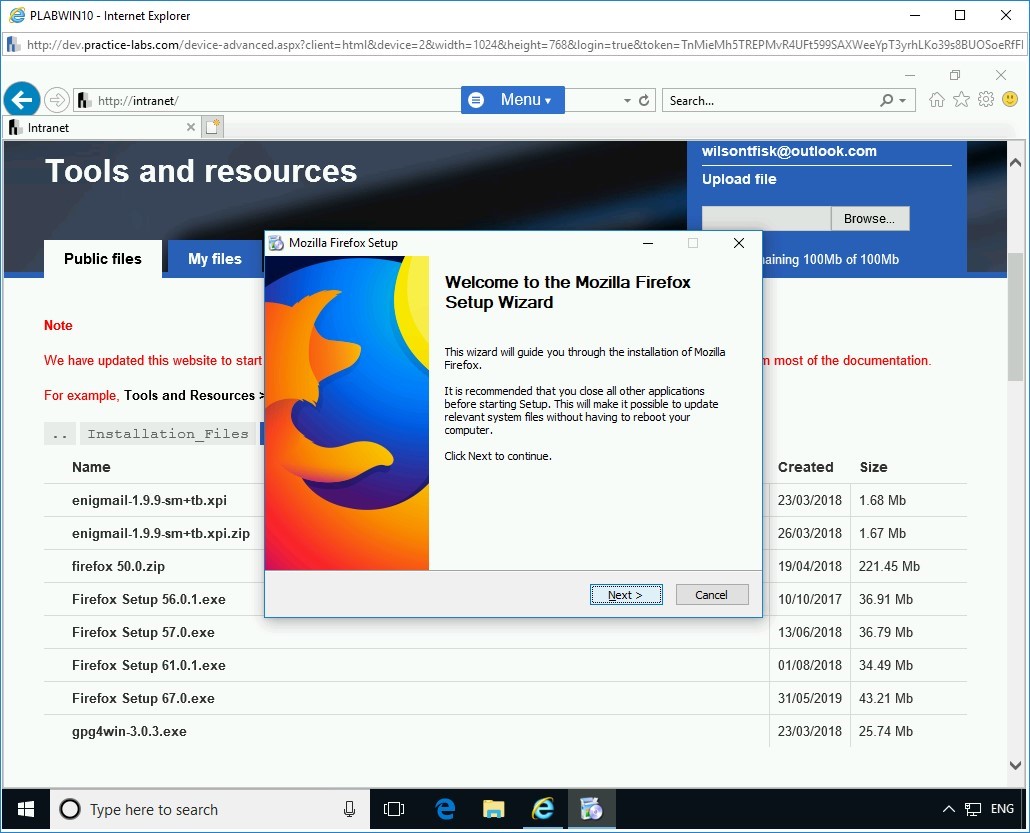
Step 8
The Mozilla Firefox Setup dialog box is displayed. On the Welcome to the Mozilla Firefox Setup Wizard page, click Next.
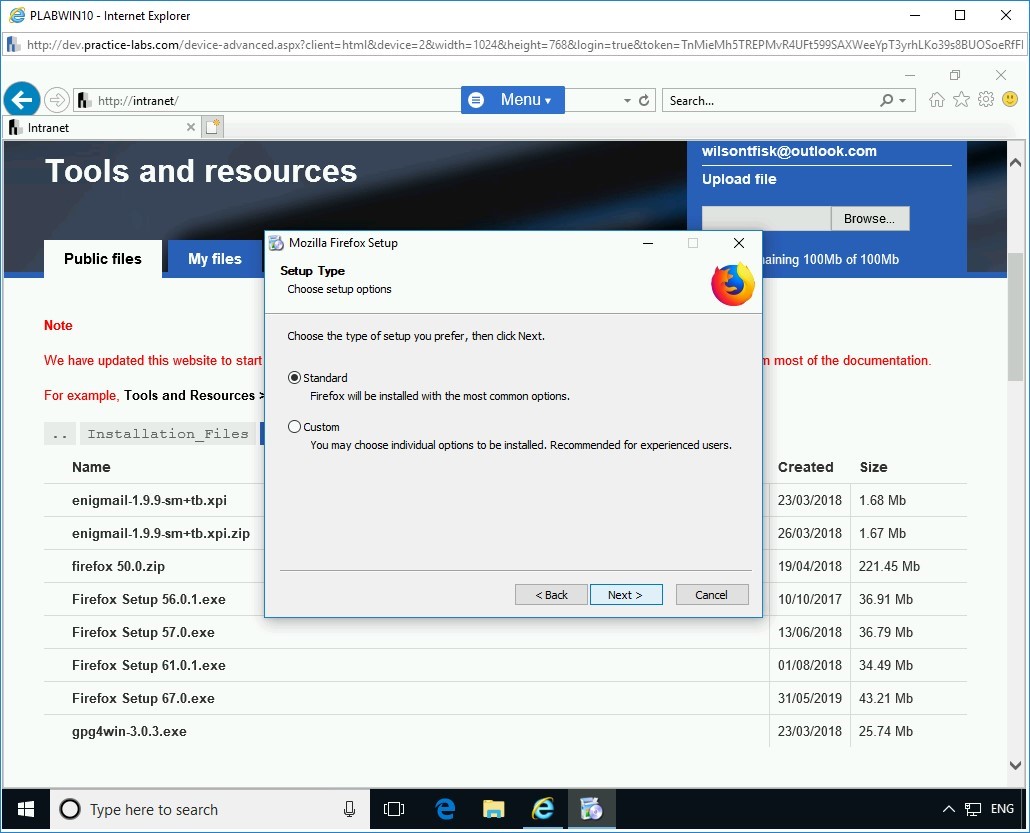
Step 9
On the Setup Type page, keep the default selection and click Next.
Step 10
On the Summary page, click Install.

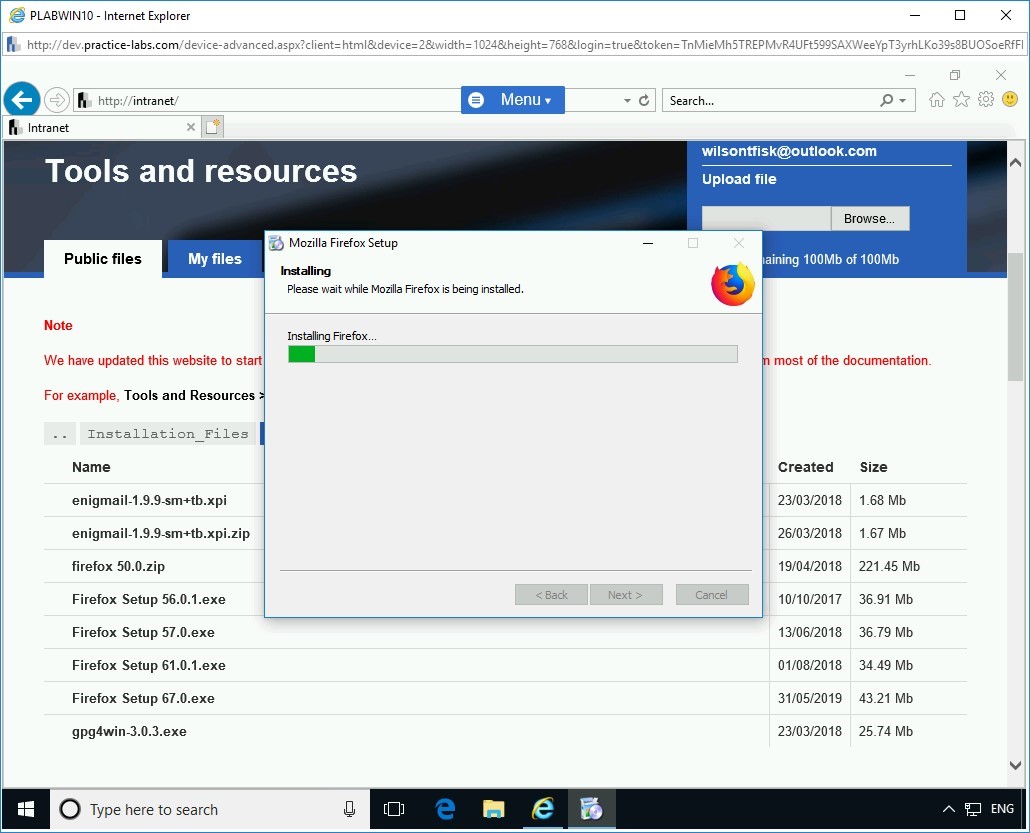
Step 11
On the Installing page, the installation progress is displayed.
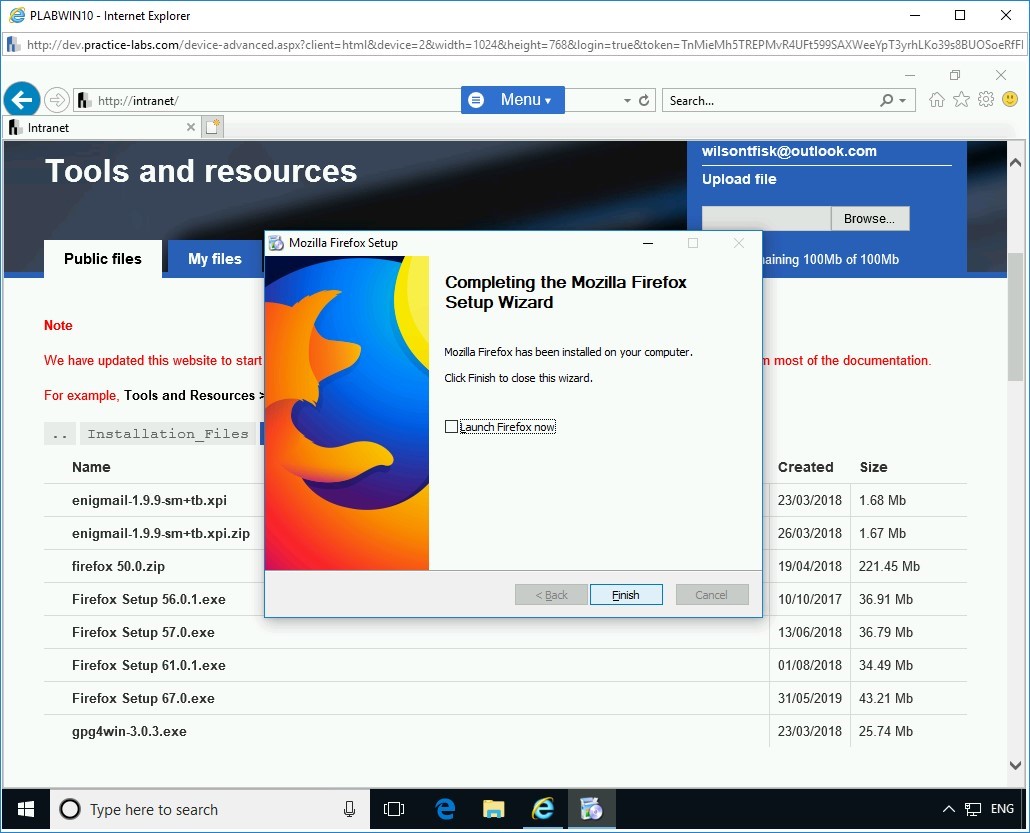
Step 12
On the Completing the Mozilla Firefox Setup Wizard page, de-select Launch Firefox now and click Finish.
Step 13
Close the Internet Explorer window.
Task 2 - Install Burp Suite on PLABWIN10
Burp Suite is one of the most used applications when it comes to intercepting traffic. It has a proxy that can intercept and modify Web traffic. In this task, you will learn to install Burp Suite. To do this, perform the following steps:
Step 1
Ensure you have powered on all the devices and connect to PLABWIN10.
Double click Mozilla Firefox located on the desktop.
Step 2
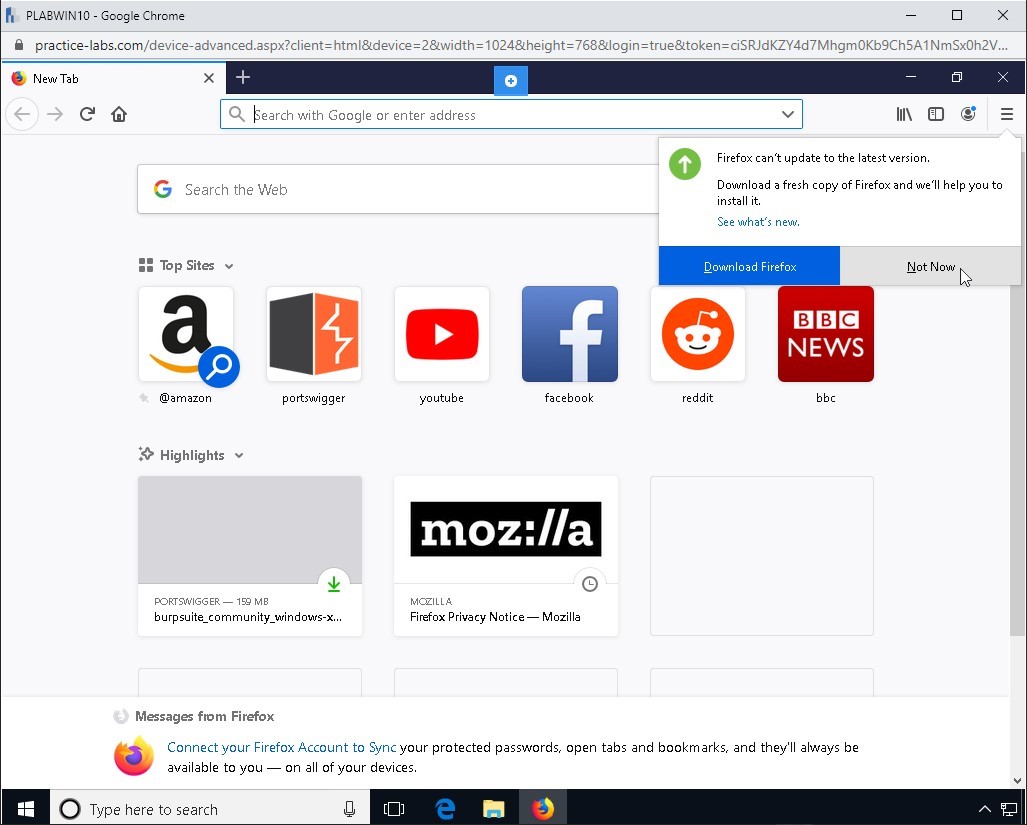
The Mozilla Firefox window opens. Notice that two tabs are opened. You can close the Firefox Privacy Notice tab.
On the update notification, click Not Now.
Step 3
You will need to download Burp Suite from its Website. In the address bar of Mozilla Firefox, type the following:
https://portswigger.net/burp/communitydownload
Press Enter.

Step 4
On the Burp Suite website, select Download the latest version.
Note: The version of Burp Suite may change over time.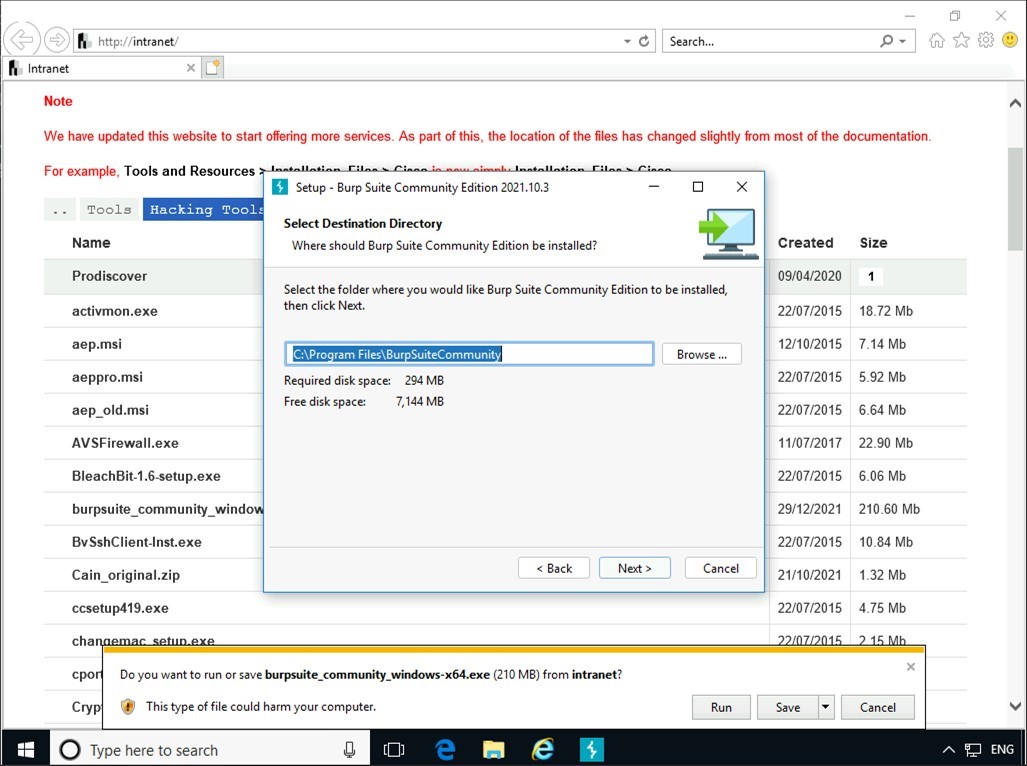
Step 5
You will be shown the download page for the latest version of Burp Suite.
Ensure that the drop down menus show Burp Suite Community Edition and Windows (64-bit).
Click the Download button.
Step 6
A dialogue box will then be shown.
Select Save File.
Step 7
Press the button towards the top of the browser to display the progress of ongoing downloads.
Select Show All Downloads.
Step 8
When the download has completed, Double click the downloaded file for Burp Suite.
Step 9
The Burp Suite Installation Wizard is then displayed.
Please wait for this to complete.
Step 10
On the Setup for Burp Suite Community Edition Welcome page,
Click Next.
Step 11
On the Select Destination Directory
Keep the default selection and press Next.
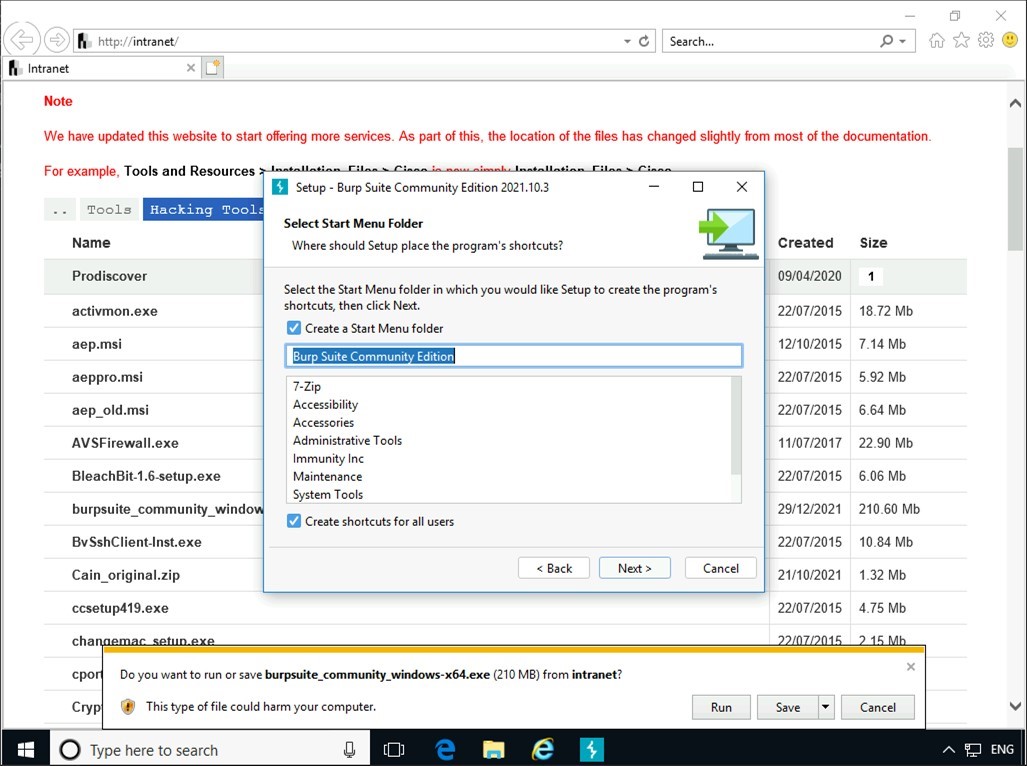
Step 12
On the Select Start Menu Folder section,
Ensure that Create shortcuts for all users is ticked.
Press Next.
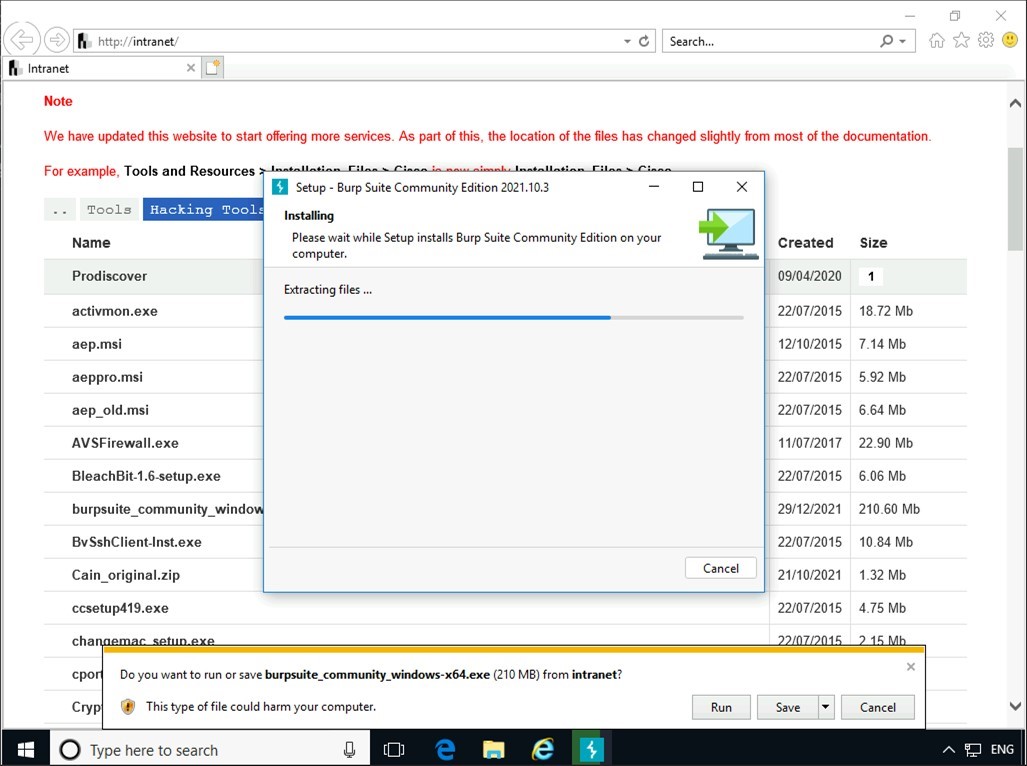
Step 13
The files for Burp Suite are now being extracted.
Please wait for this to complete.
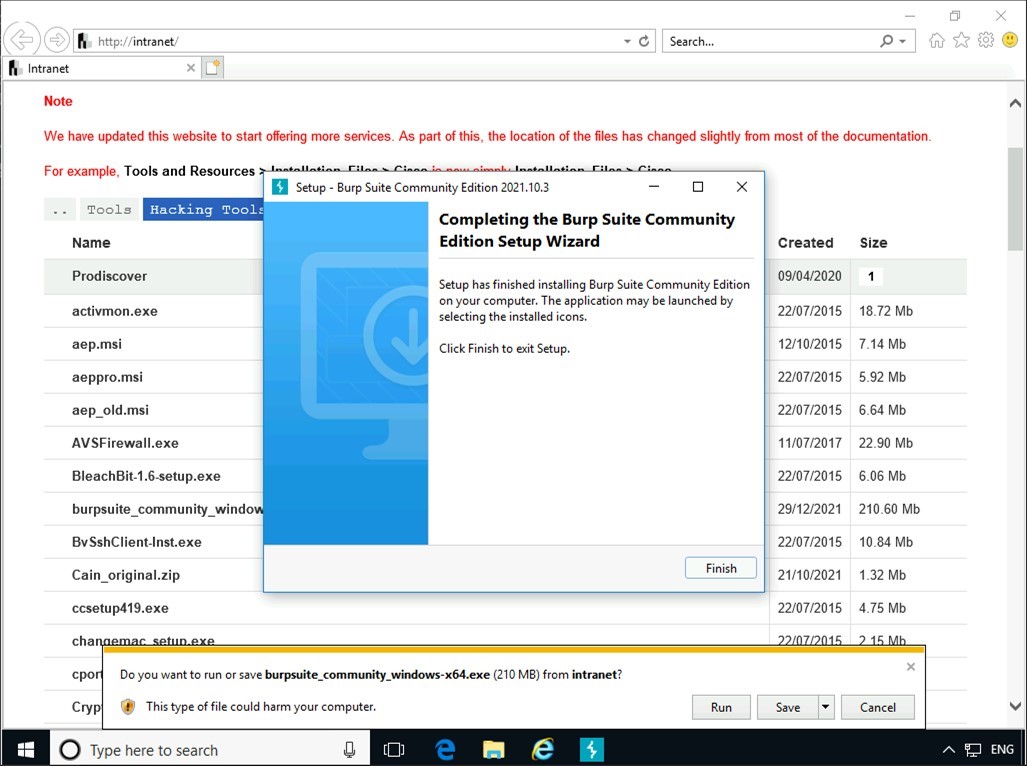
Step 14
The Setup for Burp Suite is now complete.
Click Finish.
Step 15
Close all open Windows to return to the desktop.
Task 3 - Configure Burp Suite on PLABWIN10
After you have installed Burp Suite, you need to configure it to intercept traffic from Mozilla Firefox. In this task, you will configure Burp Suite on PLABWIN10. To do this, perform the following steps:
Step 1
Ensure you have powered on all the devices and connect to PLABWIN10.
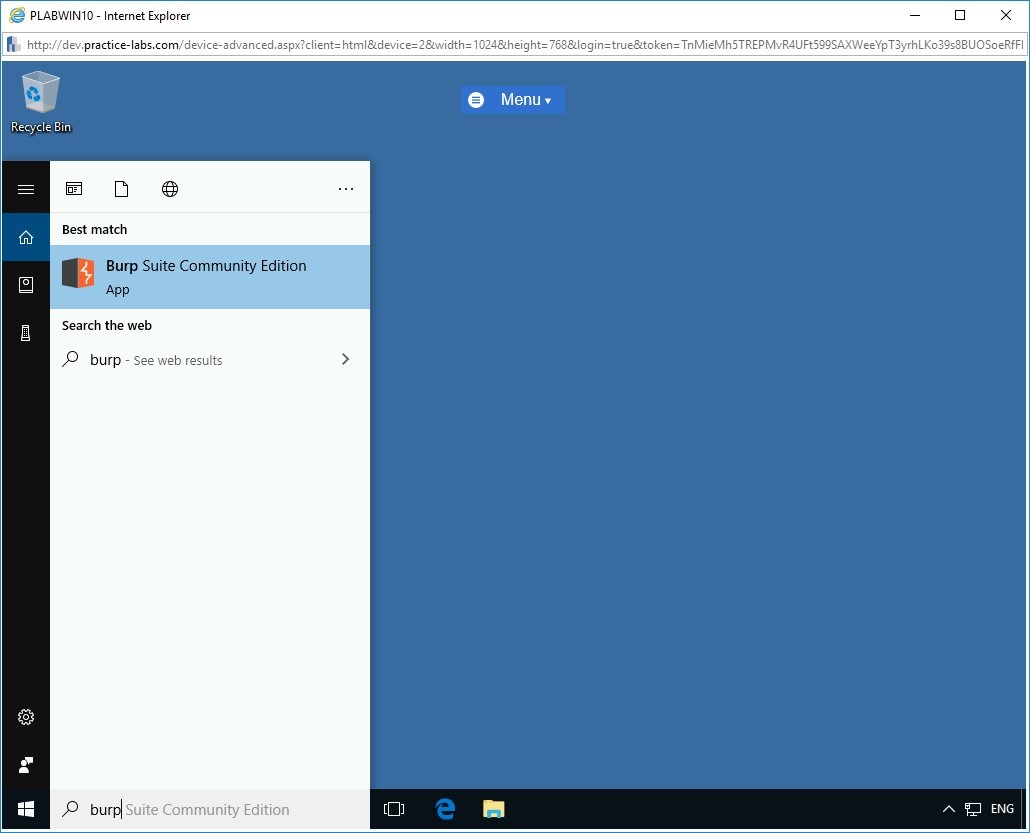
In the Type here to search textbox, type the following:
burp
From the search results, select Burp Suite Community Edition.

Step 2
The BURPSUITE COMMUNITY EDITION splash screen is displayed.

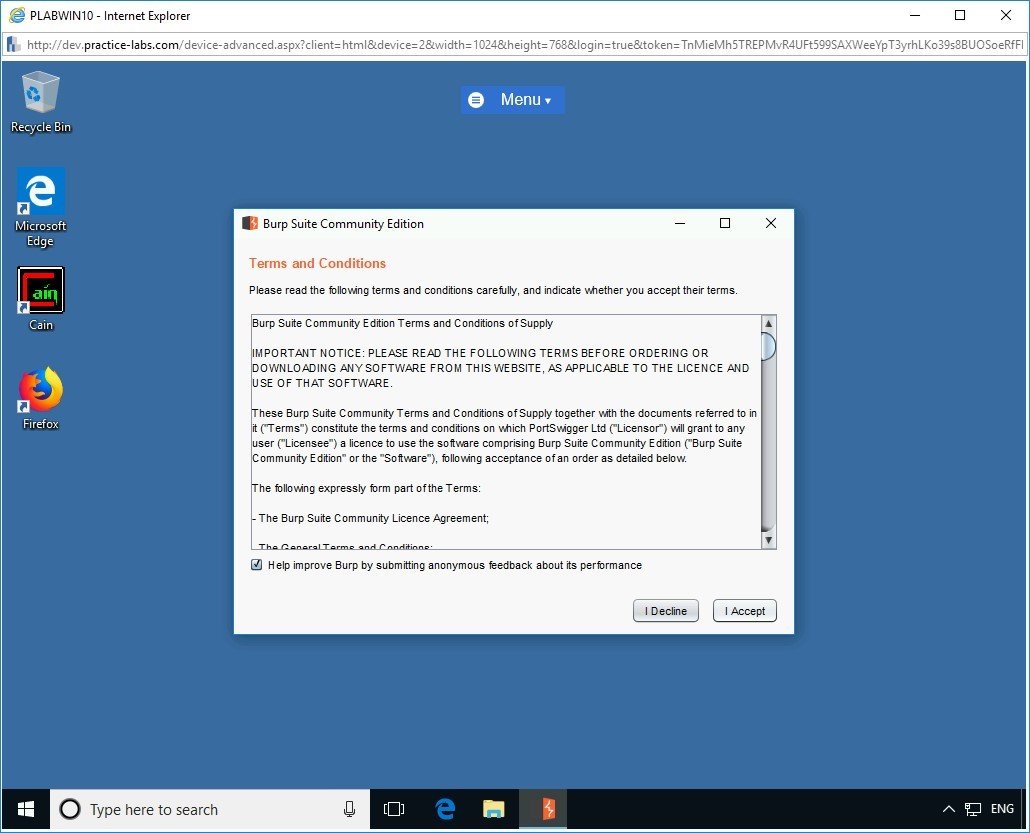
Step 3
On the Terms and Conditions page, click I Accept.
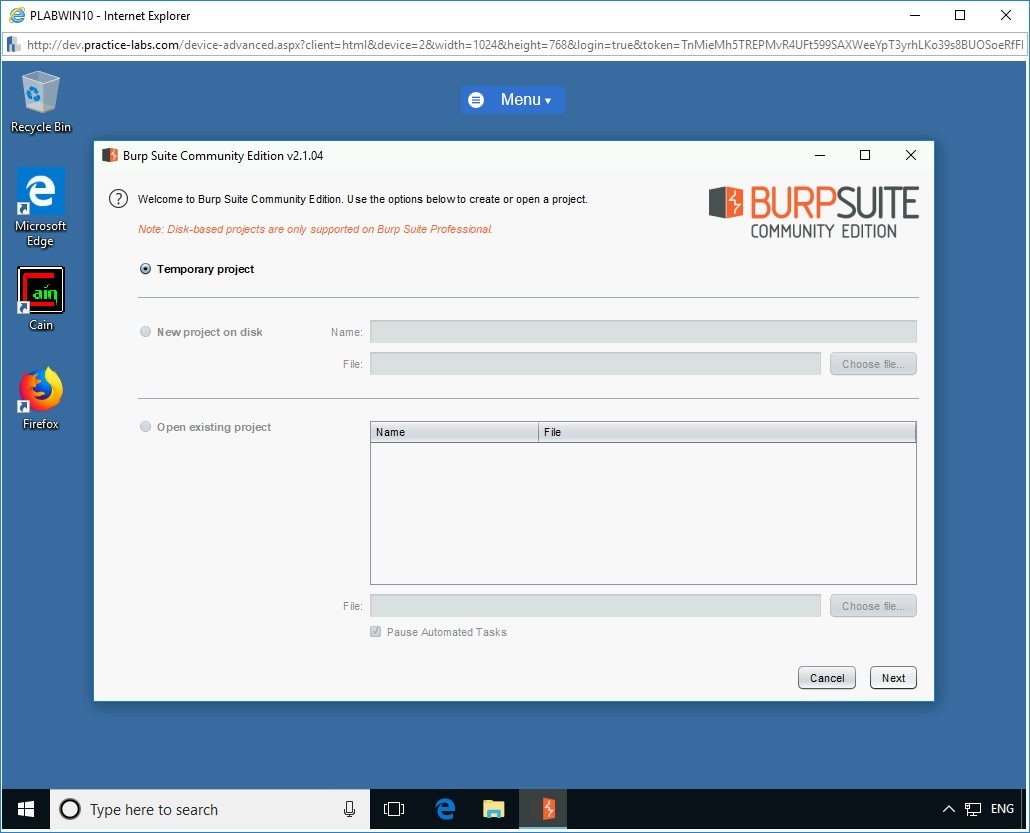
Step 4
The Burp Suite Community Edition v2.04 wizard is displayed. On the Welcome to Burp Suite Community Edition page, select the required options to create or open a project.
For this demonstration, keep the default selection of Temporary project and click Next.
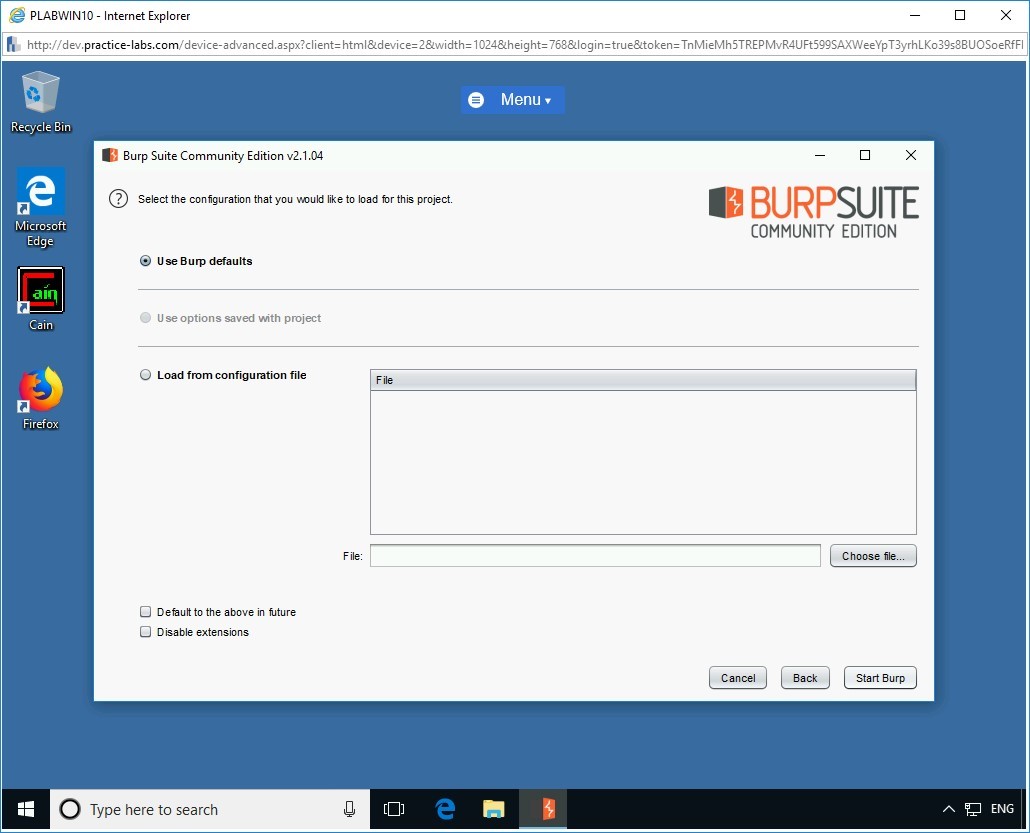
Step 5
On the Select the configuration that you would like to load for this project page, keep the default selection of Use Burp defaults and click Start Burp.

Step 6
Burp Suite is starting the project.
It will take a few seconds to complete.
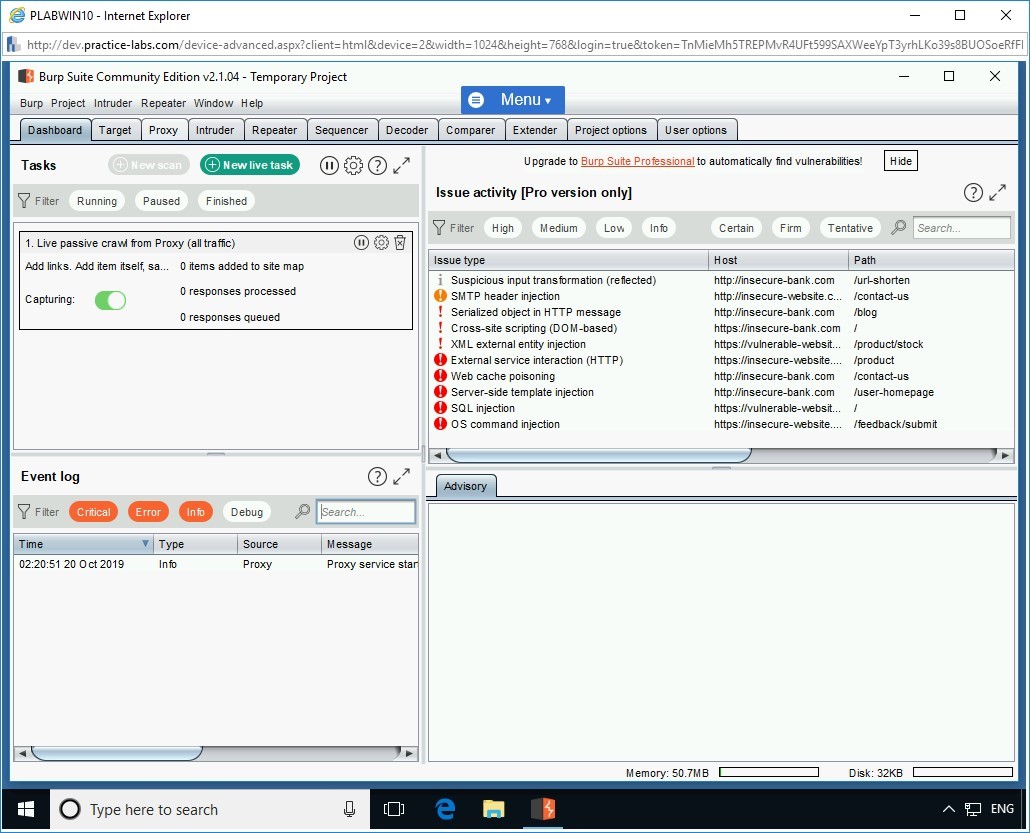
Step 7
The Burp Suite Community Edition 2.1.04 - Temporary Project window displays.
Click the Proxy tab.
Step 8
Under the Proxy tab, click the Options tab.

Step 9
In the Proxy Listeners section, select the IP address 127.0.0.1:8080 and then click Edit.
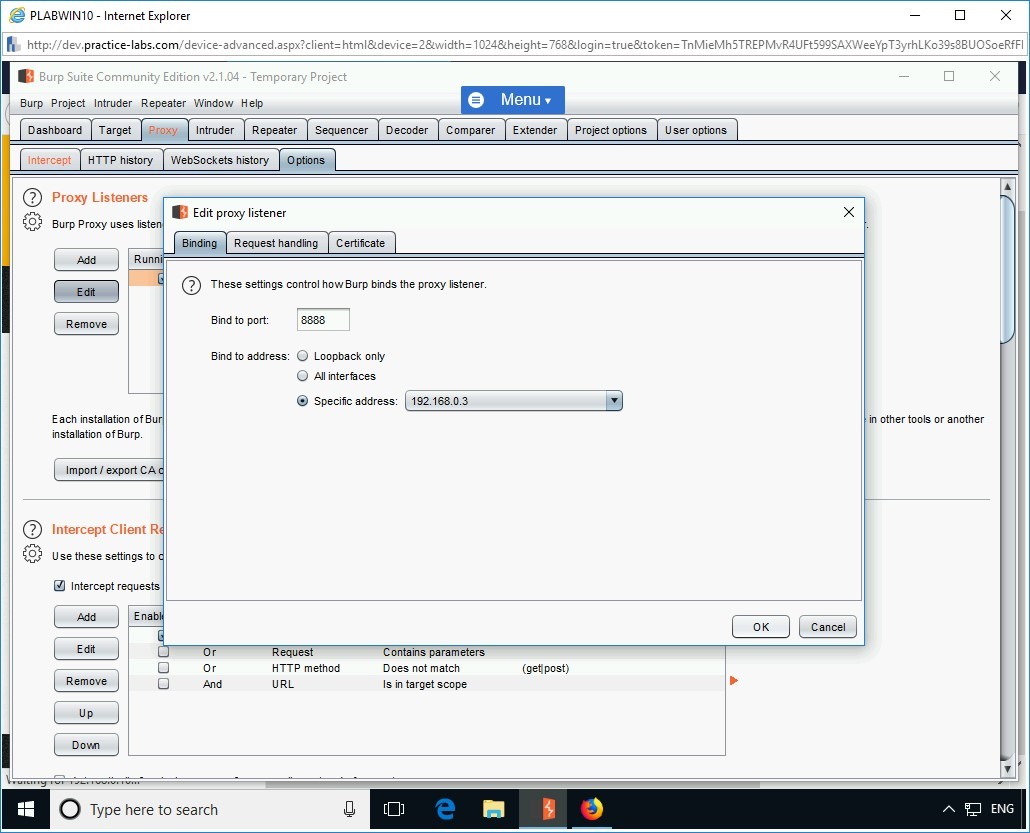
Step 10
The Edit proxy listener dialog box appears.
In the Bind to port box, type the following:
8888
In the Bind to address section, select 192.168.0.3 from the Specific address drop-down.
Click OK.
Step 11
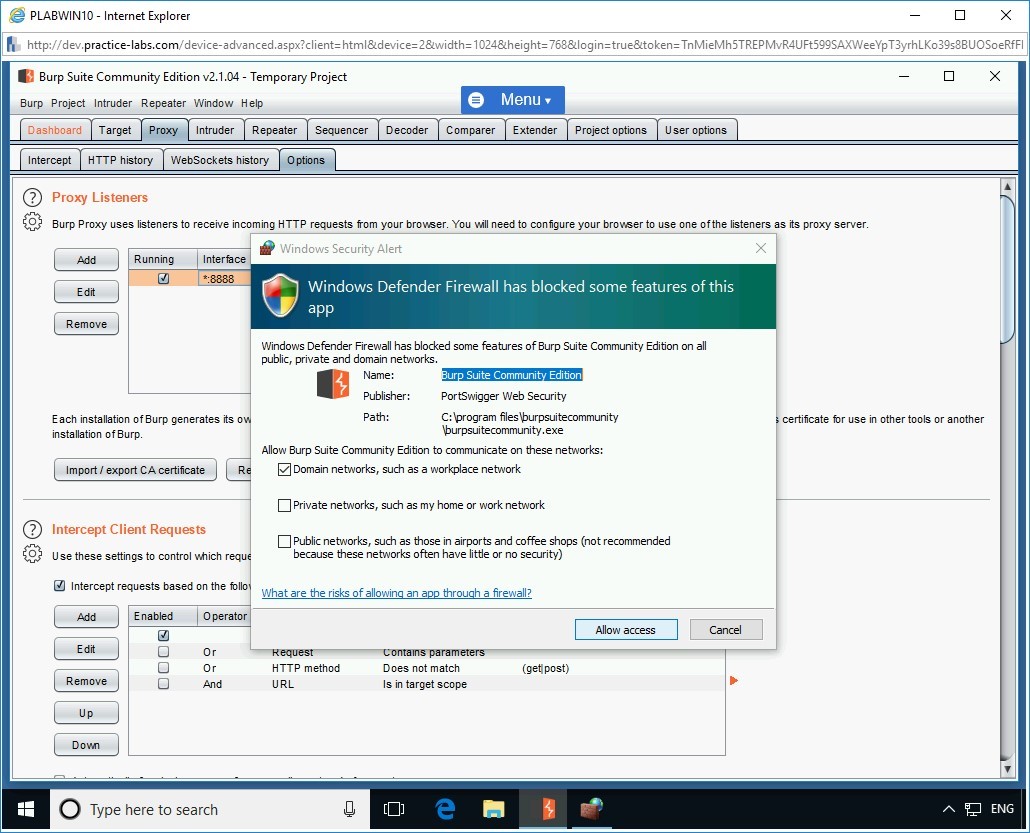
You are back to Proxy Listeners section on the Options tab.
Note: Burp Proxy uses listeners to receive incoming HTTP requests from your browser. You will need to configure a browser to use one of the listeners as its proxy server.The Windows Security Alert dialog box is displayed. Keep the default settings and click Allow access.
Step 12
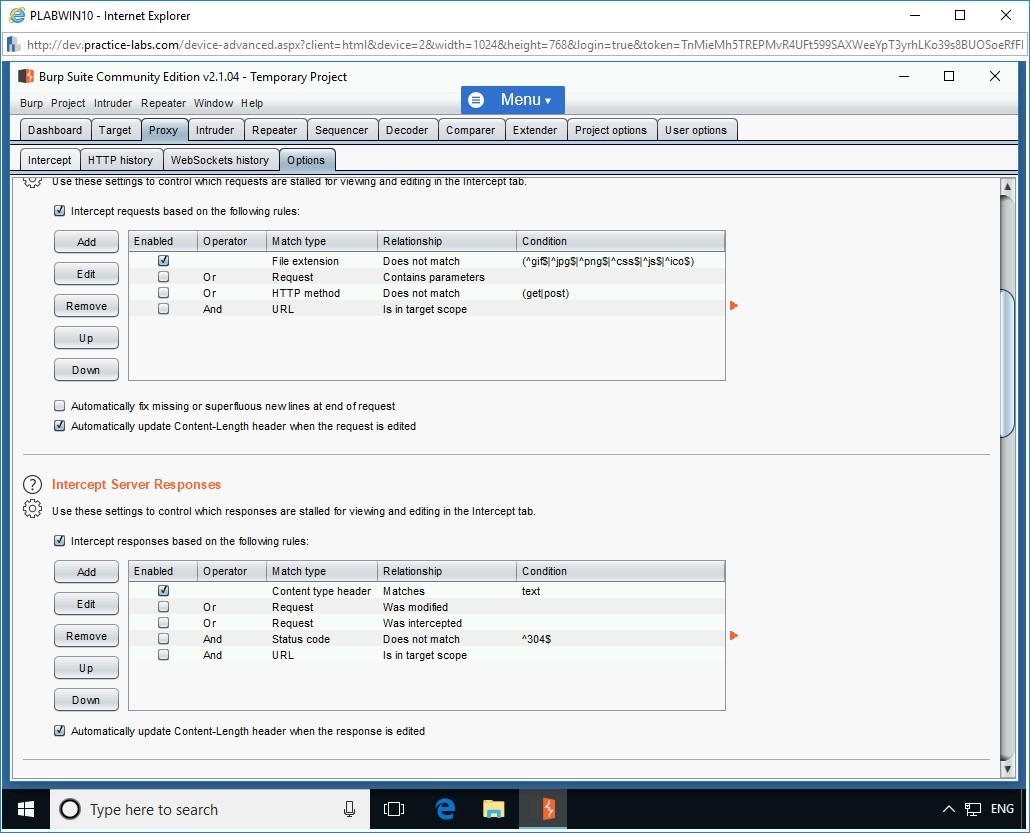
You now need to configure Burp Suite to intercept responses.
In the Options tab, scroll down to Intercept Server Responses section.
Click to select the checkbox Intercept responses based on the following rules.
Step 13
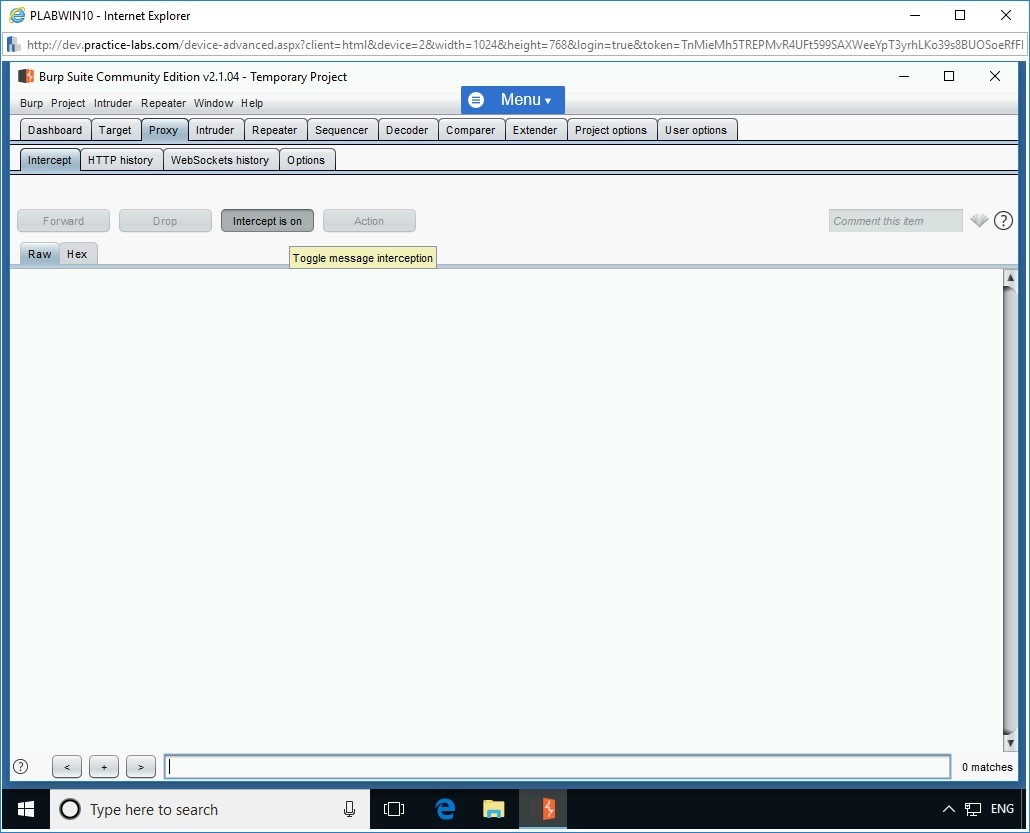
Click the Intercept tab under the Proxy tab.
Step 14
Ensure that the intercept button is set to: Intercept is on.
Step 15
Minimize the Burp Suite window.
Task 4 - Configure Firefox to Use Burp Suite Proxy Listeners
After you have configured Burp Suite to intercept traffic, you need to now configure Firefox to use proxy listeners. In this task, you will configure Mozilla Firefox to use Burp Suite proxy listeners. To do this, perform the following steps:
Step 1
Ensure you have powered on all the devices and connect to PLABWIN10.
From PLABWIN10 desktop, double-click Mozilla Firefox.

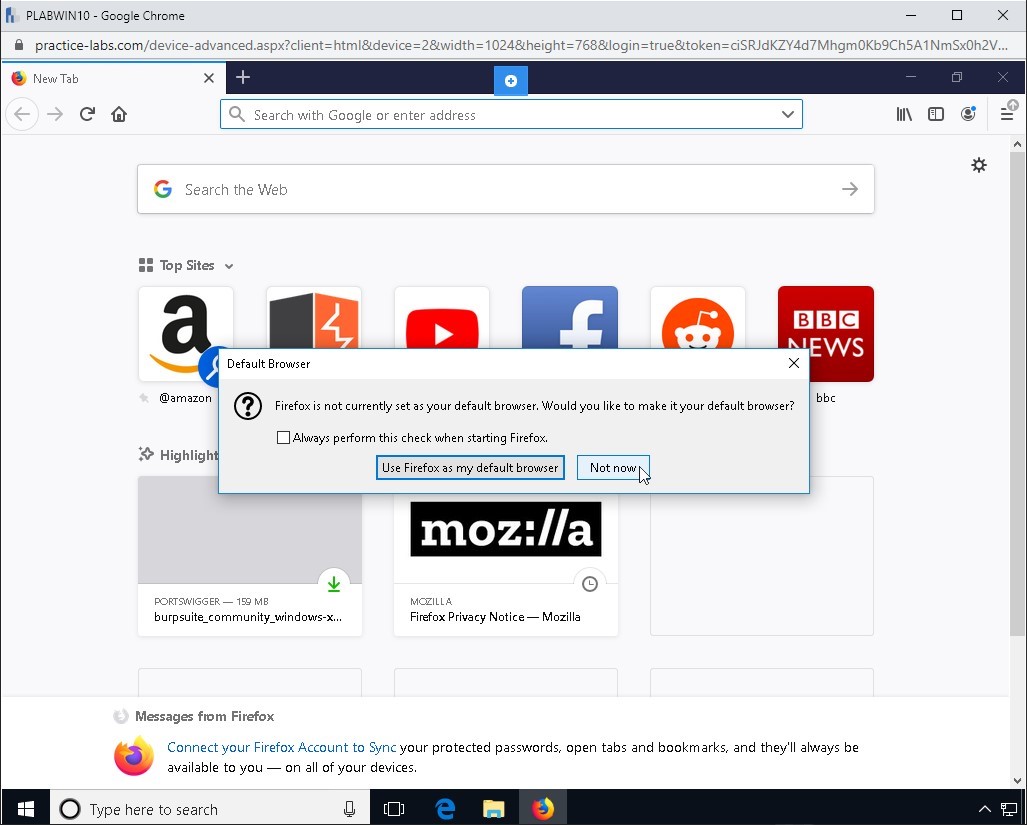
Step 2
The Mozilla Firefox window opens.
A Default Browser dialogue box appears.
Click Not now.

Step 3
On the update notification, click Not Now.
Step 4
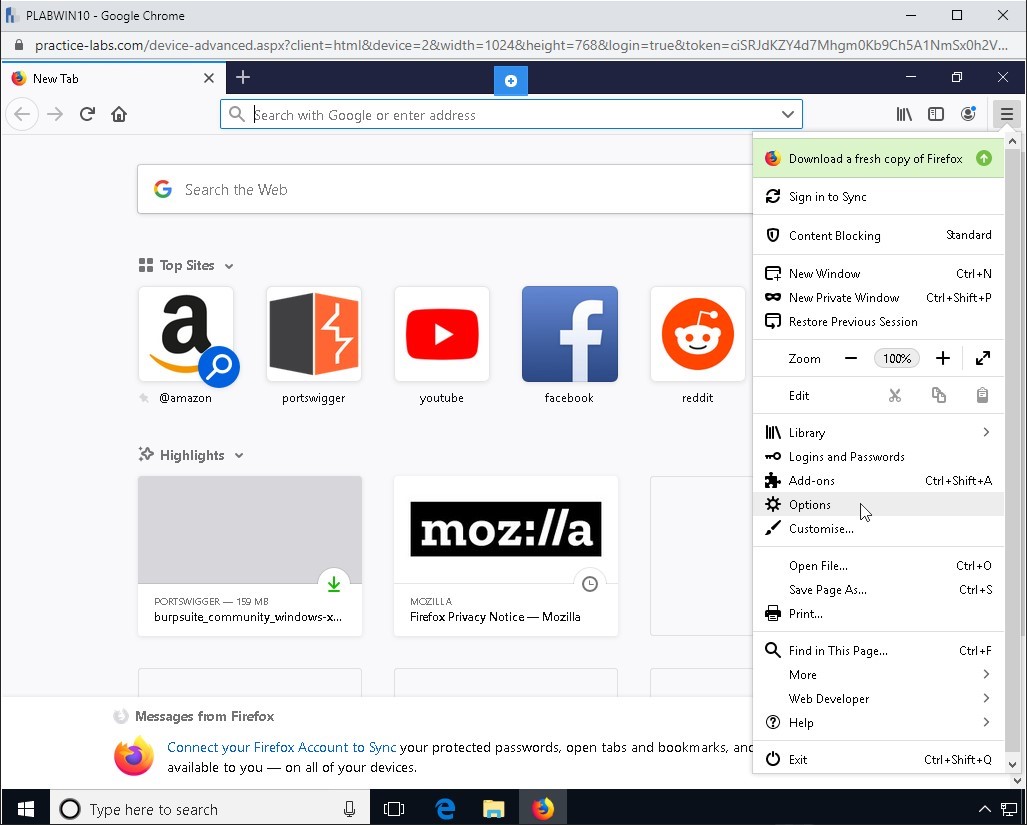
In the Mozilla Firefox window, click the Open menu icon from the upper right corner, and select Options.
Step 5
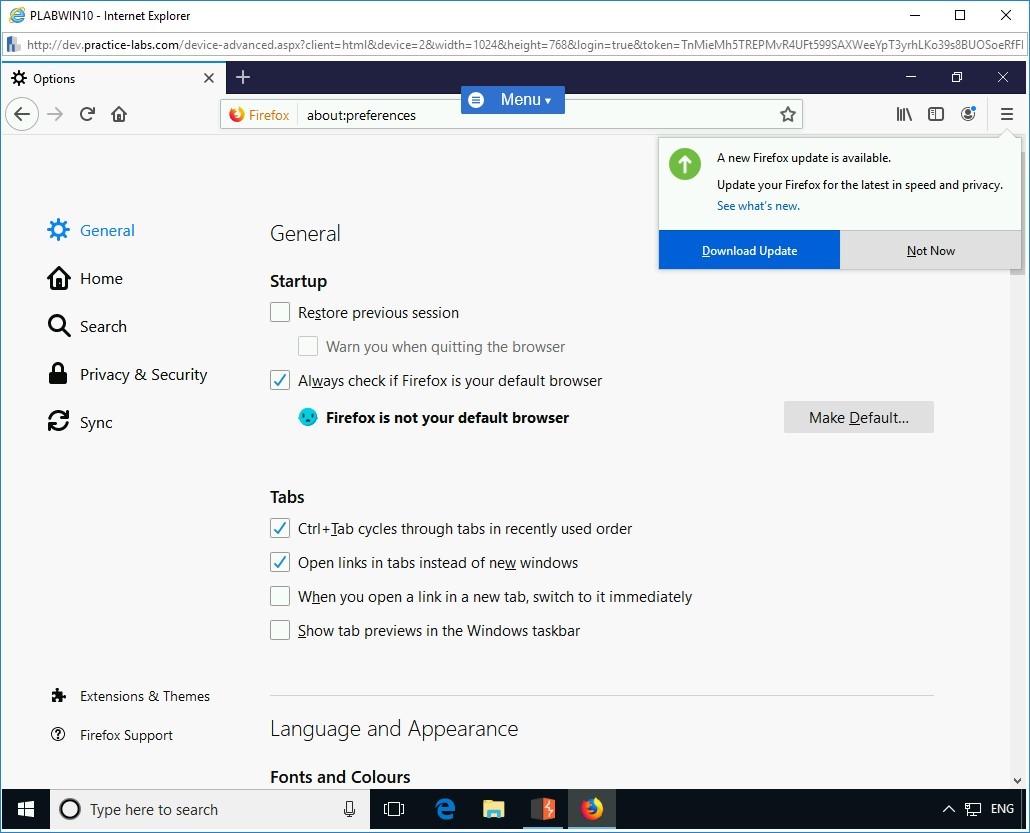
The Options page opens. The update notification is displayed again. Click Not Now.
Step 6
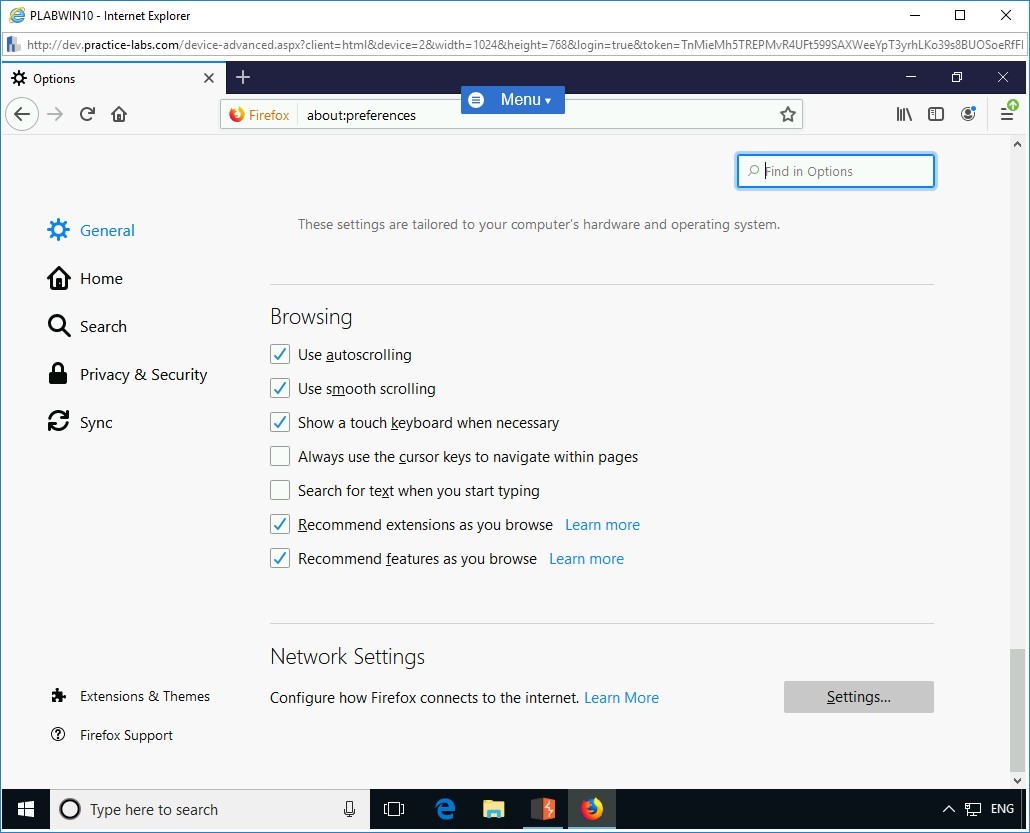
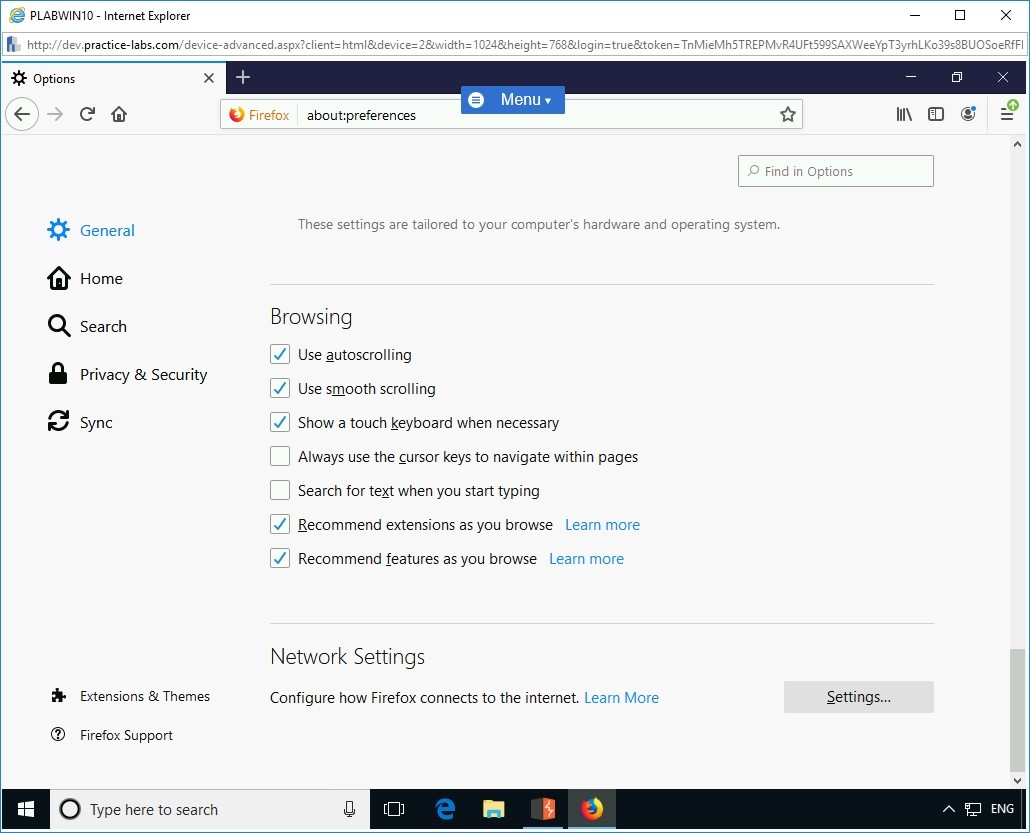
In the Options page, the General tab opens by default.
Scroll down to configure the network proxy.
Click Settings on the right-hand pane.

Step 7
The Connection Settings dialog box opens.
To change the manual proxy address to the Burp listener address, click Manual proxy configuration.
In the Connection Settings dialog box, under Manual proxy configuration, in the HTTP Proxy box, type the following IP address:
192.168.0.3
In the Port box, type the following port number:
8888
Click to select the checkbox Use this proxy server for all protocols.
Click OK and close the Connection Settings page.
You should now be on the Options page.

Task 5 - Capture Cookies
In this task, you will view cookie information in the response and request intercepted by Burp Suite. An important point that needs to be noted in this task is that for each action in Mozilla Firefox application, you must forward the associated request in Burp Suite. This will allow Burp Suite to intercept each and every request.
In this session, you will capture cookies. To do this, perform the following steps:
Step 1
Ensure you have powered on all the devices and connect to PLABWIN10.
To access the bWAPP application, in the Mozilla Firefox Web browser window, in the new tab, type the following URL in the address bar:
http://192.168.0.10/bWAPP
Press Enter.
Alert: Ensure to click Forward in Burp Suite for each and every request made in Mozilla Firefox as the intercept is ON in Burp Suite.
Step 2
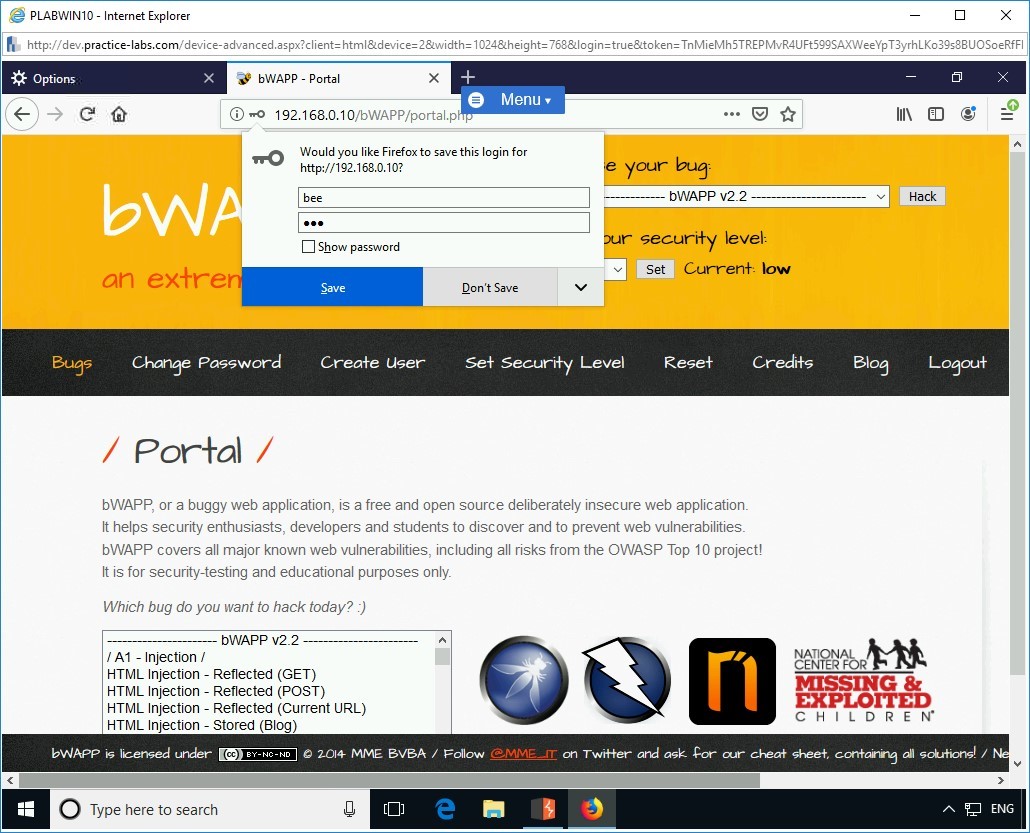
The login page of the bWAPP application is displayed.
In the Username box on the bWAPP login page, type the following username:
bee
In the Password box, type the following password:
bugClick Login.
Alert: Ensure to click Forward in Burp Suite for each and every request made in Mozilla Firefox as the intercept is ON in Burp Suite.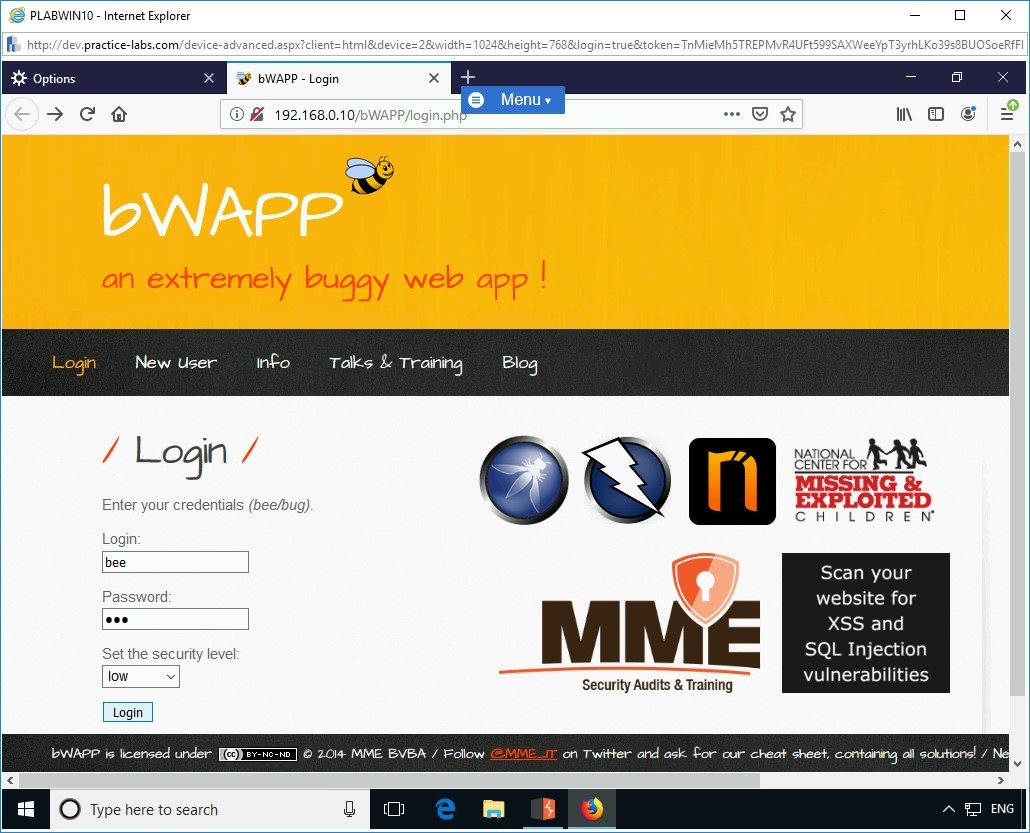
Step 3
The portal page is displayed after login. On the login notification, click Don’t Save.

Step 4
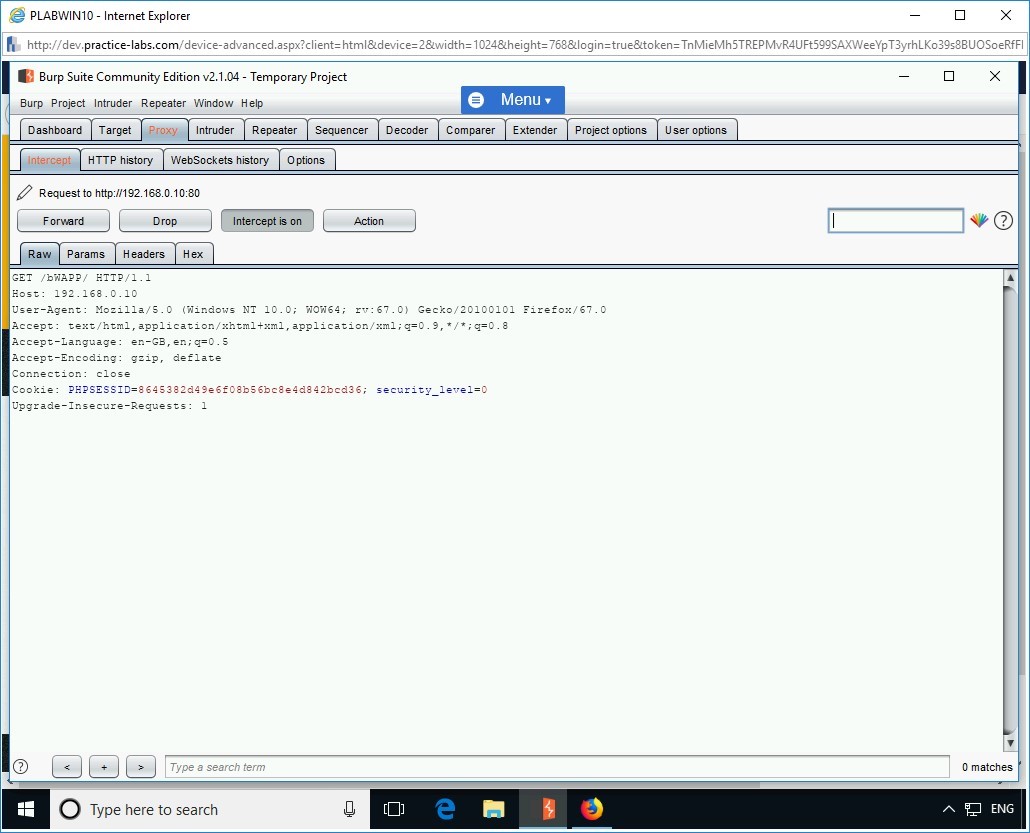
Switch to the Burp Suite Free Edition v1.7.27 - Temporary Project window.
Notice the Intercept tab displays the details about the request to the following URL:
http://192.168.0.10
Analyze the displayed information.

Step 5
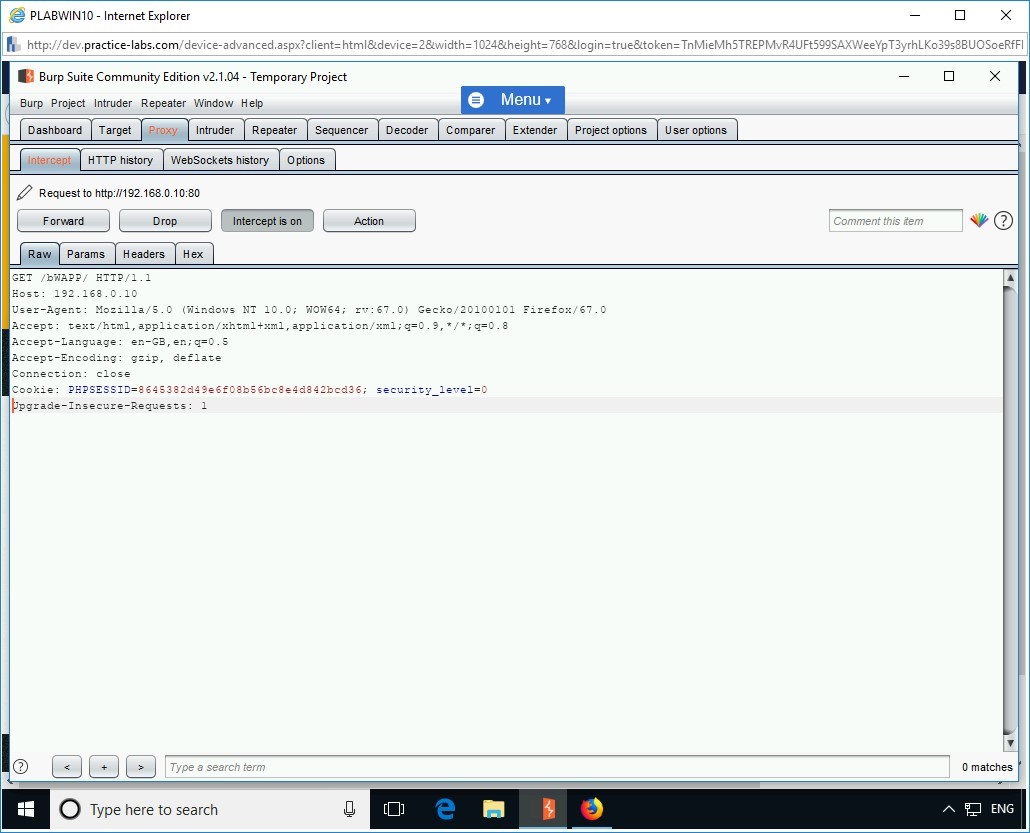
In the Burp Suite Free Edition v1.7.27 - Temporary Project window, click Forward.
Wait for Burp Suite to intercept the response.
Notice the response being captured.
In the response, observe that the browser sends a Cookie parameter. This is the cookie assigned by the browser for the current user session to the BWAPP application.


Comments
Post a Comment