Cryptography
Using Cryptography Tools
There are various cryptography tools available in the market. In this exercise, you will learn about different types of cryptography tools and how they can be used to encrypt and secure the information.
Learning Outcomes
After completing this exercise, you will be able to:
- Prepare Files and Folders for Encryption
- Install and Use Crypt4Free
- Download and Install HashCalc
- Use the HashCalc Tool
- Use MD5 Calculator
- Perform Full Disk Encryption
Your Devices
You will be using the following devices in this lab. Please power these on now.
- PLABDC01 - (Windows Server 2019 - Domain Server)
- PLABDM01 - (Windows Server 2019 - Member)
Task 1 - Prepare Files and Folders for Encryption
In a real scenario, the protection of sensitive information is paramount. The best method to protect information is to use encryption, which can be applied to both files and folders.
In this task, you will learn to prepare files and folders for encryption. To do this, perform the following steps:
Step 1
Ensure you have powered on the required devices. Connect to PLABDM01.
Step 2
Close Server Manager and then, from the taskbar, click the File Explorer icon.
Step 3
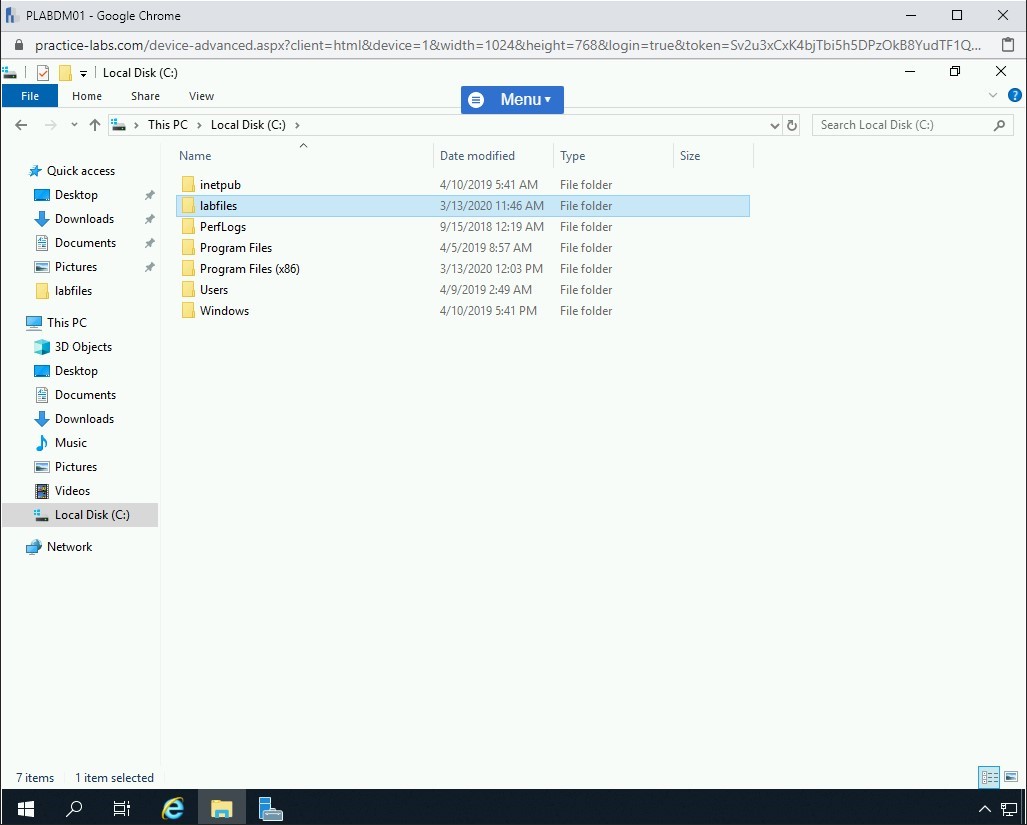
In the left-hand pane of File Explorer, expand This PC and then select Local Disk (C:).
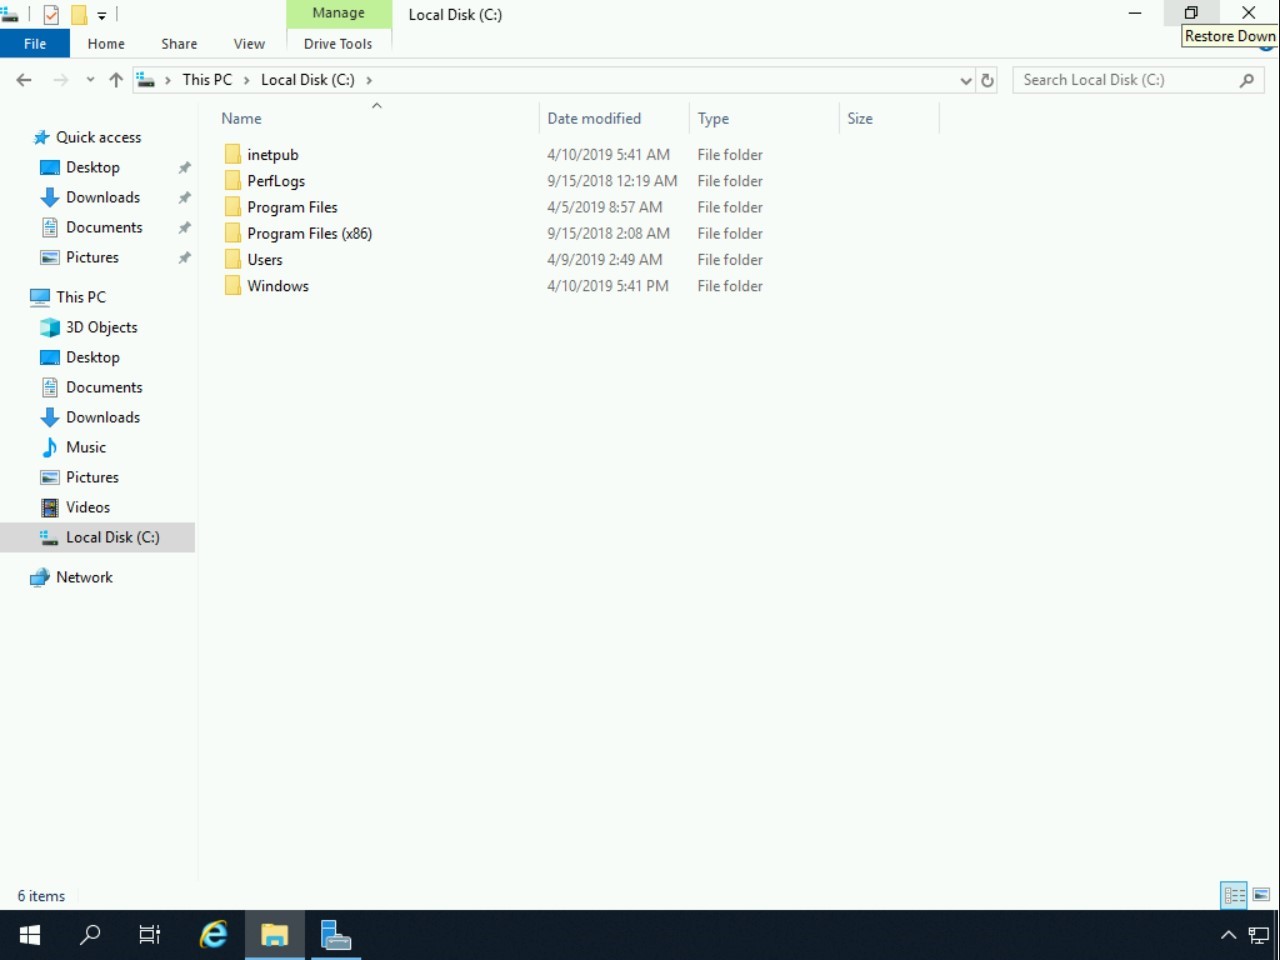
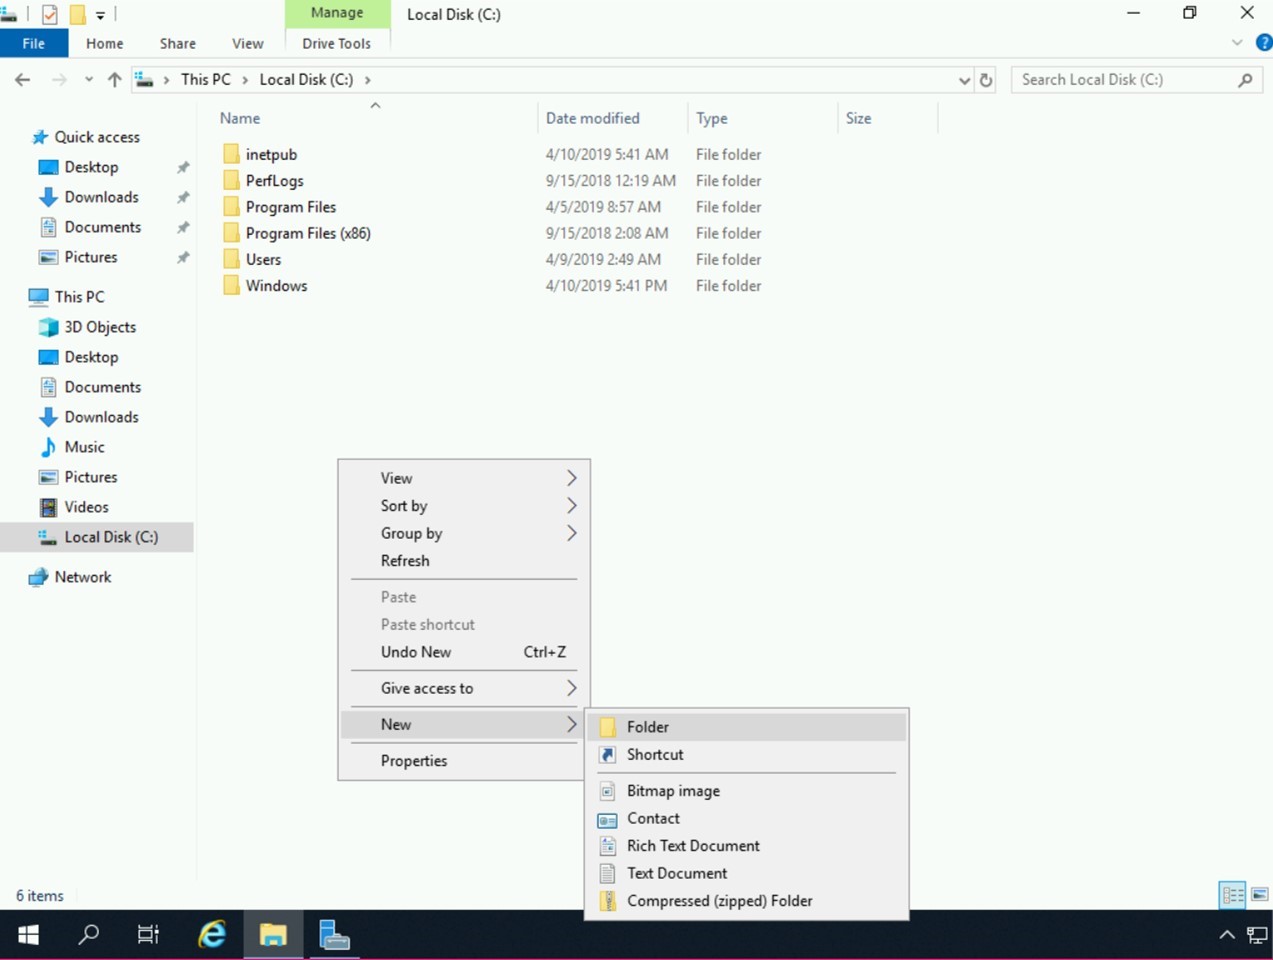
Step 4
In the right-hand pane, right-click on the white area and select New > Folder.
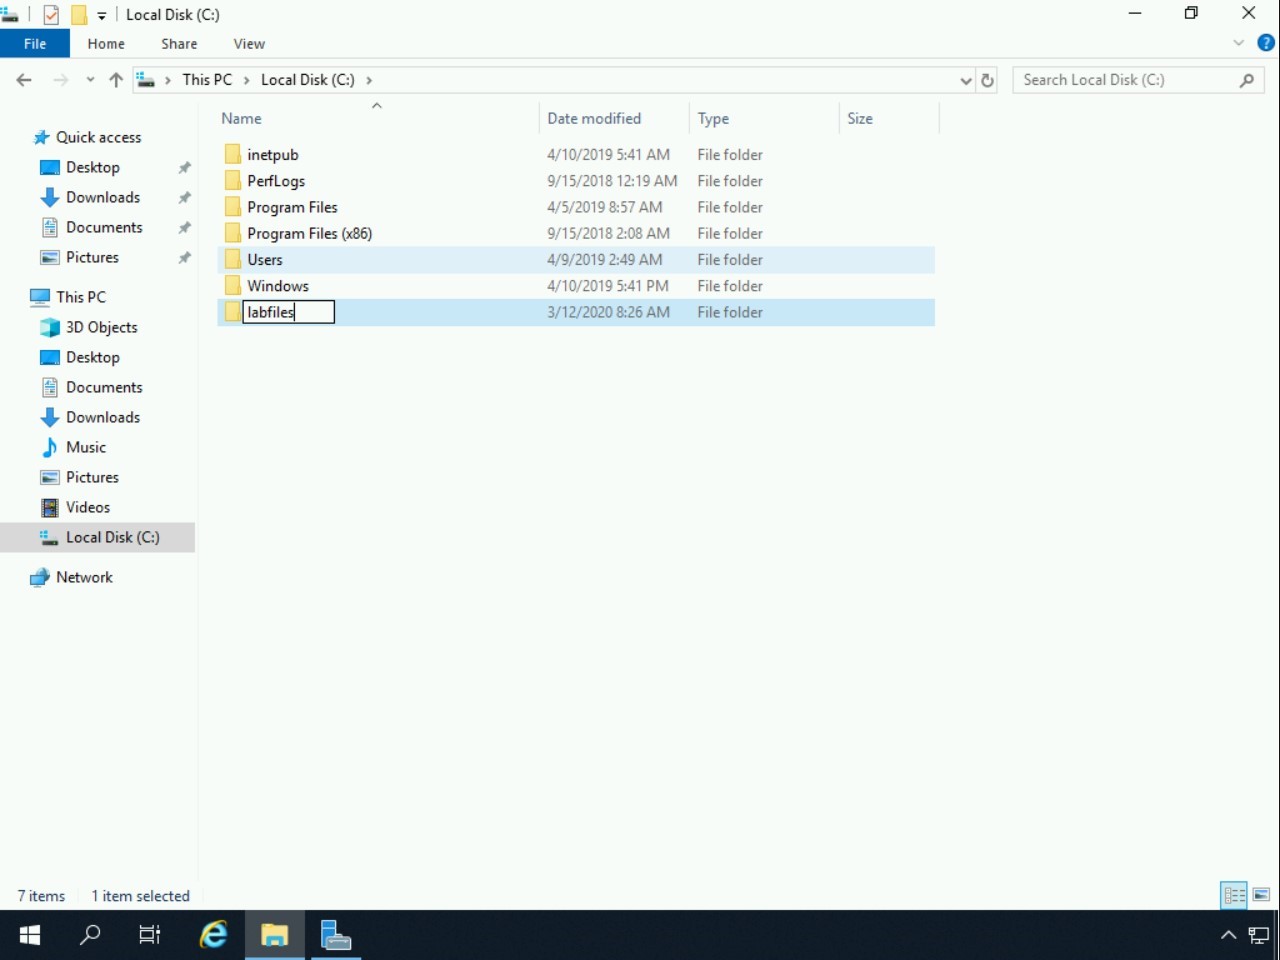
Step 5
In the new folder name text box, type the following:
labfiles
Press Enter.
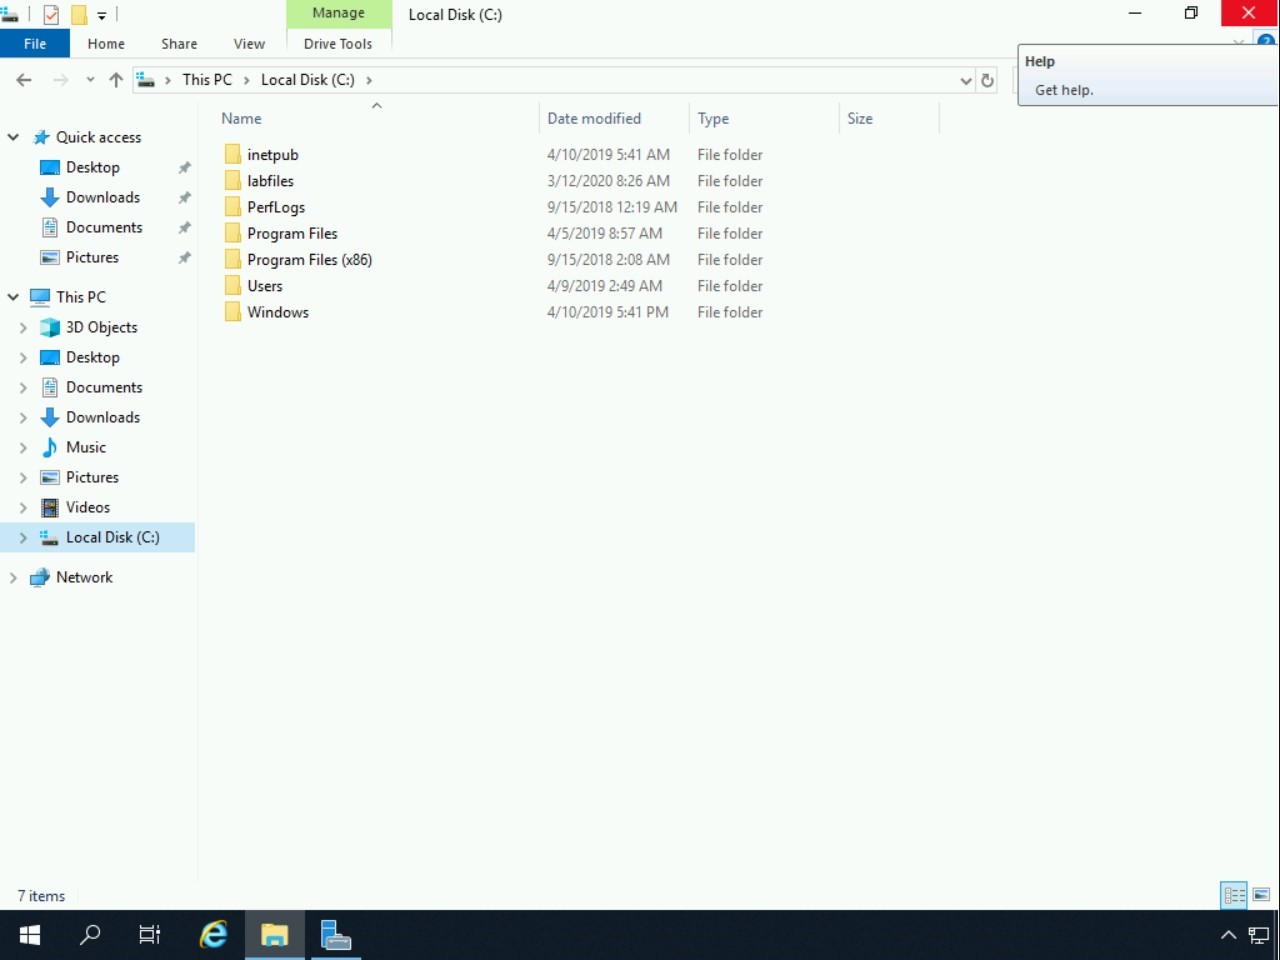
Step 6
Close the File Explorer window.
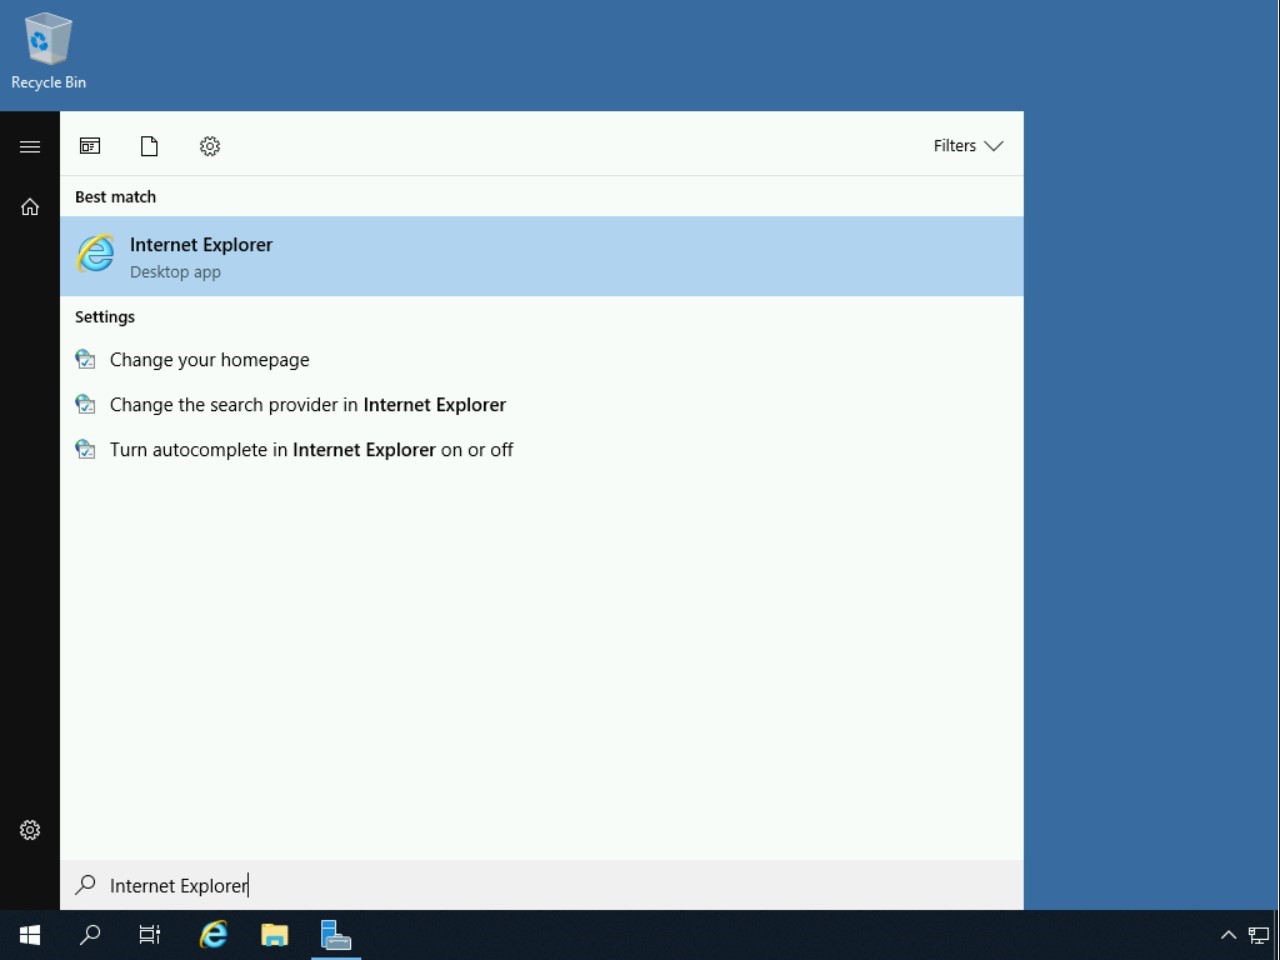
Step 7
In the Type here to search text box, type the following:
Internet Explorer
From the search results, select Internet Explorer.
Step 8
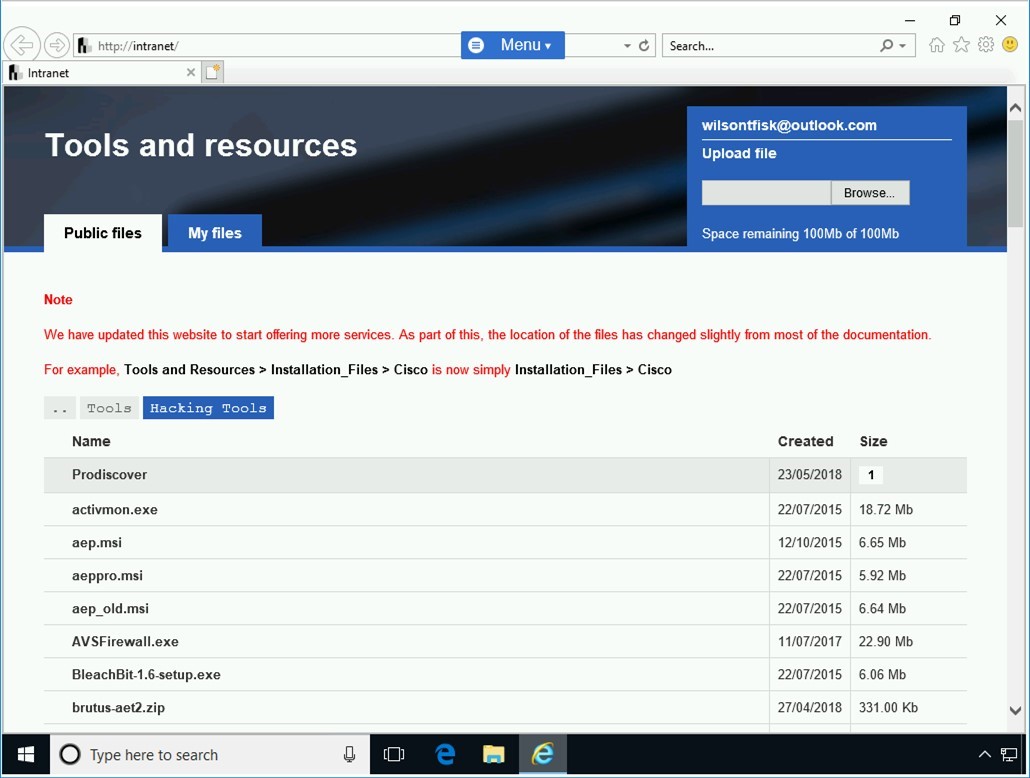
The Intranet Website is displayed. On the Intranet homepage, click Tools.
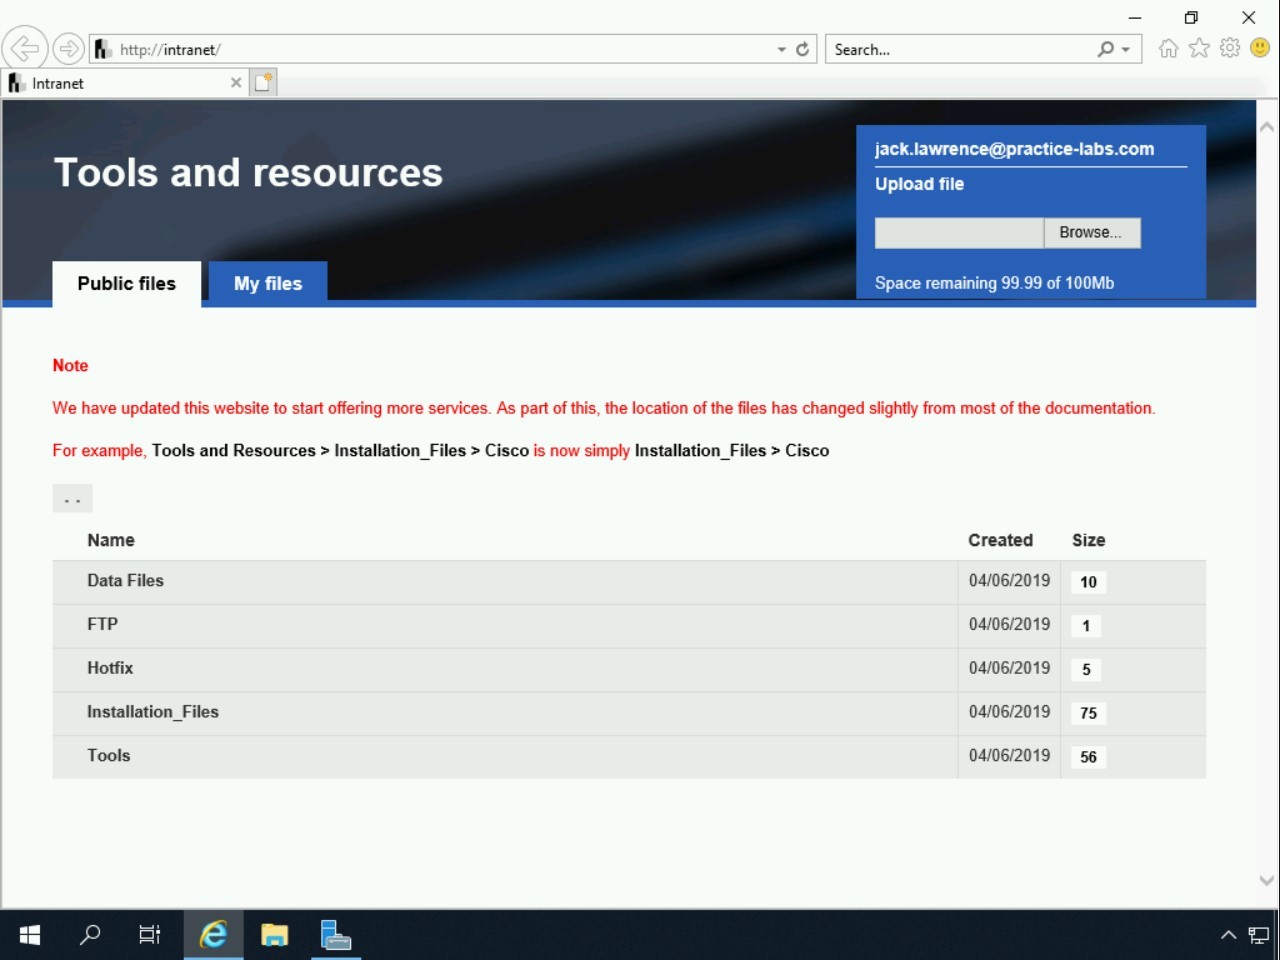
Step 9
On the Tools Webpage, click Hacking Tools.
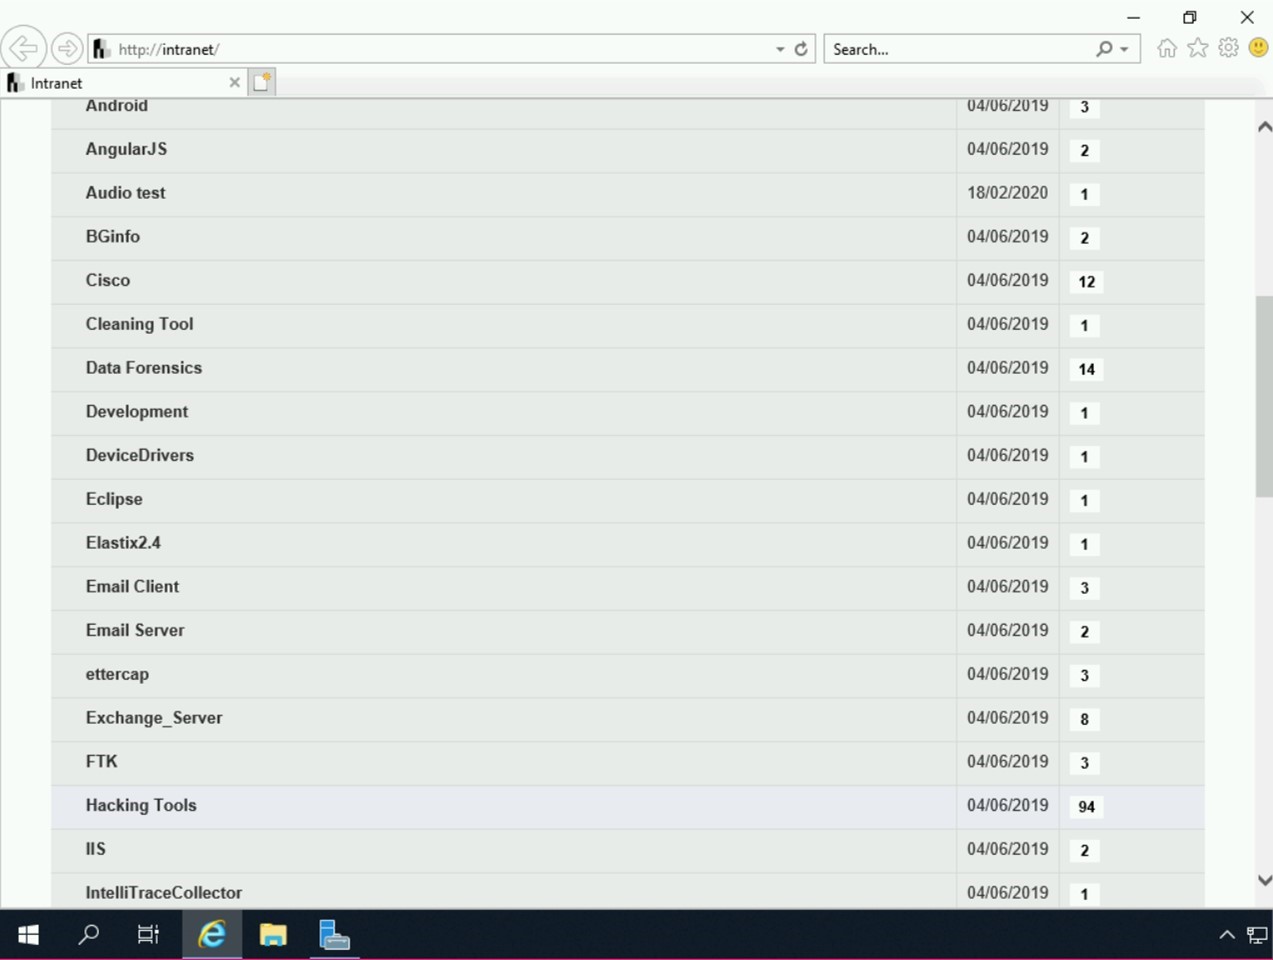
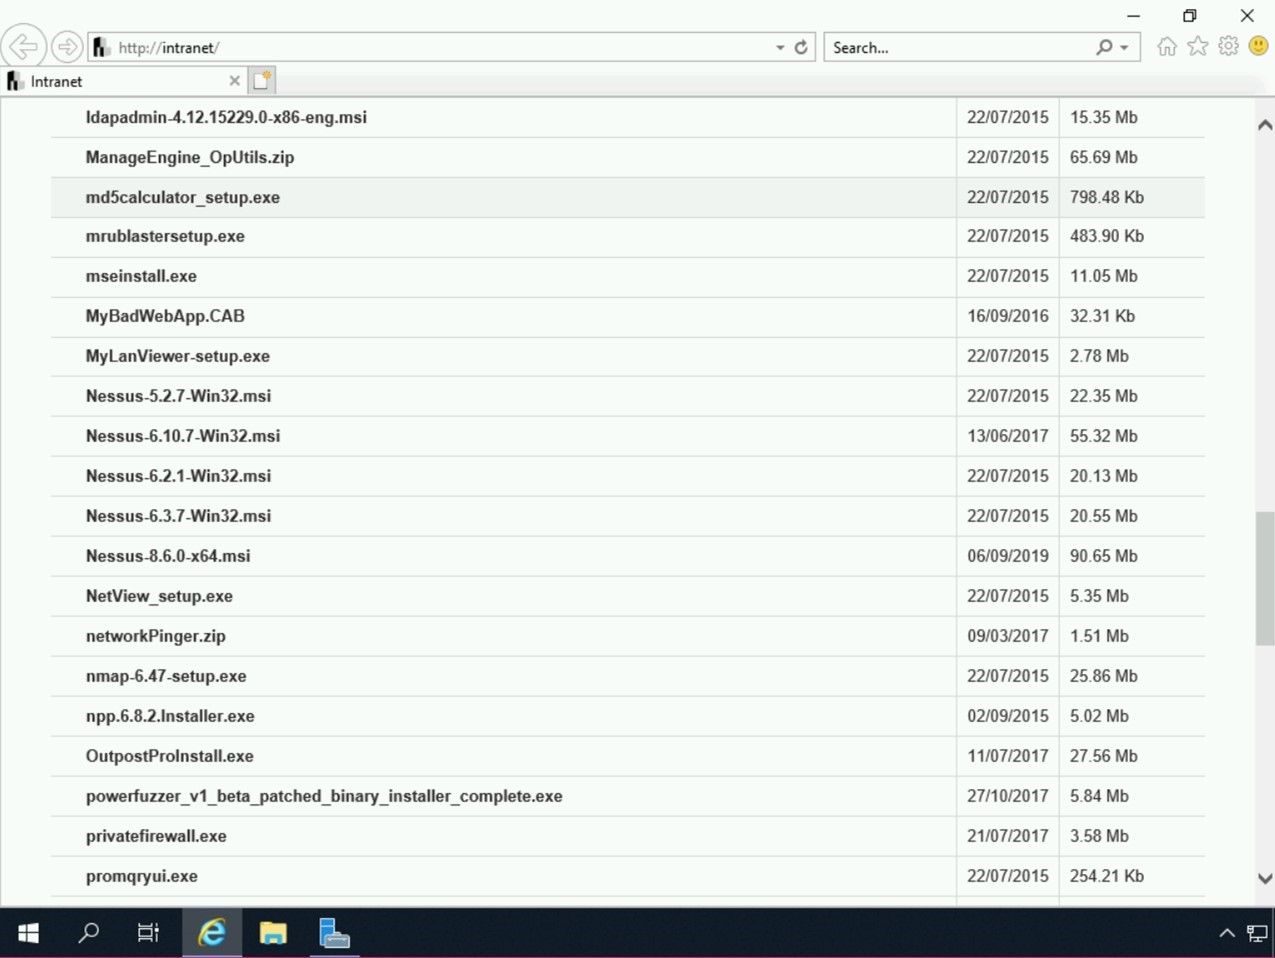
Step 10
Locate the md5calculator_setup.exe file and click on it.
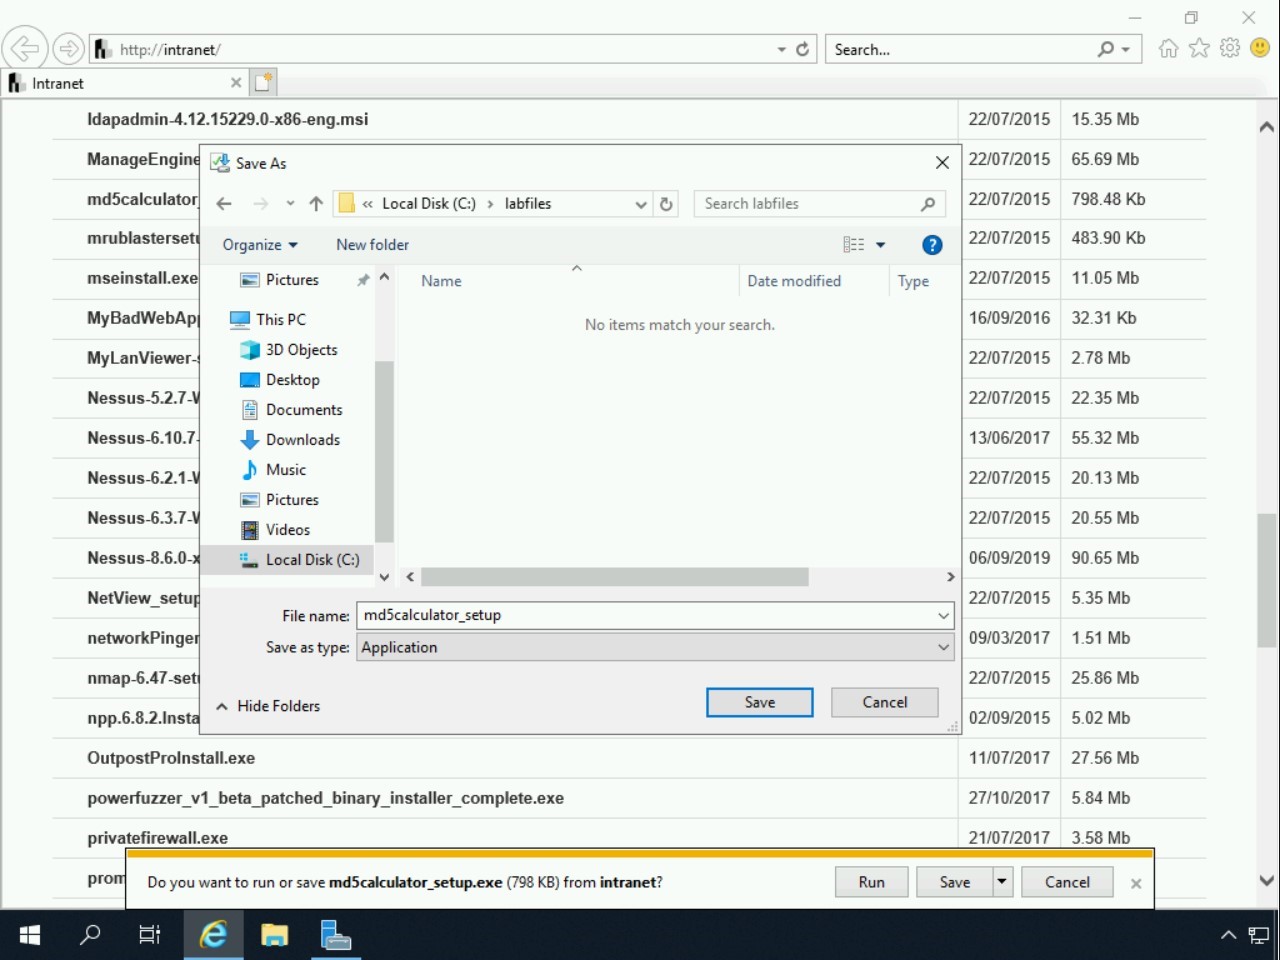
Step 11
In the notification bar, click the down arrow and select Save as.

Step 12
In the Save As dialog box navigate to the Local Disk C:\labfiles folder and click Save.
Step 13
Close the notification bar.
Keep the Internet Explorer window open.

Task 2 - Install and Use Crypt4Free
Using an Encryption Package, you can encrypt and decrypt files and folders. It contains several encryption algorithms that can be used to protect sensitive information.
In this lab you will be using the package Crypt4Free
To install and use Crypt4Free, perform the following steps:
Step 1
Ensure you have powered the required devices, and Connect to PLABDM01.
Internet Explorer should be open with the Hacking Tools page displayed.

Step 2
Click the the address bar and type in
http://www.aeppro.com/products/free.shtml
Press Enter

Step 3
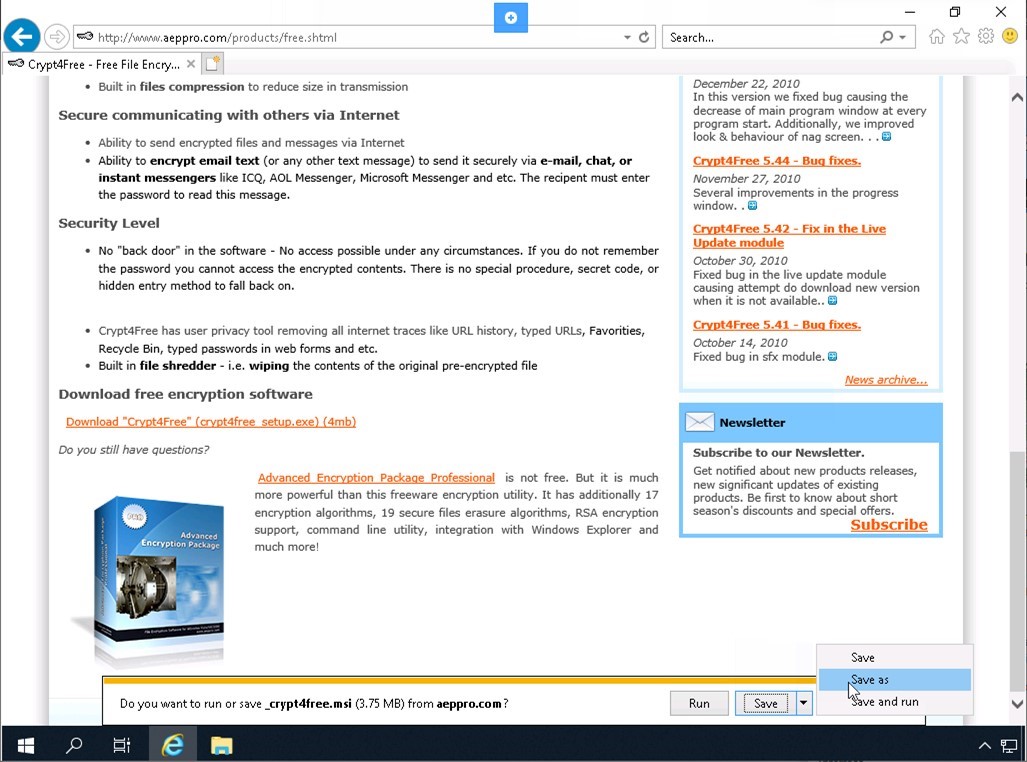
Scroll down and click on Download “Crypt4Free” (crypt4free setup.exe),
When the notification appears click the down arrow and select Save as.
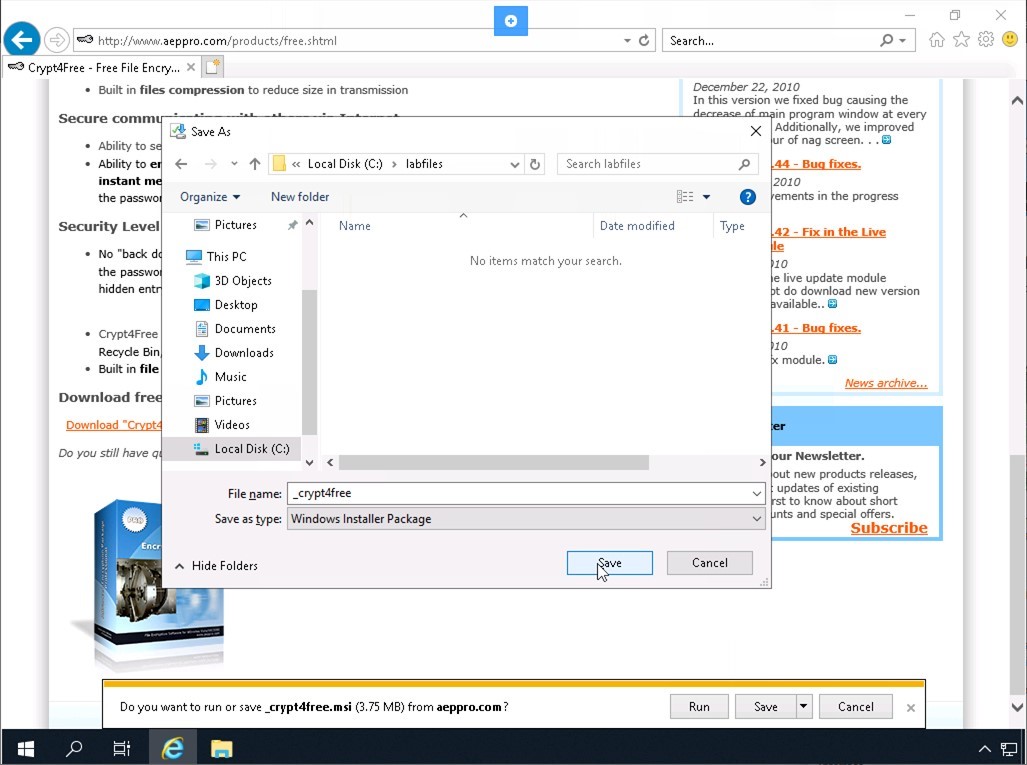
Step 4
In the Save As dialog box navigate to the Local Disk C:\labfiles folder and click Save.
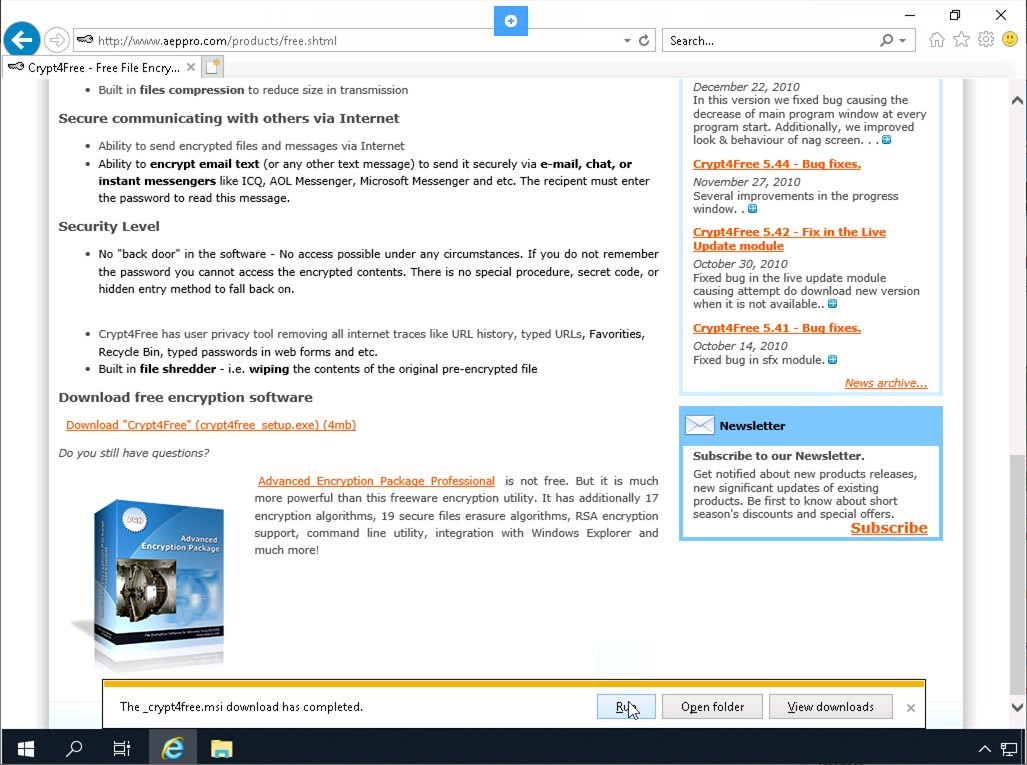
Step 5
In the notification bar, click Run.
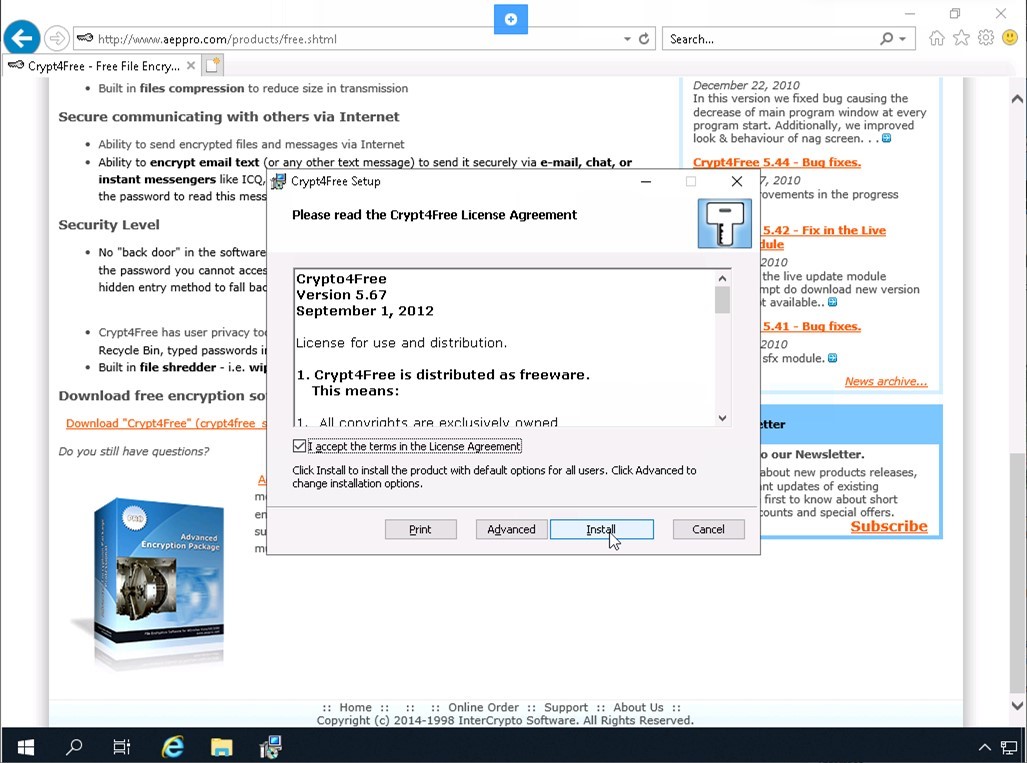
Step 6
In the Crypt4Free Setup dialog box, select I accept the terms in the License Agreement and click Install.
Step 7
The installation process starts.
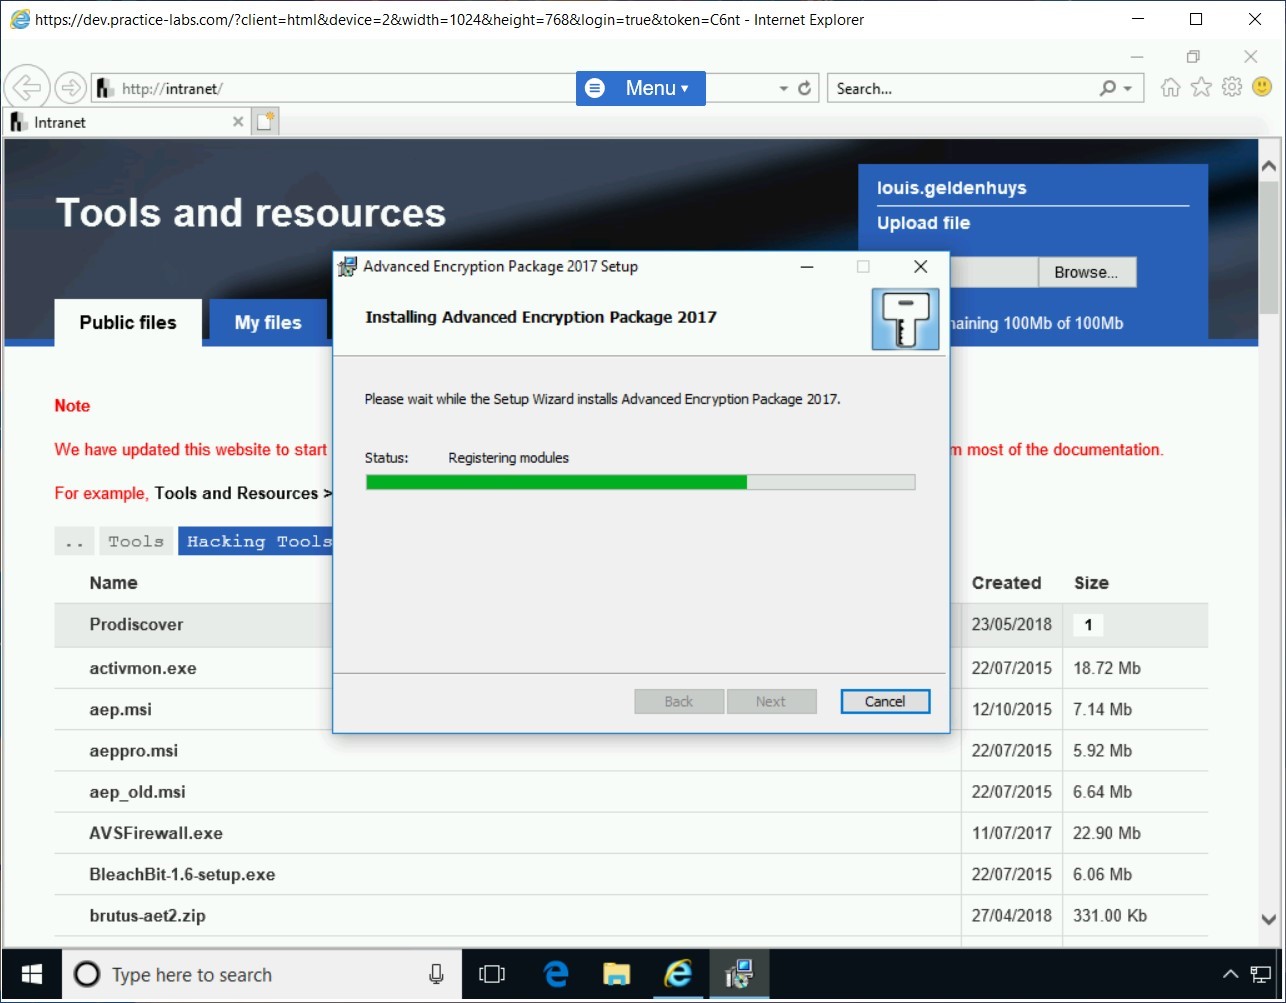
Step 8
After the installation process is completed, On the Completed the Advanced Crypt4Free page, click Finish.

Step 9
Minimize the Internet Explorer window. Click the Windows charm, expand Crypt4Free and then select Crypt4Free.
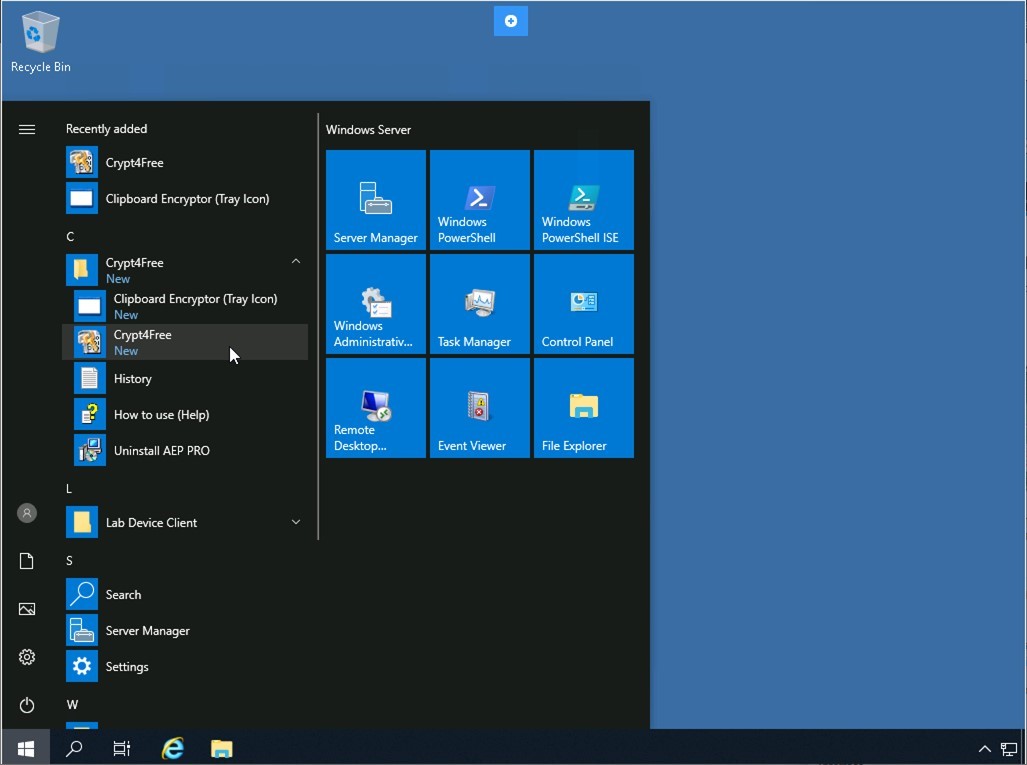
Step 10
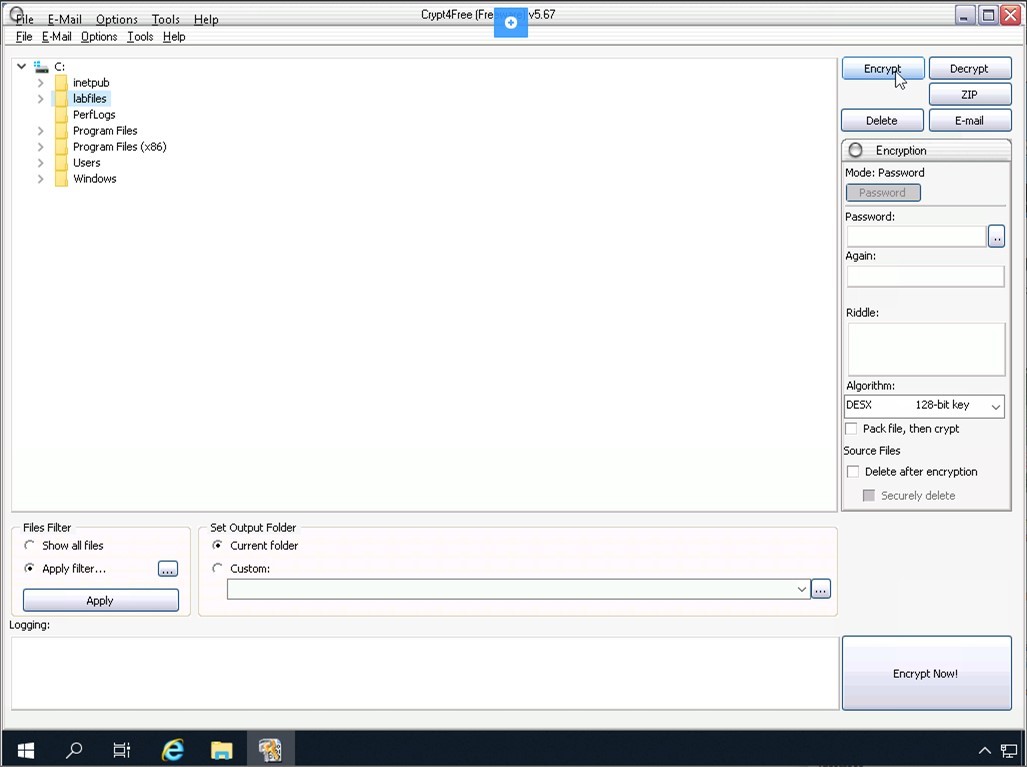
The Crypt4Free application is displayed.
From the left-hand pane, expand the C: drive, select labfiles, and click Encrypt.
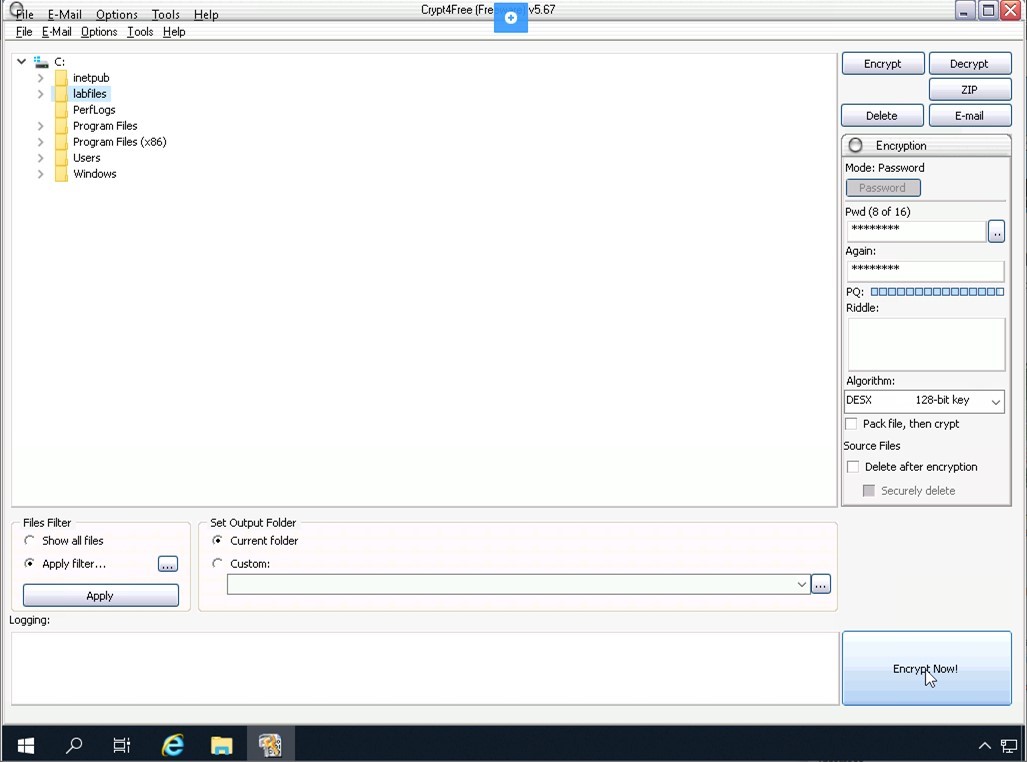
Step 11
The cursor appears in the Password textbox. Type the following password:
Passw0rd
In the Again textbox, type the following password:
Passw0rd
Click Encrypt Now!
Step 12
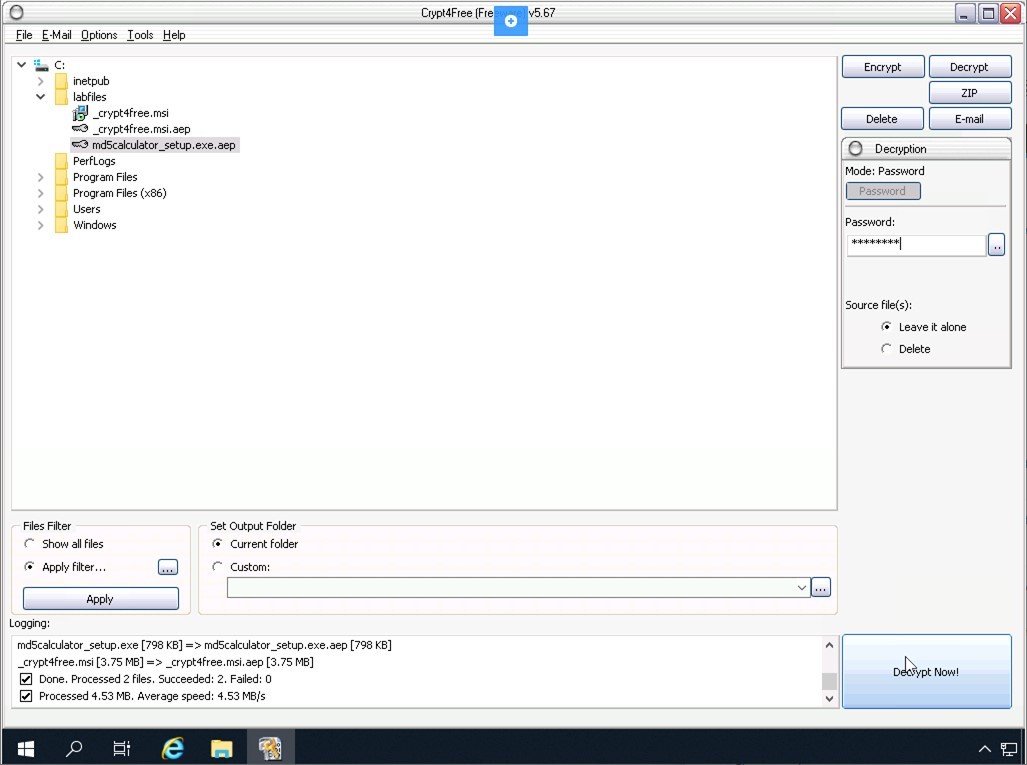
The encryption process now starts.
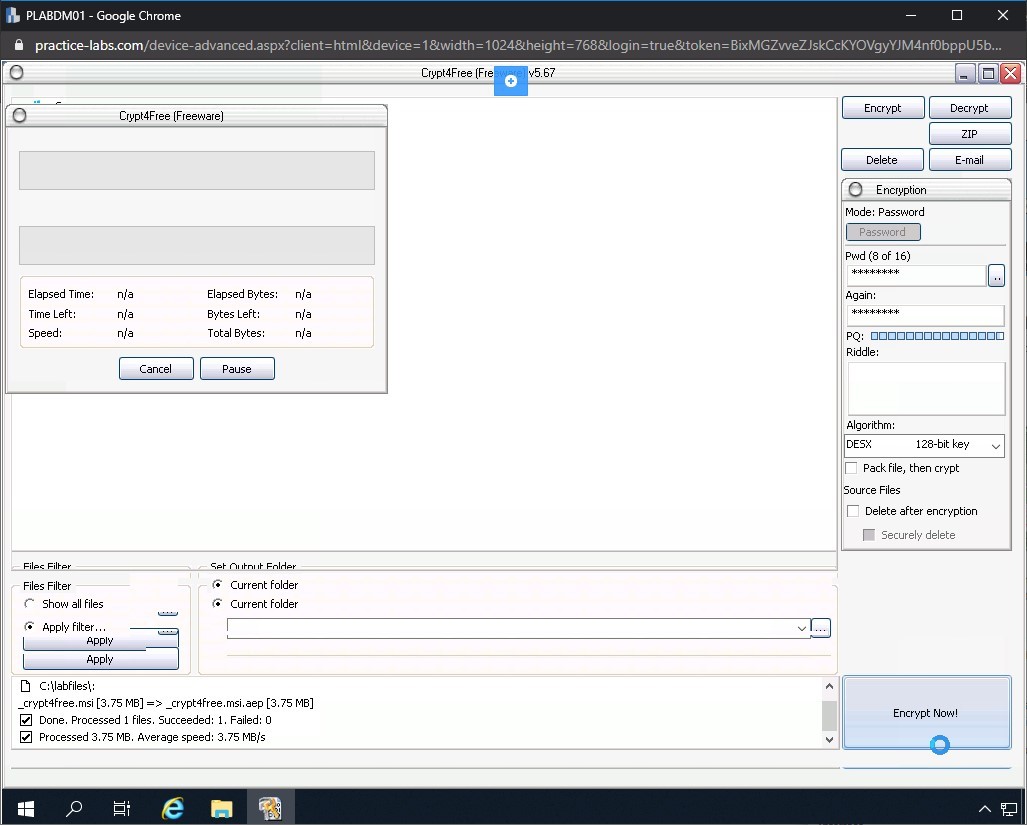
Step 13
The files are now encrypted. The bottom section of the left pane, Logging, displays the log for the encryption process.

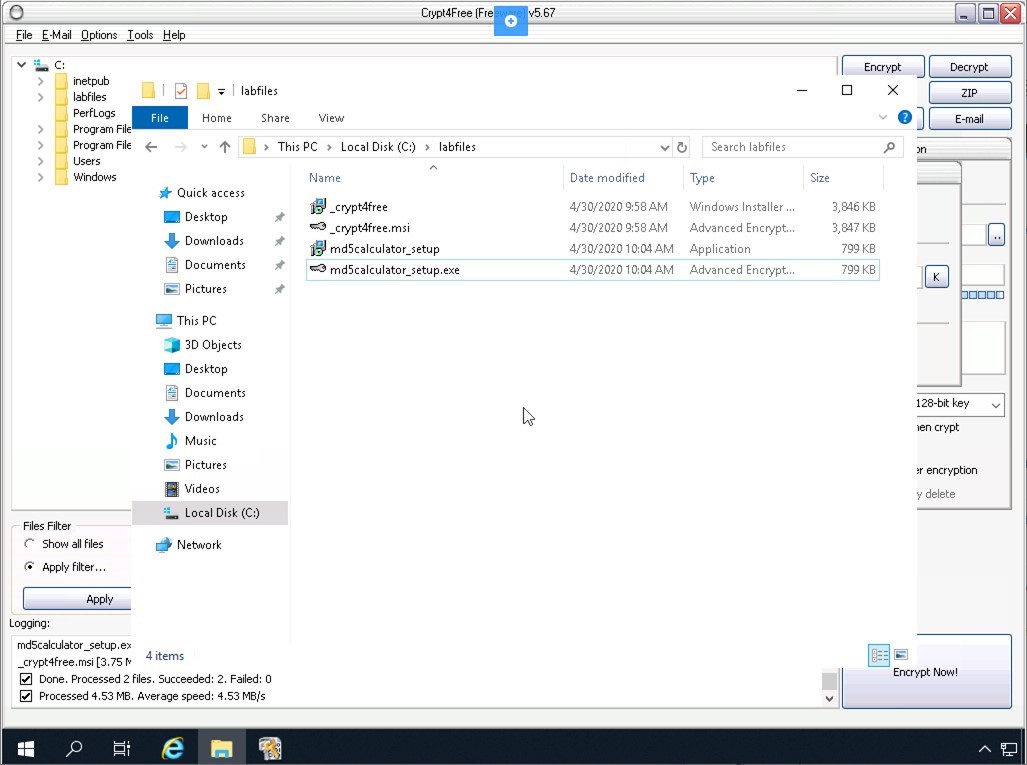
Step 14
Open File Explorer and navigate to the C:\labfiles folder. Note that for each file, a new file with the key icon has been created. This is the encrypted file.
Double-click md5calculator_setup.exe.
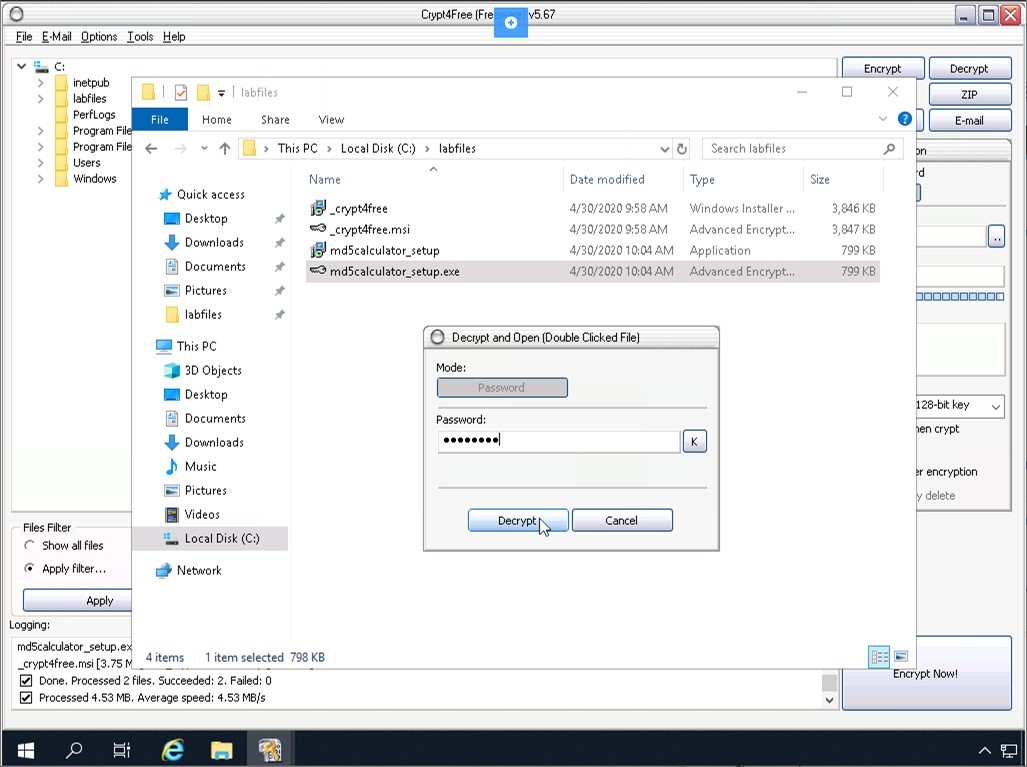
Step 15
The Enter Password dialog box is displayed.
Enter the following password in the Password textbox:
Passw0rd
Click Decrypt.
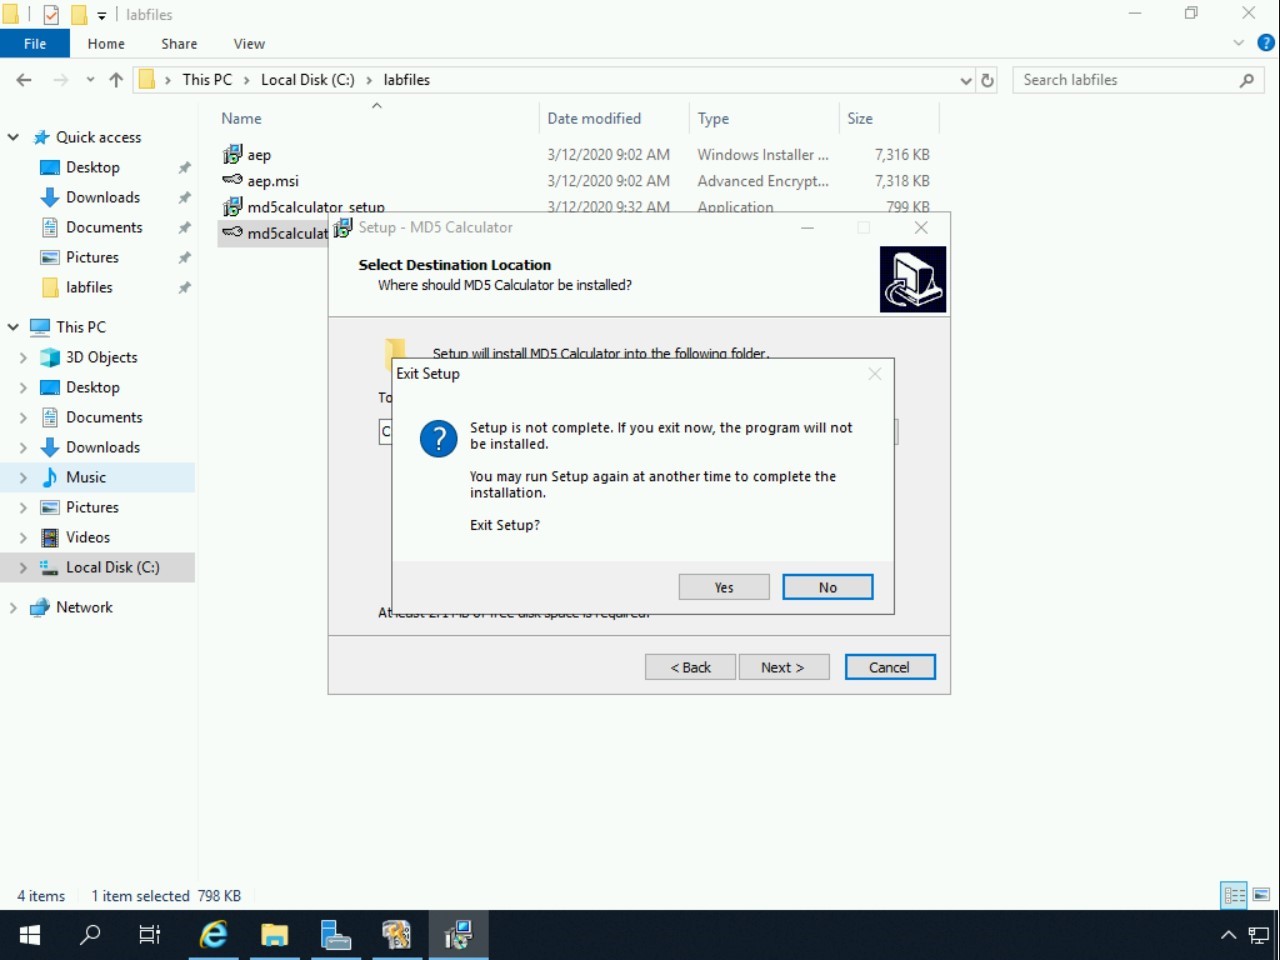
Step 16
The Setup - MD5 Calculator wizard is displayed. Click Cancel.
Note: If a notification appears stating the file already exists, click on Yes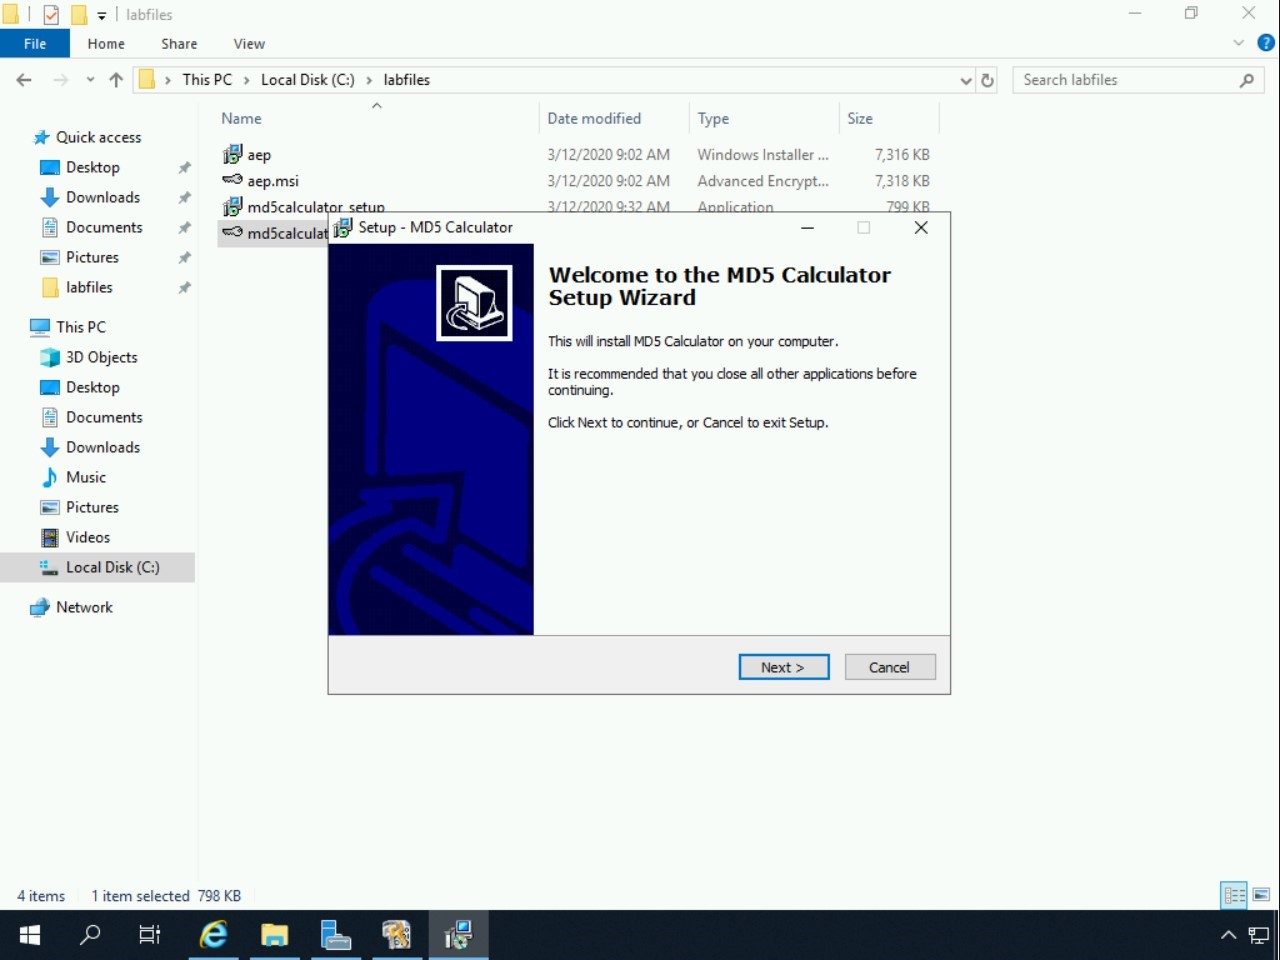
Step 17
The Exit Setup dialog box is displayed. Click Yes.
Close the File Explorer window.
Step 18
You are back on the Crypt4Free window. Expand labfiles.
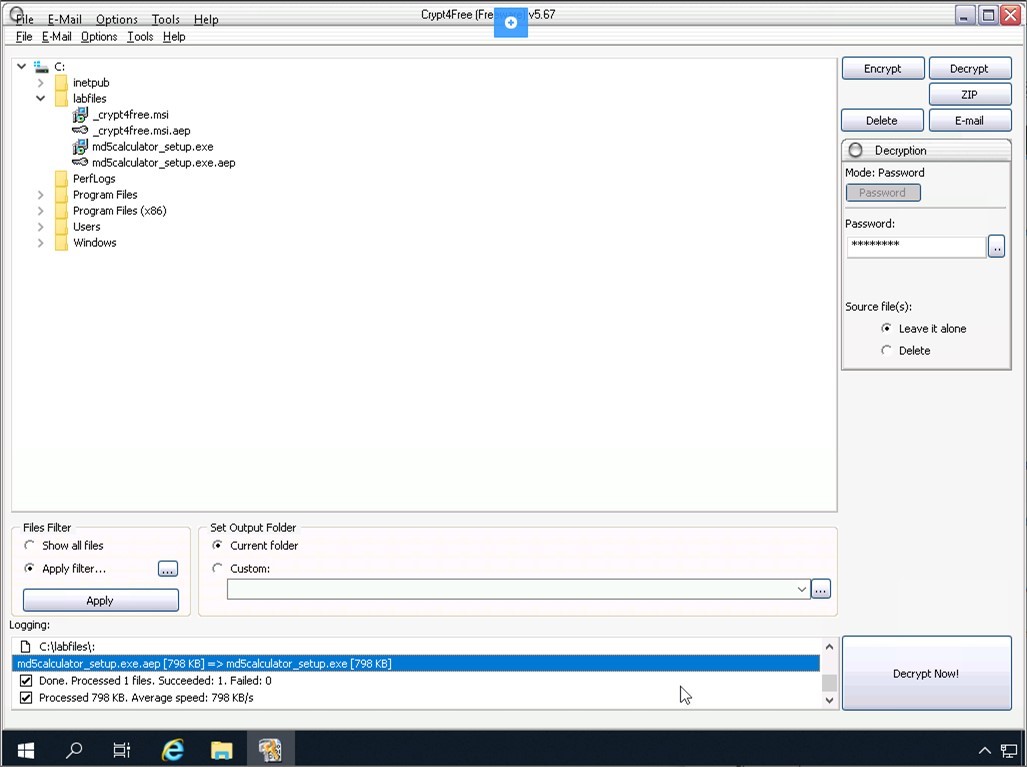
Select md5calculator_setup.exe.aep and click Decrypt.

Step 19
The cursor is moved into the Password textbox.
Enter the following password in the Passw0rd textbox:
Passw0rd
Click Decrypt Now!.
The decryption process will now start.
Step 20
Now, the file is now decrypted. In the Logging section, the status of the file is now displayed.
Close the Crypt4Free window.
Task 3 - Download and Install HashCalc
HashCalc allows you to check 13 popular hash and checksum algorithms.
In this task, you will learn to use HashCalc.
Step 1
Ensure you have powered the required devices, Connect to PLABDM01. Restore the Internet Explorer window from the taskbar.
Navigate back to http://intranet and go to Tools > Hacking Tools
Step 2
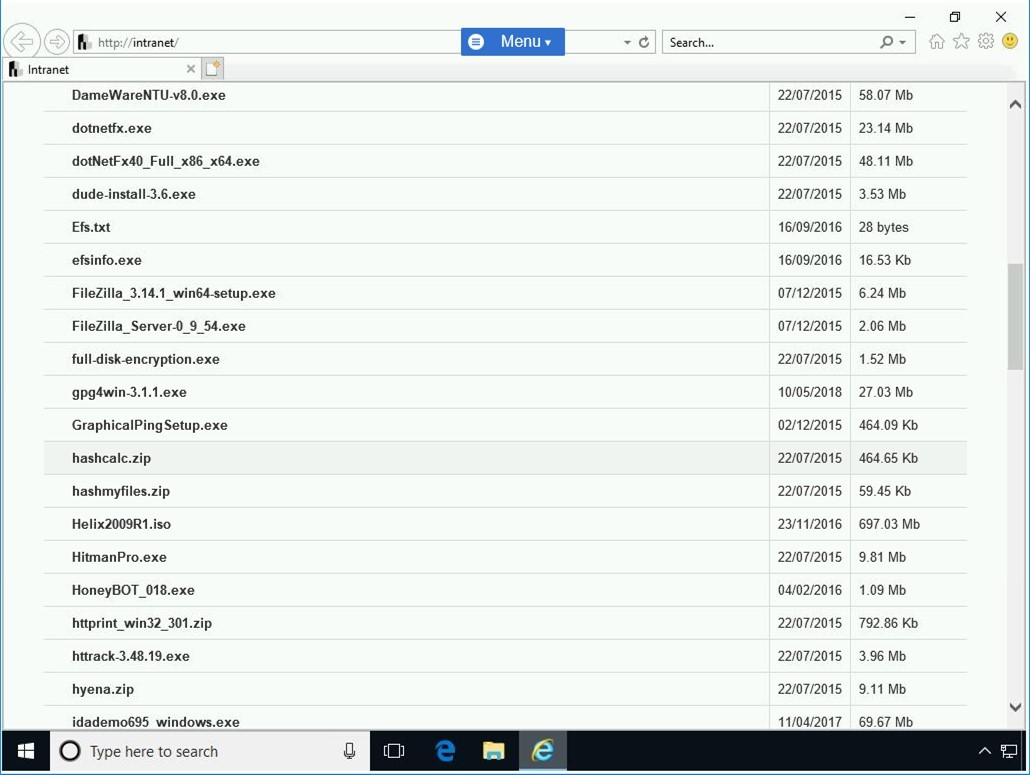
On the [..] > Tools > Hacking Tools page, scroll down and locate and click hashcalc.zip.
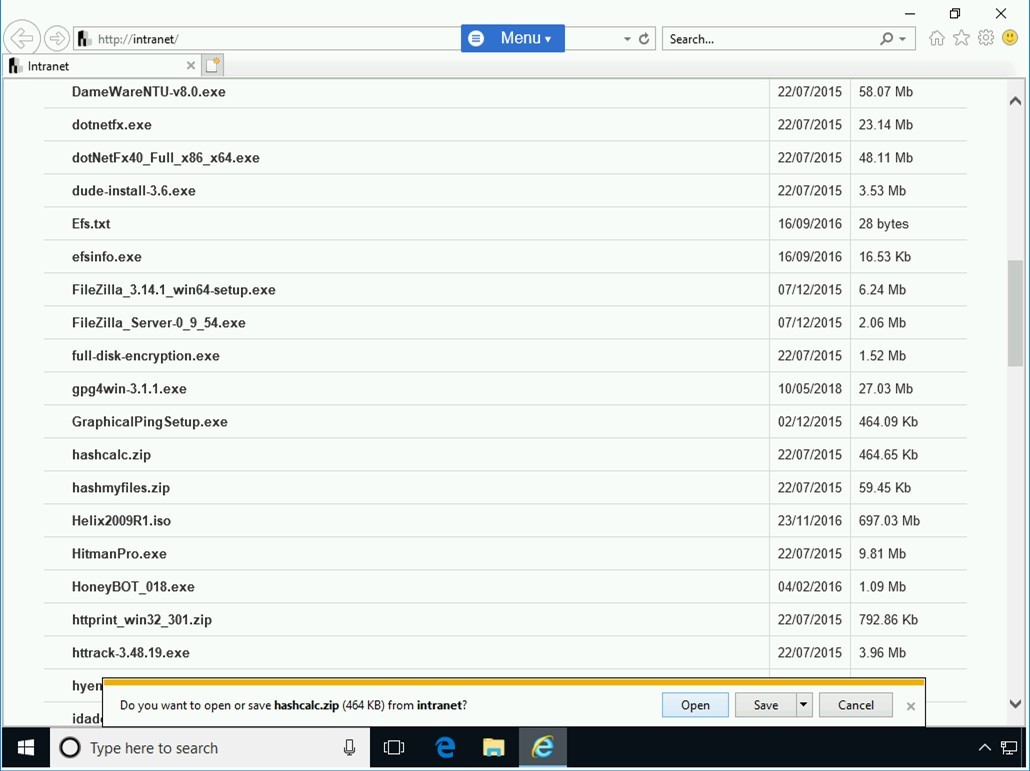
Step 3
On the notification toolbar, click Open.
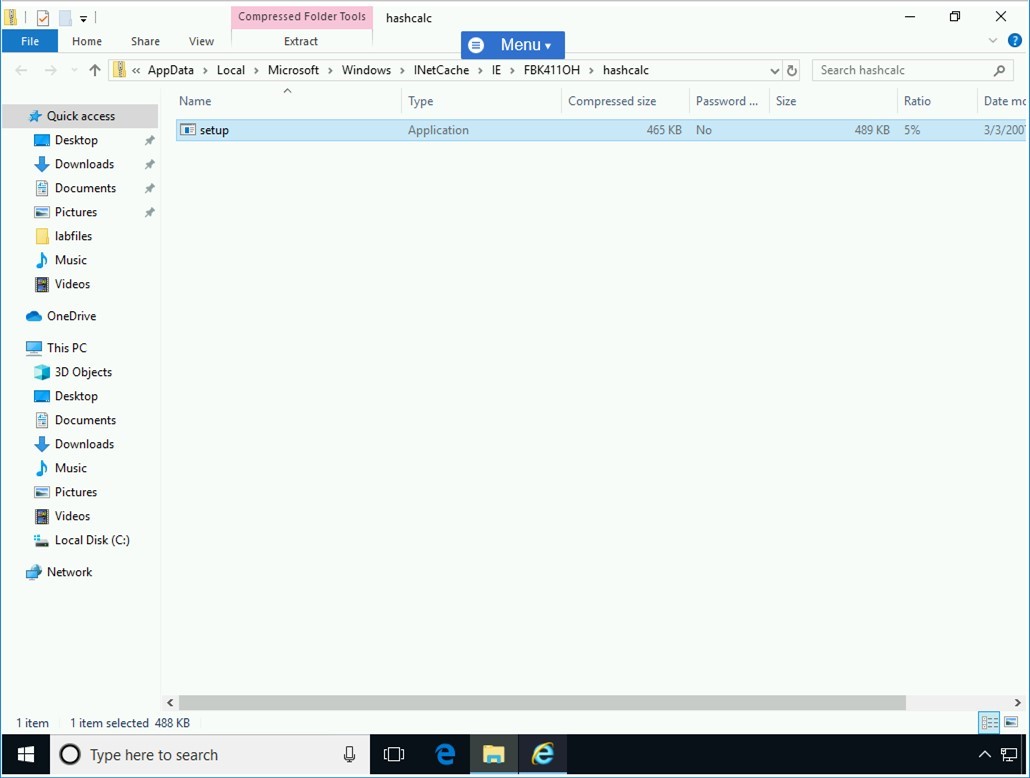
Step 4
File Explorer opens and redirects you to the folder where the hashcalc setup file is saved.
Double-click the setup file.
Step 5
The Setup - HashCalc wizard is displayed. On the Welcome to the HashCalc Setup Wizard page, click Next.

Step 6
On the License Agreement page, select I accept the agreement and click Next.

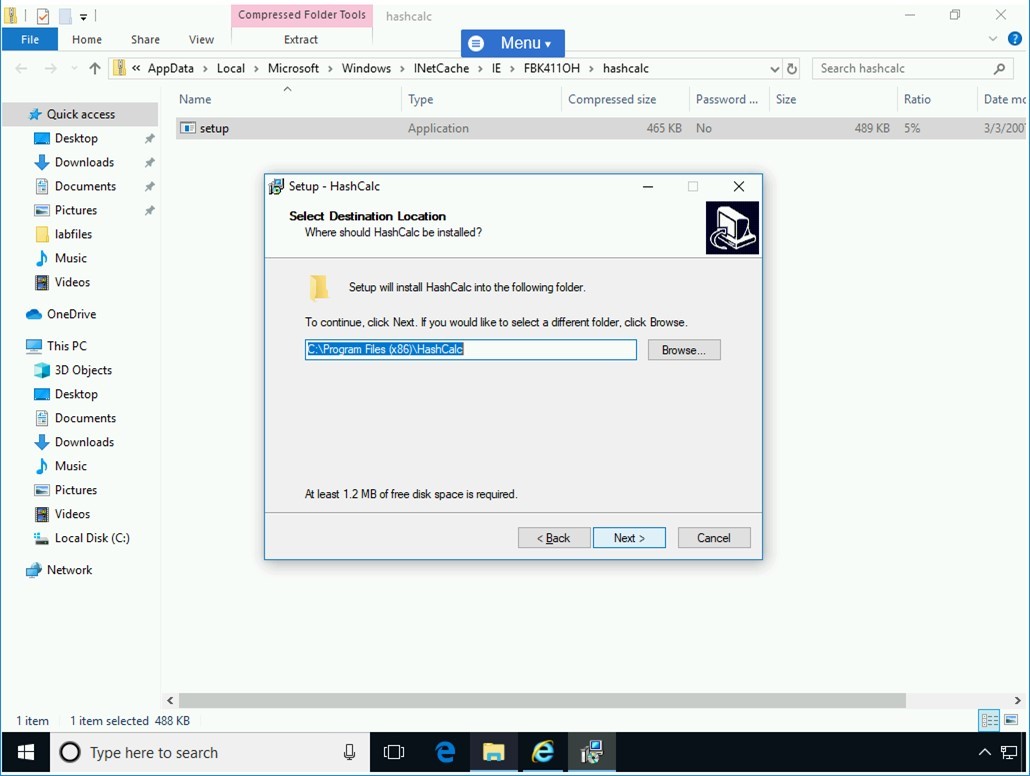
Step 7
On the Select Destination Location page, accept the default settings and click Next.
Step 8
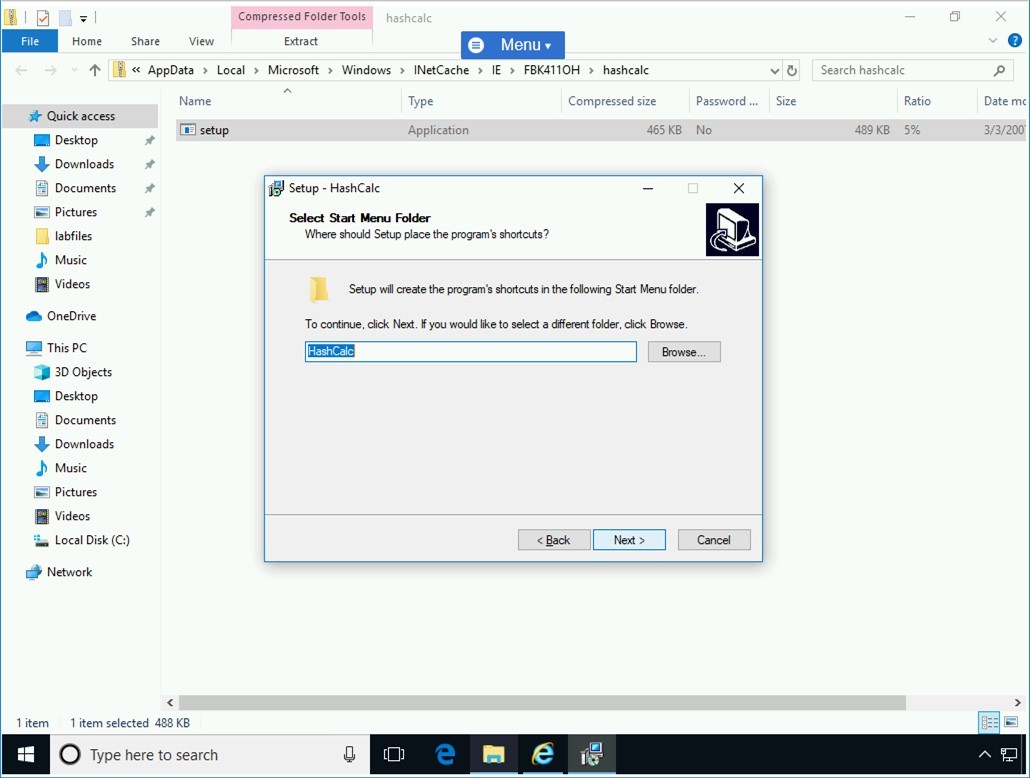
On the Select Start Menu Folder page, keep the default menu name and click Next.
Step 9
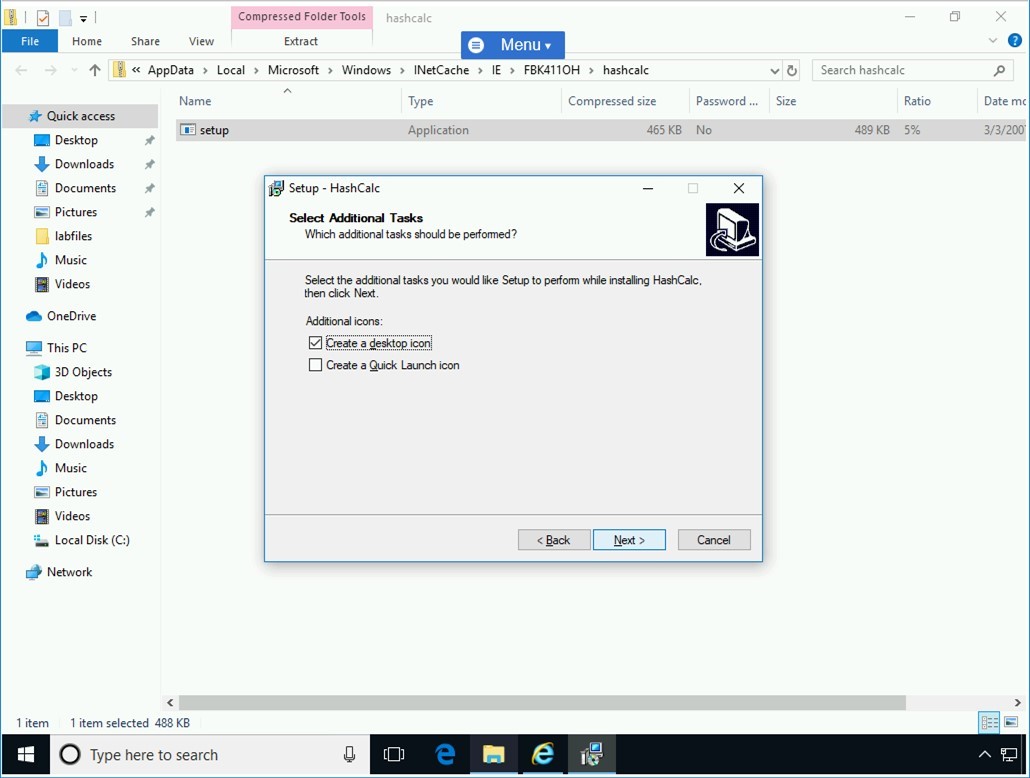
On the Select Additional Tasks page, keep the default selection of Create a desktop icon, and click Next.
Step 10
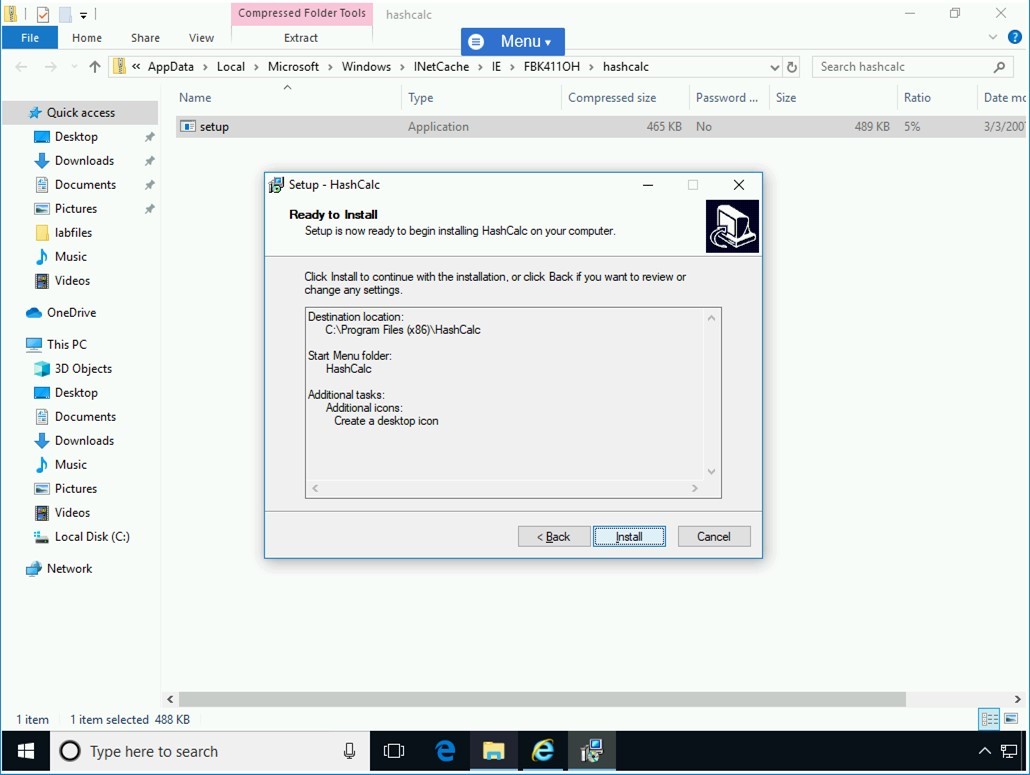
On the Ready to Install page, click Install.
Step 11
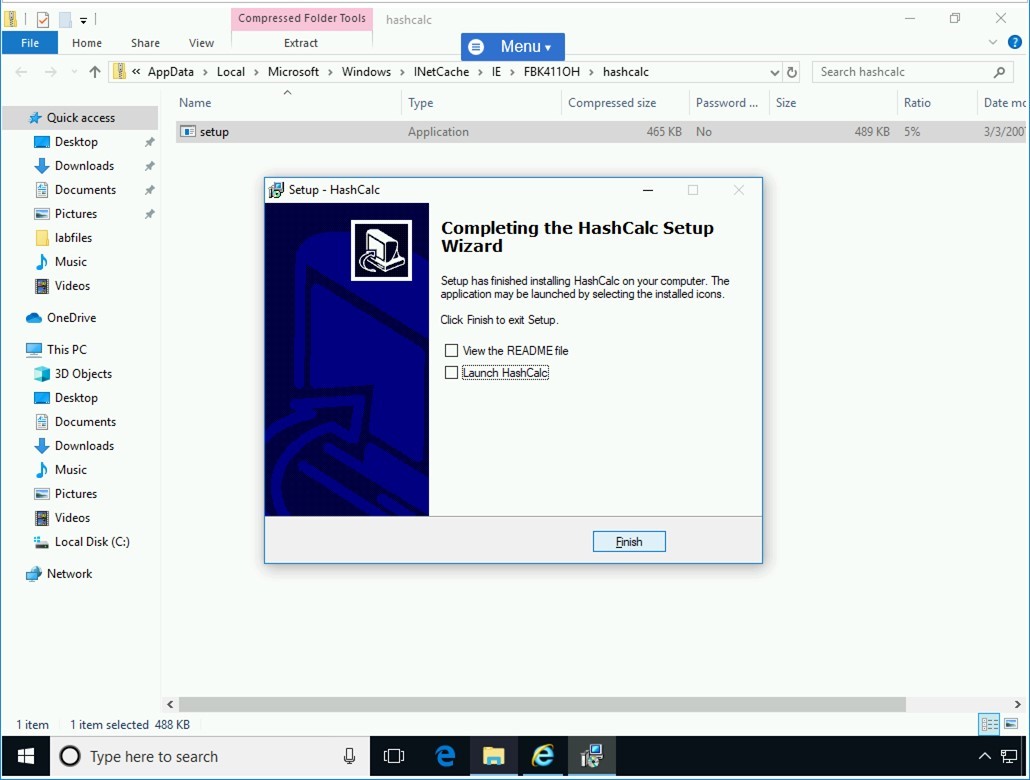
On the Completing the HashCalc Setup Wizard page, de-select all checkboxes and click Finish.
Close the File Explorer window.
Minimize Internet Explorer as you will need this intranet web page later.
Task 4 - Using the HashCalc Tool
After installing the HashCalc tool, you can start using it. To start using the HashCalc tool, perform the following steps:
Step 1
Ensure you have powered the required devices, Connect to PLABDM01.
Double-click the HashCalc icon.
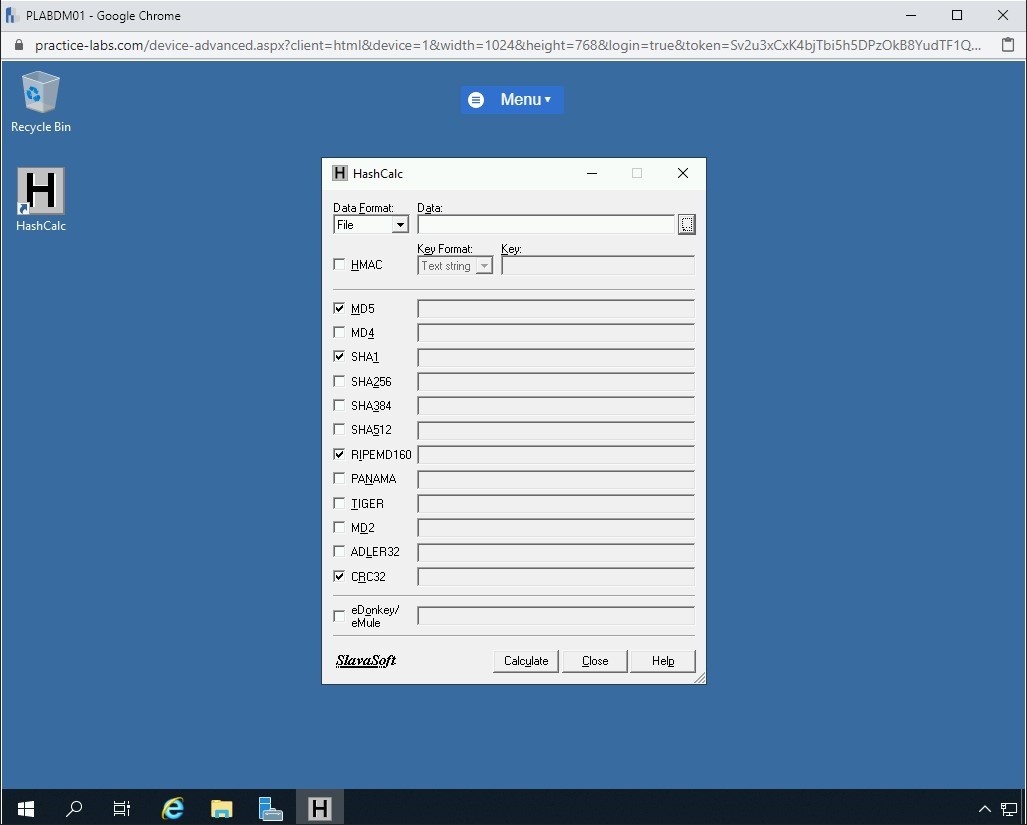
Step 2
The HashCalc dialog box is displayed.
In the Data Format drop-down, the File option is selected by default.
Step 3
Next to the Data textbox, click [....]

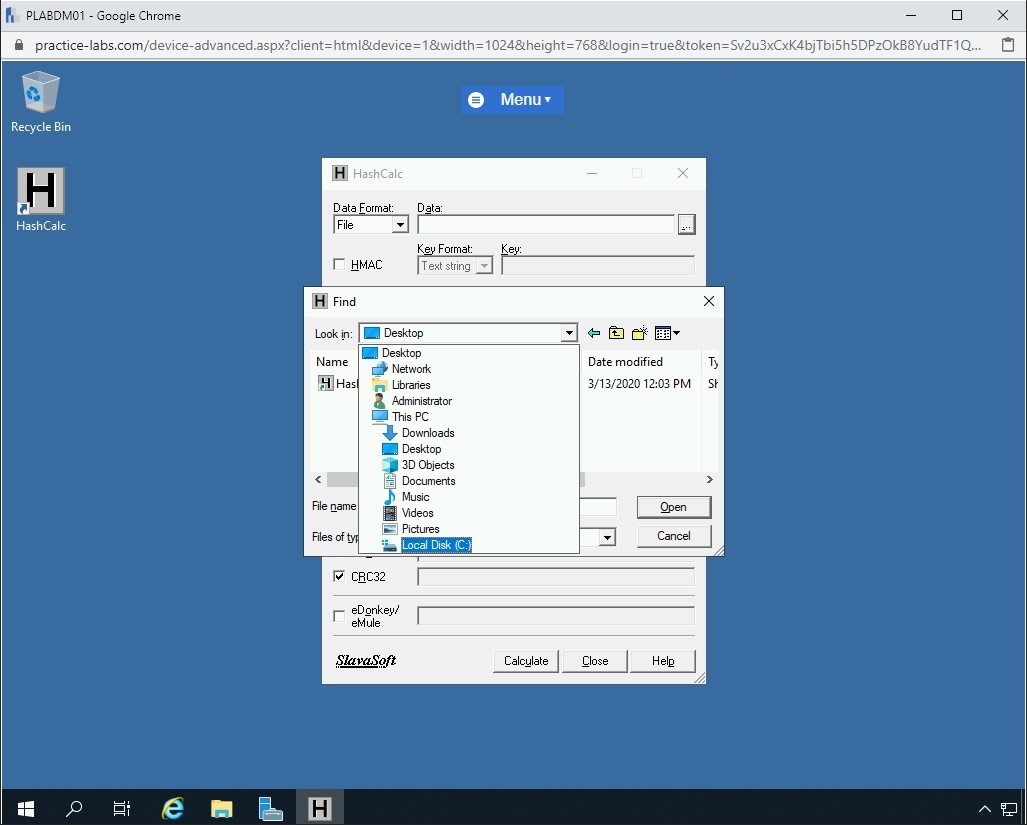
Step 4
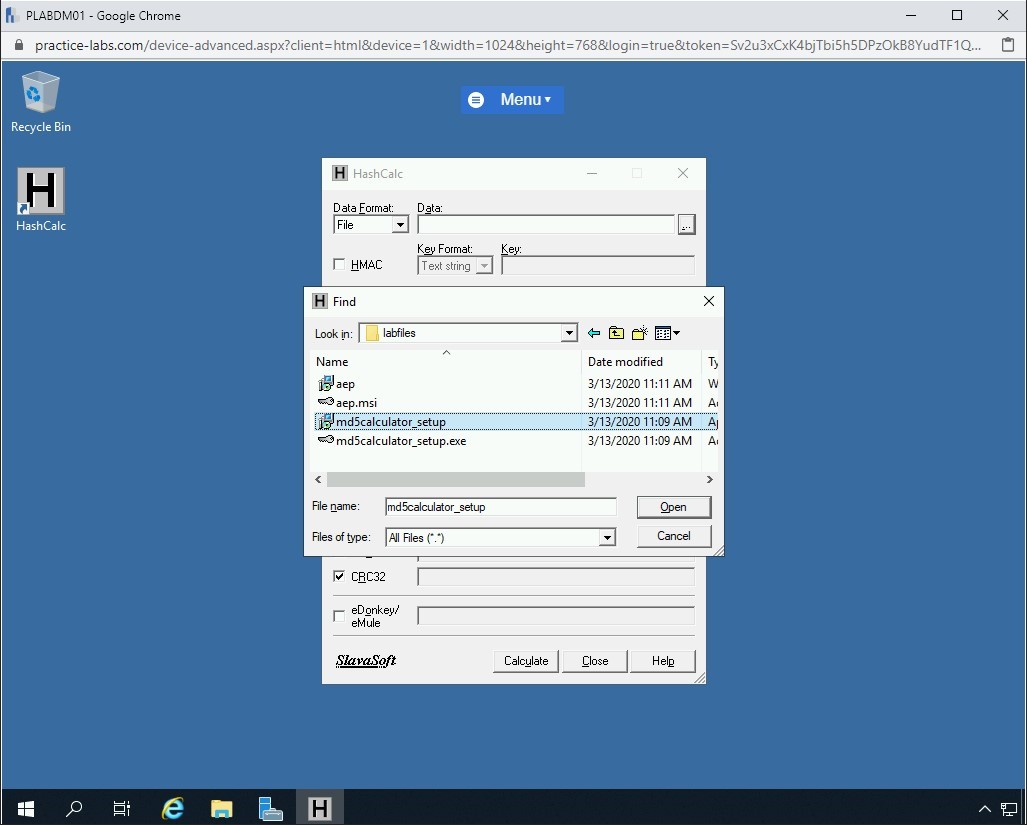
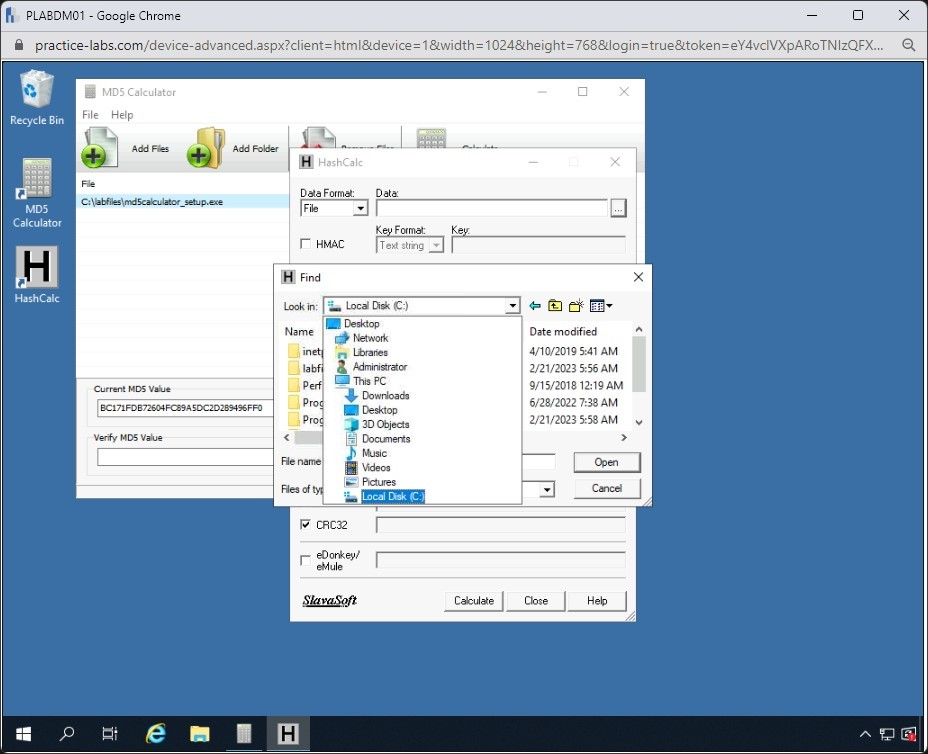
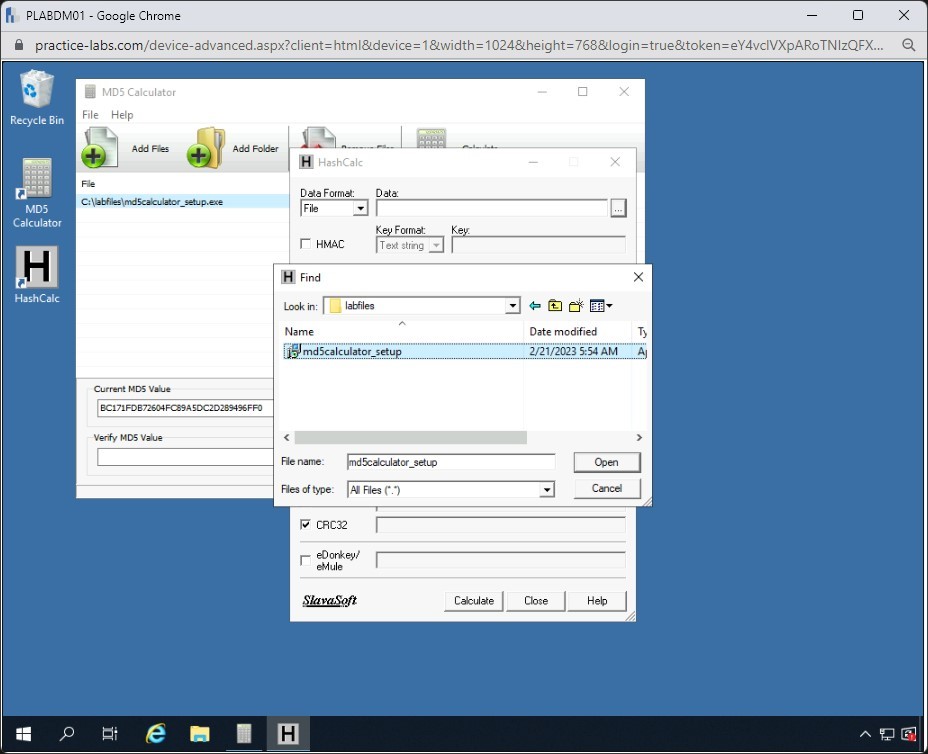
The Find dialog box is displayed.
Click the down arrow on the Look in drop-down and select Local Disk (C:).
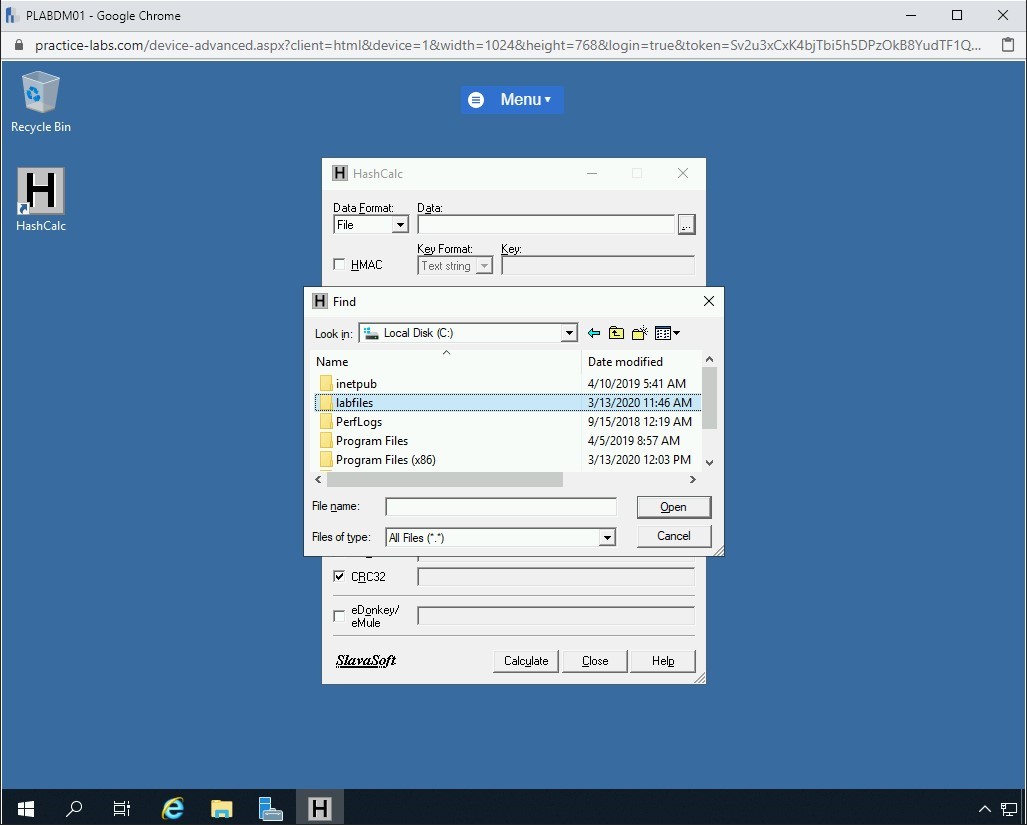
Step 5
Double-click on the labfiles folder or select and click Open.
Step 6
Select the md5calculator_setup file and click Open.
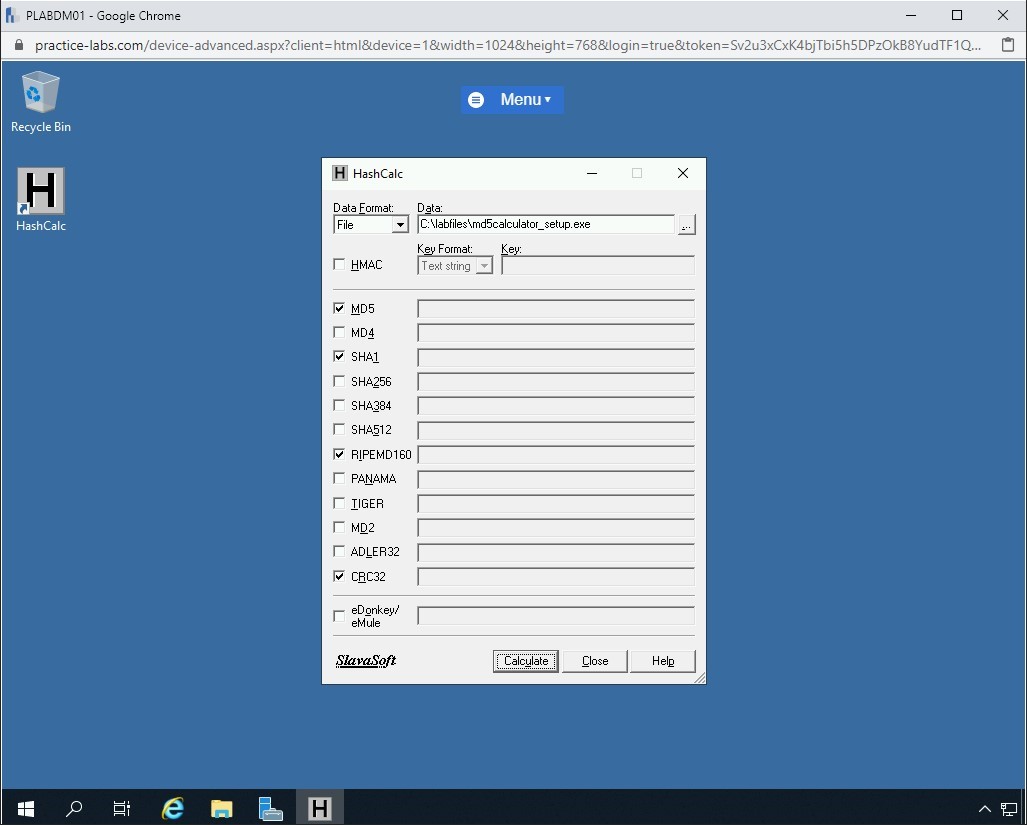
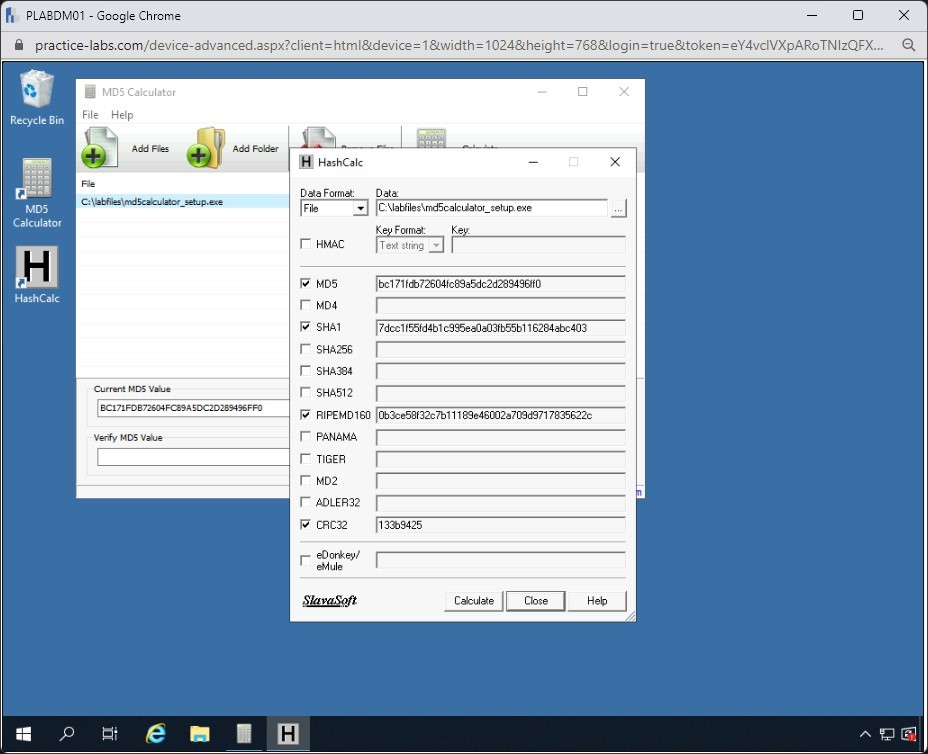
Step 7
The md5calculator_setup.exe file is now added.
You can select the hash or checksum algorithm that you can want to check for this file.
For this task, you will use the default selection.
Click Calculate.
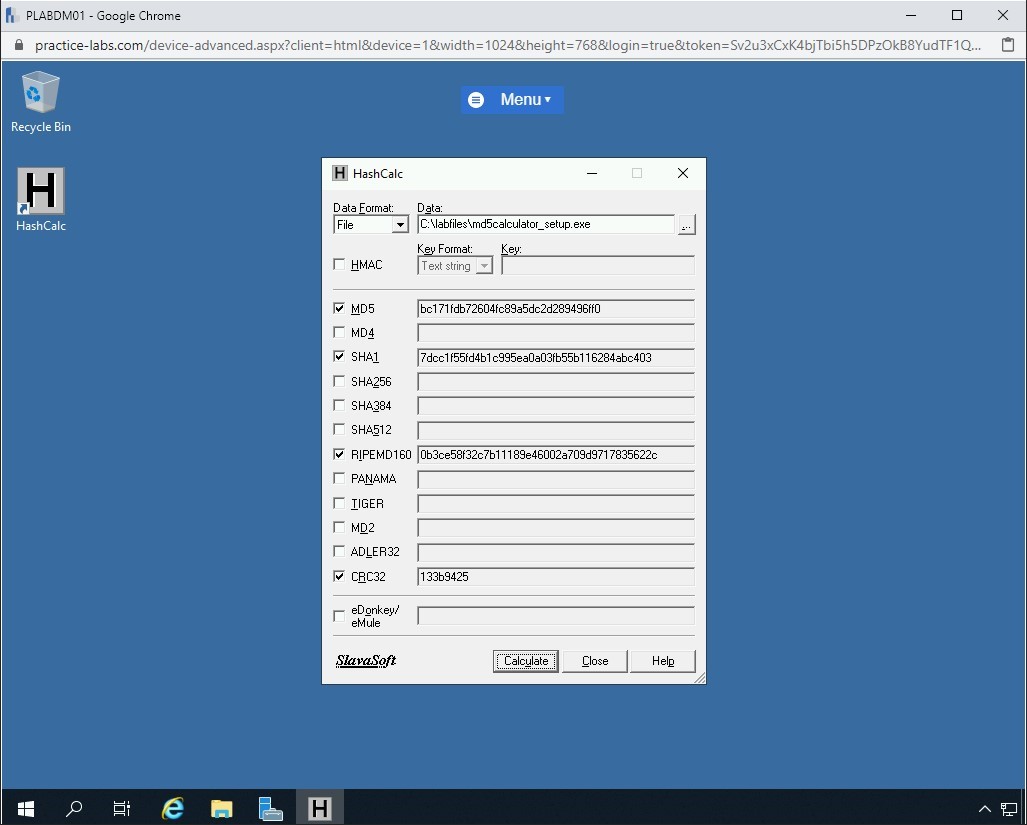
Step 8
The result is displayed instantly. You can use the hash and checksum and compare it with the original hash and checksum of the file.
Typically, all files provide them to ensure that the file has not been tempered with.
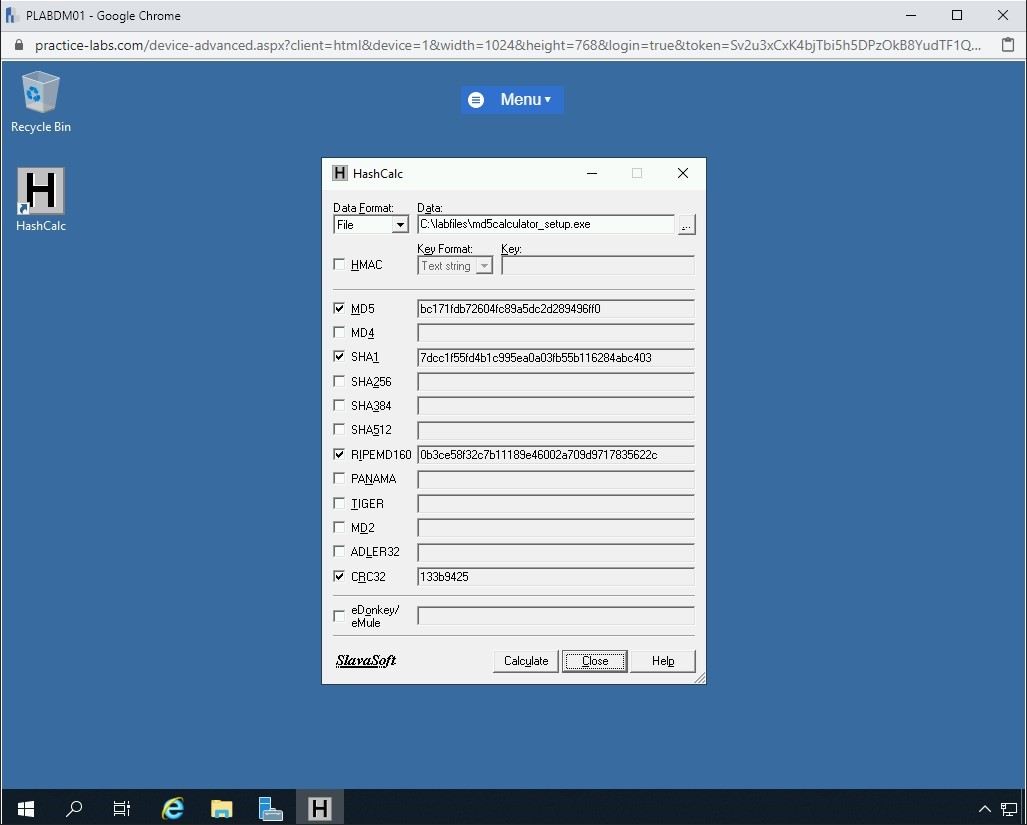
Step 9
Click Close.
Task 5 - Install MD5 Calculator
MD5 is a freeware that has some of the following features:
- MD5 Hash Extractor
- MD5 Check
- MD5 Checksum Verifier
- MD5 Hash Viewer
In this task, you will learn to install the MD5 Calculator.
Note: In one of the previous tasks, you had downloaded the MD5 Calculator installer in the c:\labfiles folder.To install the MD5 Calculator, perform the following steps:
Step 1
Ensure you have powered the required devices, Connect to PLABDM01.
From the taskbar, click the File Explorer icon.
Step 2
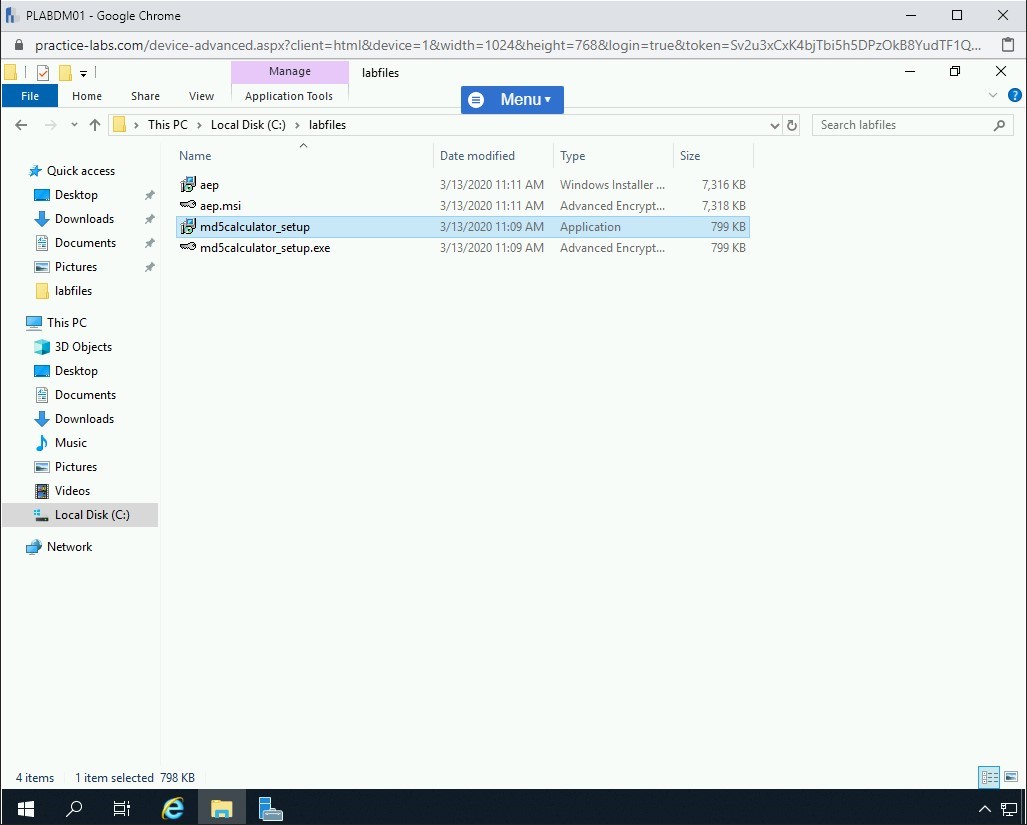
In the File Explorer window, select Local Disk (C:) in the left-hand pane and then double-click labfiles in the right-hand pane.
Step 3
Double-click md5calculator_setup.
Step 4
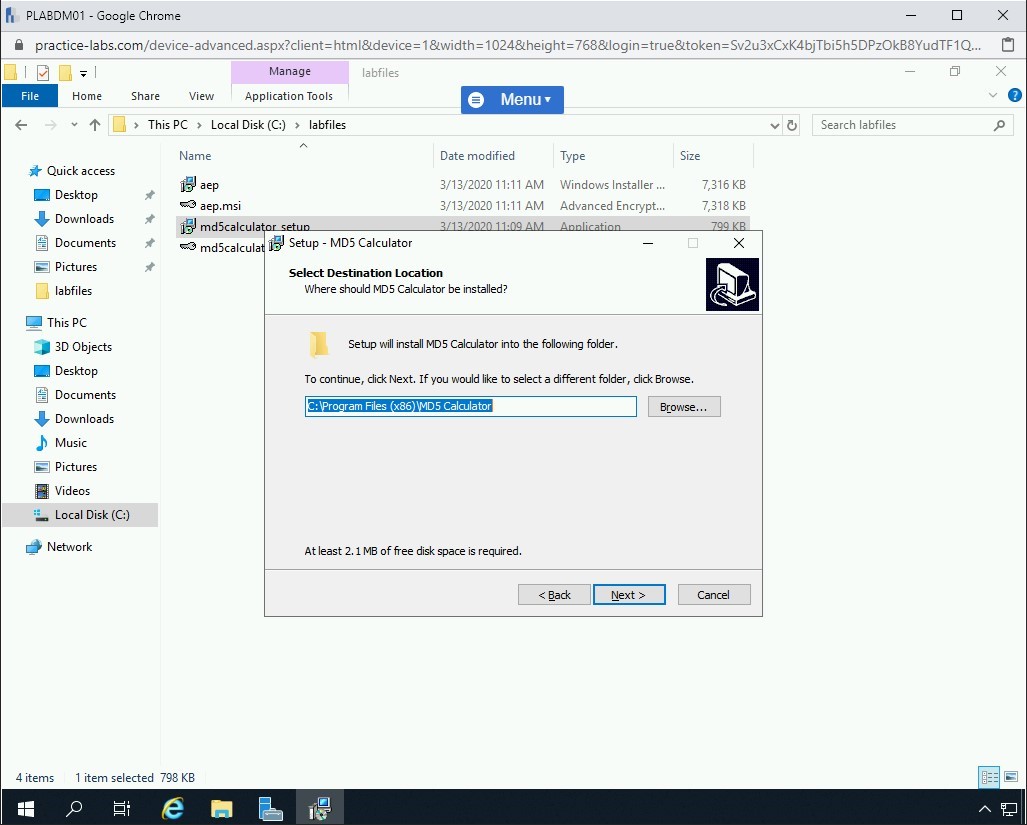
The Setup - MD5 Calculator wizard is displayed. On the Welcome to the MD5 Calculator Setup Wizard dialog box is displayed, click Next.

Step 5
On the Select Destination Location page, keep the default installation path and click Next.
Step 6
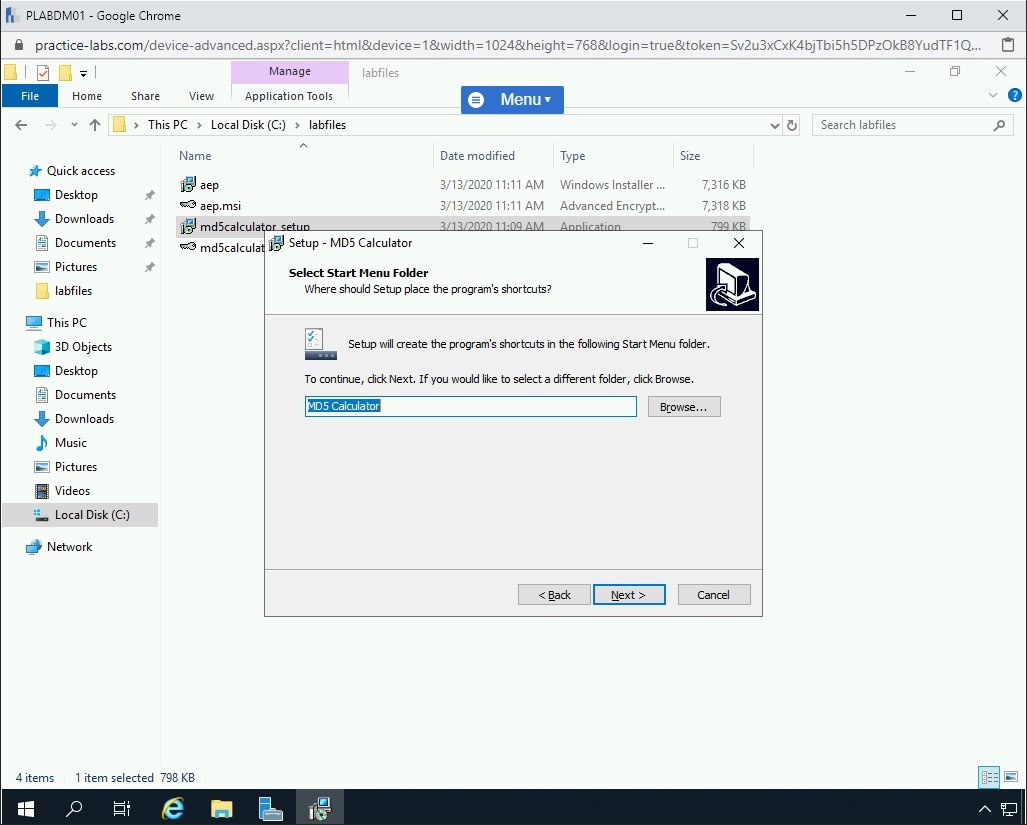
On the Select Start Menu Folder page, keep the default menu name and click Next.
Step 7
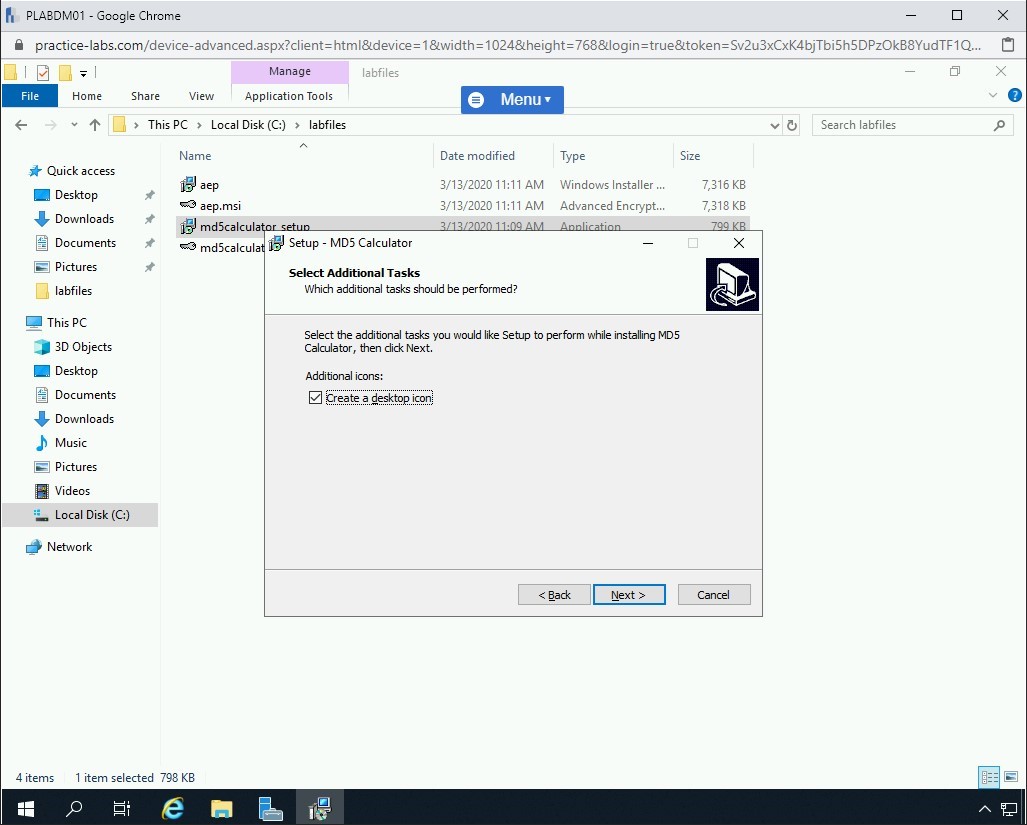
On the Select Additional Tasks page, keep the default selection and click Next.
Step 8
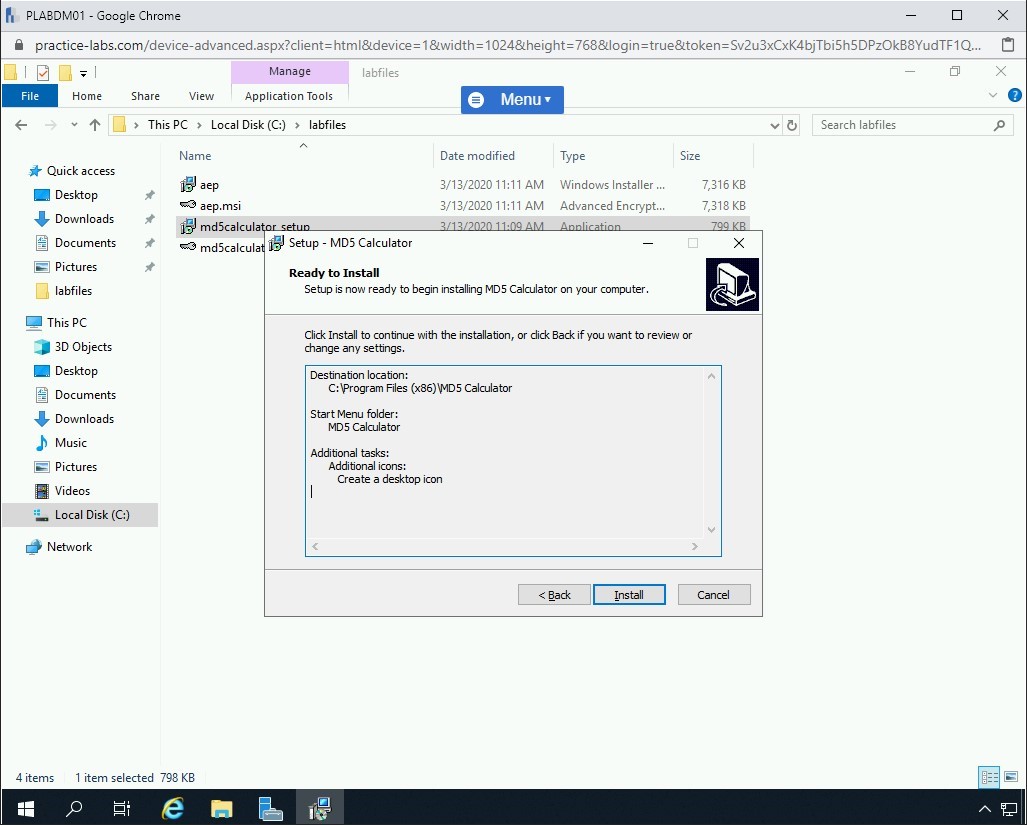
On the Ready to Install page, review the settings, and click Install.
Step 9
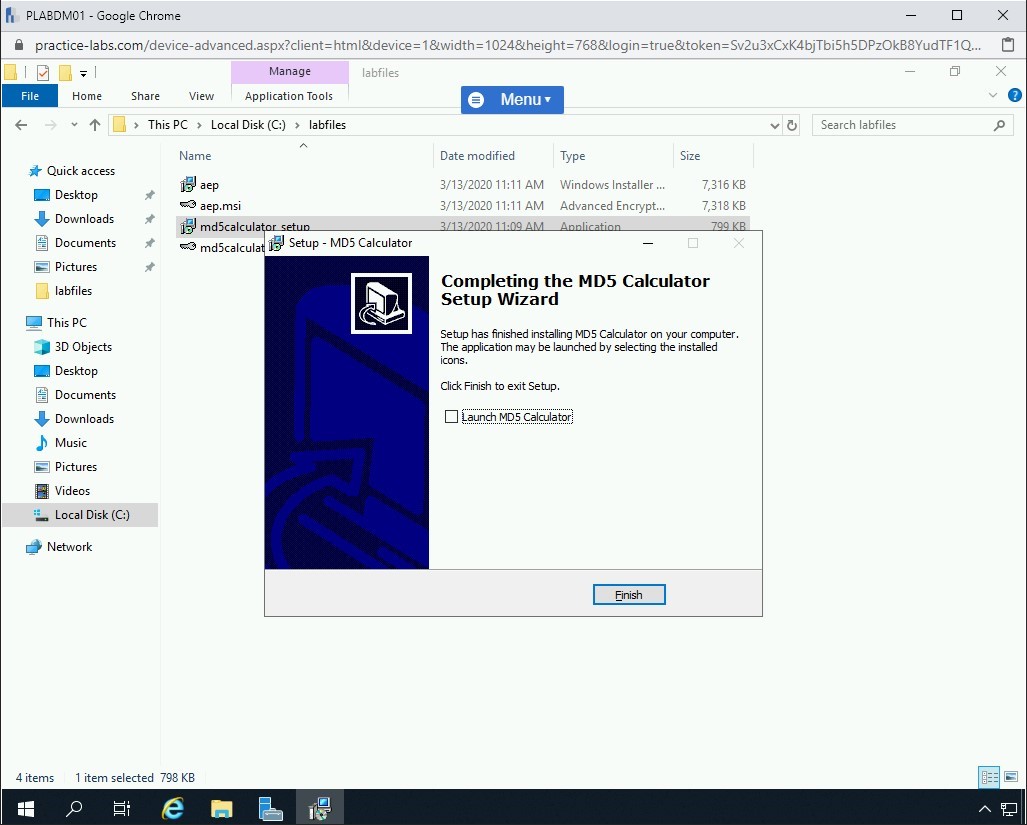
On the Completing the MD5 Calculator Setup Wizard page, clear the Launch MD5 Calculator checkbox.
Click Finish and close the File Explorer window.
Task 6 - Using MD5 Calculator
After installing the MD5 Calculator, you can now start using it. To start using MD5 Calculator application, perform the following steps:
Step 1
Ensure you have powered on the required devices, and Connect to PLABDM01.
Double-click the MD5 Calculator icon on the desktop.
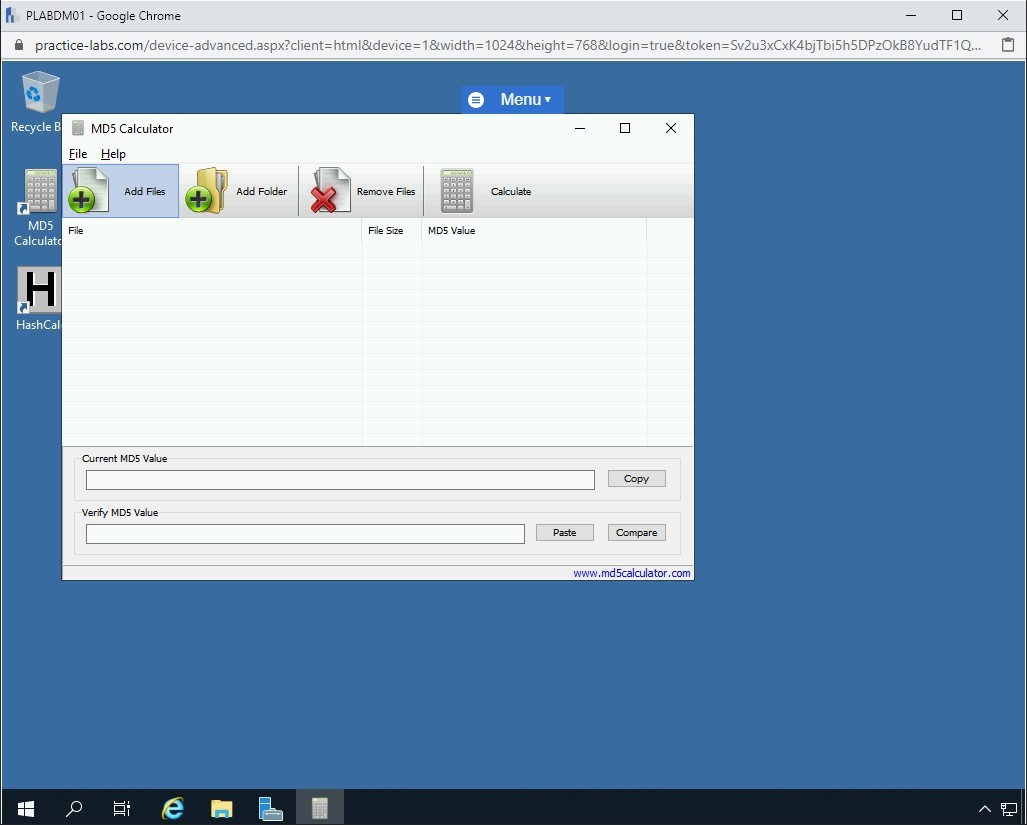
Step 2
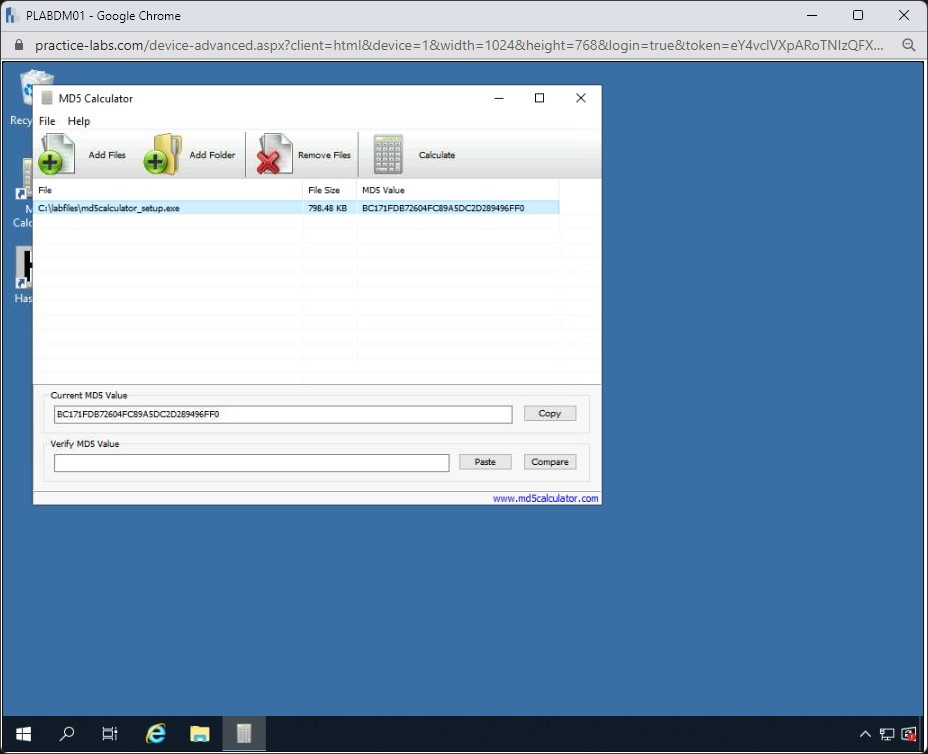
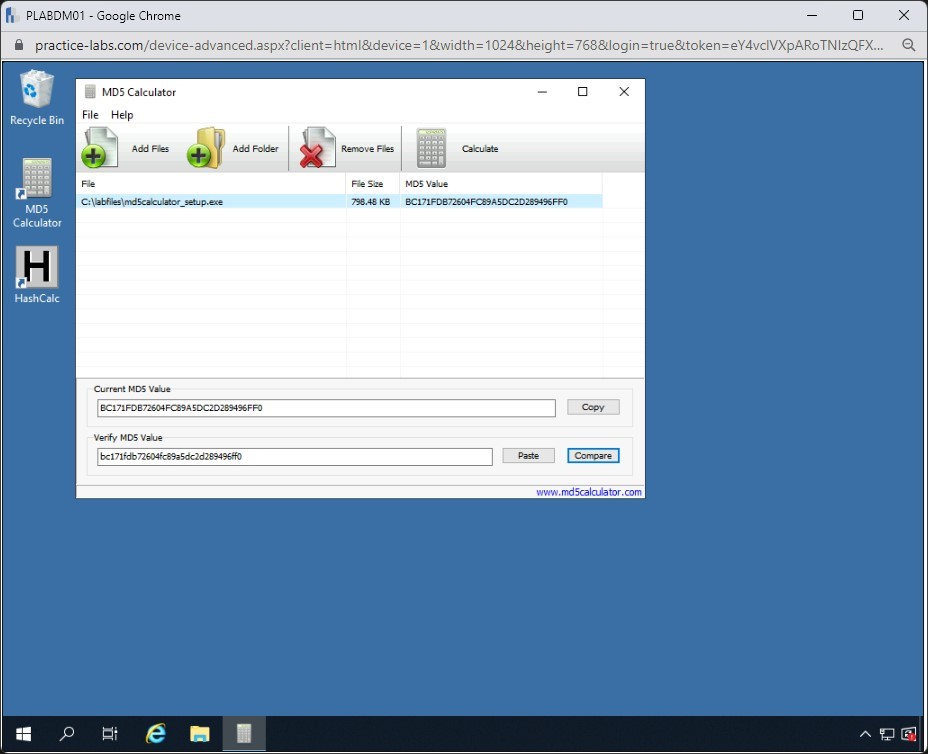
The MD5 Calculator dialog box is displayed.
Click Add Files.
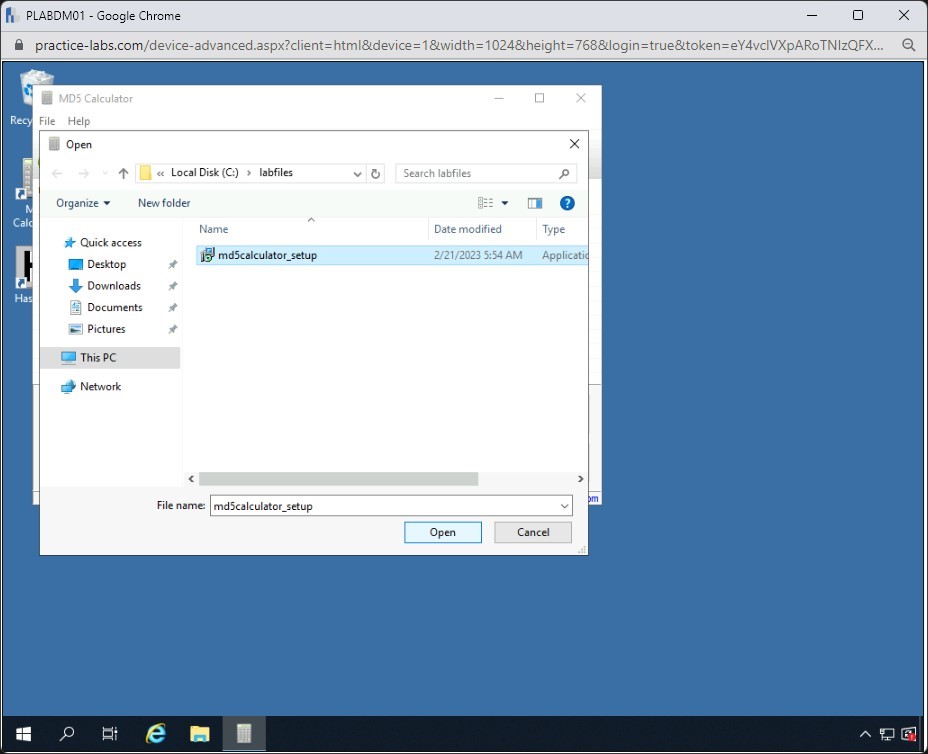
Step 3
The Open dialog box is displayed. In the left pane, expand the Local Disk (C:), and then select the labfiles folder.
On the details pane, select aep.
Click Open.
Step 4
The aep file is now added to the list.
Click Calculate.
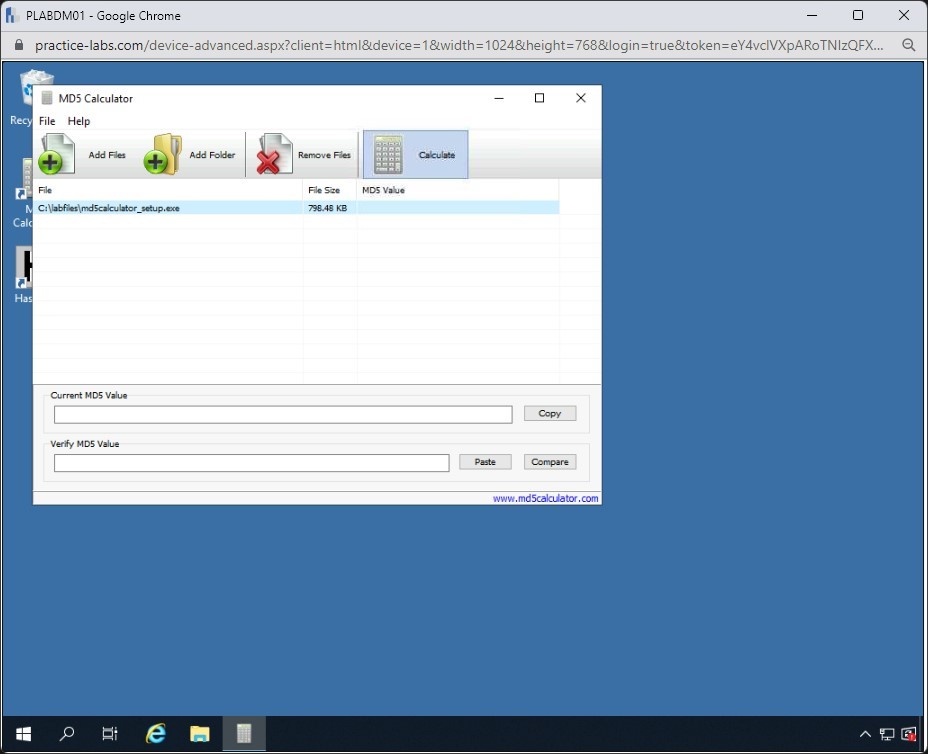
Step 5
Note that the MD5 value is displayed in the Current MD5 Value textbox.
Step 6
Click the HashCalc icon on the desktop.
Note: In a real-world scenario, most software developers / organizations will put the MD5 or SHA hashes next to the files that you need to download. You can also search for the software name in a search engine and verify the hashes. In this task, you will re-generate the hashes of the same file using HashCalc and then compare them in MD5 Calculator.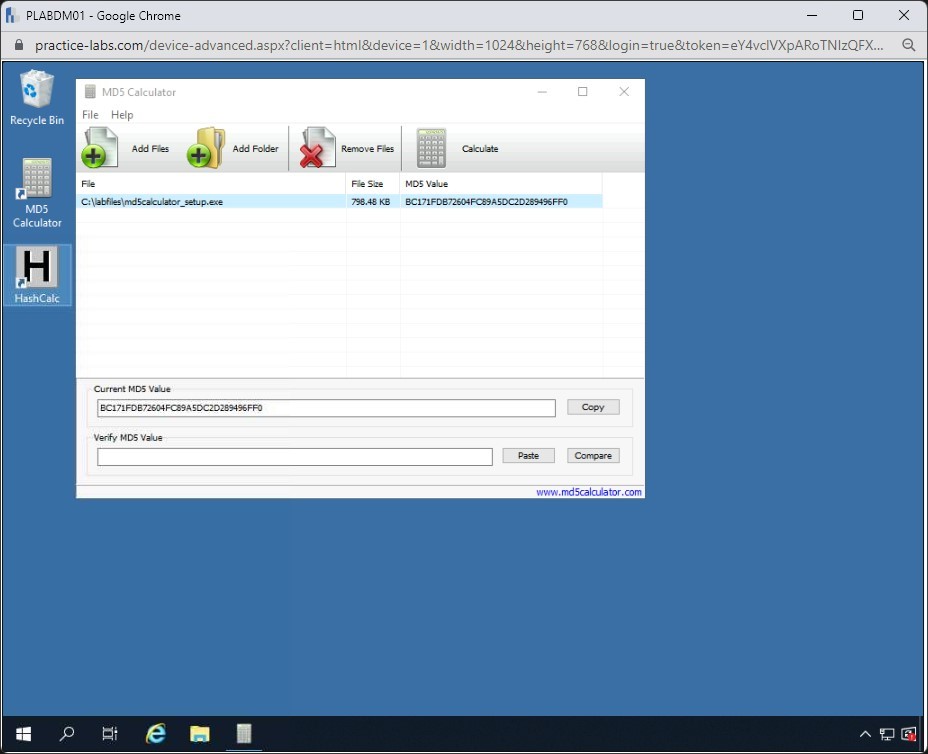
Step 7
Next to the Data textbox, click [....]

Step 8
The Find dialog box is displayed.
Click the down arrow on the Look in drop-down and select Local Disk (C:).
Step 9
Double-click on the labfiles folder or select and click Open.
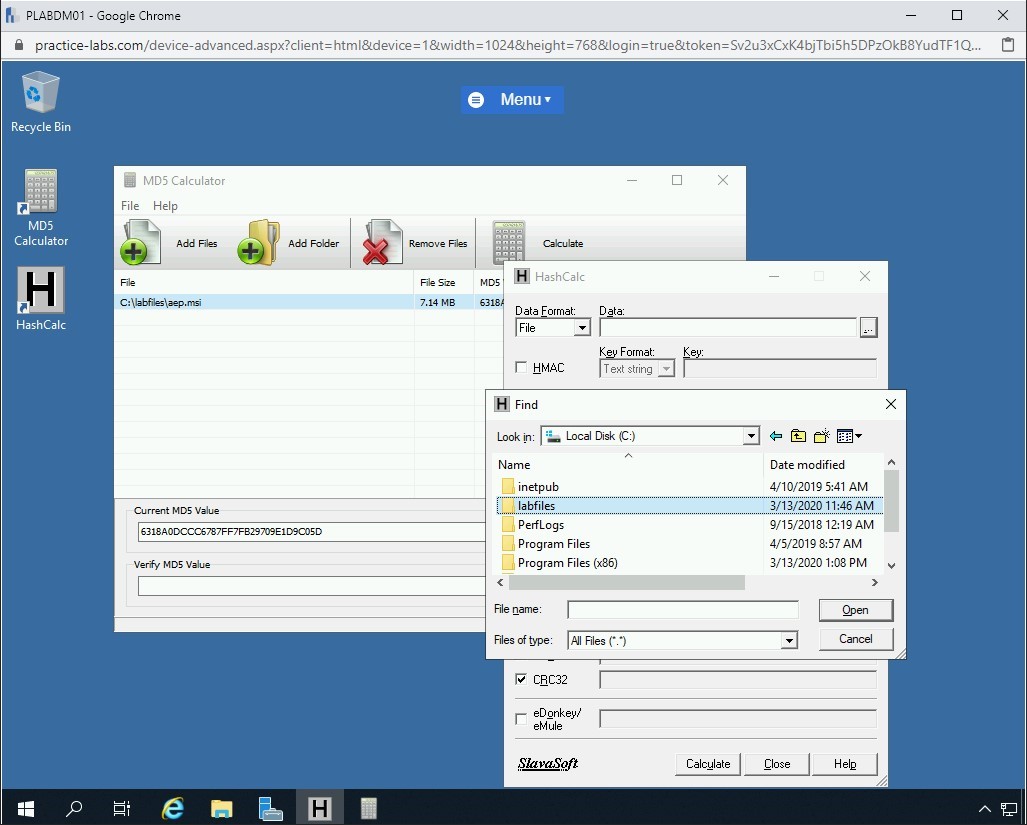
Step 10
Select the aep file and click Open.
Step 11
The aep.msi file is now added.
As before, you can select the hash or checksum algorithm that you can want to check for this file.
For this task, you will use the default selection.
Click Calculate.

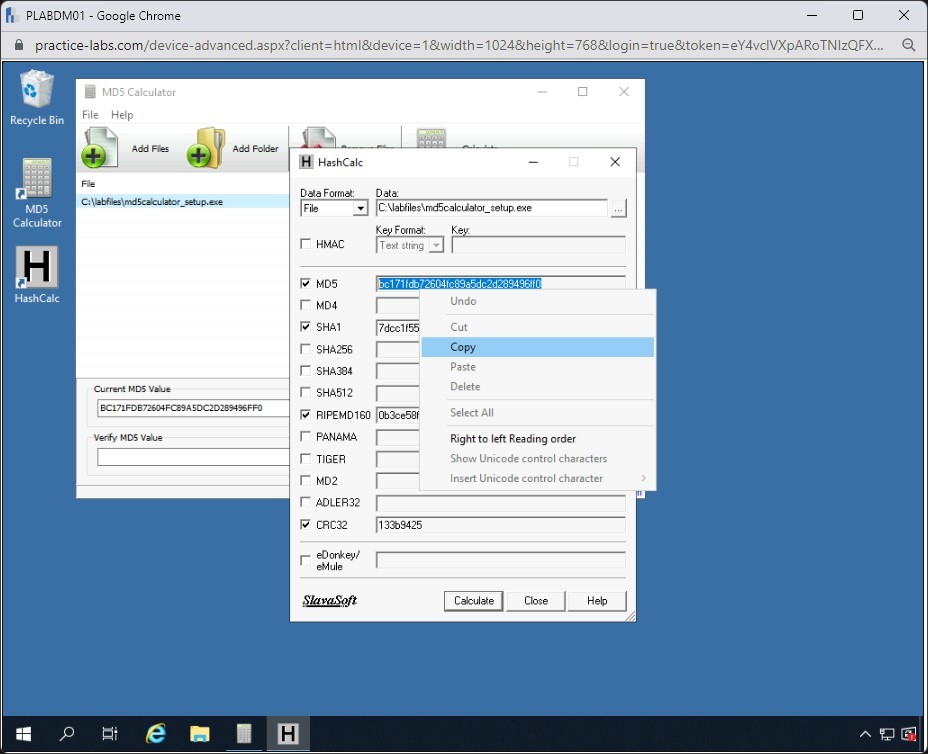
Step 12
The hash values are displayed. In the MD5 hash value field, select the hash, right-click and then select Copy.
Step 13
Click Close.
Step 14
Go back to the MD5 Calculator application.
Place the cursor inside the Verify MD5 Value textbox, right-click and select Paste.
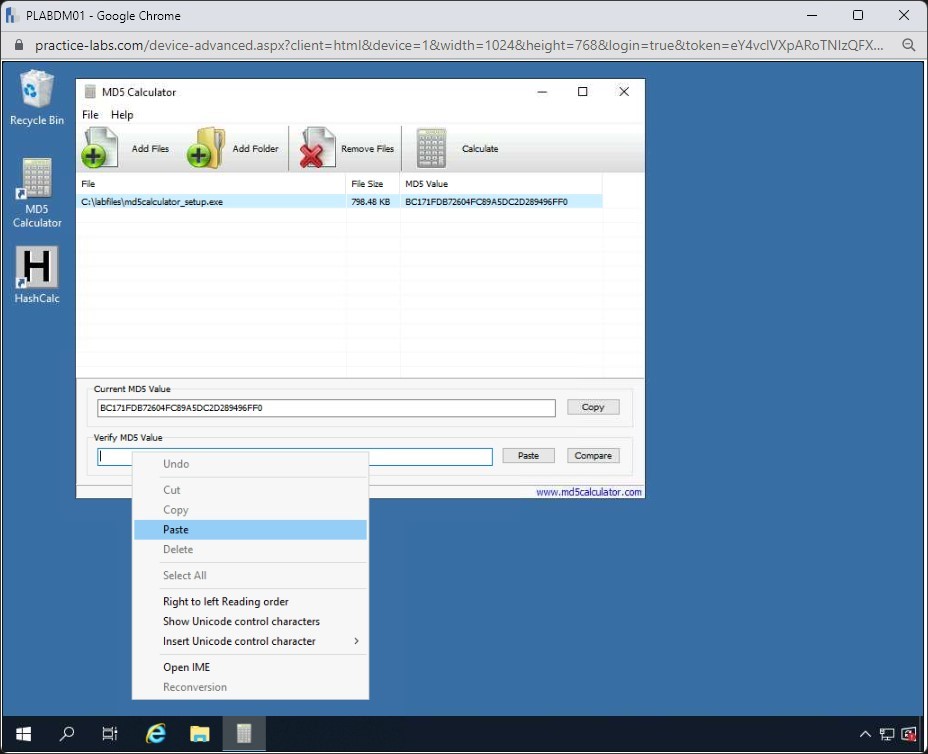
Step 15
Click Compare.
Step 16
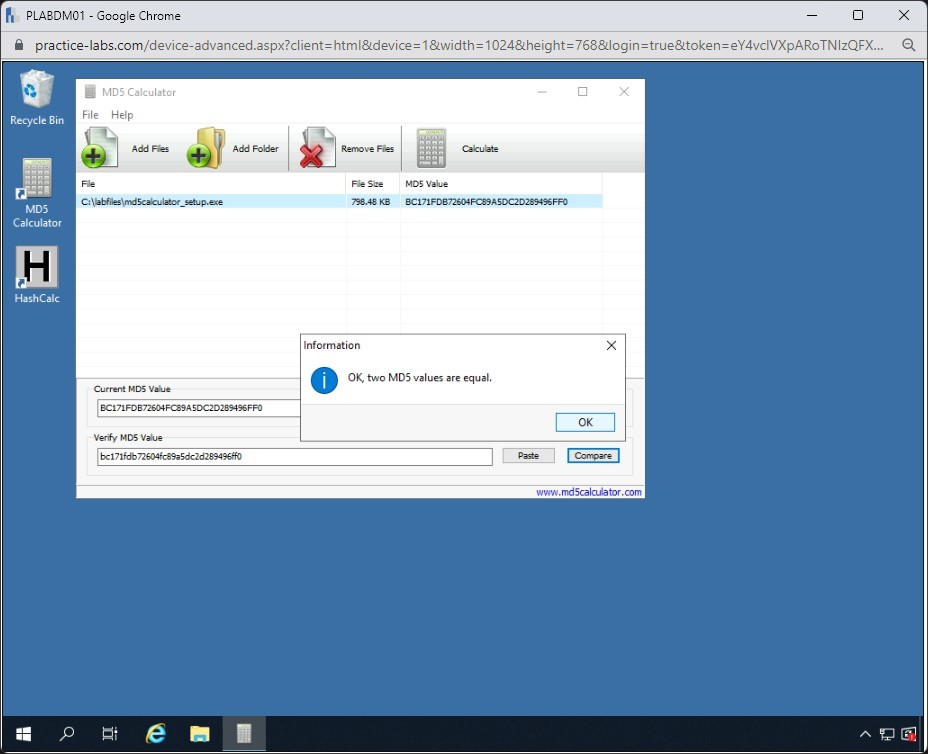
The Information dialog box is displayed.
The Information dialog box is displayed with a message: “OK, two MD5 values are equal.” Click OK to close the Information dialog box.
Click OK.
Step 17
Close the MD5 Calculator dialog box.

Task 7 - Perform Full Disk Encryption
Full Disk Encryption encrypts the contents of a drive, which also includes the encryption of bootable partition. There are several tools available in the market that can perform full disk encryption. In this task, you will use GiliSoft Full Disk Encryption, which is specifically designed for laptops and devices that are on the move constantly. It encrypts the hard drive with one or partitions. It has the capability to encrypt the system partition as well.
To use GiliSoft Full Disk Encryption, perform the following steps:
Step 1
Ensure you have powered the required devices, Connect to PLABDM01.
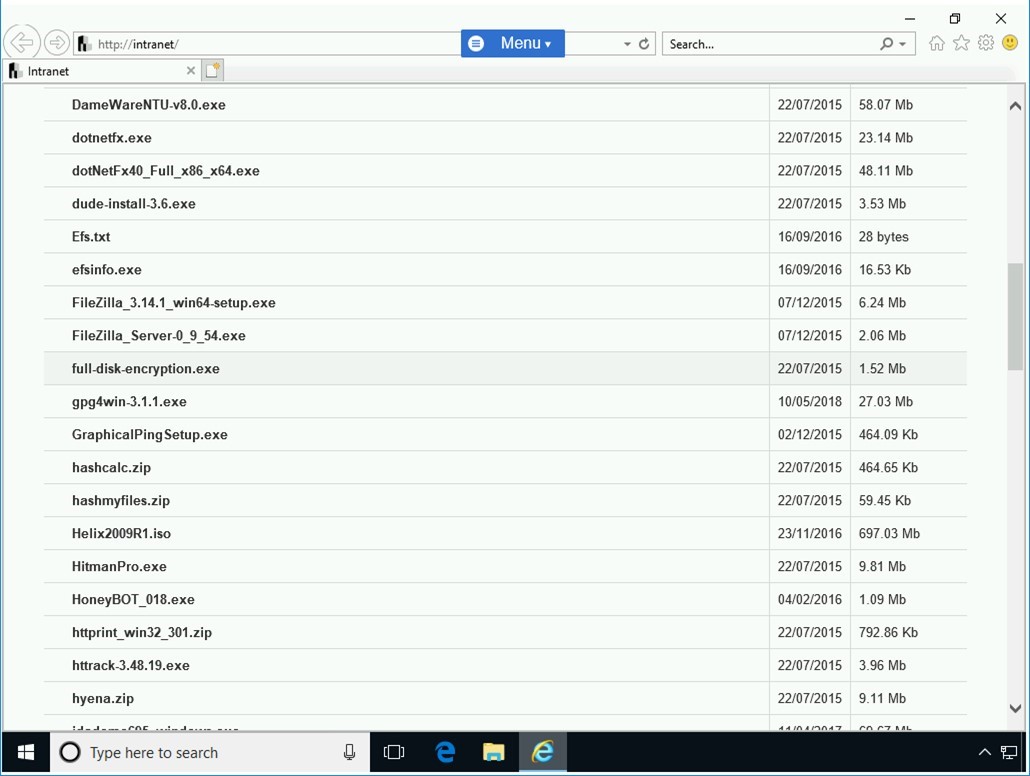
Restore Internet Explorer and ensure that you are in [..] > Tools > Hacking Tools page.
Locate and click full-disk-encryption.exe.
Step 2
On the notification toolbar, click Run.
Alert: If you are shown that the file is not commonly downloaded and could harm your computer, select Actions, More Options drop down and Run Anyway.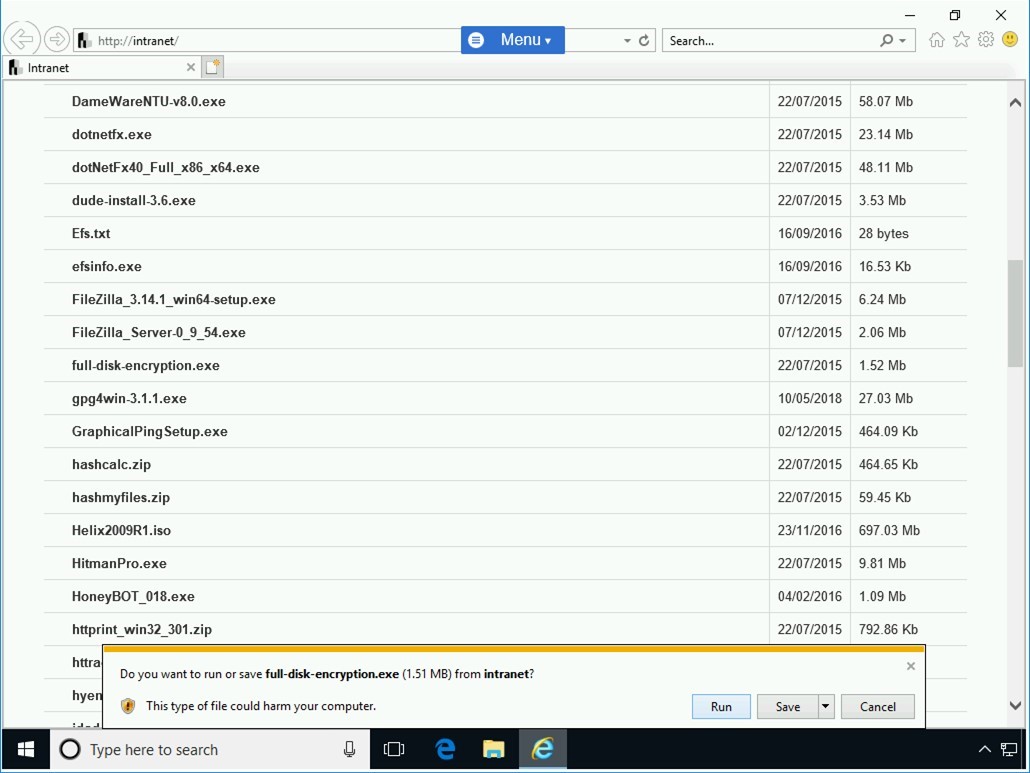
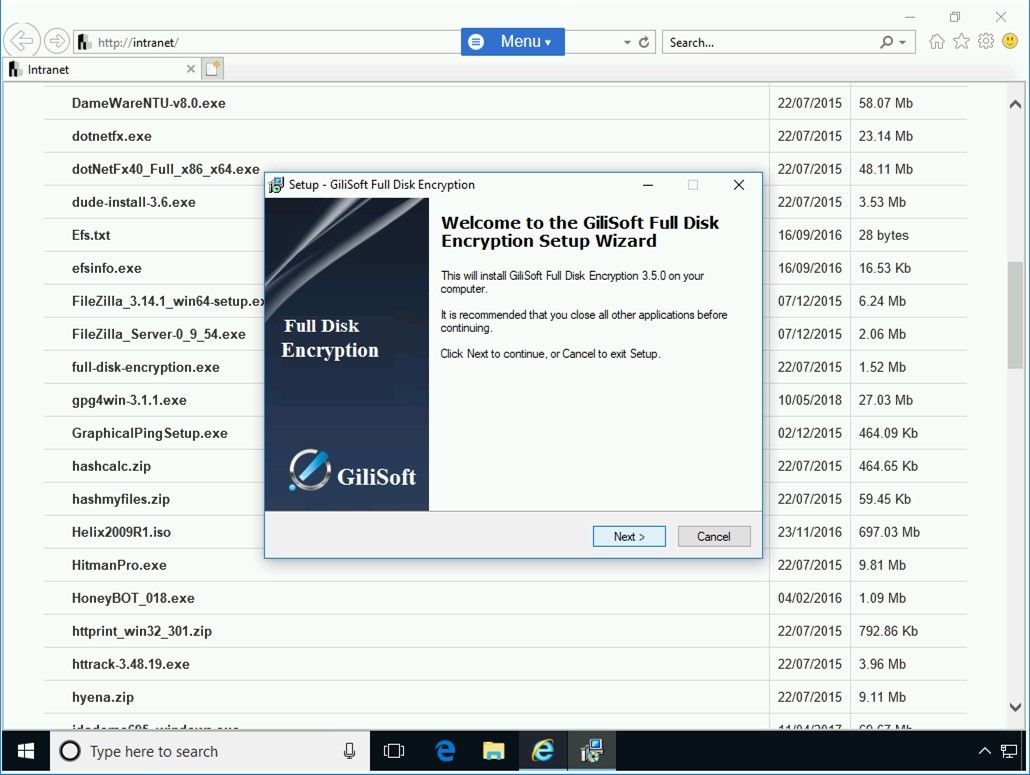
Step 3
The Setup - GiliSoft Full Disk Encryption wizard is displayed. On the Welcome to the GiliSoft Full Disk Encryption Setup Wizard dialog box, click Next.
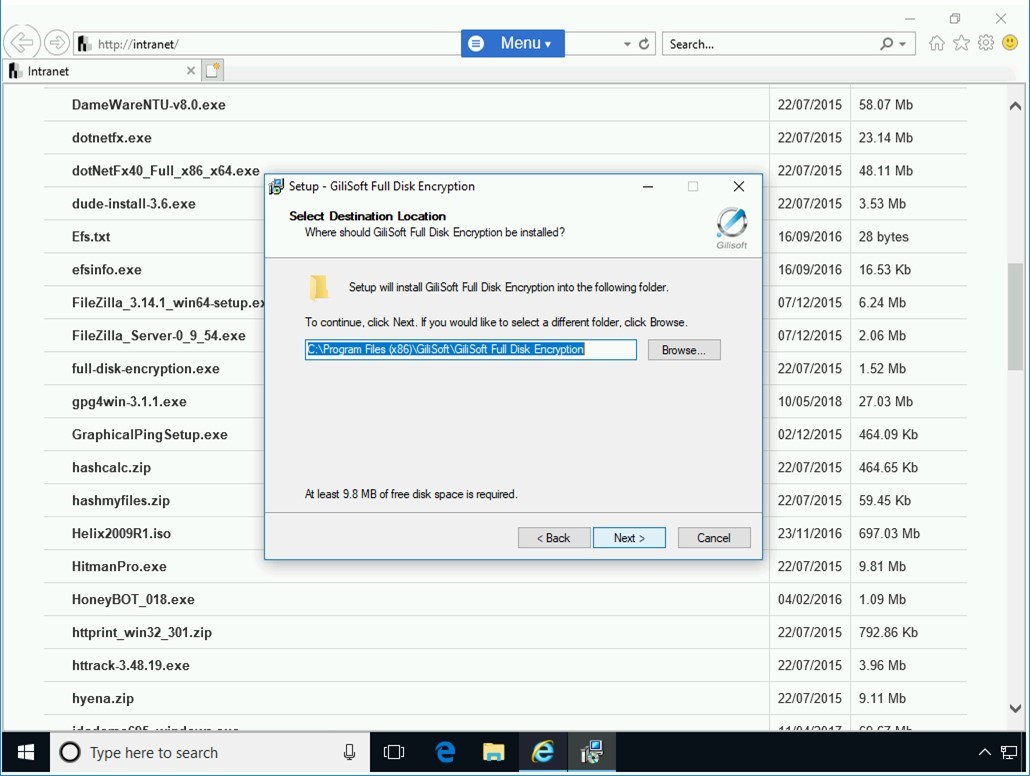
Step 4
On the Select Destination Location page, keep the default installation location and click Next.
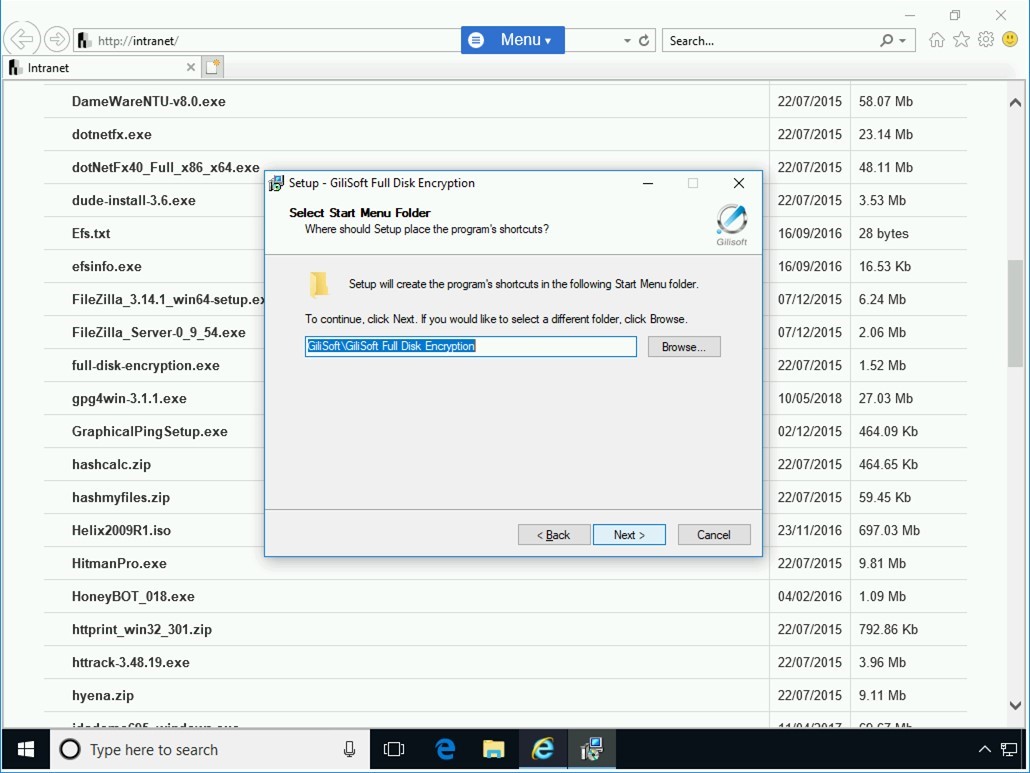
Step 5
On the Select Start Menu Folder page, keep the default menu name and click Next.
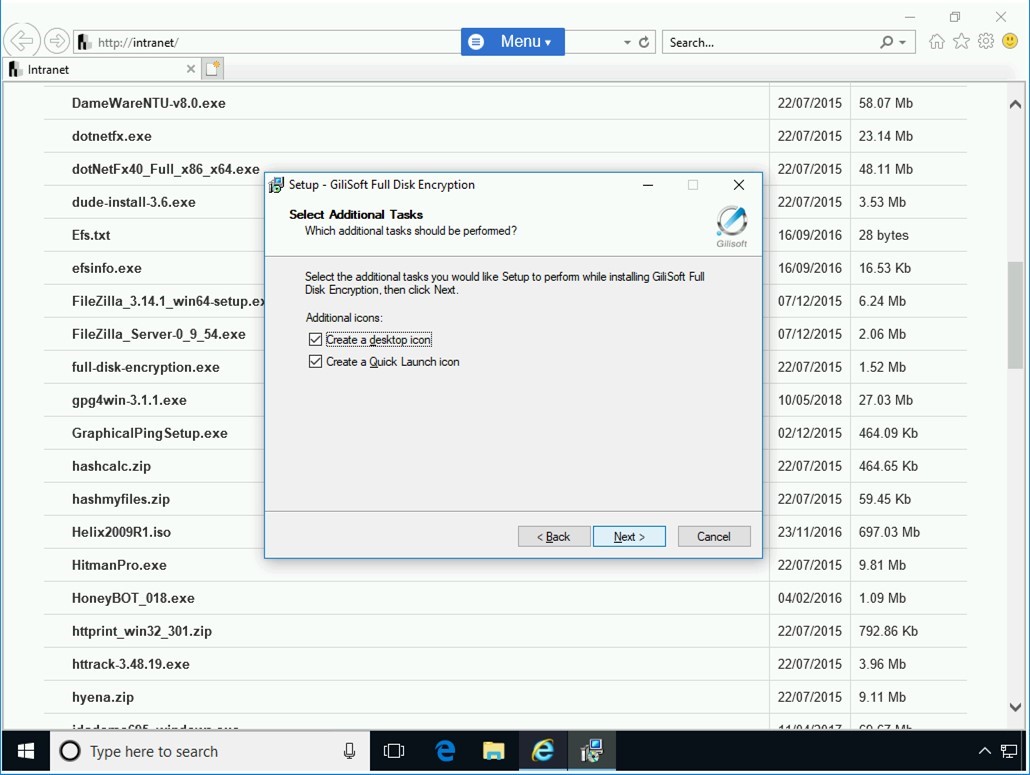
Step 6
On the Select Additional Tasks page, keep the default selection and click Next.
Step 7
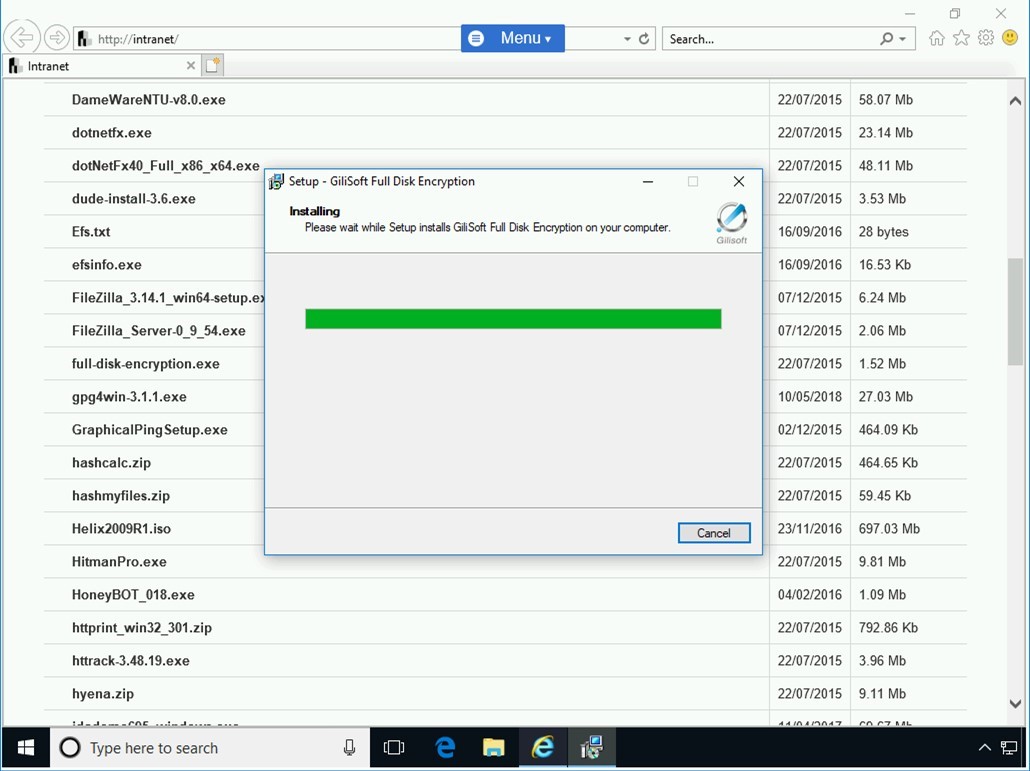
On the Ready to Install page, review the settings, and click Install.
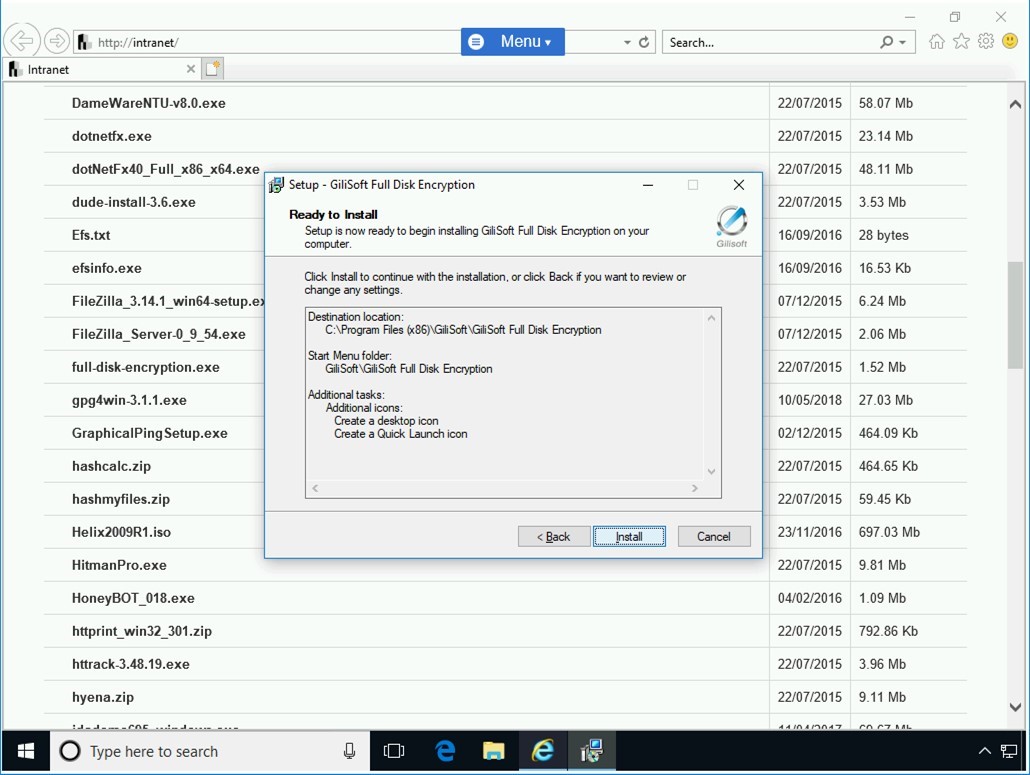
The Installing page displays the installation progress.
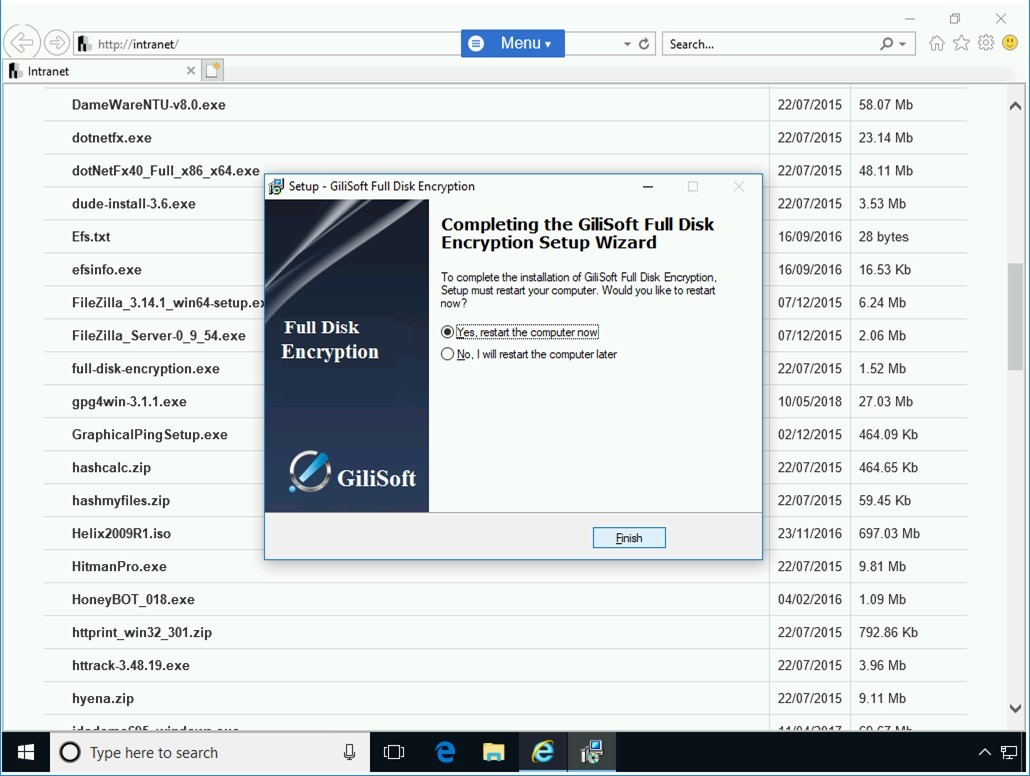
Step 8
After the installation is complete, you are navigated to the Completing the GiliSoft Full Disk Encryption Setup Wizard page. Ensure that Yes, restart the computer now option is selected.
Click Finish.
Step 9
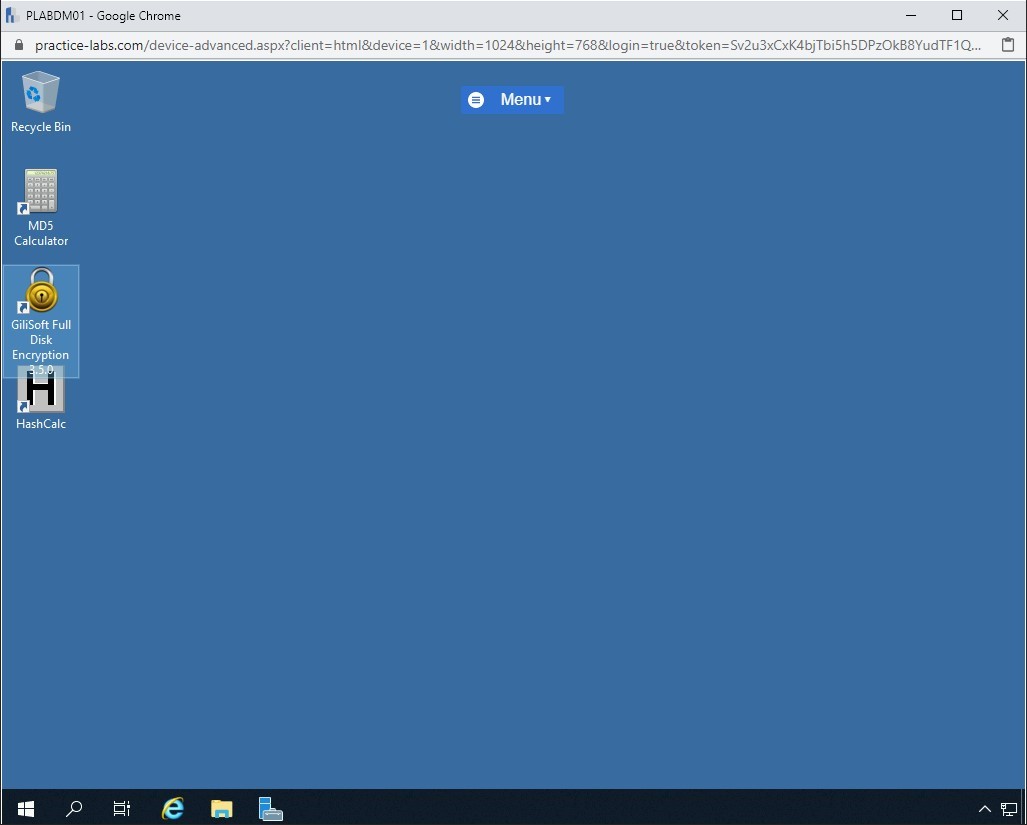
Connect to PLABDM01 after 1 minute.
Once you are connected to PLABDM01, double-click the Gilisoft Full Disk Encryption 3.5.0 icon on the Desktop.
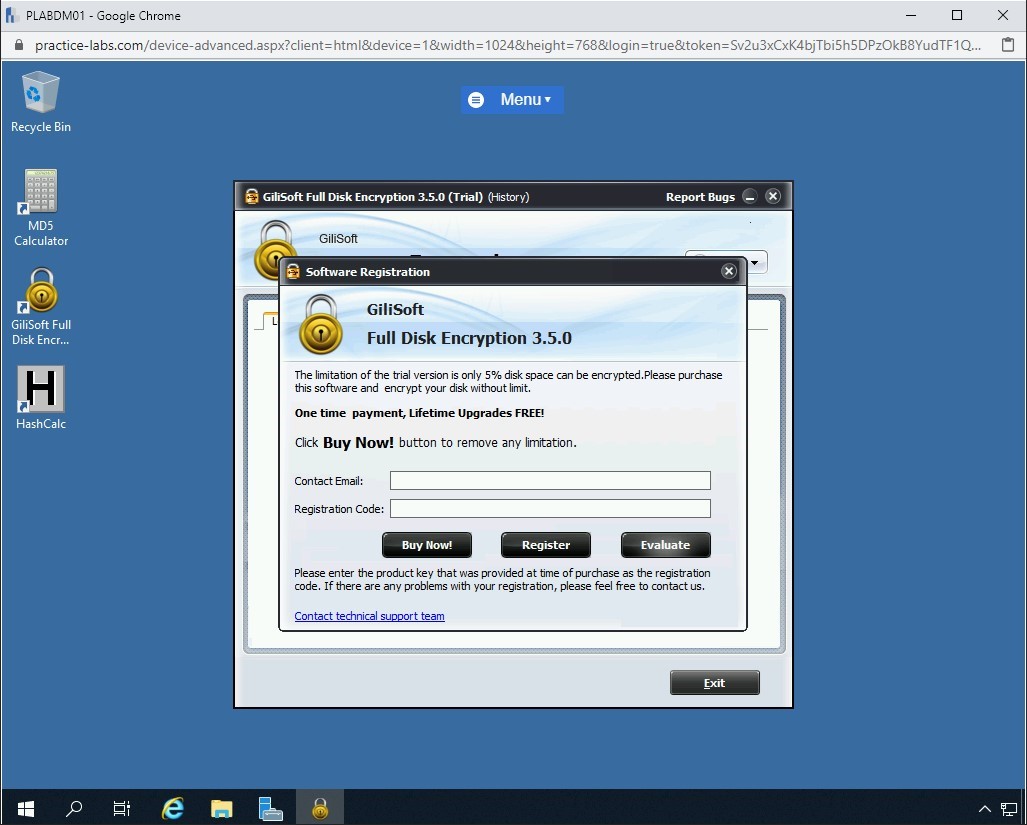
Step 10
On the Software Registration dialog box, click Evaluate.
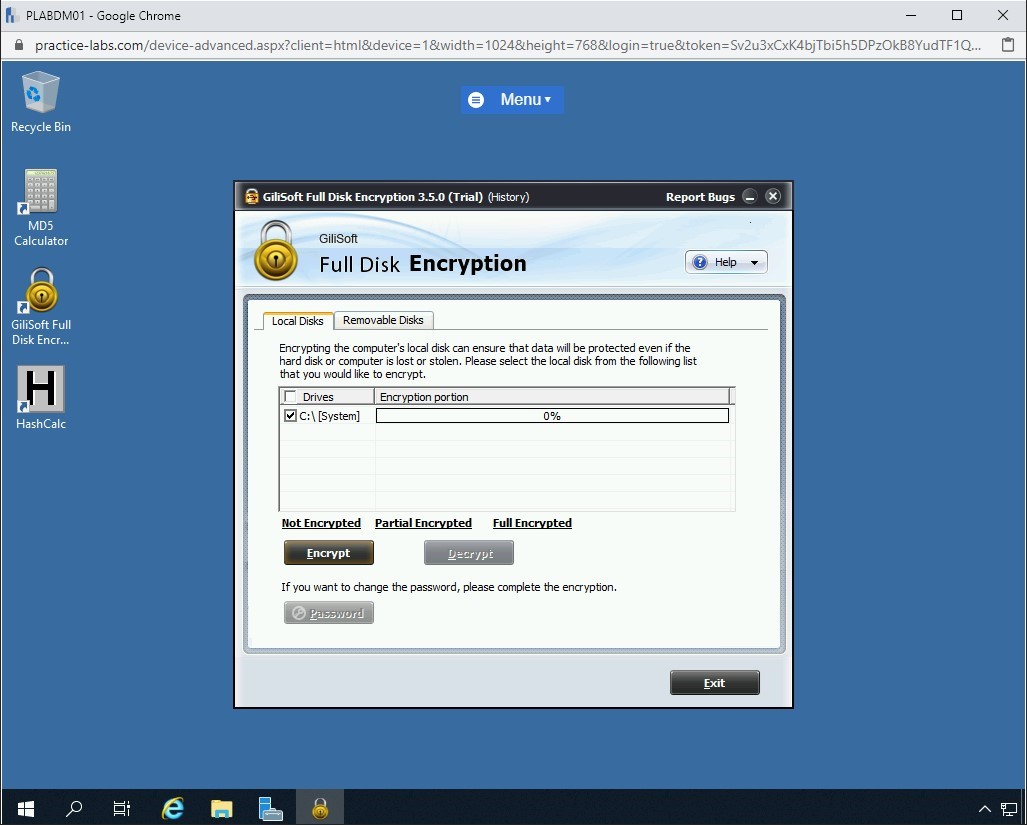
Step 11
The GiliSoft Full Disk Encryption 3.5.0 dialog box is displayed.
Select the C:\ [System] checkbox and click Encrypt.
Step 12
The Software Registration dialog box is again displayed.
Click Evaluate.

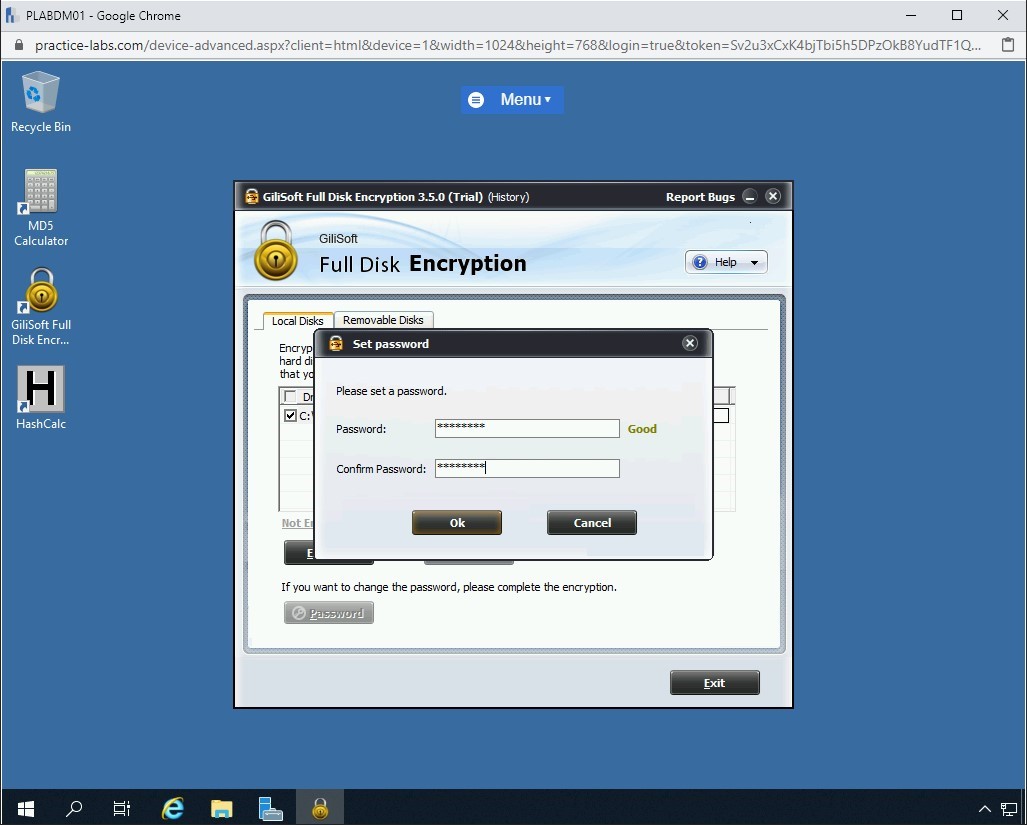
Step 13
The Set password dialog box is displayed. In the Password and Confirm Password text boxes, type the following password:
Passw0rd
Click OK.
Step 14
The disk encryption process starts.
This process will take several minutes to finish, and you can choose to wait or abort this lab and proceed to the next module.


Comments
Post a Comment