Evading firewall
Install and Configure ZoneAlarm Firewall
A firewall is a device that prevents unauthorized access to a host or a network either from within the corporate environment or coming from the public network like the Internet. Generally, there are two types of firewalls.
A hardware firewall takes the form of a closed proprietary appliance with its own operating system. This is considered faster, however, this can be an expensive method.
A software firewall is installed on a computer, and it utilizes the computer’s operating system. Firewalls, either hardware or software, use rules to filter incoming and outgoing traffic to the network.
The software used in this exercise is a lightweight version of the ZoneAlarm PRO. The PRO version has additional features and capabilities not found in the free version. You can choose to evaluate both versions and find out if they meet your firewall requirements.
In this exercise, you will install the ZoneAlarm Free Firewall software.
After installing the software, we will take you through how to verify the installation and manage the settings. Next, you will be configuring ZoneAlarm to use the proxy server, then be shown how to update the definitions, perform a scan, and look at the logs.
Learning Outcomes
After completing this exercise, you will be able to:
- Download and Install ZoneAlarm Free Firewall and Verify ZoneAlarm Installation
- Manage ZoneAlarm Settings
- Configure ZoneAlarm to use a Proxy Server
- Update the ZoneAlarm Definitions and Perform a Quick Scan
- Work with ZoneAlarm Logs
Your Devices
You will be using the following devices in this lab. Please power these on now.
- PLABDC01 - (Windows Server 2019 - Domain Server)
- PLABWIN10 - (Windows 10 - Workstation)

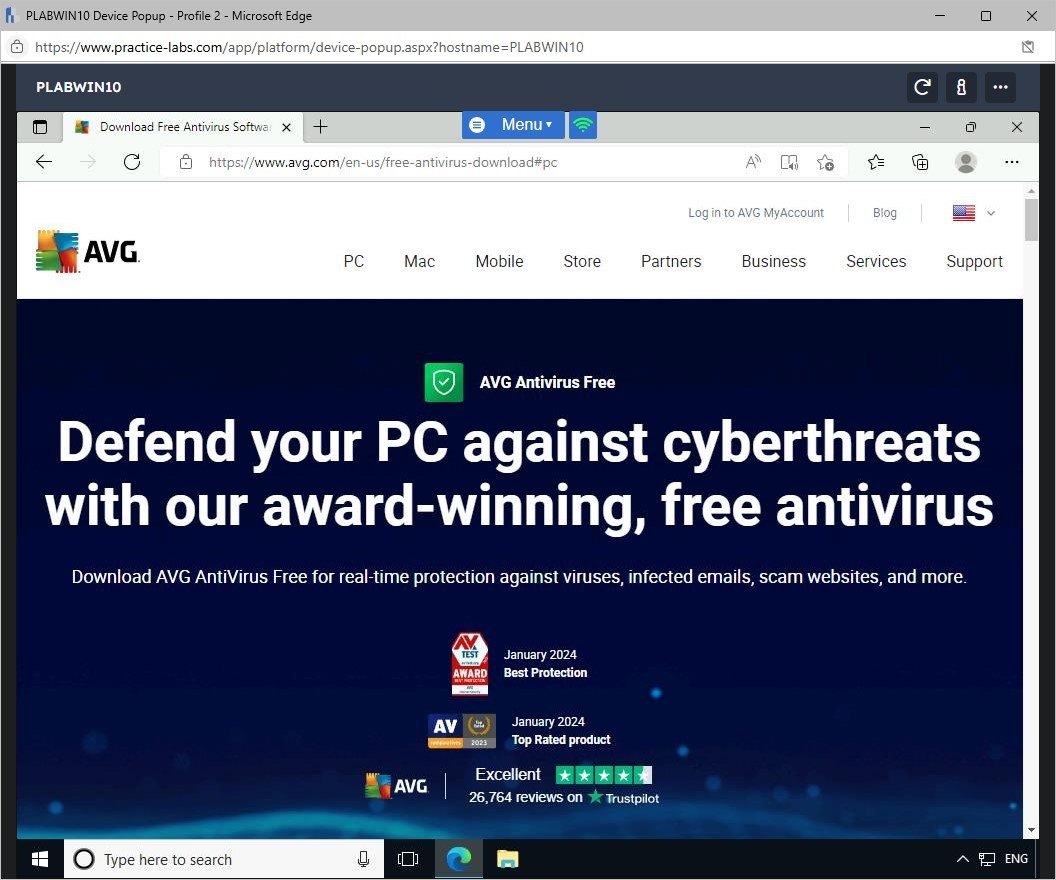
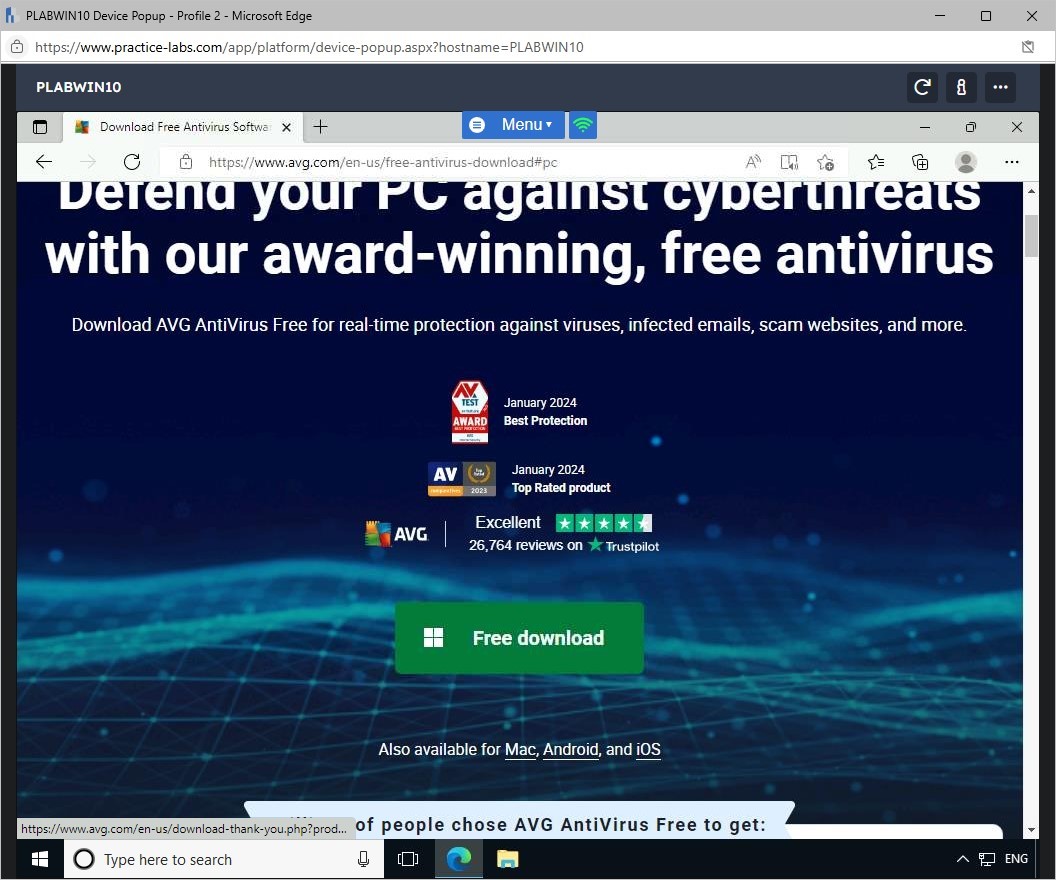
Task 1 - Download and install ZoneAlarm Free Firewall
ZoneAlarm Free Firewall is one of the most re-known desktop firewalls. It contains the following features:
- Two-way firewall
- Private browsing
- Identity protection
- Online backup
In this task, you will learn to use ZoneAlarm Free Firewall by downloading and installing the software.
Step 1
Ensure you have powered on all the devices listed in the introduction and connect to PLABWIN10.
In the Type here to search text box, type the following:
Internet Explorer
From the search results, select Internet Explorer.
Step 2
Internet Explorer opens the Tools and resources Webpage.
Click Installation_Files.
Step 3
Scroll down and click Zone Alarm.
Step 4
In the Zone Alarm folder, click zaSetup_156_121_18102.exe.
Step 5
Click zafwSetup_156__121_18102.exe, and on the notification toolbar, click Save.
Step 6
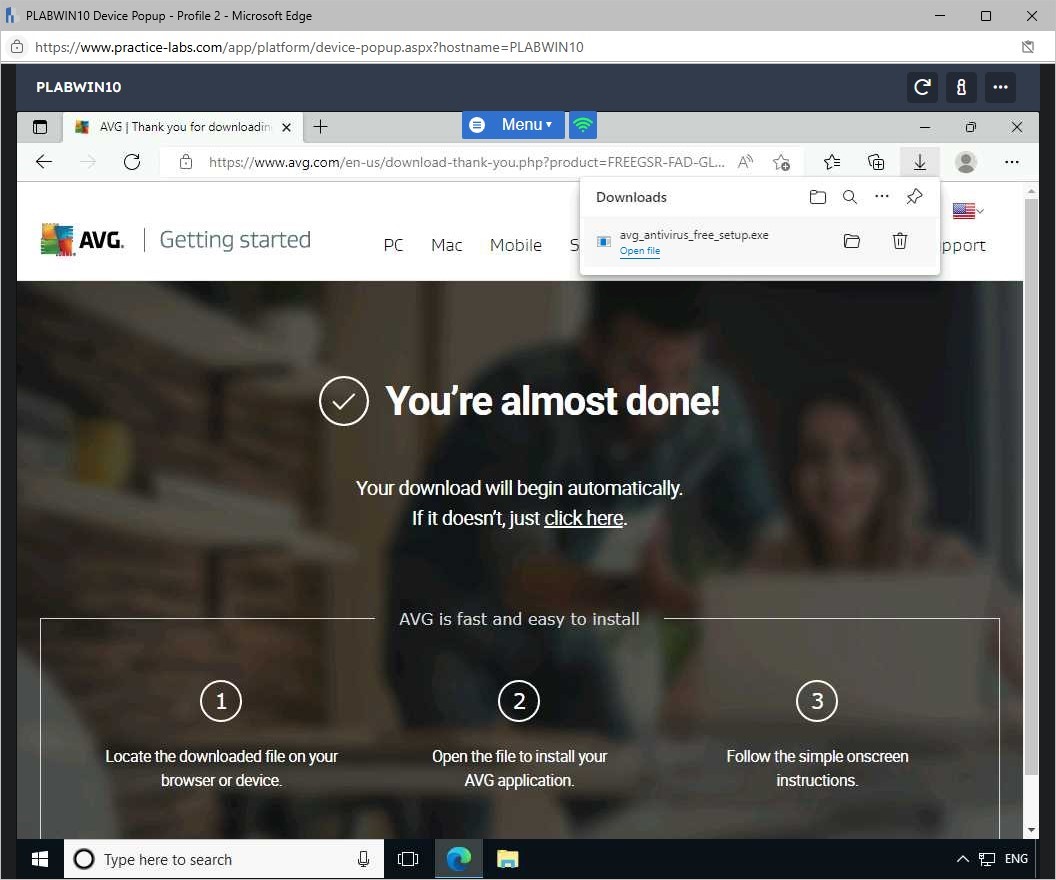
When the download is completed, click Open folder.
Step 7
File Explorer opens and redirects you to the Downloads folder.
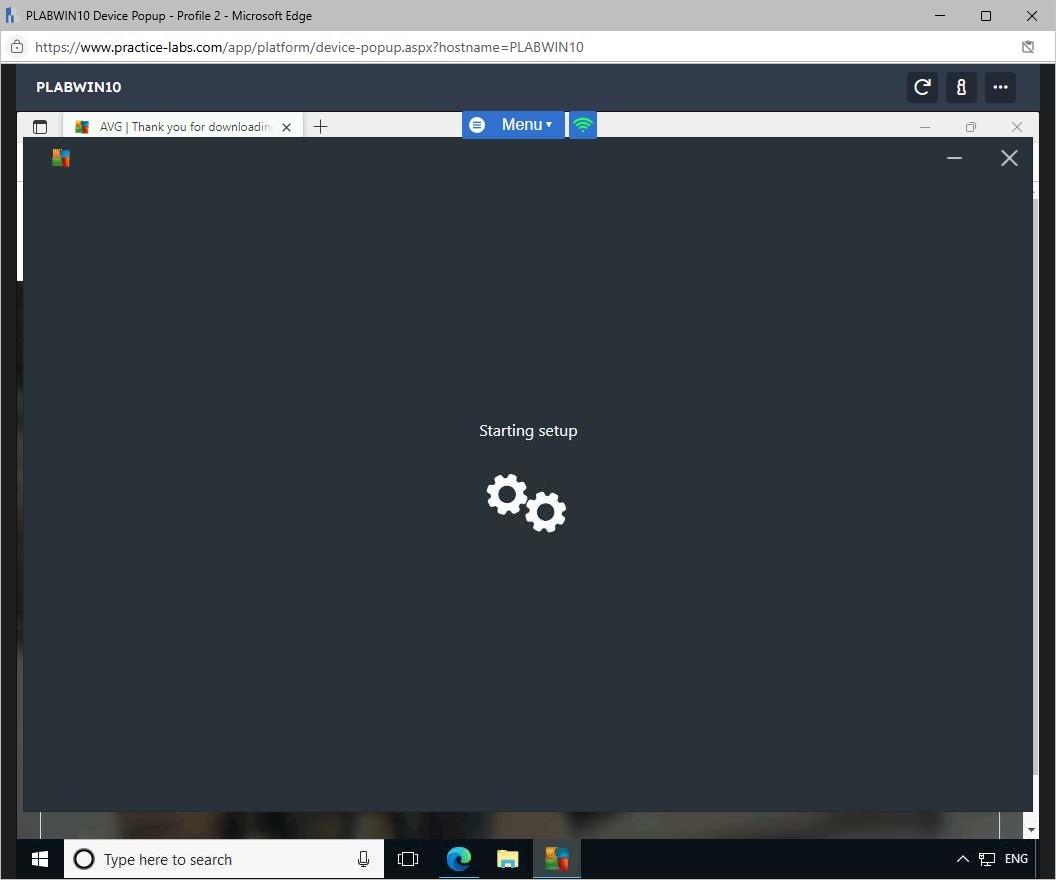
Right-click zafwSetup_156__121_18102.exe and select Run as administrator.
The unpacking of the installer starts.
Step 8
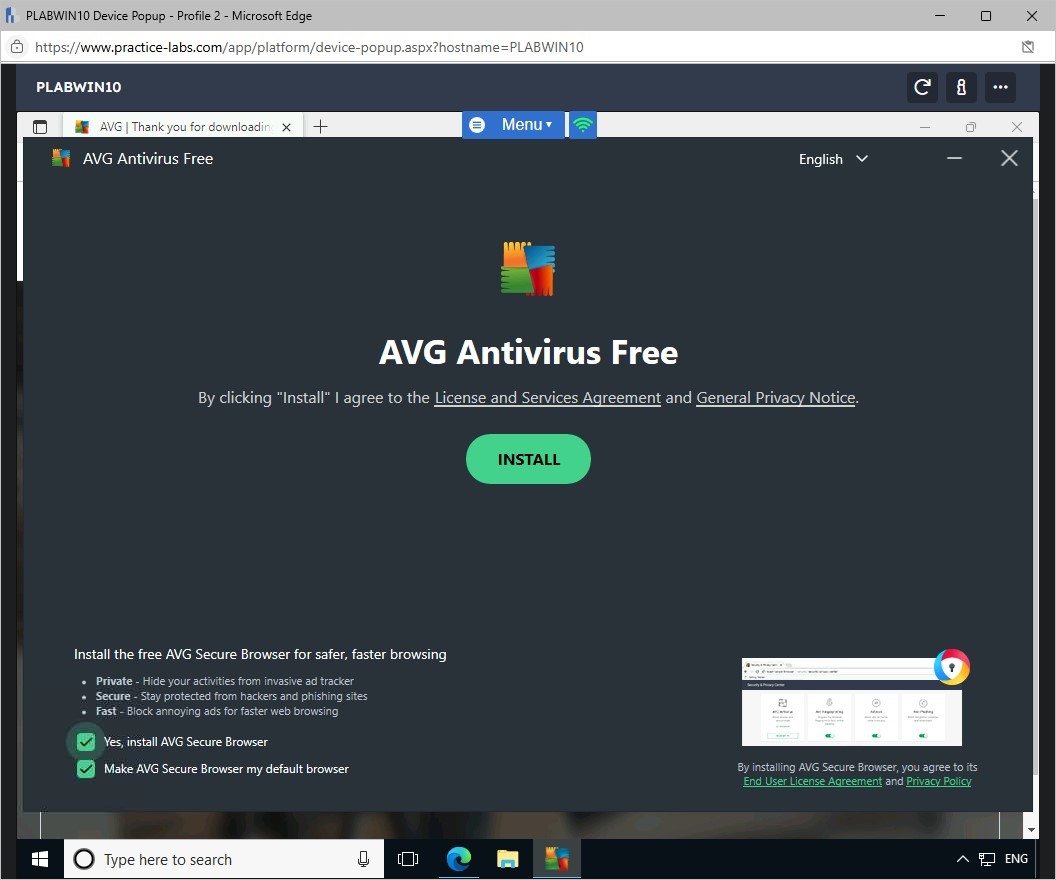
On the ZoneAlarm Free Firewall Install welcome screen, click QUICK INSTALL.
Step 9
On the End User Licence Agreement page, click Agree.
Step 10
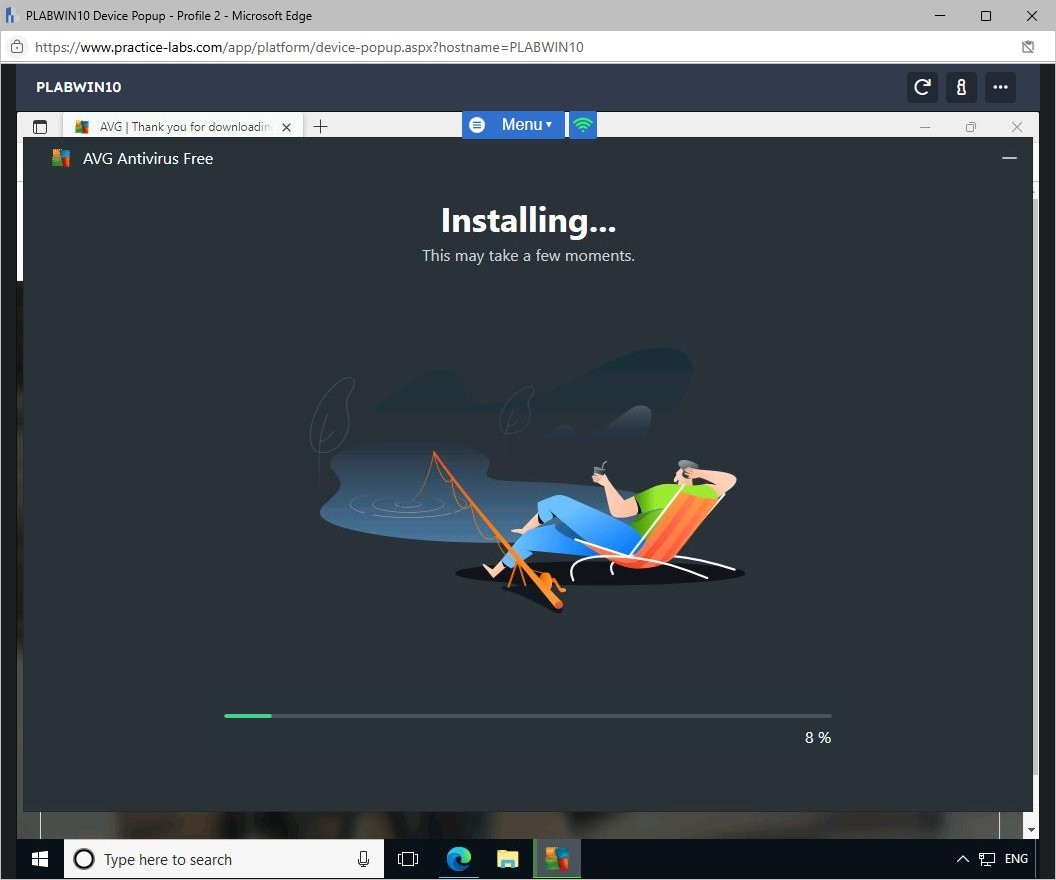
Please wait while the installation of ZoneAlarm components is in progress.
Step 11
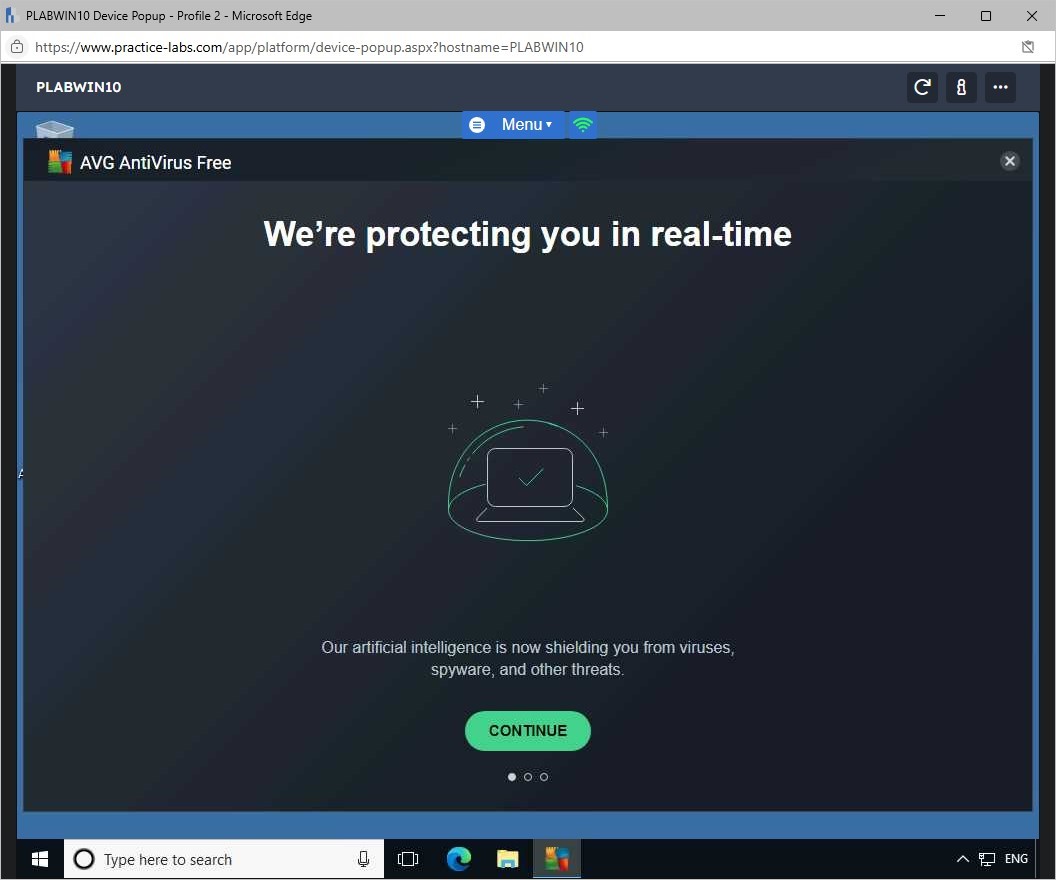
The Installation was successful! Will appear once complete.
Task 2 - Verify ZoneAlarm Installation
Once you have successfully installed ZoneAlarm, you should then verify the installation. The verification process allows you to test and check that the application is working as expected.
In this task, you will verify the ZoneAlarm installation on PLABWIN10.
Step 1
Ensure all required devices are powered on. Connect to the PLABDC01 device.
Close the Server Manager window.
Step 2
Right-click the Windows charm and select Run.
Step 3
To create a connection to the Remote Desktop Session, you will be using the command mstsc.
In the Run dialog box, type the following in the Open textbox:
mstsc
Click OK.
Step 4
On the Remote Desktop Connection dialog box, in the Computer text box, type:
192.168.0.3
Click Connect.
Note: 192.168.0.3 is the static IP address assigned to the PLABWIN10 device.
Step 5
On the Windows Security dialog box, in the Password textbox, type:
Passw0rd
Click OK.
Step 6
On the Remote Desktop Connection dialog box, you are prompted with a message saying, “The identity of the remote computer cannot be verified…”
Click Yes.
Step 7
You will notice at the top of the screen the connection bar 192.168.0.3. This indicates that you are connected to PLABWIN10 via remote desktop.
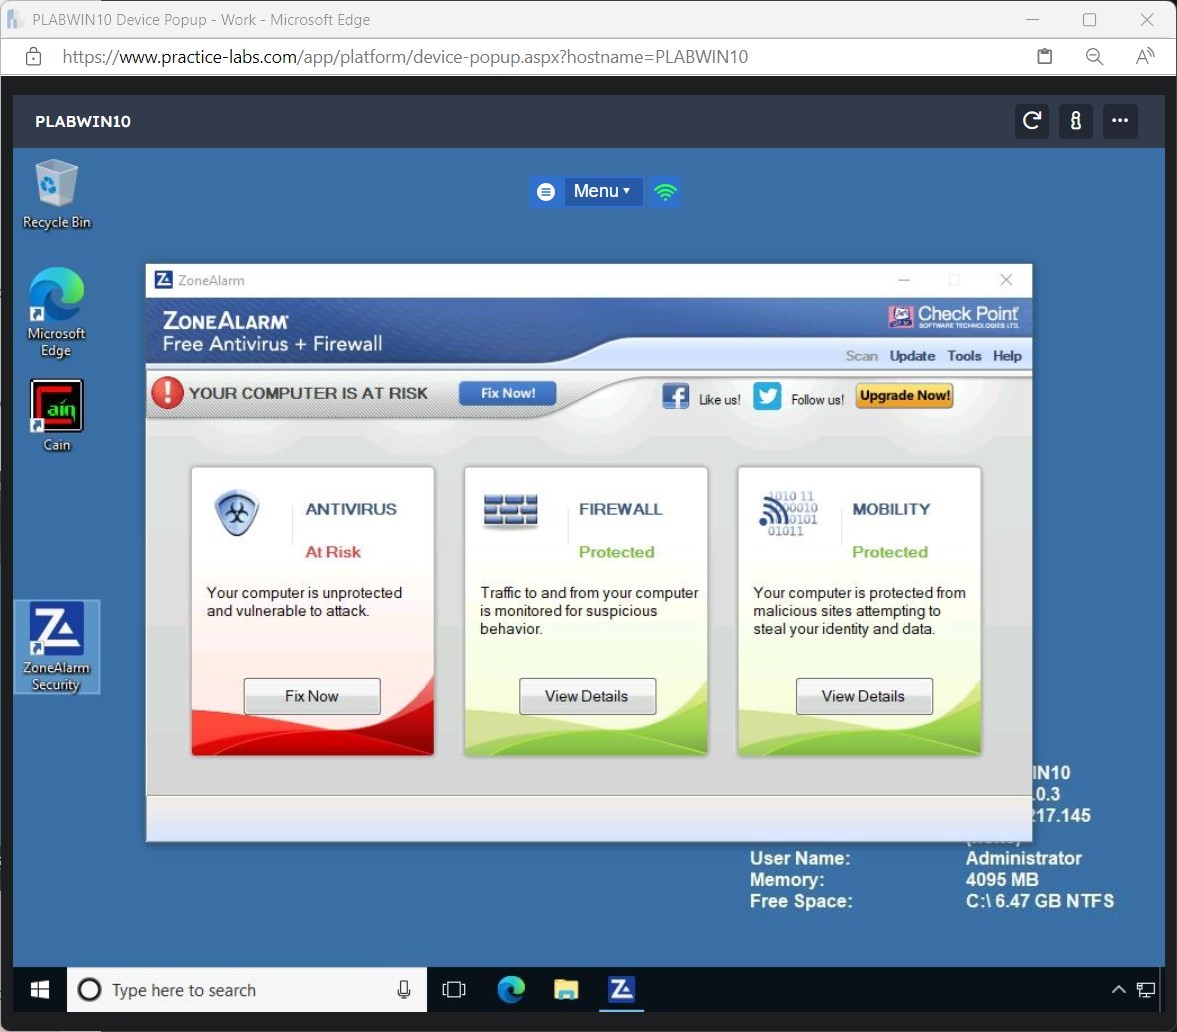
On the ZoneAlarm Free Antivirus + Firewall Install window, the Installation was successful! message is displayed.
Click Finish.
Step 8
The ZoneAlarm application is now displayed.
Minimize this window for now.
Step 9
The Web browser displays the Welcome to ZoneAlarm Webpage.
If you see a Thank you for installing ZoneAlarm message on the Webpage, please click the GOT IT, THANKS button at the bottom right of the screen.
Note: The contents of the ZoneAlarm Webpage may differ from the screenshot below. There may be a slight delay before the Webpage appears.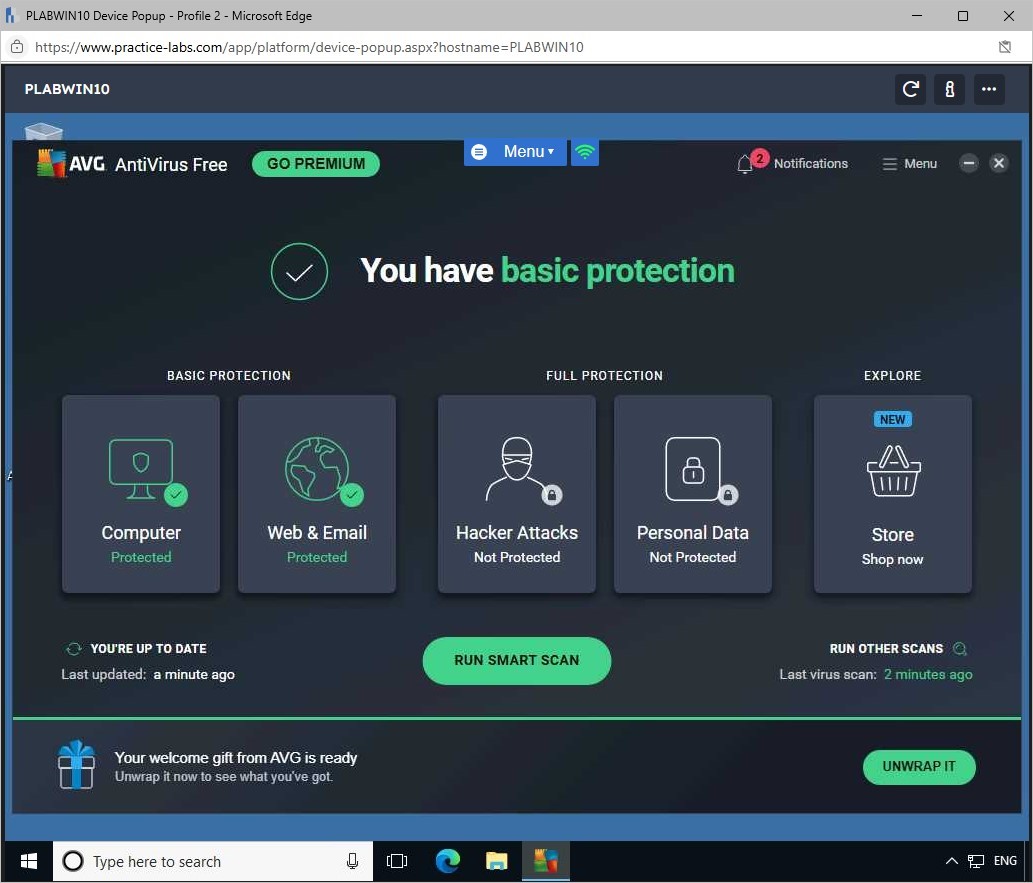
Step 10
Close the Web browser.
Step 11
Click back to the ZoneAlarm Free Firewall application.
Task 3 - Manage ZoneAlarm Settings
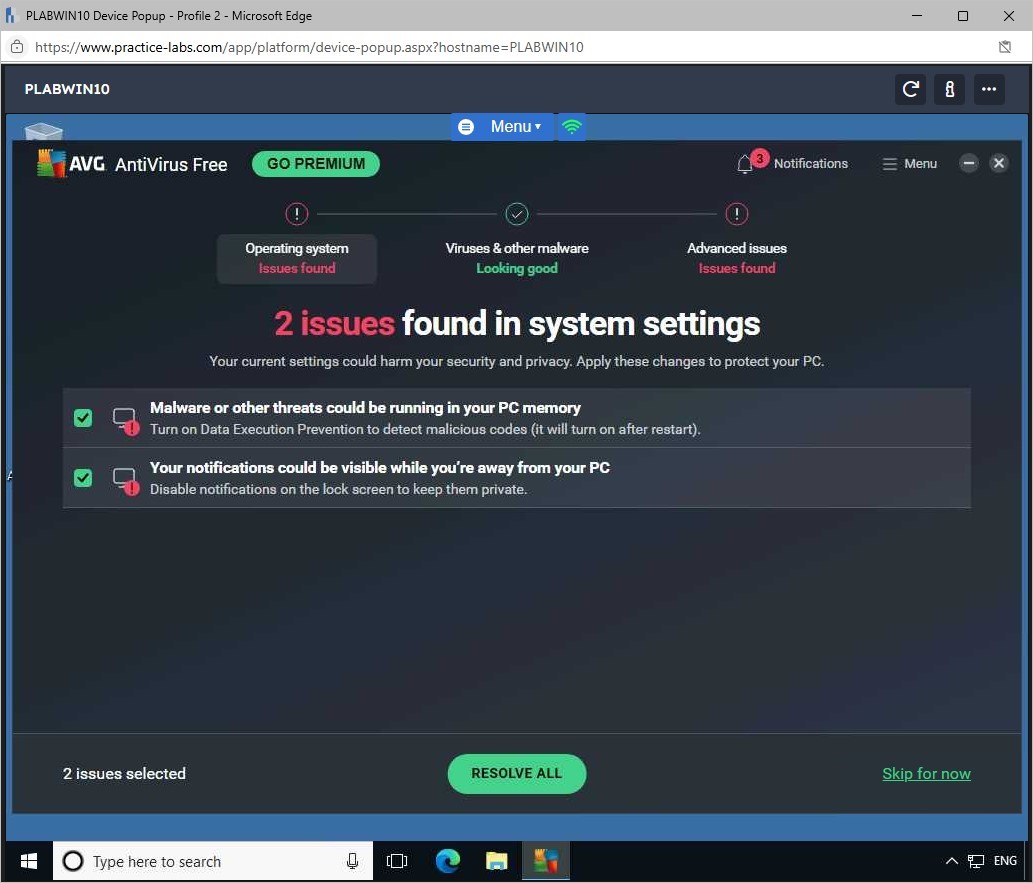
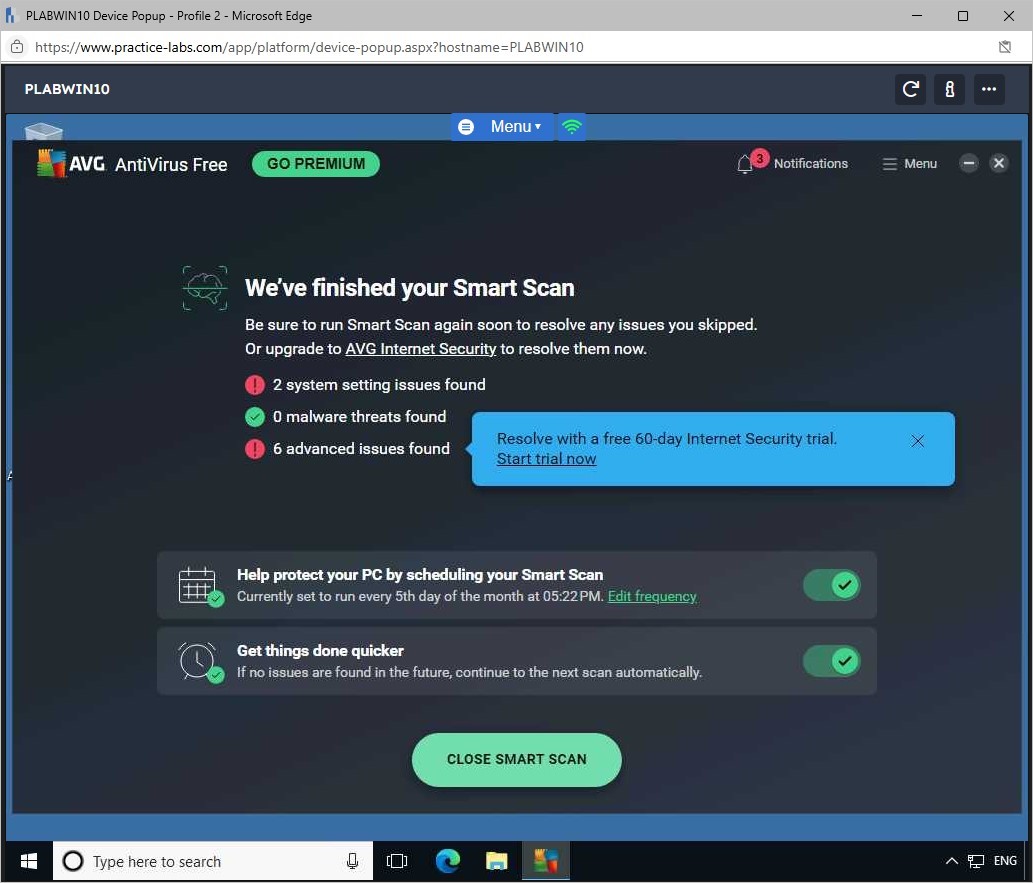
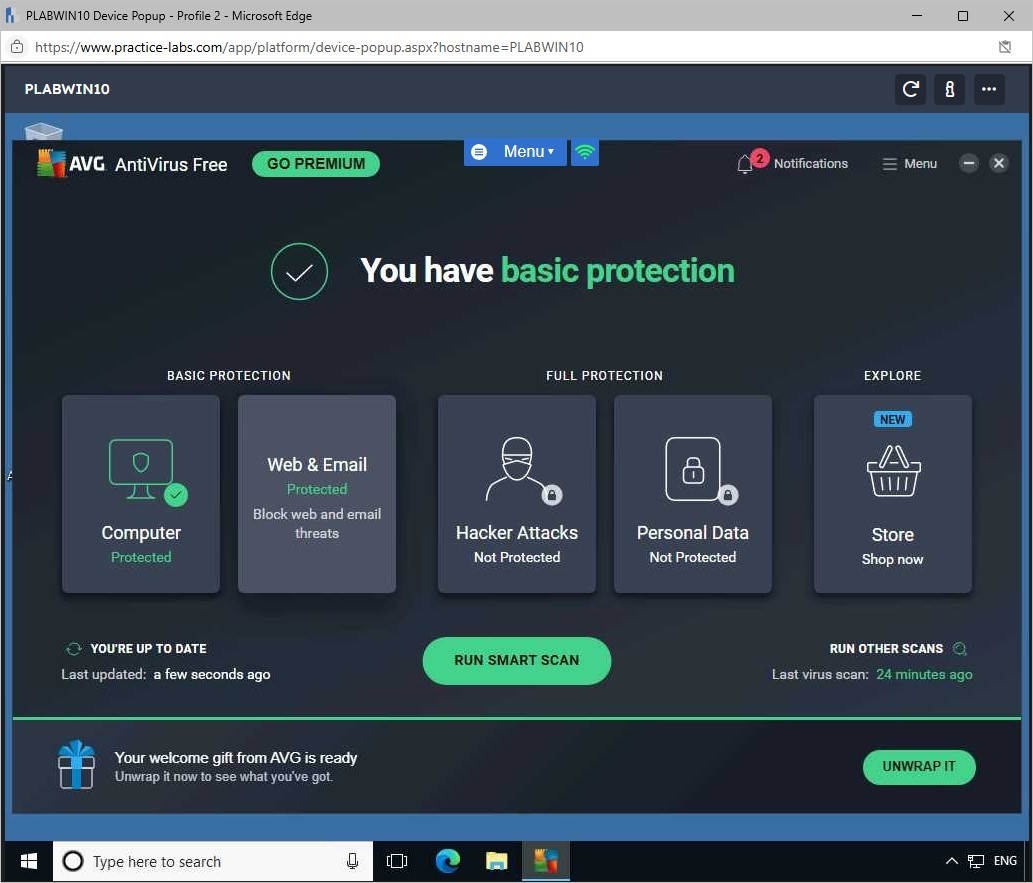
You have the option to change the settings within ZoneAlarm. There are three sections, Anti-virus. Firewall and Mobility.
In this task, you will practice managing the ZoneAlarm settings.
Step 1
When the installation of the antivirus program is completed, the ZoneAlarm main window will be displayed.
Click View Details in the ANTIVIRUS section.
Step 2
Notice that the Real-time Protection is enabled.
On this tab, you can also schedule a scan and configure settings.
Step 3
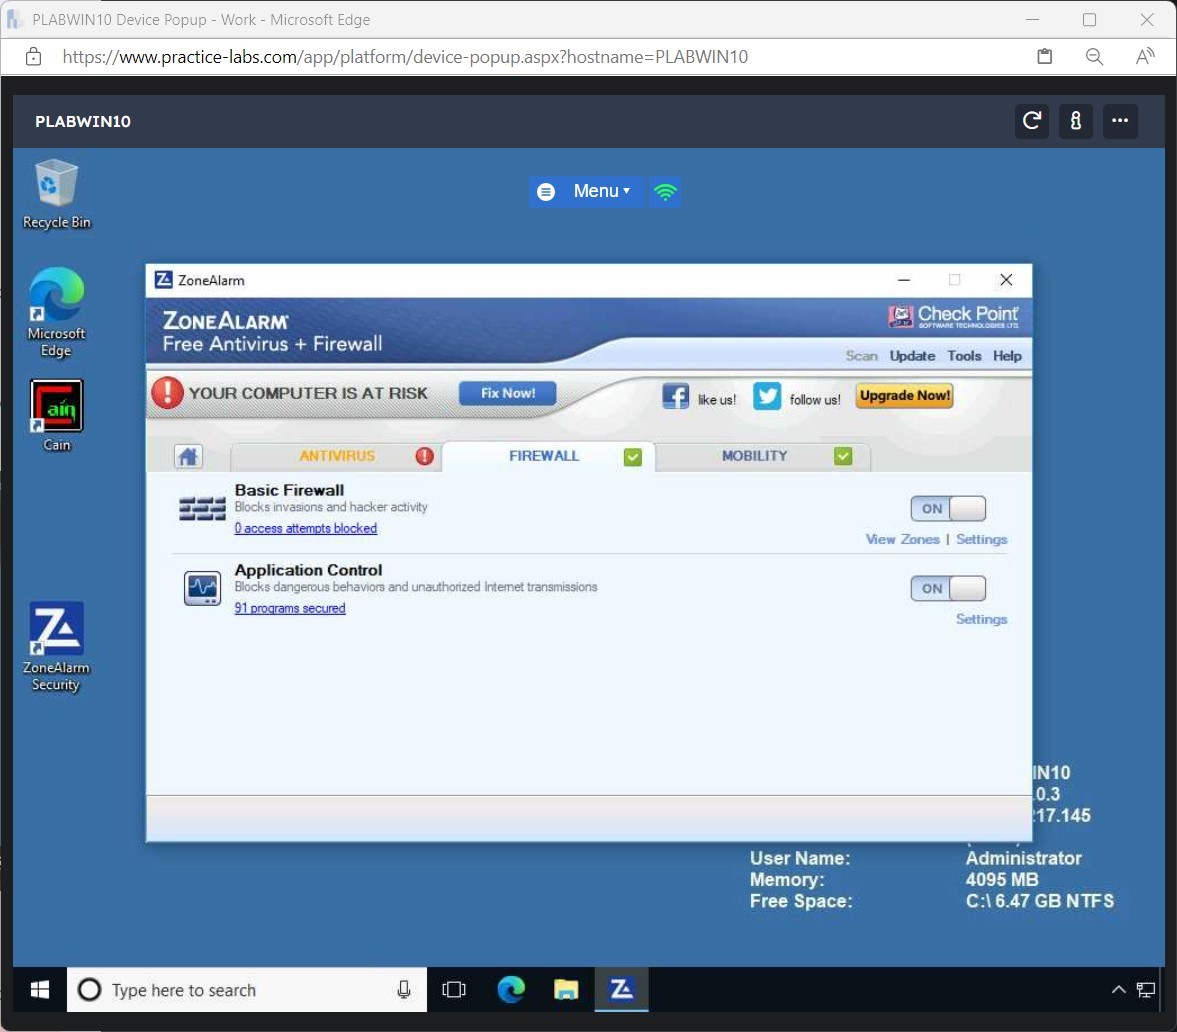
Click the FIREWALL tab.
On the FIREWALL tab, you will notice that the Basic Firewall and Application Control are enabled.
Step 4
Click the MOBILITY tab.
Under the MOBILITY tab, against Identity Protection, click Set up.
Step 5
Click Identity Protection Service.
On the Identity Protection Service section, click Activate/Manage.
Step 6
A new Webpage opens in the Web browser.
Alert: The ZoneAlarm REPEAT PROGRAM pop-up message may appear at the lower right corner of the screen. Click Allow. If it reappears, click Allow again.Scroll down the page and read additional information on ZoneAlarm Identity Protection Services about activating Identity Guard.
Please note that this lab will not show the actual use of the Identity Guard. If you are a resident in the US, you can proceed with the activation of this feature and follow the instructions that will be given to you to use this service.
Close the Web browser after going over the Identity Guard information webpage.
Task 4 - Configure ZoneAlarm to use a Proxy Server
Before downloading the updates of antivirus definitions, you need to set up ZoneAlarm to use the proxy server in this lab.
In this task, you will configure ZoneAlarm to use the proxy server.
Step 1
Ensure you are back on the ZoneAlarm window from the previous task.
On the ZoneAlarm window, click the Tools menu near the top-right corner of the window and select Preferences.
Step 2
On the Preferences dialog box, under the Proxy Configuration section, enter the following settings:
Select the Enable Proxy Server checkbox. In the Proxy Server text box, type:
proxy
In the Port text box, type:
8080
Click OK.
Step 3
Keep the ZoneAlarm window open for the next activity.

Task 5 - Update the ZoneAlarm Definitions and Perform a Quick Scan
Like other anti-malware applications, you need to update the signatures of the program to make it effective in fending off unwanted malware from infecting your system.
In this task, you will update the antivirus definitions.
Step 1
On the ZoneAlarm application, click View Update on the near the top-right corner of the window.
Step 2
The ZoneAlarm dialog box is displayed. It displays the update signature download progress.
Note: The update process may take 10-15 minutes, depending on Internet connectivity.
Step 3
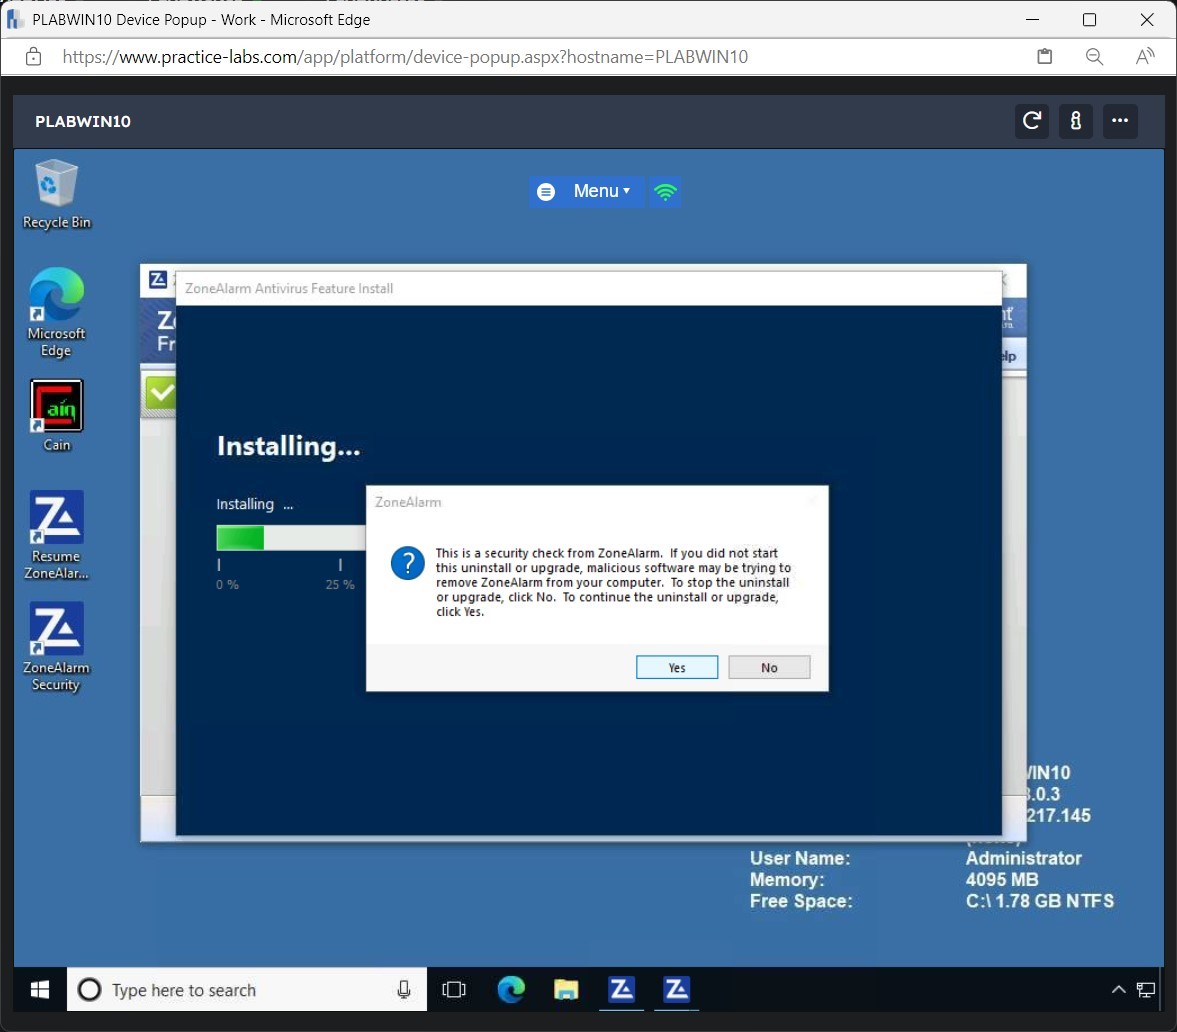
Alert: During the product update, if you get a “Product Update error” on either component, click Retry. If you get an error again, close the ZoneAlarm window. Then, reopen ZoneAlarm and perform the same steps indicated in this task. This error is caused by delays in connecting to the proxy server by the ZoneAlarm application.When the Antivirus/anti-spyware update and Product Update indicate Complete status, click Close.
Step 4
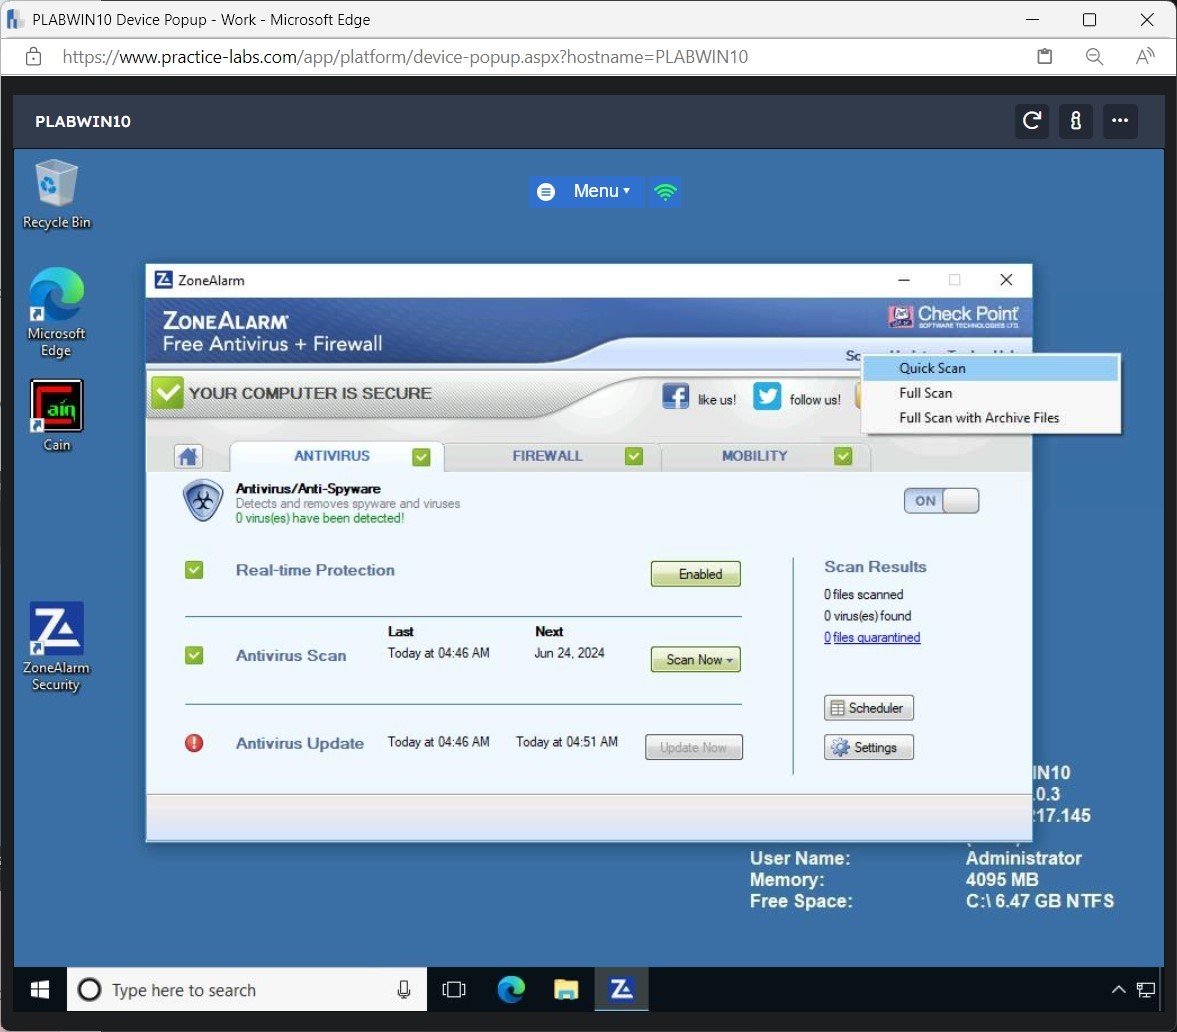
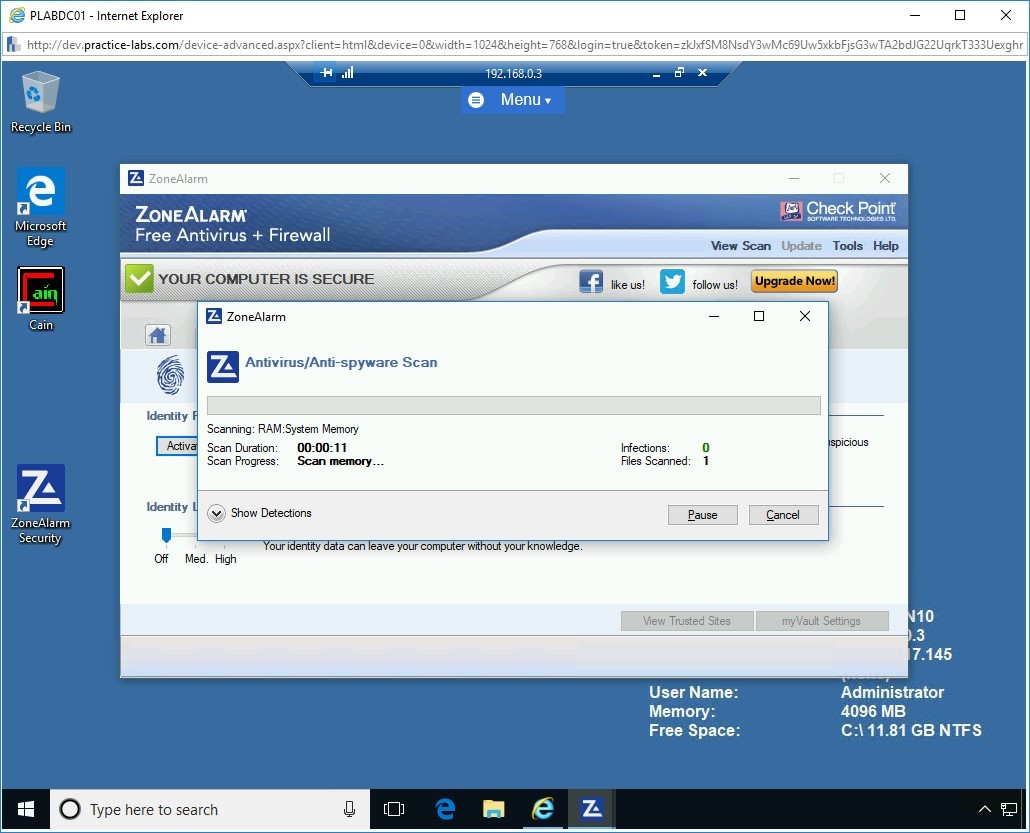
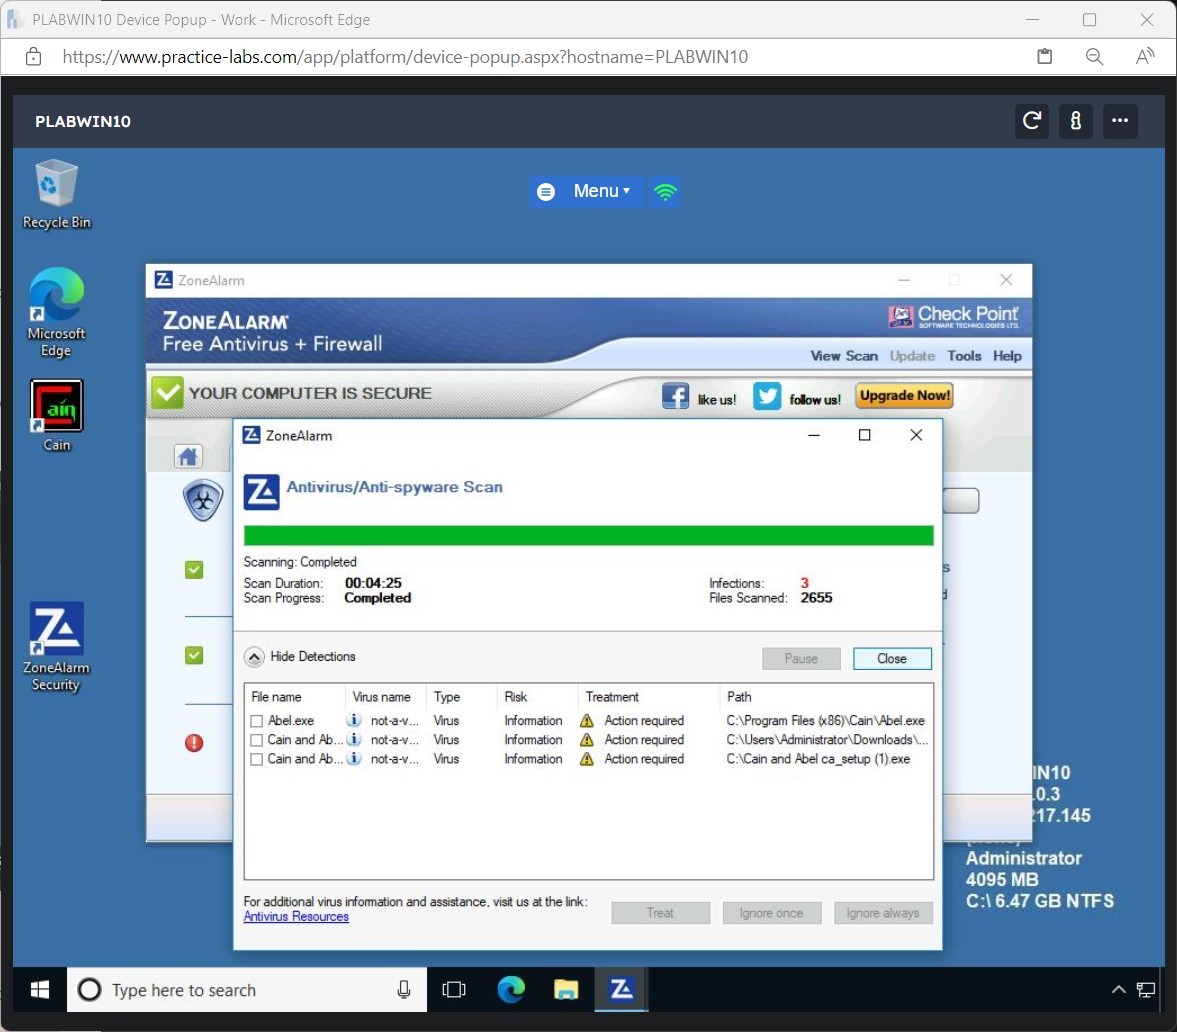
Click Scan on the top-right menu and then select Quick Scan.
The Quick Scan process starts.
Step 5
The quick scan completed successfully.
Click Show Detections down arrow.
Step 6
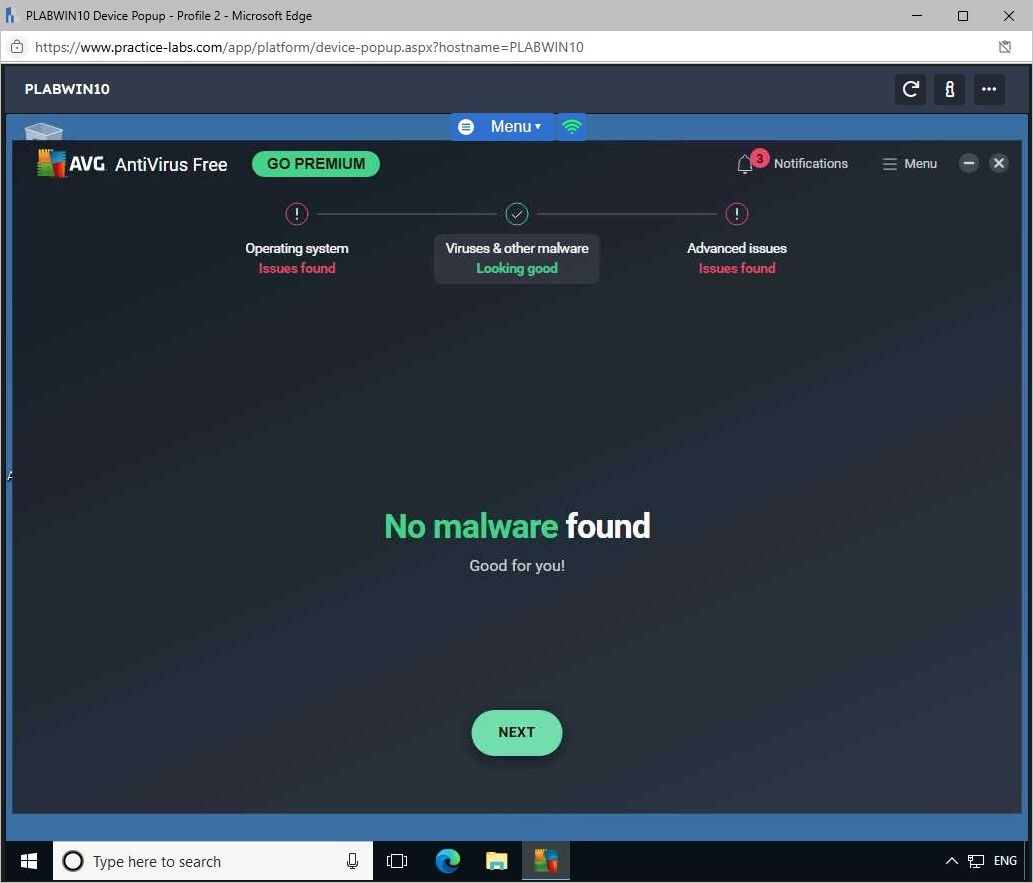
There are no viruses detected in this scan.
Click Close.
Alert: You may get an application termination error. Click Close. This error message may appear multiple times.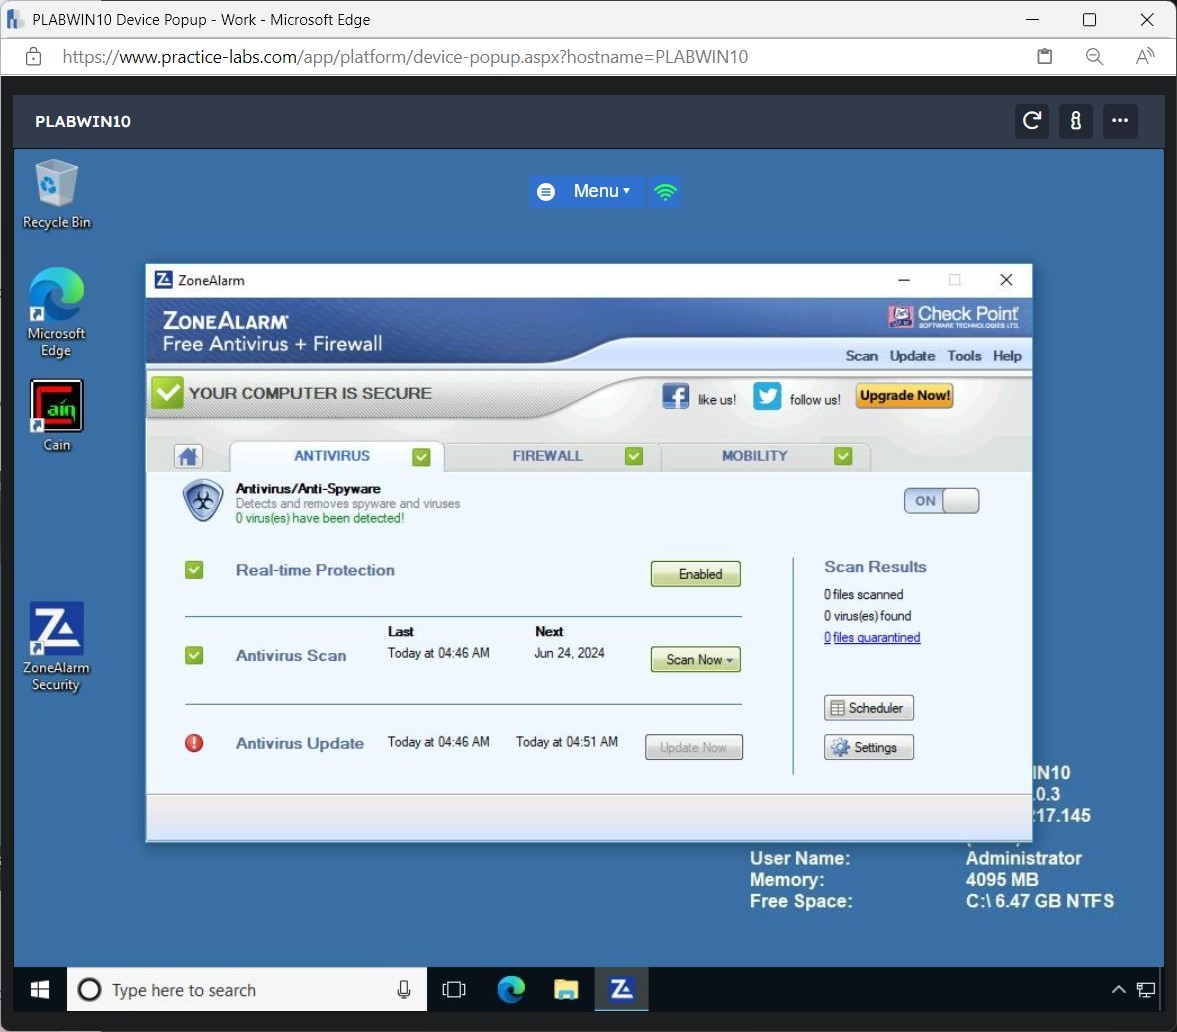
Task 6 - Work with ZoneAlarm Logs
ZoneAlarm also creates the logs and maintains them. You can view them using the Tools > Logs menu.
In this task, you will view the logs in ZoneAlarm.
Step 1
Ensure you have powered on all the devices listed in the introduction and connect to PLABDC01.
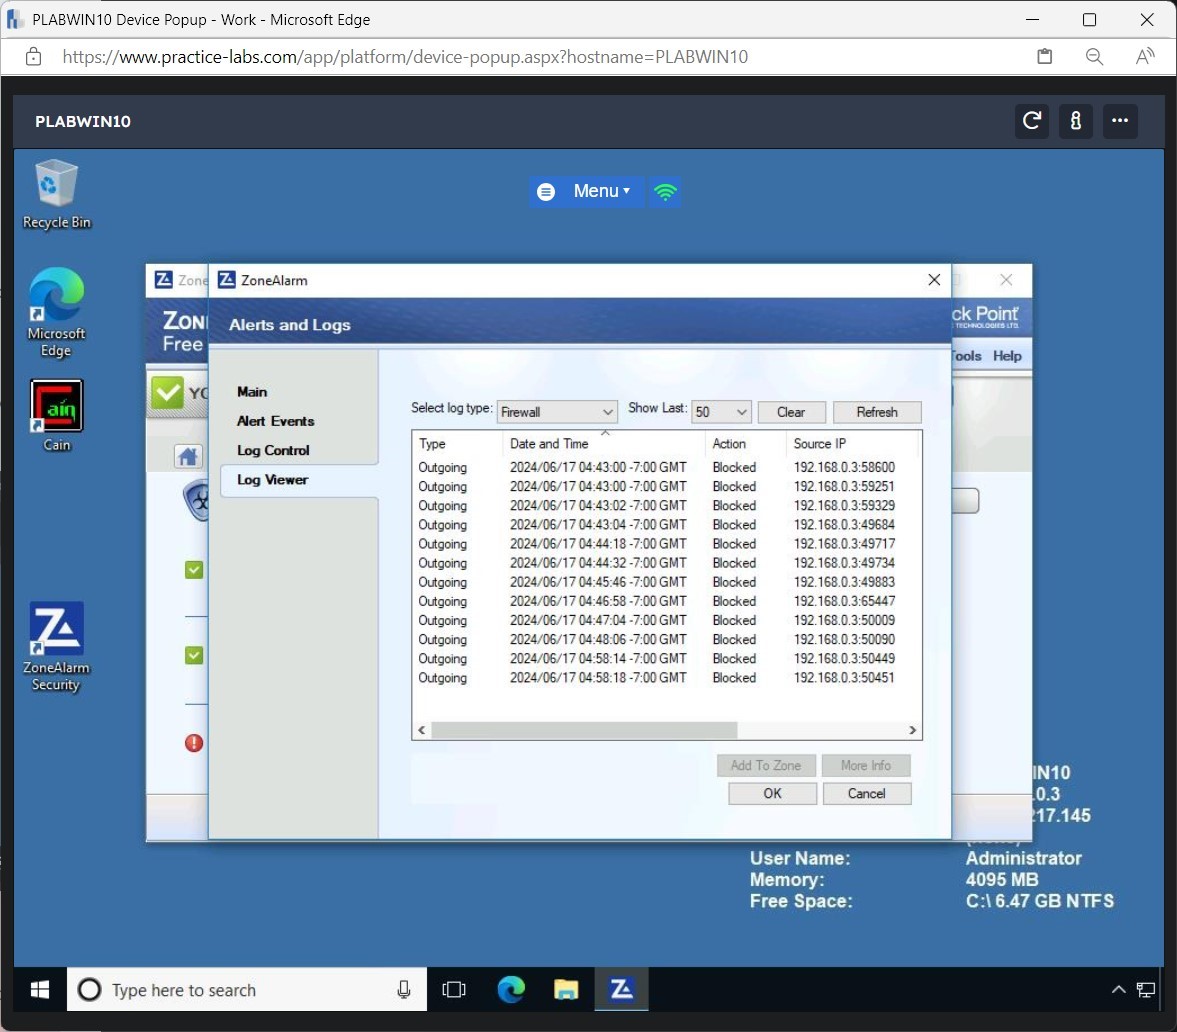
Click Tools on the top-right menu and select Logs.
Step 2
The Alerts and Logs dialog box appears.
Ensure the Log Viewer tab is selected. This section shows the Firewall log and outgoing connections that were blocked along with other details.
Step 3
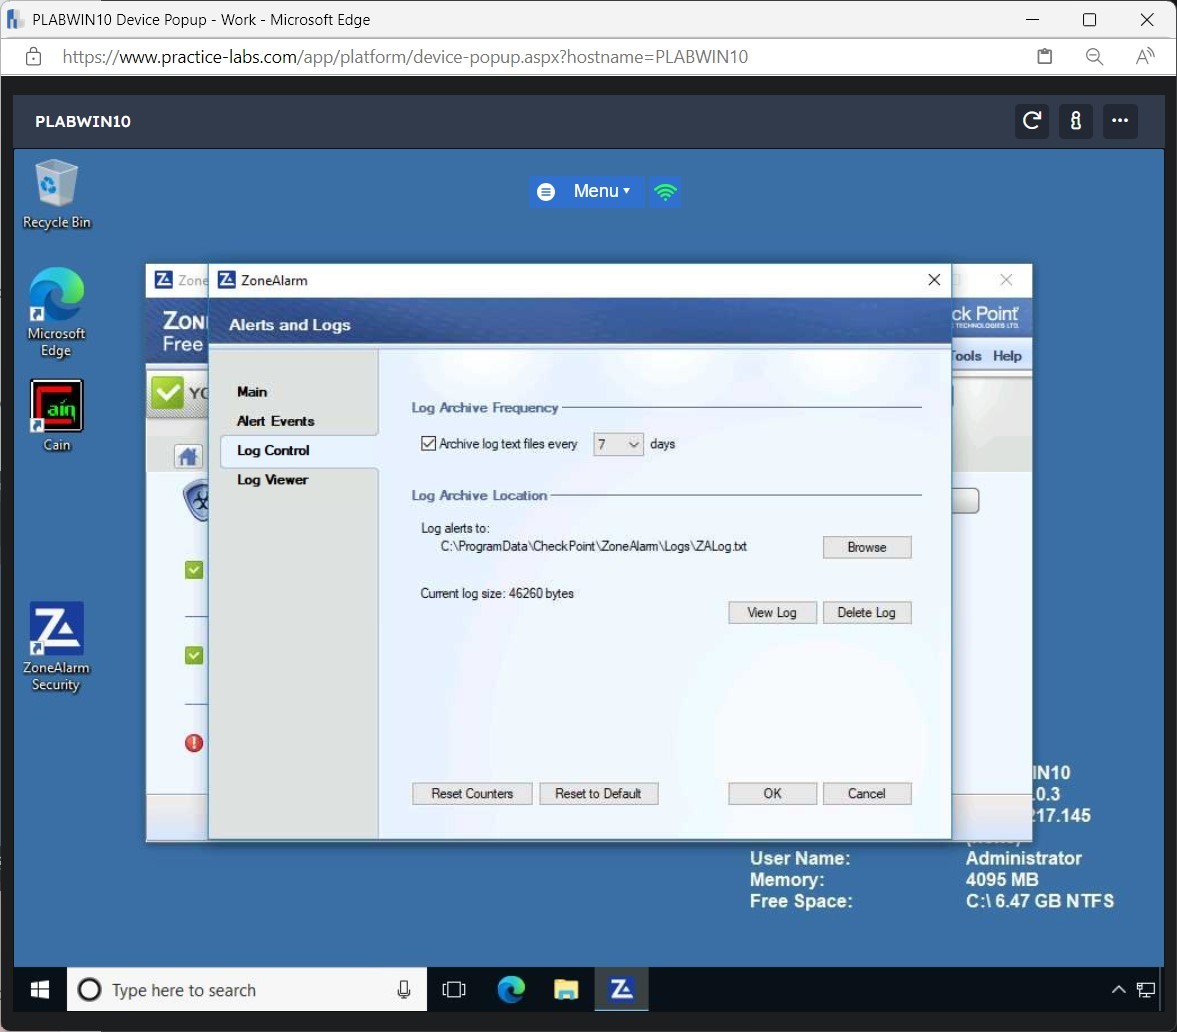
Click the Log Control tab.
In the Log Control section, the log archive frequency and log archive locations have been automatically set.
Keep the default selections.
Step 4
Click the Alert Events tab.
On the Alert Events section, you have the settings for different system events.
Keep the default selections.
Click OK.
Using Anonymous Proxy Sites
Corporate network environments implement strict security policies when it comes to using the Internet.
Non-work-related Websites, such as Facebook, are generally blocked. However, you can use anonymous proxies or Websites to bypass the firewall. Anonymous proxies are just simple Websites that allow you to feed in the URL that you intend to visit.
These Websites also keep your information anonymous when you visit other Websites. This means that your computer information, such as IP address, etc. is not revealed.
You can obtain a large list of anonymous Websites:
http://www.hongkiat.com/blog/how-to-access-blocked-web-sites/
In this exercise, you will bypass blocked sites using an anonymous Website surfing site.
Learning Outcomes
After completing this exercise, you will be able to:
- Bypass Blocked Sites Using Anonymous Website Surfing Sites
Your Devices
You will be using the following devices in this lab. Please power these on now.
- PLABDC01 - (Windows Server 2019 - Domain Server)
- PLABWIN10 - (Windows 10 - Workstation)
Task 1 - Bypass Blocked Sites Using Anonymous Website Surfing Sites
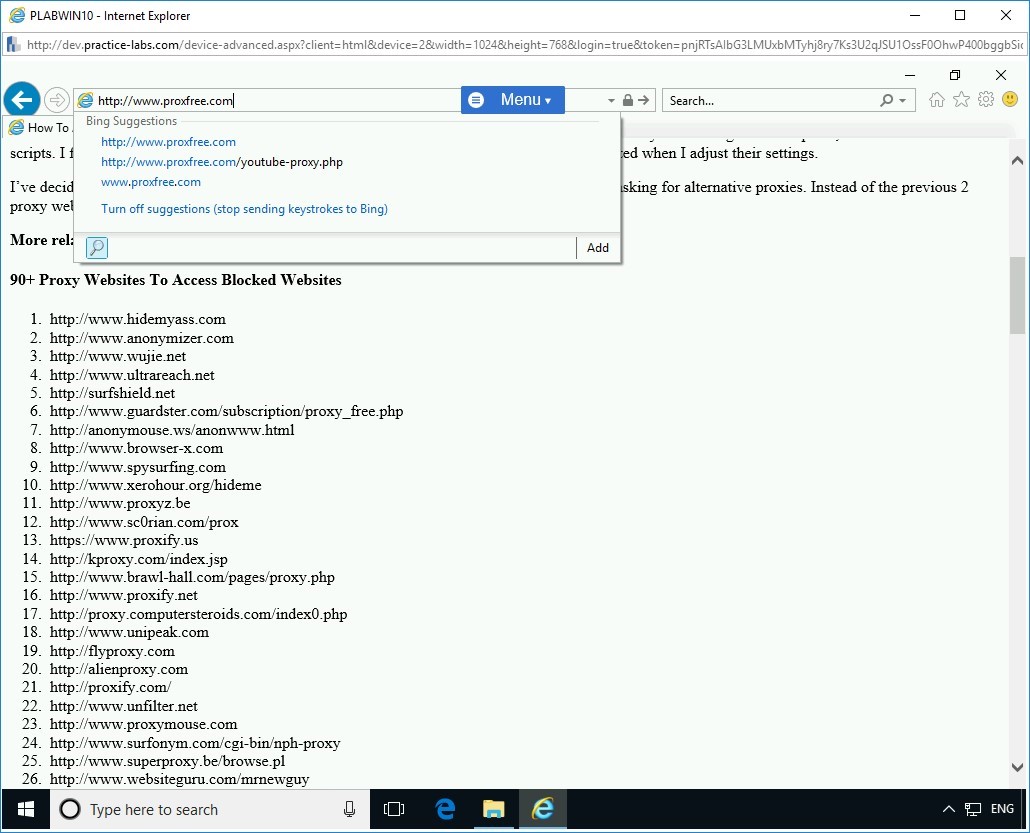
There is one proxy site that has been specifically allowed on the Practice Labs devices for the purpose of carrying out this task. The website is as follows:
https://www.proxfree.com
In this task, you will find out what anonymous Website resources are available and access a Website anonymously using ProxFree.
Step 1
Ensure you have powered on all the devices listed in the introduction and connect to PLABWIN10.
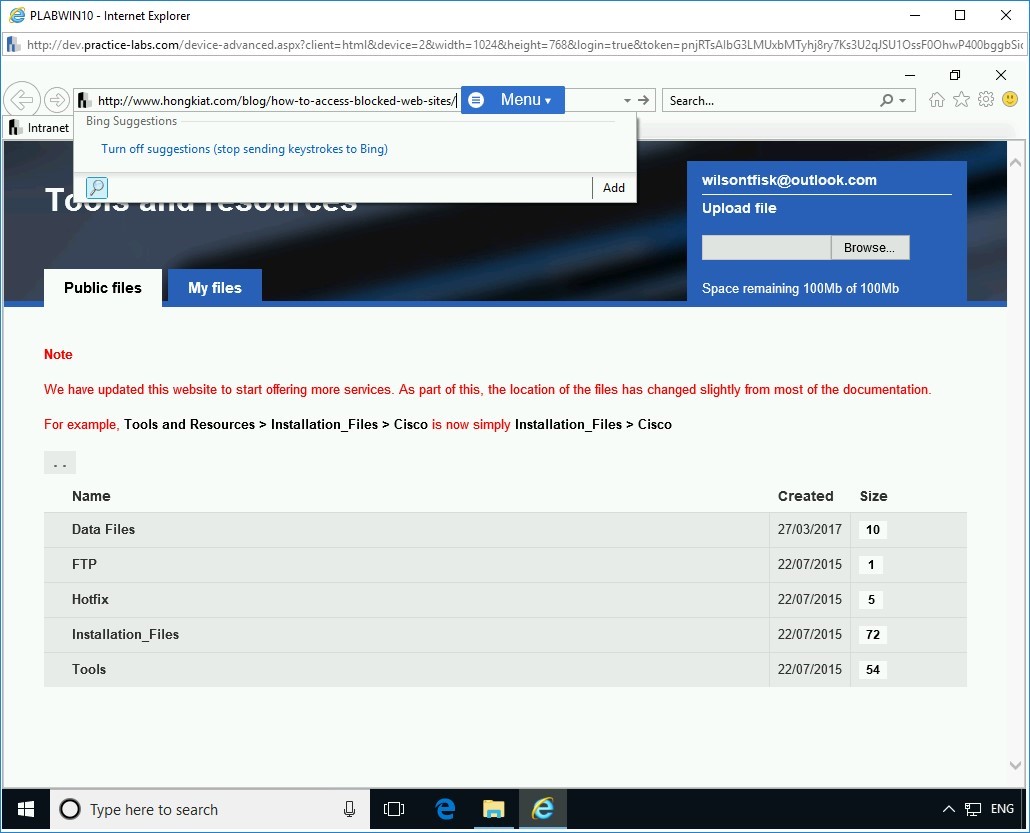
Launch Internet Explorer. In the address bar, type the following URL:
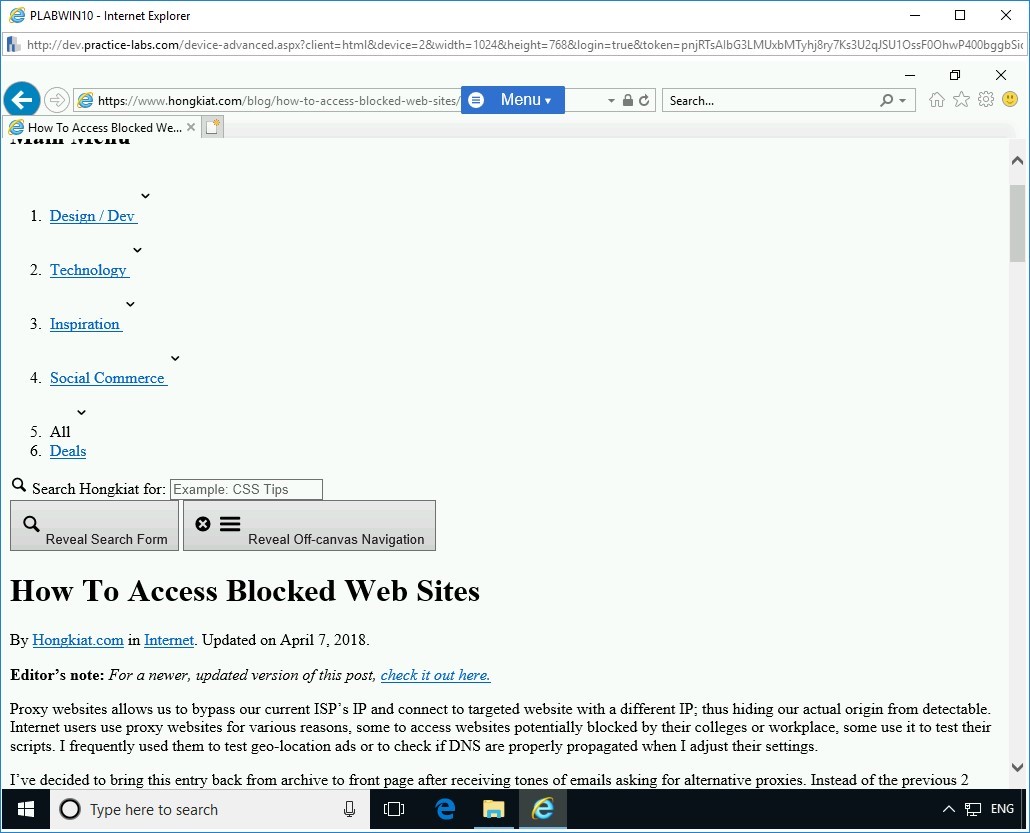
http://www.hongkiat.com/blog/how-to-access-blocked-web-sites/
Press Enter.
The Website launches.
Note: The Website may not be displayed in the proper format.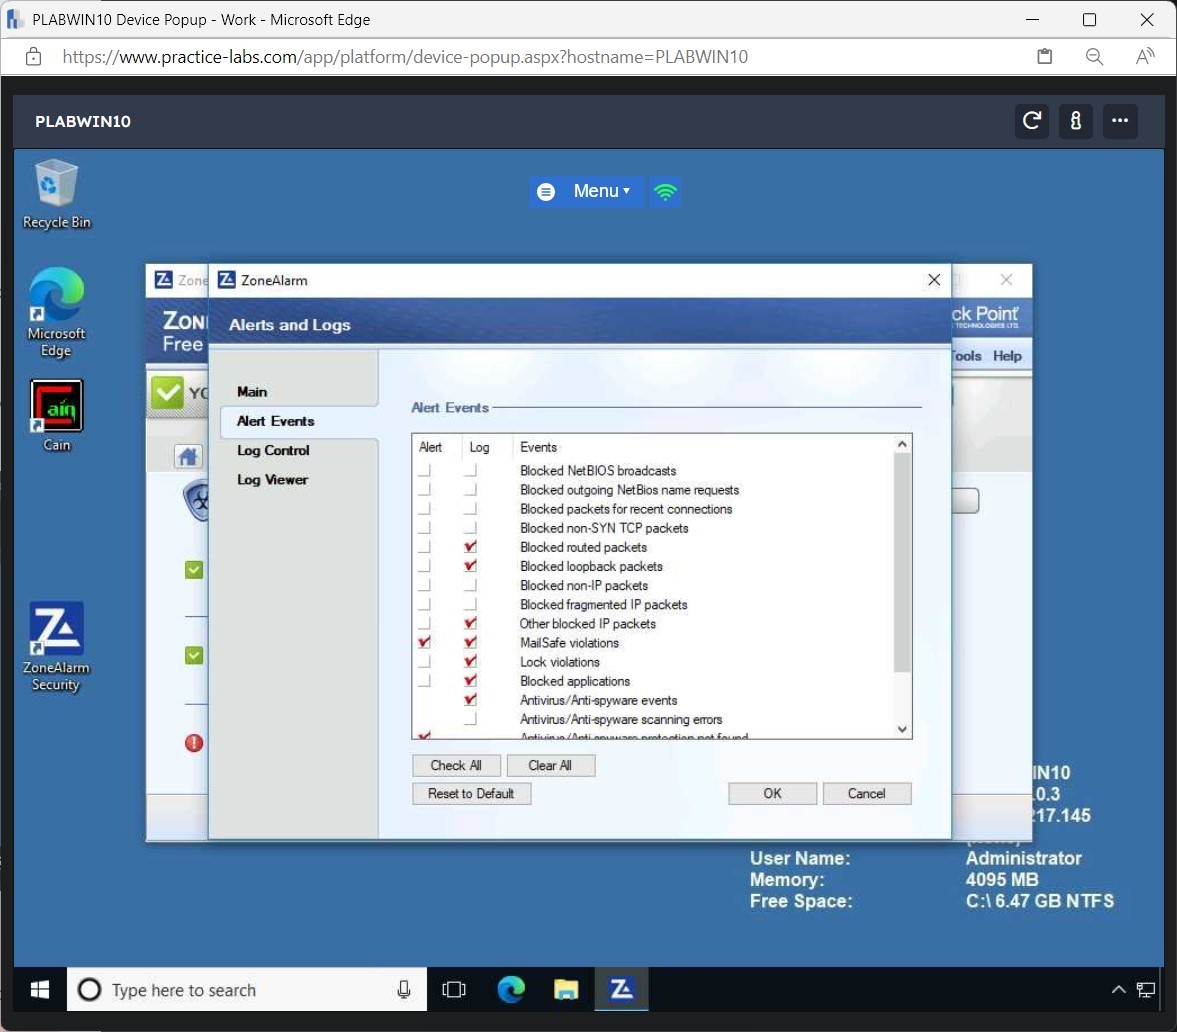
Step 2
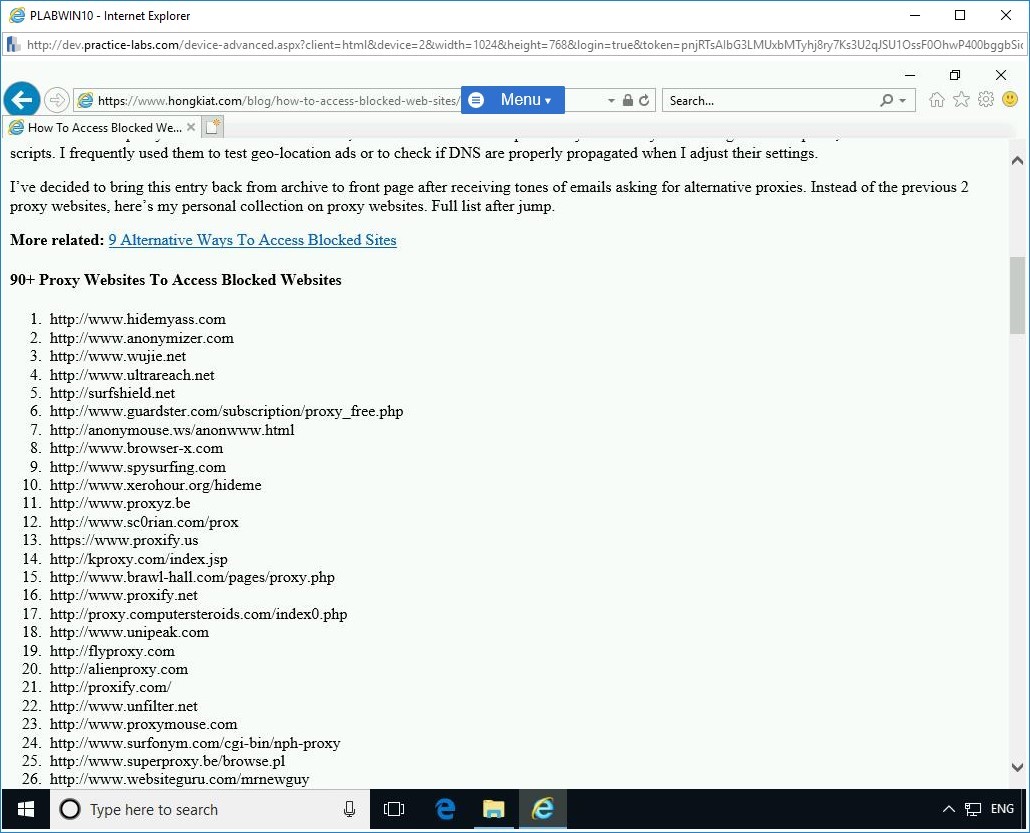
Scroll down the list to find an extensive list of proxy websites that you can access.
Please note that most of these will NOT work in the Practice Labs devices because of firewall policies that are currently enforced in the lab network.
The next step will illustrate a proxy site allowed in this lab.

Step 3
On Internet Explorer’s address bar, enter the following URL:
https://www.proxfree.com
Press Enter.

Step 4
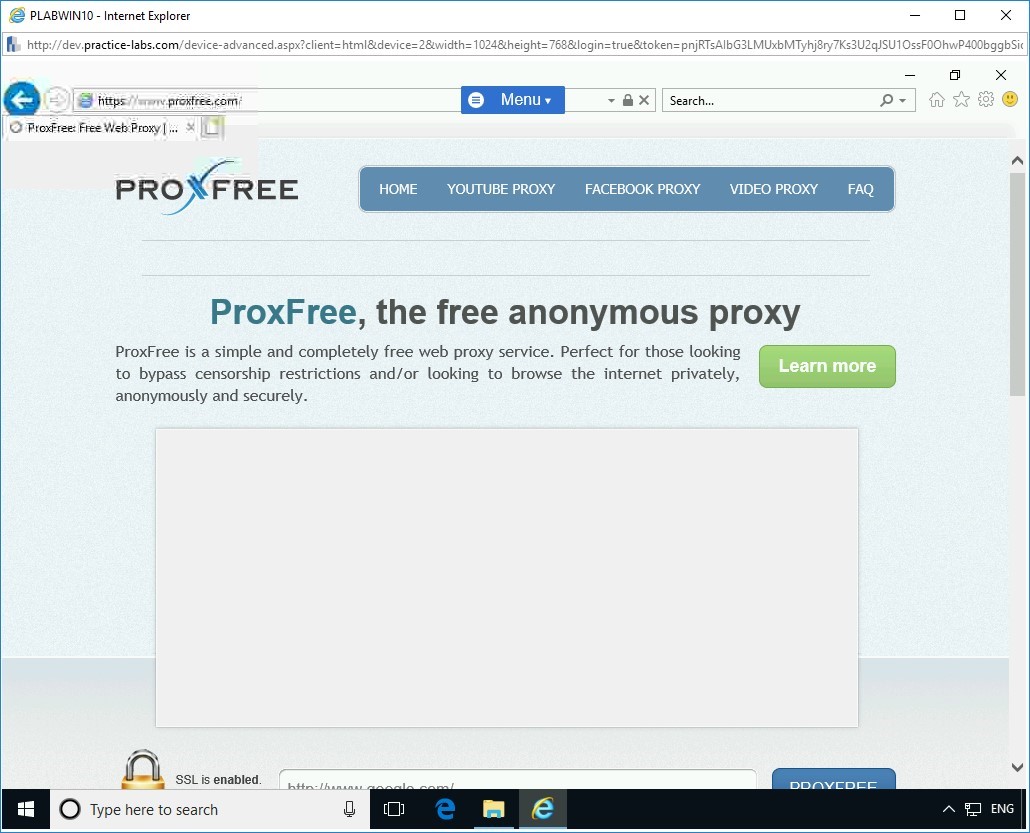
The proxfree.com Website is now displayed.

Step 5
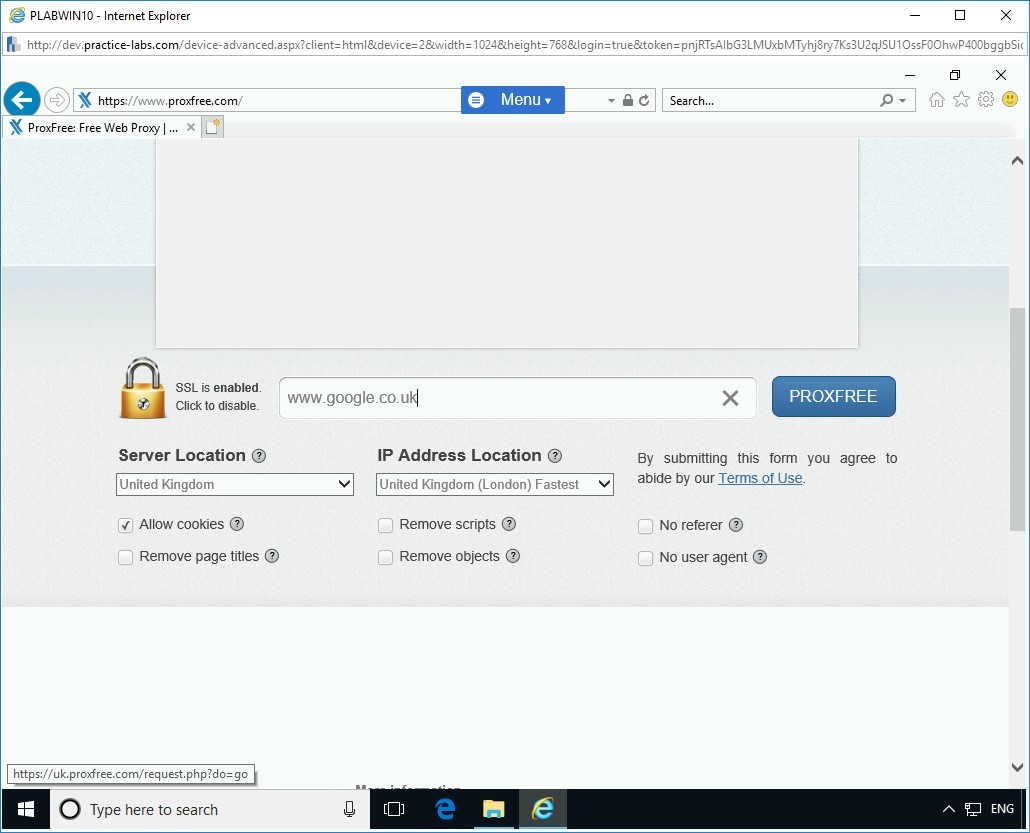
Scroll down the web page and locate a text box where you can enter the URL that you want to visit.
In the URL textbox, enter:
www.google.co.uk
Click PROXFREE.

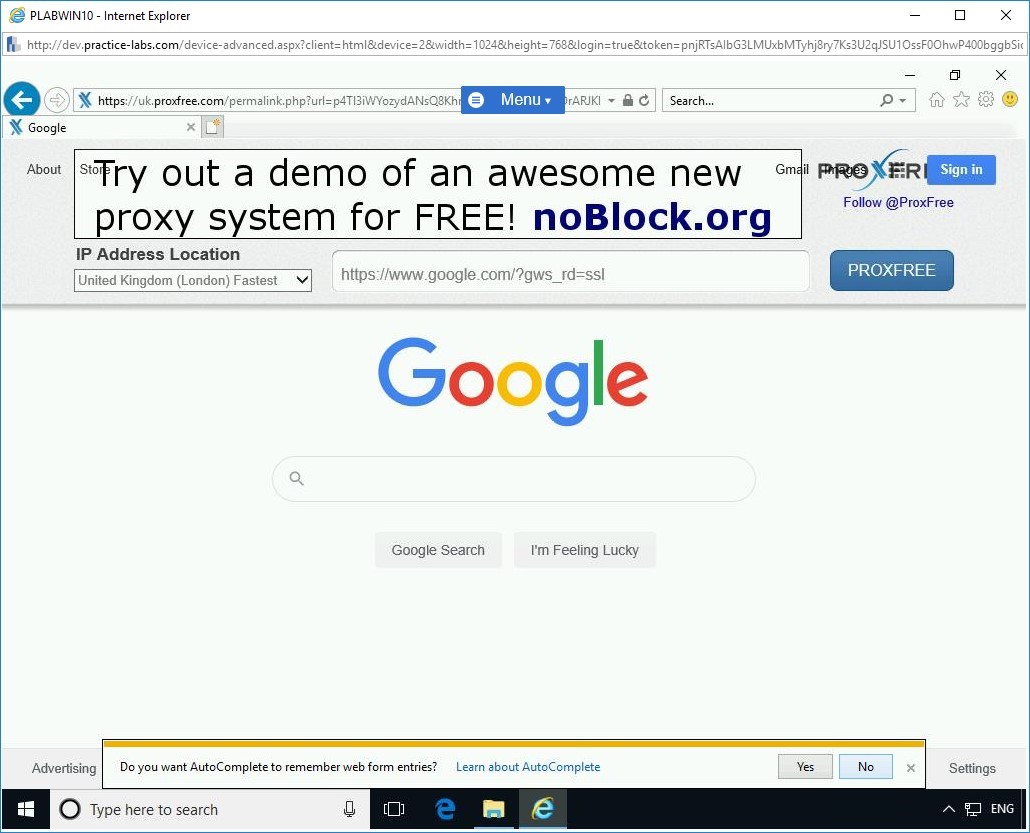
Step 6
The google.co.uk Webpage is displayed.
Notice the address bar of Internet Explorer indicates that you are using proxfree to visit this search engine website.
Note that address in the Internet Explorer address bar.
The proxfree Website has converted the real URL of www.google.co.uk.
Click No on the notification bar.

Comments
Post a Comment