Footprinting and reconsciance
Exercise 2 - Conducting Active Reconnaissance in a Network
Active reconnaissance is a hands-on method where you interact with the system directly to collect information.
In this exercise, you will learn about conducting active reconnaissance.
Learning Outcomes
After completing this exercise, you will be able to:
- Identify Live Hosts on a Network
- Perform Discovery Scans
- Perform Port Scanning
- Fingerprint an Operating System
- Perform Service Probing
Your Devices
You will be using the following devices in this lab. Please power these on now.
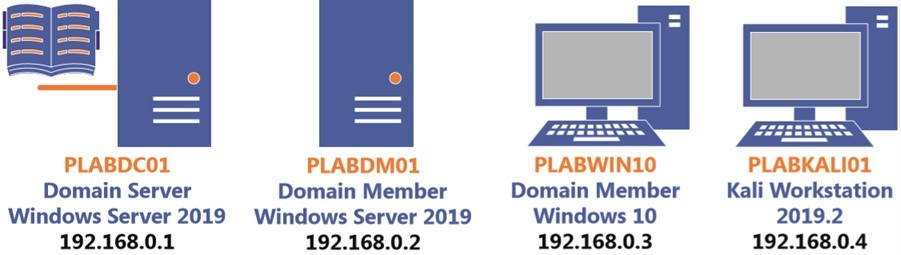
- PLABDC01 - (Windows Server 2019 - Domain Server)
- PLABDM01 - (Windows Server 2019 - Member)
- PLABWIN10 - (Windows 10 - Workstation)
- PLABKALI01 - (Kali 2019.2 - Linux Kali Workstation)

Task 1 - Identify Live Hosts on a Network
Network Mapper, known as Nmap, is a network and host discovery tool. It is one of the most widely used tools for various activities, such as:
- Discovering hosts, services, and ports
- Fingerprinting operating systems
- Enumeration
- Discovering vulnerabilities on the local and remote host
- Finding the IP address of a remote system
Using Nmap, you can scan for targets by:
- Scanning for a single IP: nmap 192.168.0.1
- Scanning for a host by using its name: nmap host1.plab.com
- Scanning an entire subnet: nmap plab.com/24, nmap 192.168.0.0/24, nmap 192.168.0.*
- Scanning for a range of IP addresses: nmap 192.168.0.1-10
- Scanning for a range and a system outside the range: nmap 192.168.0.1, 1.10
In this task, you will use Nmap to identify the live systems on a network. To do this, perform the following steps:
Step 1
Ensure that you have logged into PLABKALI01.
Crentials are:
Username: root Password: Passw0rdStep 2
On the desktop, click Terminal.
Step 3
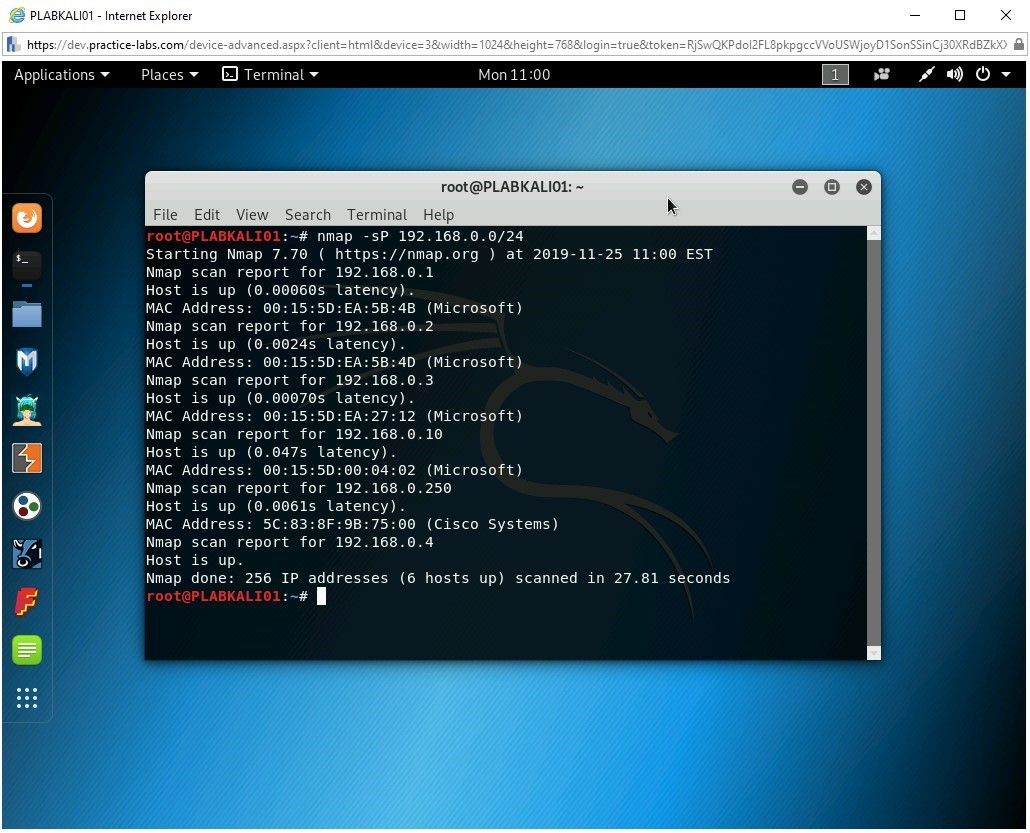
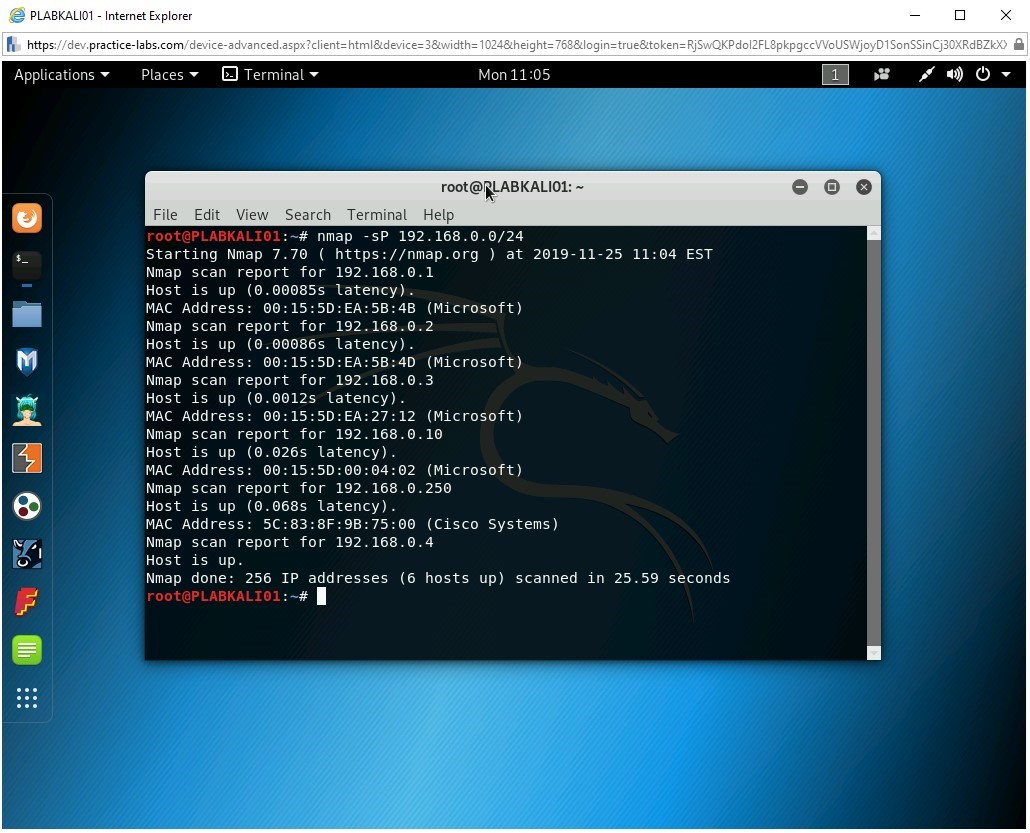
The terminal window is displayed. You will now perform a ping scan to discover the live hosts in a network. Type the following command:
nmap -sP 192.168.0.0/24
Press Enter.
Note: the -sP parameter is used for ping scanning. When you use CIDR /24, Nmap will scan all 256 IP addresses on the network.The output of the command is displayed. Notice that there were six hosts that were detected. It has found five systems in the lab environment, including Kali. Along with this, the gateway IP, 192.168.0.250, is also found.
Step 4
Clear the screen by entering the following command:
clear
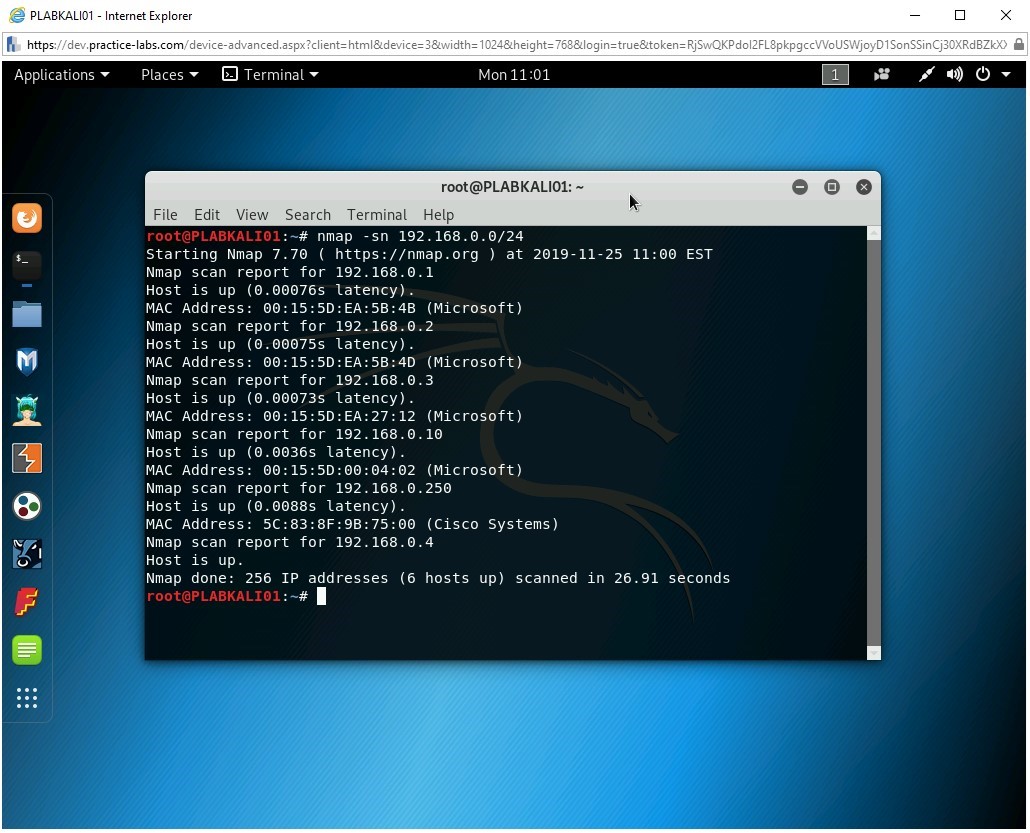
You can also perform a scan without ping. To do this, type the following command:
nmap -sn 192.168.0.0/24
Press Enter.
The output of the command is displayed. Notice that without the ping scan, it has detected six systems on the network.
Step 5
Clear the screen by entering the following command:
clear
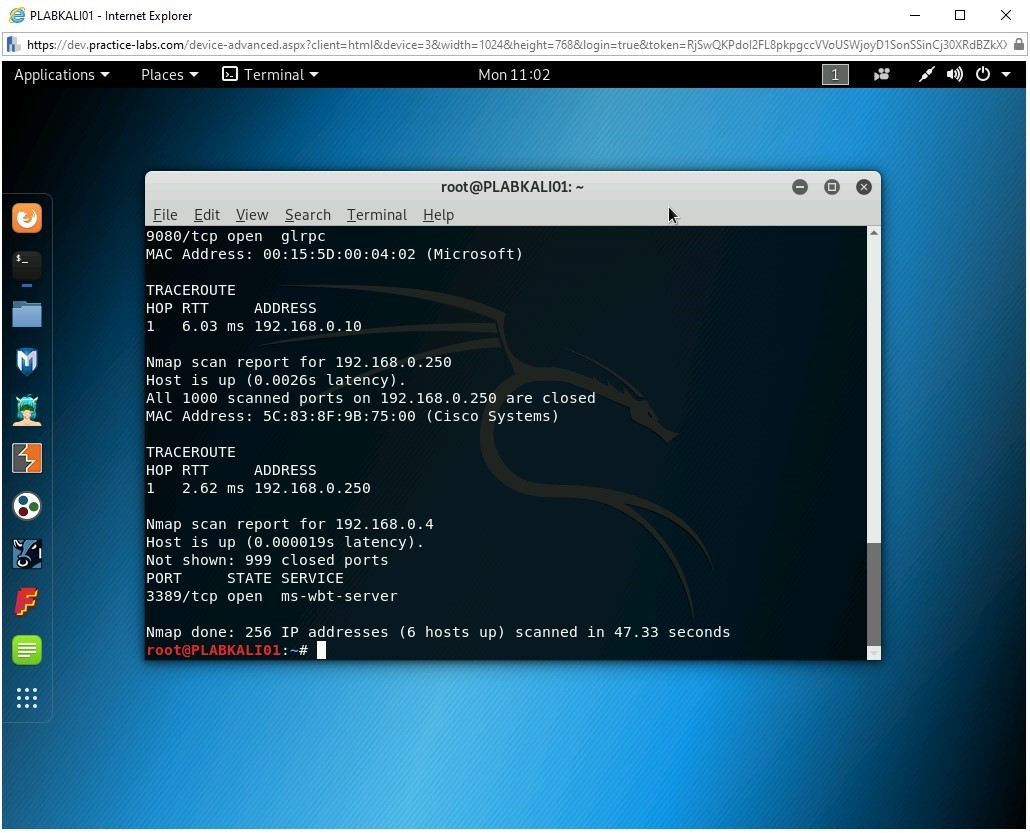
You can also trace the path between your system and each of the hosts that is live on the network. To do this, type the following command:
nmap --traceroute 192.168.0.0/24
Press Enter.
Notice the output of the command. In the output, the hops from your system to the systems on the network are displayed. Since this is within the same IP subnet, there is a single hop. The output also displays open ports on each live system.
Step 6
Clear the screen by entering the following command:
clear
You can also scan for live hosts on a network using an IP address range. To do this, type the following command:
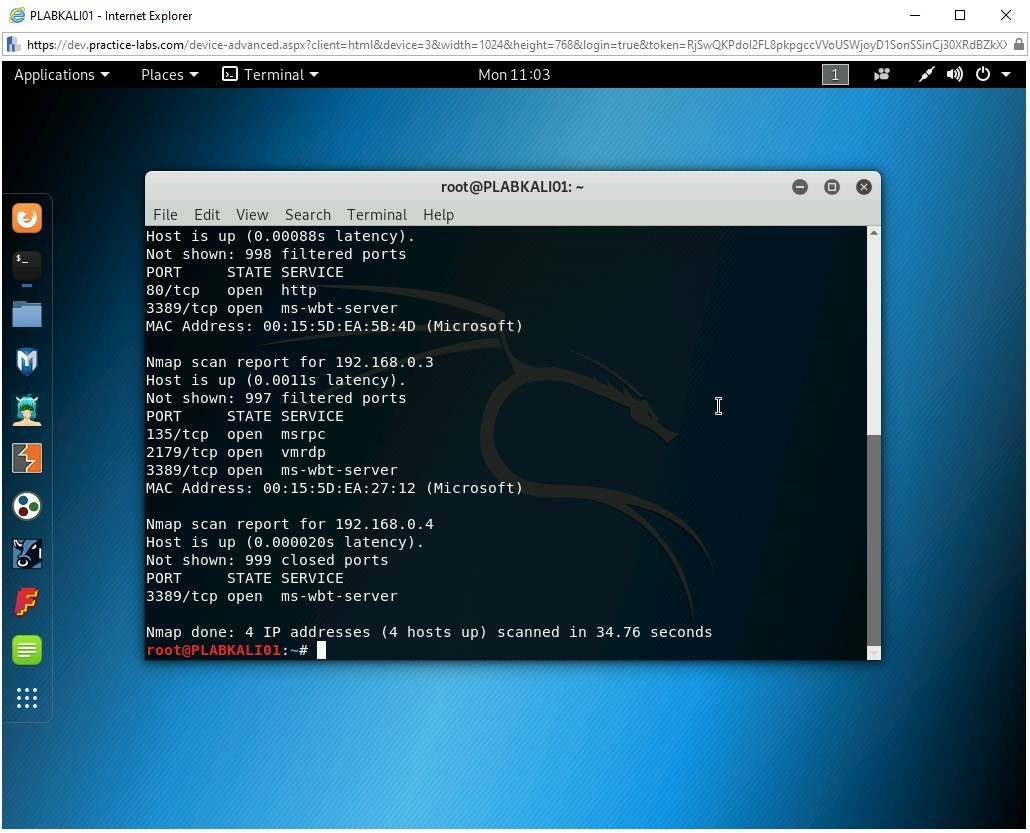
nmap 192.168.0.1-4
Press Enter.
The output of the command is displayed. Notice that only four hosts are listed in the scan. Without any parameters, the nmap command scans for the live systems and open ports.
Step 7
Clear the screen by entering the following command:
clear
You can also use a wildcard to scan an IP range. To do this, type the following command:
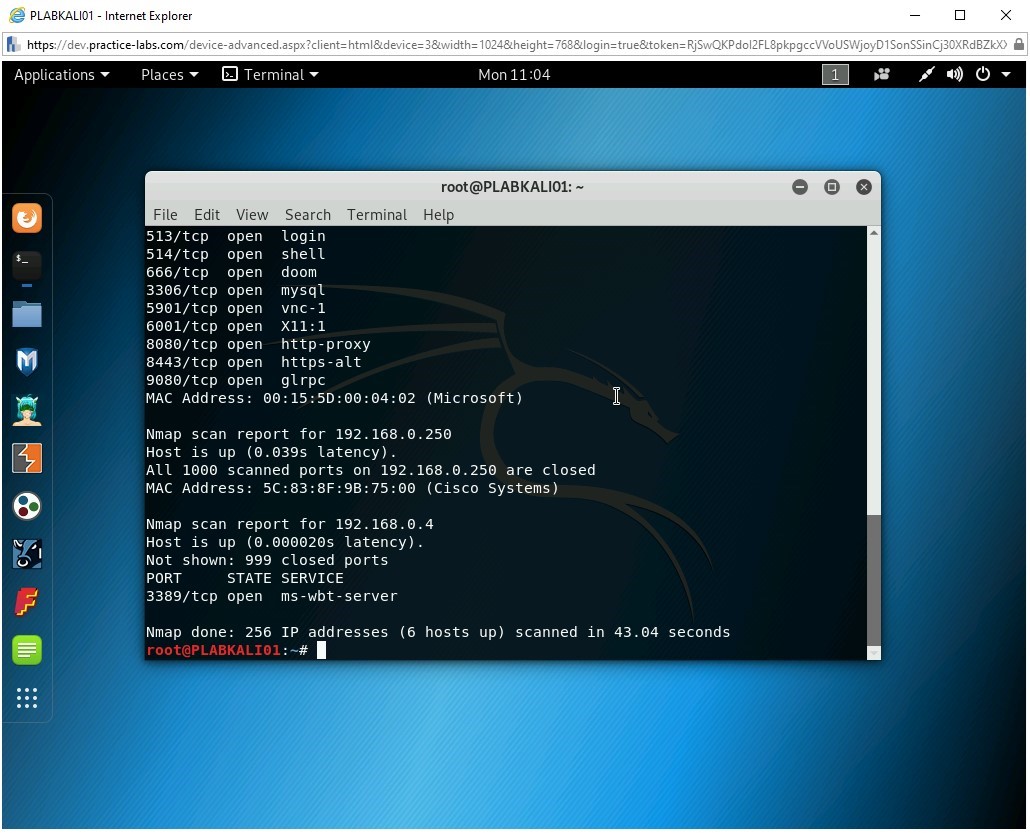
nmap 192.168.0.*
Press Enter.
Notice the output of the command. It has searched for all live systems in the subnet of 256 IP addresses.
Task 2 - Perform Discovery Scans
A discovery scan is used to locate live hosts on a network. There are various methods that can be used in discovery scans. Some of these are:
- Using ping scan
- Using ARP scan
- Using a port scan
In this task, you will learn to perform different types of discovery scans. To do this, perform the following steps:
Step 1
Ensure that you are connected to PLABKALI01, and the terminal window is open.
Clear the screen by entering the following command:
clear
Using ping for discovering a host is a common method.
Type the following command:
nmap -sP 192.168.0.0/24
Press Enter.
Note: Several systems have firewalls running that block ping commands, and therefore, discovering a host using ping may not be successful.Notice the output of the command. When you execute this command, it sends an ICMP REQUEST message to every IP address. The hosts that respond to the ICMP REQUEST message are considered alive and are listed in the output. This command output does not list the hosts that do not respond.
Step 2
Clear the screen by entering the following command:
clear
You can also send ARP requests to the hosts on a given subnet, and if the target system responds to these requests, then it means that it is alive. This method, unlike the Ping scan method, is not usually blocked by the firewall. Therefore, you are likely to get a better outcome.
To send the ARP requests to the 192.168.0.0/24 subnet, type the following command:
nmap -PR 192.168.0.0/24
Press Enter.
Notice the outcome of this command. With the -PR parameter, the nmap command has scanned 256 IP addresses and found 6 hosts live. Open ports are also listed.
Note: You can scan for the live hosts without also detecting the open ports. To do this, you can use the following command: nmap -sn 192.168.0.0/24.
Step 3
Clear the screen by entering the following command:
clear
You can also scan for open ports to detect the system status. This could be useful when the systems have firewalls enabled, or the systems are in another subnet or network. When you attempt to detect the ports, the systems will respond to the request. Type the following command:
nmap -p 80 192.168.0.0/24
Press Enter.
The output of this command is displayed. Notice that seven hosts are scanned, but one host, 192.168.0.2, is running a Web server.
Note: With the -p parameter, you can scan for more than one port. For example, you can use the following command: nmap -p 22, 23, 80, 139, 445, 3389 192.168.0.0/24. Each port number needs to be separated by a comma.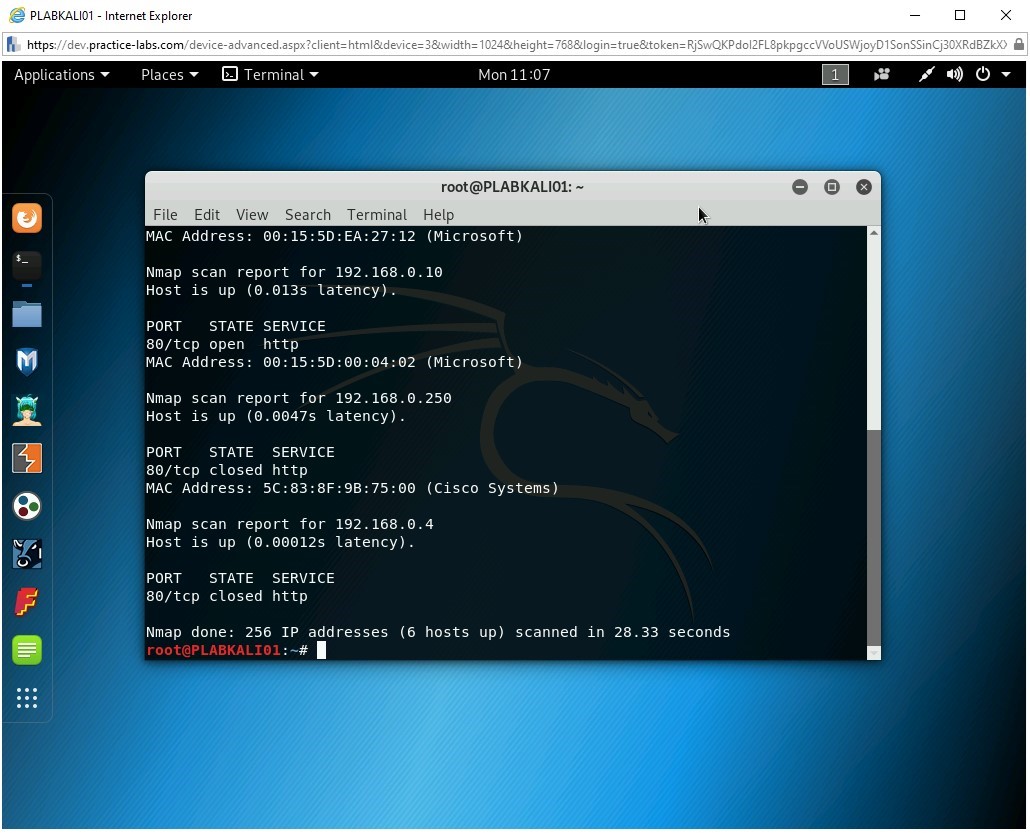
Step 4
You can also send the SYN message to a specific port on a subnet to detect live systems. To do this, type the following command:
nmap -sn -PS80 192.168.0.0/24
Press Enter.
The output of this command is displayed. Notice that six hosts were found to be live in this subnet.

Task 3 - Perform Port Scanning
Using the port scan method, you can determine the TCP or UDP port that is being used. You can either scan for the entire range of ports, which are from 1 to 65535, or can scan for specific ports. When scanning for ports, you need to be aware that there can be different states of a port:
Open: An application is listening for connections on this port.
Closed: The messages were received, but no application is listening on the port.
Filtered: The messages were not received, and the state of the port could not be determined. This state occurs when some type of filtering is being used on the port.
Unfiltered: The messages are received, but the state of the port could not be determined.
Open/Filtered: The port was either filtered or open, but Nmap was not able to determine the state.
Closed/Filtered: The port was either filtered or closed, but Nmap was not able to determine the state.
To use port scanning, perform the following steps:
Step 1
Ensure that you are connected to PLABKALI01, and the terminal window is open.
Clear the screen by entering the following command:
clear
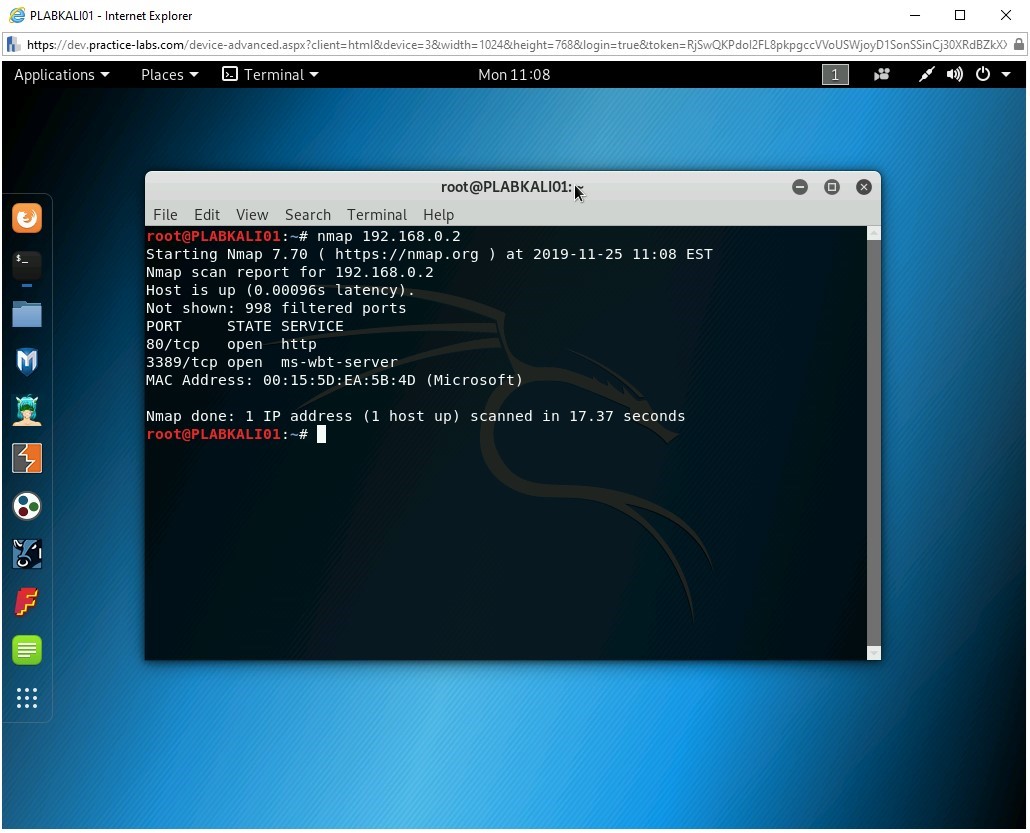
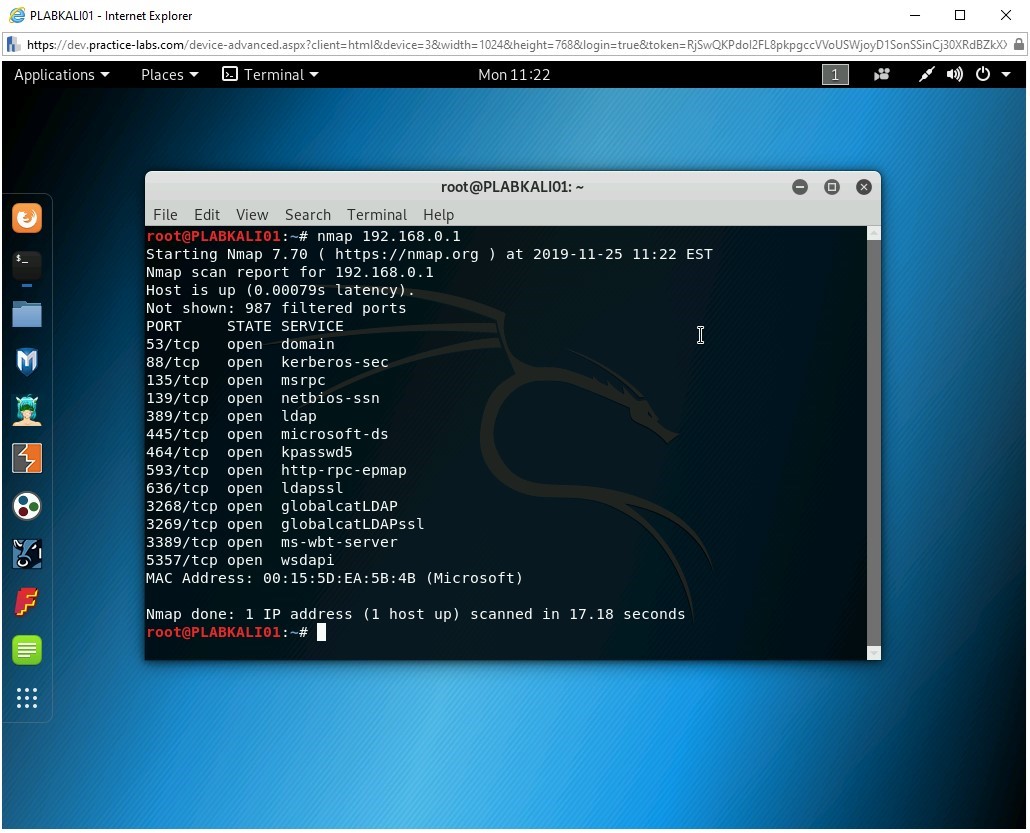
One of the simplest methods is to target a system with the nmap command without using any parameters. To do this, type the following command:
nmap 192.168.0.2
Press Enter.
The output of this command is displayed. Notice that 192.168.0.2 has two ports open, which are 80 and 3389.
Step 2
Clear the screen by entering the following command:
clear
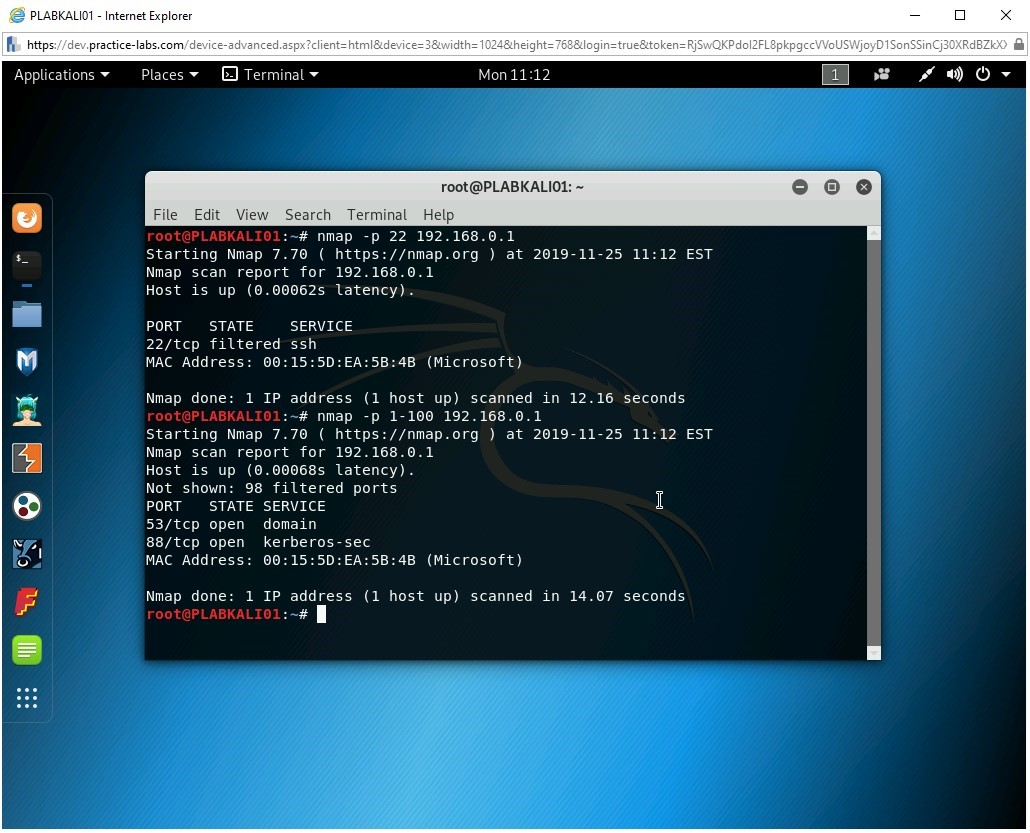
You can scan for a single port on a host. To do this, type the following command:
nmap -p 22 192.168.0.1
Press Enter.
The output of this command is displayed. Notice that the state of the port is set to filtered.

Step 3
Let’s try to scan for the range of ports on 192.168.0.1, which is the domain controller. To do this, type the following command:
nmap -p 1-100 192.168.0.1
Press Enter.
Notice that the command has been executed successfully. The output displays that there are 98 filtered ports and two open ports, which are 53 and 88.
Step 4
Clear the screen by entering the following command:
clear
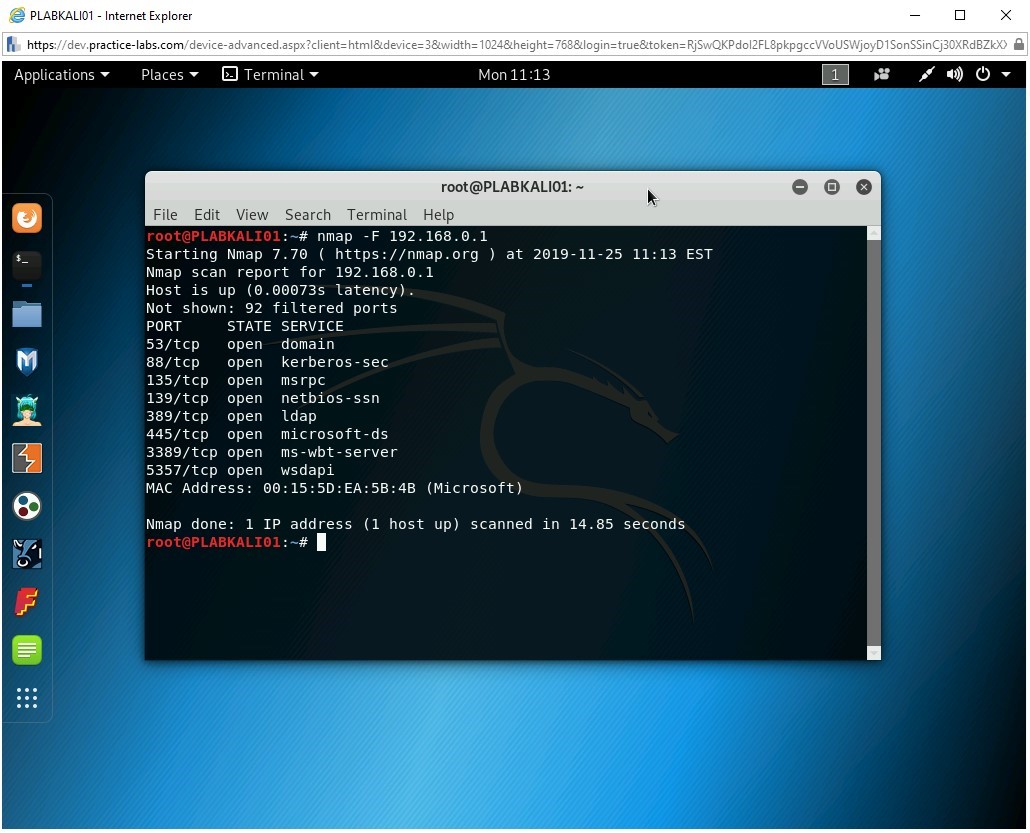
A fast scan will scan for the 100 common ports on a given system. To do this, type the following command:
nmap -F 192.168.0.1
Press Enter.
The output of this command is displayed. Notice that the output of this command is different than the previous command. It shows 92 filtered ports and 8 open ports. The output is different because the fast scan uses the 100 most common ports.
Step 5
Clear the screen by entering the following command:
clear
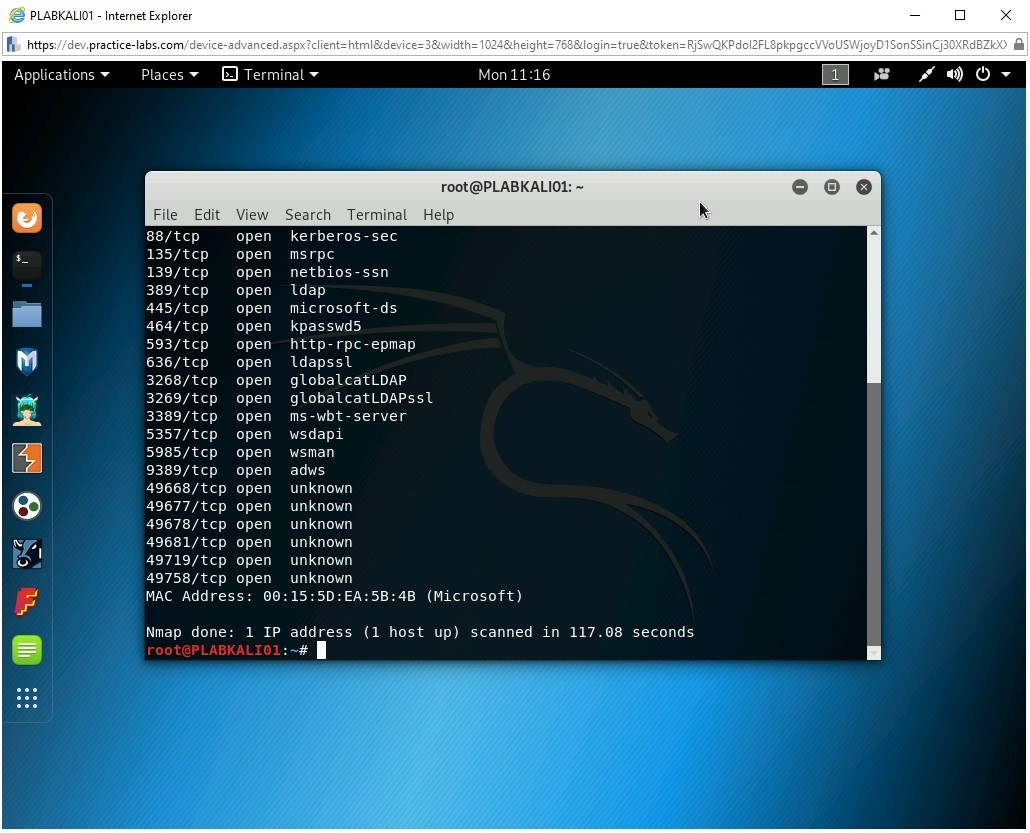
You will now scan for 65535 ports on a system. To do this, type the following command:
nmap -p- 192.168.0.1
Press Enter.
Note: This command will take a while to generate the output.The output of this command is displayed. Note that it took nearly two minutes to generate the output due to the number of ports being scanned. It found several ports open on the domain controller, which is 192.168.0.1.
Step 6
Clear the screen by entering the following command:
clear
Next, you will perform port scanning using TCP connect. Type the following command:
nmap -sT 192.168.0.1
Press Enter.
Notice the output. This command has scanned 1000 ports. There are 987 filtered and 13 open ports.

Step 7
Clear the screen by entering the following command:
clear
Let’s scan for the selective UDP ports only. Type the following command:
nmap -sU -p 53,80,3389 192.168.0.1
Press Enter.
Note: Do not input a space after the comma when listing the ports. If you do, Nmap considers it to be the IP address and will attempt to find the route to the port number.The output of this command is displayed. Notice that only NTP port, 123, is open. The remaining two ports are filtered.

Step 8
Clear the screen by entering the following command:
clear
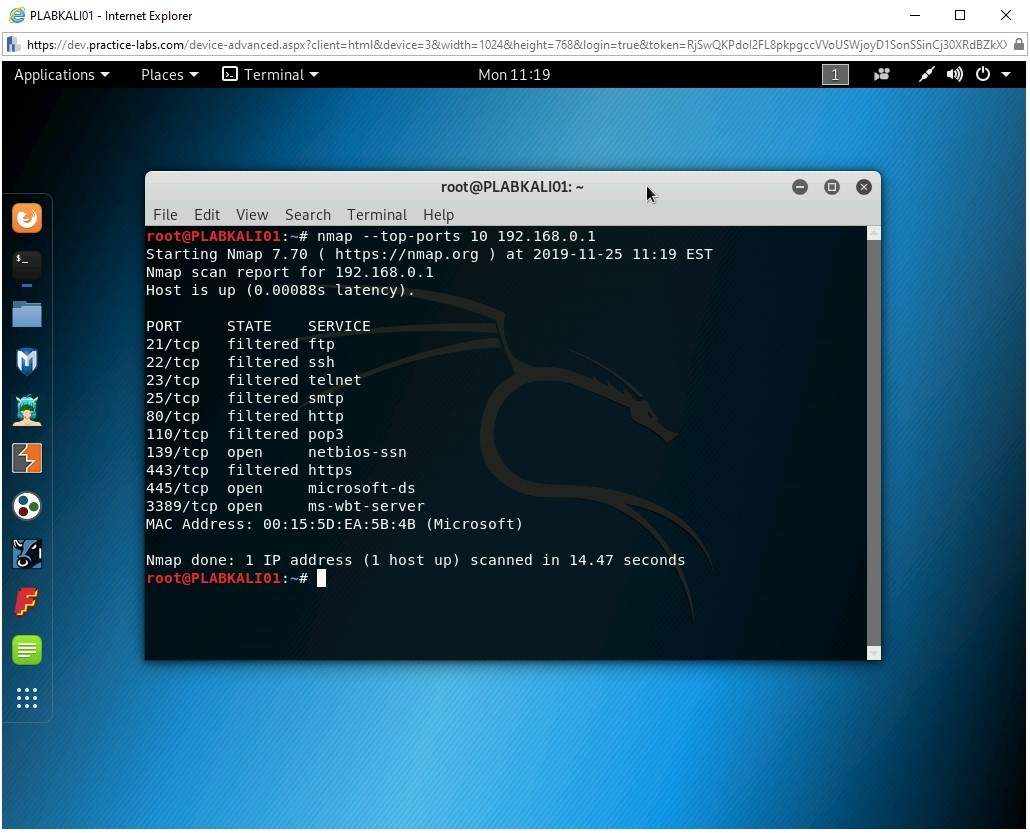
You can also use the --top-ports parameter with a specified number to find ports. To do this, type the following command:
nmap --top-ports 10 192.168.0.1
Press Enter.
Notice that the top 10 used ports are listed as the output with their current state.
Task 4 - Fingerprint an Operating System
Operating system fingerprinting is also known as banner grabbing. With the help of fingerprinting, you can determine the type of operating system and its version on a remote system. There are primarily two types of fingerprinting:
Active
Nmap contains a list of operating systems. When you execute a command to determine the operating system of a remote host, packets are sent to the remote host, and the response is received, which is compared with the list of operating systems. Nmap then provides the closest match.
Here are some nmap commands for OS fingerprinting:
To fingerprint a remote system, type the following command:
nmap -O 192.168.0.3
The -O parameter provides more options for operating system detection. You can choose to skip the hosts that are not up and running and scan for the operating system only on the live hosts.
To do this, type the following command:
nmap -O --osscan-limit 192.168.0.0/24
You can also use --osscan-guess option with the -O parameter. It will attempt to detect the operating system. If it is not able to do so, then it will provide the closest signature possible. It performs an aggressive detection of the operating system.
To do this, type the following command:
nmap -O --osscan-guess 192.168.0.3
When you perform an operating system scan, Nmap, by default, attempts five times to detect the name and version. However, to speed up the process, you can limit the number of attempts.
To do this, type the following command:
nmap -O --max-os-tries 2 192.168.0.5
You can also use the -A parameter with the nmap command to perform fingerprinting.
To do this, type the following command:
nmap -A 192.168.0.6
Passive
Passive fingerprinting can be performed in different ways. For example, you can get a lot of details from the error messages, which can contain information, such as the type of operating system and server. Sniffing network traffic can also be helpful in determining the operating system.
To fingerprint a system, perform the following steps:
Step 1
Ensure that you are connected to PLABKALI01, and the terminal window is open.
Clear the screen by entering the following command:
clear
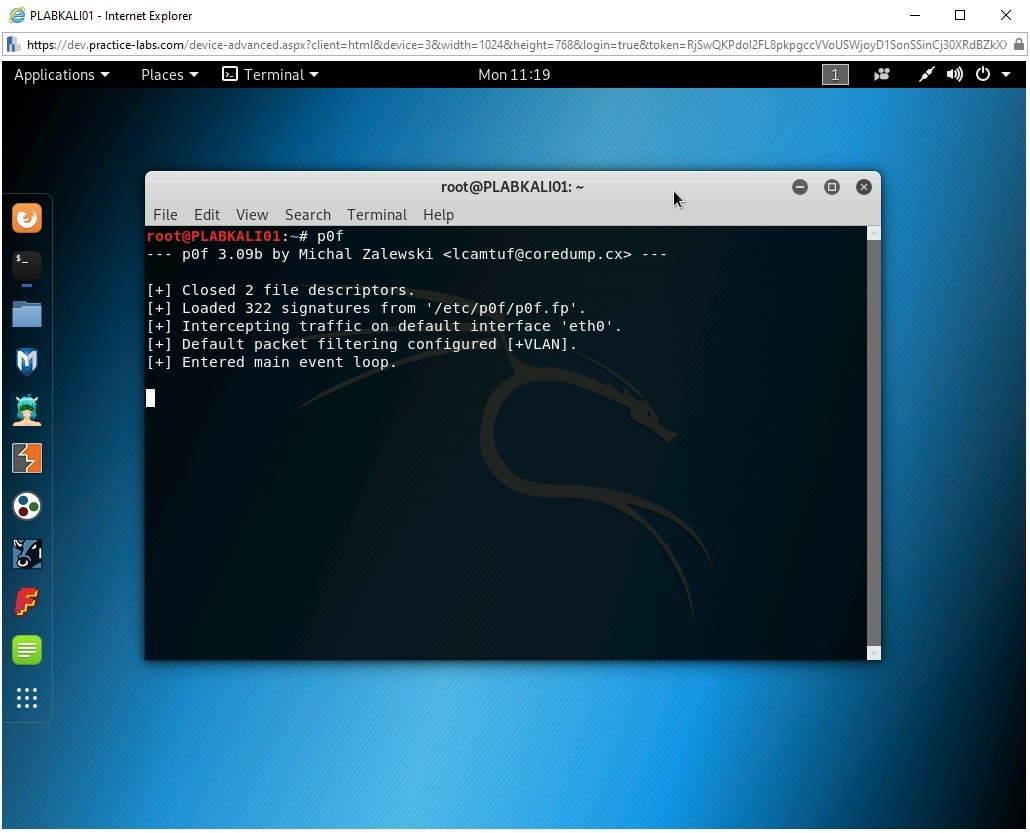
Other than Nmap, you can also use another tool named p0f for operating system fingerprinting. It is a good tool to find out the operating system of a Website. To use the p0f tool, type the following command:
p0f
Press Enter.
Note: You can use the p0f command with the -i <interface_name> to use a specific interface on your system. For example, you can use eth0 -i eth0.Notice that the p0f tool has started but is not currently doing anything. It has 322 signatures that are kept in the /etc/p0f/p0f.fp file. It also mentions that it is using the eth0 interface.
Step 2
Next, you need to open a Website. Let’s open Firefox from the left pane.
Click the Firefox ESR icon.
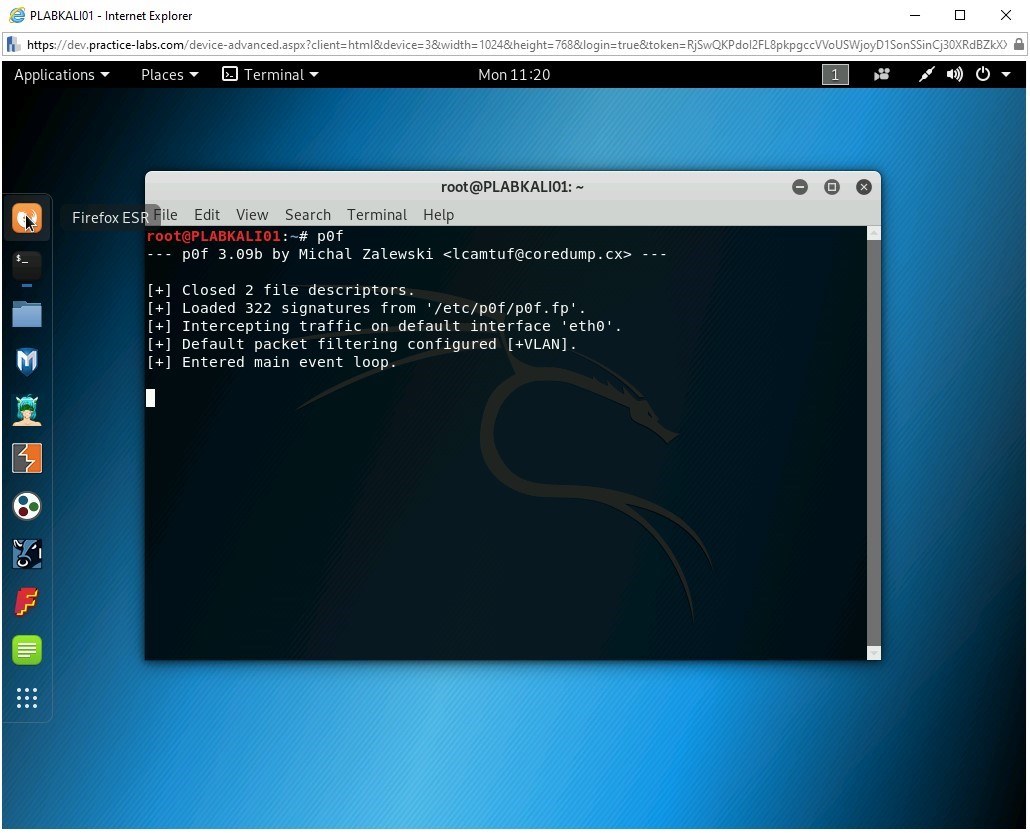
Notice that the default intranet Website is loaded.
Close the Firefox window.

Step 3
p0f has started to capture a lot of data. Press Ctrl + C to stop the p0f tool.
It has discovered that the operating system is Linux.
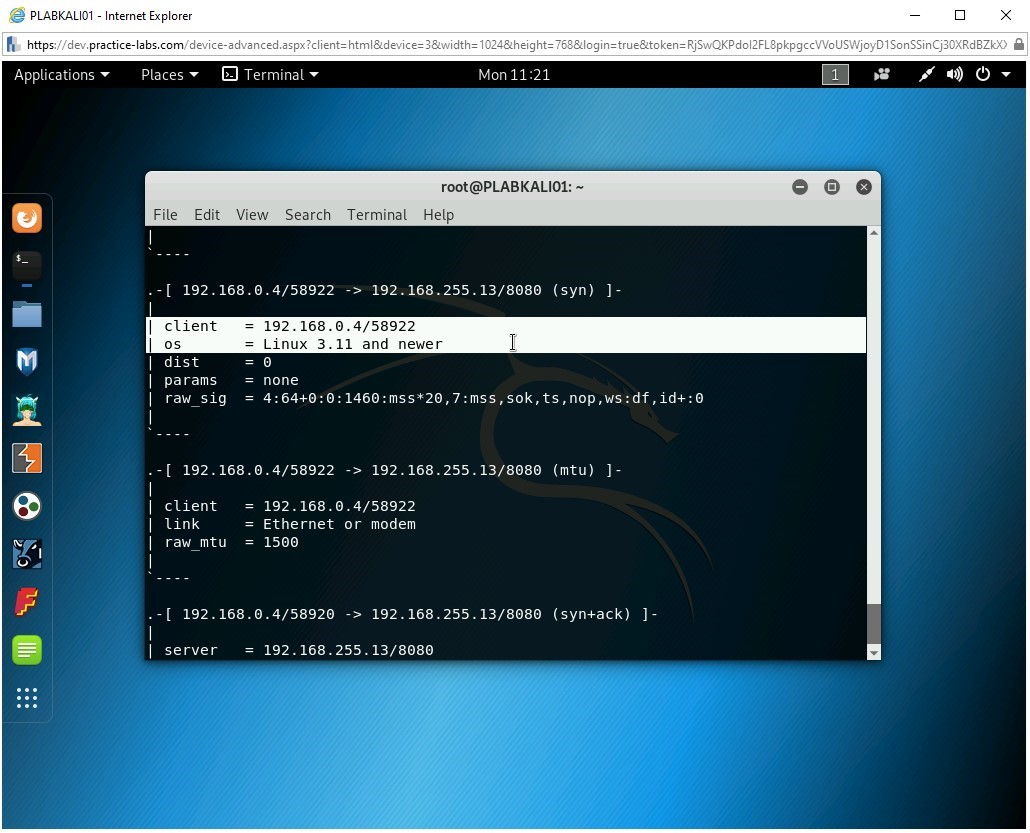
Scroll up and notice that it has also determined the uptime for the Webserver.

Task 5 - Perform Service Probing
Using Nmap, you can find a lot of details about the running services and their version numbers. In this task, you will learn about service probing.
To do this, perform the following steps:
Step 1
Ensure that you are connected to PLABKALI01, and the terminal window is open.
Clear the screen by entering the following command:
clear
To check the ports open on a system, enter the following command:
nmap 192.168.0.1
Press Enter.
Notice the output that displays several open ports on 192.168.0.1.
Step 2
Clear the screen by entering the following command:
clear
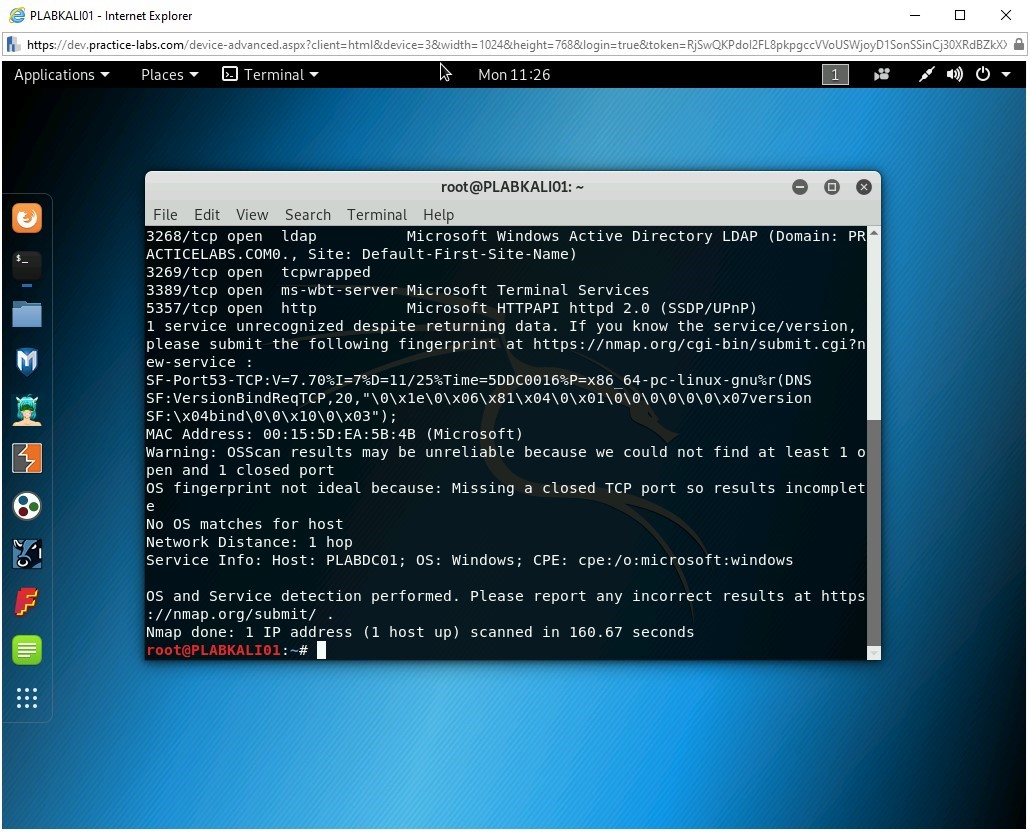
Next, let’s check the version of the services on the open ports on 192.168.0.1.
Type the following command:
nmap -sV -O 192.168.0.1
Press Enter.
The output displays the version number of most of the services.
Close the terminal window.
Conducting Passive Reconnaissance in a Network
Information gathering is critical in ethical hacking. Without gathering information, the attackers may not know exactly what to target and what strategies to use.
The attackers normally use open-source intelligence (OSINT) to obtain information that is available publicly.
Various places may contain useful information:
- Whois database
- Target’s Website
- Perform Social Network scraping
- Google search results
- DNS information
- Review blogs, public forums, and Websites
- Search breach databases about the target
- Search DarkWeb about the target
A tool, such as Maltego, helps you with detailed footprinting information about a Website.
In this exercise, you will learn about passive reconnaissance for vulnerabilities in a network.
Learning Outcomes
After completing this exercise, you will be able to:
- Use the WHOis Website
- Perform Social Media Exploitation
- Use SHODAN
- Use Google Hacking Database
- Perform DNS Querying
- Use theHarvester
- Create a Temporary E-mail Account
- Use Maltego
- Use the AnyWho Website
Your Devices
You will be using the following devices in this lab. Please power on this device.
- PLABDC01 - (Windows Server 2019 - Domain Server)
- PLABDM01 - (Windows Server 2019 - Domain Member
- PLABWIN10 - (Windows 10 - Workstation)
- PLABKALI01 - (Kali 2019.2 - Linux Kali Workstation)
Task 1 - Use the WHOis Website
The WHOis Website returns information about a domain name. For example, if you enter a domain name, such as practice-labs.com, WHOis will return the name and address of the domain's owner, which in this case, is Practice Labs. You can also use the whois command in Kali Linux.
Using this command, you can find out information about a domain, such as:
- Registrar
- Server name
- WHOis Server
- Referral URL
- IP address range
You can find out a lot of information about a particular domain. This information can be further used in attacking a particular domain or a server.
Important: This is a live Website. Therefore, the search results may vary.To use the WHOis Website, perform the following steps:
Step 1
Ensure you have powered on all the devices listed in the introduction and connect to PLABWIN10.
Step 2
From the taskbar, click the Microsoft Edge icon.
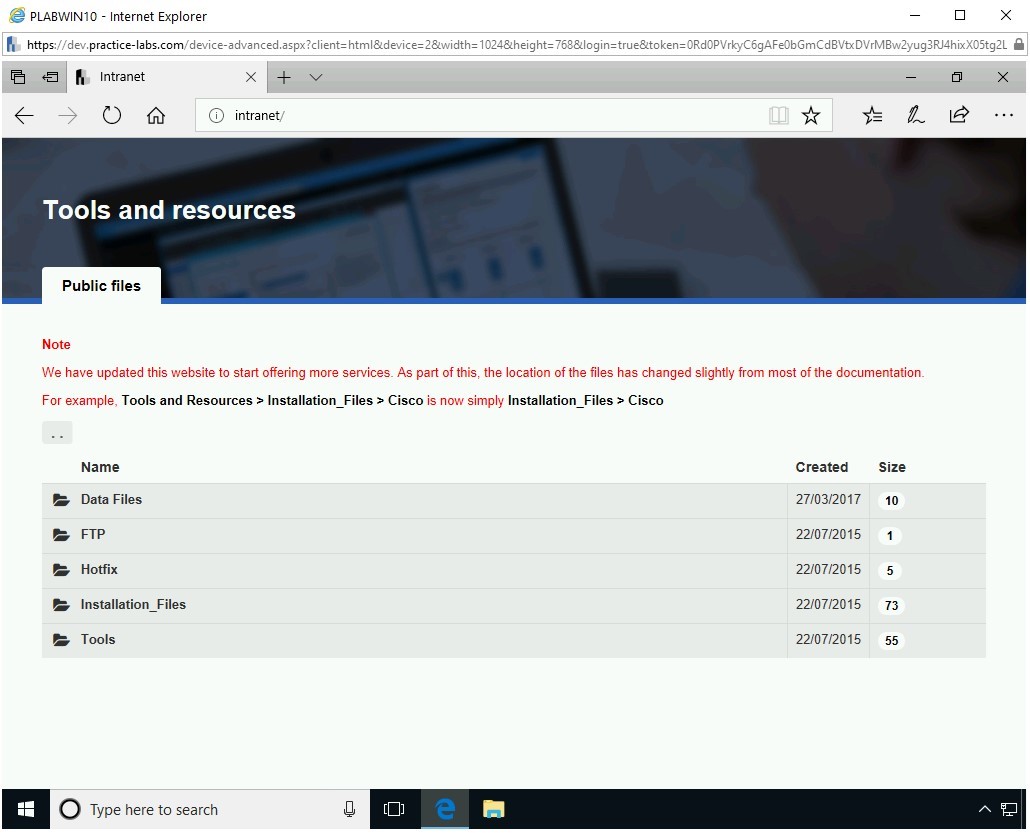
Step 3
The Microsoft Edge window is displayed. In the Microsoft Edge window, the default homepage, which is the Practice Labs Intranet, is displayed.
Step 4
In the address bar, type the following URL:
https://whois.com/whois/
Press Enter.
The Whois.com Website is displayed.
Note: Even if you enter http, it will automatically convert to https. Also, you can also get the domain information from the https://whois.icann.org/en Website.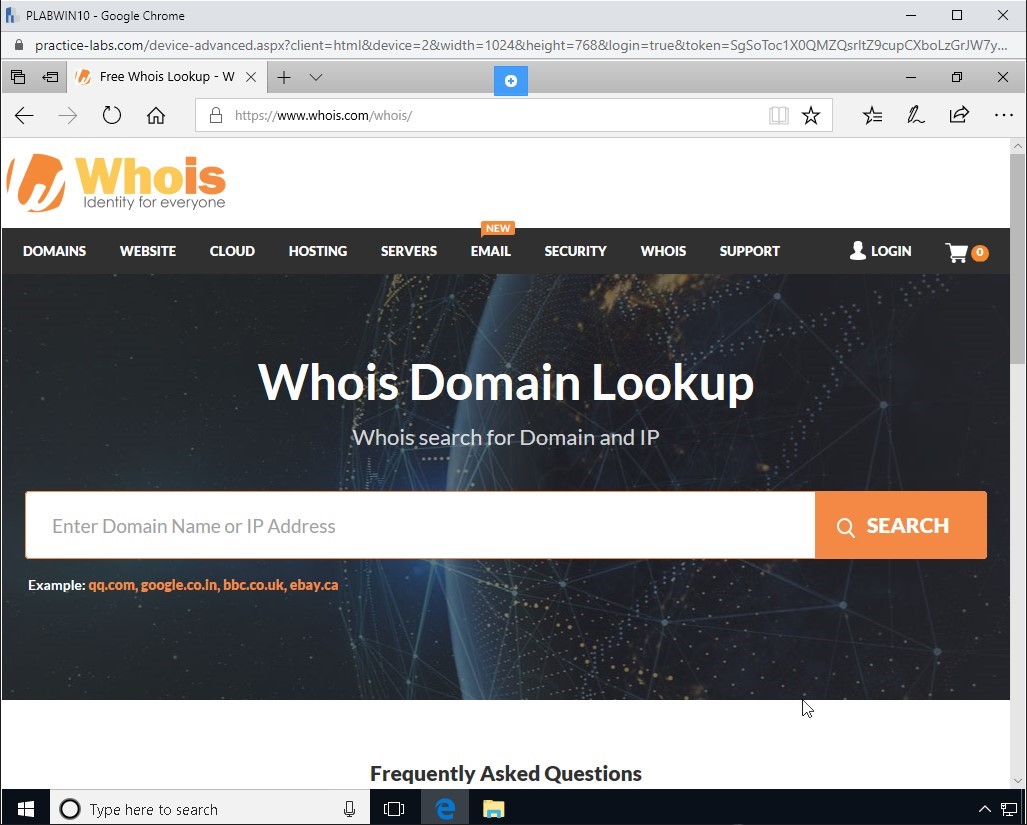
Step 5
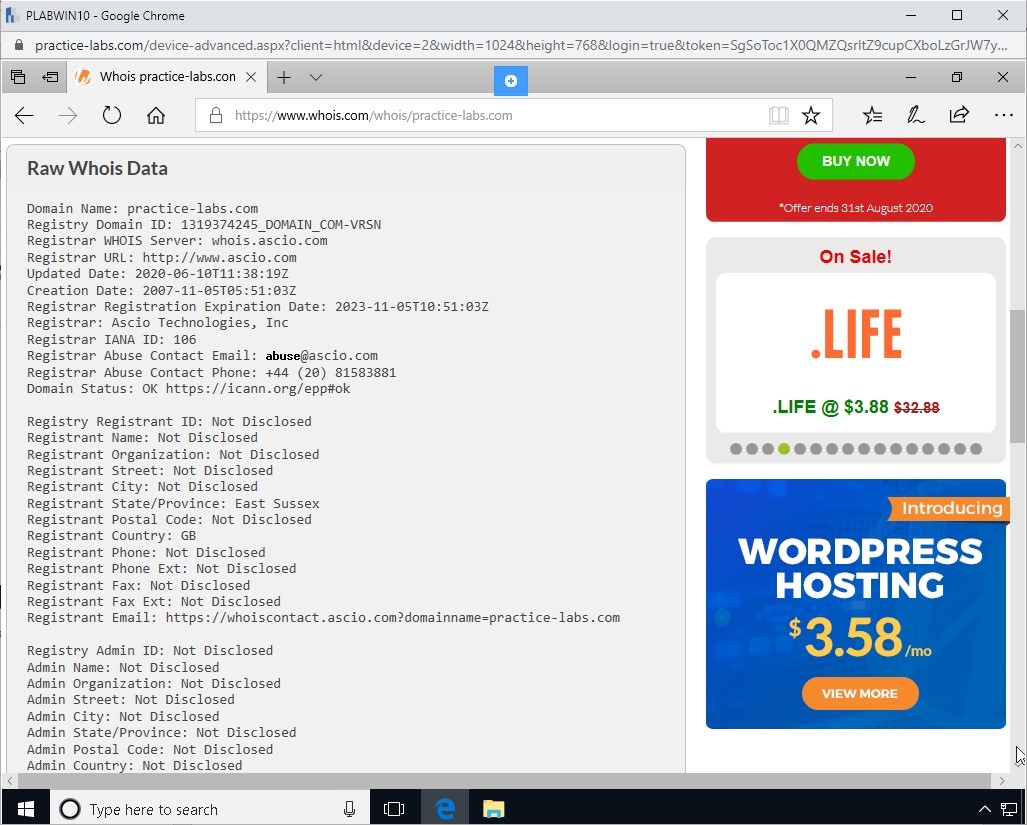
In the search bar, type the following URL:
www.practice-labs.com
Press Enter or click on the magnifying glass icon.

Step 6
The results are displayed.
Scroll down to the Raw Whois Data.
Notice in the results throughout the entire page, several key points about the Website are displayed. Some of the key ones are:
- Domain name
- Registrar
- Whois server
- Referral URL
- Creation, Updated, and Expiration Date
Step 7
Open another tab in Microsoft Edge.
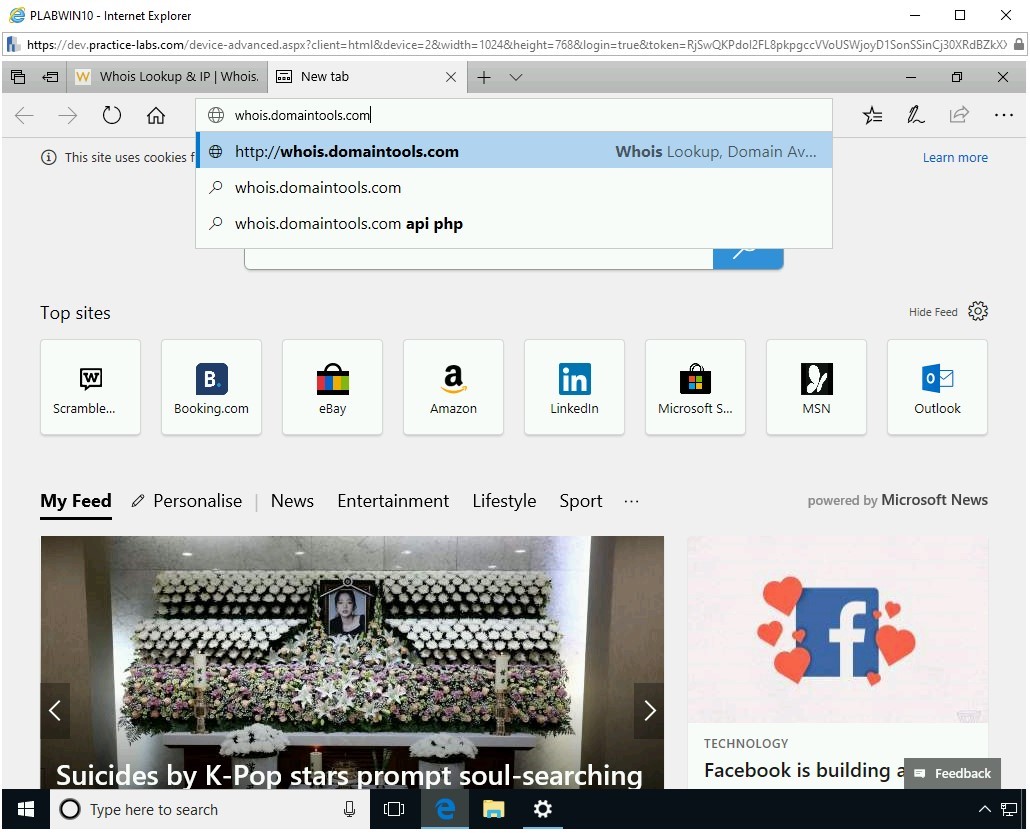
Step 8
In the new tab, type of the following URL in the address bar:
whois.domaintools.com
Press Enter.
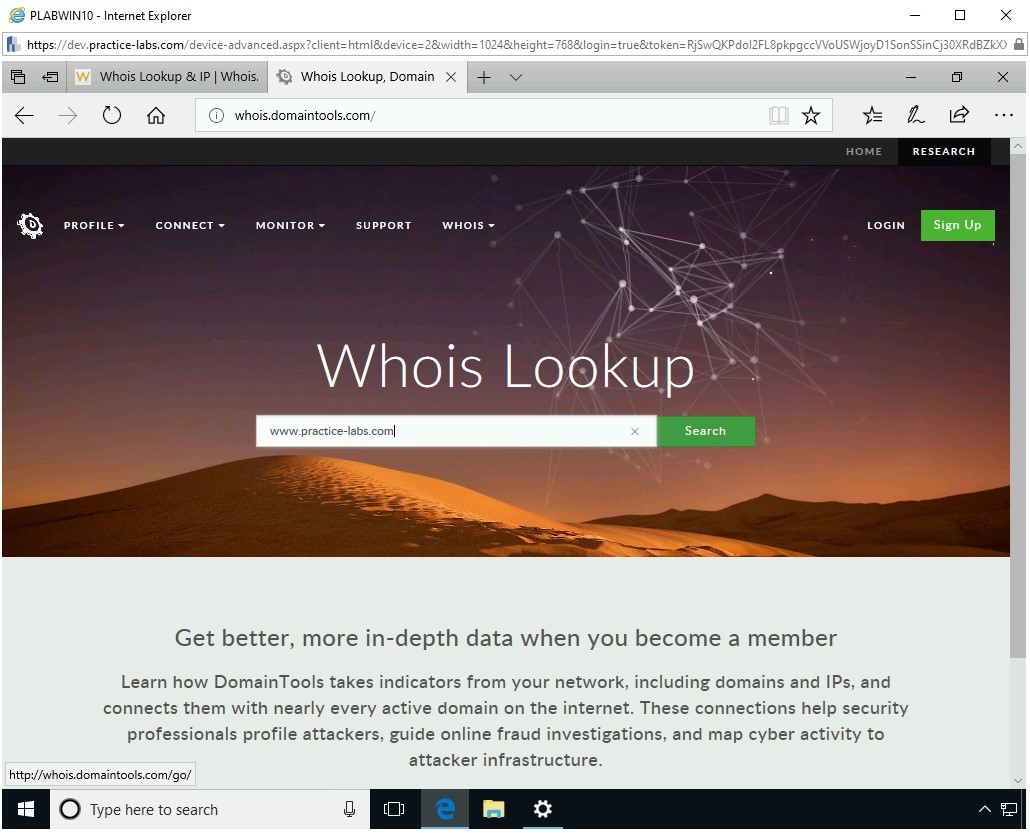
Step 9
The Whois Lookup Webpage is loaded. In the search text box, type the following URL:
www.practice-labs.com
Press Enter. Alternatively, click Search.
Step 10
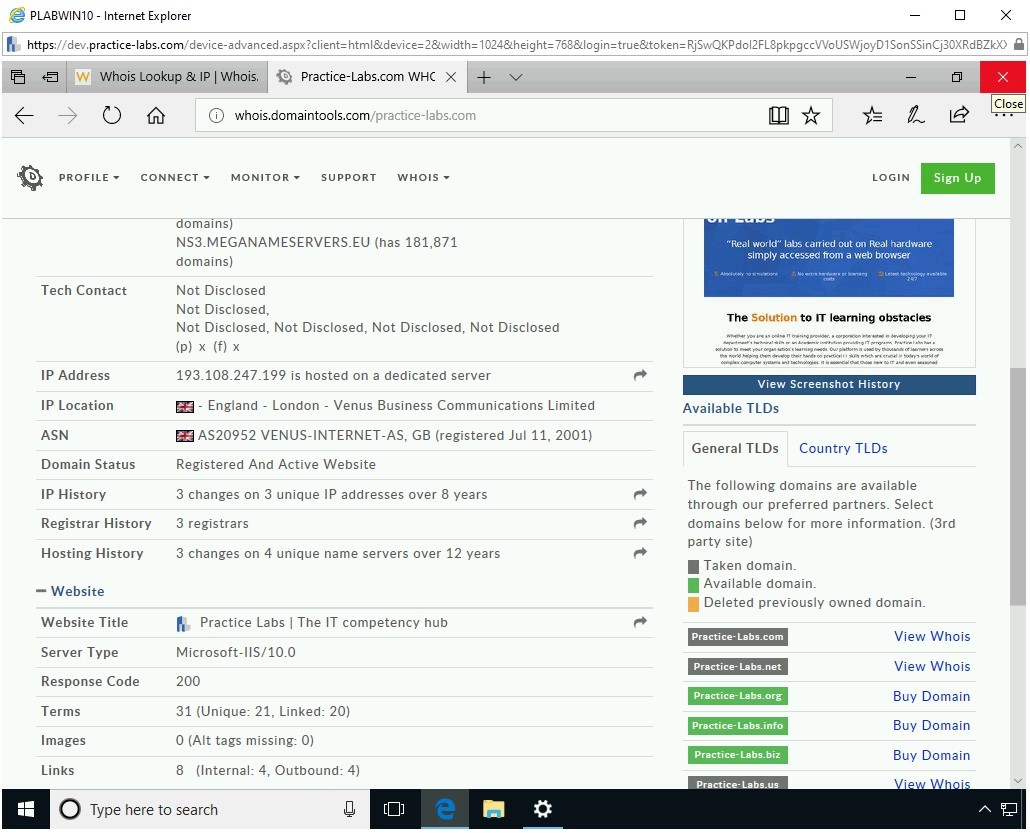
The Whois Record Webpage is loaded.
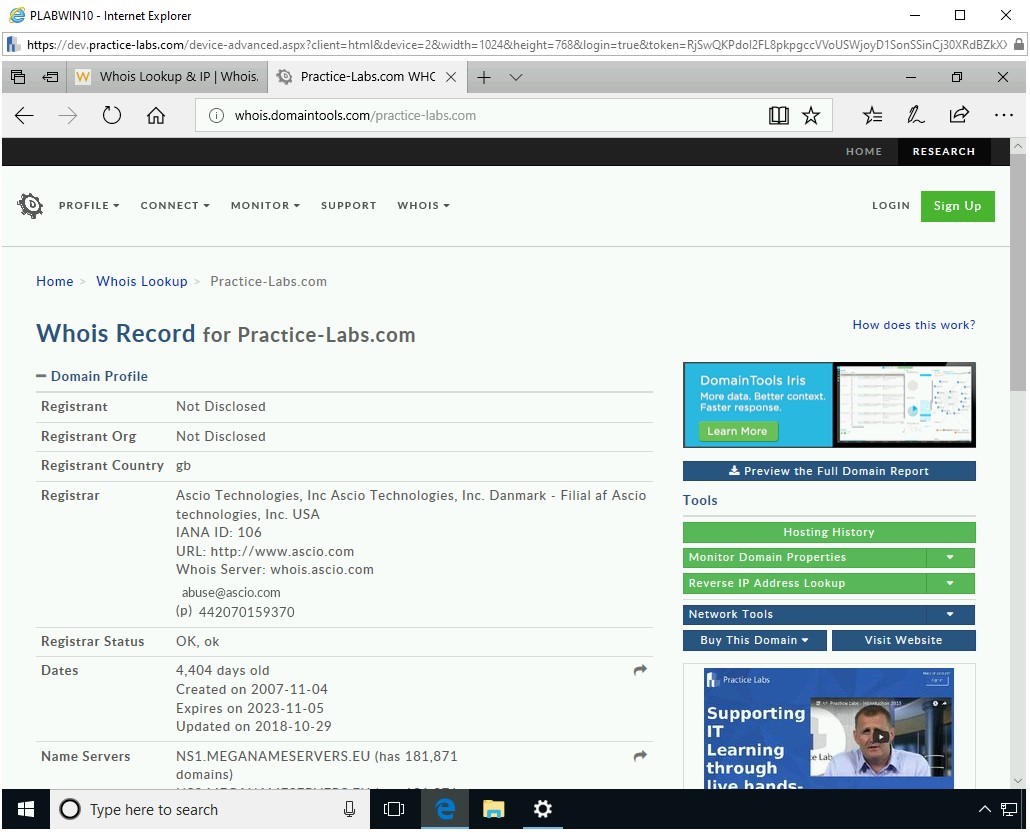
Step 11
You can scroll down to read more about the searched Website. Notice that this Webpage displays a lot more information than the WHOis Website.
Scroll down to view some of the following information:
- Server type
- IP address
- IP location
- IP history
- Registrar history
Close Microsoft Edge.
Task 2 - Perform Social Media Exploitation
Social media Websites hold personal and organizational information. Organizations create their profiles to promote and market their products and services. At the same time, the employees of these organizations use social media Websites for their personal profiles.
There are several popular social media Websites that are used by organizations and people. These include:
Organizations and individuals create their profiles, generally with information such as their E-mail address, and phone number. Such information can be useful to the attacker. For example, an attacker can use information, such as an E-mail address, for phishing or a social engineering attack.
There are various tools available that can help you extract information about the organizations and their employees.
In this task, you will use https://hunter.io to extract information from a Website. To do this, perform the following steps:
Step 1
Ensure you have powered on all the devices listed in the introduction and are connected to PLABKALI01

Step 2
In the left pane, click the Firefox ESR icon.
Step 3
The Firefox window is displayed.
In the address bar, type the following URL:
https://hunter.io
Press Enter.
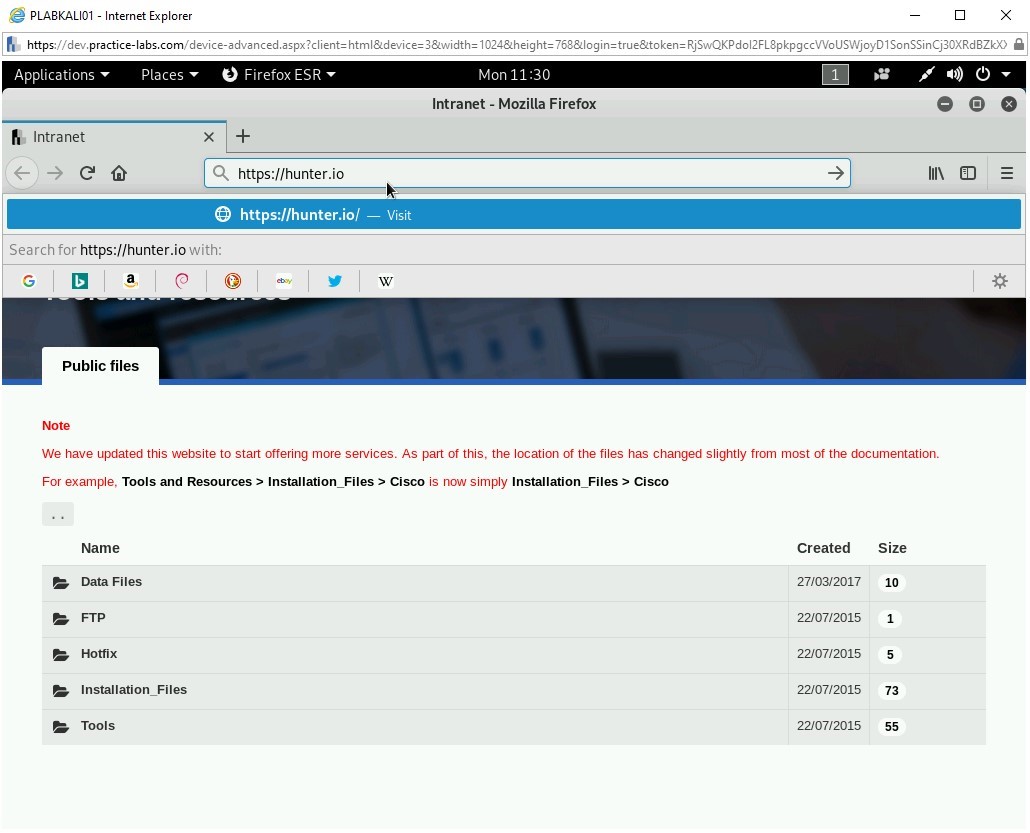
Step 4
The https://hunter.io Website is displayed.
In the Search text box, type the following:
google.com
Press Enter or click Find email addresses.
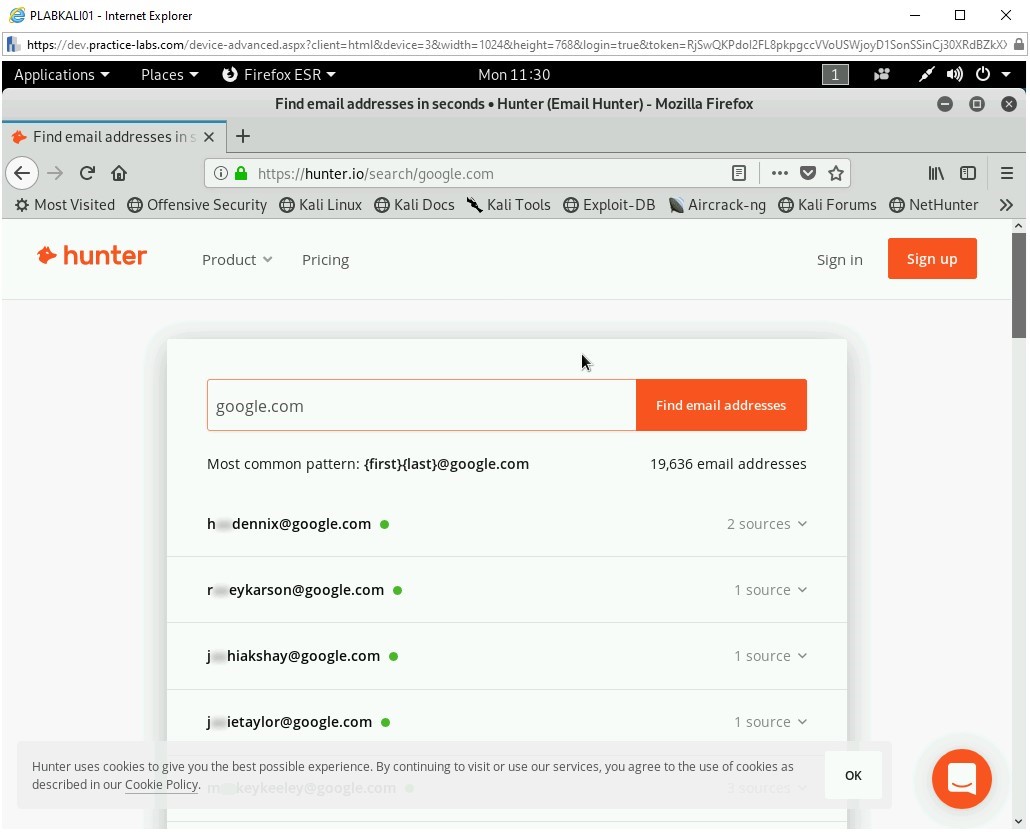
You get limited results when you perform a free search. However, below the results, the output states how many more results are available. For example, for google.com, it states that there are 19,636 more E-mail addresses available.
Note: You may have to sign up to use this service, if you do not wish to create an account, please move onto the next step.Step 5
You can also gather information from Twitter.
In the Firefox address bar, type the following URL:
https://burrrd.com
Press Enter.
Step 6
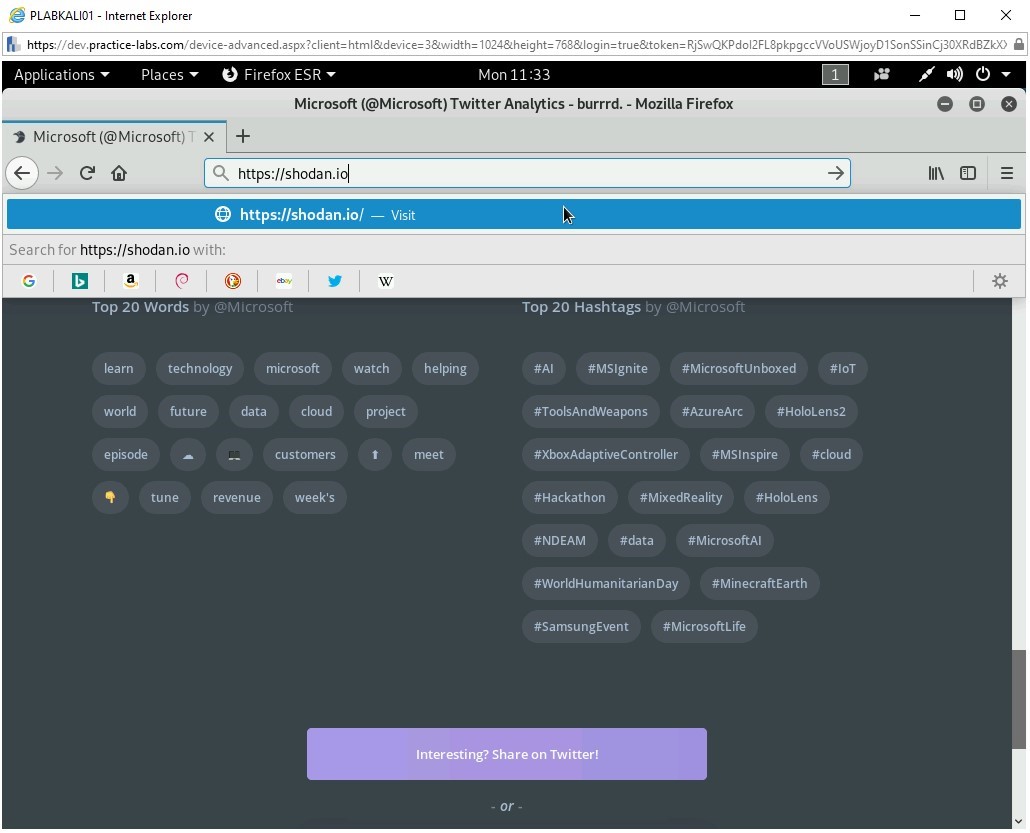
The https://burrrd.com Website is now loaded. It allows you to analyze a Twitter account. For example, you can enter any valid Twitter handle, and it will provide the statistics of that account.
In the Username textbox, type the following:
microsoft
Press Enter or click ANALYZE.
Step 7
The search results are displayed.
Remember that only public information is being displayed. Blurrrd.com only collates that publicly available information.
Note: You will need to sign in to get information about tweets, followers, following, and likes given.Step 8
You can scroll down to view more statistics about Microsoft, including Connected Users, Top 20 Words, and Top 20 Hashtags.
Keep the Firefox window open.
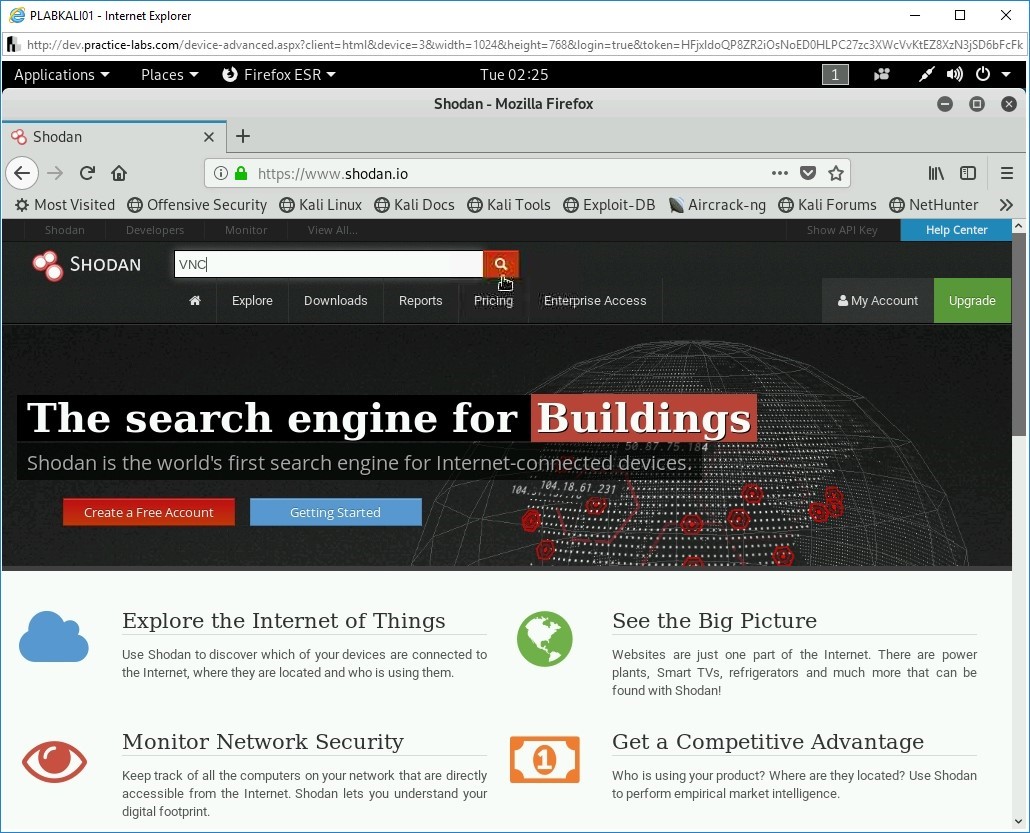
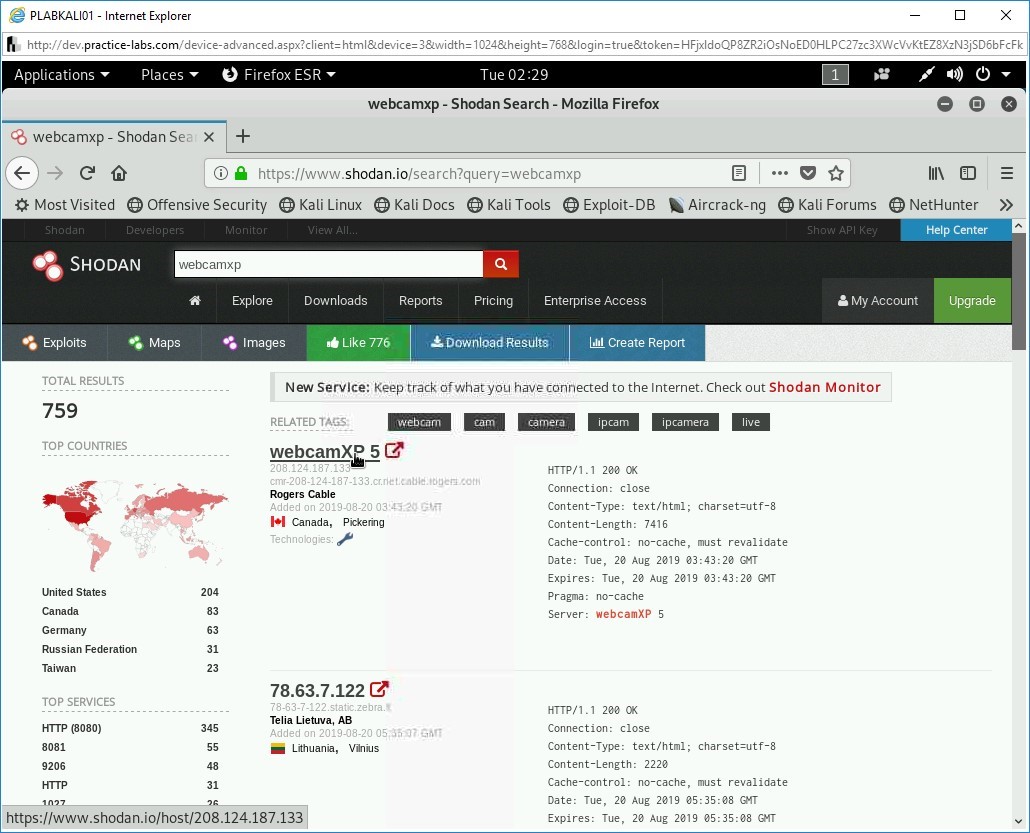
Task 3 - Use SHODAN
SHODAN is a Website that helps you track the vulnerabilities of online systems and devices. Several online systems and devices, such as webcams and routers, remain configured with the default password. Shodan indexes such devices and provides complete details with the username and password. These usernames and passwords can be misused by anyone who can locate them on Shodan. For example, if a Webcam is IP-enabled, the attacker can use the default username and password to monitor the live feed of the Webcam.
Some of the systems and devices that Shodan can track are:
- Servers
- Routers
- Firewall devices
- Devices, such as Webcam and wireless routers
- IoT devices
- Industrial control systems (ICS)
Step 1
Ensure you have powered on all the devices listed in the introduction and are connected to PLABKALI01. Ensure that the Firefox window is open.
In the address bar, type the following URL:
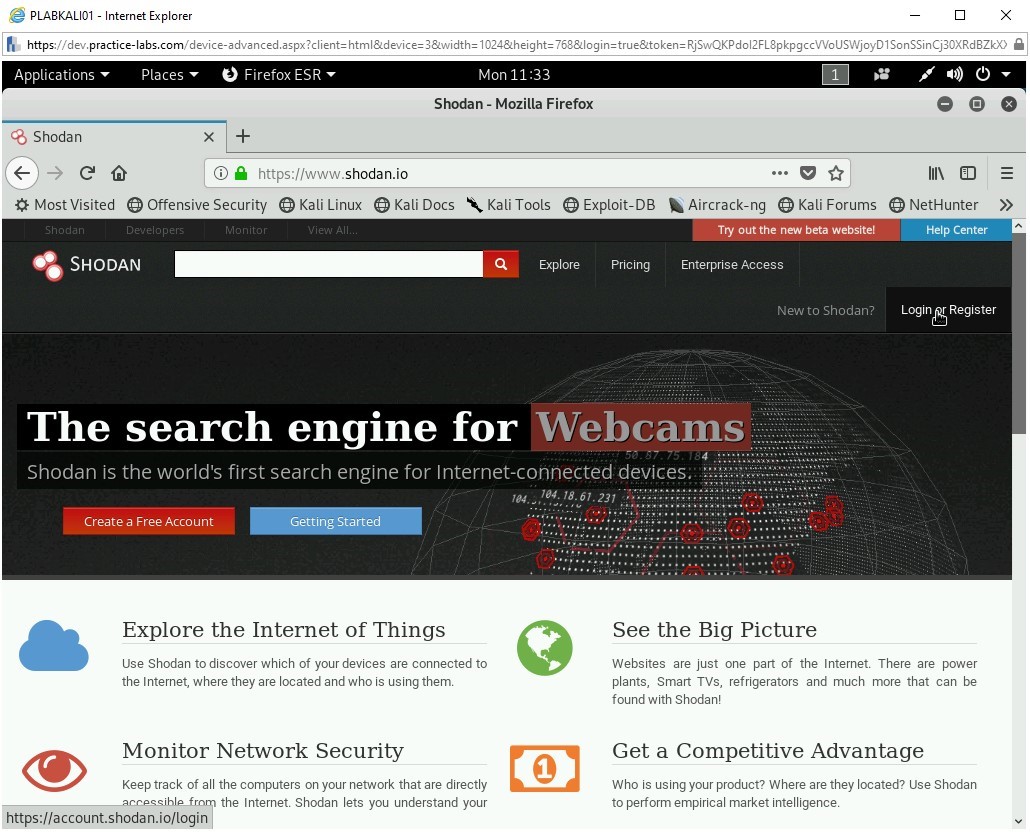
https://shodan.io
Press Enter.
Step 2
The https://shodan.io Website loads. You need to first log in to the Website to explore various things like open Webcams.
Click Login or Register.
Step 3
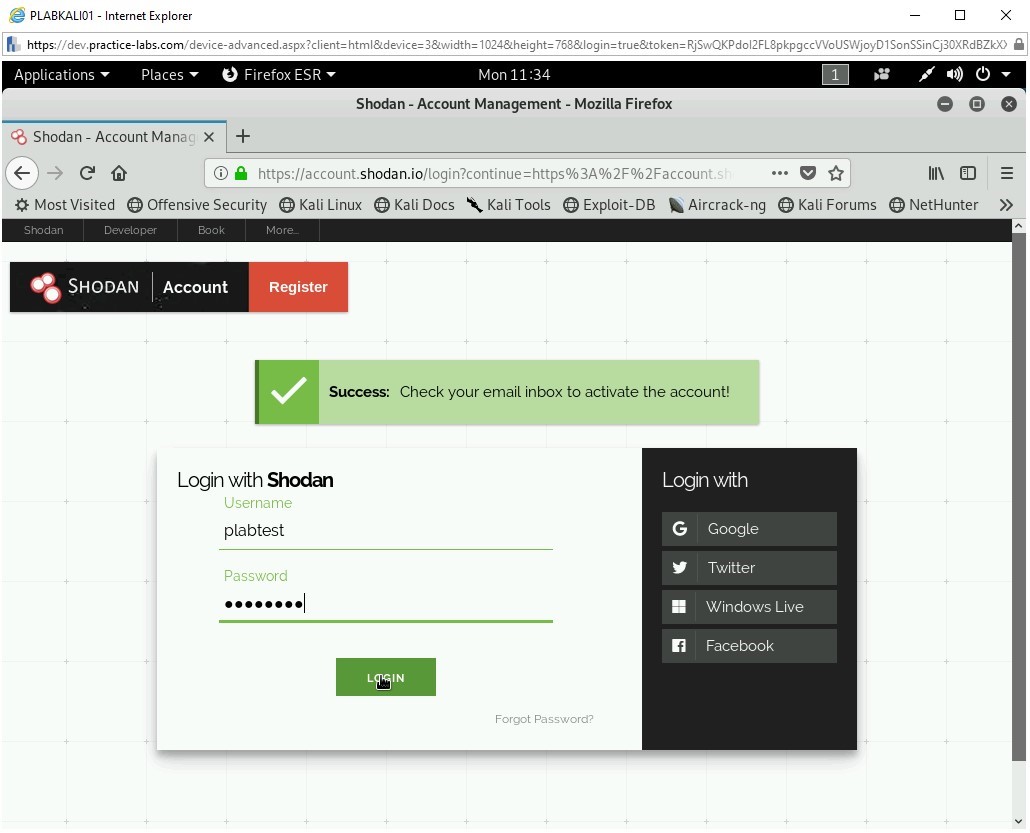
Enter your login credentials and click LOGIN.
Note: When prompted to save user credentials, click Don’t Save.
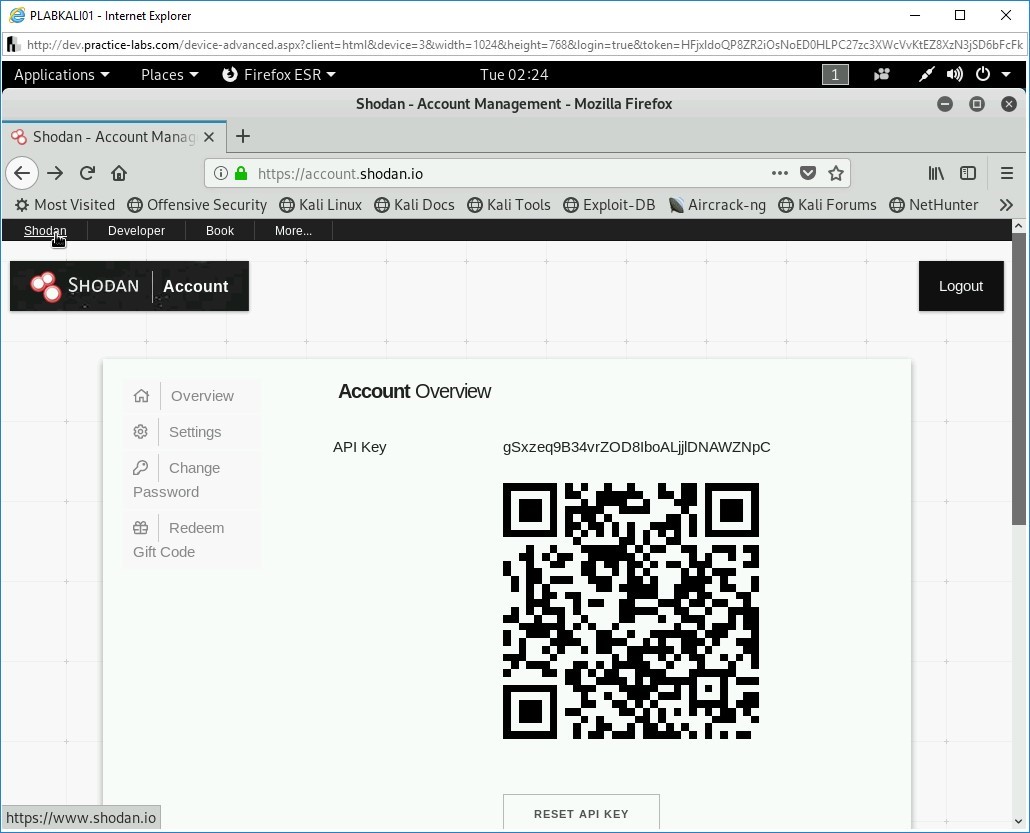
Step 4
You are navigated to the profile page.
Click Shodan in the upper left corner.
Step 5
You will now be on the home page.
In the search bar at the top of the Webpage, type the following:
VNC
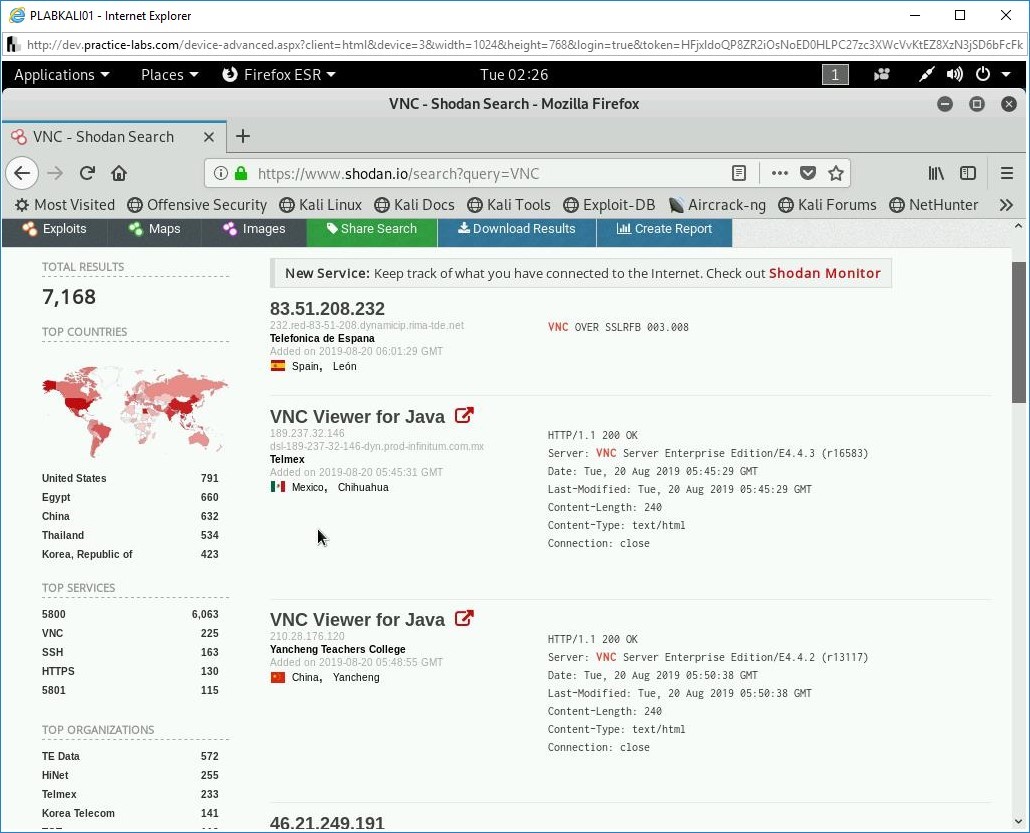
Press Enter.
The search results are displayed. The left pane displays a lot of information, such as:
- TOP COUNTRIES
- TOP SERVICES
- TOP ORGANIZATIONS
- TOP OPERATING SYSTEMS
- TOP PRODUCTS
Step 6
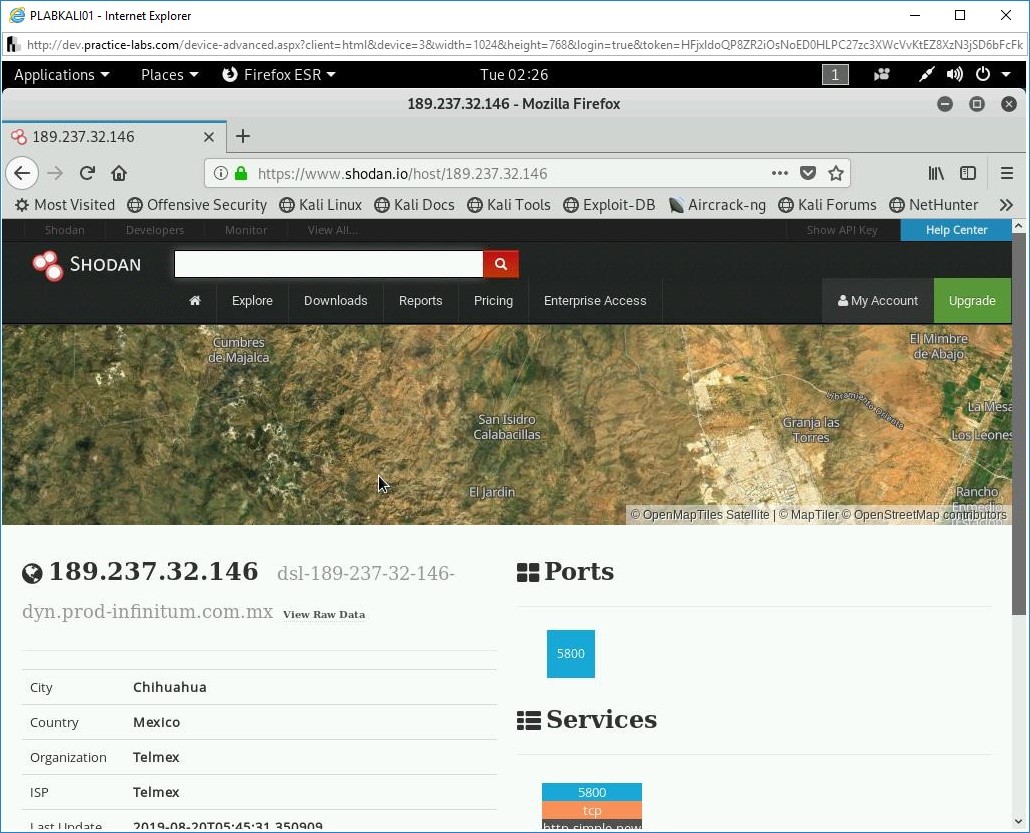
Click VNC Viewer for Java from the search results.
Note: If this result is not visible in your search, you can select any other search item.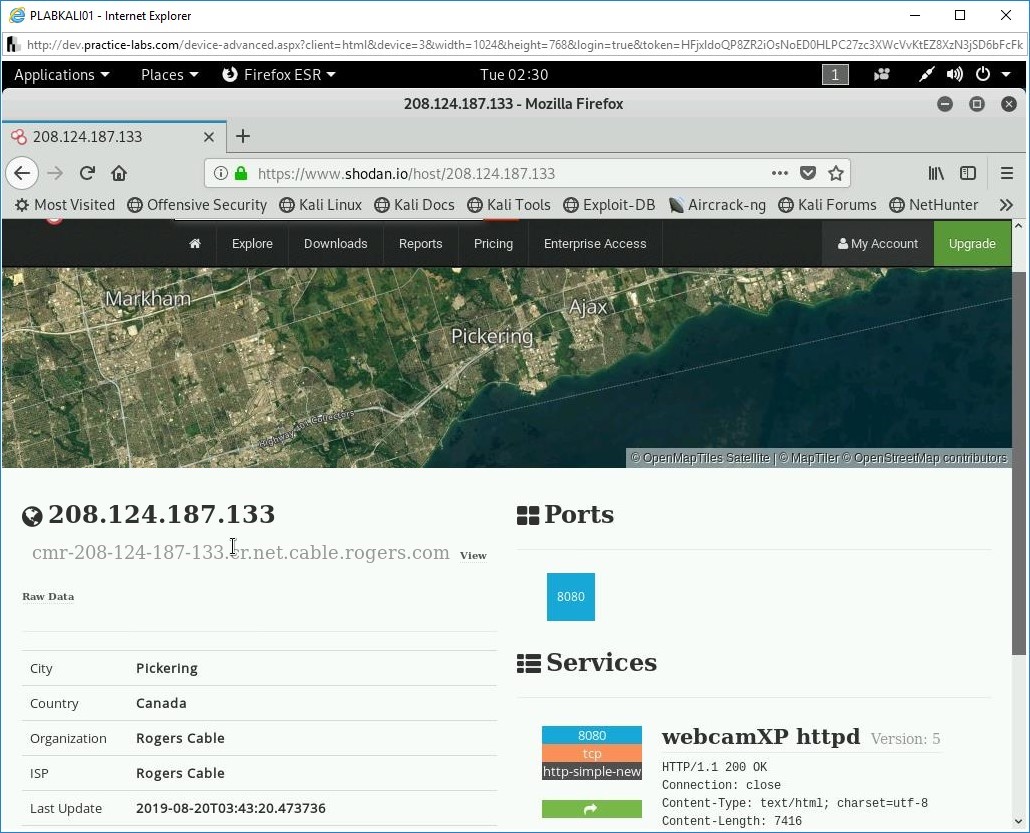
The information about the selected result is displayed. Notice the right pane displays the ports and services available on this IP address. You can scroll down to view detailed information.
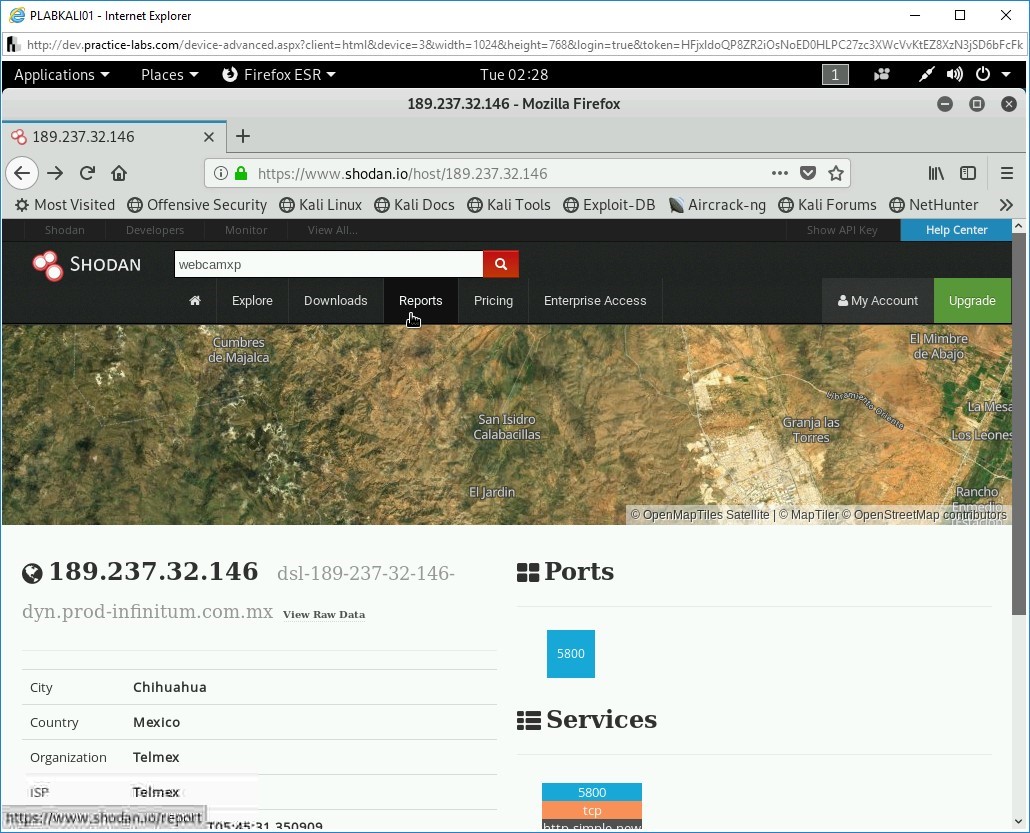
Step 7
You can also search for live webcams on Shodan. For example, you can search for webcamxp. The search result will provide a list of live webcams from around the world.
Note: The shodan.io Website is regularly updated, and therefore, you are likely to see a different set of hosts on this Webpage.In the search box, type the following:
webcamxp
Press Enter.
Step 8
Select any of the search results.
Notice that the detailed information about the search result is displayed. The right pane displays that there is one port open.
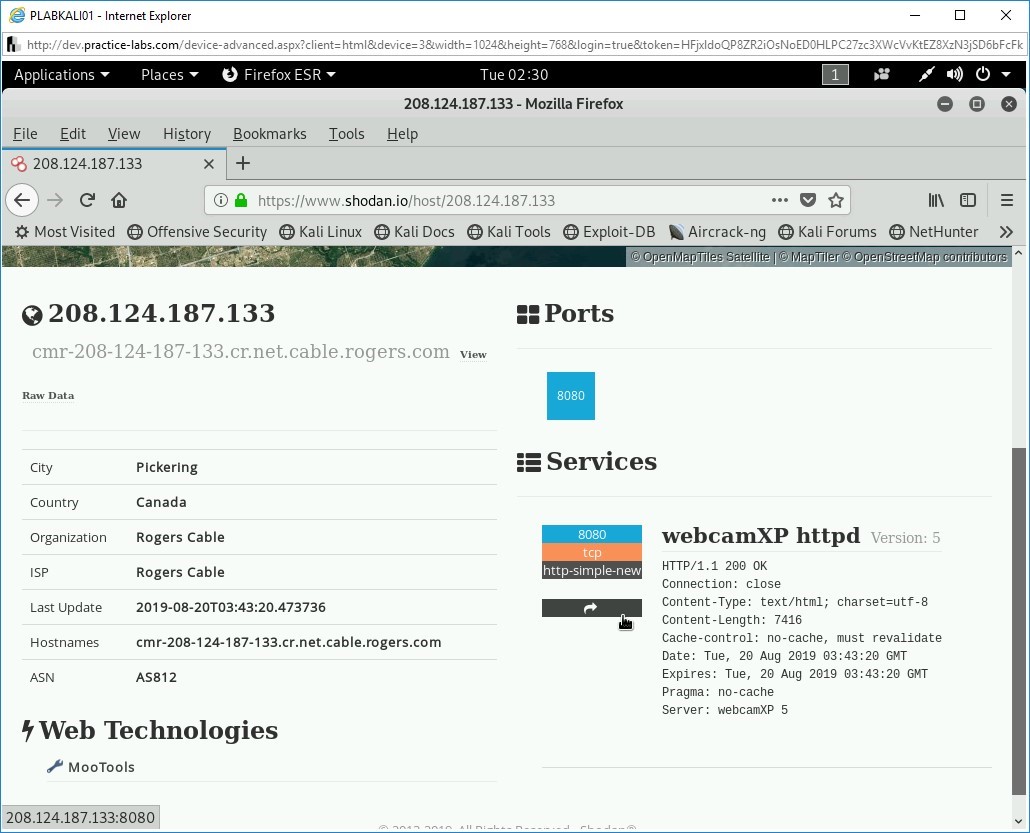
Step 9
Scroll down to the webcamXP httpd section in the right pane.
You will now navigate to a Webpage that will display the live feed of this webcam.
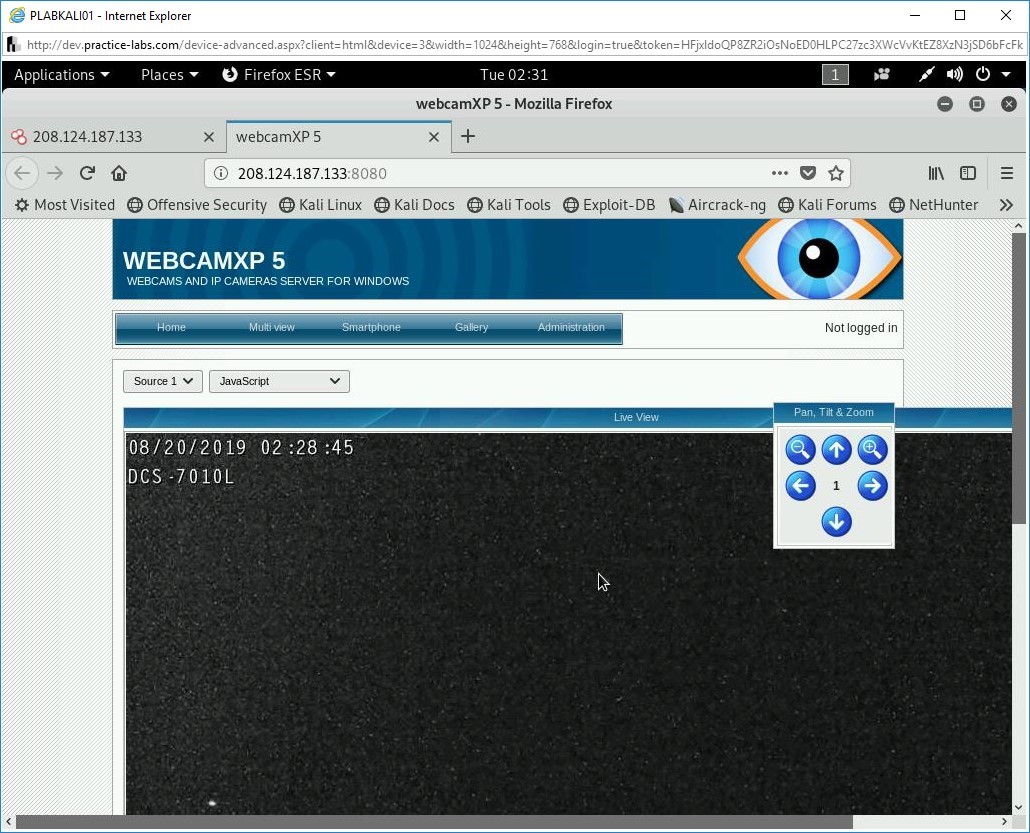
To the left of the webcamXP httpd section, click the rectangular arrow button.
A new tab opens. A live feed of the webcam is now being displayed.
Close the Firefox window.
Task 4 - Use the Google Hacking Database
The Google Hacking Database (GHDB) is a database of queries that you can use to identify sensitive data.
GHDB provides some of the following information:
- Advisories
- Server vulnerabilities
- Error messages
- Files containing passwords
- Sensitive directories
- Pages containing login portals and network or vulnerability data
To use GHDB, perform the following steps:
Step 1
Ensure you have powered the required devices specified in the introduction, then connect to PLABWIN10.
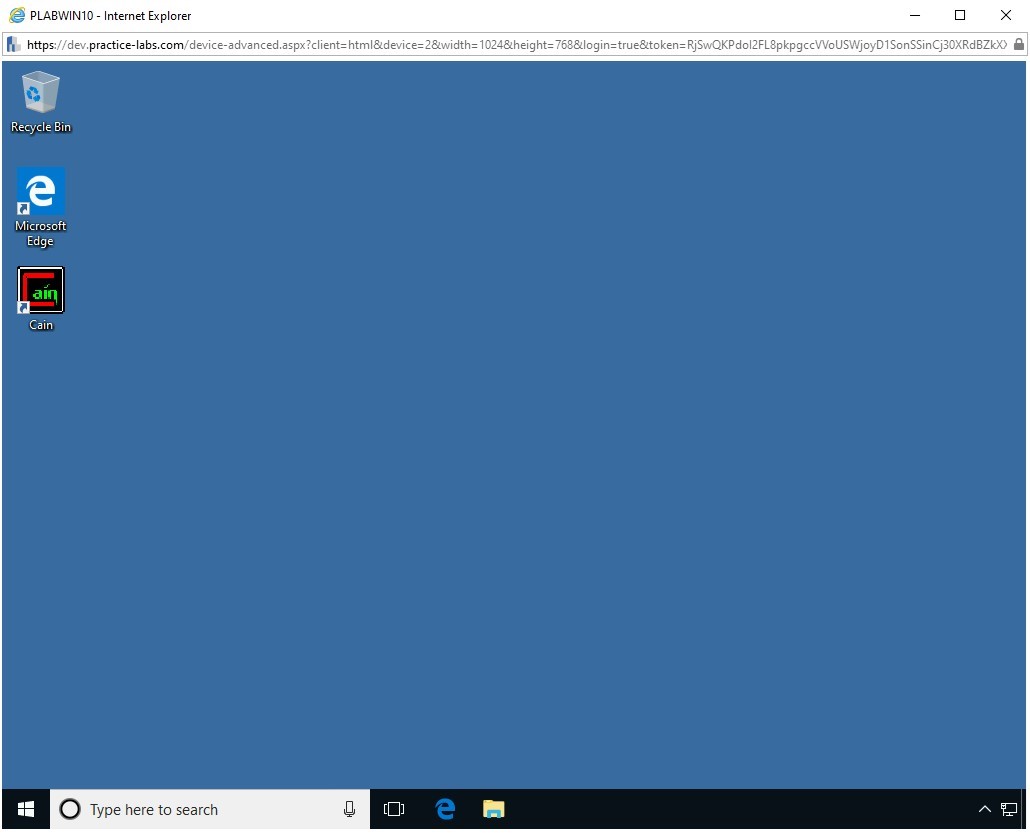
The desktop is displayed.
Step 2
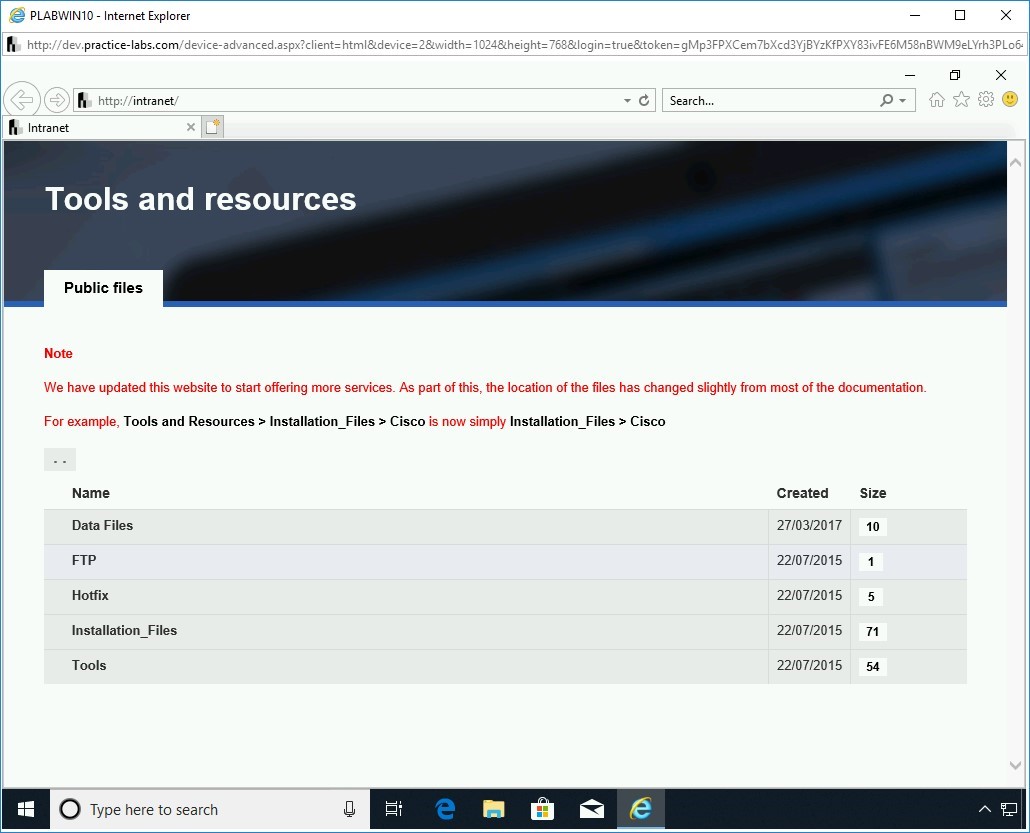
Open Internet Explorer.
In the Internet Explorer window, the default homepage, which is the Practice Labs Intranet, is displayed.
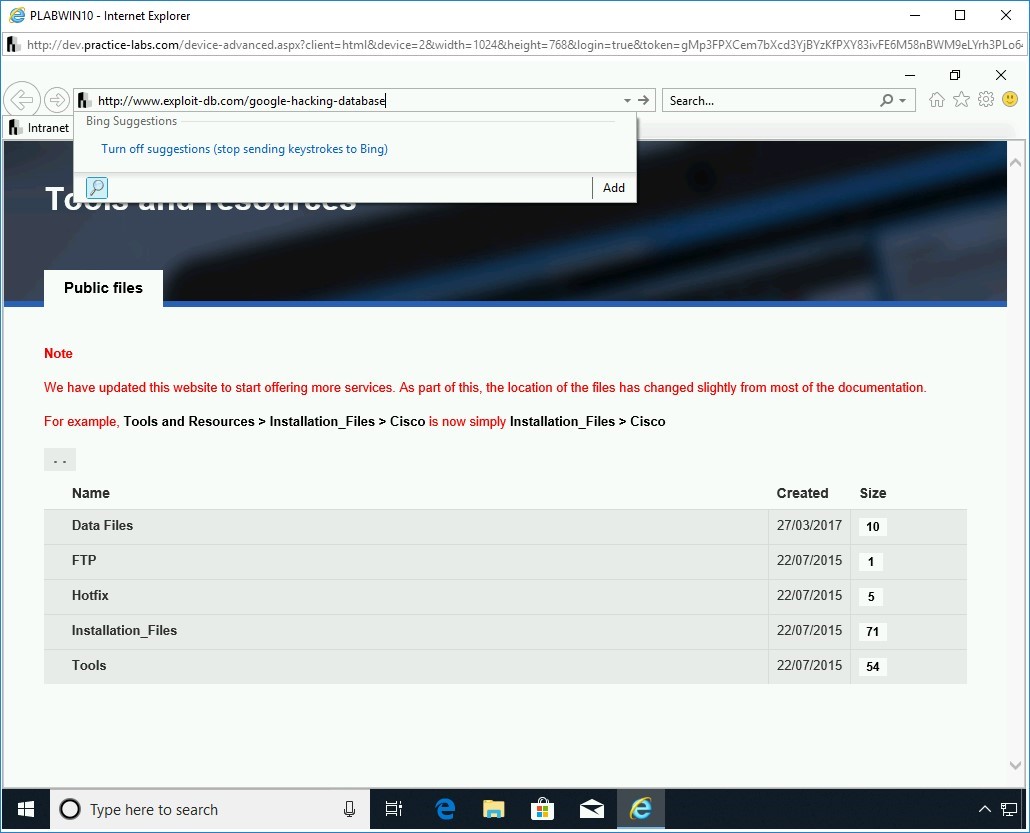
Step 3
In the address bar, type the following URL:
http://www.exploit-db.com/google-hacking-database
Press Enter.
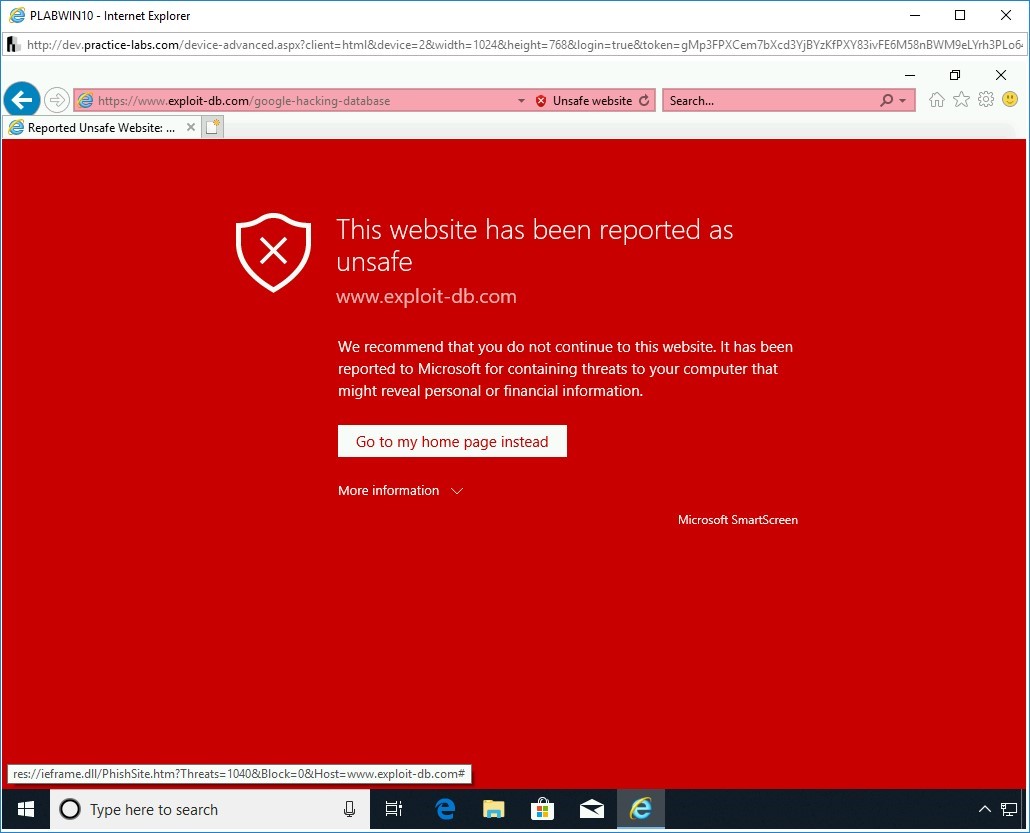
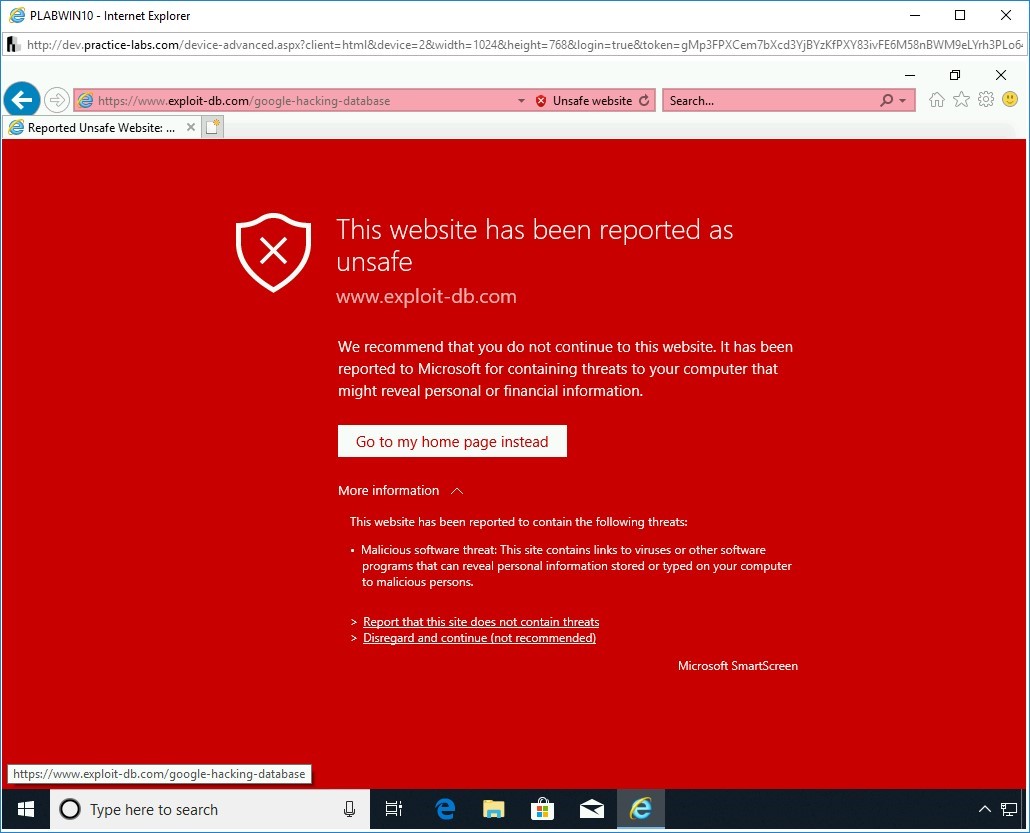
Step 4
You will be prompted with a SmartScreen warning.
Click the More information drop-down.

Step 5
Click Disregard and continue (not recommended).
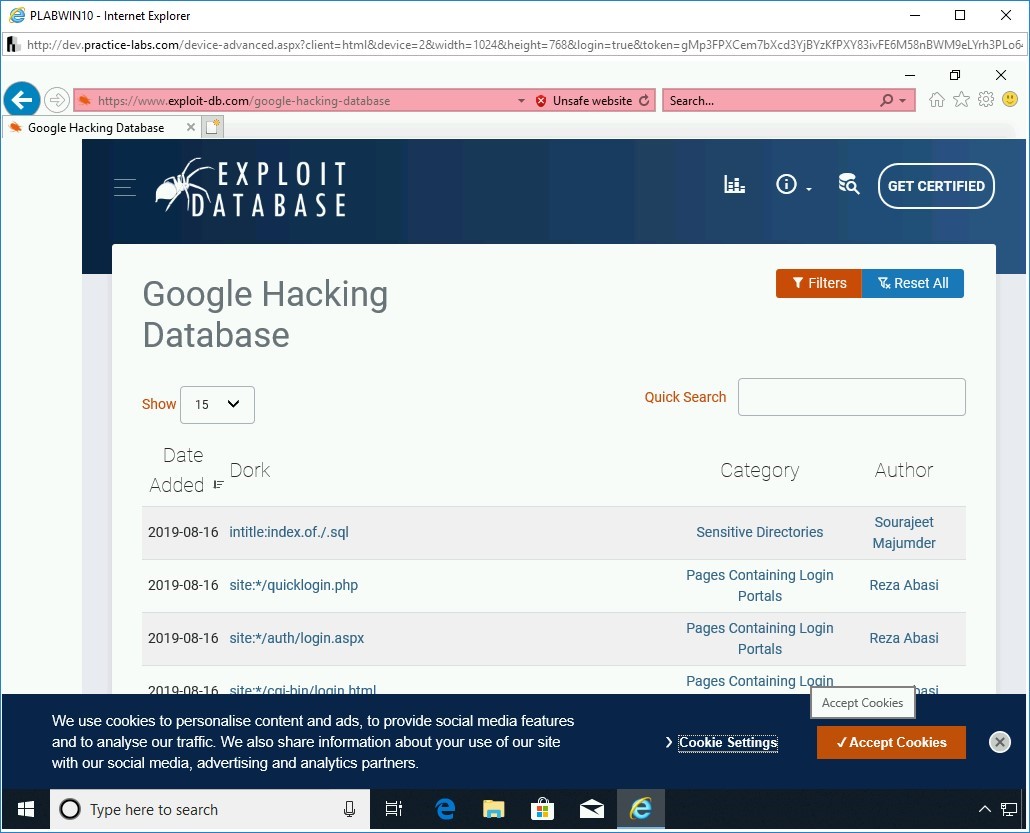
Step 6
When prompted with cookies notification, click Accept Cookies.
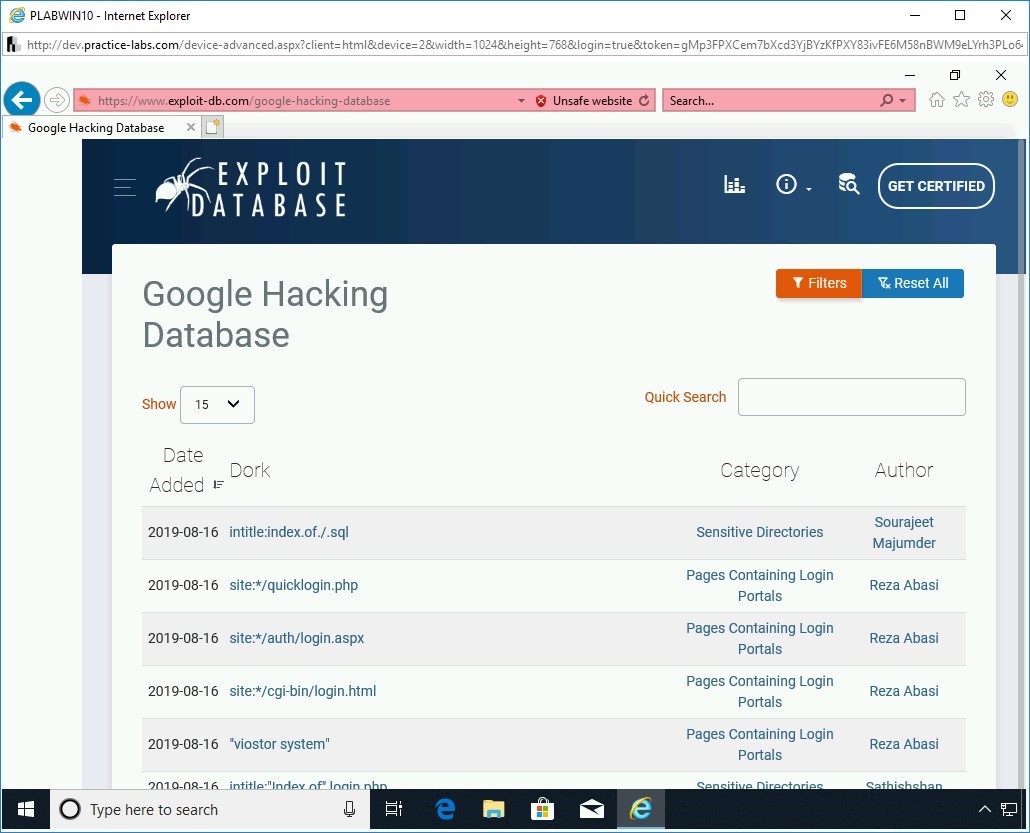
Step 7
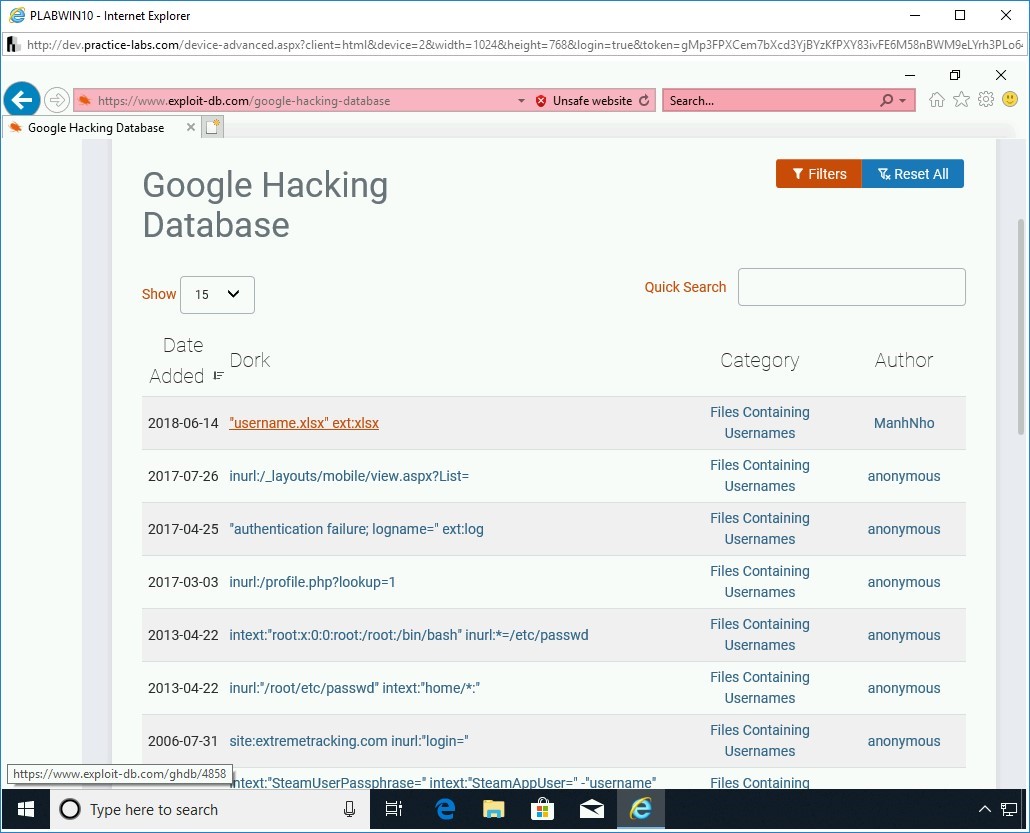
The Google Hacking Database Website is displayed.
Click the Filters button.
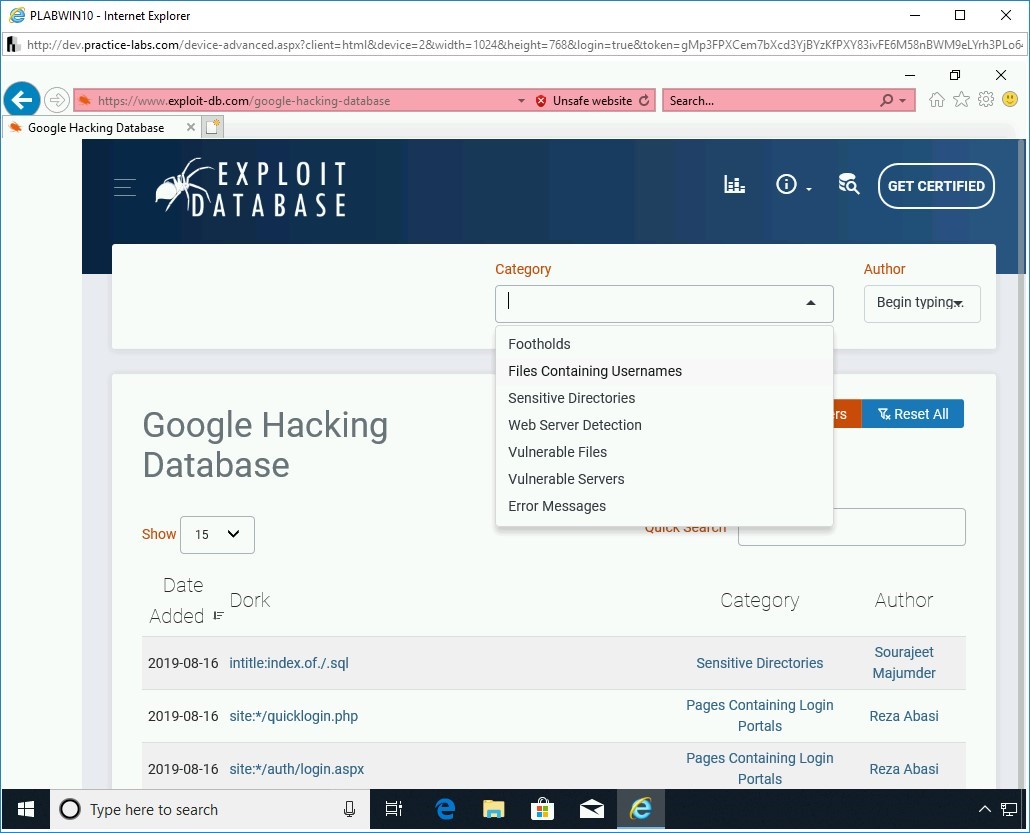
Step 8
The Category and Author drop-down lists appear at the top of the Webpage.
Click the drop-down arrow in the Category drop-down box.
Step 9
From the drop-down list, select Files Containing Usernames.

Step 10
The search results are displayed.
Click any result that contains the filetype xlsx.
Note: The results shown below are likely to vary in your search results. You may have to scroll to the next pages to find such a result.
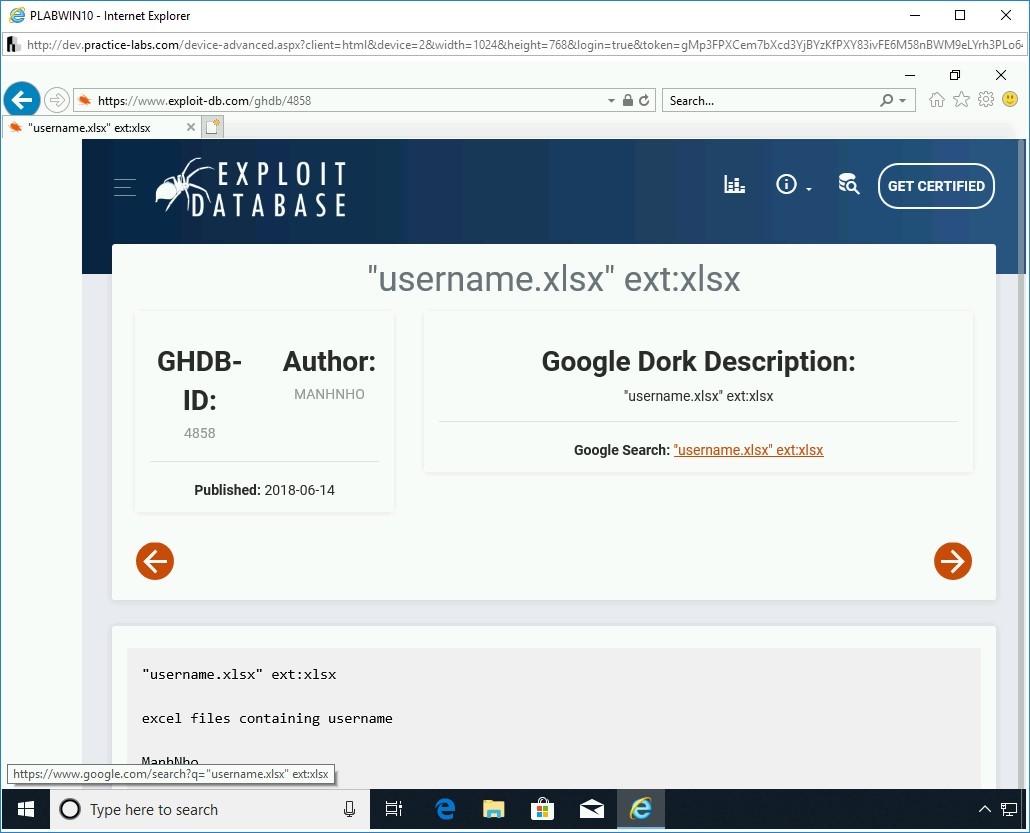
Step 11
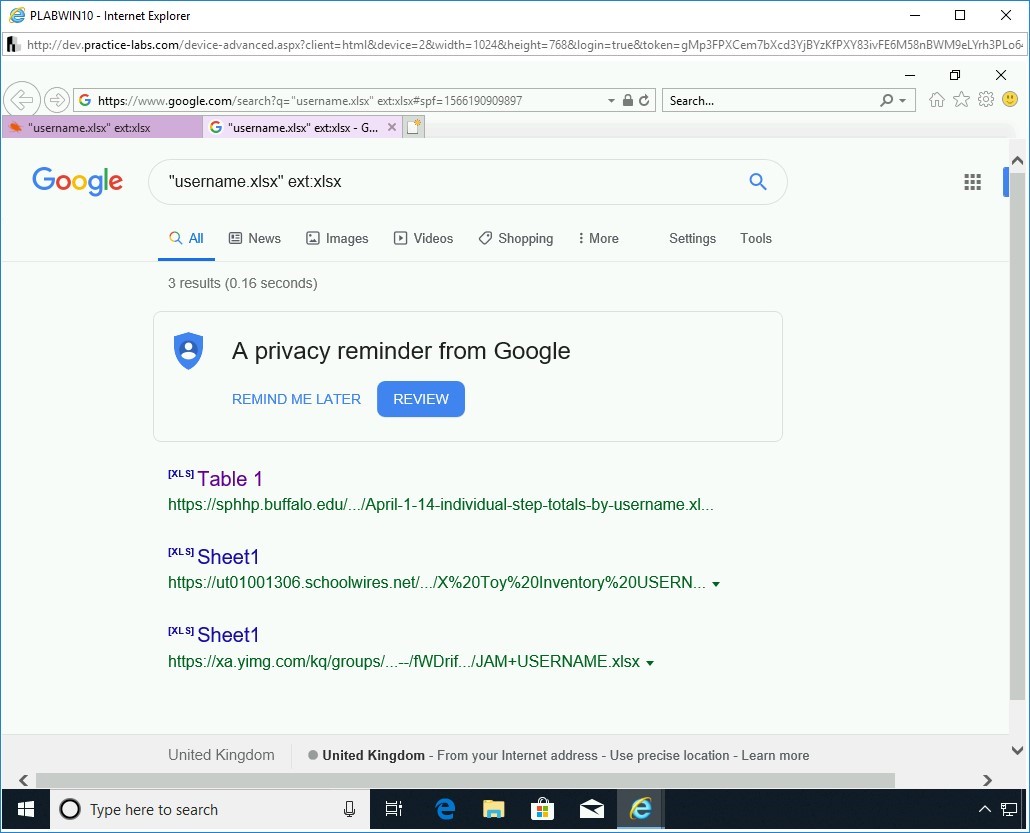
The result’s information is displayed. Click on the link provided in the Google Search field.
A new tab is opened with a list of Websites that contain a file with the .xlsx extension. Each file contains a list of the user information.
You can download and read any of the .xlsx files.
Task 5 - Perform DNS Querying
nslookup is a network administration command-line tool that is primarily used to query the Domain Name System (DNS). Using this tool, you can obtain the domain name or IP address mapping.
To use nslookup, perform the following steps:
Step 1
Ensure you have powered on all the devices listed in the introduction and connect to PLABKALI01.
On the desktop, click Terminal.
Step 2
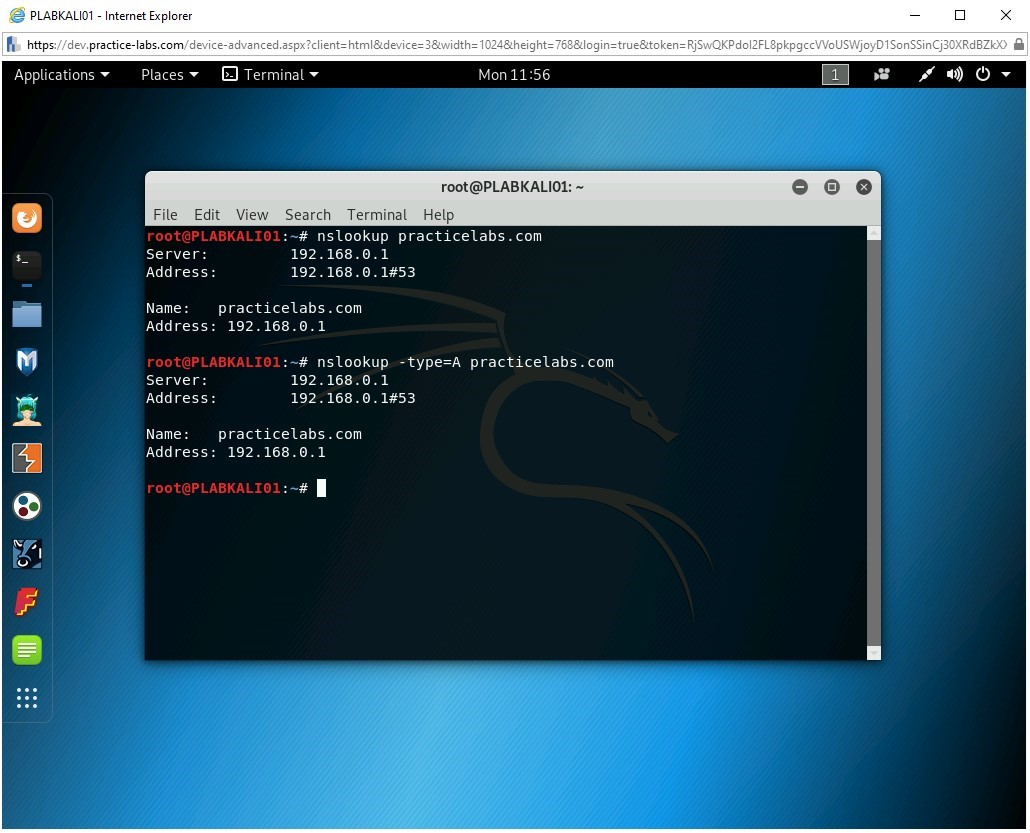
The terminal window is displayed. Enter the following command:
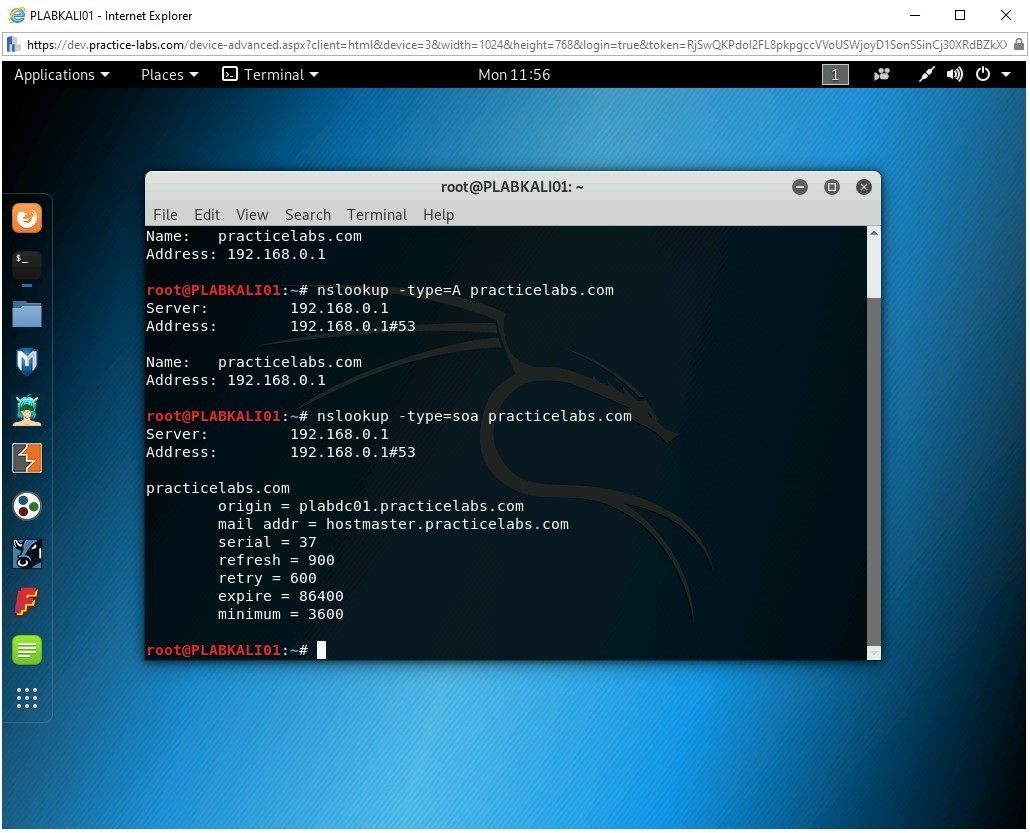
nslookup practicelabs.com
Press Enter.
Note that the IP address for the domain, practicelabs.com, is displayed. The first two lines of output specify the server to which the request was directed. This is the default server for DNS name resolution. The second section provides the name of the record and its corresponding IP address.
In this example, the DNS server is 192.168.0.1. The record for practicelabs.com is also mapped to the same IP address, 192.168.0.1.
In a real-world scenario, you are likely to find that both results have different IP addresses.

Step 3
You can also check for a specific record. For example, to check for any A (Address) records for practicelabs.com, type the following command:
nslookup -type=A practicelabs.com
Press Enter.
Step 4
You can use the -type=soa option to tell nslookup to display the authoritative (primary) name server.
Type the following command:
nslookup -type=soa practicelabs.com
Press Enter.
Step 5
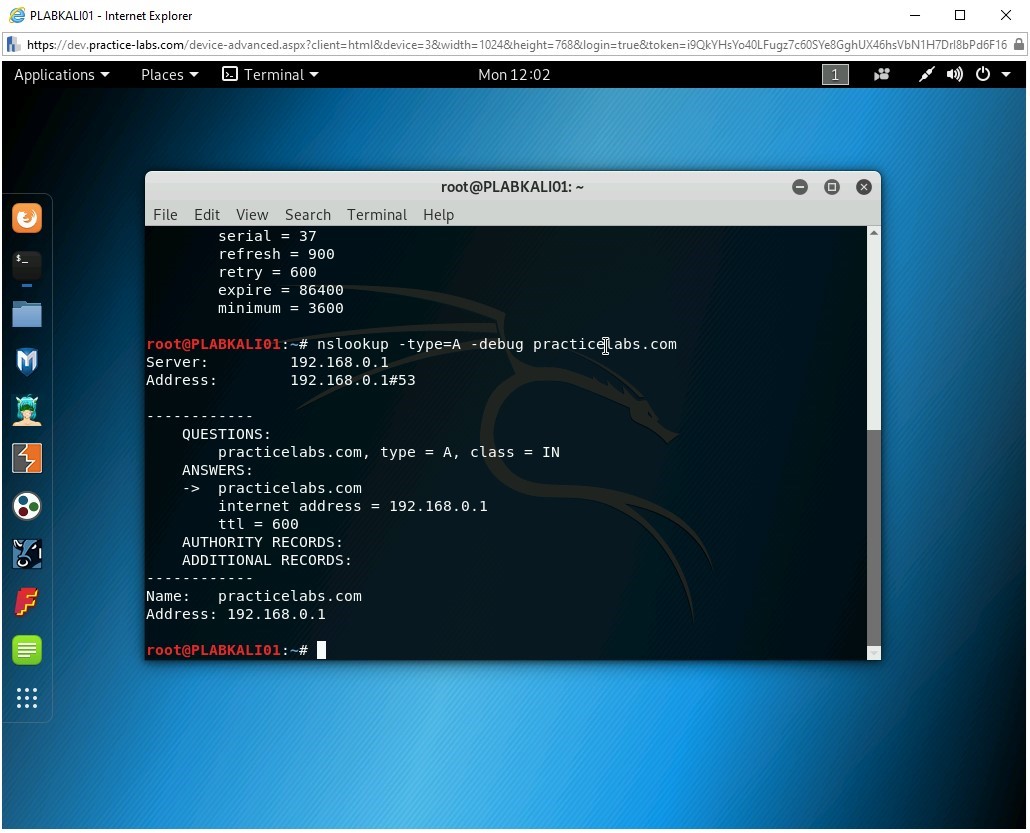
You can also verify how long a record is cached using the debug parameter.
Type the following command:
nslookup -type=A -debug practicelabs.com
Press Enter.
Note that there is no indication of when the records are going to expire. However, if you attempt to execute this command on a live server on the Internet, you will get that information. The internal server does not provide complete details.
Step 6
You can also use the MX record to map a domain name to a list of mail exchange servers for that domain. For example, the MX record provides the details of the mail server to which all the E-mails are sent for the practicelabs.com domain.
Type the following command:
nslookup -query=MX practicelabs.com
Press Enter.
Since there is no mail server for this domain, notice that this command fails.
Step 7
Clear the screen by entering the following command:
clear
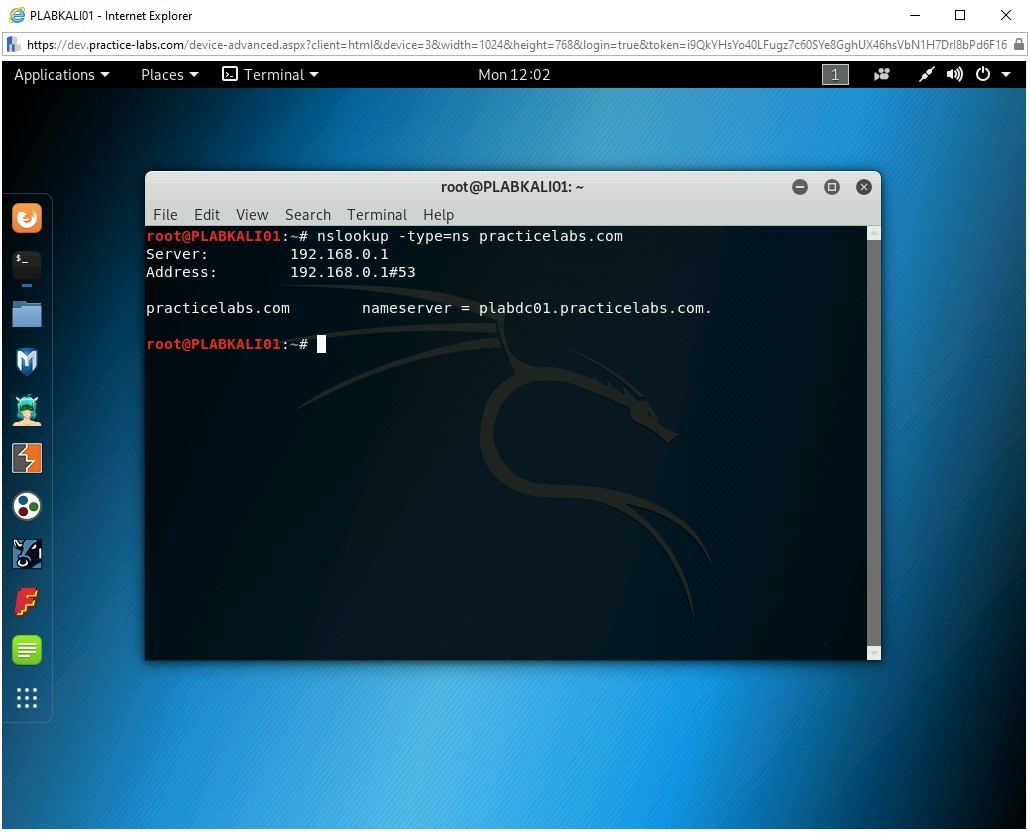
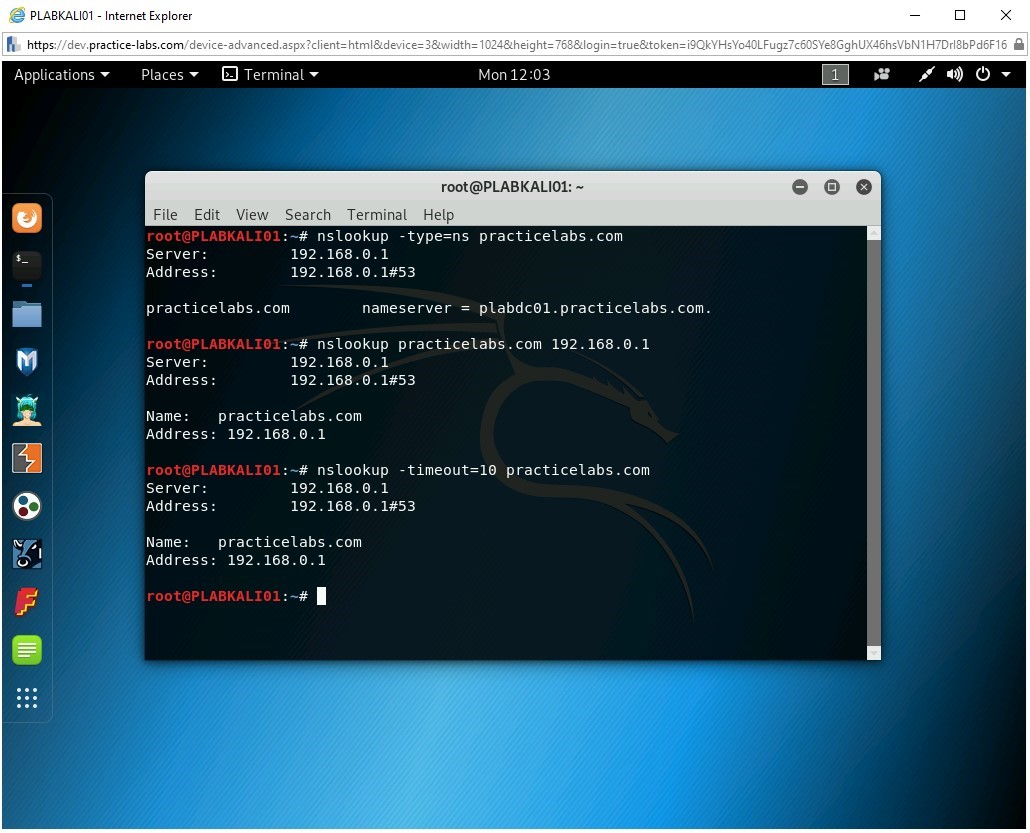
The NS record maps a domain name to a list of the DNS servers that are authoritative for this domain. Type the following command:
nslookup -type=ns practicelabs.com
Press Enter.
Since there is only one DNS server, it is listed as the response to the command.
Step 8
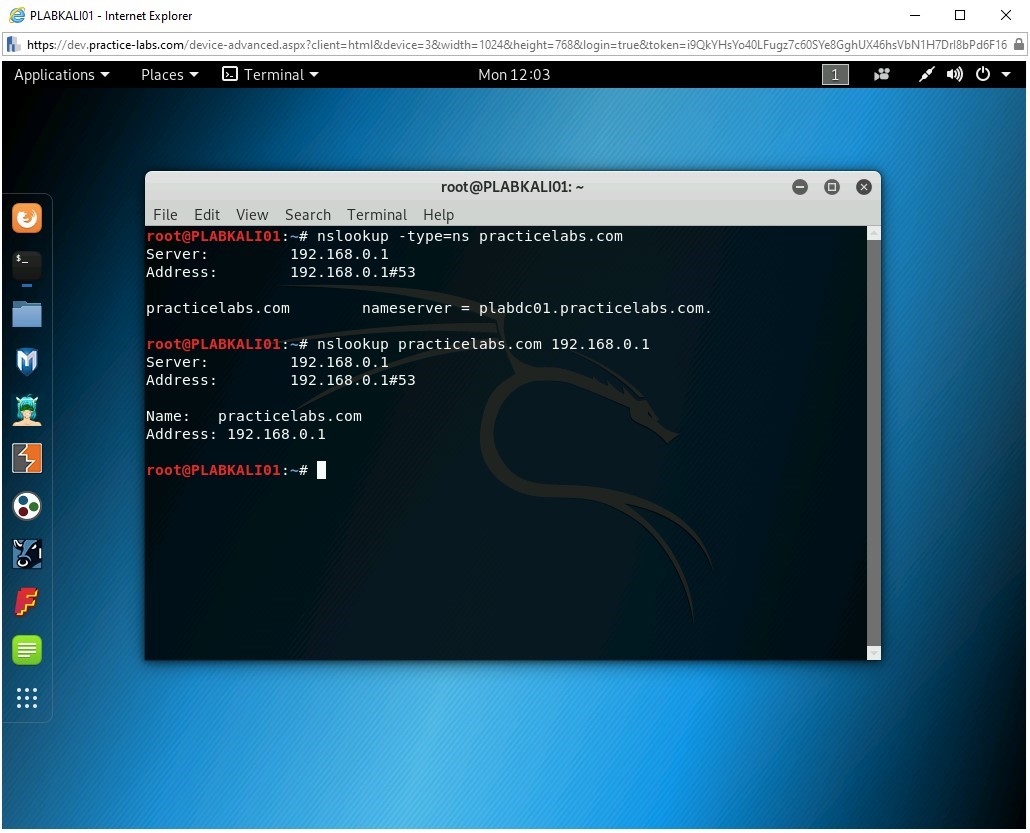
You can perform domain name resolution using a specific DNS server.
Type the following command:
nslookup practicelabs.com 192.168.0.1
Press Enter.
Notice the listed details as the output of this command.
Step 9
You can also change the default timeout to wait for a reply using the -timeout option. Type the following command:
nslookup -timeout=10 practicelabs.com
Press Enter.
Observe the output of the command.

Step 10
Clear the screen by entering the following command:
clear
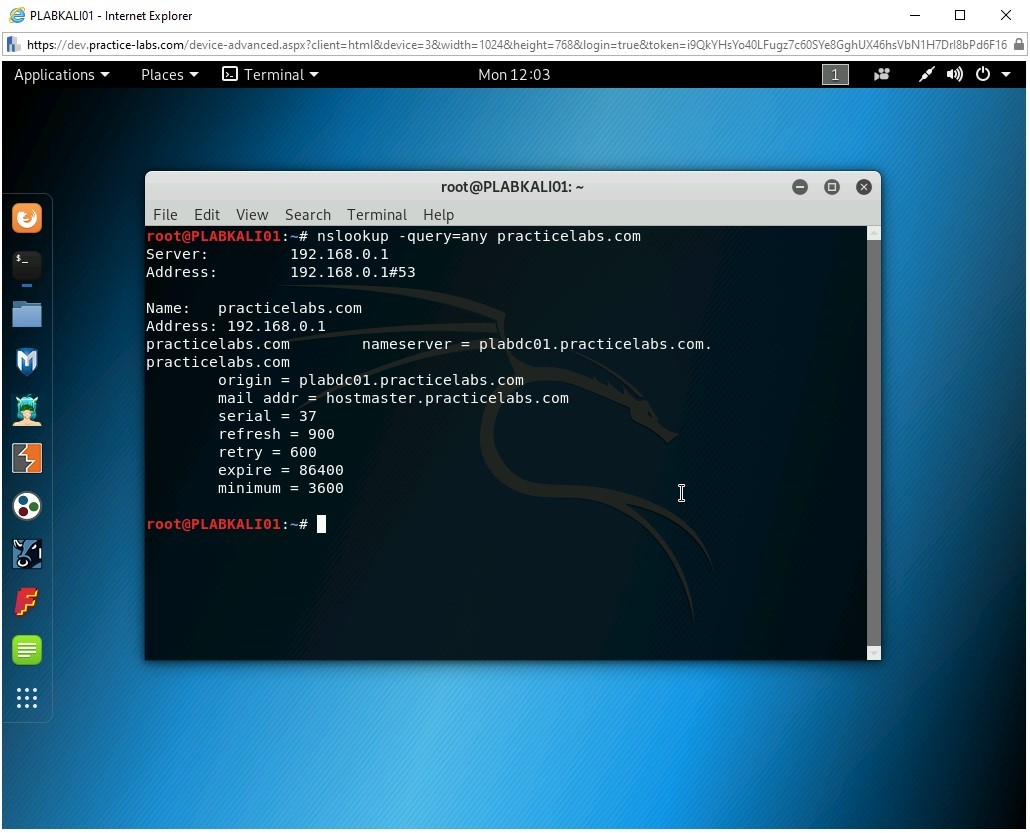
You can view all the available DNS records using the -query=any option. Type the following command:
nslookup -query=any practicelabs.com
Press Enter.
Notice the listed details as the output of this command.
Keep the terminal window open.
Task 6 - Use theHarvester
The theHarvester tool is primarily used for information gathering. By providing a domain name and a search engine name, you can search for the following information:
- E-mail accounts
- Usernames
- Hostnames
- Subdomains
- Banners
To use theHarvester, perform the following steps:
Step 1
Ensure you have powered on the devices listed in the introduction and are connected to PLABKALI01.
On the desktop, click Terminal if already not opened.
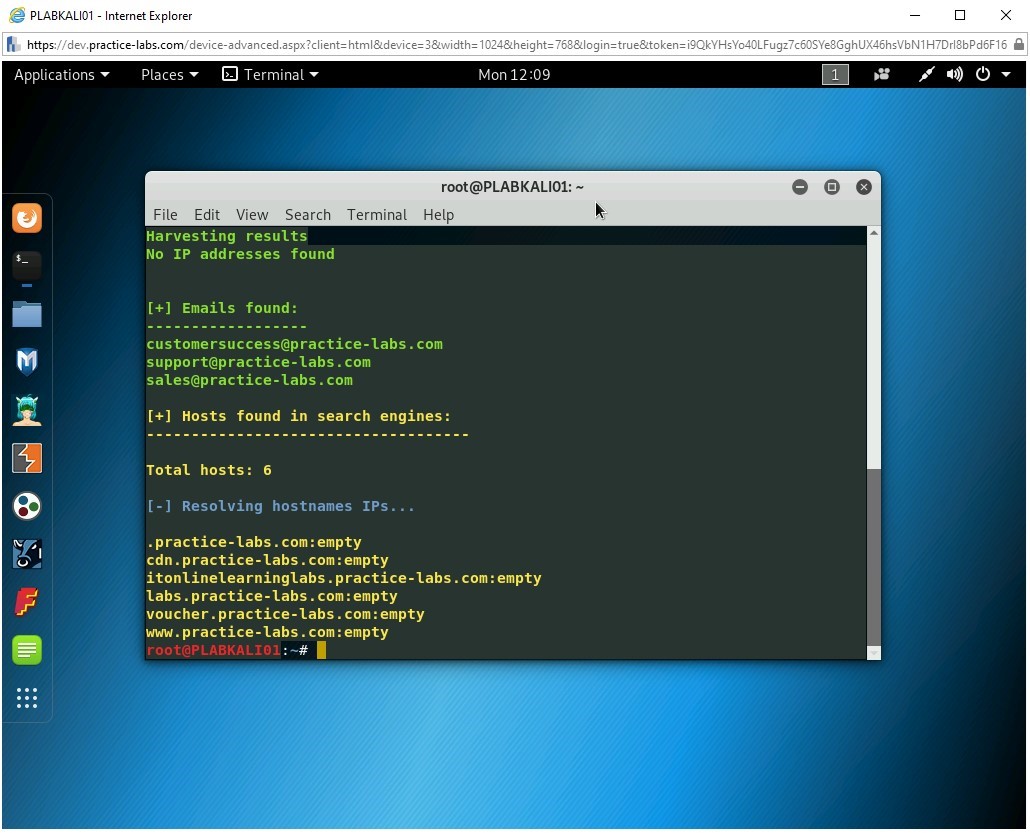
Note: Clear the screen with the clear command if the terminal window was already opened.Type the following command:
theHarvester -d practice-labs.com -l 500 -b google
Press Enter.
The -d parameter is used for the domain name. The -l parameter is used for the number of results. The -b parameter is used for the source of information, which is a search engine.
The command is now executed. It can locate the E-mail addresses and the number of hosts. Note that the results do not provide IP addresses.
Step 2
Clear the screen by entering the following command:
clear
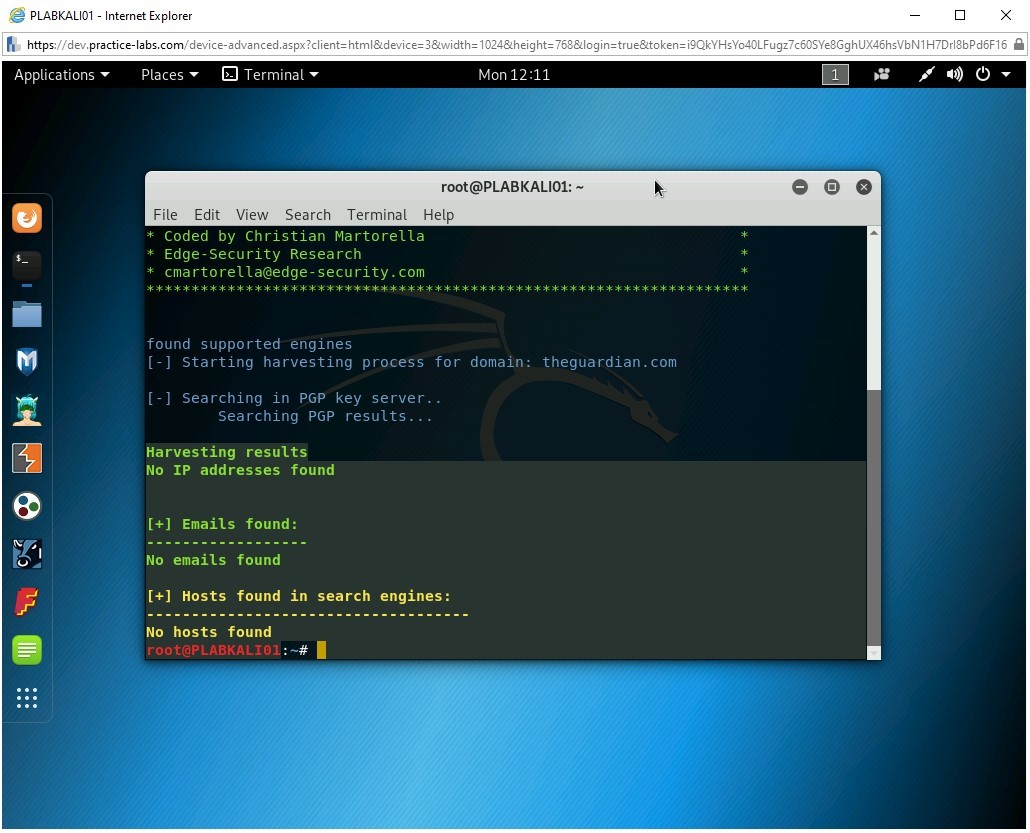
To get E-mail addresses from theguardian.com, type the following command:
theHarvester -d theguardian.com -b bing
Press Enter.
The output of this command may take a few minutes to display.
Keep the terminal windows open.
Task 7 - Create a Temporary E-mail Account
There will be numerous occasions when you are asked to provide your E-mail account for registration on a Website. Using your own E-mail ID can lead to SPAM and various other threats. Therefore, in these situations, you can use a temporary E-mail account for registration.
In this task, you will create a temporary E-mail account. To do this, perform the following steps:
Step 1
Ensure you have powered on all the devices listed in the introduction, and connect to PLABWIN10.
Step 2
Double click on Microsoft Edge on the desktop

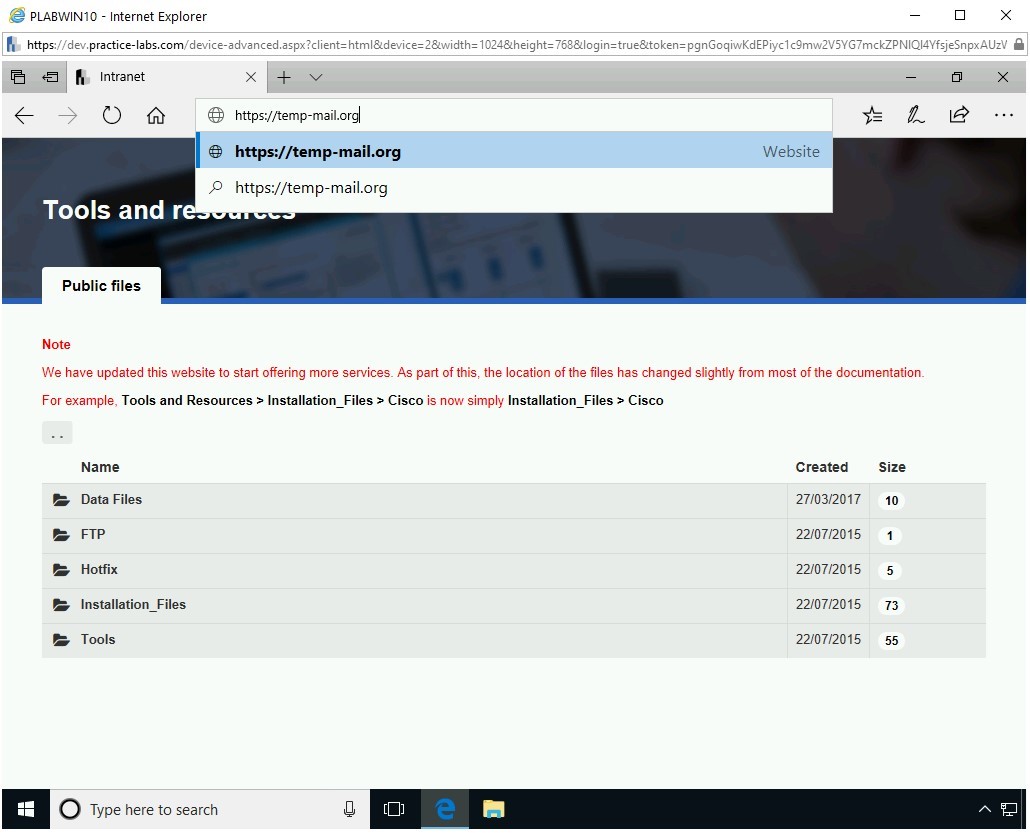
Step 3
The the Microsoft Edge window is displayed. In the address bar, type the following URL:
https://temp-mail.org
Press Enter.
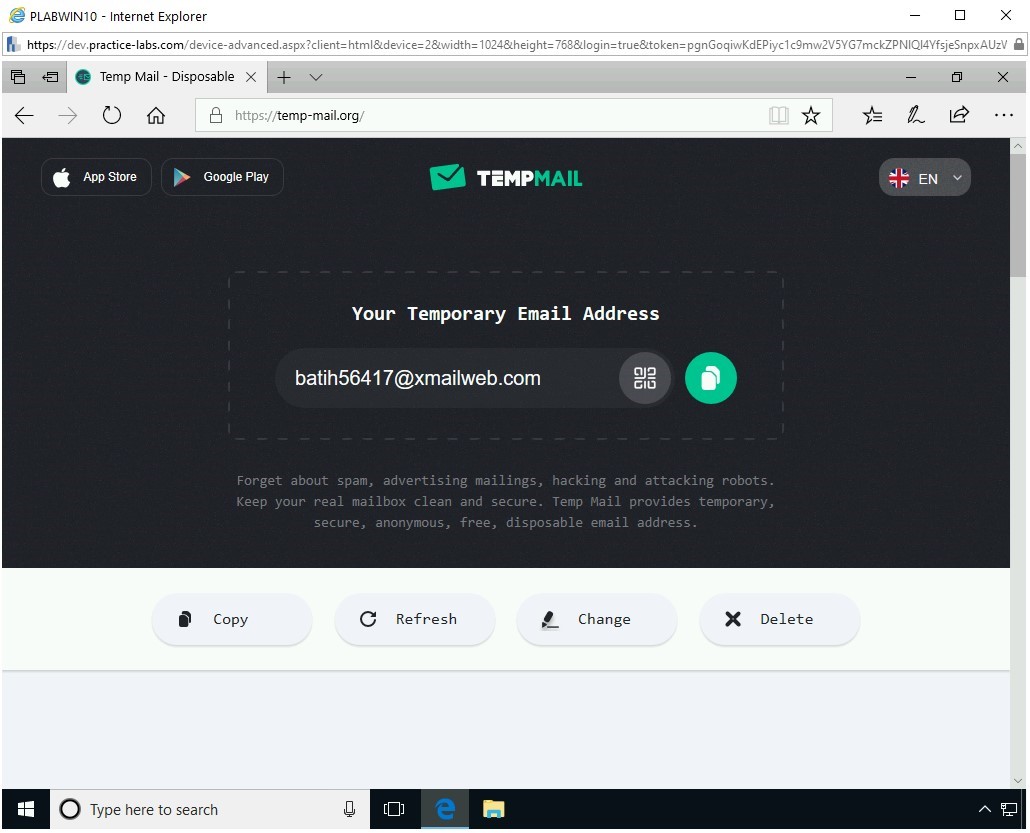
The Your Temporary Email Address Webpage is displayed. Notice that there is a default E-mail address displayed.
Note: In the next task, Use Maltego, you can use the temporary or your own personal E-mail address.Scroll down to view the remaining Webpage. If you need to copy this E-mail address, you can click the Green icon.
If you do not like the E-mail address, you can click Change. You can also click Delete to delete the above-shown E-mail address and its content.
Note: Every time you open this Webpage, you will see a new and unique E-mail address. The E-mail address shown in the screenshot will not match the one you will see.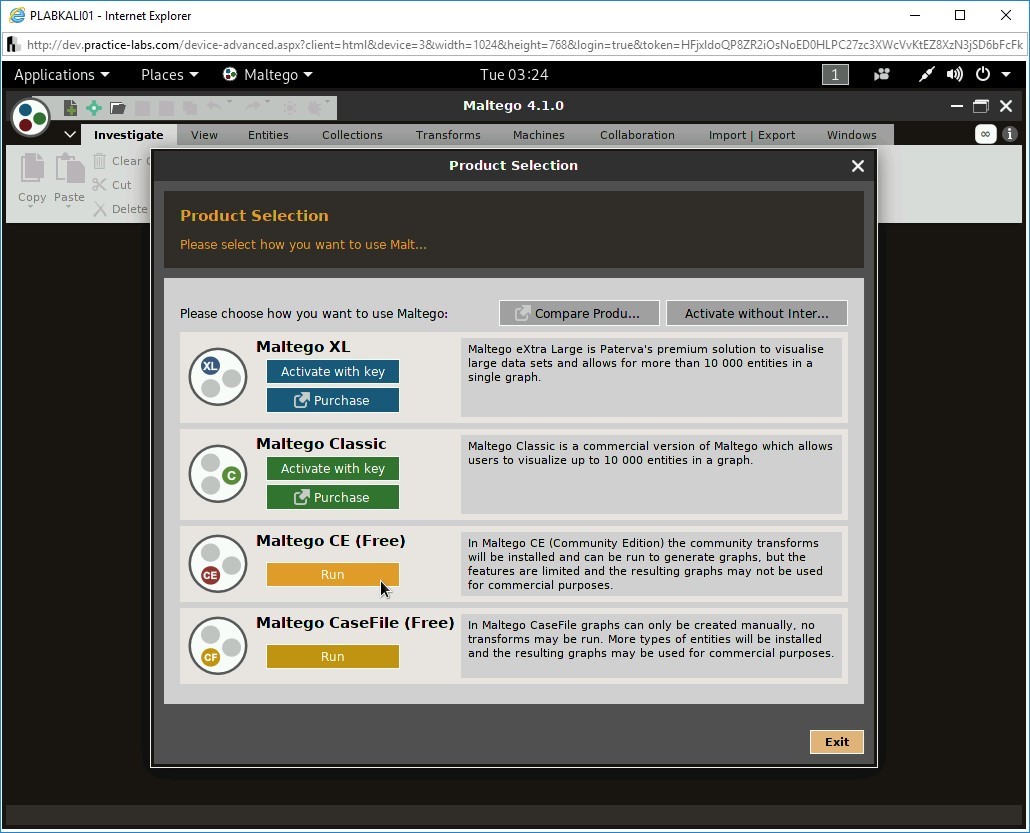
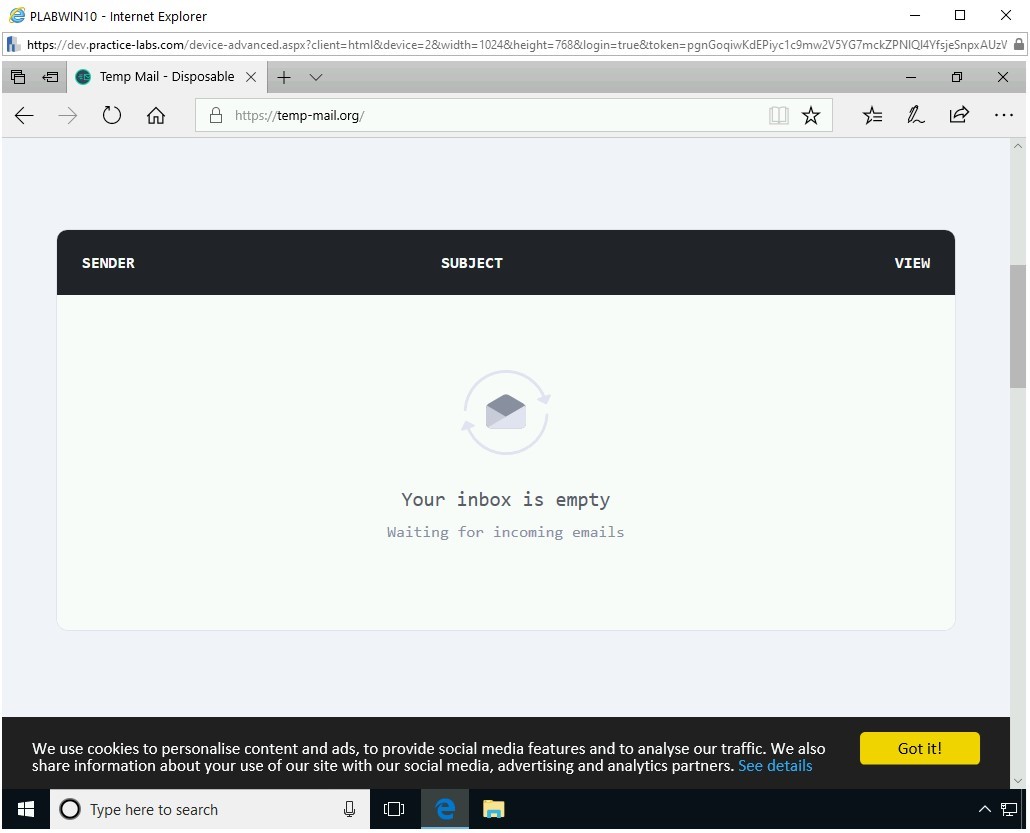
The bottom section of the Webpage displays the inbox. Any E-mails sent to you will be stored here.
Task 8 - Use Maltego
Maltego is a tool used for open-source intelligence gathering and forensics. Maltego can discover and collect data in graphical format for analysis. Maltego is available as a free and commercial product.
Note: It is important to understand that the capabilities of a tool, such as Maltego, is shown in a limited capacity in this task. You may want to explore it further.You can use a free license for learning purposes, but to perform ethical hacking, you would need to use the commercial product as it offers more functionality. Maltego does not intrude into any network and provides information that is available publicly.
Alert: Maltego requires you to register before you can use it. You should first create the account on the Maltego Website outside the lab environment and use it within the task. You can either use your own E-mail ID or use the one that you created in the previous task. You can register via the following URL: https://www.paterva.com/community/community.phpTo use Maltego, perform the following steps:
Step 1
Ensure you have powered on all the devices listed in the introduction and are connected to PLABKALI01.
To start Maltego, click the left-most icon in the status bar, select 01 - Information Gathering, and then select maltego.
Note: There are two alternate methods to start maltego. You can click the maltego icon in the icon bar on the desktop. You can also start it with the maltego command in the terminal window.
Step 2
The application starts. You may have to wait for a few minutes while it loads.
Note: The application may minimize by itself. If it does, invoke the window to start working.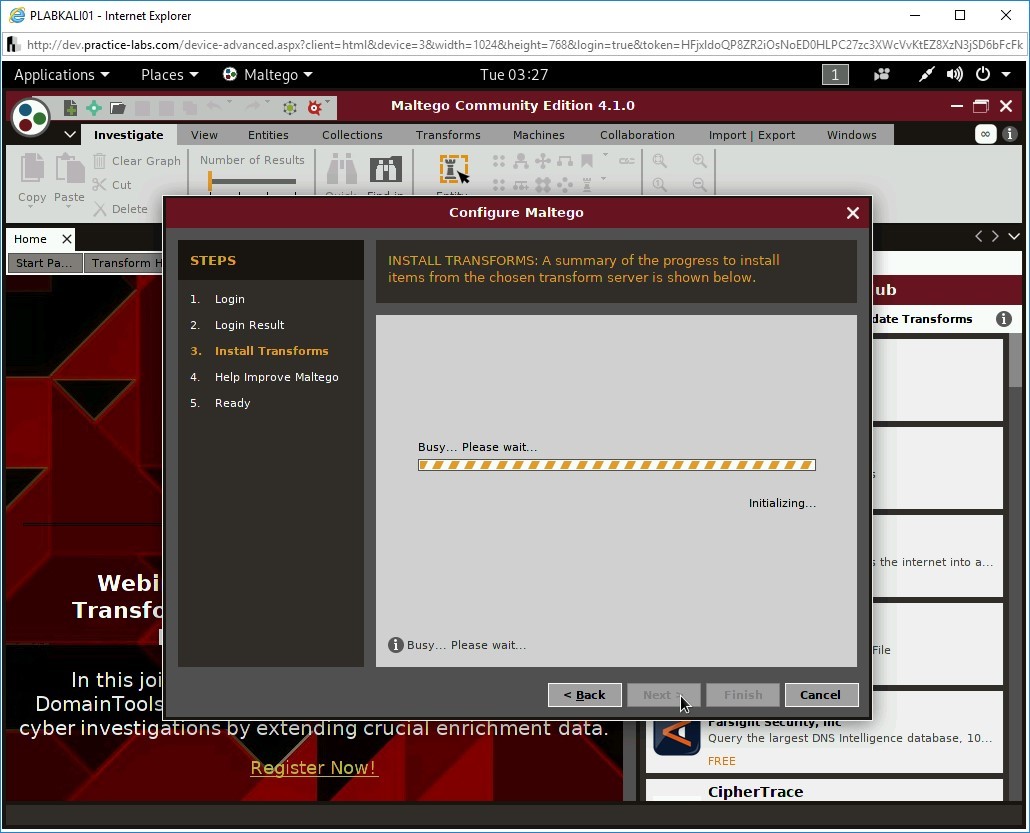
Step 3
After Maltego starts, you need to select the product that you want to use. Click the Run button below the Maltego CE (Free) section.
The Configure Maltego dialog box is displayed. It begins to initialize the product.
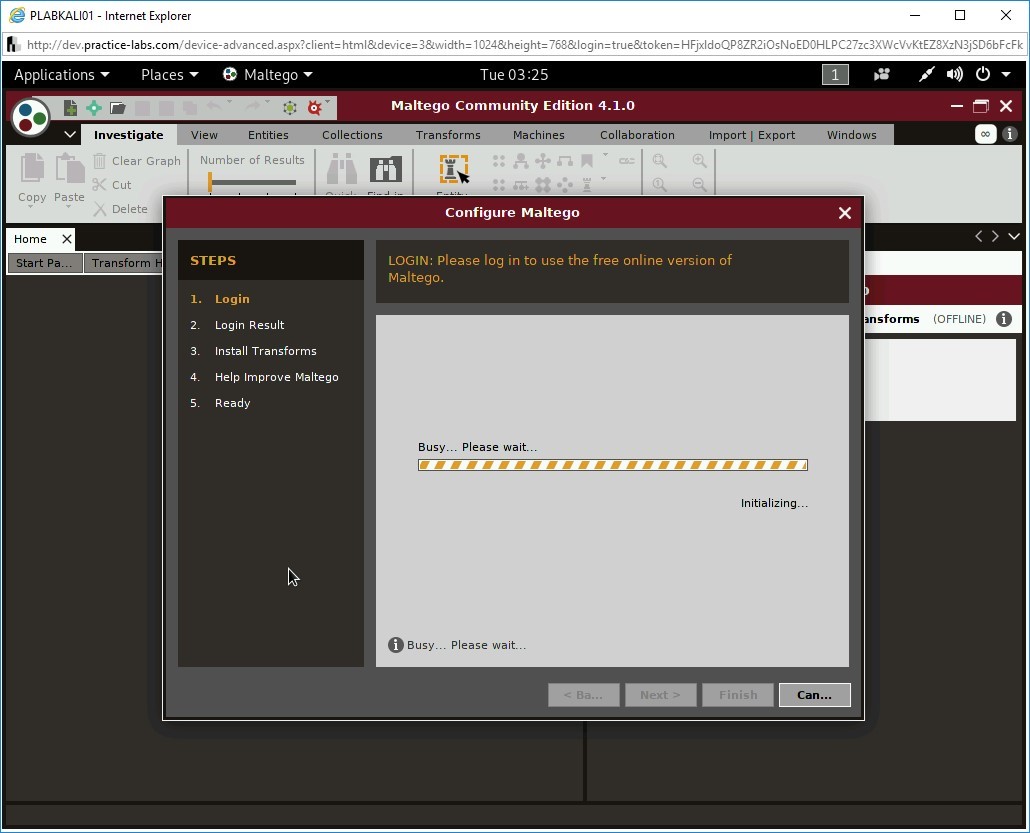
Step 4
Note: If you see the ‘Login server could not be contacted’ message, click Back, and then on the previous page, click Next. You should now see the refreshed LOGIN page.Enter your email address in the Email Address textbox and enter the password in the Password textbox.
Then, you also need to enter the displayed CAPTCHA, which will be different every time you log in.
Click Next.
The login details are now being validated.
Step 5
After the login is successful, you will be displayed with your login details. Click Next.
Maltego starts to install transforms.
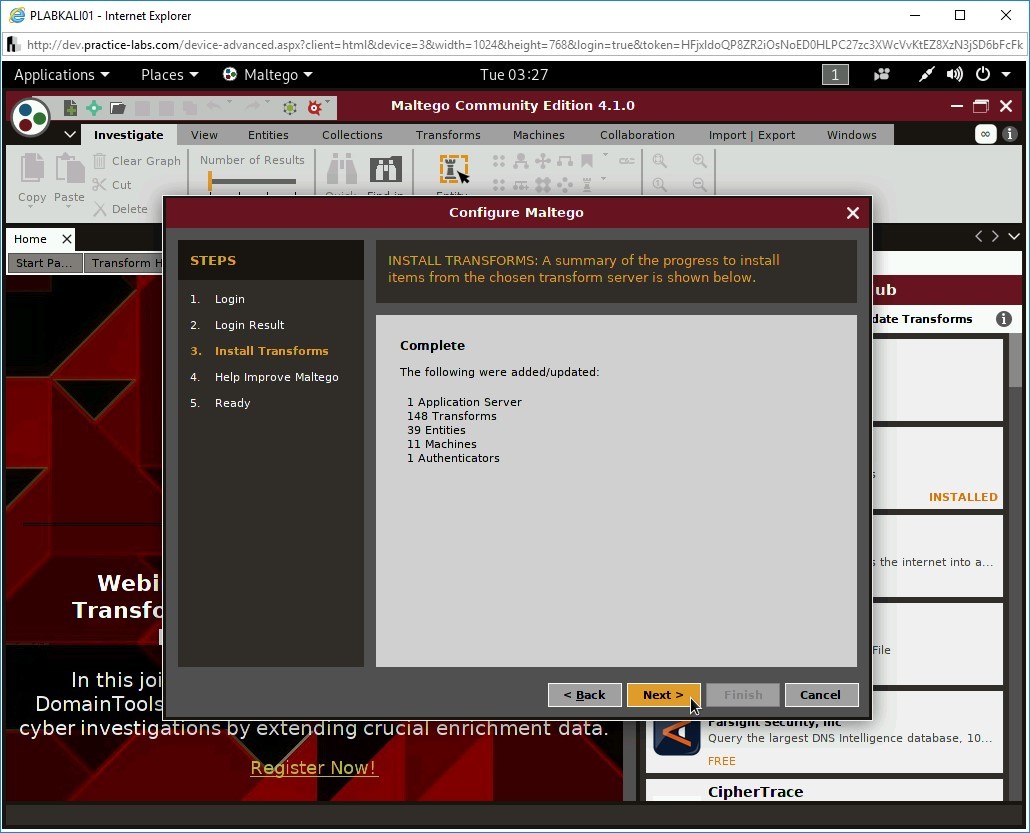
Step 6
On the Complete screen, click Next.
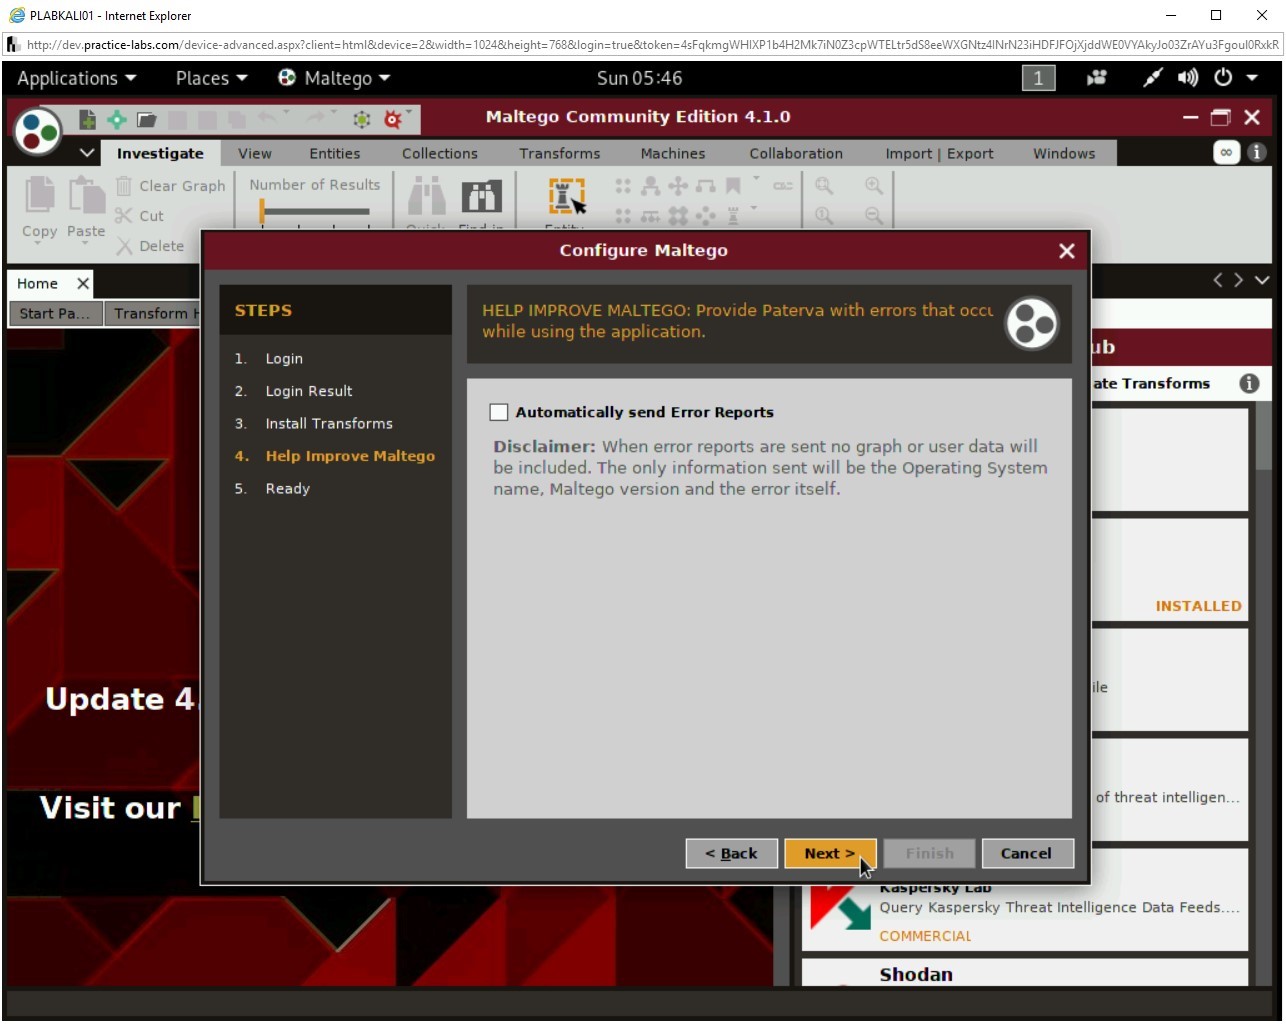
Step 7
On the next page, keep the default settings and click Next.
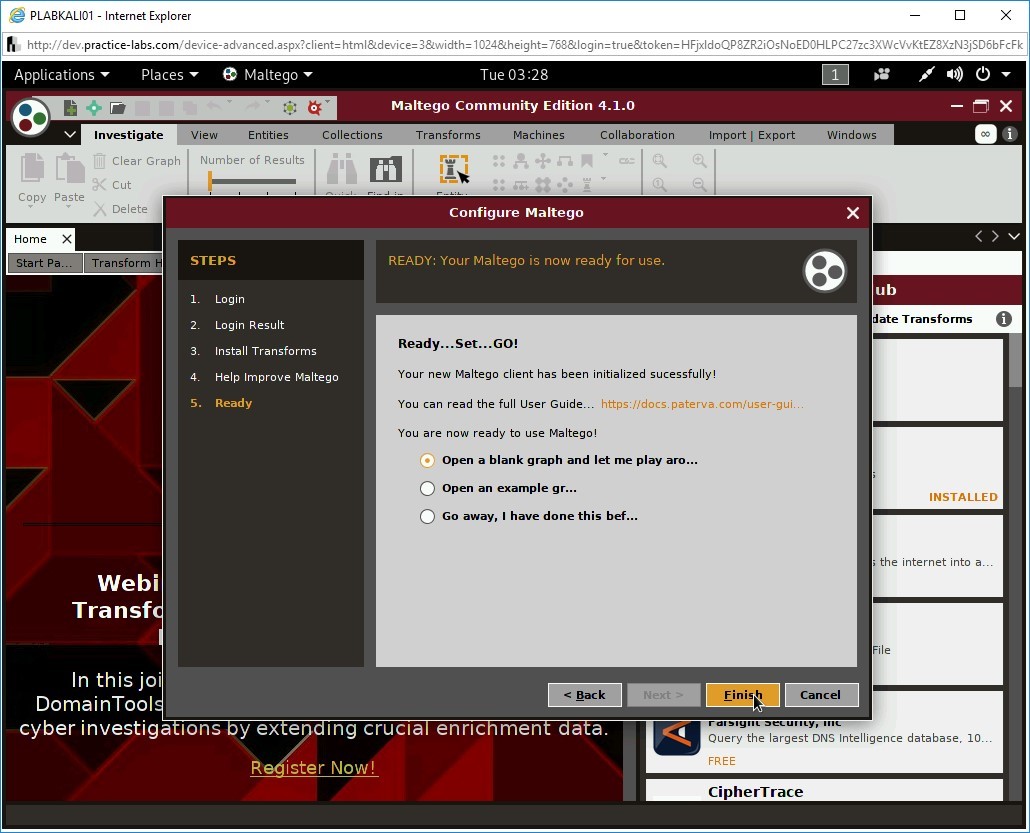
Step 8
On the Ready…Set…GO! page, select Open a blank graph and let me play aro… and click Finish.
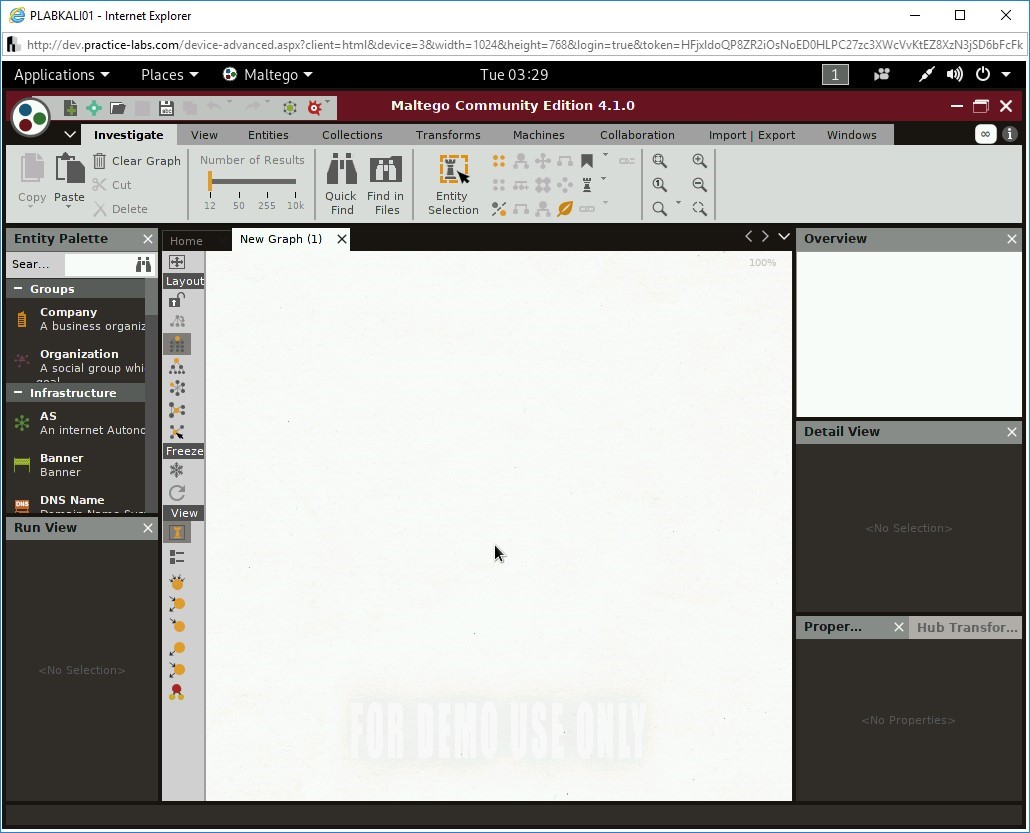
A new blank graph is added.
Step 9
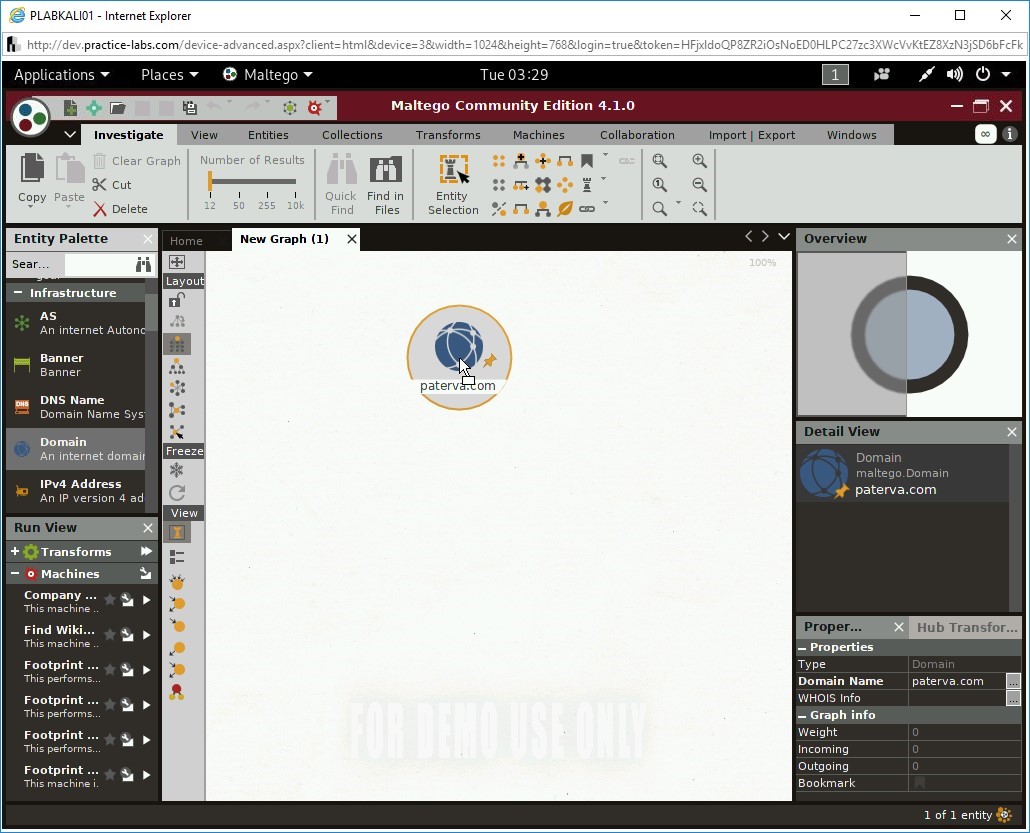
From the left pane, drag and drop the Domain icon onto the graph.
Note: You may have to scroll down to find Domain.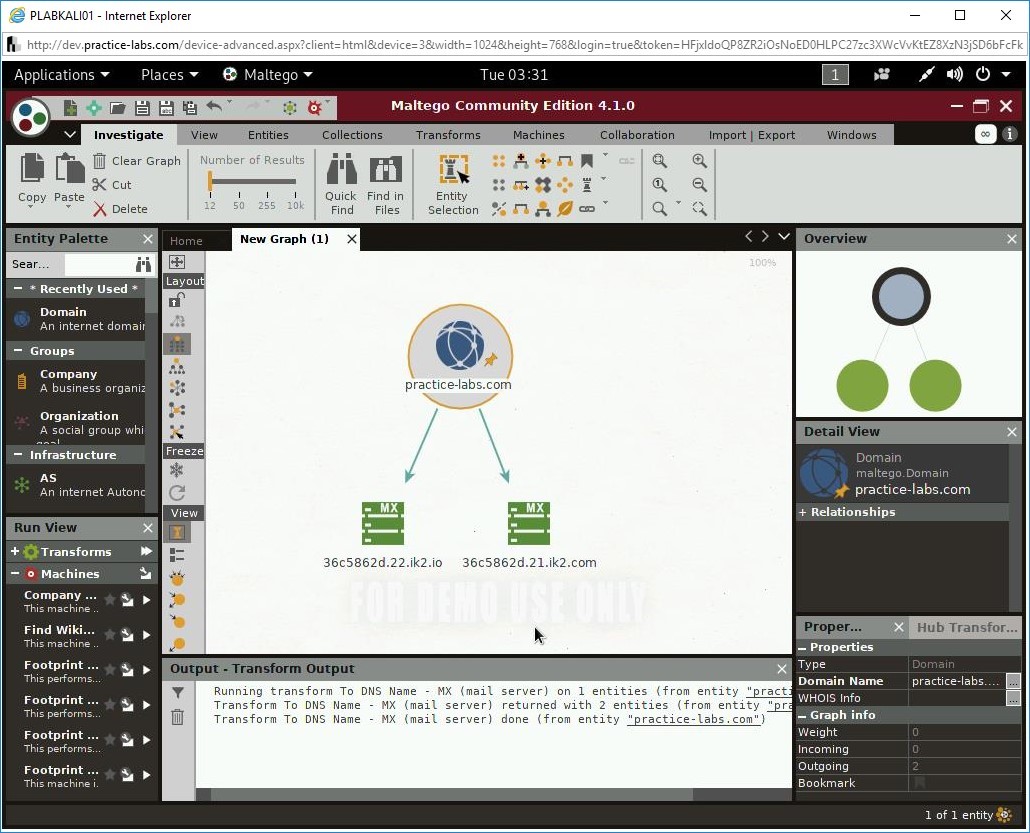
Step 10
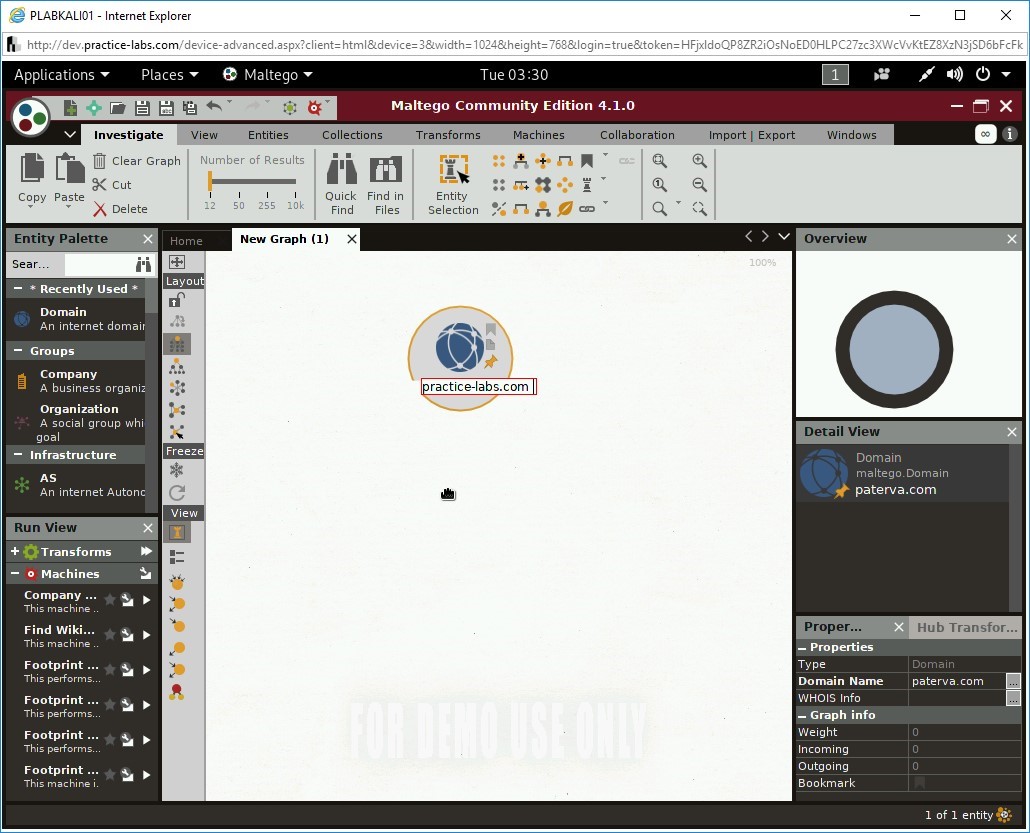
Notice that paterva.com is the default name assigned to the domain. To change the domain name, double-click on the text and overwrite with the following text:
practice-labs.com
Press Enter or click anywhere on the graph.
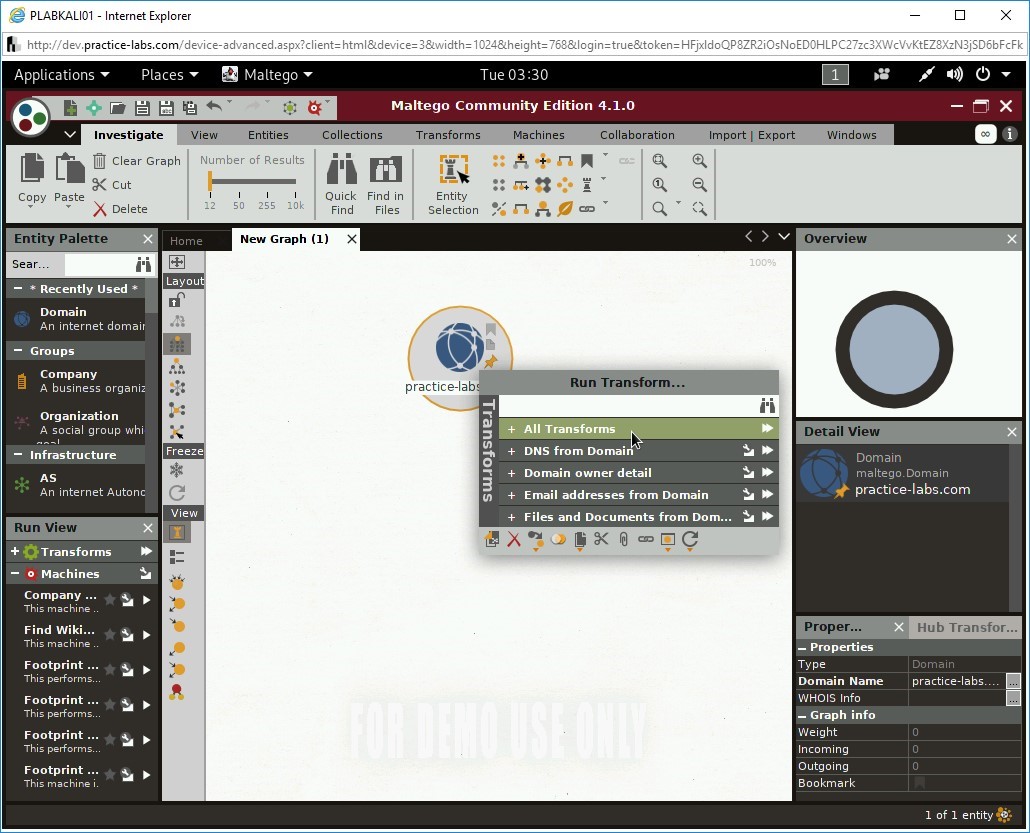
Step 11
Right-click practice-labs.com and select All Transforms from the Run Transform… dialog box.
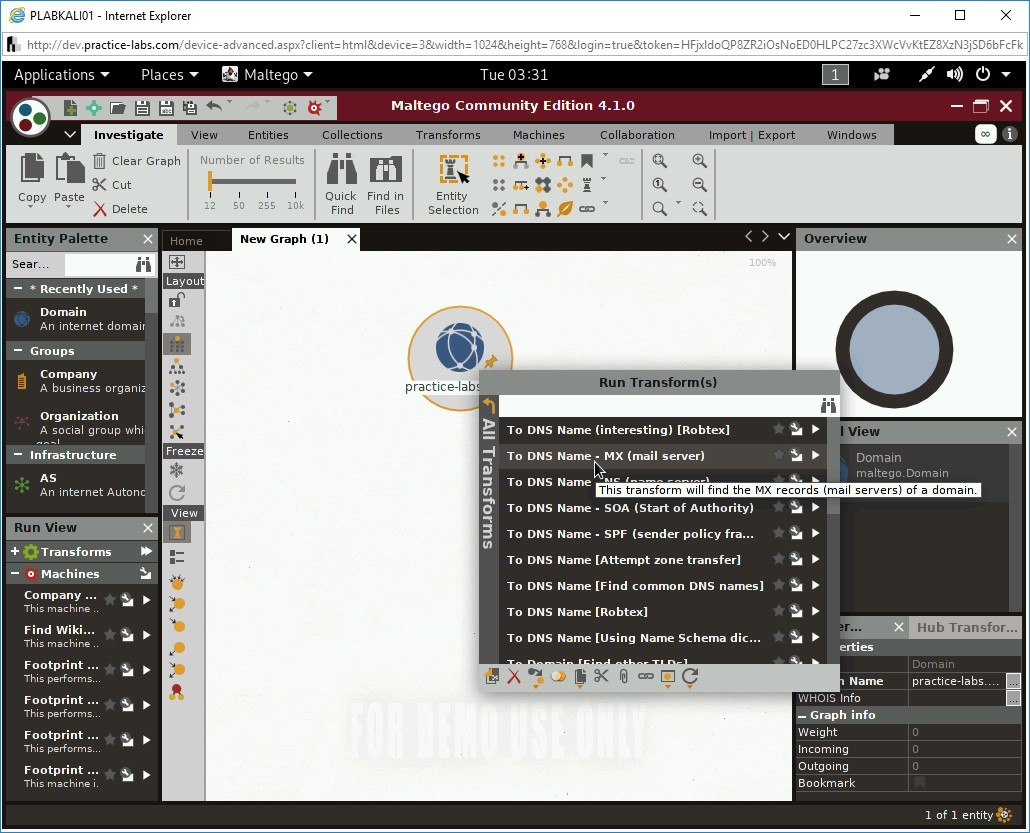
Step 12
The Run Transform(s) dialog box is displayed. To find the mail servers for the practice-labs.com domain, select To DNS Name - MX (mail server).
Notice that it has found two mail servers.
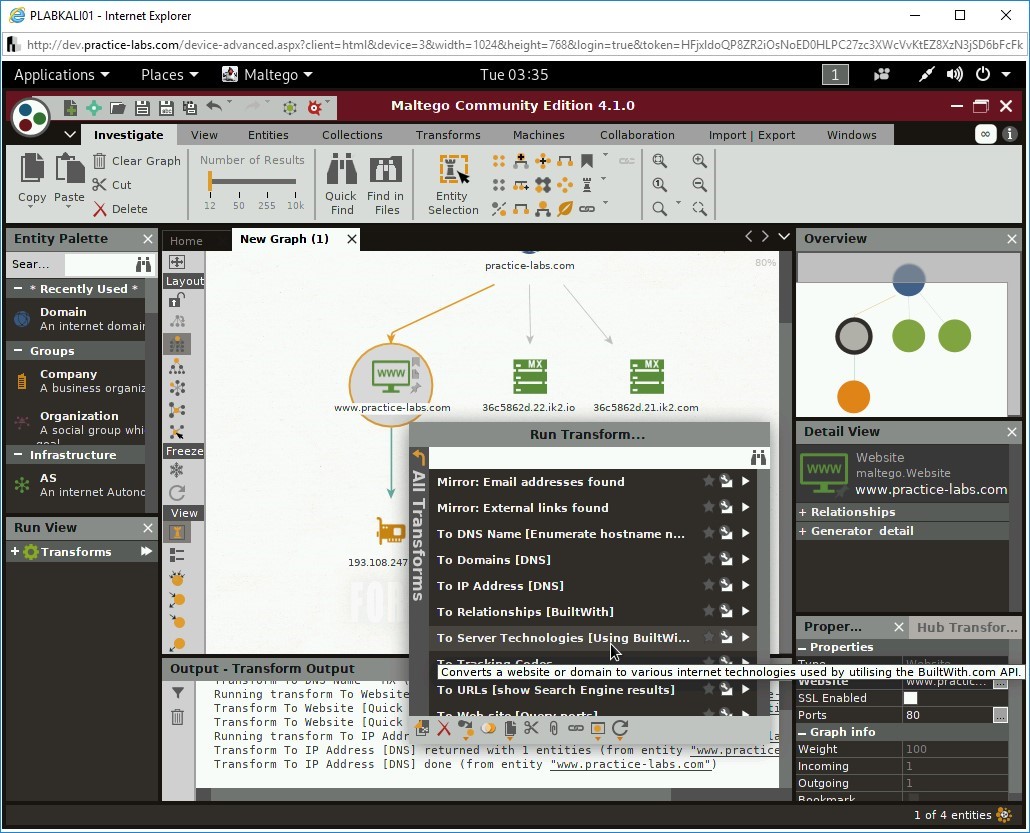
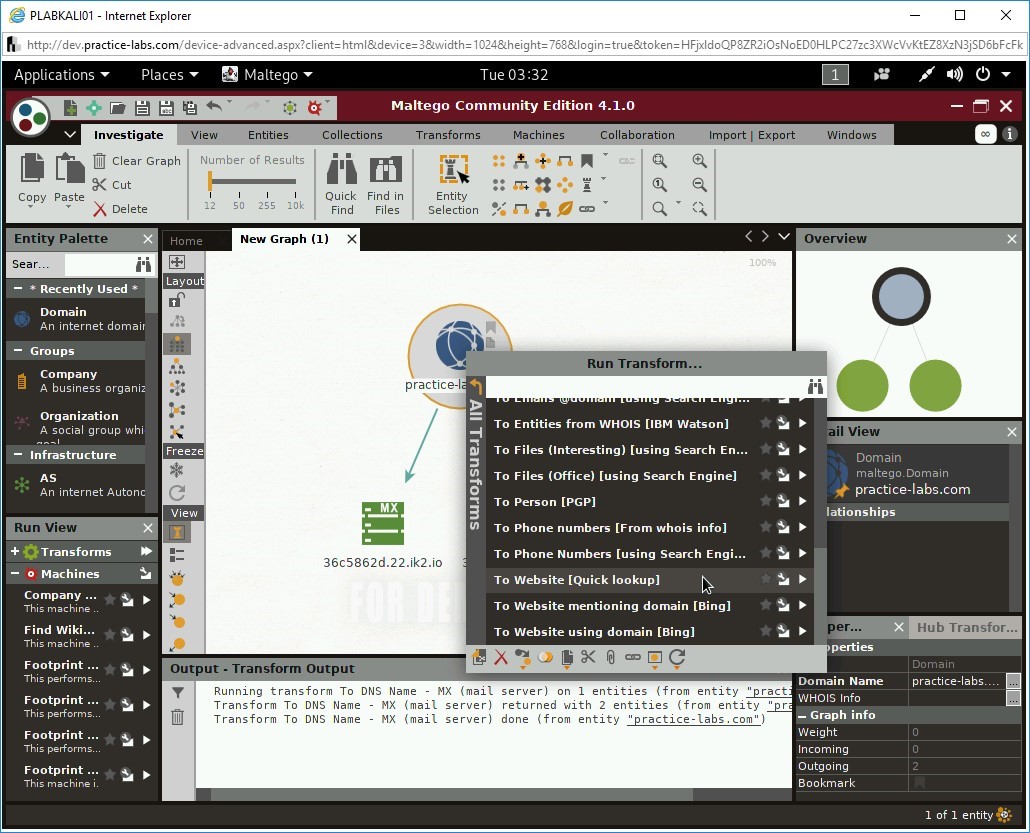
Step 13
Right-click the domain name and select To Website [Quick lookup].

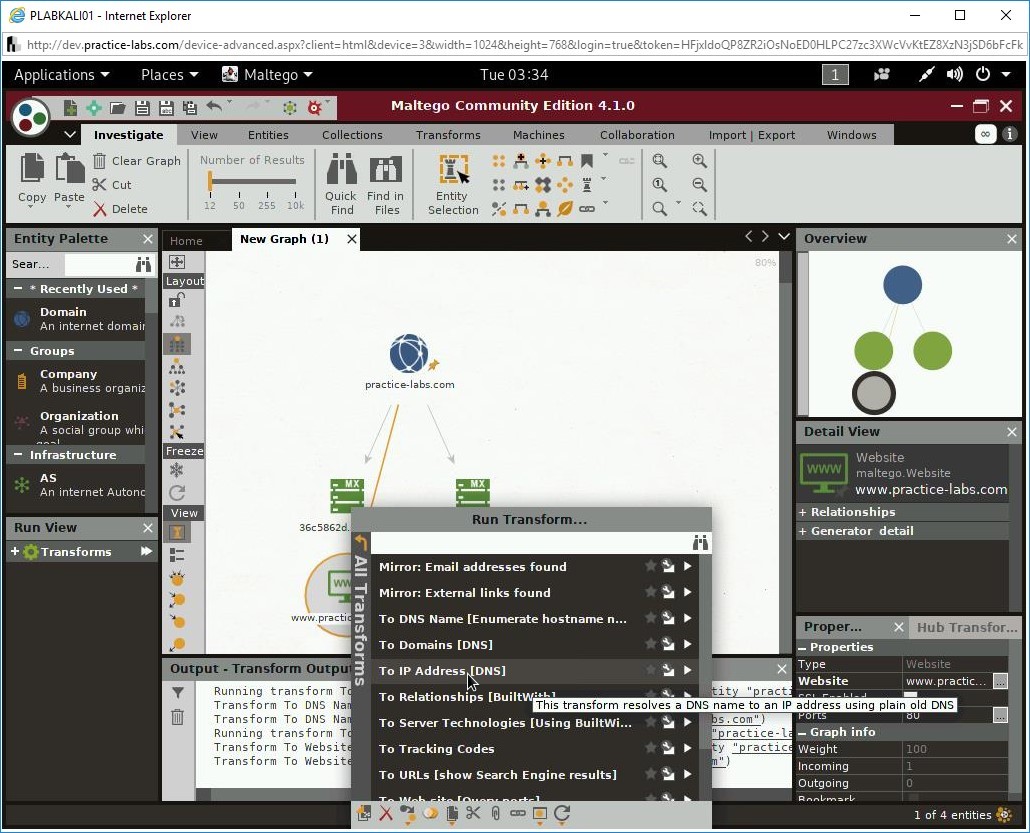
Step 14
A Website has been found.
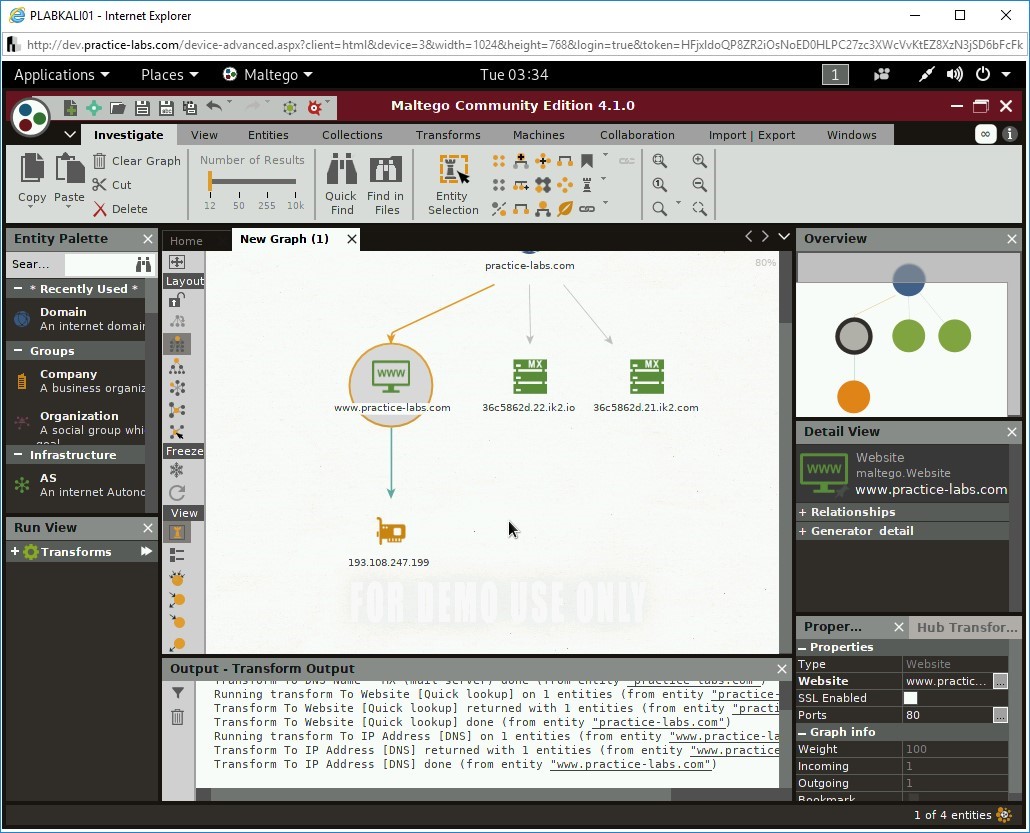
Right-click the Website icon and select To IP Address [DNS].
Notice that it has translated the DNS name of the Website to an IP address.
Step 15
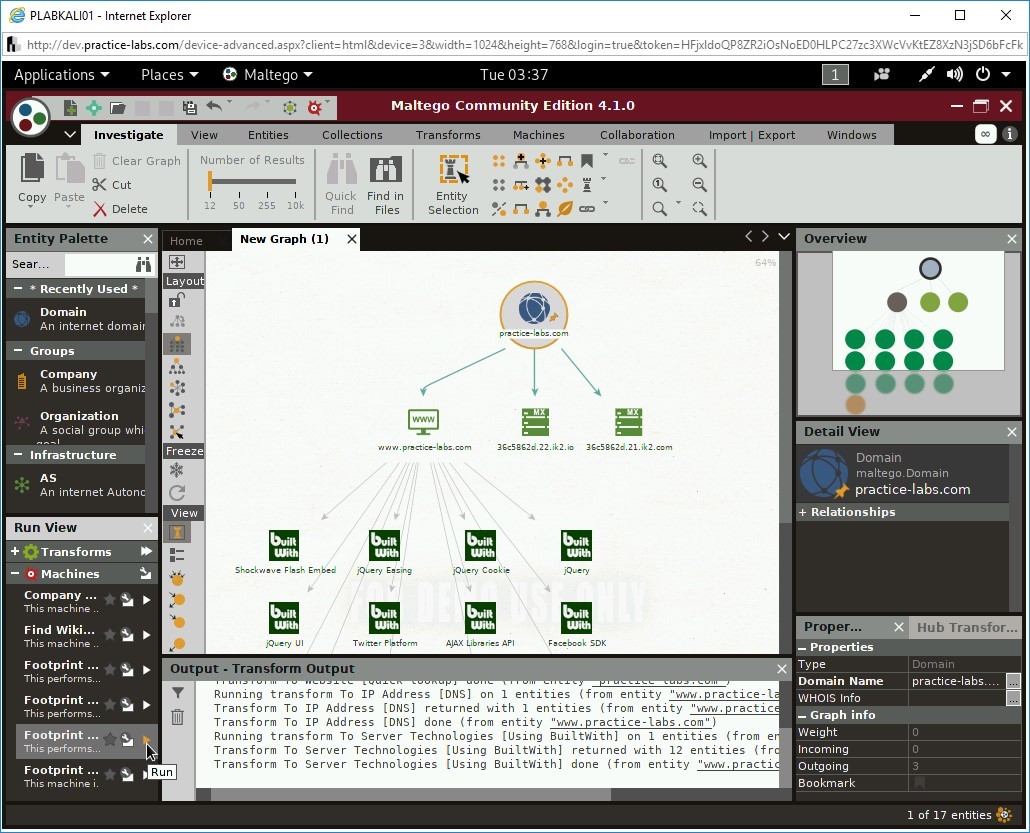
Again, right-click the Website icon and select To Server Technologies [Using BuiltWi…
The technologies used in the Website are now listed. Notice that it has displayed IIS 8, which can help you in deciding the next course of action in ethical hacking.
Step 16
Let’s do footprinting on the domain.
Select the domain icon and then in the Machines section in the left pane, select Footprint, which is the third Footprint… option. Click Run next to it.
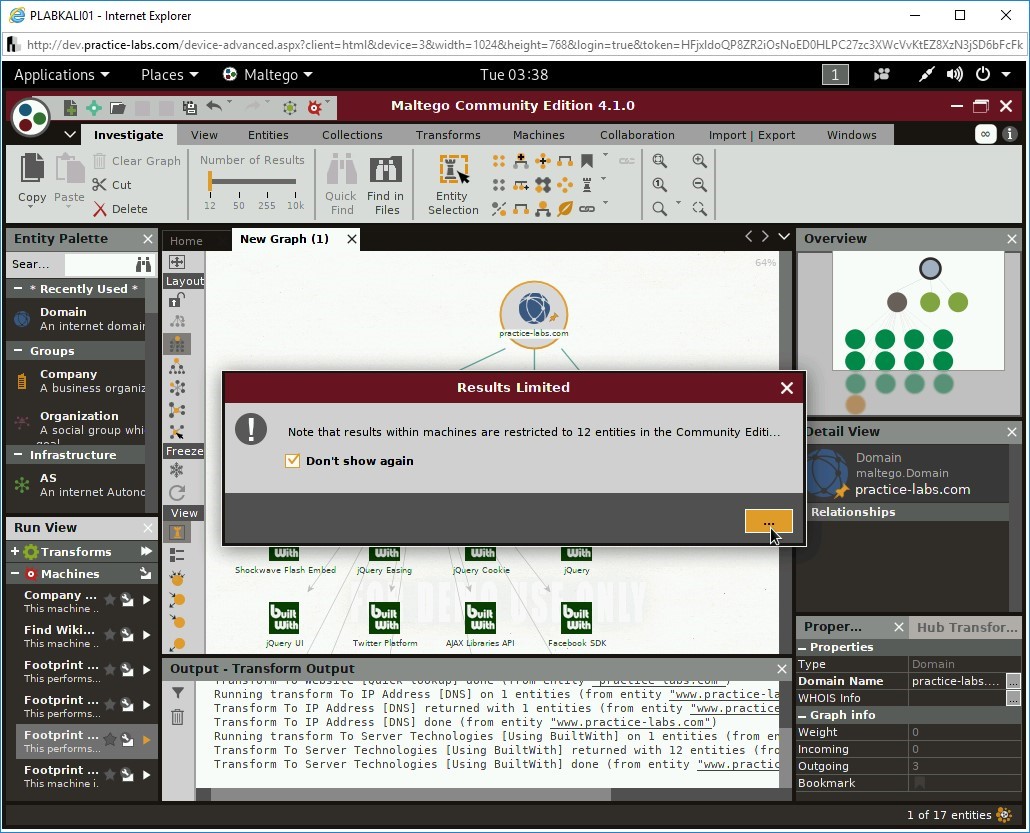
Step 17
Because you are using a Community version, you are prompted with a message that only 12 entities will be displayed. Select Don’t show again and click ….
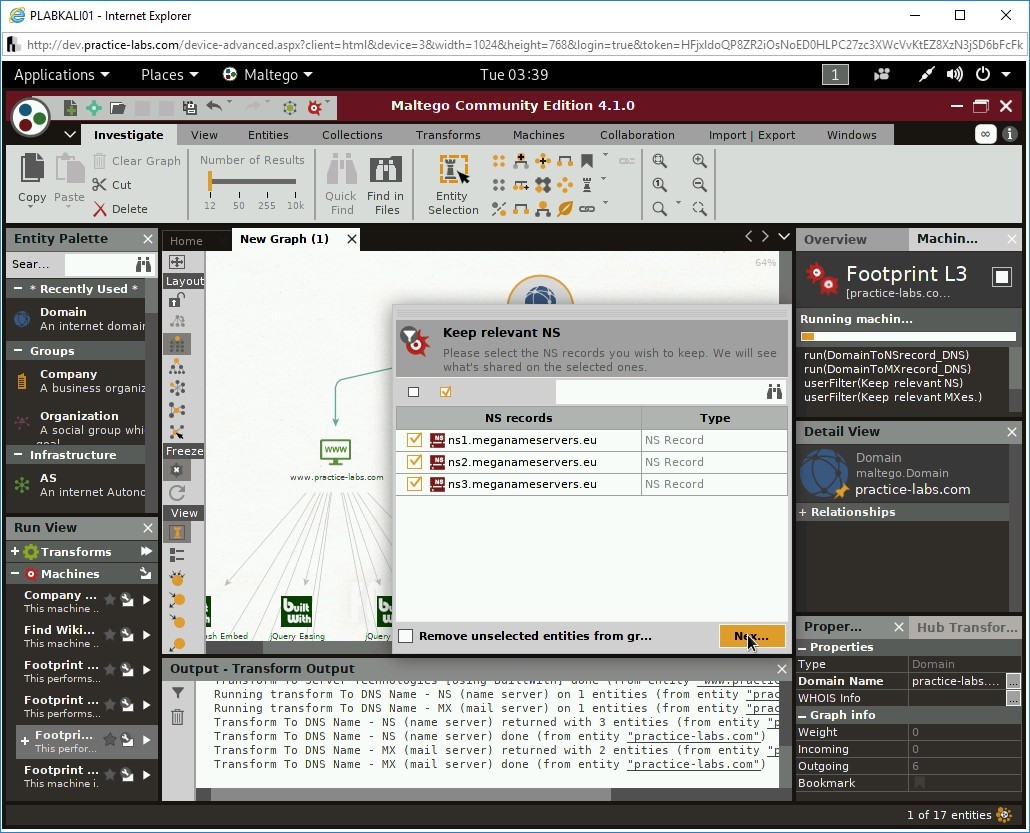
Step 18
The Keep relevant NS dialog box is displayed. Click Nex…
Step 19
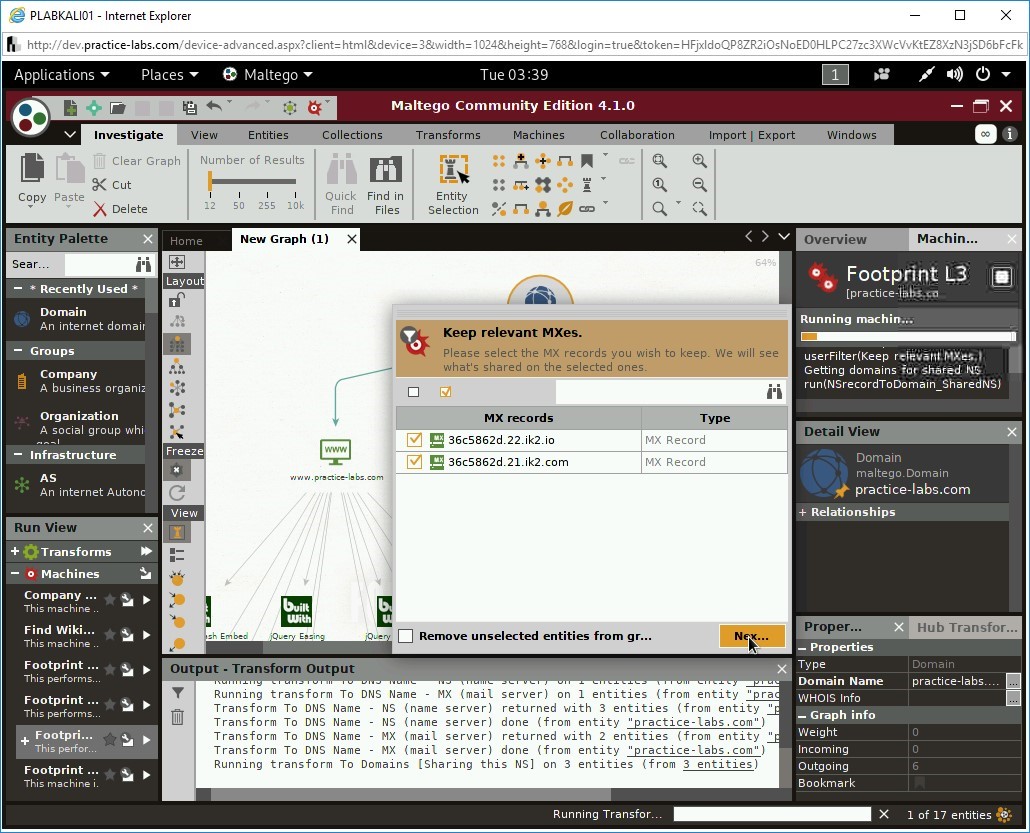
The Keep relevant MXes. dialog box is displayed. Click Nex…
Step 20
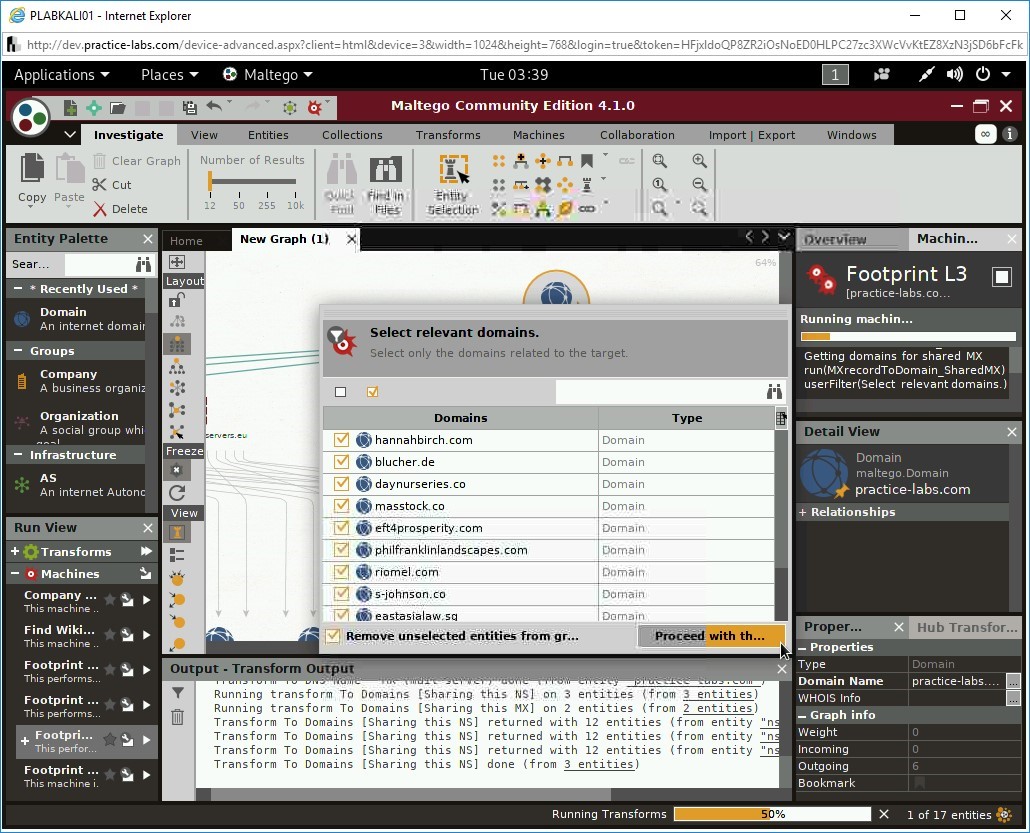
On the Select relevant domains. dialog box, deselect all domain names and click Proceed with th…

Step 21
On the Select relevant domains. dialog box, deselect all domain names and click Proceed with th…
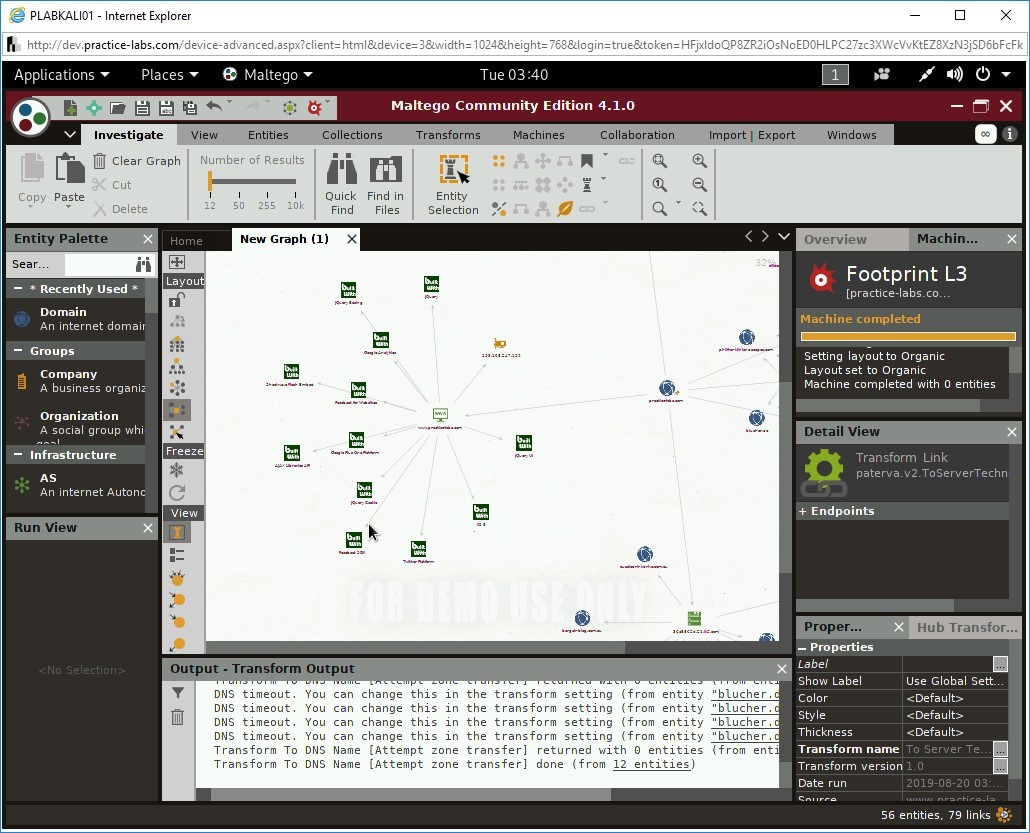
The footprinting process is now complete with 12 entities.
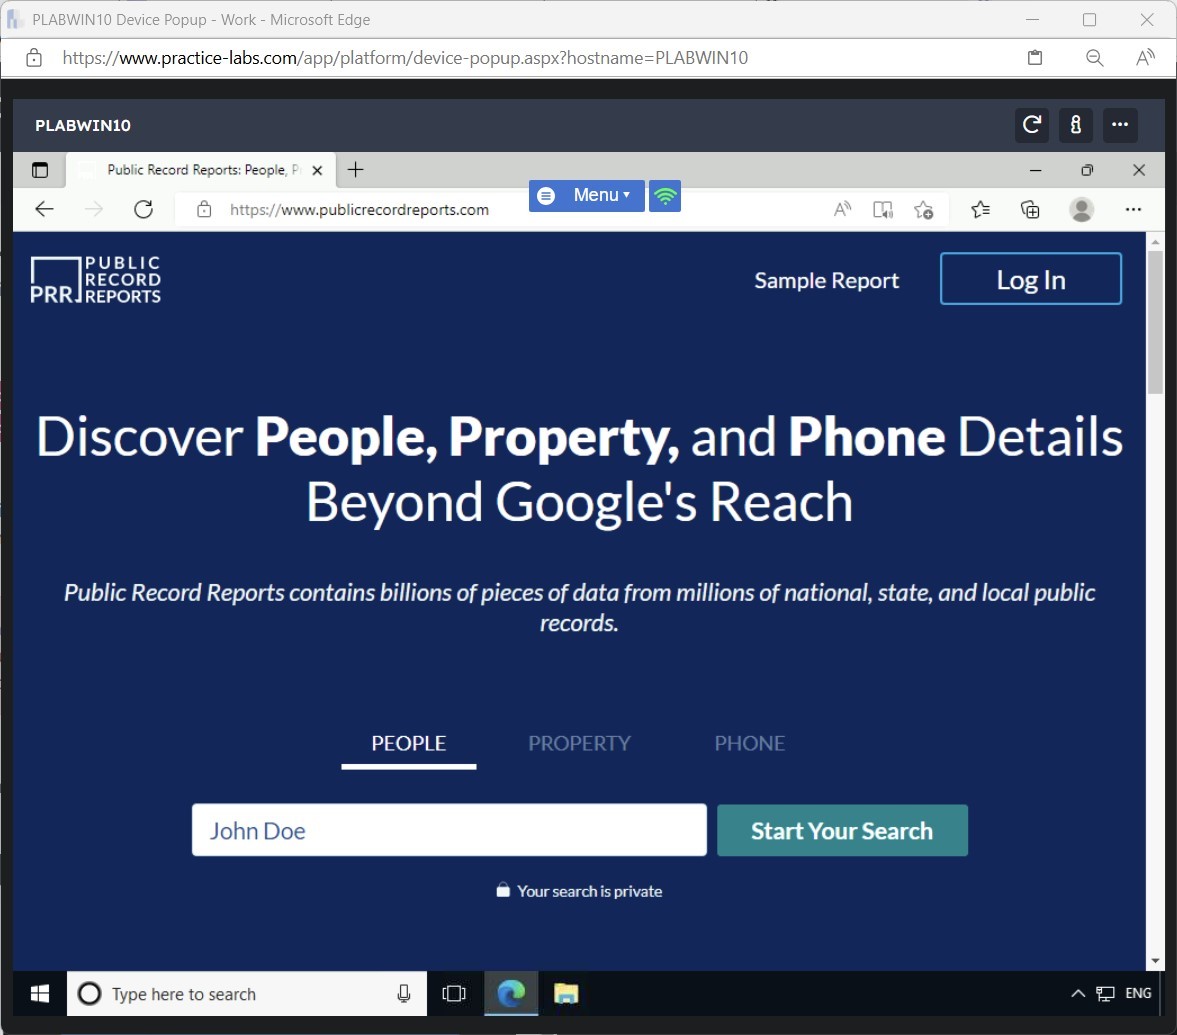
Task 9 - Use the AnyWho Website
There are a number of tools available on the Internet that can help you find information about specific people, one of these is AnyWho.
To use the AnyWho Website, perform the following steps:
Step 1
Connect to PLABWIN10.
Open Internet Explorer.
In the address bar, type the following URL:
http://www.anywho.com
Press Enter.
Step 2
The AnyWho homepage is loaded.
Enter the following information:
First Name: John
Last Name: Doe
Click Find.
Note: For this task, a fake name is being used. You can use your own name to search in the AnyWho database.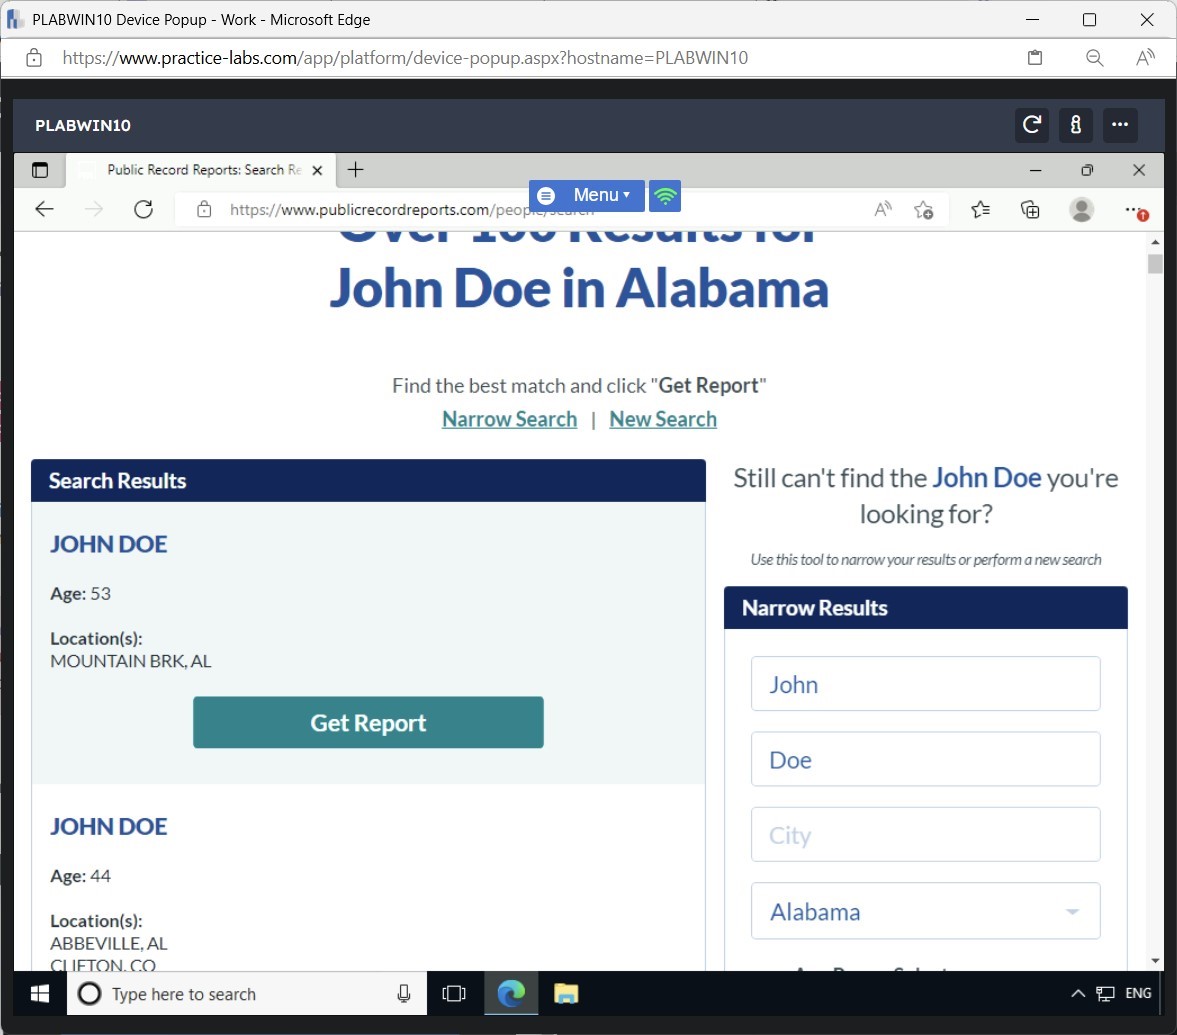
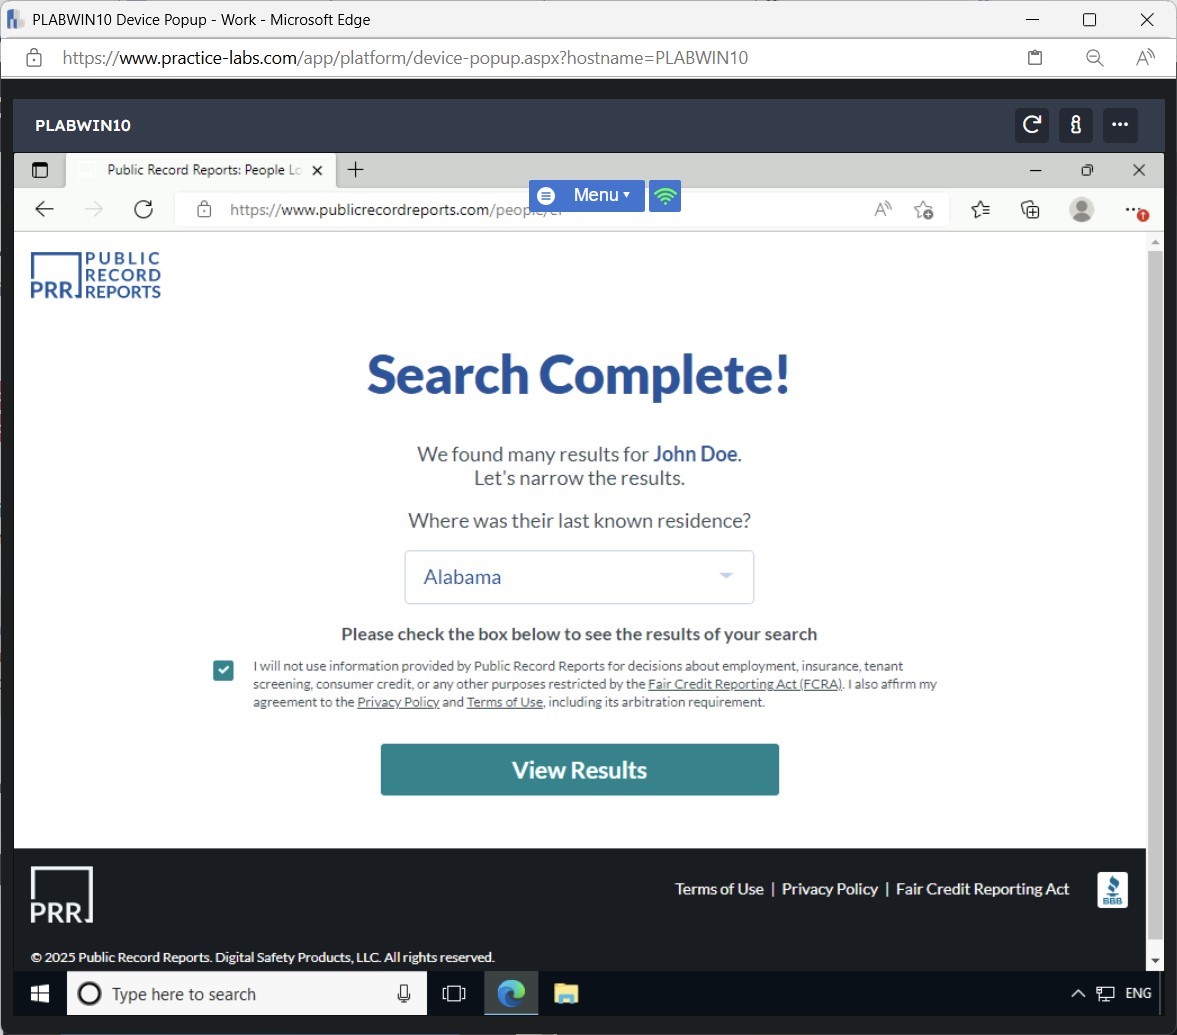
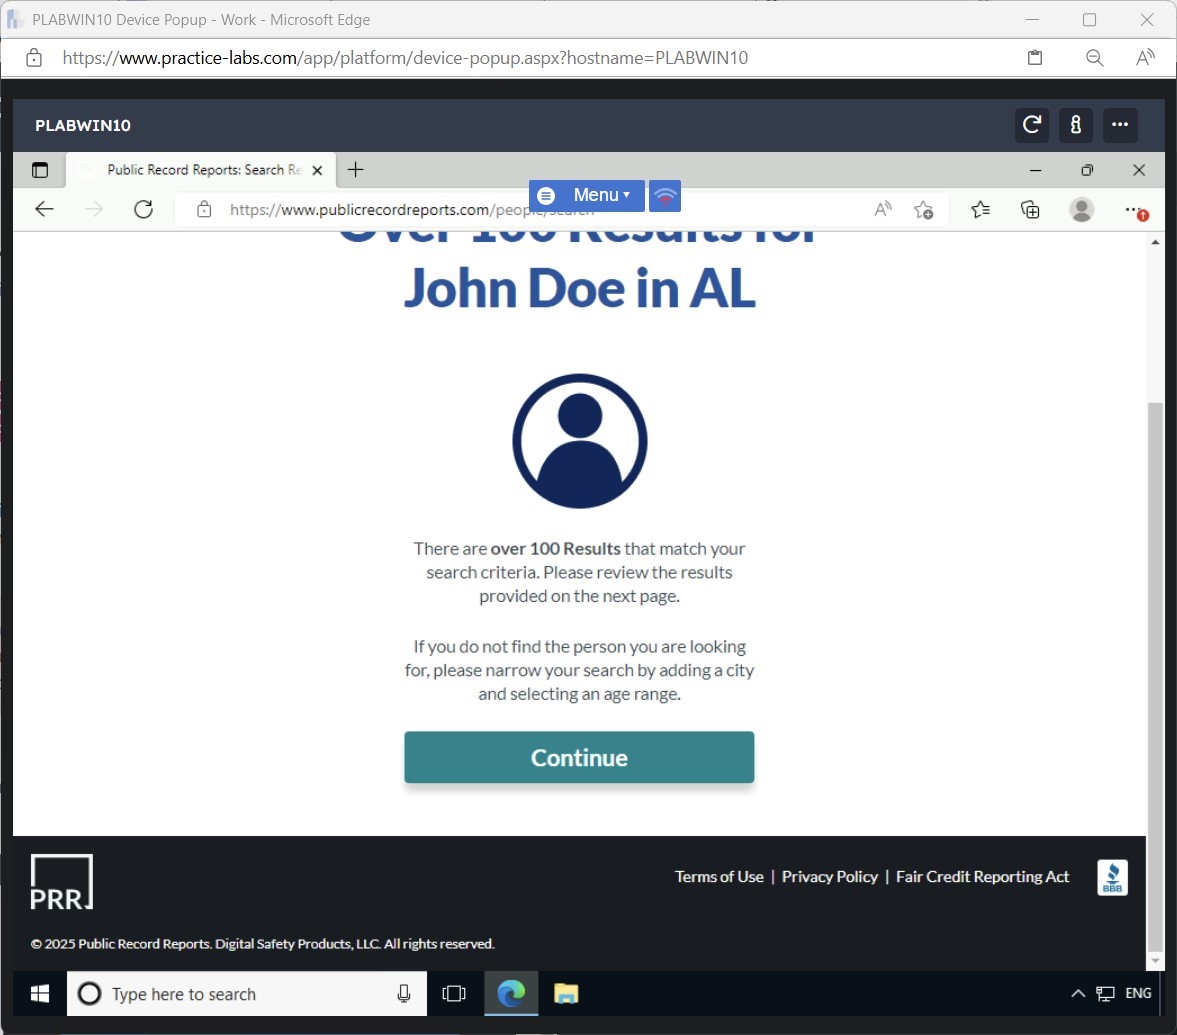
Step 3
Note that several results are displayed.
Note: If an AutoComplete notification appears, click No.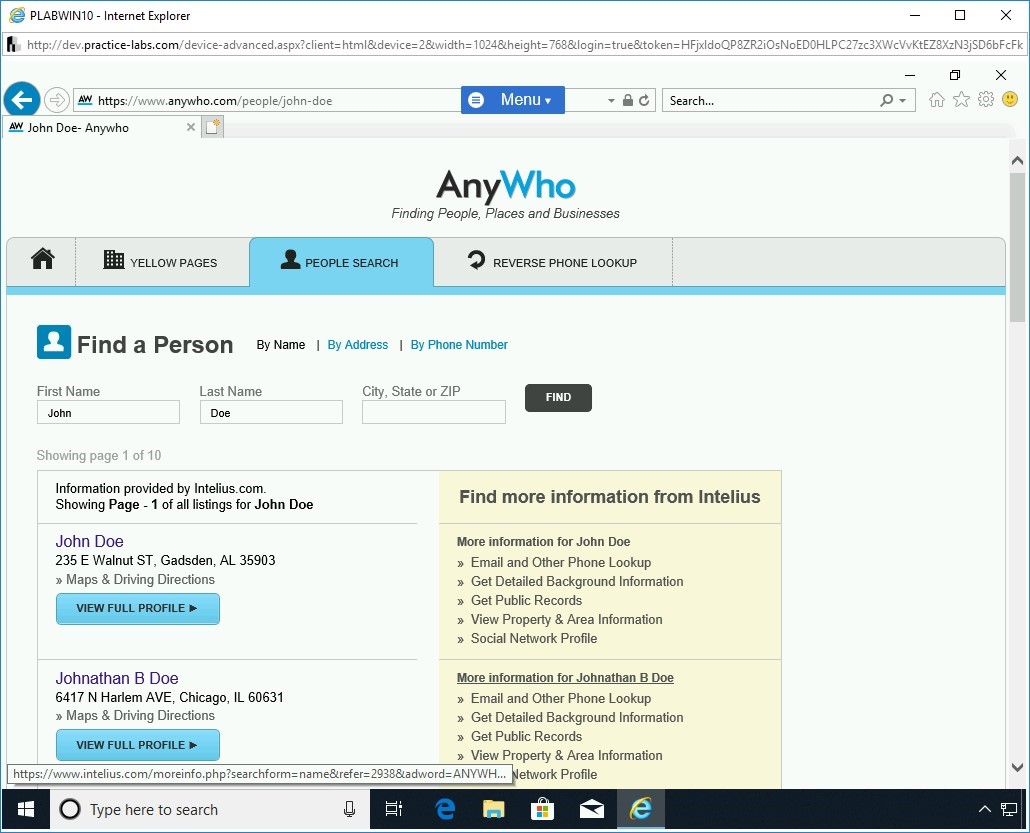
Step 4
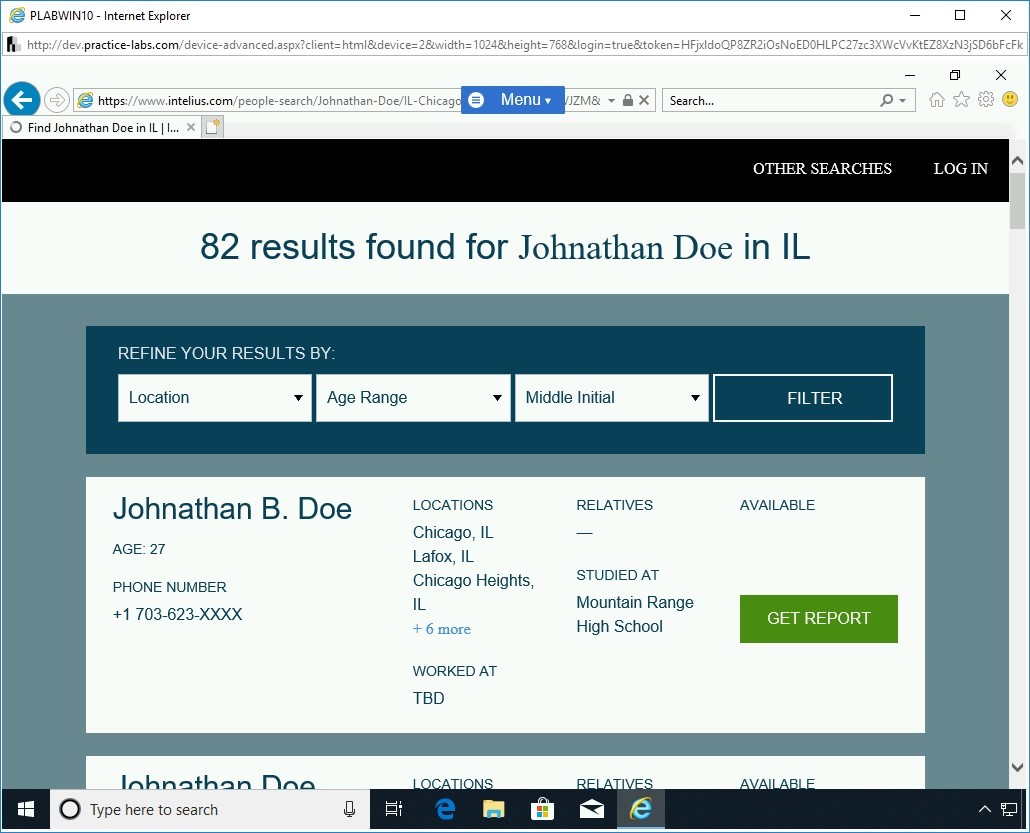
Click the second result, which is John B Doe.
Note: This is a live website; search results may vary.
Step 5
Observe the types of information given.
As a visitor, you can access limited information. You have to be a paid member to view more.

Comments
Post a Comment