Hacking webservers
Exploiting the Webserver Vulnerabilities
A Webserver is designed to host Websites and Web applications. It uses HTTP as the base protocol for delivering the content to the users, who can either be on the intranet or the Internet. The security of a Webserver becomes critical because if it is compromised, then the hosted Website or Web application is also compromised. The attacker can gain access to the Webserver by exploiting one or more vulnerabilities.
The vulnerabilities can be inherent to the Webserver, which means that they are bugs or defects within the Webserver code. Other Webserver vulnerabilities can be external, such as:
- Insufficient permissions on files and directories
- Unnecessary services running
- Unnecessary ports open
- Default configuration being used
This is not an exhaustive list but provides an overview of the type of vulnerabilities that can be present in a Webserver.
An attacker, depending on the vulnerabilities found, can perform one or more attacks on the Webserver. Some of these attacks are:
- Denial-of-Service (DoS)
- Directory traversal
- DNS amplification
- DNS server hijacking
- Man-in-the-middle
- Sniffing
- Webserver misconfiguration
In this exercise, you will learn to exploit some of these vulnerabilities.
Learning Outcomes
After completing this exercise, you will be able to:
- Perform a Slowloris Attack on a Web Server
- Enumerate a Webserver using HTTPrint
- Perform Directory Traversal Attack
- Perform Web Application Brute Forcing Using DirBuster
- Use Skipfish to Perform Webserver Reconnaissance
- Find Files on a Webserver using Metasploit Framework
- Scan for Options on a Webserver using Metasploit Framework
- Find the Webserver Version using Metasploit Framework
- Check for WebDAV on a Webserver using Metasploit Framework
Your Devices
You will be using the following devices in this lab. Please power these on now.
- PLABDC01 - (Windows Server 2019 - Domain Server)
- PLABWIN10 - (Windows 10 - Workstation)
- PLABKALI01 - (Kali 2019.2 - Linux Kali Workstation)
Task 1 - Perform a Slowloris Attack on a Webserver
Slowloris is an effective Denial-of-Service attack tool that uses low bandwidth. It triggers and sends partial HTTP requests to a Webserver and continues sending to prevent sockets from being closed. The Webserver cannot close the sockets on its own and continues opening the sockets as the requests are received from Slowloris. Finally, the requests sent by Slowloris overwhelm the Webserver, and when the Webserver’s maximum connection limit is reached, it starts to deny the legitimate requests. To prevent this attack, you can use some of the following methods:
- Use hardware-based load balancers that do not accept the partial http requests.
- Limit the connections to the Webserver in a firewall, such as Iptables
- Configure the timeout in the Webserver configuration
To perform the Slowloris attack on a Webserver, perform the following steps:
Step 1
Ensure you have powered on all the devices listed in the introduction and connect to PLABKALI01.
Credentials are:
Username:
rootPassword:
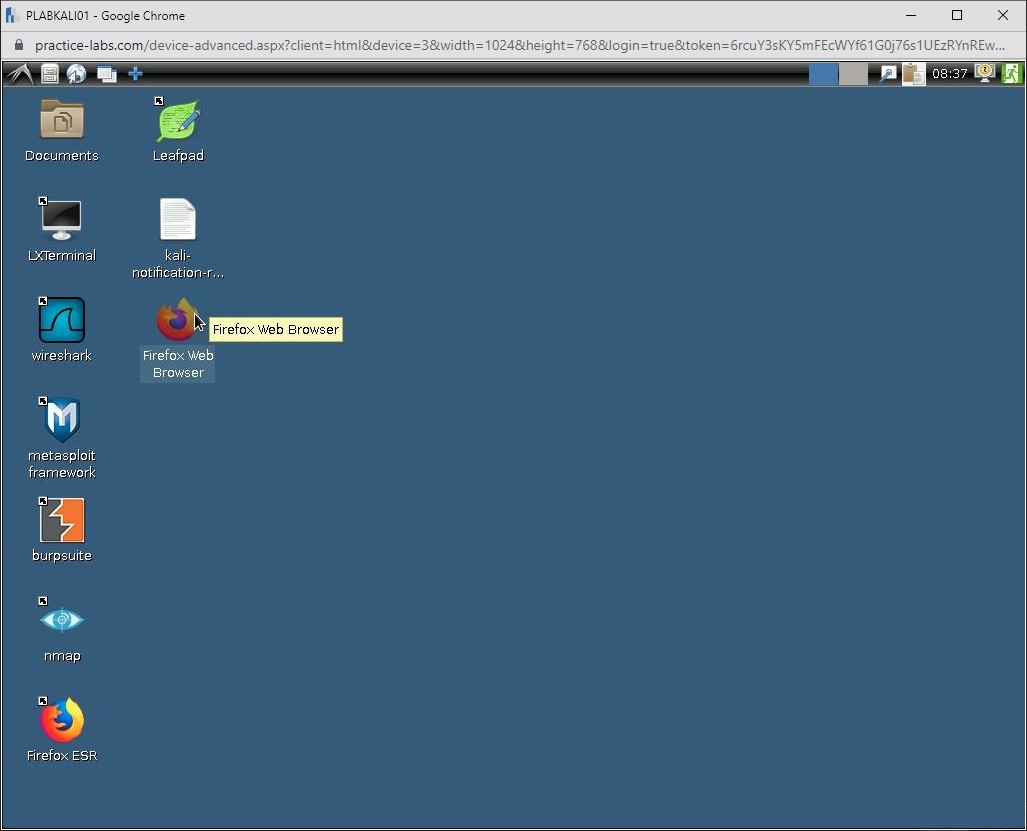
Passw0rdThe desktop of PLABKALI01 is displayed.
Step 2
On the desktop, in the left pane, click the Terminal icon.

Step 3
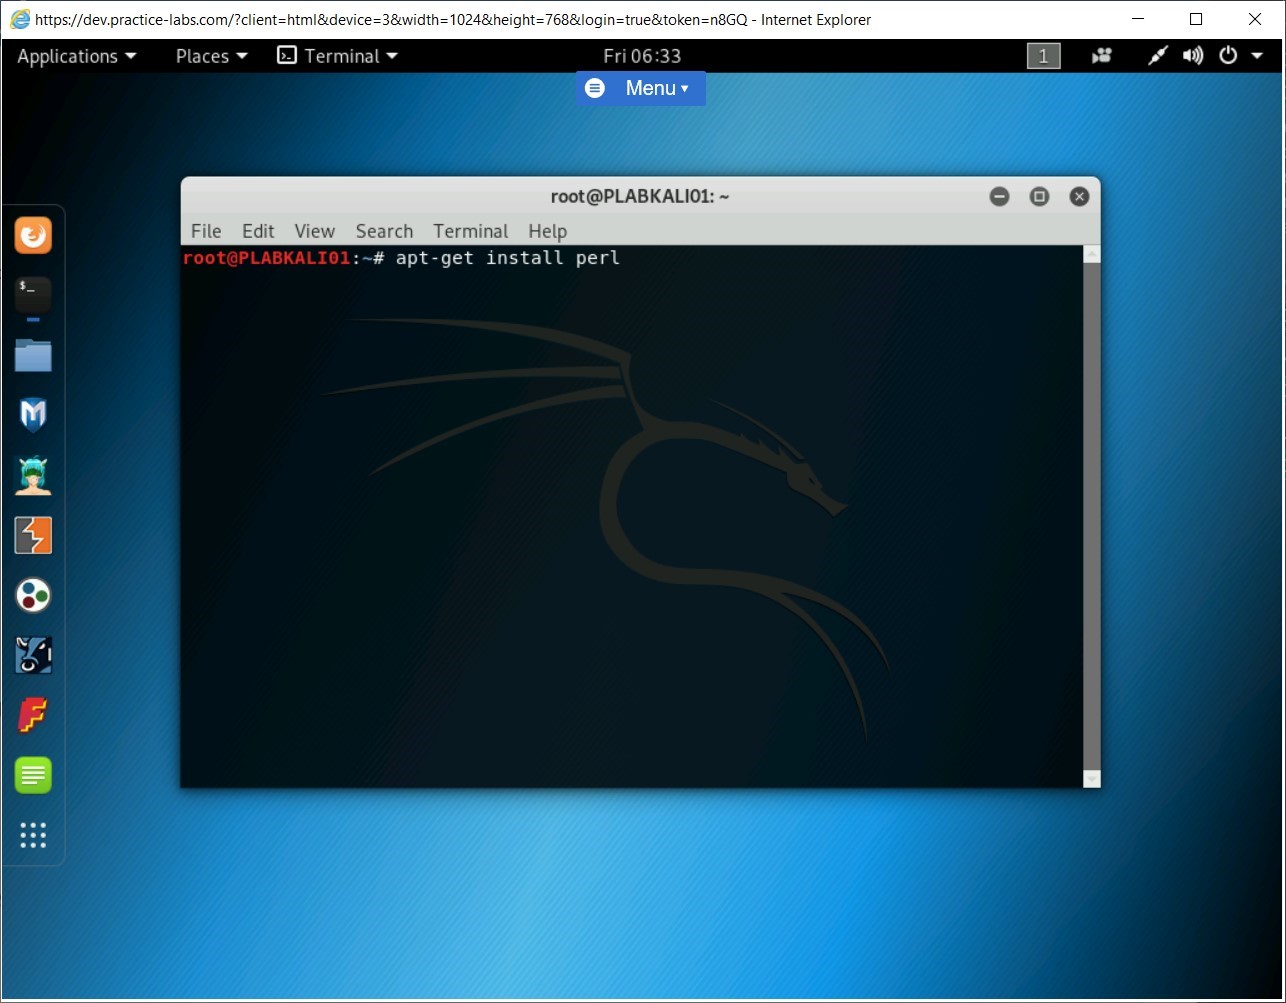
Slowloris is a Perl-based tool. Therefore, you need to install Perl on Kali Linux. To do this, type the following command:
apt-get install perl
Press Enter.
Step 4
Clear the screen by entering the following command:
clear
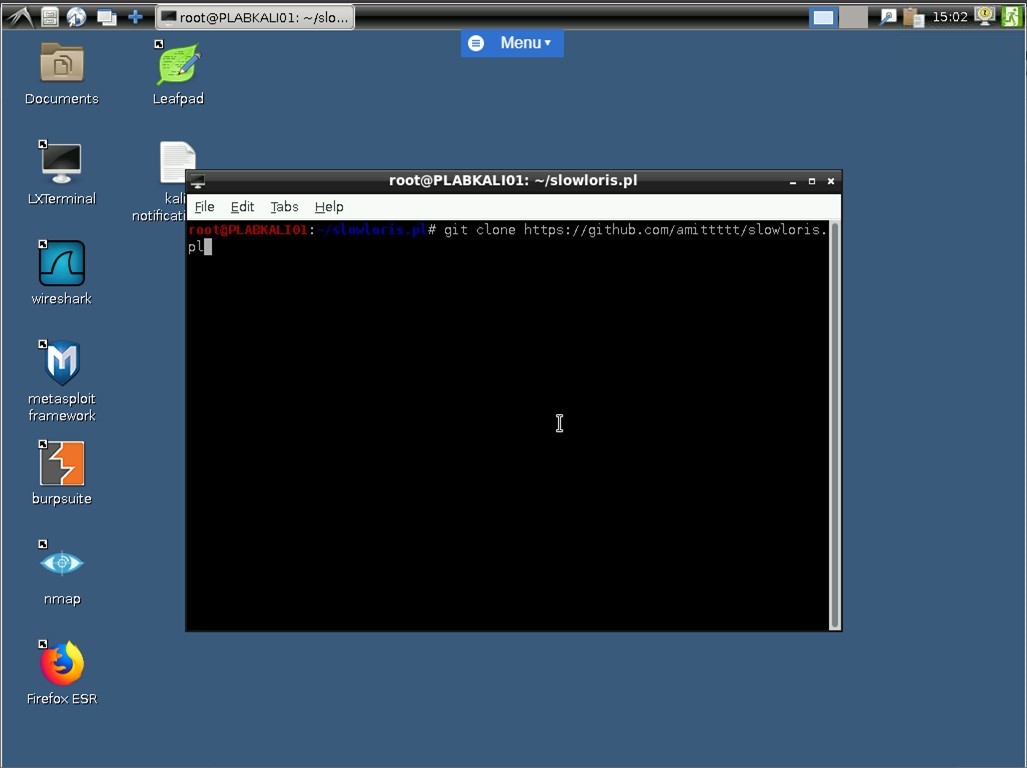
Next, you need to install Slowloris. To do this, type the following command:
git clone https://github.com/amittttt/slowloris.pl
Press Enter.
Slowloris is now installed on Kali Linux.
Step 5
Clear the screen by entering the following command:
clear
To navigate to the slowloris directory, type the following command:
cd slowloris.pl
Press Enter.

Step 6
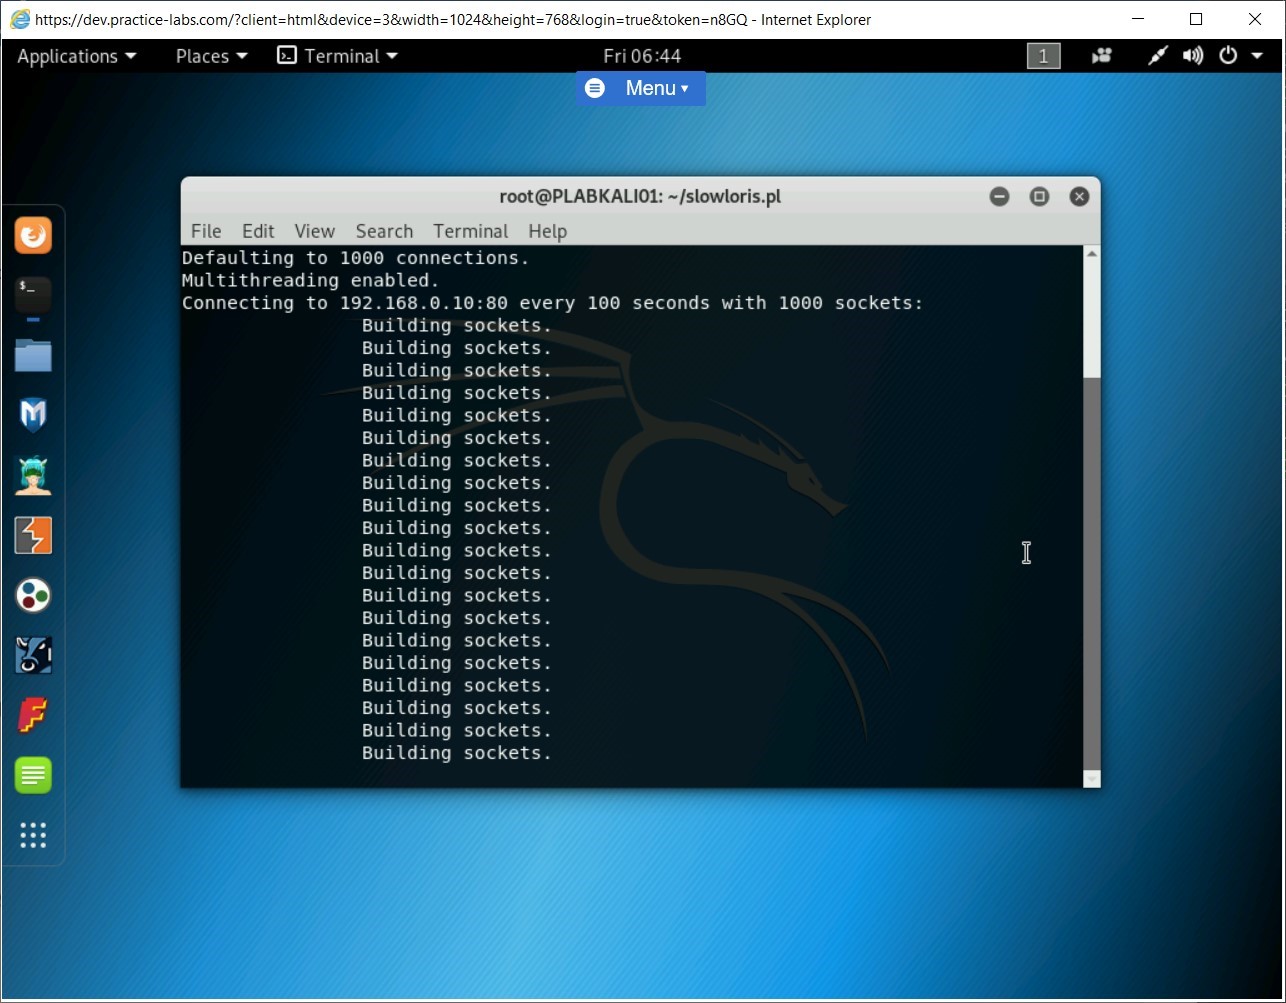
Now, you will execute the slowris.perl script. To do this, type the following command:
perl slowloris.pl -dns 192.168.0.10
Press Enter. Notice that Slowloris has started to consume sockets.
Step 7
Let’s connect to the Website running on 192.168.0.10. Connect to PLABWIN10. The desktop of PLABWIN10 is displayed.
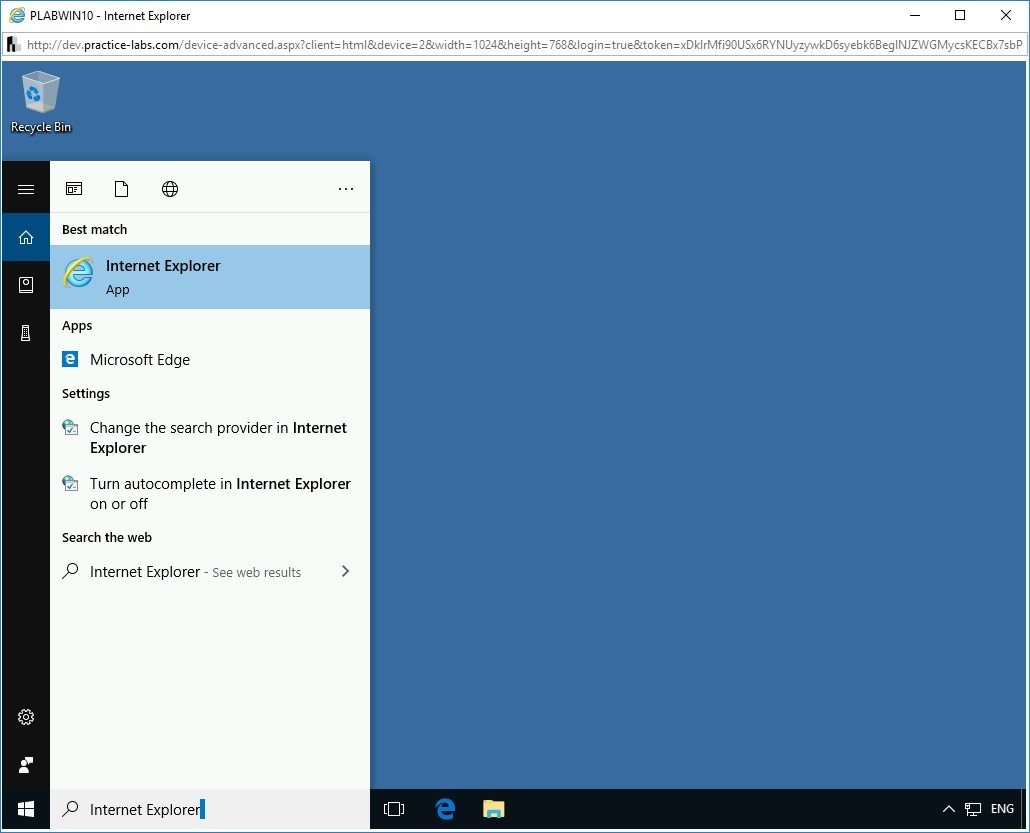
In the Type here to search text box, type the following:
Internet Explorer
From the search results, select Internet Explorer.

Step 8
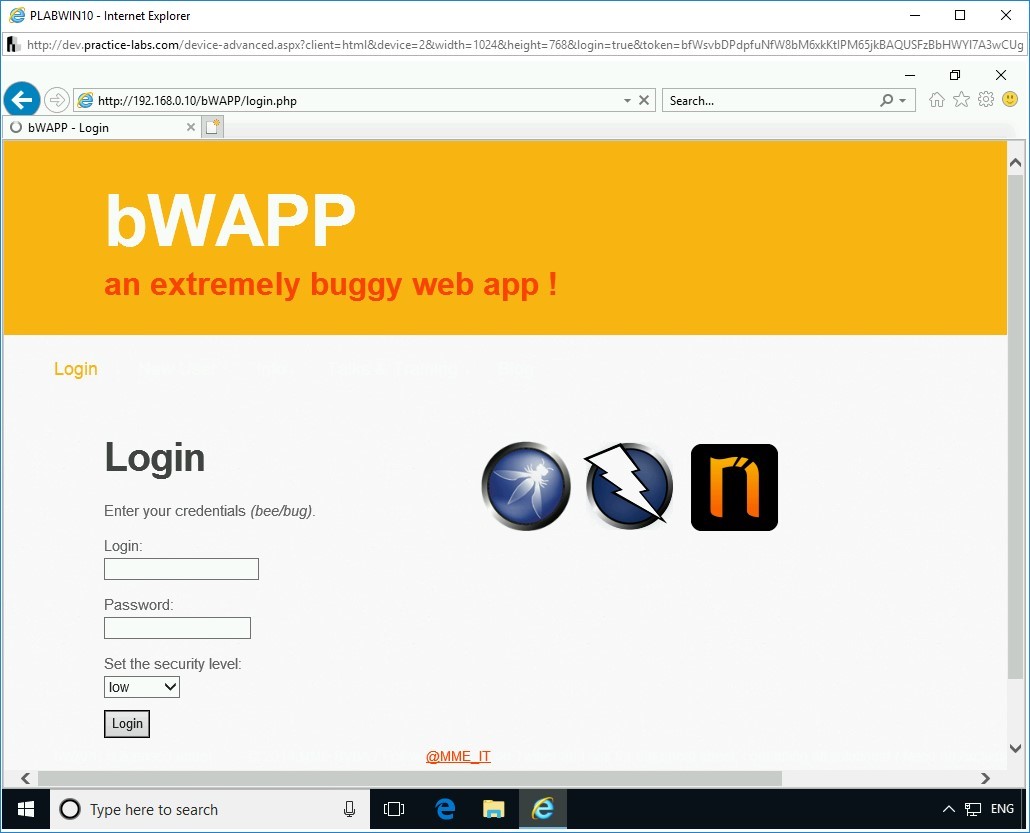
The Internet Explorer window is displayed. In the address bar, type the following URL:
http://192.168.0.10/bWAPP
Press Enter. Notice the error. The Website fails to load.
Note: It may load in some cases, but it will eventually time out or become unresponsive.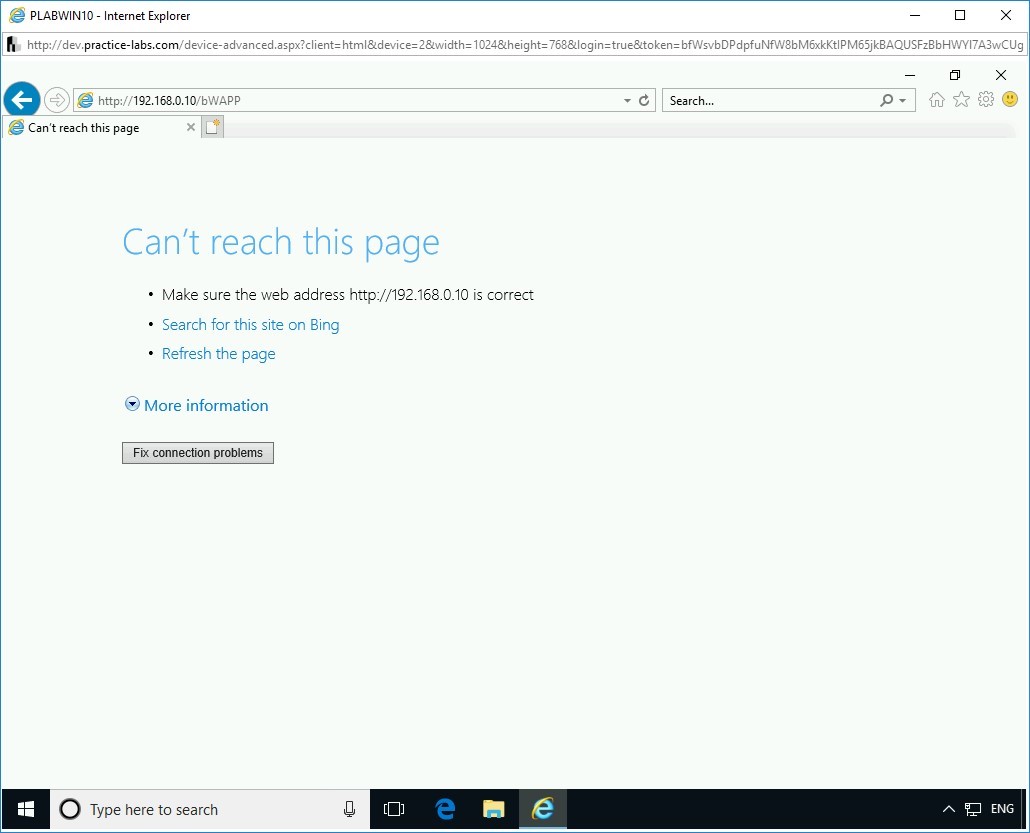
Step 9
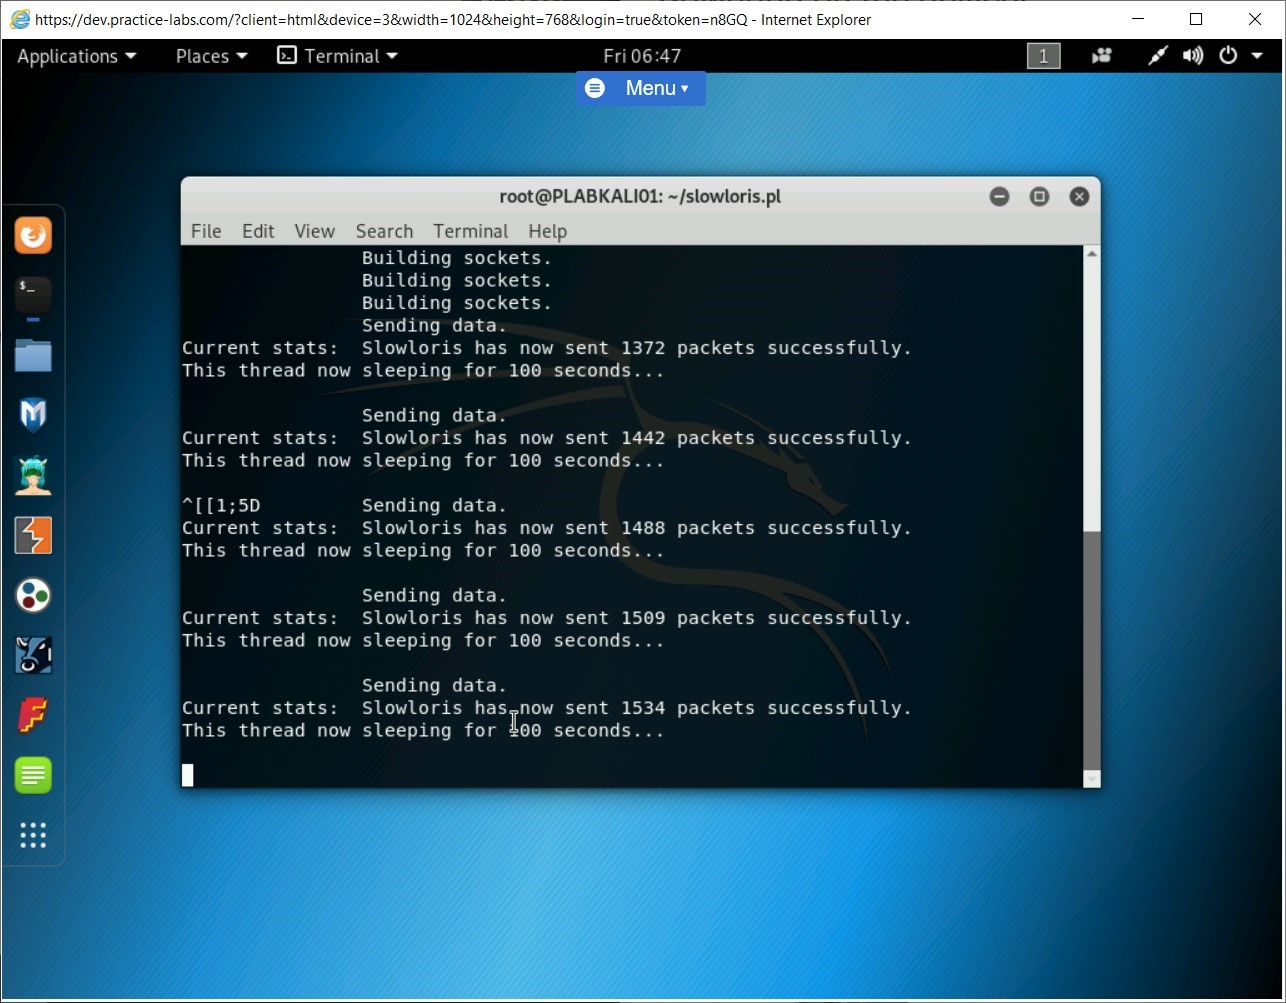
Switch back to PLABKALI01. Notice that Slowloris is consuming sockets continuously.
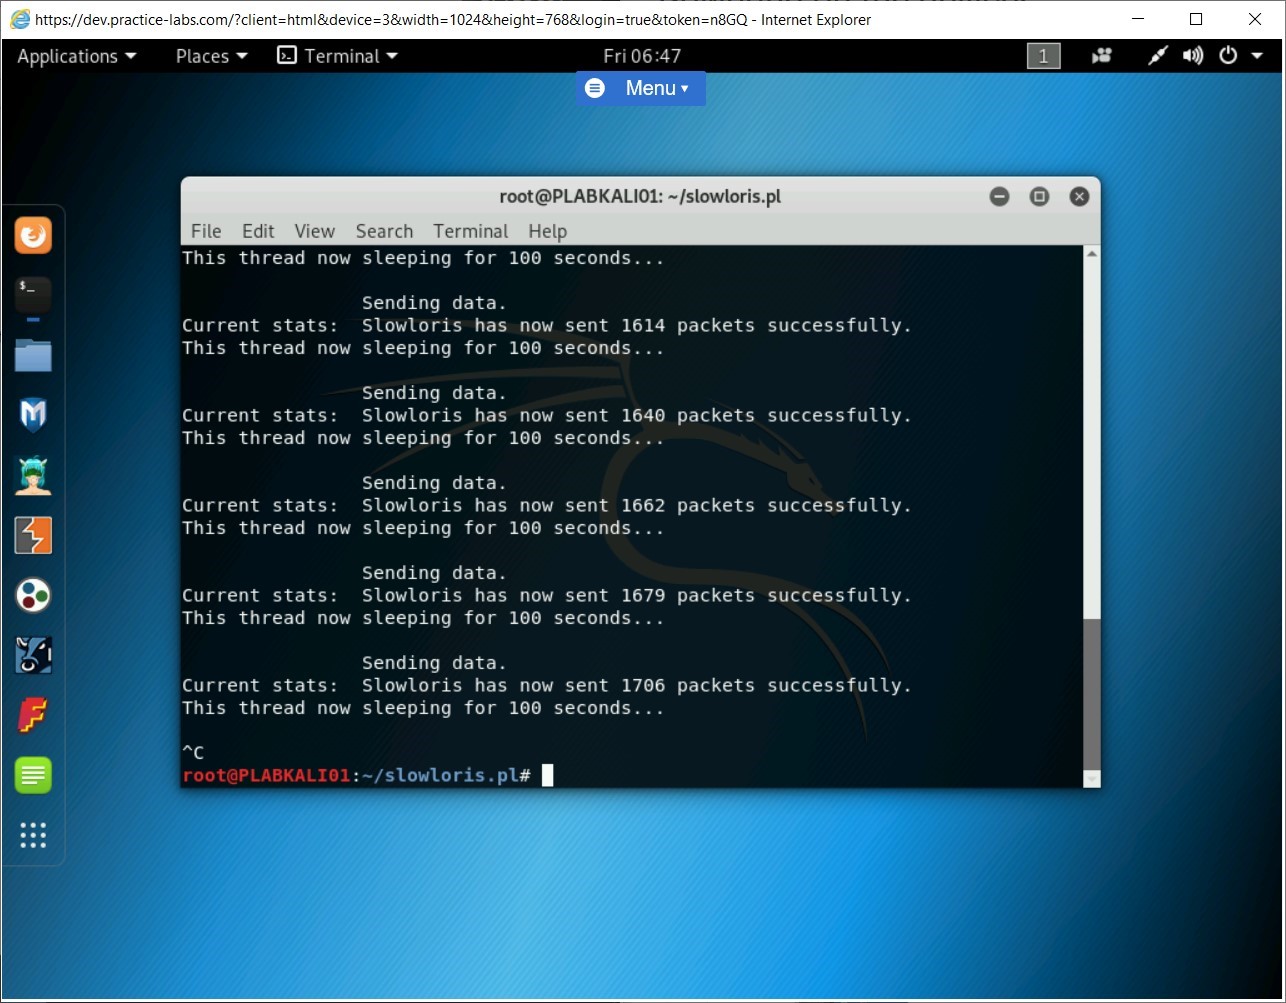
Step 10
Press Ctrl + C to terminate the slowloris command.
Step 11
Switch back to PLABWIN10. You can now attempt to reload the website in PLABWIN10. You can press F5 or Fn + F5.
Notice that the website now loads without any issue.
Close the Internet Explorer window on PLABWIN10. Exit from the terminal window on PLABKALI01.
Task 2 - Enumerate a Web Server using HTTPrint
Other than using the command line tools, you can also use HTTPrint to enumerate a Webserver. In this task, you will learn to use HTTPrint to enumerate a Webserver.
Note: HTTPrint can be downloaded from www.net-square.com/httprint.htmlStep 1
Ensure you have powered the required devices. Connect to PLABWIN10.
Step 2
In the Type here to search text box, type the following:
Internet Explorer
From the search results, select Internet Explorer.
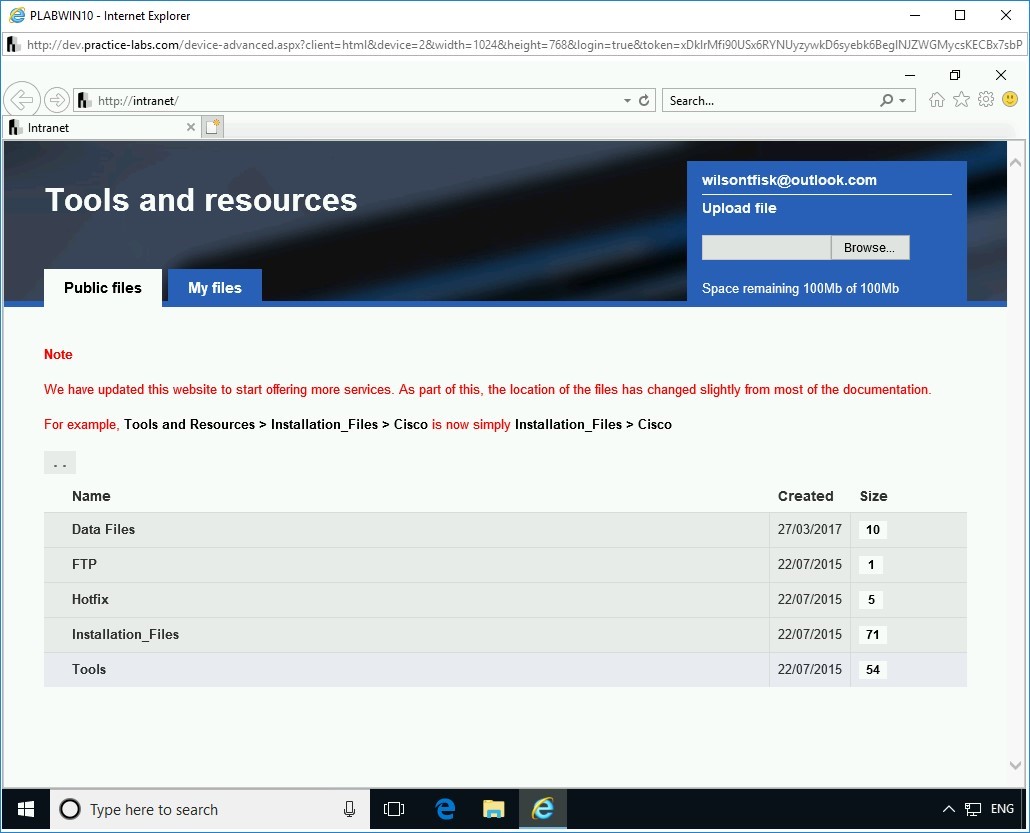
Step 3
On the Intranet homepage, click Tools.
Step 4
On the Tools Webpage, click Hacking Tools.
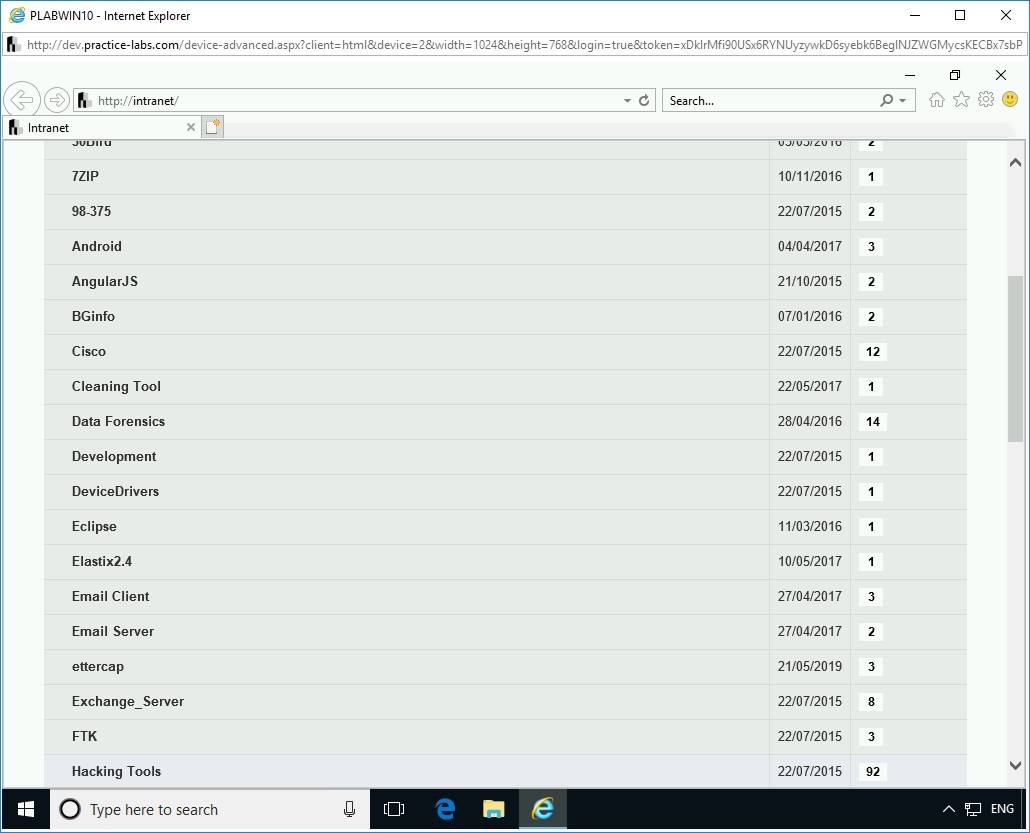
Step 5
Locate and click httprint_win32_301.zip.
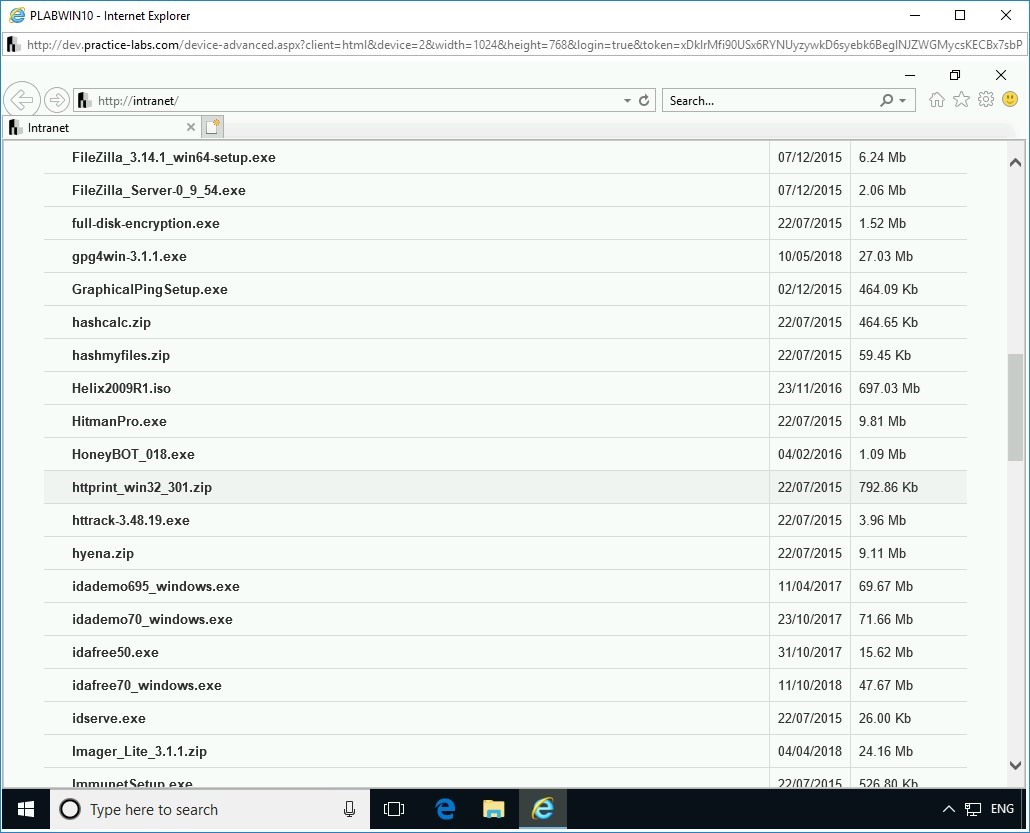
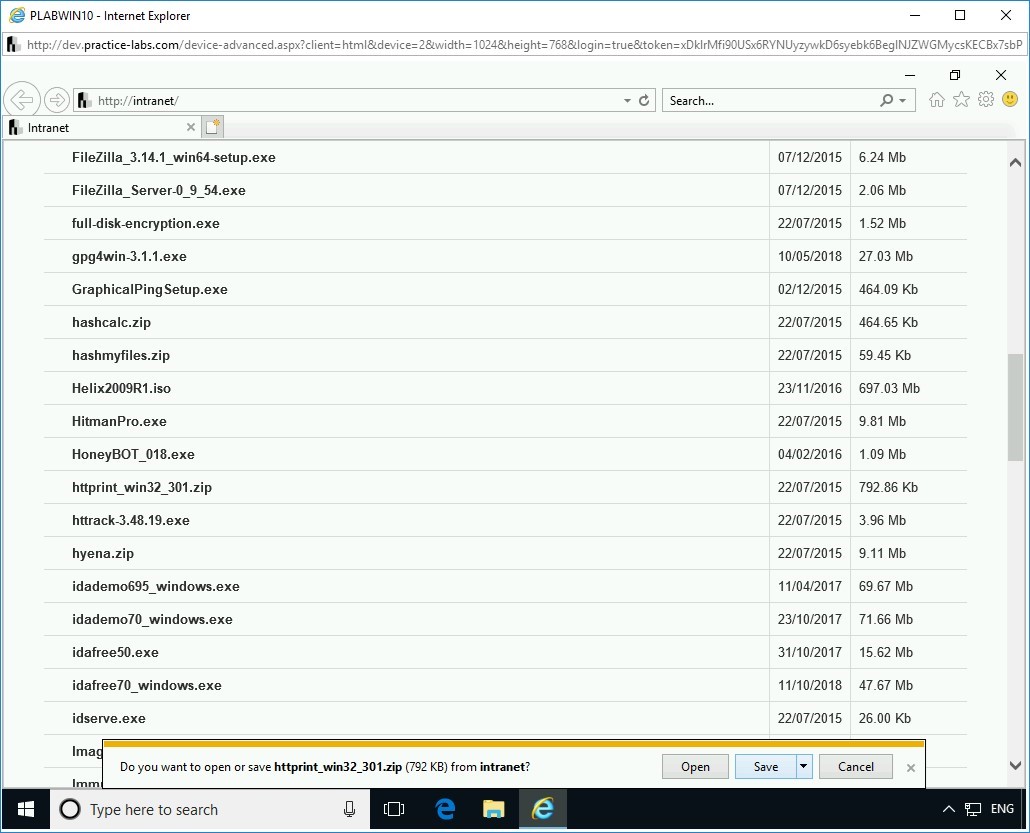
Step 6
In the notification bar, click Save.
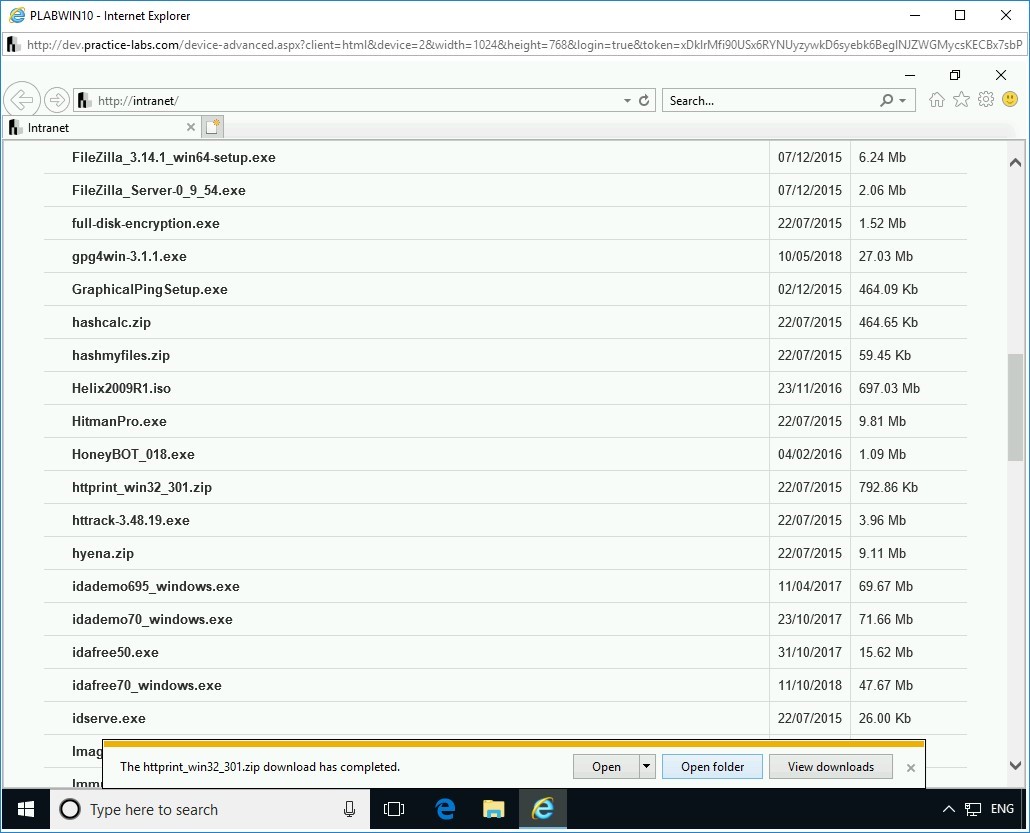
Step 7
In the notification bar, click Open folder.
Step 8
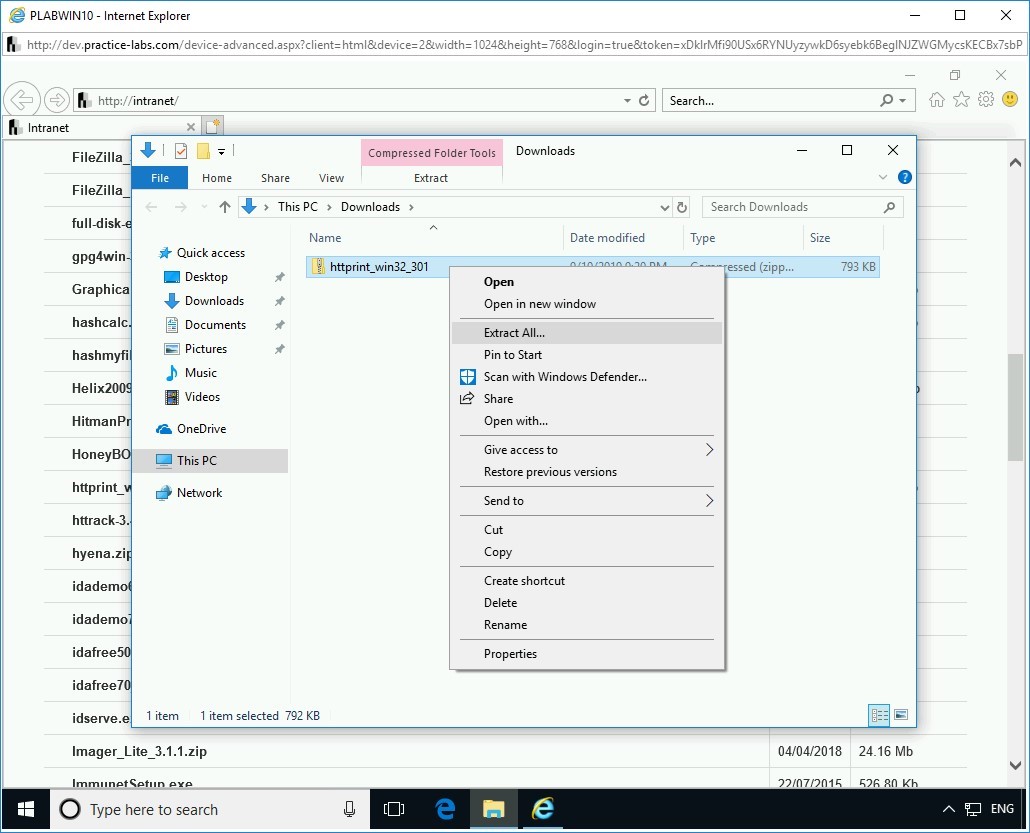
The File Explorer window is now open. You will need to extract the files from the zip file.
Alert: If you run HTTPrint from the zip file, then it will not be able to load the signature file.Right-click httprint_win32_301 and select Extract All.
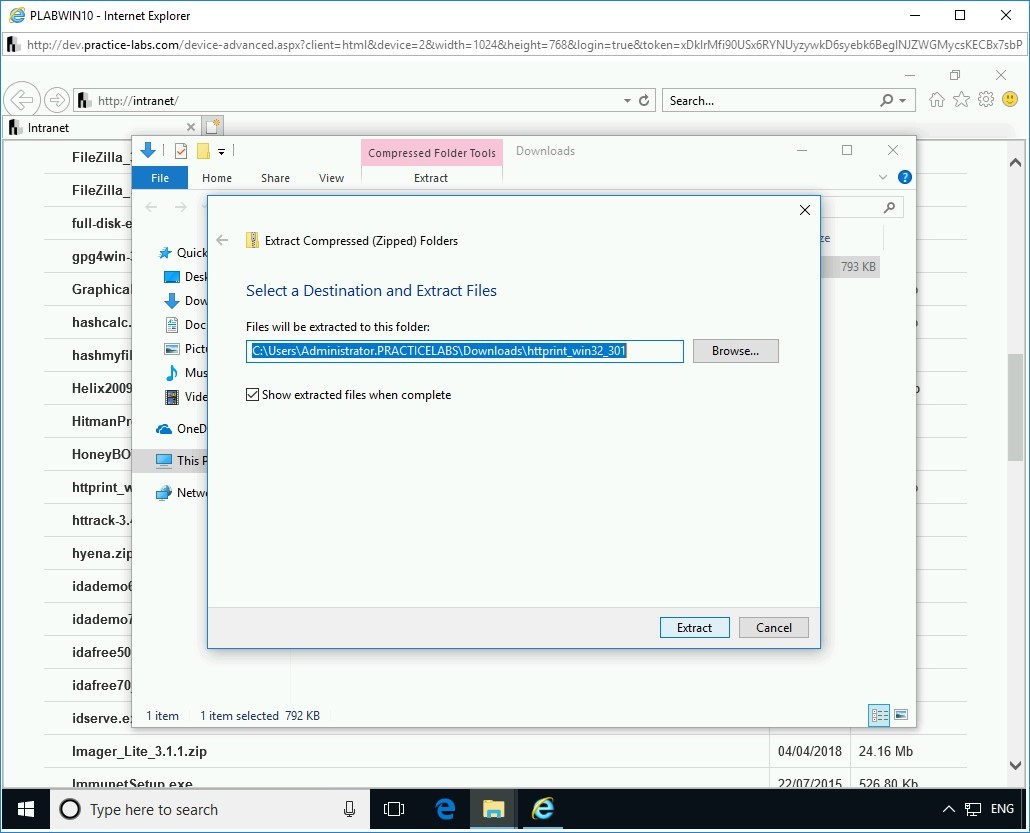
Step 9
The Extract Compressed (Zipped) Folders dialog box is displayed. Keep the default path and click Extract.
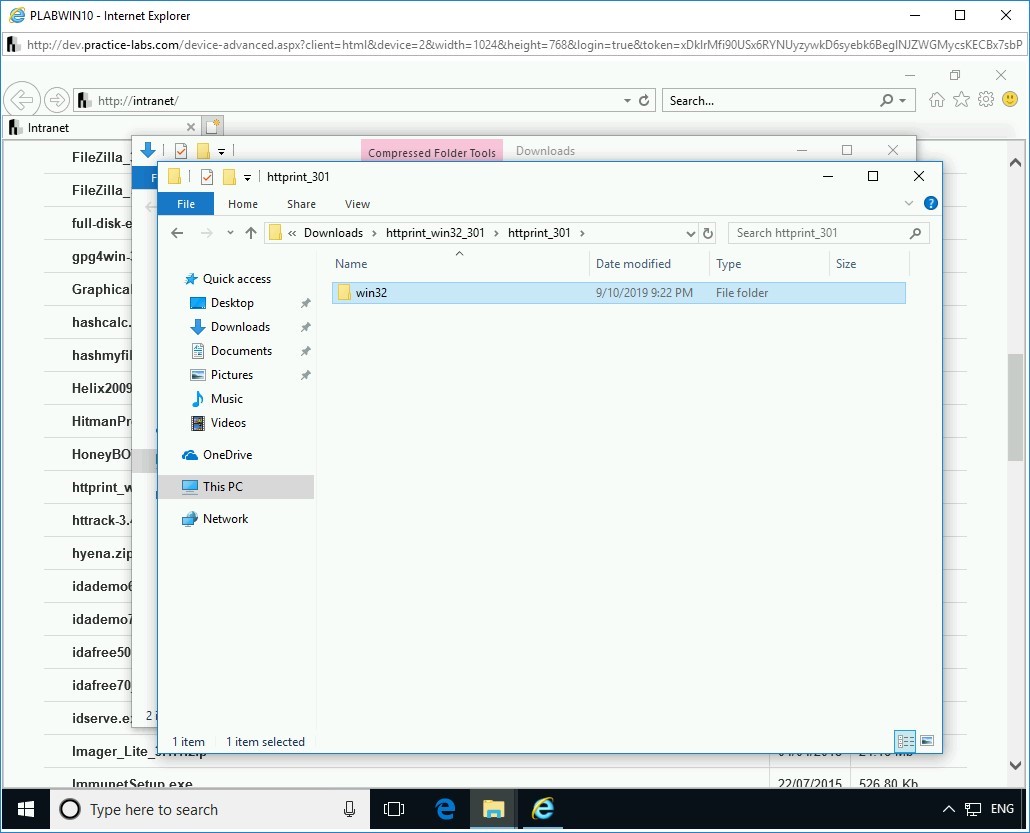
Step 10
Notice that a new File Explorer window is opened. Double-click the httprint_301 folder.

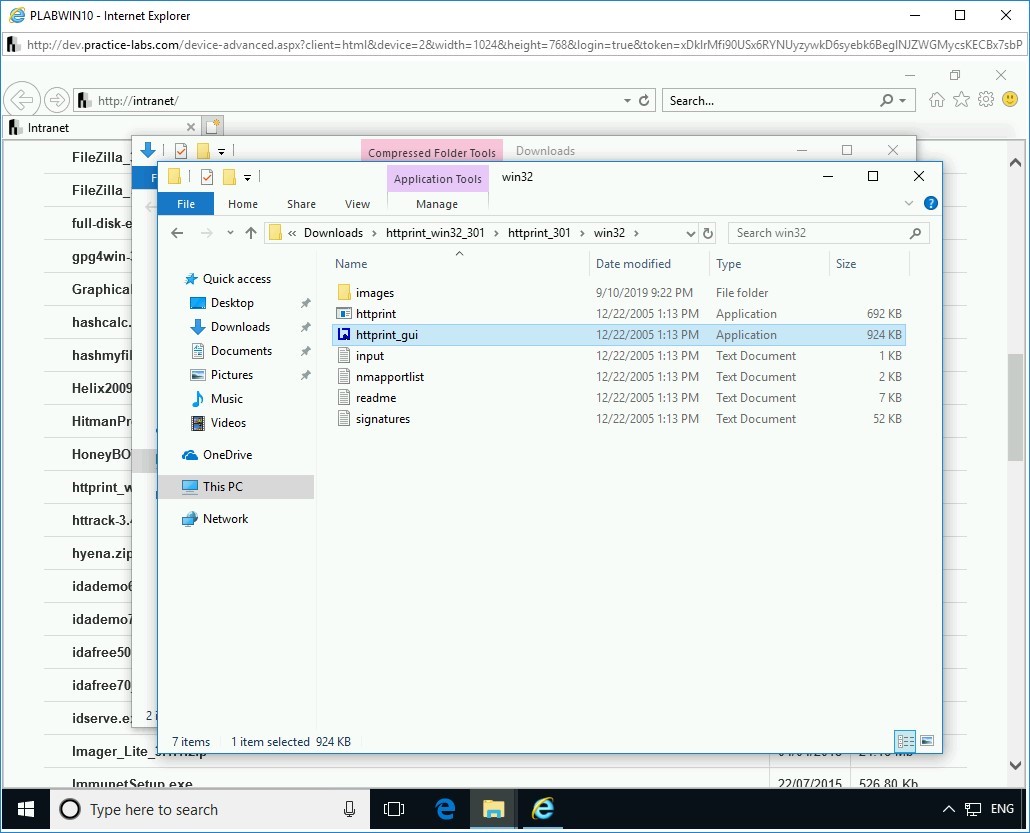
Step 11
Double-click the win32 folder.
Step 12
You are now in the httprint_301\win32 folder. Double-click httprint_gui.
Step 13
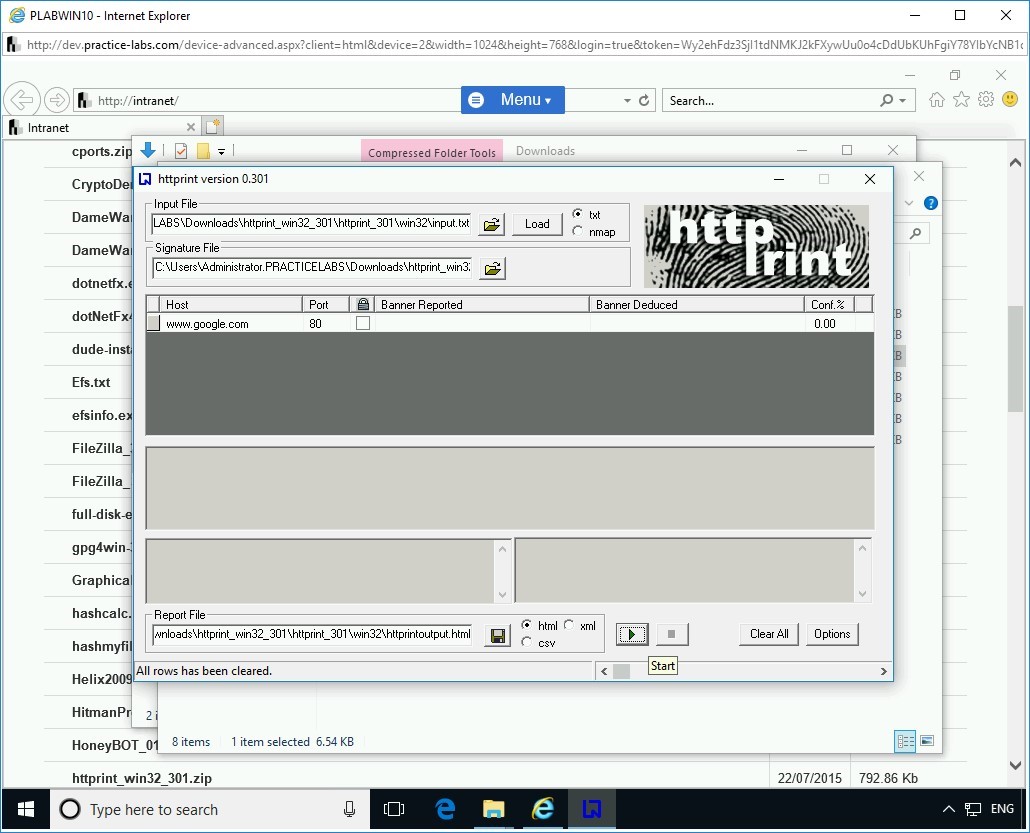
Note: If the Open File - Security Warning dialog box is displayed, click Run.The httprint version 0.301 window is displayed.
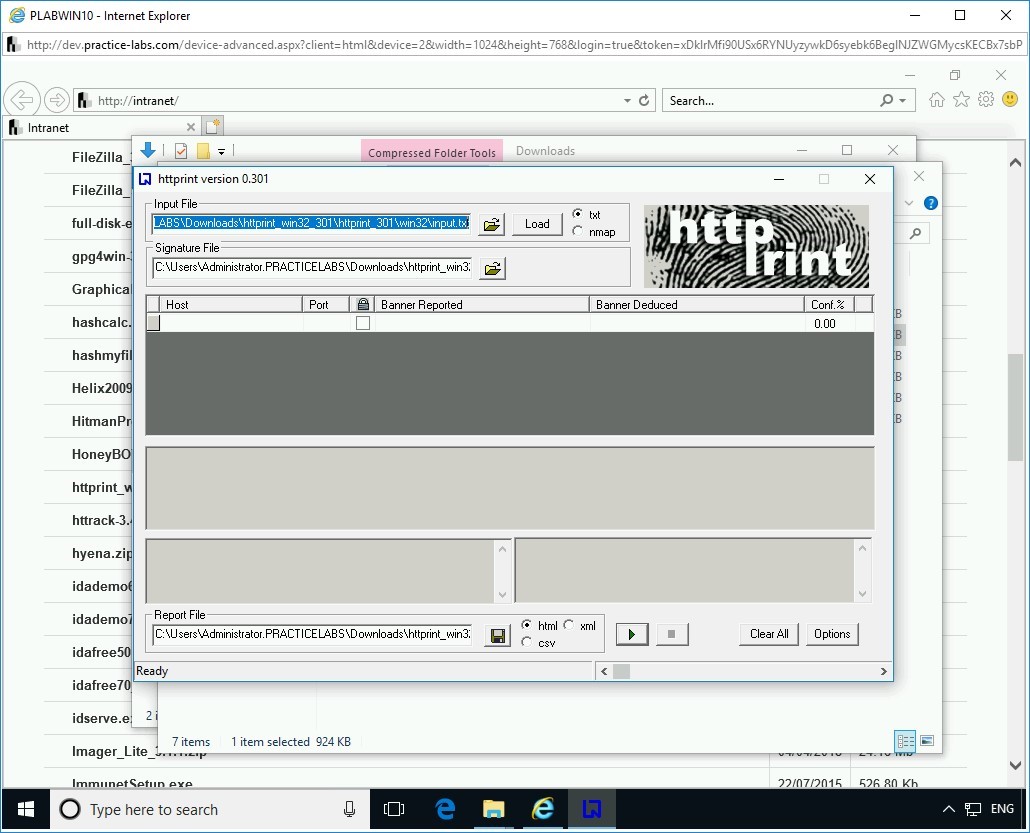
Step 14
Enter the following information:
Host:
192.168.0.10
Port:
80
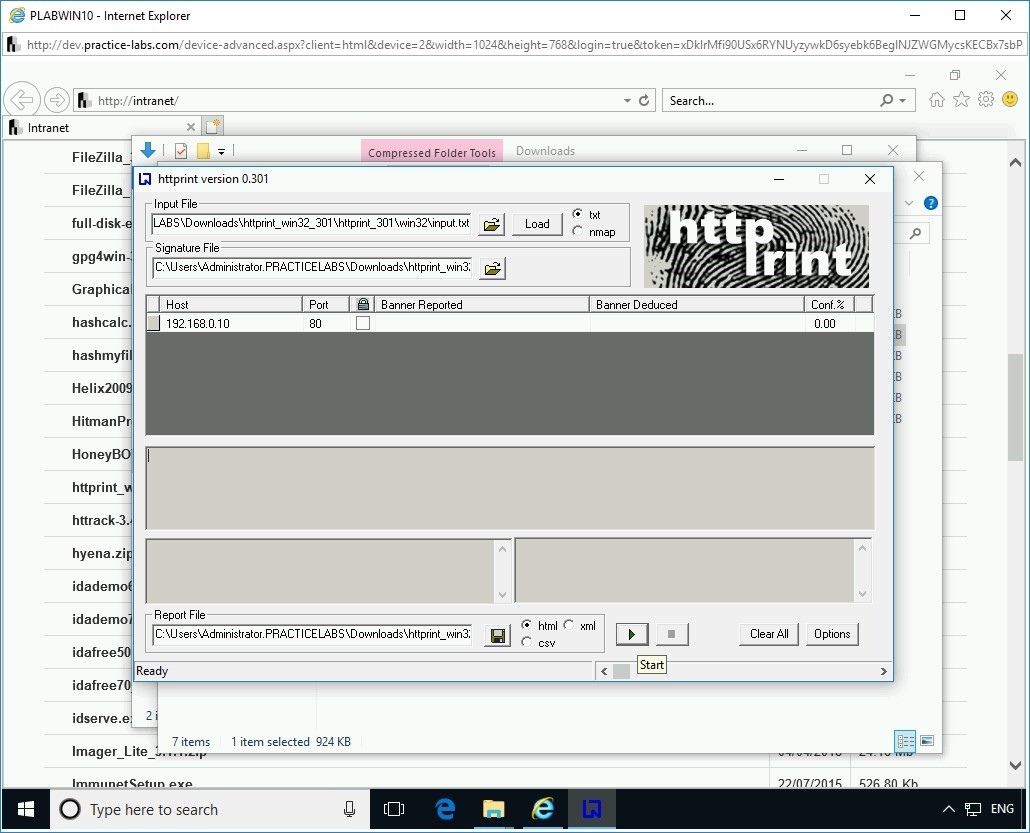
Click Start.
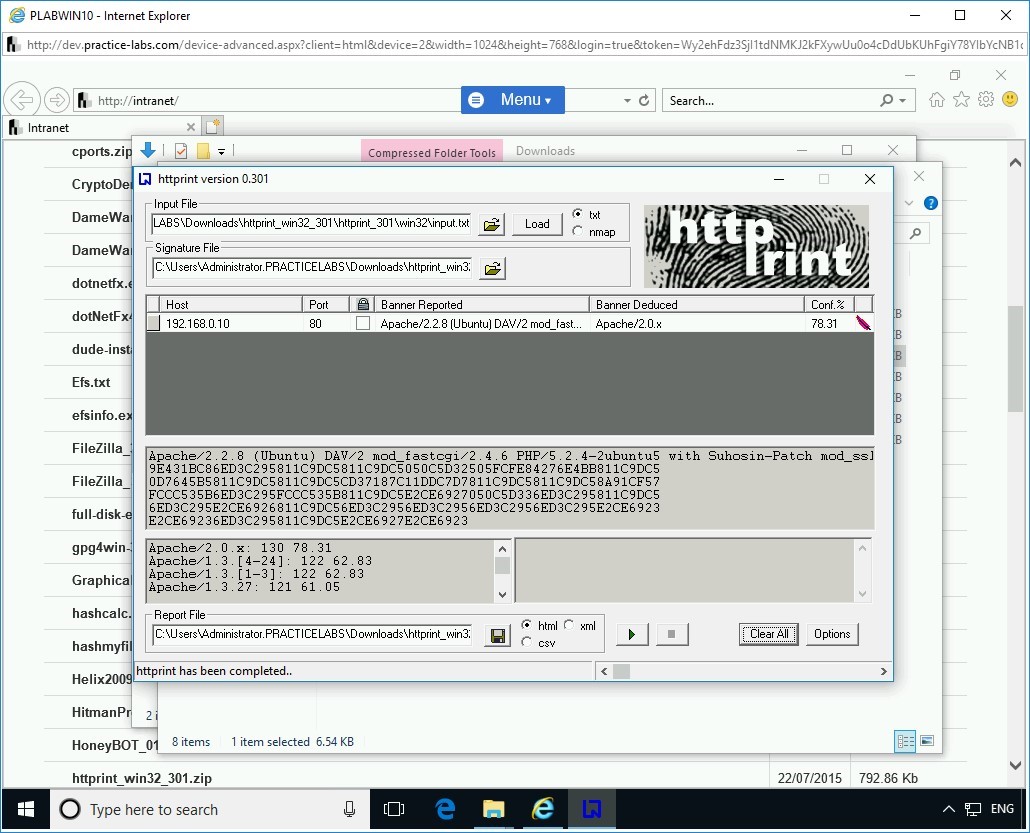
Step 15
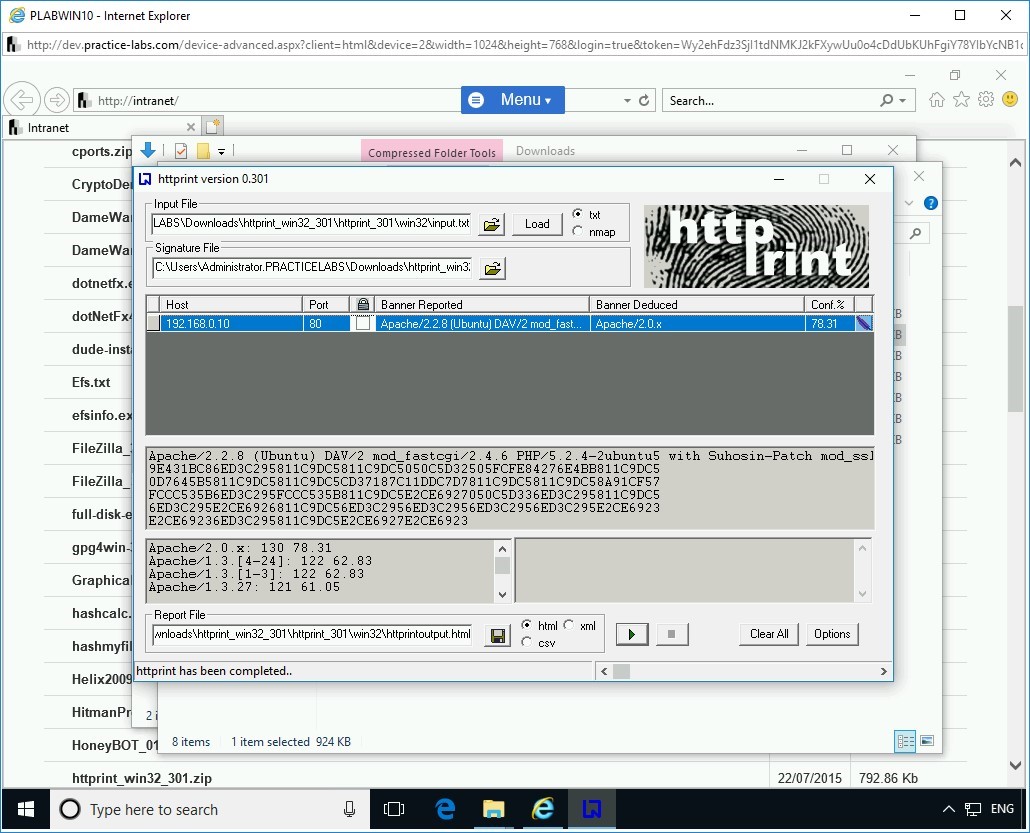
The httprint_gui dialog box is displayed. It prompts with a message that httprint is now completed. Click OK.
Note that a set of parameters are displayed as a result.
Step 16
Let’s save the file. Click the floppy disk icon.

Step 17
The Save As dialog box is displayed. Keep the default name and click Save.
Note: Make sure you note the path where you are downloading the report. If prompted to overwrite an existing report, go ahead and overwrite it. Else, you can save the report with a new name.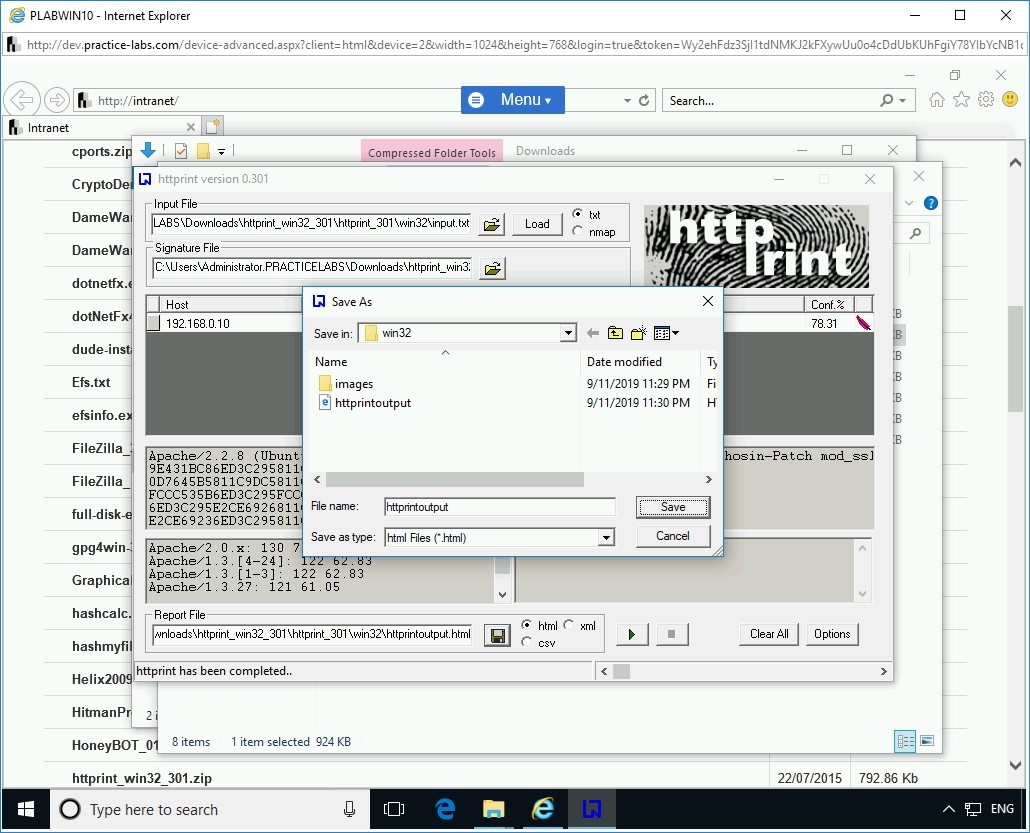
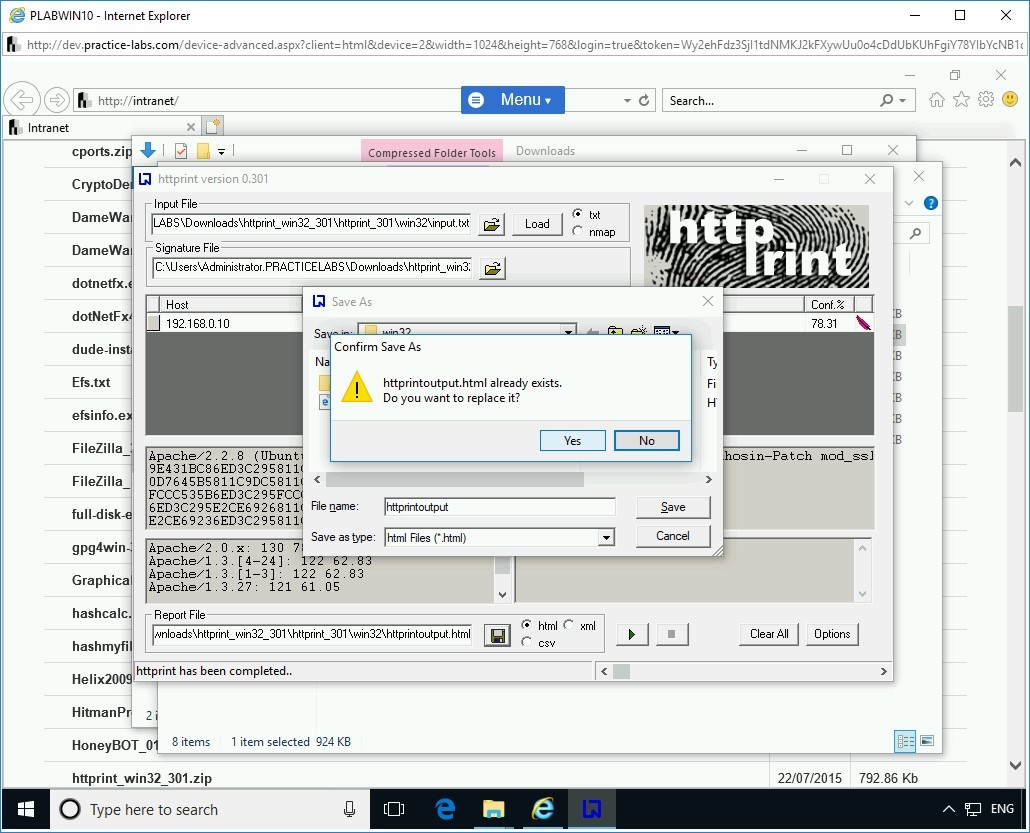
Step 18
When prompted to overwrite the existing file, click Yes.
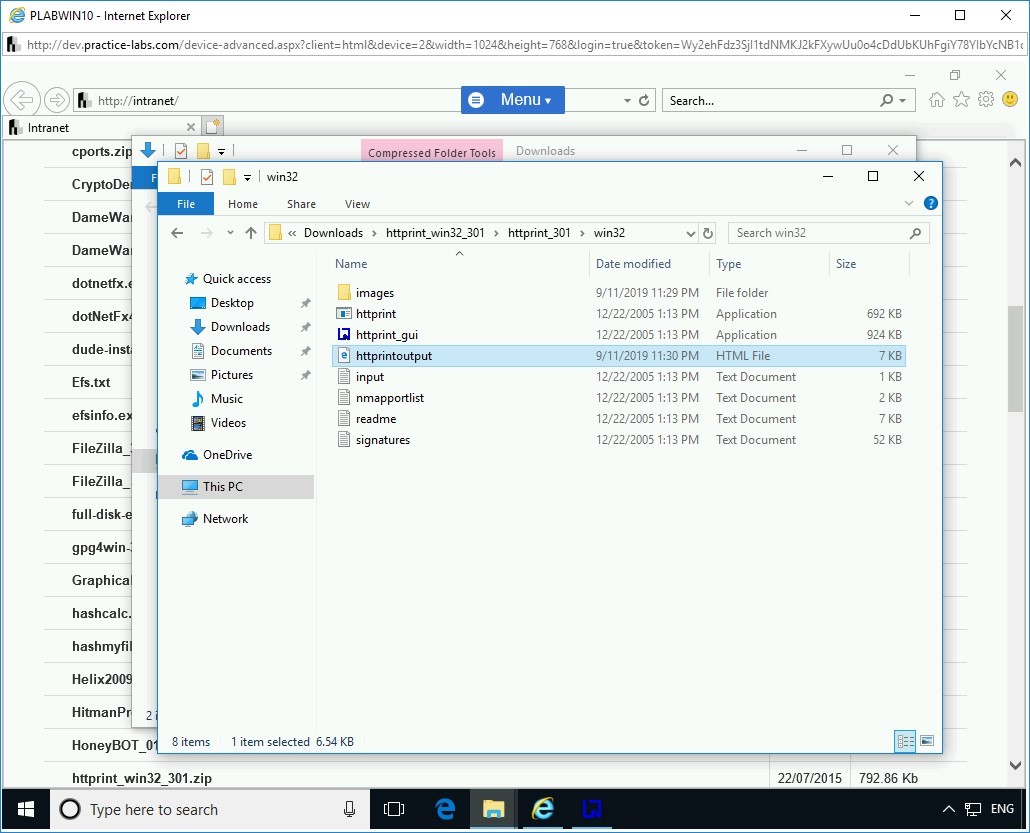
Step 19
Minimize HTTPrint and navigate to the directory where you saved the report. Double-click the file to open it.
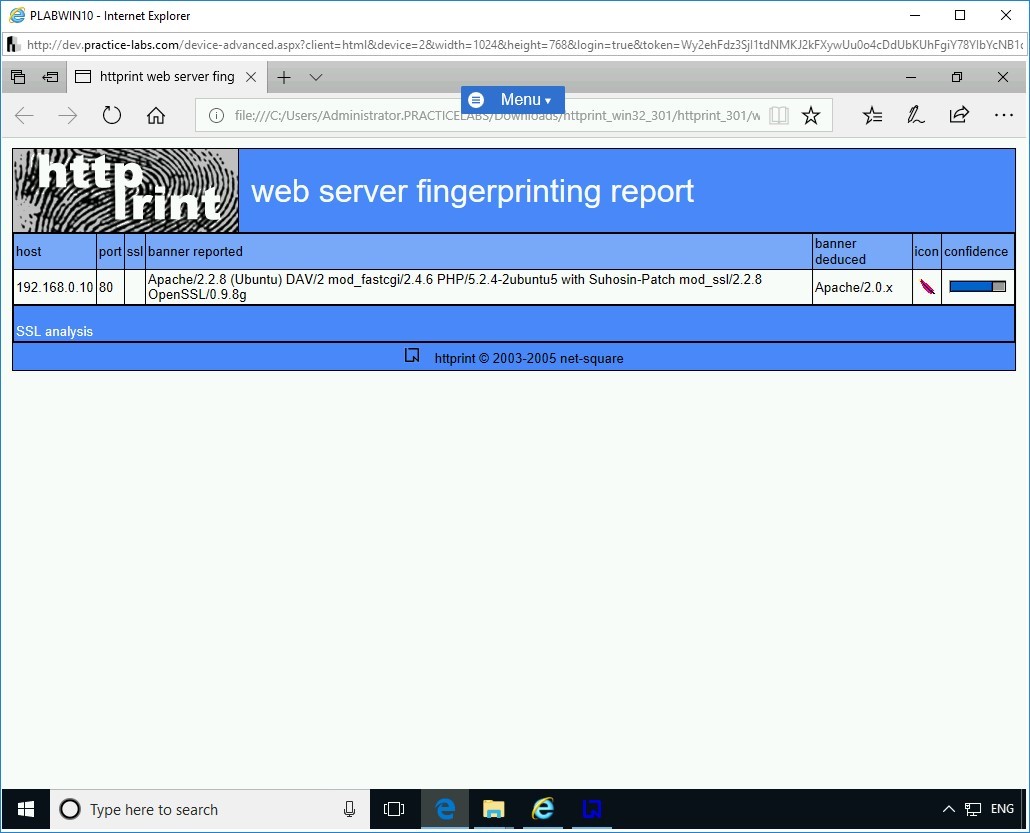
Step 20
The Internet Explorer opens the report since it is in the HTML format.
It is the same information that you viewed within the HTTPrint tool. Close the Edge browser.
Step 21
Switch back to the HTTPrint tool. Click Clear All.
Step 22
Enter the following information:
Host:
www.google.com
Port:
80
Click Start.
Step 23
The httprint_gui dialog box is displayed. Click OK to close it.
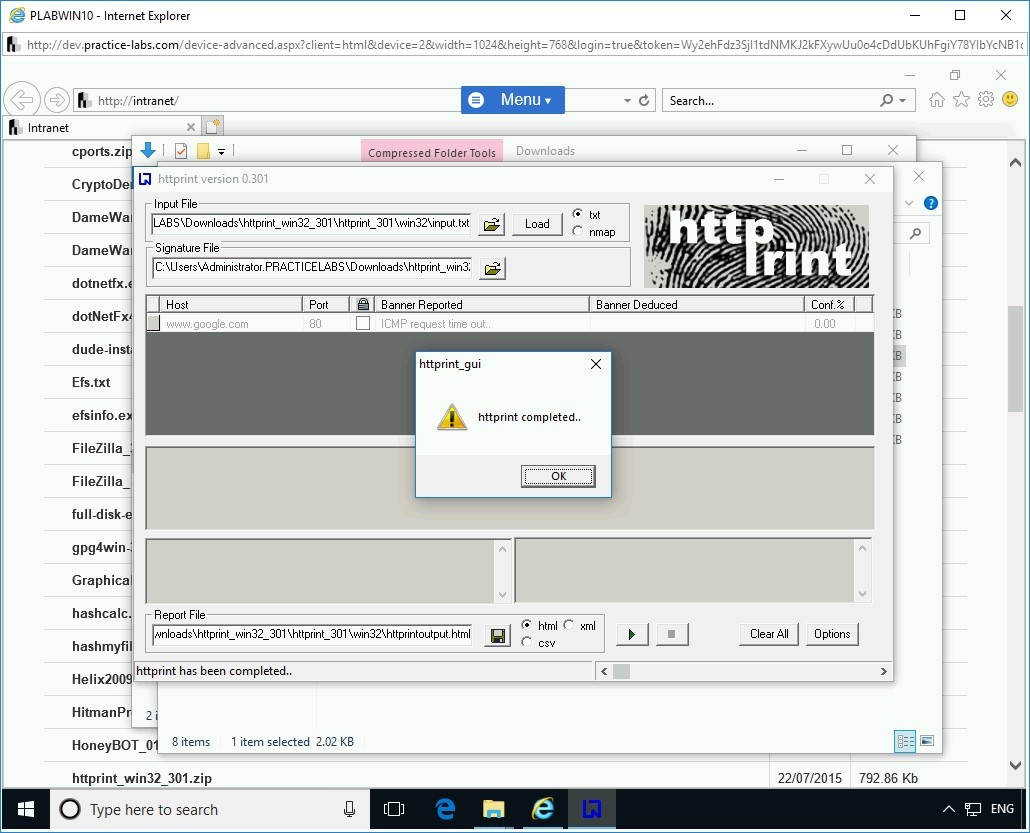
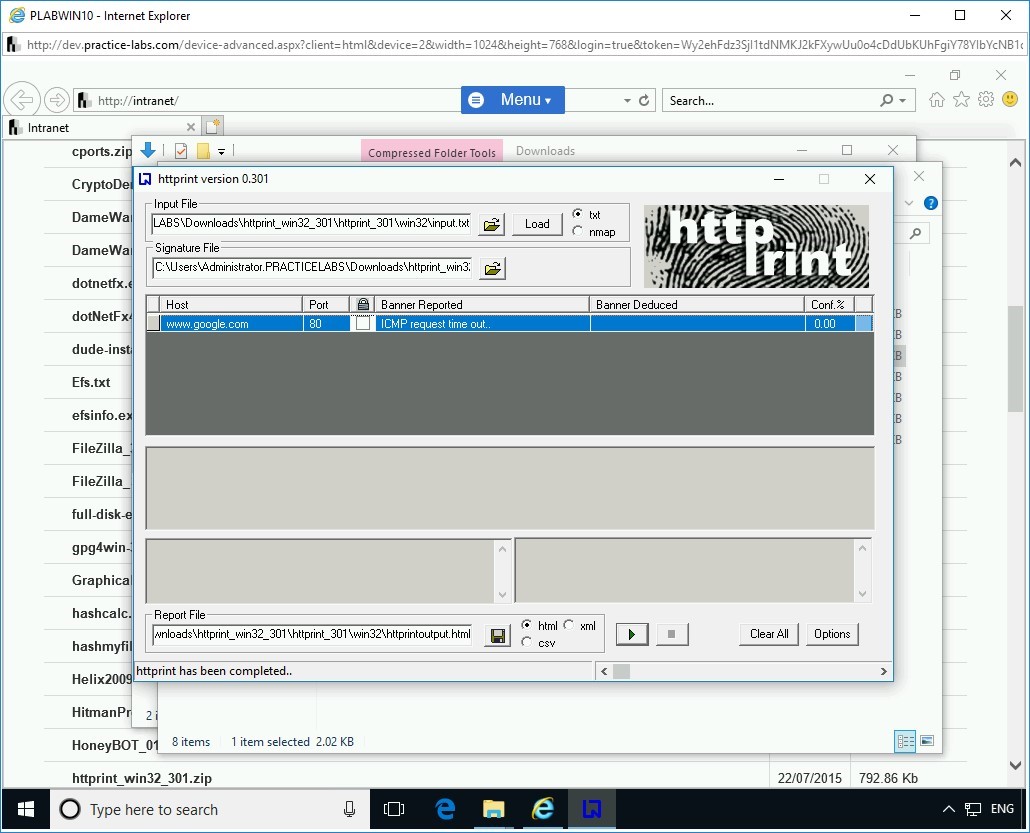
Note that the Banner Reported column shows ICMP request time out. This could be because of two reasons:
- Your network firewall is preventing the ICMP packets from going out.
- The target that you are trying to fingerprint prevents ICMP packets from coming into the network.
There could be a possibility that either both of the reasons are true or one of the reasons is true; you will get this error message.
Also, when you fingerprinted your internal Webserver, 192.168.0.10, you did not get any error. The reason is that your system and Webserver are on the same network and same subnet.
Close all open windows.
Task 3 - Perform Directory Traversal Attack
Directory traversal allows attackers to access restricted directories and file on a Webserver. It is most commonly known as the path traversal attack. Through the directory traversal attack, the attacker can bypass security implemented on the Webserver and access directories and files that are stored on the Webserver even though they are outside the root directory of the Webserver.
In most common scenarios, a Webserver administrator would restrict users to the Webserver’s root directory, which holds the files for the Web application. The user will be restricted to navigate outside this directory. The Webserver administrator usually applies Access Control Lists (ACLs), which define the access rights and privileges for the users to view, modify, and execute files.
To perform a directory traversal attack, perform the following steps:
Step 1
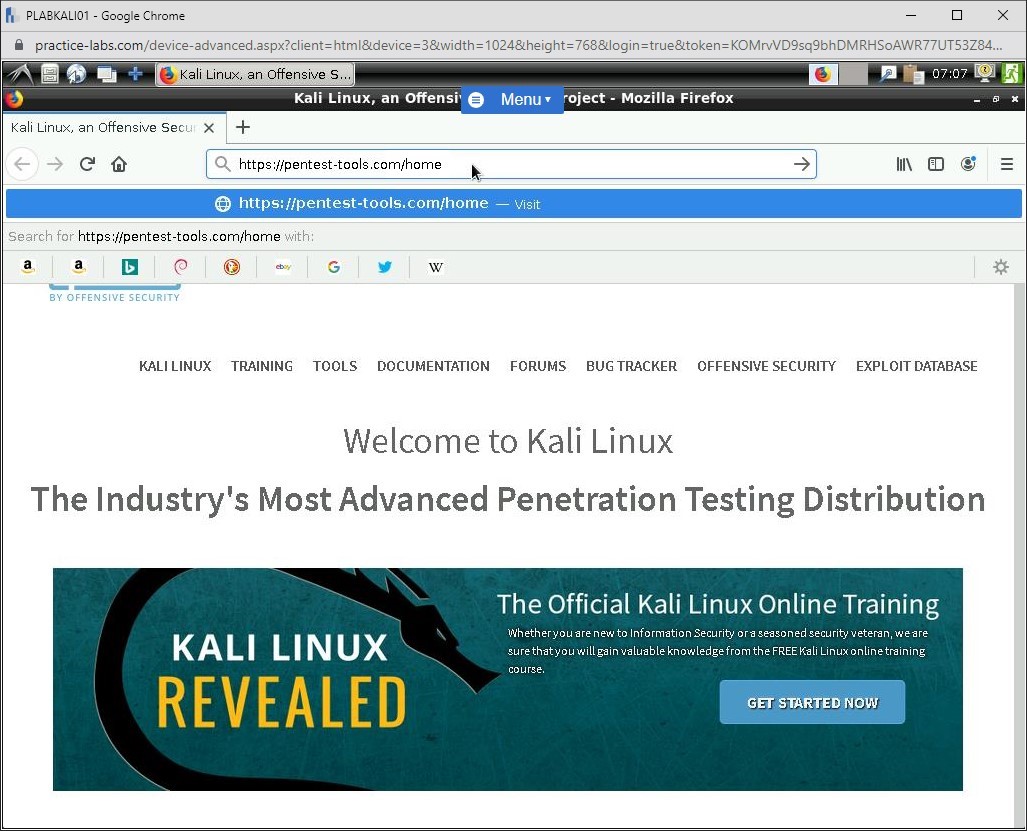
Connect to PLABWIN10. Open Internet Explorer.
Type the following string in the address bar:
https://pentest-tools.com/home
Press Enter.
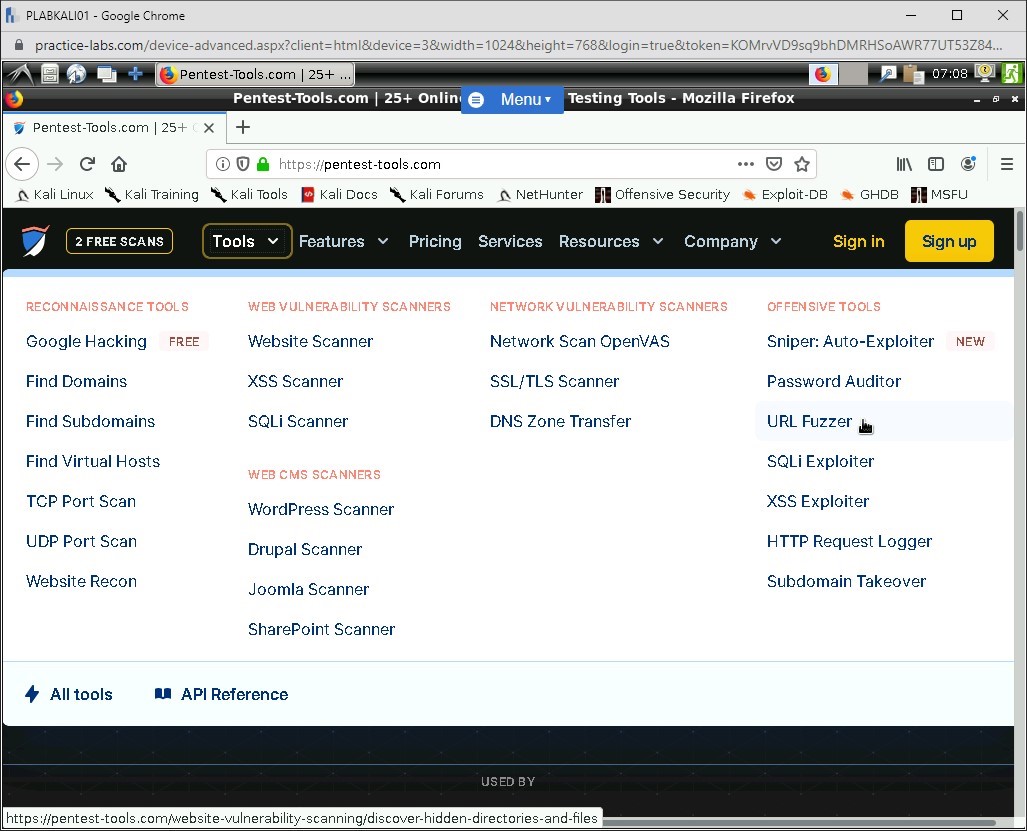
Step 2
On the upper right-hand corner, click Tools and then select URL Fuzzer under the WEB APPLICATION TESTING category.
Step 3
Close the small pop-up window.
Step 4
The URL Fuzzer Webpage is now loaded. In the search textbox, type the following URL:
http://testphp.vulnweb.com
Select I am authorized to scan this target, and I agree with the Terms of Service click FREE SCAN.
Note: The Light Scan option is selected by default and is free. Full Scan is a paid service.
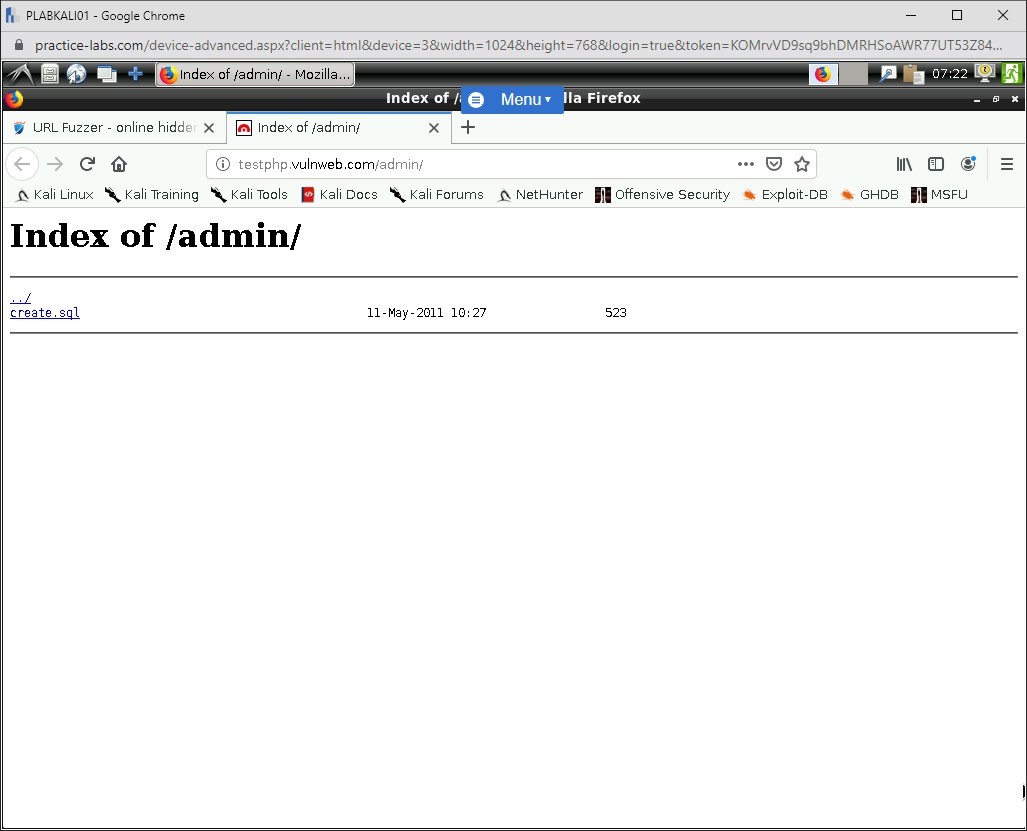
Step 5
The scanning starts.
After scanning is complete, you need to scroll down to view the list of directories. Click /admin/.
A new tab is opened. It displays a file named create.sql.
Step 6
Click the URL Fuzzer tab.
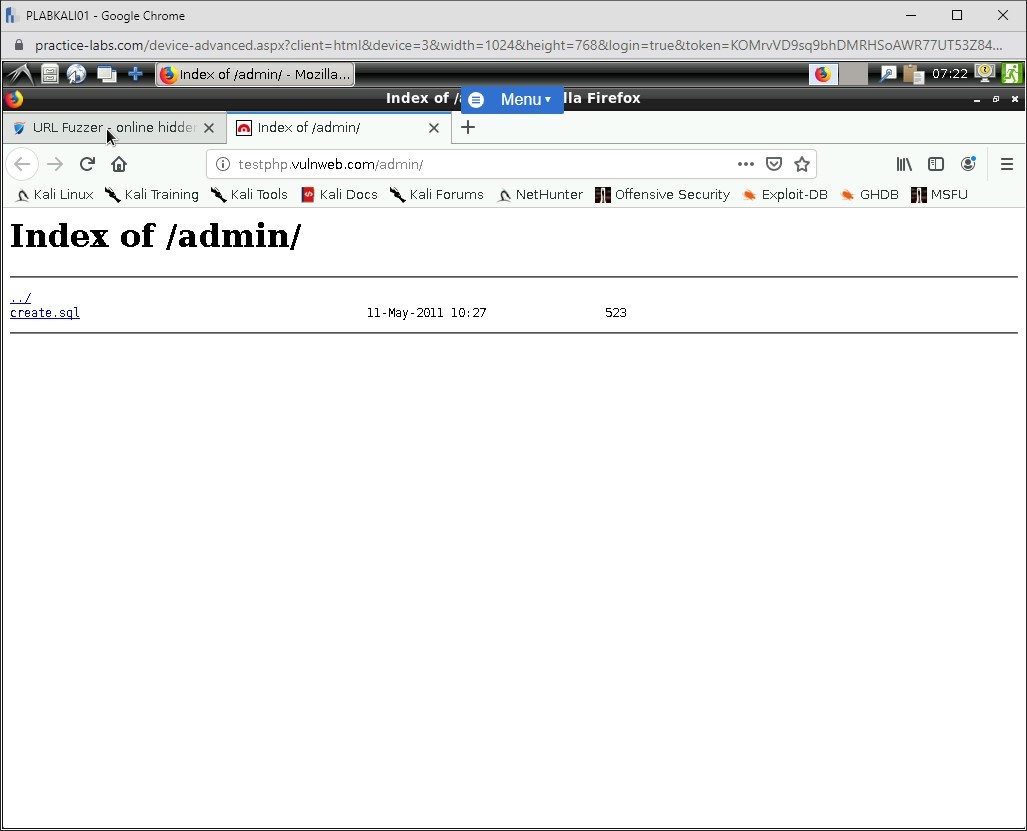
Step 7
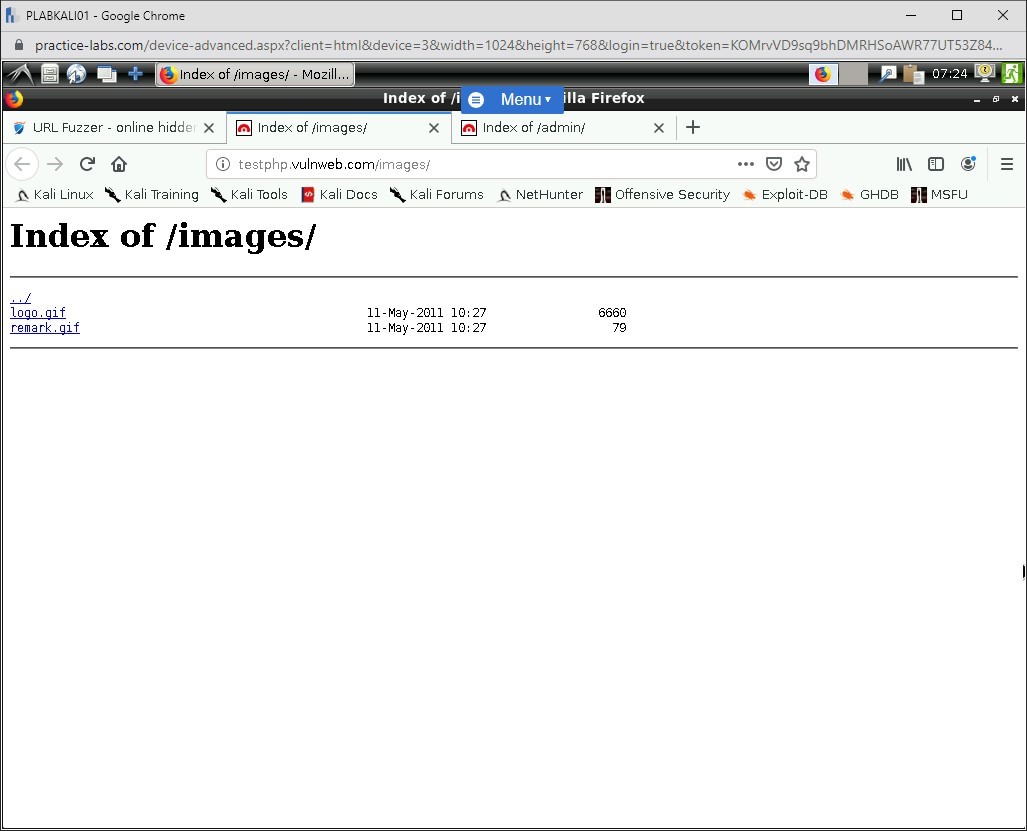
Click the /images/ folder.
A new tab is now opened. It displays two files, logo.gif, and remark.gif in the /images/ folder.
Close the Internet Explorer window.
Task 4 - Perform Web Application Brute Forcing Using DirBuster
There are several tools or Websites that you can use to traverse through a Website’s directory structure. When you configure a Webserver with a Website, it is best to ensure that you have not enabled directory listing. If enabled, an attacker can exploit the Webserver and get the listing. In this task, you will learn to perform directory traversal using a multi-threaded tool named DirBuster, which can brute force the Web applications to find their directory structure.
To perform Web application brute force using DirBuster, perform the following steps:
Step 1
Ensure you have powered on all the devices listed in the introduction and connect to PLABKALI01. Click the Leafpad icon in the left pane.

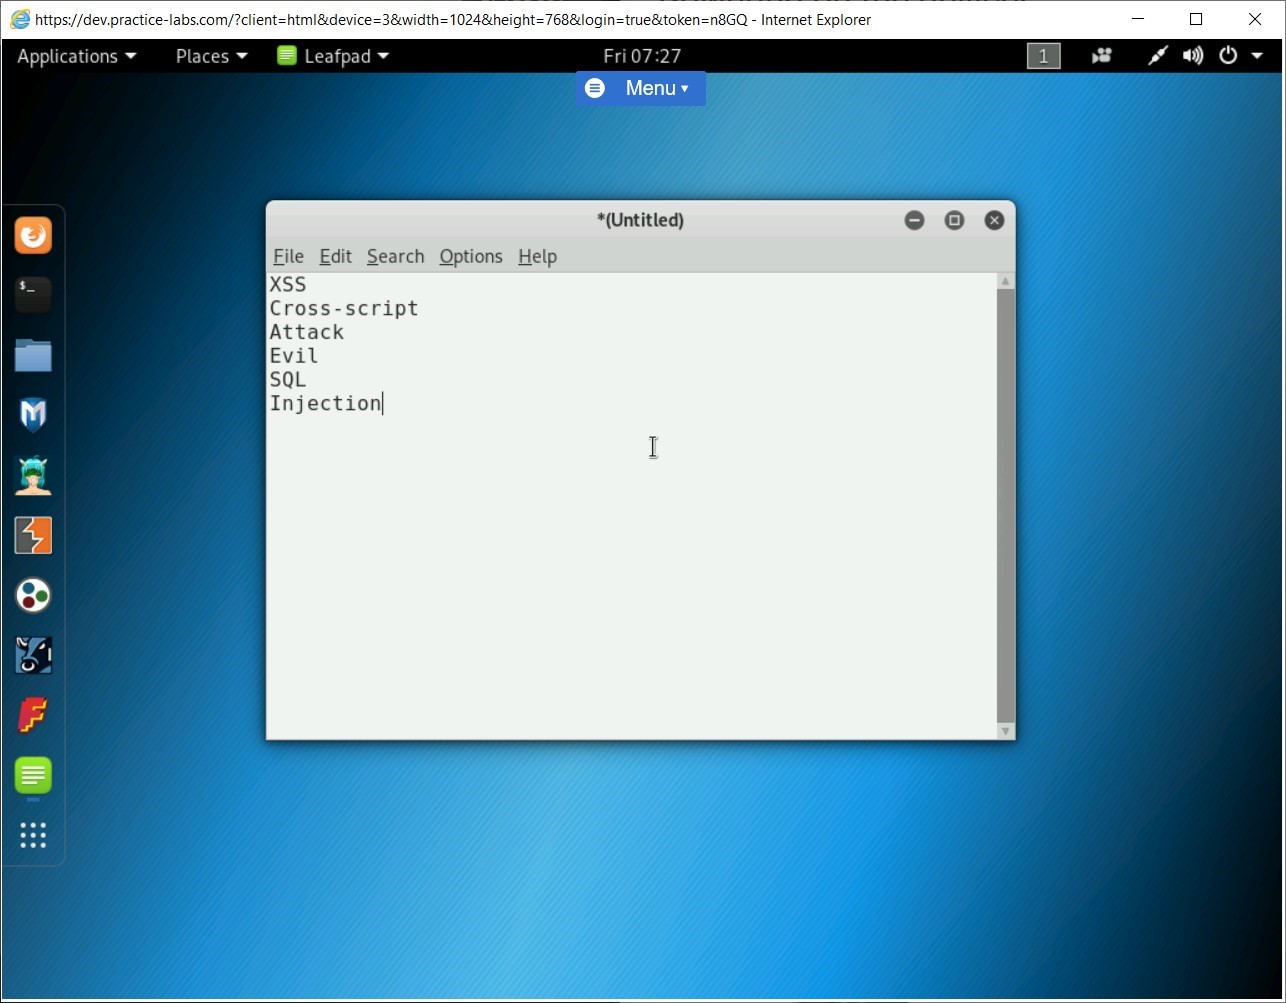
Step 2
The *Untitled Document 1 window is opened. Type the following words:
XSS
Cross-script
Attack
Evil
SQL
Injection
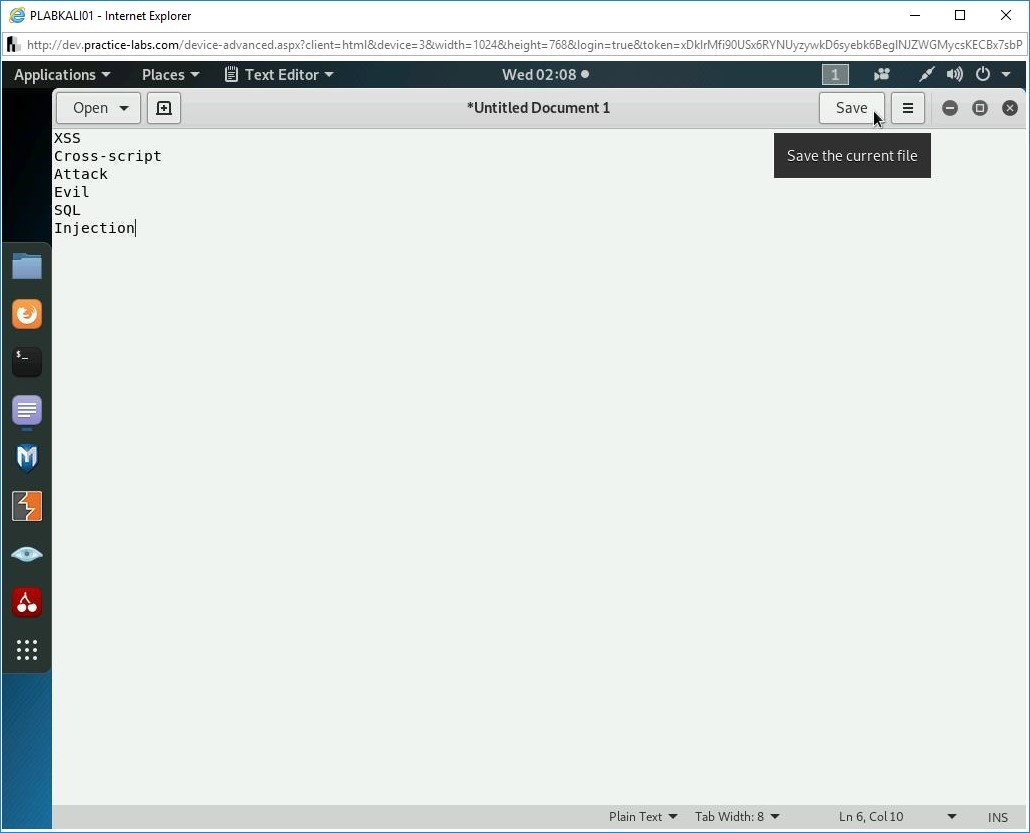
Step 3
Click File and cklick Save.
Step 4
The Save As dialog box is displayed.
From the left pane, select Desktop. In the Name text box, type the following name:
test
Click Save.

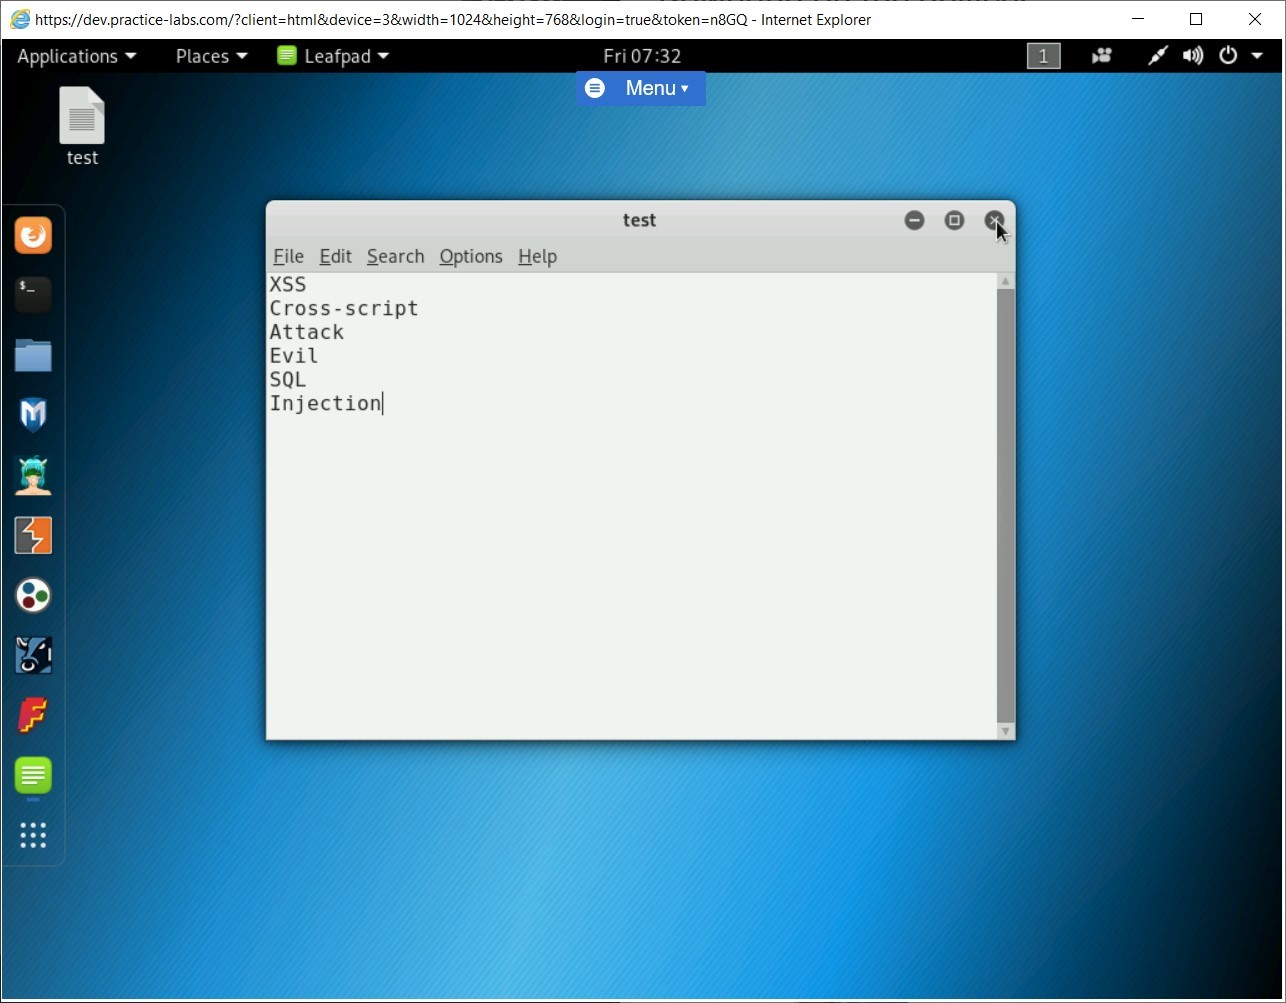
Step 5
Notice that the file name is now changed to test. Close the Text Editor window.
Step 6
Notice that the test file is now created on the desktop. Click the Terminal icon in the left pane.
Step 7
The terminal window is displayed. Type the following command:
dirbuster
Press Enter. The OWASP DirBuster window is displayed.

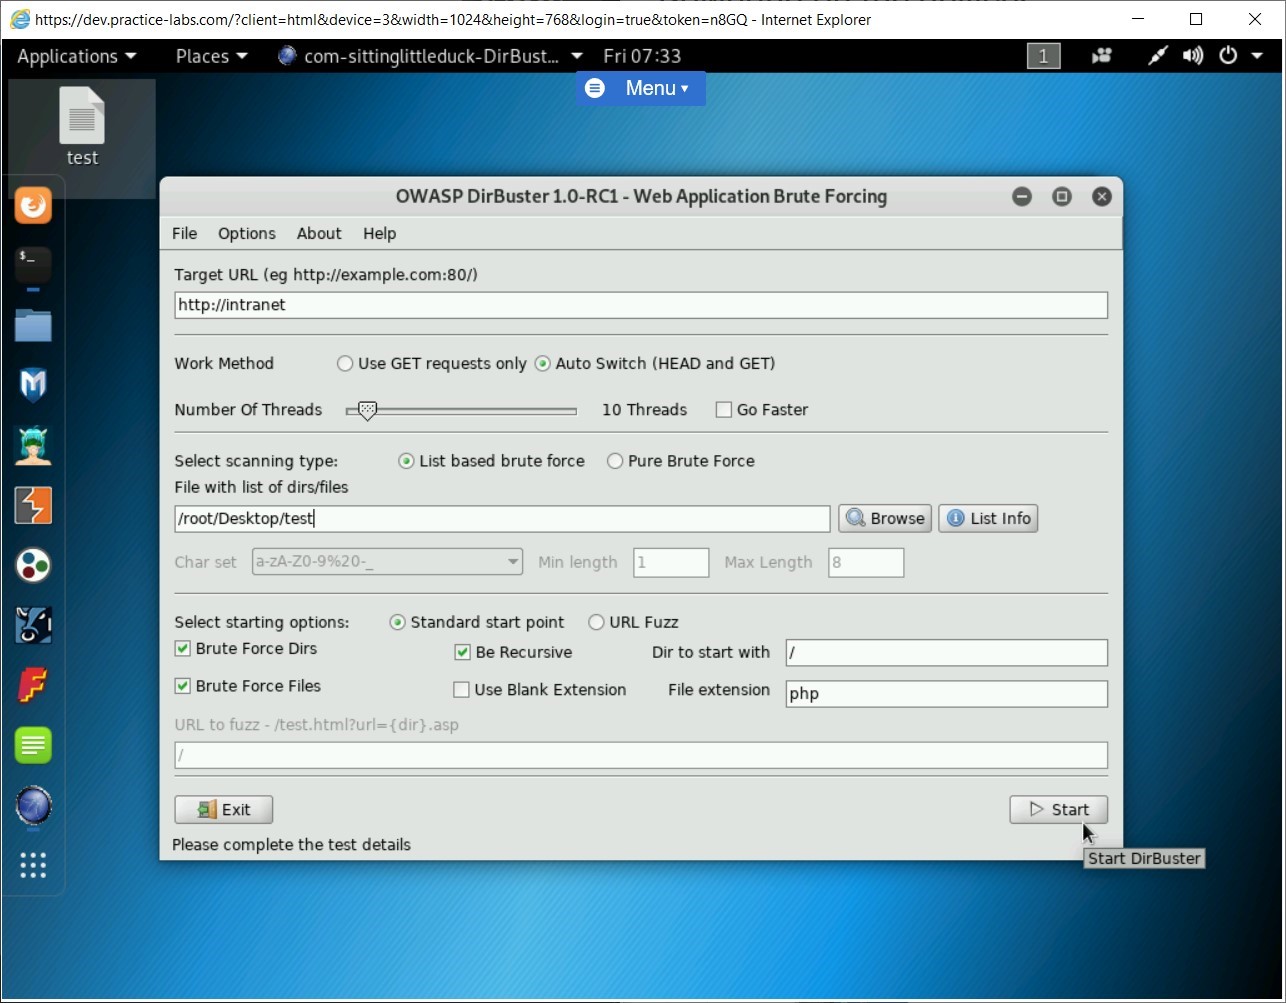
Step 8
In the Target URL text box, type the following URL:
http://intranet
In the File with the list of dirs/files text box, type the following path:
/root/Desktop/test
Click Start.
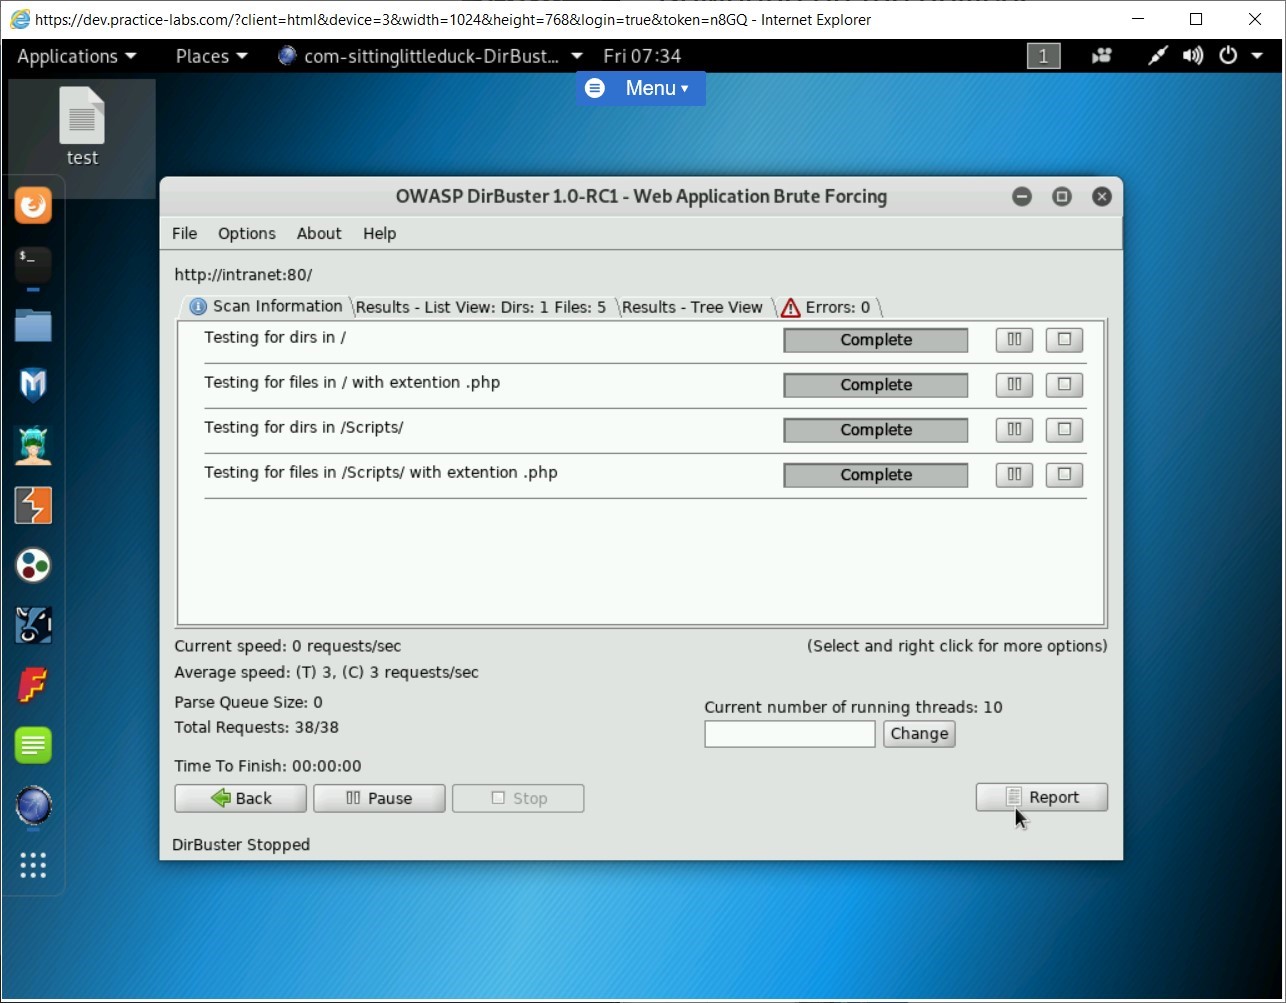
Step 9
The scanning process starts.
After the scanning process is completed, click Report.
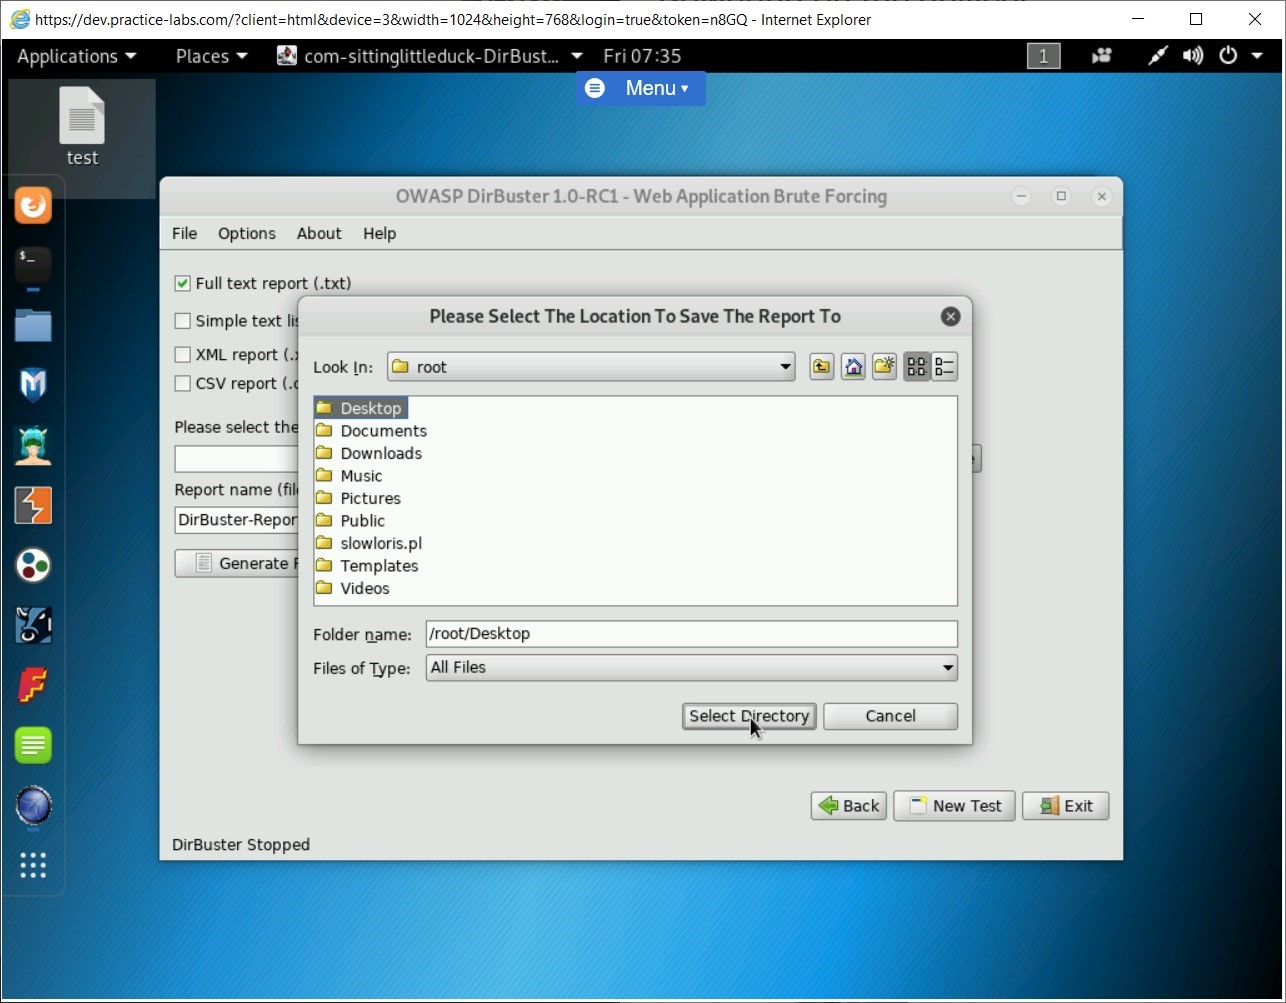
Step 10
Click Browse.
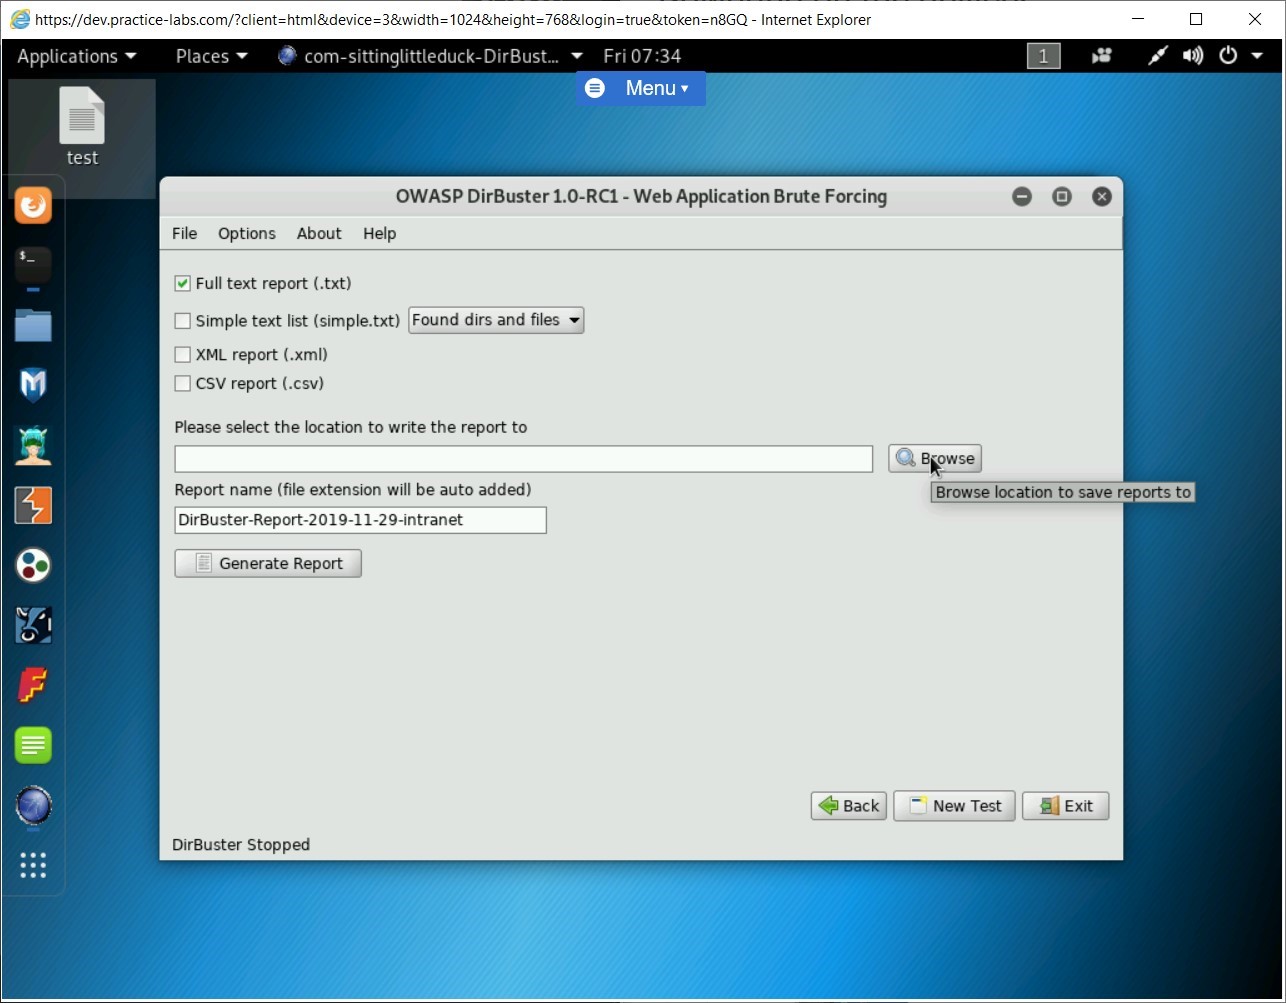
Step 11
In the Please Select The Location To Save The Report To dialog box, select Desktop and click Select Directory.
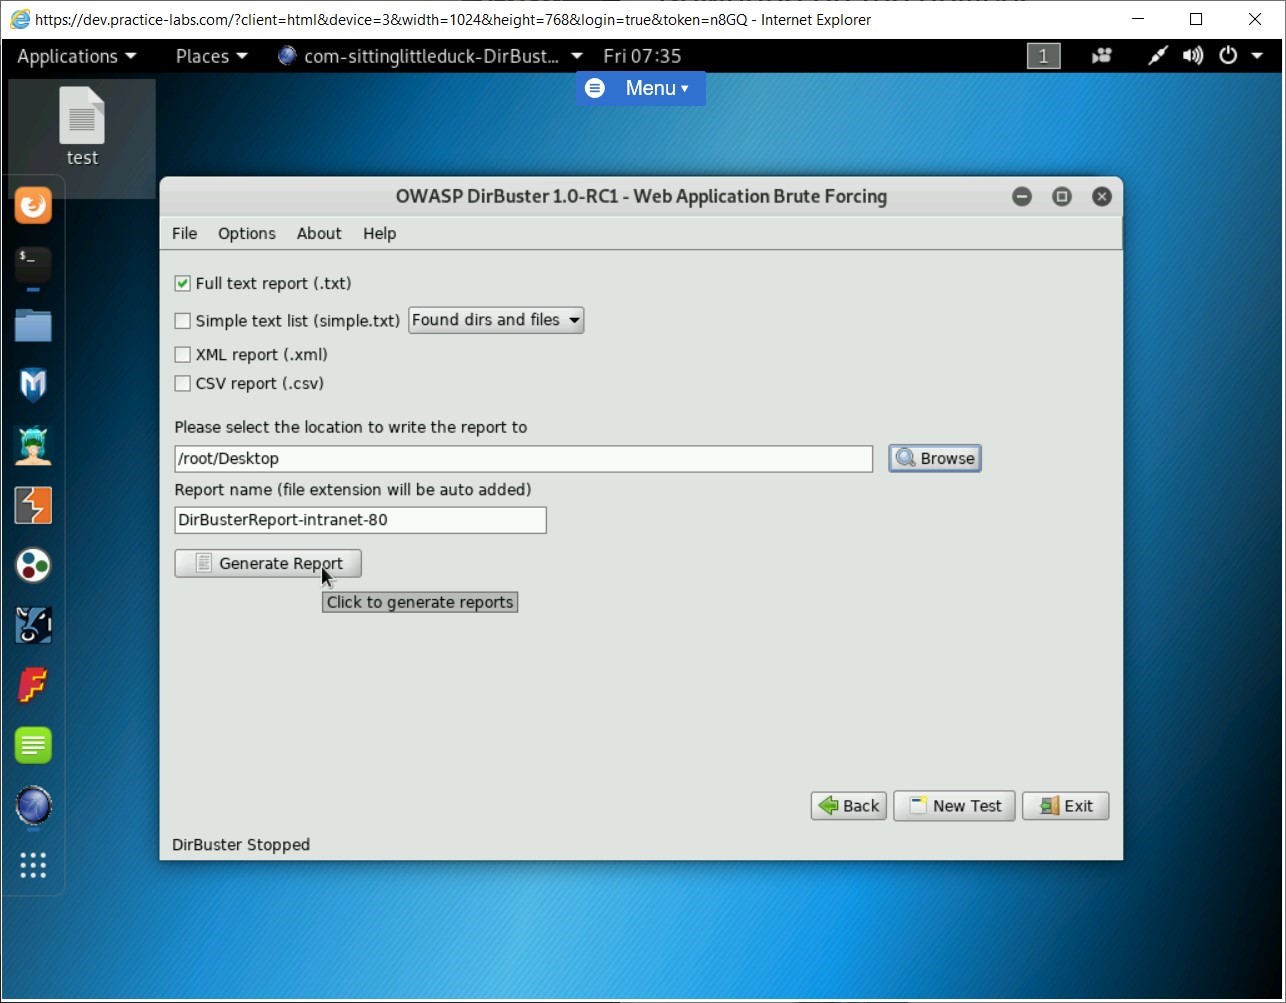
Step 12
Click Generate Report.
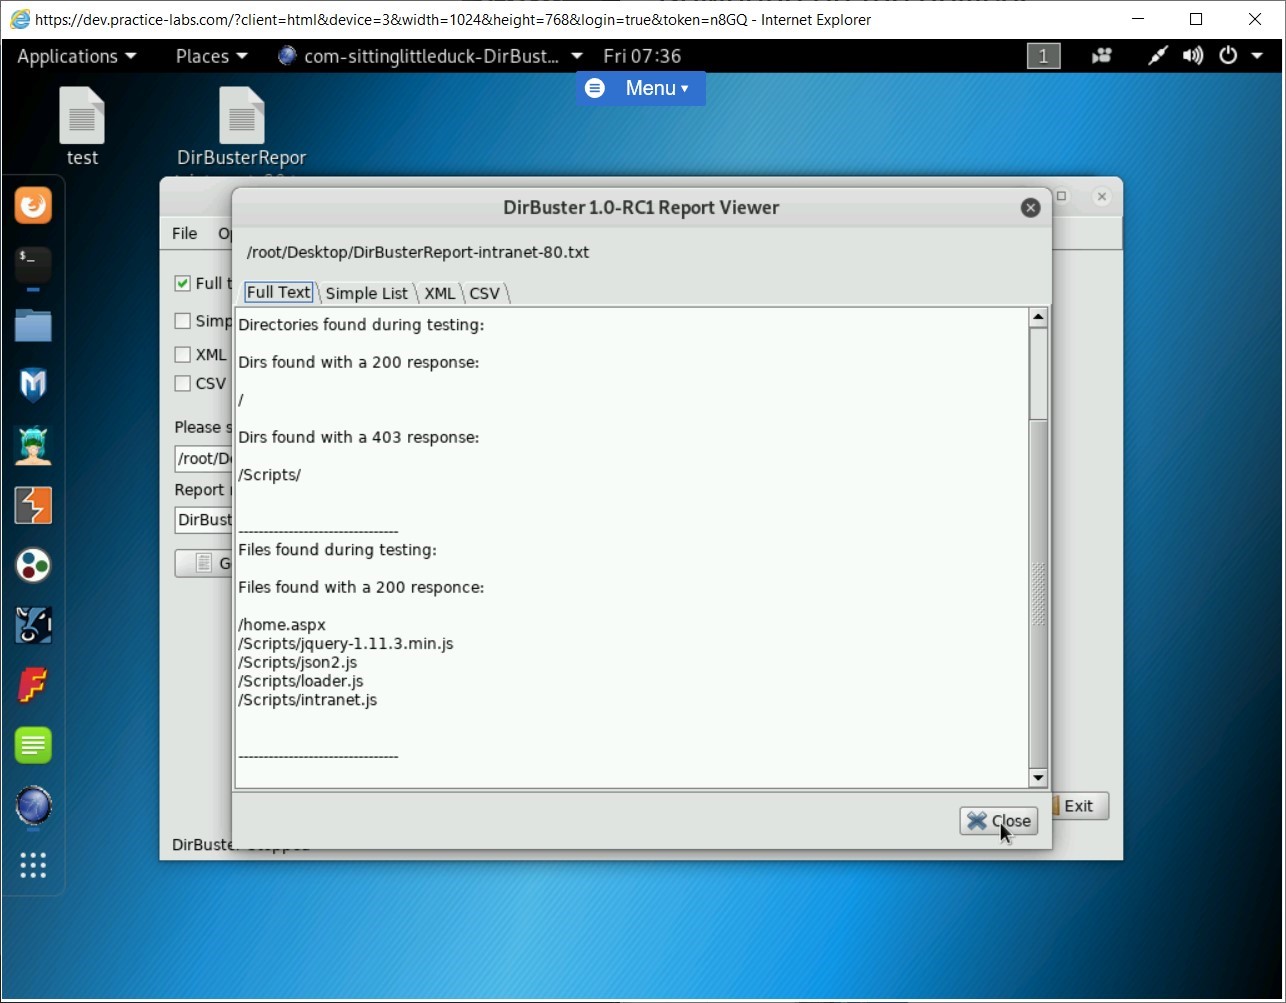
Step 13
The DirBuster 1.0-RC1 Report Viewer dialog box is displayed. Notice the list of all files and directories that have been discovered.
Click Close.
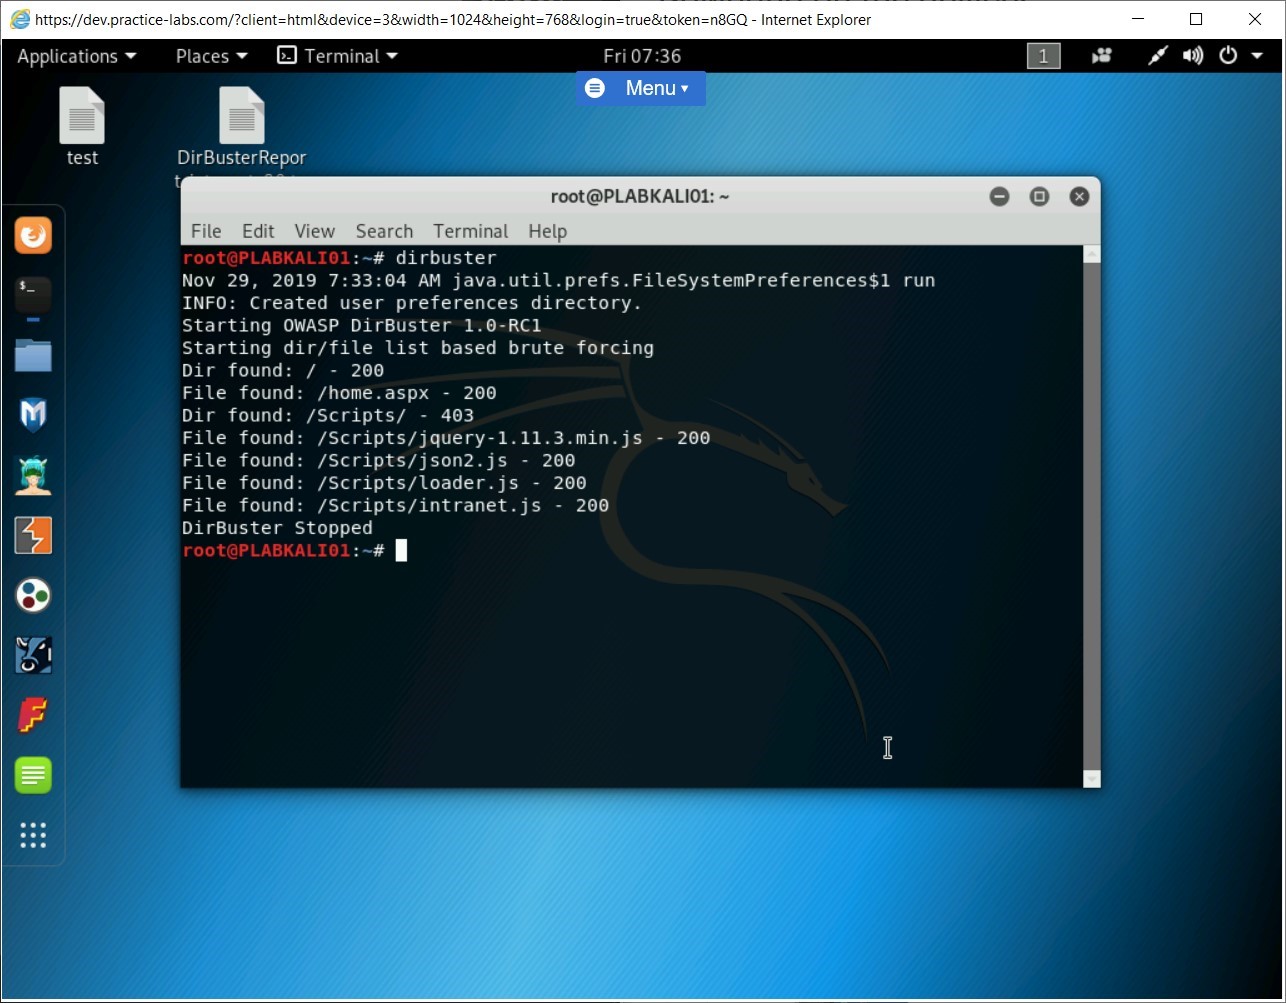
Step 14
Click Exit to close the DirBuster window.
You are back on the terminal window. Notice that a brief about the files and directories are also displayed.
Task 5 - Use Skipfish to Perform Webserver Reconnaissance
Skipfish is a tool that is available in Kali Linux. The sole purpose of Skipfish is to perform a deep reconnaissance of the Webserver and the deployed Web applications. Using Skipfish, you can collect a great deal of information, which will help you detect the vulnerabilities in the Webserver. You can then close the vulnerabilities to ensure optimal protection for the Webserver. You will be able to locate Webserver and Web application vulnerabilities when you use a vulnerability scan. This is the first task that you should perform after deploying a Webserver.
In this task, you will learn to use Skipfish. To use Skipfish, perform the following steps:
Step 1
Ensure you have powered on all the devices listed in the introduction and connect to PLABKALI01. The terminal window should be open.
Clear the screen by entering the following command:
clear
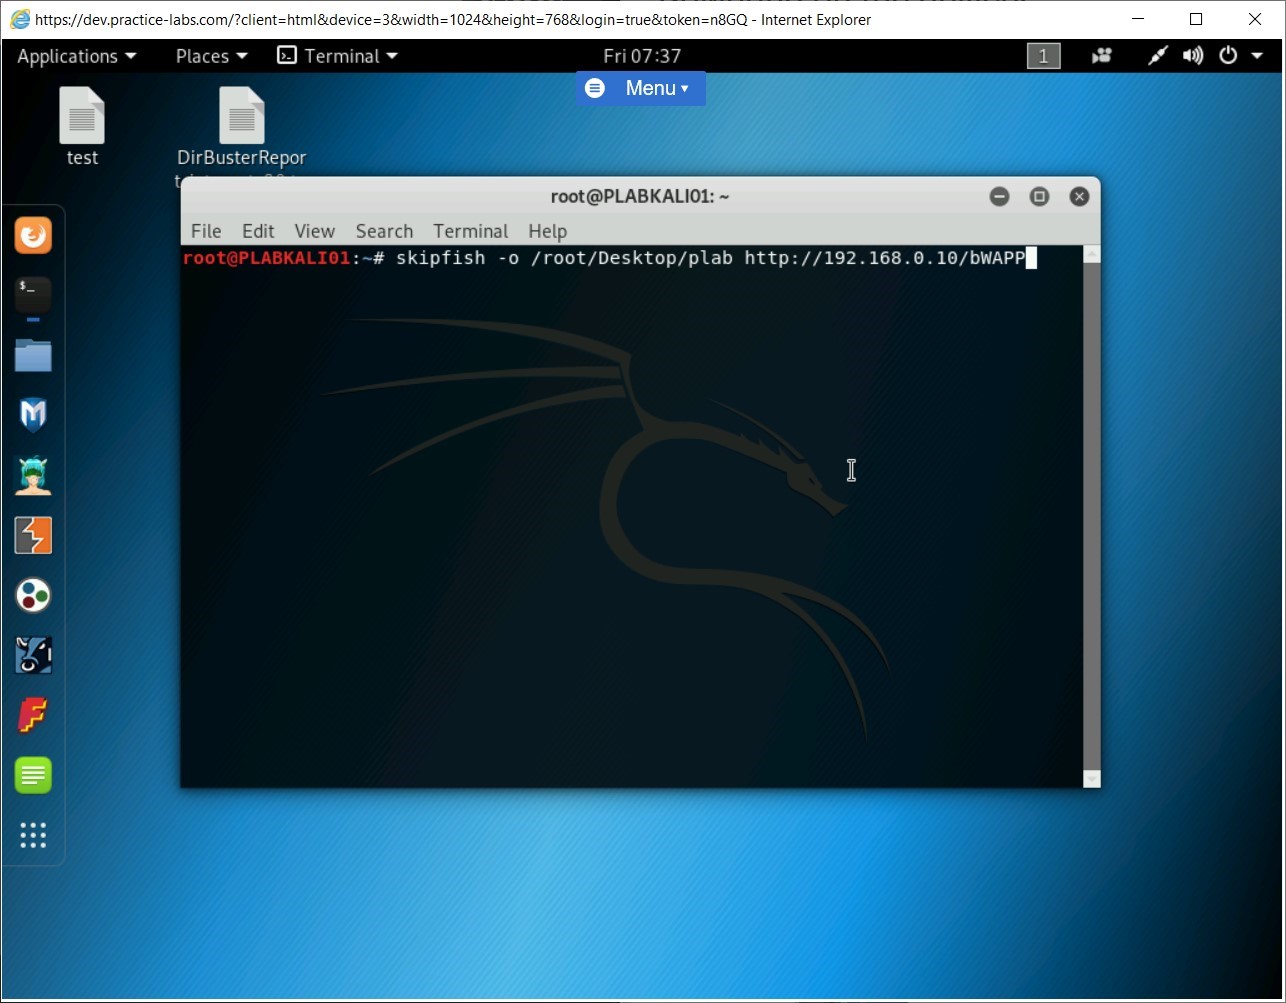
To use Skipfish, type the following command:
Note: The -o parameter defines the directory in which a scan report will be saved.skipfish -o /root/Desktop/plab http://192.168.0.10/bWAPP
Press Enter.
Step 2
You need to press Enter to start the scanning process.
Notice that the plab directory is now created on the desktop.
The scanning process is initiated. The scanning process duration depends on the size of the Web application. In the lab environment, it may take up to 30 minutes.
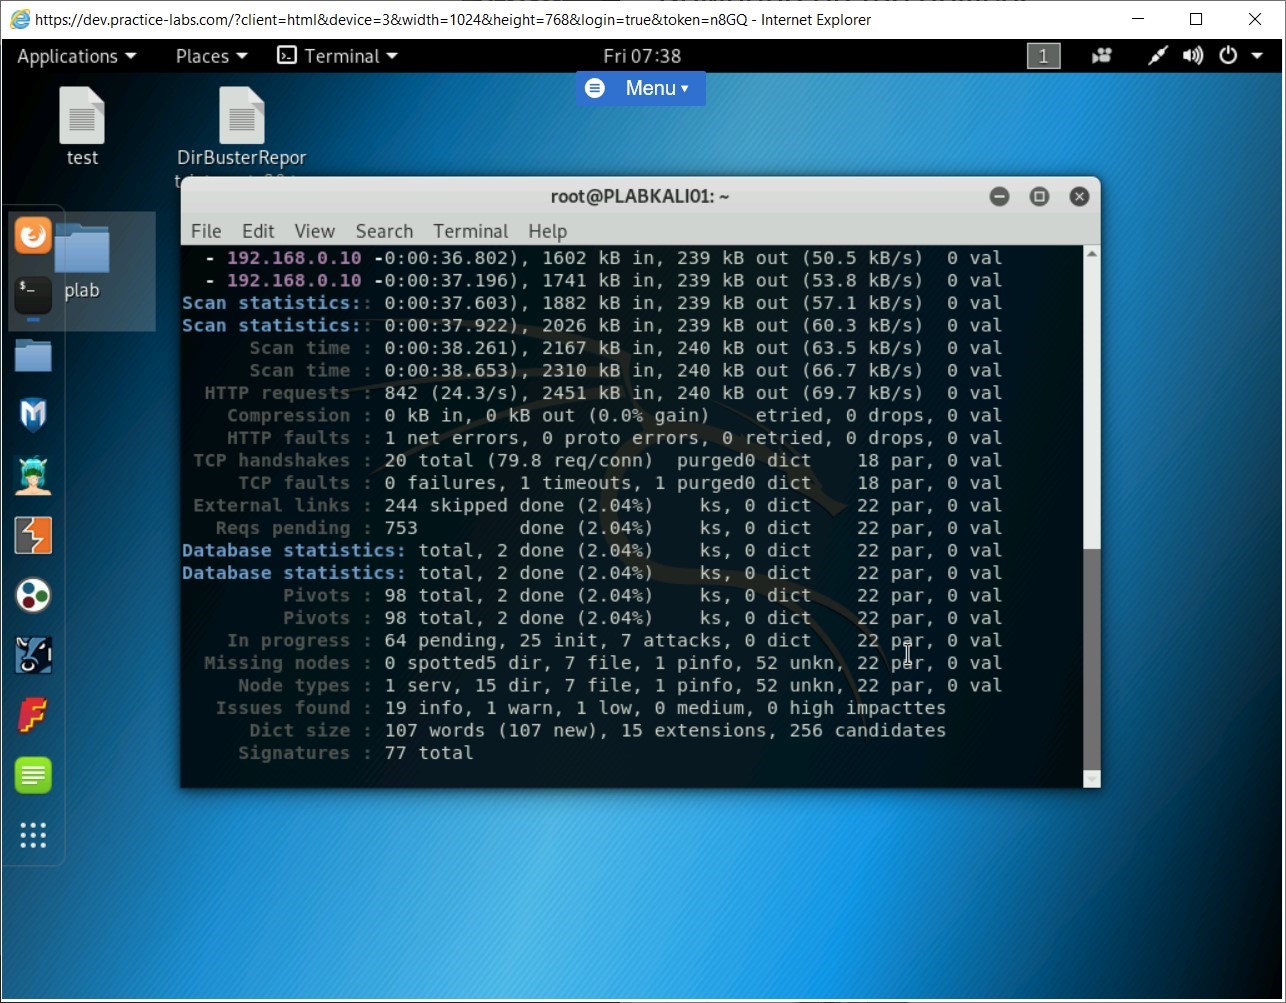
Step 3
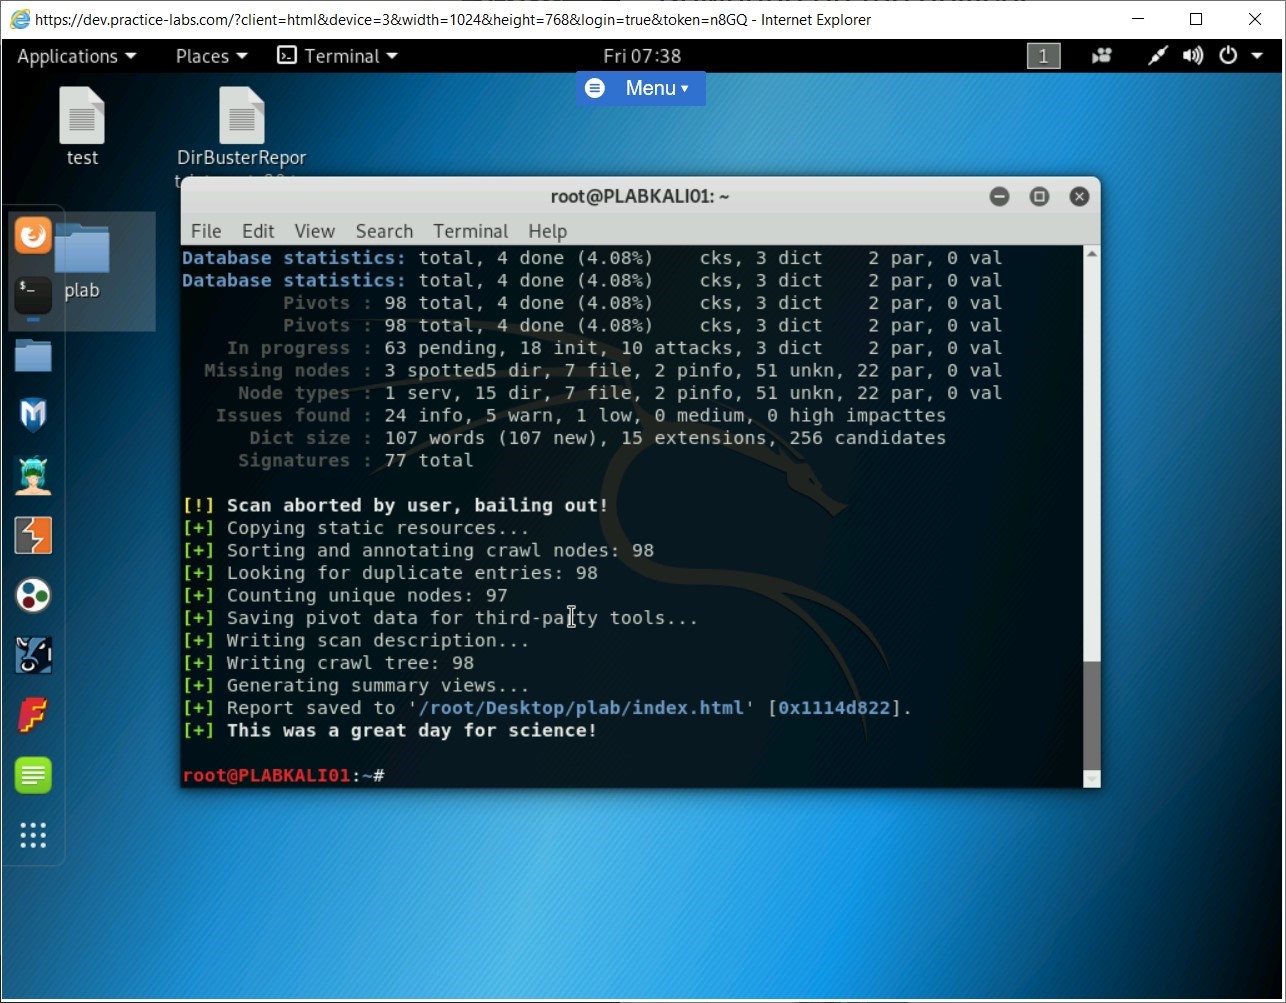
Since in the lab environment, you have limited time, you can stop the scanning process by pressing the Ctrl + c keys. However, in the real environment, you must let the process complete to get an overall security posture of the Webserver.
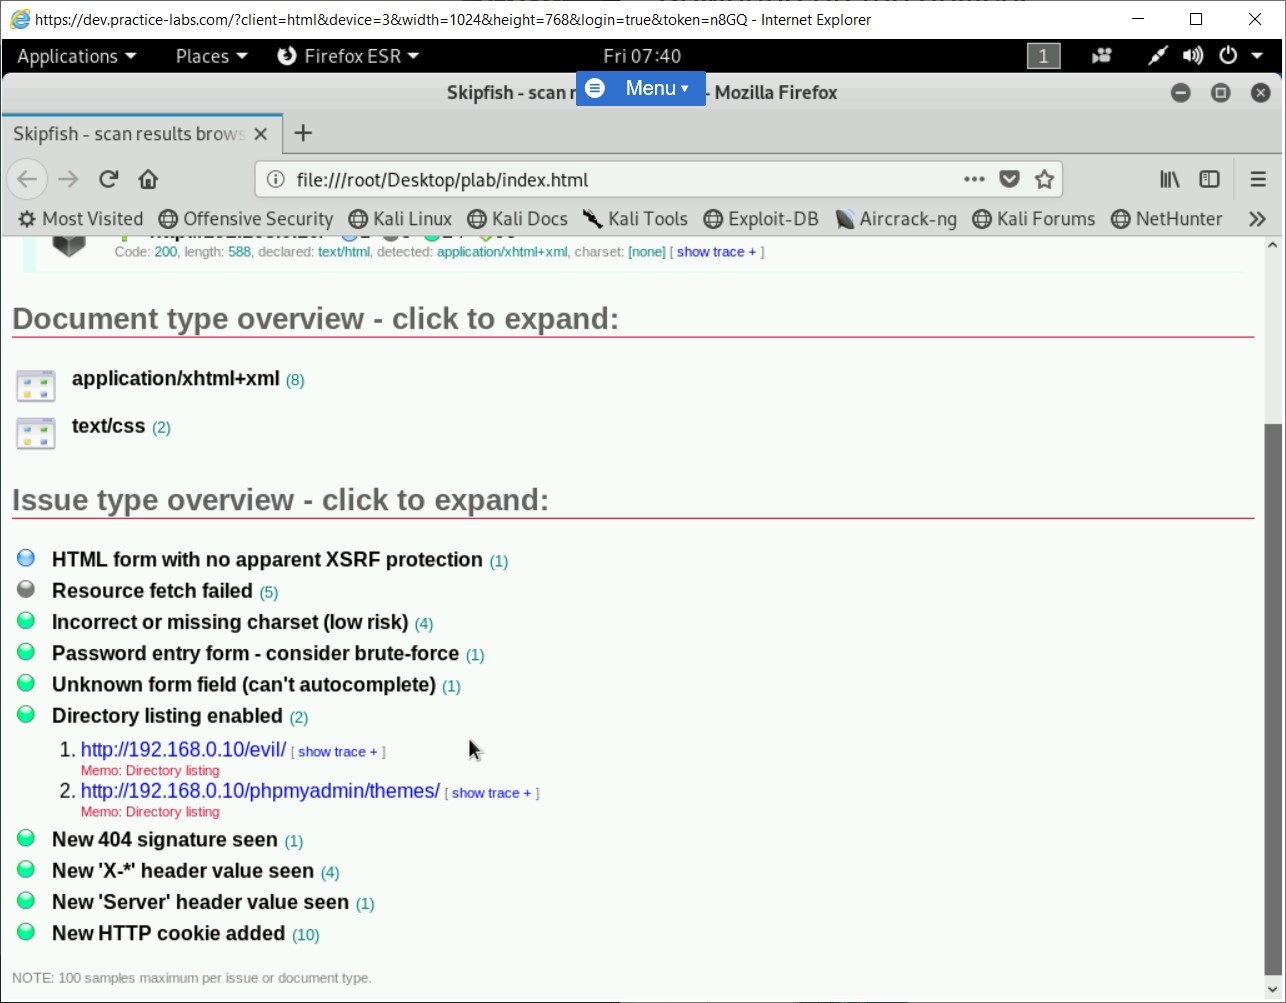
A brief summary of the scanning results is displayed. A detailed report is saved with the name index.html in the /root/Desktop/plab directory.
Step 4
To view the scan report, type the following command:
firefox /root/Desktop/plab/index.html
Press Enter.
The Firefox window opens and displays the index.html file.
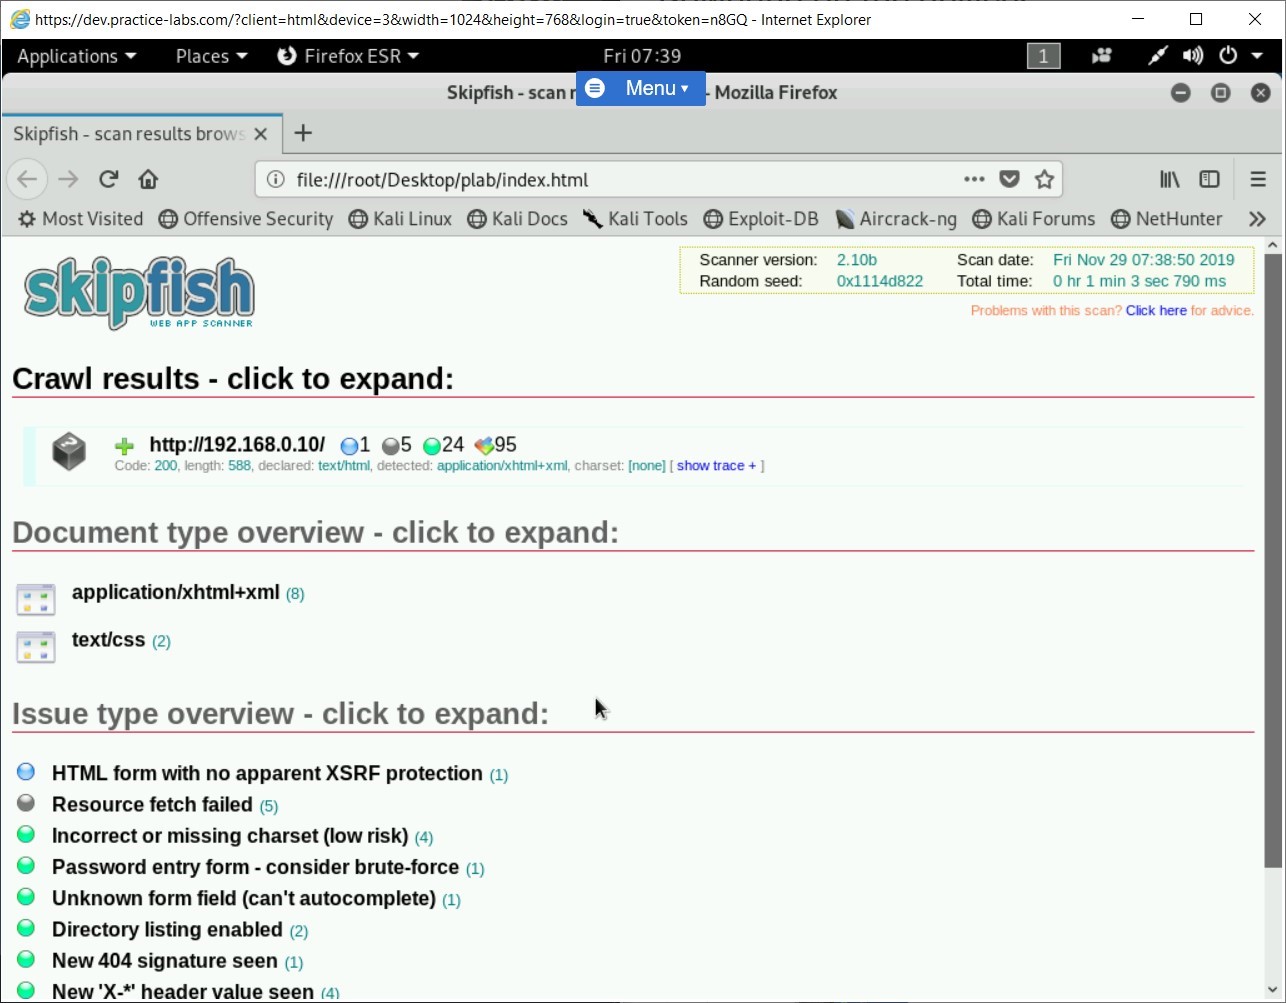
Step 5
Click on Directory listing enabled in the Issue type overview section.Two different paths are shown that have directory listing enabled.
If time permits, you can go through the other issues that have been located on the Webserver.
Task 6 - Find Files on a Webserver using Metasploit Framework
Metasploit framework is the most widely used tool in exploiting vulnerabilities. A free edition is available in Kali Linux. Metasploit has a modular and flexible architecture that helps you develop new exploits as more and more vulnerabilities are discovered. On the other hand, it is also used in penetration testing.
You can use the Metasploit framework with or without a database. If you configure it with the database, then Metasploit will be able to track what you do within the framework.
You can use the Metasploit Framework for various reasons - starting with finding files to penetrating a system or a network. In this task, you will learn to find files on a Webserver using the Metasploit Framework.
Step 1
Ensure that you have logged into the Kali Linux system.

Step 2
On the desktop, in the left pane, click the Metasploit framework icon

Step 3
The terminal window is displayed. It displays a database and its user creation. Then, it proceeds to create the database schema.
The metasploit framework has started now.
Note: The number of exploits and payloads will change from time to time.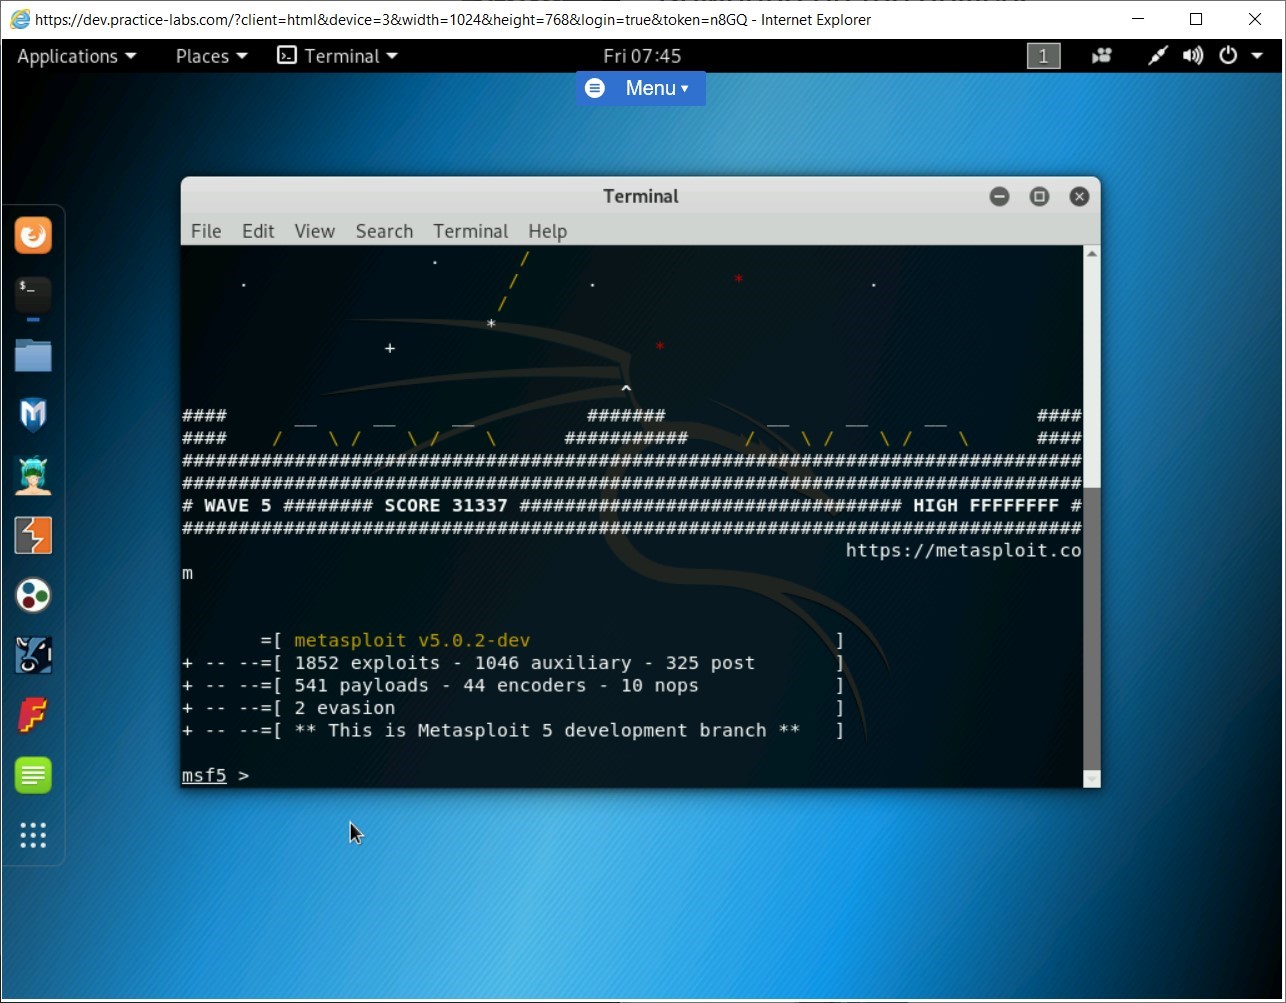
Step 4
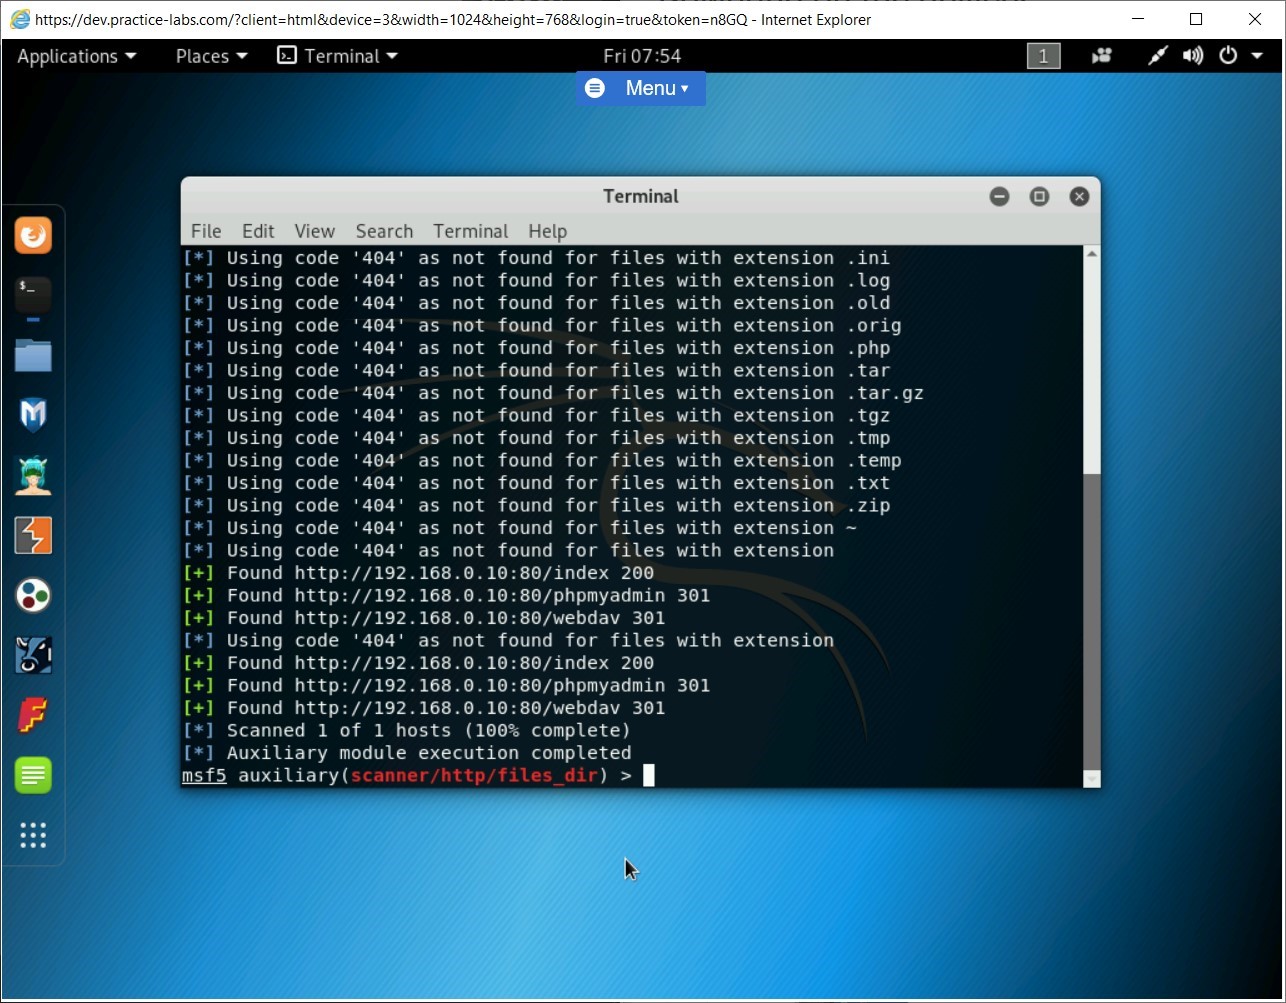
You will now use the files_dir module to find files on the target system. The files_dir module uses a wordlist to find these files. To do this, type the following command:
use auxiliary/scanner/http/files_dir
Press Enter.

Step 5
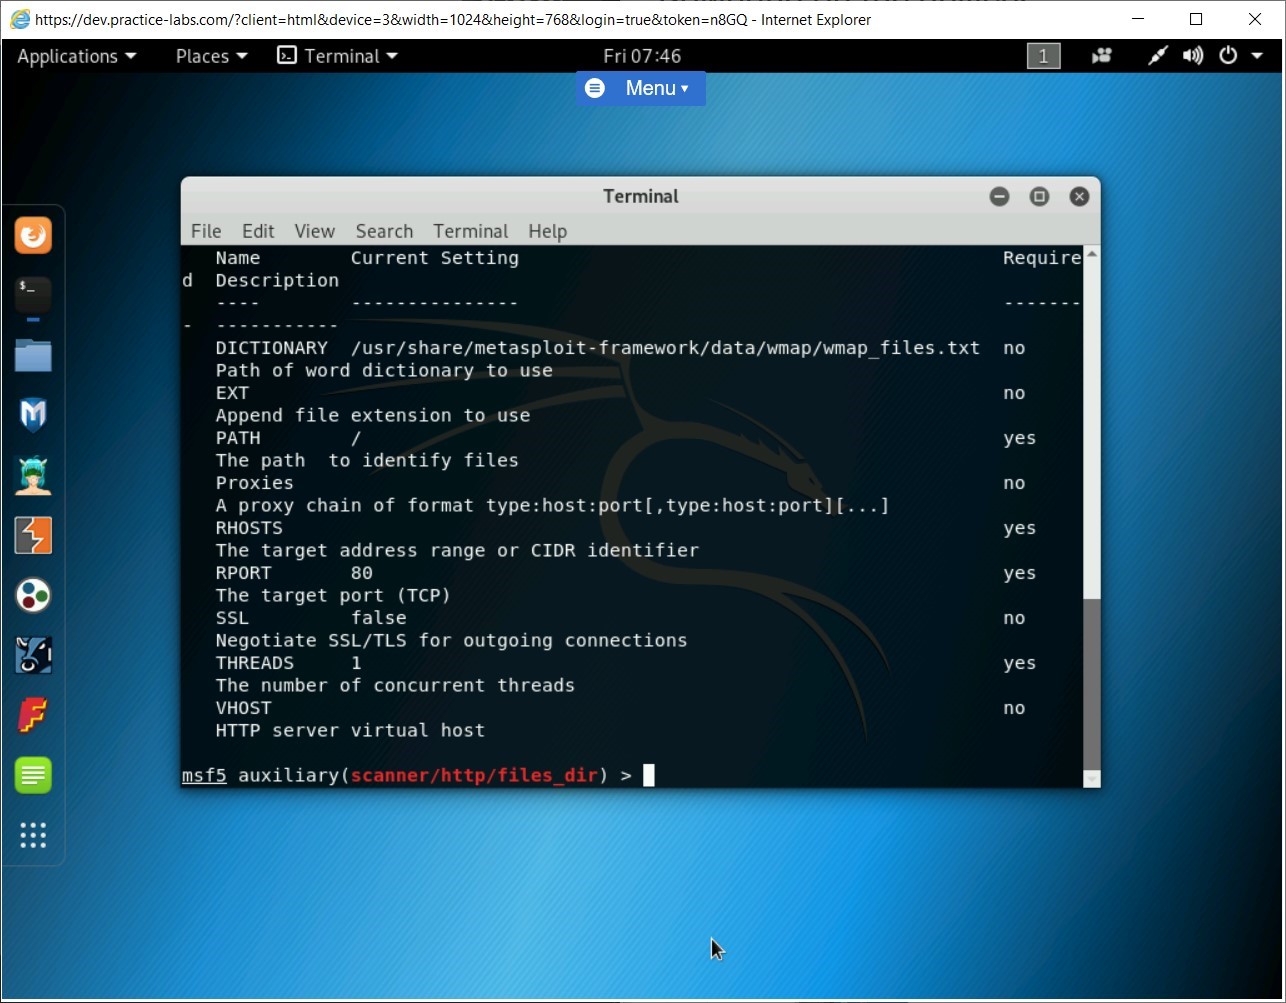
The files_dir module is now loaded. Let’s check the configuration options for the files_dir module. Type the following command:
show options
Press Enter.
Various options are displayed. Some of these are configured by default, and some you need to configure. Notice that the DICTIONARY option is already configured with a built-in dictionary that contains the keywords for searching on the target system.
Step 6
Clear the screen by entering the following command:
clear
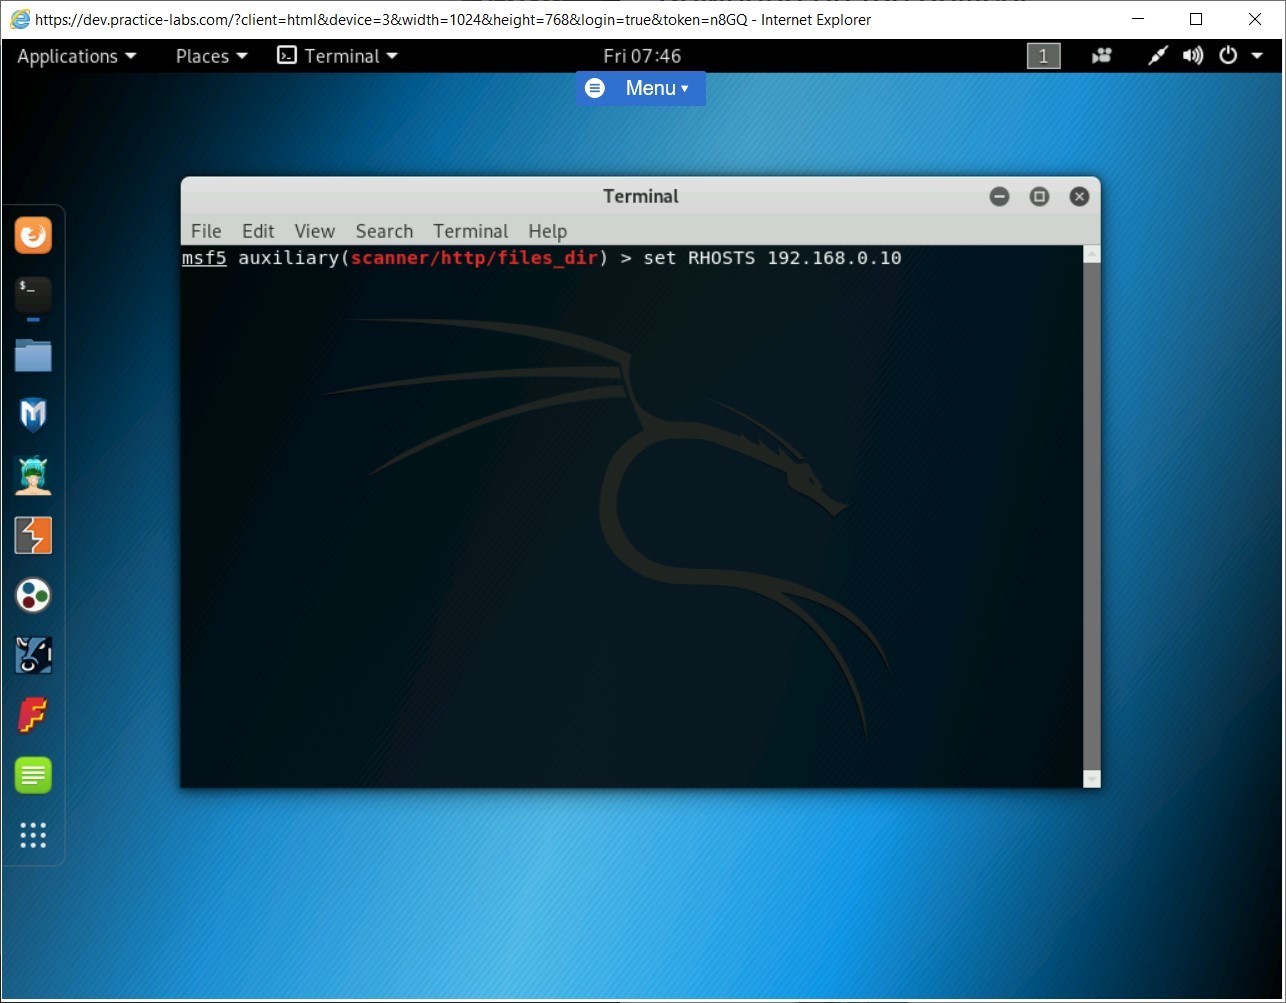
You need to set now the target system that you want to exploit. To do this, type the following command:
set RHOSTS 192.168.0.10
Press Enter.
Step 7
After you set the IP address of the target host, type the following command:
run
Press Enter.
The payload is now executed on the target host. It is now attempting to find files of specific types.
Note: The process of finding files of a specific type will run for a few minutes.After the process has completed, several files that can be useful to an attacker are found. Keep the terminal window open.
Task 7 - Scan for Options on a Webserver using Metasploit Framework
A Webserver can be configured with various options, such as TRACE, GET, HEAD, DELETE, COPY, MOVE, PROPFIND, PROPPATCH, and so on. Using the Options module, you can search for these options.
In this task, you will search for various options available on a Webserver. To do this, perform the following steps:
Step 1
Ensure that you have logged into the Kali Linux system. Ensure that you are on the metasploit framework terminal.
Clear the screen by entering the following command:
clear
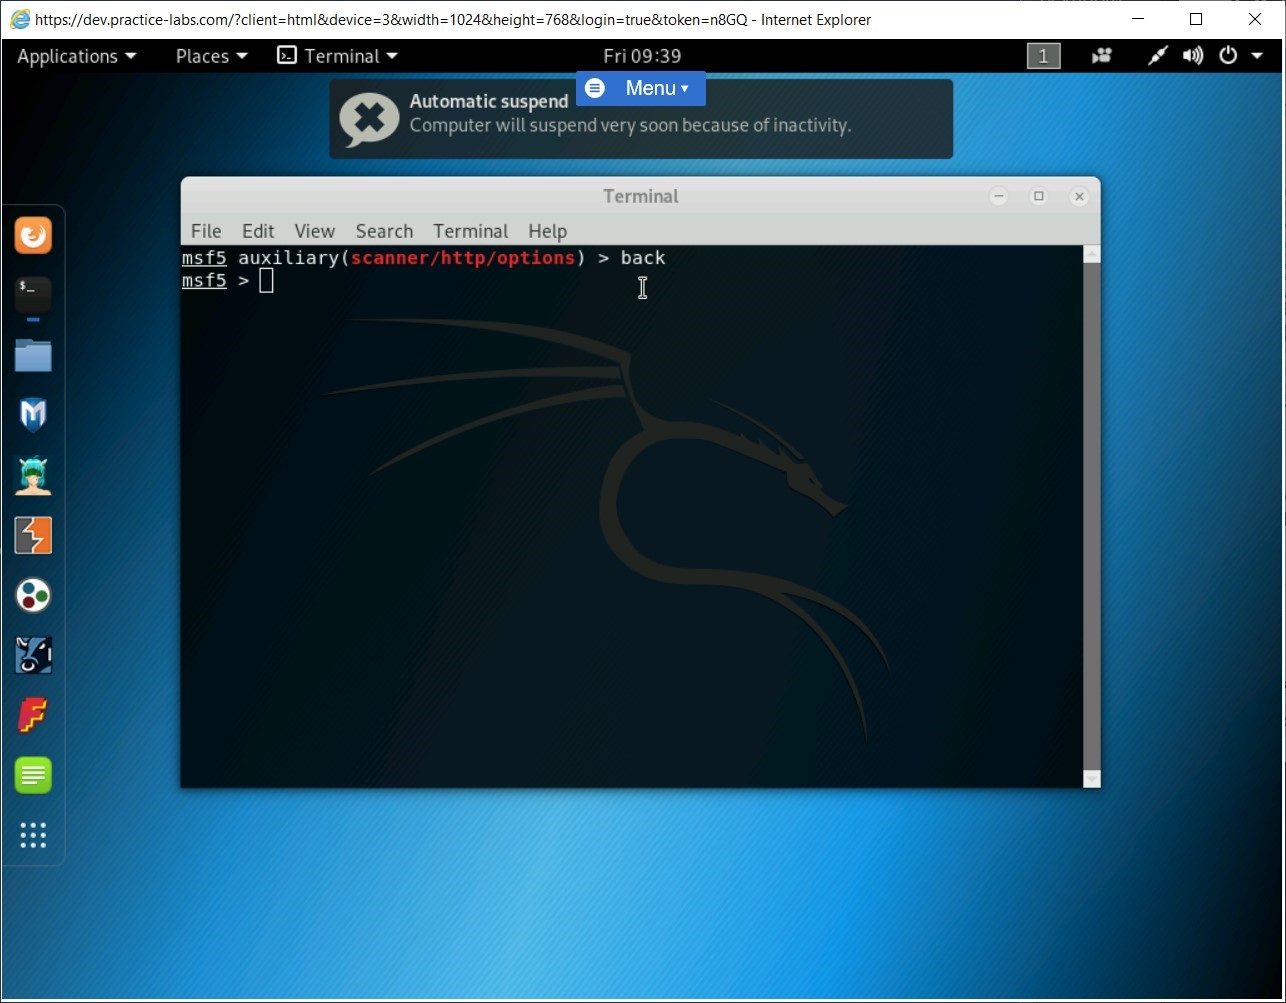
You need to move out of the files_dir module. To do this, type the following command:
back
Press Enter.
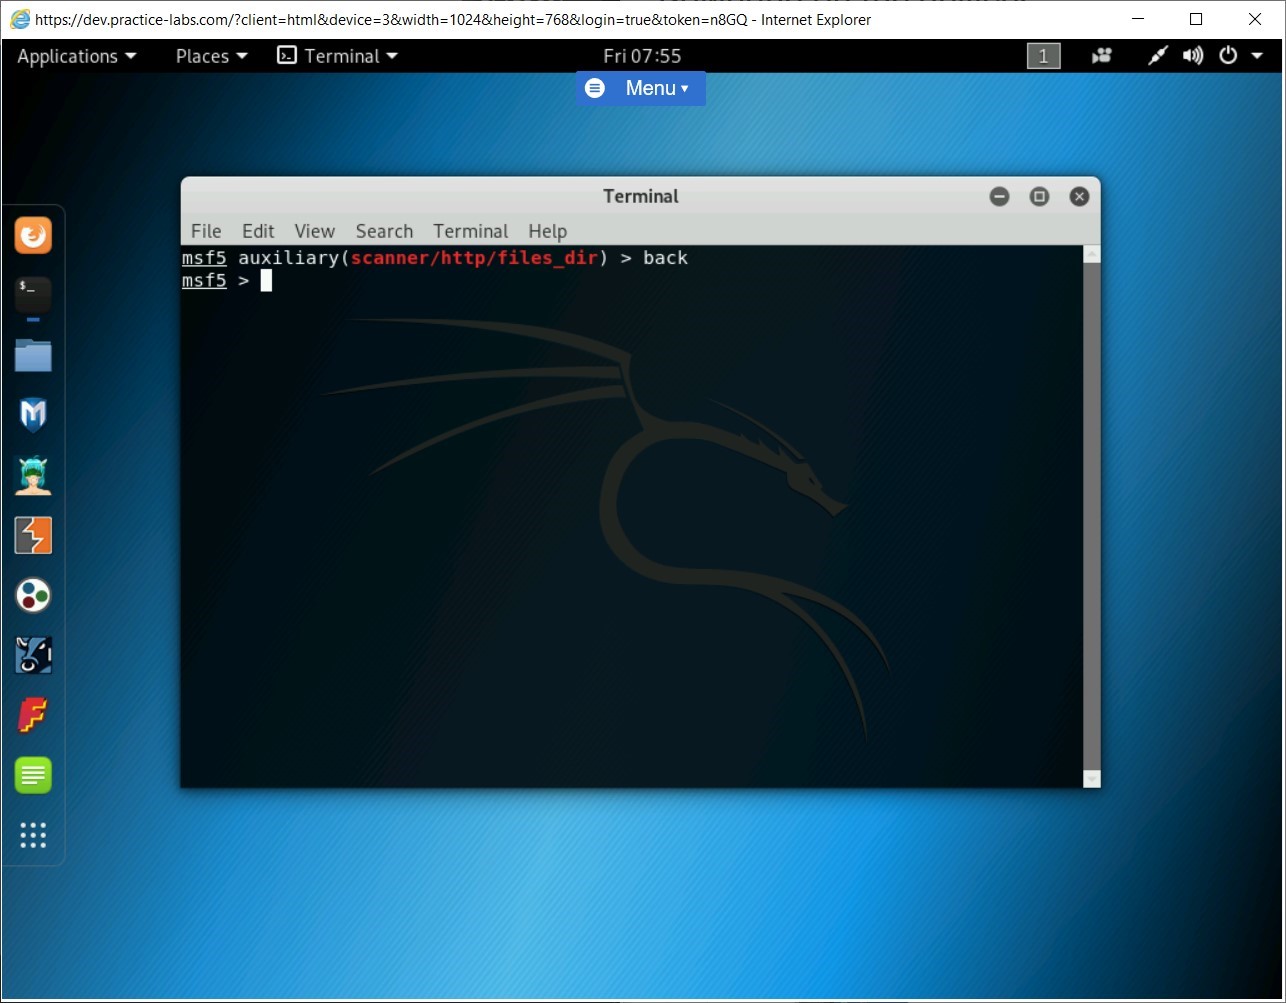
Step 2
You are back on the Metasploit Framework prompt. Now, you need to load the Options module. To do this, type the following command:
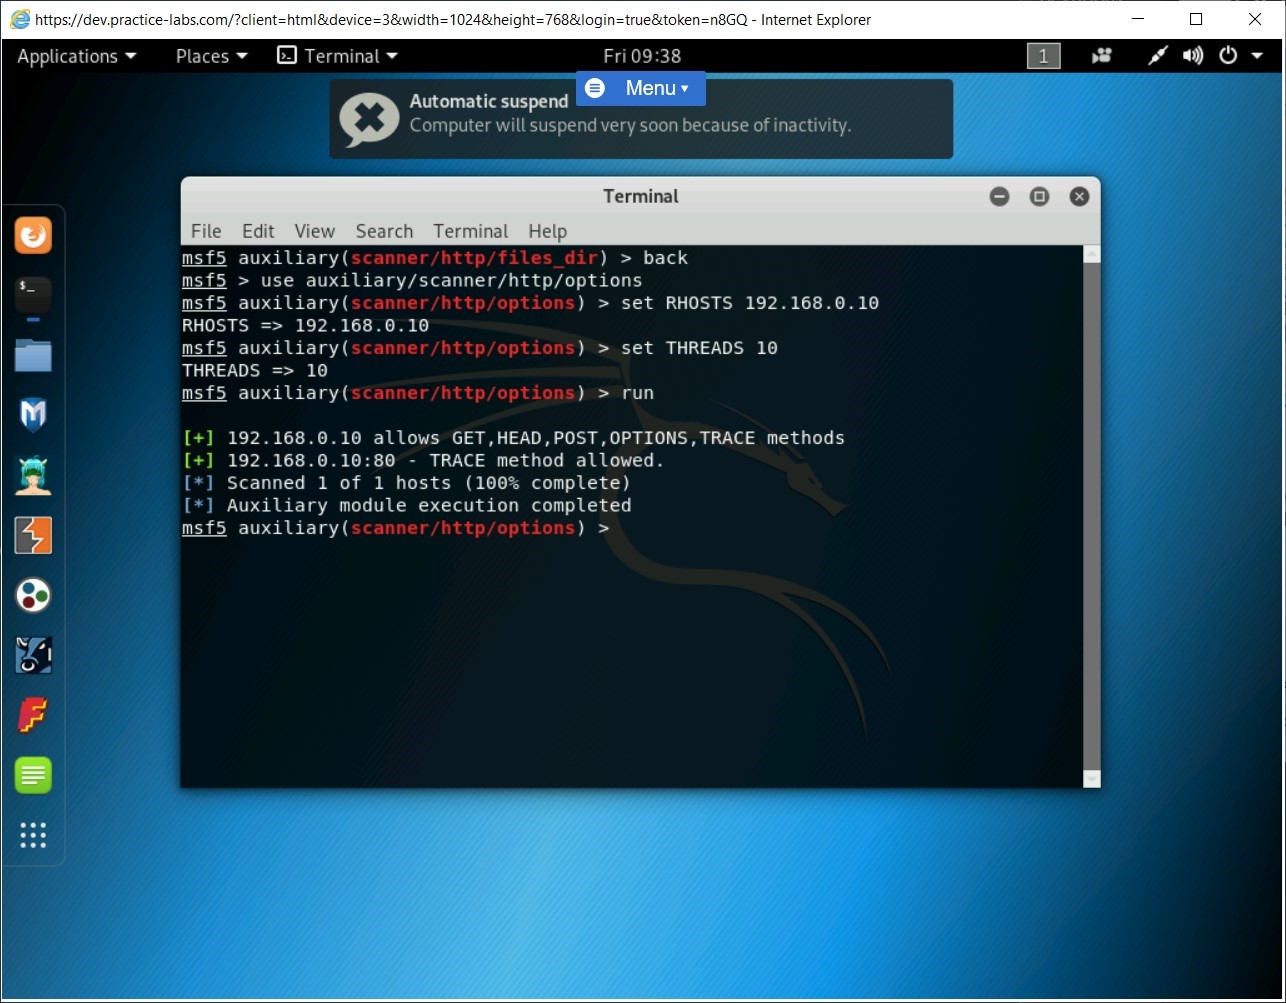
use auxiliary/scanner/http/options
Press Enter.
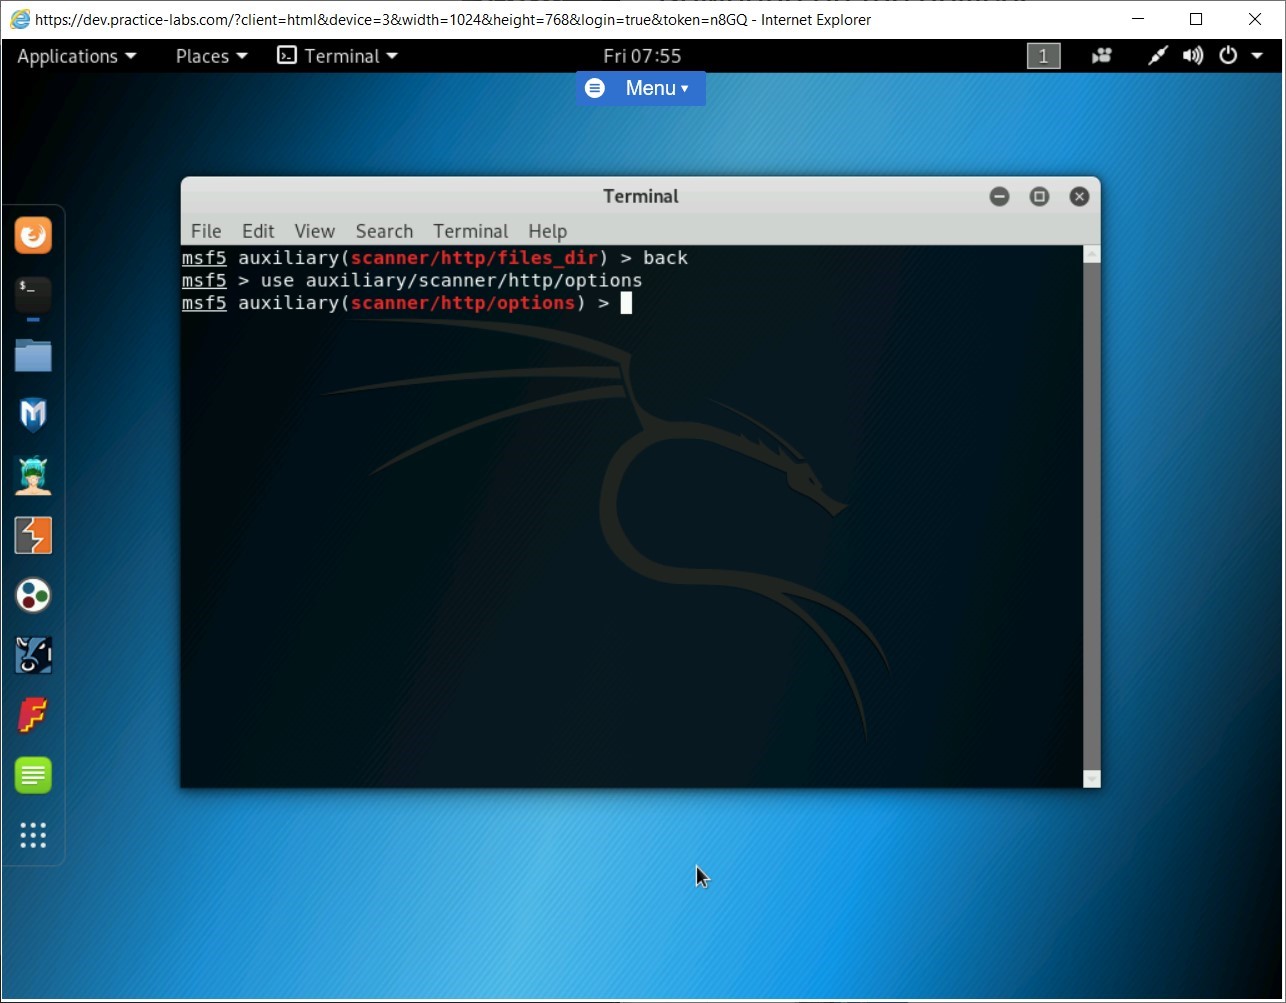
Step 3
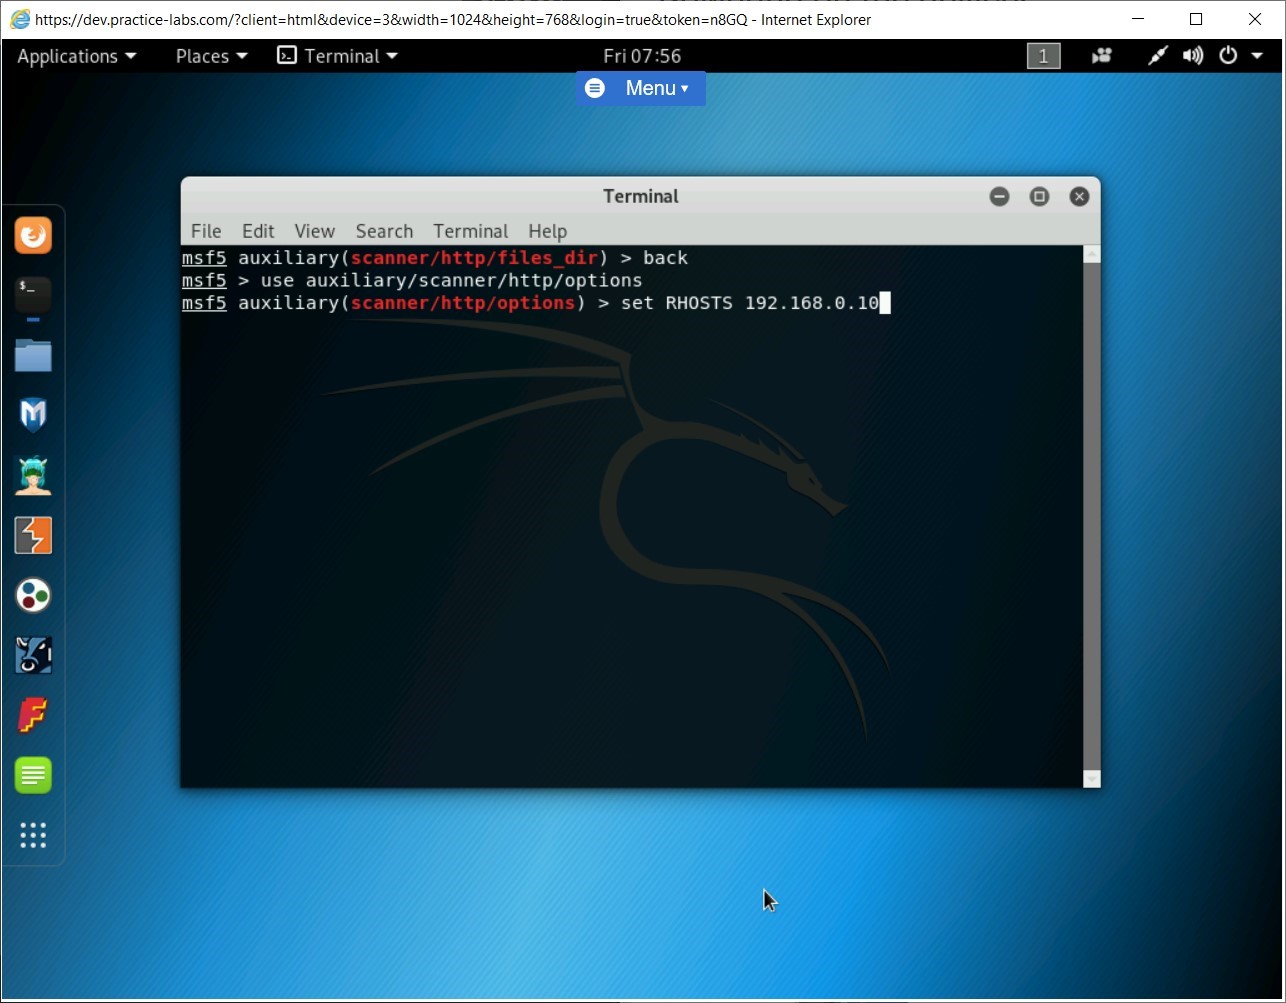
You need to configure the target system now. To do this, type the following command:
set RHOSTS 192.168.0.10
Press Enter.
Step 4
Next, set the number of threads. To do this, type the following command:
set THREADS 10
Press Enter.

Step 5
Now, type the following command to execute the payload:
run
Press Enter.
Notice that the output lists the options configured on the Webserver.
Keep the terminal window open.
Task 8 - Find the Webserver Version using the Metasploit Framework
Using Metasploit Framework, you can find the Webserver version that is running on a system. Metasploit Framework provides a module named http_version that is used for this purpose.
In this task, you will find the Webserver version using the Metasploit Framework. To do this, perform the following steps:
Step 1
Ensure that you have logged into the Kali Linux system. Ensure that you are on the metasploit framework terminal.
Clear the screen by entering the following command:
clear
You need to move out of the Options module. To do this, type the following command:
back
Press Enter.
Step 2
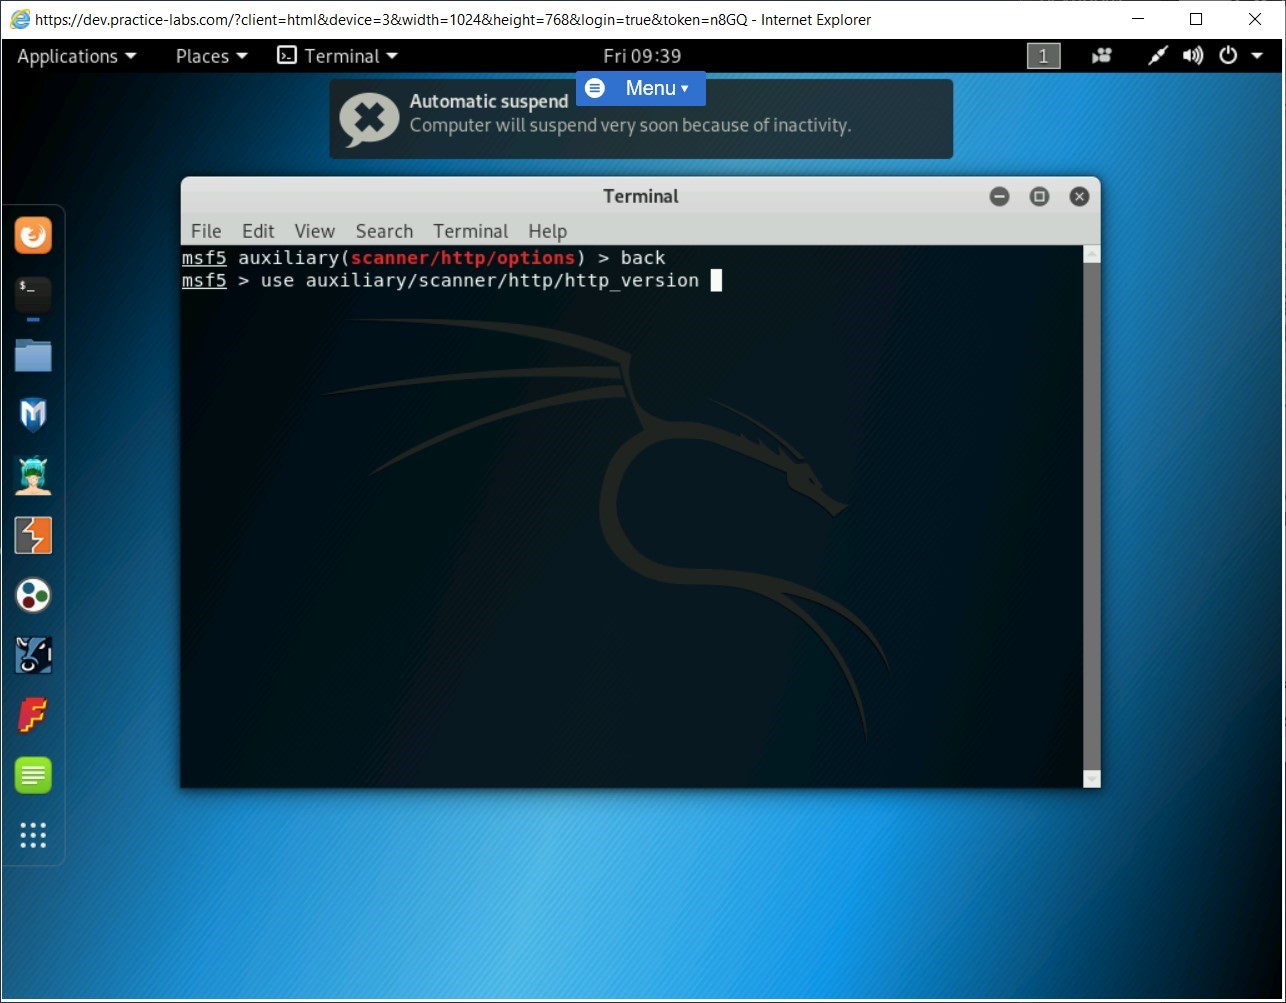
You are back on the Metasploit Framework prompt. To find the Webserver version, you need to load the http_version module. To do this, type the following command:
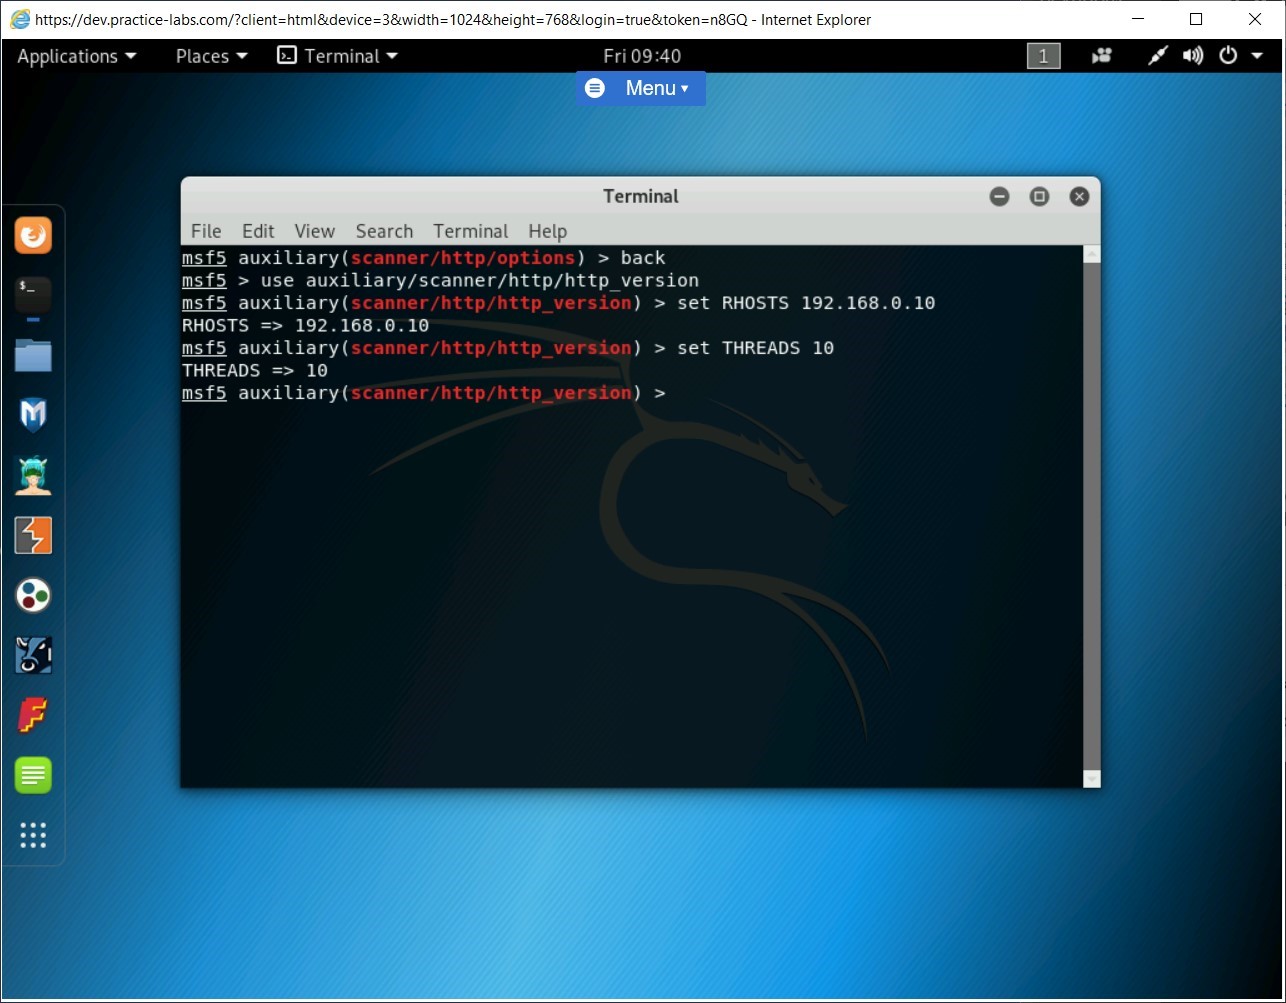
use auxiliary/scanner/http/http_version
Press Enter.
Step 3
Next, you need to set the target system. To do this, type the following command:
set RHOSTS 192.168.0.10
Press Enter.

Step 4
Next, set the number of threads. To do this, type the following command:
set THREADS 10
Press Enter.
Step 5
Now, type the following command to execute the payload:
run
Press Enter.
The details of the Webserver are now displayed. Keep the terminal window open.

Task 9 - Check for WebDAV on a Webserver using Metasploit Framework
Metasploit Framework provides a module named webdav_scanner that you can use to verify if WebDAV is enabled. If it is enabled, the attacker can plan for the attack accordingly.
In this task, you will check for WebDAV on a Webserver using Metasploit Framework. To do this, perform the following steps:
Step 1
Ensure that you have logged into the Kali Linux system. Ensure that you are on the metasploit framework terminal.
Clear the screen by entering the following command:
clear
You need to move out of the Options module. To do this, type the following command:
back
Press Enter.
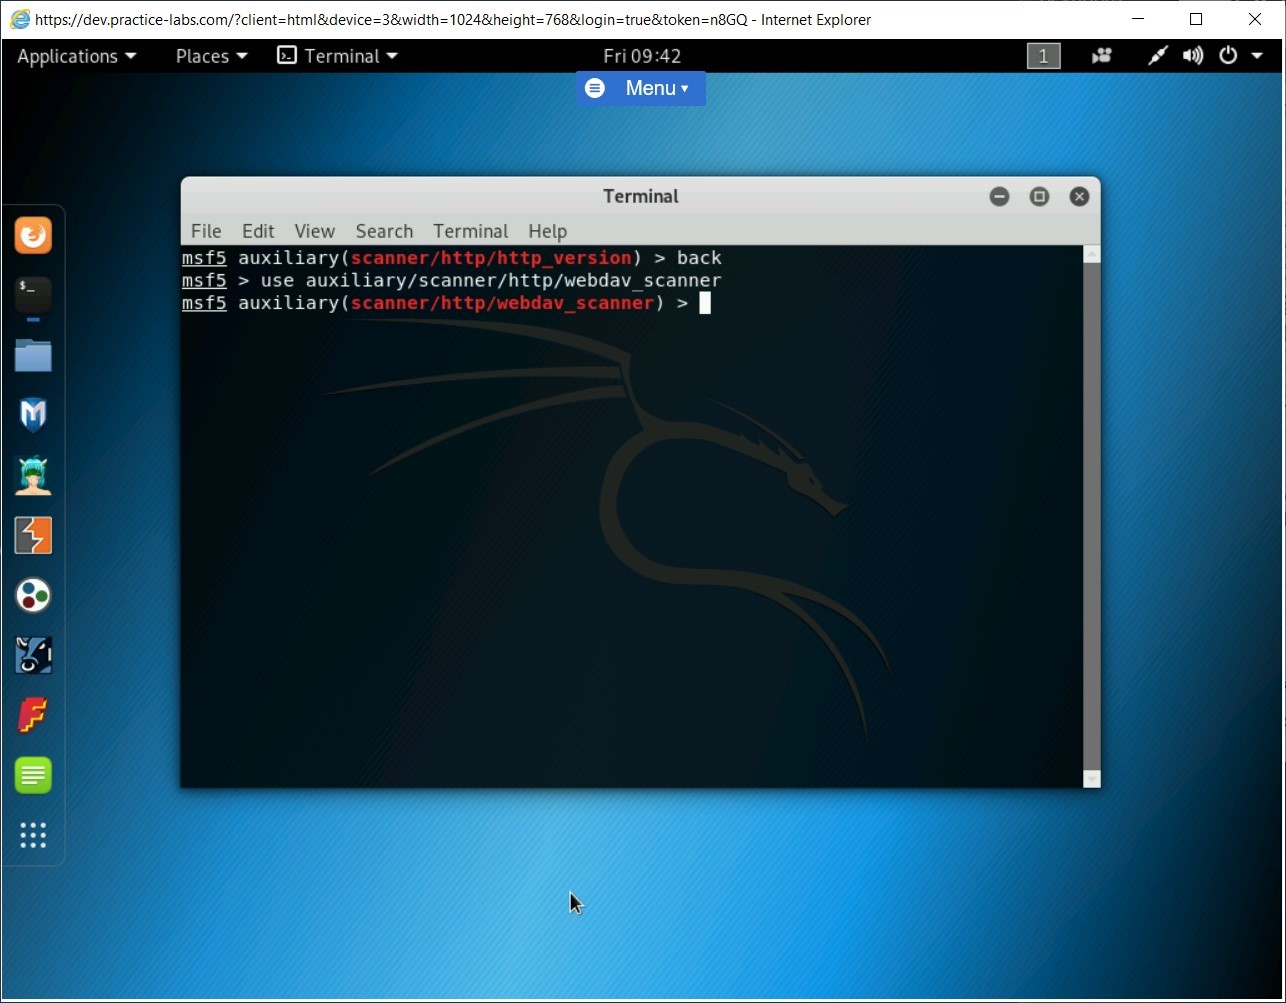
You are back on the Metasploit Framework prompt. You need to enable the webdav_scanner module first. To do this, type the following command:
use auxiliary/scanner/http/webdav_scanner
Press Enter.
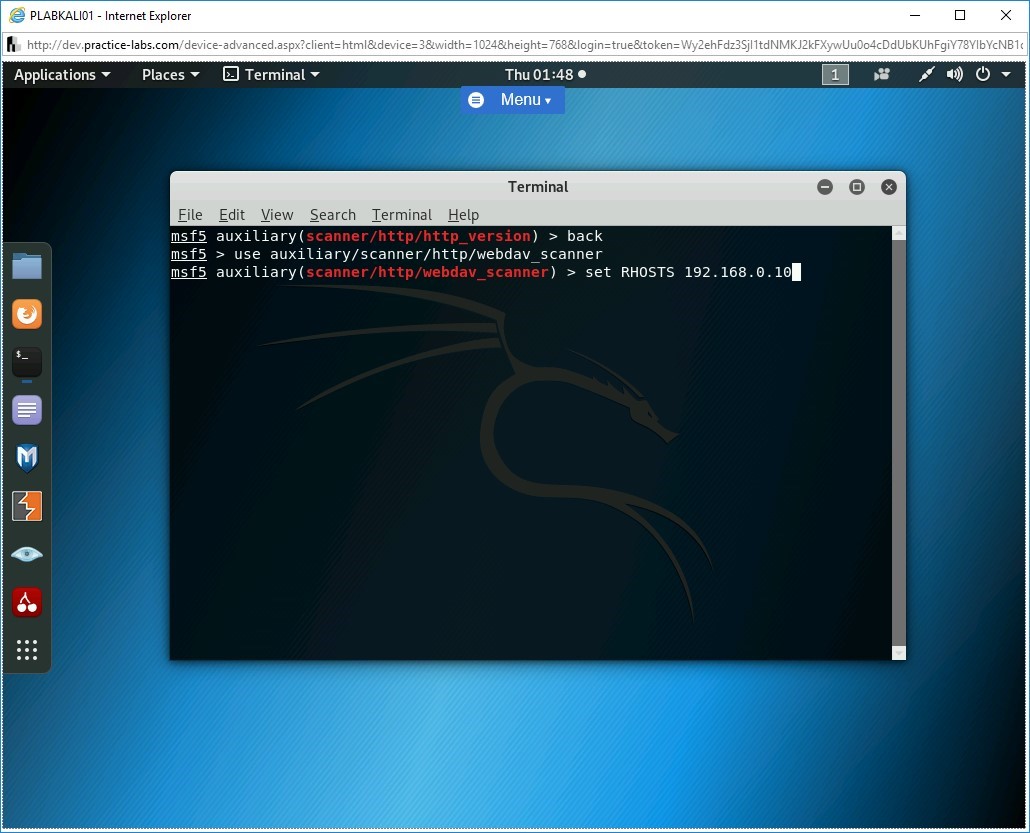
Step 2
Next, you need to set the target system. To do this, type the following command:
set RHOSTS 192.168.0.10
Press Enter.
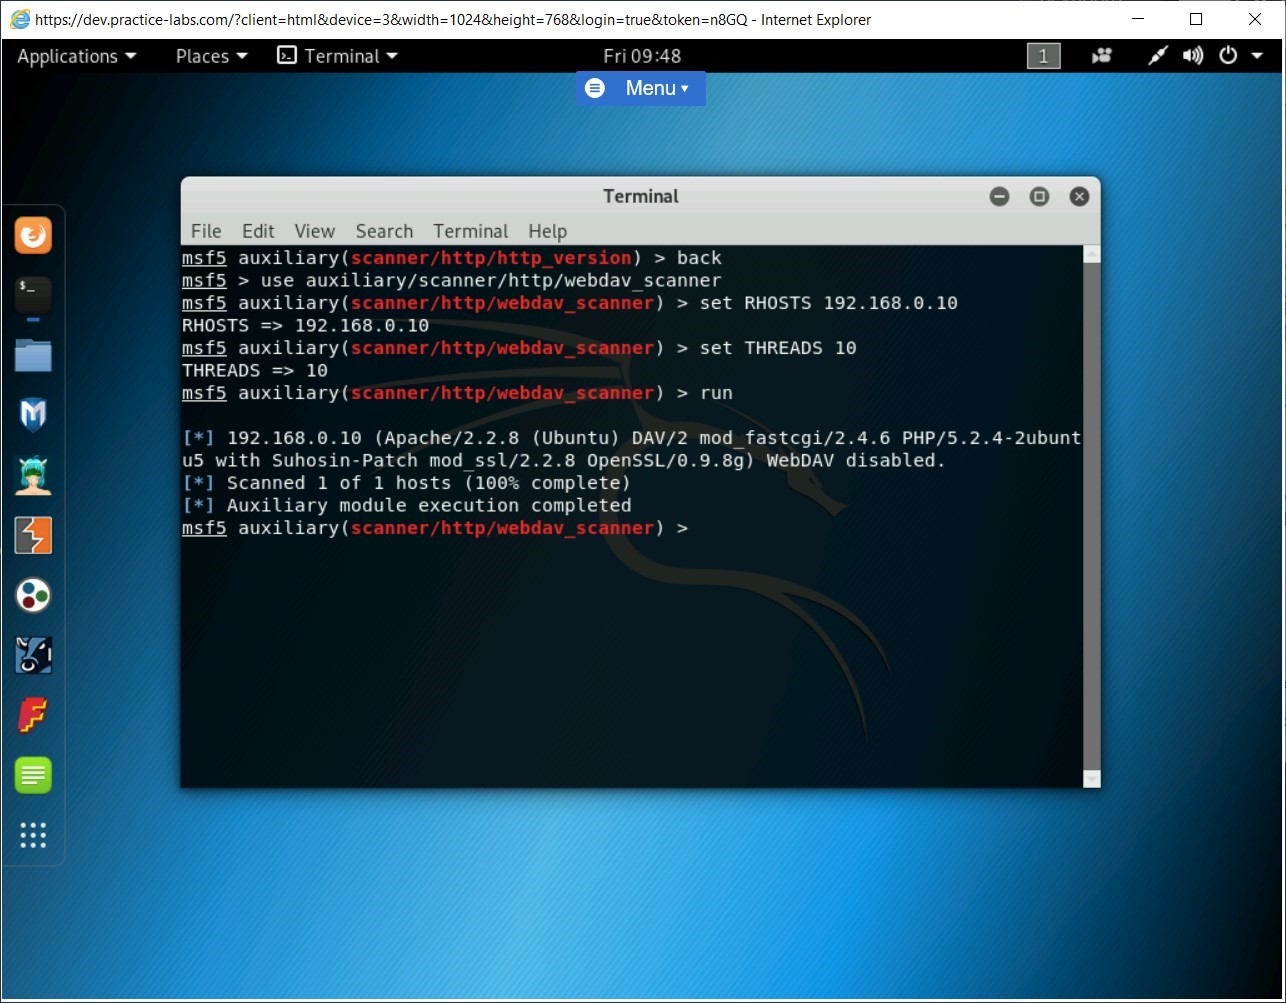
Step 3
Next, set the number of threads. To do this, type the following command:
set THREADS 10
Press Enter.

Step 4
Now, type the following command to execute the payload:
run
Press Enter.
Notice the output states that WebDAV is disabled.
Methods to Prevent Webserver Exploitation
A Webserver can be prone to different types of vulnerabilities. You need to be aware of some of the prevention methods that you can apply on the Webserver to protect its data. Some of the most common methods to prevent Webserver exploitation are:
- Placing the Webserver in a secure zone, preferably where the firewall and other security appliances or applications, such as Intrusion Prevention System (IPS) or Intrusion Detection System (IDS) are placed
- Placing the Webserver in a DMZ, which is protected with a firewall. Such placement will protect the Webserver from external attacks
- Filtering the incoming traffic to the Webserver
- Deploying a Web application change detection method, which can detect any malicious executable attempting to change the Web application functionality
- Implementing hashing to track the changes made to the Webserver and the Web application files
- Disabling unnecessary open ports and running services
- Using a server certificate on the Webserver
- Encrypting the outgoing traffic to prevent Man-In-the-Middle (MITM) attacks
- Disabling the debug compilers on the Webserver
- Disabling tracking on the Webserver
- Using HTTPS instead of HTTP
- Enabling auditing to track failed logins
- Disabling the default accounts on the Webserver
- Performing regular patch updates on the Webserver and the Web application
- Using complex password policy
- Removing unused modules and extensions from the Webserver
- Using the least privilege principle for the database accounts
Task 2 - Disable HTTP TRACK and TRACE verbs in Internet Information Services (IIS)
Webservers usually return the full request in their responses to the client, which originally made the request. TRACK is a verb, which is used in IIS, and returns the full request in the response to the client. TRACK is similar to TRACE, but it is Microsoft’s implementation. When a security scanning tool scans the Webserver, it might find the HTTP TRACK to be enabled. Same is the case if TRACE is also enabled. If either one or both are enabled, they are considered to be vulnerabilities. When these are enabled, they can lead to a cross-site scripting attack. A hacker may use a Webpage with XMLHTTP and force the client to issue a TRACK request from the Webserver. When the response is returned, the hacker can then capture the client cookies.
To disable HTTP TRACK and TRACE verbs in IIS, perform the following steps:
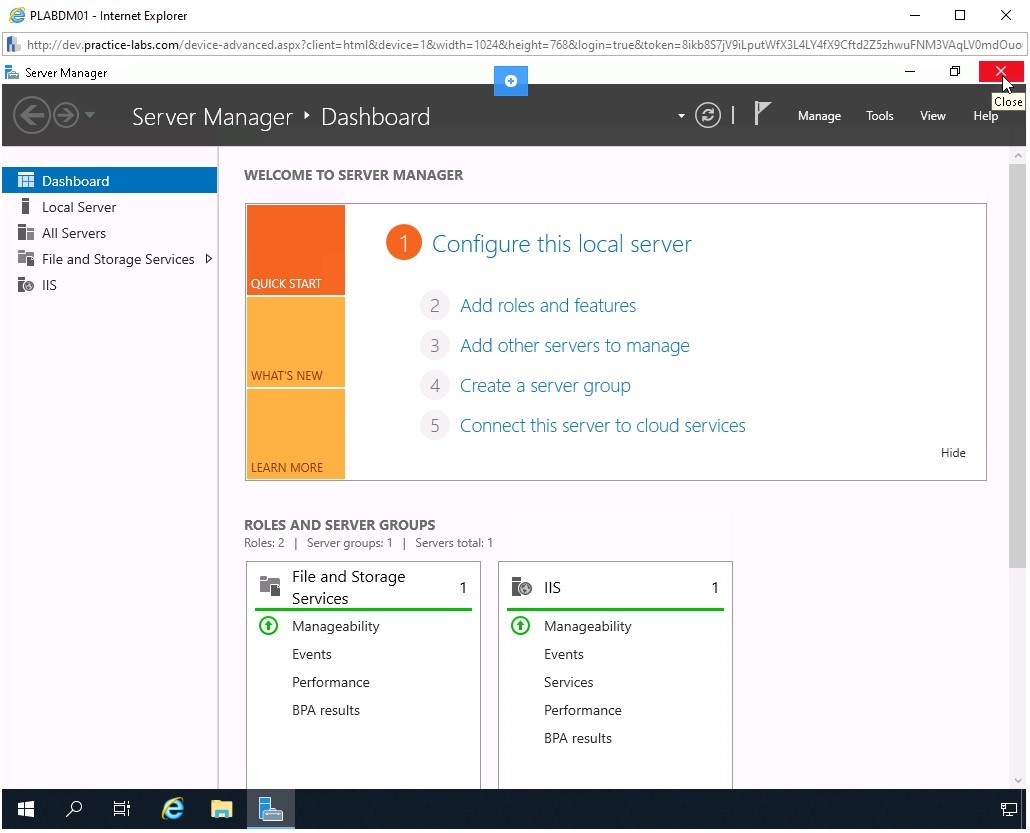
Step 1
Ensure you have powered on all the devices listed in the introduction and connect to PLABDM01. The Server Manager window is displayed by default. Click Close.
Step 2
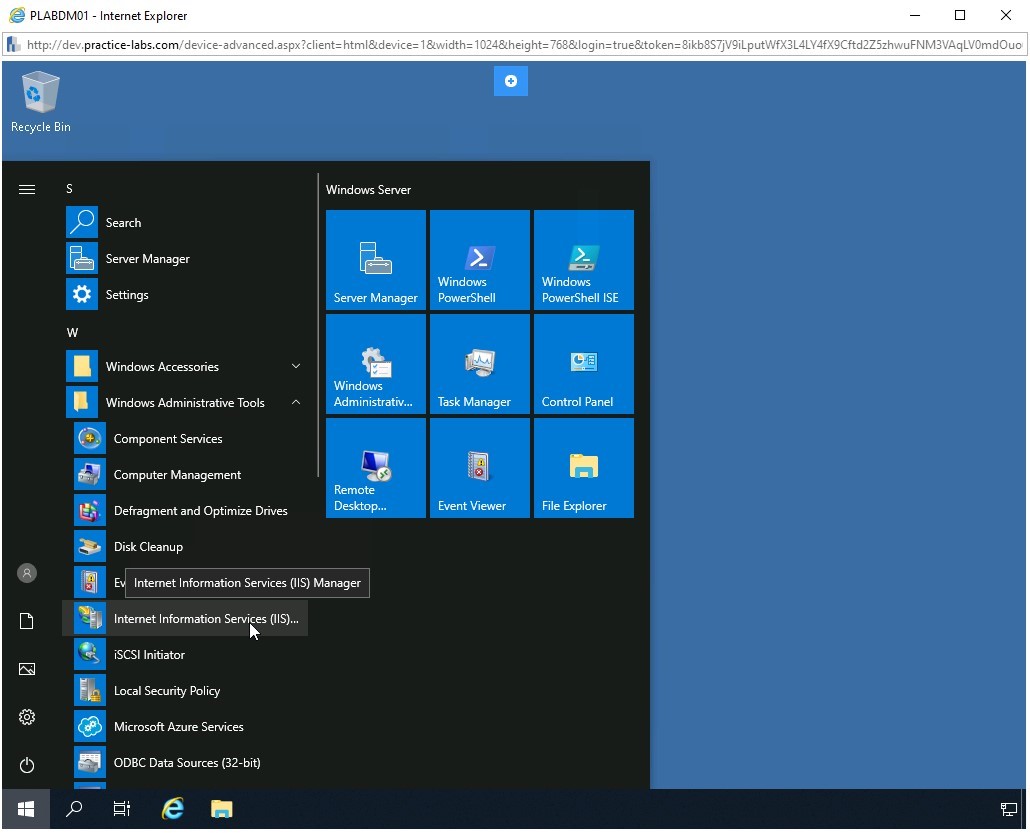
Click the Windows charm, select Windows Administrative Tools, and then select Internet Information Services (IIS) Manager.
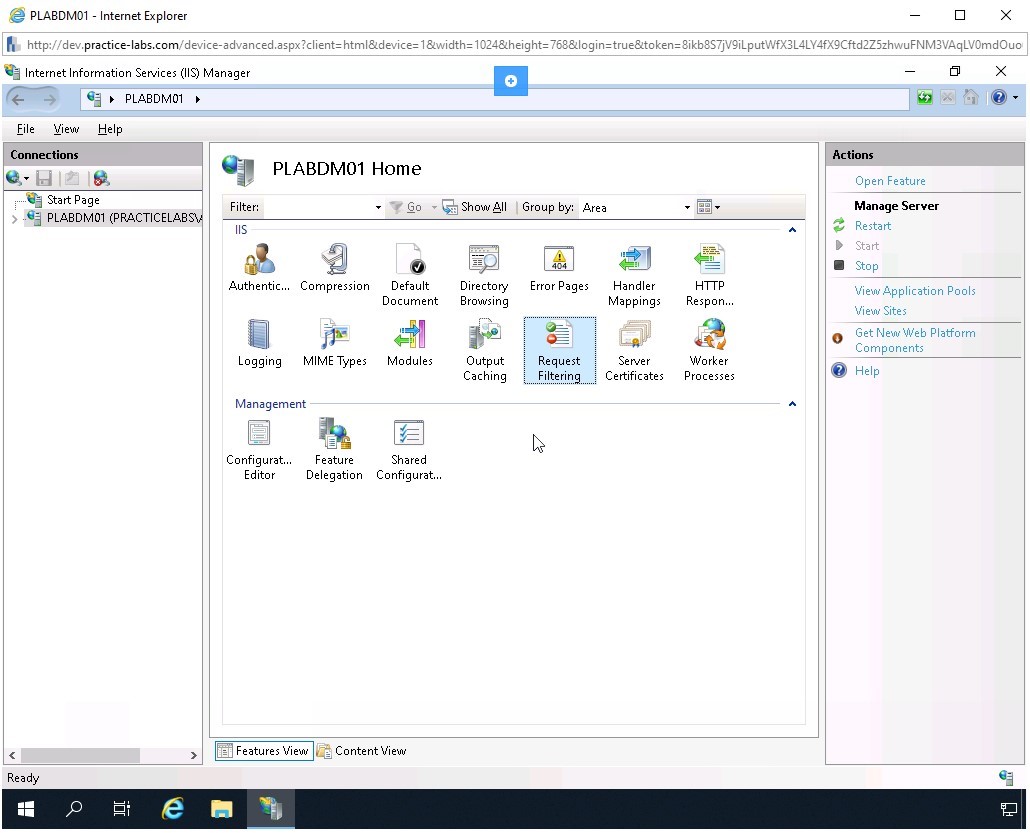
Step 3
In the left pane, select PLABDM01 and then double-click Request Filtering in the right pane.
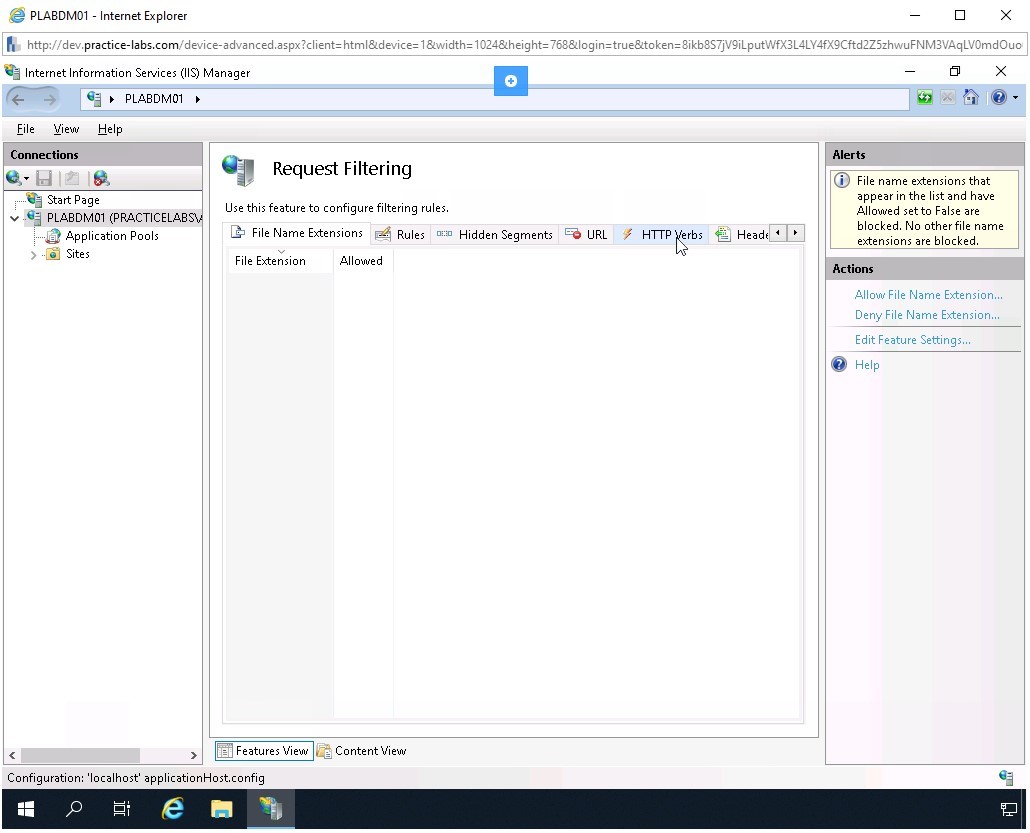
Step 4
The middle pane displays the Request Filtering page. Click the HTTP Verbs tab.
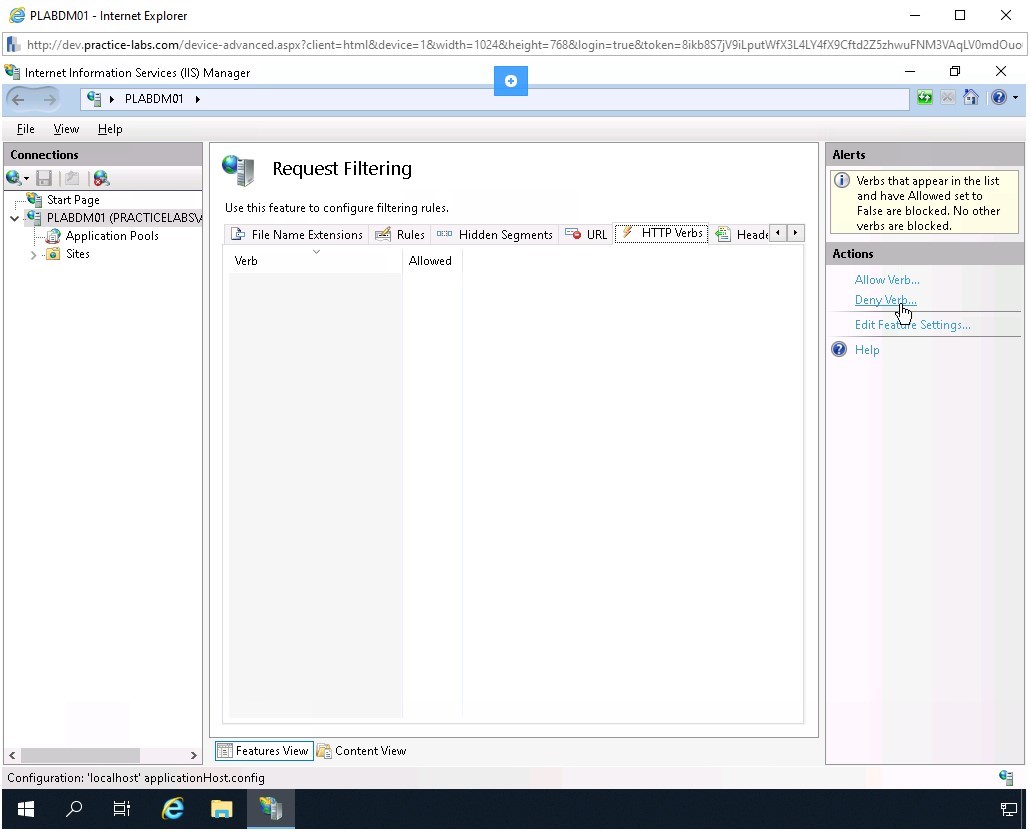
Step 5
The HTTP Verbs tab is displayed. In the right pane, click Deny Verb.
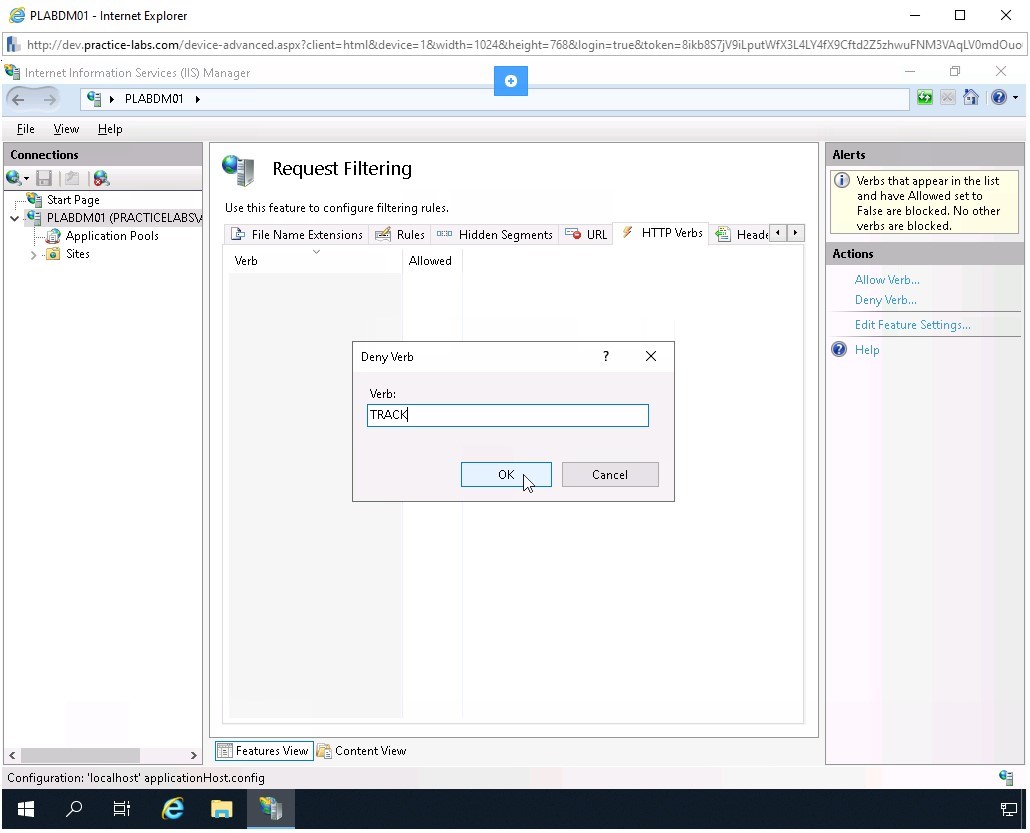
Step 6
The Deny Verb dialog box is displayed. In the Verb textbox, type TRACK and click OK.
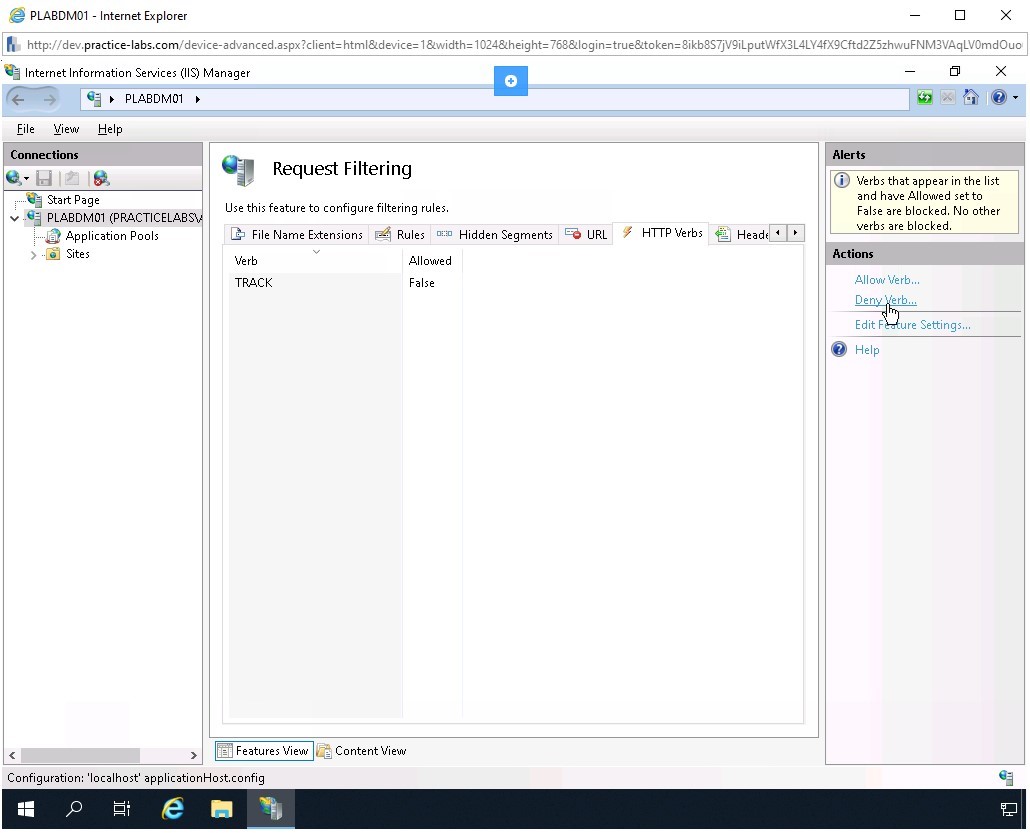
Step 7
Notice that the TRACK verb appears in the middle pane. You will now need to add TRACE verb to be denied.
Click Deny Verb in the right pane.
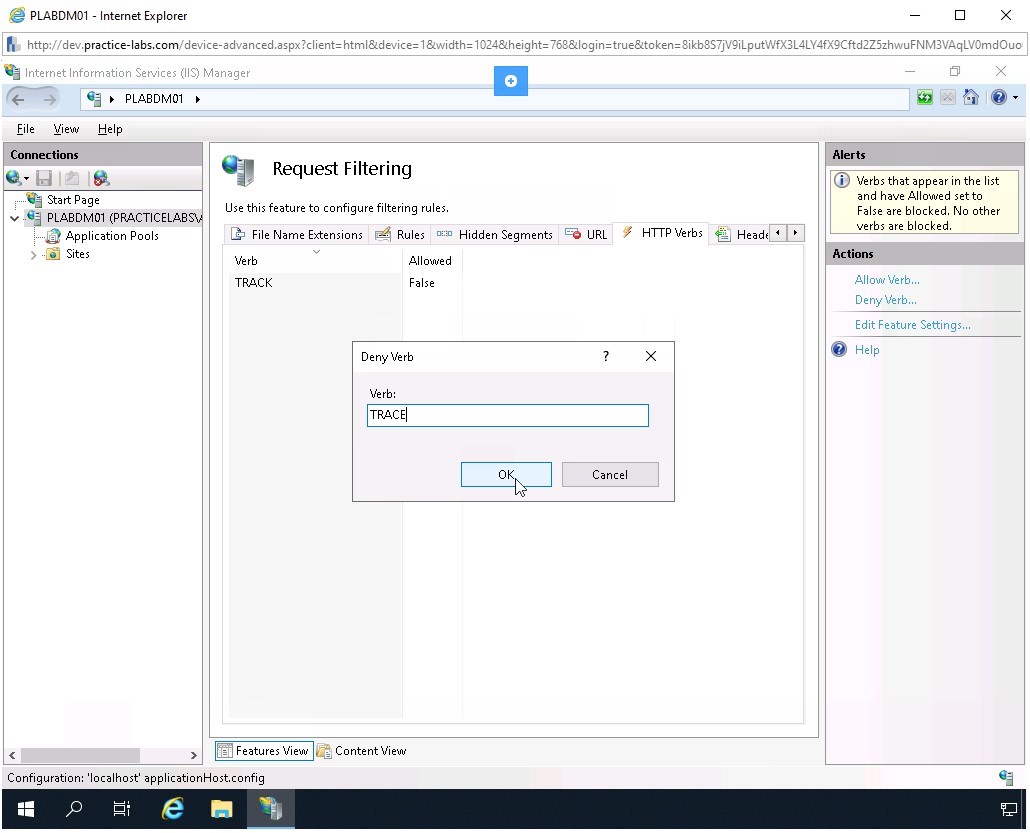
Step 8
The Deny Verb dialog box is displayed. In the Verb textbox, type TRACE and click OK.
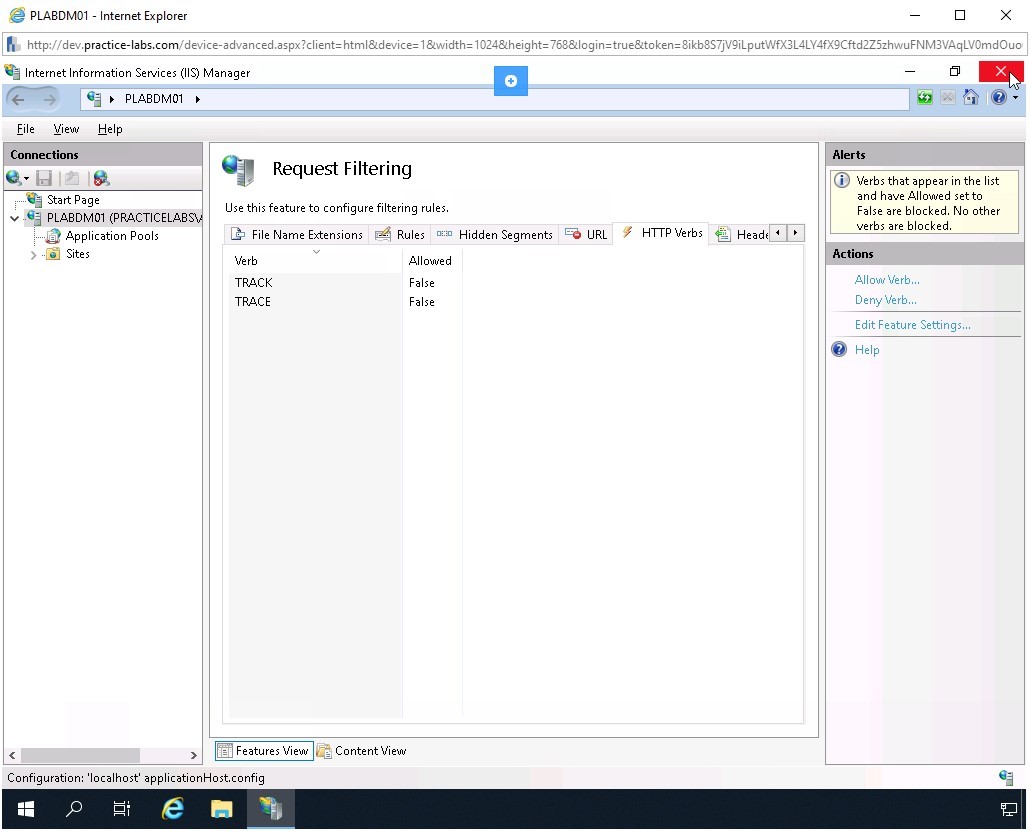
Step 9
Notice that TRACK and TRACE verbs are now added in the middle pane.
Click Close to close the Internet Information Services (IIS) Manager.

Comments
Post a Comment