Penetration testing report
Use Serpico to Generate a Penetration report
Serpico is a free, open-source tool available on Github. The tool is accessed through a web browser.
In this exercise, the Serpico web application will be configured and used to generate a report. Serpico is a web-based application that is used to generate reports from pre-configured templates, which can be modified to the pentesters specifications.
Learning Outcomes
After completing this exercise, you will be able to:
- Configure the Serpico Web Application
Your Devices
You will be using the following device in this lab. Please power on this device.
- PLABWIN10 - (Windows 10 - Domain Member)

Task 1 - Configure the Serpico Web Application
The Serpico web application can be used by penetration testers to create a penetration test report. Default templates are available that can be modified to suit the penetration tester’s requirements.
In this task, the Serpico web application will be configured to generate penetration test reports. Serpico is a free, open-source application that can be installed on Windows or Linux distributions.
Step 1
Connect to PLABWIN10.
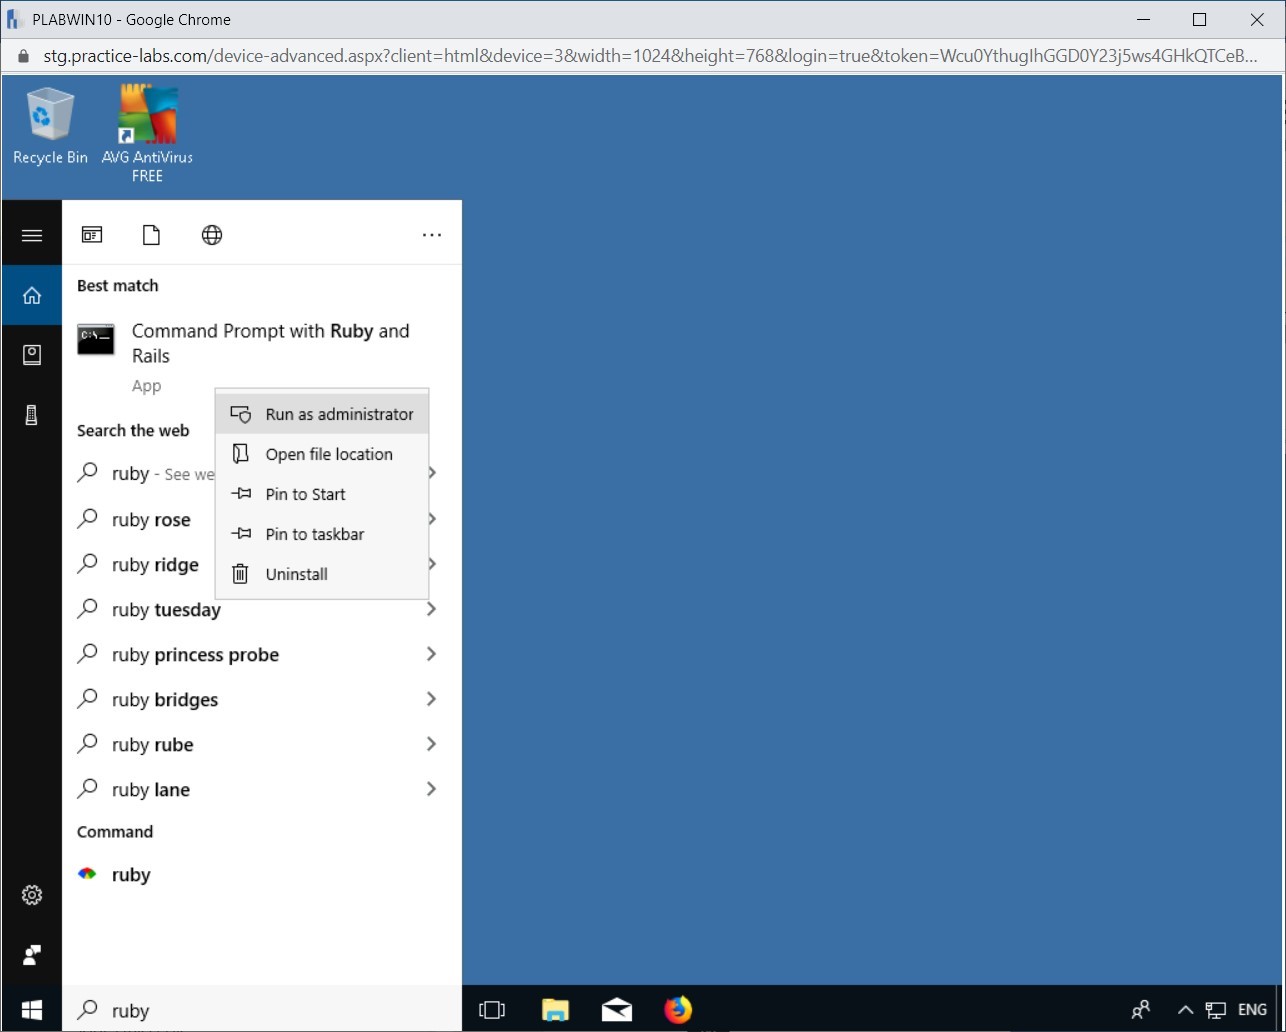
Click in the Type here to search text box and type:
Ruby
Right-click Command Prompt with Ruby and Rails and select Run as administrator.
Step 2
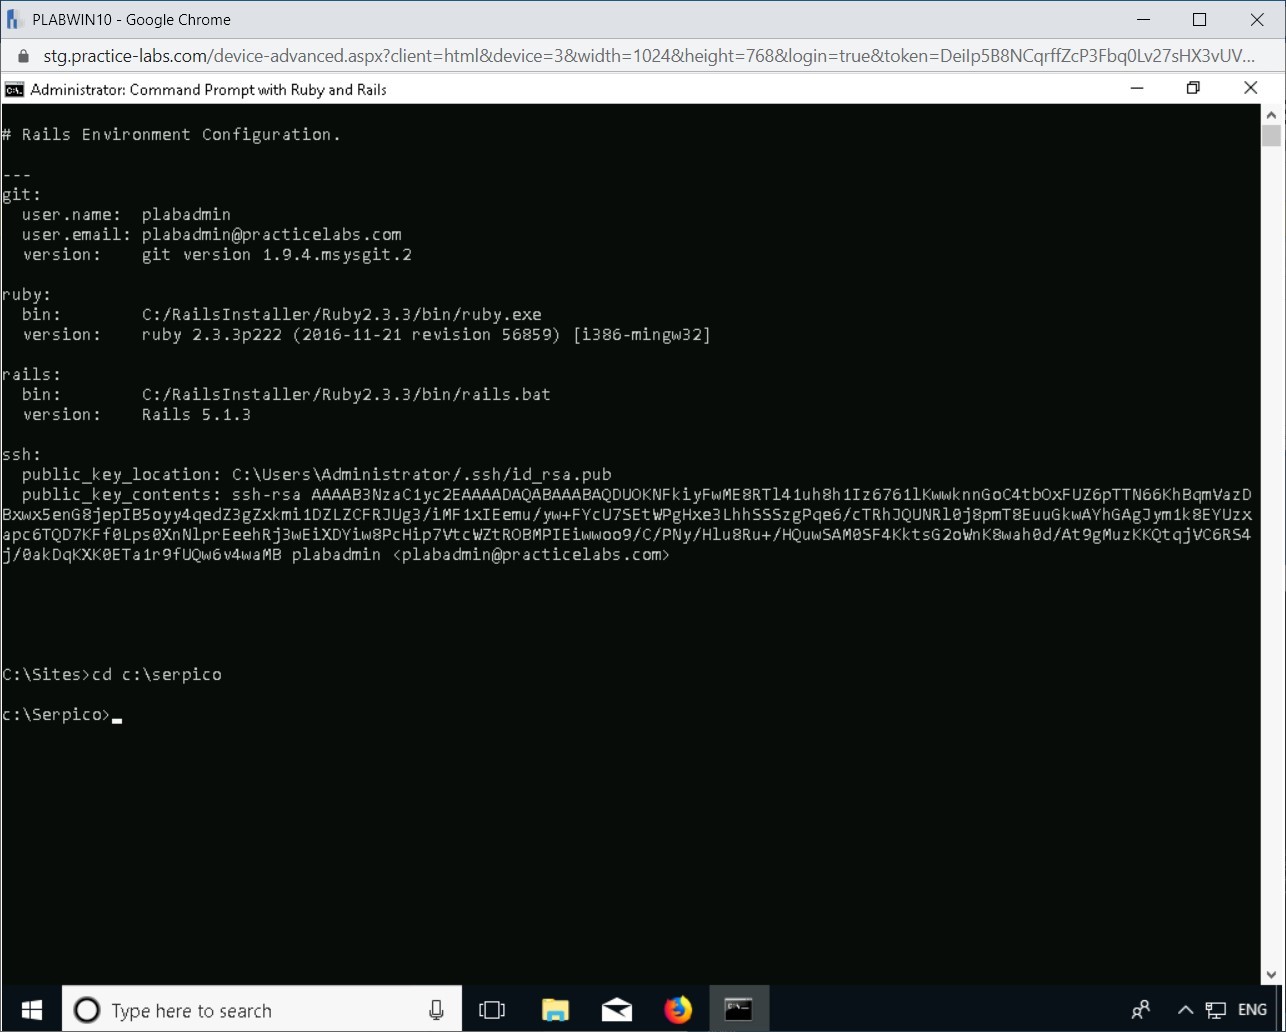
In Command Prompt with Ruby and Rails window type the following:
cd C:\Serpico
Press Enter.
Step 3
Type the following and press Enter:
ruby serpico.rb

Step 4
Open FireFox web browser from the Taskbar.

Step 5
Browse to the Serpico website by mentioning the following in the address bar at the top:
https :// 192 . 168 . 0 . 4 : 8443/
On the suggestion list, select Serpico.
Note: Please ignore the update suggestion for Firefox for now.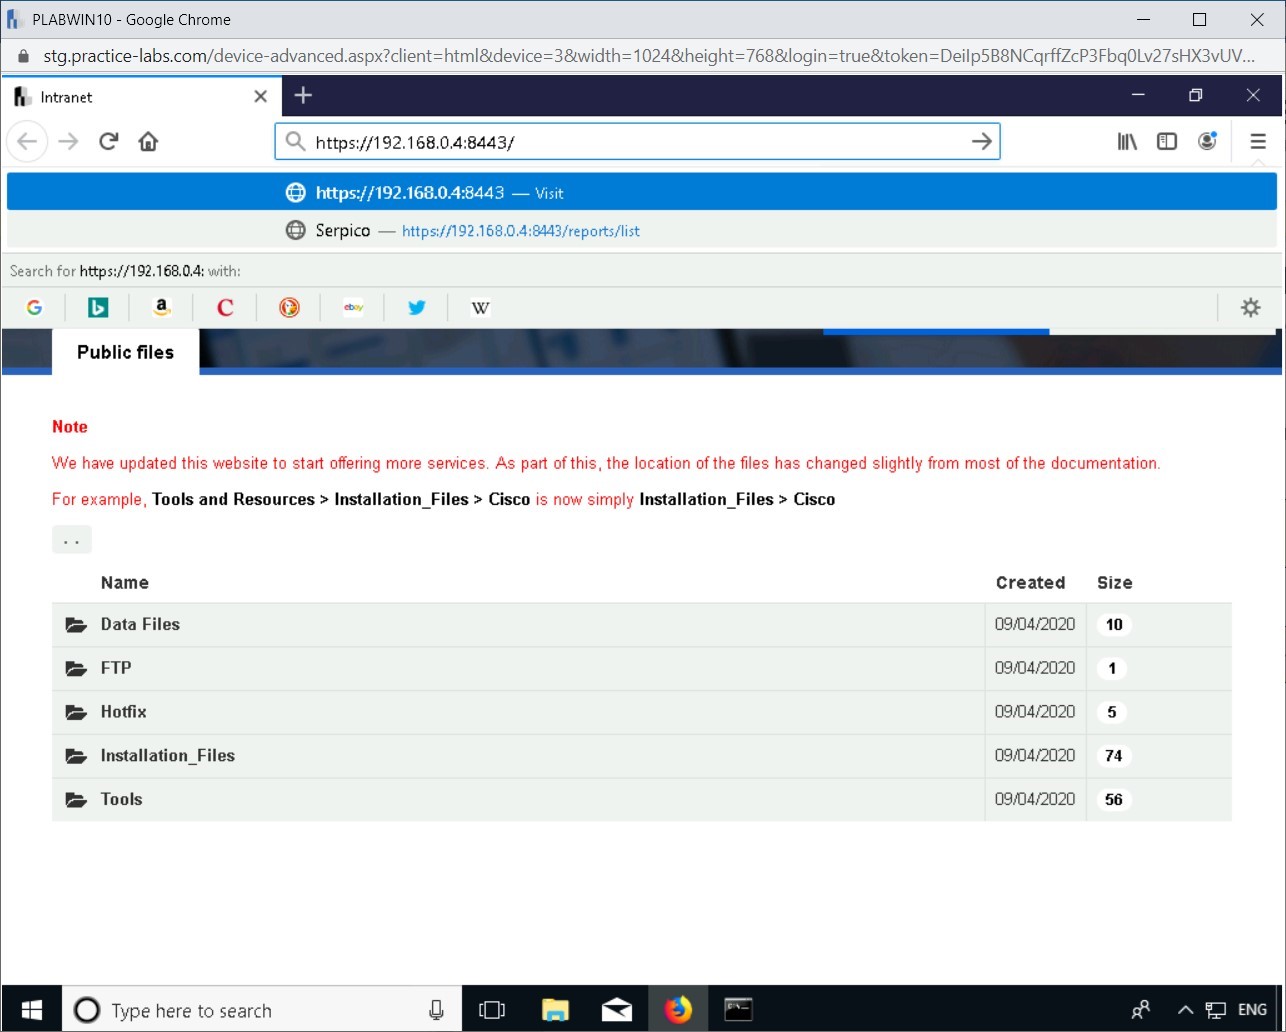
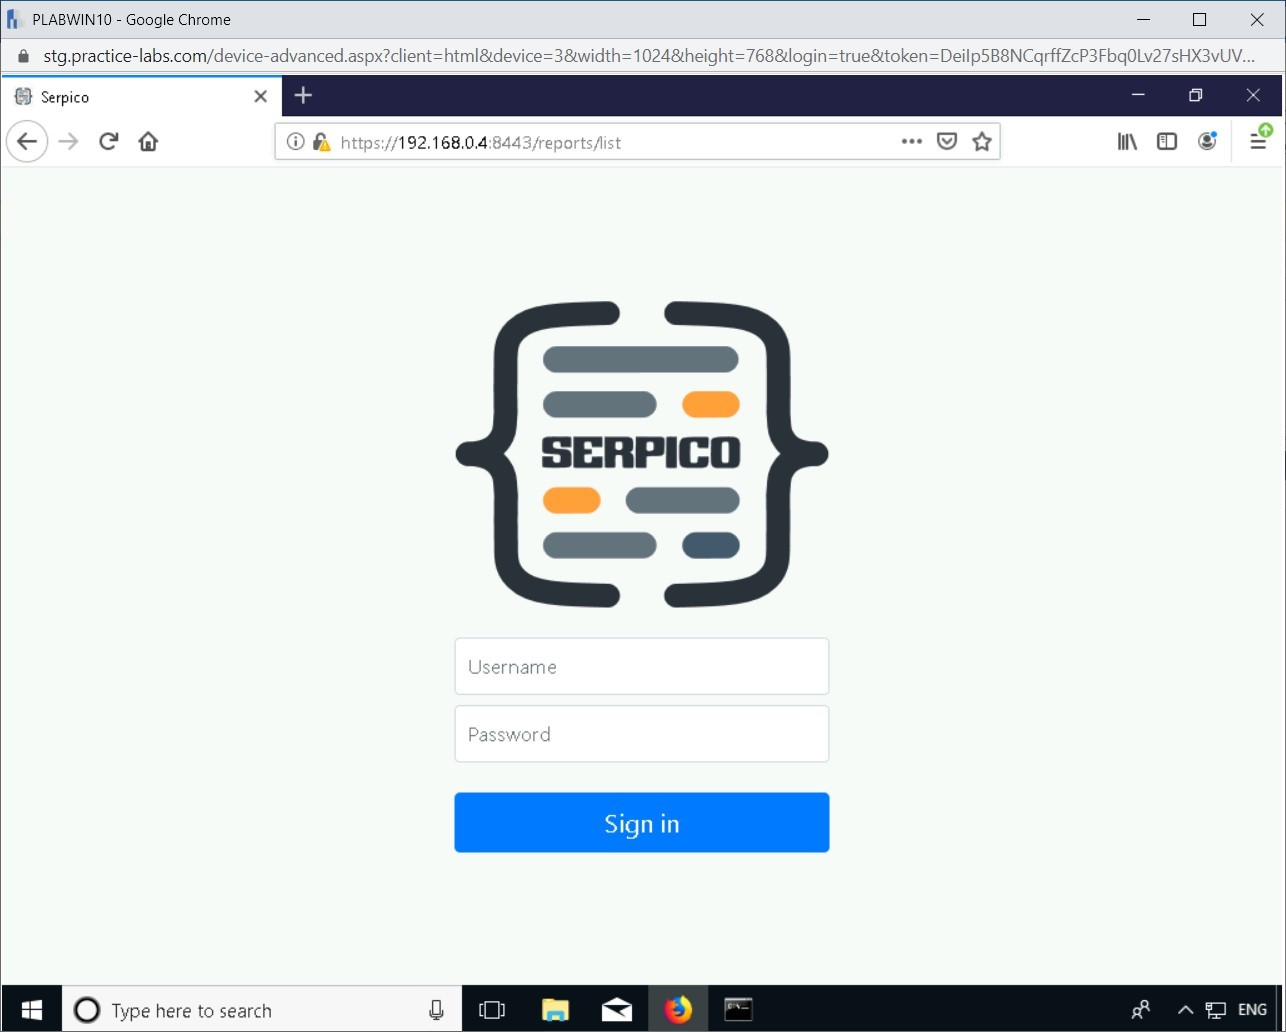
Step 6
In the Username and Password field enter the following and click Sign In:
Username:
administrator
Password:
Passw0rd
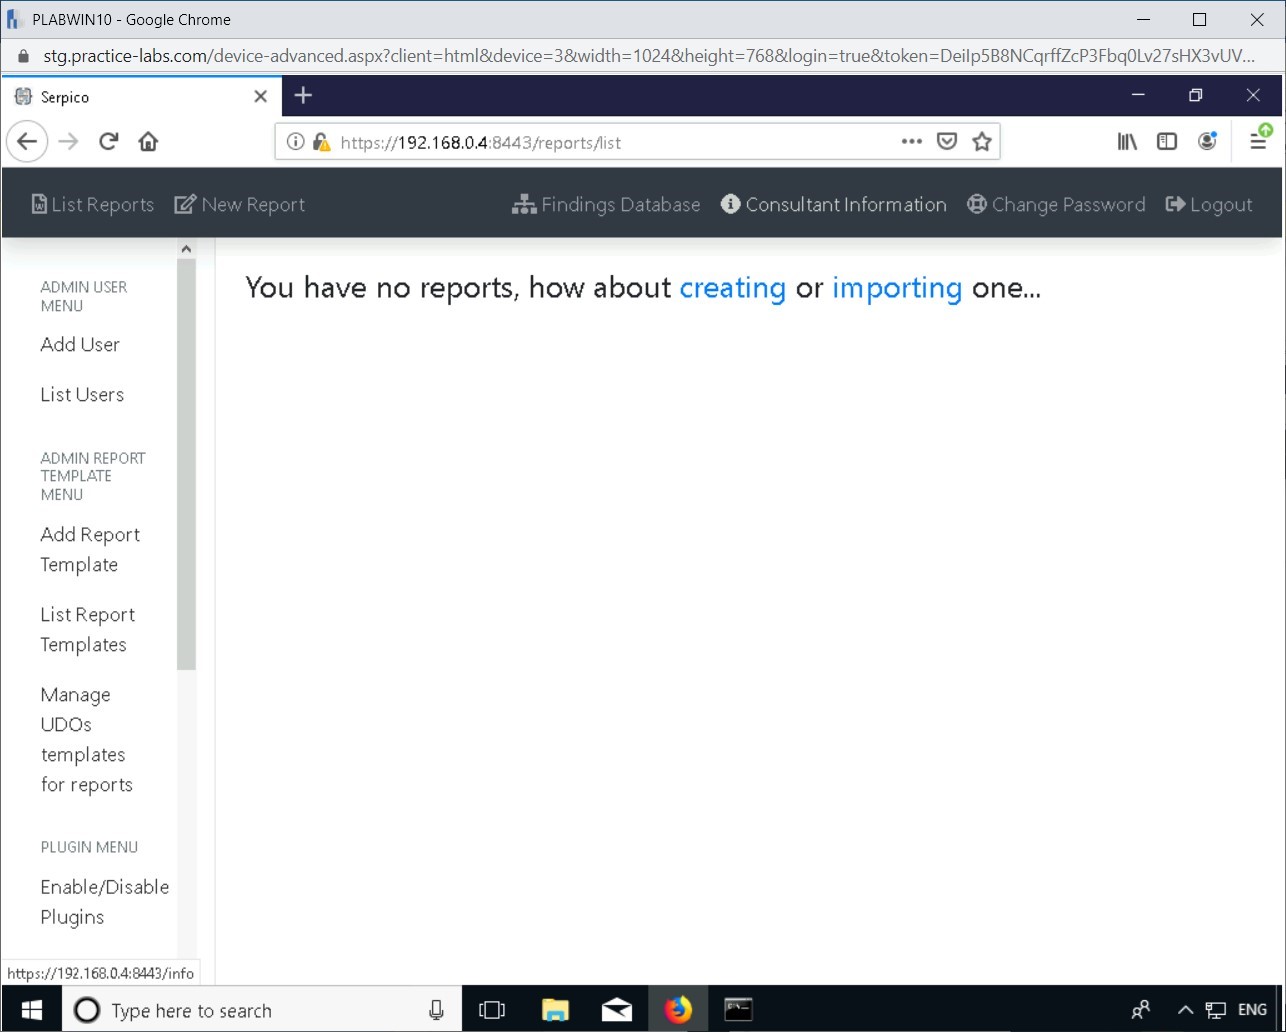
Step 7
Select Consultant Information from the top pane in the Serpico web application.
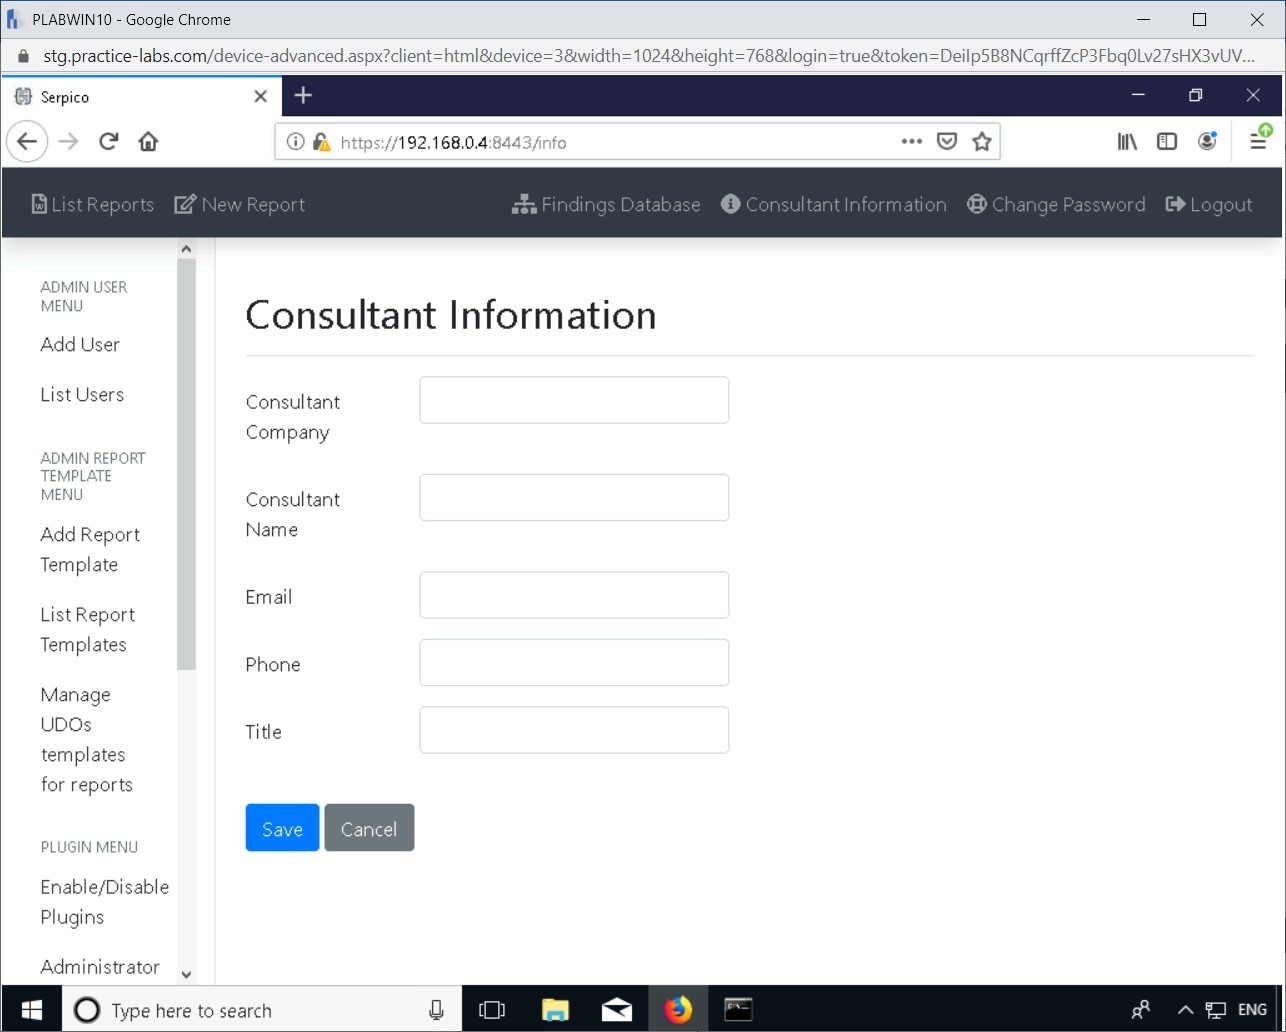
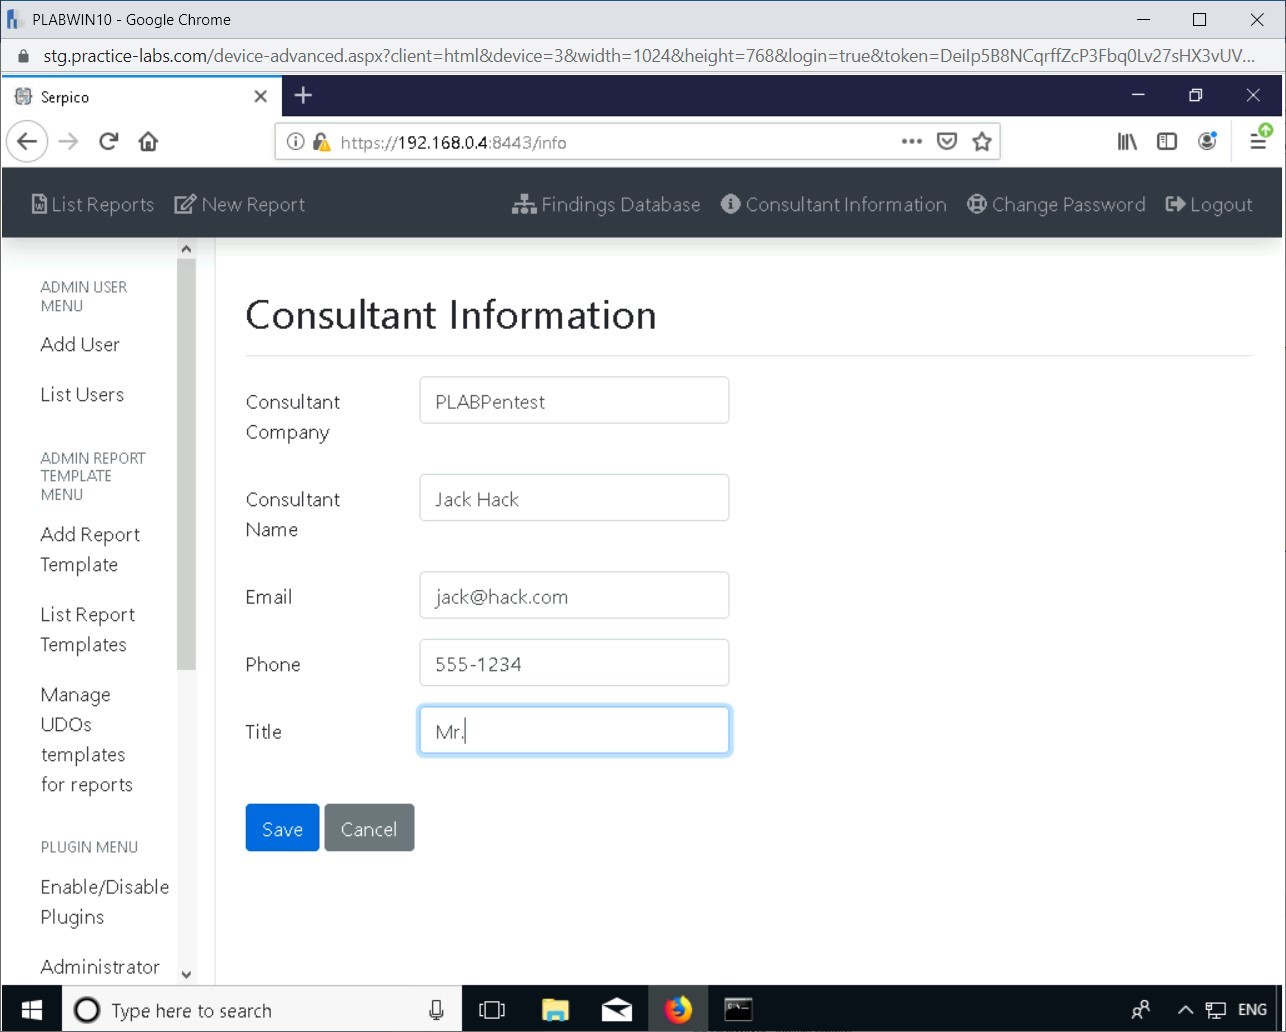
Step 8
Enter the following information and select Save:
Consultant Company: PLABPentest
Consultant Name: Jack Hack
Email: jack@hack.com
Phone: 555-1234
Title: Mr
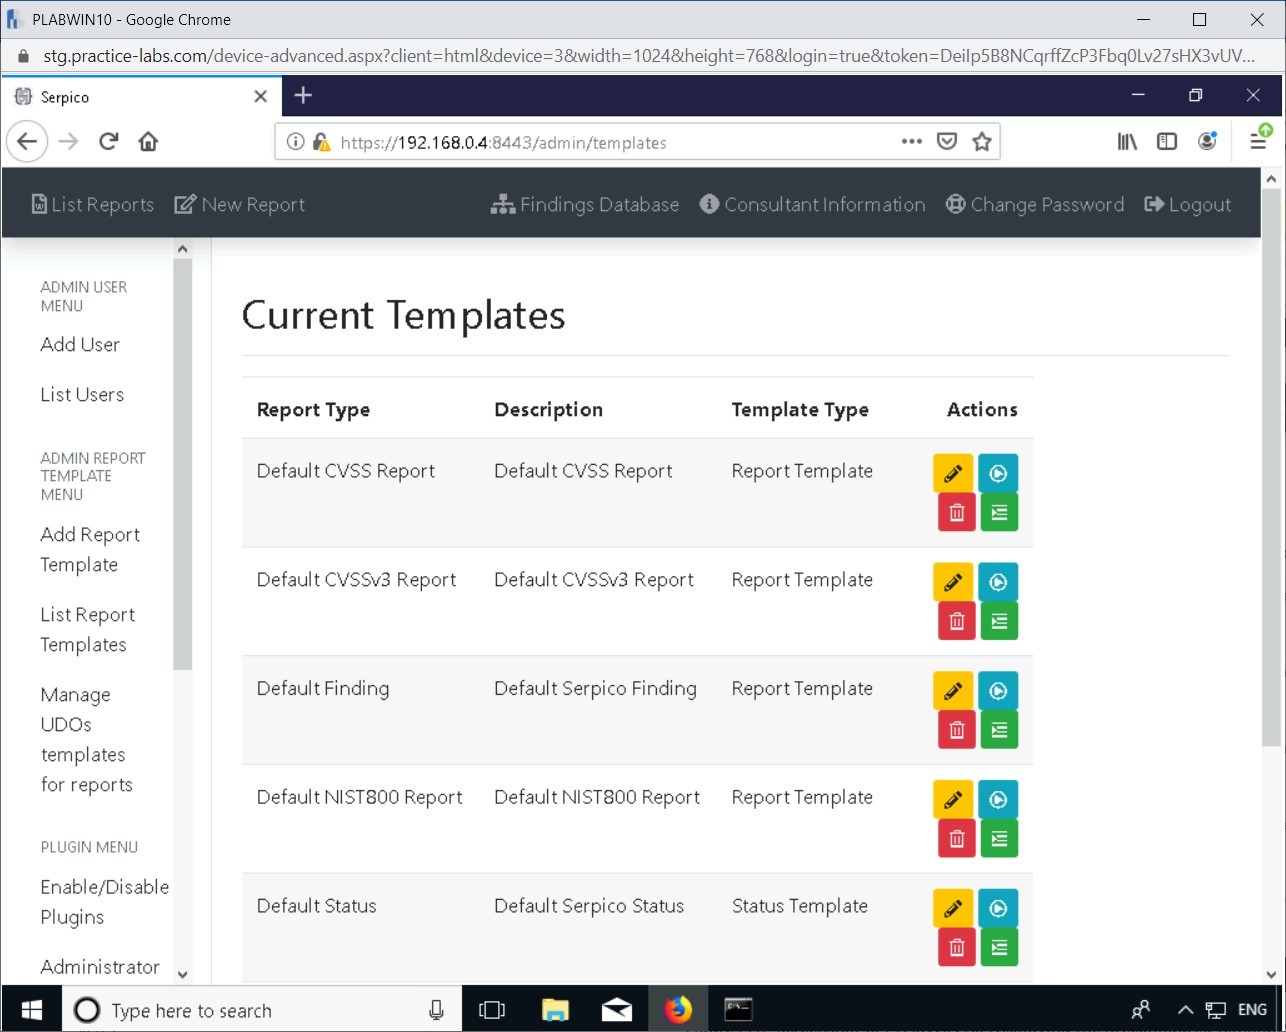
Step 9
Select List Report Templates from the left pane.
Minimize all the open windows.
Determine the Audience Type
The end result of penetration testing is the penetration testing report, which can have a diverse set of audiences. The scope of penetration testing will largely define the audience type.
Some of the key audience can be:
- Senior management
- IT managers
- Security teams
- Web developers
- Web server administrators
The audience may vary depending on the test required. For example, if you are performing a penetration testing on the network, then the network administrators and the network team will likely be in the audience type.
If you are not performing penetration testing on a web application, web developers and web server administrators are not required to be part of the audience.
Explain Rules of Engagement, Contract Types, and Scoping an Engagement
In this exercise, you will learn about the Rules of Engagement, contract types, and scoping an engagement.
Learning Outcomes
After completing this exercise, you will be able to:
- Download Sample Penetration Testing Agreements
- Know about the Rules of Engagement
- Assess Guidelines for Planning the Penetration Testing
- Know about SOW, MSA, and NDA
- Know about the Legal Restrictions including Local and National Government
- Know about the Scopes in an Engagement
Your Devices
You will be using the following device in this lab. Please power on this device.
- PLABWIN10 - (Windows 10 - Domain Member)

Task 1 - Download Sample Penetration Testing Agreements
Before a penetration test can be conducted by a penetration tester, you need to know about several types of contractual agreements that are available.
In this task, you will download the following sample agreements from the lab:
- Penetration testing agreement - This is an agreement between the penetration tester and the company that requested the penetration test. The agreement will contain information with regards to when the penetration test will be conducted and the scope of the penetration test. The scope will entail on which components of the network the penetration test will be conducted, for example, the web servers.
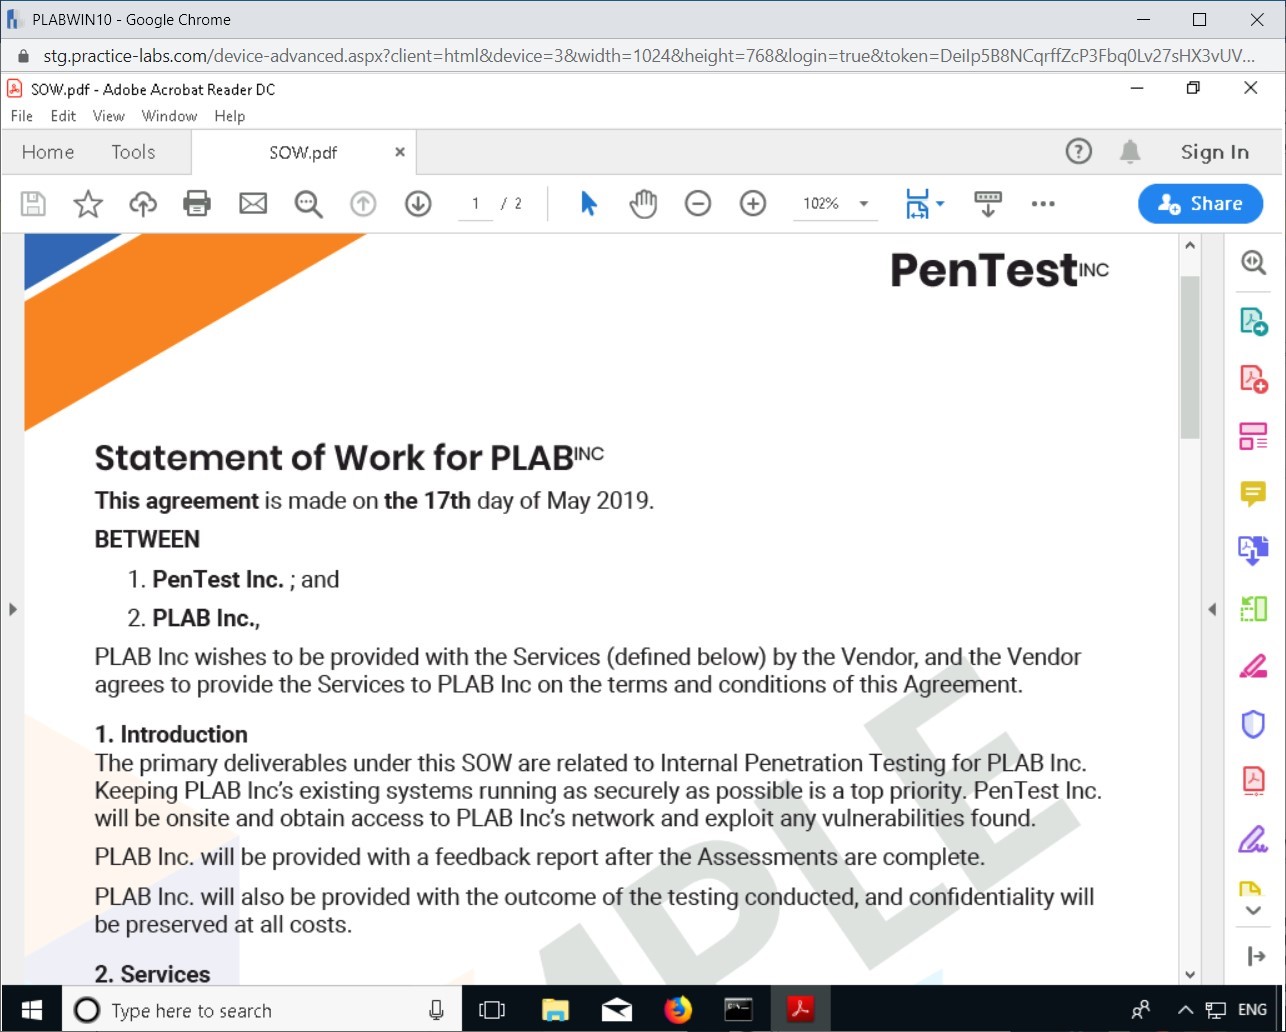
- Statement of work (SOW) - SOW is specific to an assignment that you may take up as a pentester. SOW is created based on a set of tasks that are part of the Master service agreement.
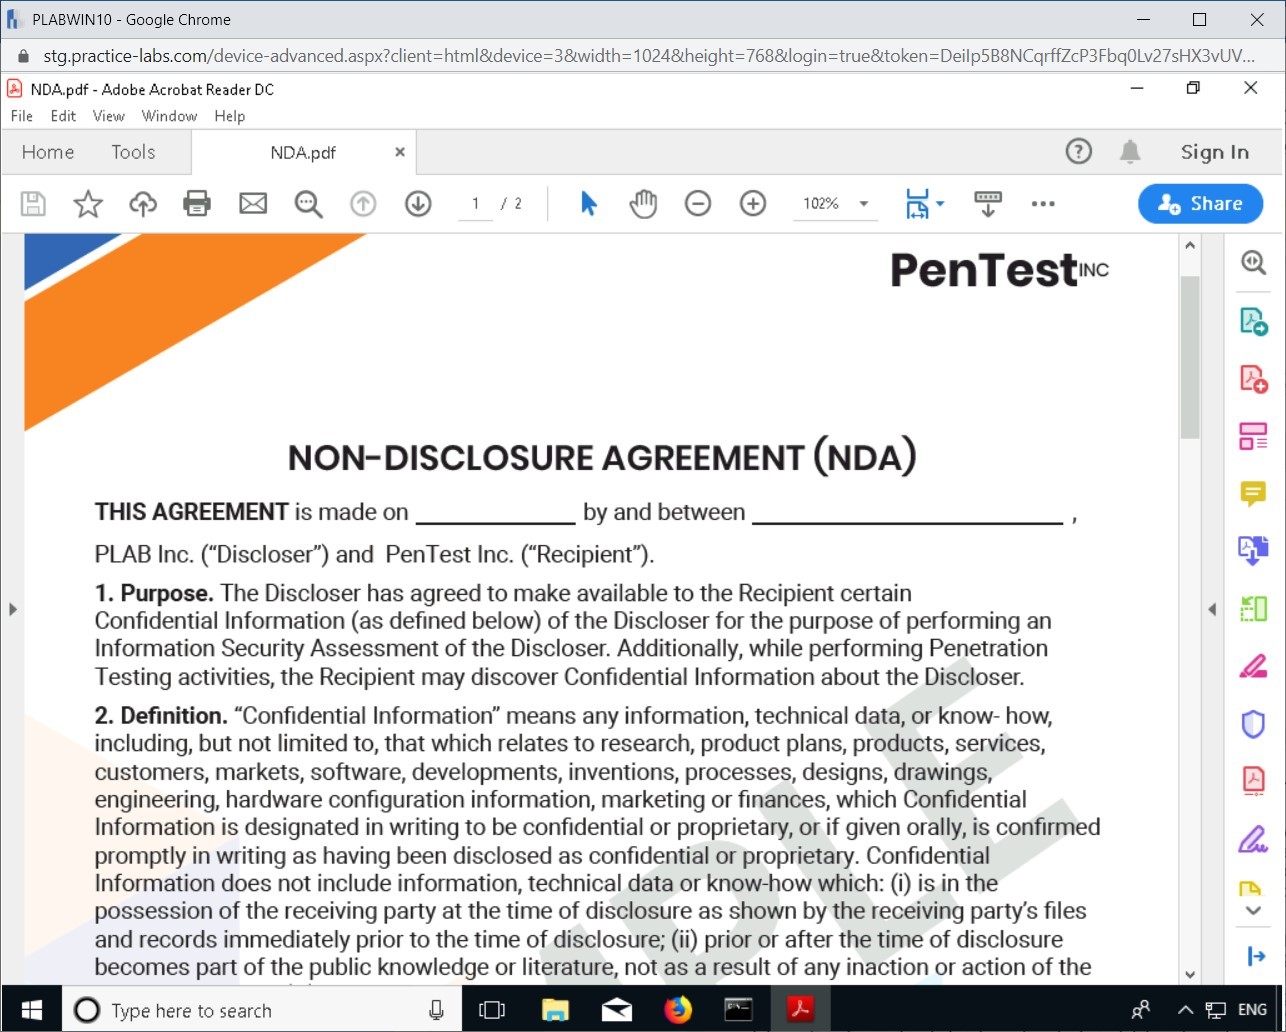
- Non-disclosure agreement (NDA) - A non-disclosure agreement is signed between both parties, where each of the parties is defined clearly. It mandates that the confidential information must not be shared with a third-party.
To download sample penetration testing agreements, perform the following steps:
Step 1
Connect to PLABWIN10.
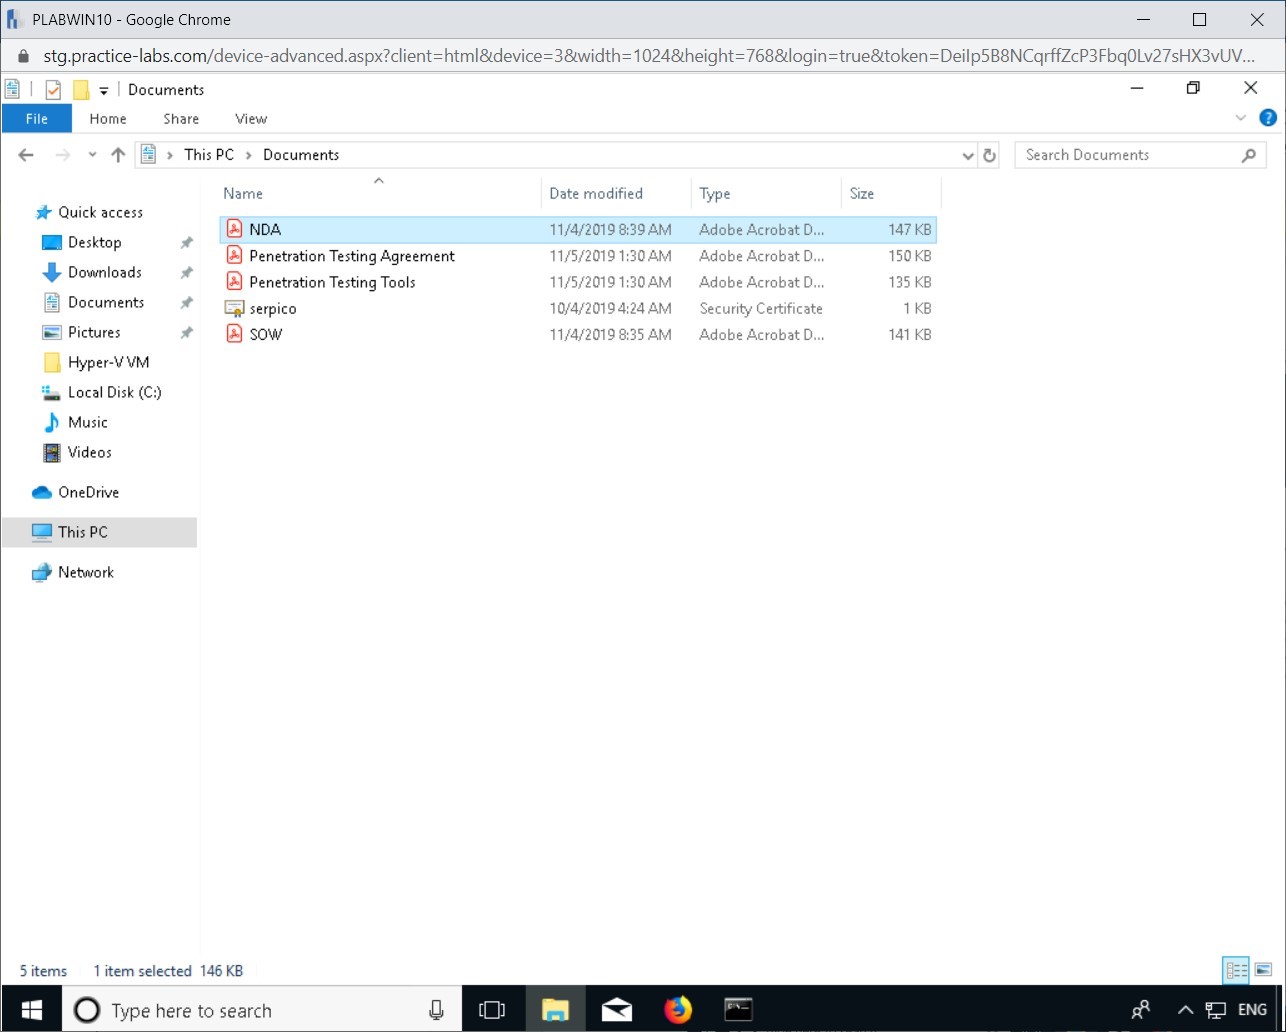
Note: If an AVG AntiVirus Free window opens, close it.Click File Explorer on the Task Bar.
Step 2
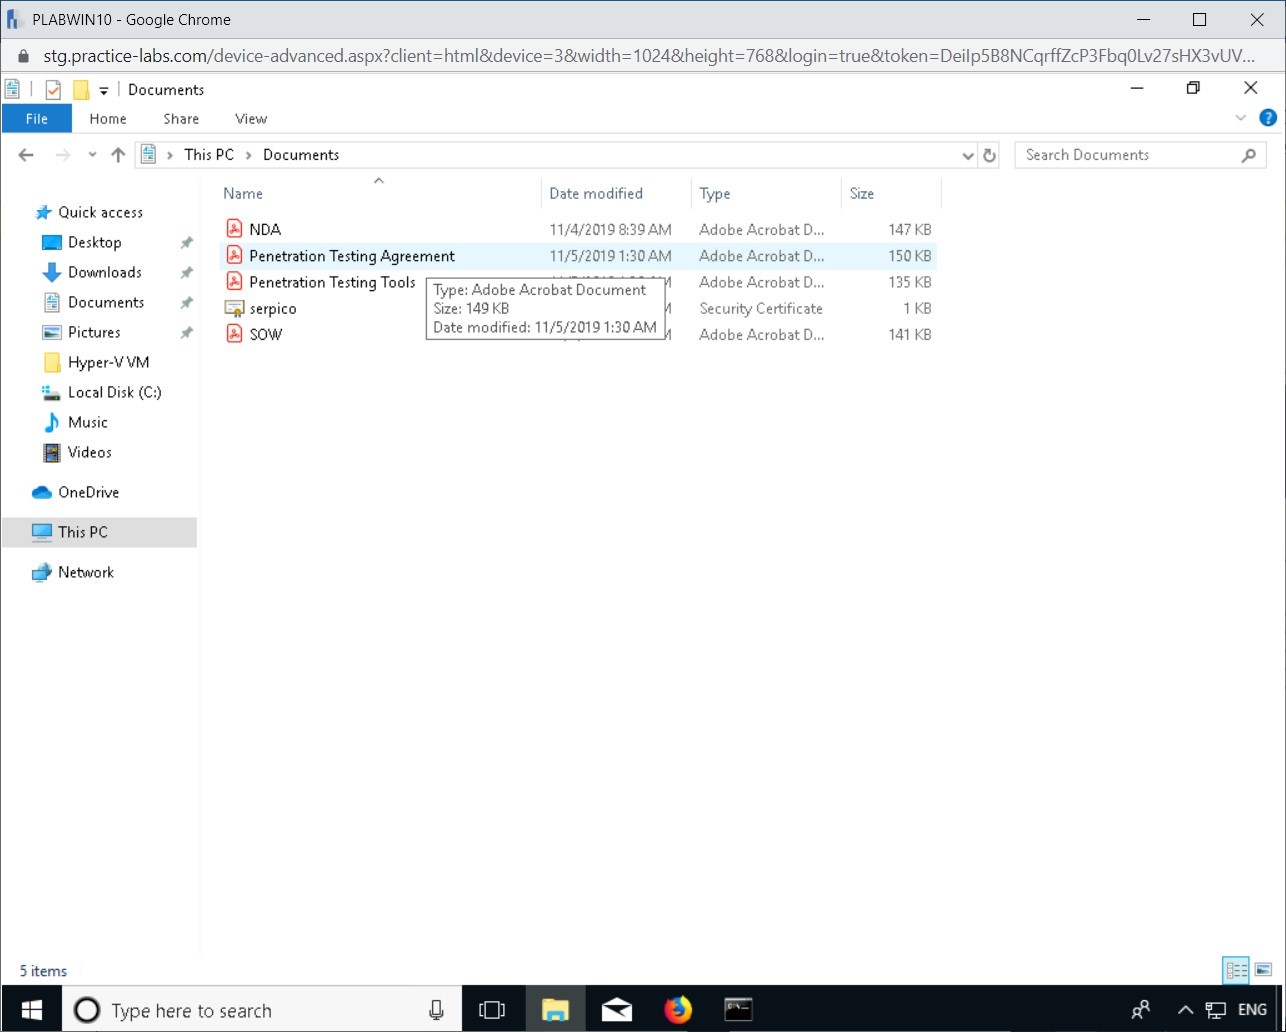
In the File Explorer window, click Documents > Penetration Testing Agreement.
Step 3
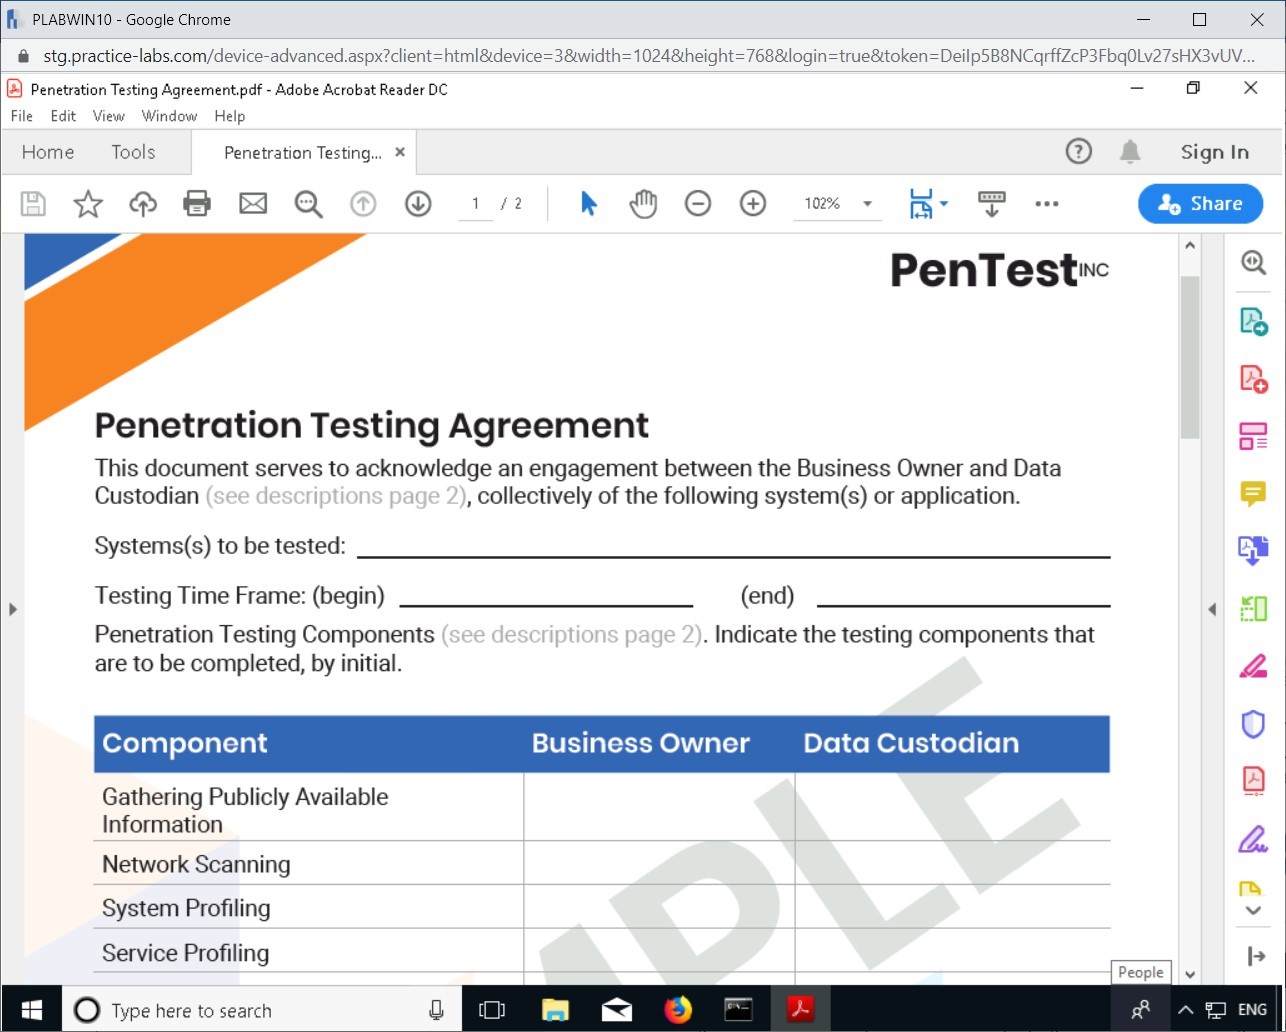
Browse through the document.
The document shown below is an Agreement between the pen tester and the company. This agreement has to be completed before penetration testing can be conducted. After the Penetration testing agreement is signed by both parties, the Rules of Engagement document will define how the testing will be conducted.
Close the Penetration Testing Agreement document.
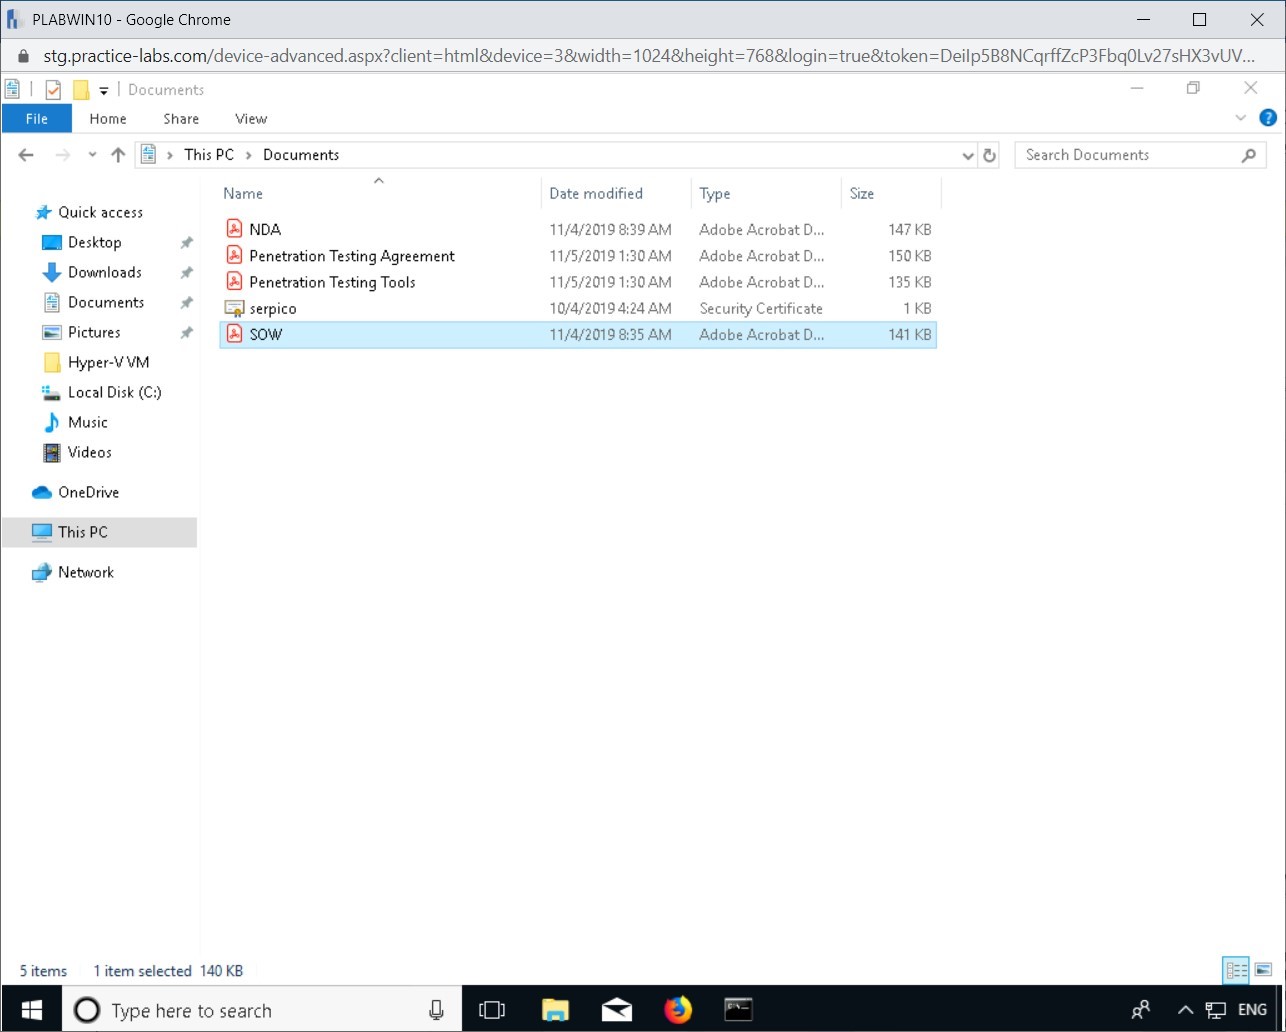
Step 4
You are now in the Documents folder. Click on the SOW document.
Step 5
Browse through the sample SOW document.
Close the SOW document.
Step 6
Now click on the NDA document.
Step 7
Browse through the sample NDA Document.
Close all open windows.
The Rules of Engagement
The Rules of Engagement document defines how penetration testing will be conducted. Before writing the Rules of Engagement document, the pentester first needs to determine the type of penetration testing that needs to be performed. Some of the key components of the Rules of Engagement document are:
Timeline
The timeline section should define the duration of penetration testing. It should also include the time when penetration testing will be conducted. For example, an organization would not want a web server to be impacted during peak hours. In such a scenario, the penetration testing should be scheduled at the time when there is no load on the webserver.
Targets
The targets need to be clearly defined. This section must include the following:
- Locations
- Systems
- Applications
- Third-party service providers (if any), such as Internet service providers (ISPs), Software as a Service (SaaS) providers
Any type of inclusions and exclusions must also be defined in this section.
Data Handling
Data handling requirements must be included as a section, which should clearly state how the confidential data must be handled during the penetration testing. It should also mention what needs to be done with the penetration testing data and its results after the engagement is contractually over.
Resources
The resources section must mention the resources that are going to participate in penetration testing. Depending on the type of penetration testing performed, this section should include a list of resources. For example, if it is a black box penetration testing, then there is no time required from internal teams other than sharing the initial information, such as IP addresses. However, in the case of white box penetration testing, more time is required from various internal stakeholders.
Target Behaviors
This section must include the behavior output from the targets during penetration testing. For example, what should the pentester be expecting the firewall to do when you perform an attack on it.
Communication Methods
This section defines the method of communication and its timeline. Depending upon the length of the engagement, the communication timeline can be defined. For example, if it is a one-month long test, then weekly communication can work. However, if the test is going to last only one week, the pentester can simply provide the results after he or she is done with the test.
Single Point of Contact (SPOC)
This section includes the person who initially engaged the pentester in this activity and is also the contact point for any issue that may arise during the penetration testing. From the penetration testing, one of the pentester is also designated as a SPOC who connects with the client SPOC in case any issue arises.
Escalation Channel
An escalation channel must be defined in the Rules of Engagement document. An escalation could be related to finding something, such as a critical vulnerability, that needs immediate attention. The pentester should know whom to approach. Ideally, a decision-maker should be on the escalation channel.
Legal Concerns
Any legal concern related to penetration testing must be clearly defined. It is important because a legal concern can impact not only the organization but also the pentester who is performing the testing.
Disclaimers
The penetration testing plan must include the point-in-time assessment clause, which states that penetration testing and its results have a limited lifecycle. Penetration testing is performed on a specific network, servers, and application configuration. If there is a change in the smallest configuration, it could nullify the results of the penetration testing.
The disclaimers can also include the comprehensiveness clause, which should include the time frame for the validity of the results. Another disclaimer can also state every vulnerability in the network, servers, or applications that may be found.
Basic Guidelines for Planning Penetration Testing
Before proceeding with the penetration testing, you should consider the following guidelines:
- Understand your audience - each audience may have a different set of expectations, and therefore, it is critical to understand them.
- Identify the resources for penetration testing - you need to have them ready before proceeding with the testing.
- Identify the technical constraints beforehand, such as restricted access to the systems or conducting a test against a critical production server.
- Define and understand the Rules of Engagement.
- Identify the Disclaimers.
SOW, MSA and NDA
Other than the penetration testing skills, the pentester must know about the legal context. There are several documents that you need to know before you sign up for a penetration testing task. You must know the differences between each of these documents so that you know what you are signing. These documents are the Statement of Work (SOW), Master Service Agreement (MSA), and Non-disclosure Agreement (NDA). Each organization that uses these documents can have their own formats of these documents.
Master Service Agreement (MSA)
An MSA is used typically when two parties intend to work for a long time or over multiple projects. In such a scenario, an MSA is created that broadly lists the work to be done over a period of time. The total cost of the work is defined. It is created before a Statement of Work (SOW) is created.
Statement of Work (SOW)
An SOW is specific to an assignment that you may take up as a pentester. An SOW is created based on a set of tasks that are part of the MSA. The SOW details the following information:
- Purpose of the work being assigned to the pentester
- The scope of the assignment
- Tasks to be performed as part of the scope
- Milestones for various phases of the assignment
- The expected deliverables at the end of the assignment
- The timeline or schedule for the assignment
- Total amount to be paid to the pentester
Non-disclosure Agreement (NDA)
A non-disclosure agreement is signed between both parties, where each of the parties is defined clearly. It mandates that the confidential information must not be shared with a third-party. An NDA focuses on the following aspects:
- Definition of Confidential Information
- Purpose of the NDA
- No Disclosure clause mentioning that the recipient should protect the information as they protect their own
- Duration of the agreement
- Severability
- Exclusions from the confidential information
The intent of an NDA is simple - the owner of the information needs a written surety from the recipient that the information will not be shared with an unauthorized party.
Scope Creep
The SOW contains the scope of penetration testing. In the scope, there are a specific set of services that are being offered, and testing is limited to a set of servers, network, or applications. There are chances that during the testing, the client may request to test an additional server, service, or application. It can also happen that you locate a service that needs to be tested but is not part of the original scope. This is known as scope creep. When a scope creep occurs, the pentester can either proceed with the original choice or provide a new estimate to the receiving party.
Scheduling a Penetration Test
A clear timeline for penetration testing must be defined. It should also include, for one or many targets, when the testing needs to take place. For example, on a live public-facing web server, it would be a bad idea to perform a test during the day when the load is high on the webserver. If you attempt a vulnerability scan or run an attack, such as Distributed Denial of Service (DDoS) on the webserver, it will not be able to provide services to legitimate users. Therefore, scheduling penetration testing is a critical task, and time of the test must be thought through.
Legal Restrictions - Local and National Government
There are certain legal restrictions that can impact penetration testing. These are:
- Export Restrictions: Certain export restrictions may restrict the pentester to obtain a particular software or service. For example, the United States does not permit the export of certain software or services to certain countries. Similar to the United States, other countries may also impose the same restrictions.
- Local and National Governmental Restrictions: The local or national governmental restrictions may prevent the pentester from performing penetration testing. Certain activities like Denial of Service (DoS) might be prohibited to be performed as part of a penetration test in a production environment.
- Corporate Policies: Mainly medium and large organizations have corporate security policies that can include a penetration testing policy. If this exists within the organization, it must be shared with the pentester to understand that what should or should not be done. There can be components in the corporate policy that can impact the penetration testing engagement. For example, an organization, due to a compliance assessment, has vulnerability assessment and penetration testing documents. If these are shared with the pentester, then the entire engagement is likely to change because the pentester does not have to define his or her penetration testing documents. The existing documents can be re-used and align the penetration testing to the compliance assessment.
Scopes in an Engagement
Scoping defines the boundaries of engagement. Both parties agree on the scope and the tasks that are within the scope. Anything that is outside the scope is considered to be out of the scope. Later, the scope becomes the basis for creating a Statement of Work (SoW).
While scoping the depth of the penetration test, you must consider the following:
- Type of test to be performed
- Targets - internal or external
- Targets - onsite or offsite
- Hosted internally or externally to a third-party provider
- Hosted as infrastructure or cloud, such as SaaS
- Applications and services that are running
- Databases
This is not an exhaustive list, but some of the key pointers must be considered while defining the scope. The larger the scope, the more the time and resources it will require to complete the penetration test. It is quite obvious that with the larger scope, the cost of the test also goes up. Therefore, the organization, if working with a fixed budget, may decide to limit the scope by focusing only on a few targets.
Discuss End Goals and Deliverables
Before the scoping can be defined, the organization must identify the reason for the penetration testing to take place. For example, is the penetration testing required to meet a compliance standard, or is it simply to identify vulnerabilities and exploit in network security. There could be various reasons due to which penetration testing is required. However, the organization must have the reason clearly defined.
The end goal is to find the vulnerabilities, exploit them, and then close them as required. Penetration testing report is the final deliverable. It should highlight the following:
- Type of test performed
- Vulnerabilities that are identified
- Vulnerabilities that are exploited
- Mitigation suggested
It needs to include the Executive Summary section that should explain the risk and business impact of the security concerns as discovered in penetration testing. This section should be non-technical and in simple English.
Needless to state that the report should be actionable and should have included items that need to be closed after the penetration test.
Prepare for Penetration Test Engagement
After scoping the penetration testing and planning the engagement with the client, there are various activities that need to be performed. These activities are crucial to streamline the overall penetration testing project and, therefore, must be planned carefully. Some of the key activities that must be performed before the penetration test are preparing the team, activity assignment, and contingency planning.
In this exercise, you will learn about preparation for penetration testing engagement.
Learning Outcomes
After completing this exercise, you will be able to:
- Know key points to prepare a team for penetration testing
- Explain Data Collection and Documentation
- Generate a Penetration Test Report with Serpico
- Explain Activity Assignment and Sequencing, Contingency Planning, Escalation Paths and Communications
Your Devices
You will be using the following device in this lab. Please power on this device.
- PLABWIN10 - (Windows 10 - Domain Member)

Team Preparation
Preparing the team for penetration testing is a critical task. The correct skill set must be selected for the penetration test. For example, in a live penetration testing for a large client, you would not want to get a fresher involved in penetration testing. It would be ideal to have a more experienced team member front-end the entire project. There are certain key pointers that must be followed when preparing the team for penetration testing:
- The team must be clear of the scope of penetration testing. The team members must ensure that they know in-scope and out of scope activities. If there are certain limitations that the client has made you aware of, then the team members must be informed of them.
- Each team member must be clear with the end objective of penetration testing. Each one of them should know what they need to achieve, and every team member should have a common goal to achieve the end objective.
- The end objective, at the end of the penetration testing, must be achieved and translated into the actionable report.
- Ensure the team documents all actions and outcomes. The documents must be available in a central repository and must be accessible to the team members.
- The escalation path must be clear and known to the team members.
- The team must have authorization for the penetration test.
- The immediate supervisor’s contact information must be available with each one of the team members. A team member should be able to reach out to the other team members in case of any trouble.
- The team must be capable of restoring the original environment in case anything goes wrong during penetration testing. The team lead or supervisor must be made aware of anything that goes wrong.
Similar to preparing the team for penetration testing, the client must also be prepared for this task. There are certain guidelines that you should adhere to when preparing the client for this task:
- You must have the technical contact point of information from the client side. This information must be available throughout the lifecycle of penetration testing.
- You must ensure that the client has appraised the internal IT and Security teams about penetration testing.
- You must inform the client to take the necessary backups of the critical systems. In case any system fails during the penetration testing, the client must have the required backups to restore the system at the earliest.
- You need to ensure that the client does not make security control changes just before the penetration testing. If this happens, then you will not be able to provide a true picture of their environment. The idea is to test the current IT environment in the as-is state.
Data Collection and Documentation
Data collection and documentation is a critical task in penetration testing. There are some guidelines that one must follow:
- Every activity and its outcome must be documented.
- The documentation must be stored in a central repository with access to all team members.
- The penetration tests must be aligned to the defined objectives, and each test must meet the client requirements.
- Each piece of documentation must be written in a clear and concise manner.
- Each and every step to perform a task must be captured properly. This is critical because if the results or outcomes need to be reproduced, you should be able to do it with the steps.
- Only focus on documenting the in-scope activities. Anything that is out of scope must be escalated to the authorized person in the penetration testing team. However, you must not capture any steps or outcome of the out of scope activity.
- You should focus on capturing every detail in a test. More information captured in a test is likely to give insights.
- You should ensure that the original test data and documents are preserved securely.
Task 1 - Generate a Penetration Test Report with Serpico
In this task, a penetration report will be created using the Serpico web application. Default templates will be used to generate the report. These templates can be modified according to the needs of the penetration tester and saved.
Step 1
Connect to PLABWIN10. Restore the FireFox web browser from the Taskbar.
Note: If the Serpico application doesn’t open in Firefox, please repeat Exercise 2, Task 1, before proceeding with this task.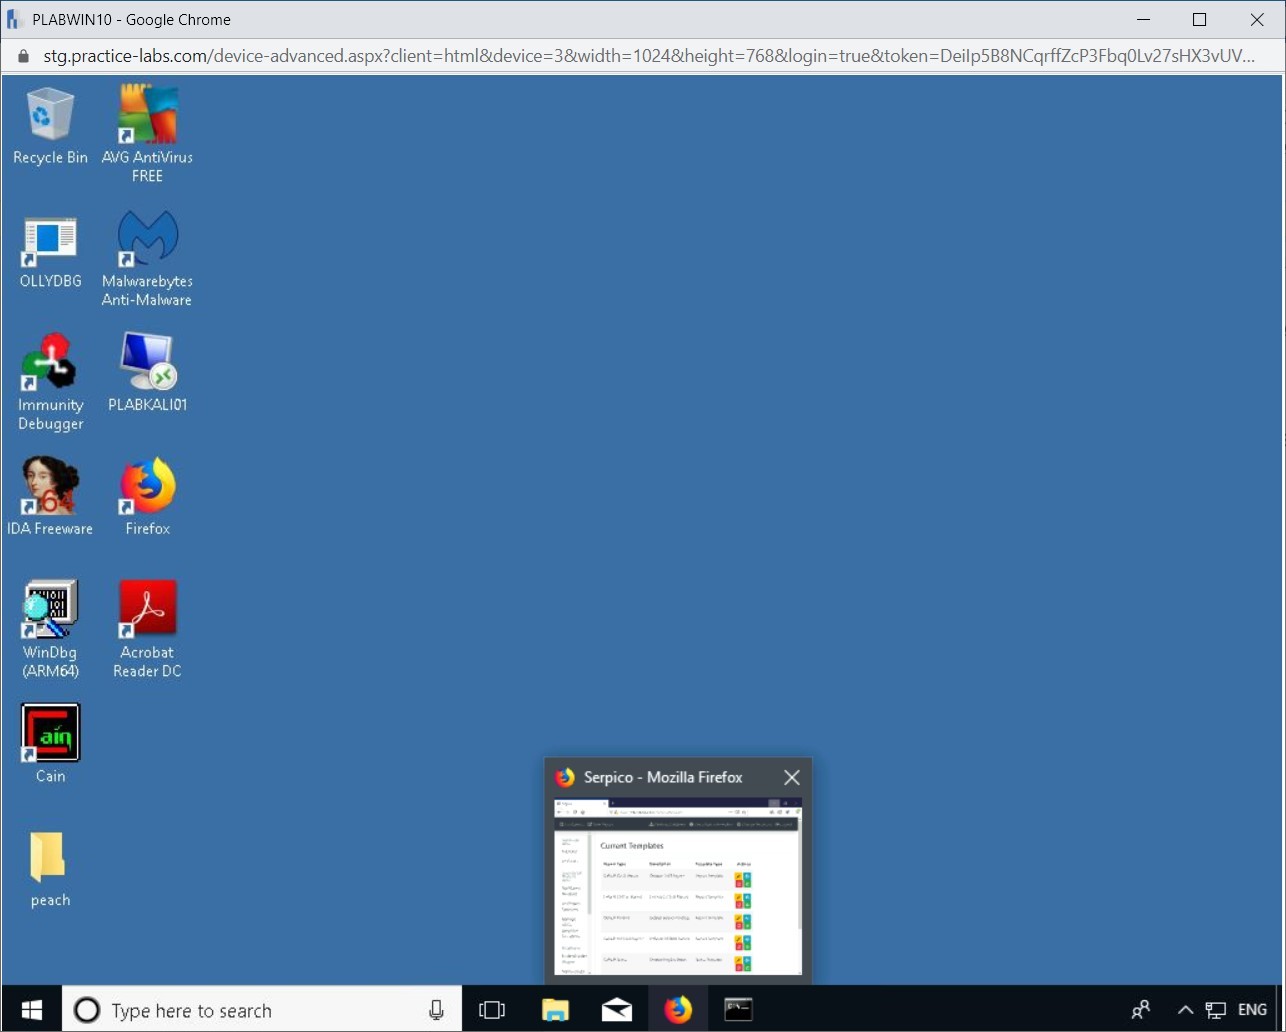
Step 2
Select New Report from the top pane.

Step 3
The Create Report page is displayed.
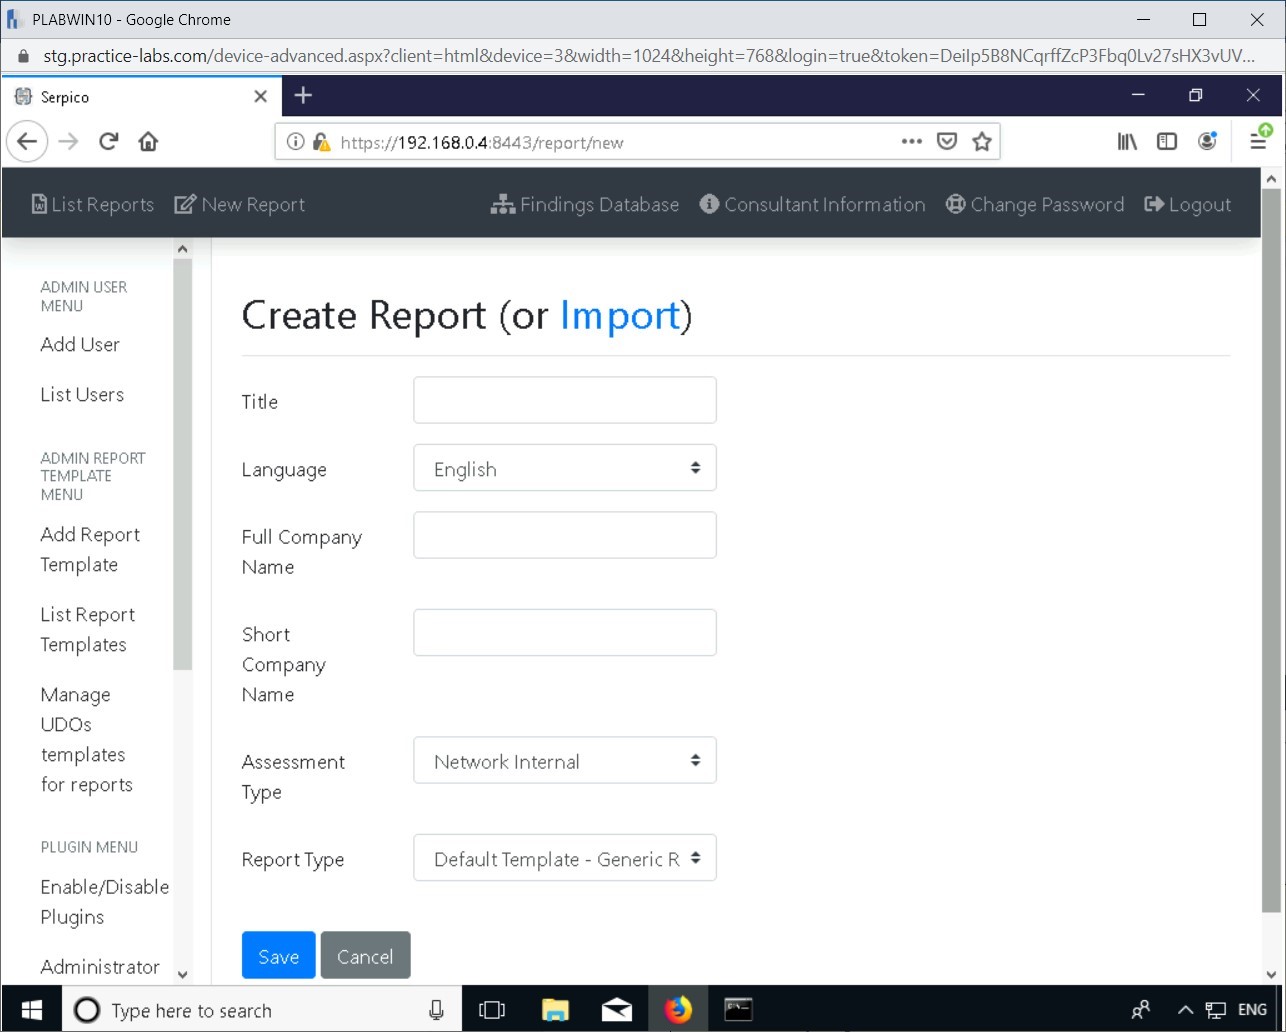
Step 4
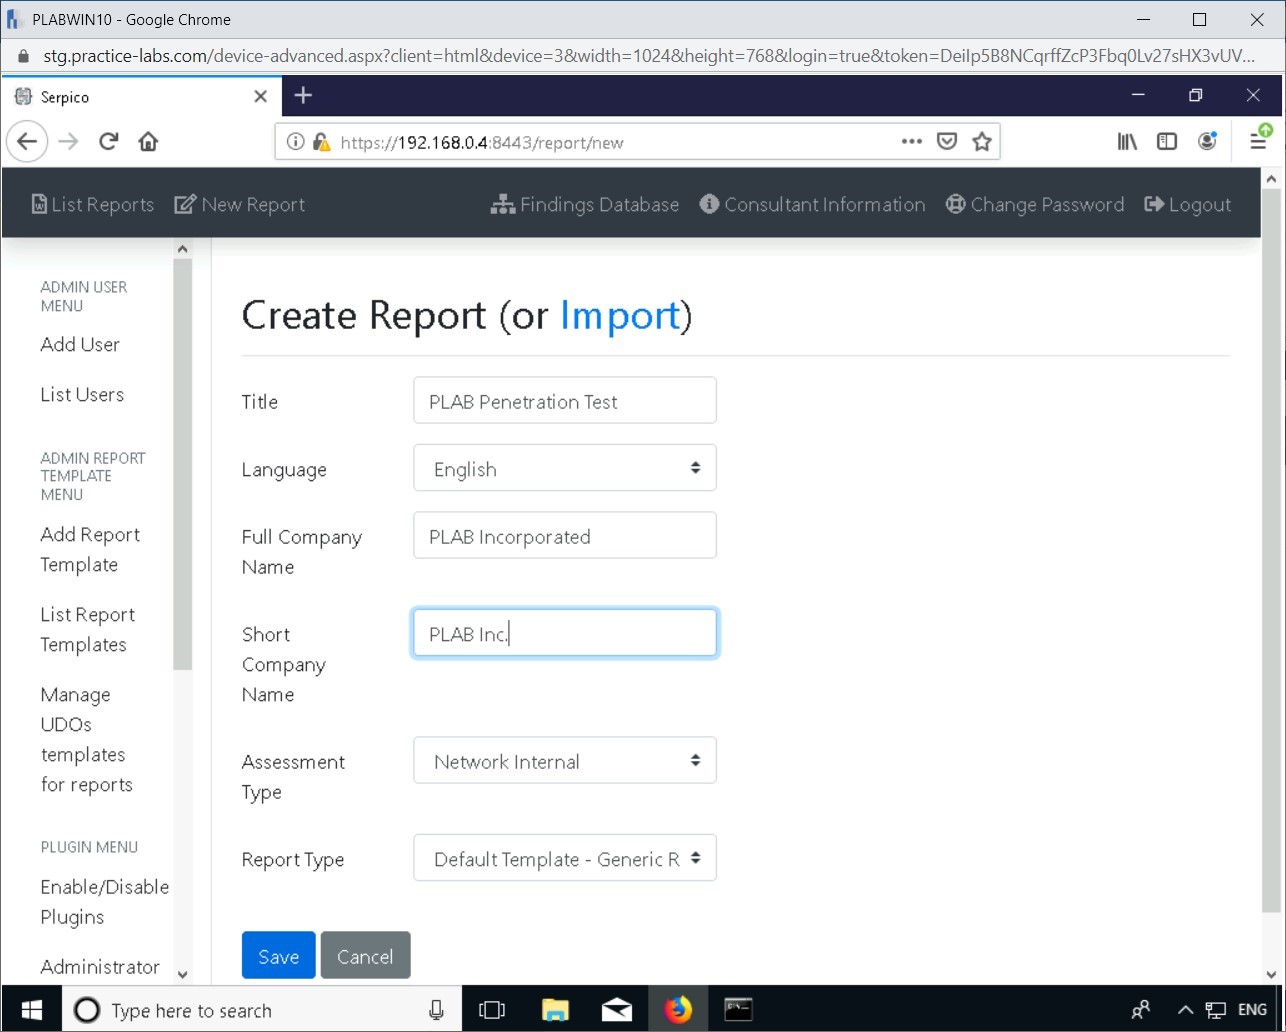
Enter the following information and click Save:
Title: PLAB Penetration Test
Language: English
Full Company Name: PLAB Incorporated
Short Company Name: PLAB Inc.
Assessment Type: Network Internal
Report Type: Default Template - Generic Risk Scoring
Step 5
Click Add Findings from Templates in the left pane.
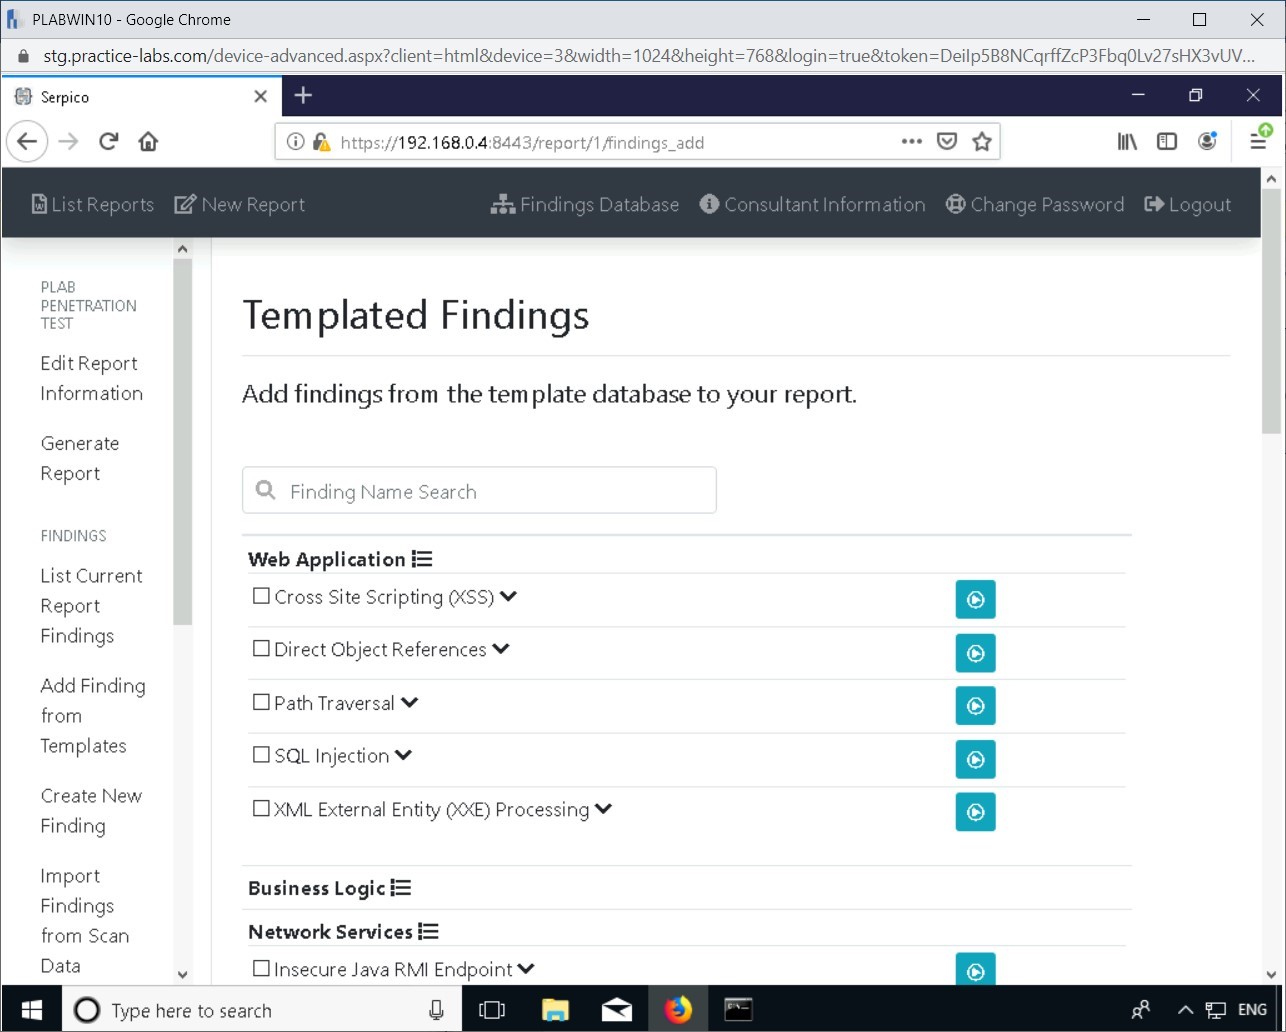
Step 6
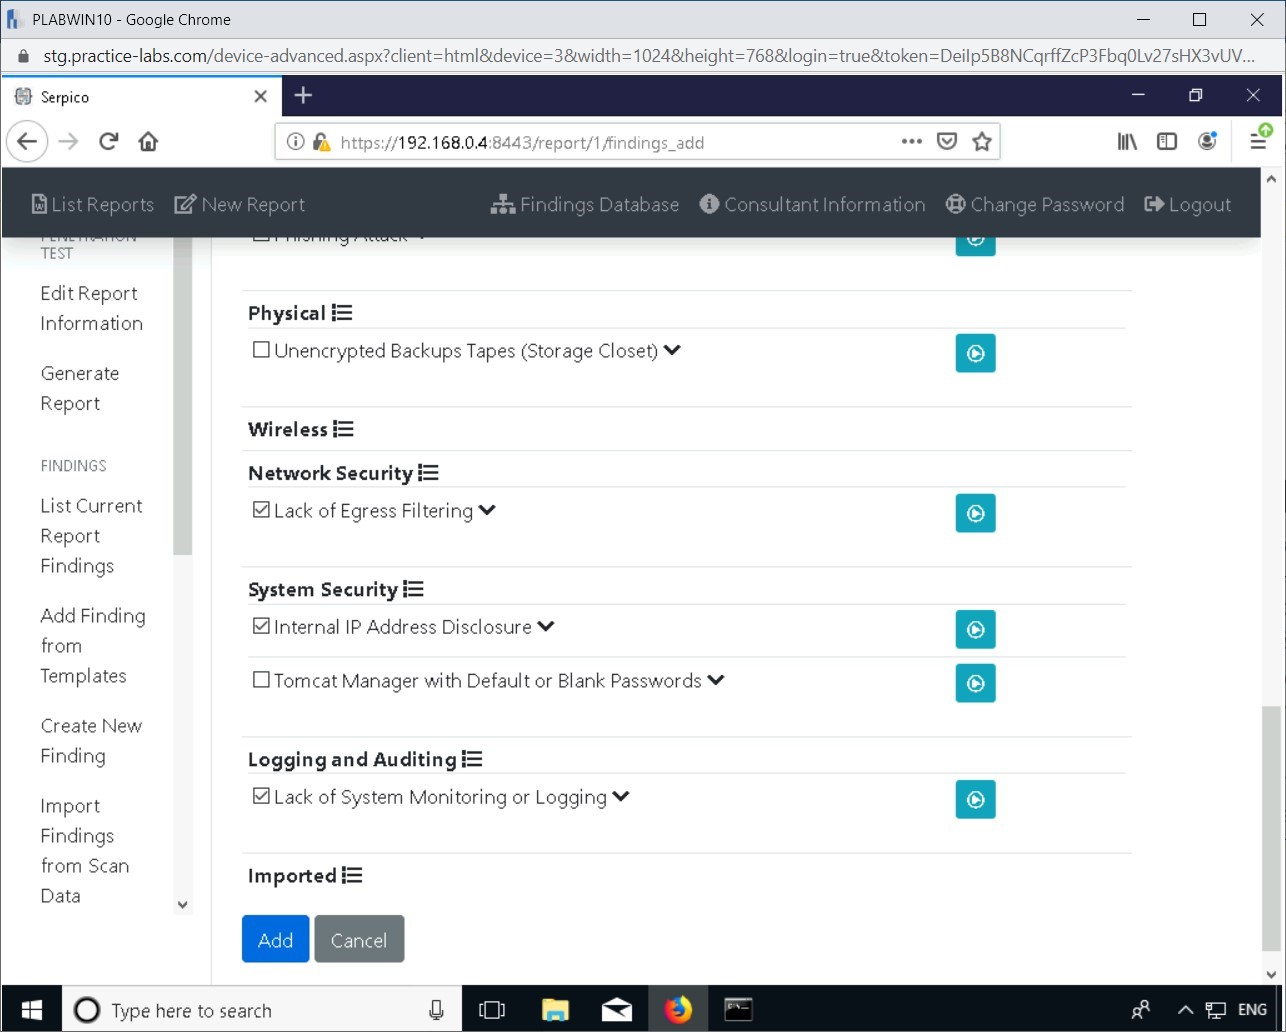
Scroll down on the website and tick the following:
- Lack of Egress Filtering
- Internal IP Address Disclosure
- Lack of System Monitoring or Logging
Click Add.
Internal IP Address Disclosure: When an internal IP address is disclosed, it may cause vulnerabilities on the network to be discovered, or it can be used for reconnaissance in the network.
Lack of System Monitoring or Logging: This finding indicates that the logging of the system is not enabled, which can lead to possible system vulnerabilities.
Step 7
In the Current Findings window next to Lack of System Monitoring or Logging, click Edit.
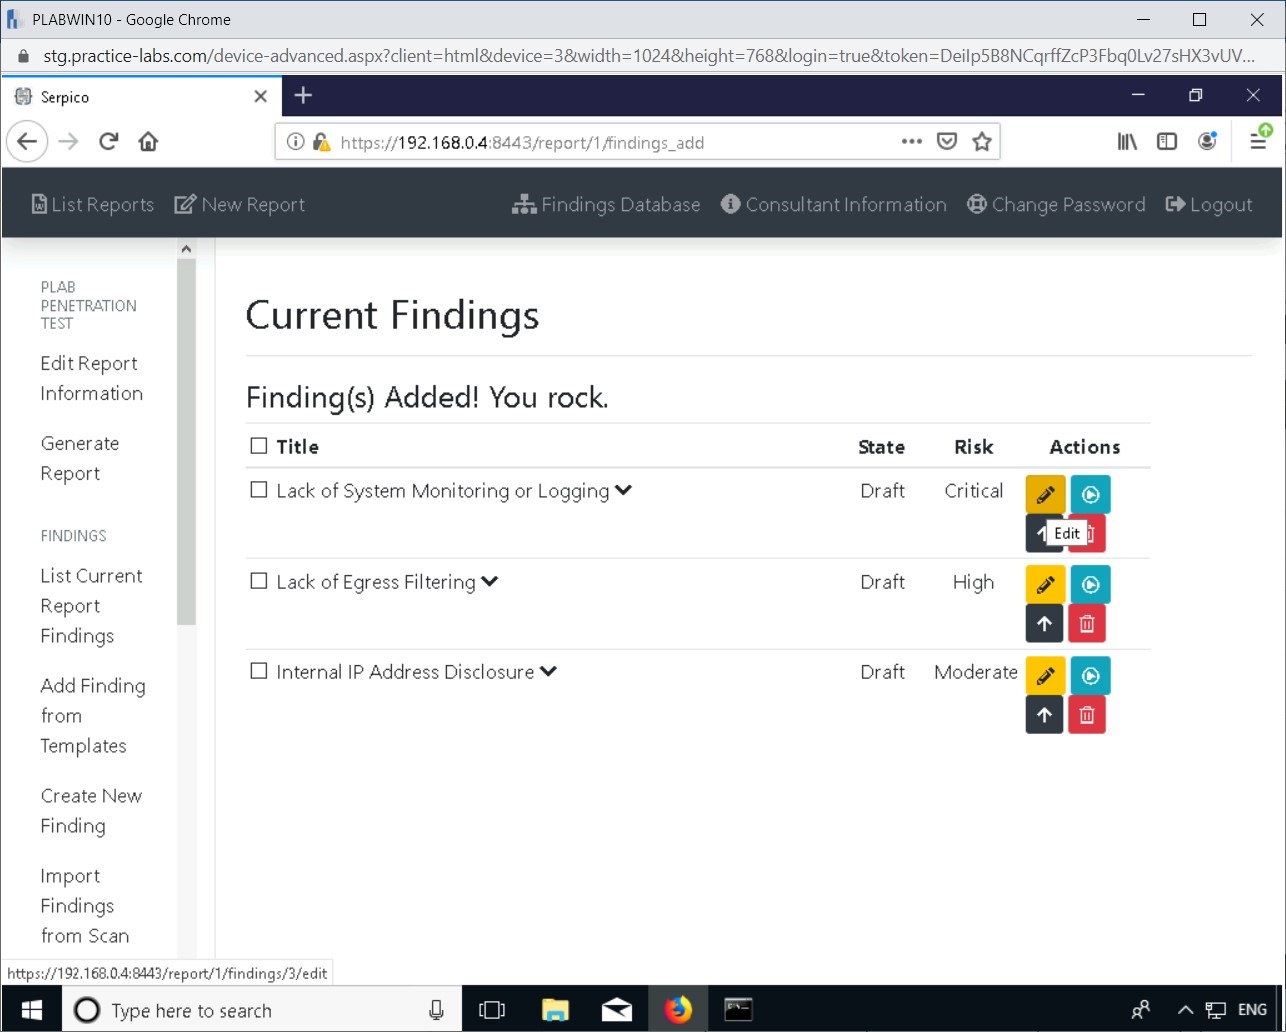
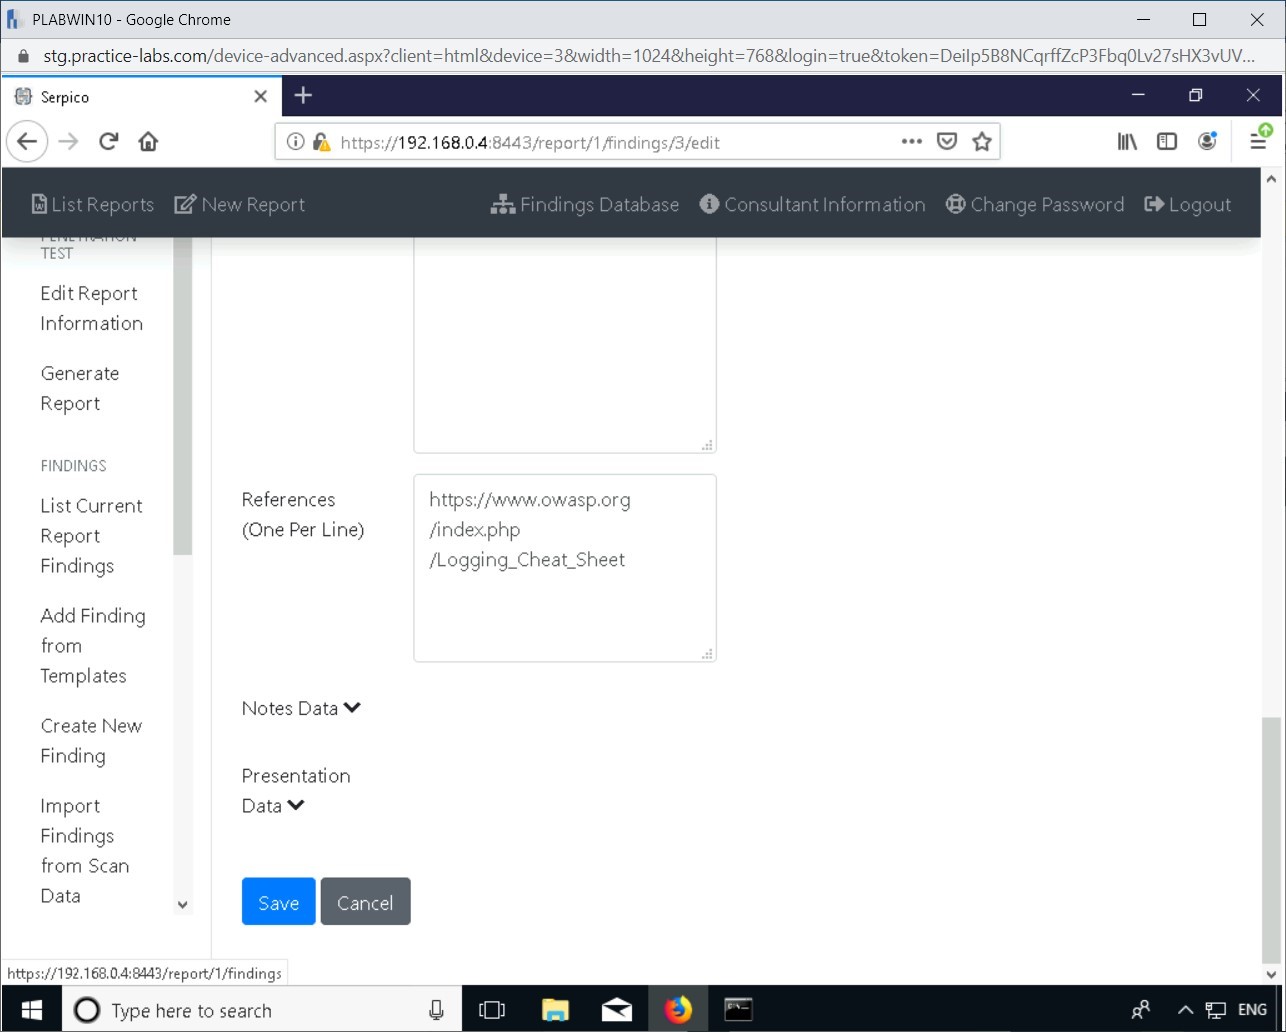
Step 8
A description of the specific finding is displayed. There are additional fields in the template where more information about the findings can be entered.
Scroll to the bottom of the page and click Cancel.
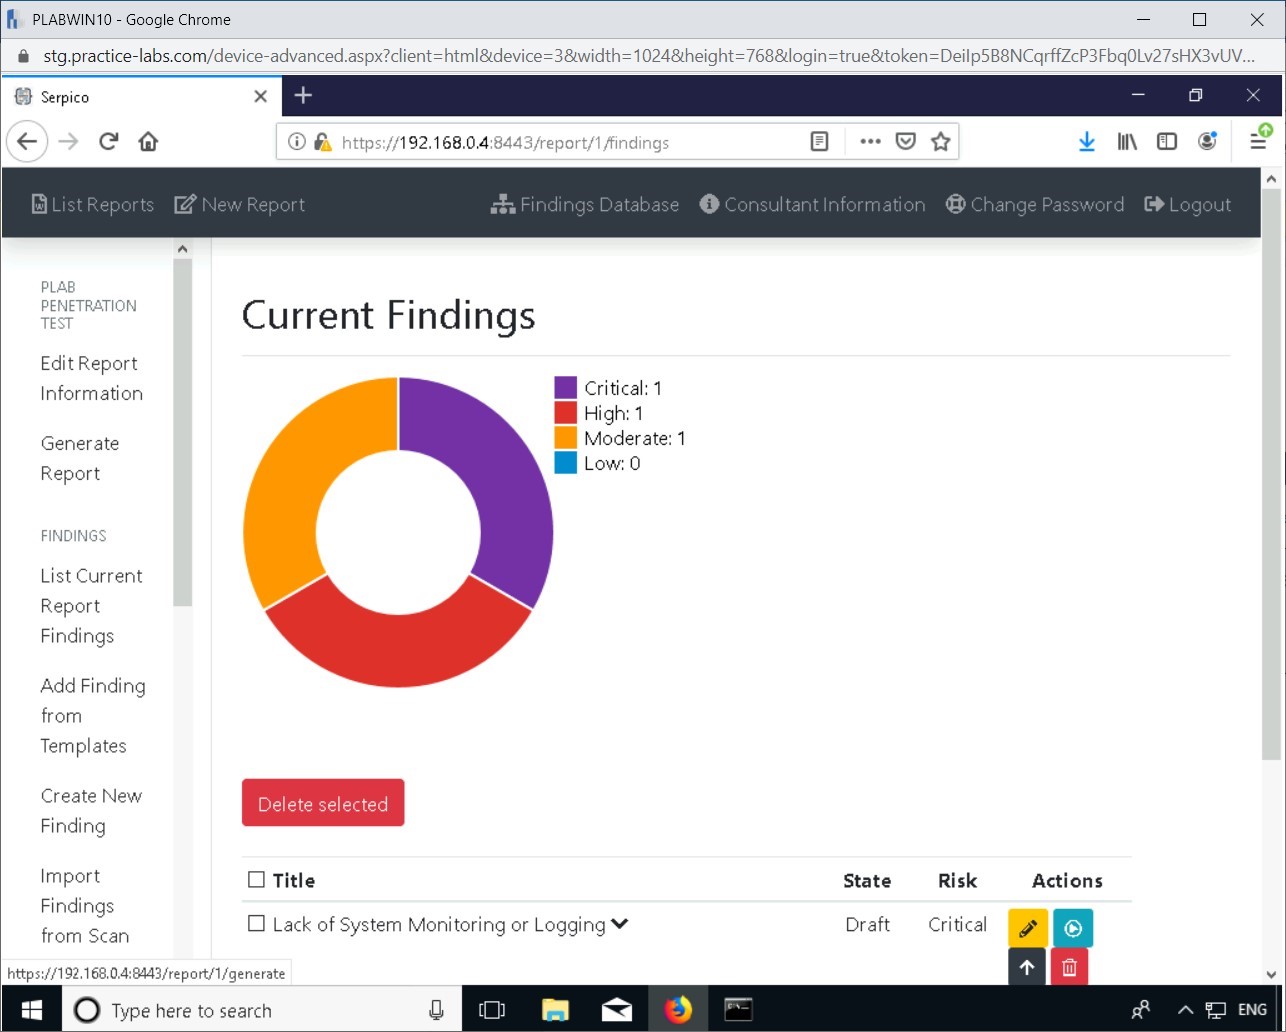
Step 9
Click Generate Report in the left pane.
Step 10
In the Opening PLAB Penetration Test.docx pop-up window, click OK.
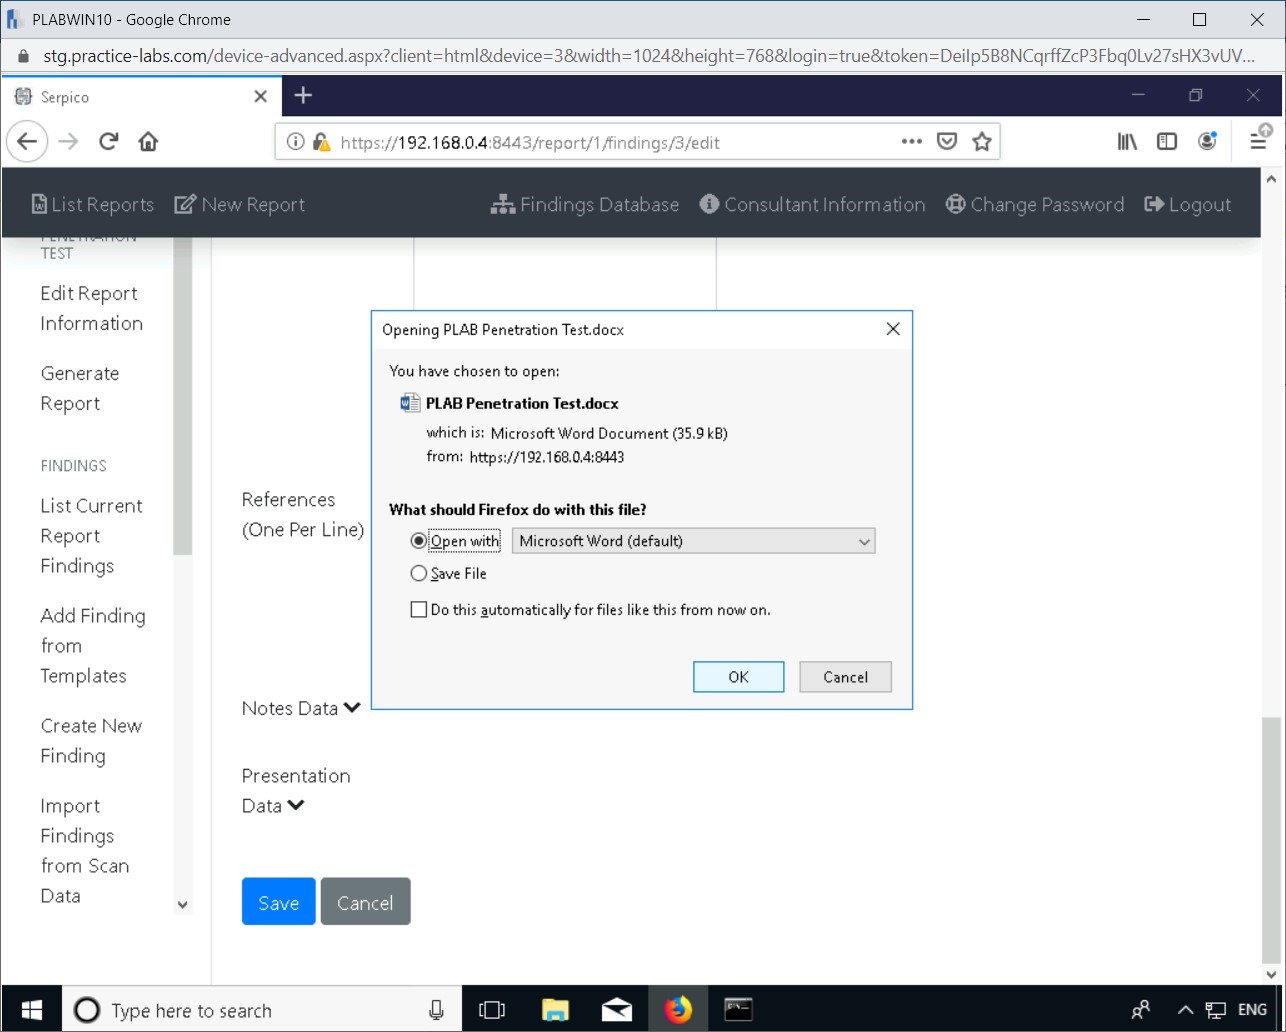
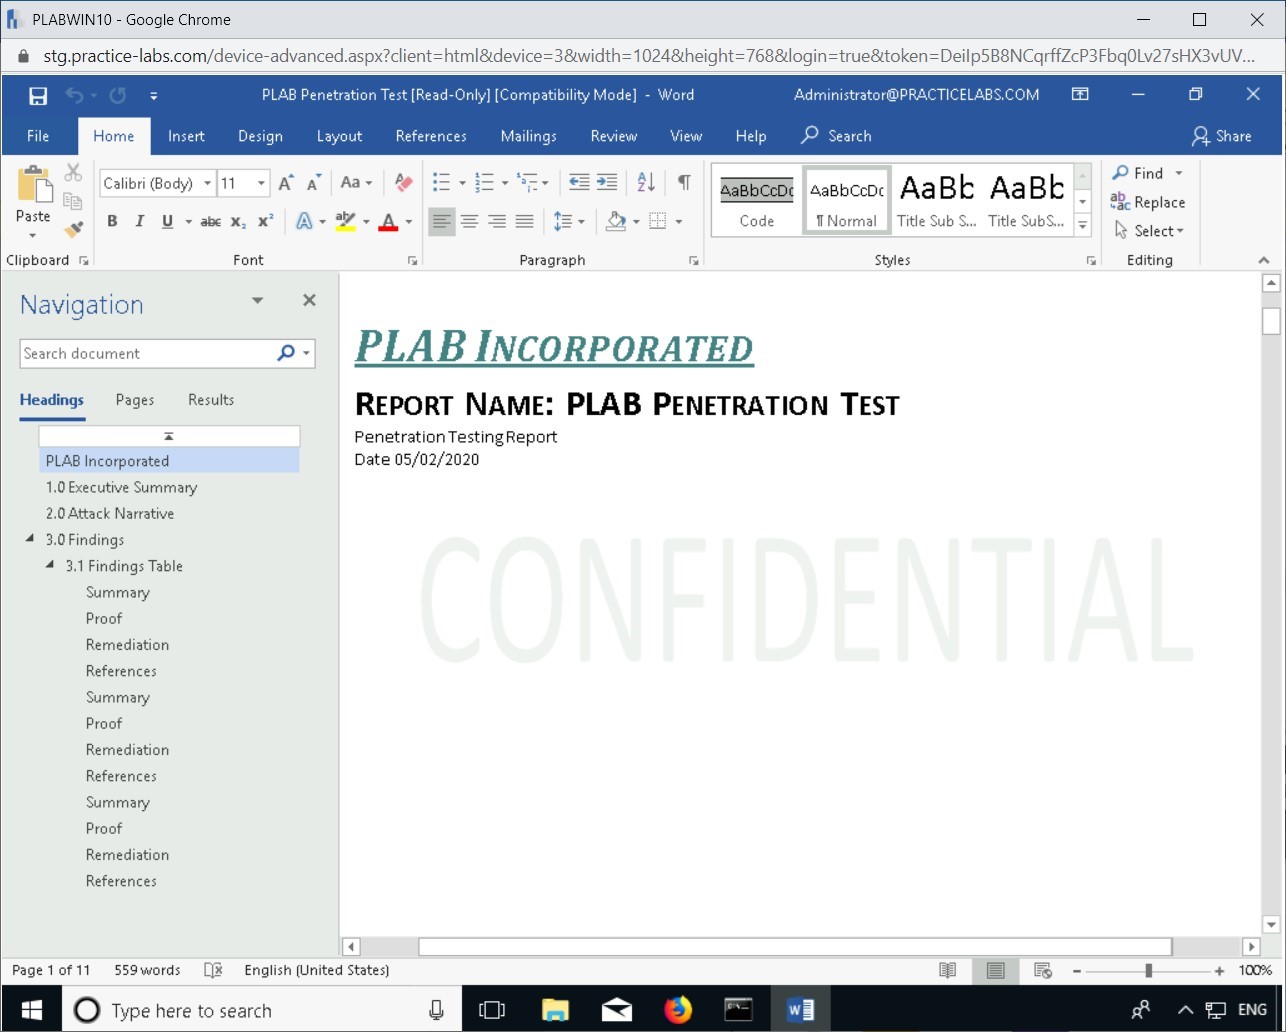
Step 11
A word document is generated with the templates and reflects the information provided. This document can be further modified according to the needs of the penetration testing company, or according to the penetration test that was conducted.
Close the PLAB Penetration Test.docx Word document.
Activity Assignment and Sequencing
Penetration testing is performed in a series of steps, which must be followed in a sequence. The typical sequence of steps are as follows:
- Passive reconnaissance
- Active reconnaissance
- Vulnerability assessment
- Penetration testing
- Exploitation
- Post exploitation
Some of these steps will require more time than others. For example, social engineering is dependent on users who have to fall prey. A user may respond quickly or may not respond at all. The results will vary depending on the user’s response.
You should also perform the non-technical tests in the initial phases of penetration testing. These can be time-consuming, and therefore, it is better to conclude them at the early stage.
Contingency Planning
Penetration testing can be unpredictable. Therefore, you must carefully plan the penetration testing. In the scope, the target systems must be identified. However, there can be a rippling effect on a system that was not in the scope, and therefore, the client must be prepared with the latest backups of all critical systems. Restoring the system can be:
- Simple enough as restarting a service or rebooting the system
- Tedious enough to restore the entire system using a snapshot or the entire backup
In either of the situation, the client must be prepared for contingency planning.
Escalation Paths and Communications
Just like any project, escalation paths are necessary for a penetration testing project. The client and the penetration testing team must have the escalation path defined and shared with the other party.
There must be a designated individual in the penetration testing team who is authorized to make a decision. The client must communicate with the designated individual only. This also helps the team members of the penetration testing team not to make their own critical decisions. In case of an emergency, such as a system crashing during the penetration testing, the penetration testing team must inform the designated individual who, in turn, informs the client.
Only the authorized single-point-of-contacts (SPOCs) from both sides should communicate with each other and escalate things as necessary. The client SPOC should establish a process of communicating with the relevant stakeholders as the penetration testing starts and progresses.
On the other hand, the SPOC from the penetration testing team must ensure that there is regular communication amongst the team members, and each one of them regularly informs the SPOC about the task progress.
Starting the Penetration Test
After all the necessary arrangements have been made, the scope has been defined, and the team has been prepared, it is time to go live with the penetration testing.
You can choose to inform the date and time to the client or choose to start in the stealth mode so that you can get the actual results as an attacker would have gotten.
Even though there are steps to be followed after starting the penetration testing, you can choose to perform certain tasks, such as passive reconnaissance and information gathering before you go live.
Keep all devices that you have powered on in their current state and proceed to the review section.
Comments
Post a Comment