Perfomig vuln scanning
Perform Enumeration
Enumeration is part of active reconnaissance. Using Enumeration, you can find a lot of details about a device, server, or service. Enumeration can be used to find information, such as:
- Operating system information, such as version
- DNS information
- SNMP information
- Users and groups
- Password hashes and passwords
- Hostnames
- Domain information
- Running services and process
The information generated in enumeration can be helpful in exploiting a service, server, or a device.
In this exercise, you will learn about enumeration.
Learning Outcomes
After completing this exercise, you will be able to:
- Perform DNS Enumeration
- Switch Off the Windows Firewall on PLABWIN810
- Perform Windows Host Enumeration Using Rpcclient
- Perform Linux Host Enumeration using Nmap
- Enumerate a Web Applications using Wafw00f
- Enumerate a Web server using HTTPrint
- Perform Website Enumeration using Nmap
- Perform Server Message Block (SMB) Enumeration
Your Devices
You will be using the following devices in this lab. Please power these on now.
- PLABDC01 - (Windows Server 2019 - Domain Server)
- PLABKALI01 - (Kali 2019.2 - Linux Kali)
- PLABWIN10 - (Windows 10 - Domain Member)
- PLABWIN810 - (Windows 8.1 - Domain Member)
Task 1 - Perform DNS Enumeration
DNS plays a vital role on the Internet. It translates a domain name to an IP address. By probing a DNS, you can find information about the DNS and mail servers for a specific domain.
In this task, you will perform DNS enumeration. To do this, perform the following steps:
Step 1
Ensure you have powered on all the devices listed in the introduction, and connect to PLABKALI01.
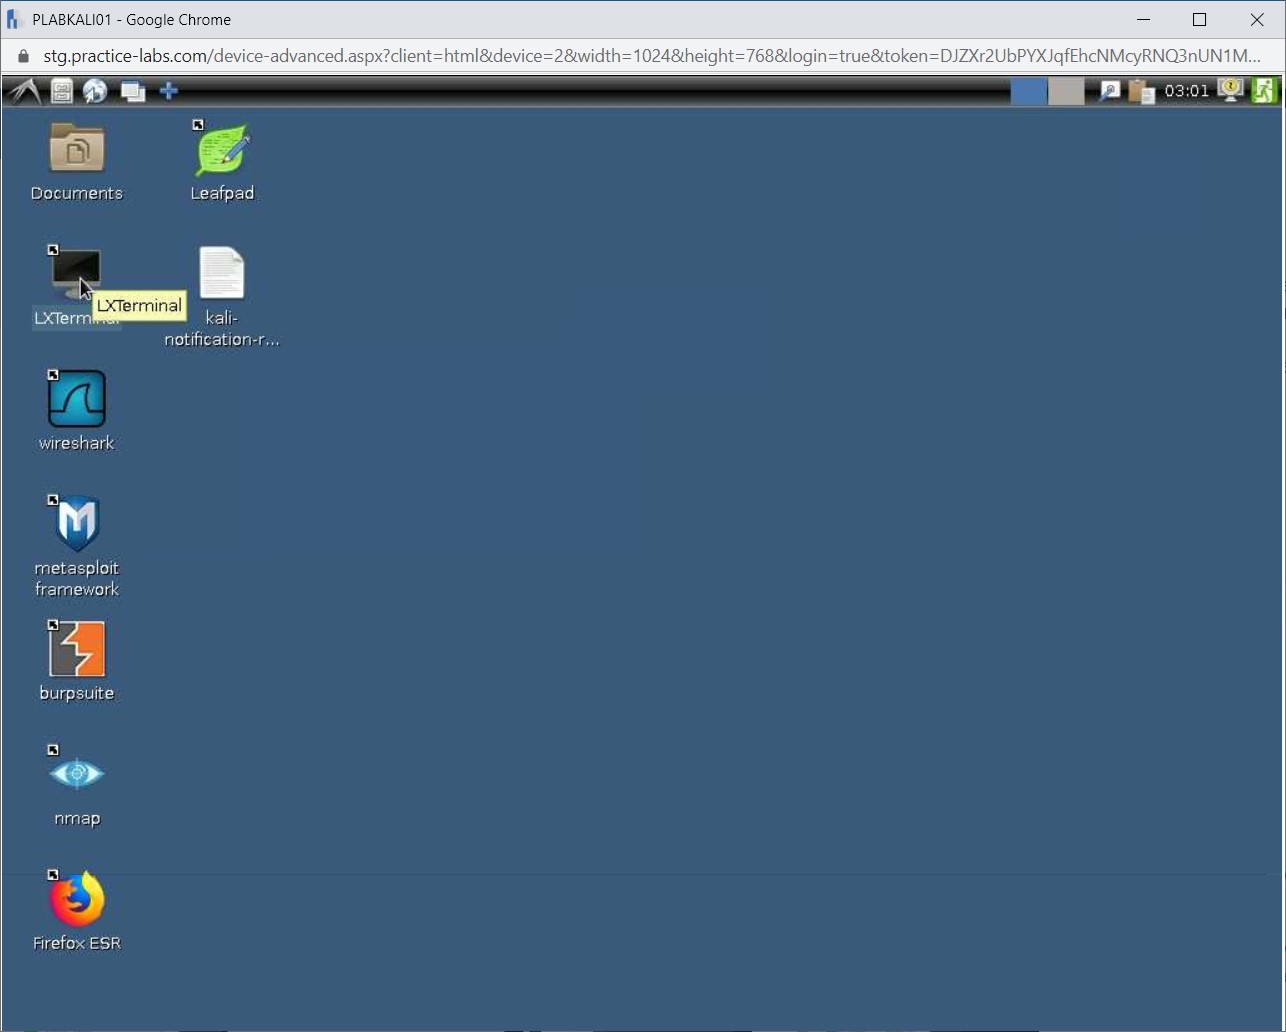
Note that the Kali desktop is displayed.
On the desktop, click the Terminal icon.
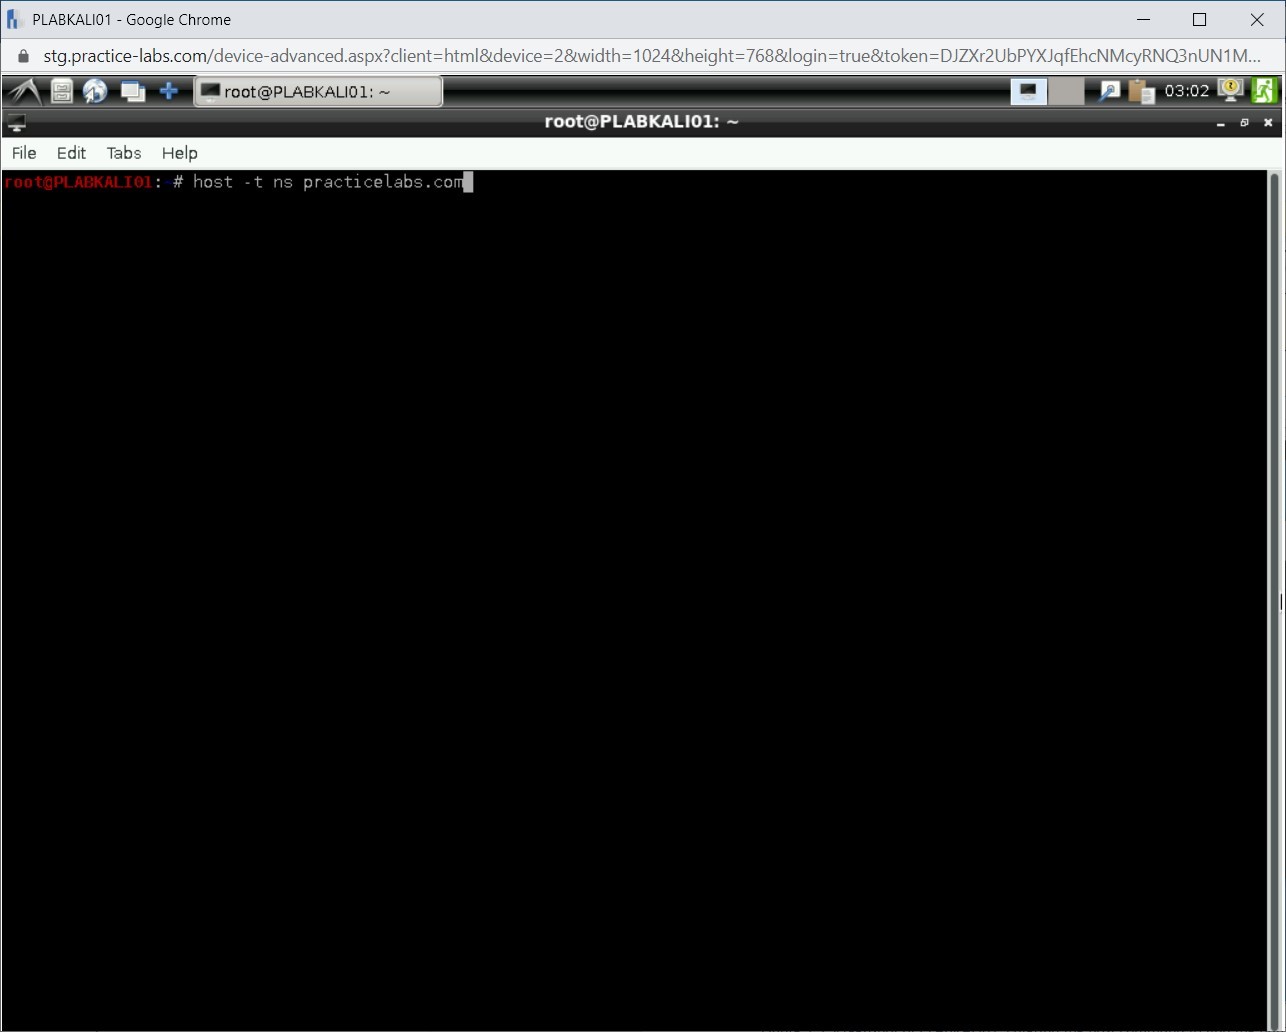
Step 2
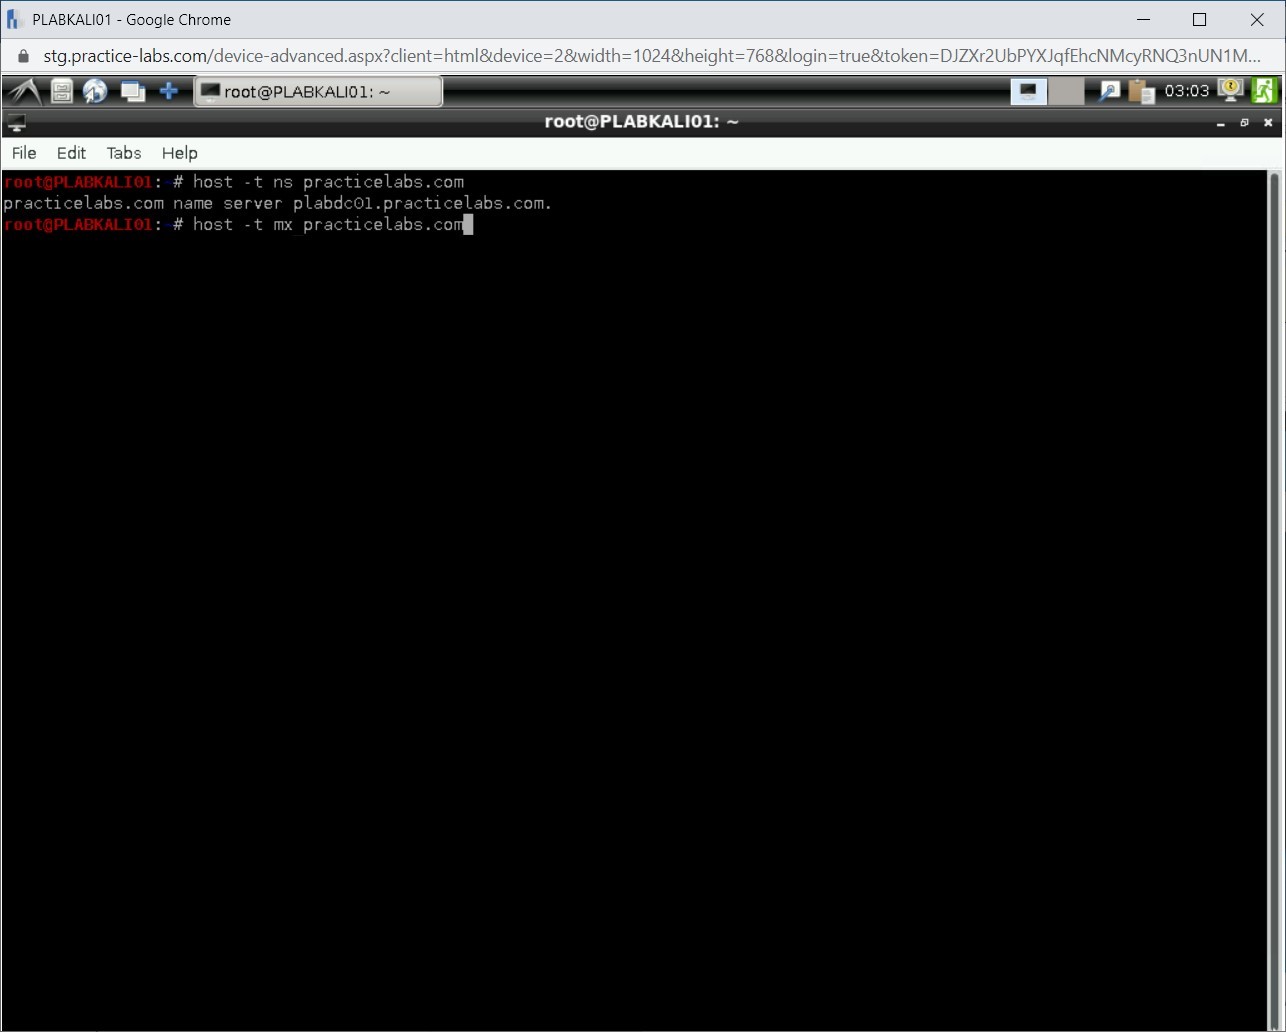
The terminal window is displayed. Let’s first find the nameserver for the practicelabs.com domain. You can use the host command with the -t parameter to do the same. The ns parameter is for the nameserver. Type the following command:
host -t ns practicelabs.com
Press Enter.
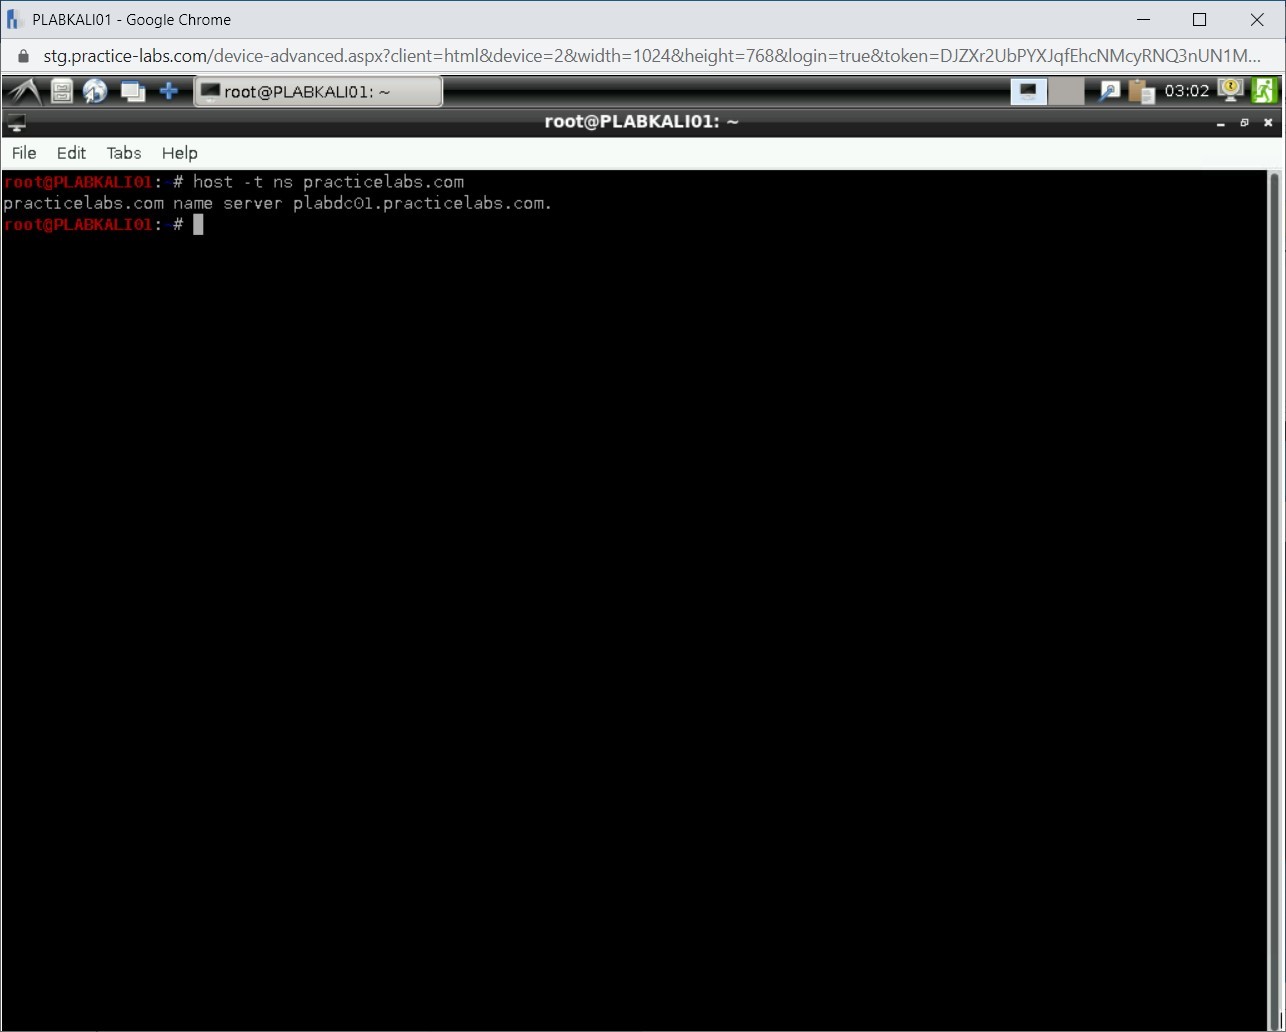
Step 3
Notice that the name server details are displayed.
Step 4
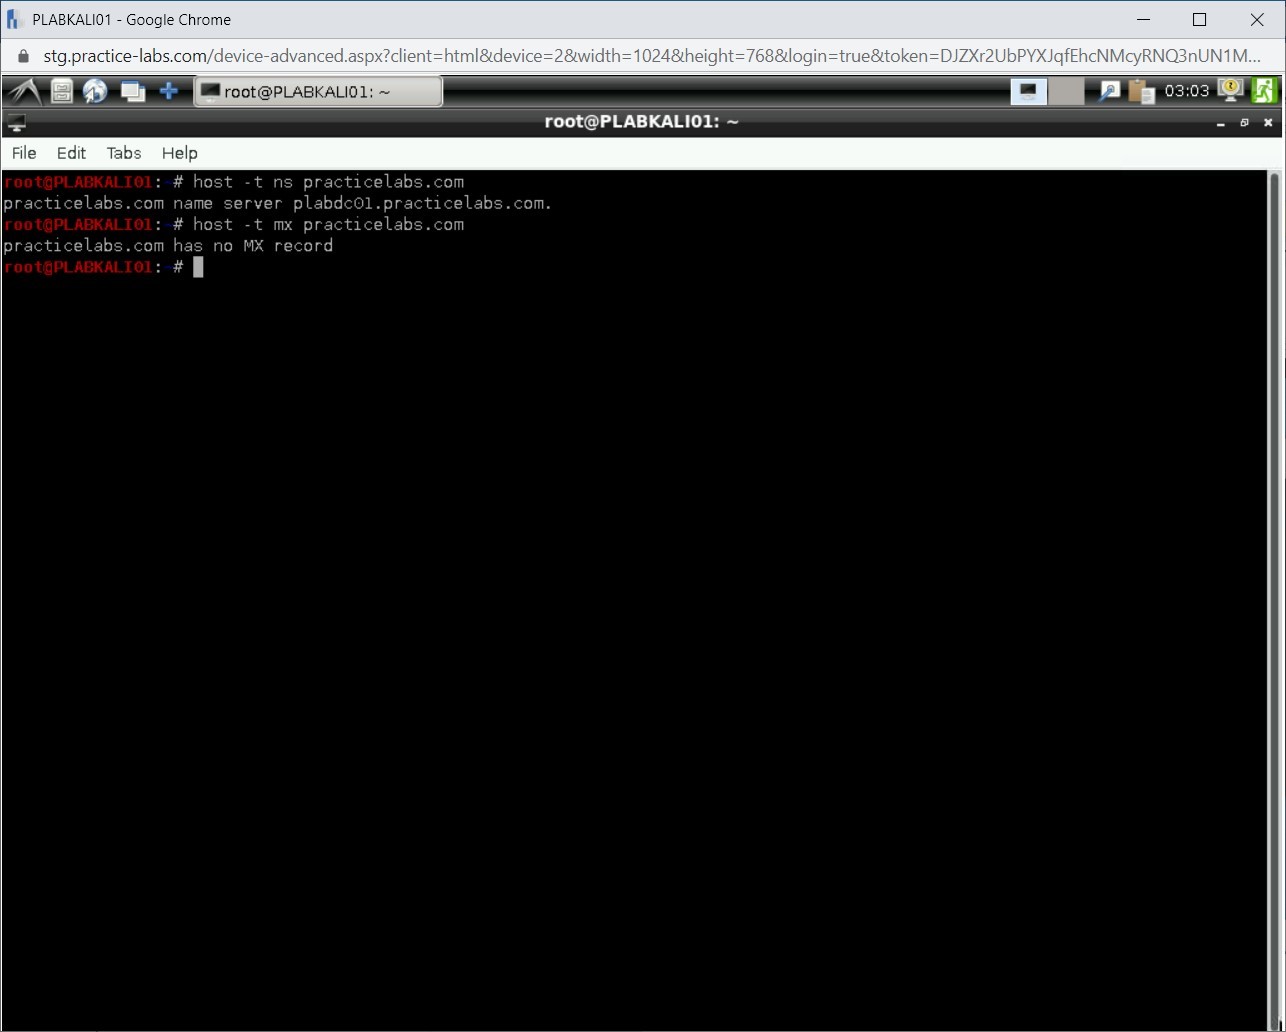
Let’s now find the mail server for the practicelabs.com domain. You can use the host command with the -t parameter to do the same. The mx parameter is for the mail server. Type the following command:
host -t mx practicelabs.com
Press Enter.
Step 5
Notice that there are no messaging servers.
Step 6
Clear the screen by entering the following command:
clear
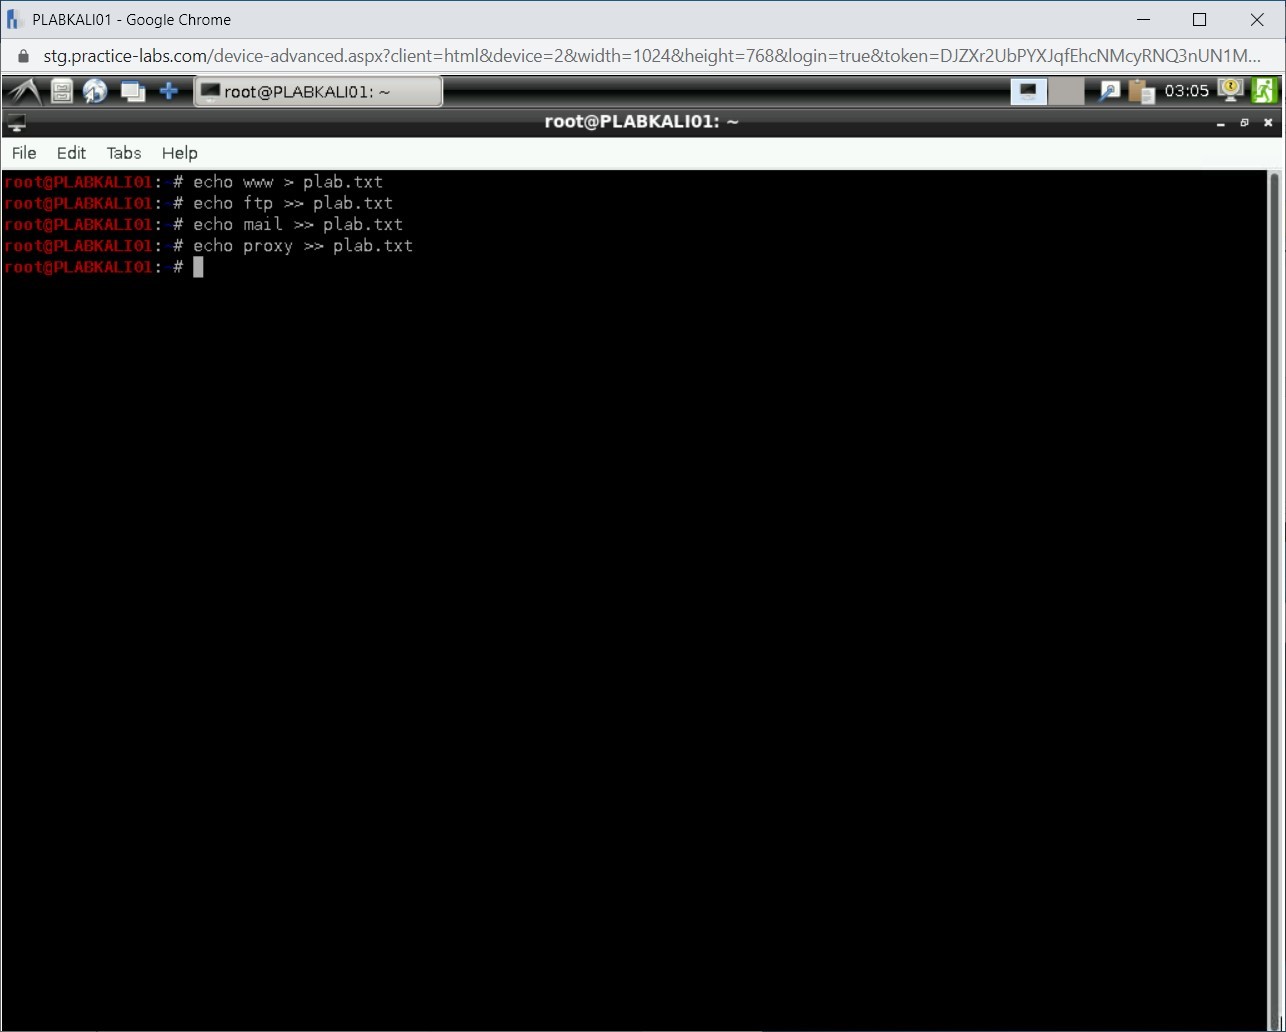
You will now gather the information about various services in a text file named plab.txt. Later, you will create a loop with the hostname and display the details of each service if it exists.
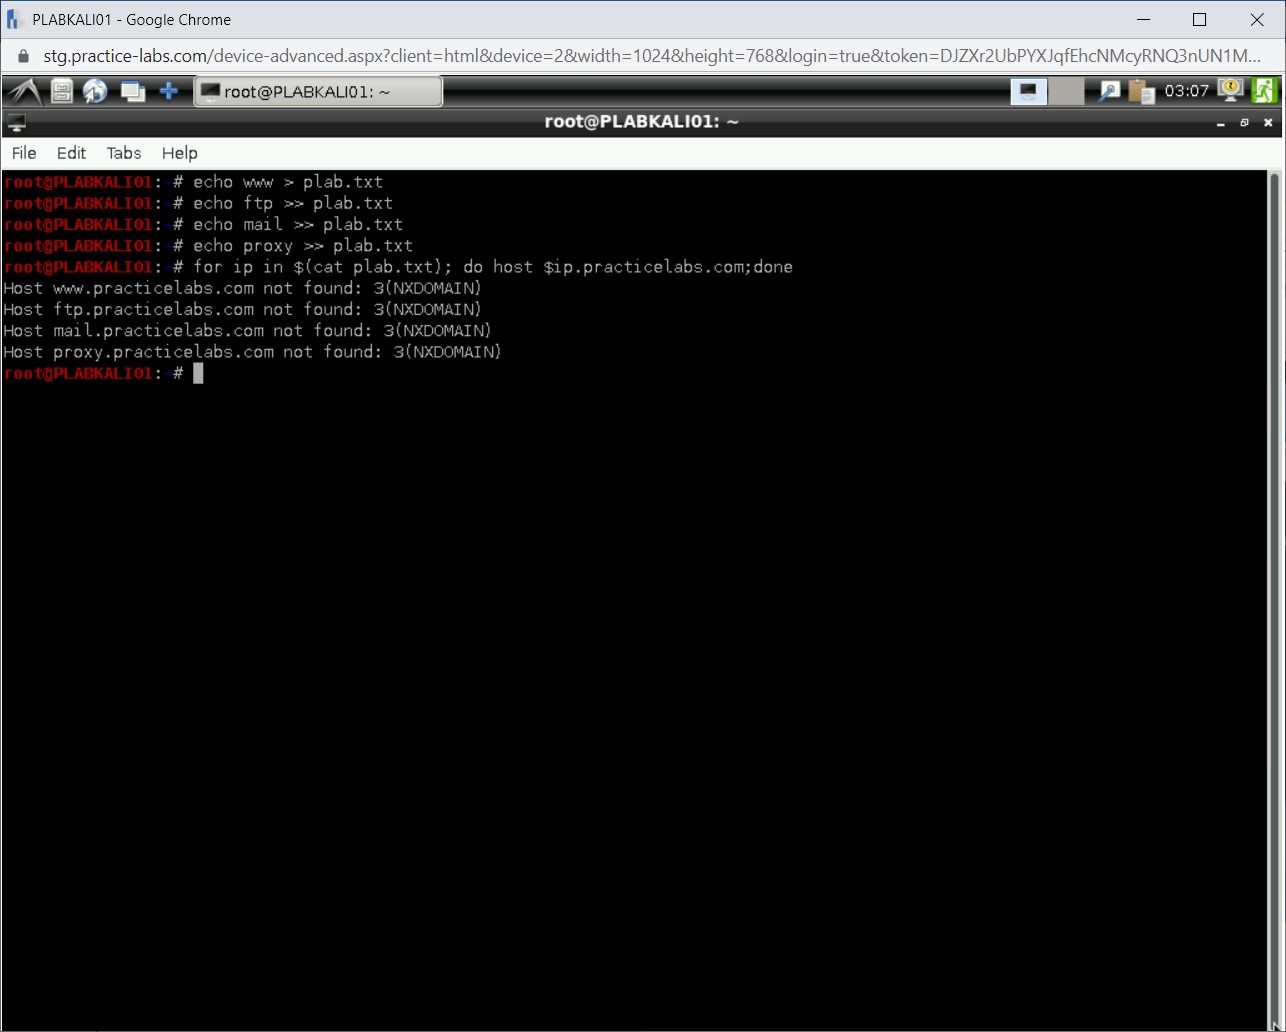
Note: The first command will write the output of the echo command in a file named plab.txt using the > operator. The second to the last command will append the output to the plab.txt file using the >> operator.Type the following commands:
echo www > plab.txt
echo ftp >> plab.txt
echo mail >> plab.txt
echo proxy >> plab.txt
Press Enter after each command.
Step 7
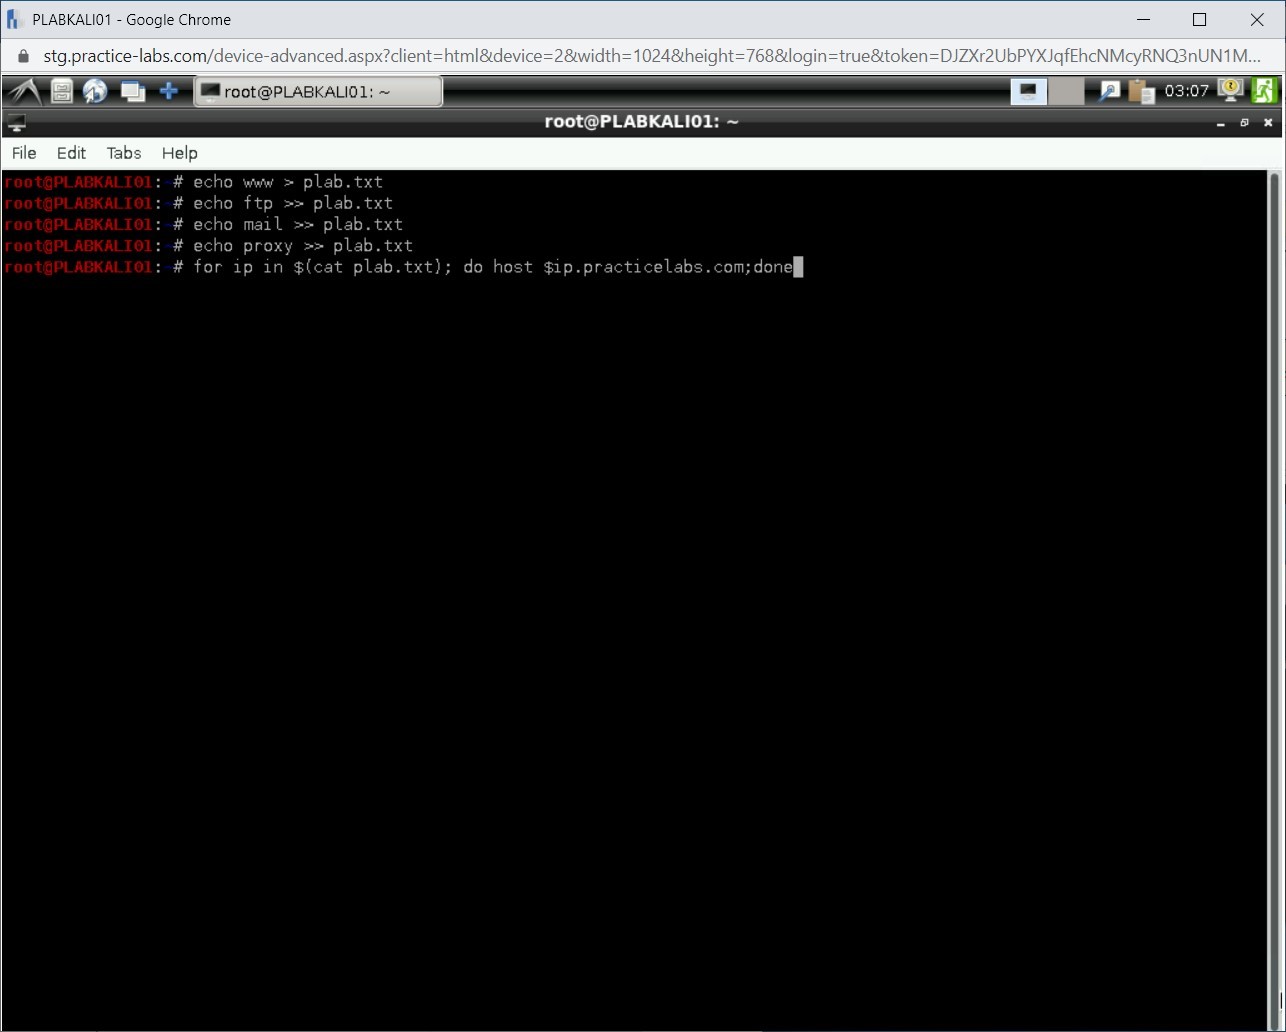
Next, you will create a for loop to generate the list of services with their IP addresses. In this command, you are automating the Forward DNS Lookup using the host command in a script. You can attempt to guess valid names for the servers using this script. For example, if there is a Web server configured as www.practicelabs.com, you will be able to find it using this script.
Type the following command:
for ip in $(cat plab.txt); do host $ip.practicelabs.com;done
Press Enter.
Step 8
Notice the output of the loop. None of these services were found.
Step 9
Clear the screen by entering the following command:
clear
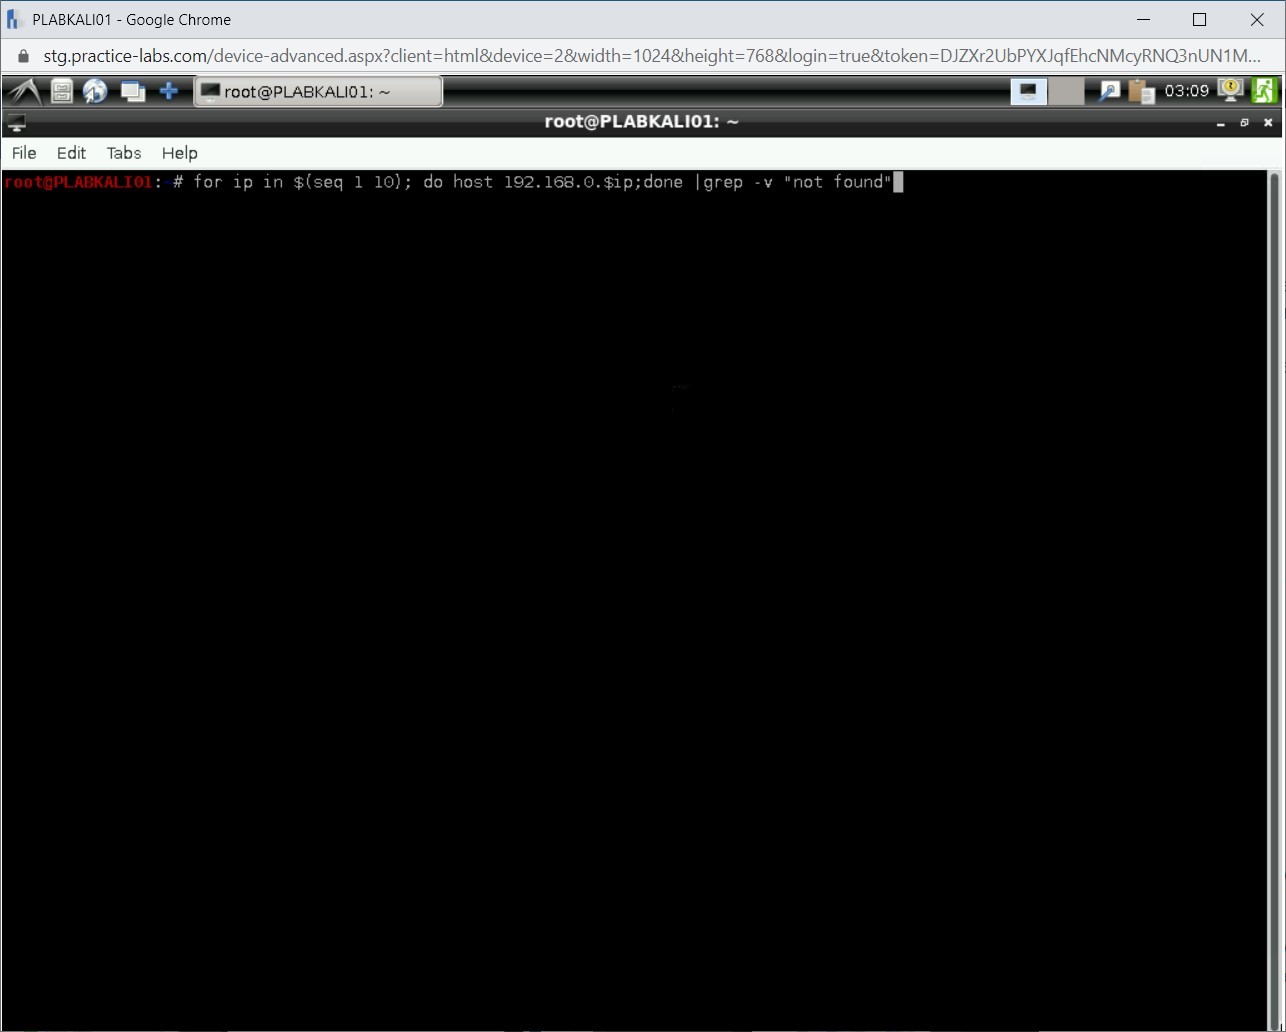
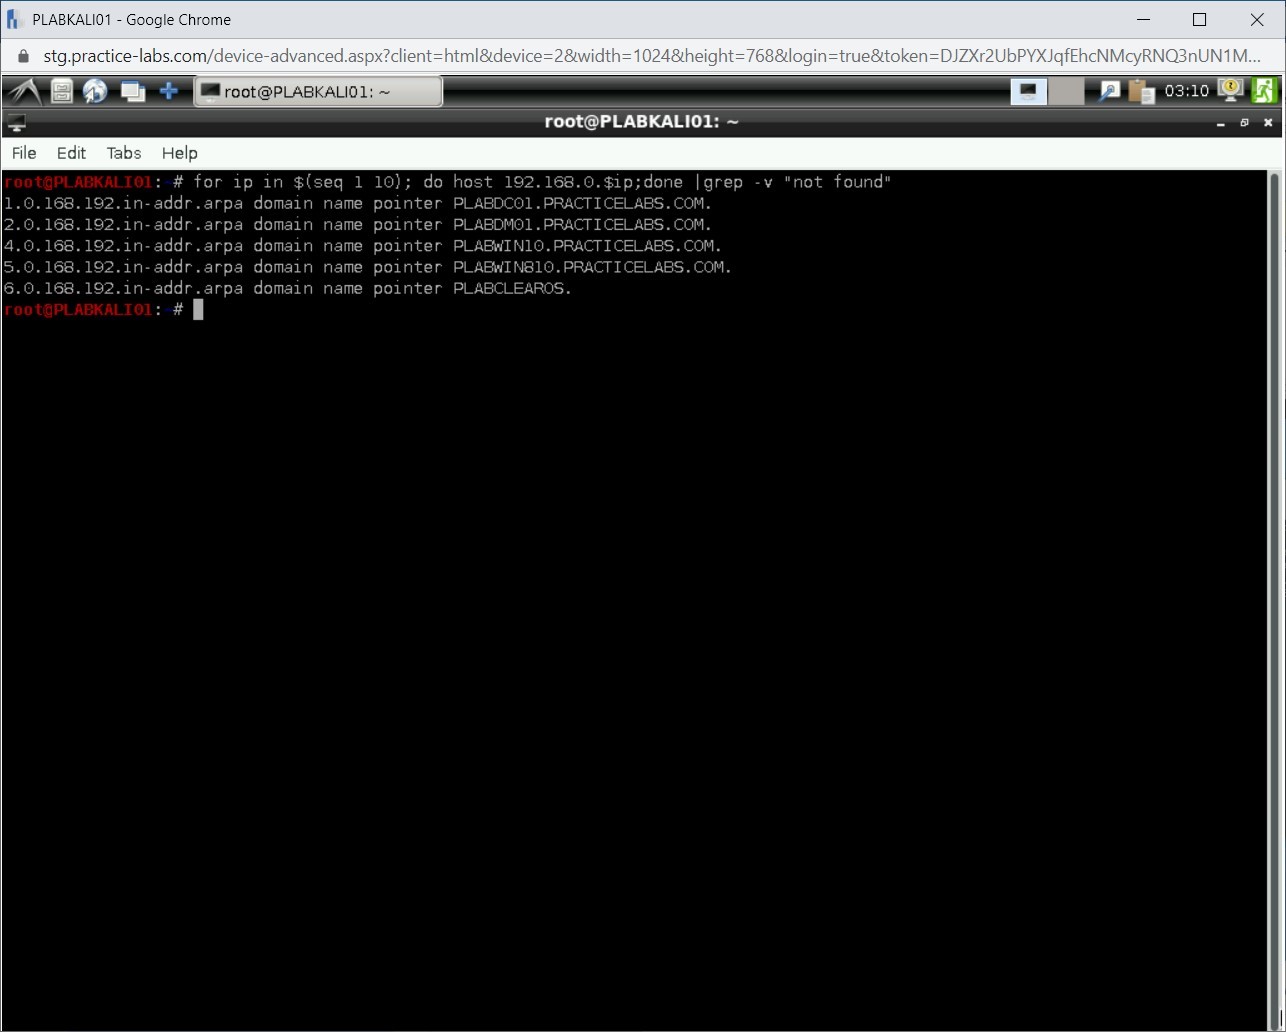
After the Forward DNS Lookup, you can also perform a Reverse Lookup Brute Force to find more PTR records in the practicelabs.com domain. Type the following command:
for ip in $(seq 1 10);do host 192.168.0.$ip;done |grep -v “not found”
Press Enter.
Step 10
Notice the outcome. More PTR records are located.
Step 11
Clear the screen by entering the following command:
clear
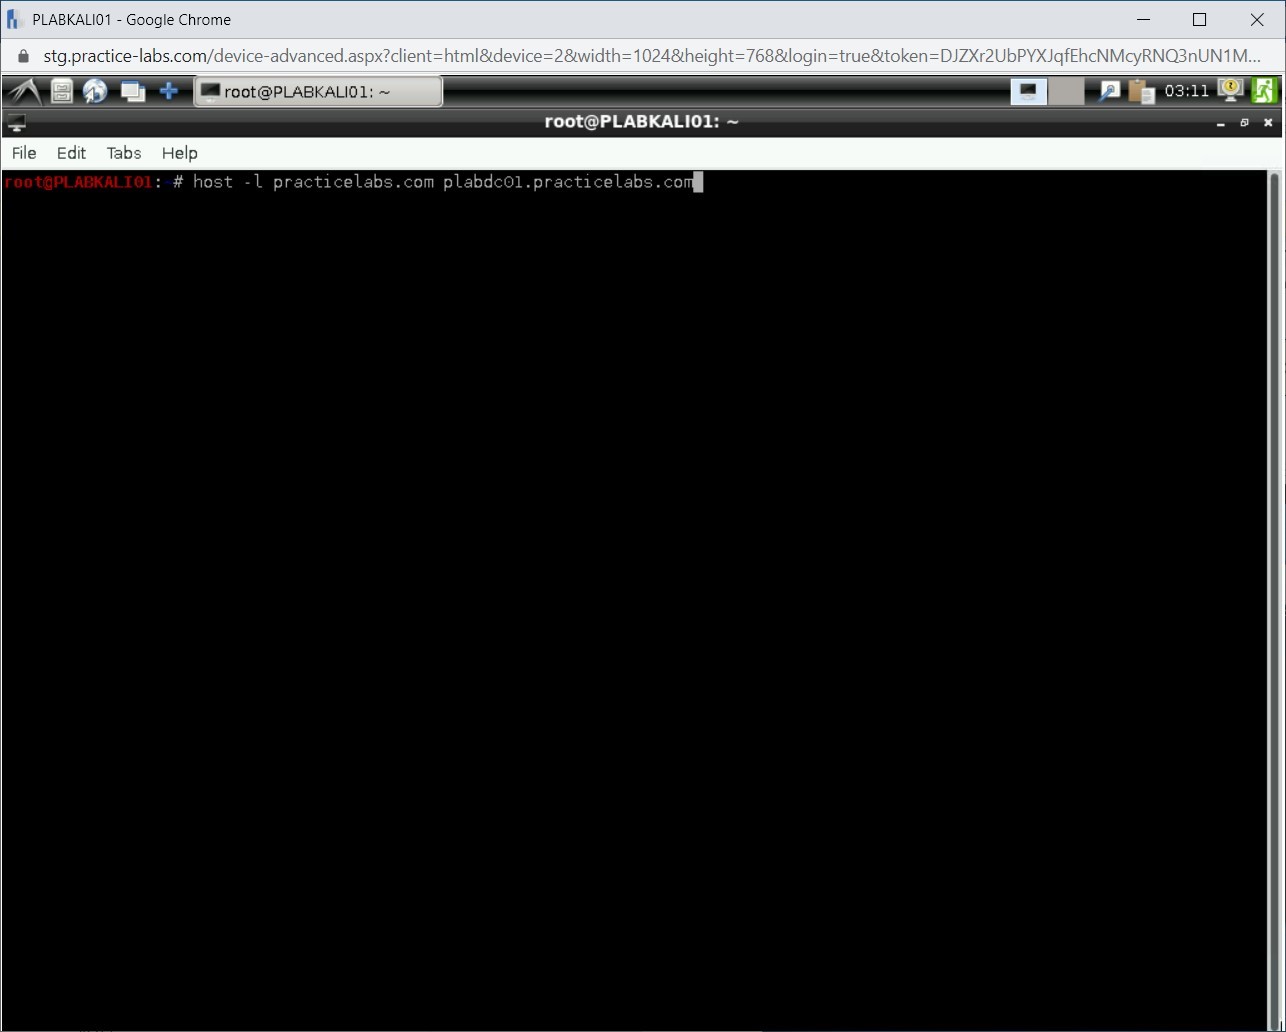
Let’s now look at DNS zone transfer. In a secure environment, DNS zone transfer would be limited to authorized slave DNS servers. If you do not configure it properly, then the zone transfer can be configured to any DNS server.
You will now try zone transfer on plabdc01.practicelabs.com. To do this, type the following command:
host -l practicelabs.com plabdc01.practicelabs.com
Press Enter.
Step 12
The outcome of this command is displayed. In this outcome, the plabdc01.practicelabs.com nameserver has refused the zone transfer request.

Step 13
Clear the screen by entering the following command:
clear
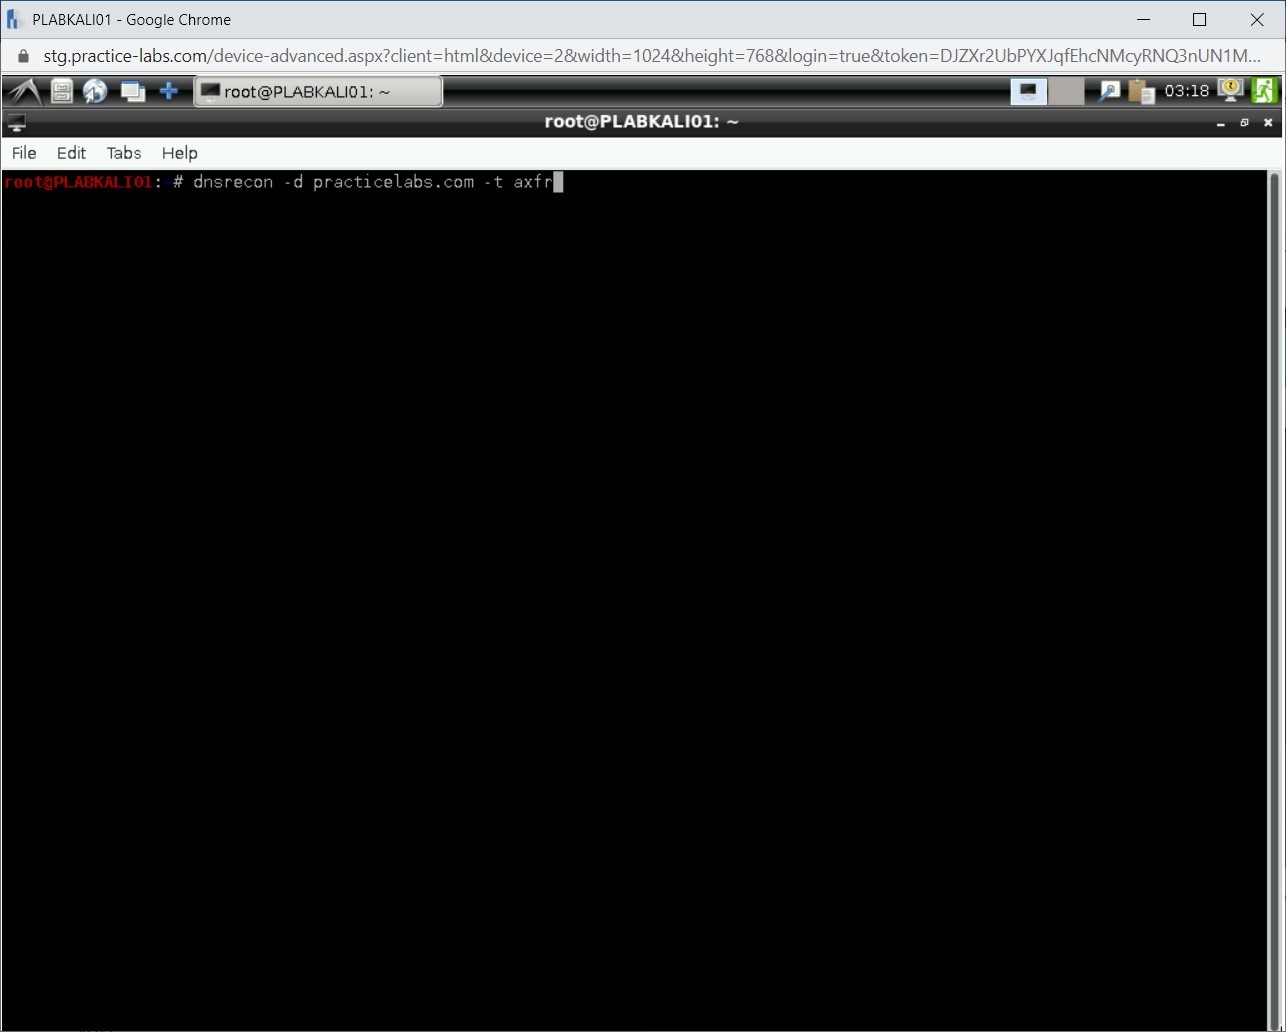
Kali Linux also contains a DNS enumeration tool named DNSRecon. To use DNSRecon, type the following command:
Note: The -d parameter defines the domain name. The -t parameter defines the type of the enumeration.dnsrecon -d practicelabs.com -t axfr
Press Enter.
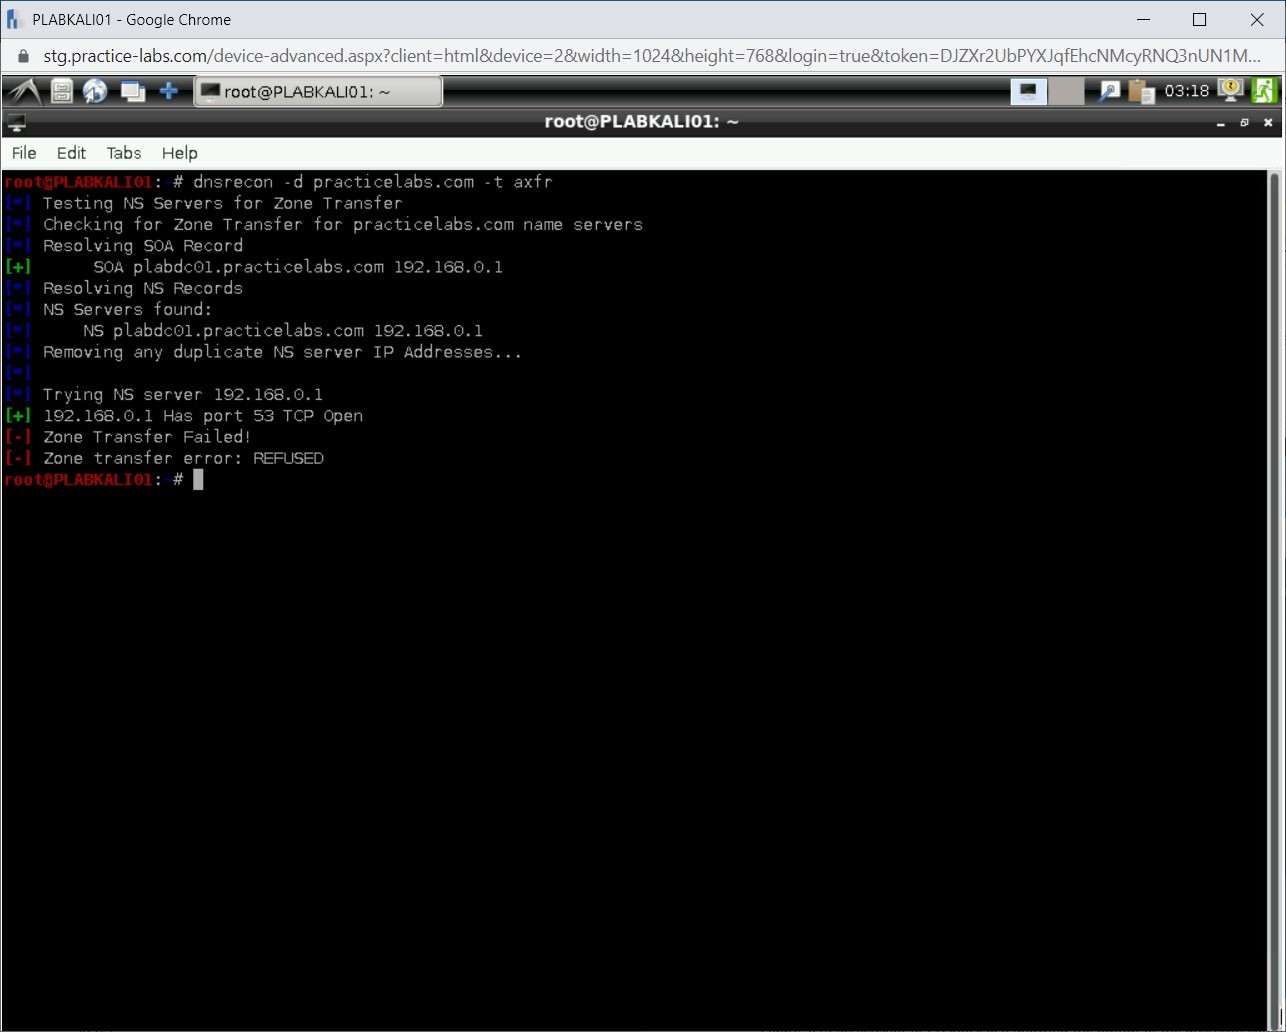
Step 14
Notice the output of this command. It tests the zone transfer, which fails, and lists the NS servers. It also provides the open ports on the server.
Step 15
Clear the screen by entering the following command:
clear
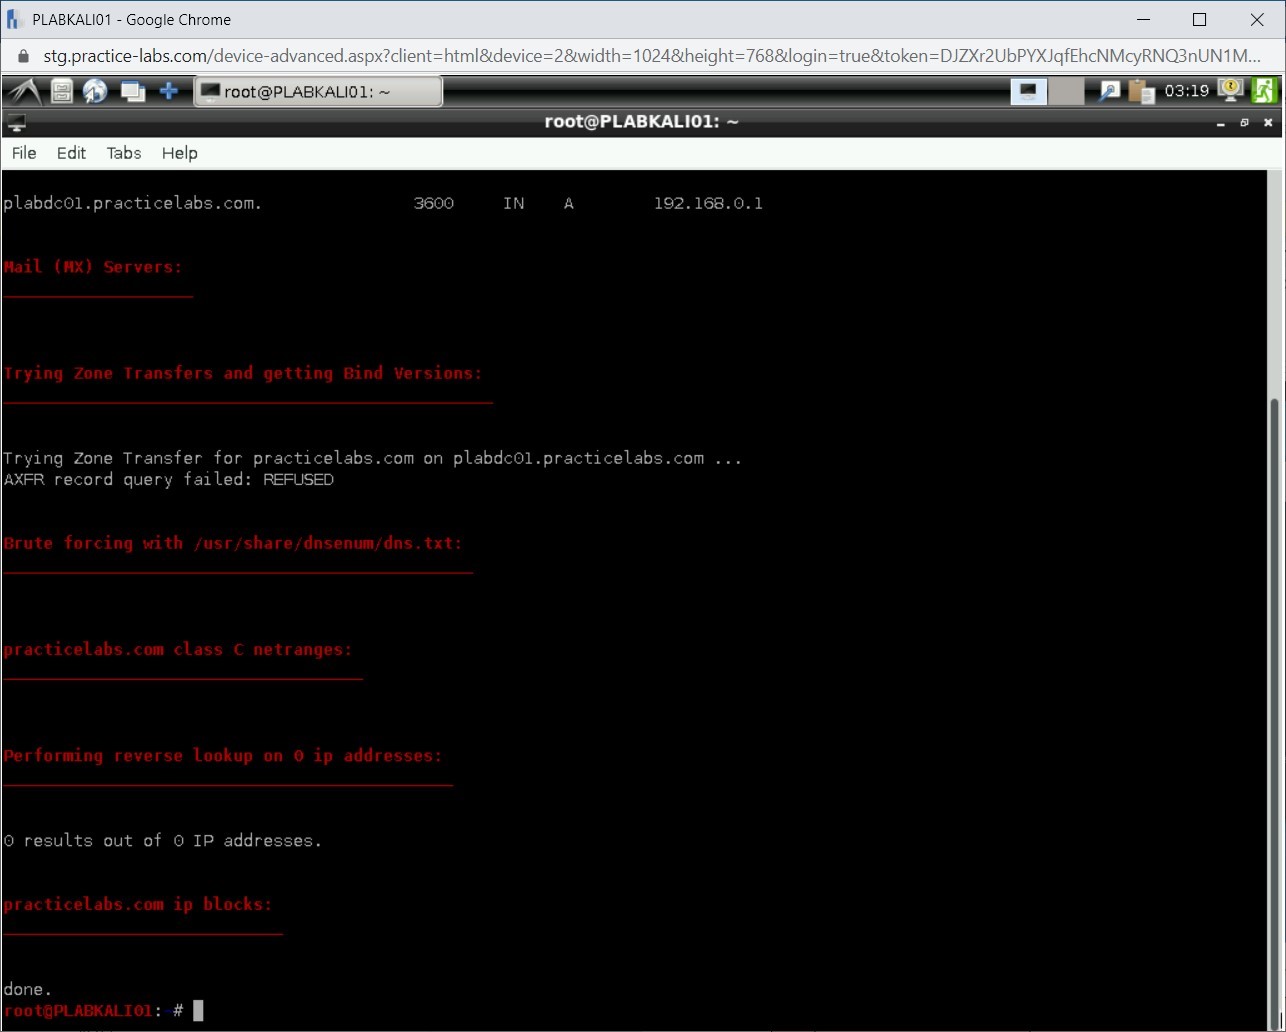
Next, you can also use another tool named DNSEnum, which also provides similar information to the DNSRecon tool. Type the following command:
dnsenum practicelabs.com
Press Enter.

Step 16
Notice that the output nameserver name and IP address and mail server. It also shows zone transfer results.
Task 2 - Switching Off the Windows Firewall on PLABWIN810
You will need to switch off the Windows Firewall to perform an attack on PLABWIN810. There are attacking methods that you can use to bypass the Windows or any other firewall running on the target. However, for the sake of this module, you will switch off the Windows Firewall and proceed with the remaining tasks.
To switch off the Windows Firewall on PLABWIN810, perform the following steps:
Step 1
Ensure that you have connected to PLABWIN810 and logged into the system.
Note that the PLABWIN810 desktop is displayed.
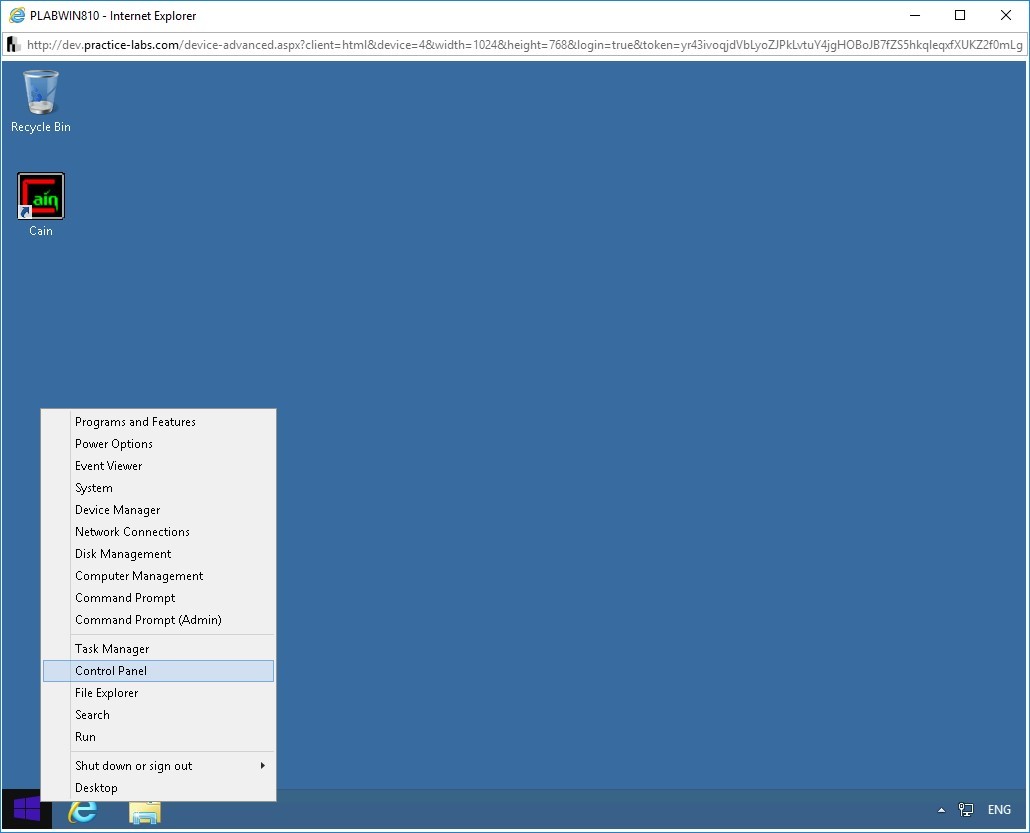
Step 2
Right-click the Windows Charm and select Control Panel.
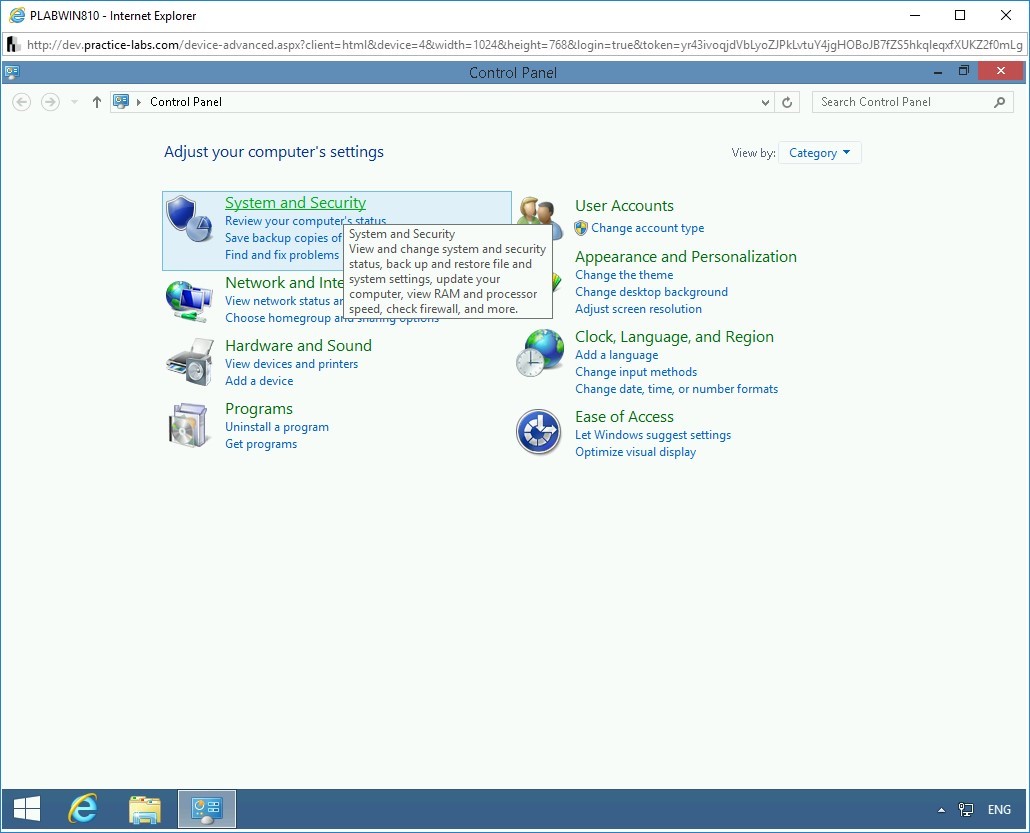
Step 3
The Control Panel window is displayed. On the Adjust your computer’s settings page, click System and Security.
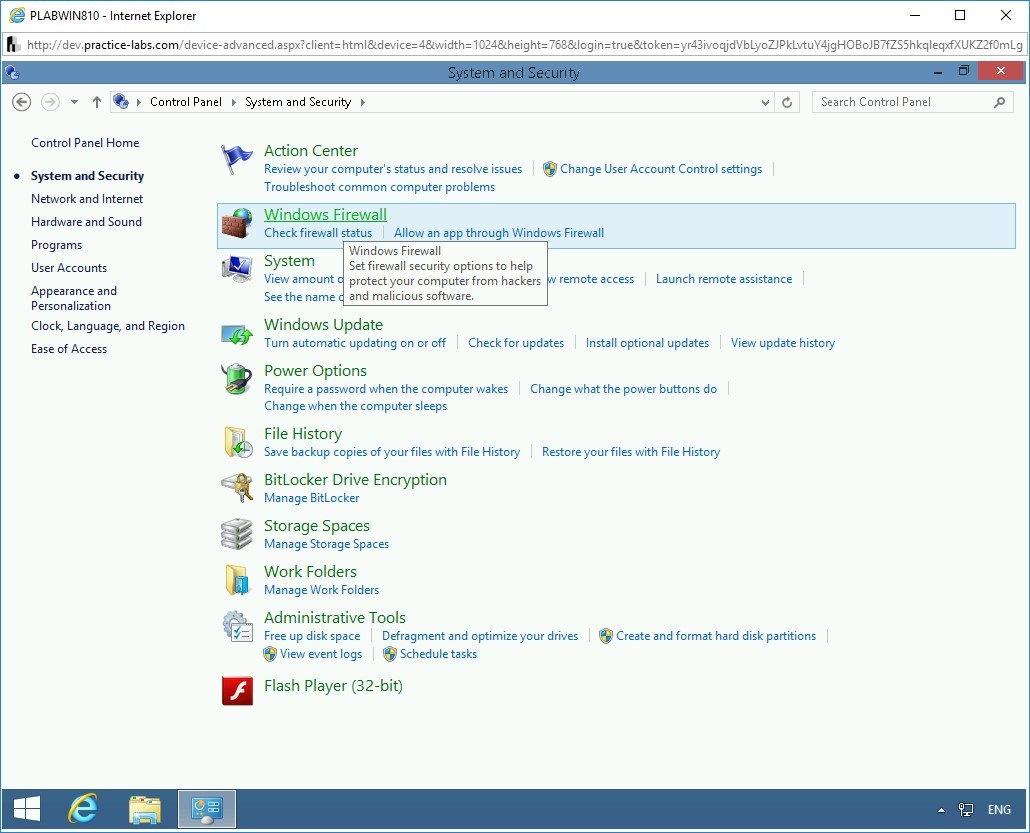
Step 4
On the next page, several security-related options are displayed. Click Windows Firewall.
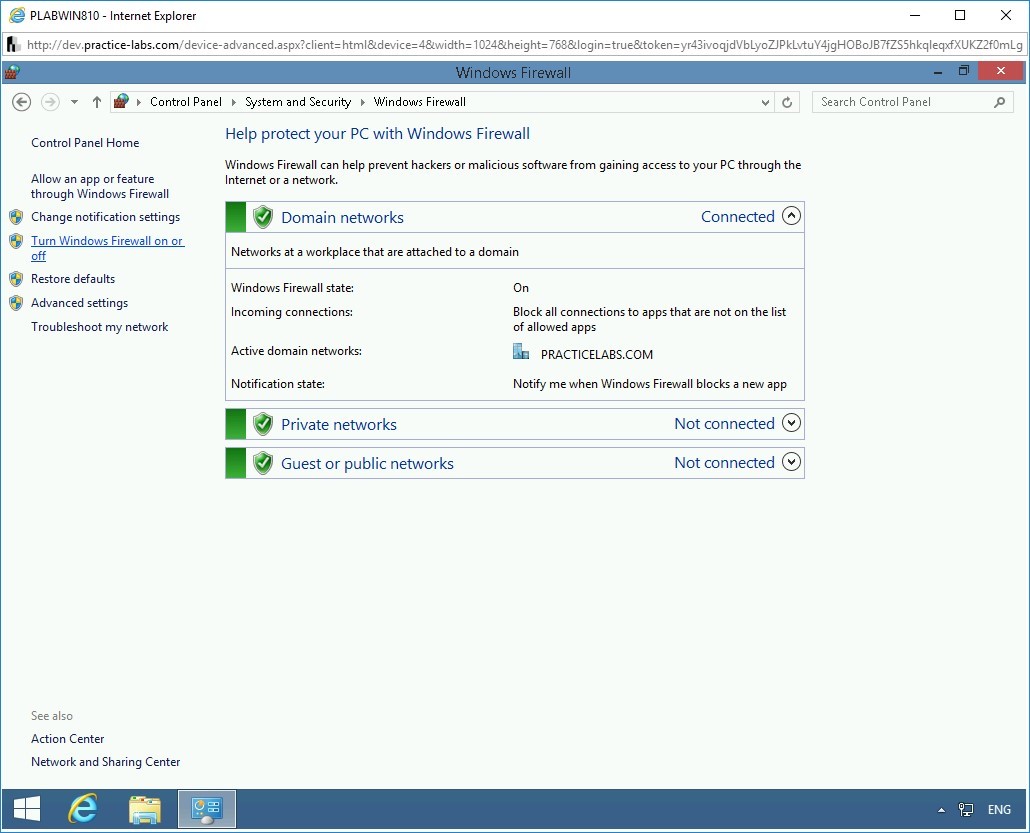
Step 5
On the Help protect your PC with Windows Firewall page, click Turn Windows Firewall on or off in the left pane.
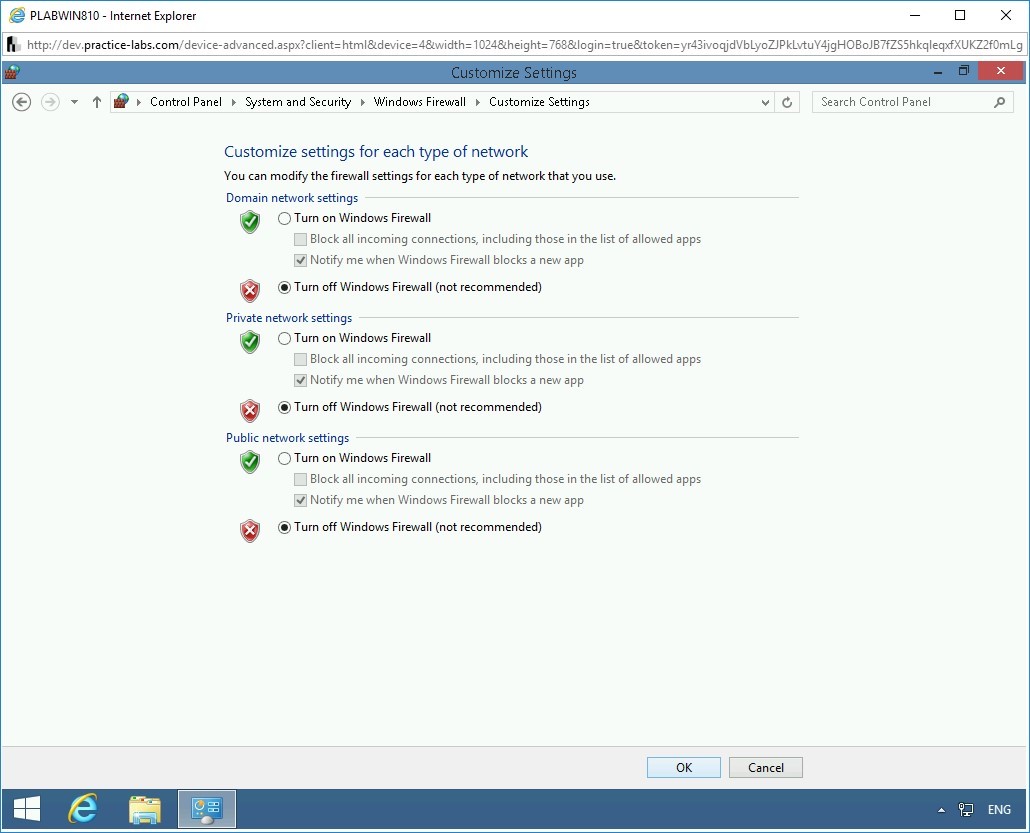
Step 6
On the Customize settings for each type of network page, select Turn off Windows Firewall (not recommended) for Domain, Private, and Public network.
Click OK.
Step 7
On the Help protect your PC with Windows Firewall page, notice that Windows Firewall is now turned off for Domain, Private, and Public network.
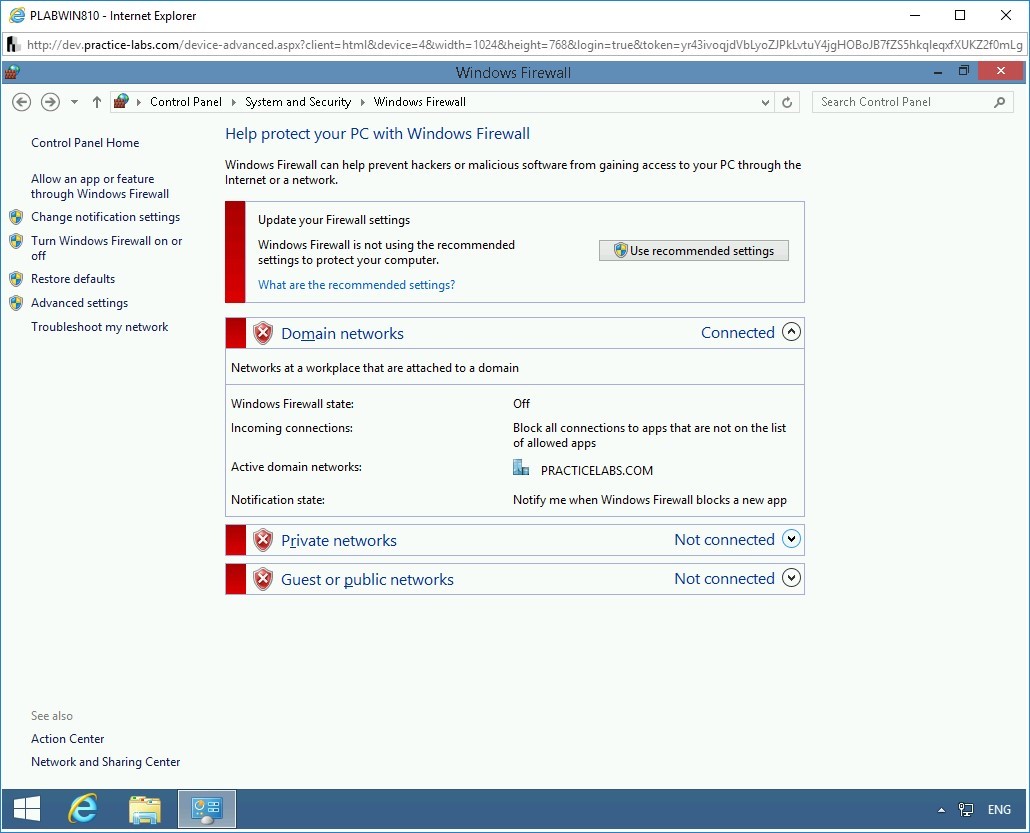
Close the Control Panel window and the PLABWIN810 window.
Task 3 - Perform Windows Host Enumeration Using Rpcclient
There are different ways to enumerate a Windows host. Using enumeration, you can discover information, such as:
- OS version
- Users
- Services
- Groups
- Privileges
- Shares
- Configuration Settings
A Windows host can be enumerated using different methods. For example, you can enumerate a Windows host using:
- Built-in commands
- Nmap
- Rpcclient
- Metasploit Framework
Other than the commands, Nmap also contains ready-made scripts that can be used for various reasons, such as enumerating a Windows host. For example, consider the following command:
nmap 192.168.0.10 -script smb-os-discovery.nse
The output will be as shown:
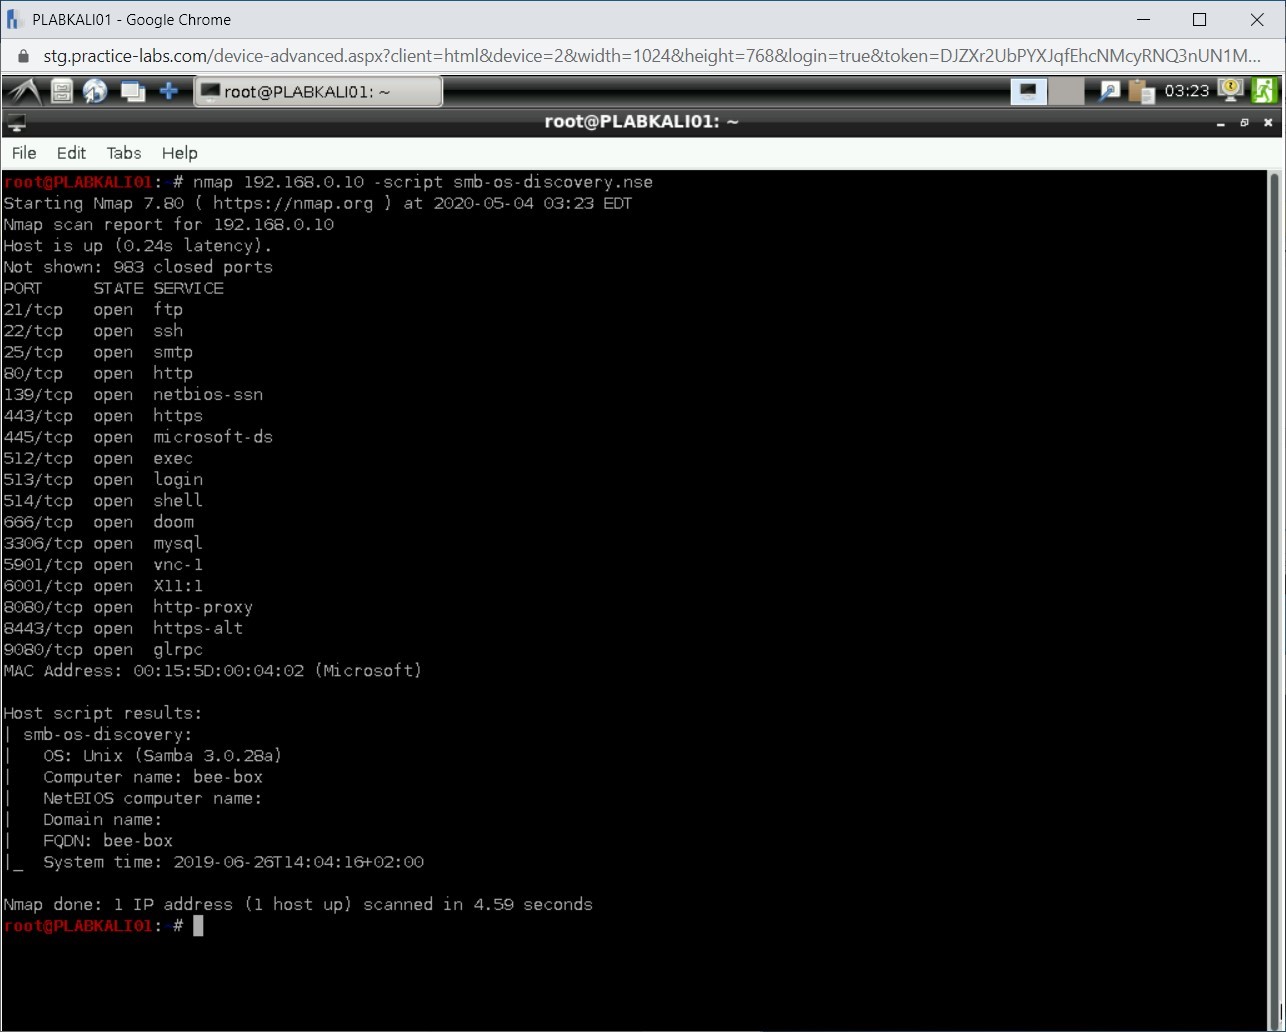
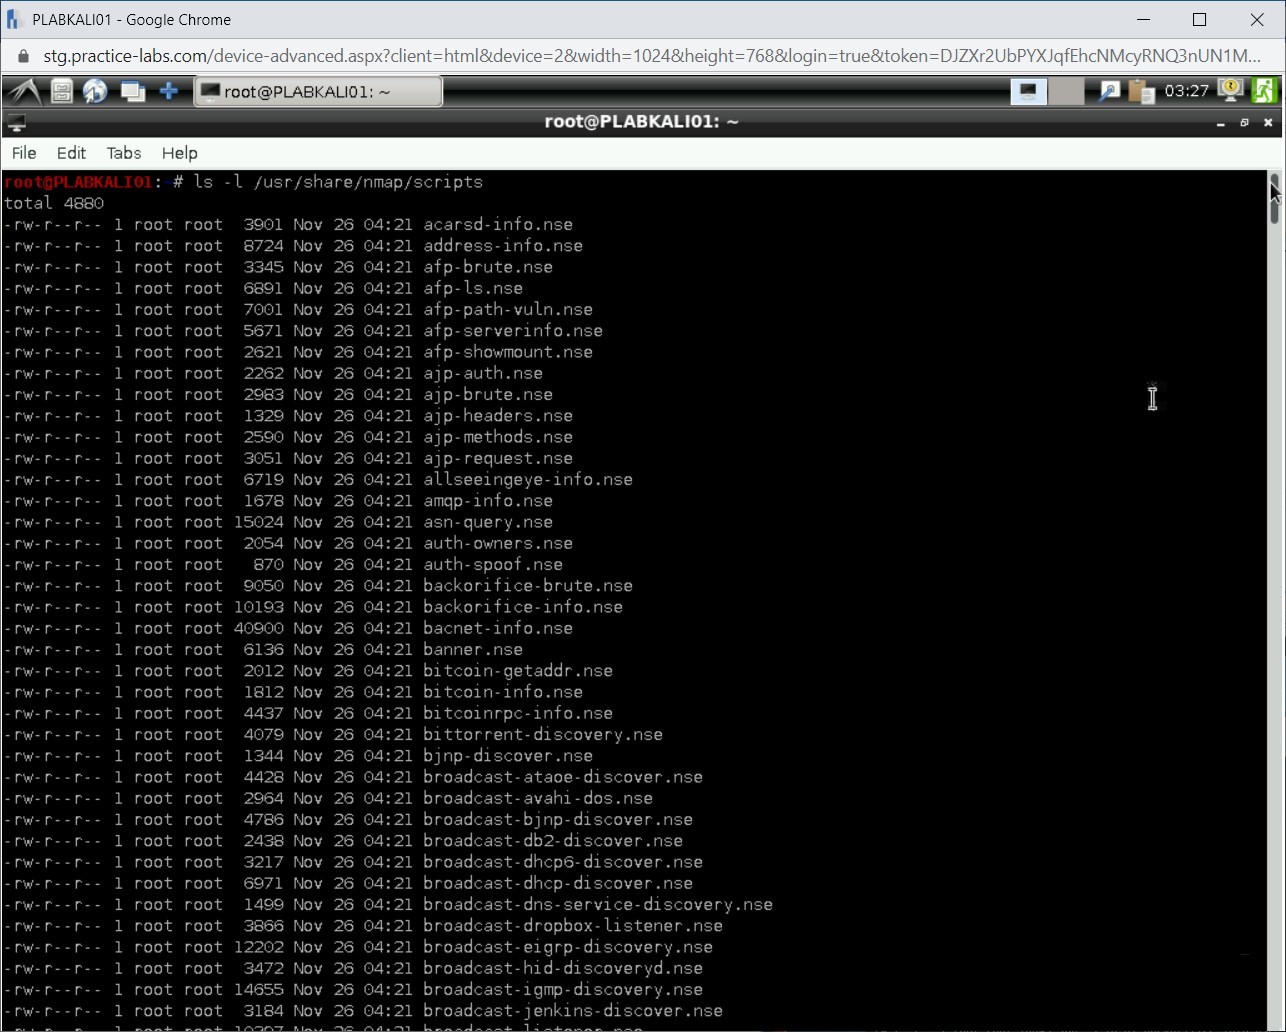
You can find hundreds of ready-made scripts in the /usr/share/nmap/scripts directory.
Some of the built-in commands in Windows that are commonly used are :
- dir
- ipconfig
- arp
- route
- net share
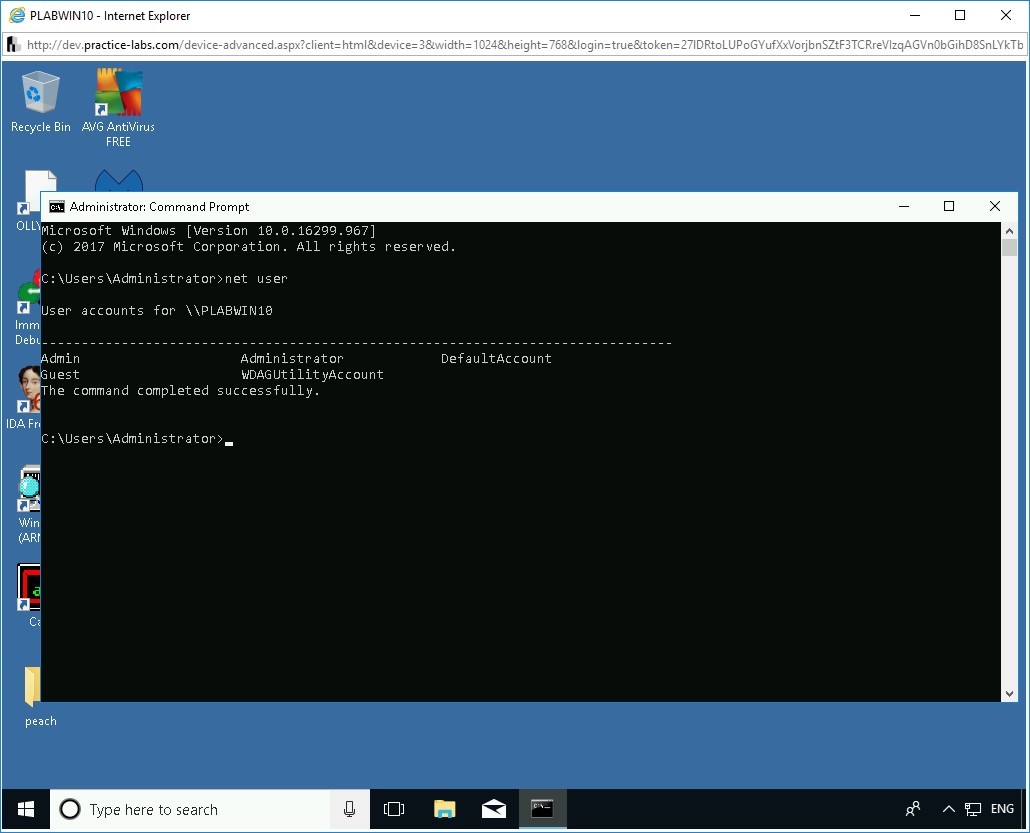
- net user
An example of net user command:
Other than the Windows command, Windows PowerShell also offers several built-in cmdlets that can be used. Some of the key cmdlets are:
- Get-Website
- Get-LocalUser
- Get-LocalGroup
- Get-LocalGroup
- Get-Command
This is not an exhaustive list. You can get a detailed list by searching your favorite search engine.
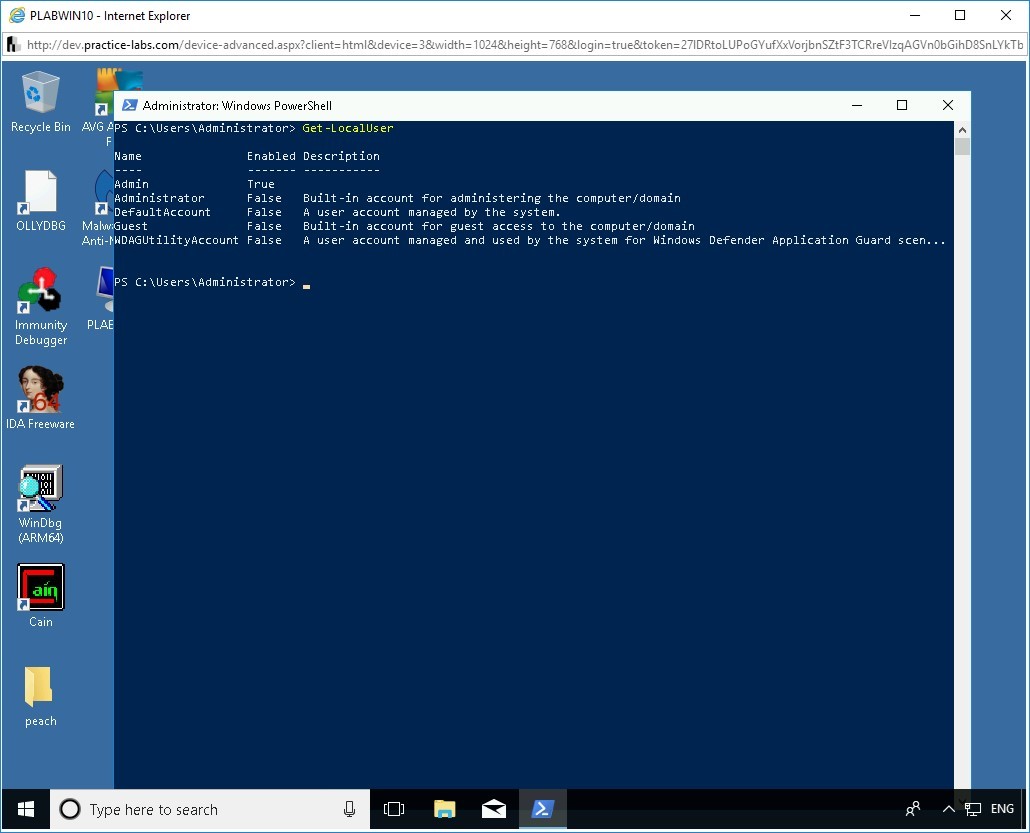
An example of Get-LocalUser cmdlet:
In this task, you will learn to perform Windows host enumeration. To do this, perform the following steps:
Step 1
Ensure you have powered on all the devices listed in the introduction and connect to PLABKALI01.
Clear the screen by entering the following command:
clear
First, you will work with Rpcclient. Type the following command to connect to PLABWIN810:
rpcclient 192.168.0.5 -U admin
Press Enter.

Step 2
You are now prompted for the admin password. Type the following:
Passw0rdPress Enter.
Note: Password, when entered, will not be visible.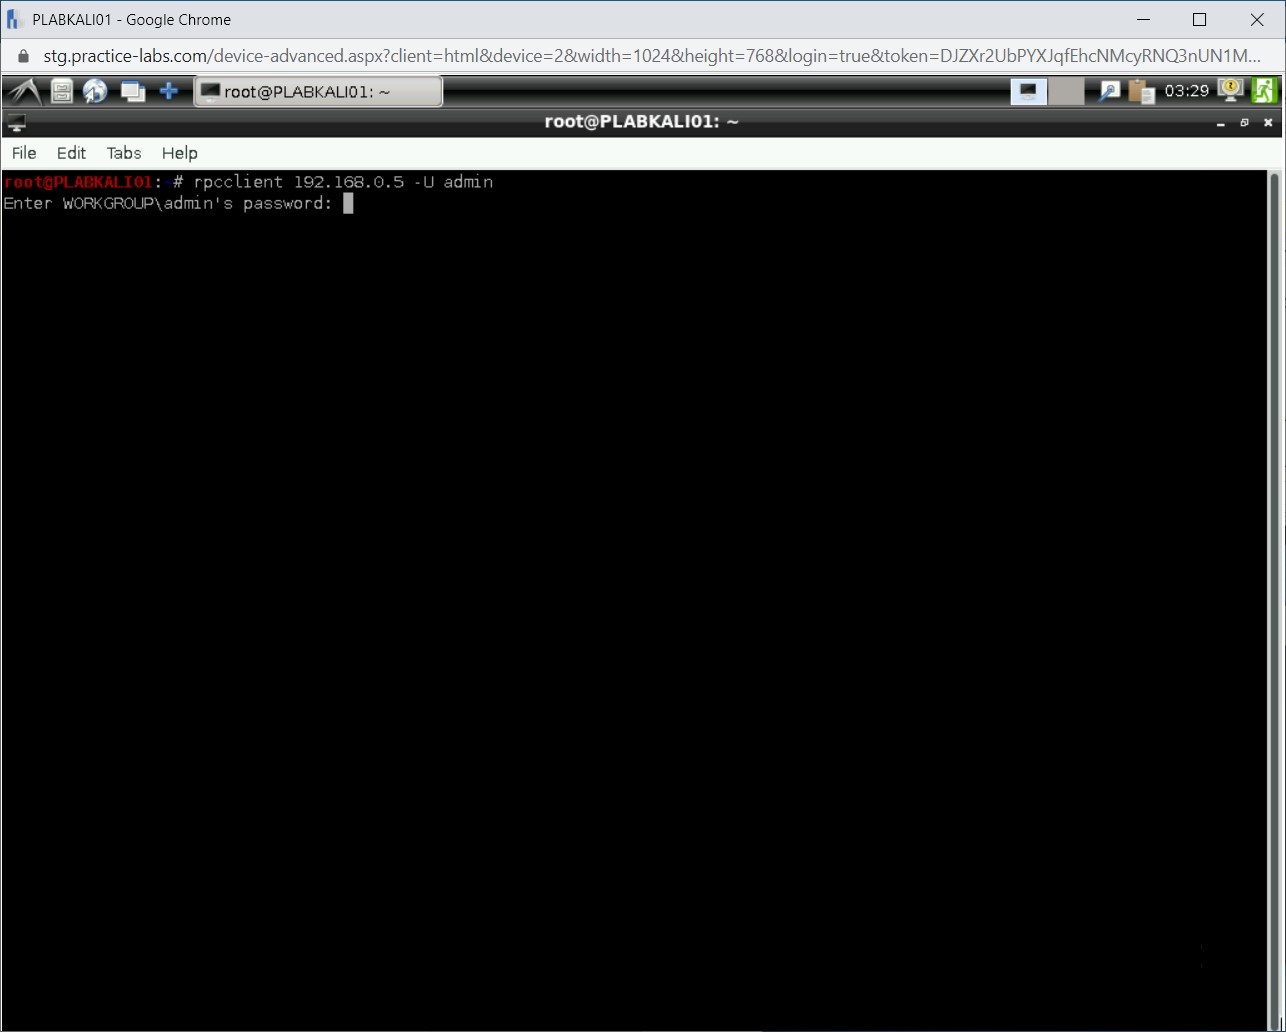
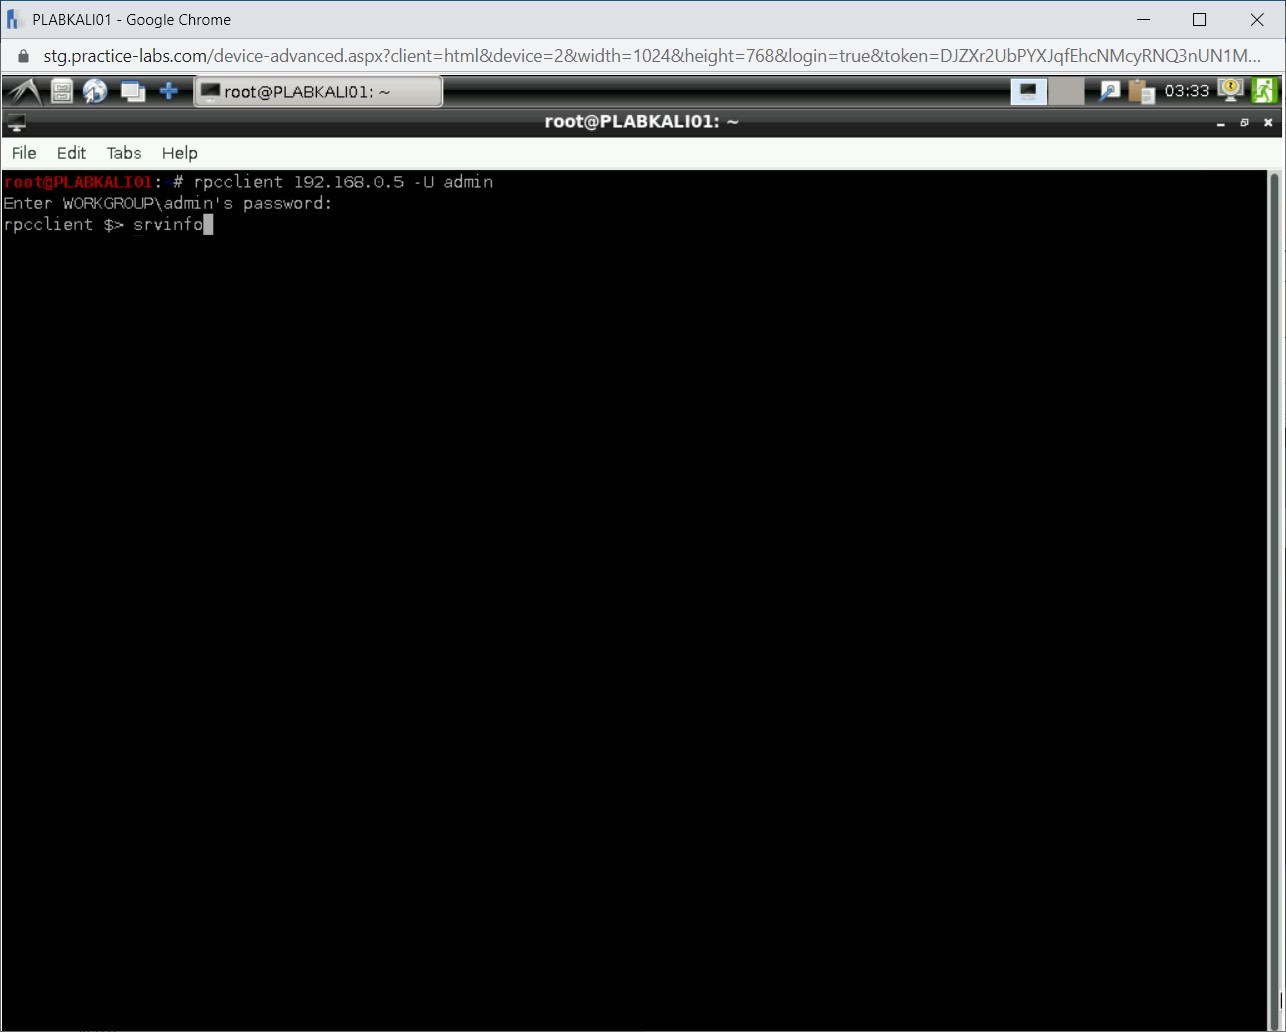
Step 3
Notice that the rpcclient prompt appears. This indicates that you have connected to PLABWIN810 successfully.

Step 4
To display the PLABWIN810 details, type the following command:
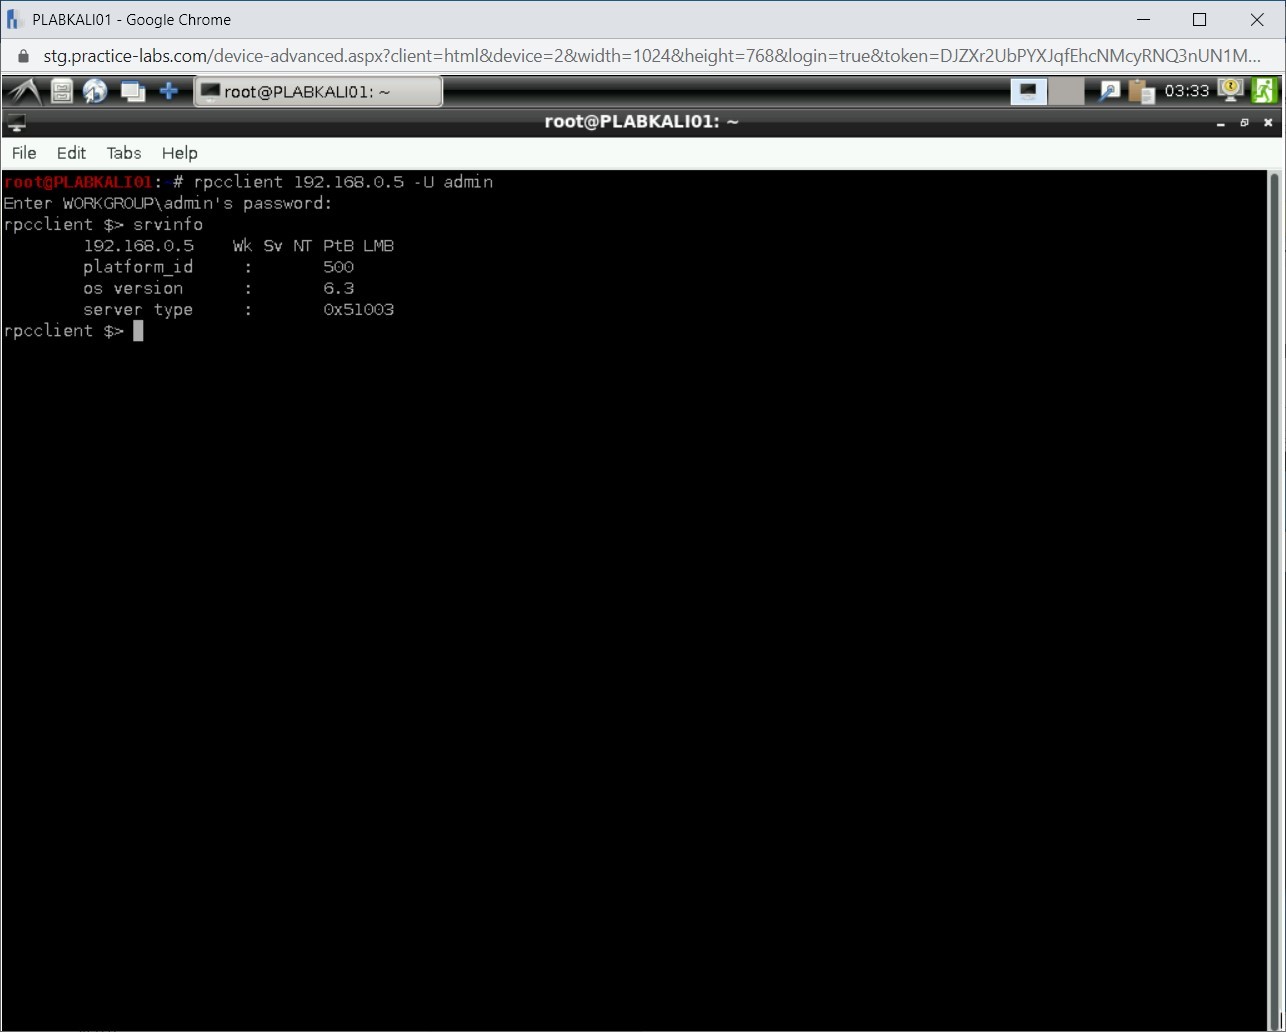
srvinfo
Press Enter.
Step 5
Notice the output of the srvinfo command. It displays the IP address, type of operating system, its version, and so on.
Step 6
Let’s find out the Security ID (SID) of the admin account. Type the following command:
lookupnames admin
Press Enter.

Step 7
Notice that the SID for the admin account is now displayed. SID for the admin account ends with 1001.
Note: If this was the built-in administrator account, then its SID will always end with 500. SID will never change even if you rename the administrator account.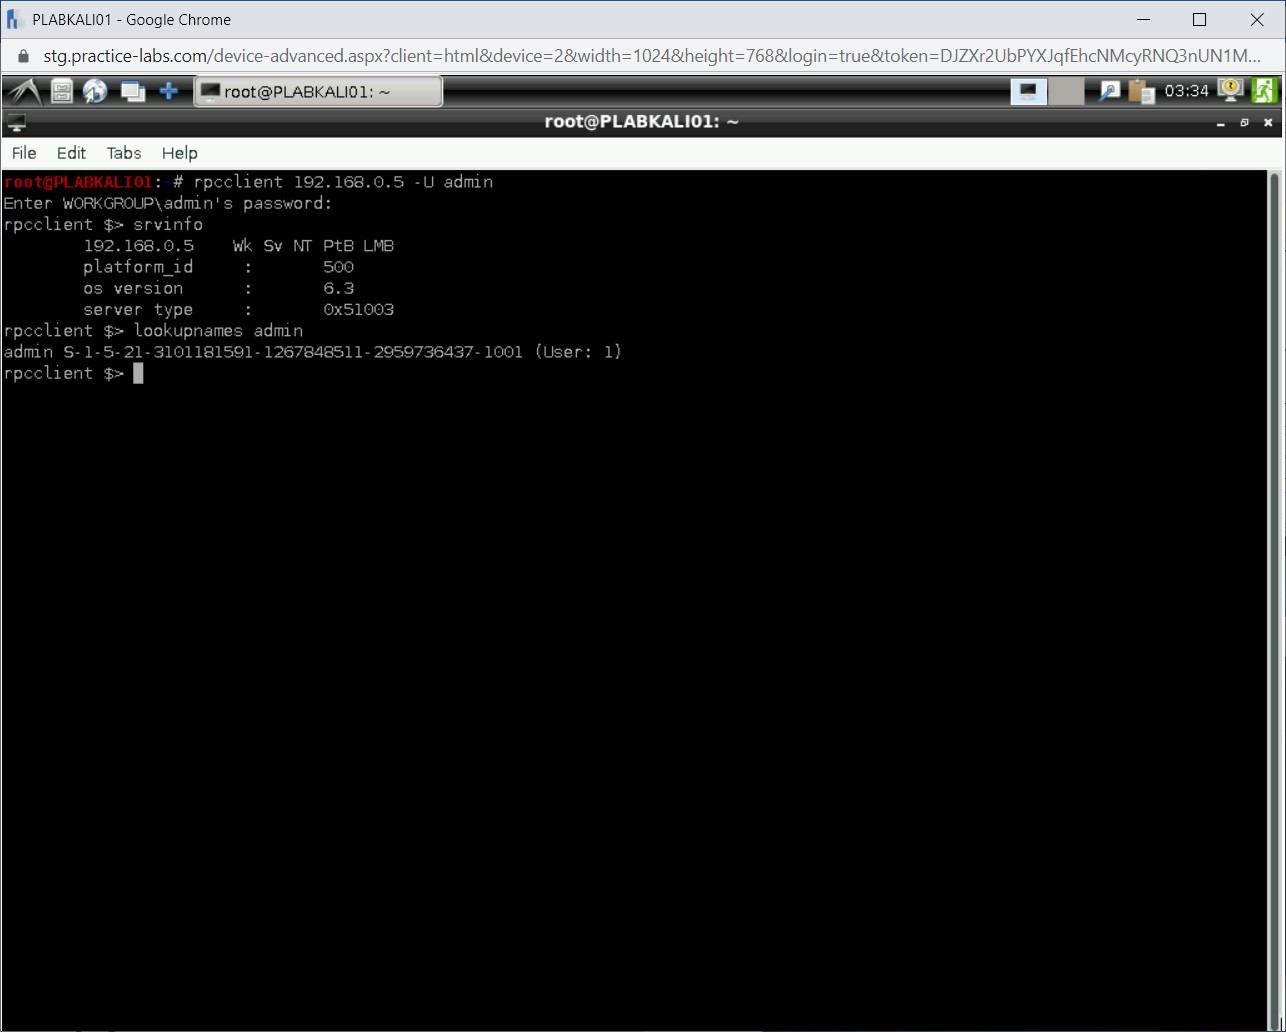
Step 8
To clear the screen, press Ctrl + l.
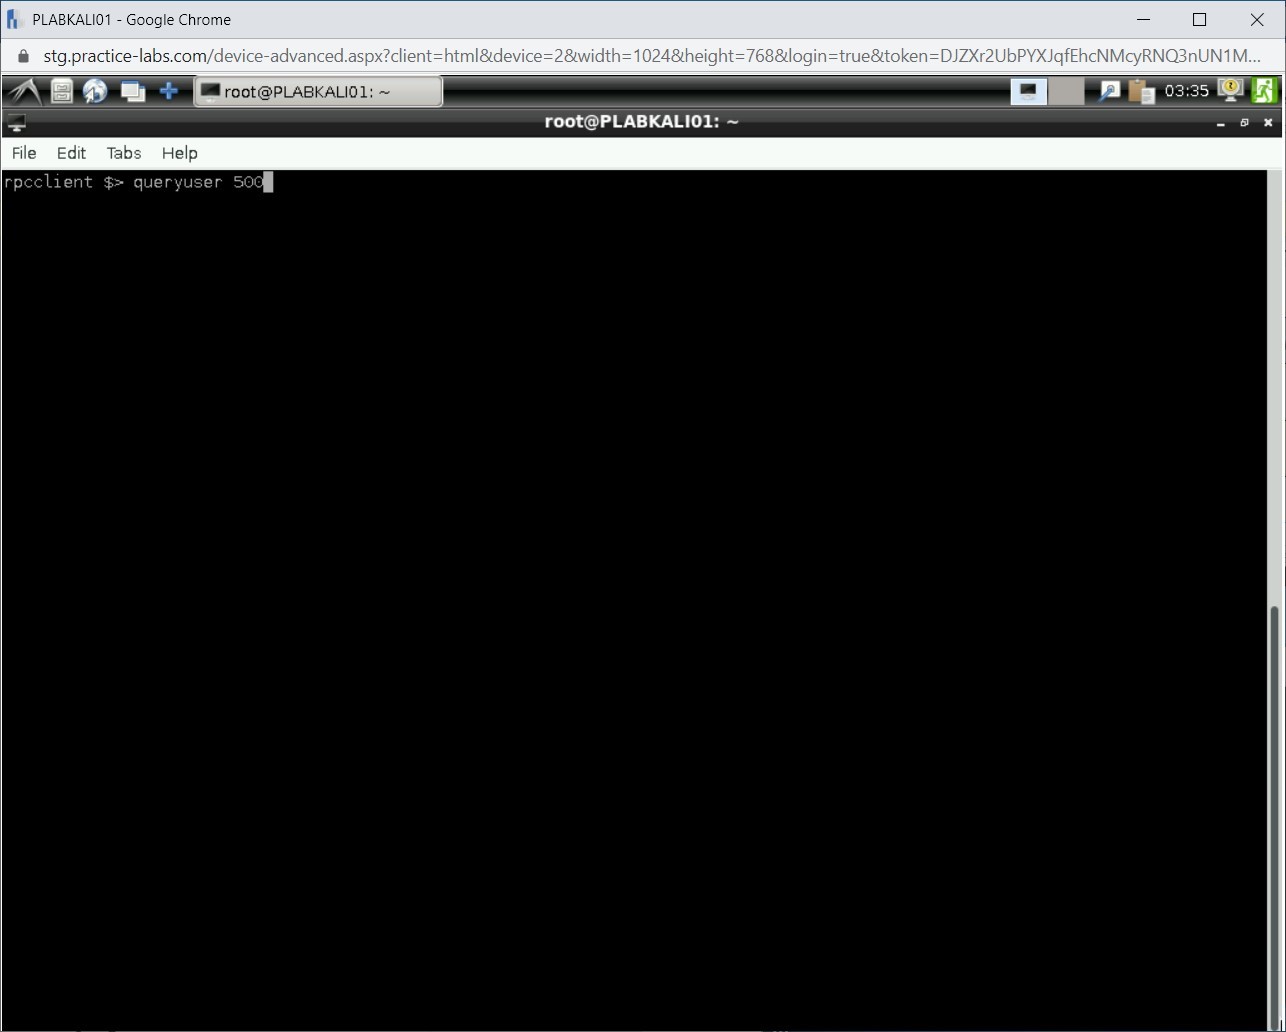
Note: The clear command does not work at the rpcclient prompt.Let’s query the SID 500. Type the following command:
queryuser 500
Press Enter.
Step 9
Notice that the information regarding SID 500 is displayed.
Note: You can scroll up to see the username for this SID. Even if the username was renamed, you would get to know it.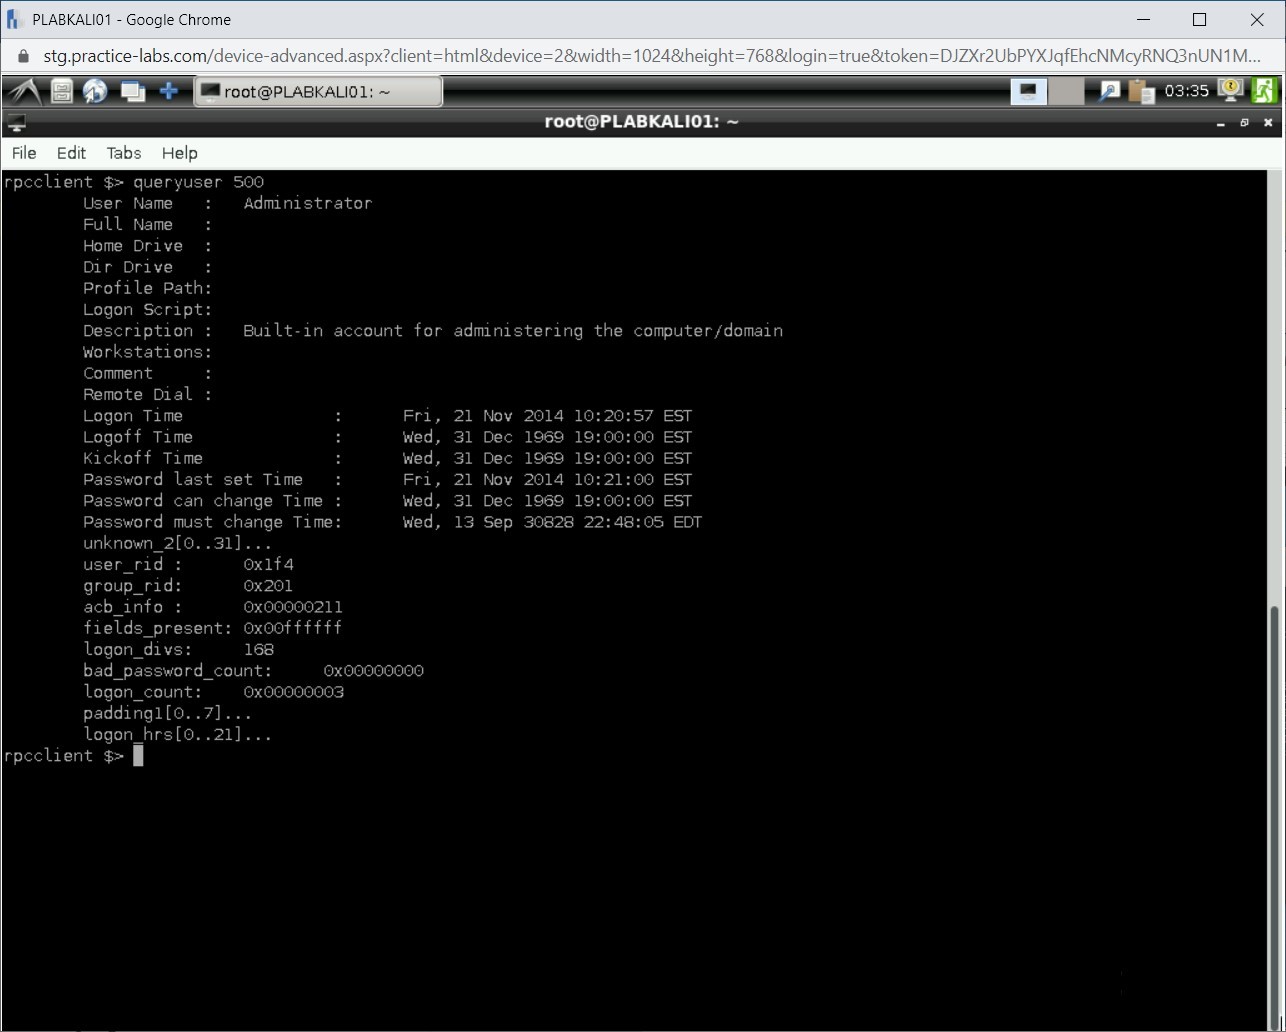
Step 10
To clear the screen, press Ctrl + l.
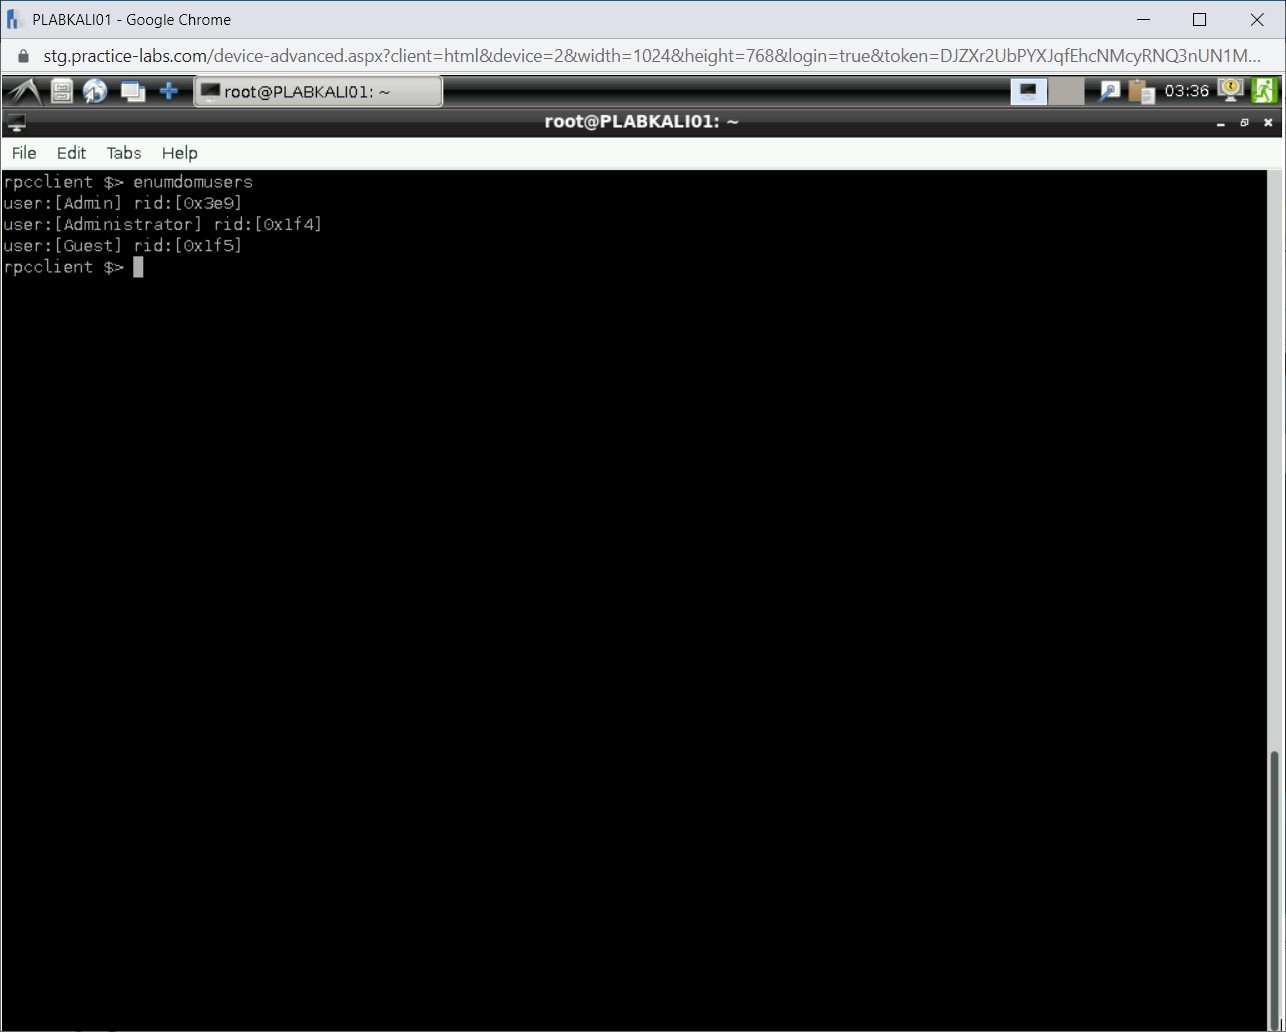
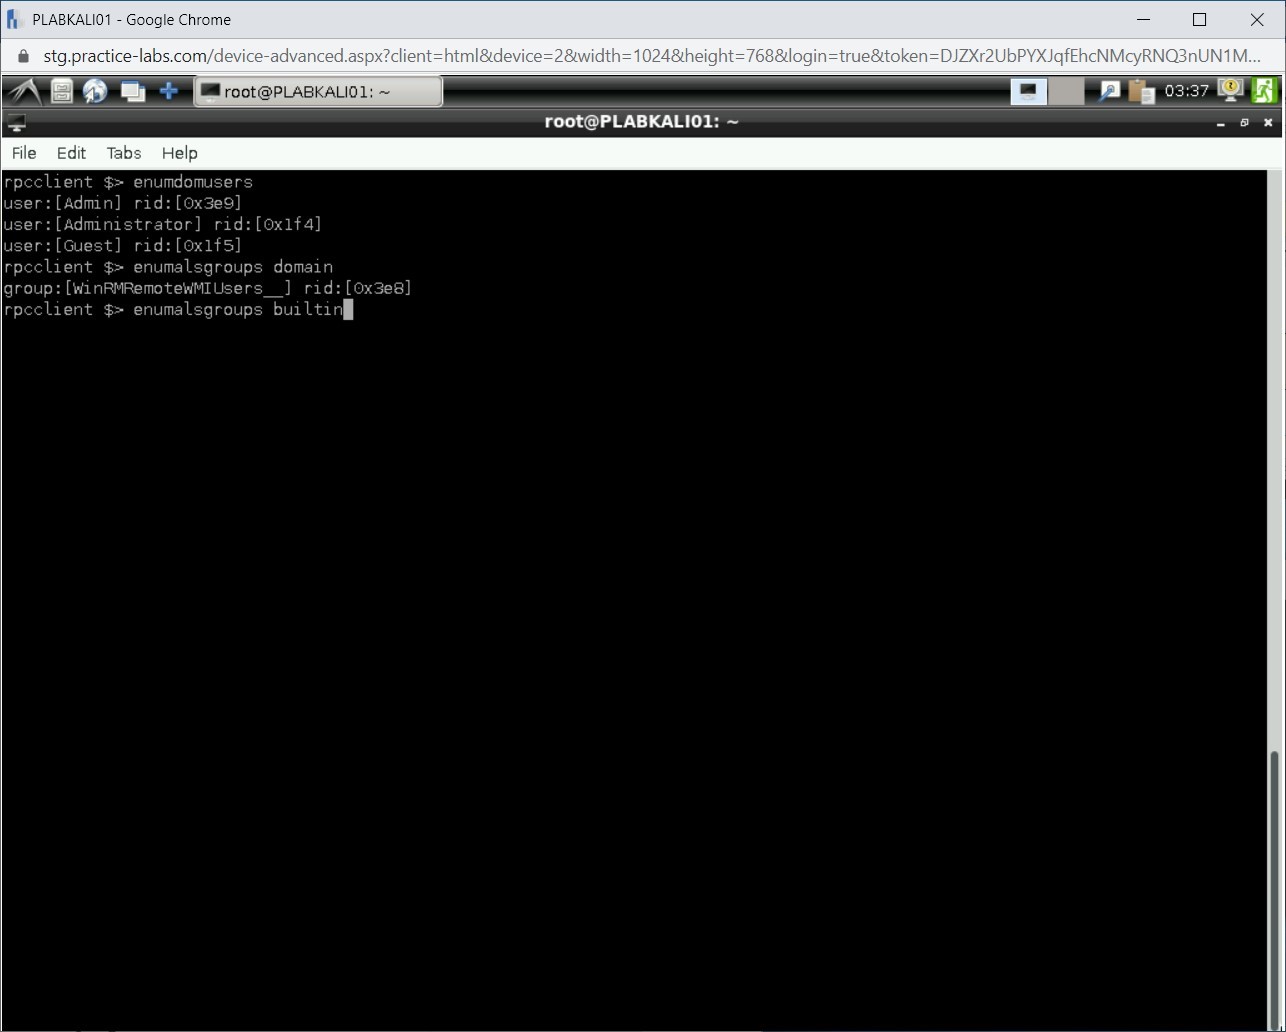
To enumerate users, type the following command:
enumdomusers
Press Enter.
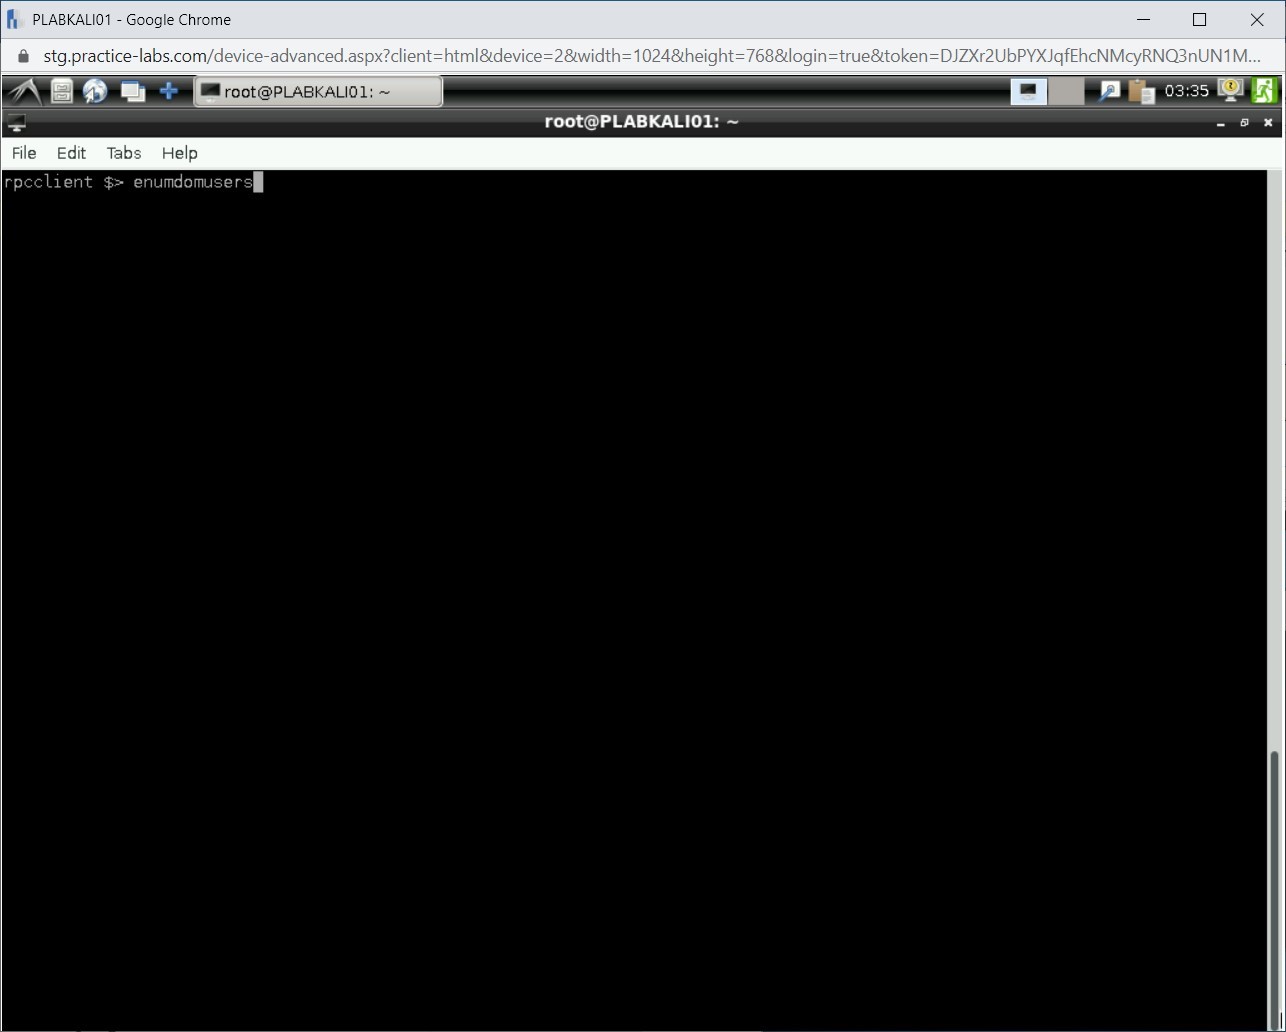
Step 11
Notice the list of users on the local system is displayed.
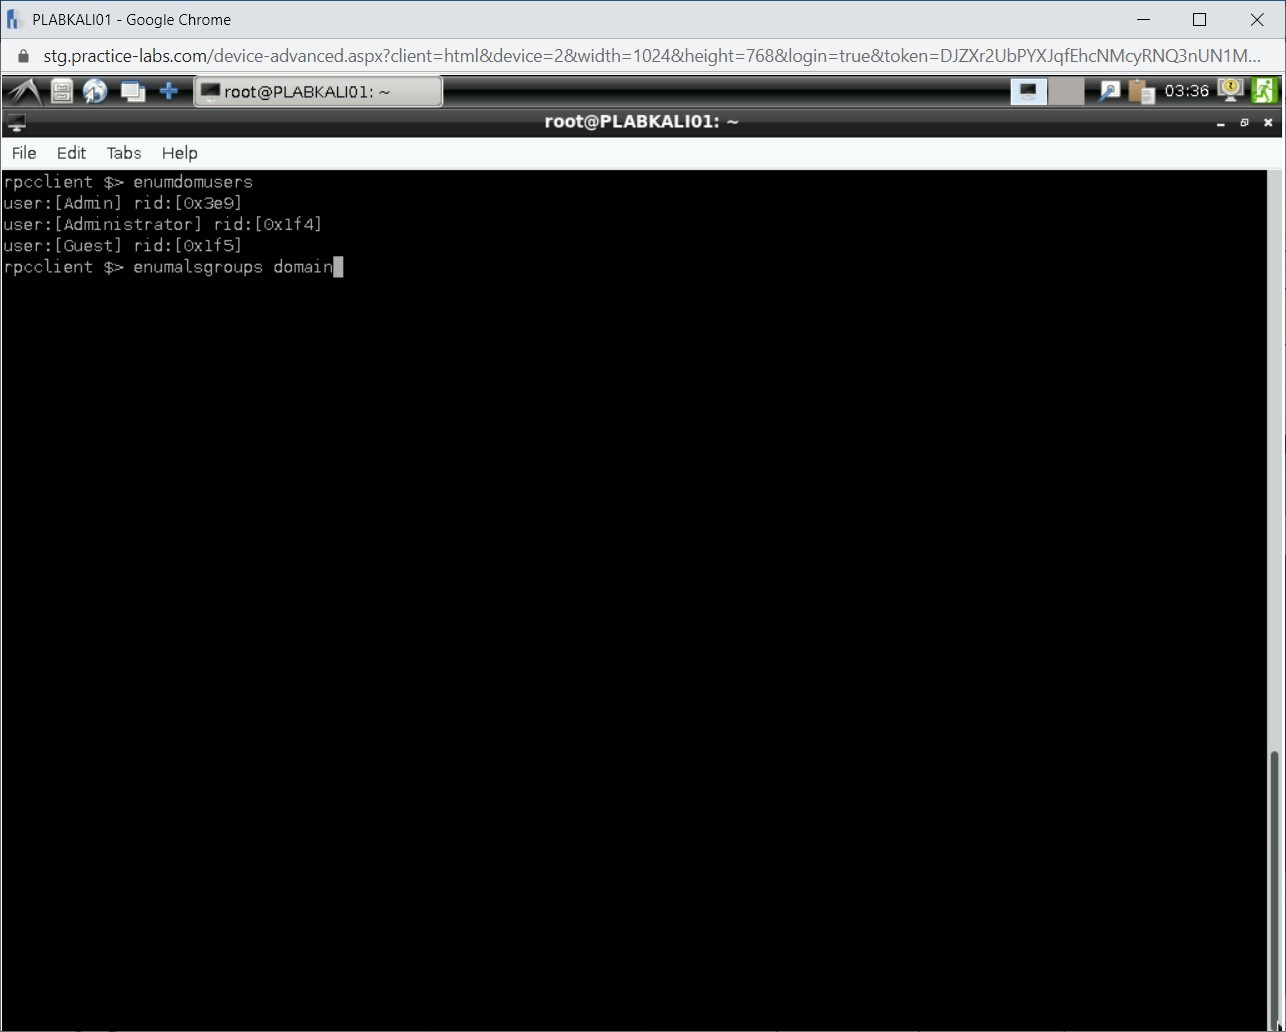
Step 12
To enumerate the domain groups, type the following command:
enumalsgroups domain
Press Enter.
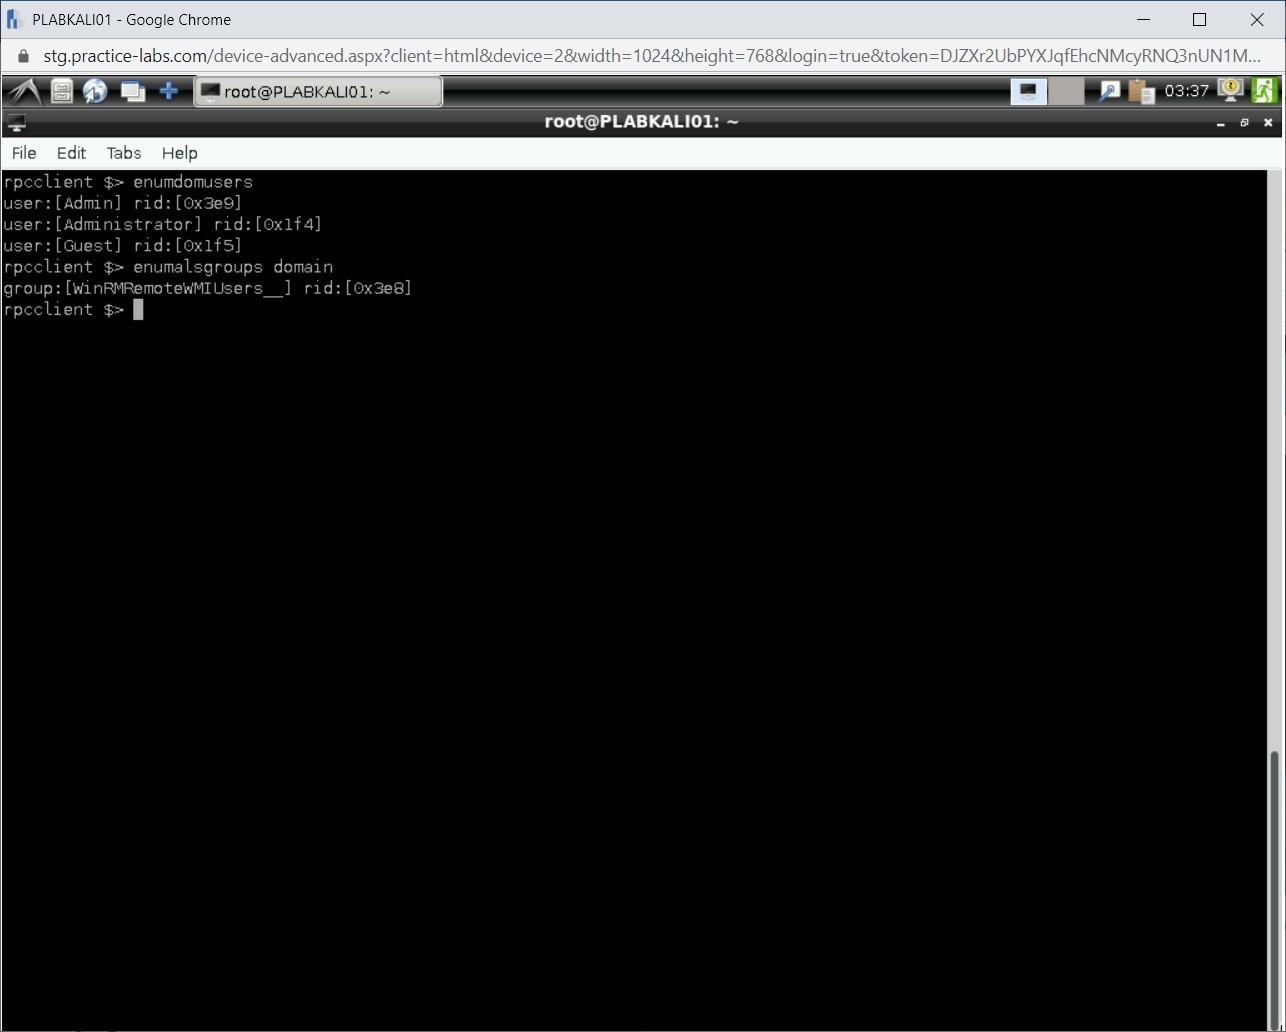
Step 13
The output of this command is displayed.
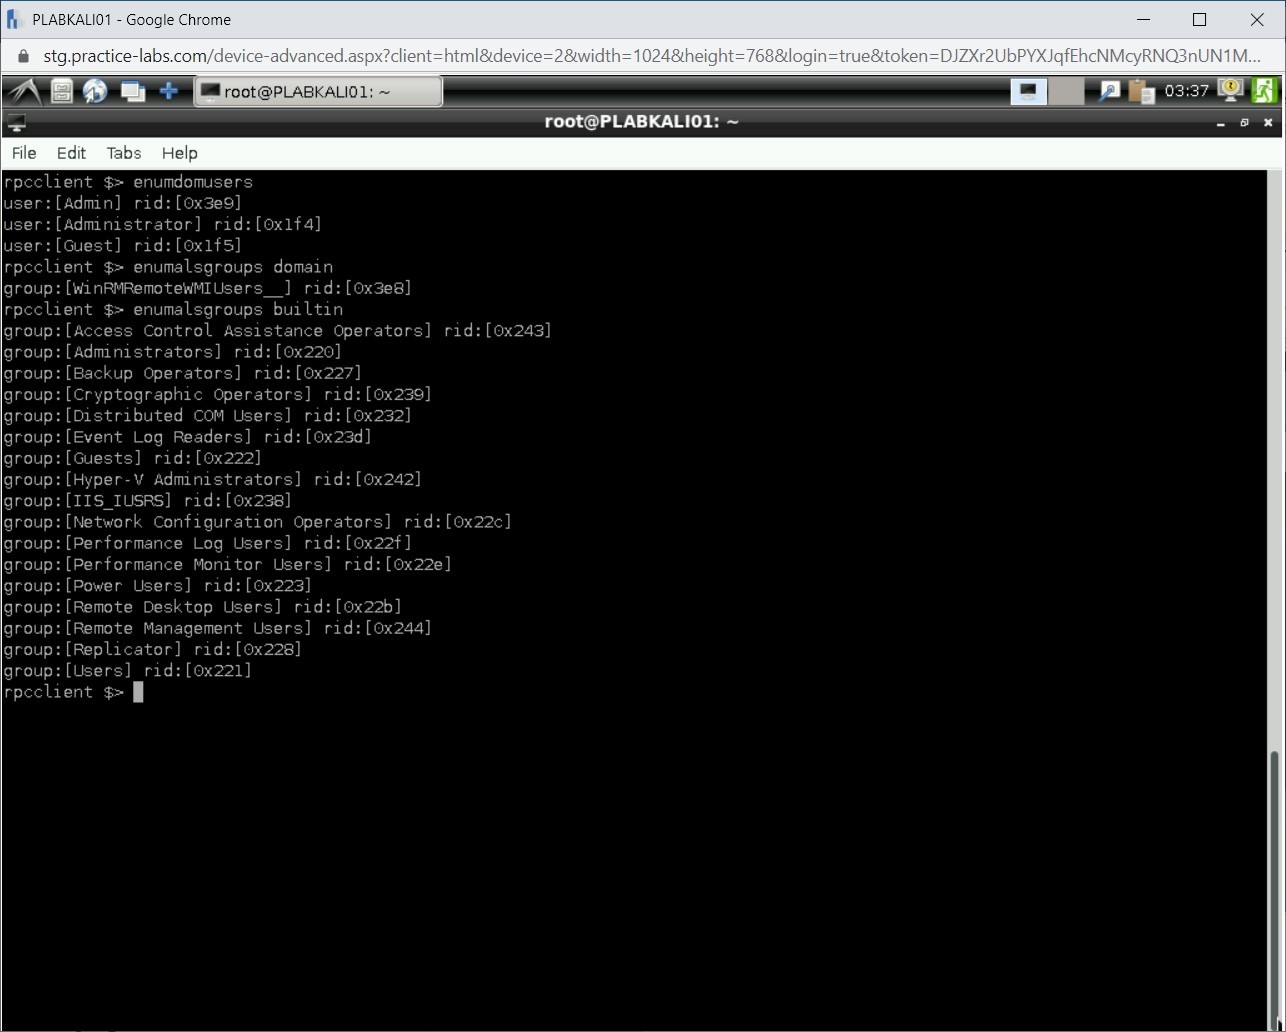
Step 14
Let’s now enumerate the builtin groups. Type the following command:
enumalsgroups builtin
Press Enter.
Step 15
Notice that the list of builtin groups is displayed.
Step 16
To clear the screen, press Ctrl + l.
You can also list the privileges that are known in this domain. Type the following command:
enumprivs
Press Enter.
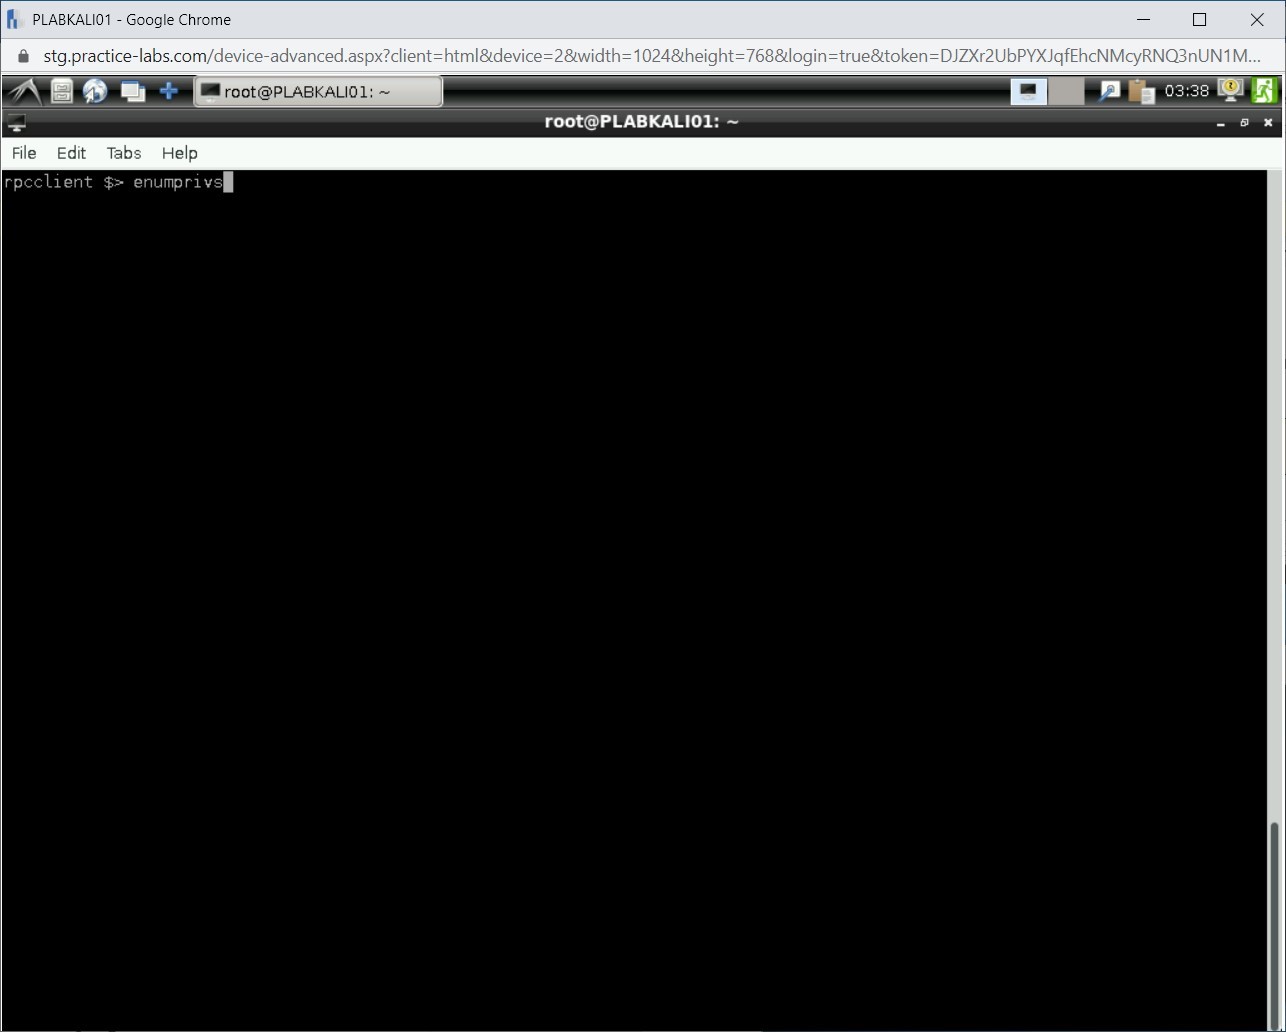
Step 17
The output for the enumprivs command is displayed.

Step 18
To clear the screen, press Ctrl + l.
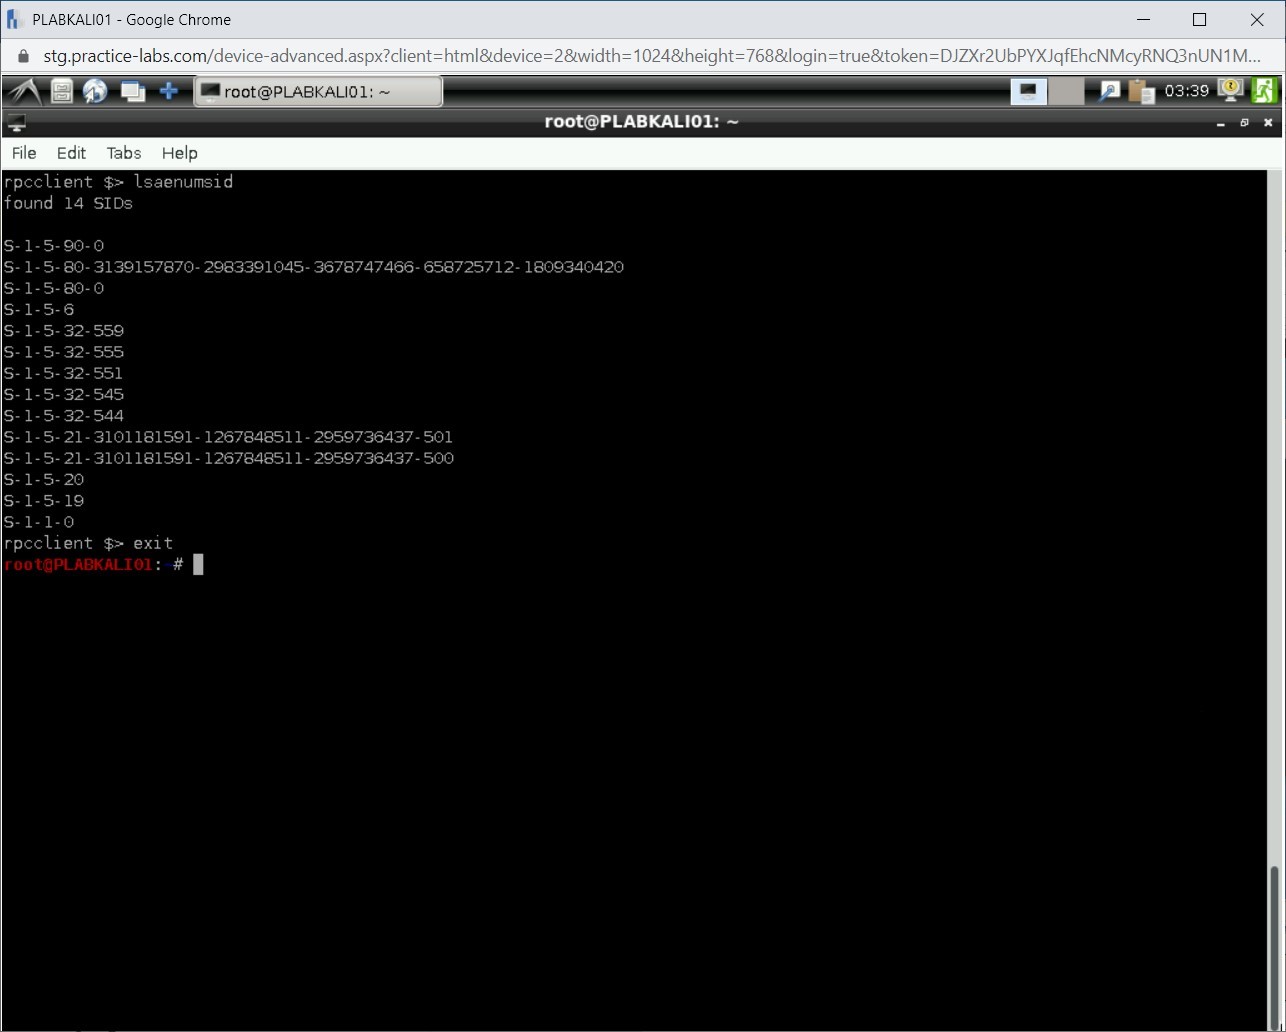
You can also list the SIDs for the local LSA. Type the following command:
lsaenumsid
Press Enter.

Step 19
Notice that the SIDs for the local LSA are now listed.

Step 20
To exit from the rpcclient, type the following command:
exit
Press Enter.

Step 21
You are now back on the terminal prompt.
Task 4 - Perform Linux Host Enumeration using Nmap
Just like Windows, you can also perform Linux host enumeration. Linux also offers several built-in commands that can be useful in the enumeration. Some of the key commands are:
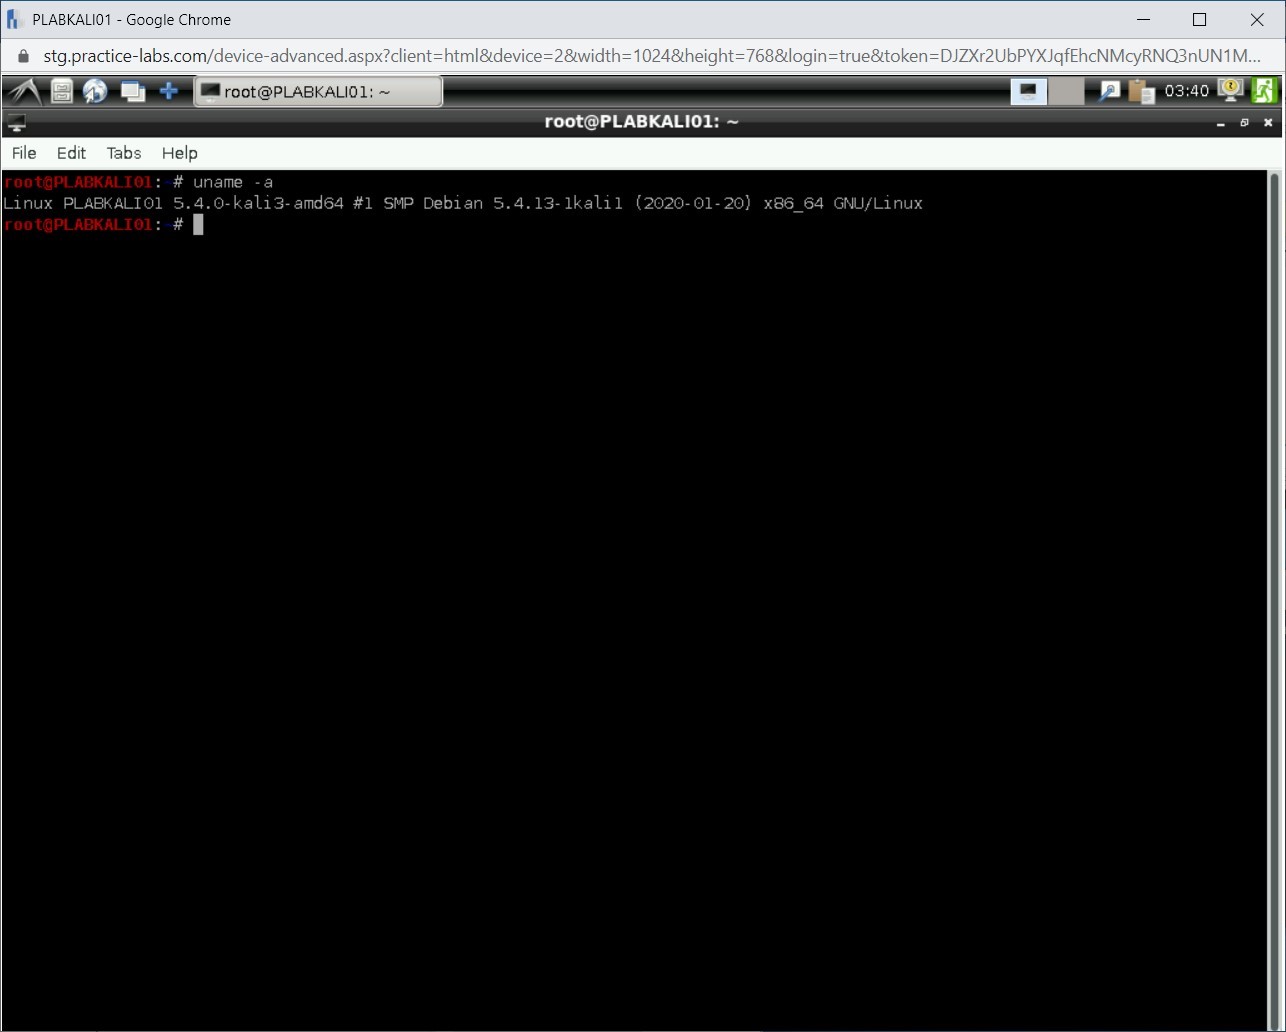
- uname -a
- hostname
- route
- arp
- ifconfig
- mount
- whoami
An example of the uname -a command:
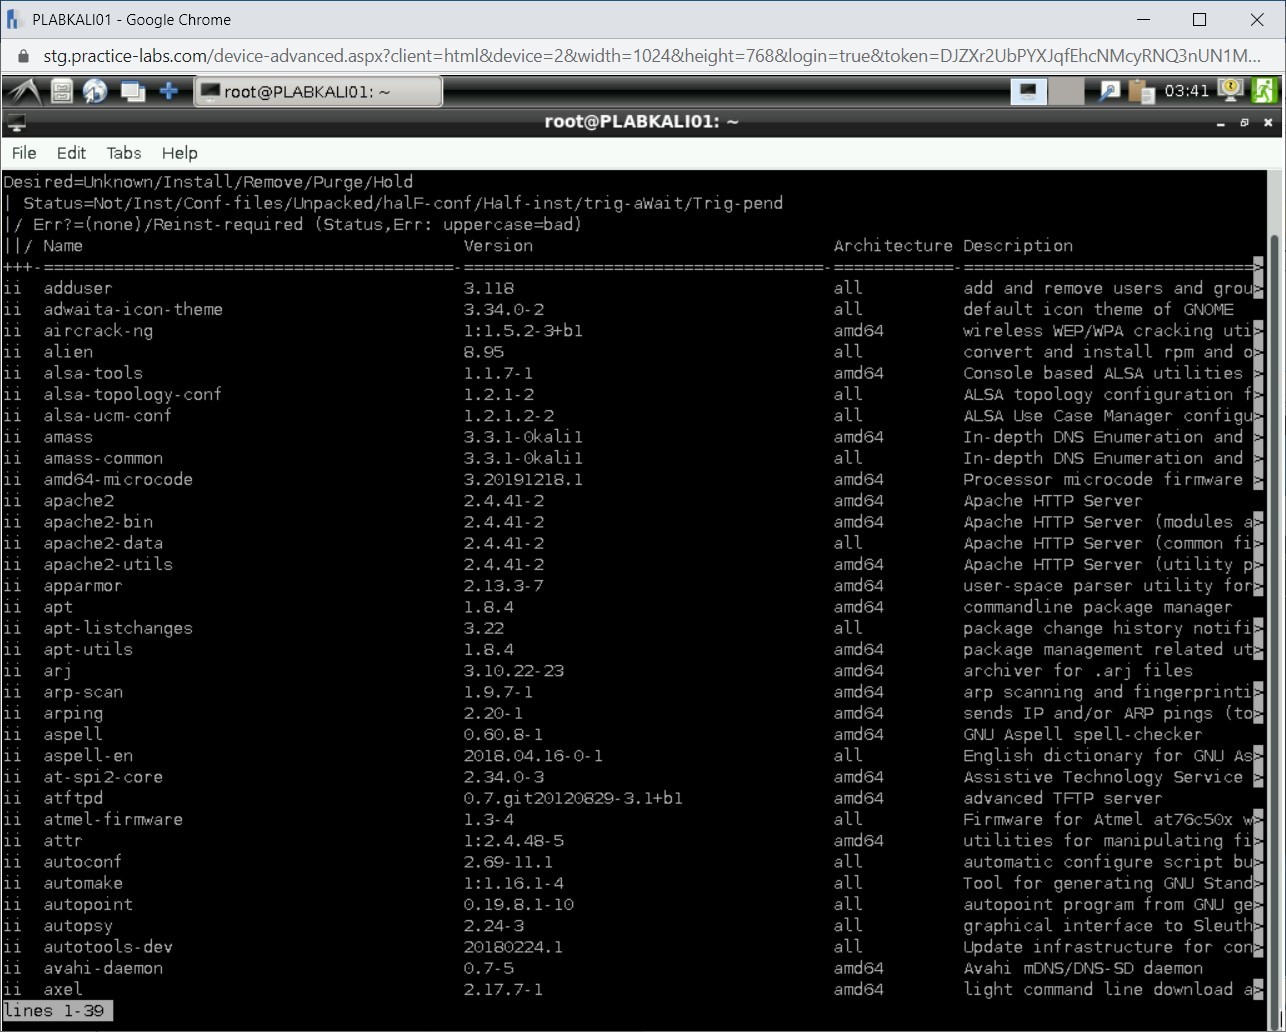
In a situation where you are inside the system and want to find information about the installed packages, you can run the dpkg command.
An example of dpkg -l command:
In this task, you will use nmap to enumerate a Linux host. To do this, perform the following steps:
Step 1
Ensure you have powered on all the devices listed in the introduction and connect to PLABKALI01.
Clear the screen by entering the following command:
clear
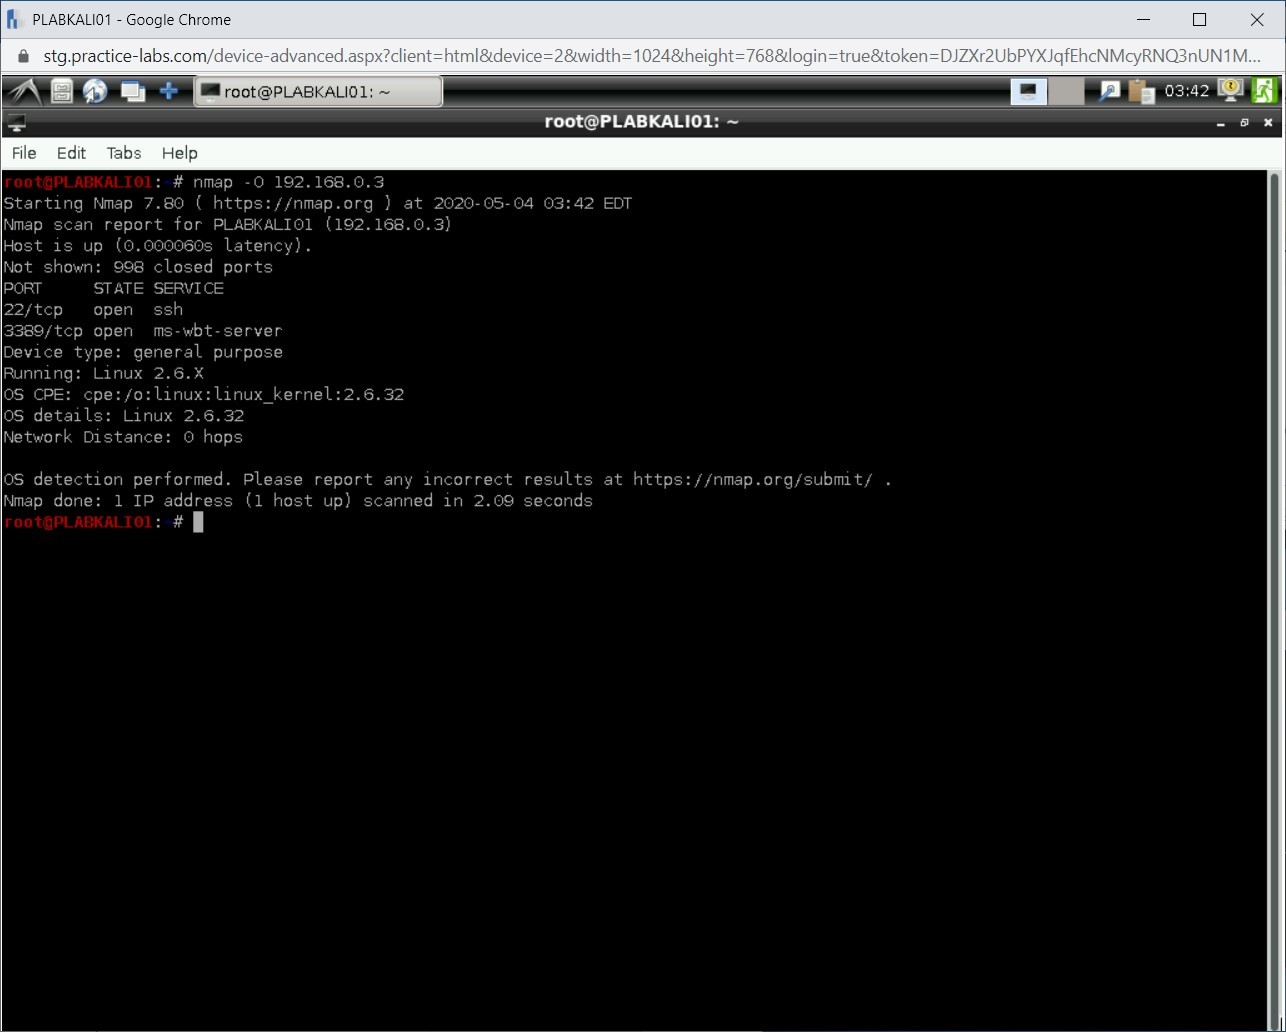
You will first perform operating system detection. Type the following command:
nmap -O 192.168.0.3
Press Enter.

Step 2
Notice that the output provides several pointers. It lists the open ports along with the operating system and kernel version.
Step 3
Clear the screen by entering the following command:
clear
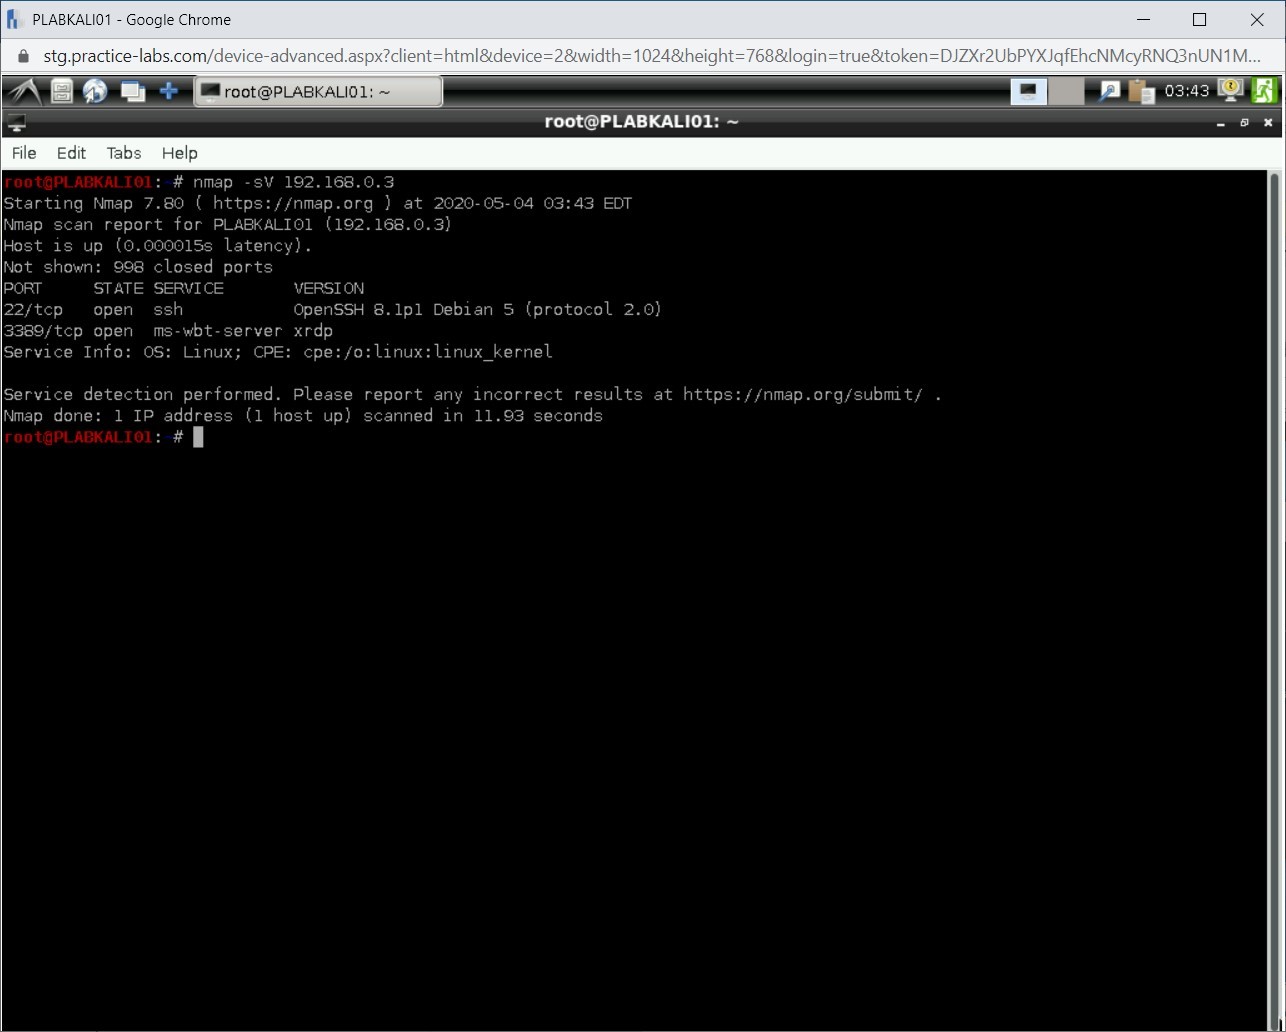
You can perform detailed enumeration, such as list the running services on a Linux host. Type the following command:
nmap -sV 192.168.0.3
Press Enter.

Step 4
Notice the output lists the open ports, running services, and their versions.
Step 5
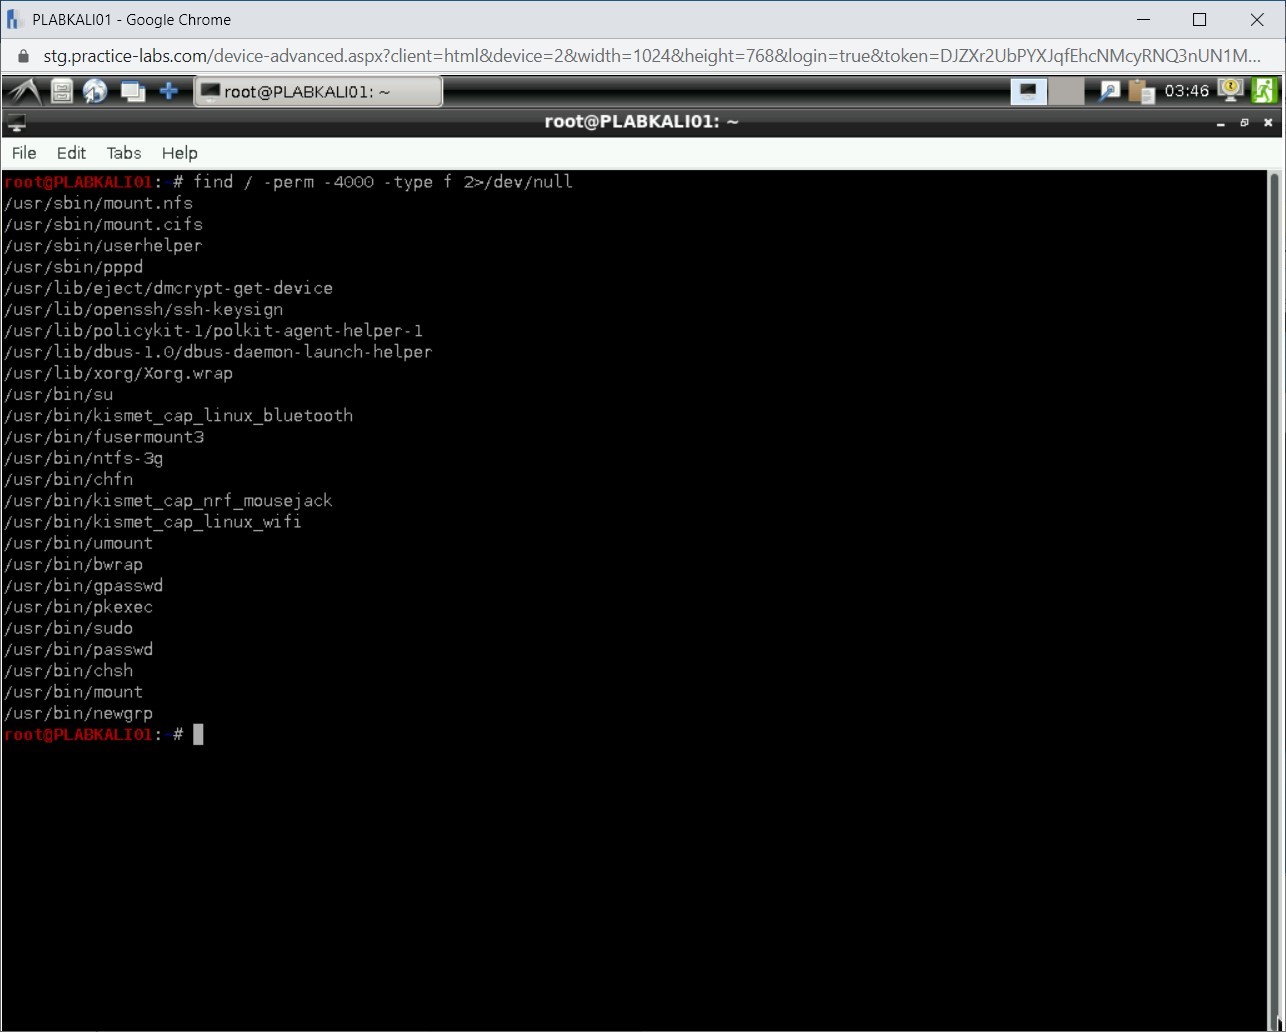
You can also use several built-in commands to extract information that can be useful in penetration testing. For example, you can find all SUID files. To do this, type the following command:
find / -perm -4000 -type f 2>/dev/null
Press Enter.
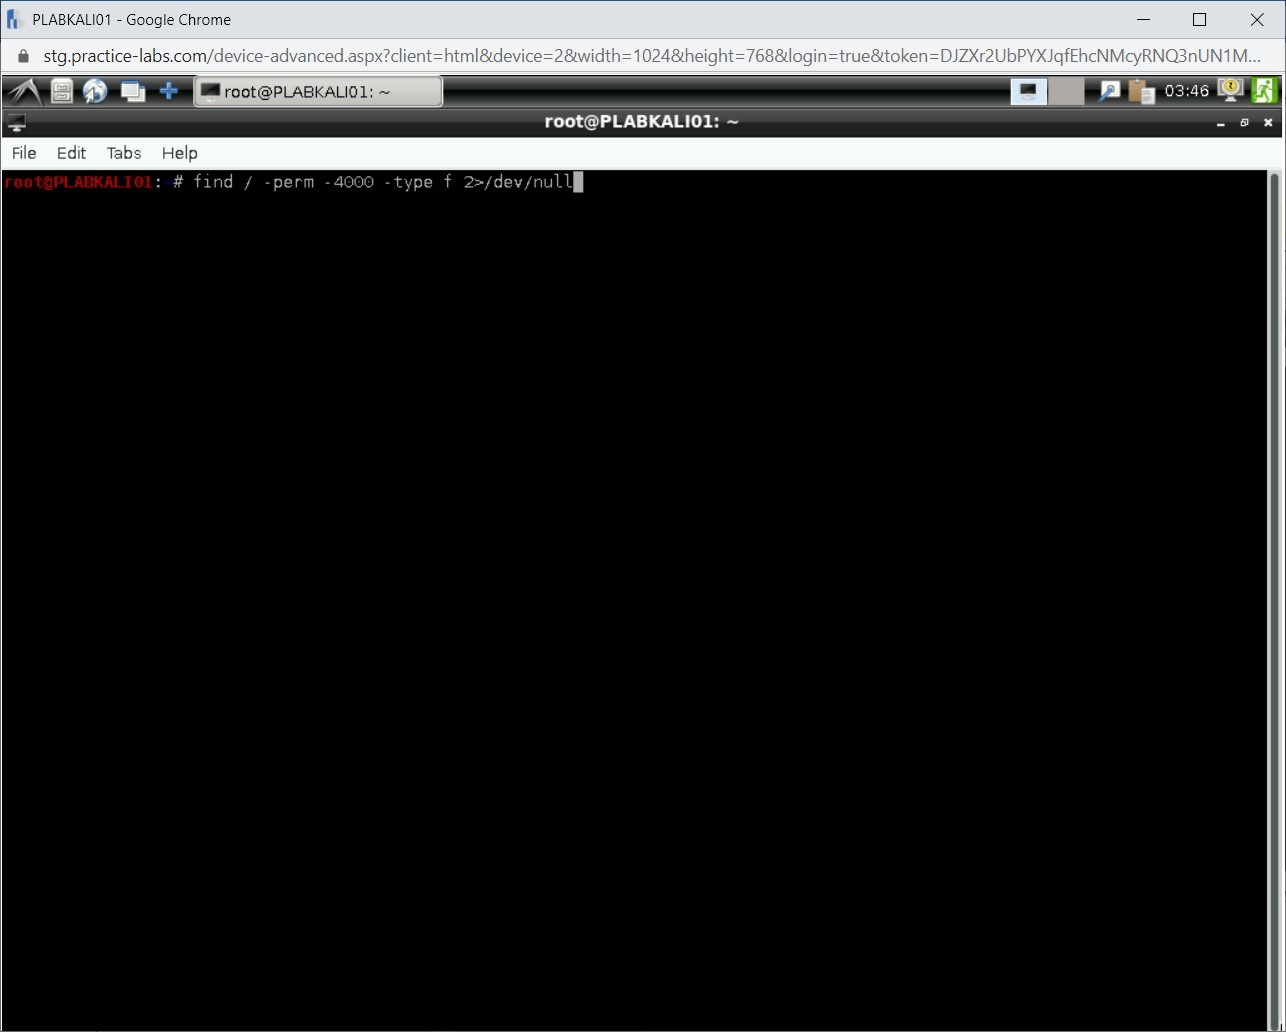
Step 6
The output lists several files.
Step 7
Clear the screen by entering the following command:
clear
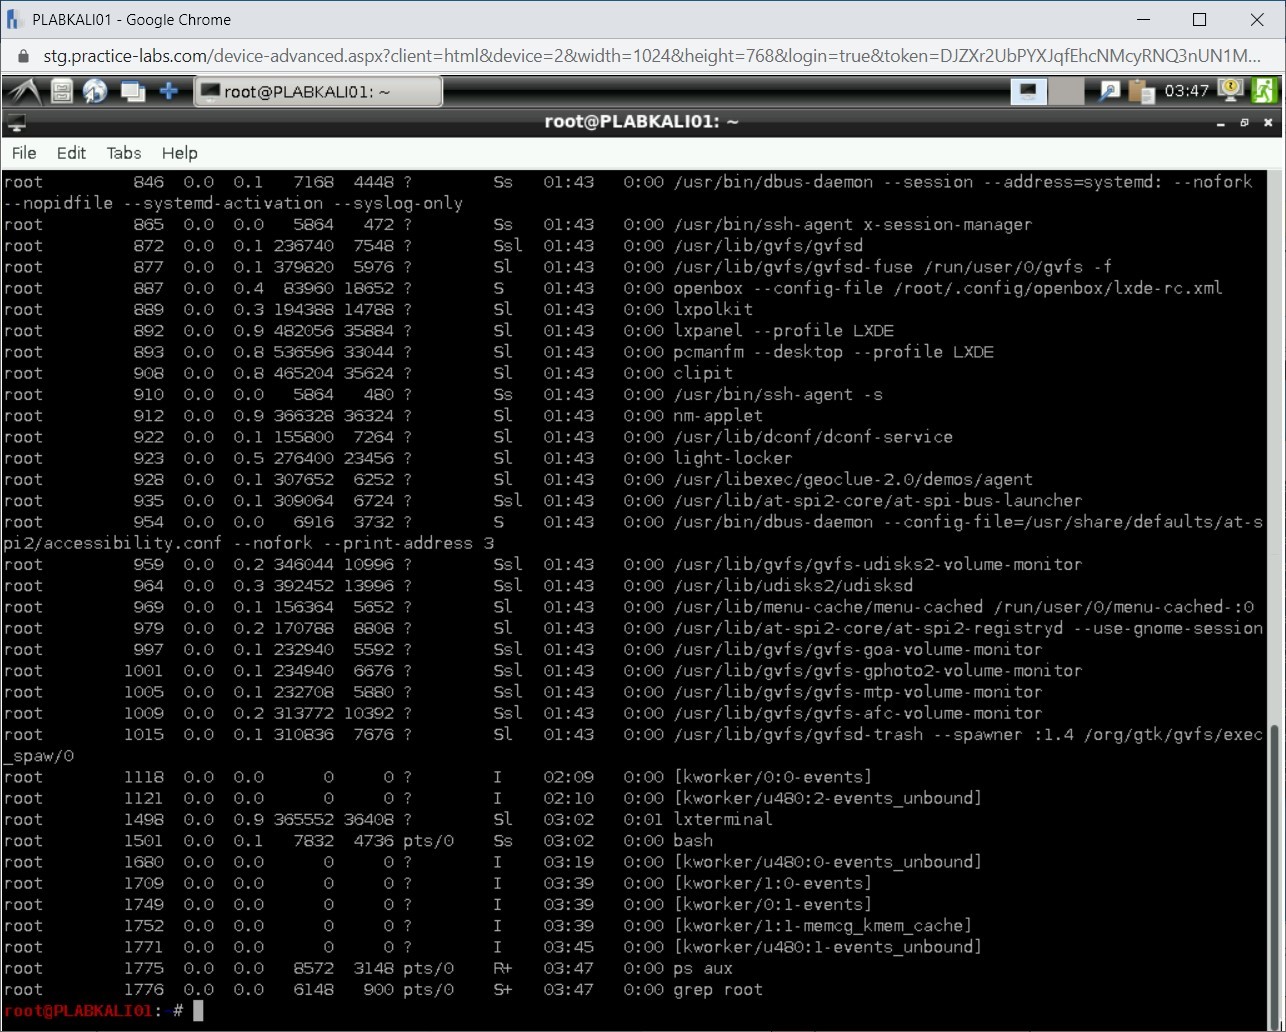
You might also want to list services that are running as root. Type the following command:
ps aux | grep root
Press Enter.

Step 8
A set of services is listed as the output.
Task 5 - Enumerate Web Applications using Wafw00f
A hacker may want to analyze the Web application before launching an attack. wafw00f is a useful tool to find out whether the application is behind a firewall. Accordingly, the attacker may decide the next course of action.
To use wafw00f, perform the following steps:
Step 1
Ensure you have powered on all the devices listed in the introduction and connect to PLABKALI01.
Clear the screen by entering the following command:
clear
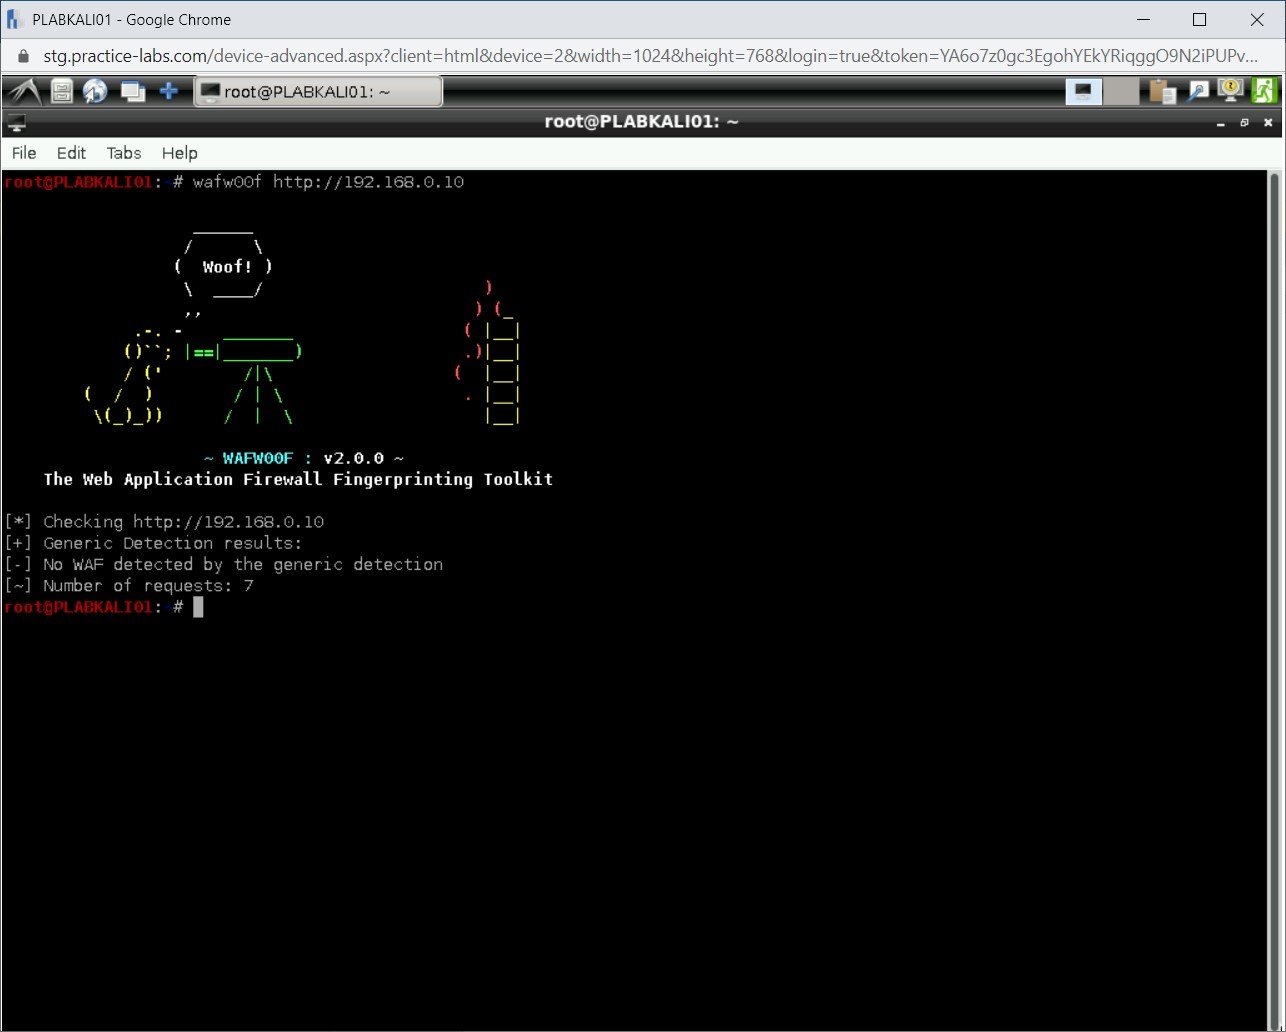
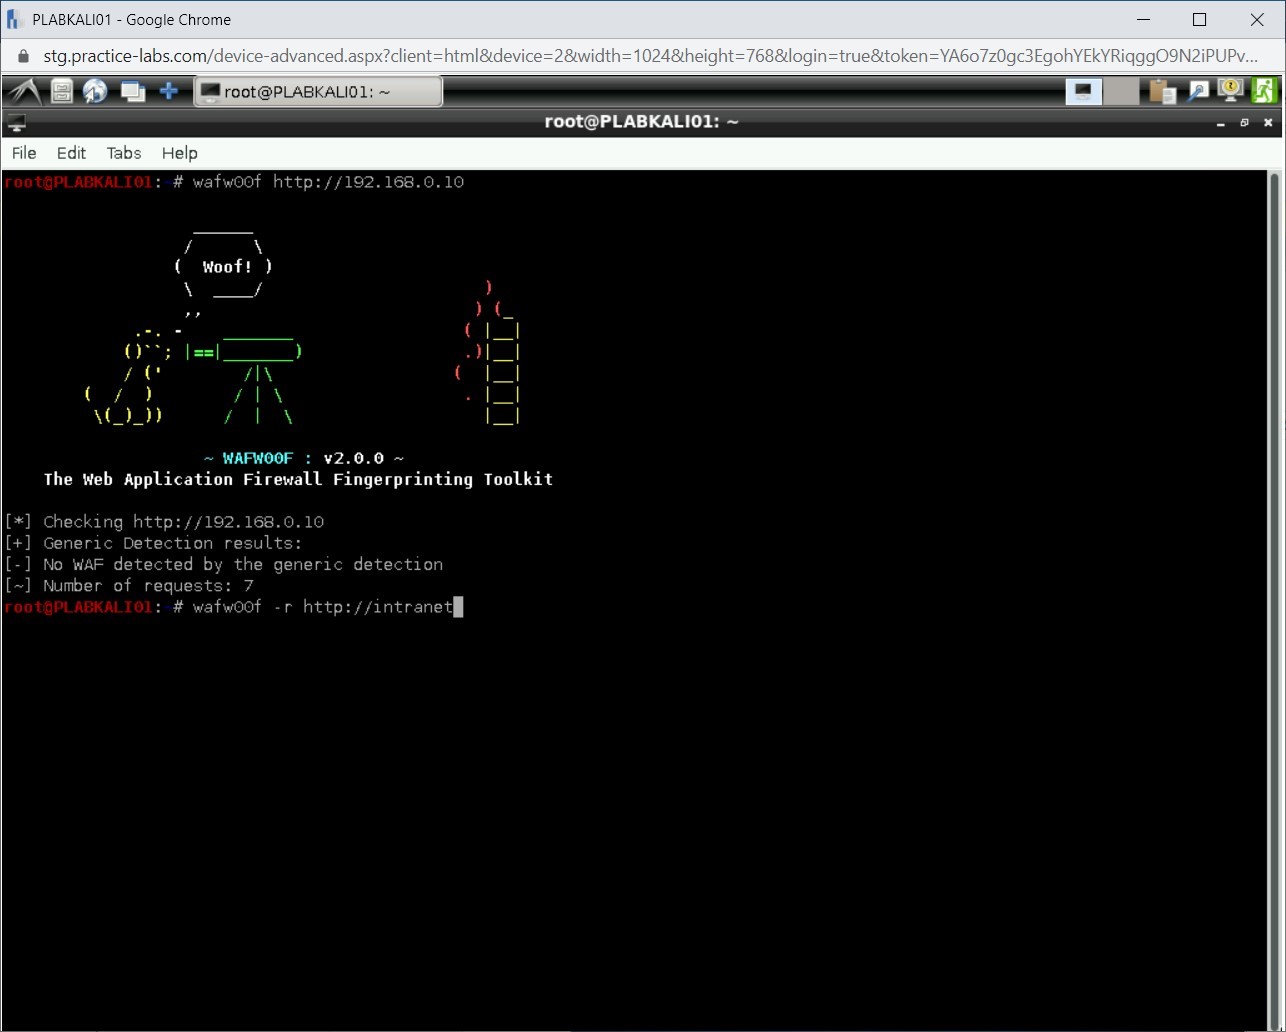
You will attempt to find out whether a Web application is behind the Web Application Firewall (WAF). You will use a tool named wafw00f for this purpose. Type the following command:
wafw00f http://192.168.0.10
Press Enter.

Step 2
Notice that no WAF has been detected.
Step 3
Let’s try another Website. Type the following command:
wafw00f -r http://intranet
Press Enter.
Step 4
Notice that the output has detected a WAF.
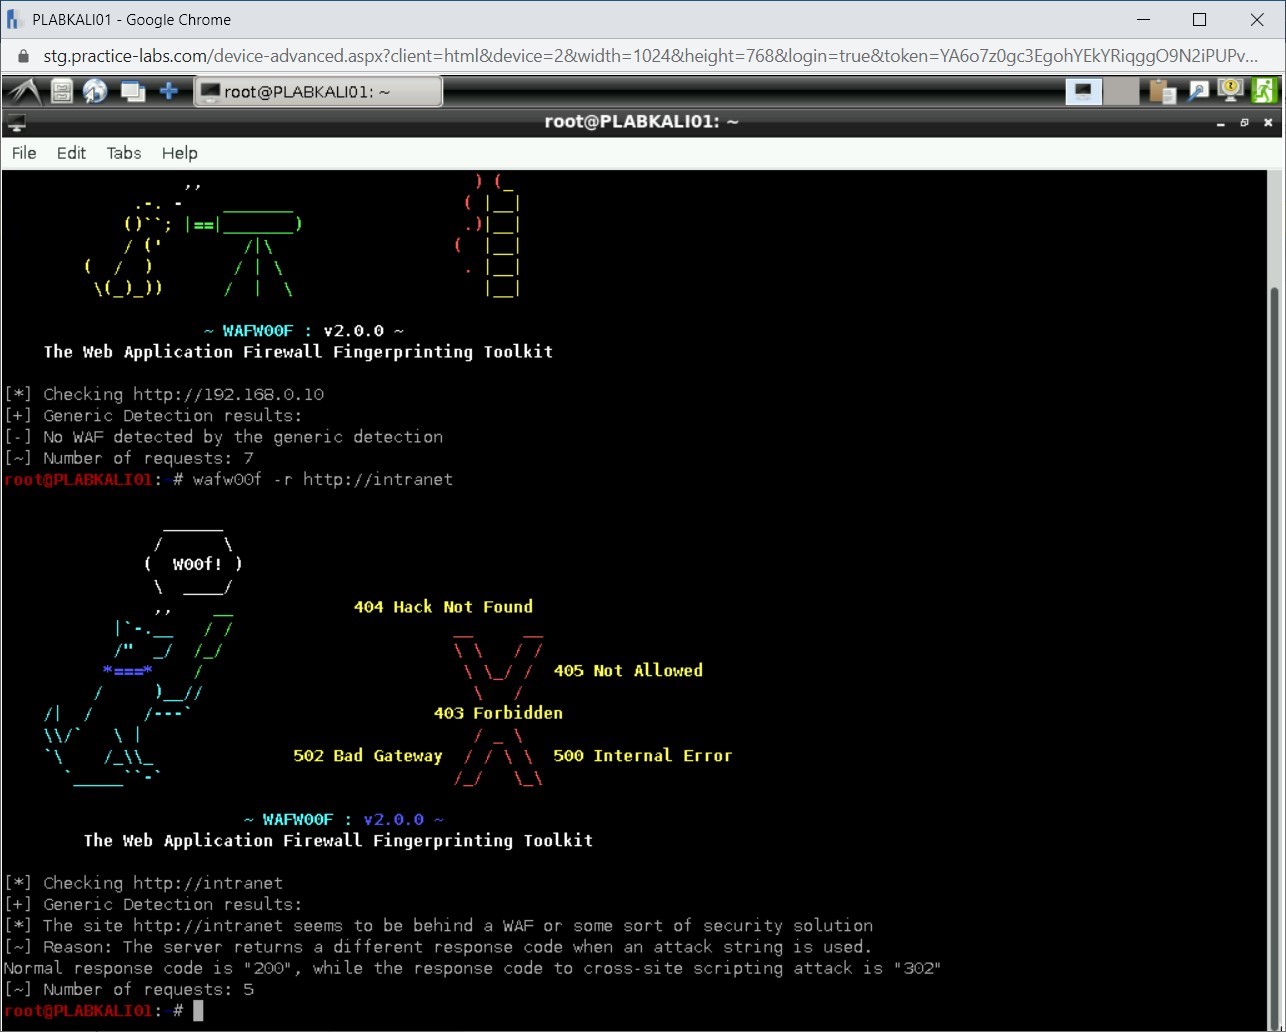
Close the terminal window.
Task 6 - Enumerate a Web server using HTTPrint
Other than using the command line tools, you can also use HTTPrint to enumerate a Web server. In this task, you will learn to use HTTPrint.
Note: HTTPrint can be downloaded from www.net-square.com/httprint.htmlTo use HTTPrint, perform the following steps:
Step 1
Ensure you have powered the required devices. Connect to PLABWIN810.
Step 2
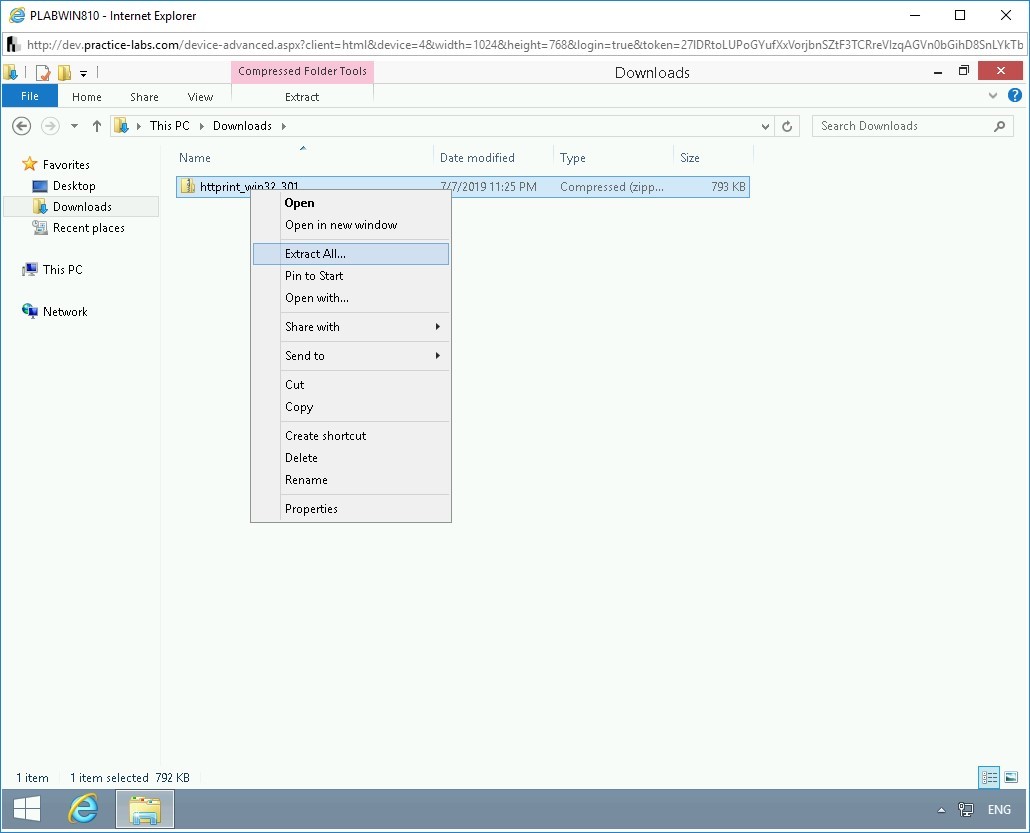
Open File Explorer and navigate to the Downloads folder. The HTTPrint tool is already downloaded for you.
You will need to extract the files from the zip file.
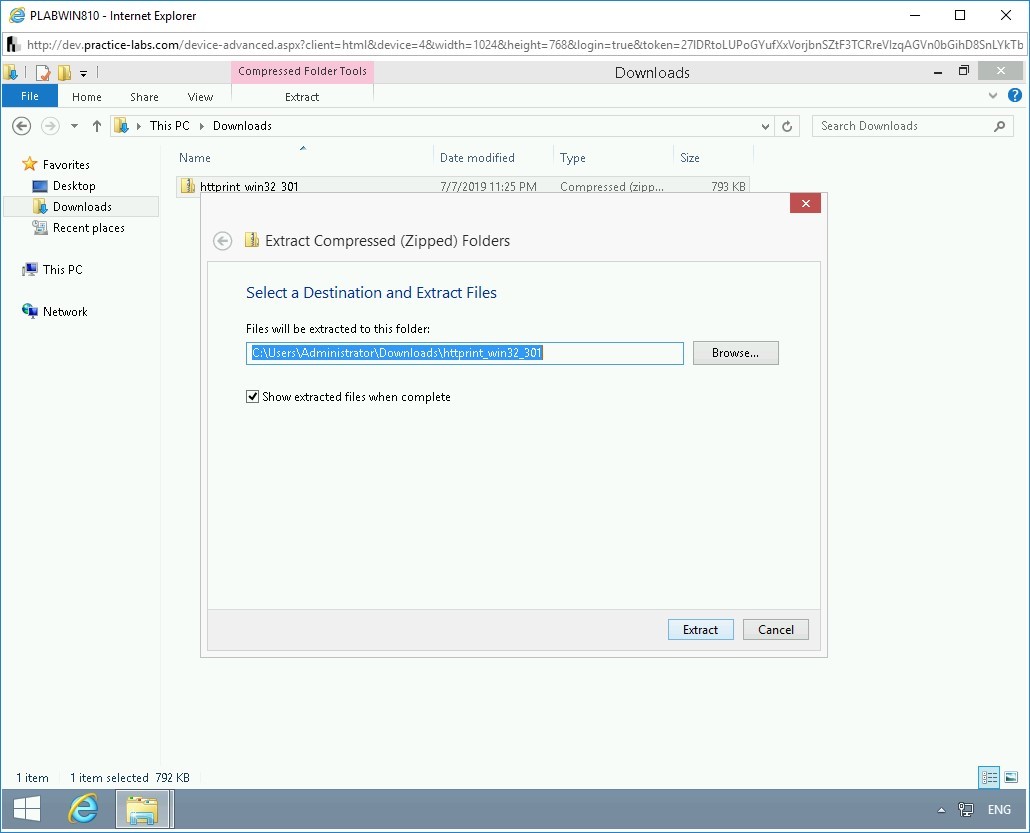
Alert: If you run HTTPrint from the zip file, then it will not be able to load the signature file.Right-click httprint_win32_301 and select Extract All.
Step 3
The Extract Compressed (Zipped) Folders dialog box is displayed. Keep the default path and click Extract.
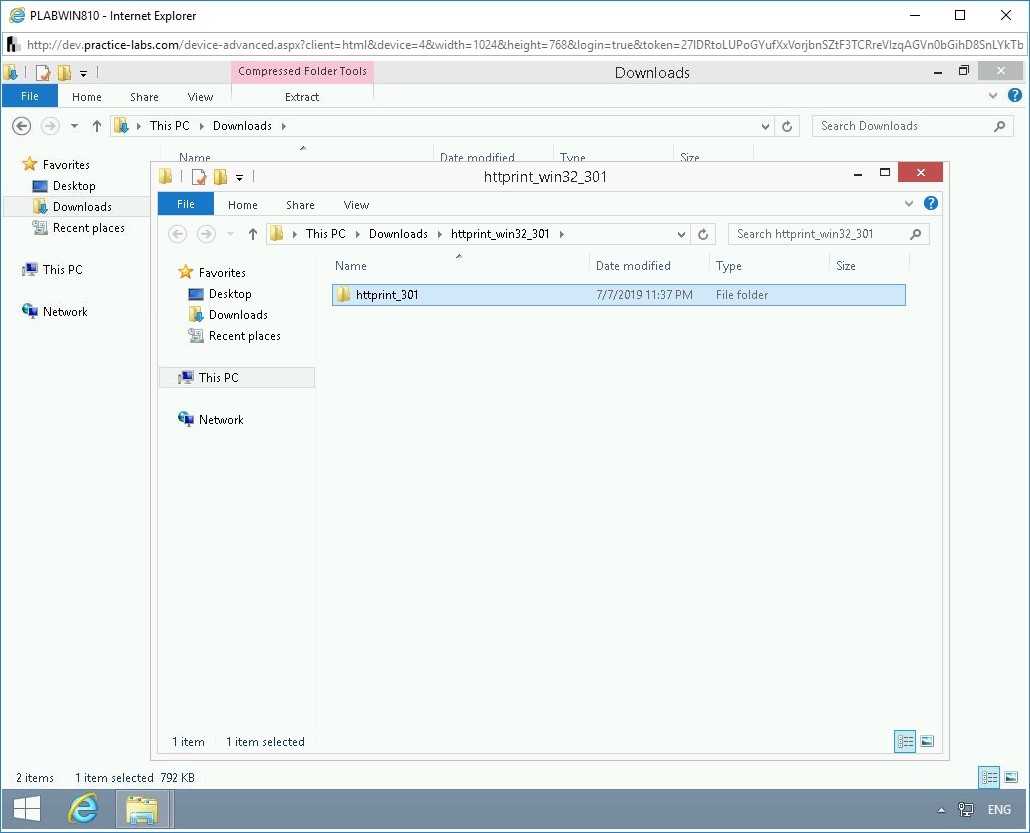
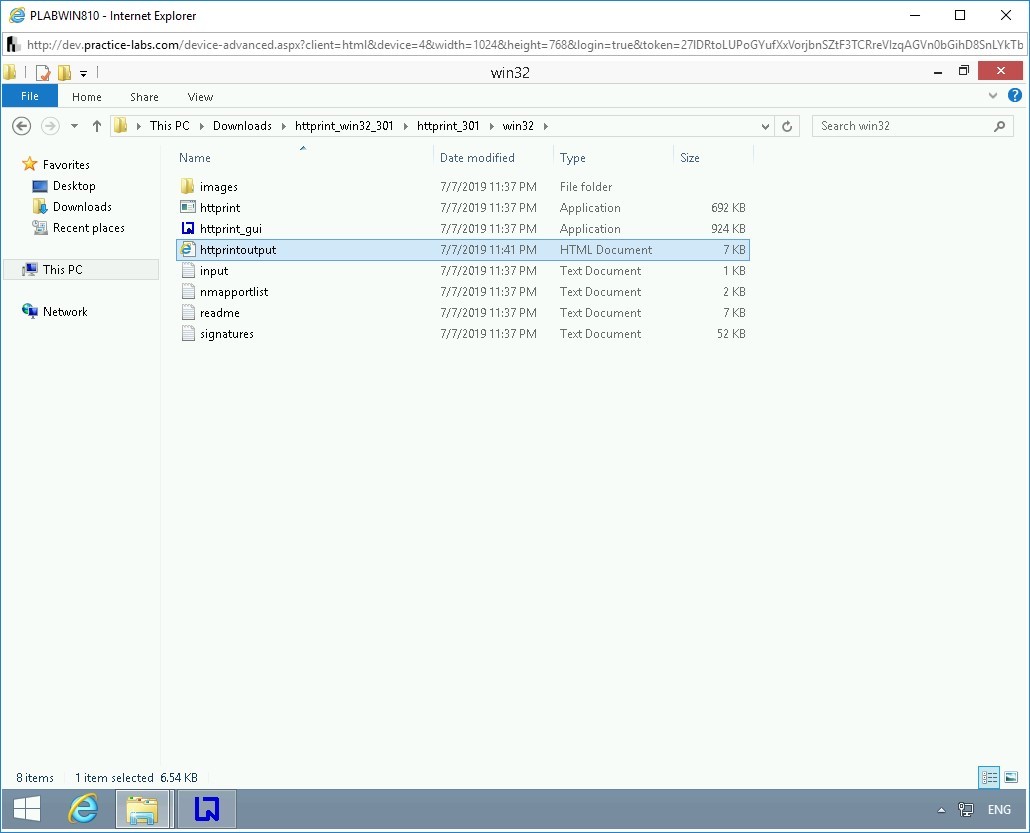
Step 4
Notice that a new File Explorer window is opened. Double-click the httprint_301 folder.
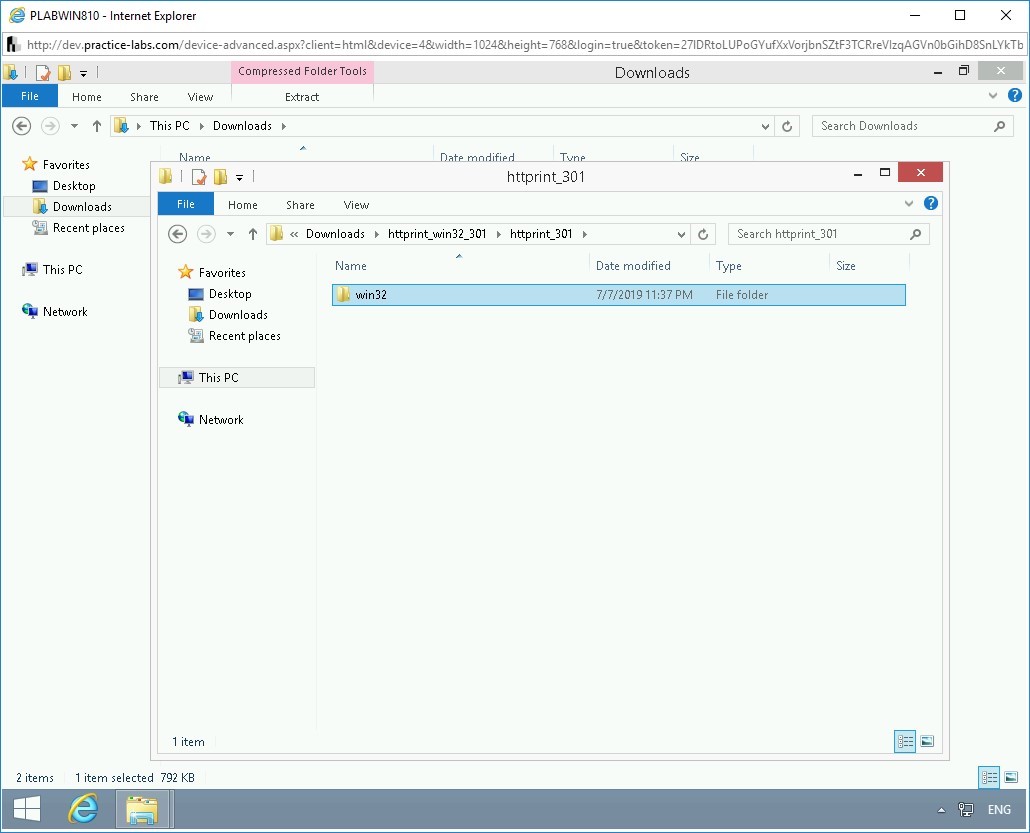
Step 5
Double-click the win32 folder.
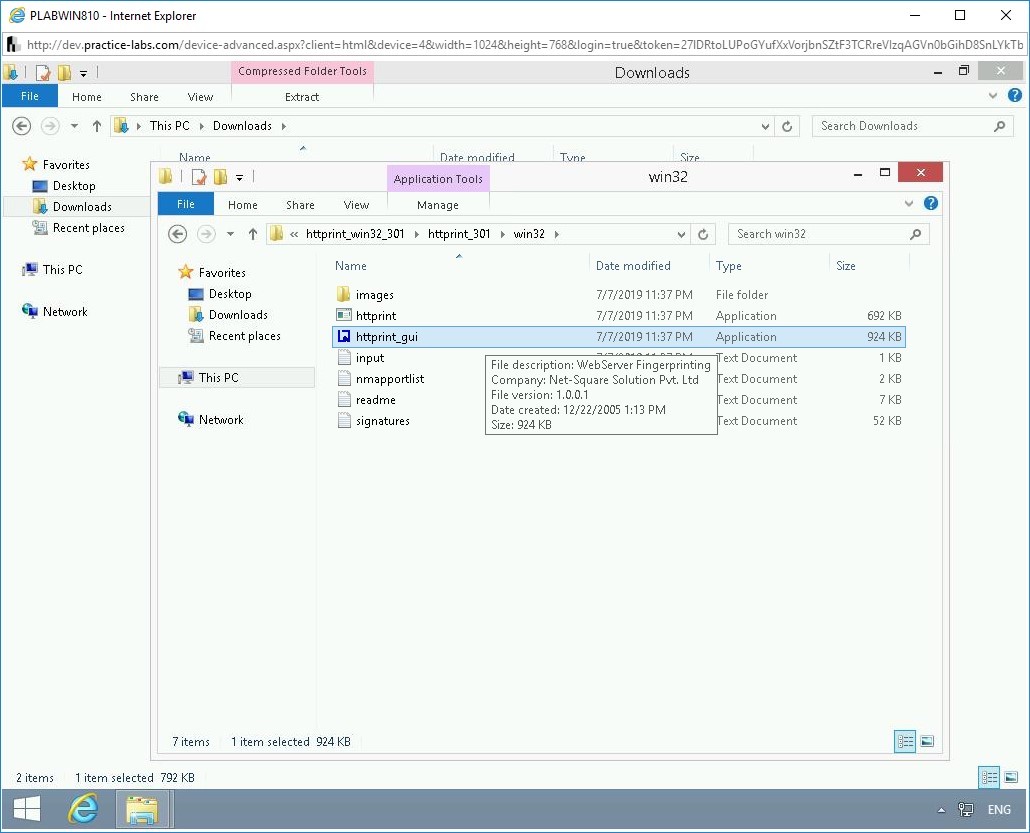
Step 6
You are now in the httprint_301\win32 folder. Double-click httprint_gui.
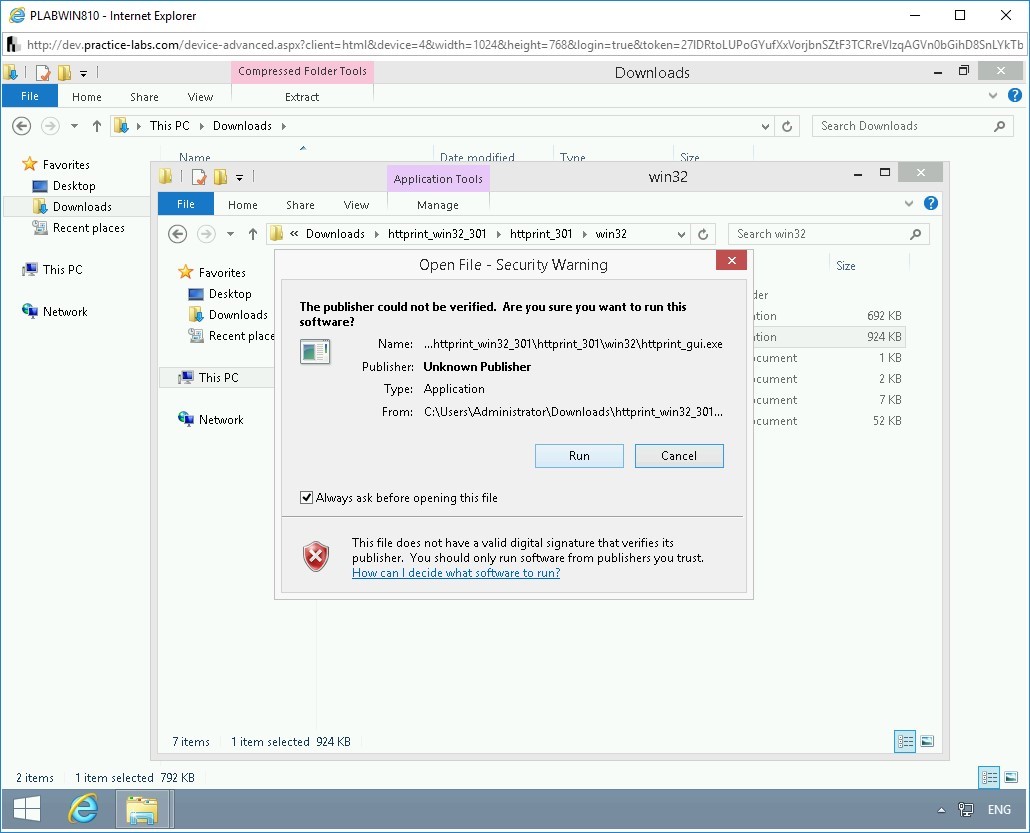
Step 7
The Open File - Security Warning dialog box is displayed. Click Run.
Step 8
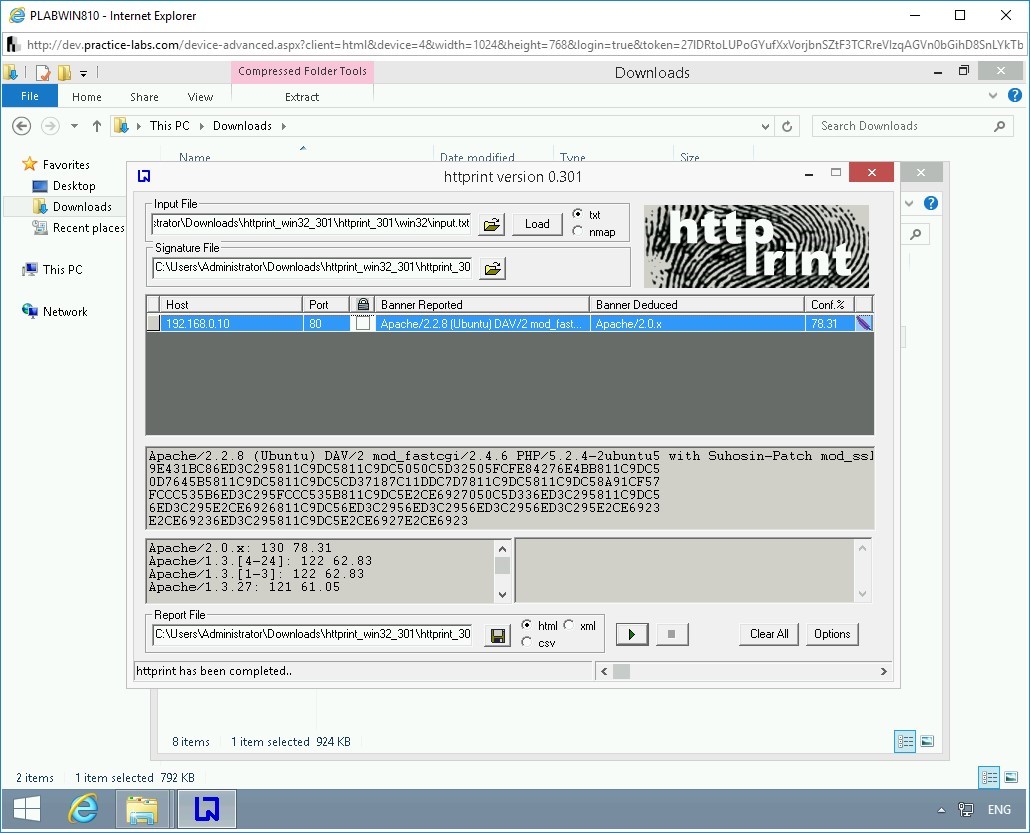
The httprint version 0.301 window is displayed.
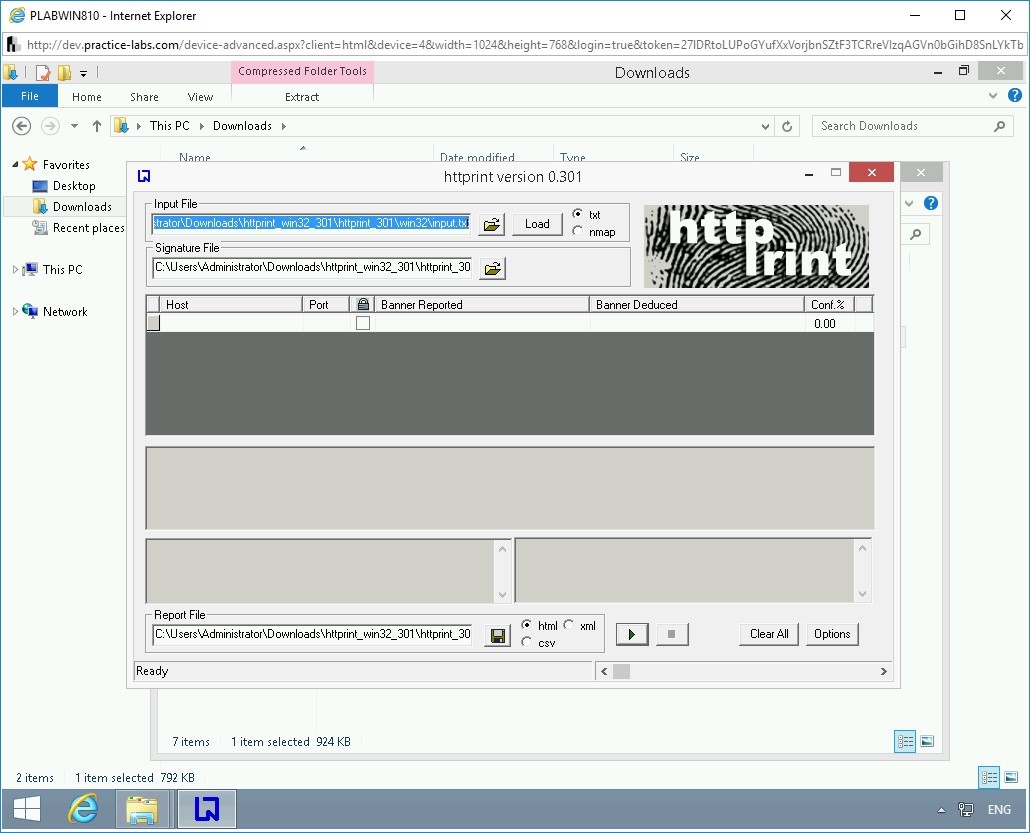
Step 9
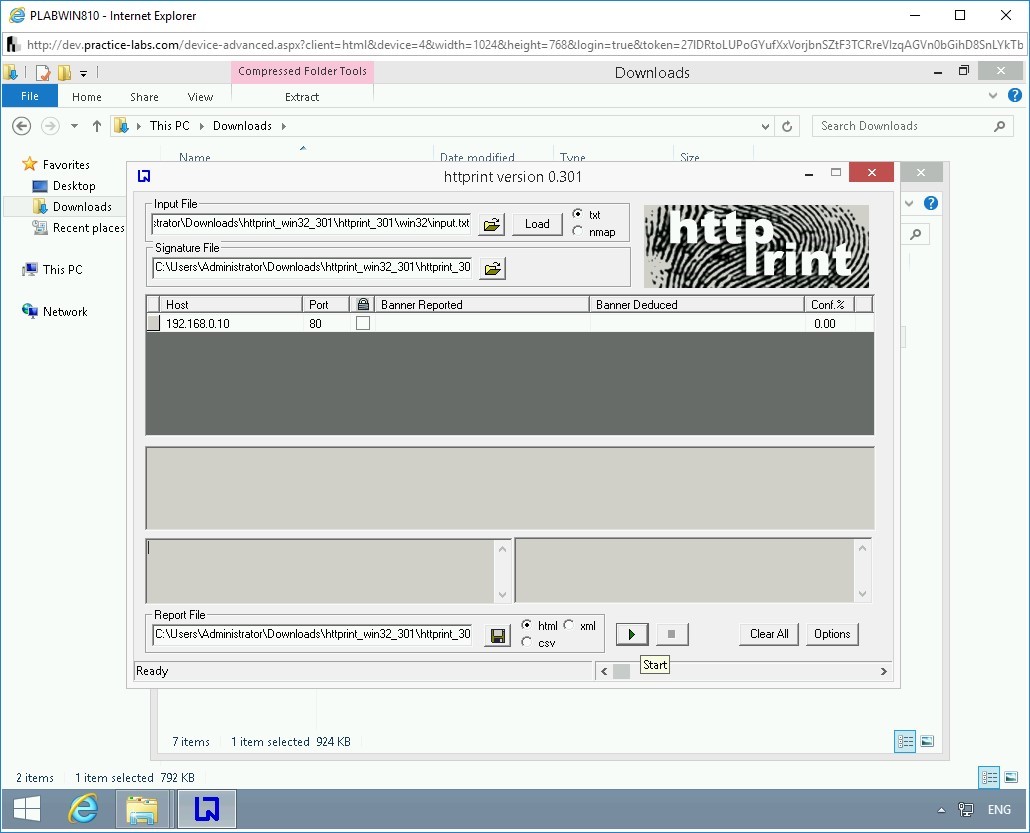
Enter the following information:
Host:
192.168.0.10
Port:
80
Click Start (the green right arrow).
Step 10
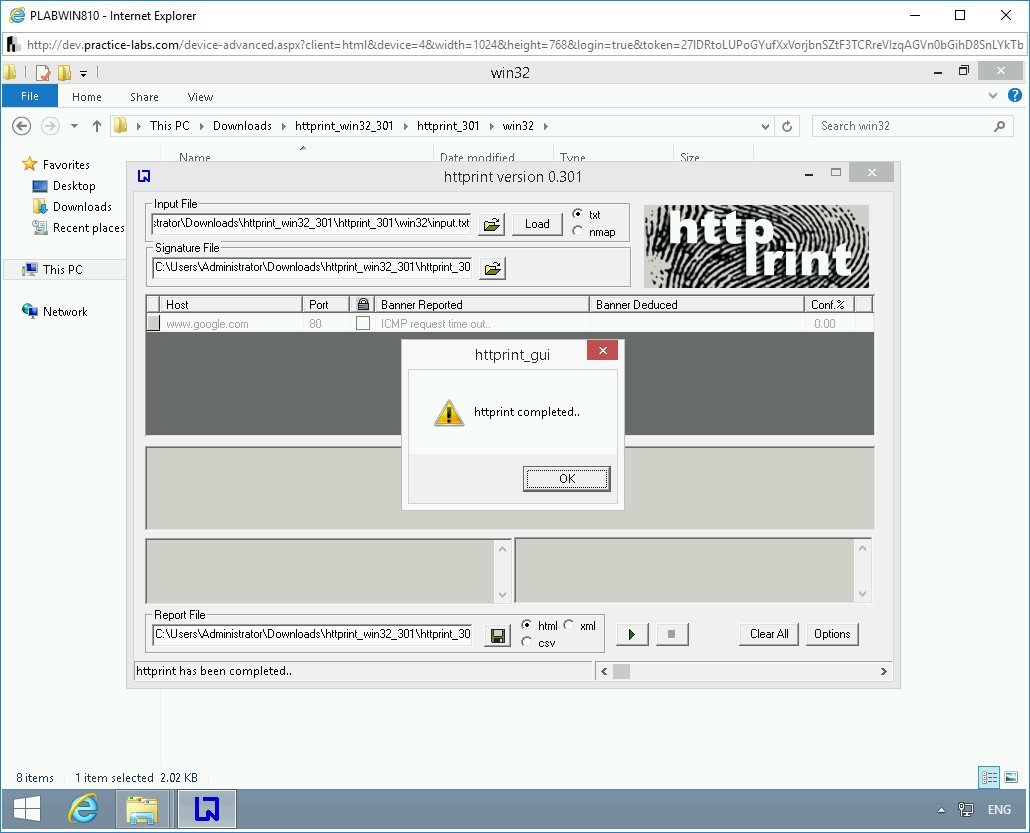
The httprint_gui dialog box is displayed. It prompts with a message that httprint is now completed. Click OK.
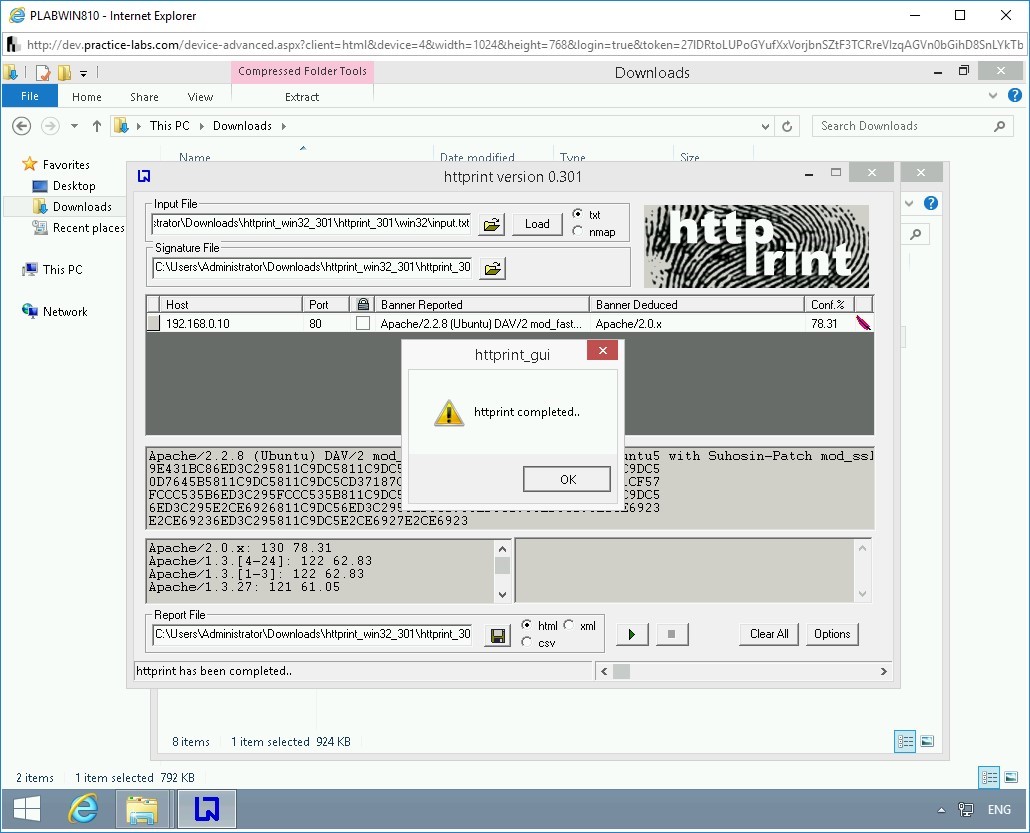
Step 11
Note that a set of parameters are displayed as a result.

Step 12
Let’s save the file. Click the floppy icon.
Step 13
The Save As dialog box is displayed. Keep the default name and click Save.
Note: Make sure you note the path where you are downloading the report. If prompted to overwrite an existing report, go ahead and overwrite it. Else, you can save the report with a new name.
Step 14
Minimize HTTPrint and navigate to the directory where you saved the report. Double-click the file to open it.
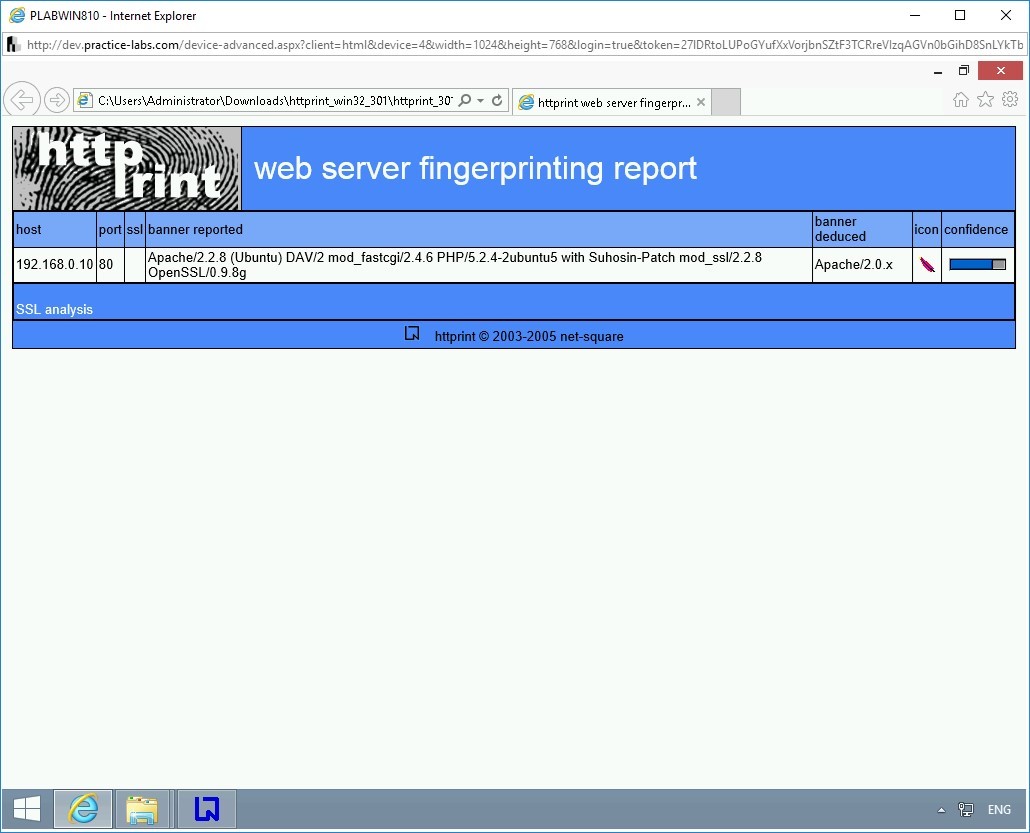
Step 15
The Internet Explorer opens the report since it is in the HTML format.
It is the same information that you viewed within the HTTPrint tool. Close Internet Explorer.
Step 16
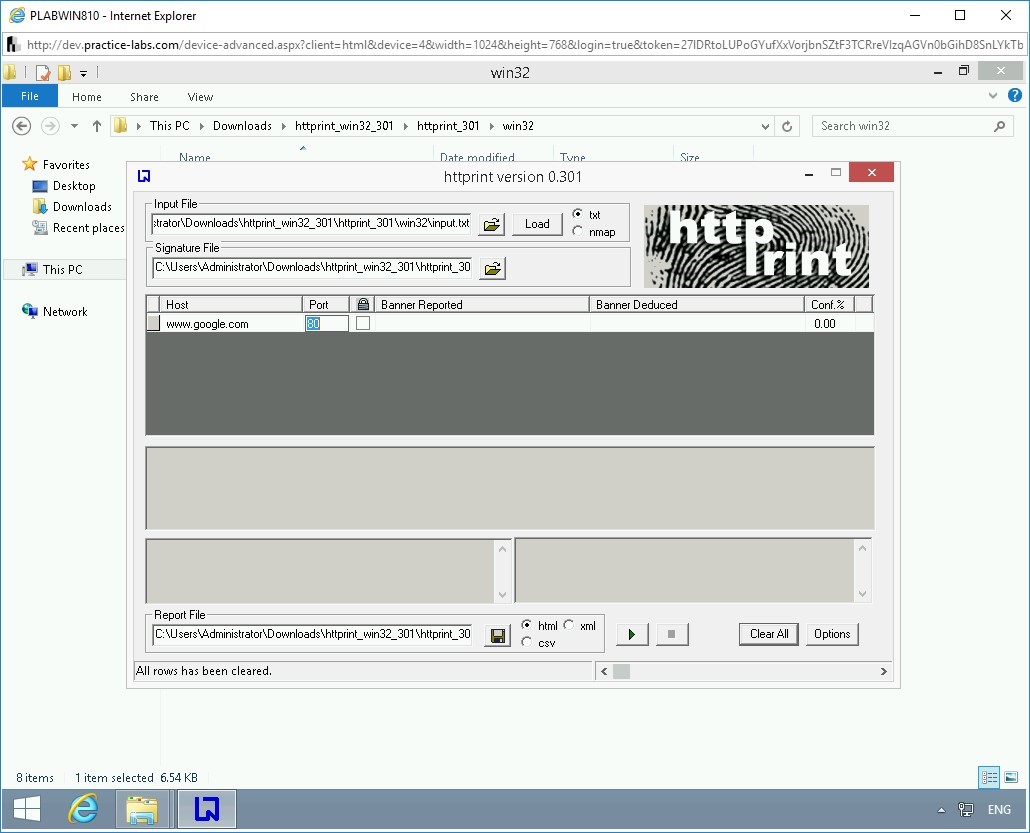
Switch back to the HTTPrint tool. Click Clear All.
Enter the following information:
Host:
www.google.com
Port:
80
Click Start.
Step 17
The httprint_gui dialog box is displayed. Click OK to close it.
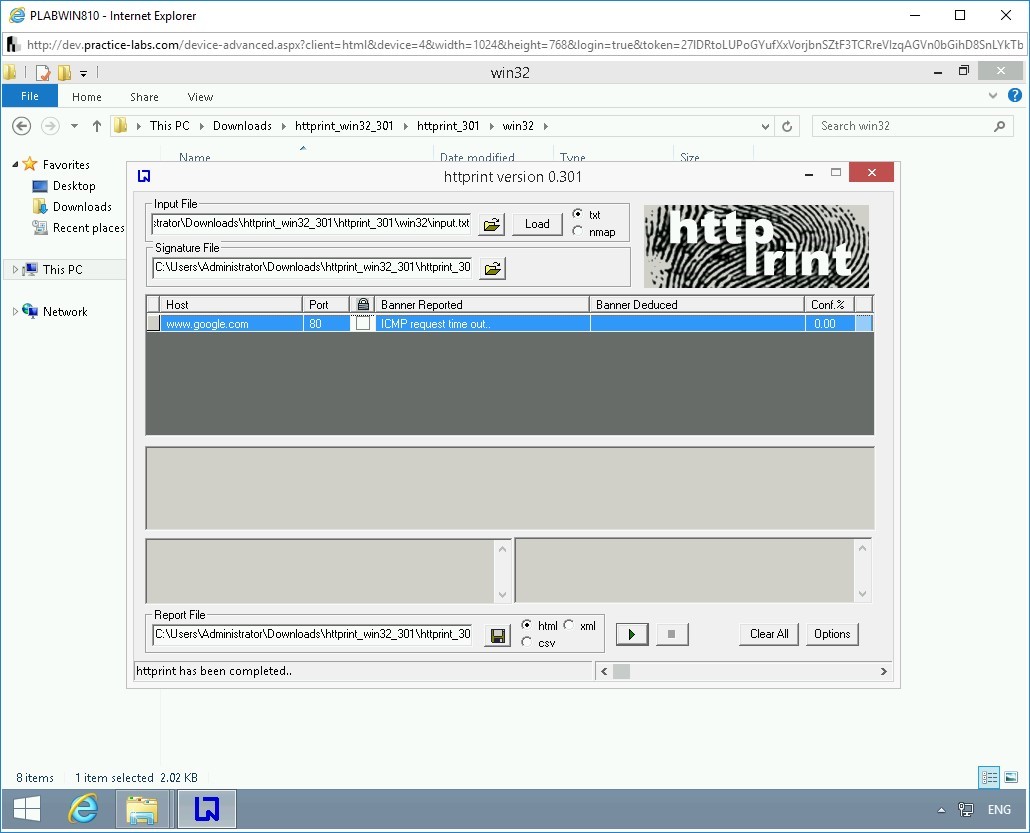
Step 18
Note that Banner Reported column shows ICMP request time out. This could be because of two reasons:
- Your network firewall is preventing the ICMP packets from going out.
- The target that you are trying to fingerprint prevents ICMP packets from coming into the network.
There could be a possibility that either both the reasons are true or one of the reasons is true; you will get this error message.
Also, when you fingerprinted your internal Web server, 192.168.0.10, you did not get any error. The reason is that your system and Web server are on the same network and same subnet.
Task 7 - Perform Website Enumeration using Nmap
There are different methods to enumerate a Website. For example, you can use a manual method using a Web browser. You can try:
http://www.plab.com/admin
After the URL, you can add a directory name, such as admin. You are likely to get one of the following responses:
- 200 - OK
- 401 - Unauthorized
- 402 - Payment Required
- 403 - Forbidden
- 404 - Not Found
If the admin does not return 404 error but something else, such as 403, it indicates clearly that this directory exists.
You can also enumerate a Website using Nmap, which provides several scripts to enumerate different types of Websites, such as WordPress or Drupal.
In this task, you will perform Website enumeration using Nmap. To do this, perform the following steps:
Step 1
Ensure you have powered on all the devices listed in the introduction and connect to PLABKALI01.
Clear the screen by entering the following command:
clear
To perform a Website enumeration, type the following command:
nmap --script=http-enum 192.168.0.10
Press Enter.
Note: This command may take a few minutes to provide output.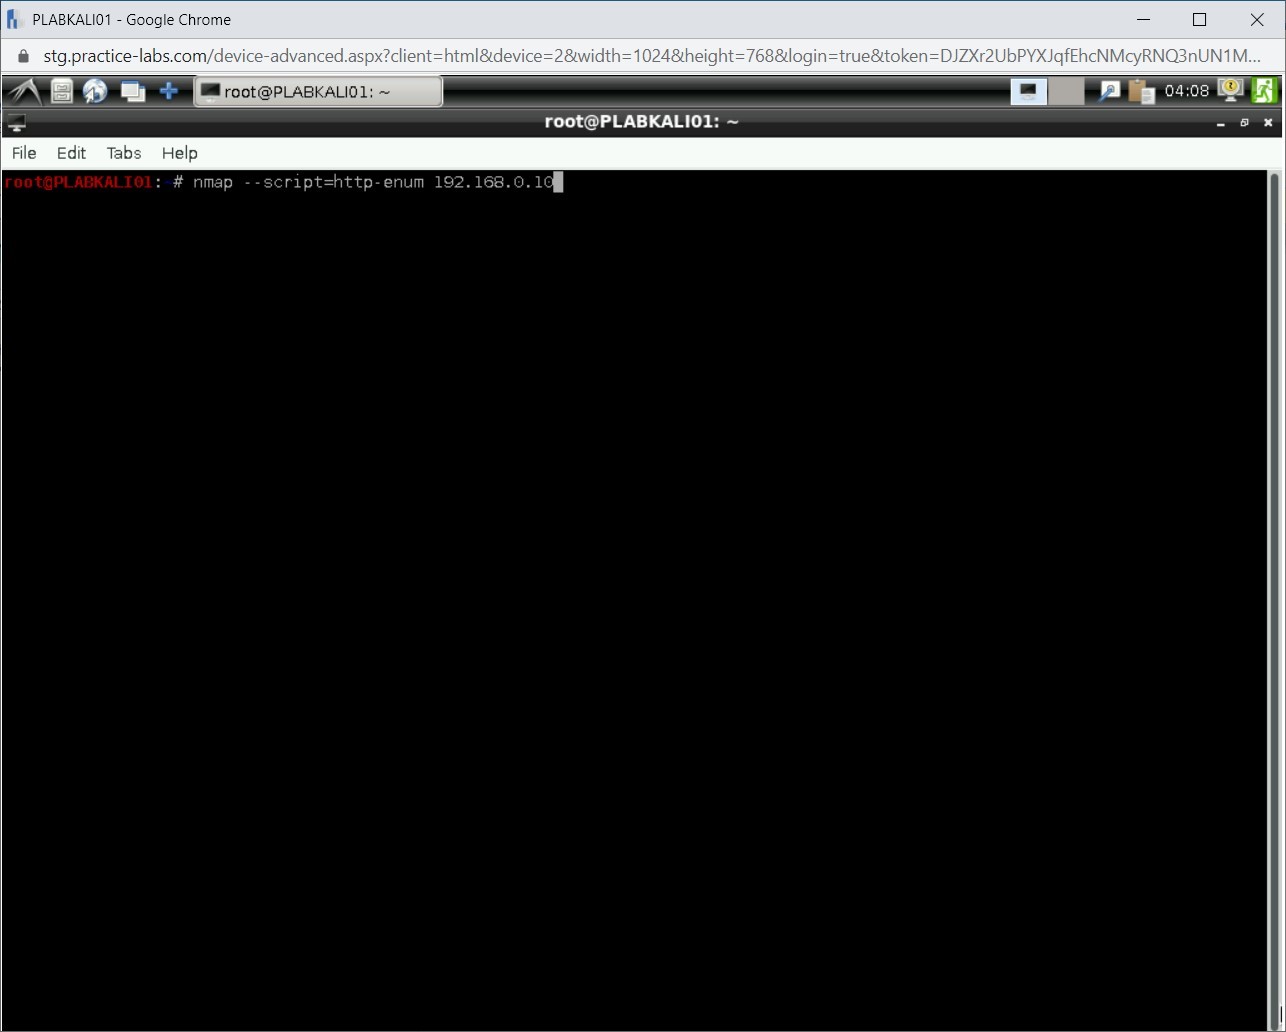
Step 2
Notice the output. It has been able to list the directories and open ports.
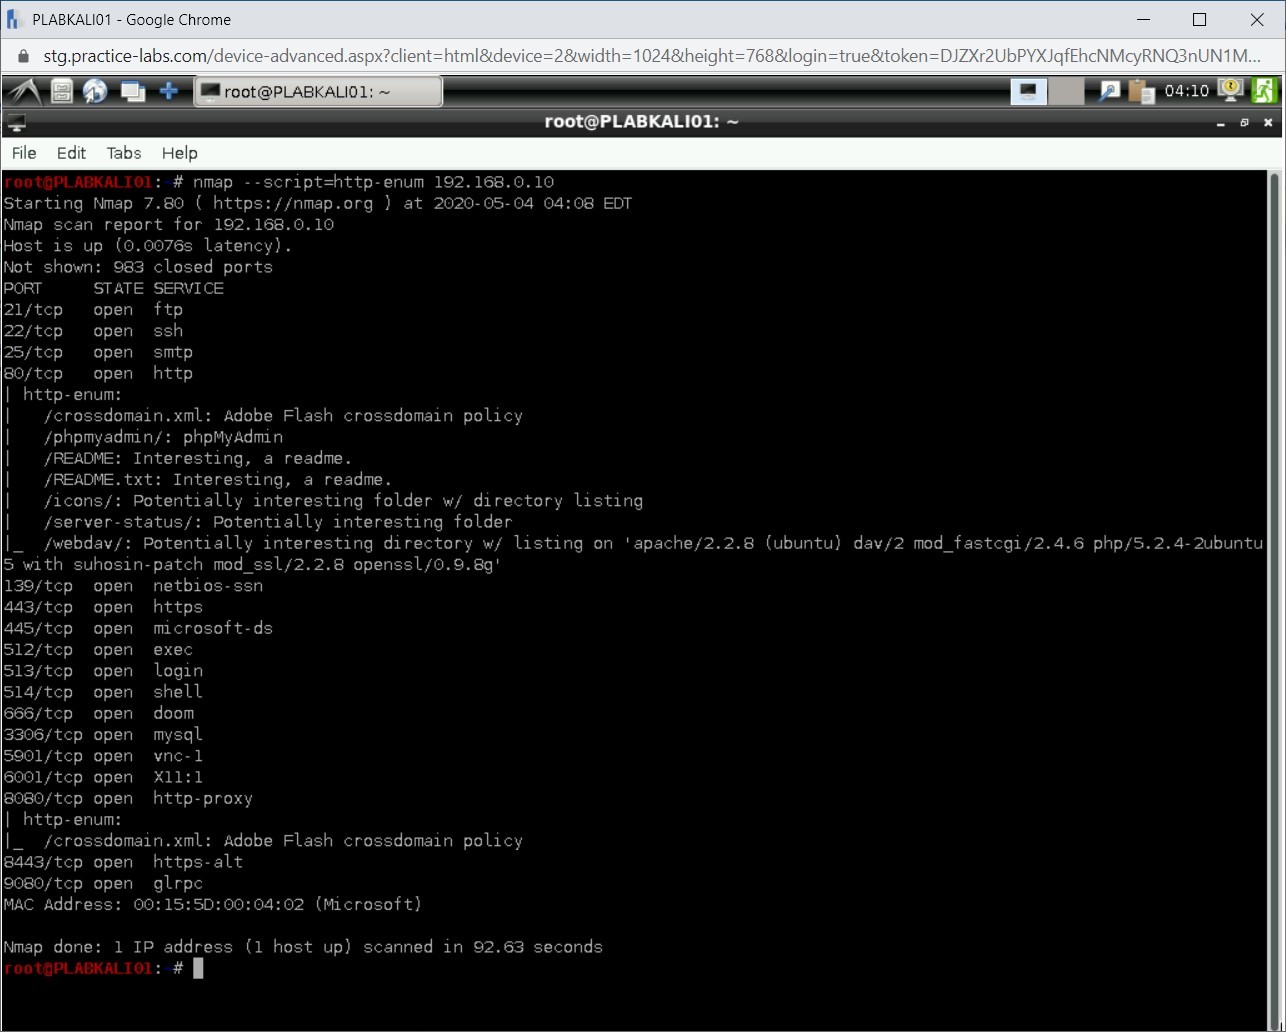
Close the terminal window.
Task 8 - Perform Server Message Block (SMB) Enumeration
The SMB protocol is used by the operating systems, such as Windows, to share files and printers. It is known to be a weak protocol, and there have been various versions that have been included in different versions of Windows.
- SMB1 - Windows 2000, Windows XP, and Windows Server 2003
- SMB2 - Windows Vista SP1 and Windows Server 2008
- SMB2.1 - Windows 7 and Windows Server 2008 R2
- SMB3 - Windows 8 and above, Windows Server 2012 and above
In this task, you will perform SMB enumeration. To do this, perform the following steps:
Step 1
Ensure you have powered on all the devices listed in the introduction and connect to PLABKALI01.
Clear the screen by entering the following command:
clear
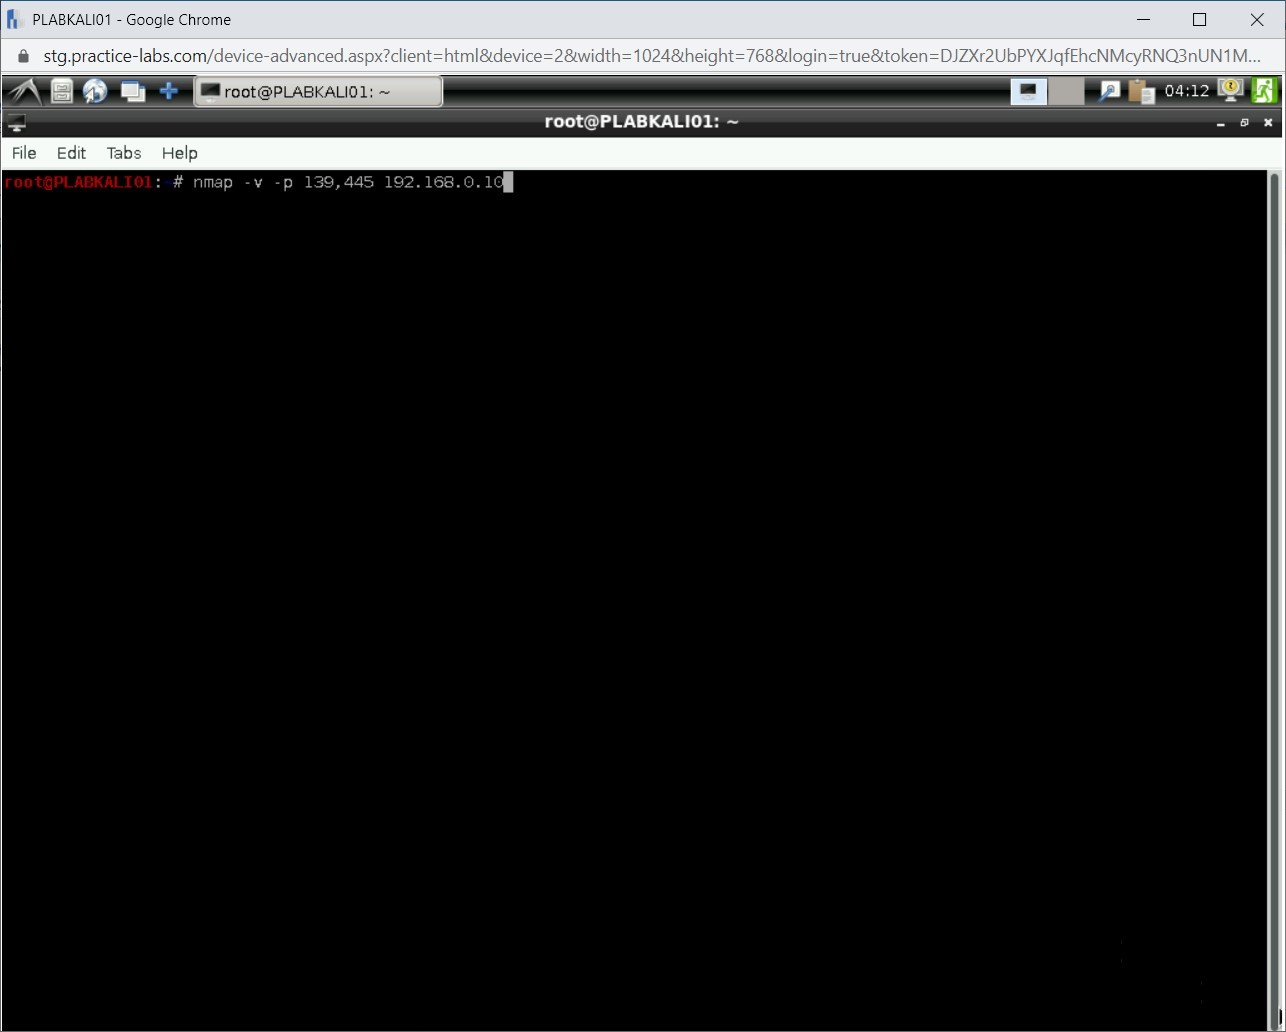
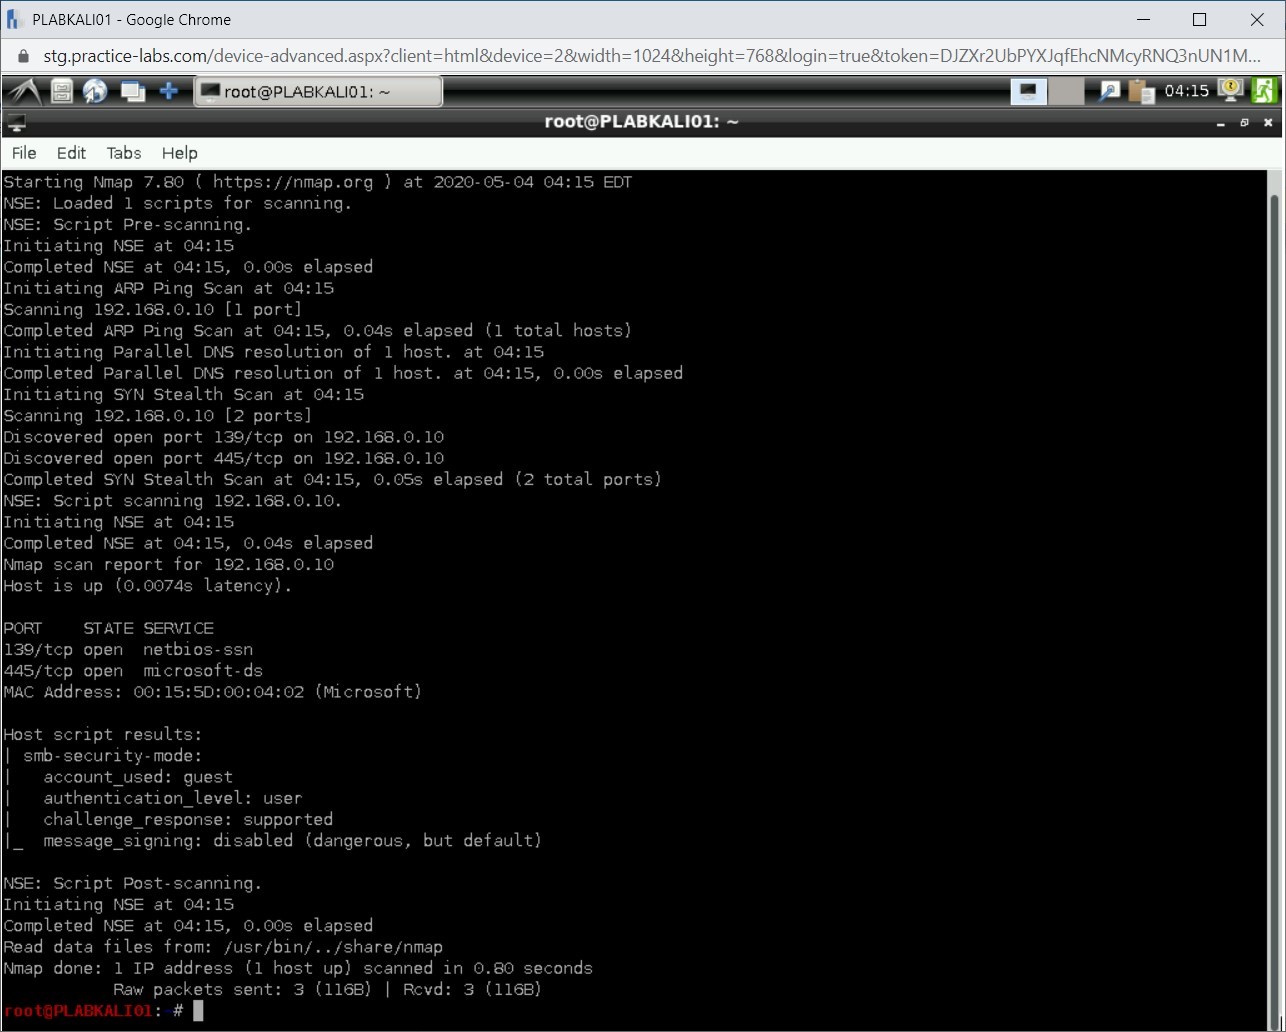
You can use Nmap to perform SMB NetBIOS enumeration. To do this, type the following command:
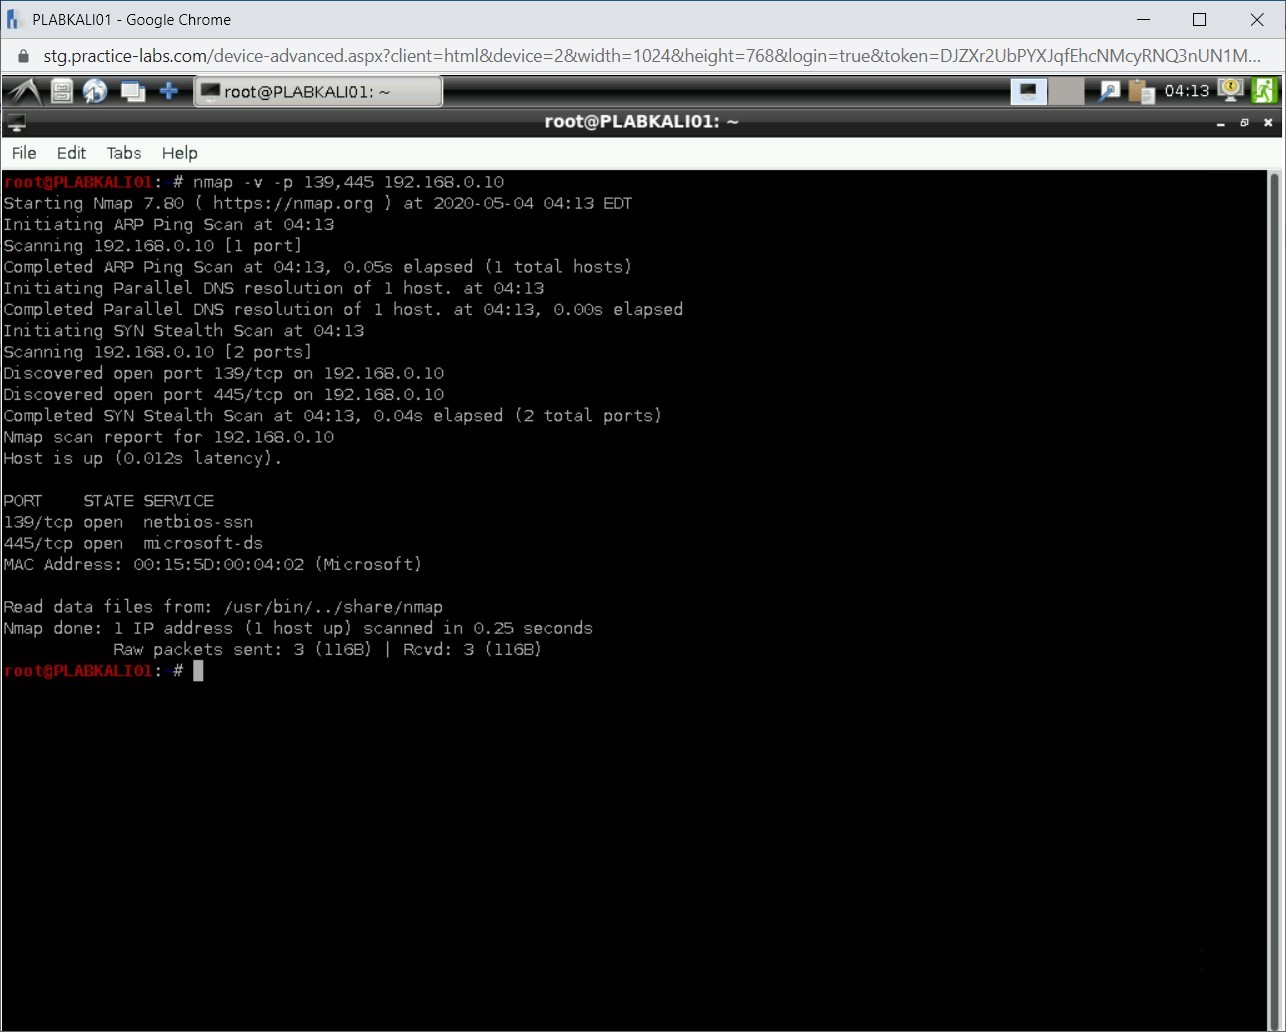
Note: SMB uses TCP ports 139 and 445. When using the nmap command, you should specify both ports.nmap -v -p 139,445 192.168.0.10
Press Enter.
Step 2
Notice the outcome of this command.
Step 3
Clear the screen by entering the following command:
clear
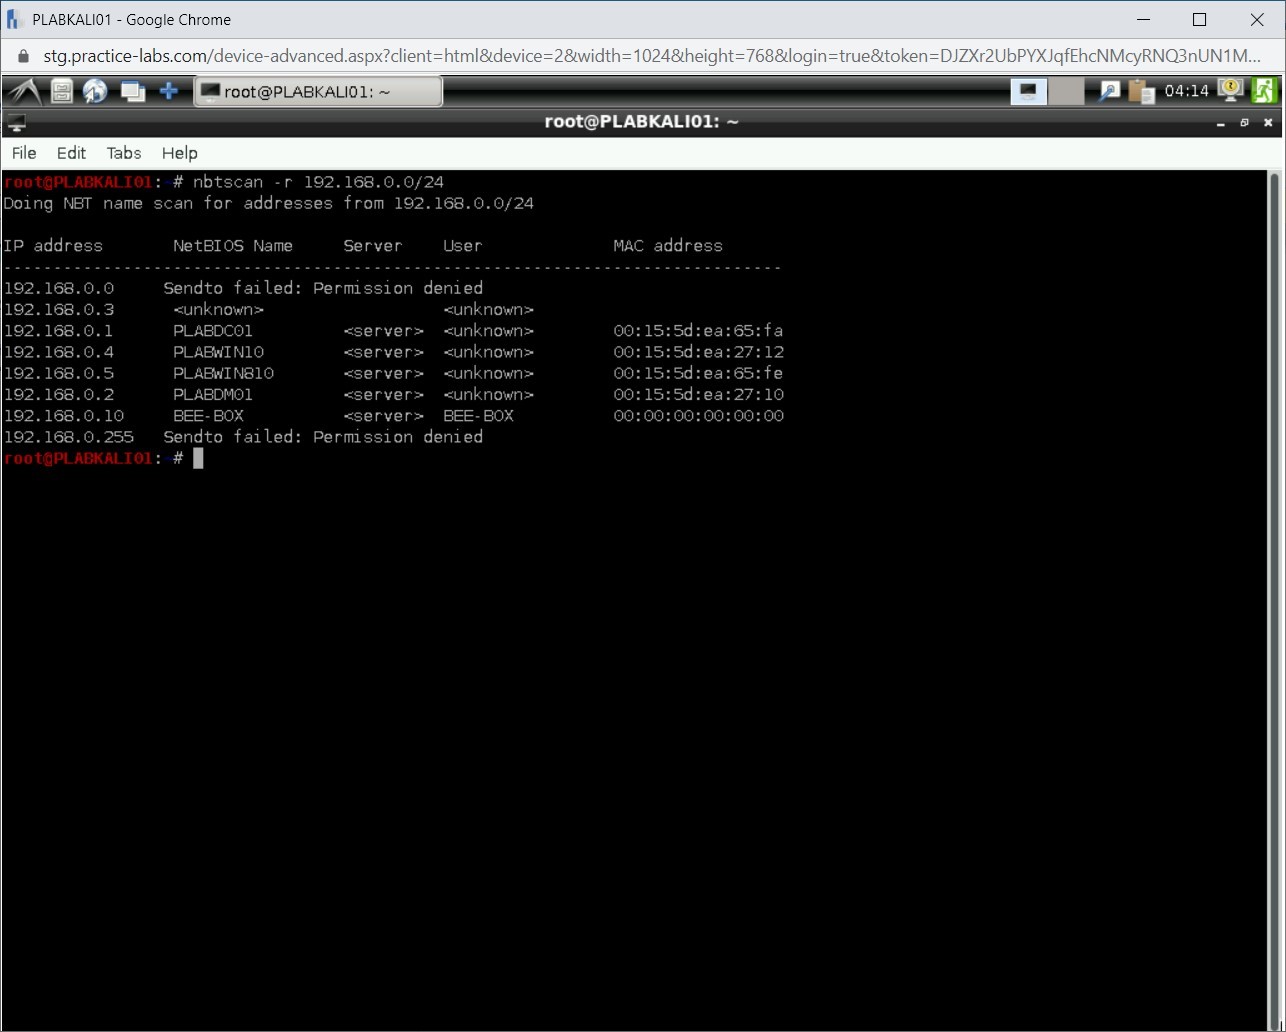
To identify the NetBIOS information, you can use the nbtscan command. Type the following command:
nbtscan -r 192.168.0.0/24
Press Enter.

Step 4
The output reveals the NetBIOS information.
Step 5
Clear the screen by entering the following command:
clear
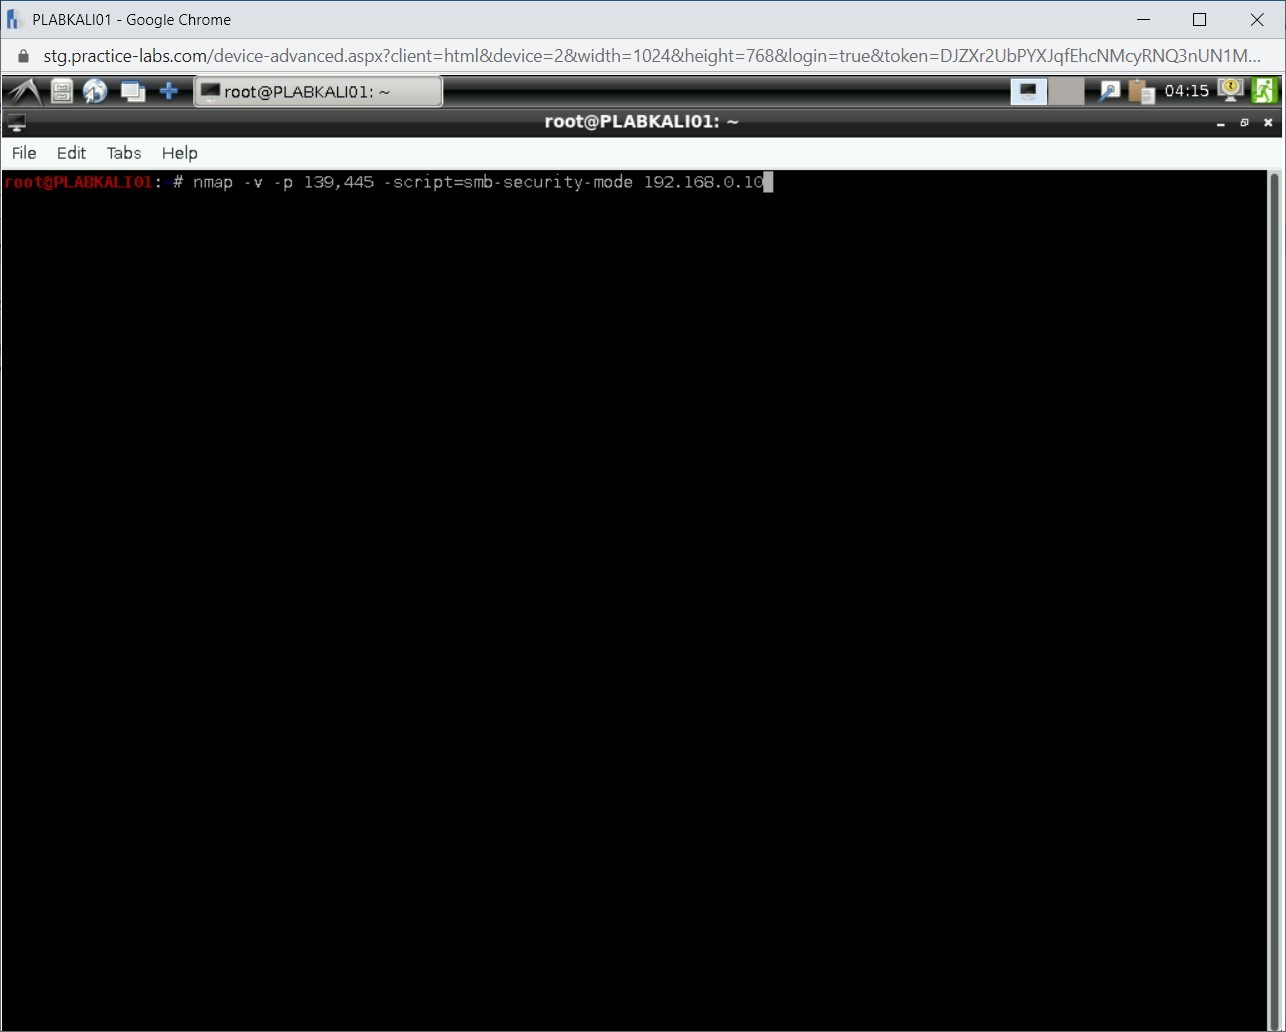
You can check the security level of the SMB server using Nmap script. To do this, type the following command:
nmap -v -p 139,445 -script=smb-security-mode 192.168.0.10
Press Enter.
Step 6
Notice the output as it details out the SMB security details.
Perform Vulnerability Scan
The resources that should be made available to the pentester are dependent on the scope of penetration testing. There can be a variety of resources that can be made available to the pentester if they fit into the scope of penetration testing.
In this exercise, you will learn about penetration testing resources and requirements.
Learning Outcomes
After completing this exercise, you will be able to:
- Use Nikto for Vulnerability Scanning
- Perform Vulnerability Scanning using OpenVAS
- Use Lynis for System Vulnerability Scanning
Your Devices
You will be using the following devices in this lab. Please power these on now.
- PLABDC01 - (Windows Server 2019 - Domain Server)
- PLABKALI01 - (Kali 2019.2 - Linux Kali)
- PLABWIN10 - (Windows 10 - Domain Member)
- PLABWIN810 - (Windows 8.1 - Domain Member)

Task 1 - Use Nikto for Vulnerability Scanning
Nikto is a vulnerability scanner that is part of Kali Linux. It is widely used by the pentesters and hackers to find the vulnerabilities in Web applications. In this task, you will learn to use Nikto for vulnerability scanning.
To do this, perform the following steps:
Step 1
Ensure you have powered on all the devices listed in the introduction and connect to PLABKALI01.
Clear the screen by entering the following command:
clear
To scan a Website for vulnerabilities, type the following command:
Note: Instead of -host parameter, you can also use the -h parameter. Both parameters provide the same result.nikto -host http://192.168.0.10
Press Enter.
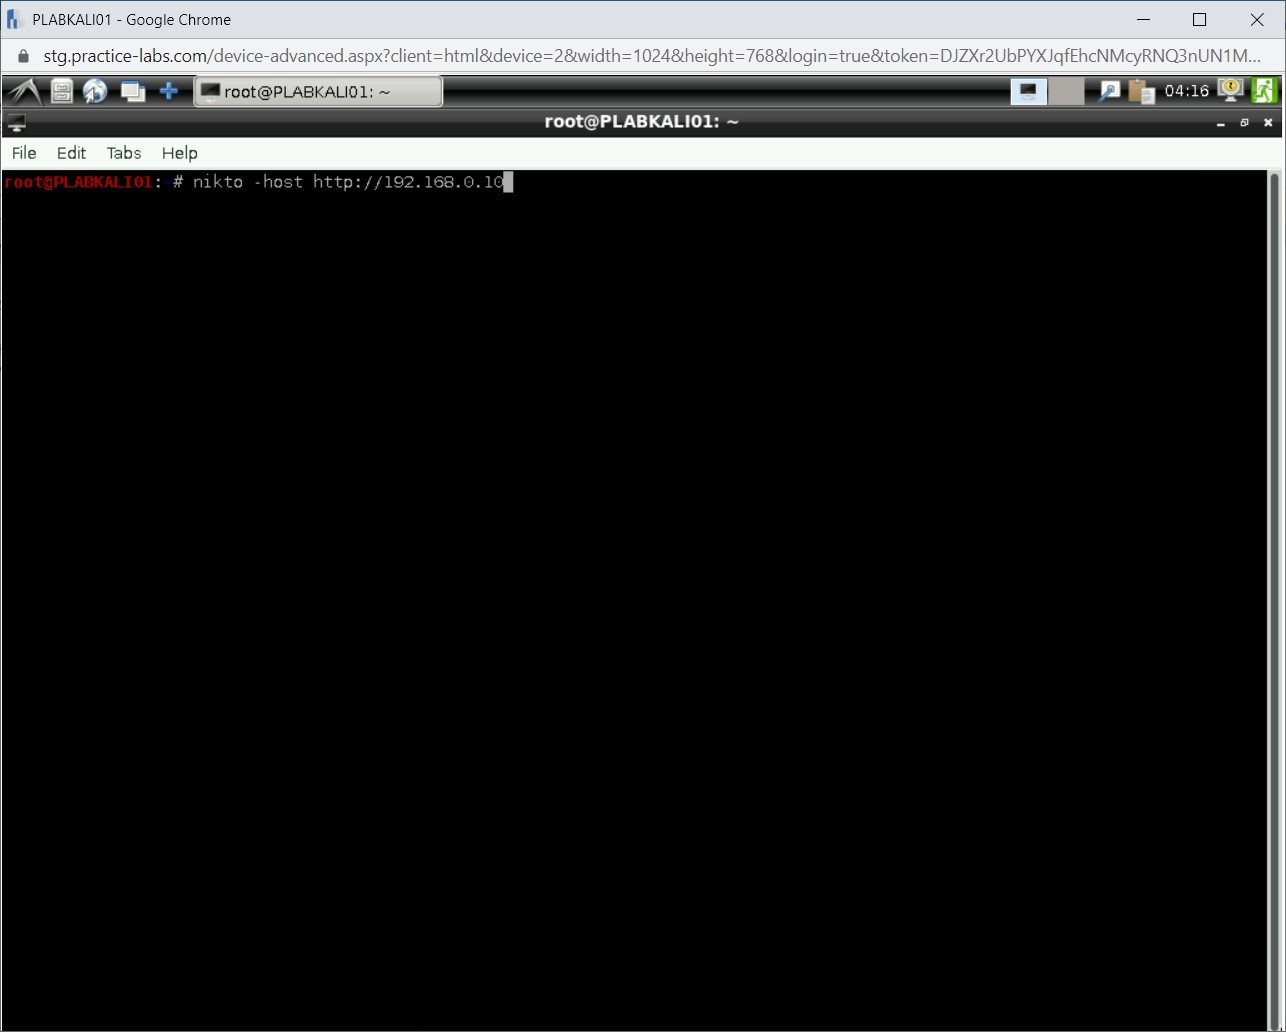
Step 2
The vulnerability scanning process starts. Depending on the number of vulnerabilities, the process may run for a few minutes.

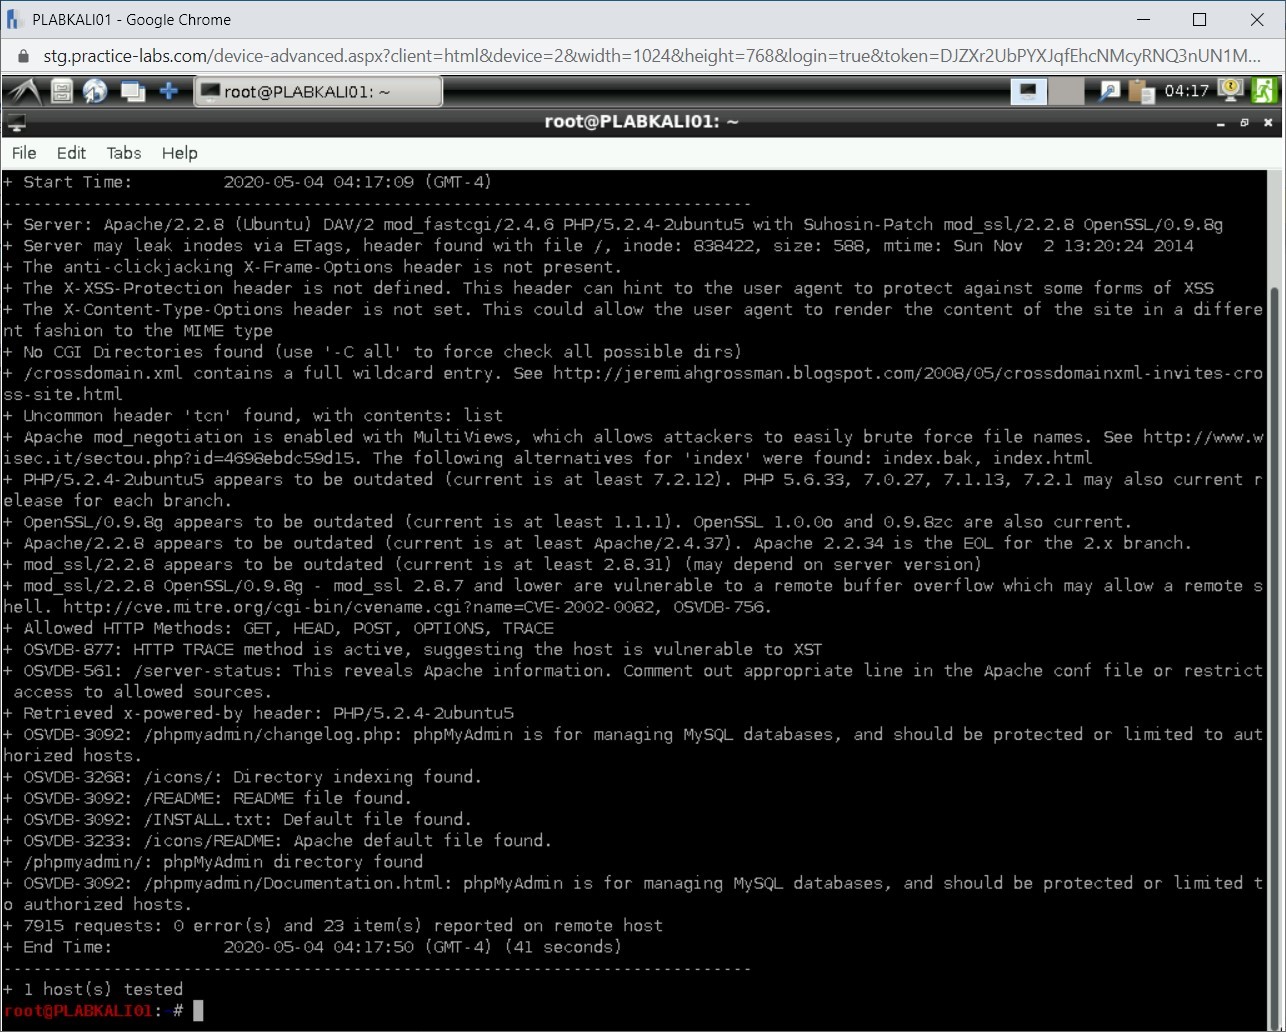
Step 3
A detailed list of vulnerabilities is listed as the output.
Step 4
Clear the screen by entering the following command:
clear
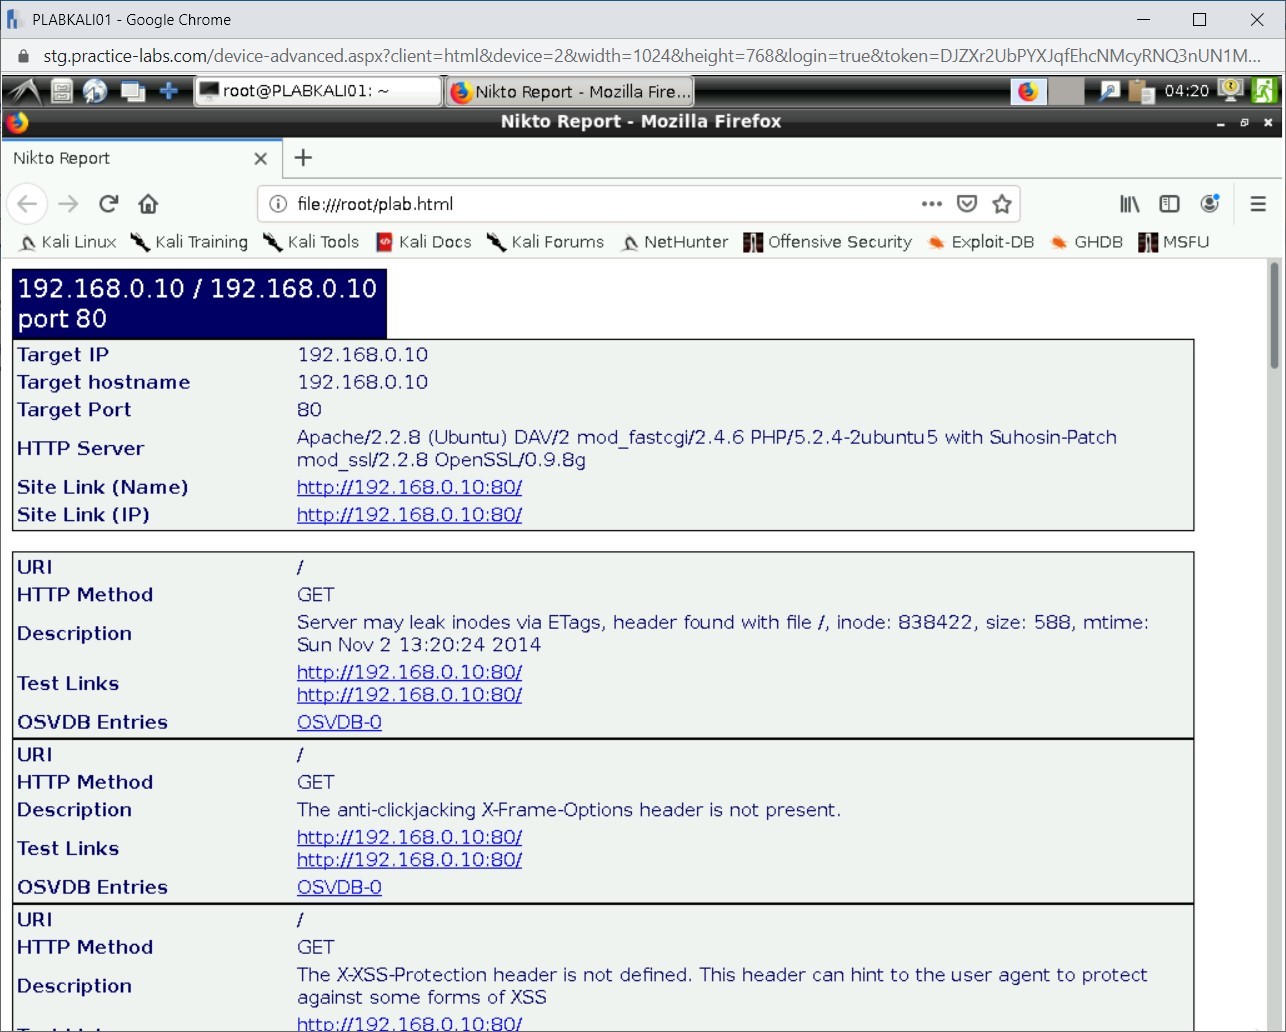
To scan a Website for vulnerabilities and save the output to an HTML file, type the following command:
Note: Instead of -host parameter, you can also use the -h parameter. Both parameters provide the same result.nikto -host http://192.168.0.10 -o plab.html
Press Enter.

Step 5
Let the vulnerability scanning process complete.
Then, type the following command:
firefox plab.html
Press Enter.
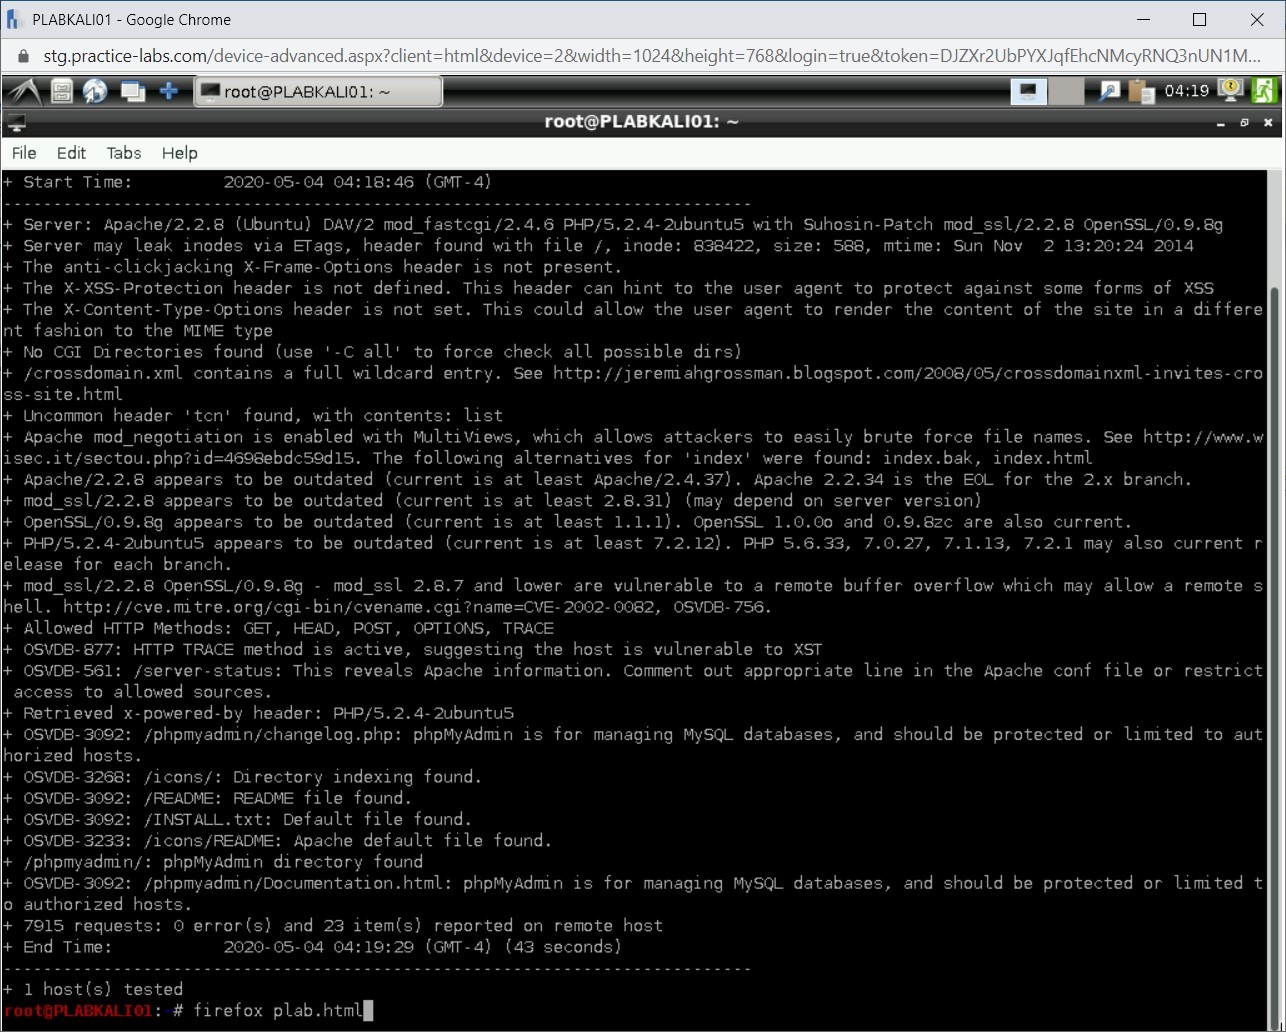
Step 6
A new Firefox window opens. Notice that the vulnerabilities are listed on the HTML Webpage.
Close the Firefox window.
Task 2 - Perform Vulnerability Scanning using OpenVAS
Kali Linux provides a tool named the Open Vulnerability Assessment System (OpenVAS) for vulnerability scanning. OpenVAS is a framework that consists of multiple services and tools. The first step is getting information about a Web server. The Footprinting process can also help you grab banners on the Web server. To perform vulnerability scanning using OpenVAS, perform the following steps:
Step 1
Ensure you have powered on all the devices listed in the introduction and connect to PLABKALI01.
Clear the screen by entering the following command:
clear
Next, you need to setup OpenVAS. To do this, type the following command:
openvas-setup
Press Enter.

Step 2
The setup process for OpenVAS now starts. This process will setup OpenVAS and download many signatures and vulnerability tests.
Note: This process may take a while to complete.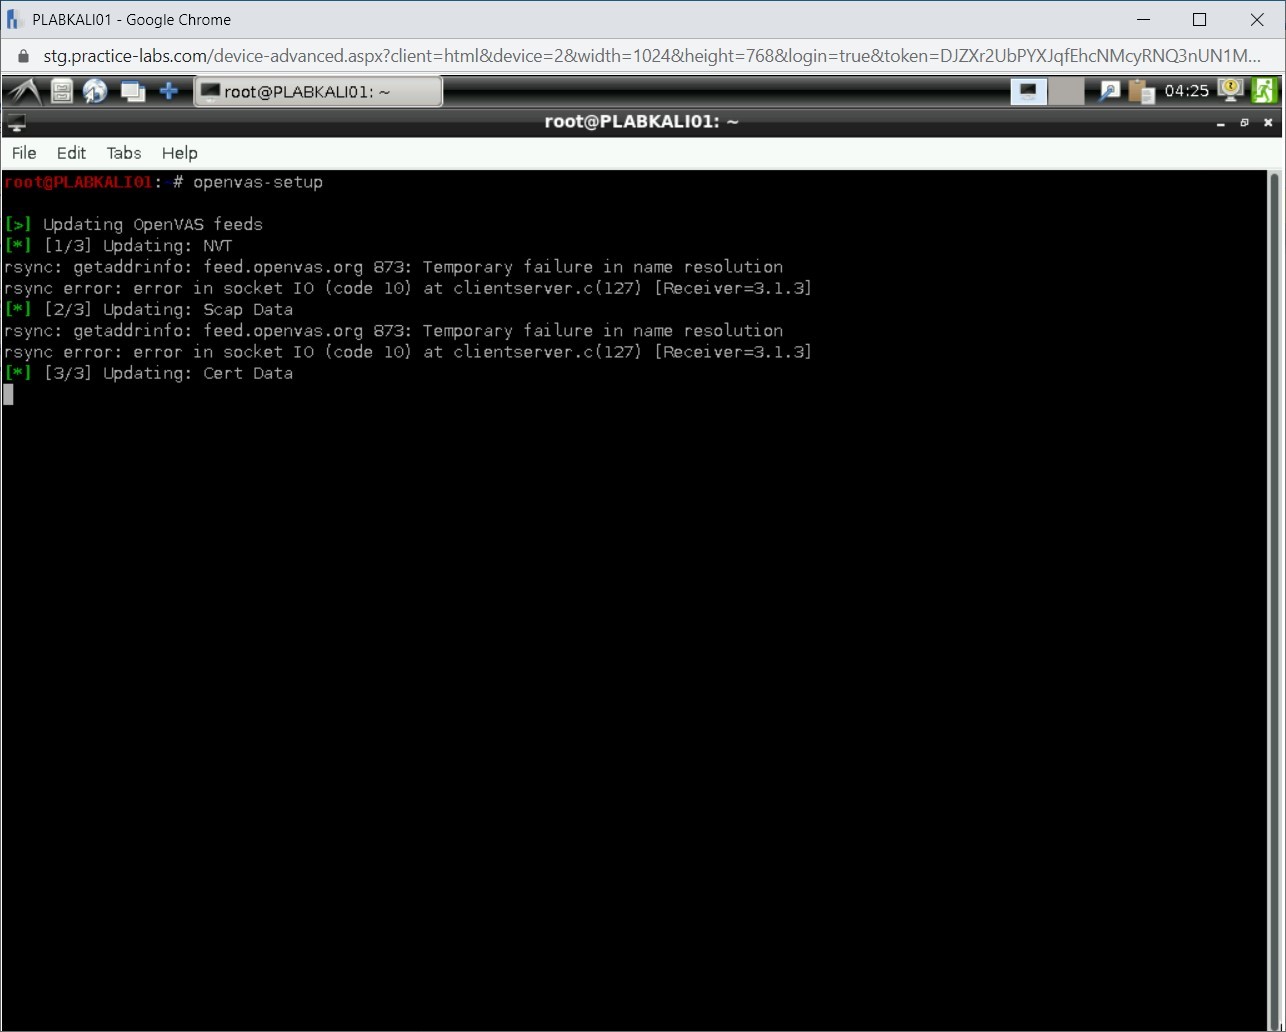
Step 3
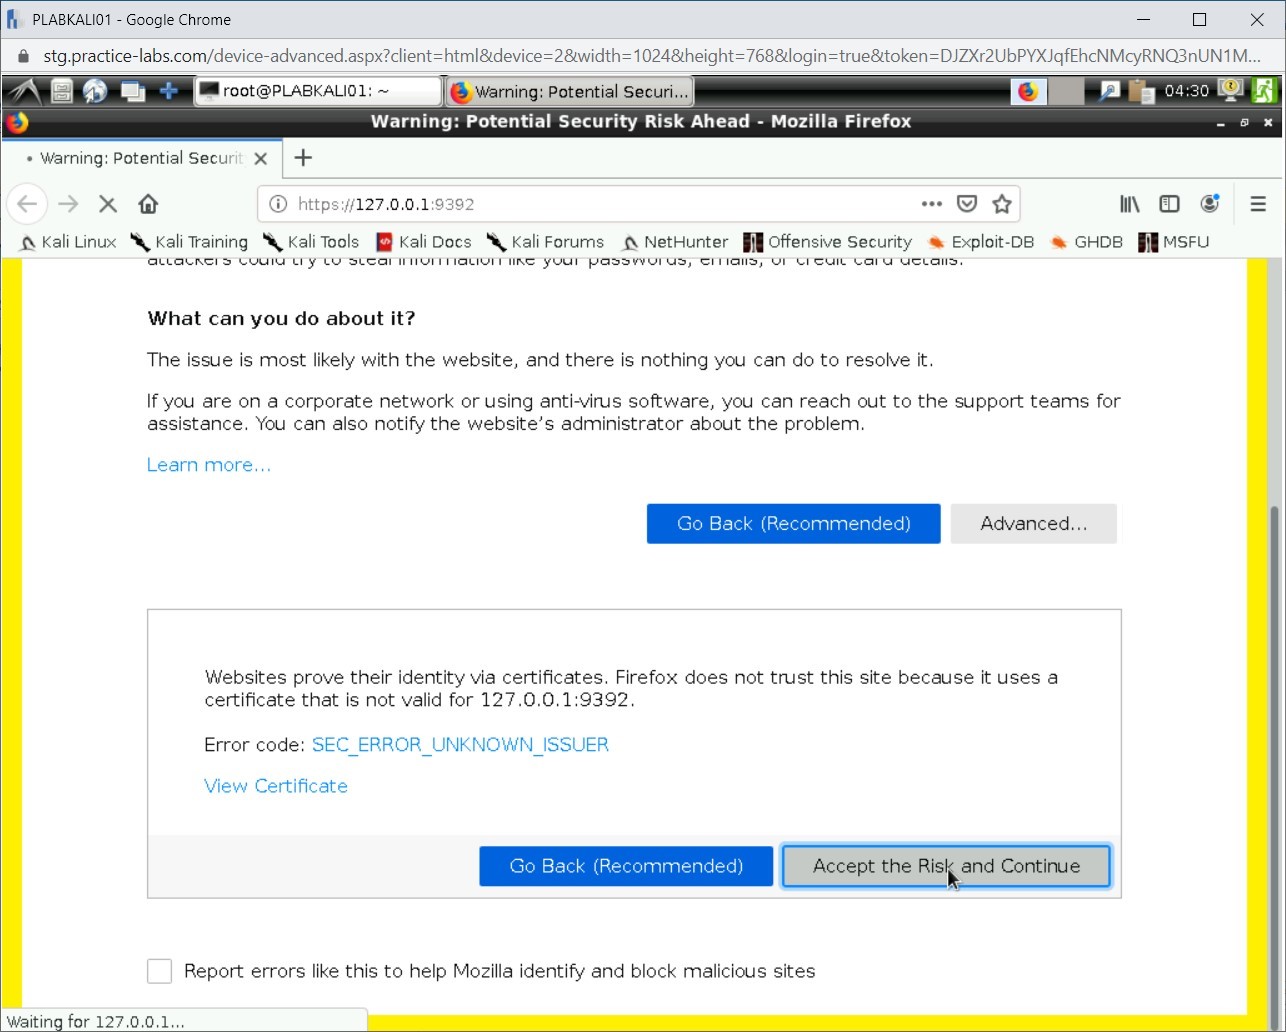
After the setup process is complete, a Firefox window is opened.
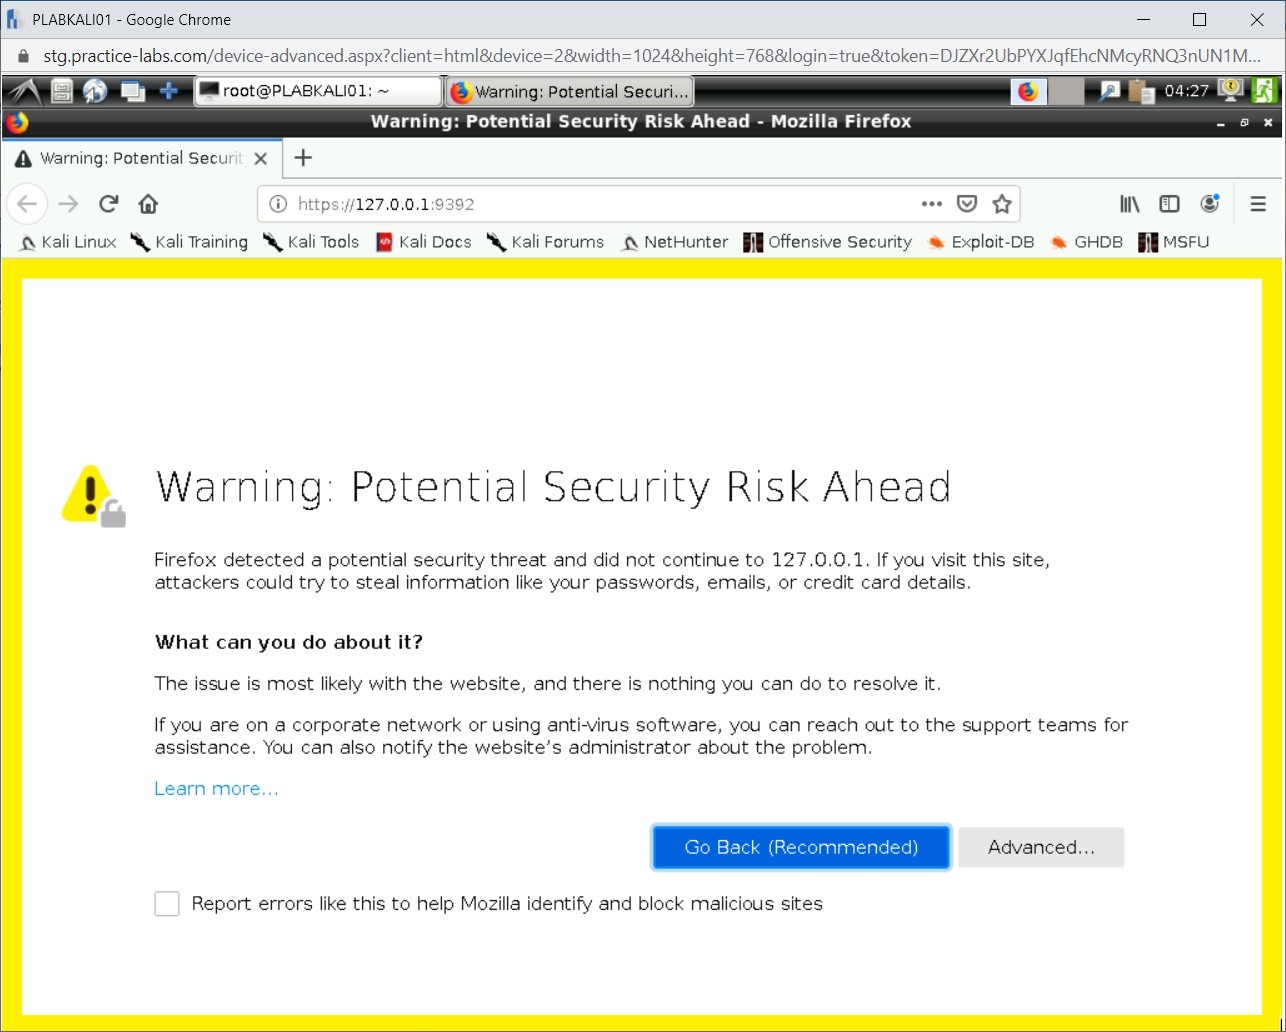
Click Advanced…
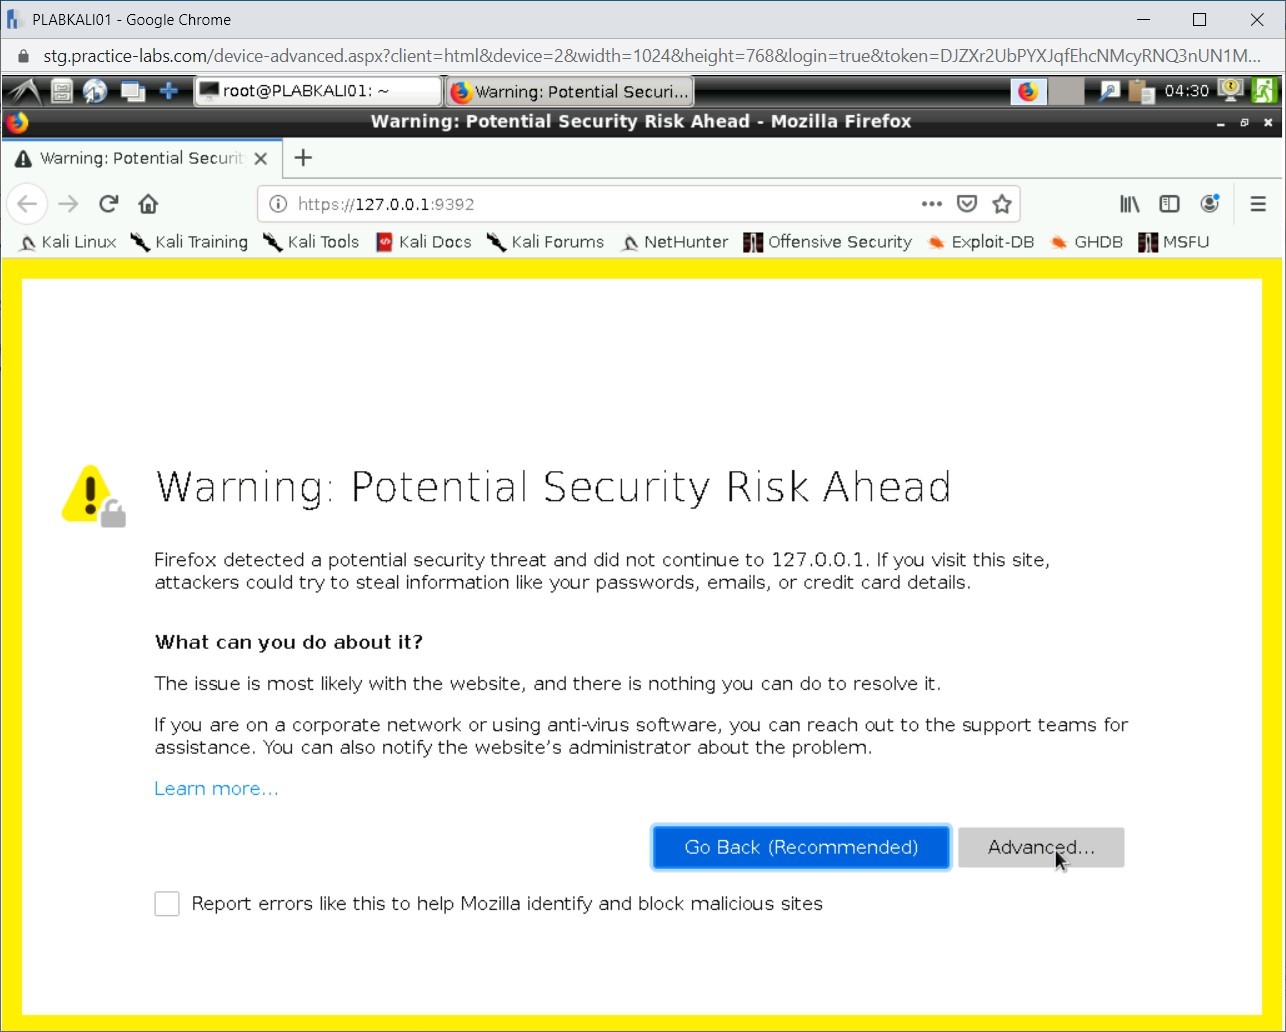
Click Accept the Risk and Continue.
Step 4
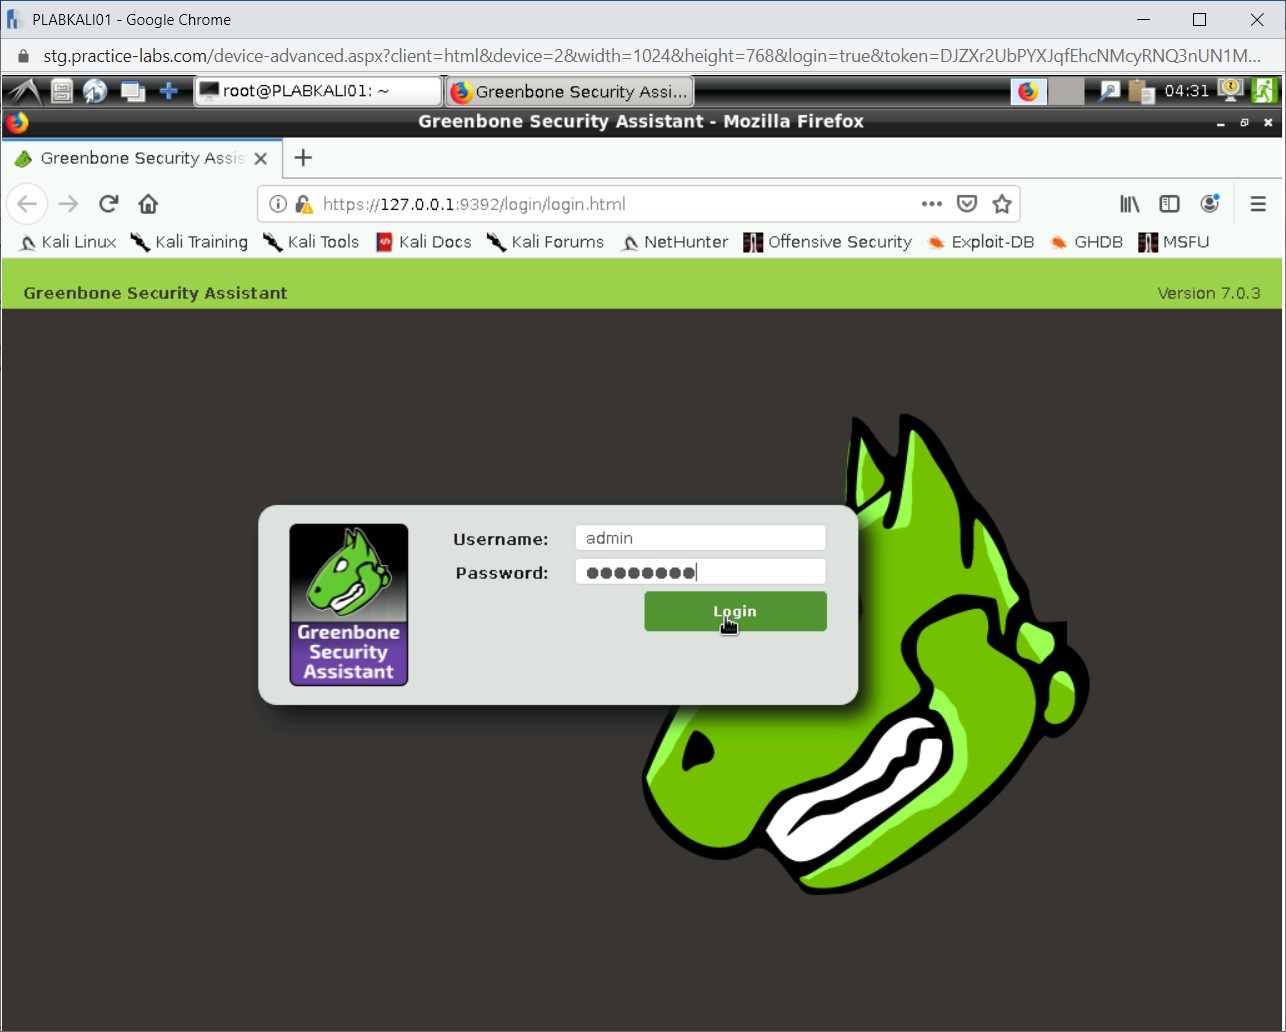
The Greenbone Security Assistant login page is displayed.
In the Username text box, type the following:
admin
In the Password text box, type:
Passw0rd
Click Login.
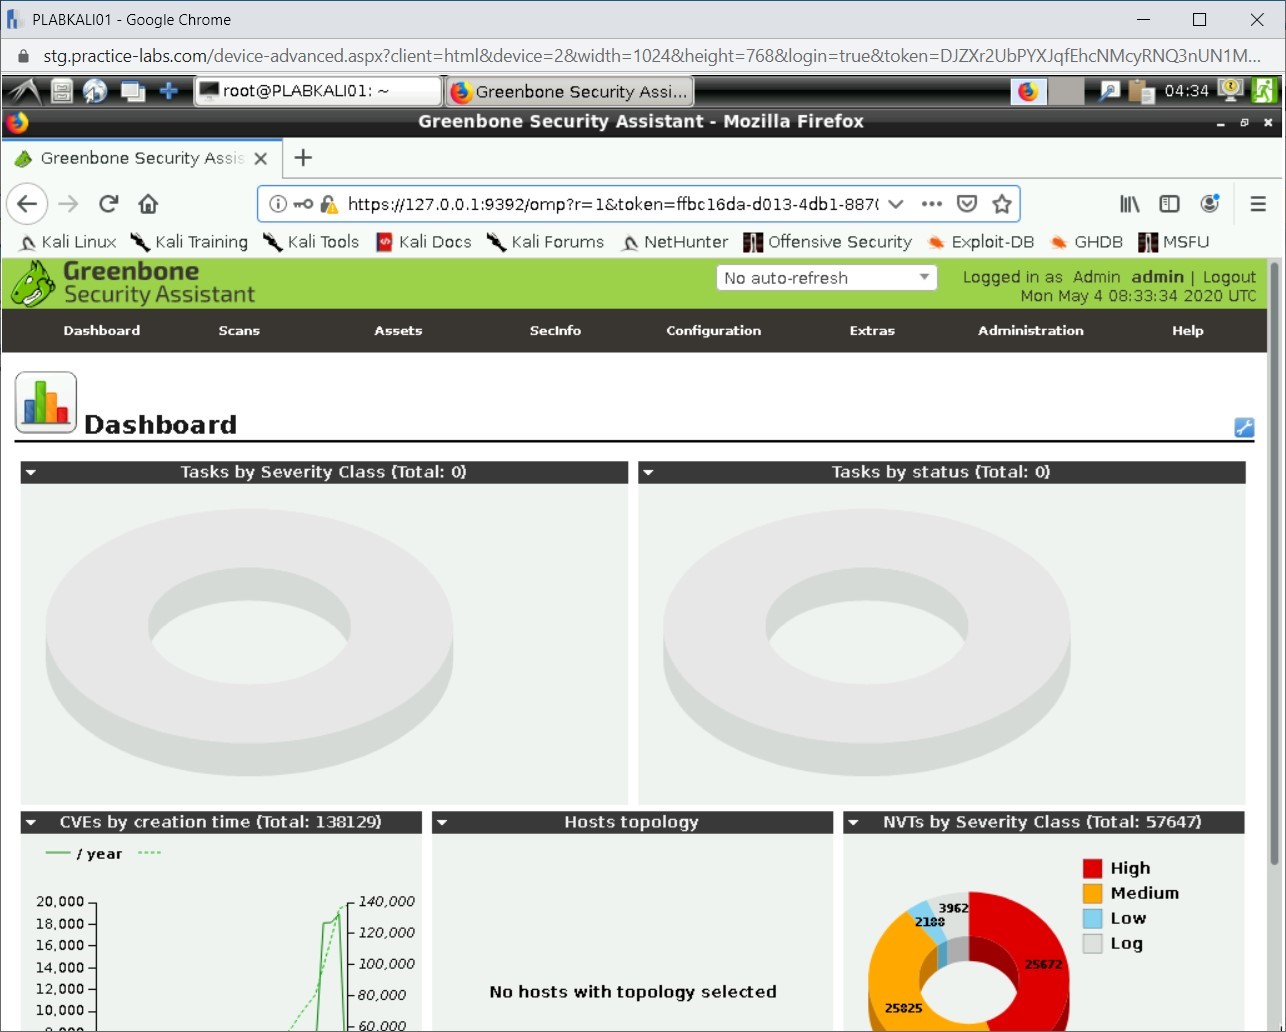
Step 5
The dashboard for OpenVAS is displayed.
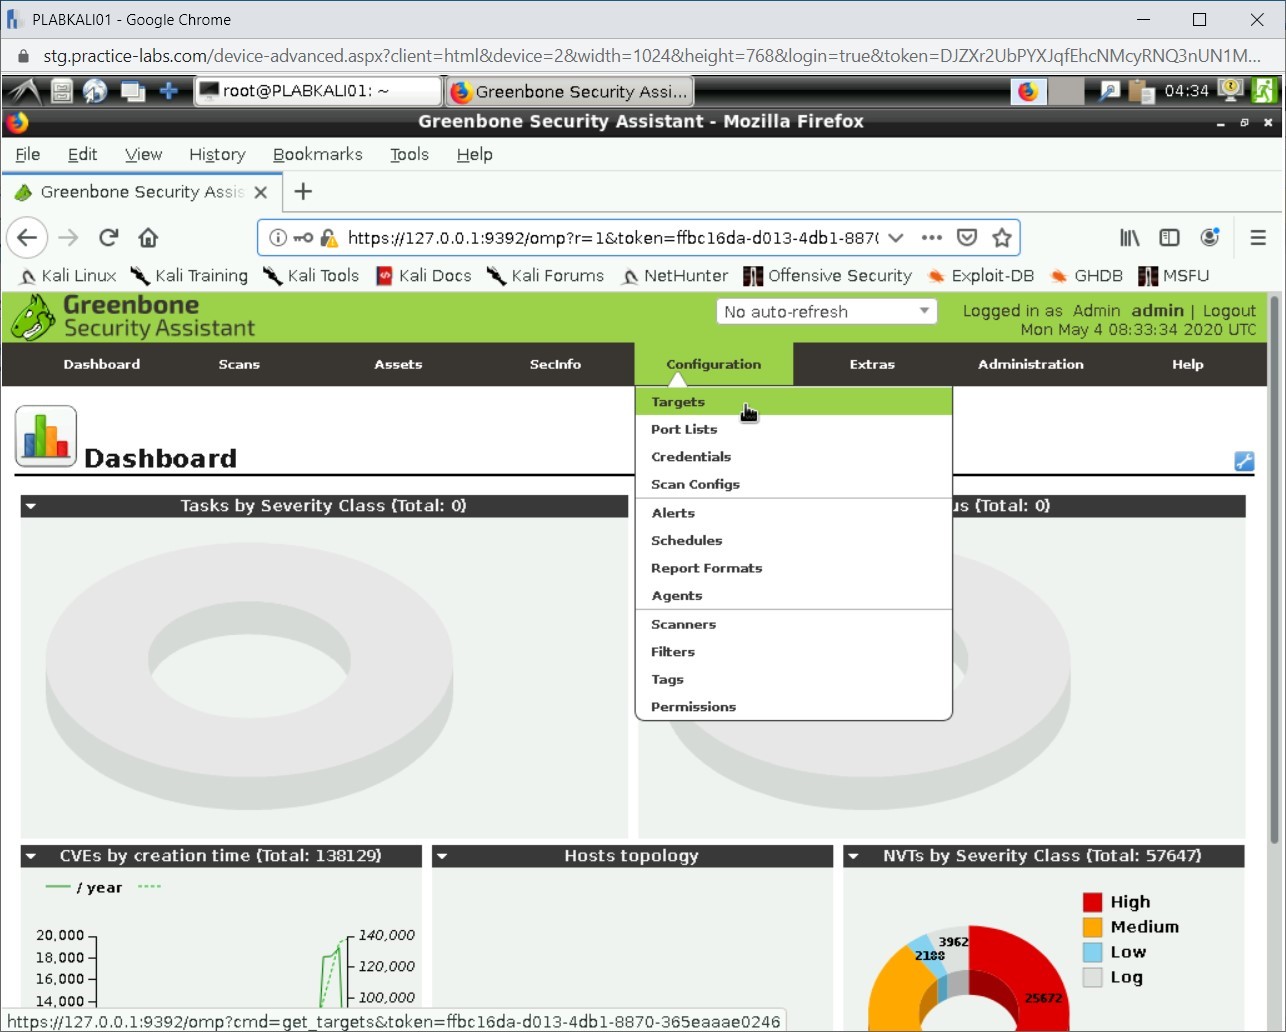
Step 6
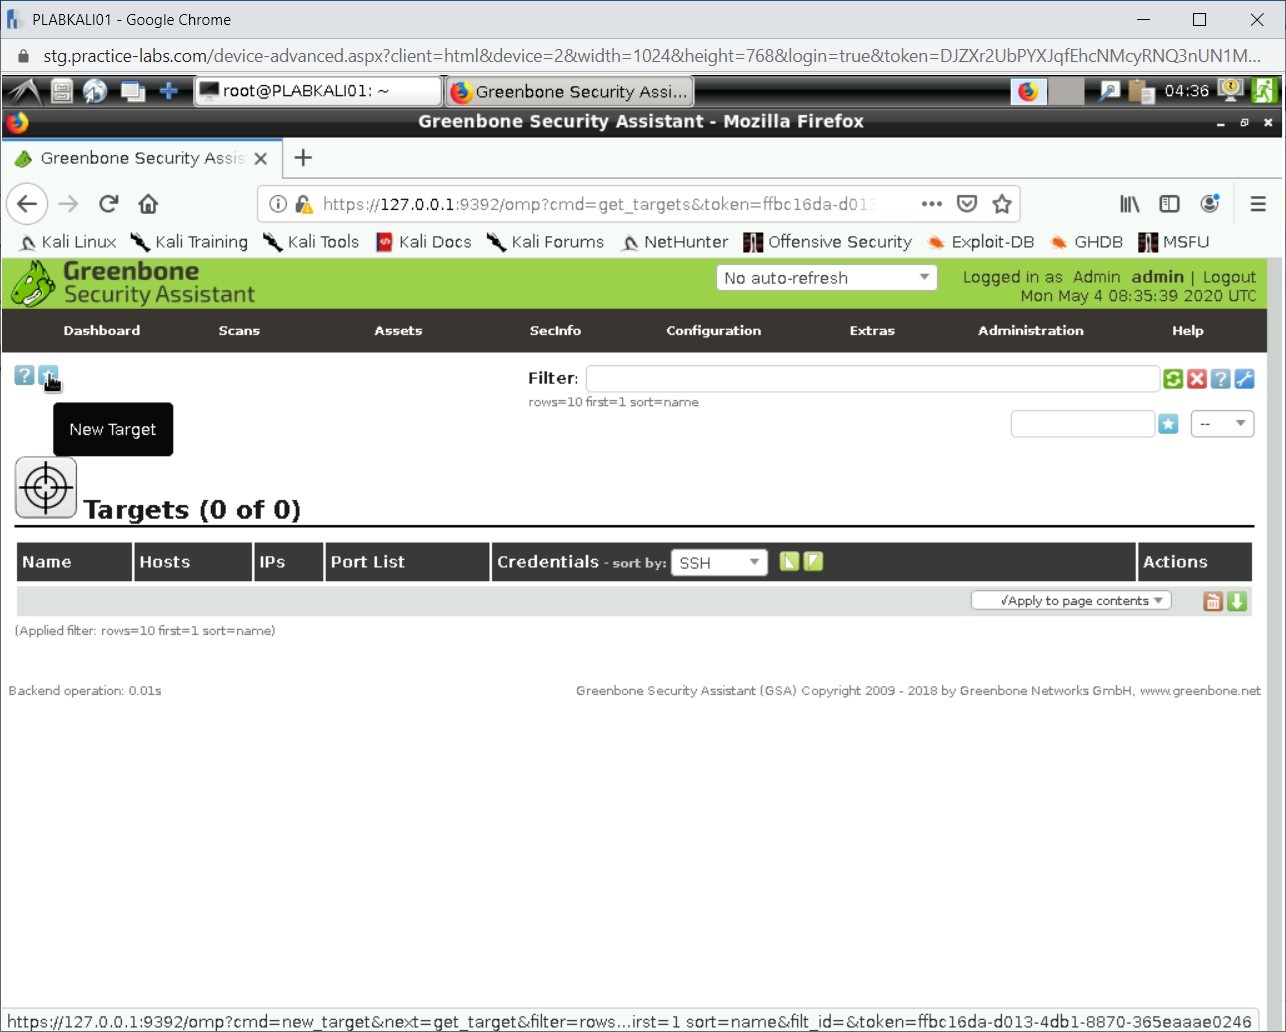
You will now perform the scanning. Click Configuration and select Targets.
Step 7
The Targets page is displayed. First, you need to define a target.
Click New Target (*) on the upper left side - just below the menu.
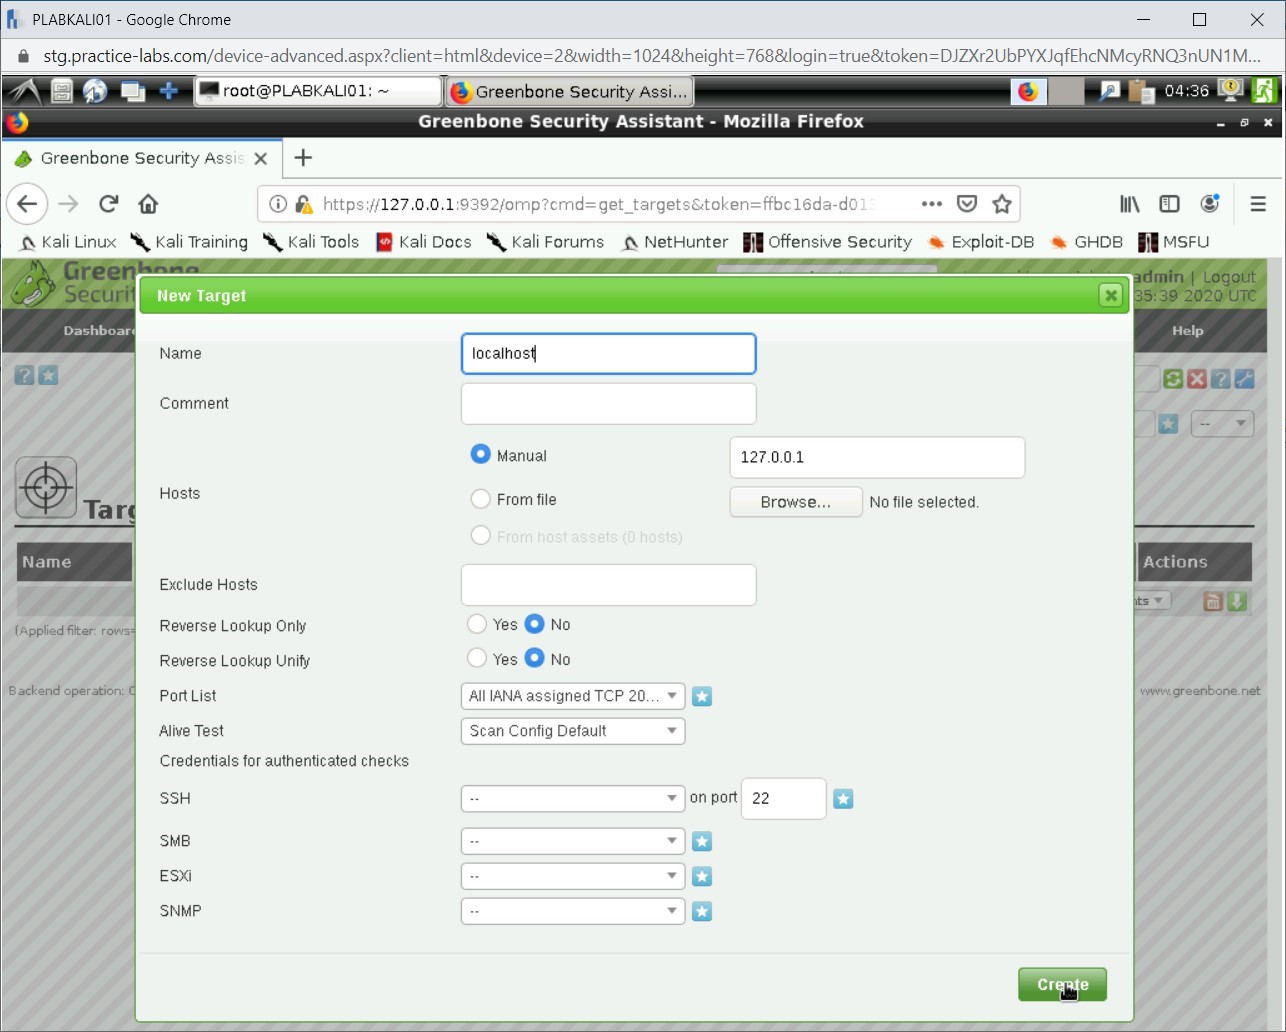
Step 8
The New Target dialog box is displayed. In the Name text box, type the following:
localhost
Click Create.
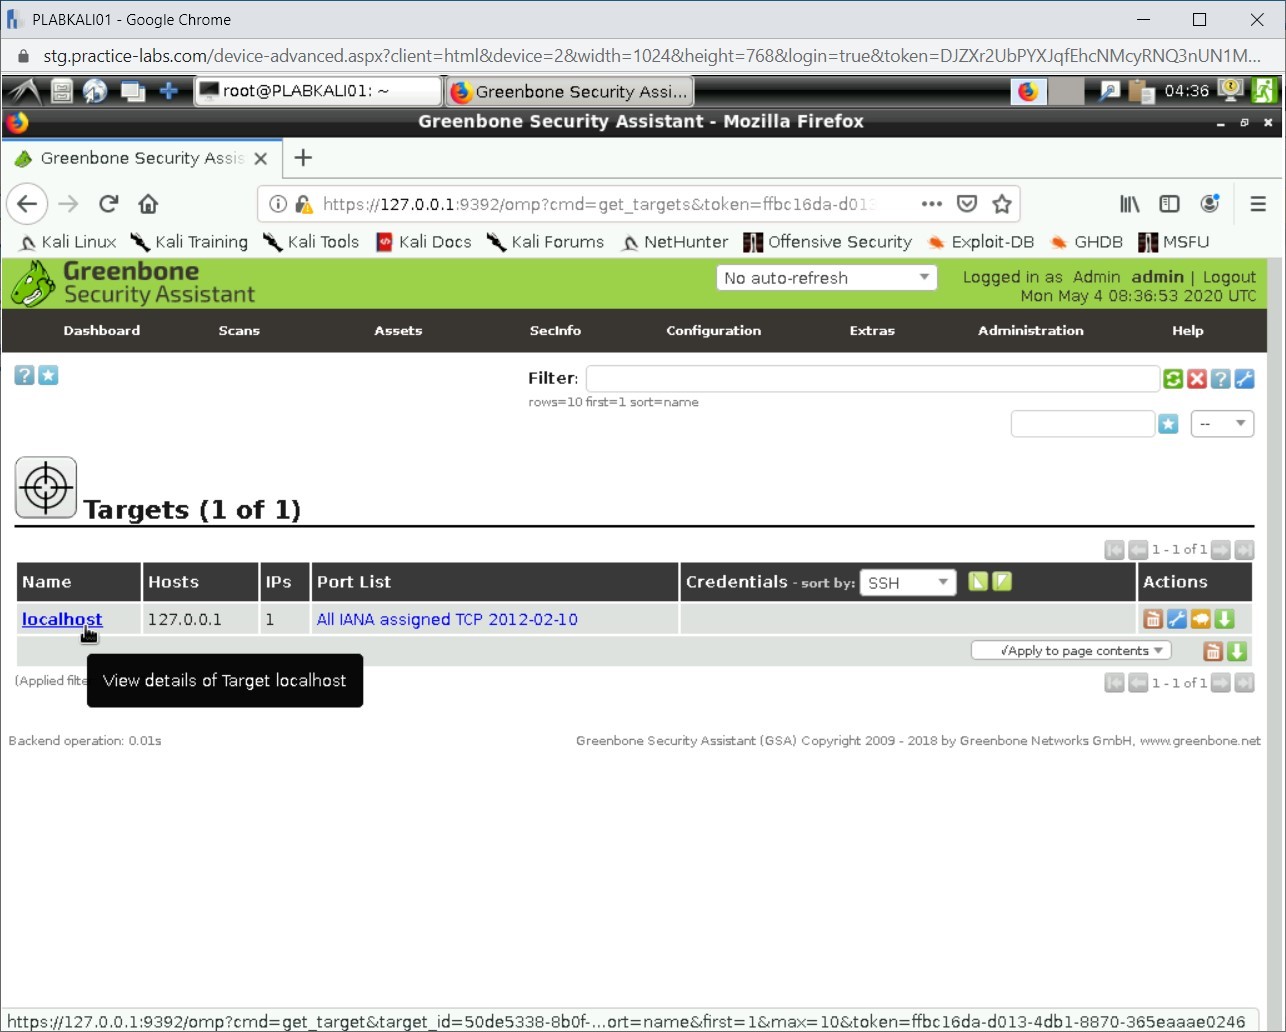
Step 9
Notice that the target is now created.
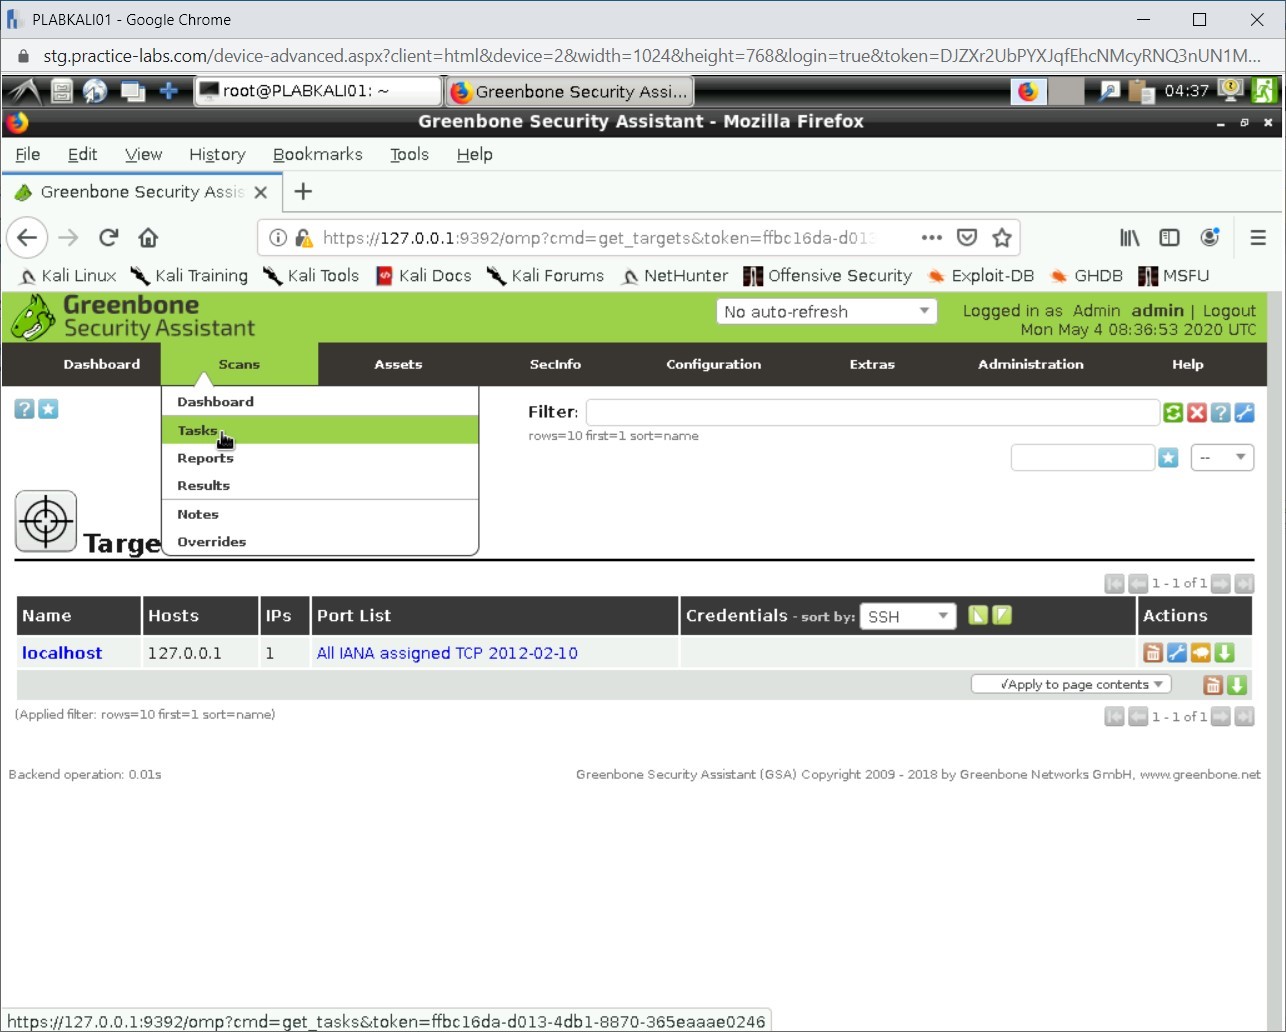
Step 10
Next, create a task. Click Scans and then select Tasks.
Step 11
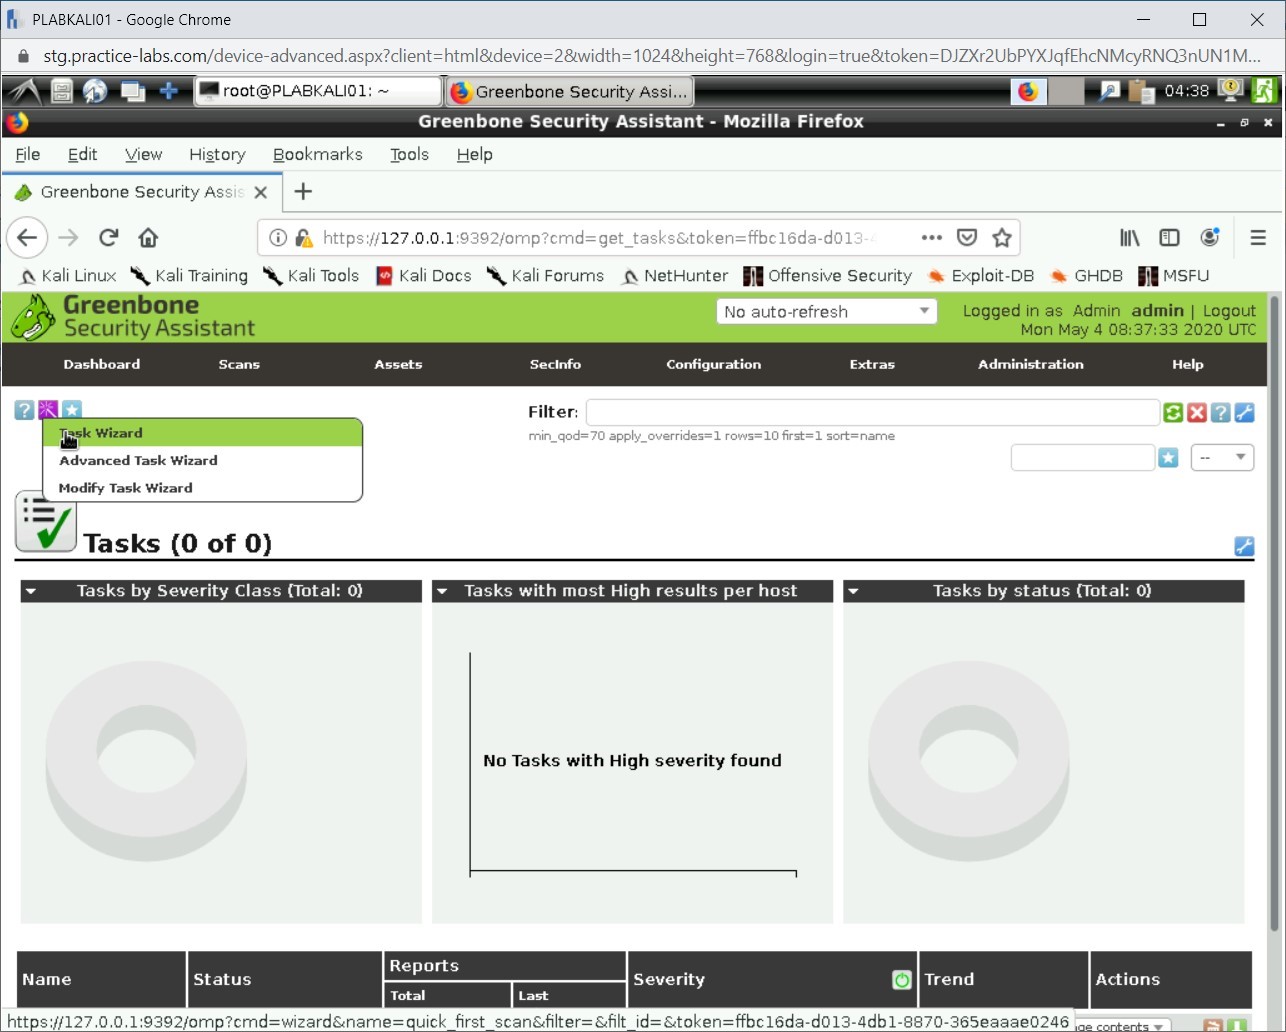
The Tasks page is displayed.
Note: A dialog box will appear for 10 seconds and then disappear automatically.Click the Task icon just below the menu bar and select Task Wizard.
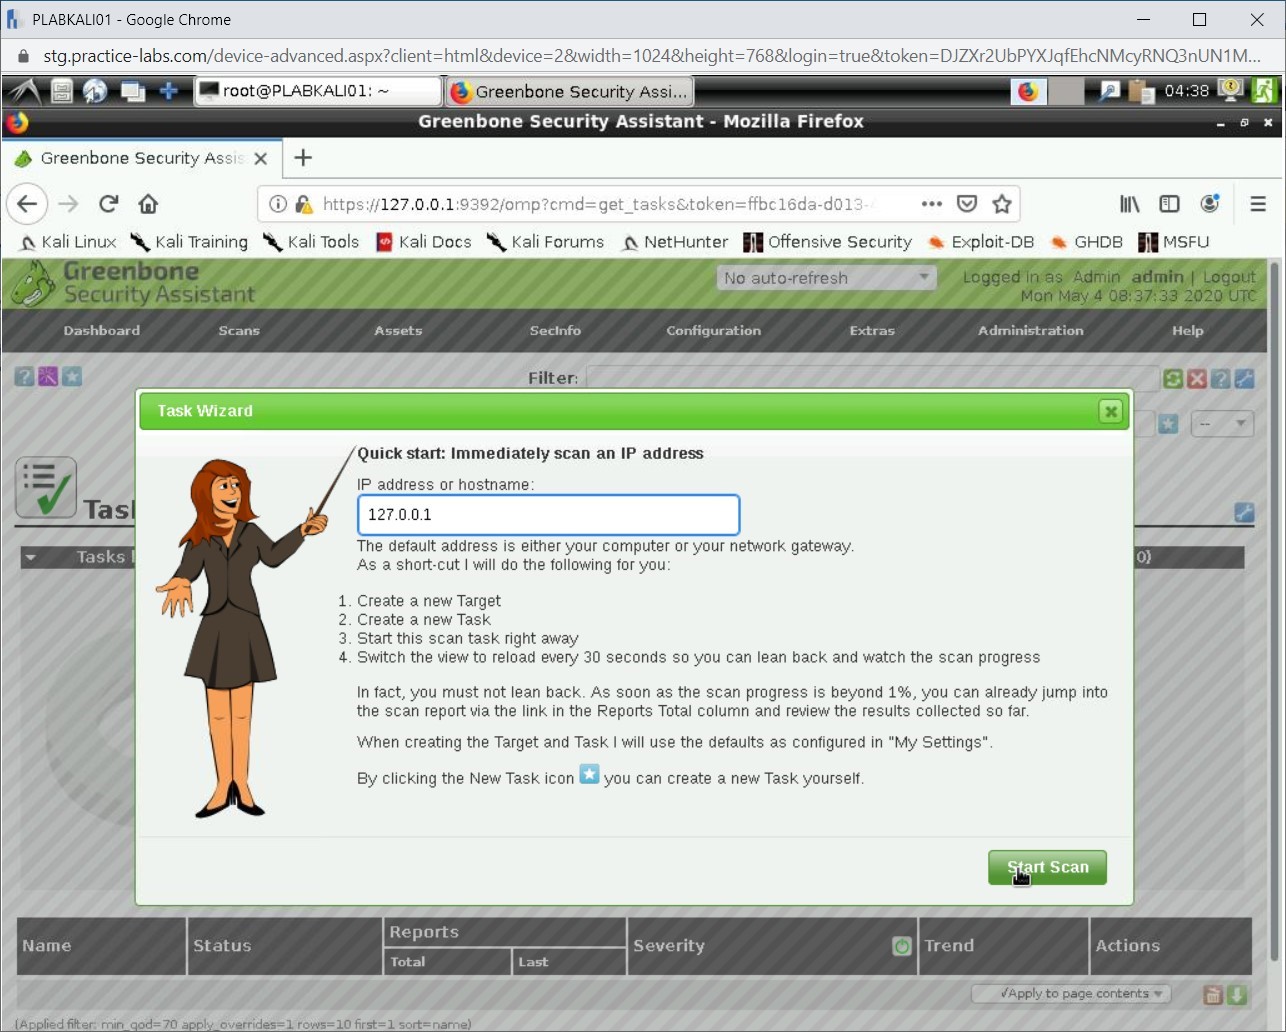
Step 12
The Task Wizard is displayed. Keep the IP address as 127.0.0.1 and click Start Scan.
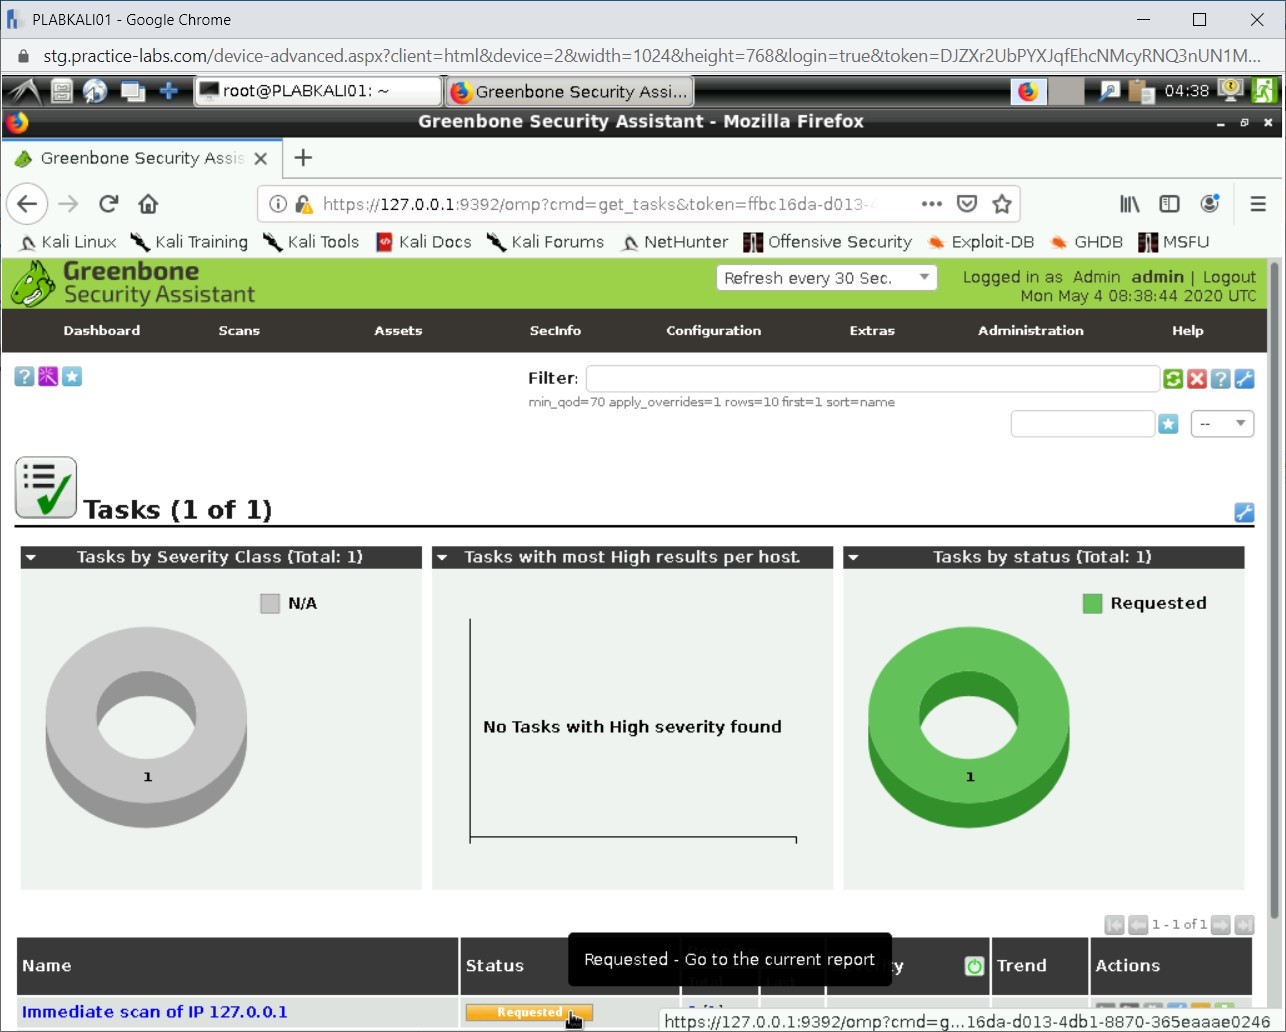
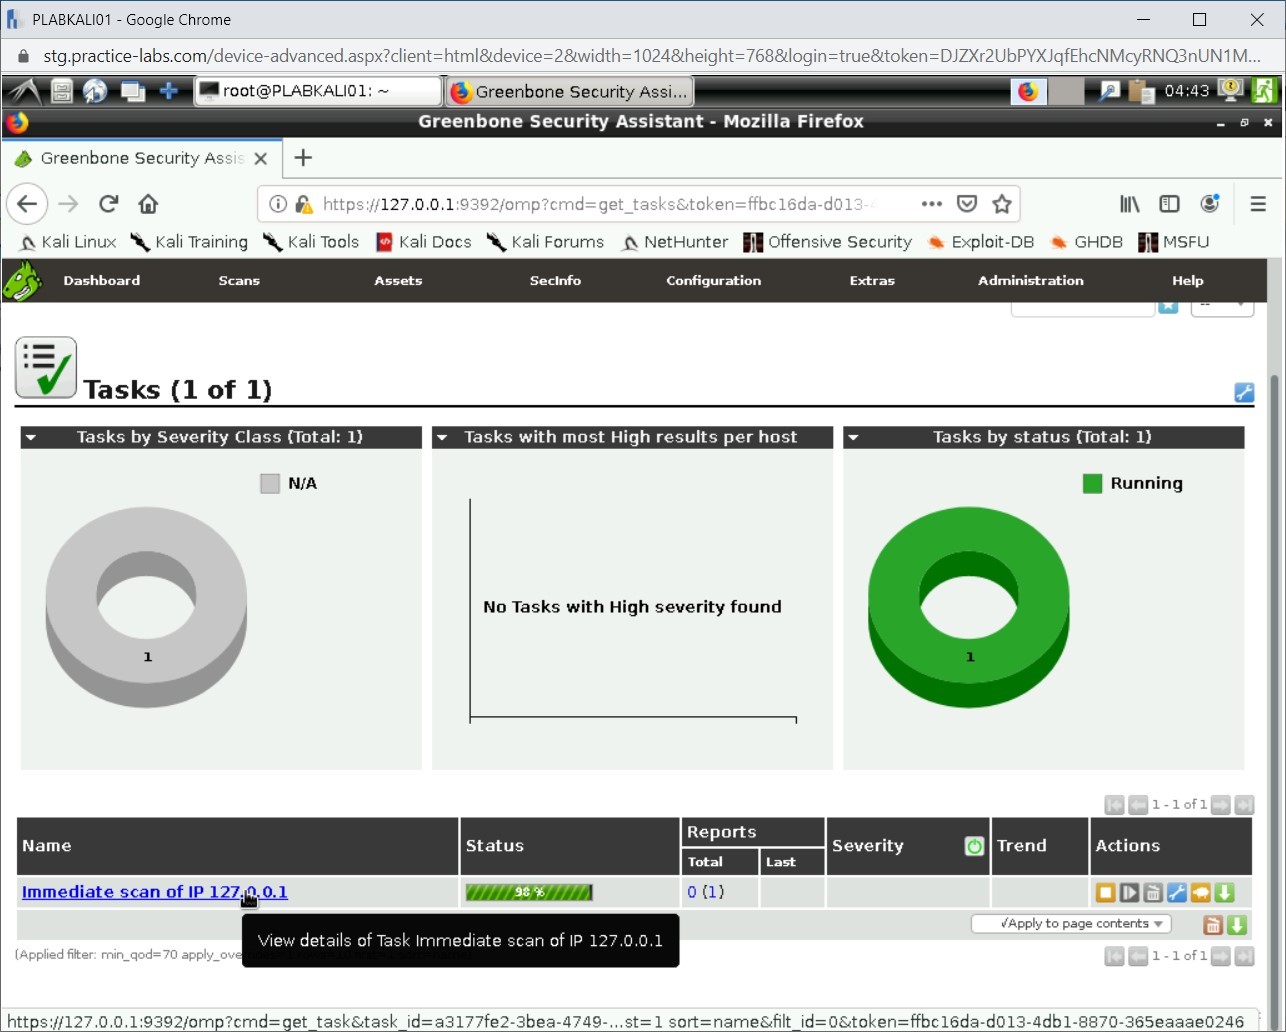
Step 13
Notice that a new task is created. It is named as Immediate scan of IP 127.0.0.1. It has the status set as Requested.
Step 14
After a few minutes, the task starts to run. The Status column now shows the percentage of task run.
Note: This task will take several minutes to complete.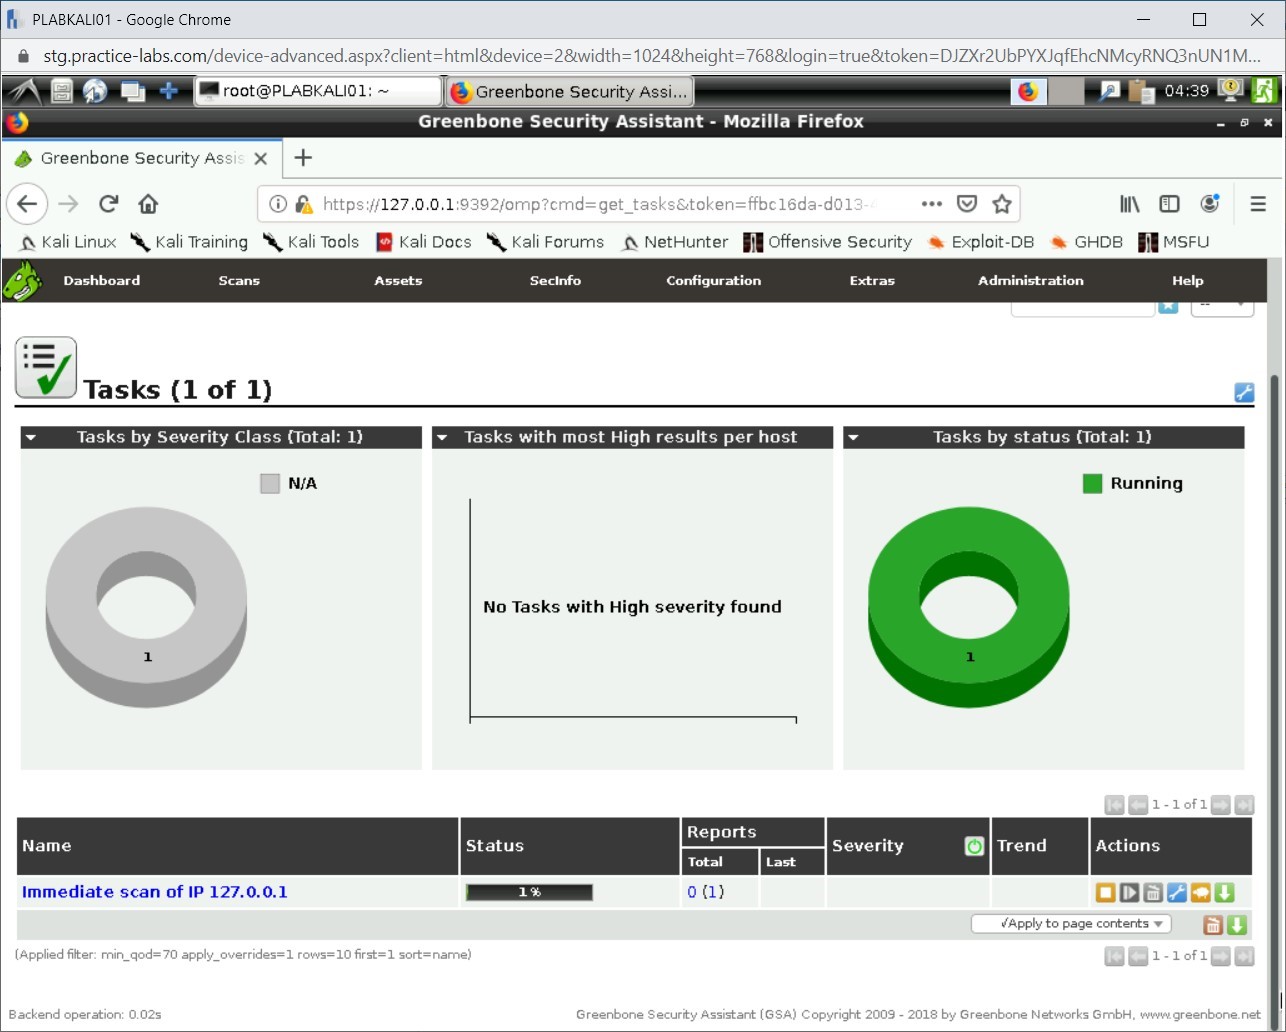
Step 15
Finally, the scan completes, and the Tasks page displays the status.
Click Immediate scan of IP 127.0.0.1.
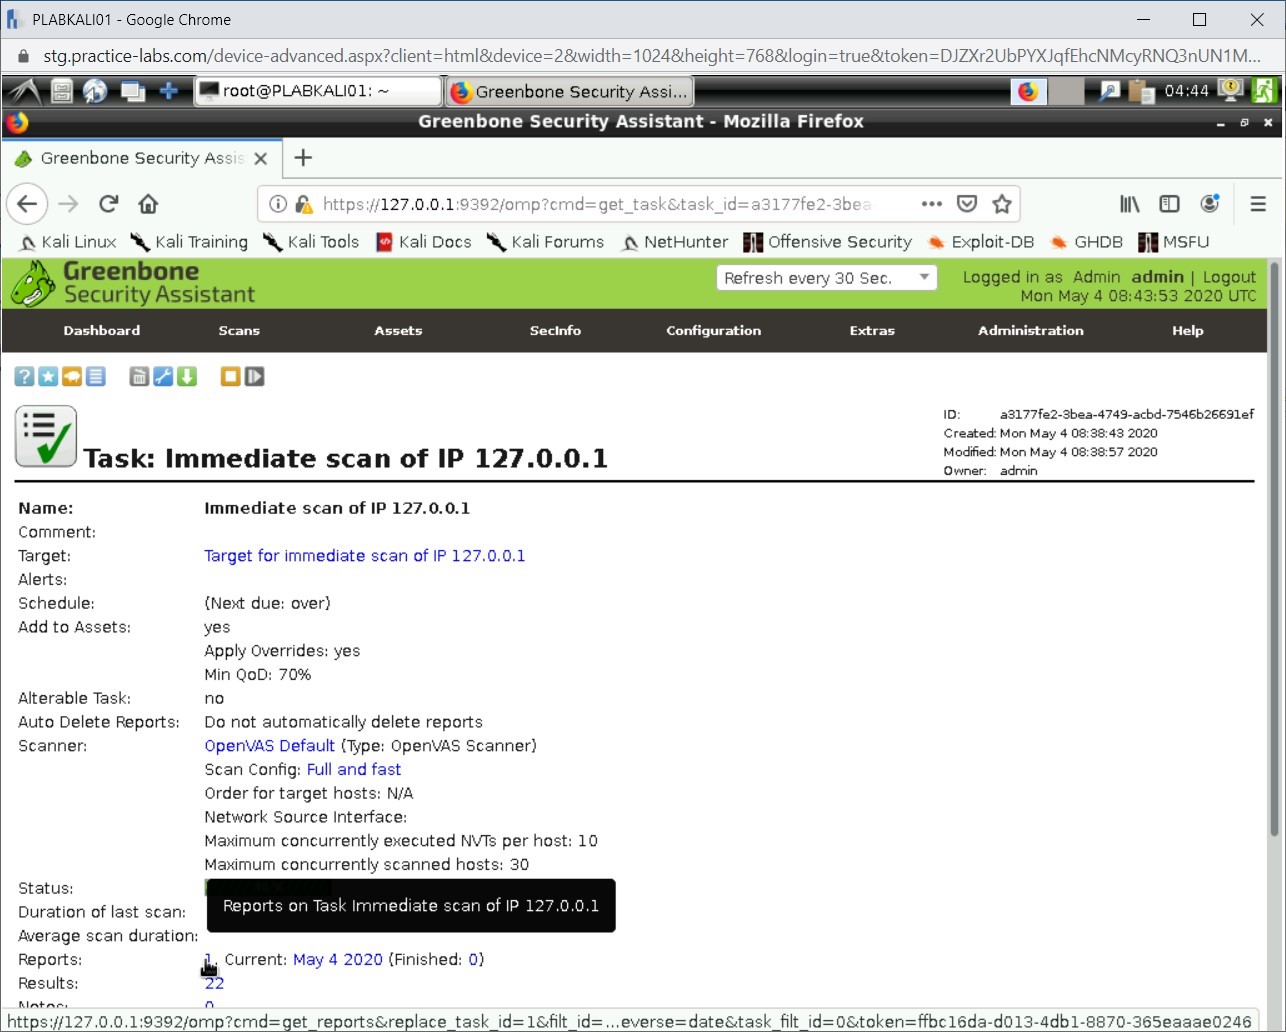
Step 16
The finished task details are displayed. Click 1 next to Reports.
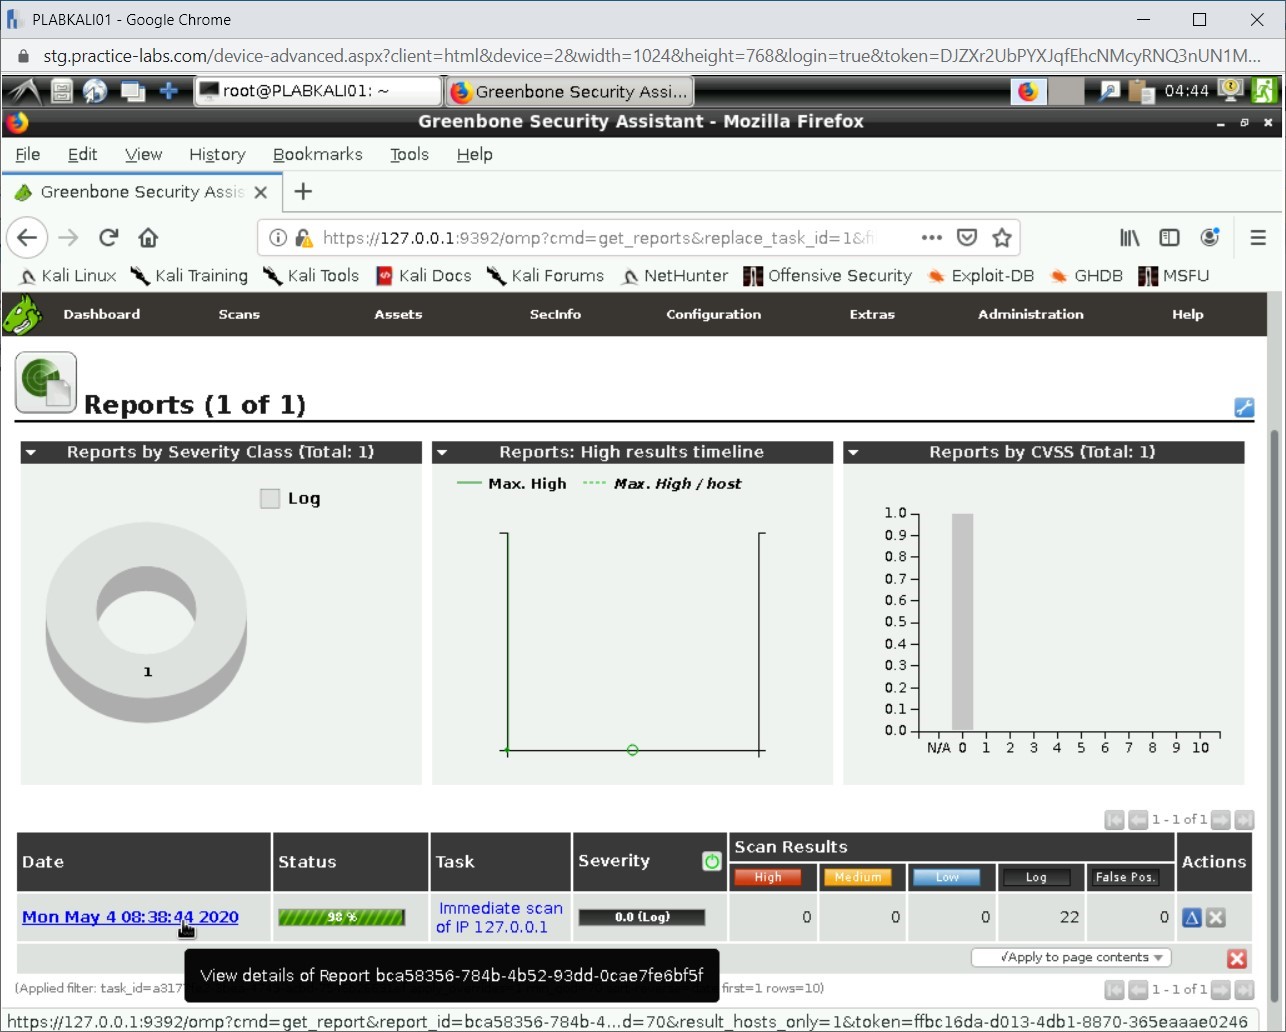
Step 17
Click the link provided under Date column.
Step 18
Notice that the vulnerability is now displayed. It also displays the Severity level of vulnerability.
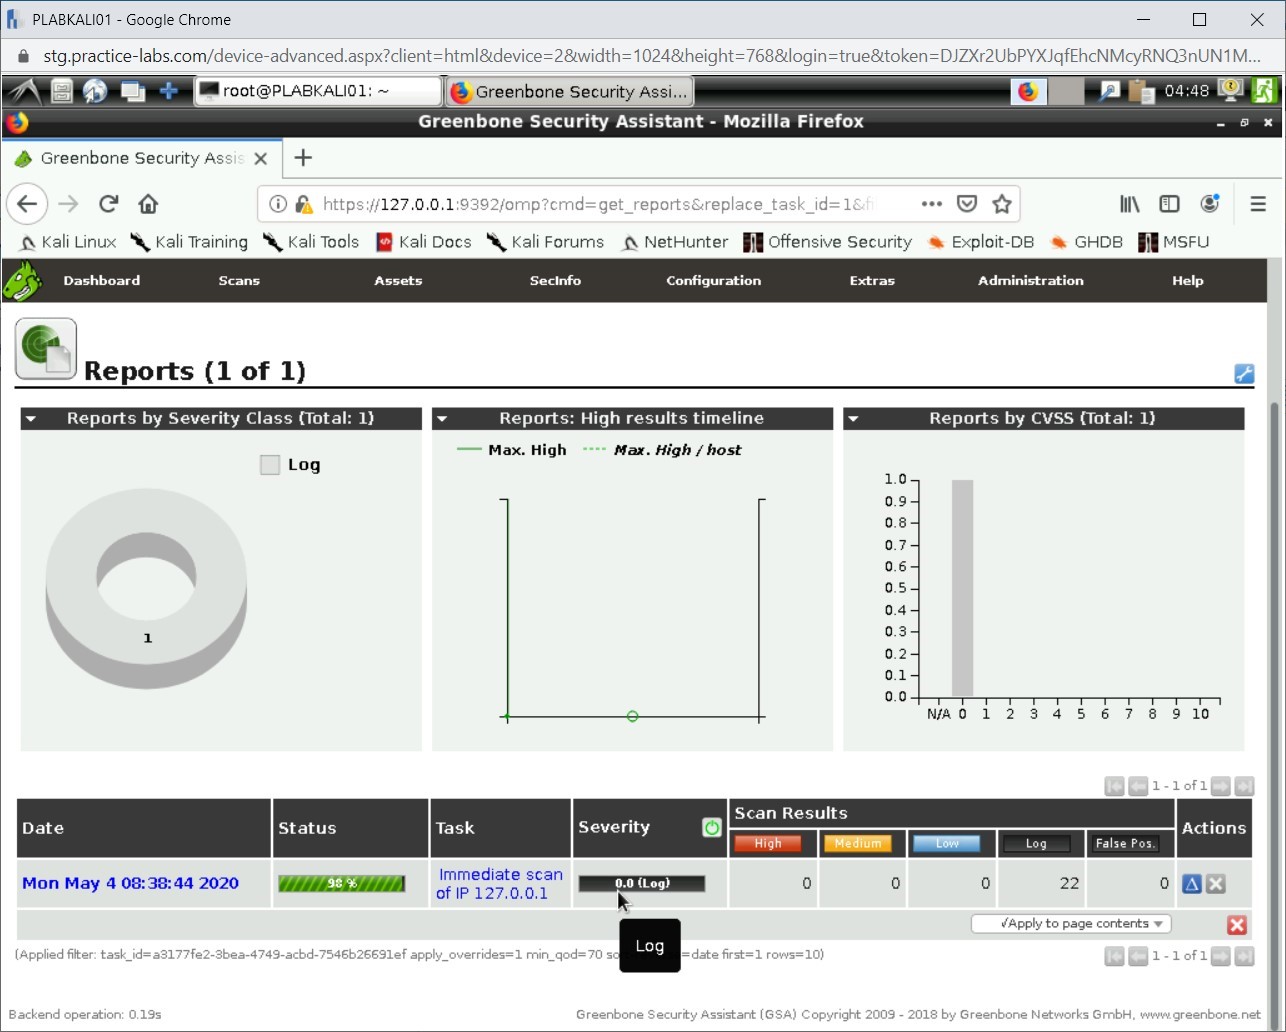
Close the Firefox window.
Task 3 - Using Lynis for System Vulnerability Scanning
Lynis is a built-in tool in Kali Linux that is a multi-purpose tool. It is designed to perform the following tasks:
- Security auditing
- Compliance testing
- Penetration testing
- Vulnerability detection
- System Hardening
It can perform several types of system auditing, such as system binaries, boot loaders, startup services, run level, loaded modules, kernel configuration, core dumps, and so on.
In this task, you will learn to use Lynis for system vulnerability scanning. To do this, perform the following steps:
Step 1
Ensure you have powered on all the devices listed in the introduction and connect to PLABKALI01.
Clear the screen by entering the following command:
clear
By default, Lynis will perform a local system scan. You have the option to run a normal audit scan or can run the entire system scan.
Let’s first run the normal audit scan. Type the following command:
lynis audit system
Press Enter.

Step 2
The auditing process starts. Notice that it has already detected the operating system version, its hostname, and so on.
Note: The audit process will take a few minutes to complete.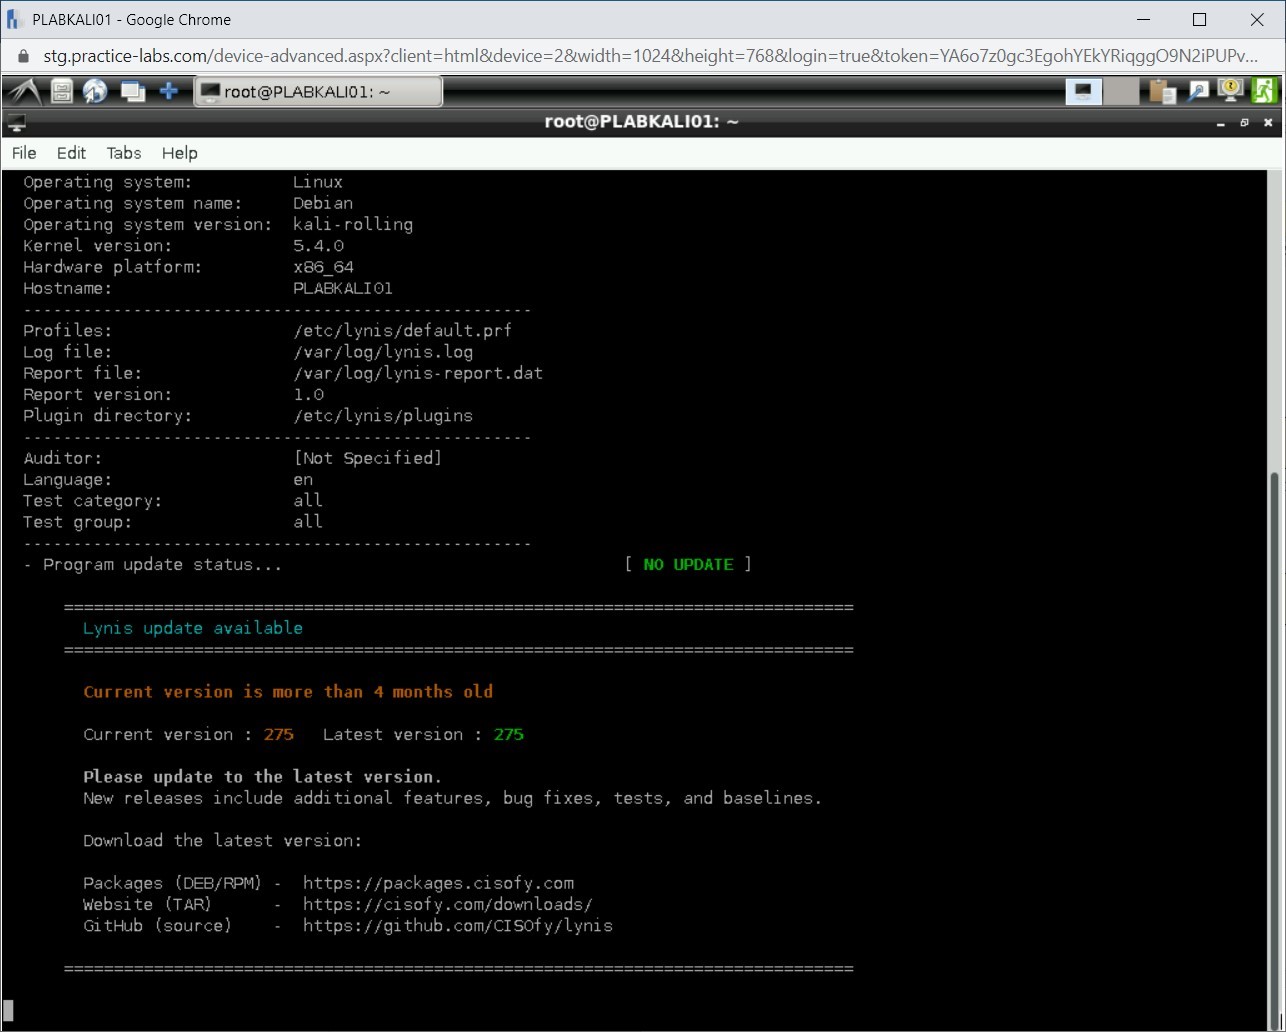
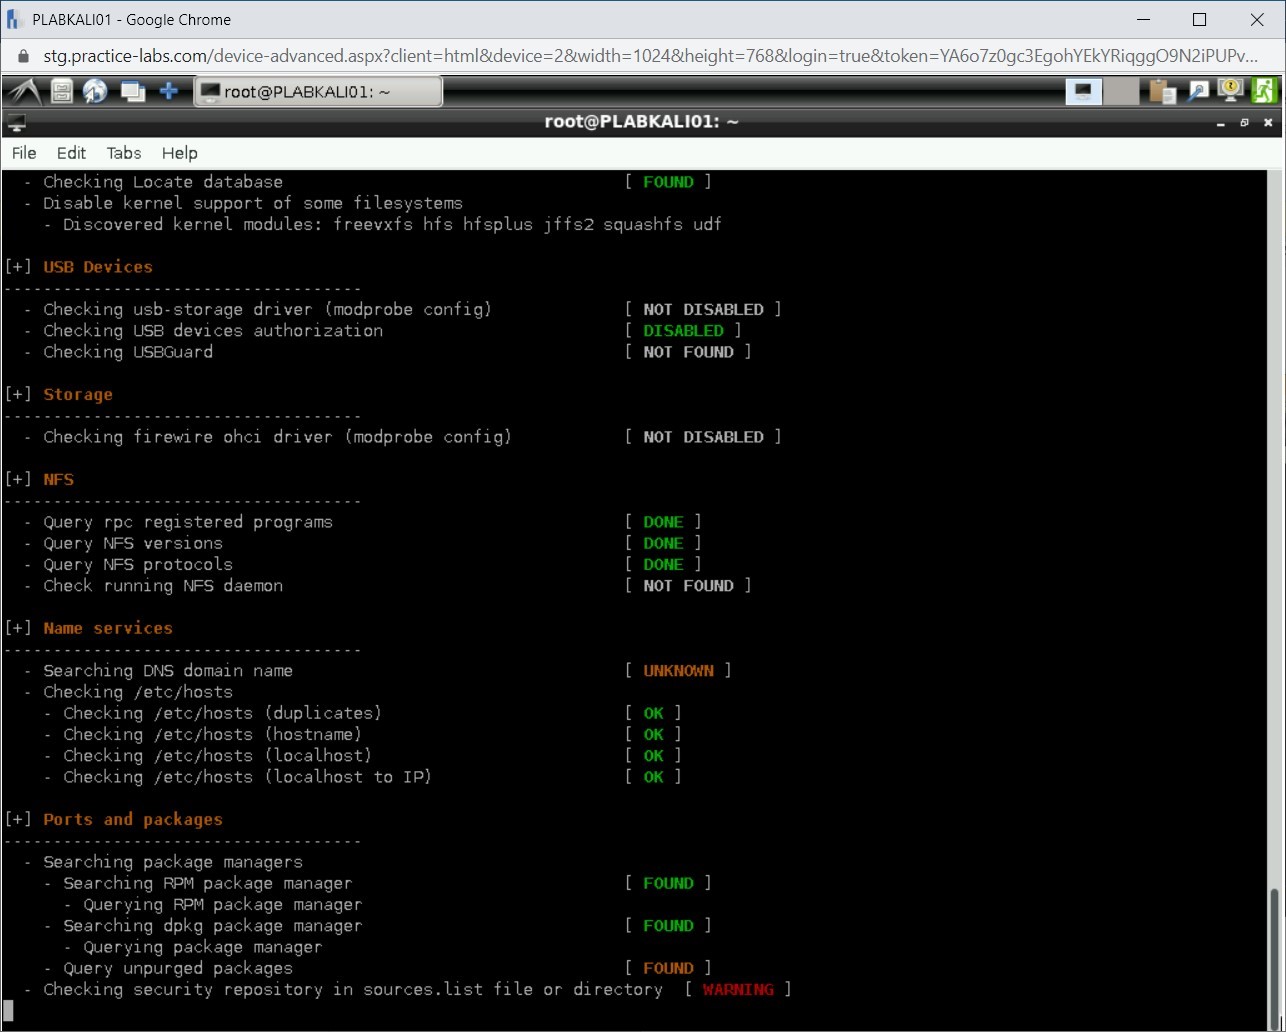
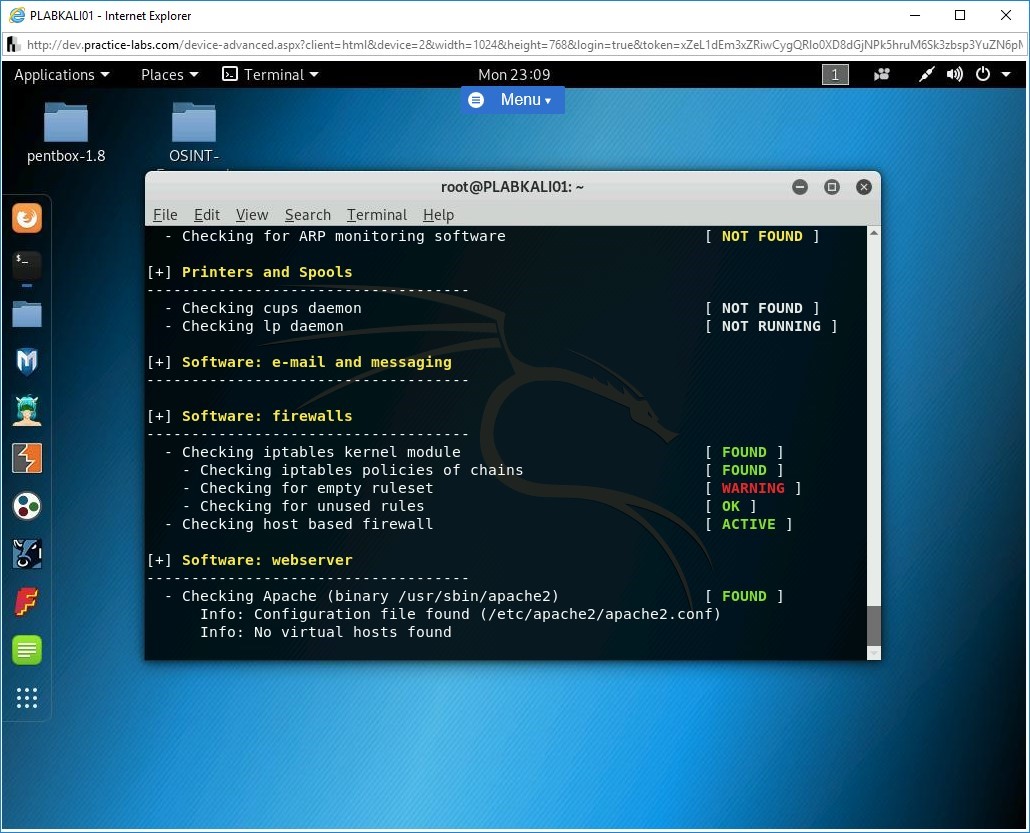
Step 3
During the scan process, you will notice that the results are categorized under different categories.
Step 4
The audit process completes.
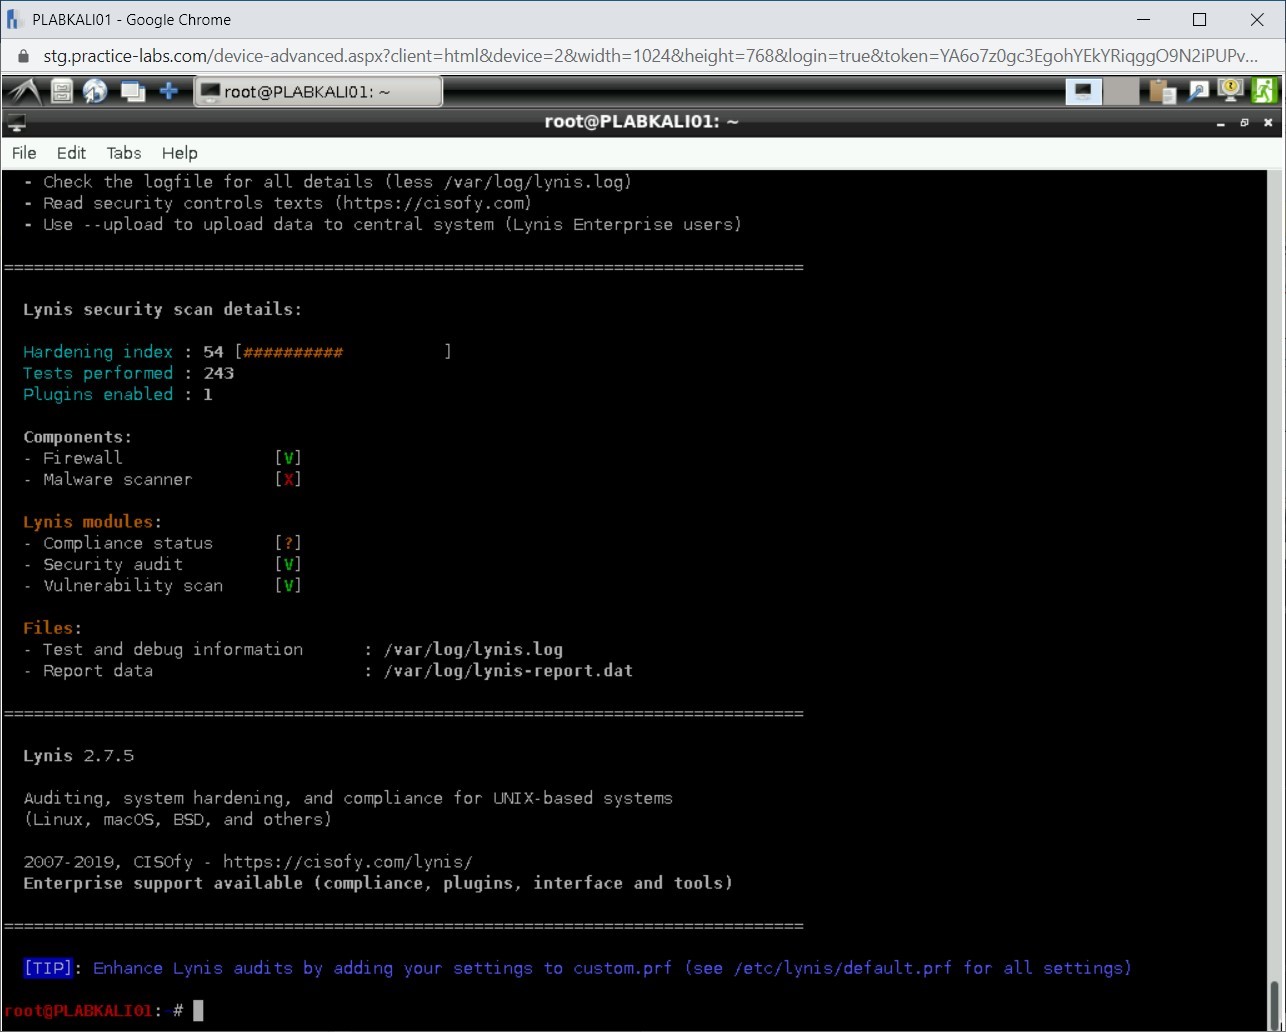
Step 5
You will need to scroll up to review the results. Notice that there are vulnerabilities that are located. Lynis also provides a suggestion to close the vulnerabilities. For example, hardening the SSH configuration. It has a setting PermitRootLogin set to Yes. Lynis audit suggests that it should be set to No.
Note: Take a few minutes and go through the audit report. If time permits, then you should use the following command to perform a full audit scan: lynis audit system -c
Close the terminal window.
Analyze Vulnerability Scan Results and Prioritize Activities
After you have scanned devices, servers, and Web applications for vulnerabilities, you need to analyze the vulnerability results now. This is because after discovering vulnerabilities, you need to make good use of them in penetration testing.
In this exercise, you will learn about analyzing the vulnerability scan results.
Learning Outcomes
After completing this exercise, you will be able to:
- Explain False Positive
- Know about Mapping Vulnerabilities
- Prioritize Activities in Preparation for Penetration Test
Your Devices
This exercise contains supporting materials for PenTest+.

Explain False Positive
A false positive is a condition that is shown in a result when it actually does not exist. For example, a vulnerability may indicate that MySQL has a vulnerability, but it does not exist or is not considered a vulnerability. The vulnerability scan results can produce several false positives. A vulnerability scanner may show false positives due to several reasons:
- It is unable to recognize an executable or service.
- To cover up a vulnerability, you may have implemented a compensating control. Therefore, the vulnerability may be shown as false positive even though it is covered by a compensating control.
- The vulnerability scanner does not have updated definitions.
- The scanner configurations are not correct, and therefore, several services or configuration settings may be marked as false positives.
As a pentester, you must be able to identify false positives. Each scan result should be researched and calculated, whether it is a false positive or not. You will not know about every vulnerability that you discover, but researching can certainly prevent wastage of hours of work.
Mapping Vulnerabilities
After generating the list of vulnerabilities, you need to map them. In a network environment, there can be several targets that can have associated vulnerabilities. You may run more than one vulnerability scans. After you are done with the scans, you can collate the vulnerabilities in a single document and map them with the targets. You should update this document as and when you run a vulnerability scan.
Prioritize Activities in Preparation for Penetration Test
When performing a penetration test, you need to prioritize the activities. Remember that the penetration tests are time-bound and cannot go on for an indefinite time. If penetration tests stretch more than required, then they might also end-up losing validity. For example, a penetration test could not be completed within the defined time due to a shortage of resources. You had only completed the vulnerability scan and found several vulnerabilities. After a month, you cannot assume that the vulnerabilities are still valid. It could be possible that the client must have run updates on the servers or devices. It could also be possible that the client must have installed a set of new applications. Therefore, some of the discovered vulnerabilities would have been closed while several new would have been introduced.
You must prioritize activities in penetration testing. There will be tasks that will be quick to complete; you can always do them first and get them out of the way. However, at the same time, there will be tasks that may not have a definite timeline. One such example is social engineering. You may also prioritize these activities so that they have enough time for completion.

Comments
Post a Comment