Saving Microsoft Baseline Security Analyzer Reports
Saving Microsoft Baseline Security Analyzer Reports
Reports are a key feature of an audit trail; here you are auditing the configuration a server device and logging the information for a situation in the future where accountability is a necessity for tracking changes to a network topology.
In this exercise, you will learn to save MBSA reports.
Learning Outcomes
After completing this exercise, you will be able to:
- Save the MBSA Report
Your Devices
You will be using the following devices in this lab. Please power these on now.
- PLABDC01 - (Windows Server 2019 - Domain Server)
- PLABWIN10 - (Windows 10 - Workstation)
Task 1 - Save the MBSA Report
In this task, you will save a generated report as an XPS document, which is an open format designed and supported by Microsoft.
Step 1
Ensure that the required devices are powered on. Connect to PLABWIN10.
On the desktop, double-click Microsoft Baseline Security Analyzer 2.1.

Step 2
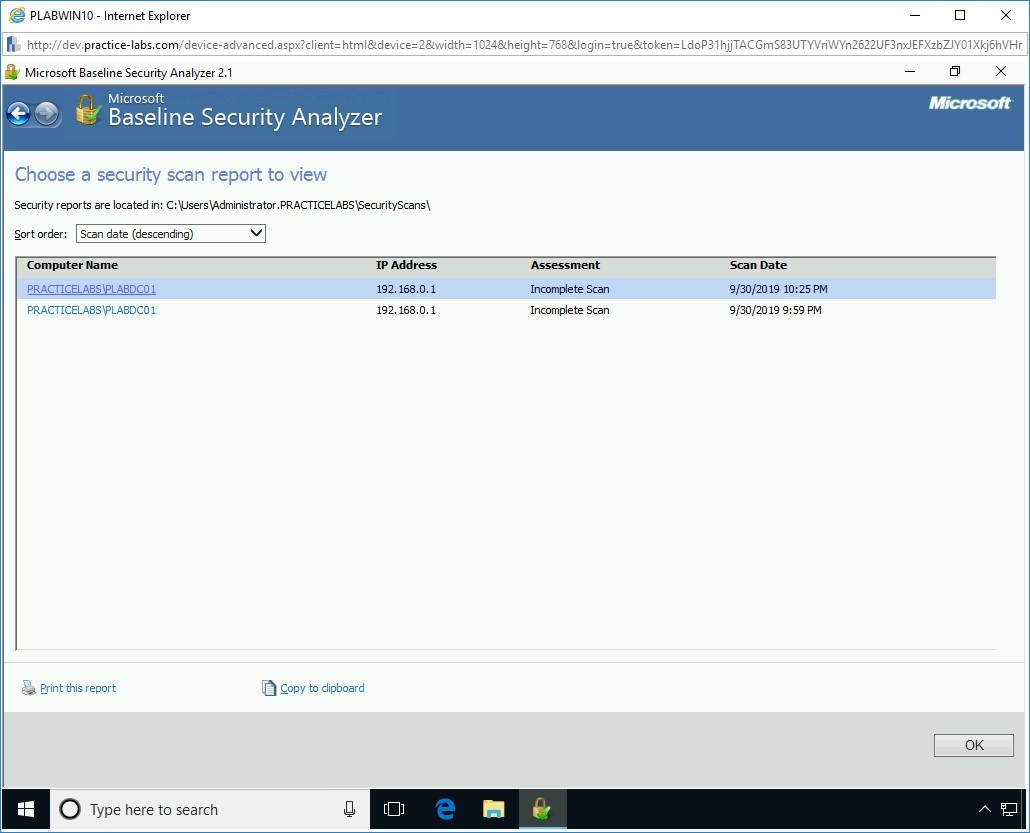
In the MBSA window, click the View existing security scan reports link.

Step 3
On the Choose a security scan report to view page, you may get to see one or more reports. The number of reports depends on the time you have run the scan. Click a report.

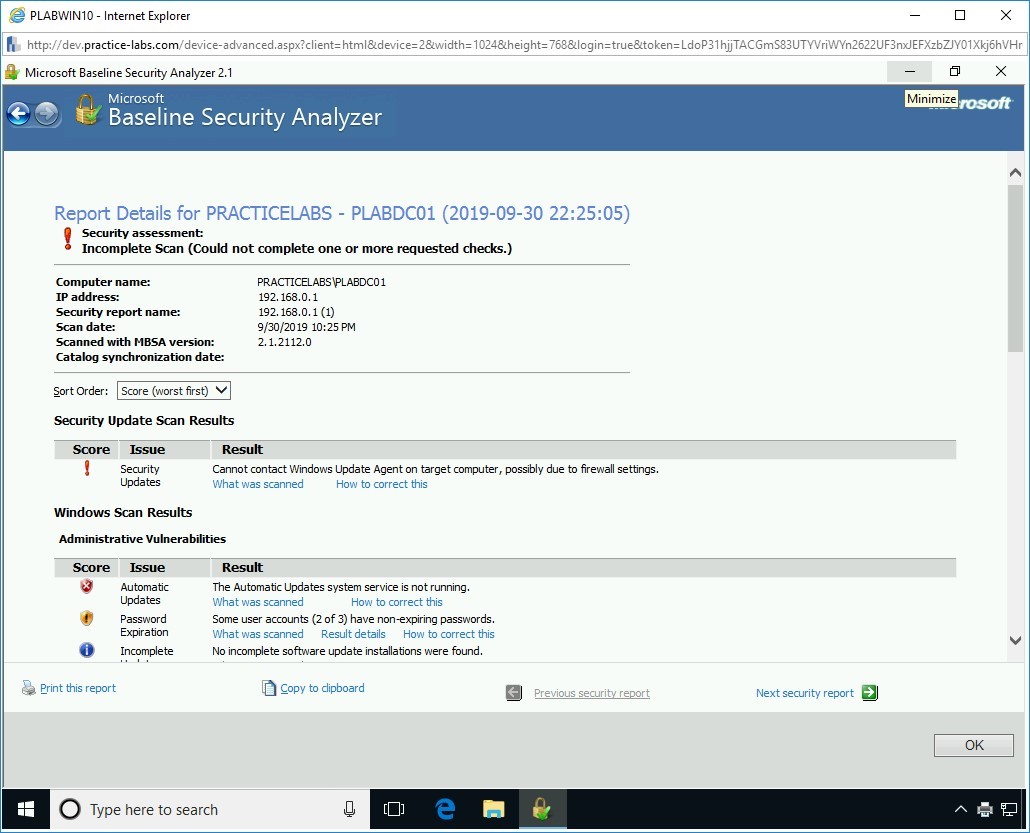
Step 4
The report contents are displayed. Click the Print this report link, located towards the bottom left-hand corner of the window.
Step 5
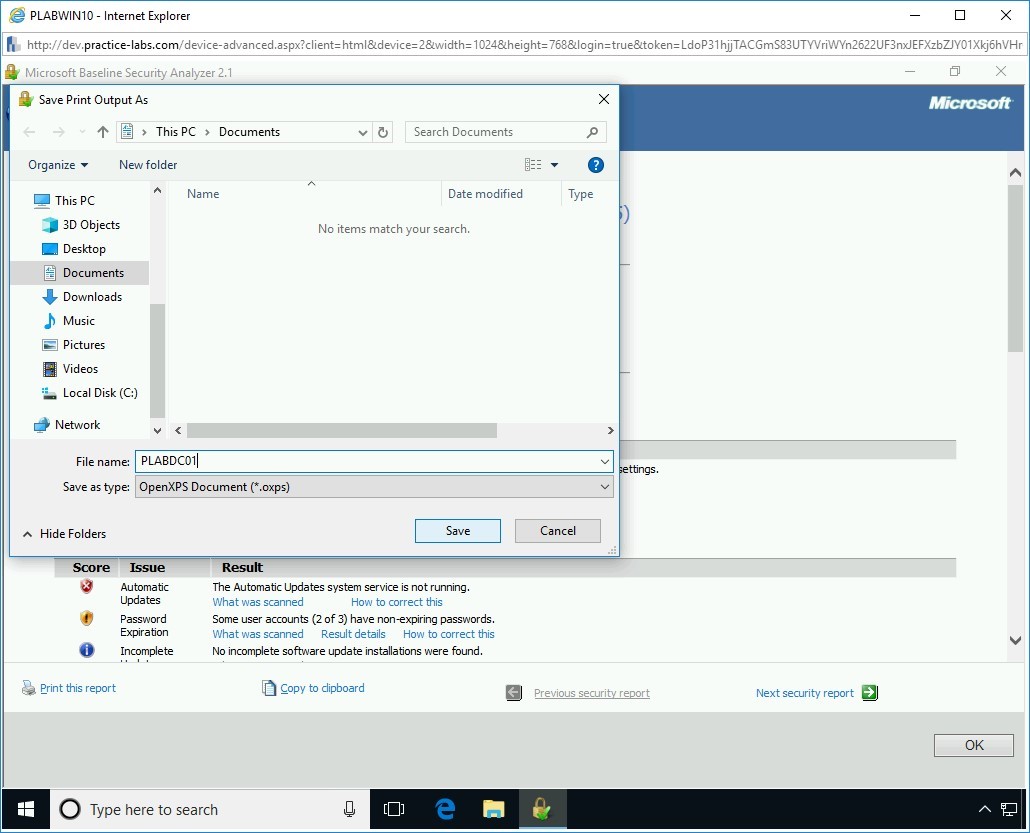
The Print dialog box is displayed. In the Select Printer section, scroll across and select Microsoft XPS Document Writer and click Print.
Step 6
Name the file PLABDC01, keep the extension as .oxps and save the file to the Documents.
Step 7
Now minimize the MBSA window.
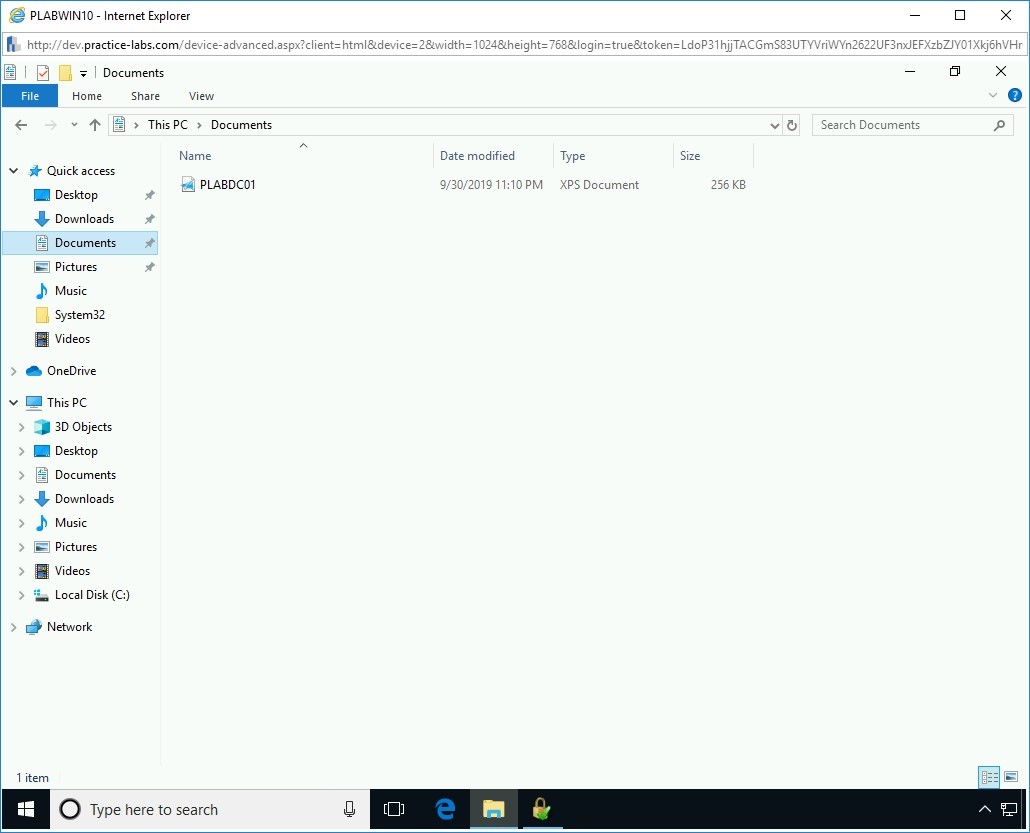
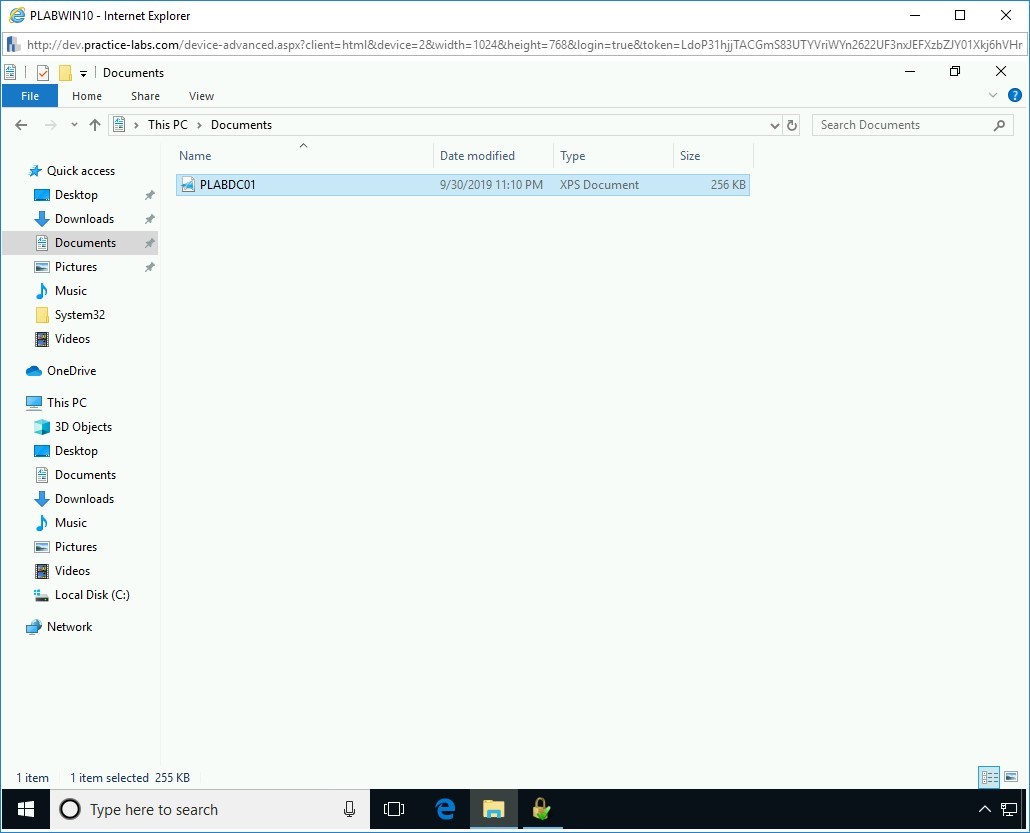
Step 8
From the taskbar, click File Explorer and then navigate to the Documents folder in the left pane.
Step 9
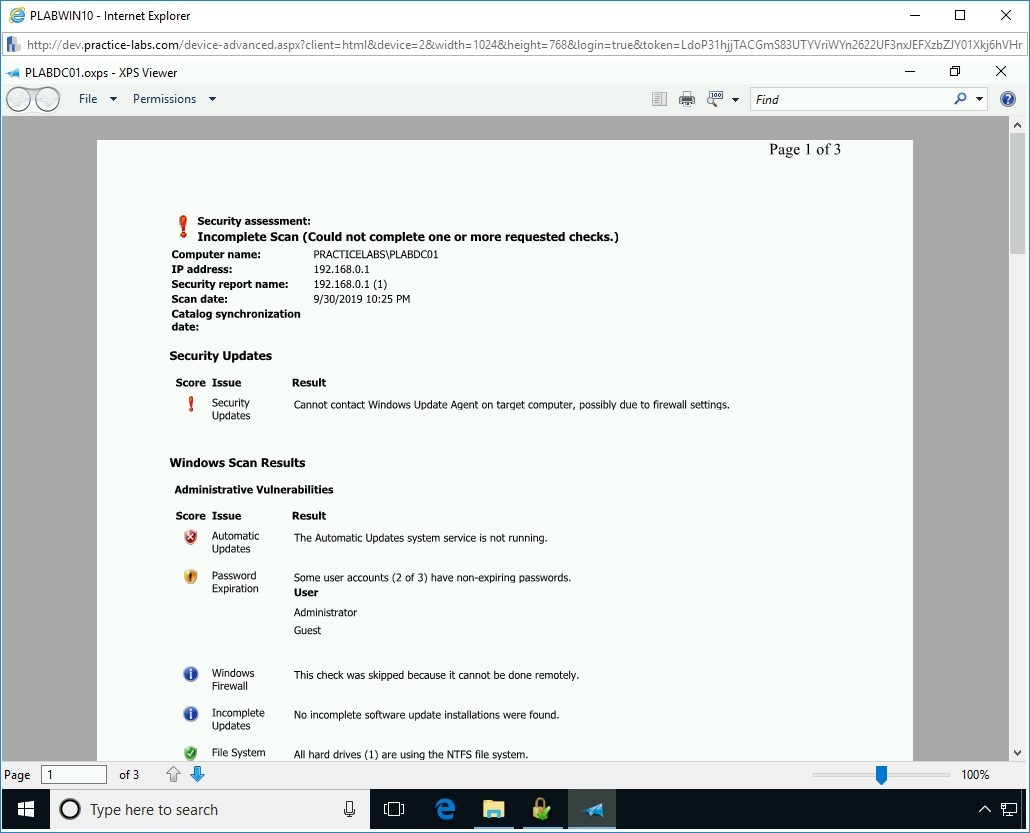
Notice that a file named PLABDC01 is present in the Documents folder. Double-click the file to read the output of the report.

Step 10
The PLABDC01.oxps - XPS Viewer window is displayed. It displays the contents of the PLABDC01 report.
This file is, in fact, part of the auditing performed against windows machines, and typically it would be kept as a record of actions that have been taken and recognized.

Close the XPS Viewer and File Explorer windows.
/
Analyze Vulnerability Scan Results and Prioritize Activities
After you have scanned devices, servers, and Web applications for vulnerabilities, you need to analyze the vulnerability results now. This is because after discovering vulnerabilities, you need to make good use of them in penetration testing.
In this exercise, you will learn about analyzing the vulnerability scan results.
Learning Outcomes
After completing this exercise, you will be able to:
- Explain False Positive
- Know about Mapping Vulnerabilities
Task 1 - Explain False Positive
Please connect to PLABKALI01 to view the list of vulnerability results.
A false positive is a condition, which is typically detected by a scanner, but it actually does not exist. It is about a condition that is considered to be present in a result but it does not exist. For example, a vulnerability may indicate that MySQL has a vulnerability, but, in reality, it does not exist or is not considered a vulnerability. Vulnerability scan results can produce several false positives. A vulnerability scanner may show false positives due to several reasons:
- It is unable to recognize an executable or service.
- To cover up a vulnerability, you may have implemented a compensating control. Therefore, the vulnerability may be shown as false positive even though it is covered by a compensating control.
- The vulnerability scanner does not have updated definitions.
- The scanner configurations are not correct, and therefore, several services or configuration settings may be marked as false positives.
As a pentester, you must be able to identify false positives. Each scan result should be researched and calculated, whether it is a false positive or not. You will not know about every vulnerability that you discover, but researching can certainly prevent wastage of hours of work.
Task 2 - Map Vulnerabilities
After generating a list of vulnerabilities, you need to map them. In a network environment, there can be several targets that can have associated vulnerabilities. You may run more than one vulnerability scans. After you are done with the scans, you can collate the vulnerabilities in a single document and map them with the targets. You should update this document as and when you run a vulnerability scan.

Comments
Post a Comment