Security analysing microsoft bmsa
Introducing Microsoft Baseline Security Analyzer (MBSA)
Microsoft Baseline Security Analyzer (MBSA) checks for available updates to the operating system, Microsoft Data Access Components (MDAC), MSXML (Microsoft XML Parser), .NET Framework, and SQL Server. MBSA also scans a computer for insecure configuration settings. When MBSA checks for Windows service packs and patches, it includes in its scan Windows components, such as Internet Information Services (IIS) and COM+.
In this exercise, you will learn about MBSA.
The PLABWIN10 system does not have MBSA installed. You can download MBSA from the following Website:
https://www.microsoft.com/en-in/download/details.aspx?id=19892
Download the MBSASetup-x64 English version installed in the Downloads folder.
Learning Outcomes
After completing this exercise, you will be able to:
- Install MBSA
- Configure MBSA
- Review the results of the scan
Your Devices
You will be using the following devices in this lab. Please power these on now.
- PLABDC01 - (Windows Server 2019 - Domain Server)
- PLABWIN10 - (Windows 10 - Workstation)
Task 1 - Install MBSA
You can use MBSA to track the missing updates and security misconfiguration on a Windows system. MBSA does not come installed by default. You need to download and install it on a Windows system.
In this task, you will learn to install MBSA on PLABWIN10. To do this, perform the following steps:
Step 1
Ensure you have powered on all the devices listed in the introduction and connect to PLABWIN10. The desktop of PLABWIN10 is displayed.
Step 2
From the taskbar, click File Explorer.

Step 3
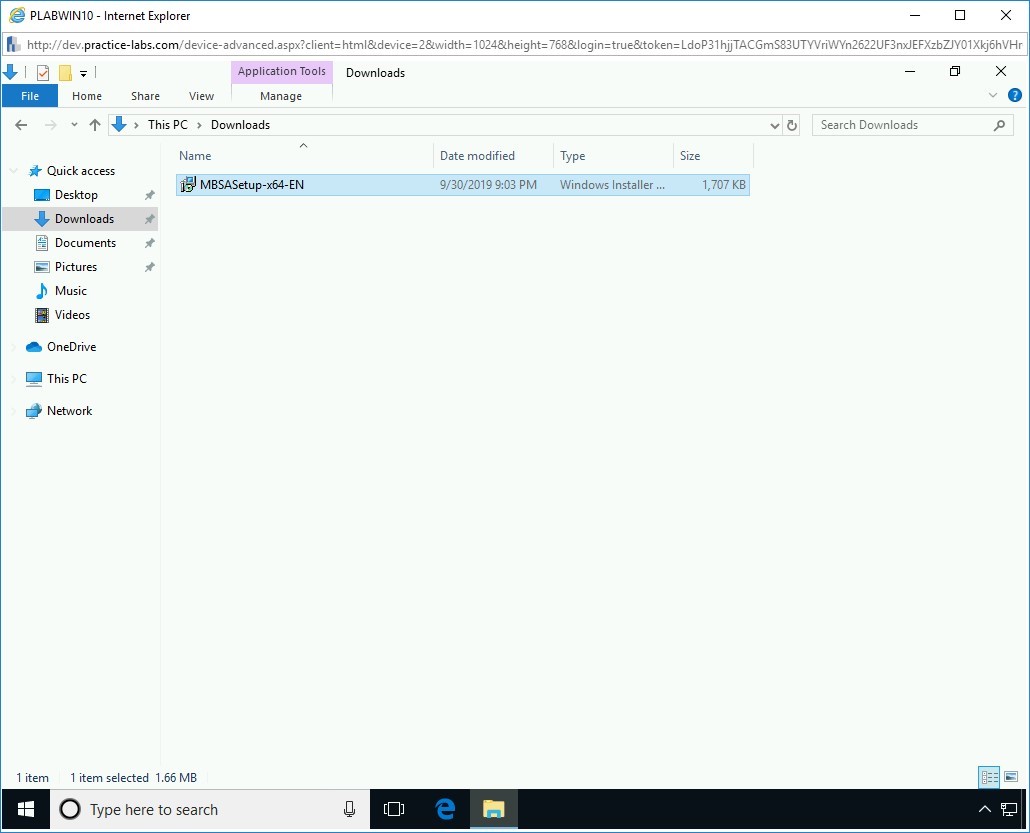
The File Explorer window is displayed. In the left pane, click Downloads.
Step 4
In the Downloads folder. Double-click the MBSASetup-x64-EN file.
Step 5
The MBSA Setup dialog box is displayed. On the Welcome to the Microsoft Baseline Security Analyzer page, click Next.
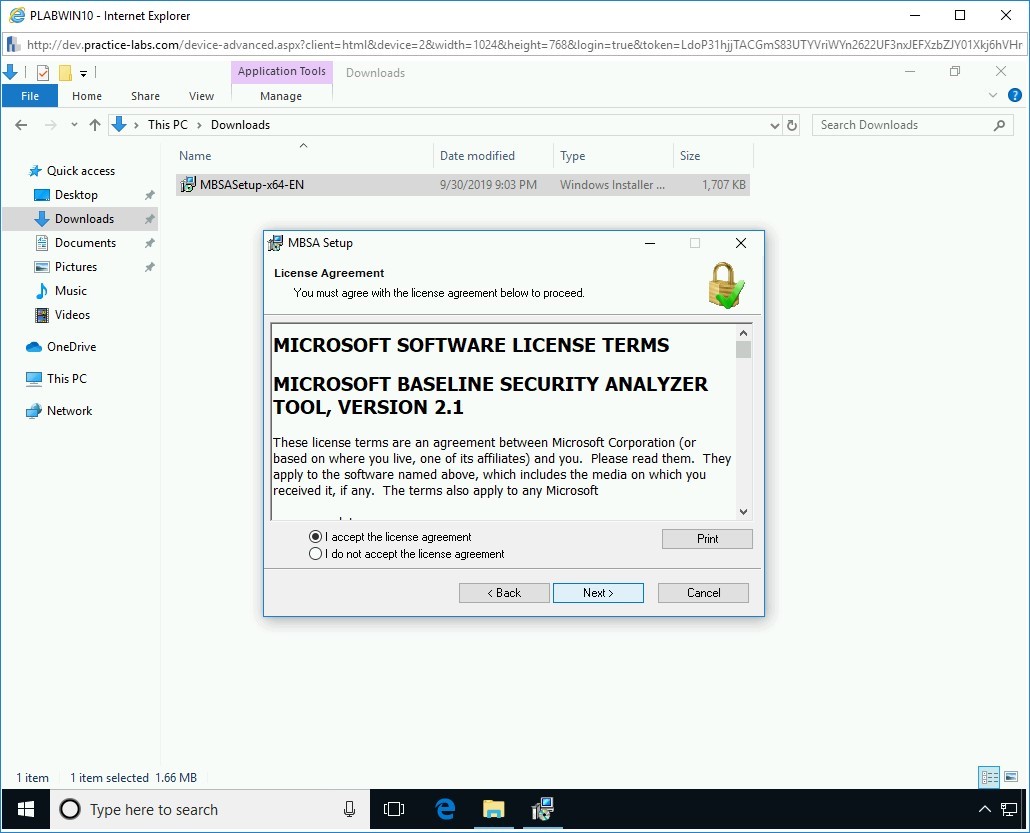
Step 6
On the License Agreement page, select I accept the license agreement and click Next.
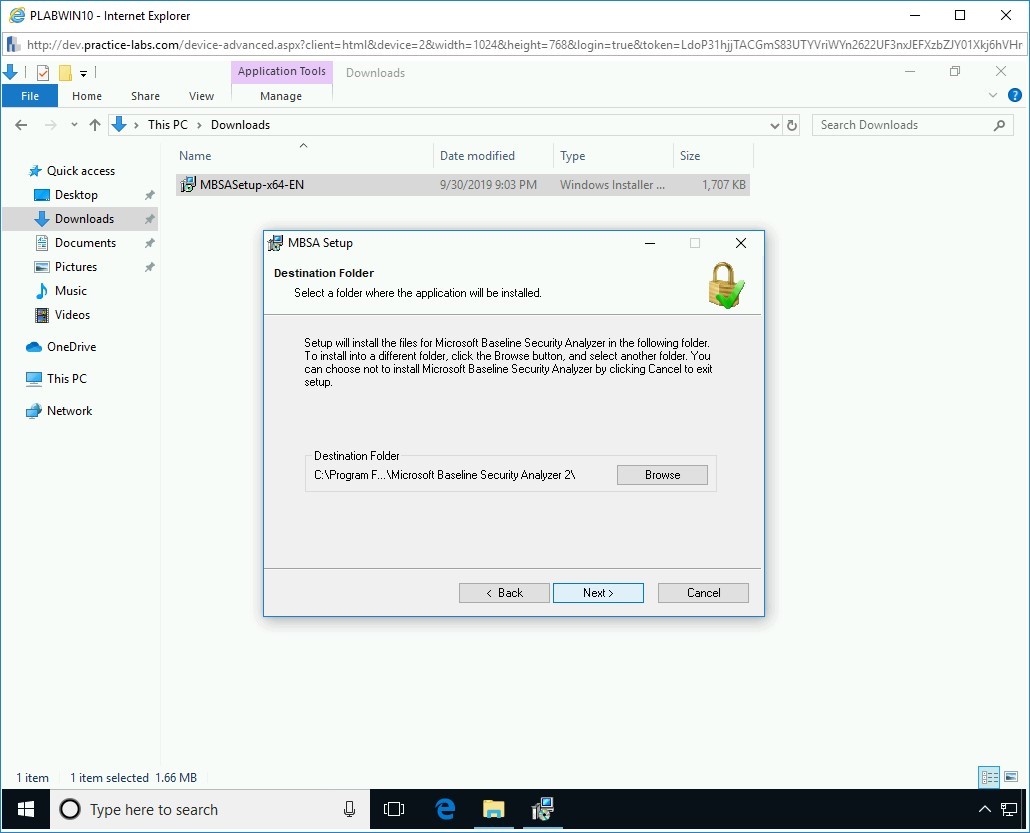
Step 7
On the Destination folder page, keep the default path and click Next.
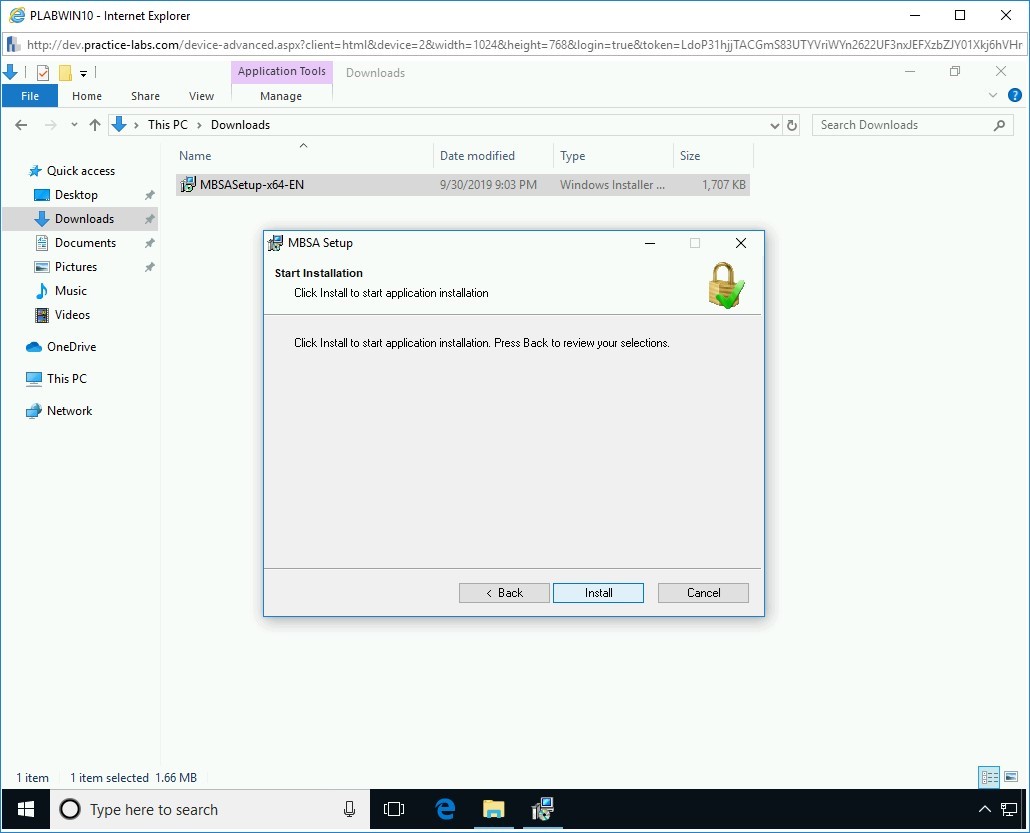
Step 8
On the Start Installation page, click Install.
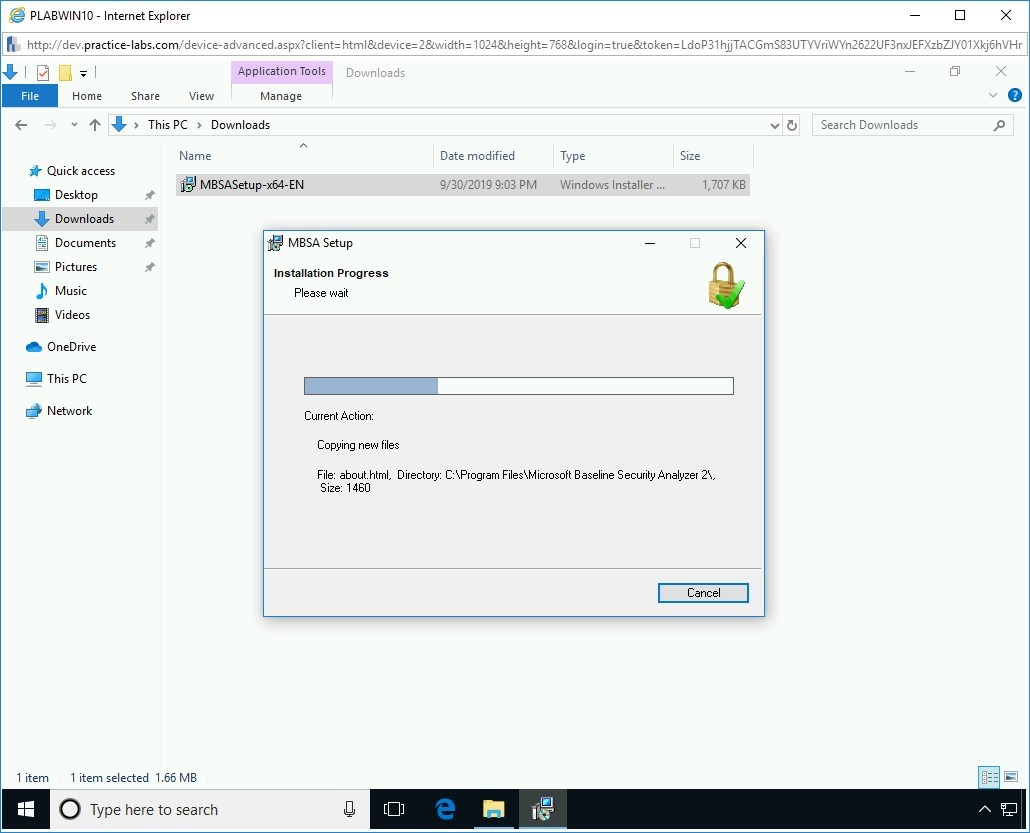
Step 9
On the Installation Progress page, the installation progress is displayed.
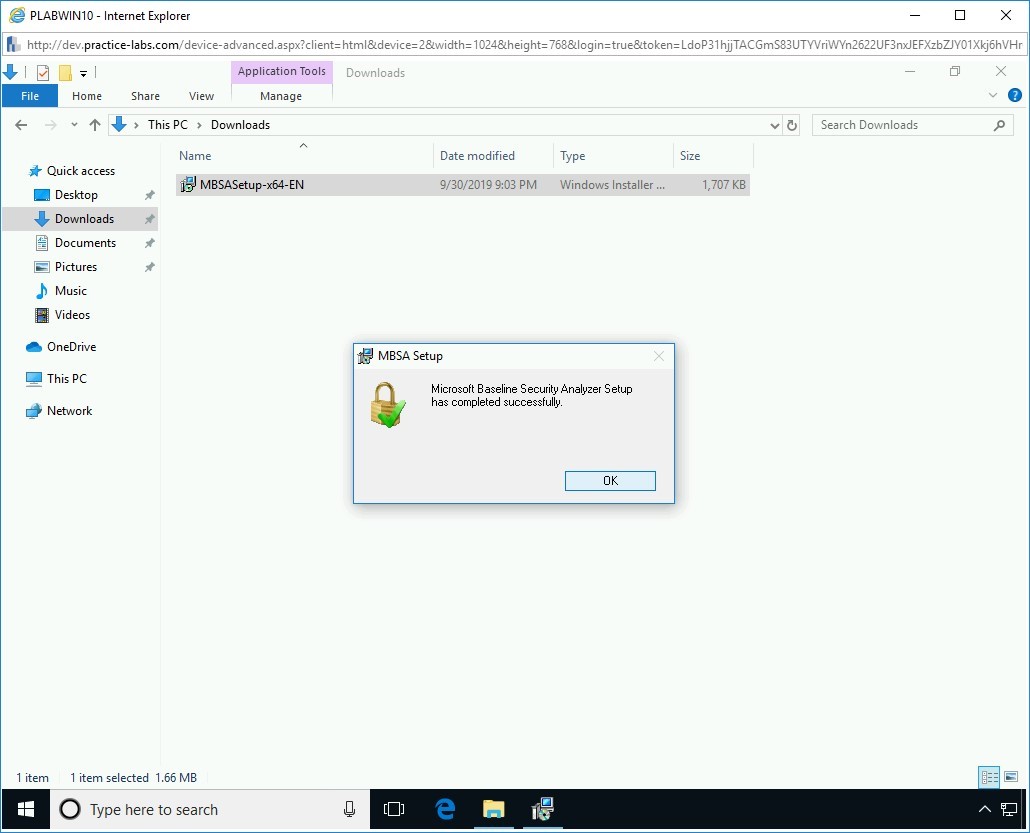
Step 10
After the installation progress is completed, the MBSA Setup dialog box is displayed. Click OK.
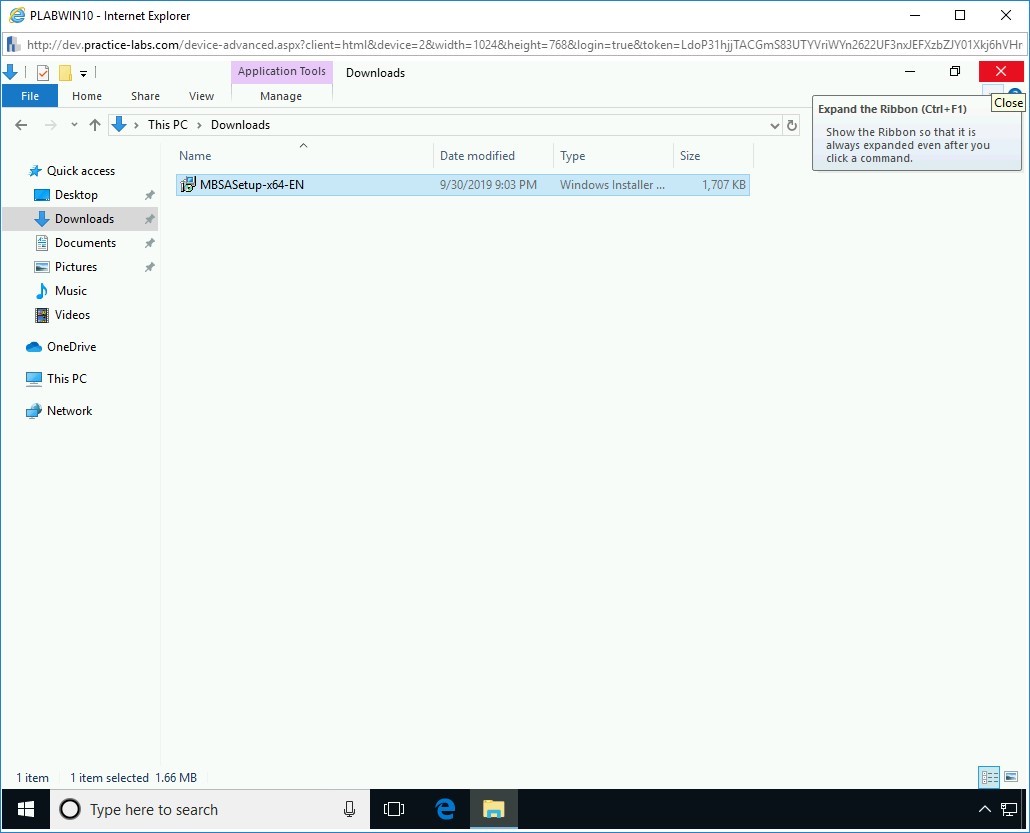
Step 11
Close the File Explorer window.
Step 12
Notice that the MBSA icon appears on the desktop.
Task 2 - Configure MBSA
Configuration specifications can take place against a single computer or multiple machines within a domain or range of IP’s. You will focus on using an IP range and the results on PLABWIN10 after the scan has completed.
To configure MBSA, perform the following steps:
Step 1
Ensure all the lab devices stated in the introduction are powered on.
Connect to PLABWIN10.
Double-click on the Microsoft Baseline Security Analyzer 2.3 desktop shortcut.
PLABWIN10
Step 2
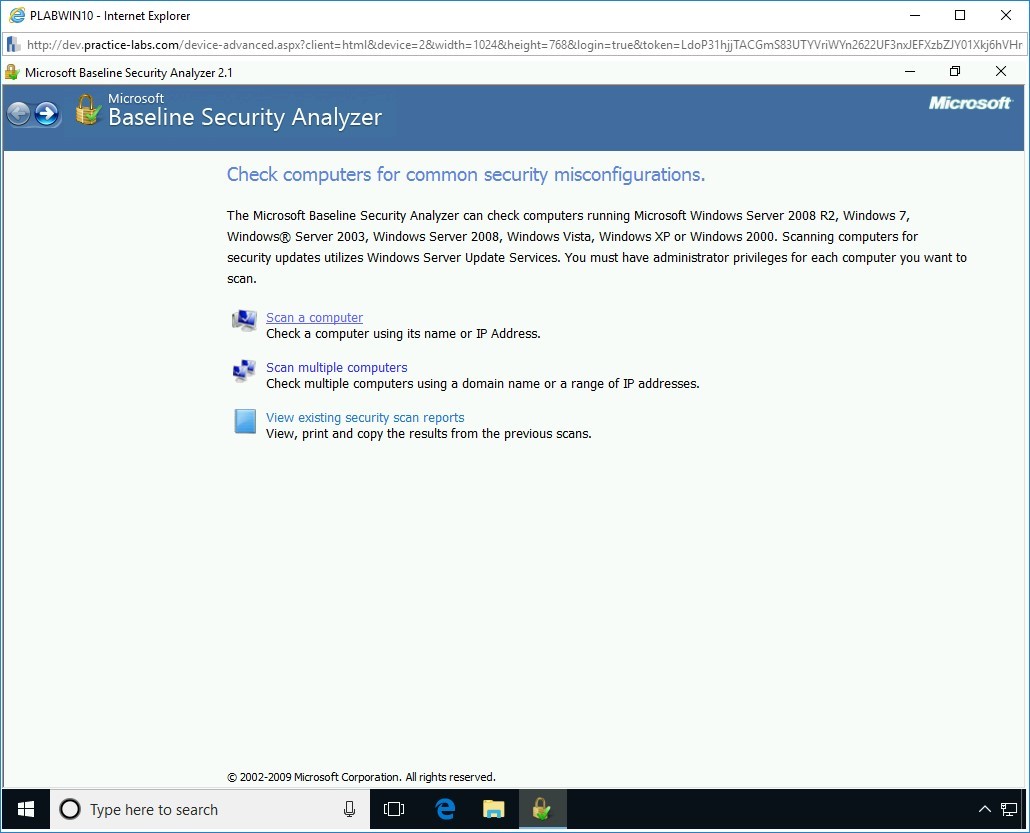
The Microsoft Baseline Security Analyzer 2.1 window is displayed.
Click Scan a computer.

Step 3
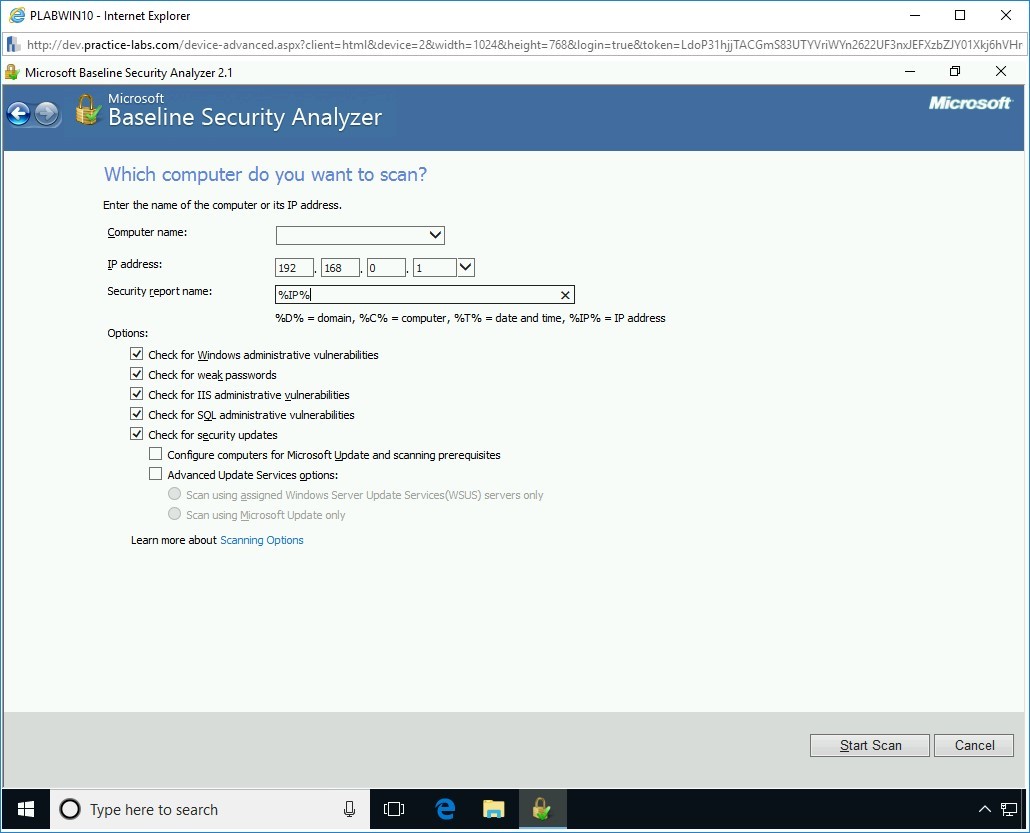
The Which computers do you want to scan? page is displayed.
In the IP address field, type the following range:
192.168.0.1
Step 4
Change the Security Report Name to something preferable and identifiable such as:
%IP%
This will bring into effect the IP values as the report name.
When working on a live system, you can scan for the following problems within a Windows environment:
- Windows administrative vulnerabilities
- Weak passwords
- IIS administrative vulnerabilities
- SQL administrative vulnerabilities
Step 5
Next, press the Start Scan button on the bottom right-hand side of the window.
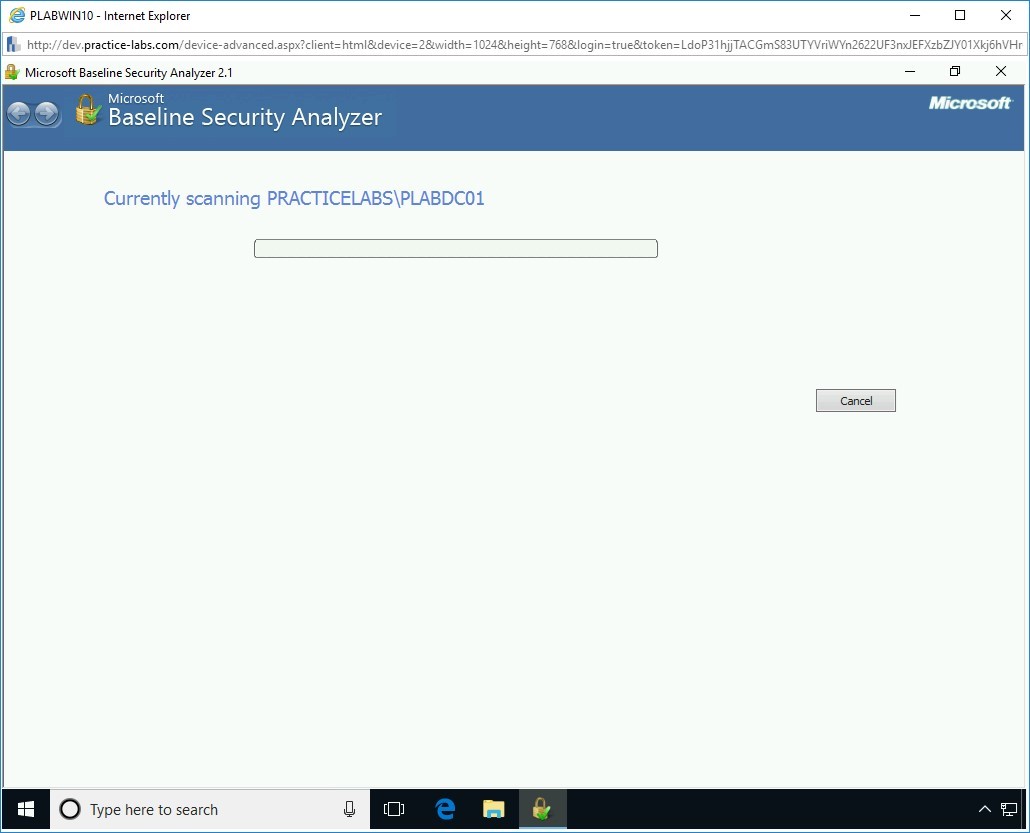
Step 6
You will notice that Windows begins the scanning process.
Note: The scanning process may take a while to complete.
Step 7
After about 5-7 minutes, a summary of scanned devices will be displayed in descending order.
Note: Scores cannot be changed or reassigned for system configuration checks.
Task 3 - Review the Results of the Scan
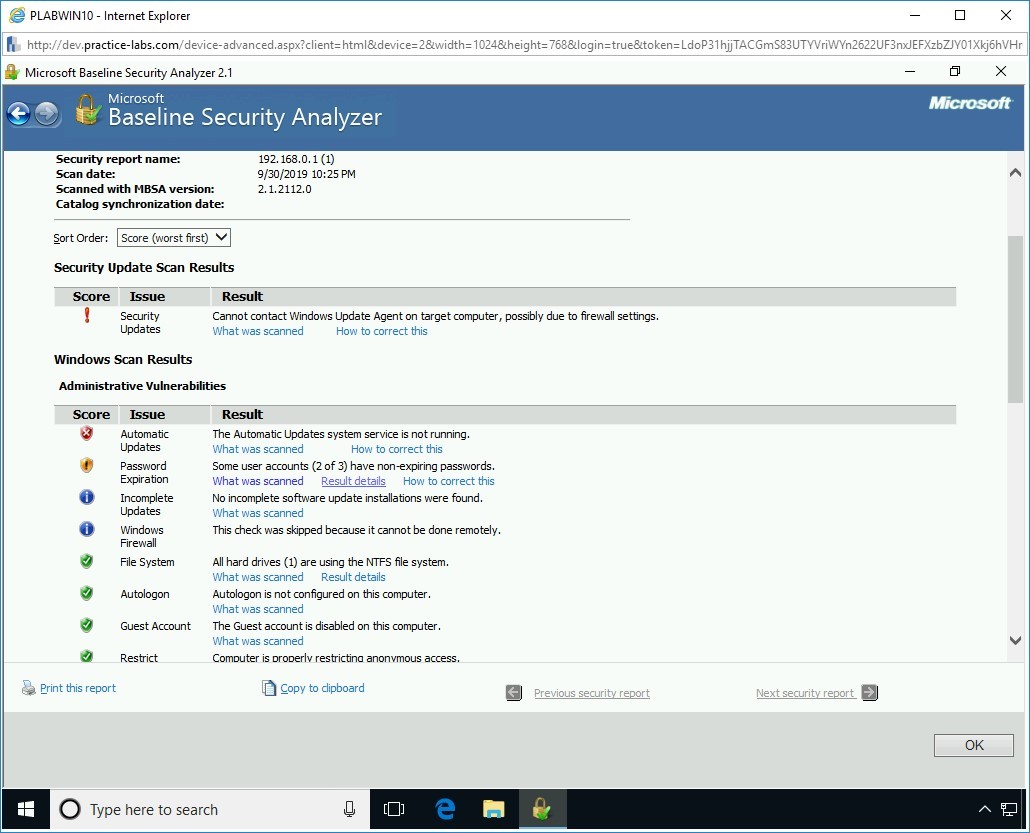
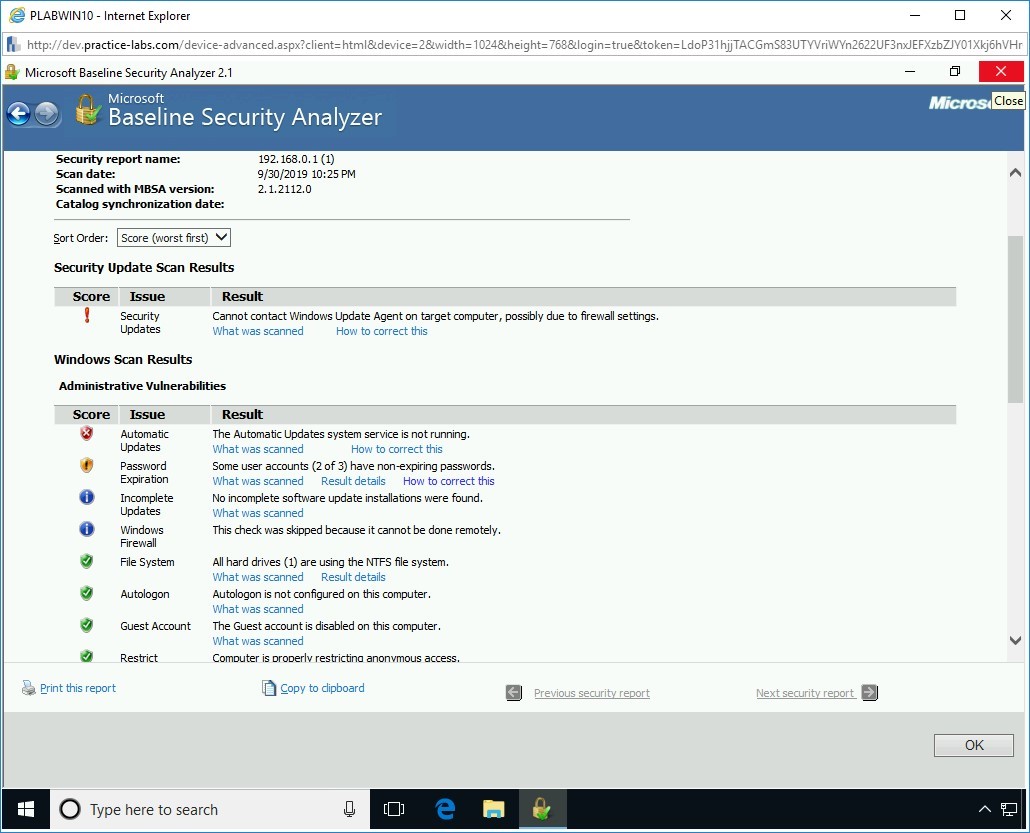
MBSA generates a report file and sends it to the profile directory under the name titled by the MBSA tool. The results display several Icons.
- A red exclamation mark - appears when a critical check has failed. An example is a user account that has a blank password. .
- A yellow exclamation mark - appears when a non-critical check failed. For example, a user account has a password that does not have expiration date.
- A green checked mark - appears when a check has passed.
- A blue asterisk - displays information on “best practice” checks. For example, auditing is enabled on the system.
- A blue informational icon - displays information about the computer that is being scanned. For example, the operating system version installed on the computer.
When reviewing security updates:
- A red exclamation mark - displays information that the computer is missing a security update. It could also appear if it fails to perform a security check on the computer.
- A yellow X - displays a warning message computer is missing the most recent service pack.
- A blue star - displays a message stating that an update is not installed on the computer because approval for it has not taken place on the Windows Software Update Services (WSUS) server.
Step 1
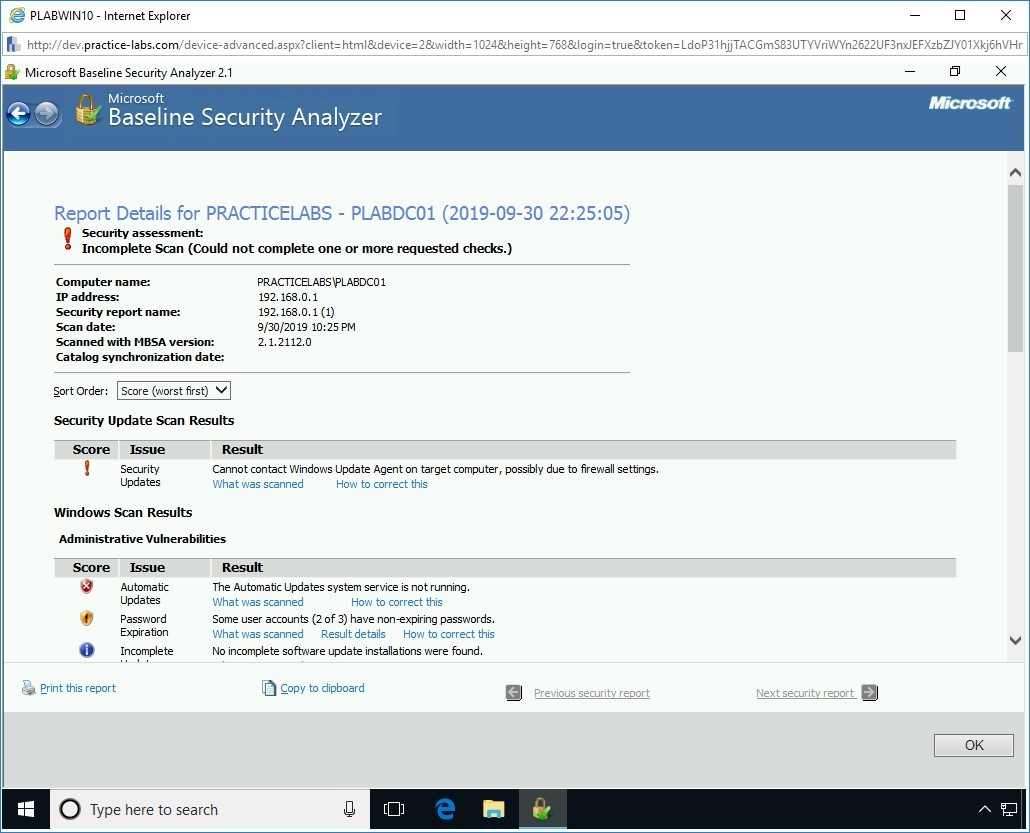
Ensure that the required systems are powered on. Connect to PLABWIN10. After clicking the outcome of the report for PLABDC01, you can see a generated report for this device.
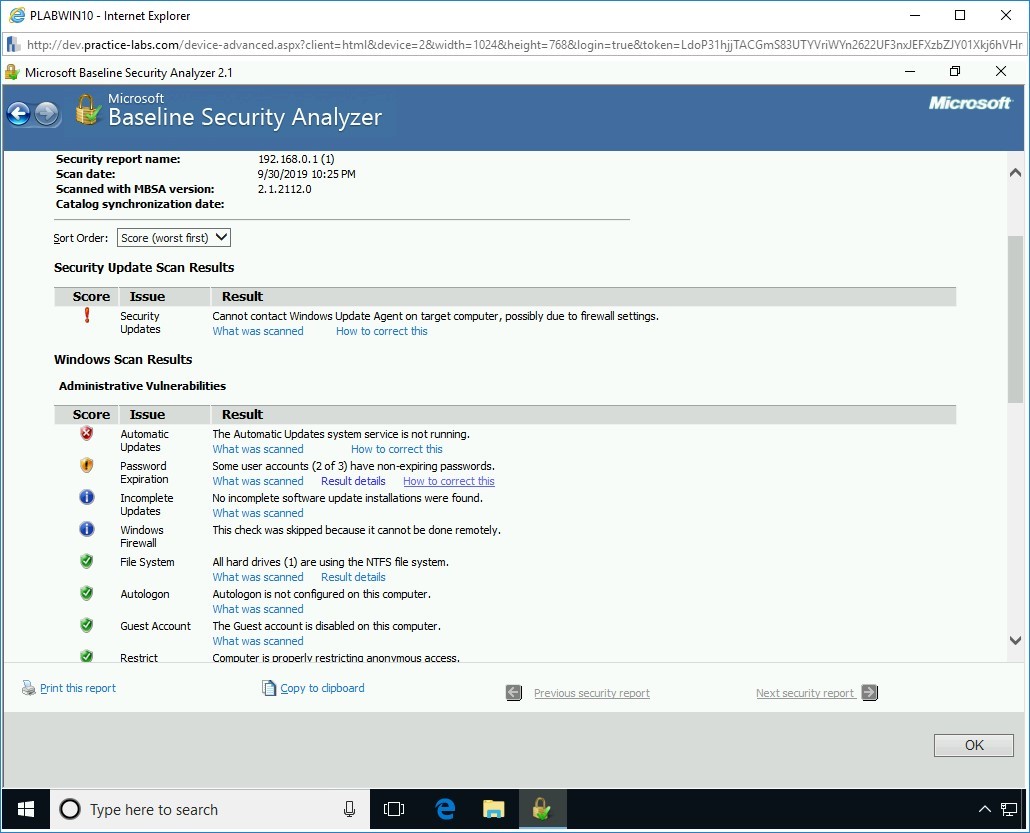
Step 2
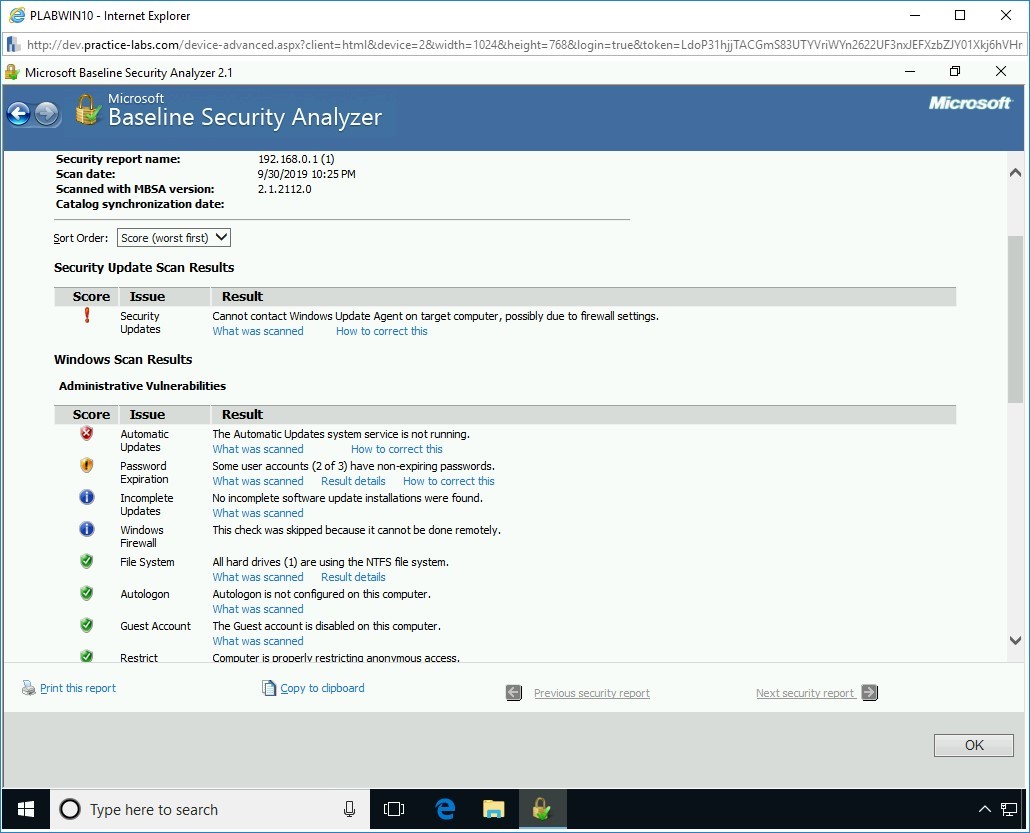
On each Issue, you will find a Result tab typically providing 3 options of “What was scanned”, “result details” and “How to correct this”.
Step 3
Under the Administrative Vulnerabilities subsection of the Windows Scan Results section, click the What was scanned link for Password Expiration.
Step 4
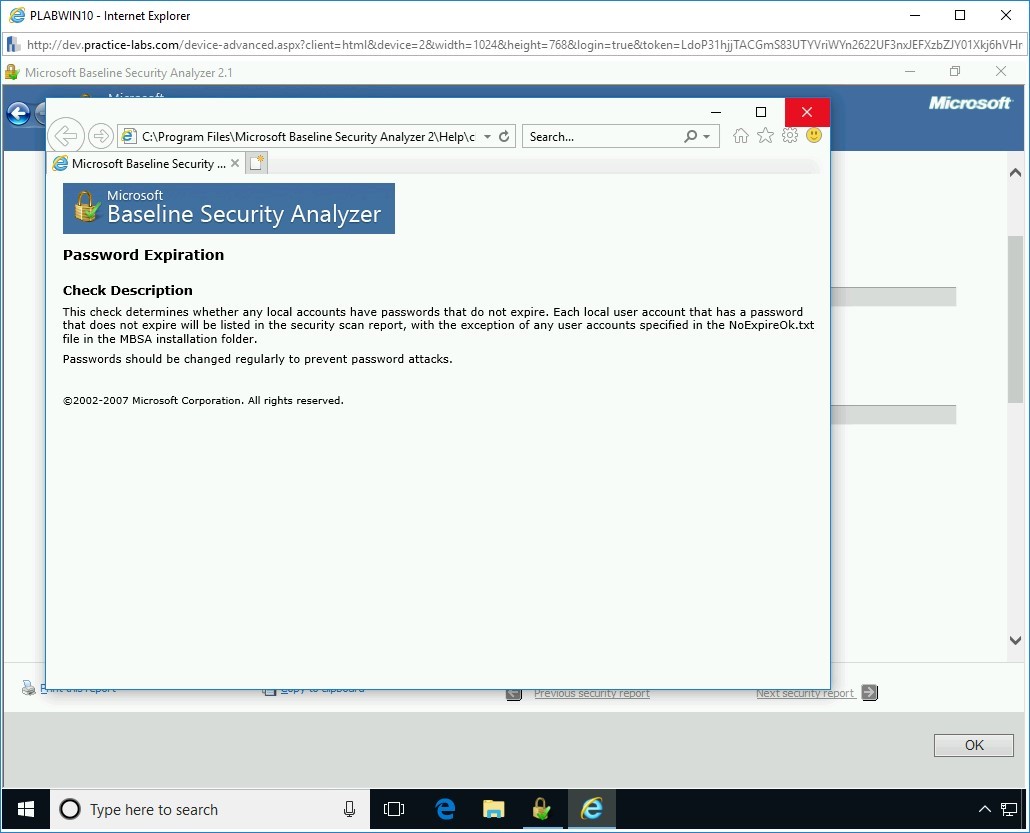
This will automatically open up a page in Internet Explorer where further information can be read.
MBSA gives us some information about Password Expiration results with a description of the issue identified.
Close this window.
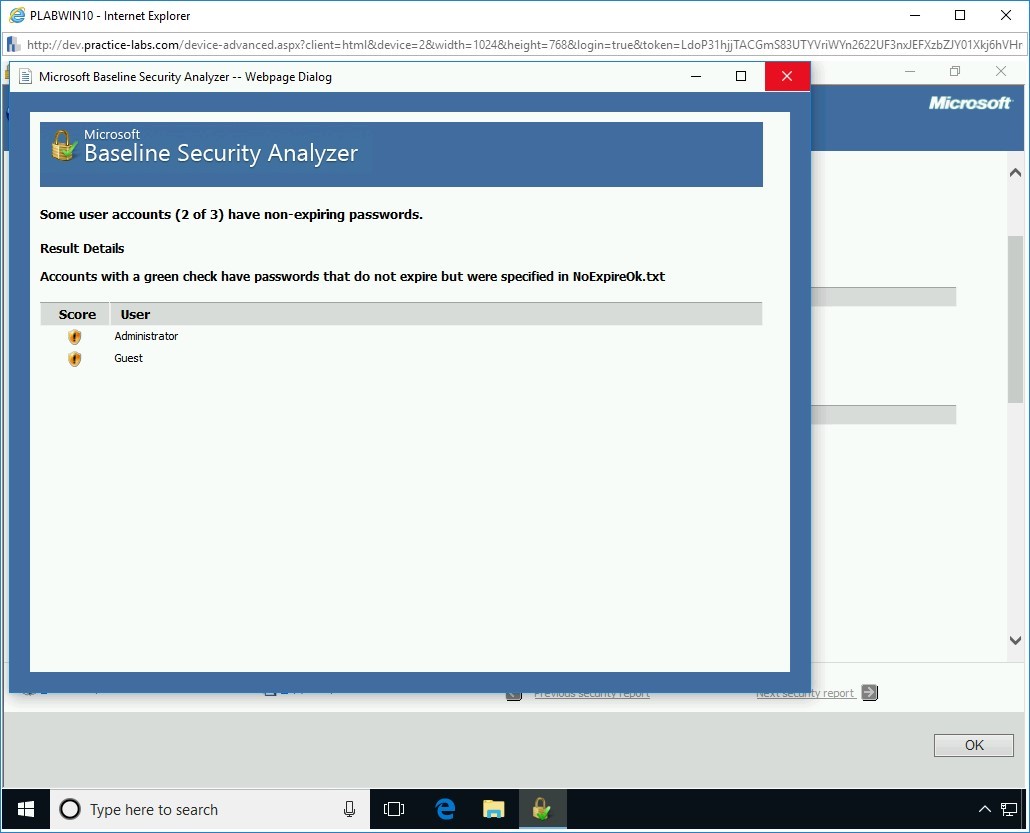
Step 5
Click the Result details link.
Step 6
You are presented with information detailing the user accounts with non-expiring passwords; these accounts will need to be checked.
Close this window.
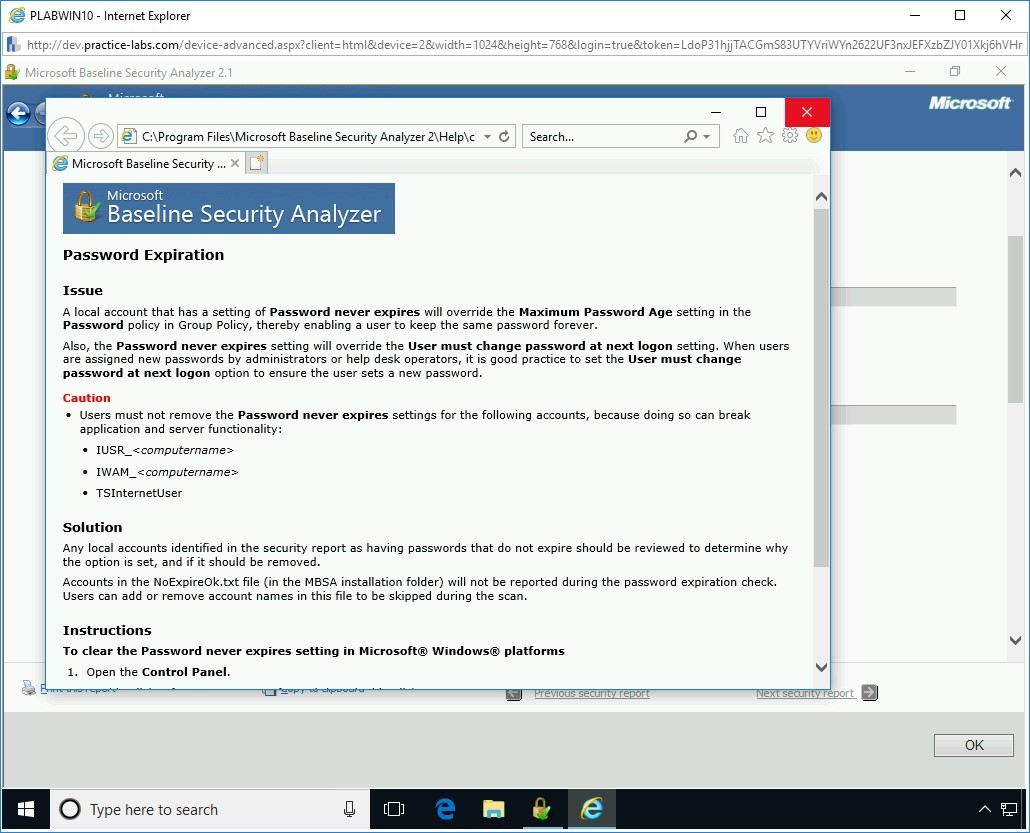
Step 7
Click the How to correct this link.
Step 8
You are presented with the issue and even a caution on changing account details for specific situations. Finally, you are presented with the solution to correct the problem.
You will now follow these steps to make sure you are protected against this for the Guest and Administration accounts.
Close the Password Expiration window.
Step 9
Close the MBSA window.

Comments
Post a Comment