Steganagrophy
Hide Documents Using Steganography
Steganography means covered or hidden. It is mainly intended to hide a secret message in a plain message or an image file. Steganography is not a new technology. It has been around for thousands of years and was used by Greeks and Romans. In recent types, the methods of steganography have changed, but its intent still remains the same.
A basic steganography tool encodes information within another file, typically a media file such as a picture or audio/video file. A typical technique is to encode information in the least significant bit of the image or audio data. This does not materially affect the picture or sound and does not alter the file header (though it can change the file size).
In this exercise, you will hide documents in an image file.
Learning Outcomes
After completing this exercise, you will be able to:
- Hide Documents in an Image
- Use Steghide and Stegosuite to Hide Data in an Image
- Use SilentEye to Hide Information within a File
Your Devices
You will be using the following devices in this lab. Please power these on now.
- PLABDC01 - (Windows Server 2019 - Domain Server)
- PLABWIN10 - (Windows 10 - Workstation)
- PLABKALI01 - (Kali 2019.2 - Linux Kali Workstation)

Task 1 - Hiding Documents within an Image
Steganography (covered writing) is a method of hiding a message in a different form, such as a picture that only the sender or recipient knows about. This means communication can happen without a third party being able to detect the hidden message. It is extremely difficult to detect steganography.
There are various tools that you can use. One such tool is Gargoyle Investigator™ Forensic Pro. However, you can perform the same task with the help of a simple compression program like WinZip, Winrar, or 7-zip.
In this task, you will use 7-zip for folder steganography and hide the contents of a folder in an image file.
Step 1
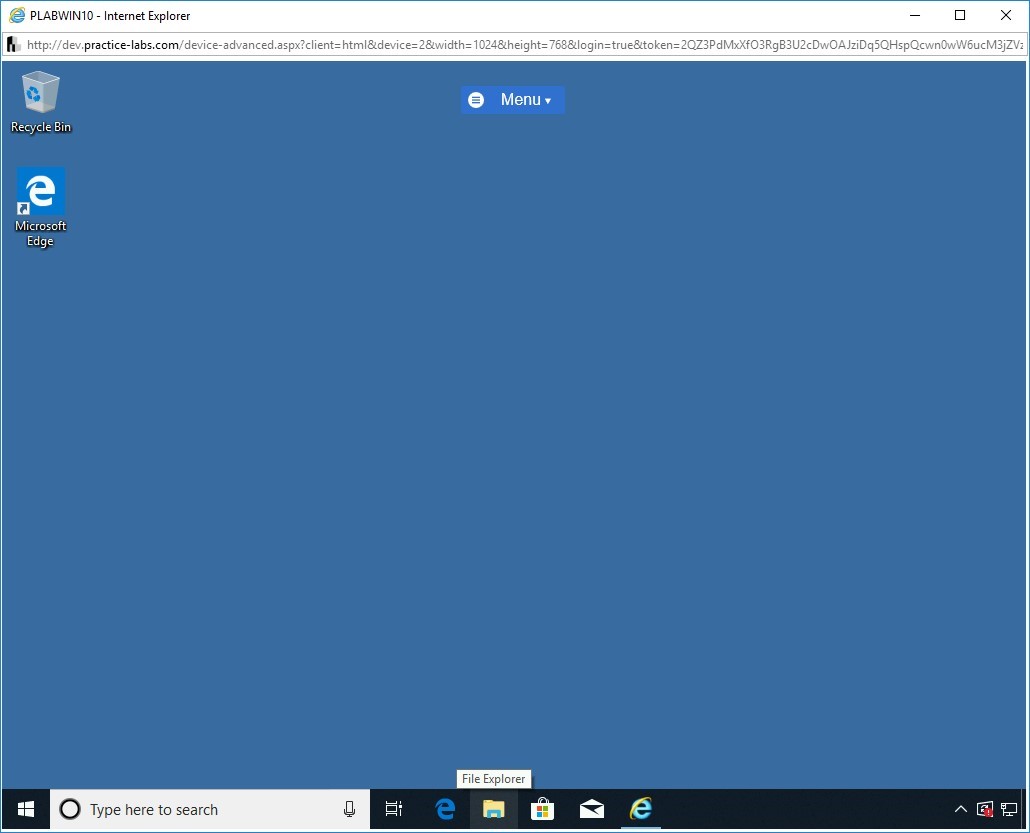
Ensure you have powered on all the devices listed in the introduction and connect to PLABWIN10.
Click the File Explorer icon from the taskbar.
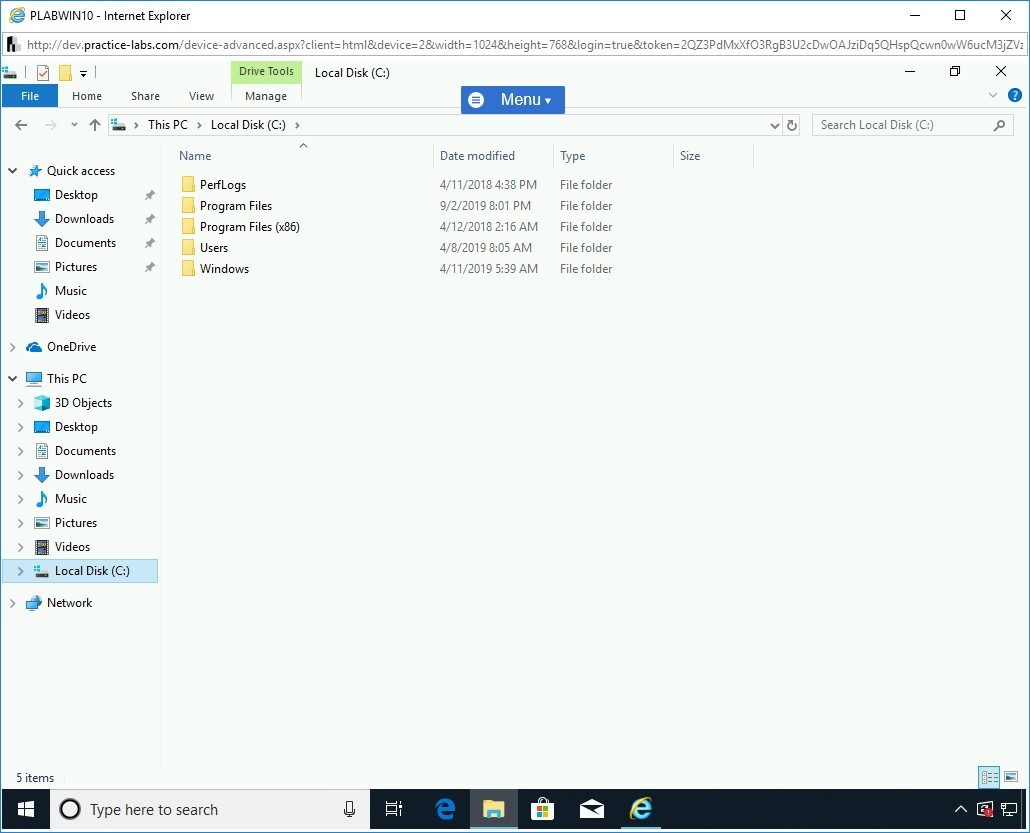
Step 2
In the left pane, expand This PC and select Local Disk (C:).
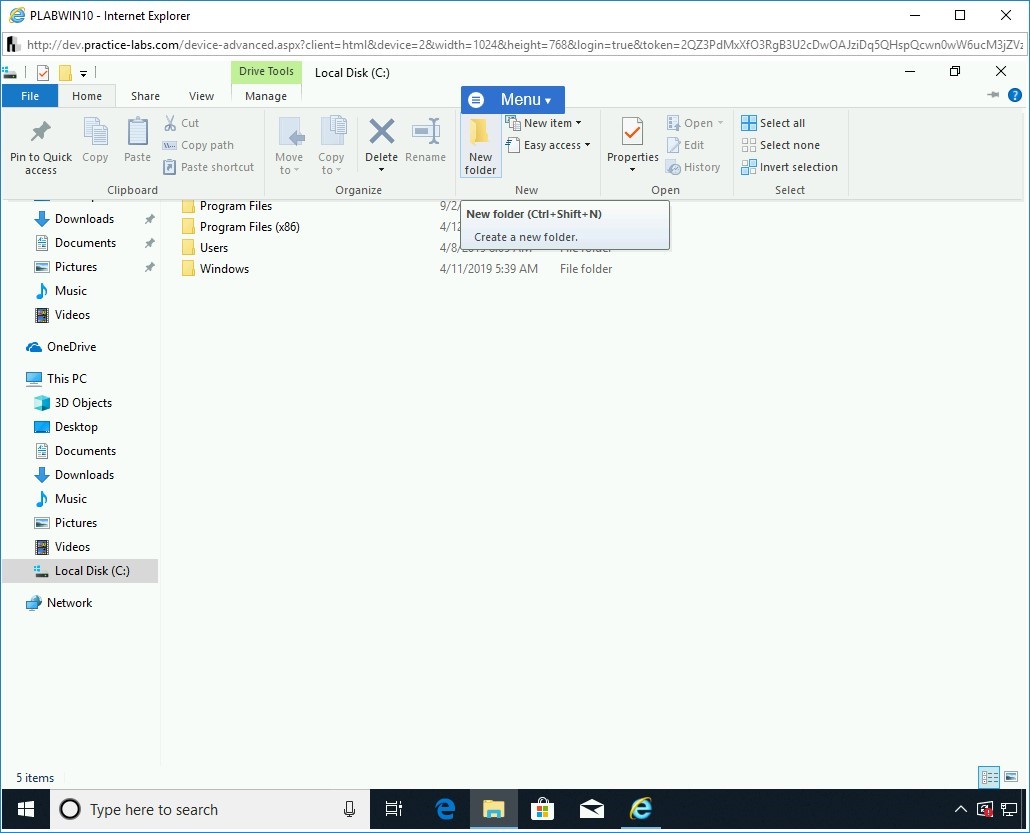
Step 3
Click the Home tab and then click New folder.
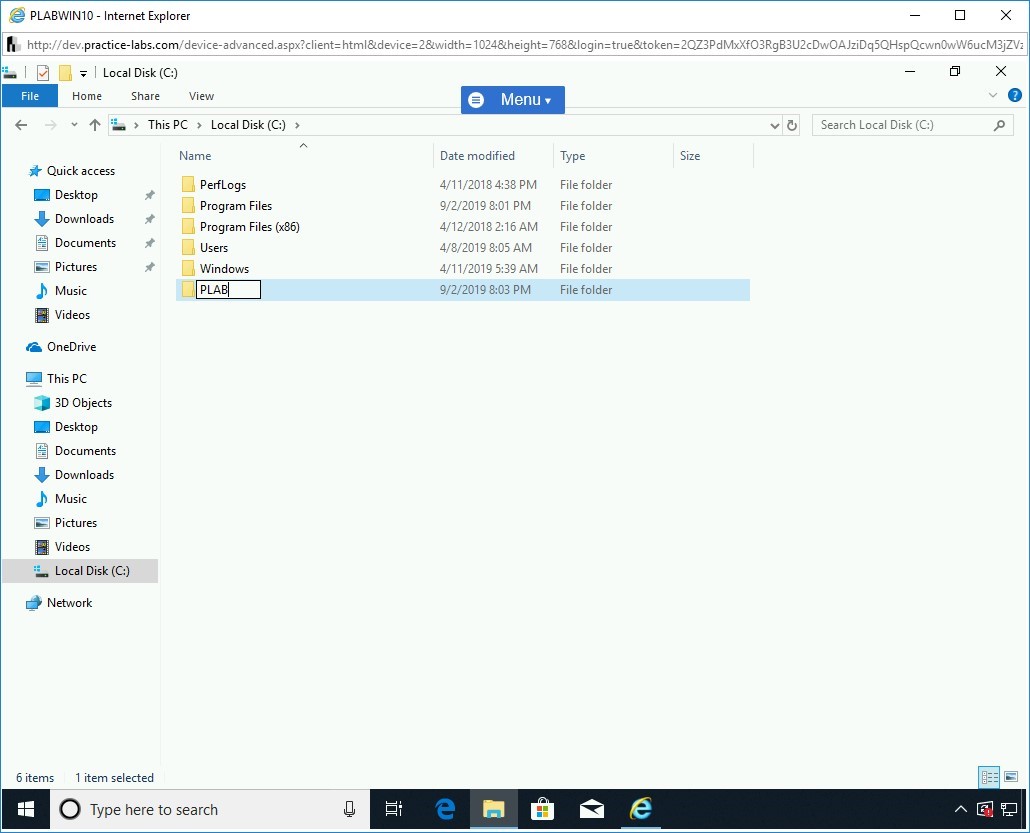
Step 4
Type the following name for the new folder:
PLAB
Press Enter. Alternatively, click anywhere outside the text box where you are typing the name.
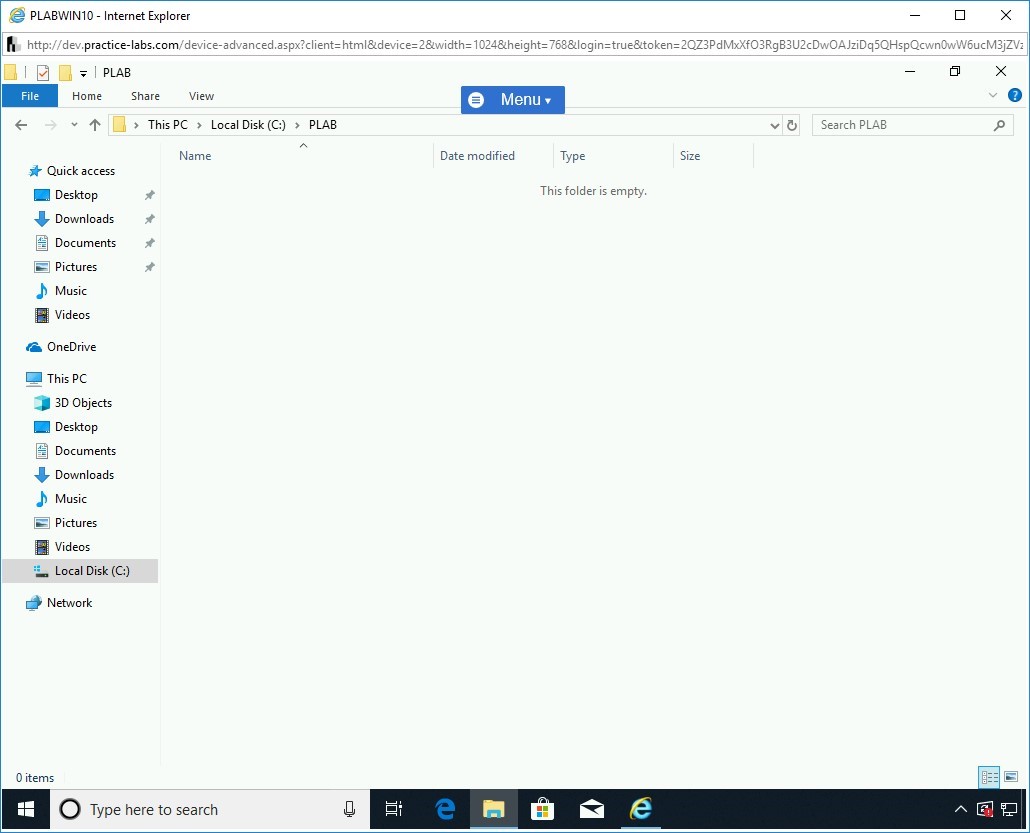
Step 5
Double-click the PLAB folder. You are now inside the PLAB folder. Note that the folder is currently empty.
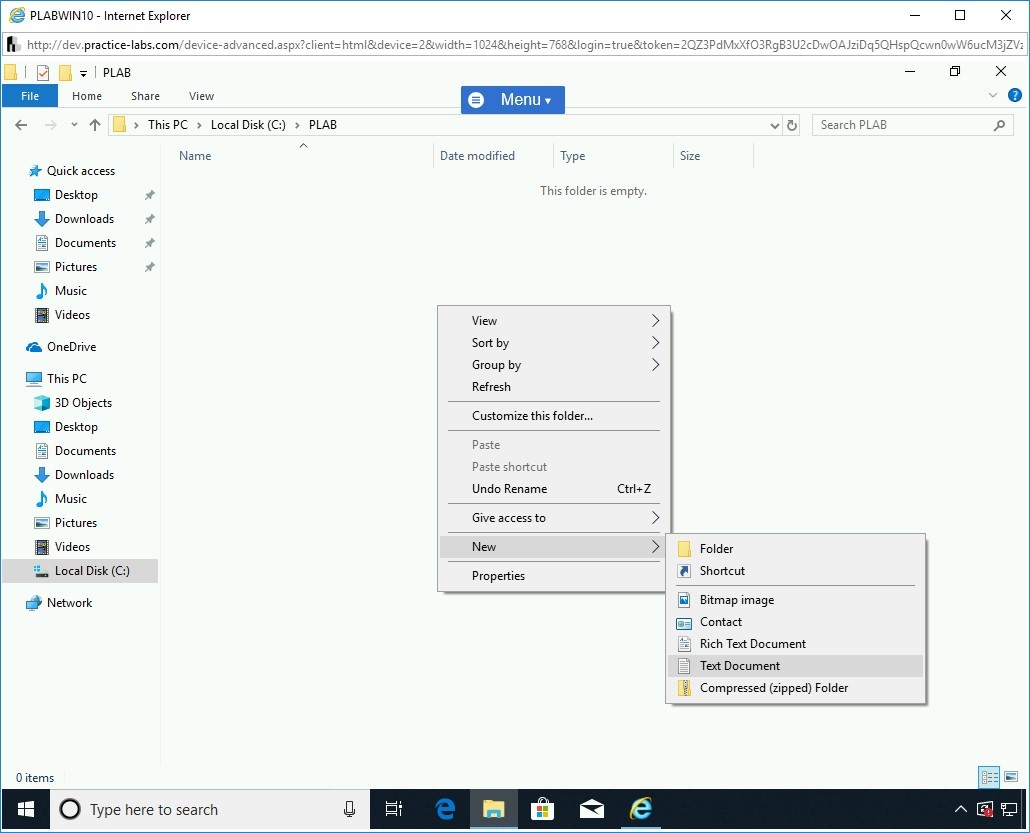
Step 6
You need to create two new text files.
To create a text file, right-click on the white area and select New and then select Text Document.
Step 7
You will be prompted to name the text document. In the text box, type the name as:
PLAB1
Press Enter.
Similarly, create another text file with the name:
PLAB2
Press Enter.
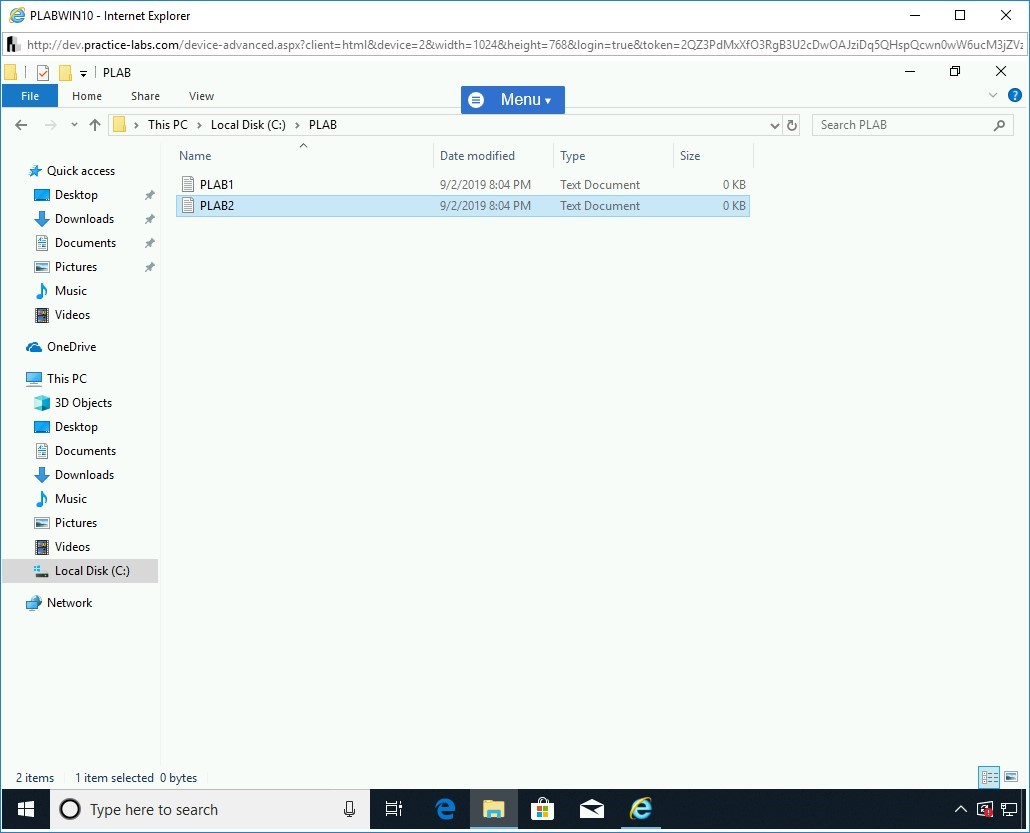
For this task, two text files, PLAB1, and PLAB2 are created.
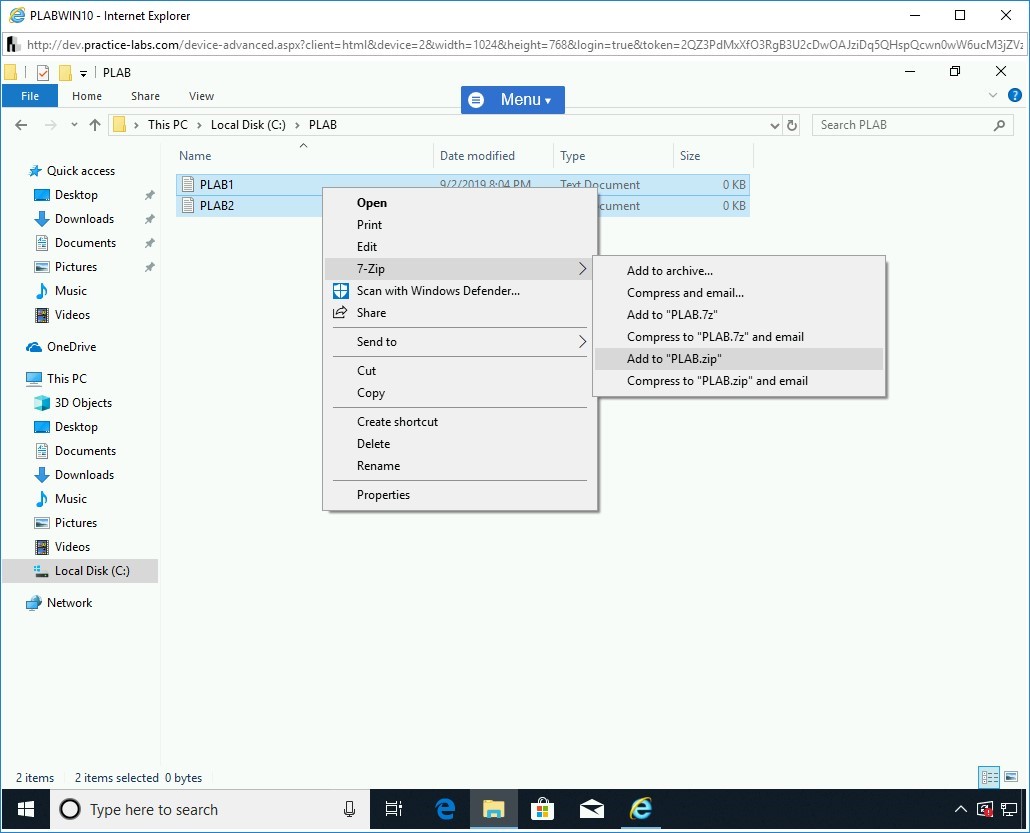
Step 8
Select both the files. Right-click on the selection, select 7-Zip and then select Add to “PLAB.zip”.
Step 9
The PLAB.zip file is now created.

Step 10
Now, you will need an image file that you can copy to the PLAB folder. For this demonstration, you have an image file named PLAB.png.
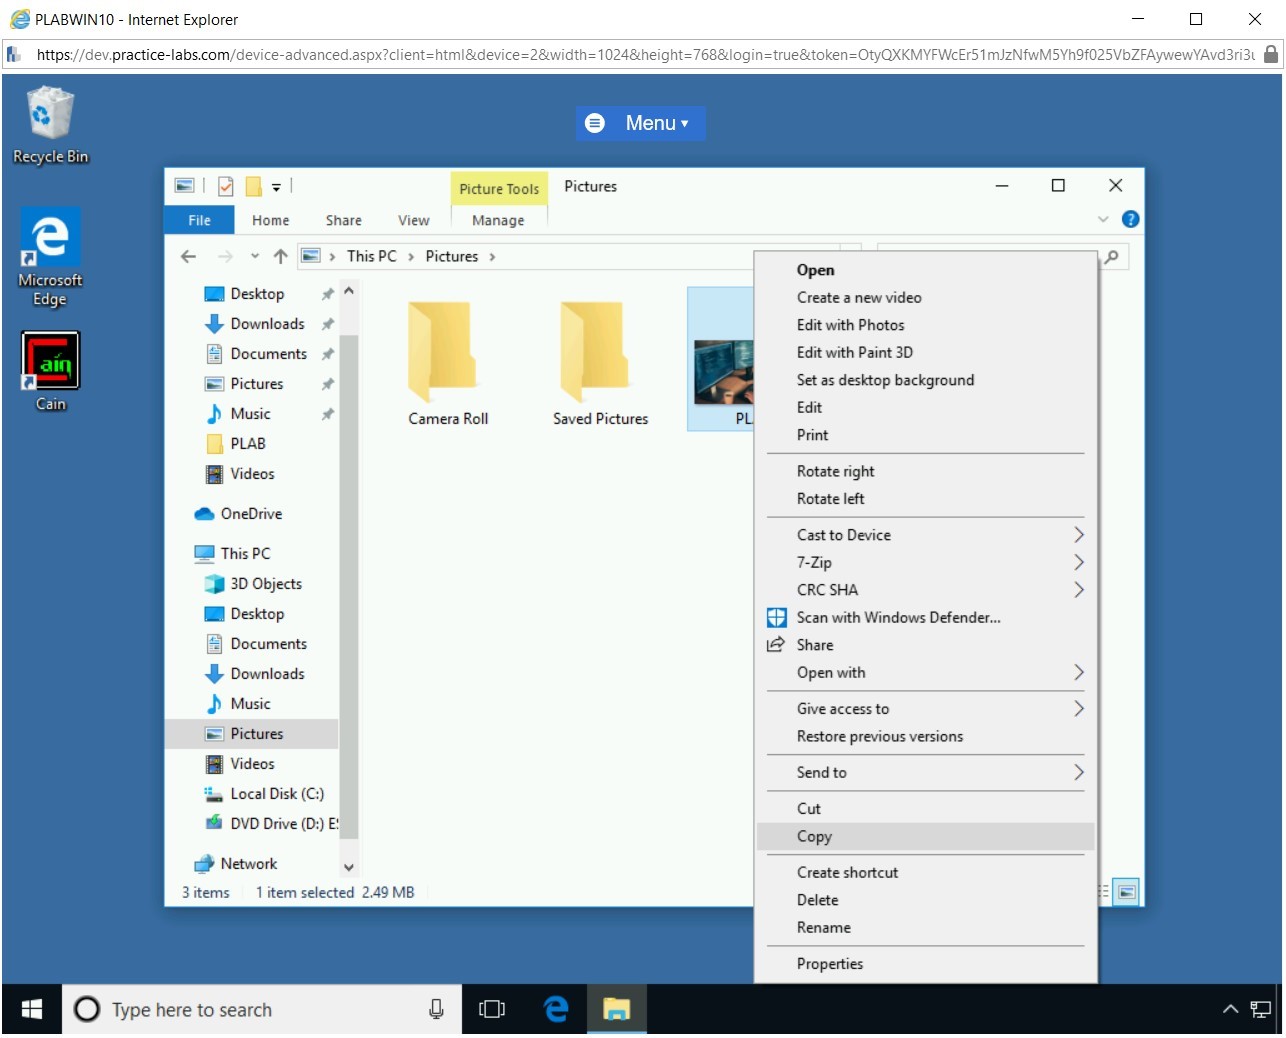
In the left pane, click the Pictures folder.
In the Pictures folder, right-click on PLAB.png and select Copy.
Step 11
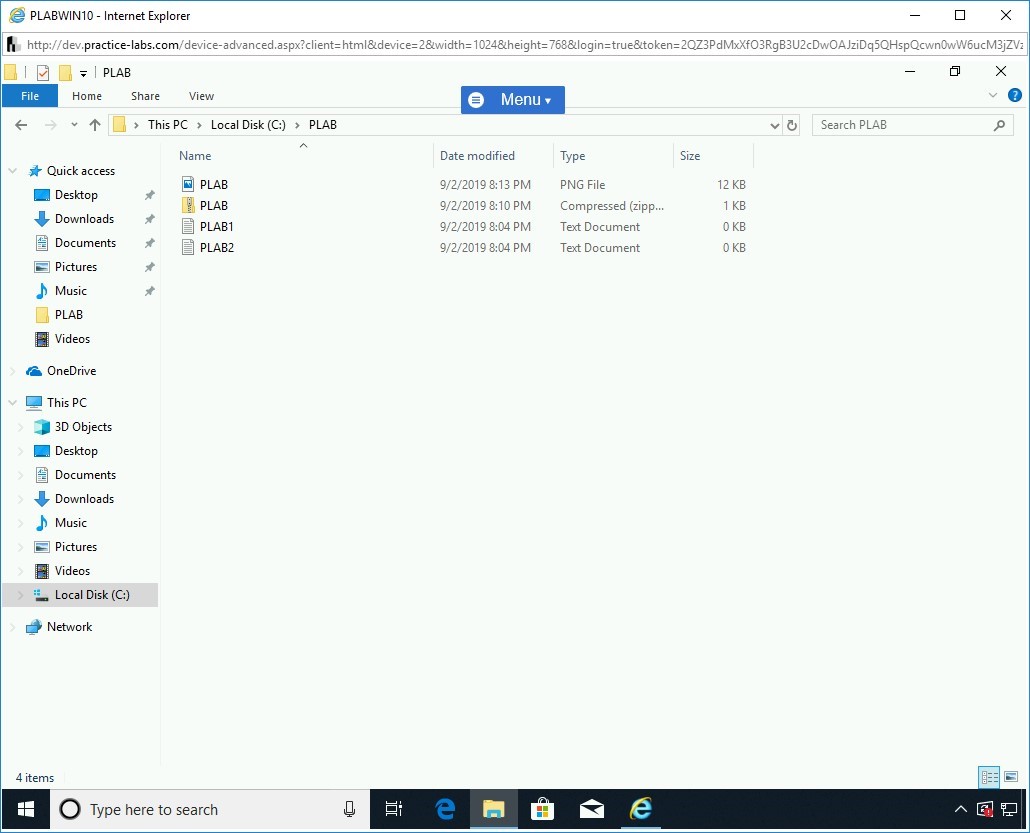
Navigate to This PC>Local Disk (C:)>PLAB .
Right-click anywhere on the white space and select Paste. The PLAB.png image is now in the PLAB folder.
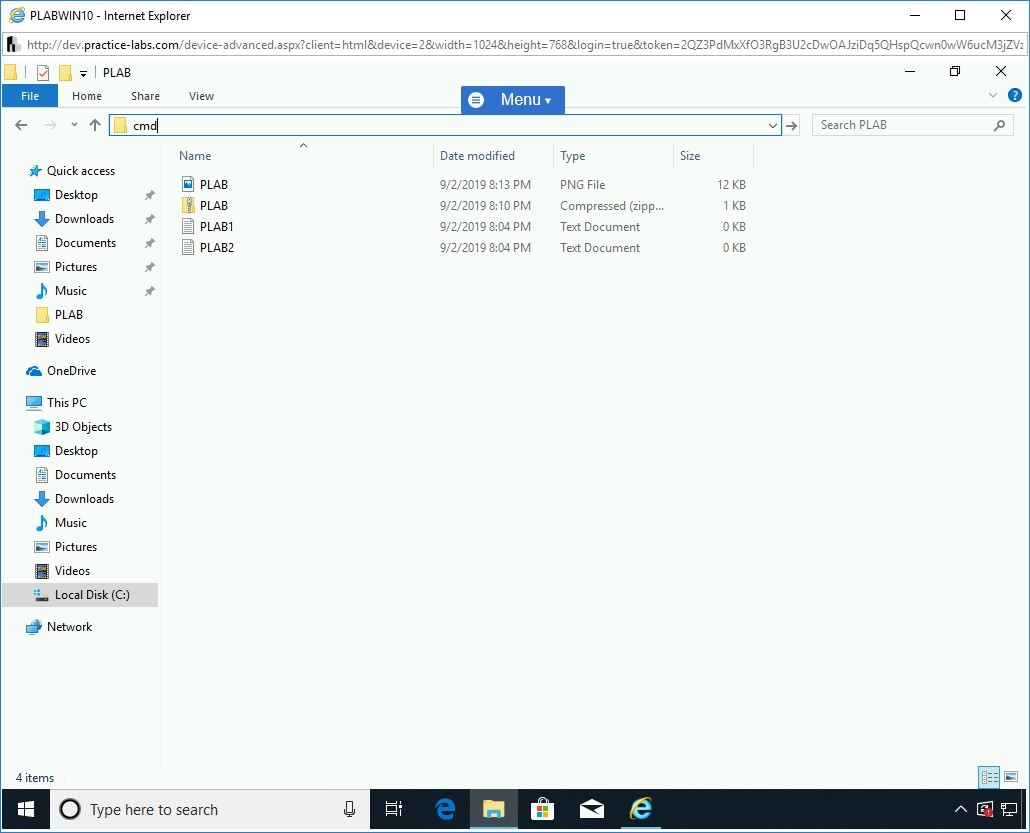
Step 12
In the address bar of File Explorer, type the following command:
cmd
Press Enter.
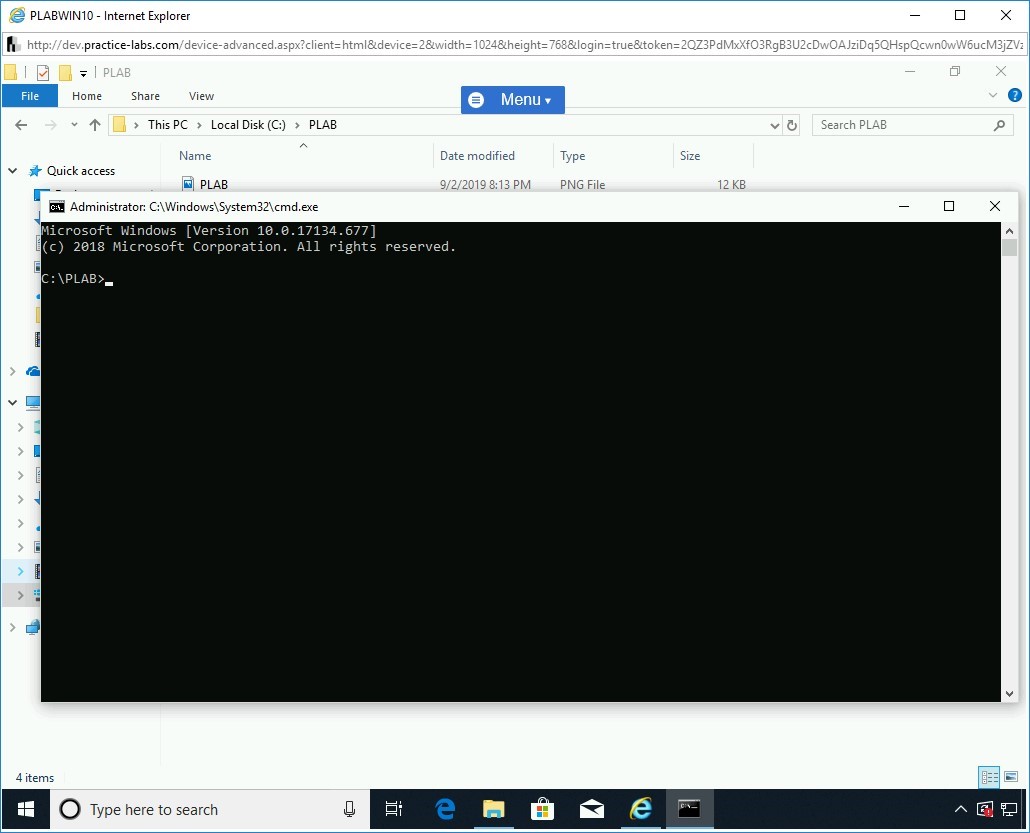
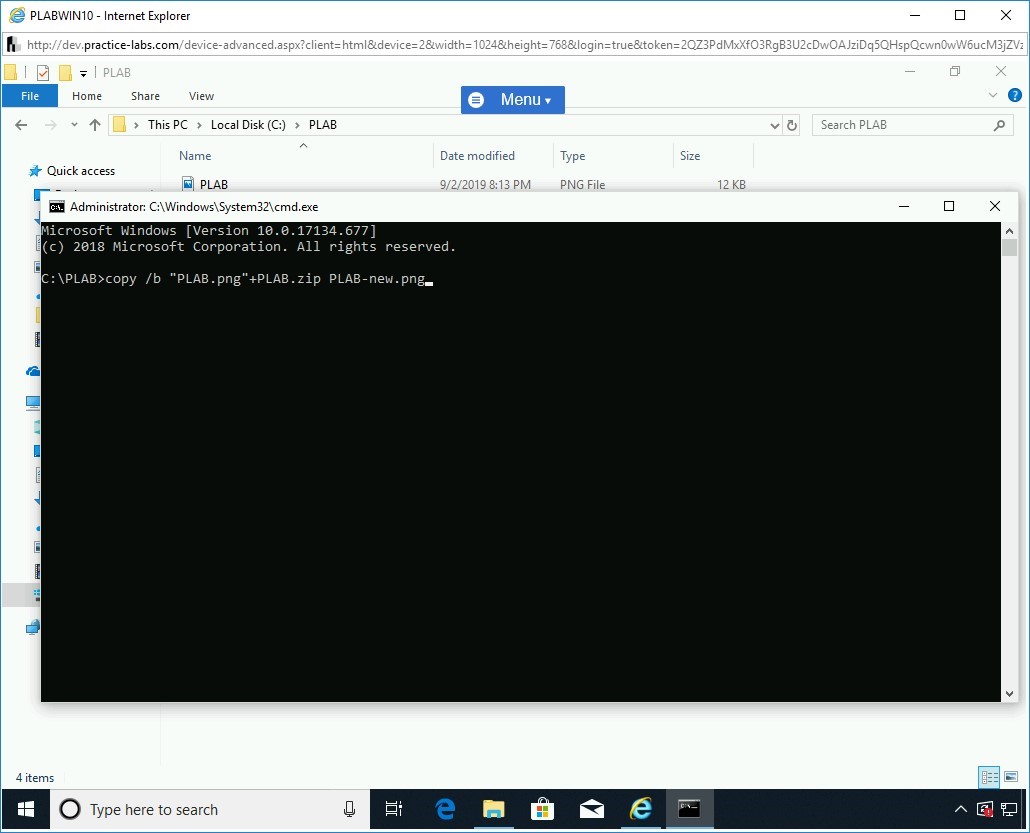
Step 13
The command prompt window is displayed. You are already in the C:\PLAB directory.
Step 14
Using the copy command with /b parameter will combine the two files creating a new file named PLAB-new.png.
Type the following command:
copy /b “PLAB.png”+PLAB.zip PLAB-new.png
Press Enter.
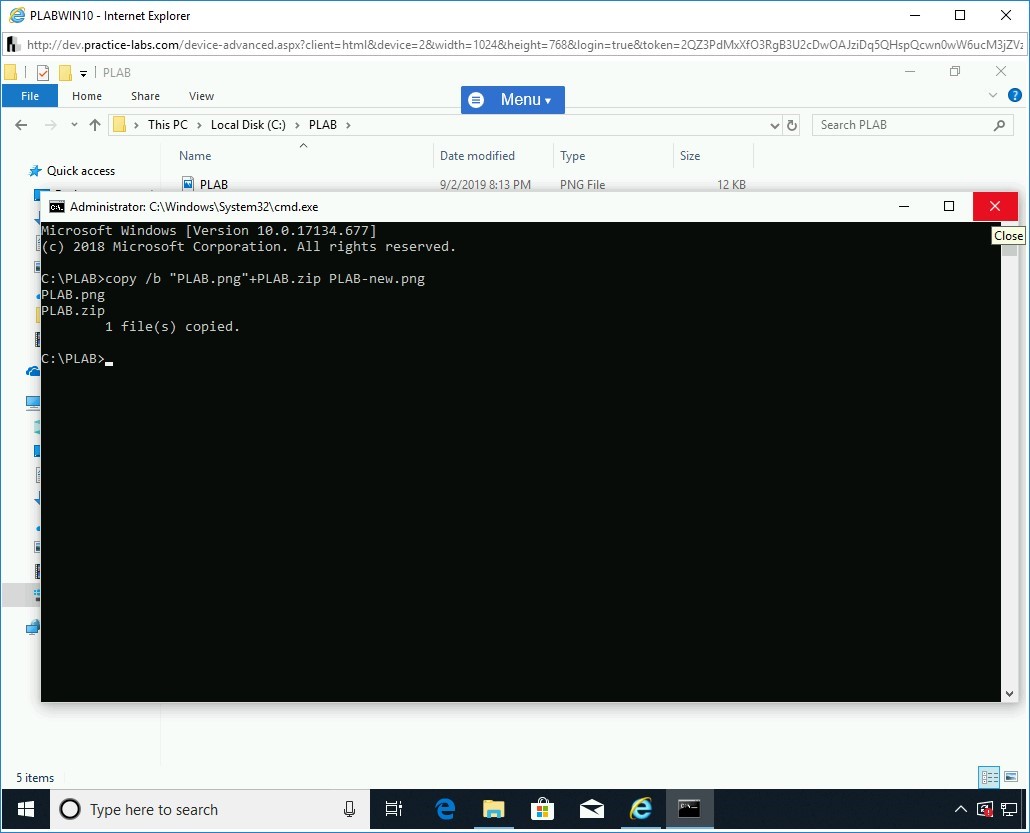
Step 15
You will see a message showing that the command was successfully executed.
Close the command prompt window.
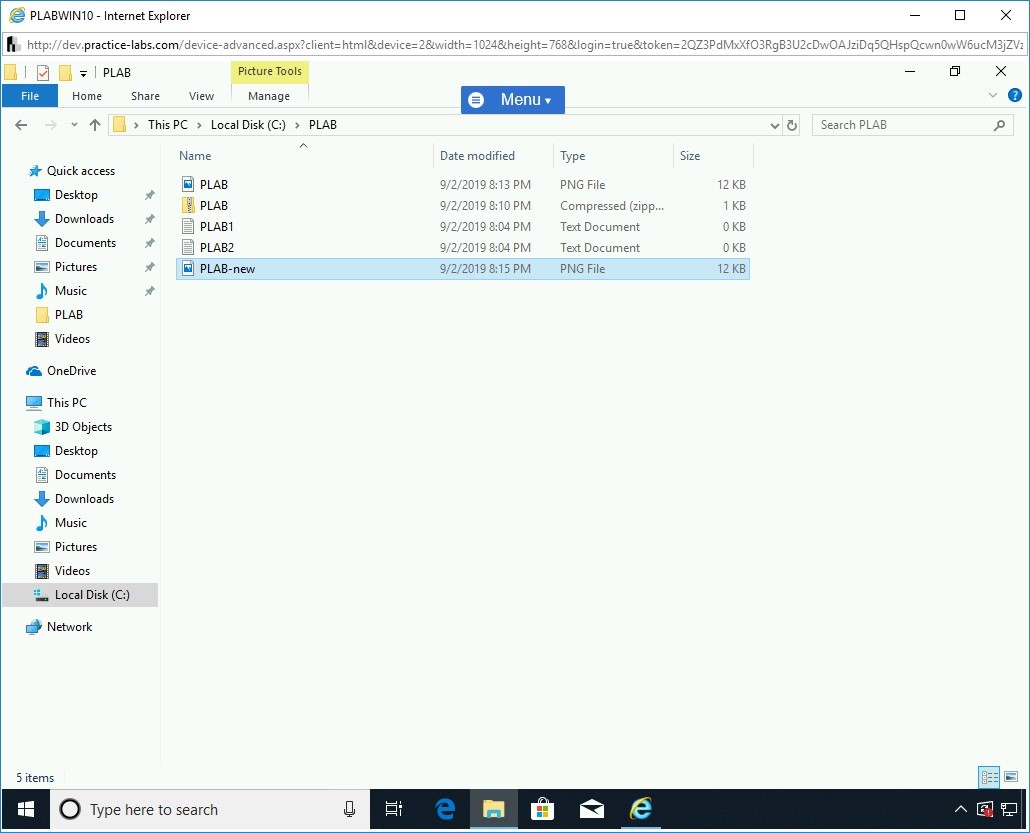
Step 16
In File Explorer, ensure that you are in the C:\PLAB folder.
A new image file named PLAB-new.png is now created. Notice that the file size is the same as PLAB.png.
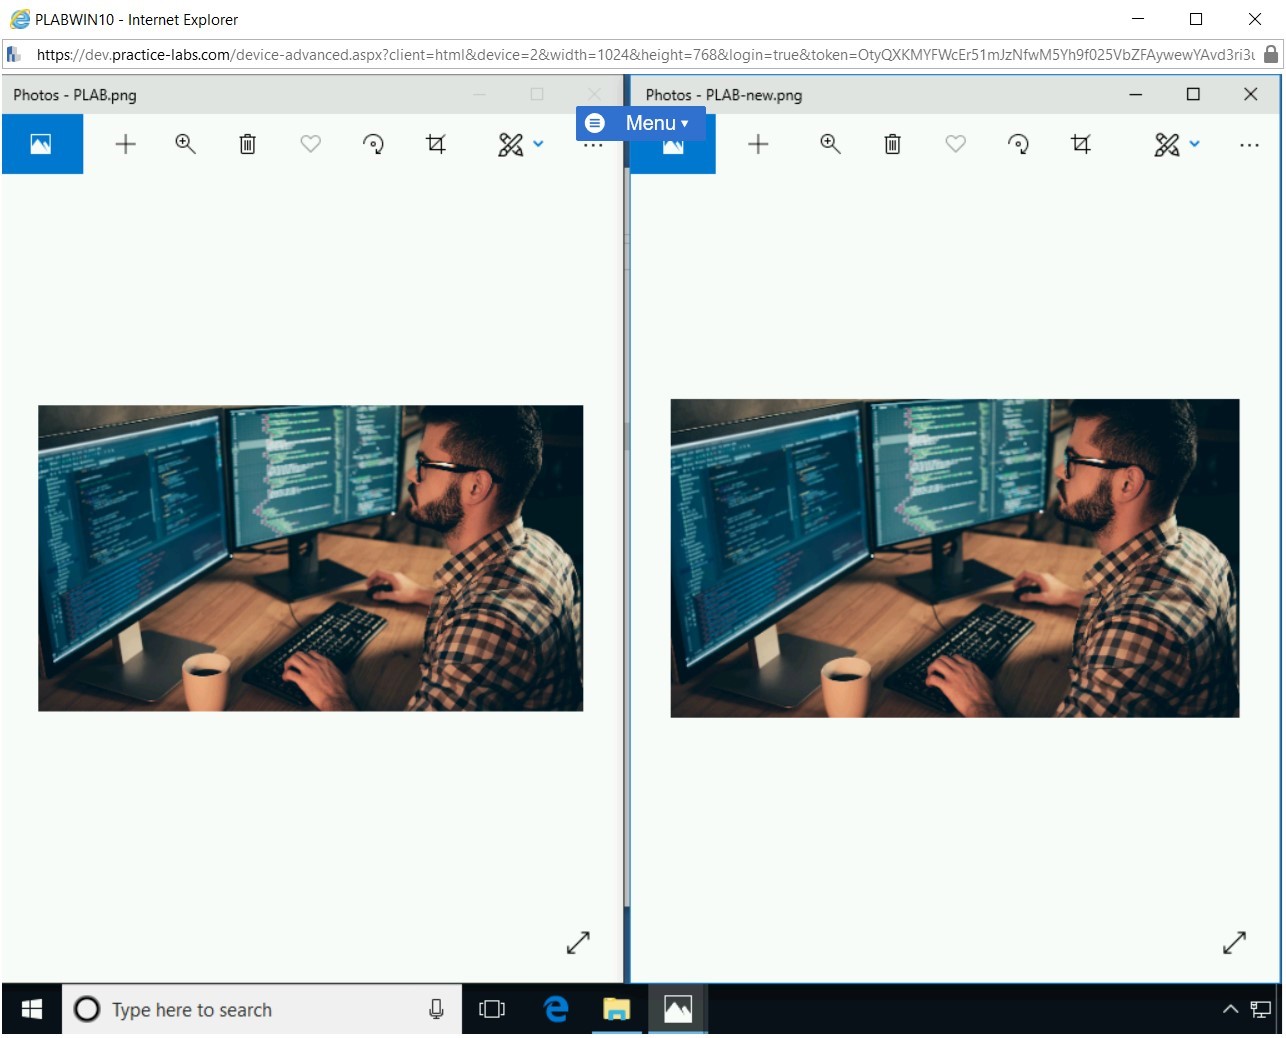
Step 17
Double-click PLAB.png and then PLAB-new.png. Note that both the image files display the same content. Most people will not be aware that the PLAB.png file actually has hidden content behind it.
Close both the files and minimize the File Explorer window.
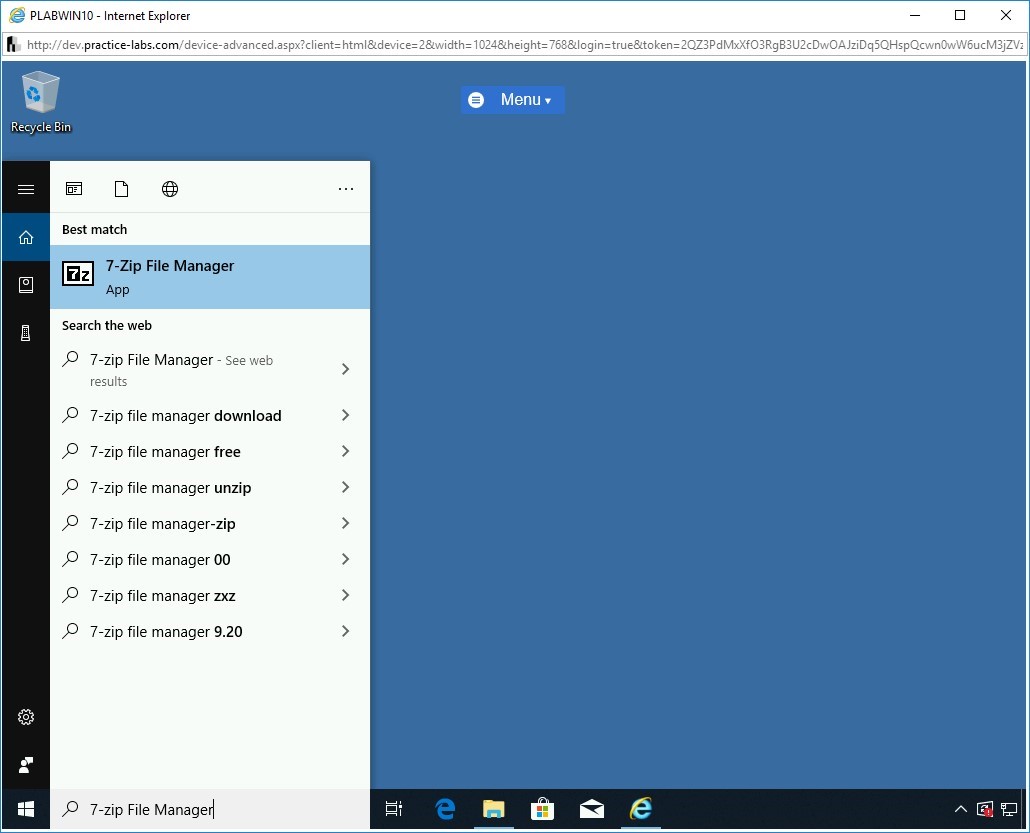
Step 18
In the Type here to search text box, type the following:
7-zip File Manager
Press Enter.
From the search result, select 7-Zip File Manager.
Step 19
The 7-Zip File Manager window is displayed.
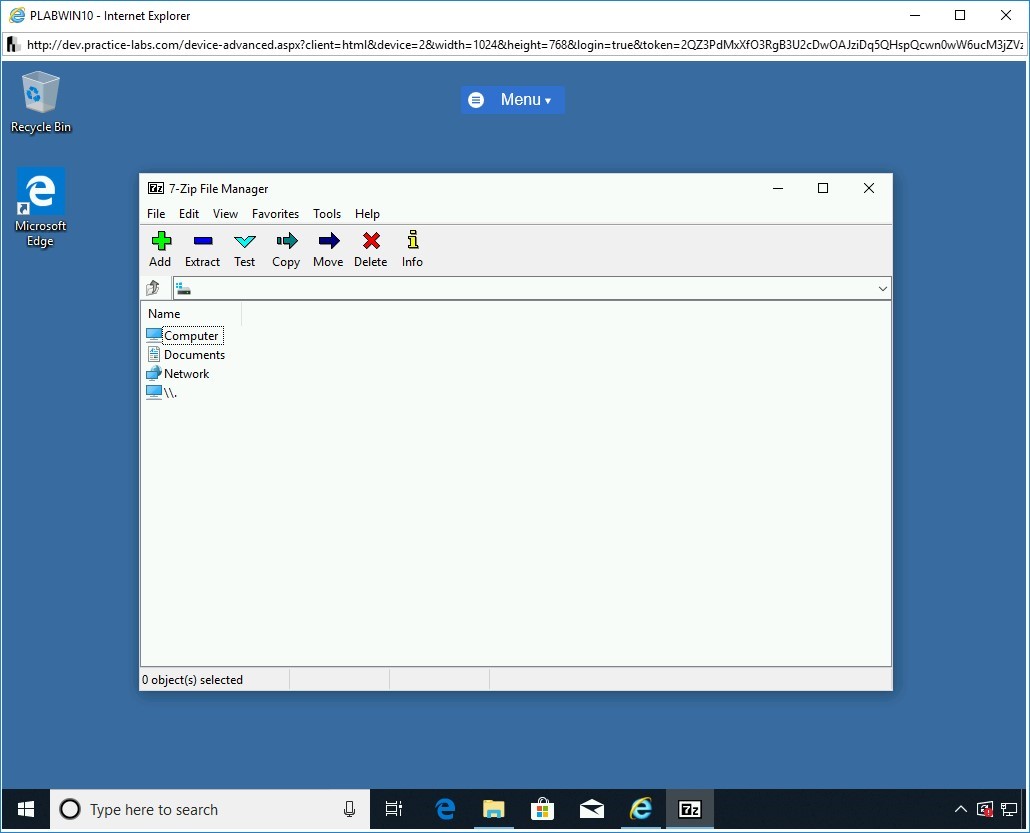
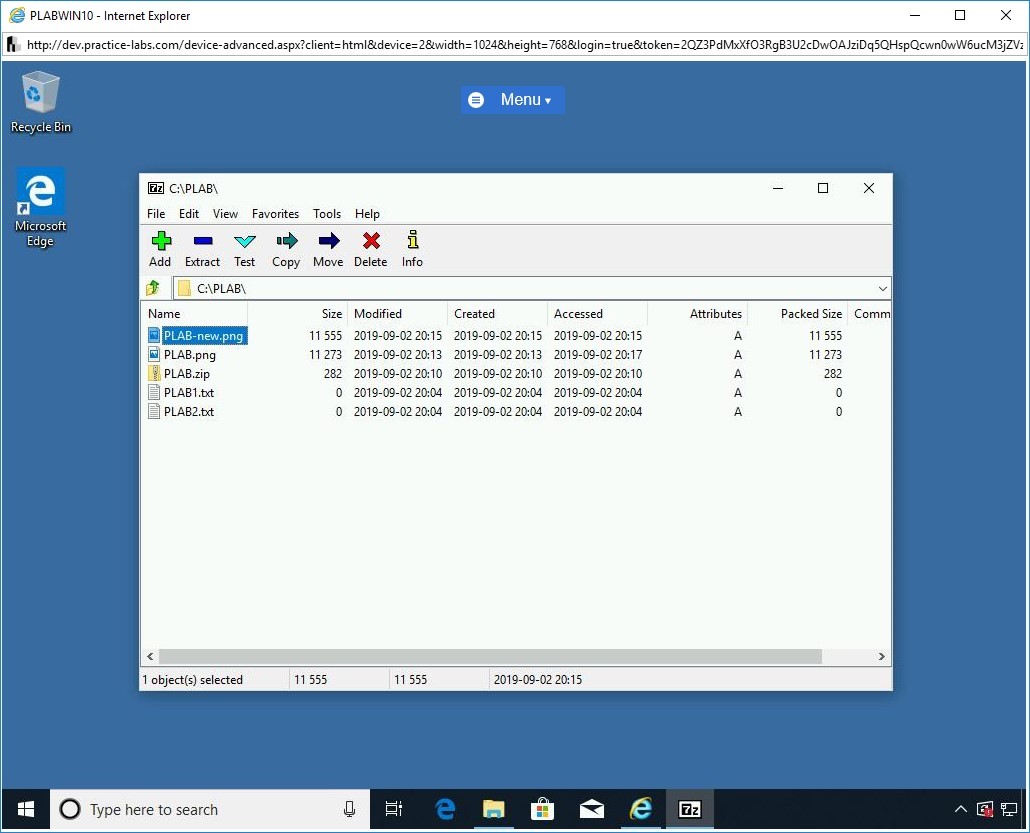
Step 20
Click on Computer . Navigate to C:\PLAB folder and double-click the PLAB-new.png file.
Step 21
Notice both the hidden text files are displayed.
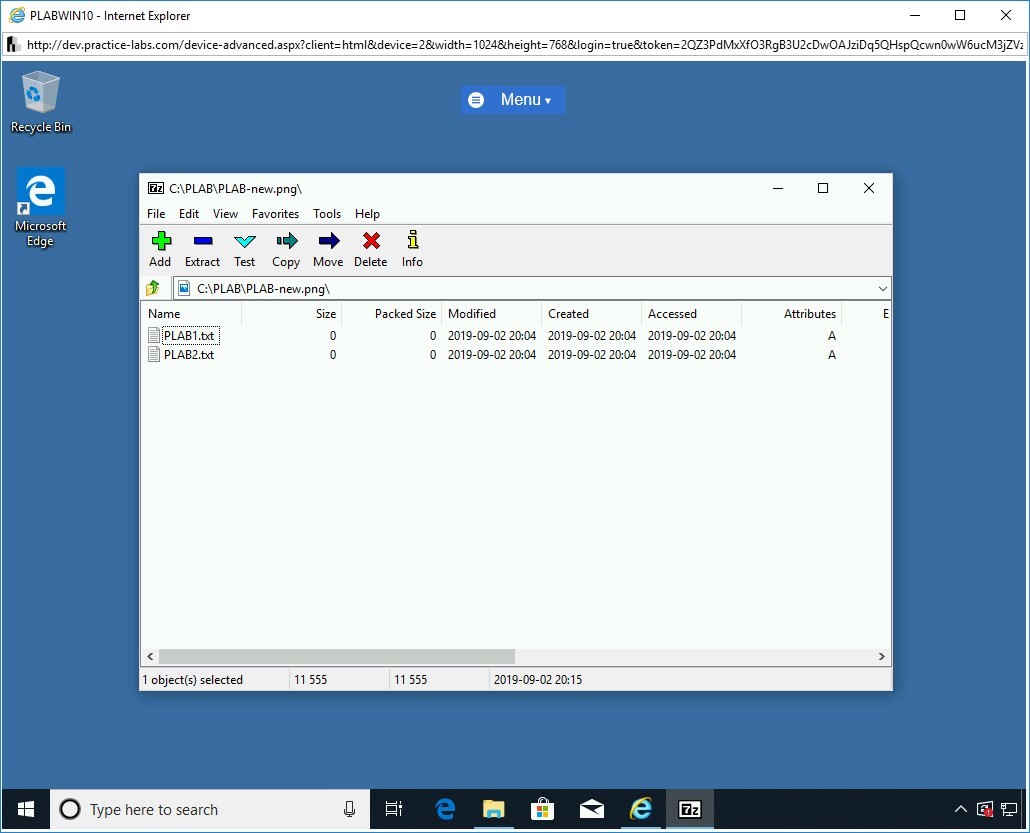
Close all open windows.
Task 2 - Using Steghide to Hide Data in an Image
Steghide is a tool that needs to be installed on a Linux system, such as Kali Linux. It has the capability to hide data in different types of images or audio files such as JPEG, BMP, WAV, and AU files. This program allows the data to be encrypted after it’s been embedded into an image or audio file.
In this task, you will practice using Steghide.
Step 1
Ensure you have powered on all the devices listed in the introduction and connect to PLABKALI01.
Credentials are:
Username:
rootPassword:
Passw0rd
Step 2
On the desktop, in the left pane, click the Terminal icon.

Step 3
The terminal window is displayed. You first need to install the Steghide tool. This can be done using a command.
Type the following command:
apt-get install steghide -y
Press Enter.

Step 4
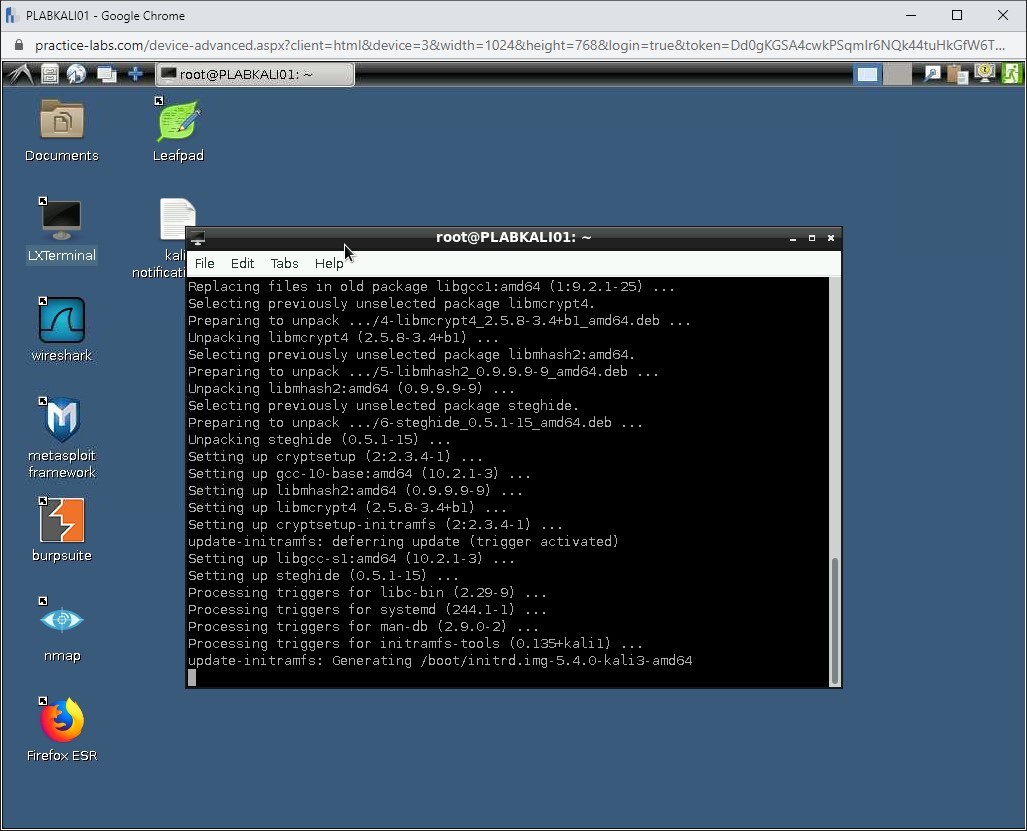
The Steghide installation process starts.
NOTE: The installation process will take a few minutes to complete.
Step 5
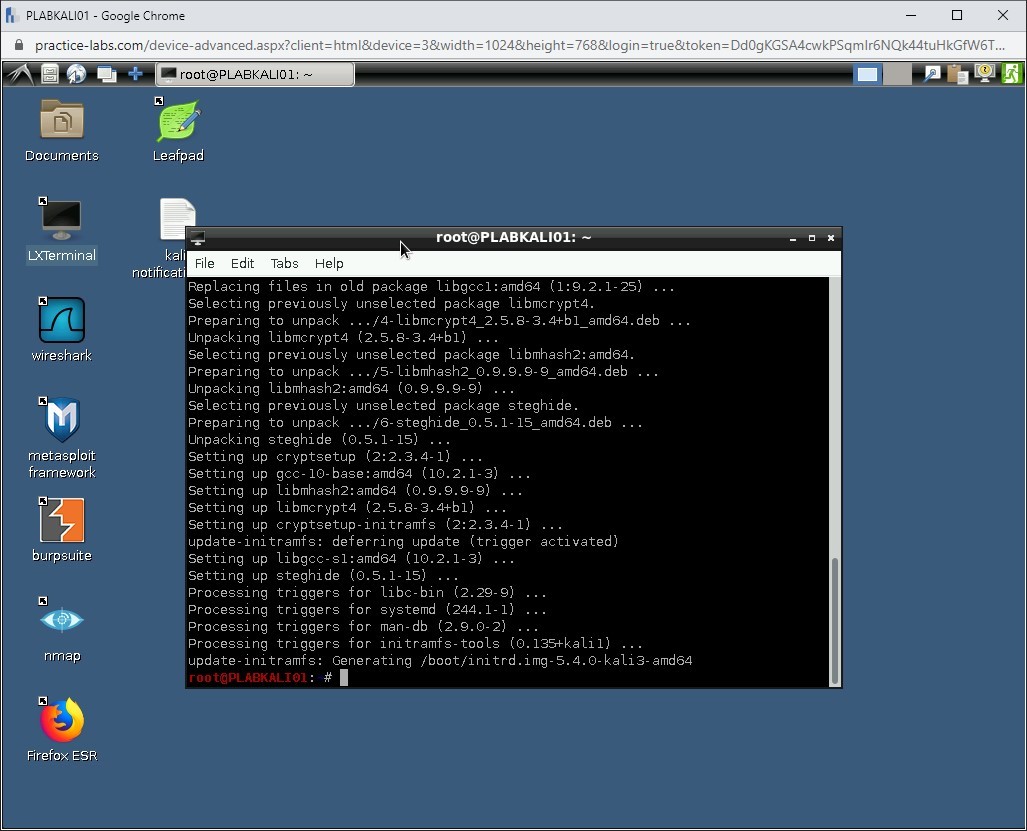
The installation is now complete.
Step 6
Clear the screen by entering the following command:
clear
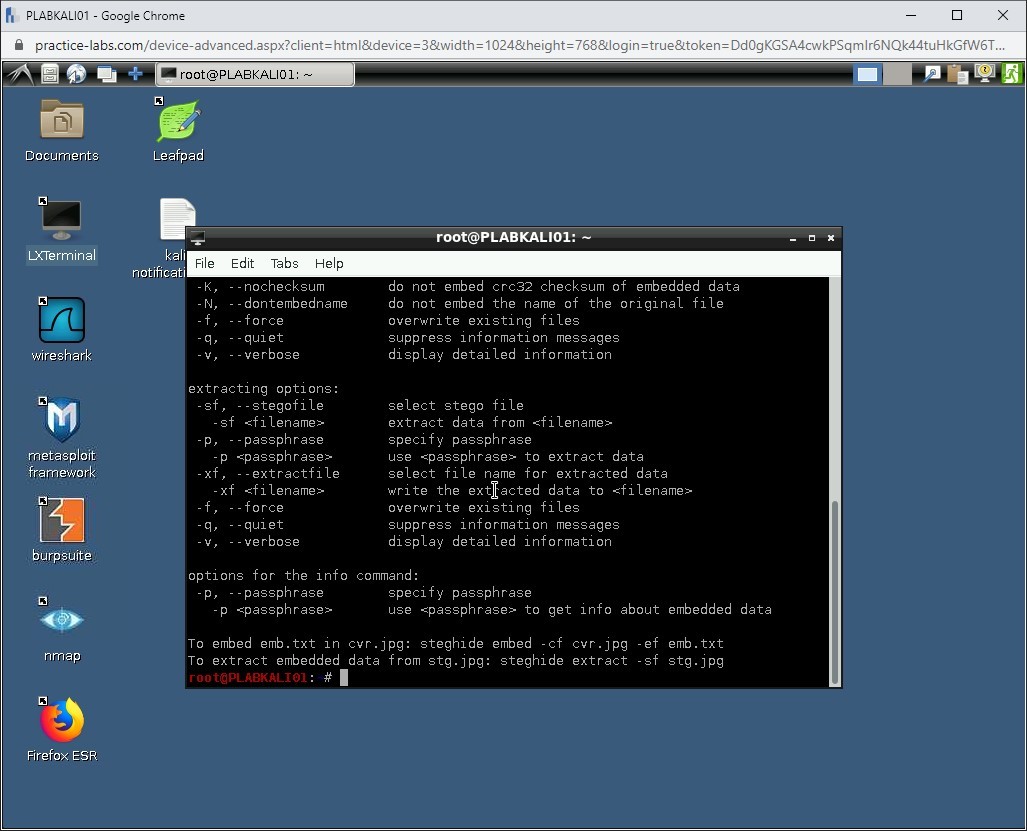
To view the Steghide help, type the following command:
steghide --help
Press Enter.
Step 7
The help parameter displays the list of parameters that can be used with the steghide command.
Step 8
Clear the screen by entering the following command:
clear
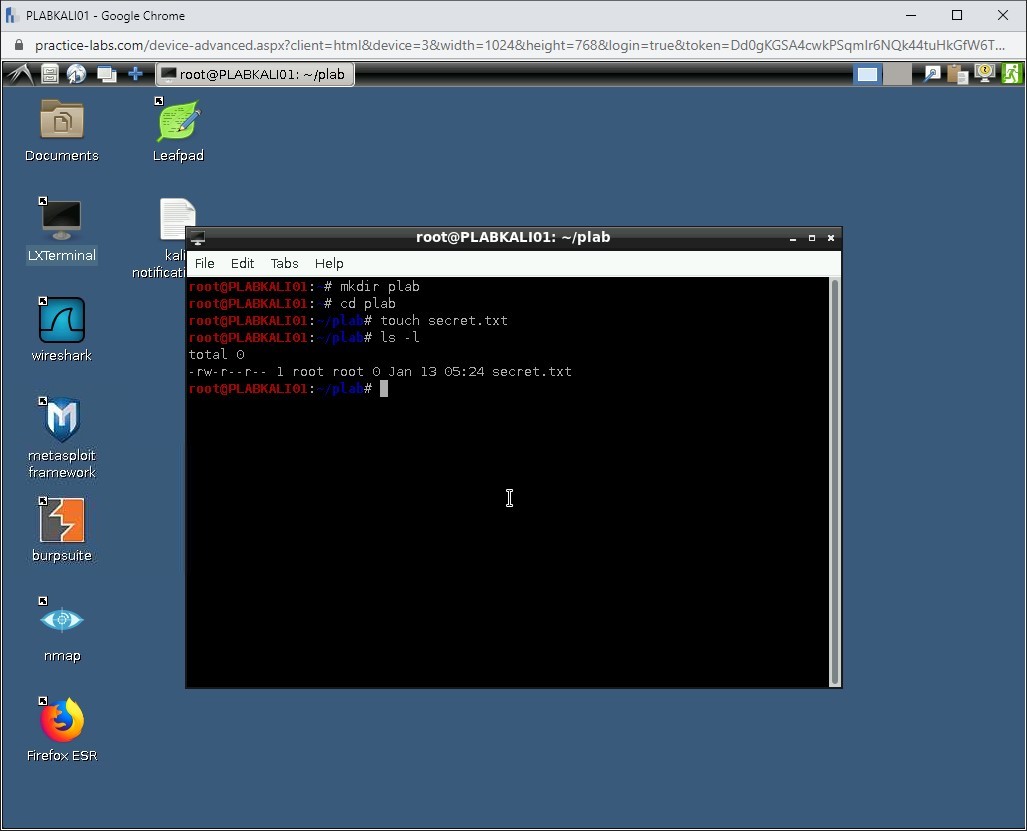
Firstly, create a new directory named plab. To do this, type the following command:
mkdir plab
Press Enter.
Step 9
Let’s navigate inside the plab directory. To do this, type the following command:
cd plab
Press Enter.

Step 10
You are now inside the plab directory. Notice plab is colored blue to indicate you are in a directory.
You need to create a new text file named secret.txt using the touch command. The touch command can be used to generate a basic blank file in your Kali machine.
To do this, type the following command:
touch secret.txt
Press Enter.

Step 11
Let’s view the list of files in the plab directory.
To do this, type the following command:
ls -l
Press Enter.

Step 12
Notice that the secret.txt file is now present in the plab directory.

Step 13
Clear the screen by entering the following command:
clear
Now, you will need an image file to copy to the plab directory.
For this demonstration, you will find an image file named practice-labs.jpg under Files>Pictures.
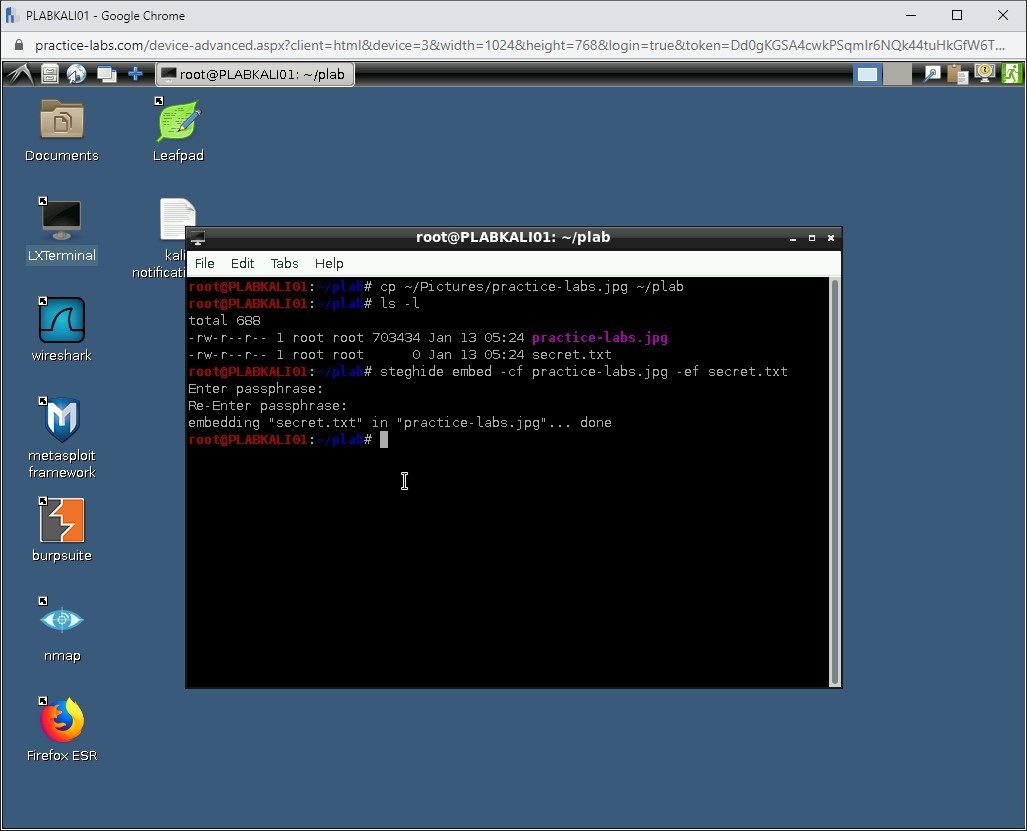
Use the following command to copy this image into the plab directory:
cp ~/Pictures/practice-labs.jpg ~/plab
Step 14
After copying the file, verify that the file exists in the plab directory. To do this, type the following command:
ls -l
Press Enter. Notice that the file exists in the plab directory.

Step 15
You will now hide the secret.txt file in the practice-labs.jpg file. To do this, type the following command:
Note: Two parameters are being used: ef = is for the file that is being embedded. cf = is for the file that will contain the embedded file.steghide embed -cf practice-labs.jpg -ef secret.txt
Press Enter.

Step 16
You will be prompted to set a passphrase. Type the following password:
Passw0rd
Press Enter.
When prompted to re-enter the passphrase, type the following password:
Passw0rd
Press Enter.

Step 17
Notice that the message states that secret.txt file is now embedded in the practice-labs.jpg file.

Step 18
Clear the screen by entering the following command:
clear
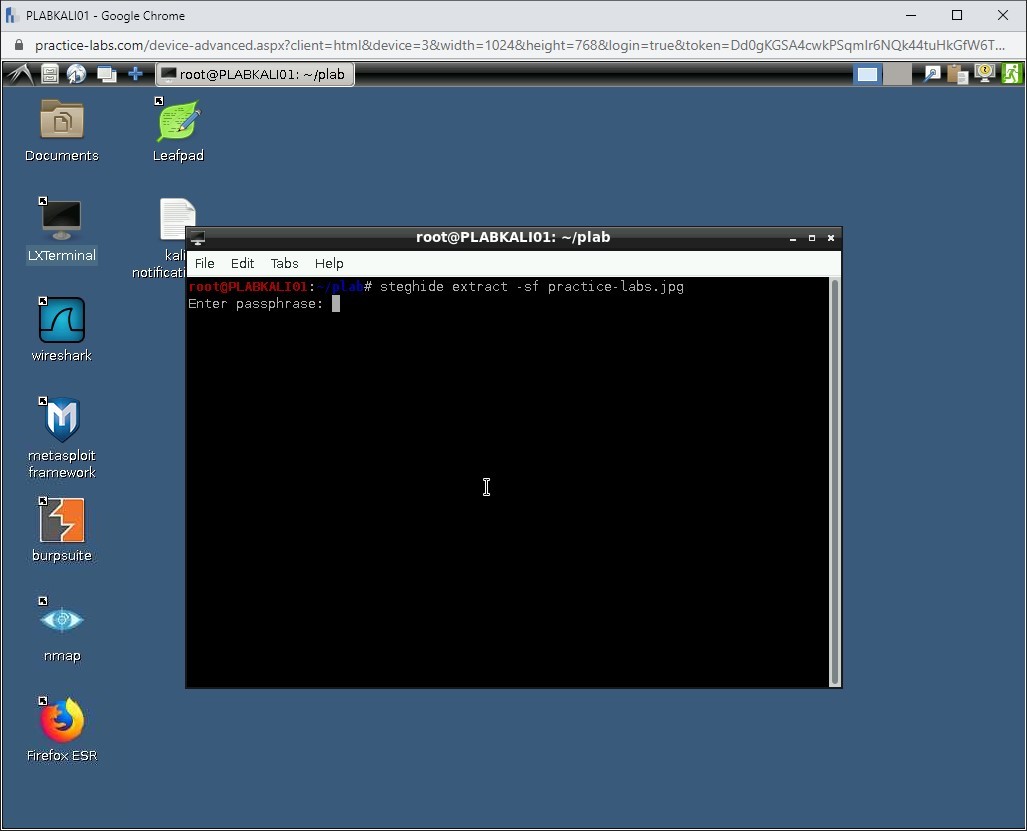
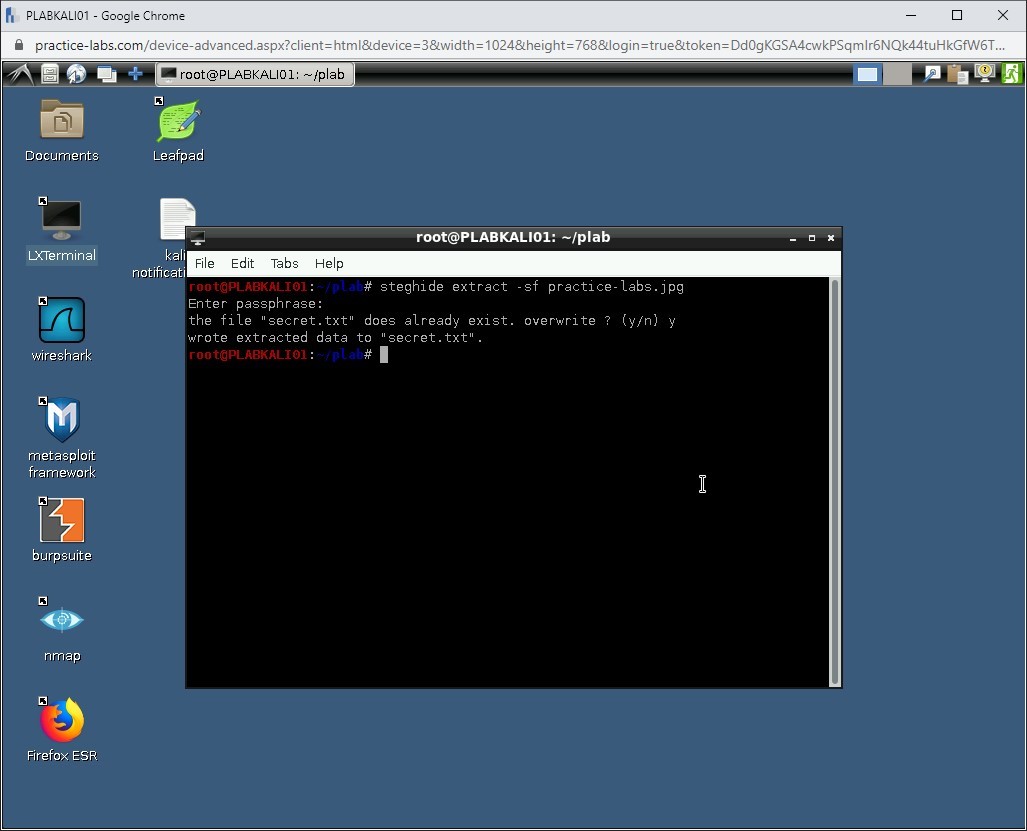
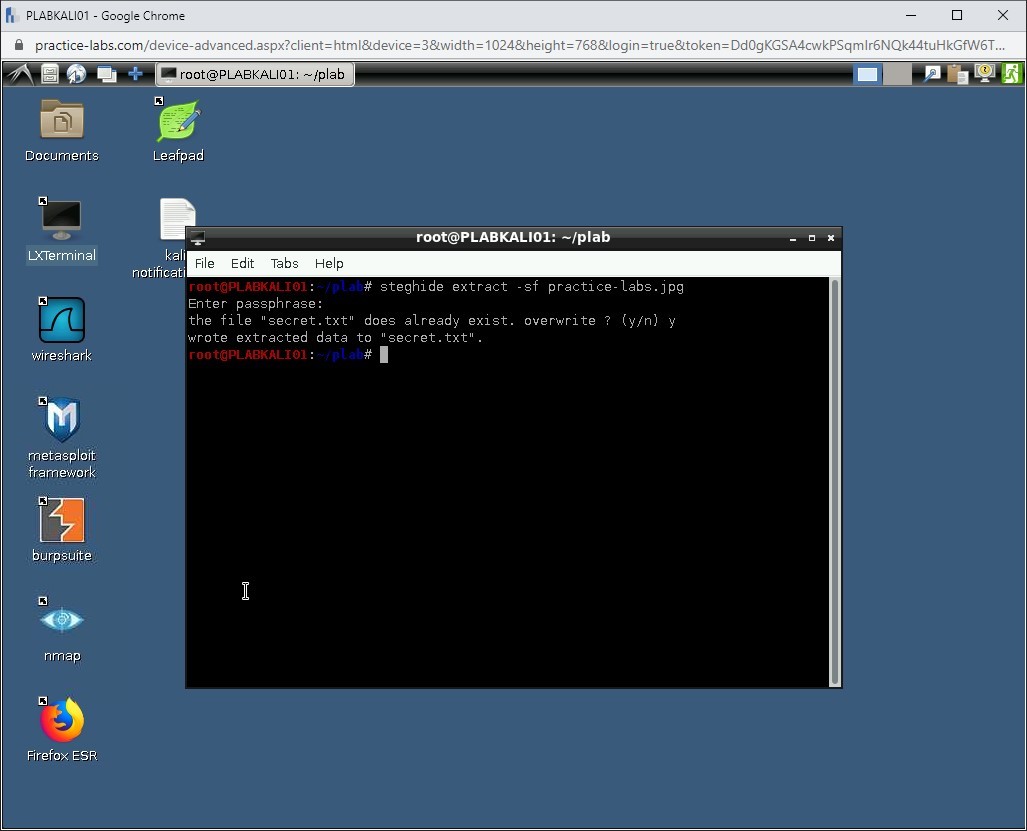
For users, the practice-labs.jpg file is a normal image file. However, you know that it has a hidden file inside. To extract the hidden file, type the following command:
steghide extract -sf practice-labs.jpg
Press Enter.
Step 19
Since there is password protection, you will be asked to enter the passphrase. Type the following password:
Passw0rd
Press Enter.

Step 20
After the password is verified, the file will extract. However, since the secret.txt file already exists in the plab directory, you will be prompted to overwrite this file.
In the real-world scenario, it is unlikely that you will be extracting the embedded file in the same directory.
Press the y key then press Enter.
Step 21
Notice that the secret.txt is now extracted successfully.

Task 3 - Using Stegosuite to Hide Data within an Image
Stegosuite is another tool that you can use in Kali Linux to hide data within an image file. Unlike Steghide, which is a command-line tool, Stegosuite is an image tool. It allows you to embed text as well as files within an image file.
In this task, you will practice using the Stegosuite tool.
Step 1
Ensure you have powered on all the devices listed in the introduction and still connected to PLABKALI01.
Step 2
Clear the screen by entering the following command:
clear
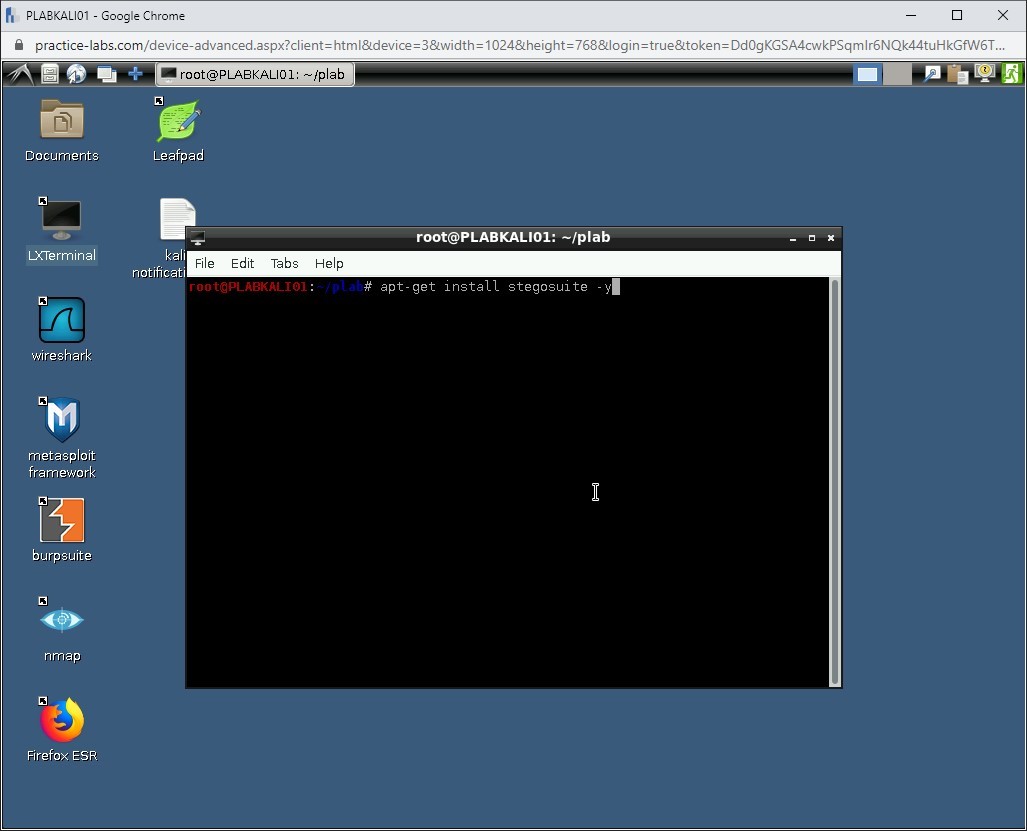
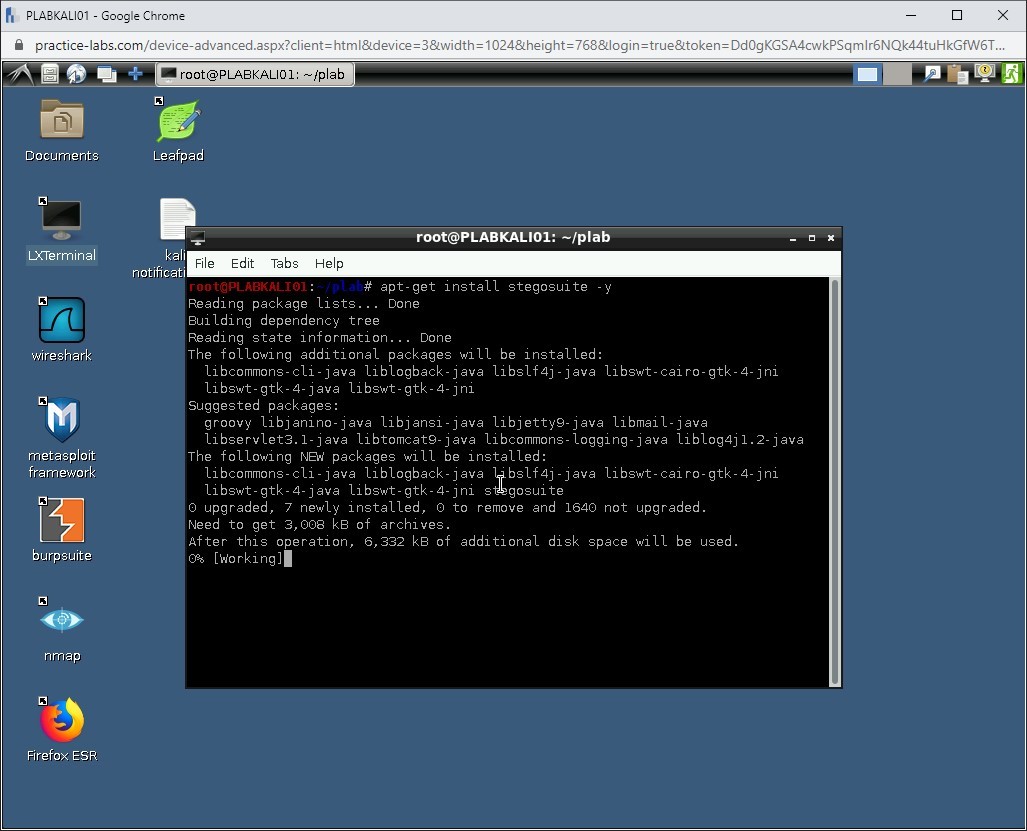
By default, Stegosuite is not installed in Kali Linux. You need to install it using the apt-get command. To do this, type the following command:
apt-get install stegosuite -y
Press Enter.
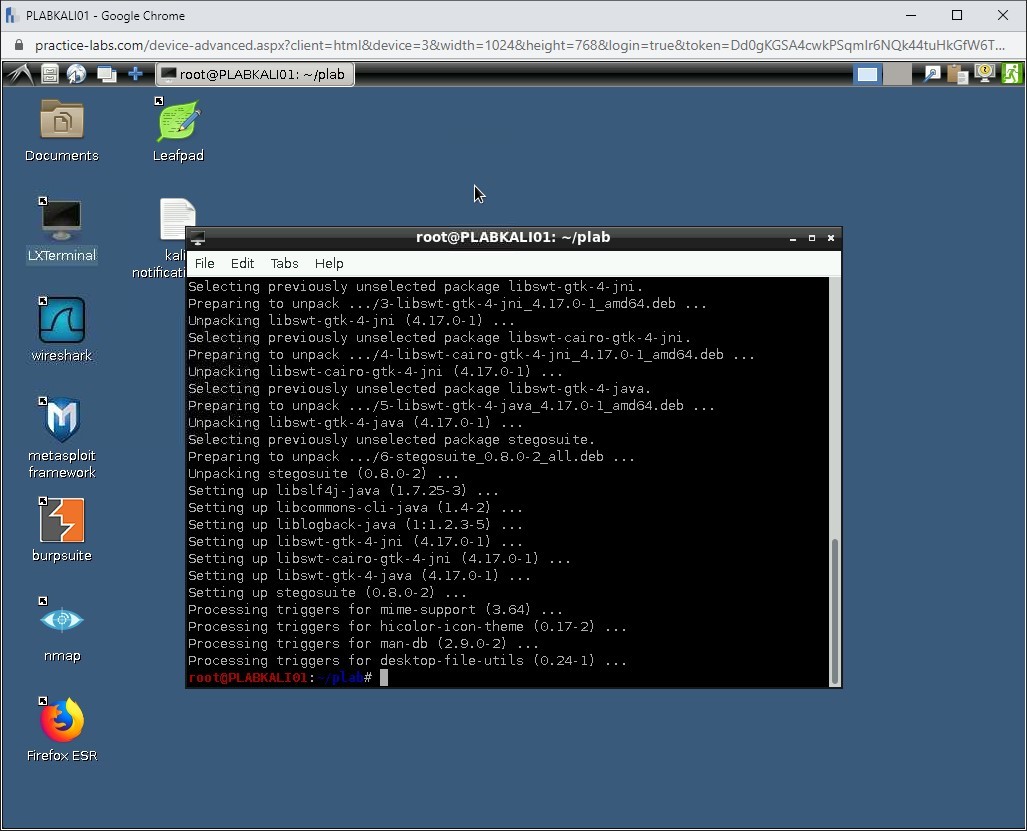
Step 3
The Stegosuite installation process will start. The installation process will take a few minutes to complete.
Step 4
The installation is now complete.
Step 5
Clear the screen by entering the following command:
clear
You have installed Stegosuite successfully. Now, you need to start it. There are multiple methods to start Stegosuite:
- Using the Applications menu
- By searching it
- Using the command line
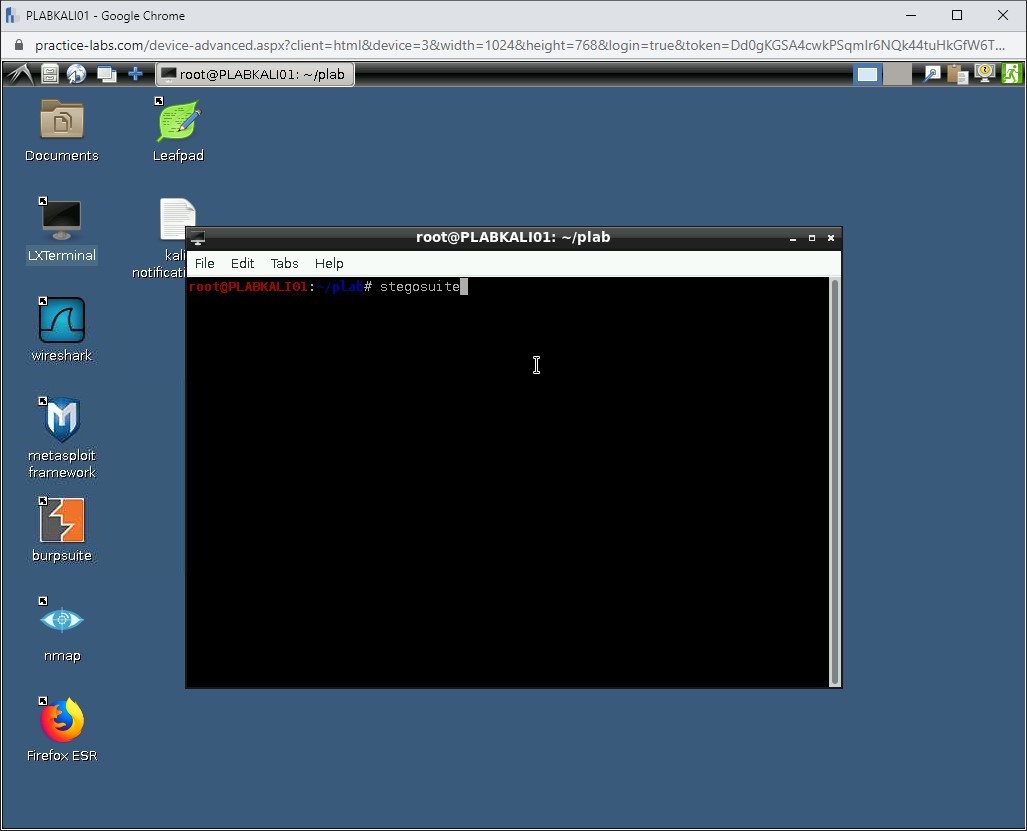
Let’s start Stegosuite using the command line. Enter the following command:
stegosuite
Press Enter.
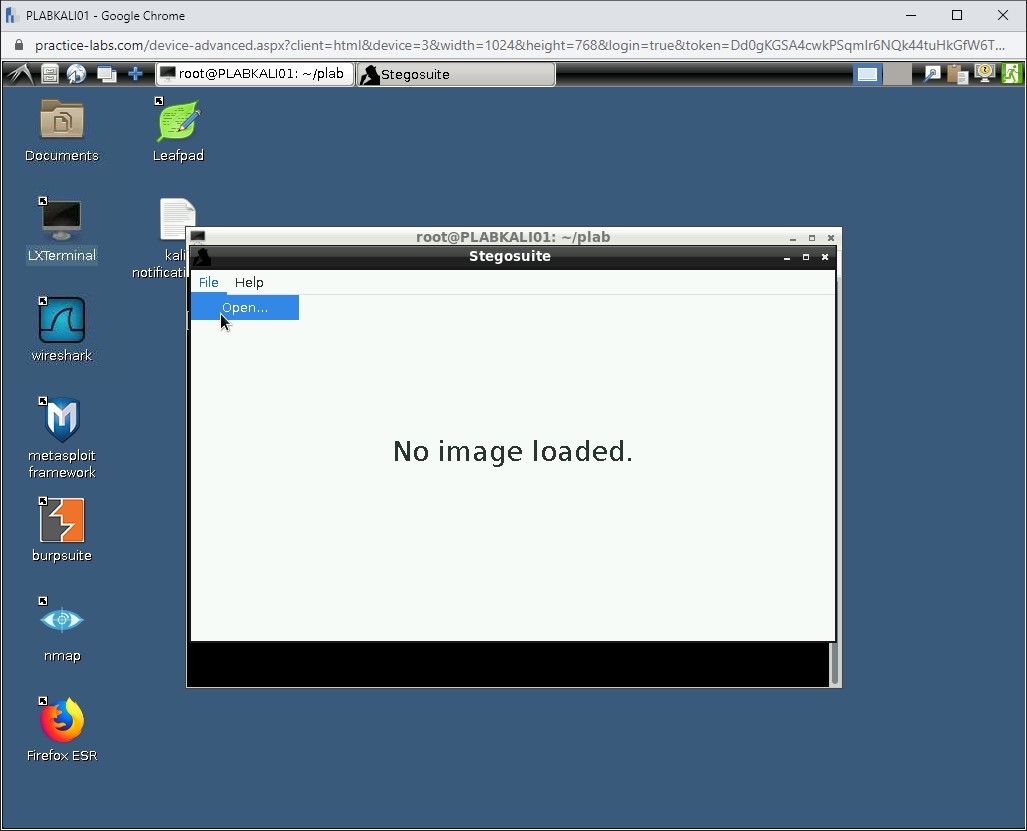
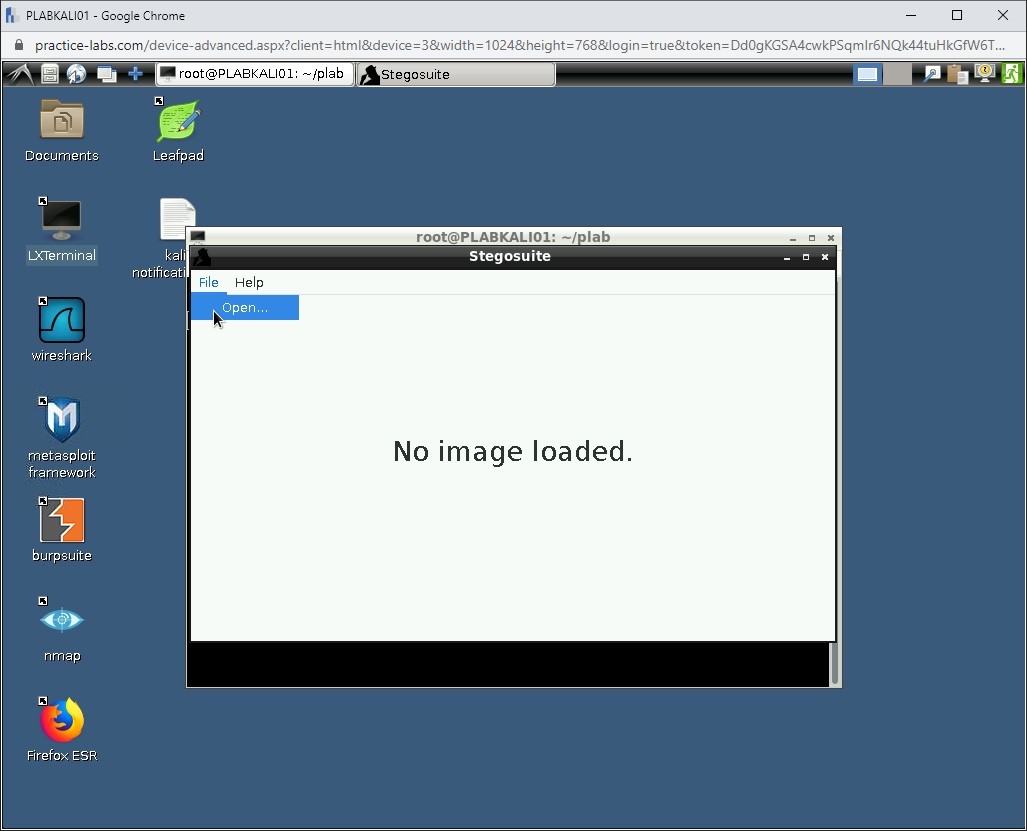
Step 6
The Stegosuite application is now displayed. Click File and then select Open.
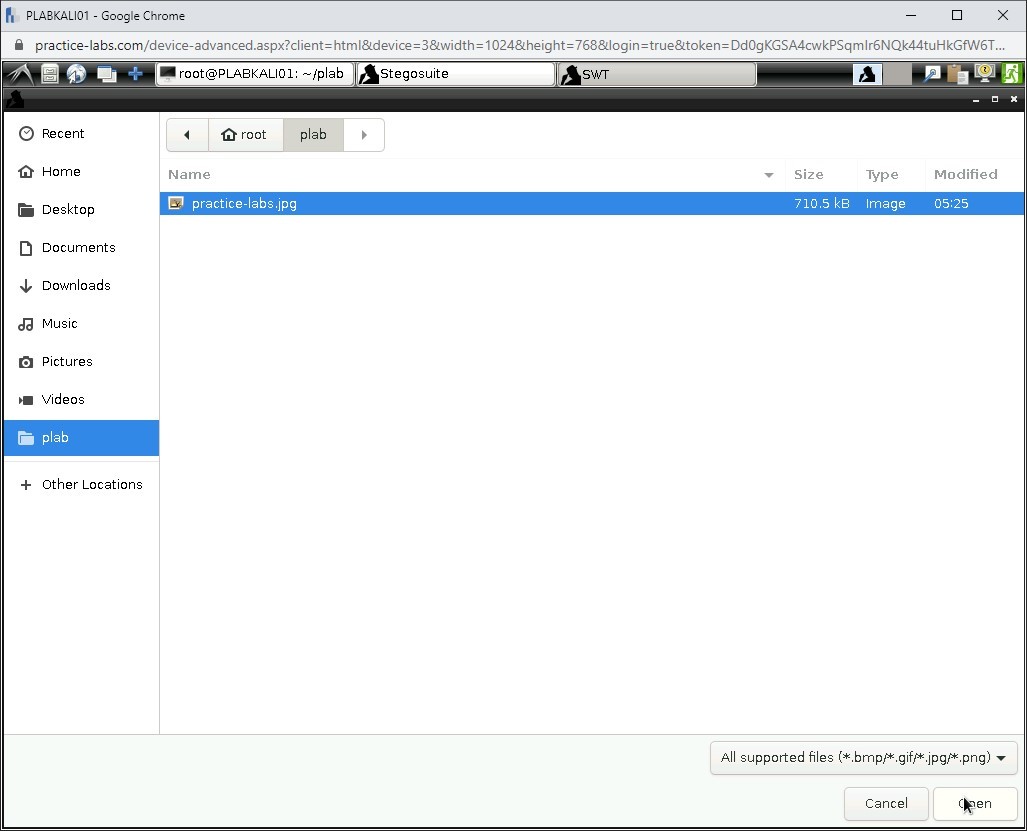
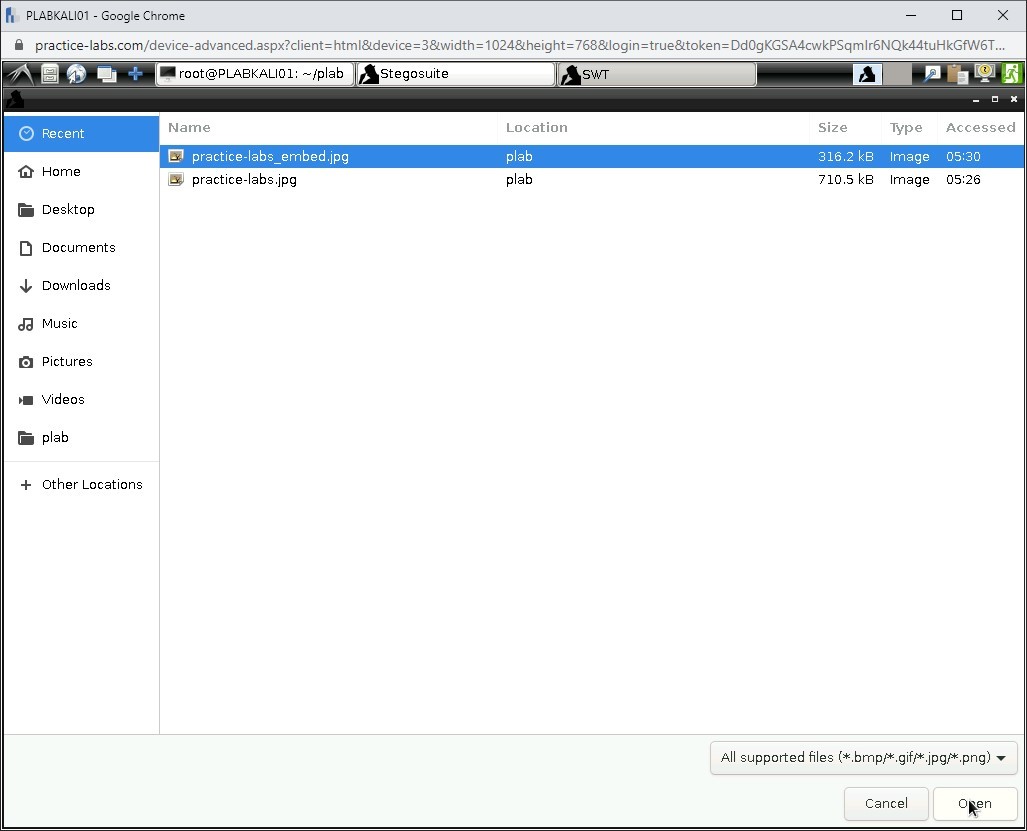
Step 7
A dialog box is displayed. On the left pane, click on the plab directory.
Select practice-labs.jpg and click Open.
Step 8
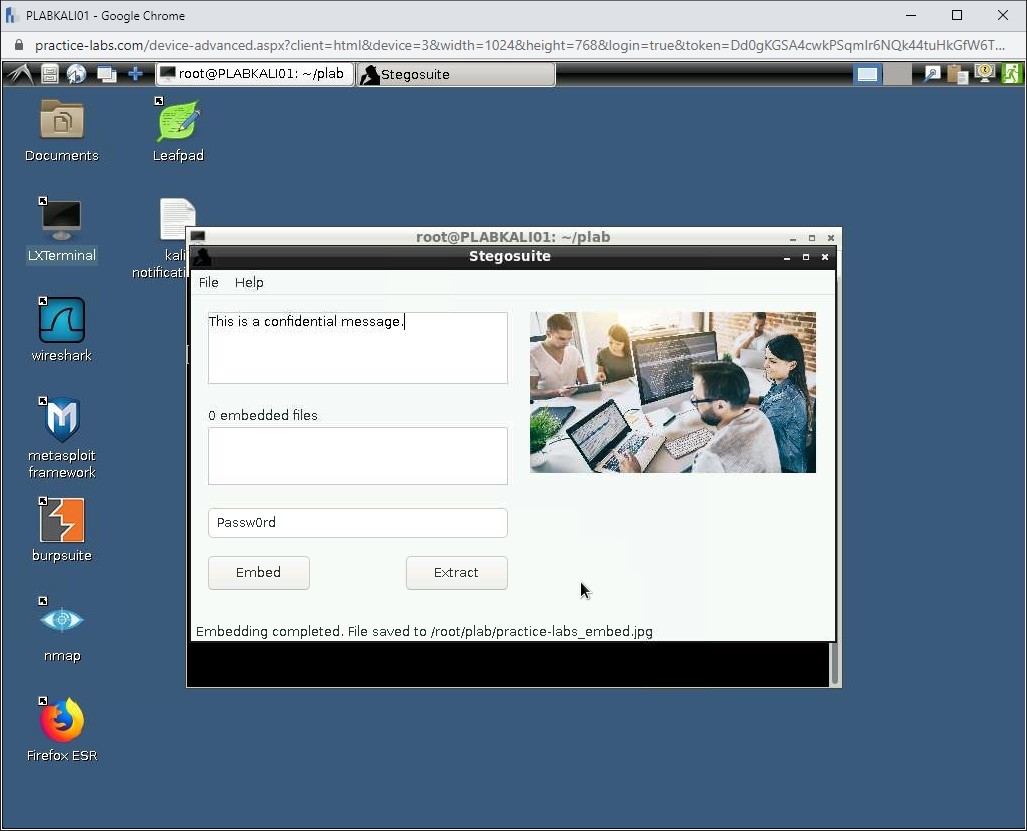
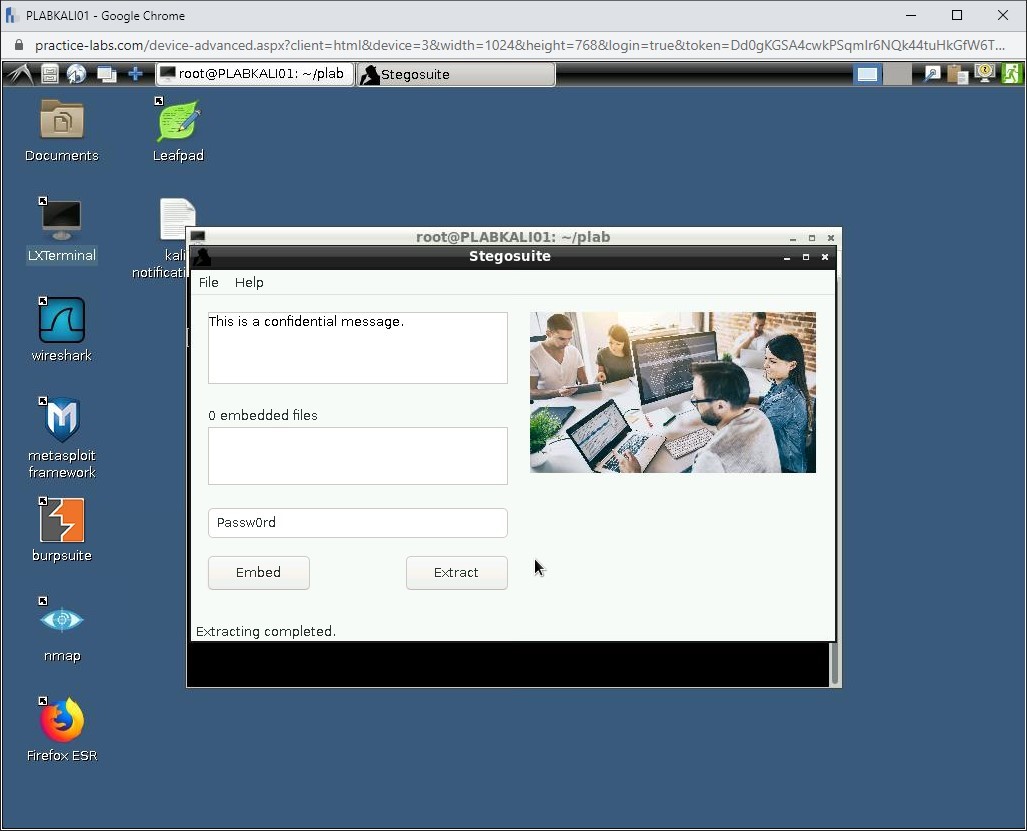
Notice that the right side of the Stegosuite dialog box displays the practice-labs.jpg image.
In the left pane, type the following message in the first text box:
This is a confidential message.
In the third text box, type the following password:
Passw0rd
Click Embed.
Step 9
Notice that a message at the bottom of the Stegosuite dialog box states that embedding is now complete. A new file with the name practice-labs_embed.jpg is saved now.
Close the Stegosuite dialog box.

Step 10
Clear the screen by entering the following command:
clear
At the command line, type the following command to start Stegosuite once again:
stegosuite
Press Enter.
Step 11
The Stegosuite application is now displayed. Click File and then select Open.

Step 12
A dialog box is displayed. On the left pane, click on the plab directory.
Select practice-labs_embed.jpg and click Open.
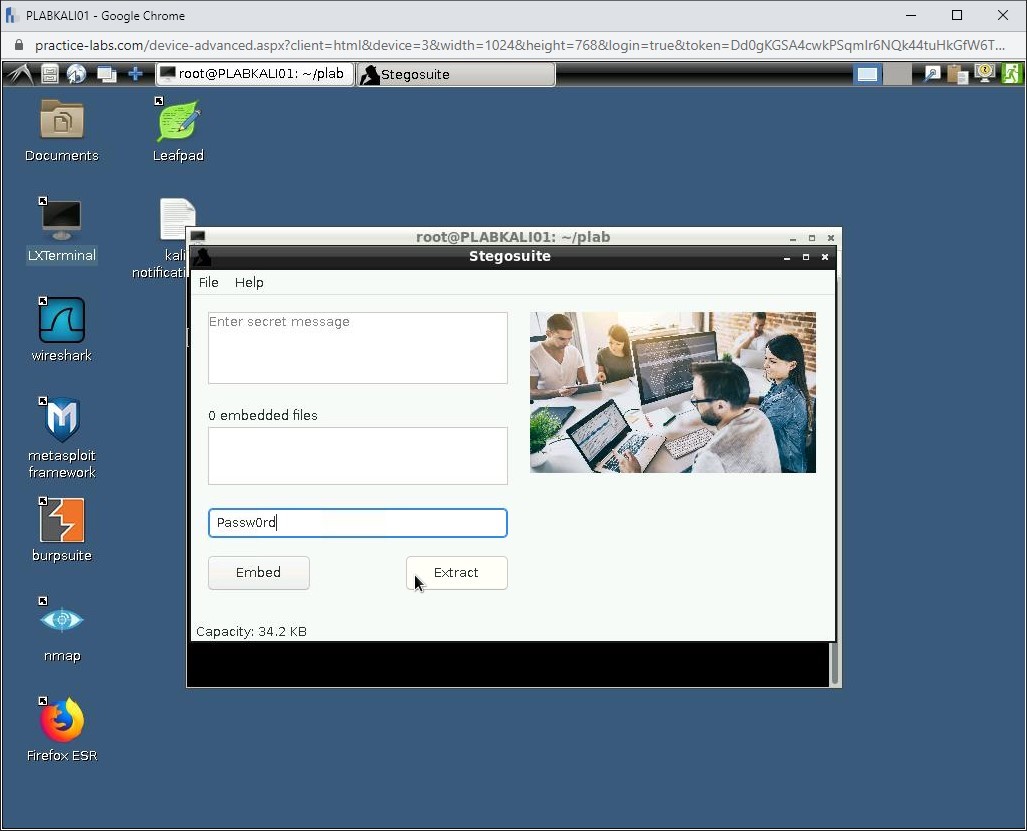
Step 13
Notice that the right side of the Stegosuite dialog box displays the practice-labs_embed.jpg image.
In the third text box, type the following password:
Passw0rd
Click Extract.
Step 14
Notice that the text string has been extracted in the first text box.
Close the Stegosuite dialog box.
Close the terminal window.
Task 4 - Using SilentEye to Hide Information within a File
A basic steganography tool encodes information within another file, typically a media file such as a picture or audio/video file. A typical technique is to encode information in the least significant bit of the image or audio data.
This does not materially affect the picture or sound and does not alter the file header (though it can change the file size). You can use an application such as SilentEye to hide messages or data into images or audio files.
In this task, you will use SilentEye to hide information within a file. To do this, perform the following steps:
Step 1
Ensure you have powered on all the devices listed in the introduction and connect to PLABWIN10.
In the Type here to search text box, type the following:
Internet Explorer
From the search results, select Internet Explorer.
Step 2
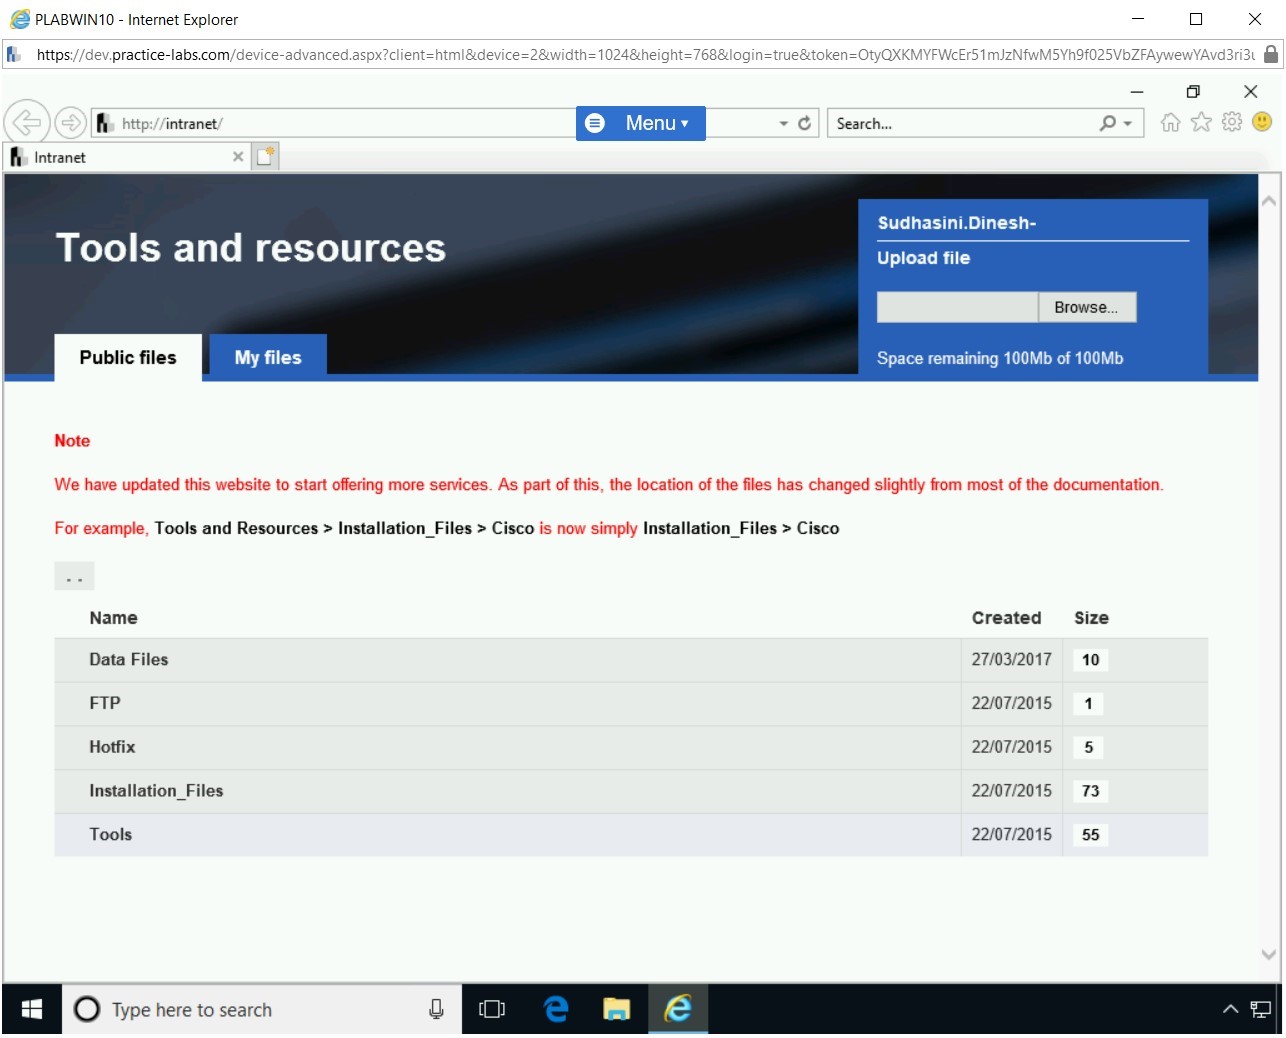
Internet Explorer opens the Tools and resources webpage.
Click Tools.

Step 3
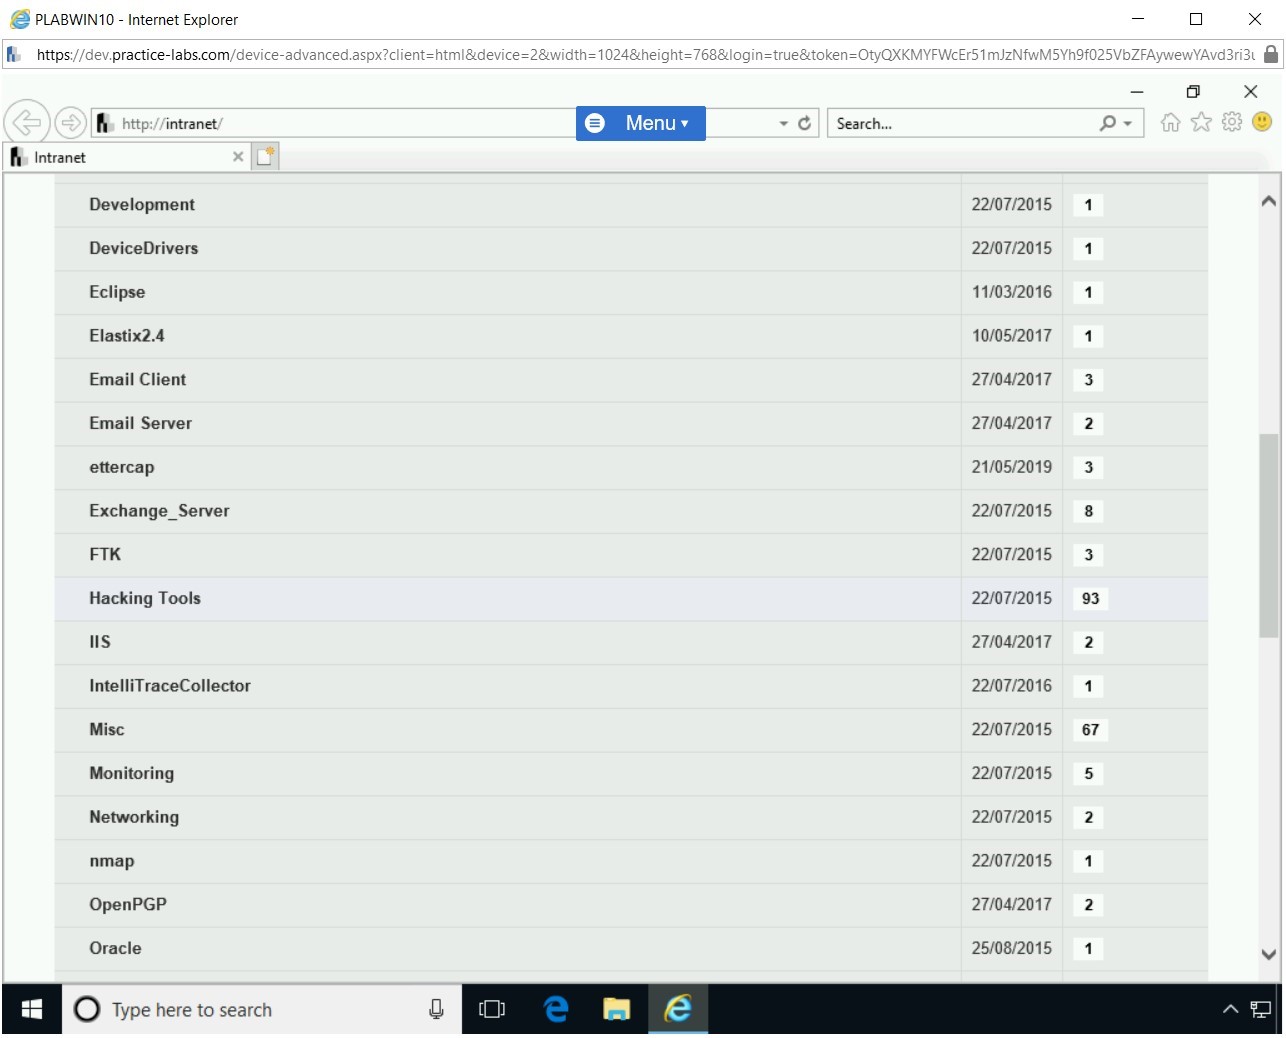
You will be directed to [..] > Tools.
Scroll down a bit and locate Hacking Tools.
Click Hacking Tools.
Step 4
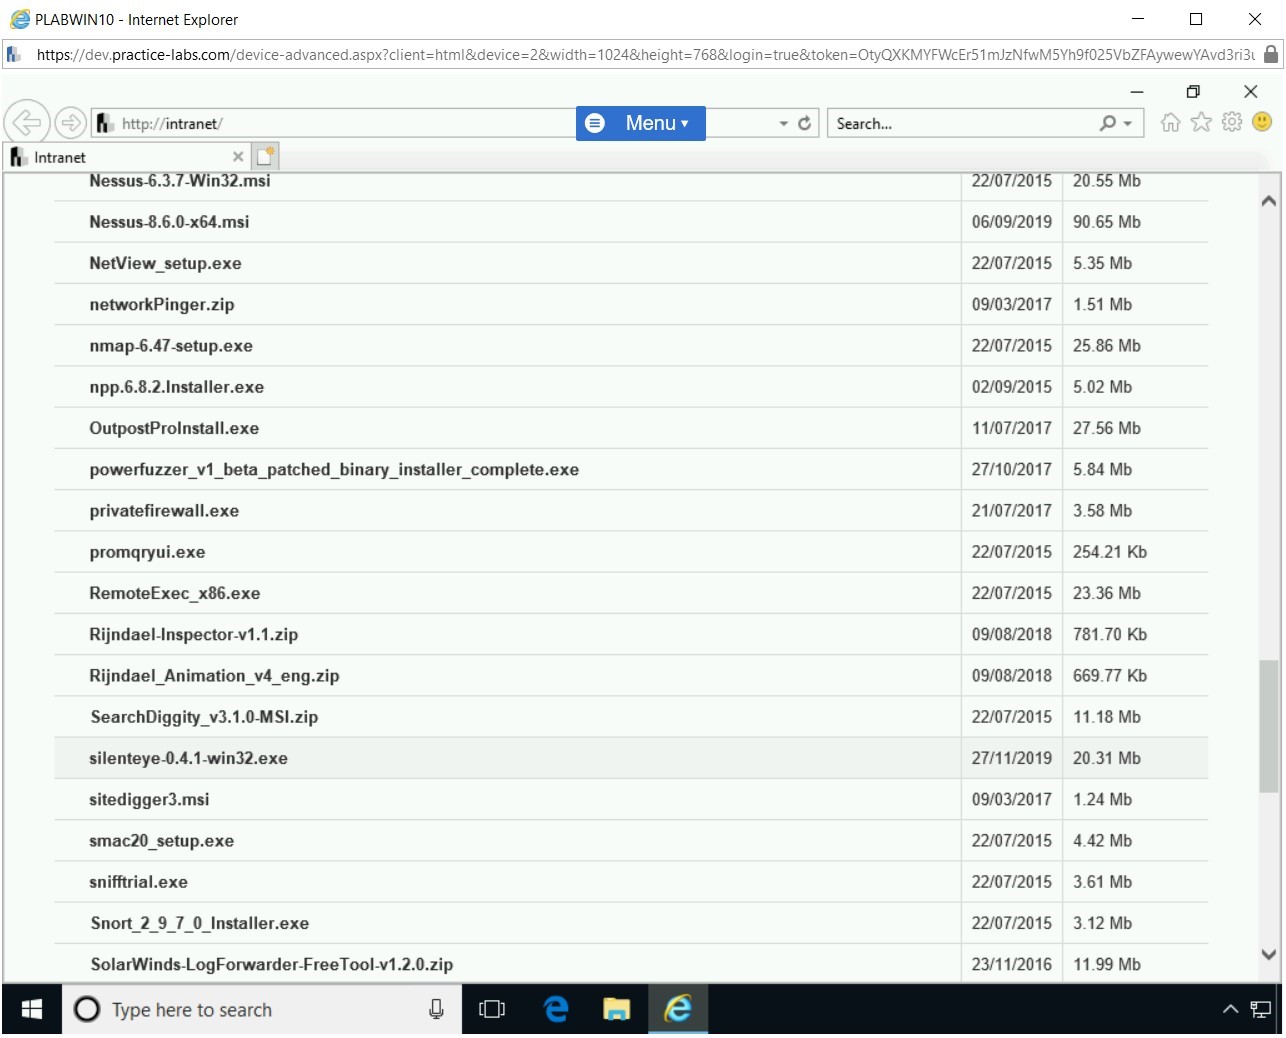
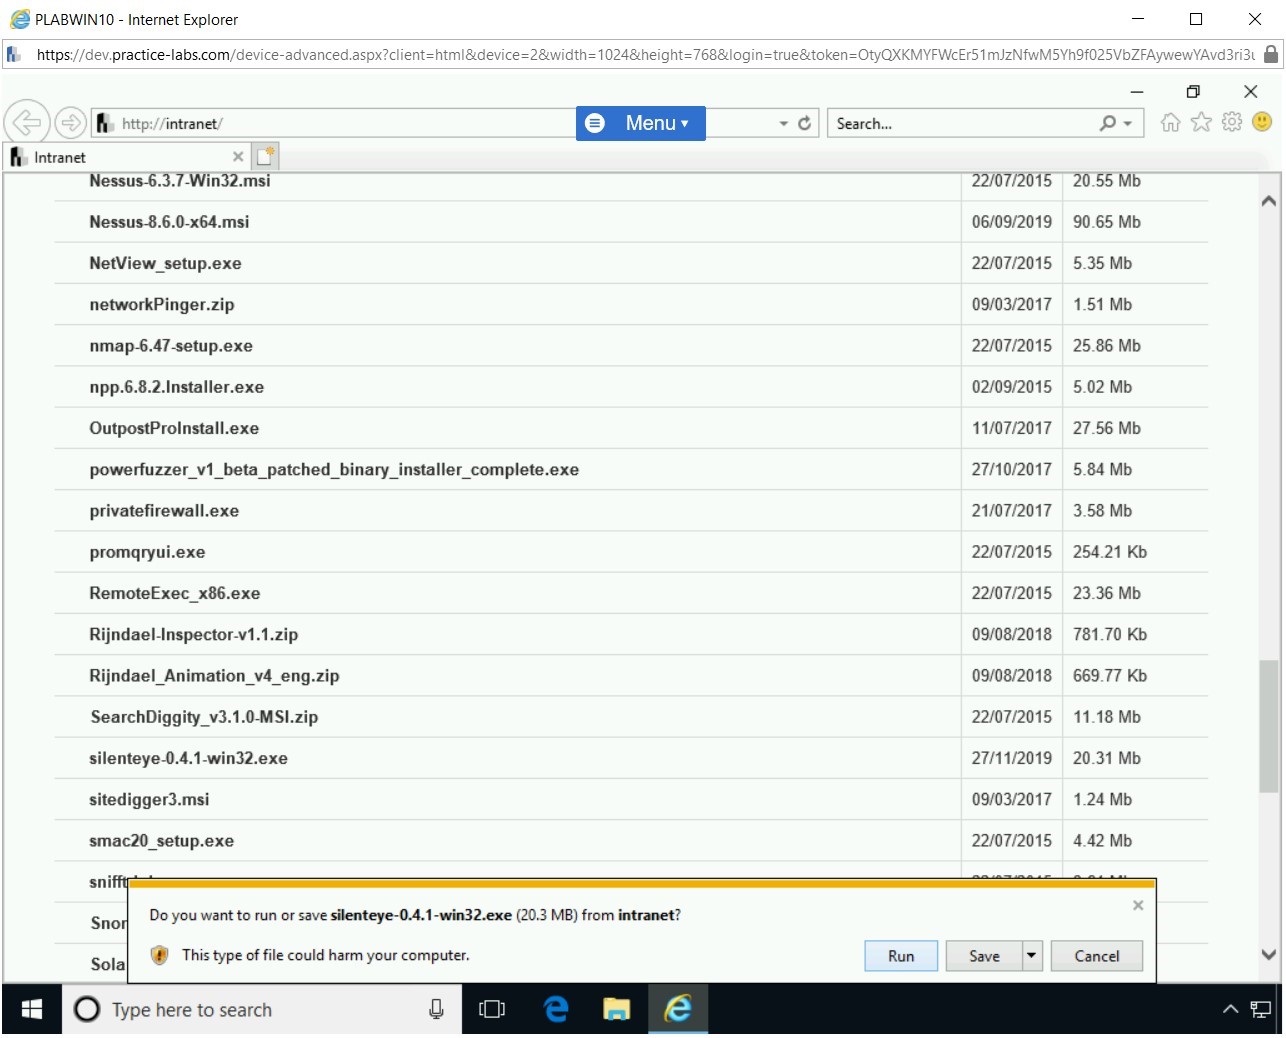
On the [..] > Tools > Hacking Tools page, scroll down the page and locate silenteye-0.4.1-win32.exe.
Click silenteye-0.4.1-win32.exe.
Step 5
In the notification bar, click Run.
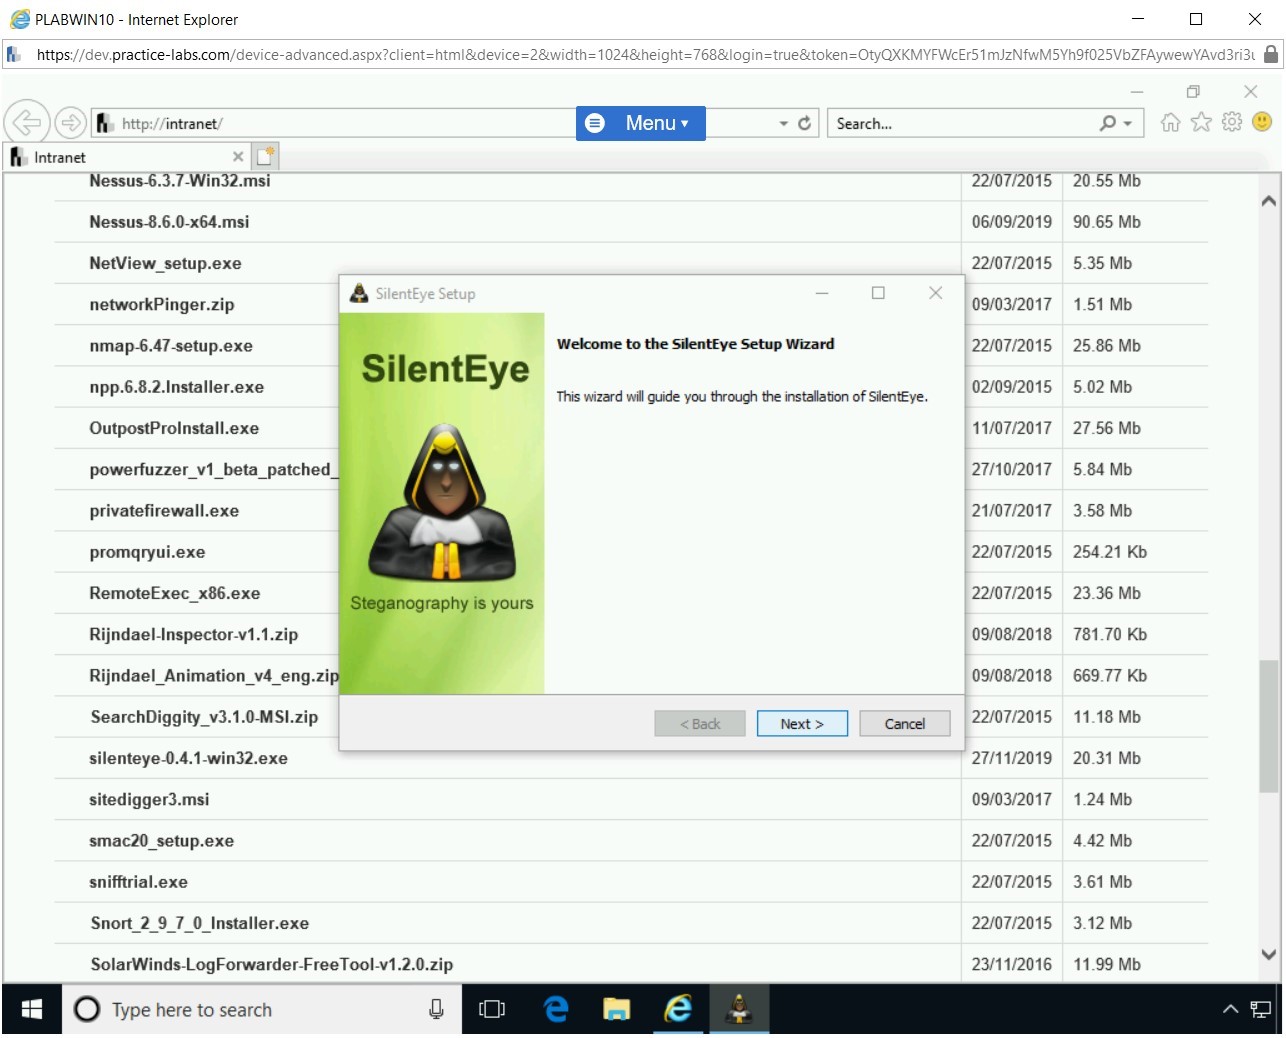
Step 6
The SilentEye Setup wizard is displayed. On the Welcome to the SilentEye Setup Wizard page, click Next.
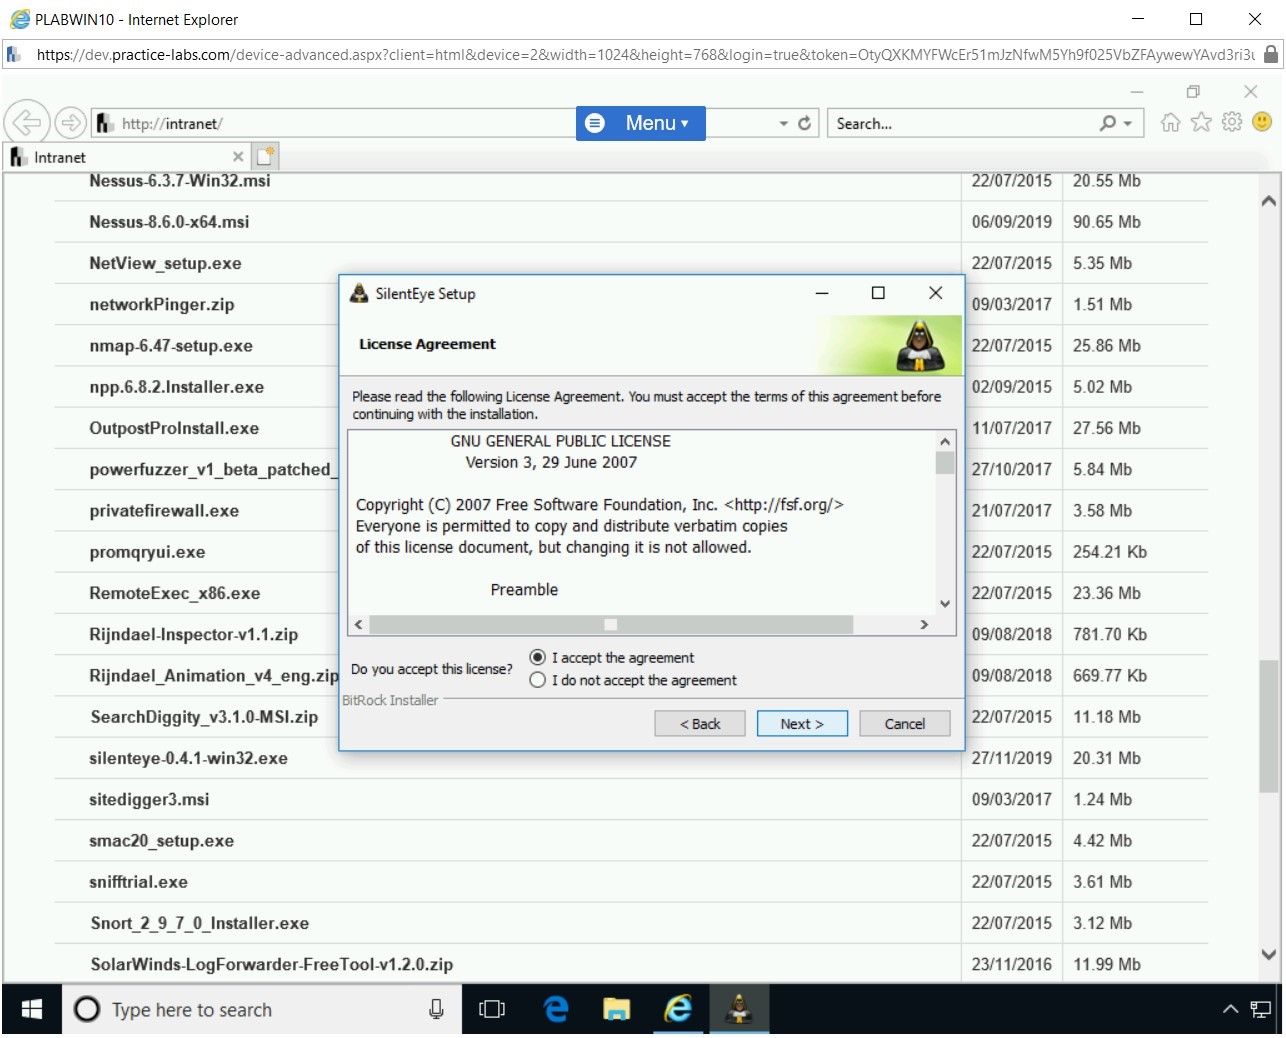
Step 7
On the License Agreement page, select I accept the agreement and click Next.
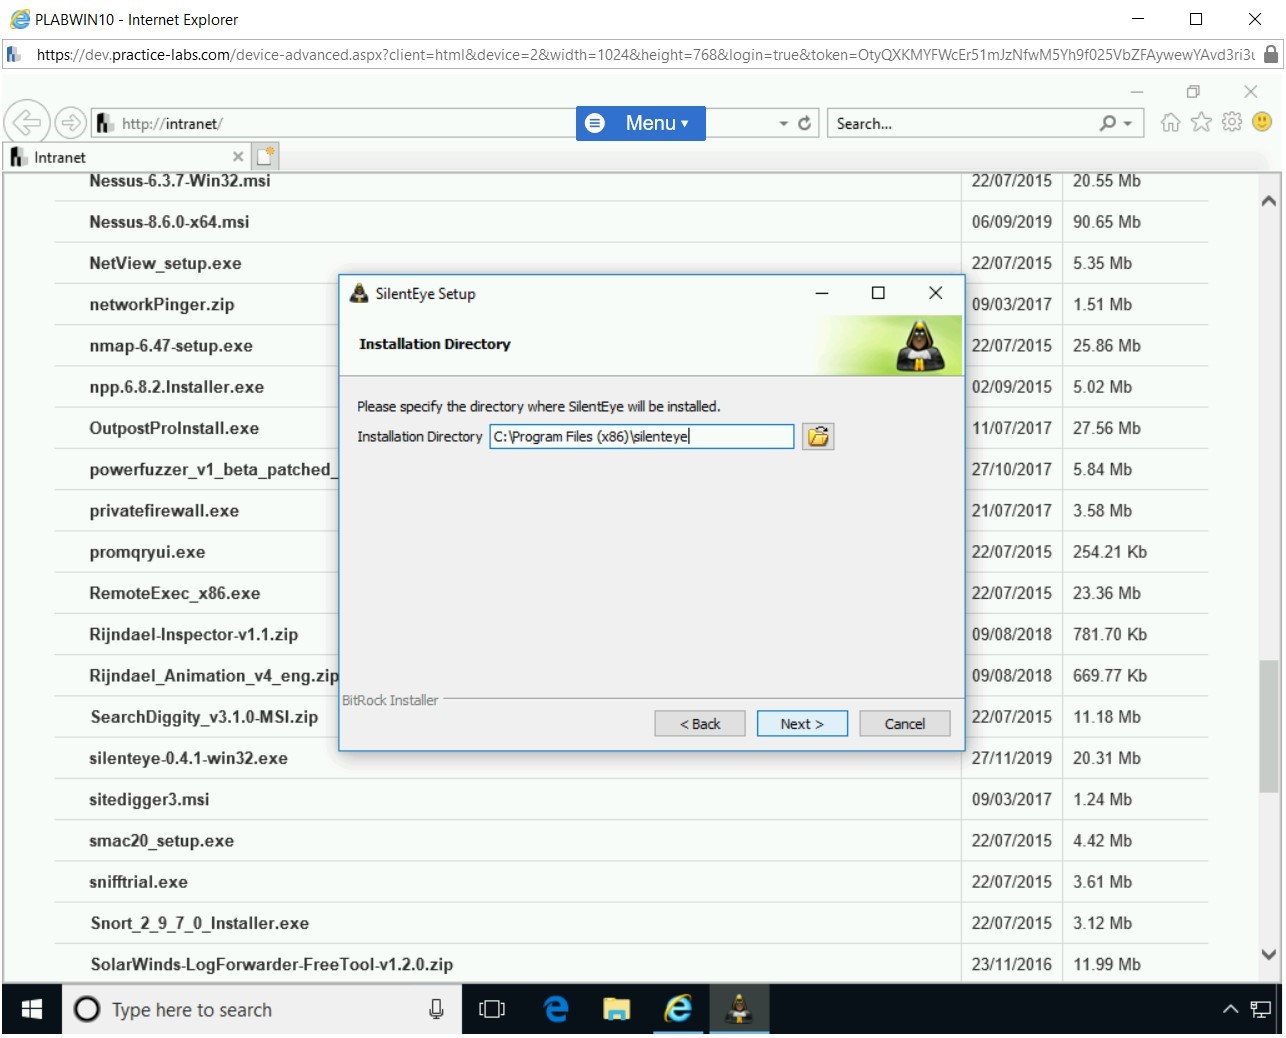
Step 8
On the Installation Directory page, keep the default installation path and click Next.
Step 9
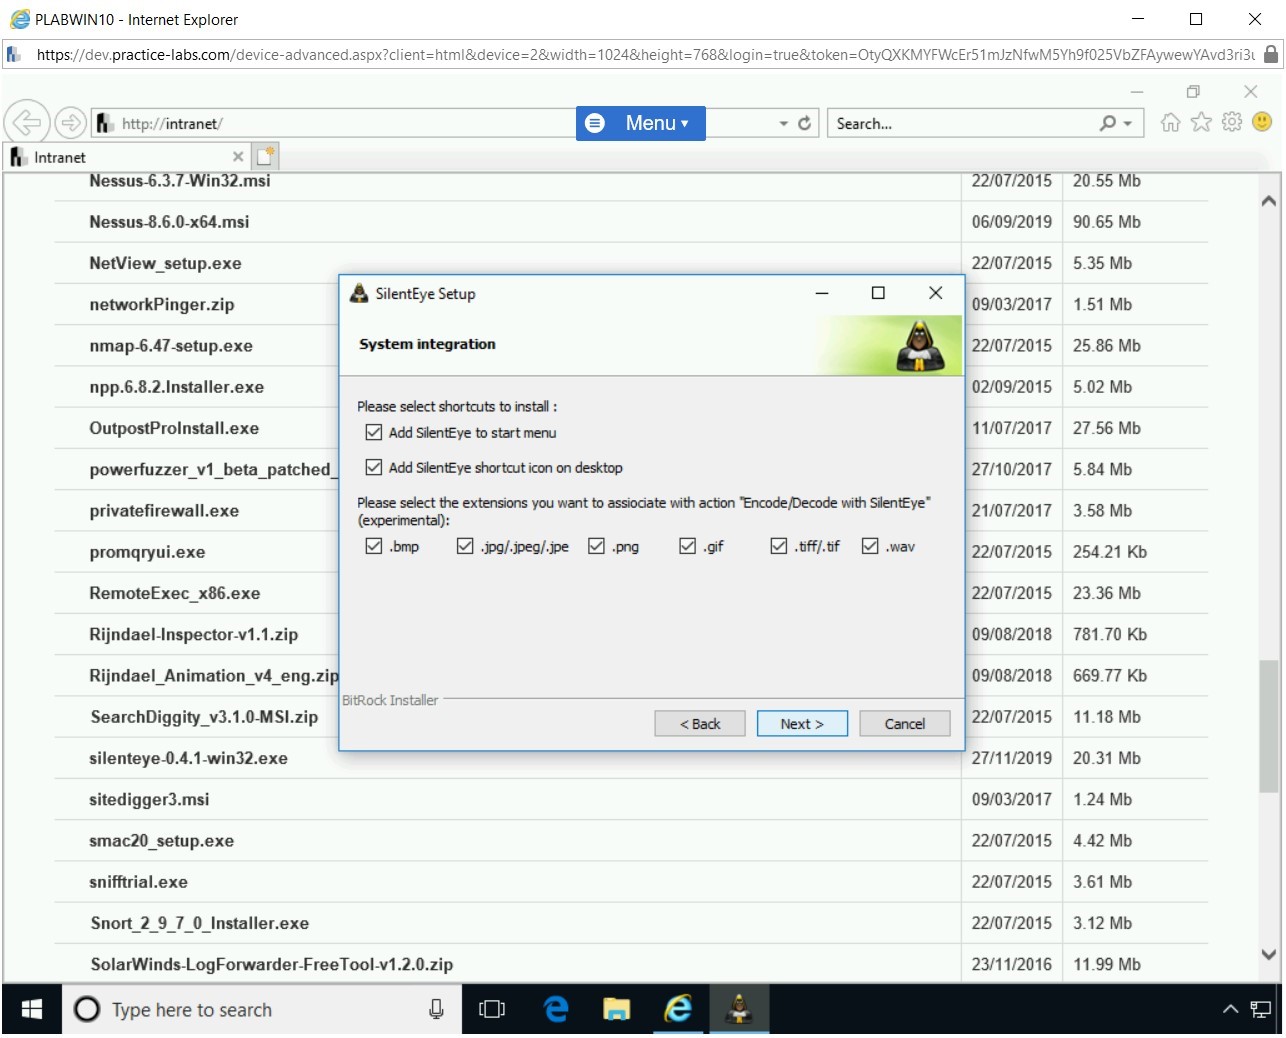
On the System Integration page, the Add SilentEye to start menu and Add SilentEye shortcut icon on desktop options are selected by default. Select the remaining options and click Next.
Step 10
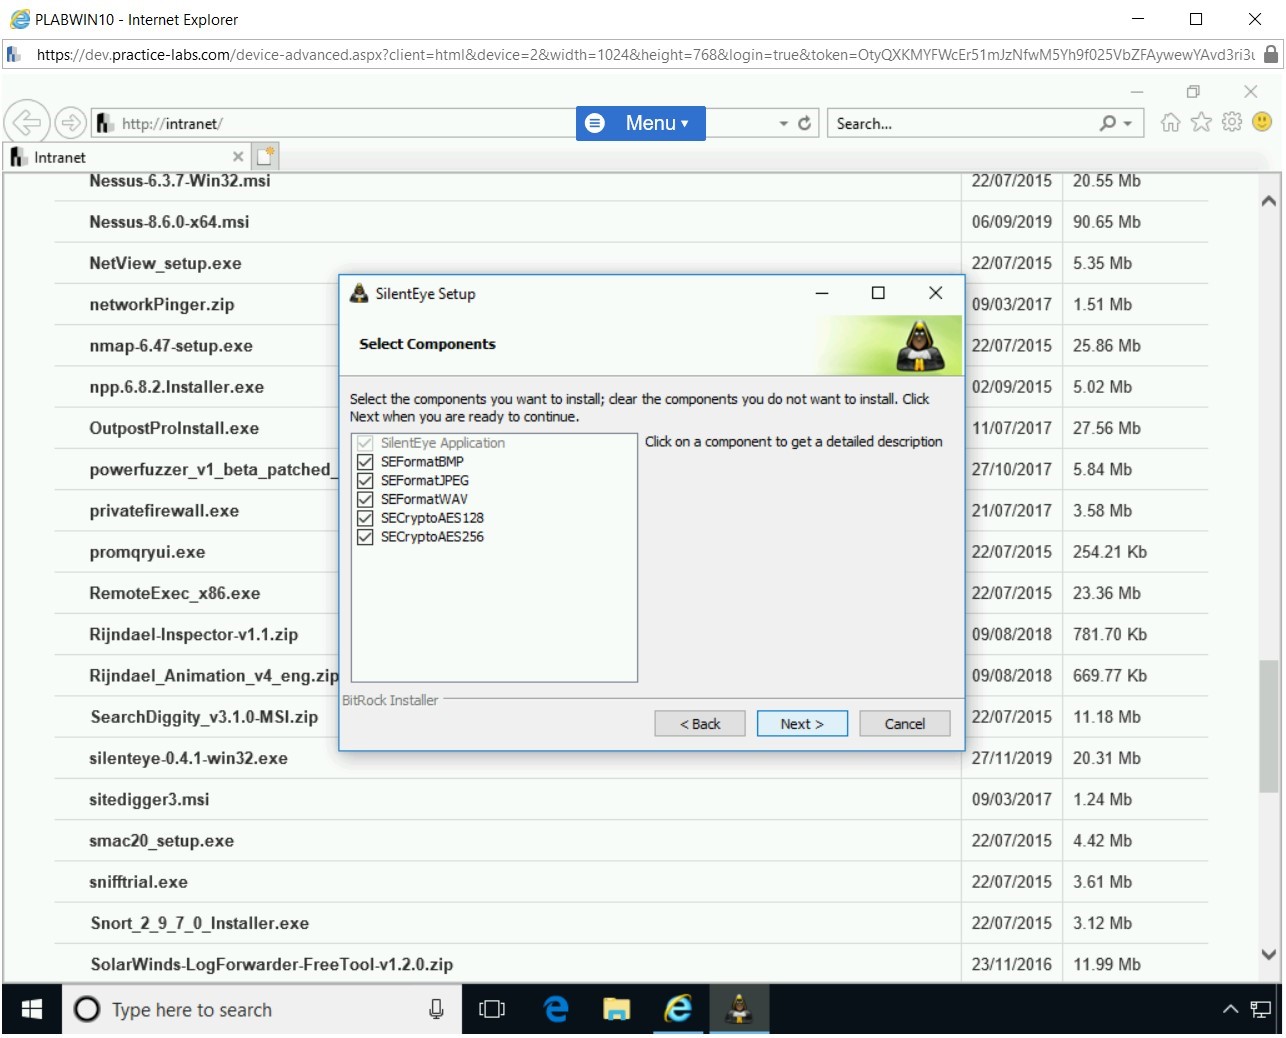
On the Select Components page, keep the default selection and click Next.
Step 11
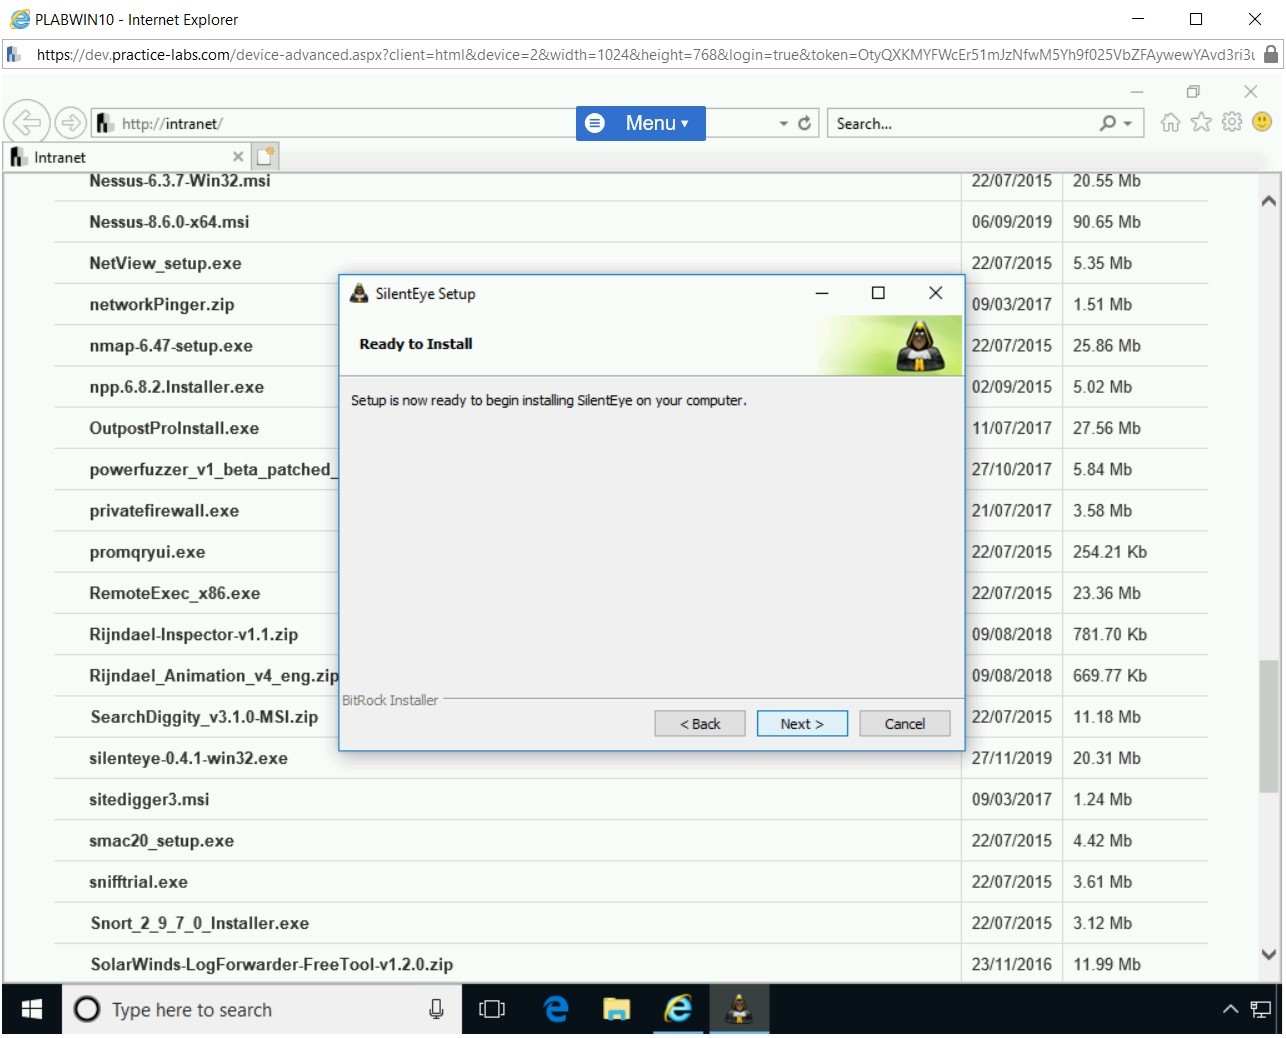
On the Ready to Install page, click Next.
Step 12
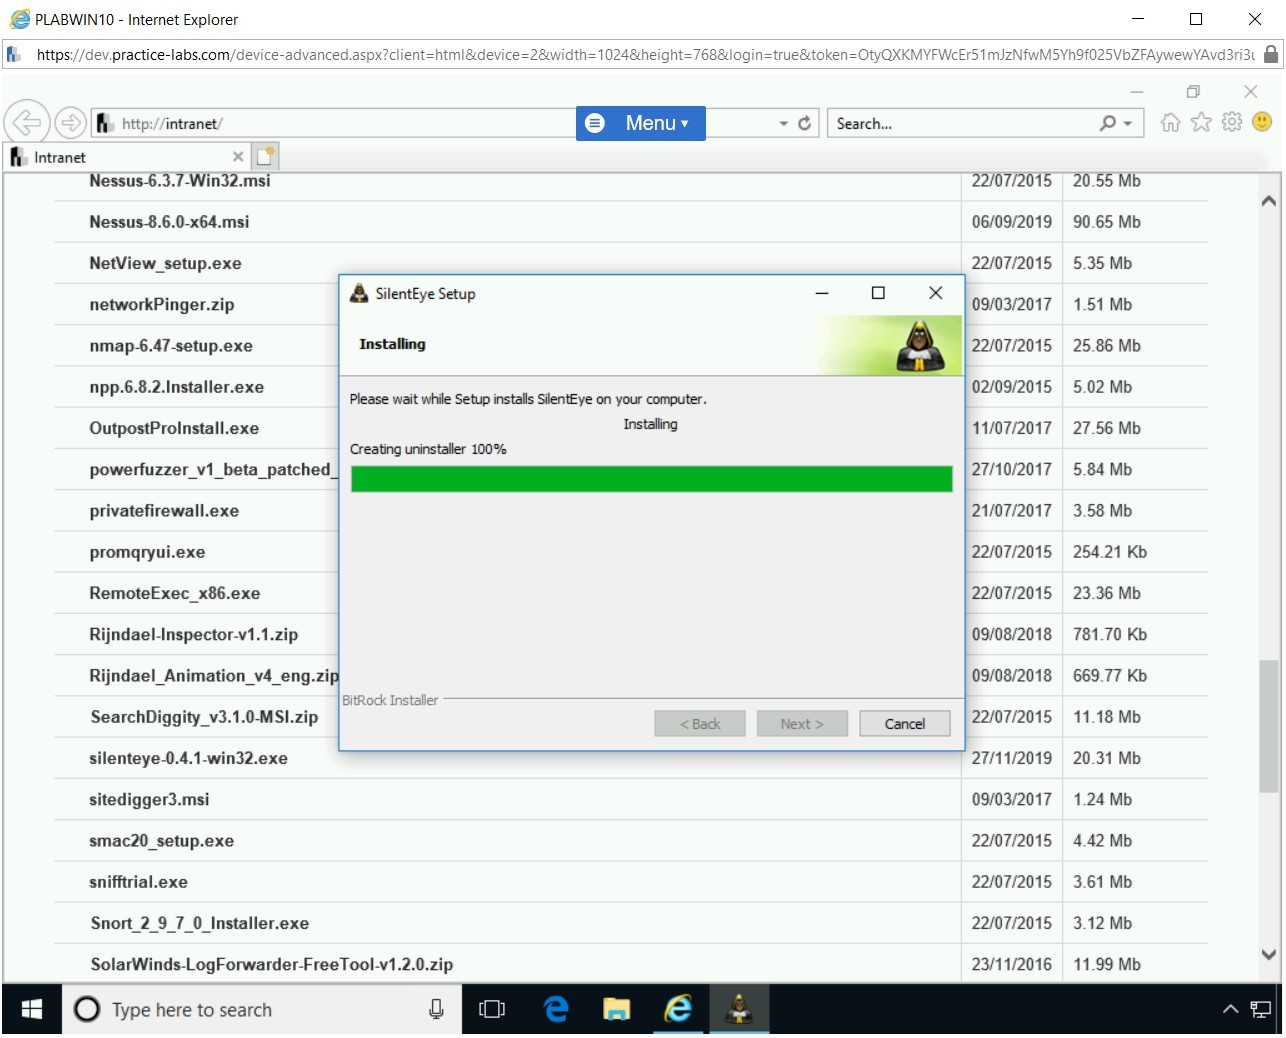
On the Installing page, the installation progress is displayed.
Step 13
On the Completing the SilentEye Setup Wizard page, keep the default selection and click Finish.
Step 14
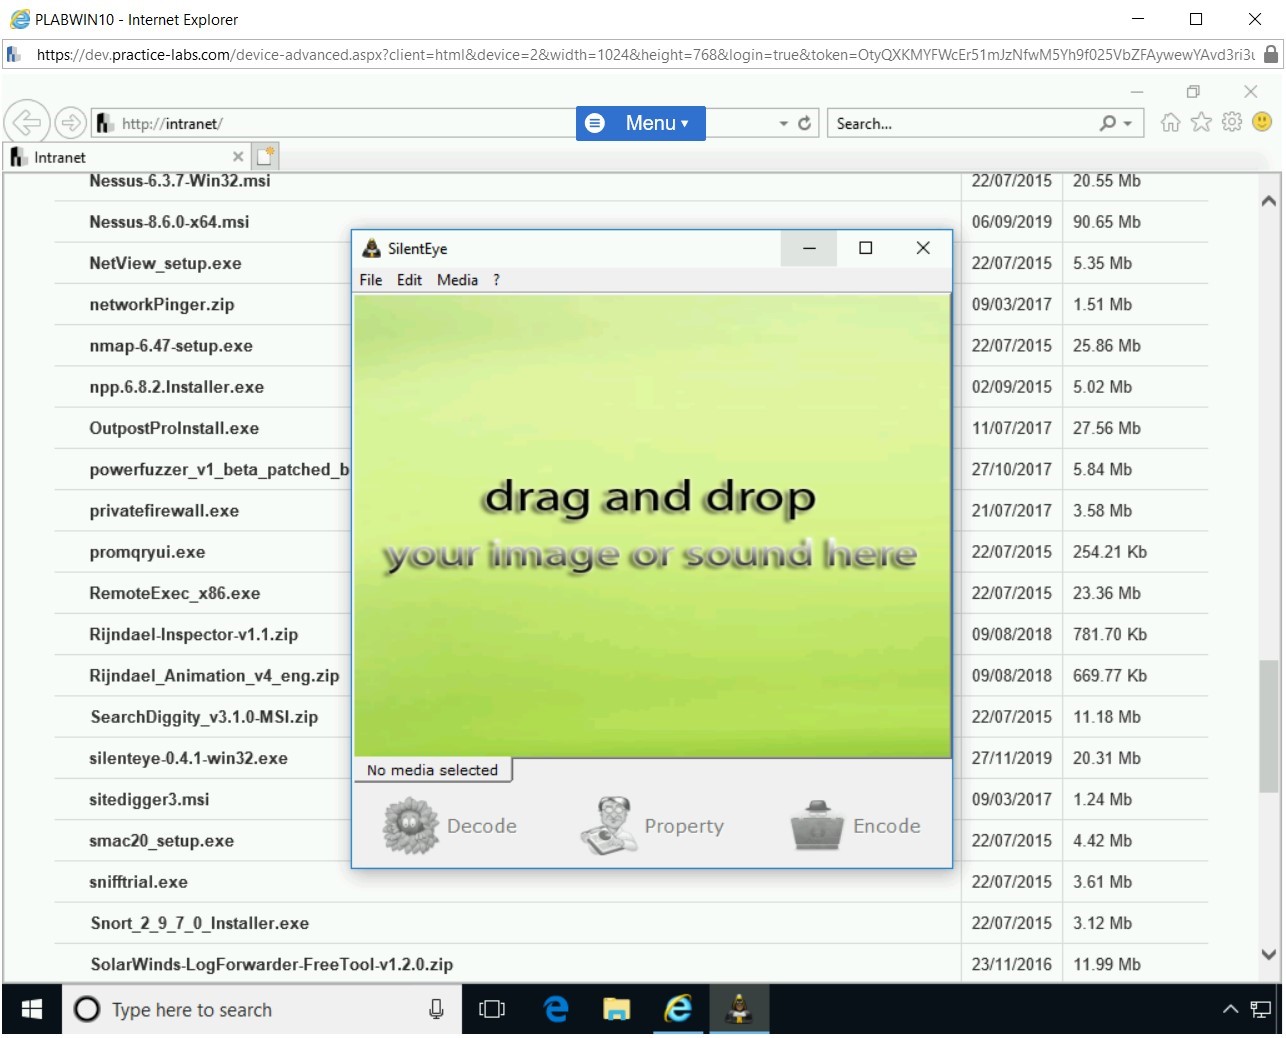
The SilentEye application is invoked automatically. Minimize the SilentEye application. Close the Internet Explorer window.

Step 15
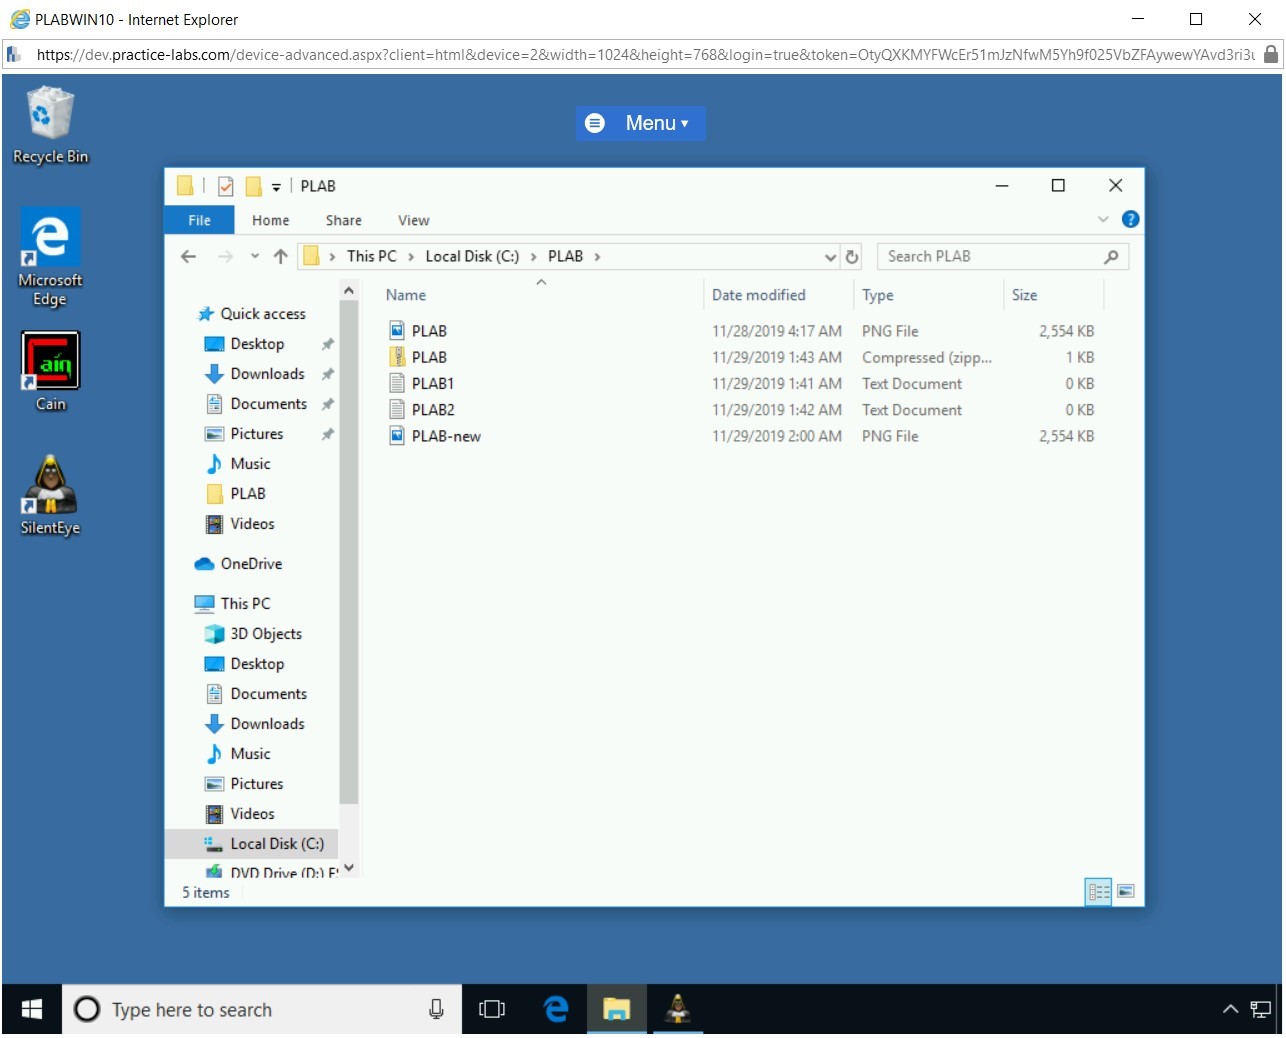
Click File Explorer from the taskbar.
Navigate to This PC > Local Disk (C:) > PLAB directory.
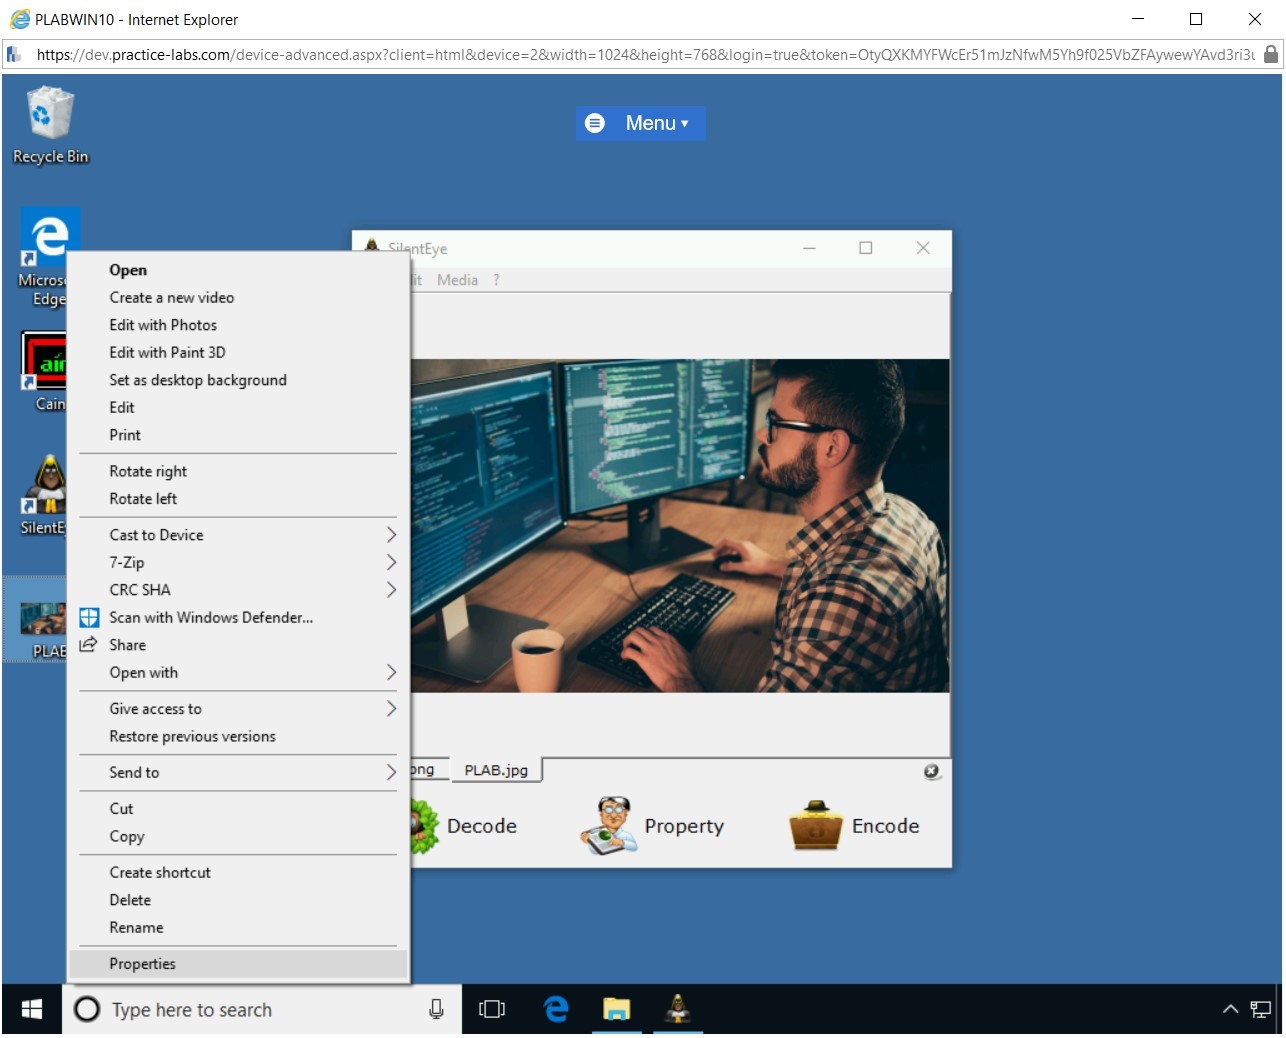
Step 16
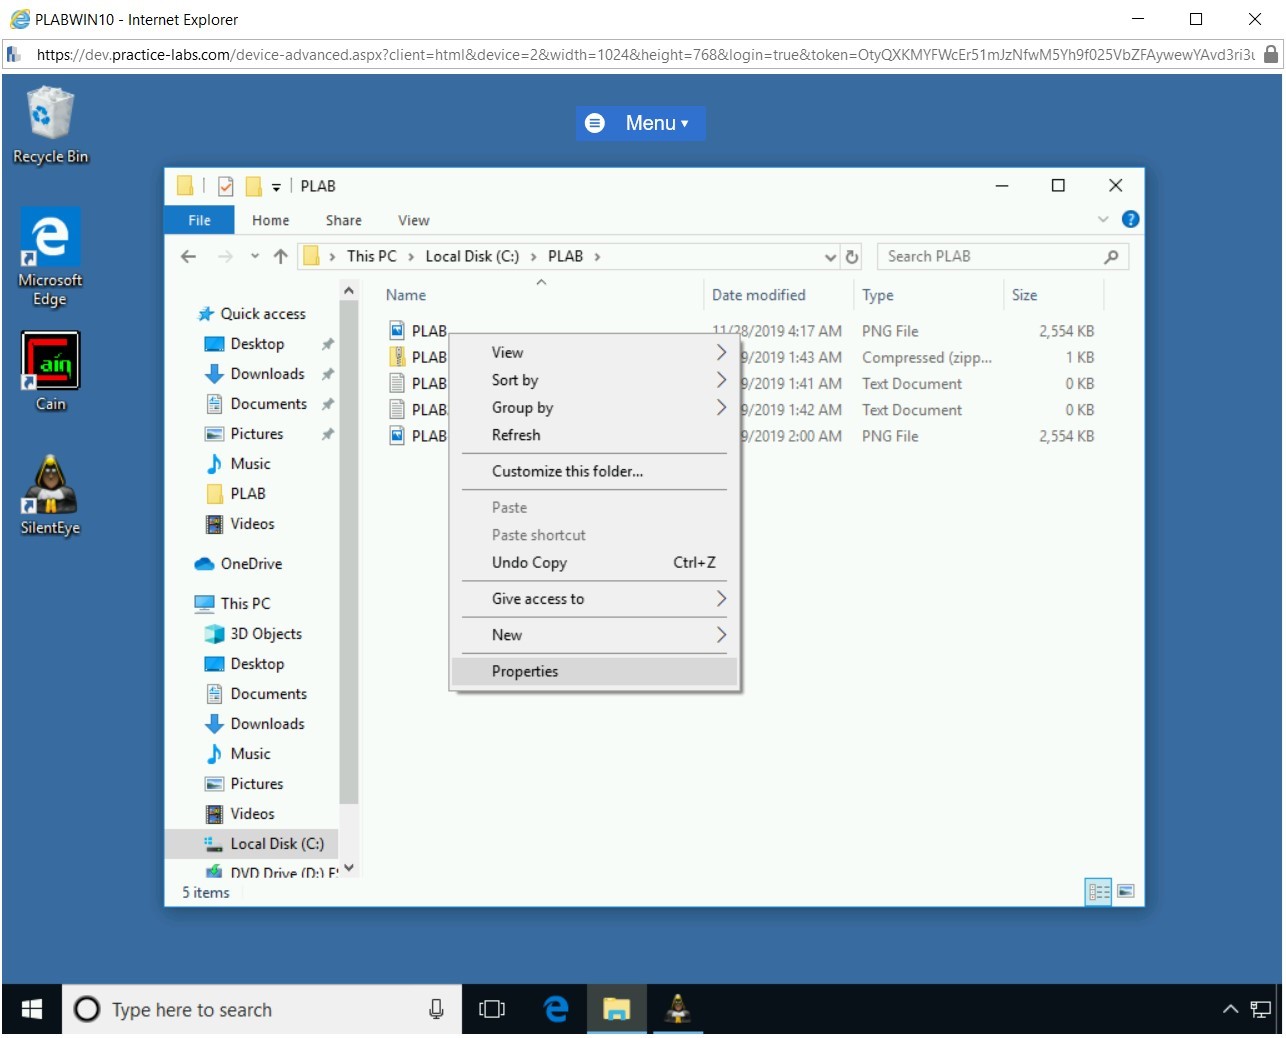
Right-click the PLAB image and select Properties.
Step 17
The PLAB Properties dialog box is displayed. You need to make a note of the size and Created, Modified, and Accessed dates.
Click OK.
Step 18
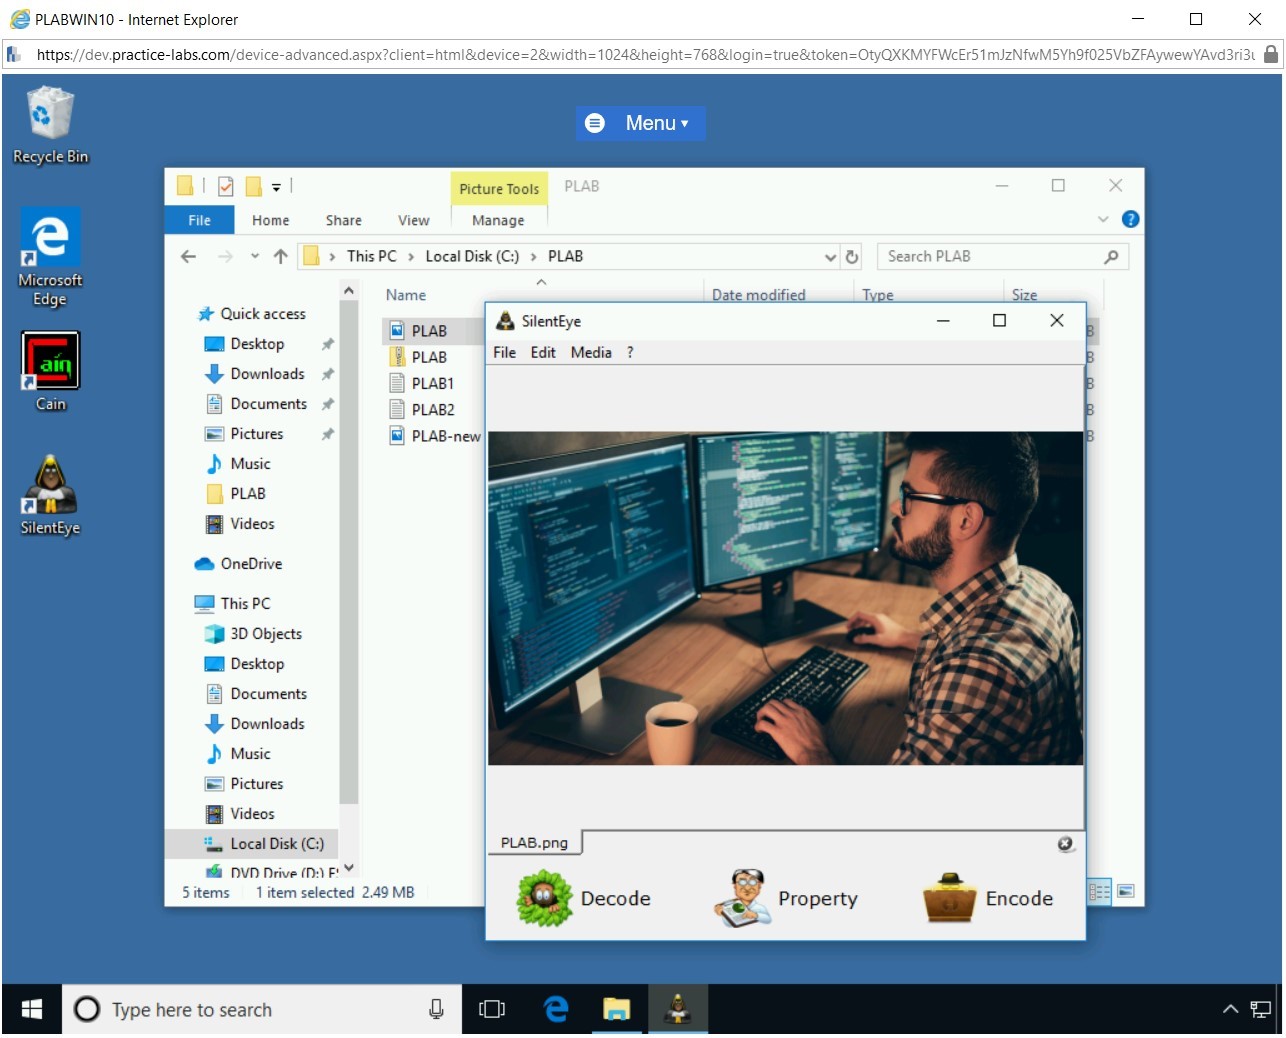
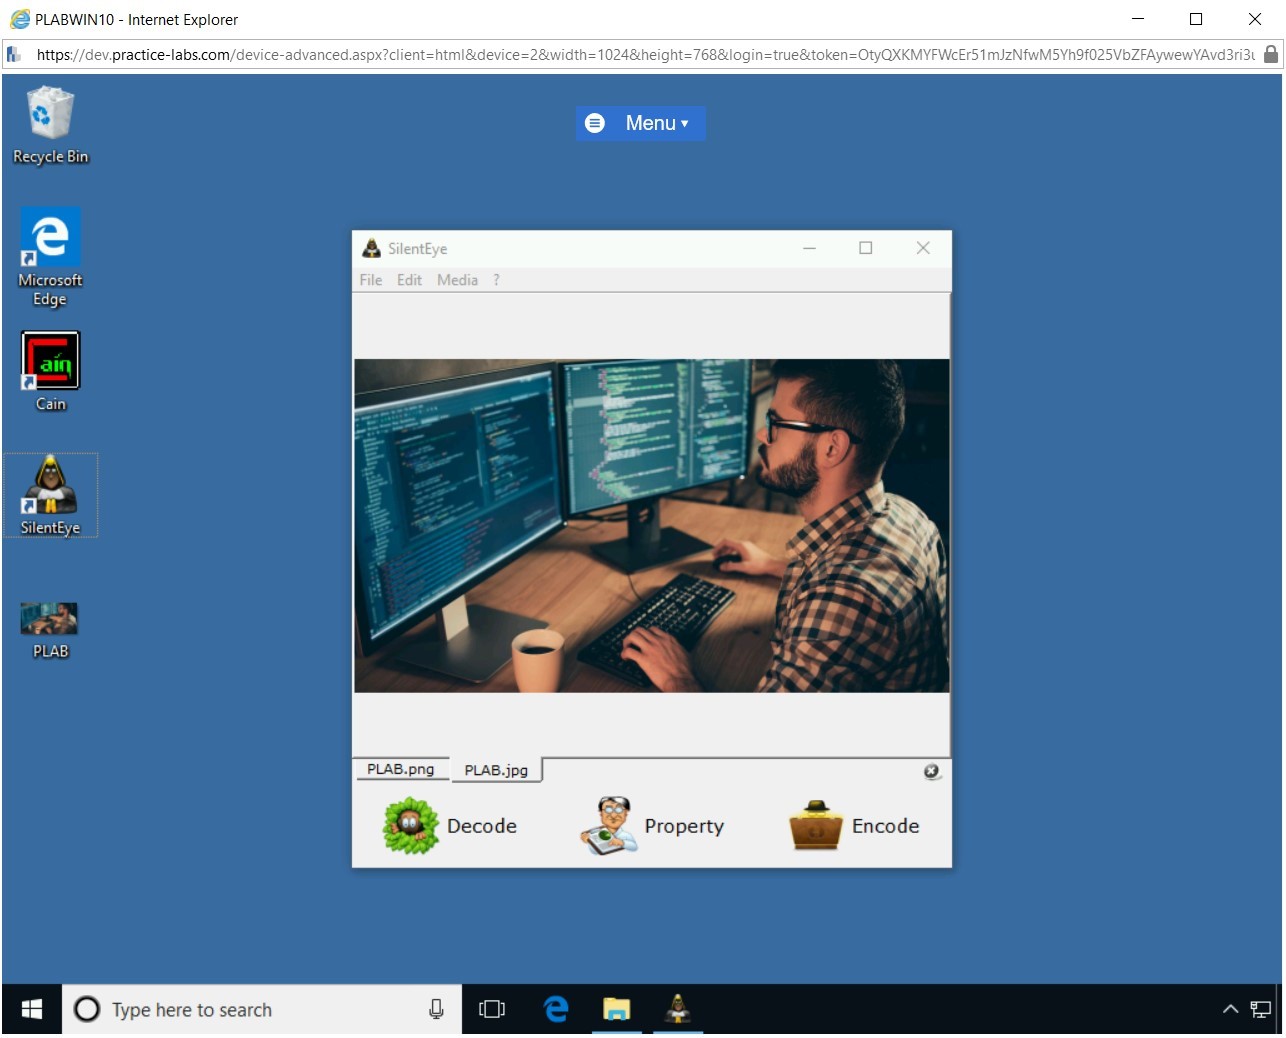
Resume the SilentEye application from the taskbar. Drag-and-drop the PLAB file into the SilentEye window.

Step 19
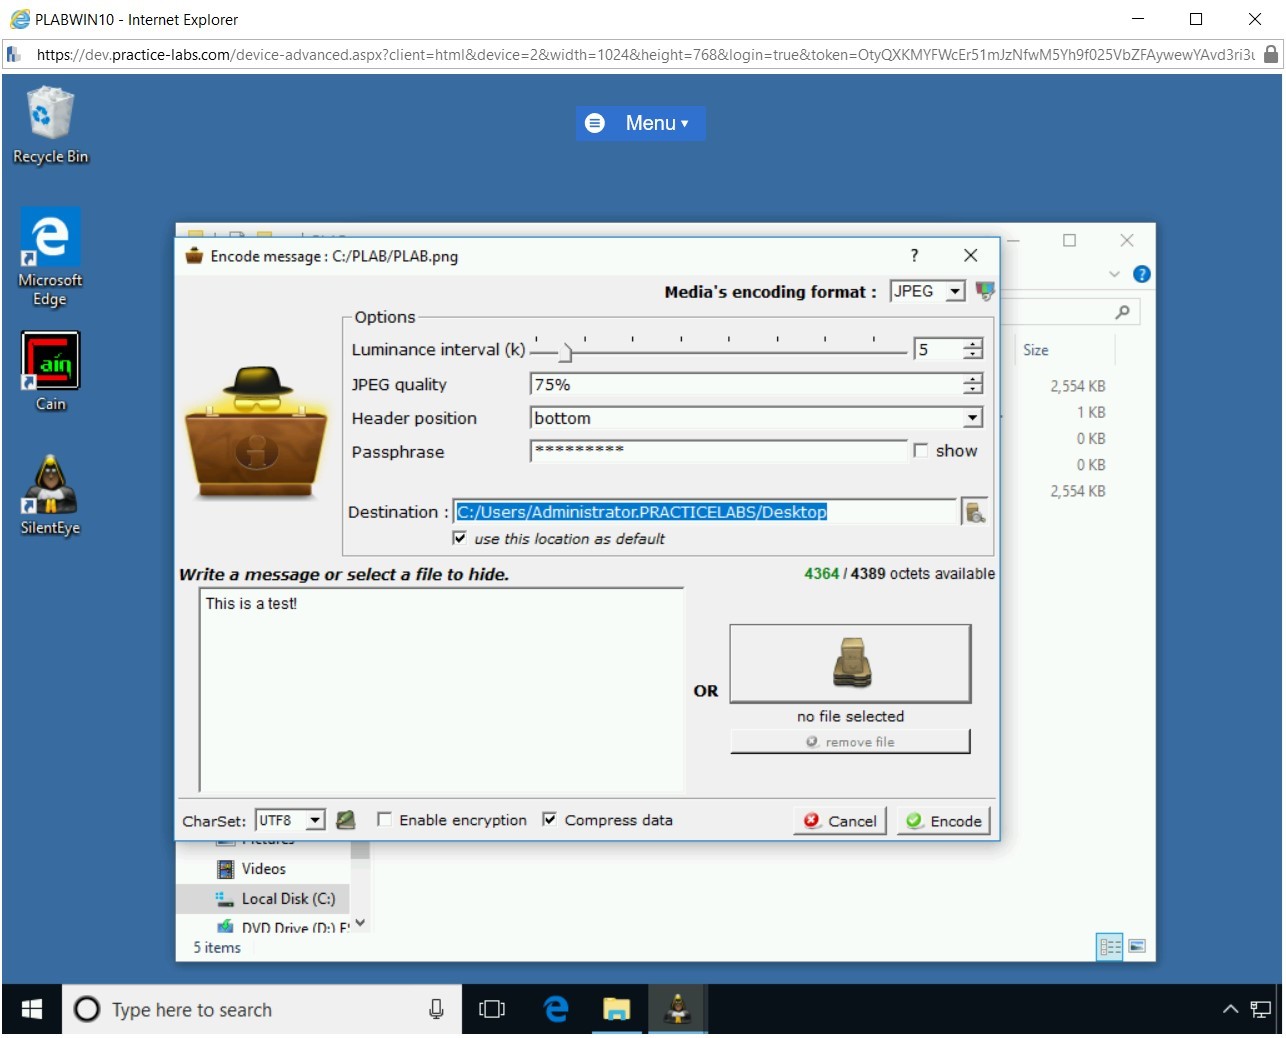
Click the Encode option.
Step 20
The Encode message: C:/PLAB/PLAB.png dialog box is displayed. In the Write a message or select a file to hide text box, type the following message:
This is a test!
In the Destination text box, set the path as following:
C:/Users/Administrator.PRACTICELABS/Desktop
Click the Encode button.

Step 21
The Encode message: C:/PLAB/PLAB.png dialog box closes automatically. Notice that the PLAB image file is generated on the desktop.
Step 22
On the desktop, right-click PLAB and select Properties.
Step 23
The PLAB Properties dialog box is displayed. Notice that its Created, Modified, and Accessed attributes have changed now.
Click OK to close the PLAB Properties dialog box.
Close Silent Eye.

Comments
Post a Comment