Vuln scanning
Performing a Vulnerability Scan
There is a wide variety of resources that should be made available to the ethical hacker, depending on the scope of the ethical hacking project. For example, these resources may include Nikto, OpenVAS, and Lynis. These tools enable vulnerability scanning, which is used to find vulnerabilities in Web applications.
In this exercise, you will learn to perform vulnerability scanning.
Learning Outcomes
After completing this exercise, you will be able to:
- Use Nikto for Vulnerability Scanning
- Perform Vulnerability Scanning using OpenVAS
- Use Lynis for System Vulnerability Scanning
Your Devices
You will be using the following devices in this lab. Please power these on now.
- PLABDC01 - (Windows Server 2019 - Domain Server)
- PLABWIN10 - (Windows 10 - Workstation)
- PLABKALI01 - (Kali 2019.2 - Linux Kali Workstation)

Task 1 - Use Nikto for Vulnerability Scanning
Nikto is a vulnerability scanner that is part of Kali Linux. It is widely used by ethical hackers and penetration testers to find the vulnerabilities in Web applications. In this task, you will learn to use Nikto for vulnerability scanning.
To do this, perform the following steps:
Step 1
Ensure you have powered on all the devices listed in the introduction and connect to PLABKALI01.
Credentials are:
Username:
rootPassword:
Passw0rdThe desktop of PLABKALI01 is displayed.

Step 2
On the desktop, click the Terminal icon
Step 3
To scan a Website for vulnerabilities, type the following command:
Note: Instead of the -host parameter, you can also use the -h parameter. Both provide the same result.nikto -host http://192.168.0.10
Press Enter.

Step 4
The vulnerability scanning process starts. Depending on the number of vulnerabilities, the process may run for a few minutes.

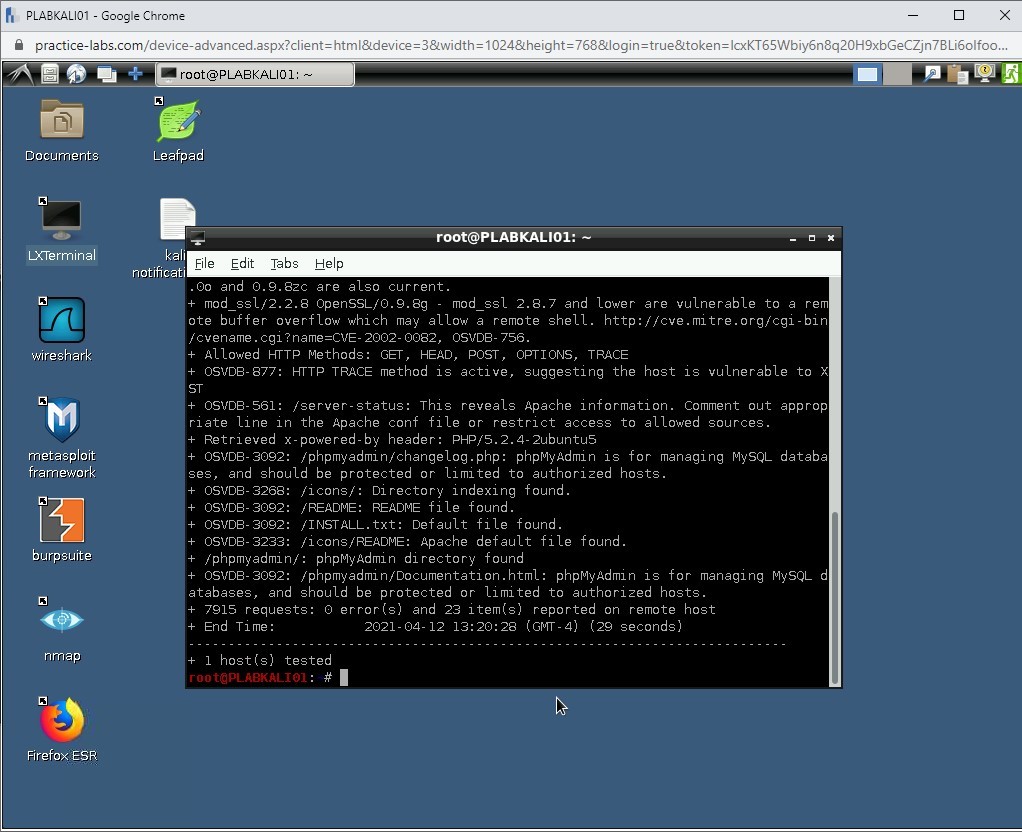
Step 5
A detailed list of vulnerabilities is listed as the output.
Step 6
Clear the screen by entering the following command:
clear
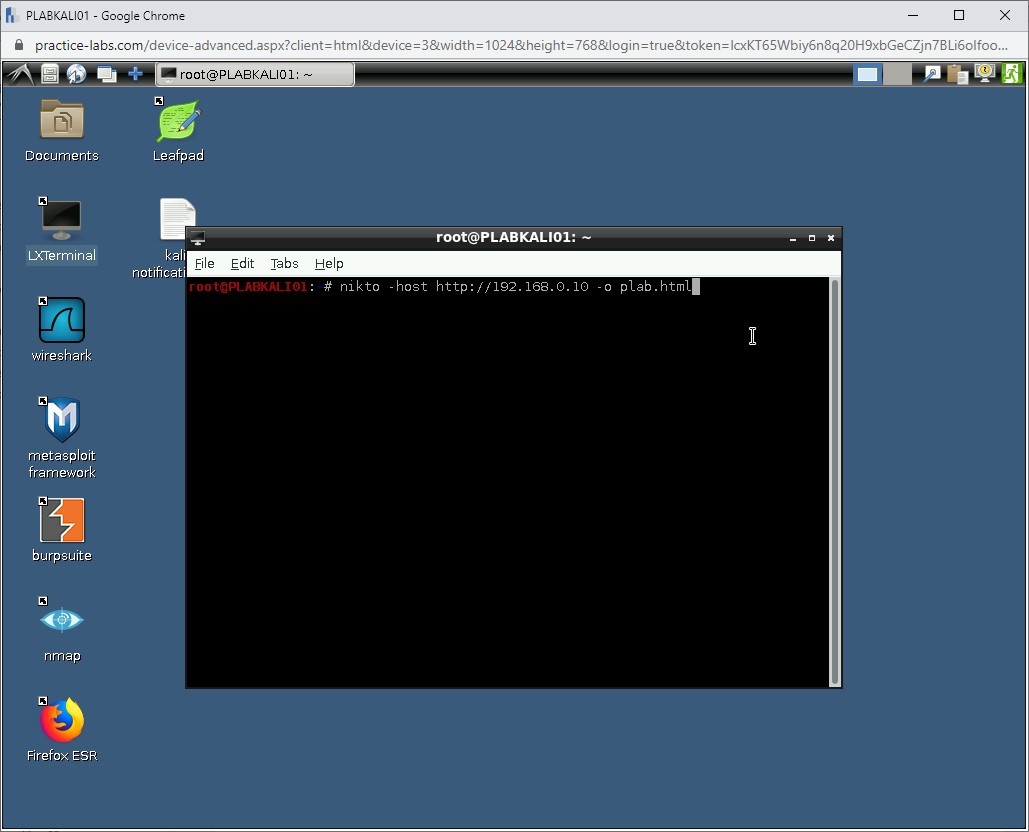
To scan a Website for vulnerabilities and save the output to an HTML file, type the following command:
nikto -host http://192.168.0.10 -o plab.html
Press Enter.
Step 7
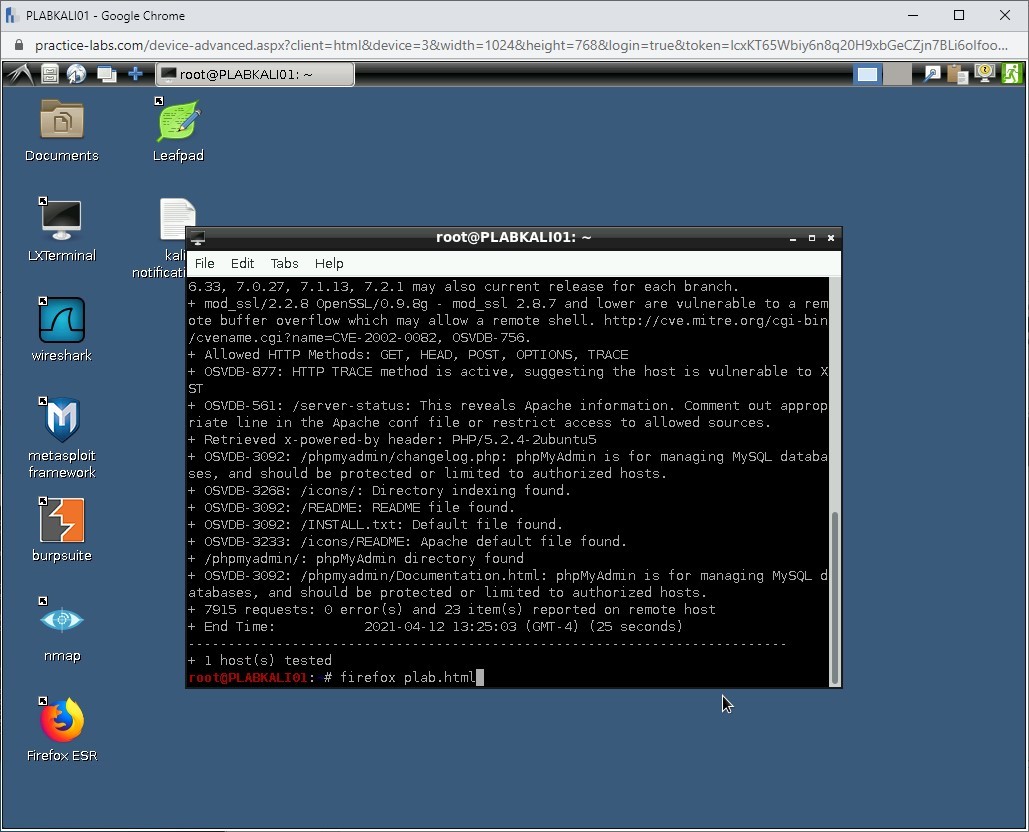
Let the vulnerability scanning process complete.
Then, type the following command:
firefox plab.html
Press Enter.
Step 8
A new Firefox window opens. Notice that the vulnerabilities are listed on the HTML Webpage.
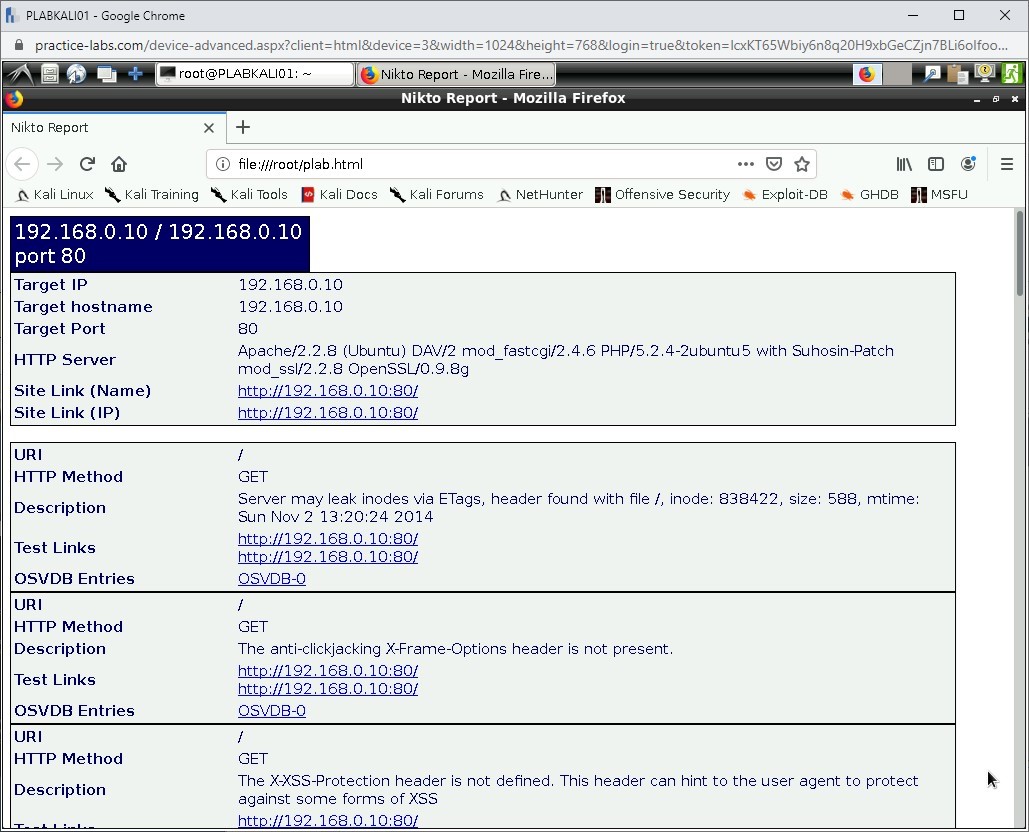
Close the Firefox window.
Task 2 - Perform Vulnerability Scanning using OpenVAS
Kali Linux provides a tool named the Open Vulnerability Assessment System (OpenVAS) for vulnerability scanning. OpenVAS is a framework that consists of multiple services and tools. The first step is getting information about a Web server. The Footprinting process can also help you grab banners on the Web server.
To perform vulnerability scanning using OpenVAS, perform the following steps:
Step 1
Ensure you have powered on all the devices listed in the introduction and connect to PLABKALI01.
Clear the screen by entering the following command:
clear
Let’s first install the python binaries that are required for OpenVAS to work. Type the following command:
Note: The -y parameter will confirm the installation, and you will no longer be prompted to confirm during the installation process.apt-get install python-pip -y
Press Enter.
Step 2
The installation process for python-pip starts.
Step 3
Notice that the installation for python-pip is now complete.

Step 4
Clear the screen by entering the following command:
clear
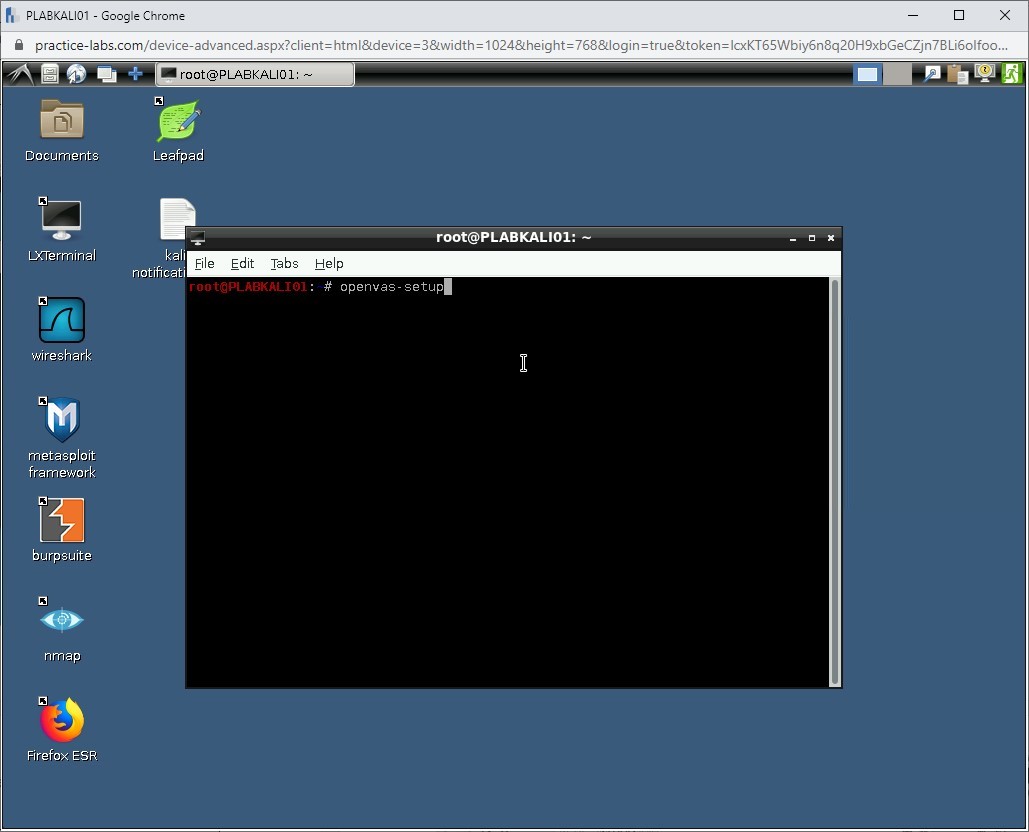
Next, you need to setup OpenVAS. To do this, type the following command:
openvas-setup
Press Enter.
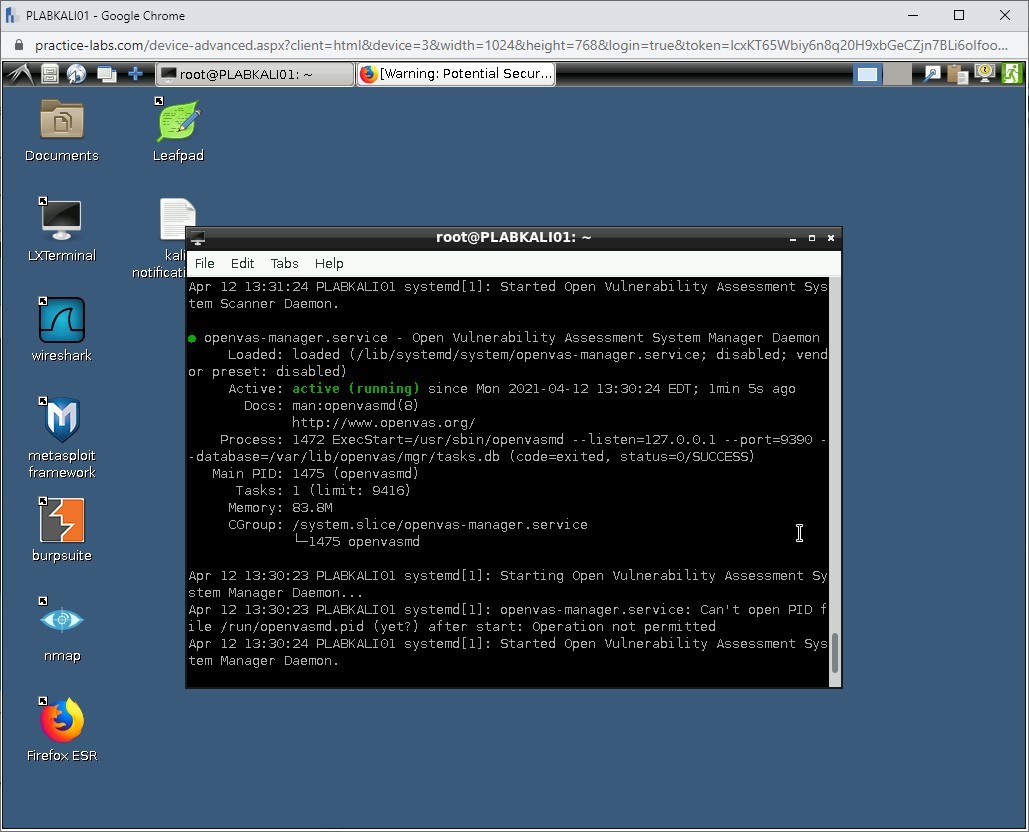
Step 5
The setup process for OpenVAS now starts. This process will setup OpenVAS and download many signatures and vulnerability tests.
Note: This process may take a while to complete.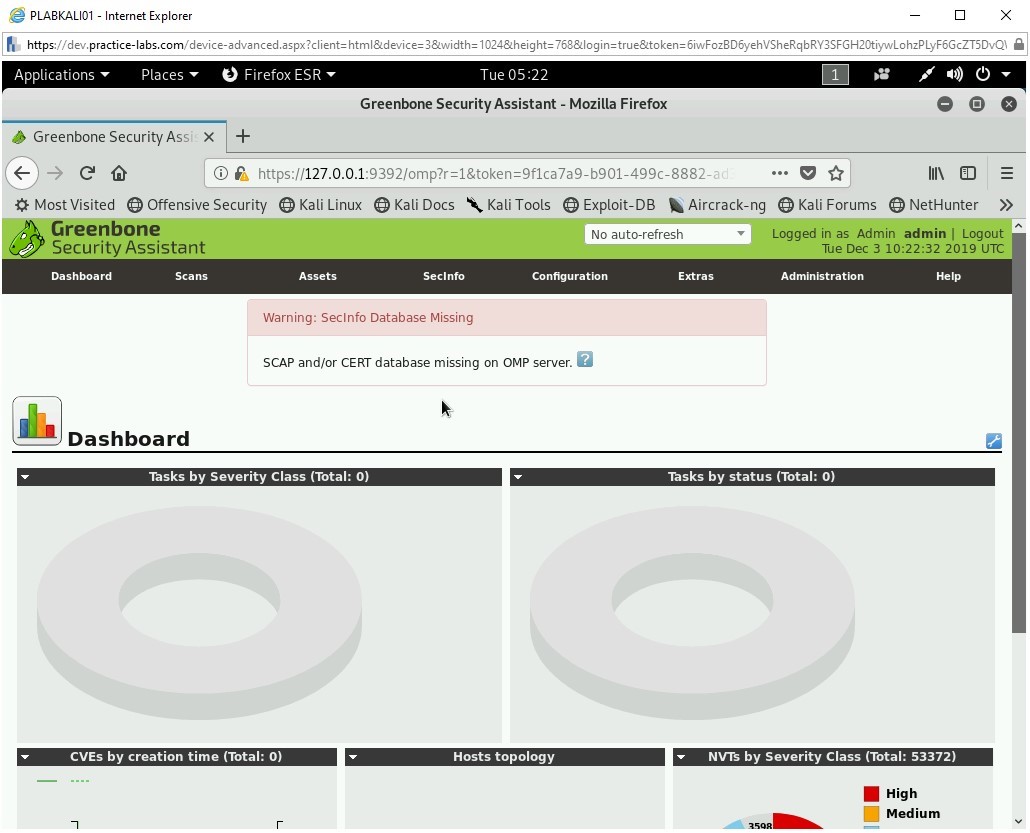
Step 6
After the setup process is complete, a Firefox window is opened. Minimize it to go back to the terminal.

Step 7
You are back on the terminal. Notice that the username and password are created.
Select the password, right-click, and select Copy.
Step 8
Switch back to Firefox once again.
Step 9
Click Advanced.
Step 10
Click Add Exception.
Step 11
The Add Security Exception dialog box is displayed. Click Confirm Security Exception.
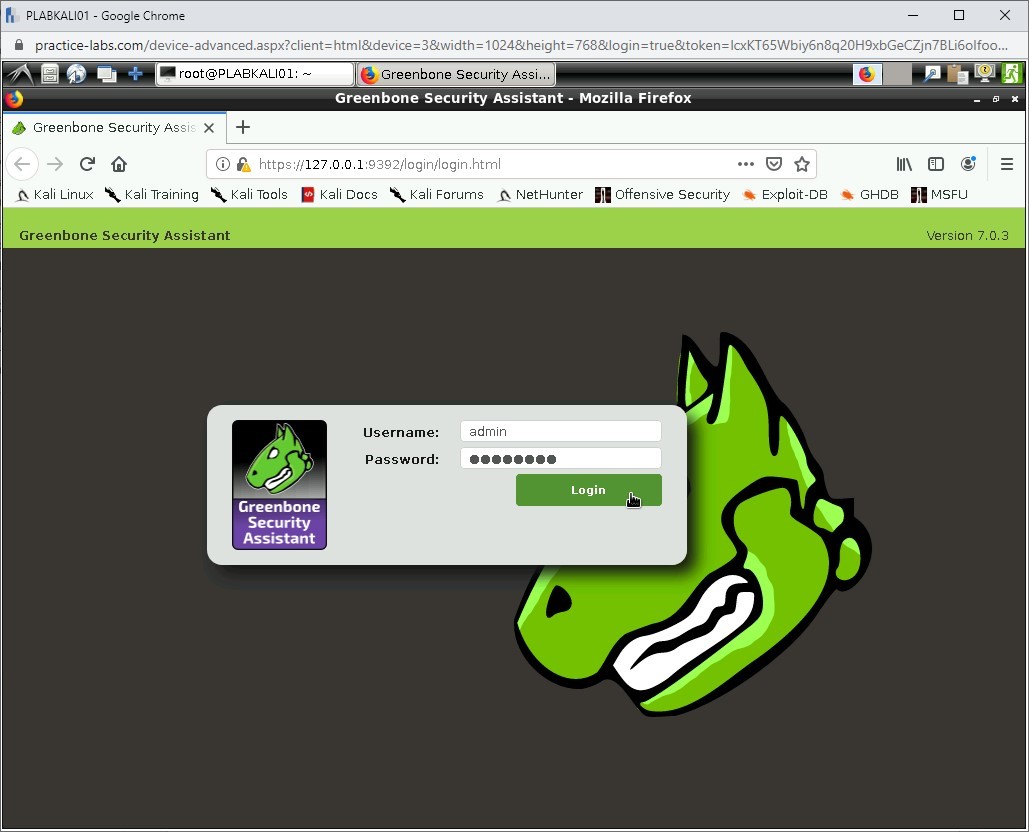
Step 12
The Greenbone Security Assistant login page is displayed.
In the Username text box, type the following:
admin
In the Password text box, right-click and select Paste.
Click Login.
Note: This is the same password you had copied from the initial configuration.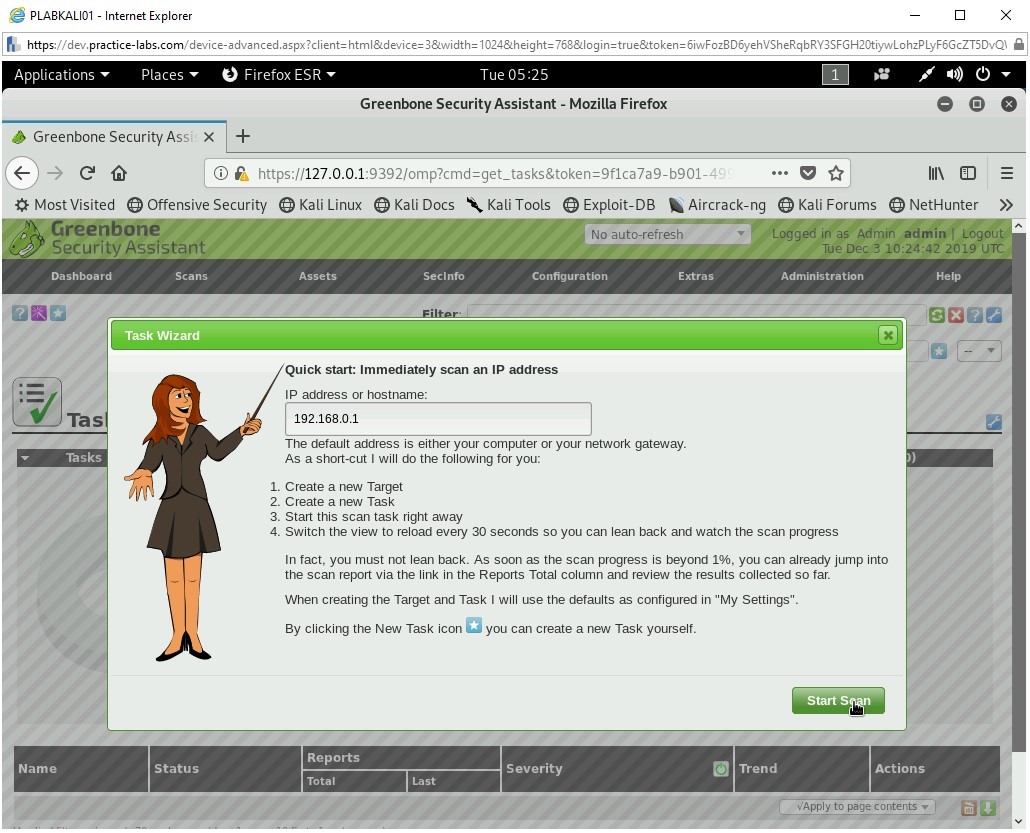
Step 13
A prompt is displayed to remember username and password. Click Save.

Step 14
The dashboard for OpenVAS is displayed.
Step 15
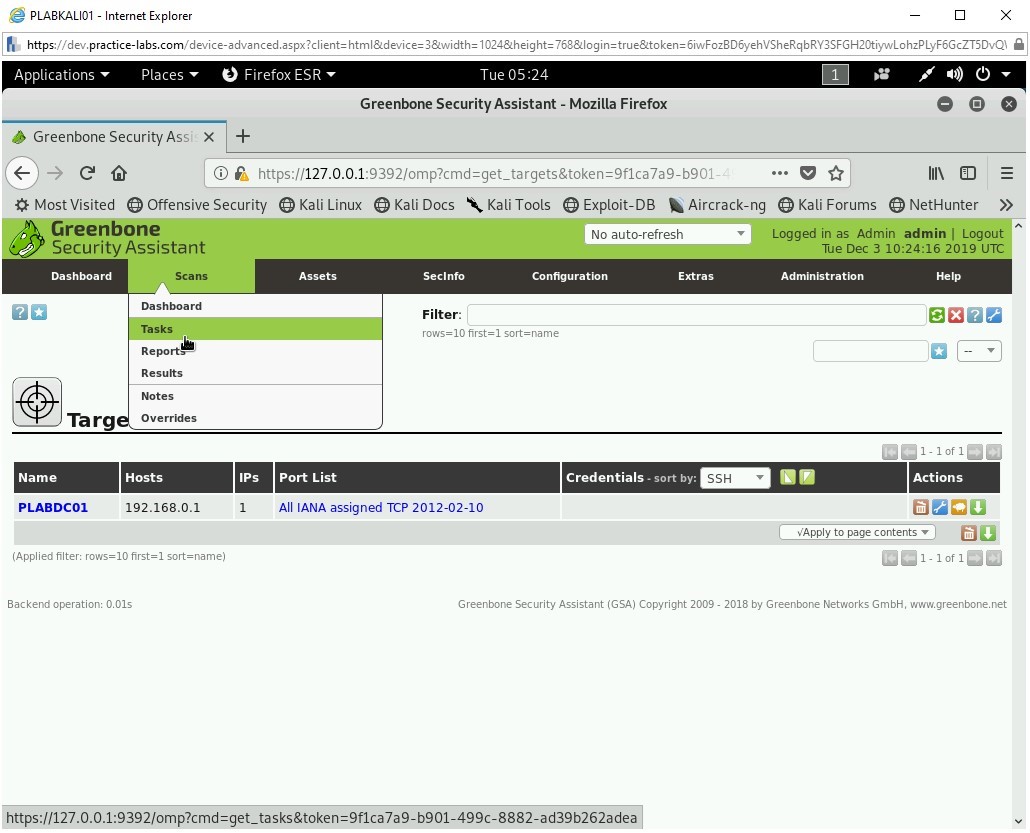
You will now perform the scanning. Click Configuration and select Targets.
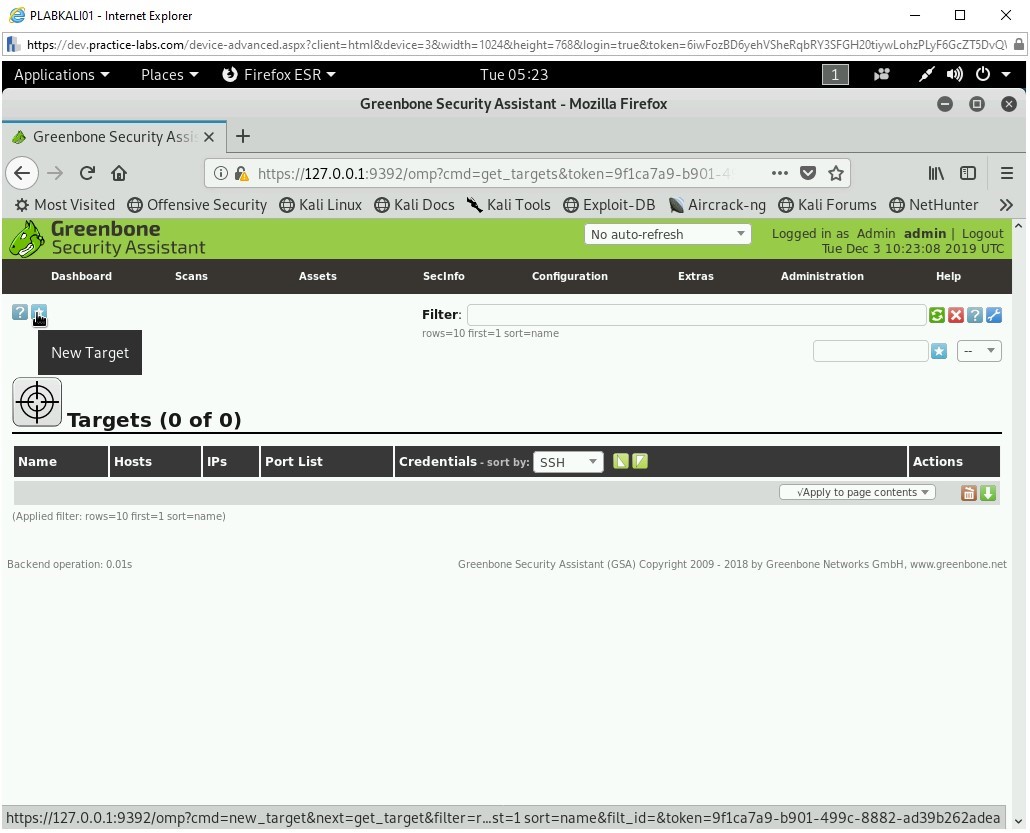
Step 16
The Targets page is displayed. First, you need to define a target.
Click New Target (*) on the upper left side - just below the menu.
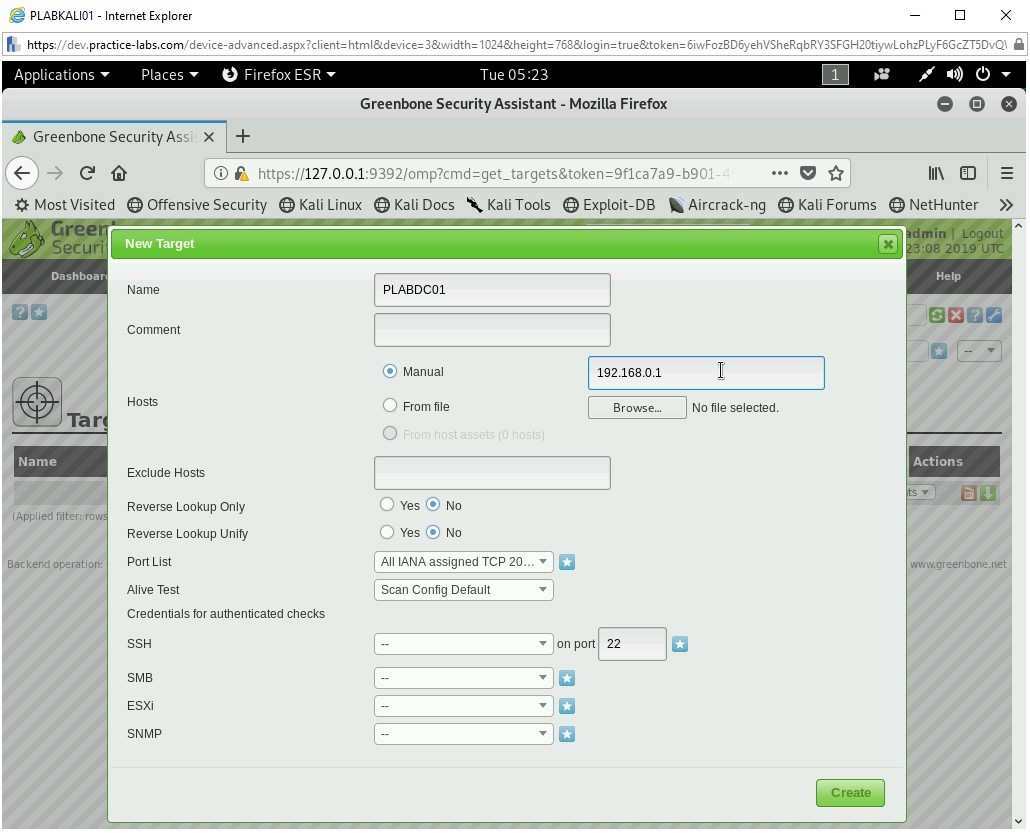
Step 17
The New Target dialog box is displayed. In the Name text box, type the following:
PLABDC01
In the Manual Field text box, type the following:
192.168.0.1
Click Create.
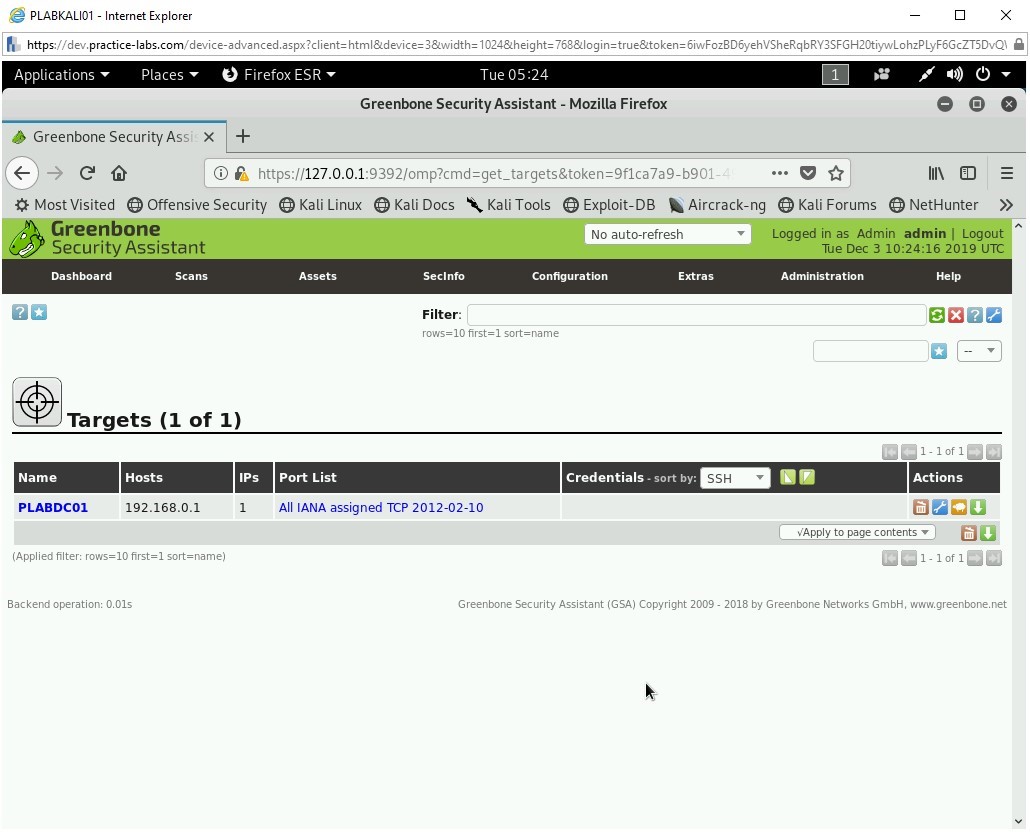
Step 18
Notice that the target is now created.

Step 19
Next, create a task. Click Scans and then select Tasks.

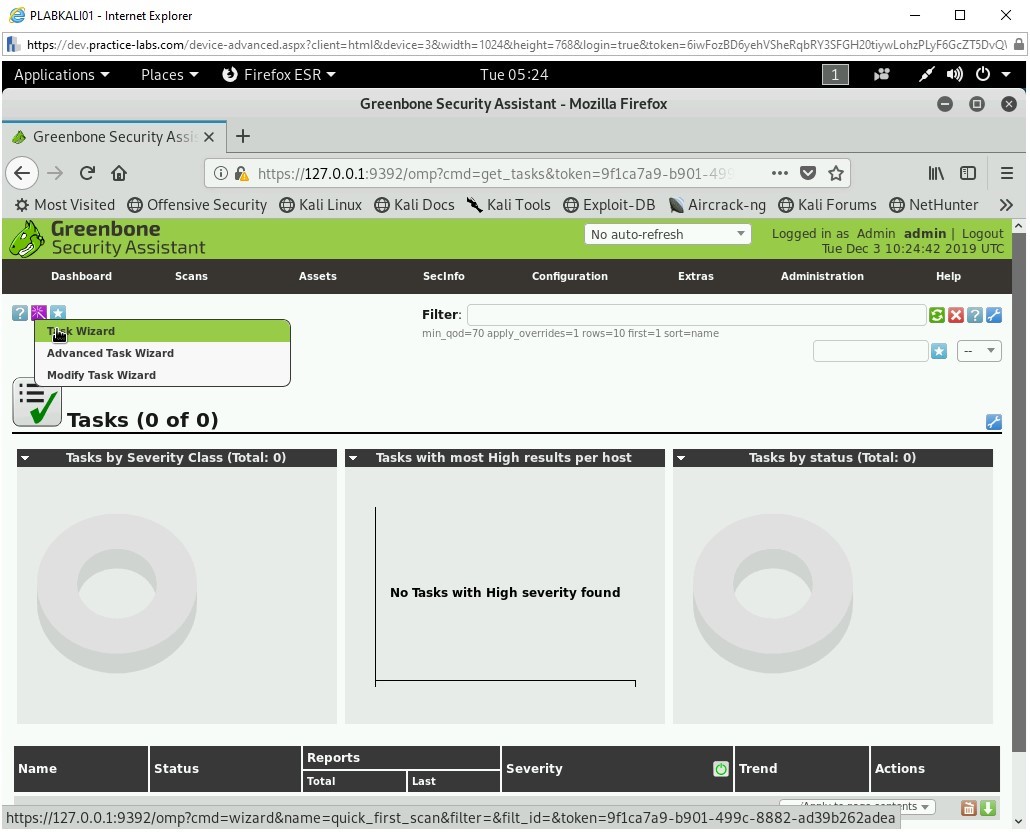
Step 20
The Tasks page is displayed.
Note: A dialog box will appear for 10 seconds and then disappear automatically.Click the Task icon just below the menu bar and select Task Wizard.

Step 21
The Task Wizard is displayed. Keep the IP address as 127.0.0.1 and click Start Scan.
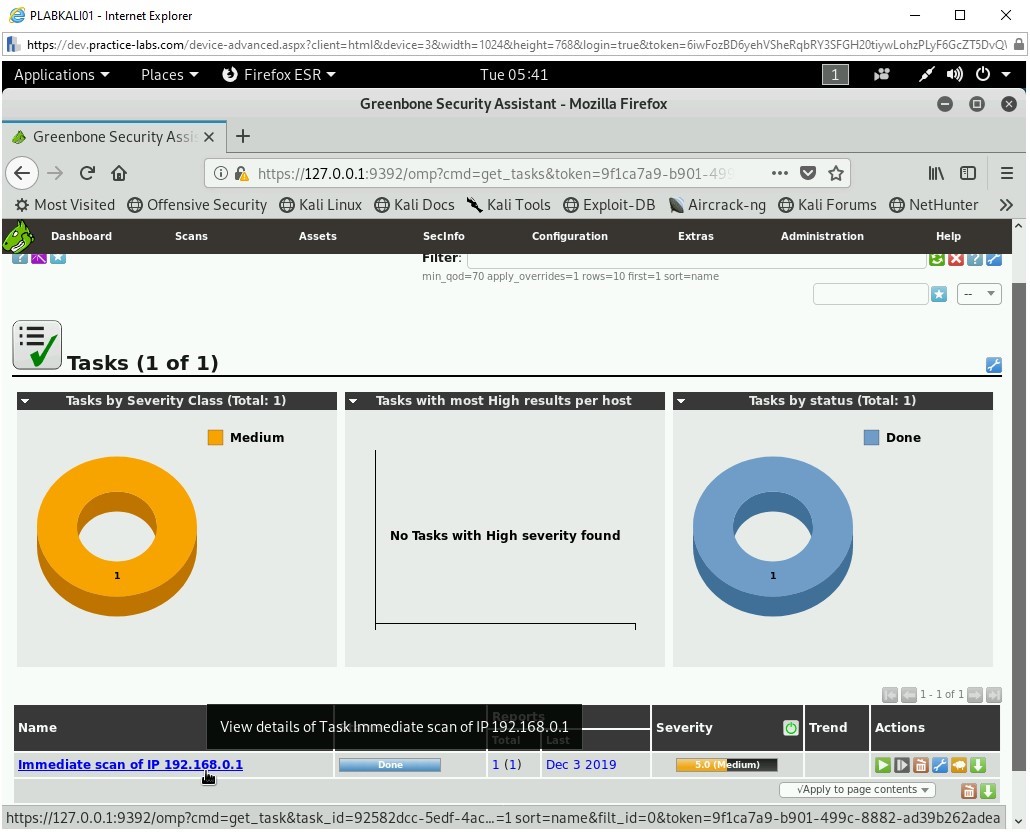
Step 22
Notice that a new task is created.
After a few minutes, the task starts to run. The Status column now shows the percentage of task run.
Note: This task will take several minutes to complete.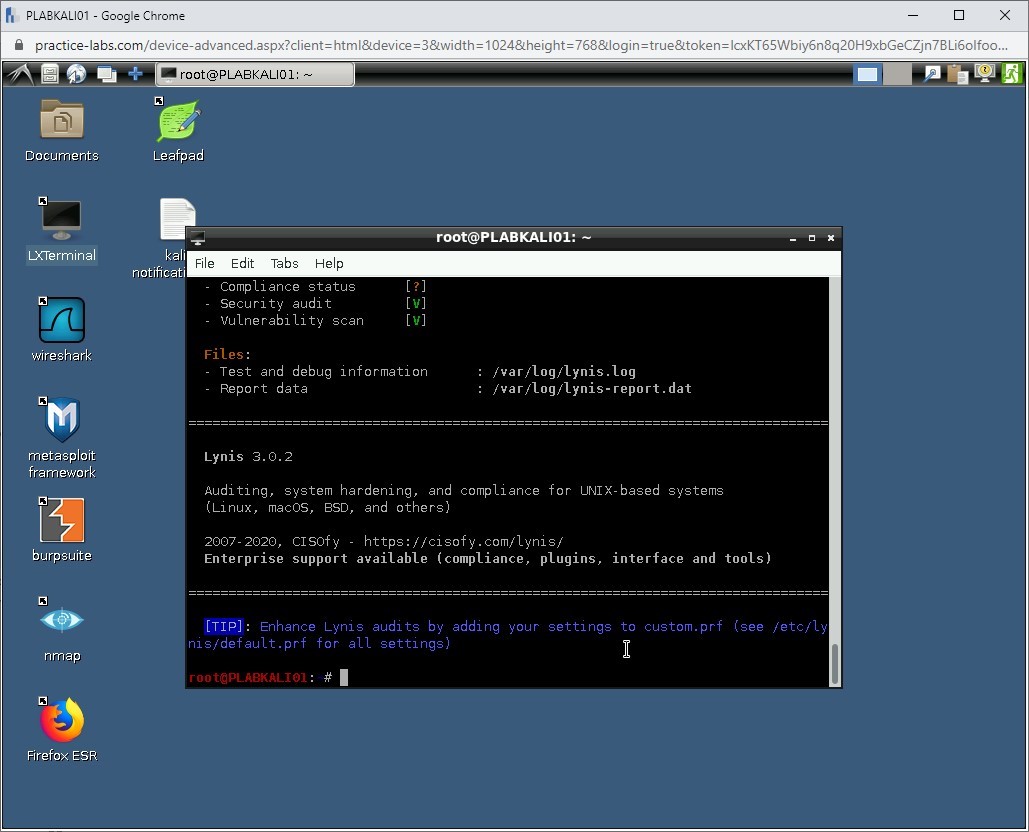
Step 23
Finally, the scan completes, and the Tasks page displays the status.
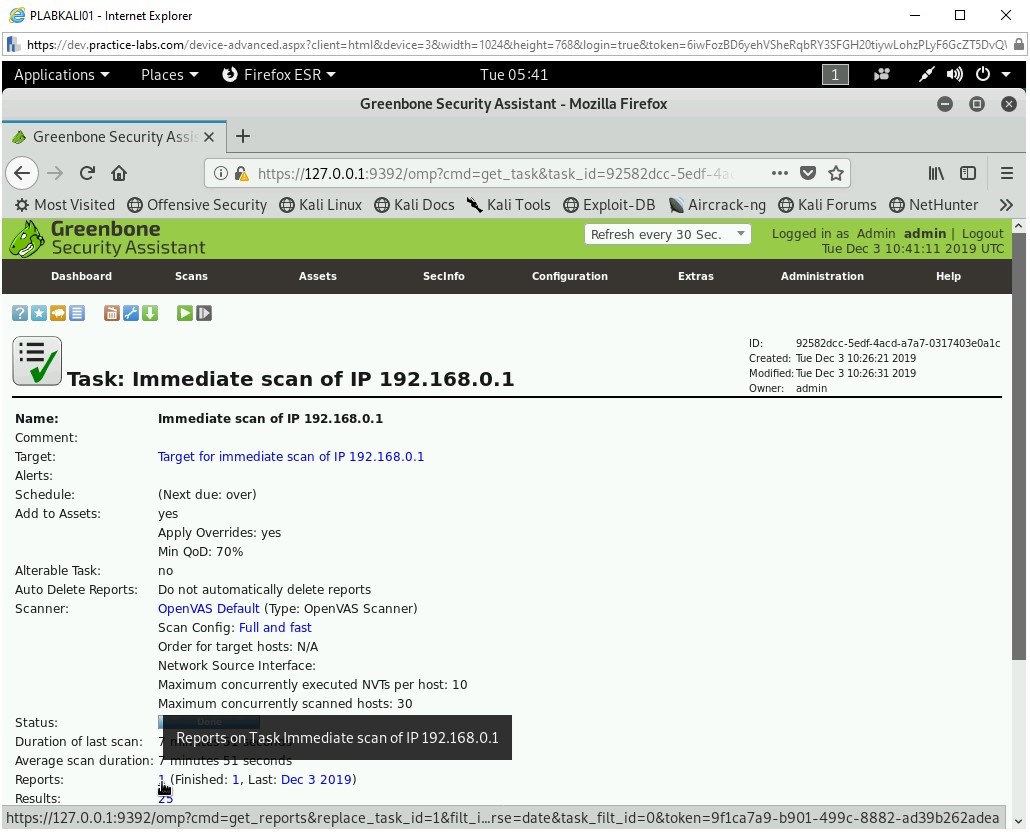
Click Immediate scan of IP 192.168.0.1.
Step 24
The finished task details are displayed. Click 1 next to Reports.

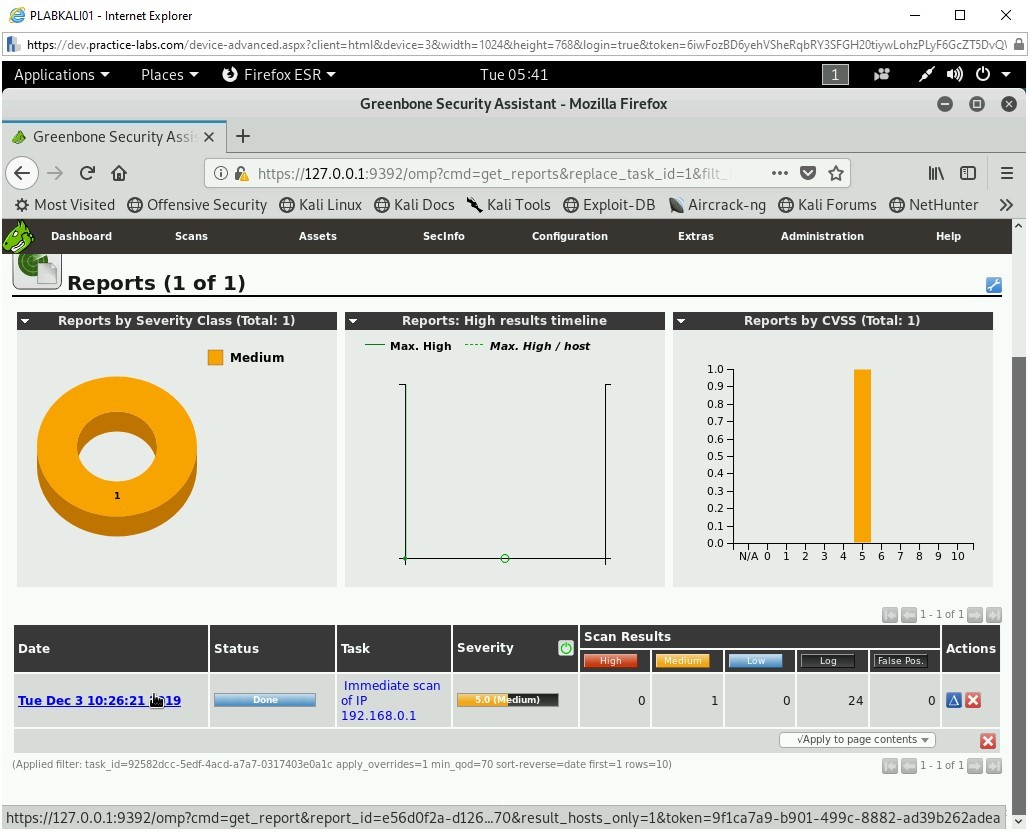
Step 25
Click the link provided under the Date column.
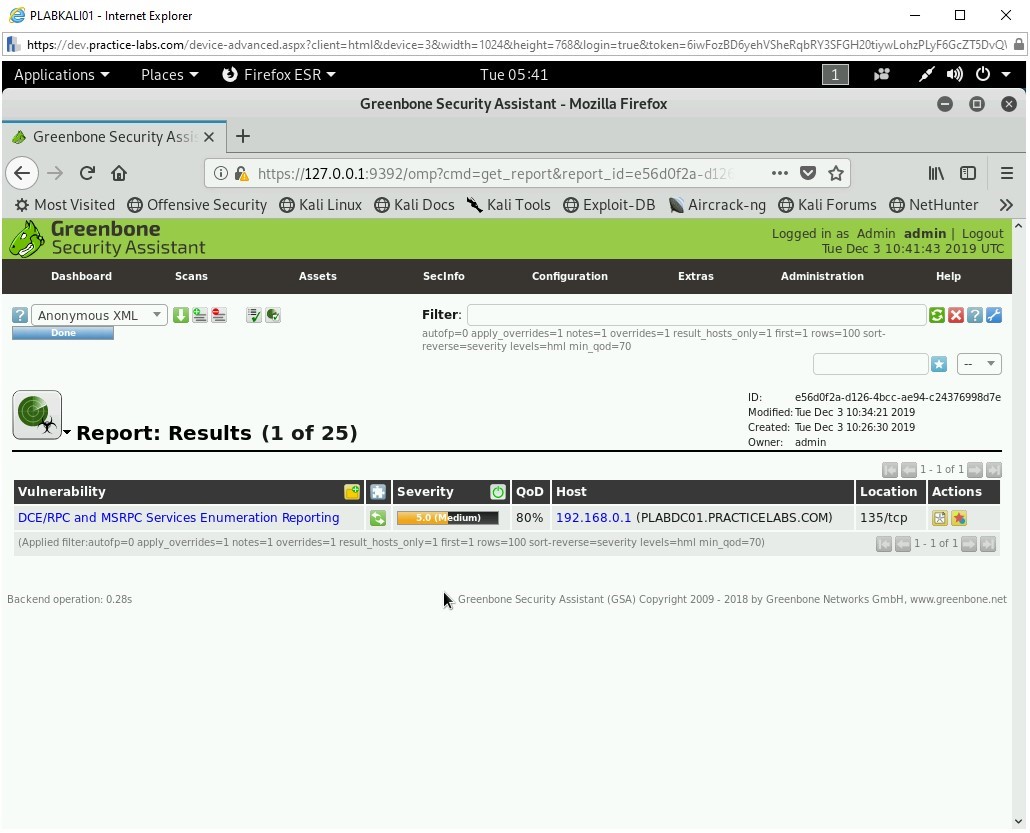
Step 26
Notice that the vulnerability is now displayed. It also displays the Severity level of vulnerability.
Close the Firefox window.
Task 3 - Use Lynis for System Vulnerability Scanning
Lynis is a built-in tool in Kali Linux that is a multi-purpose tool. It is designed to perform the following tasks:
- Security auditing
- Compliance testing
- Penetration testing
- Vulnerability detection
- System hardening
It can perform several types of system auditing, such as system binaries, boot loaders, startup services, run level, loaded modules, kernel configuration, core dumps, and so on.
In this task, you will learn to use Lynis for system vulnerability scanning. To do this, perform the following steps:
Step 1
Ensure you have powered on all the devices listed in the introduction and connect to PLABKALI01.
Clear the screen by entering the following command:
clear
By default, Lynis will perform a local system scan. You have the option to run a normal audit scan or can run the entire system scan.
Let’s first run the normal audit scan. Type the following command:
lynis audit system
Press Enter.
Step 2
The auditing process starts. Notice that it has already detected the operating system version, its hostname, and so on.
Note: The audit process will take a few minutes to complete.
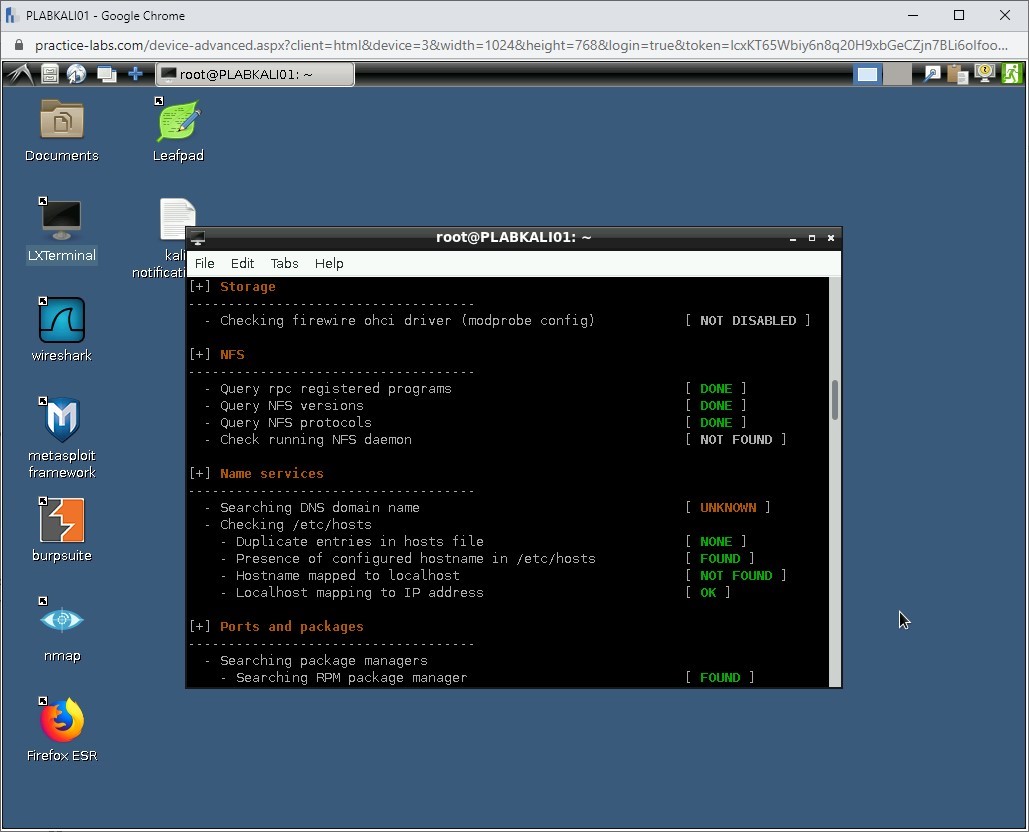
Step 3
During the scan process, you will notice that the results are categorized under different categories.
Step 4
The audit process completes.
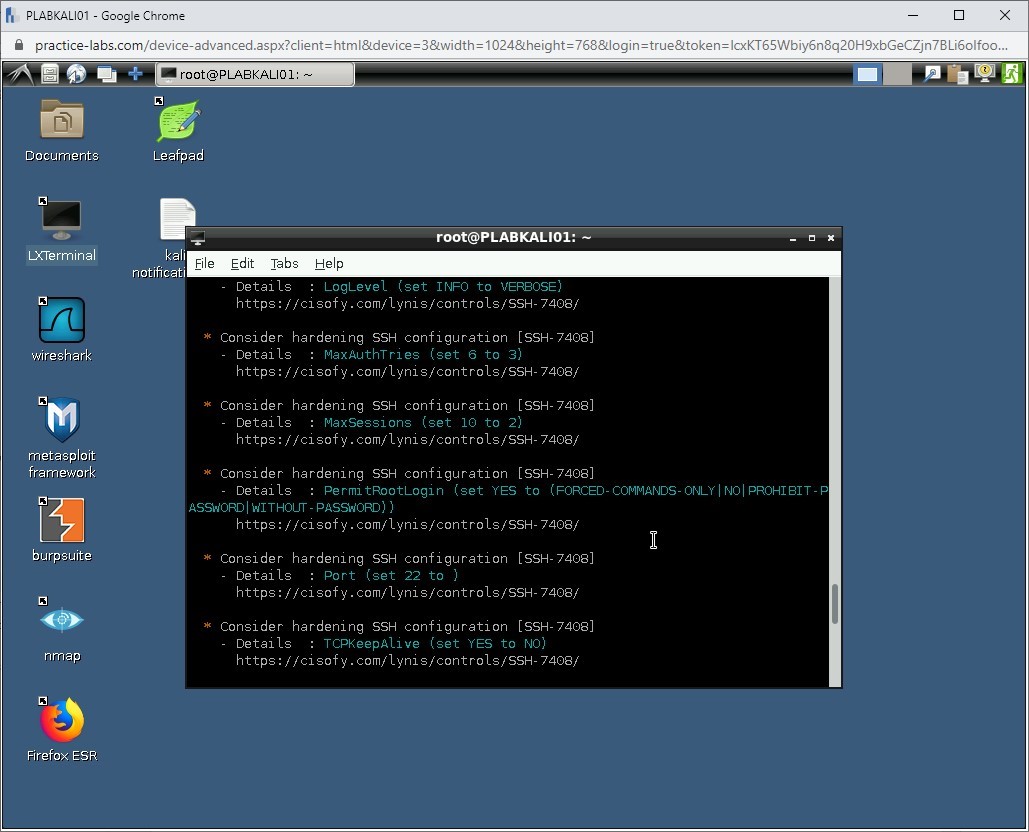
Step 5
You will need to scroll up to review the results. Notice that there are vulnerabilities that are located. Lynis also provides a suggestion to close the vulnerabilities. For example, it is hardening the SSH configuration. It has a setting PermitRootLogin set to Yes. Lynis audit suggests that it should be set to No.
Note: Take a few minutes and go through the audit report. If time permits, then you should use the following command to perform a full audit scan: lynis audit system -c
Close the terminal window.

Comments
Post a Comment