Working with scripts and loops
Work with Variables
There will be several tasks that you need to perform repeatedly in penetration testing. Either you can keep doing them manually, or you can automate them using scripts. There is nothing wrong with doing things manually, except that you are spending more time in doing them. You are also likely to make more errors when you do them manually. On the other hand, if you use a script to perform a task, you are likely to get the same result without any error.
Scripts can be created in different languages, such as
- Bash: It is mostly used in Linux and Unix environments. Any operating system, which uses Linux as the base shell, can use Bash-based shell scripts. A bash script, or shell script, use the extension .sh.
- PowerShell: It is mostly used in the Windows environment. However, since it is an open-source tool, you can also use it on Linux and Mac operating systems. A PowerShell script has the .ps1 extension.
- Ruby: It is an interpreted language that is not limited to the operating system commands. You need to write a script and run it. There is no need to compile the script or code as you would need to do in C language. A Ruby script has the .rb extension.
- Python: Just like Ruby, Python is also an interpreted language. Python is used heavily in penetration testing because of its robustness. A Python script has the .py extension.
Depending upon the requirement and your expertise, you can use any of them in penetration testing.
Scripts are run in the shell environment in any operating system. When writing a script, you will use variables, which are mainly used for storing a type of data in memory and then use it later. Variables can store various types of information, such as:
- Integers
- Character strings
- Boolean
- Date and time
In this exercise, you will learn to work with variables.
Learning Outcomes
After completing this exercise, you will be able to:
- Use Local and Global Variables
- Write Bash Functions
- Use the Set Command
Your Devices
You will be using the following device in this lab. Please power on the device.
- PLABKALI01 - (Kali 2019.2 - Linux Kali)

Task 1 - Use Local and Global Variables
There can be two types of variables in Linux. The first variable is the local variable that is used within the current shell. The moment the shell is closed, the variable is removed and is no longer available. When you load a new shell within the current shell, the local variable is no longer available.
The global variable, on the other hand, is available across the shells. Even if you load a shell within the current shell, the global variable will be available.
To use local and global variables, perform the following steps:
Step 1
Ensure you have powered on all the devices listed in the introduction and connect to PLABKALI01.
On the PLABKALI01 desktop, click the Terminal icon.
Step 2
On the desktop, in the left pane, click the Terminal icon.
Step 3
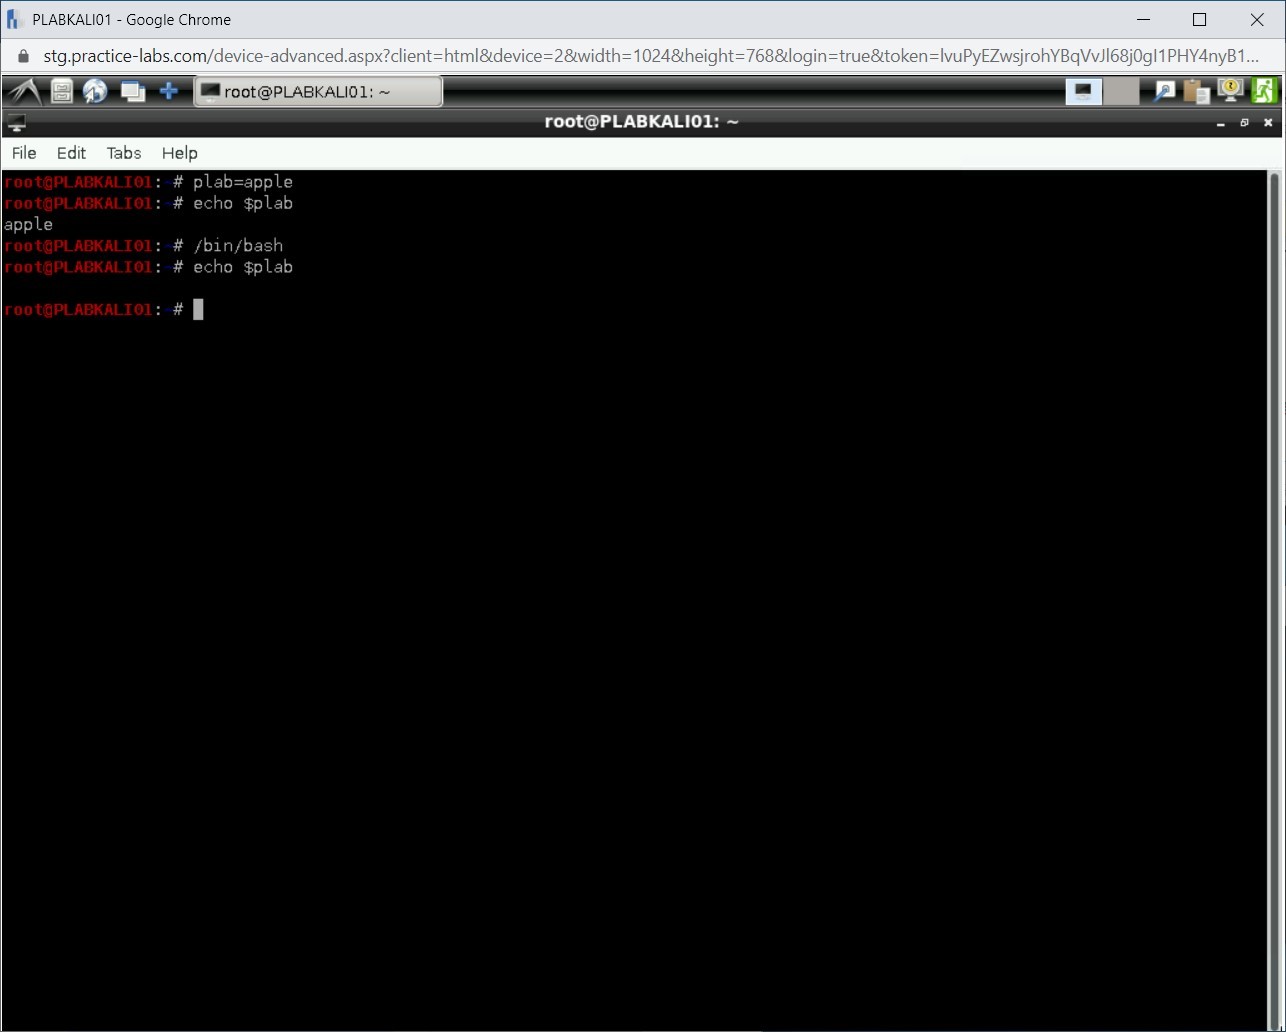
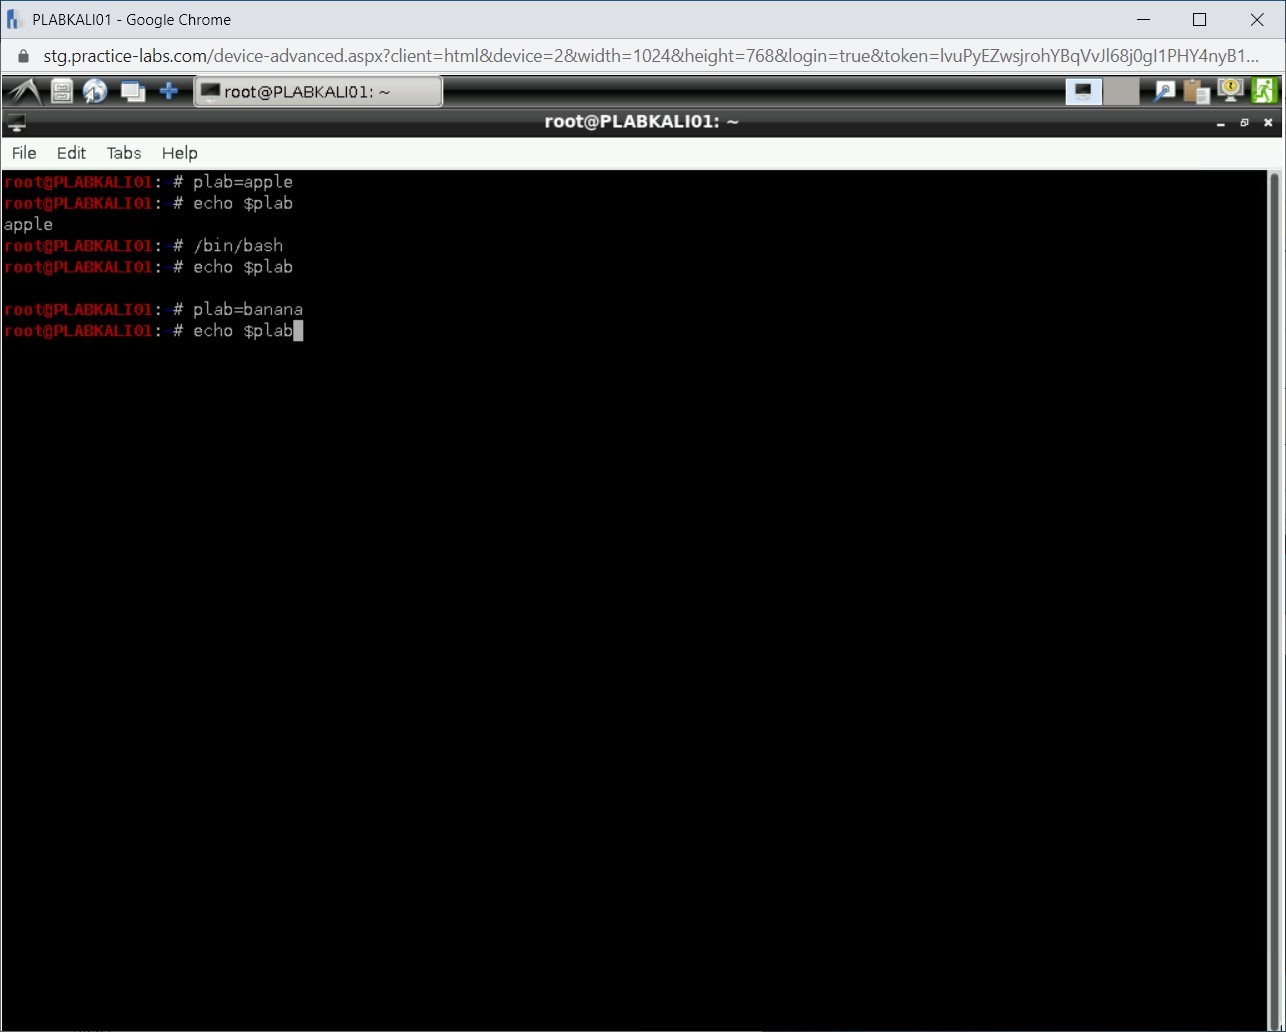
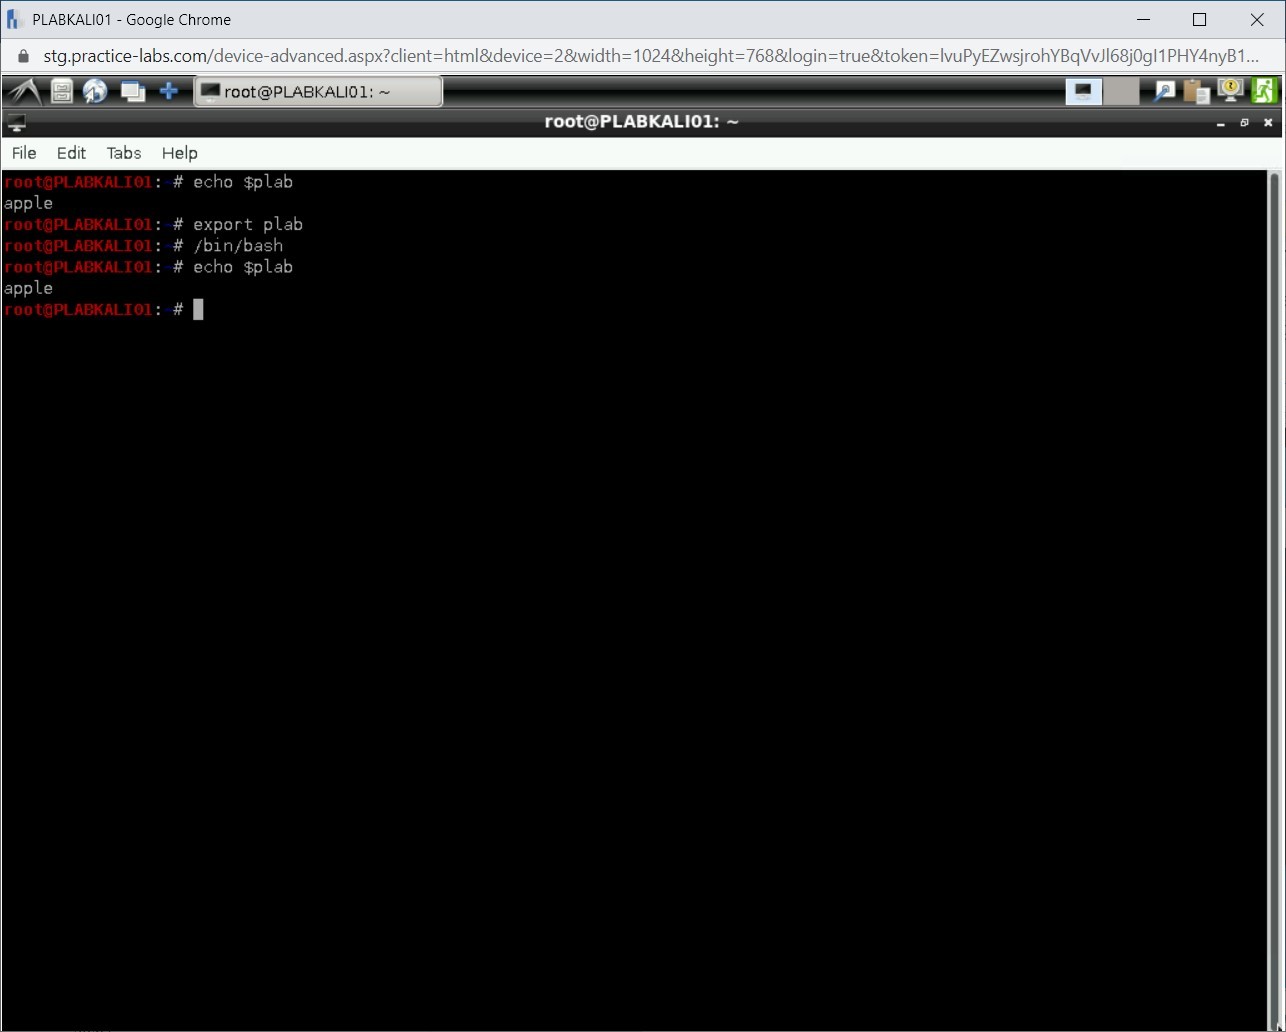
The terminal window is displayed. Let’s first declare a local variable. To do this, type the following command in the terminal window:
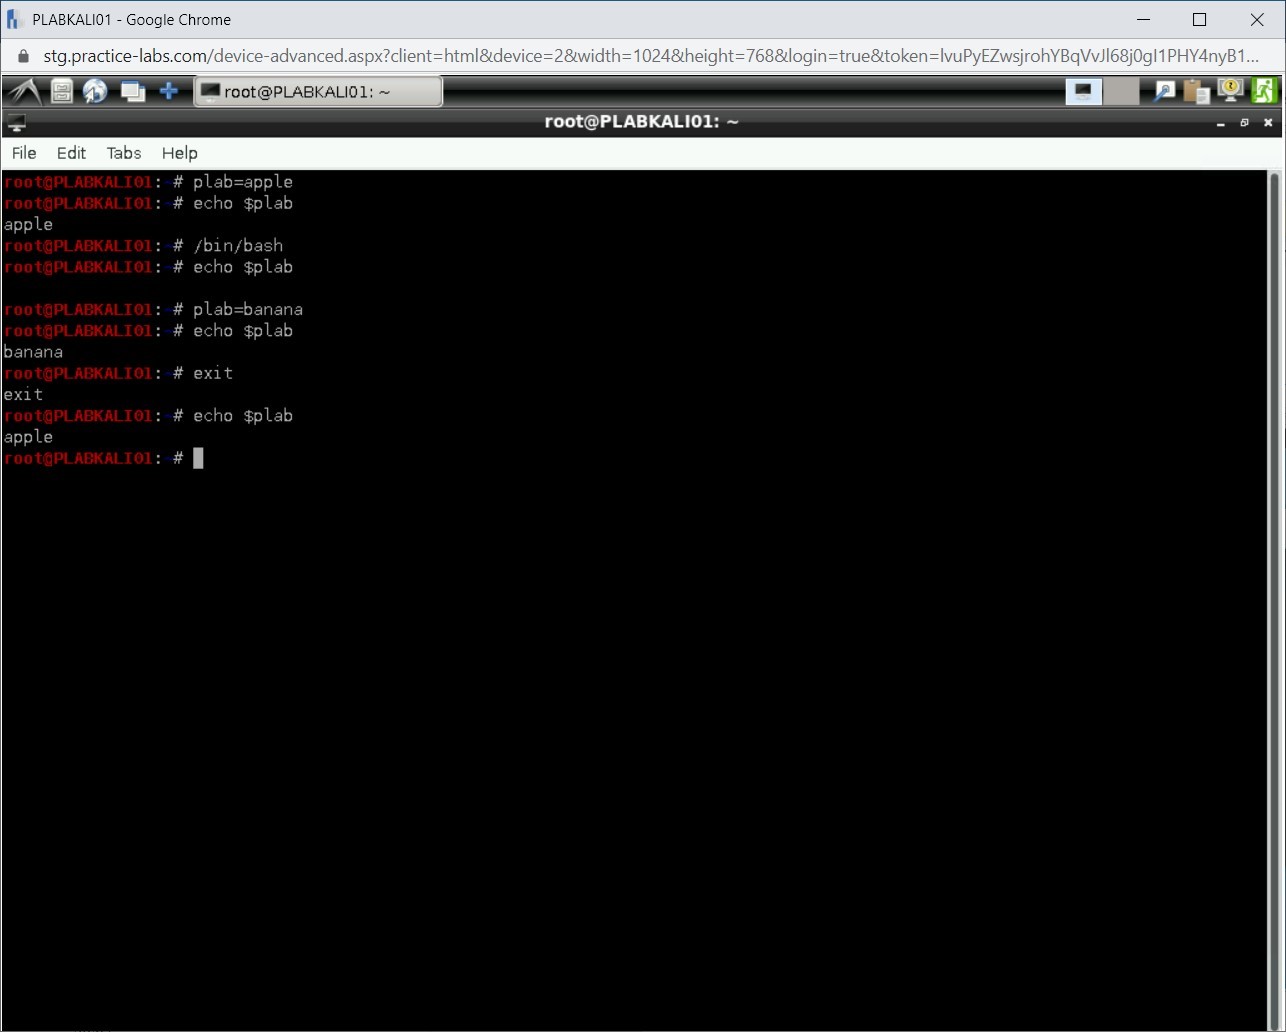
plab=apple
Press Enter.

Step 4
Notice that there is no output.

Step 5
You need to verify if the variable has been created with the value as the apple. Type the following command:
echo $plab
Press Enter.

Step 6
Notice that the output is displayed as the apple.

Step 7
Remember that you have declared a local variable named plab. Its value is limited to the current shell. You can verify if the variable is available outside the current shell, and to do this, let’s open another child shell within the current shell. Type the following command:
/bin/bash
Press Enter.

Step 8
The prompt will remain the same, but you are in a child shell.

Step 9
You can now verify for the plab variable. To do this, type the following command:
echo $plab
Press Enter.

Step 10
Notice that an empty line is printed. This means that the plab variable does not exist in this shell.
Step 11
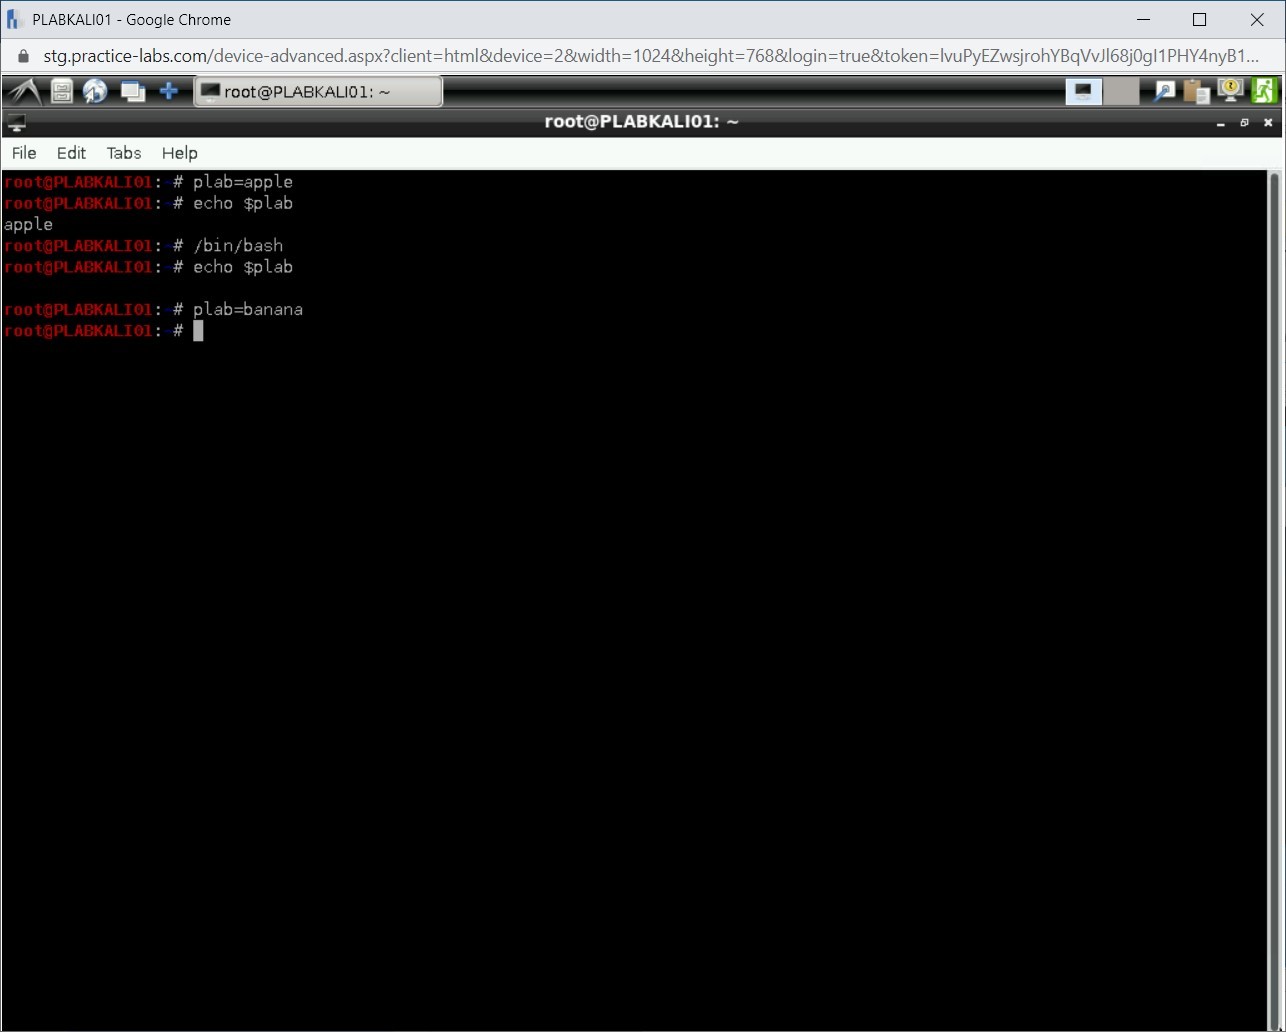
Let’s define the plab variable in the child shell with the value banana. To do this, type the following command:
plab=banana
Press Enter.

Step 12
The variable plab is now defined with the value as the banana.
Step 13
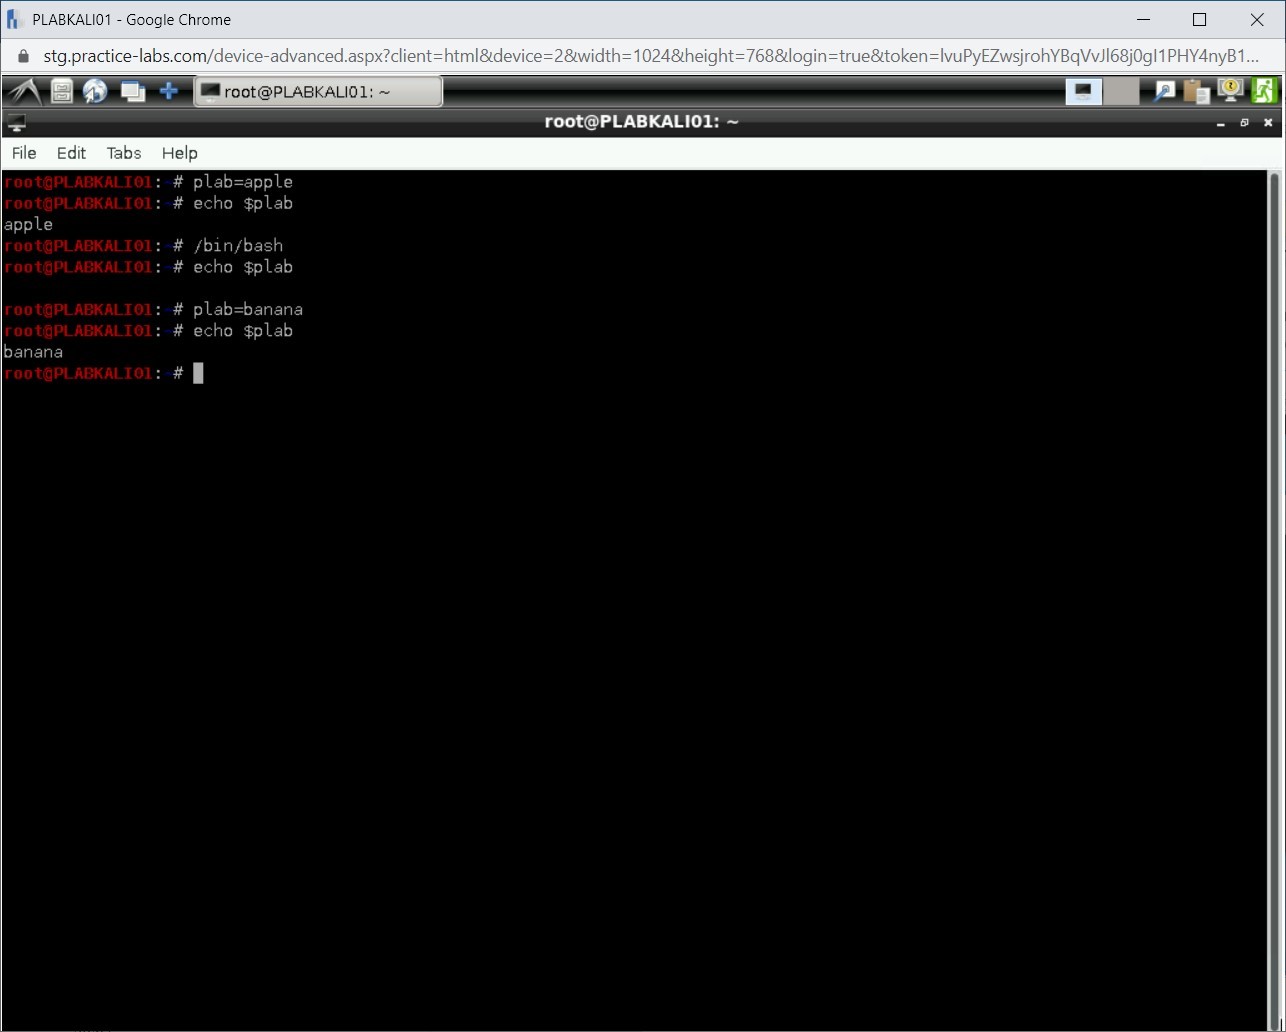
You need to verify if the variable has been created with the value as the banana. Type the following command:
echo $plab
Press Enter.
Step 14
Notice that the output is displayed as the banana. This means that you can create a local variable with the same name in different shells and store different values.
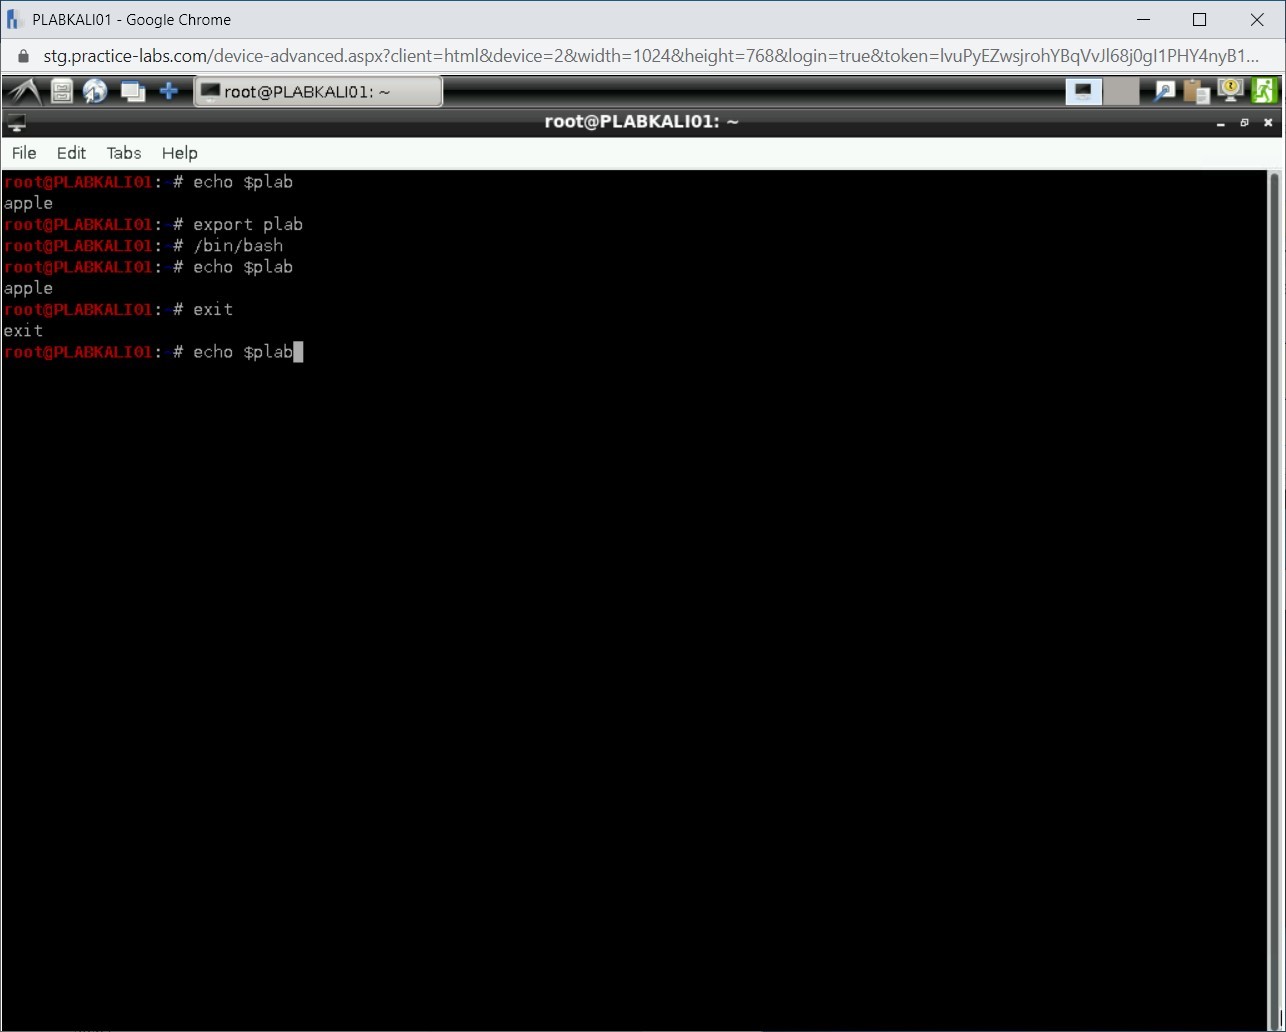
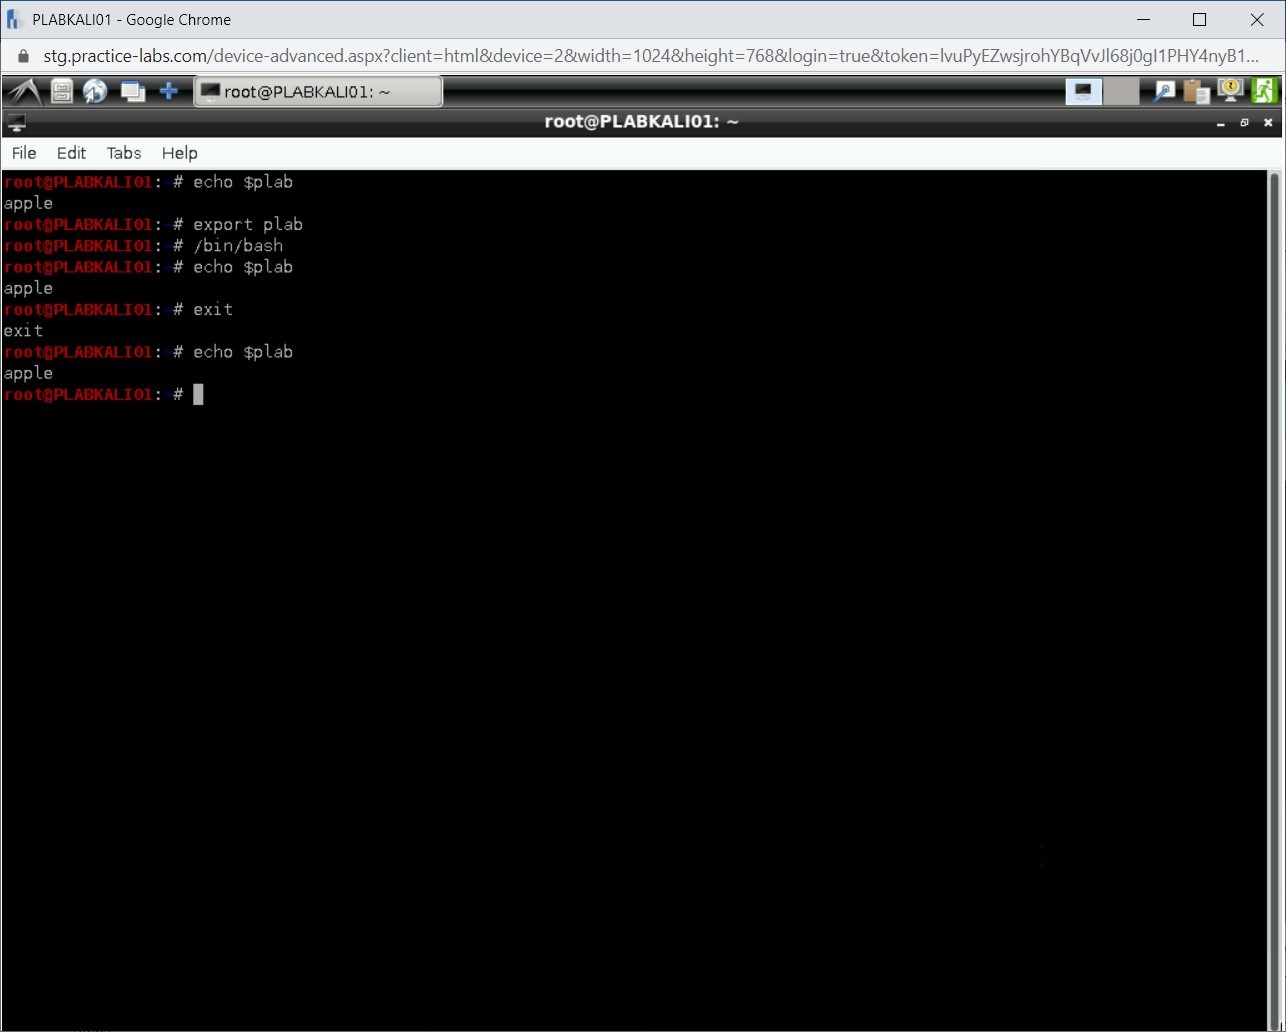
Step 15
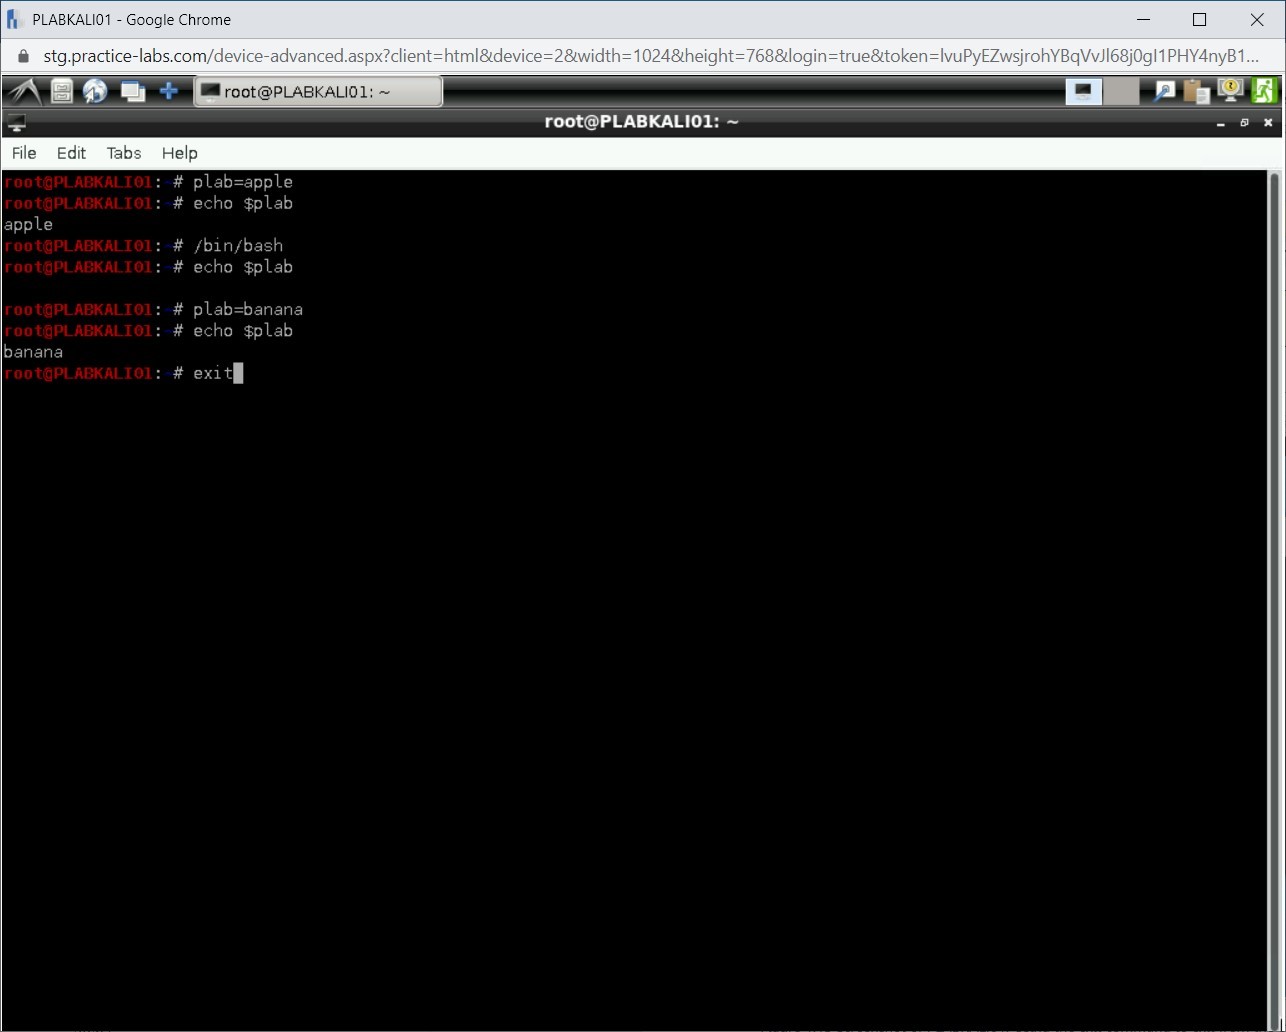
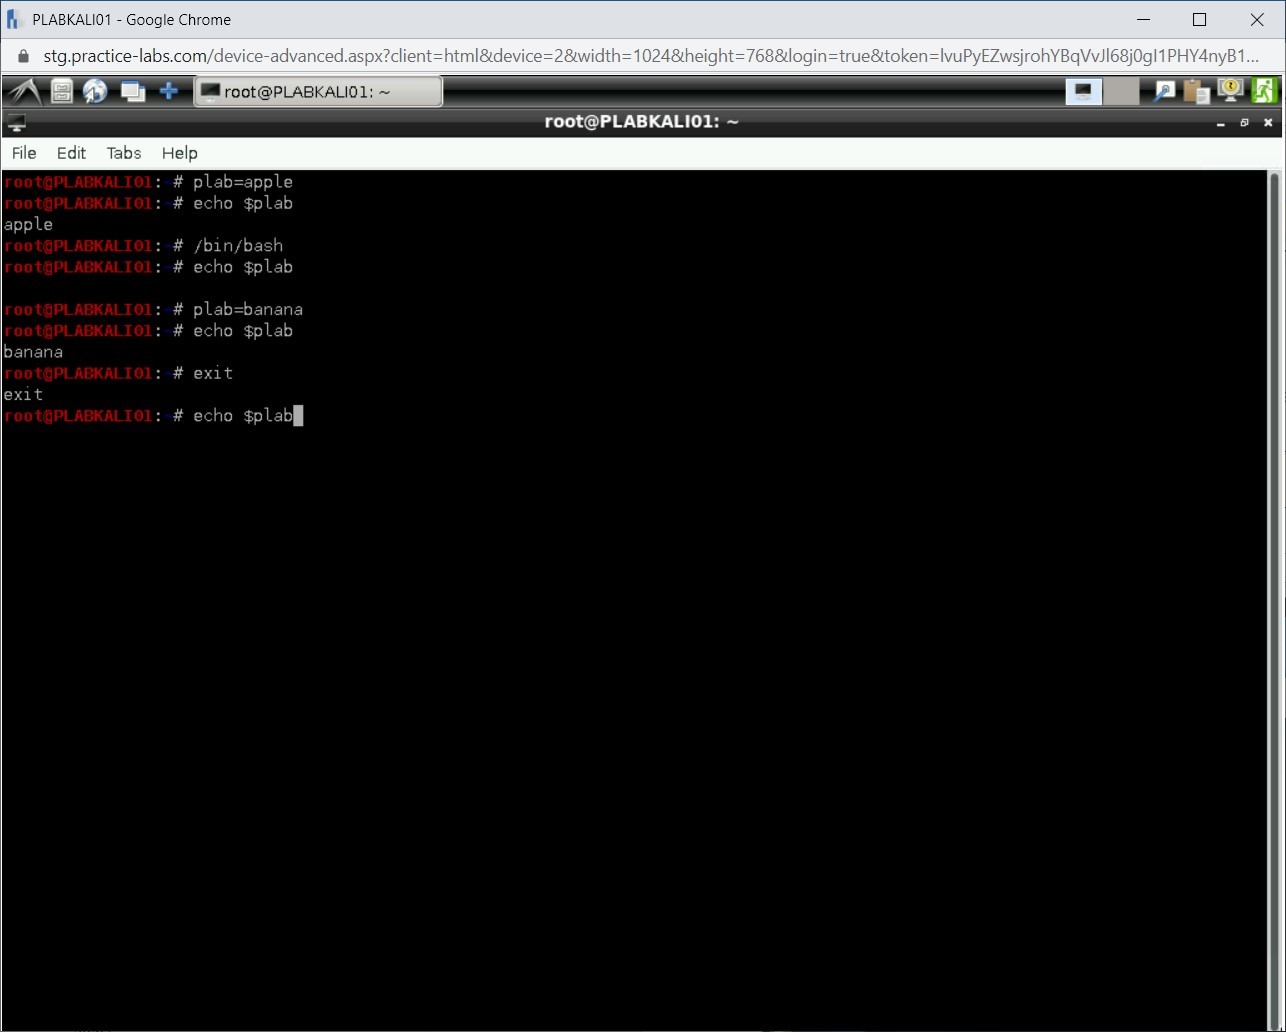
To exit from the child shell, type the following command:
exit
Press Enter.
Step 16
You are back on the shell that you had initially used to declare plab with the value apple. Type the following command:
echo $plab
Press Enter.
Step 17
Notice that the value is now shown as the apple.
Step 18
Clear the screen by entering the following command:
clear
Next, you will focus on creating a global variable. The method of creating a global variable is the same as creating a local variable. However, you need to use the export command to set a local variable as global. Let’s verify the value of the local variable, plab, that you have already declared. Type the following command:
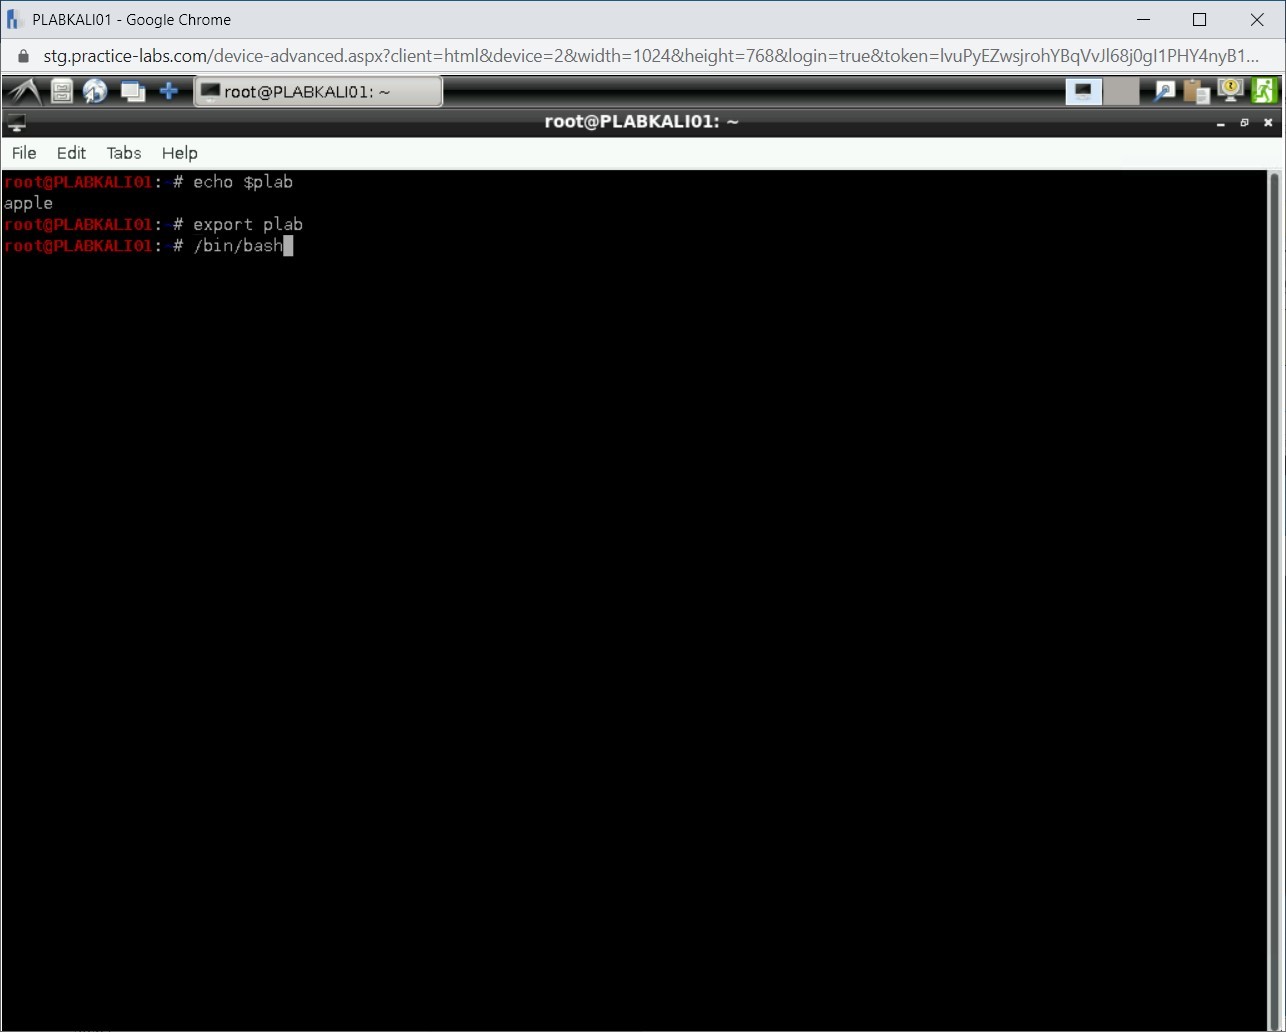
echo $plab
Press Enter.

Step 19
Notice that the value is now shown as the apple.

Step 20
You now need to make plab a global variable. To do this, type the following command:
export plab
Press Enter.

Step 21
Notice that there is no output generated.

Step 22
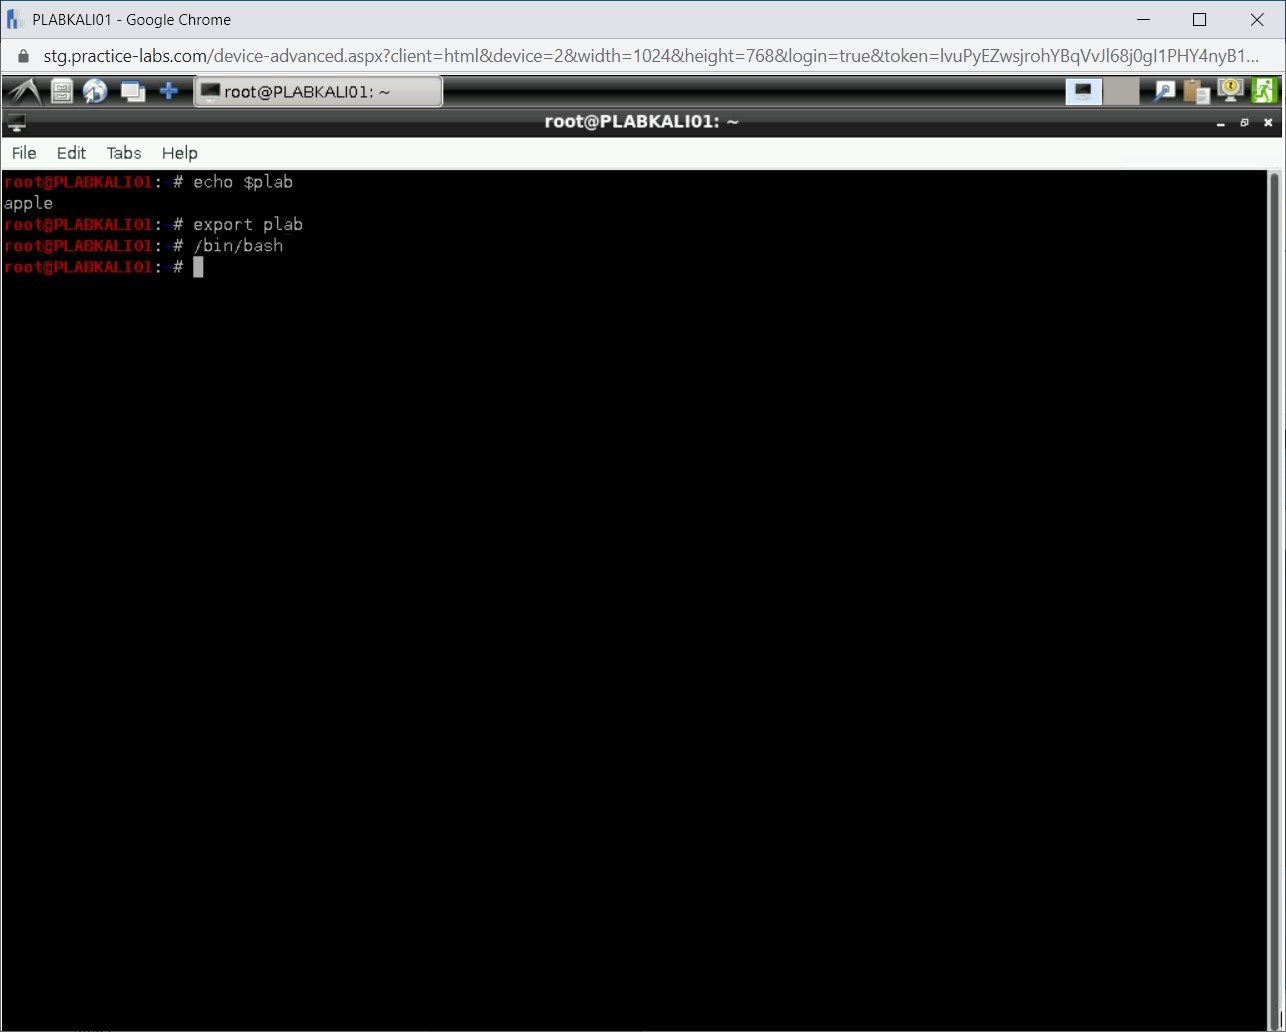
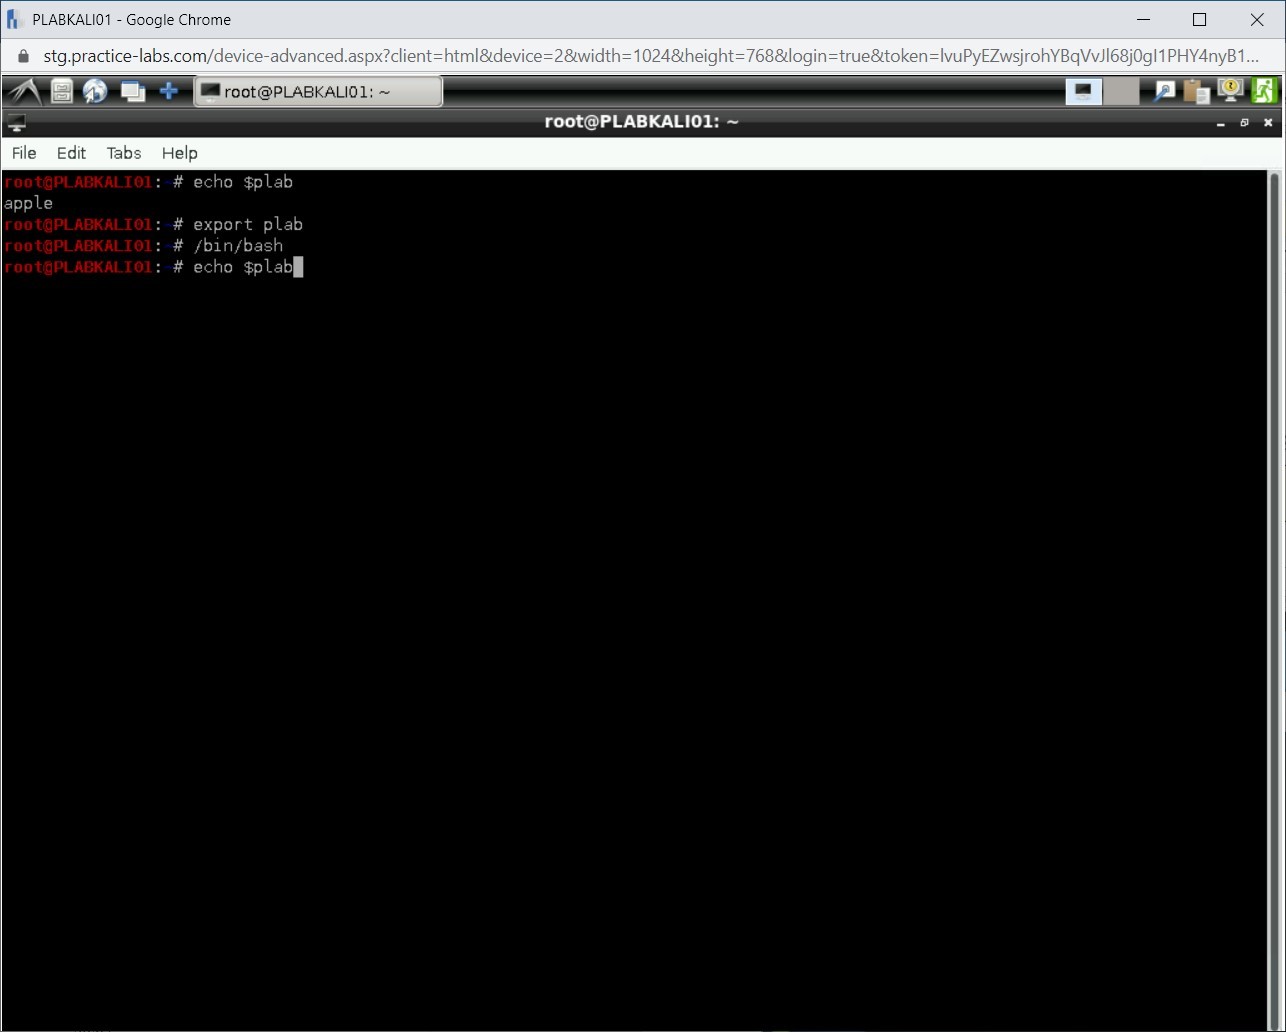
You need to open a child shell. To do this, type the following command:
/bin/bash
Press Enter.
Step 23
You are now in the child shell.
Step 24
Let’s check the value of the plab variable. Type the following command:
echo $plab
Press Enter.
Step 25
Notice that the plab displays the output as the apple. Remember, you did not define any variable this time in the child shell, but you are able to get the value of the variable.
Step 26
To exit from the child shell, type the following command:
exit
Press Enter.
Step 27
You are back on the shell that you had initially used to declare plab with the value apple.
echo $plab
Press Enter.
Step 28
The plab variable still displays the value as the apple.
Task 2 - Write Bash Functions
You can use functions to trigger several commands. A function is a series of commands that can be executed by referring to the function name. Writing bash functions for the frequently used commands enables you to execute multiple commands by issuing one that calls the relevant bash function. You can use two methods to declare the bash functions.
Method 1
In this method, the function name is defined without any reserved word.
function_name () {
  commands
}
This method can also be written as:
function_name () { commands; }
Method 2
This method starts the function with the reserved word named function.
function function_name {
commands
}
This method can also be written as:
function function_name { commands; }
After the function name, with or without the reserved word, you need to use the {} to define the commands. The closing curly brace (}) closes the function. After defining a function, you need to call it by using its name.
In this task, you will write a bash function.
To write bash functions, perform the following steps:
Step 1
Clear the screen by entering the following command:
clear
To write a bash function, type the following commands:
function plab() { ls -l /etc; }
Press Enter.
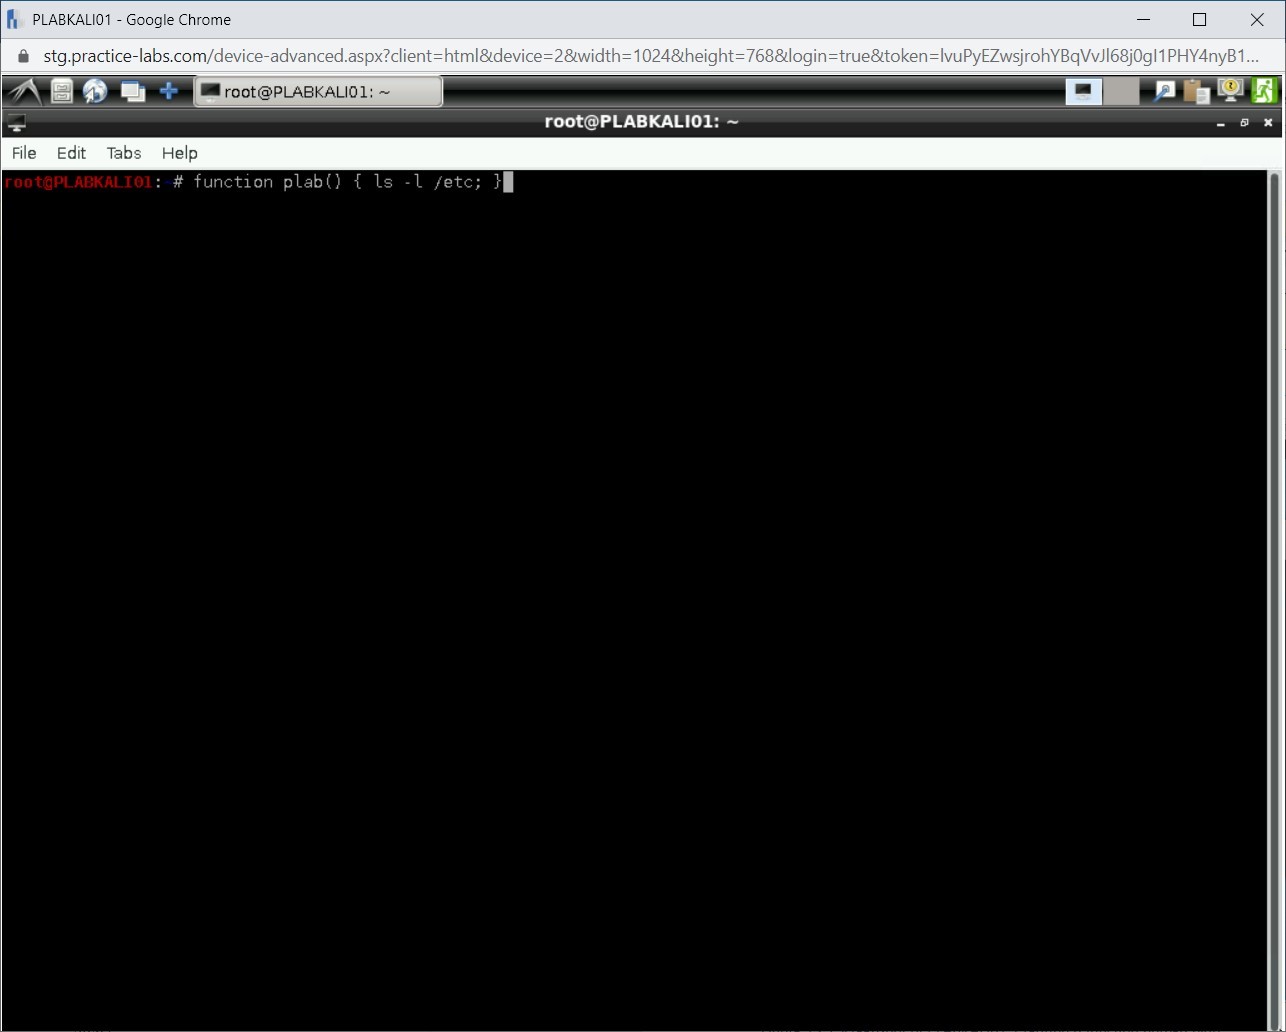
Step 2
To run the function, type the following command:
plab
Press Enter.

Step 3
The plab function displays the directory listing of the /etc directory.
Task 3 - Use the Set Command
The set command is used to define and determine the values of the local system environment. To set the command search path with the proper directory, perform the following steps:
Step 1
Ensure you have powered on all the devices listed in the introduction and connect to PLABKALI01.
Clear the screen by entering the following command:
clear
You can use the set command to view the functions and variables currently being used by the shell. Type the following command:
set
Press Enter.

Step 2
The output of the set command is displayed.
Step 3
Clear the screen by entering the following command:
clear
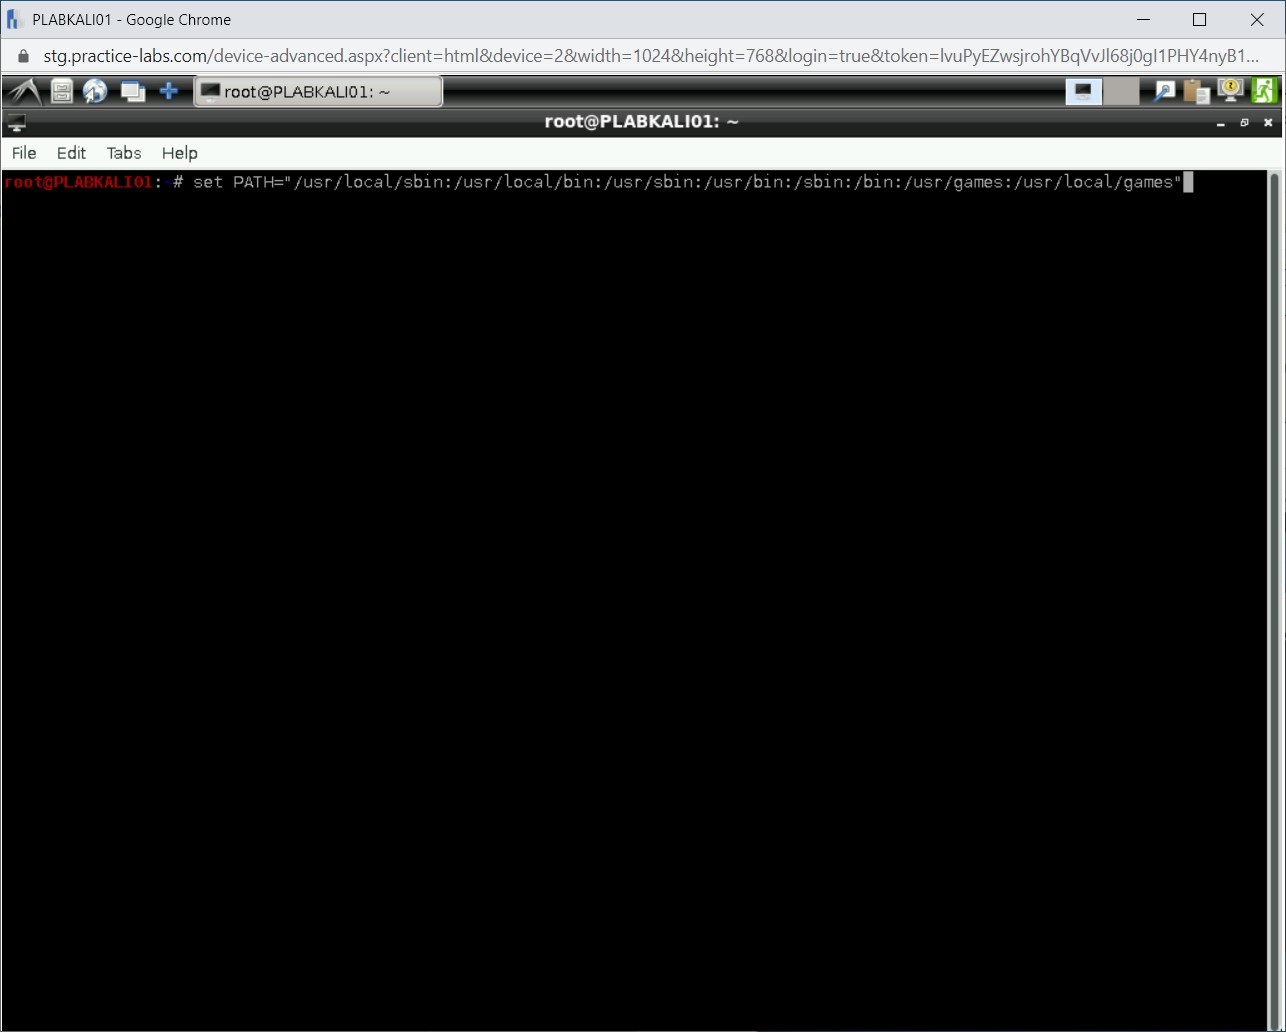
You can also set the path using the set command. Type the following command:
set PATH="/usr/local/sbin:/usr/local/bin:/usr/sbin:/usr/bin:/sbin:/bin:/usr/games:/usr/local/games"
Press Enter.
Step 4
Notice that there is no output generated. This means that the command has run successfully.

Step 5
Clear the screen by entering the following command:
clear
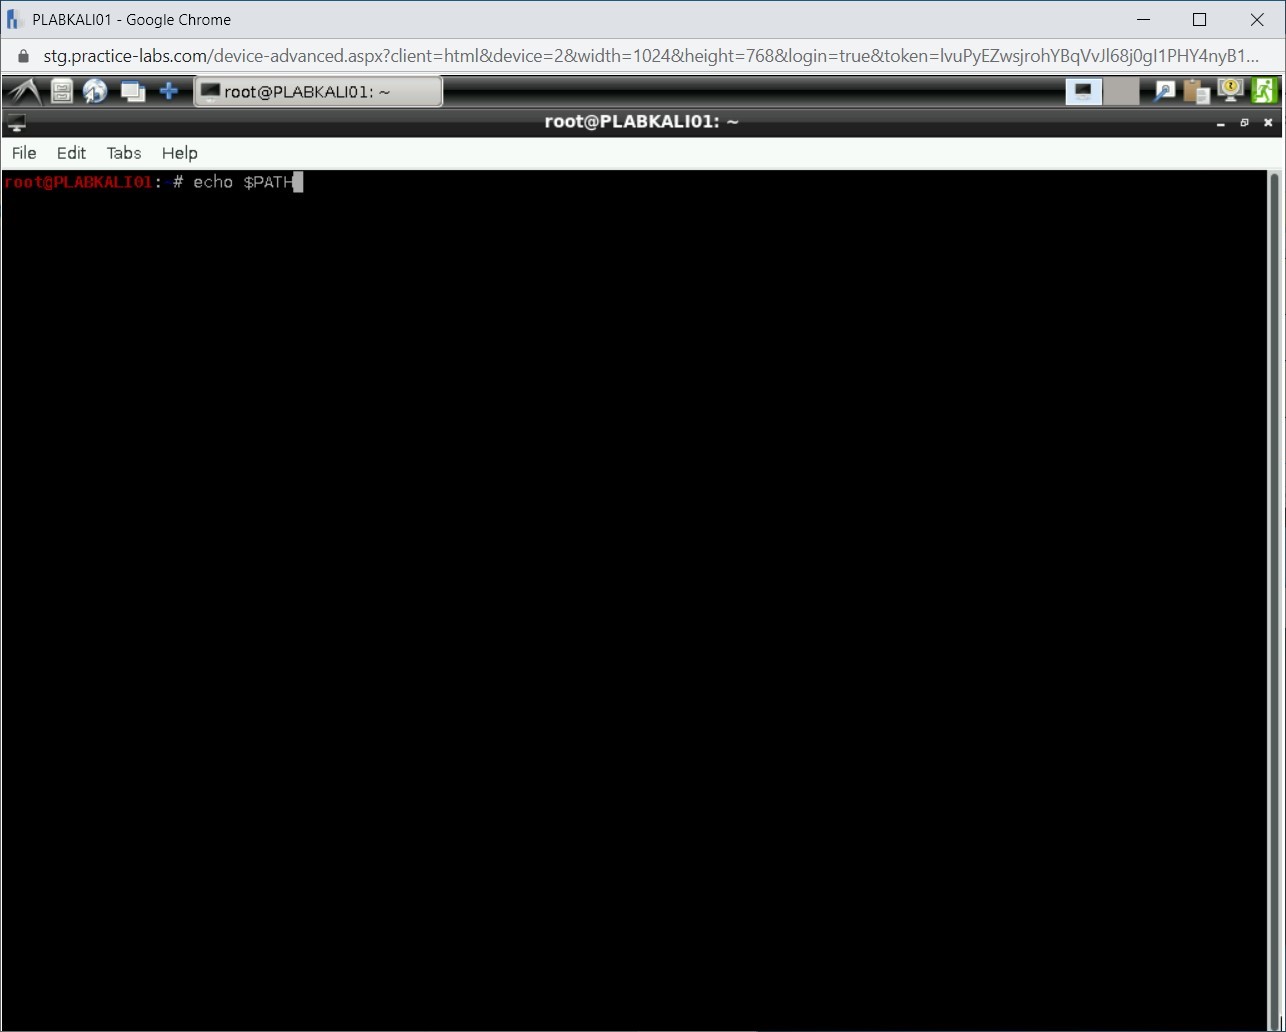
You can display the path using the following command:
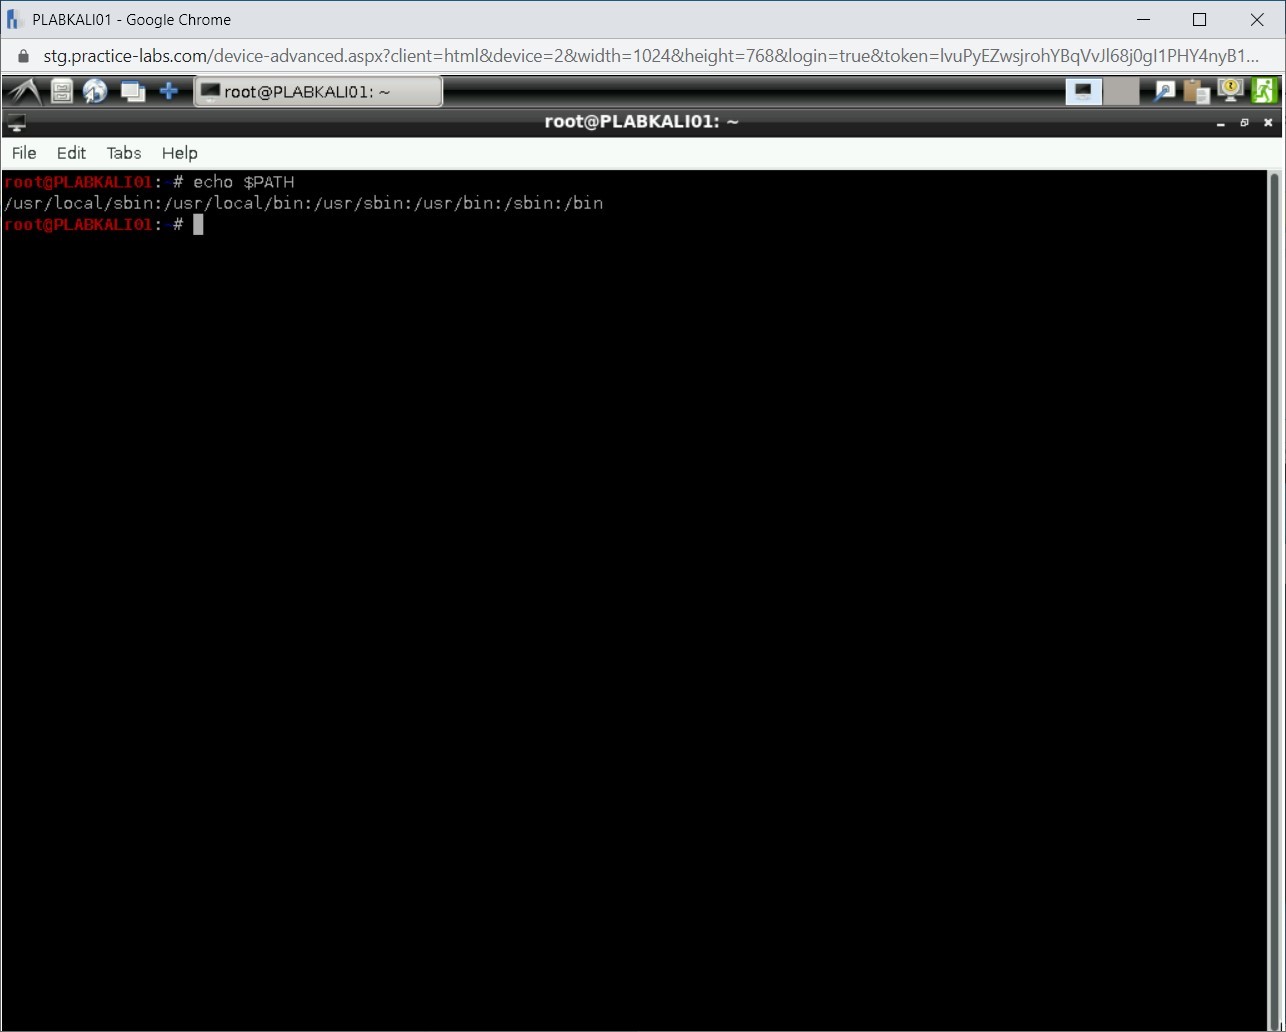
echo $PATH
Press Enter.
Step 6
The output of the echo $PATH command is displayed.
Step 7
Clear the screen by entering the following command:
clear
The unset command deletes the variables. Type the following command:
unset
Press Enter.

Step 8
Notice that no output has been generated.

Work with Loops
The Bash-based shell script files are stored with an extension of .sh. Each script contains a script interpreter that appears as a commented line in the script. In this task, you will create and execute simple scripts to implement loops.
When writing shell scripts, you would need to build conditional statements. There are different conditional statements that are written with the help of different types of loops. You will also learn how to execute the loops without writing shell scripts.
In this exercise, you will learn about working with loops.
Learning Outcomes
After completing this exercise, you will be able to:
- Use the For loop
- Use If…Else statements
- Use the While Loop
Your Devices
You will be using the following device in this lab. Please power on the device.
- PLABKALI01 - (Kali 2019.2 - Linux Kali)

Task 1 - Use For Loop
Assume that you have to repeat a task several times. You can write the code several times with a bit of variation to arrive at a specific result, or you can use loops to get the desired output. The for loop runs through a list of values in a list until the time list values are exhausted.
In this task, you will learn to use loops. To do this, perform the following steps:
Step 1
Clear the screen by entering the following command:
clear
You can create a script using the vi editor or any other editor that is available in Kali Linux.
To create a script, type the following command:
vi plab.sh
Press Enter.

Step 2
The vi editor is displayed.

Step 3
Before you type anything in the vi editor, you need to start the insert mode. Press i to invoke the insert mode.
Notice that the INSERT word appears at the bottom. This indicates that the vi editor is now in the insert mode.
Step 4
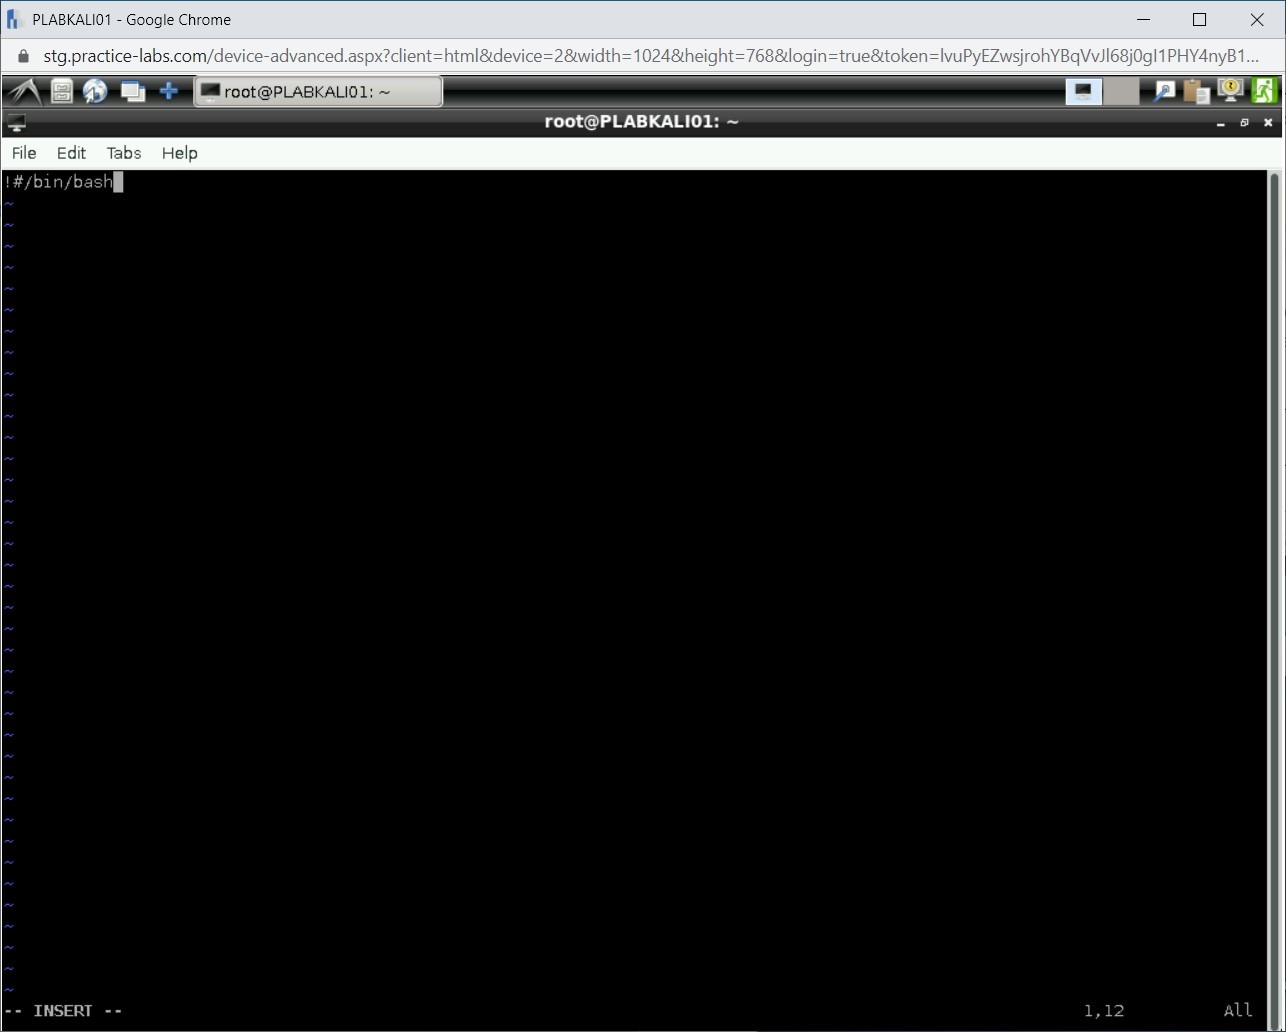
While creating a script, you need first to define the script interpreter. The commonly used interpreters include bash or sh, although other interpreters are available.
For this task, you specify bash as the script interpreter. Type the following command:
#!/bin/bash
Press Enter.
Step 5
In the next line, type the following command:
ls -l
Press Enter.

Step 6
Now, you need to save the file.
To save and close the file, press ESC and then type the following command:
:wq
Press Enter.

Step 7
You are back on the command prompt.

Step 8
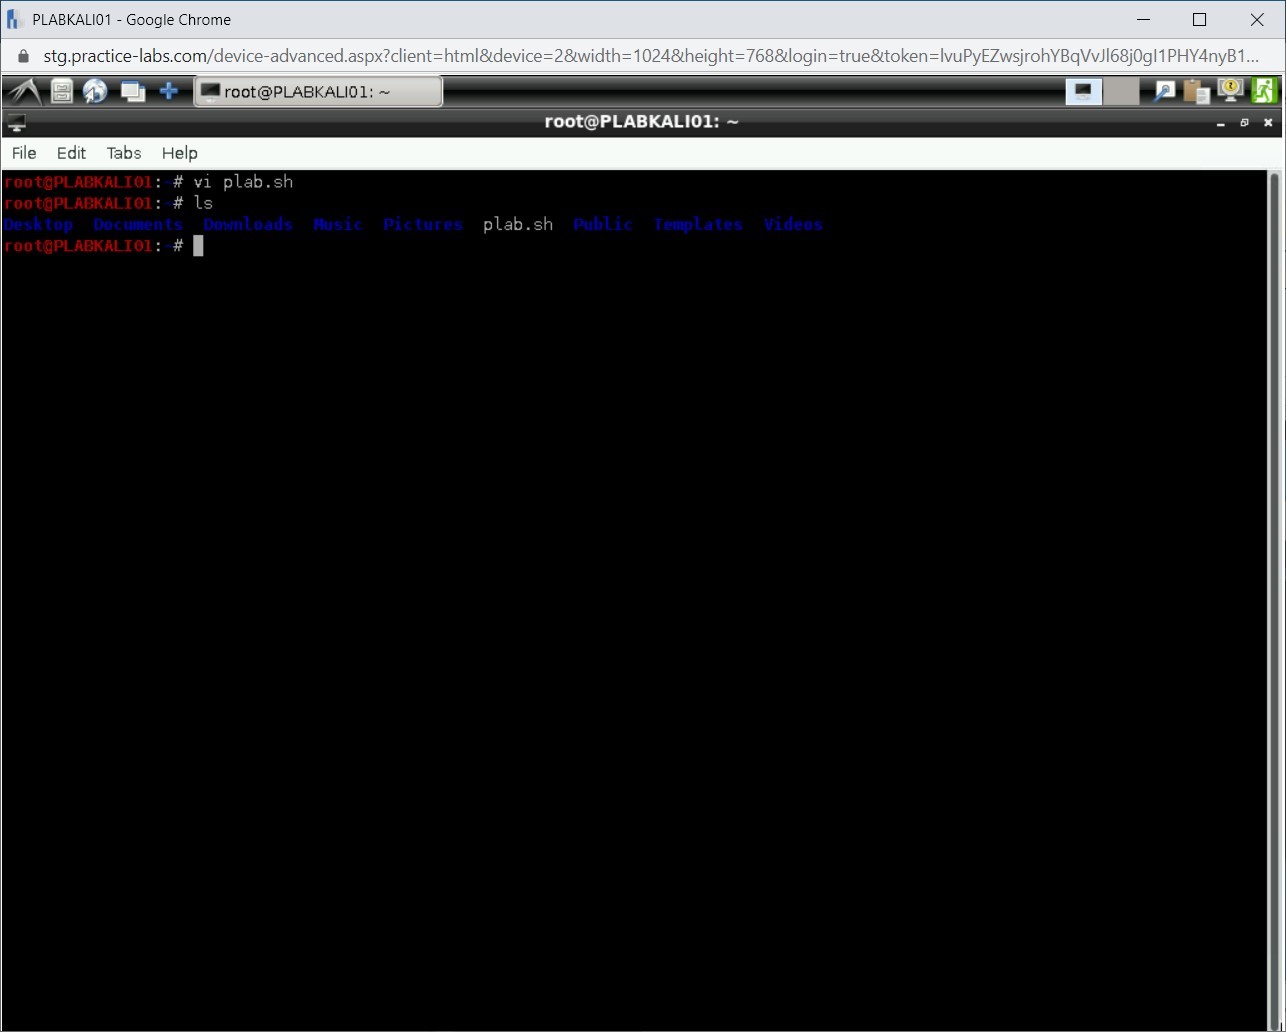
To verify that the script is created, type the following command:
ls
Press Enter.
Notice that the plab.sh file is listed in the root directory.
Step 10
Clear the screen by entering the following command:
clear
To run the bash scripts, type the following command:
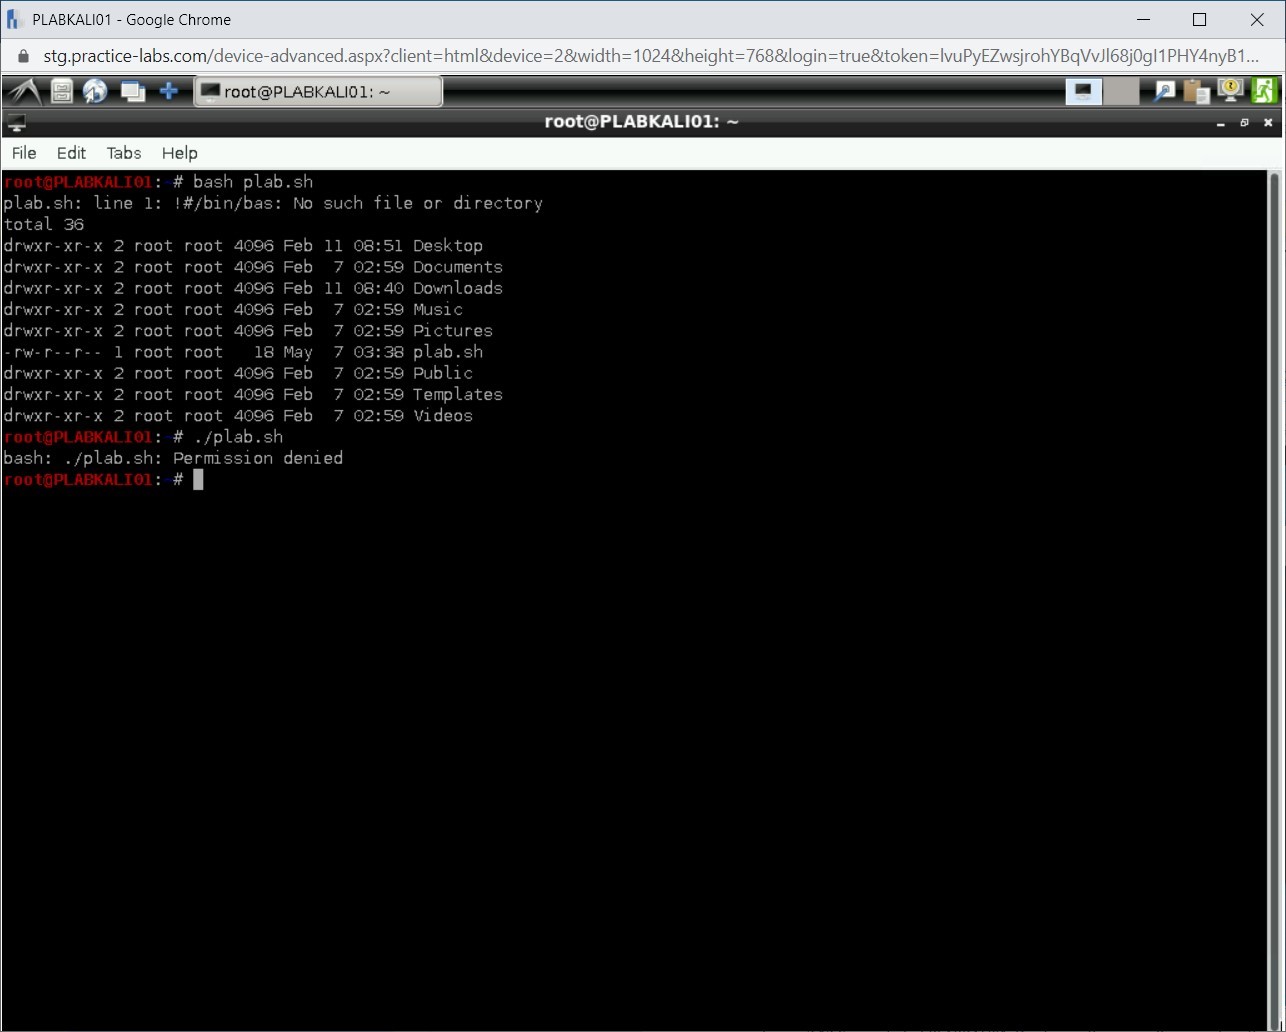
bash plab.sh
Press Enter.

Step 11
Note that the script runs successfully.

Step 12
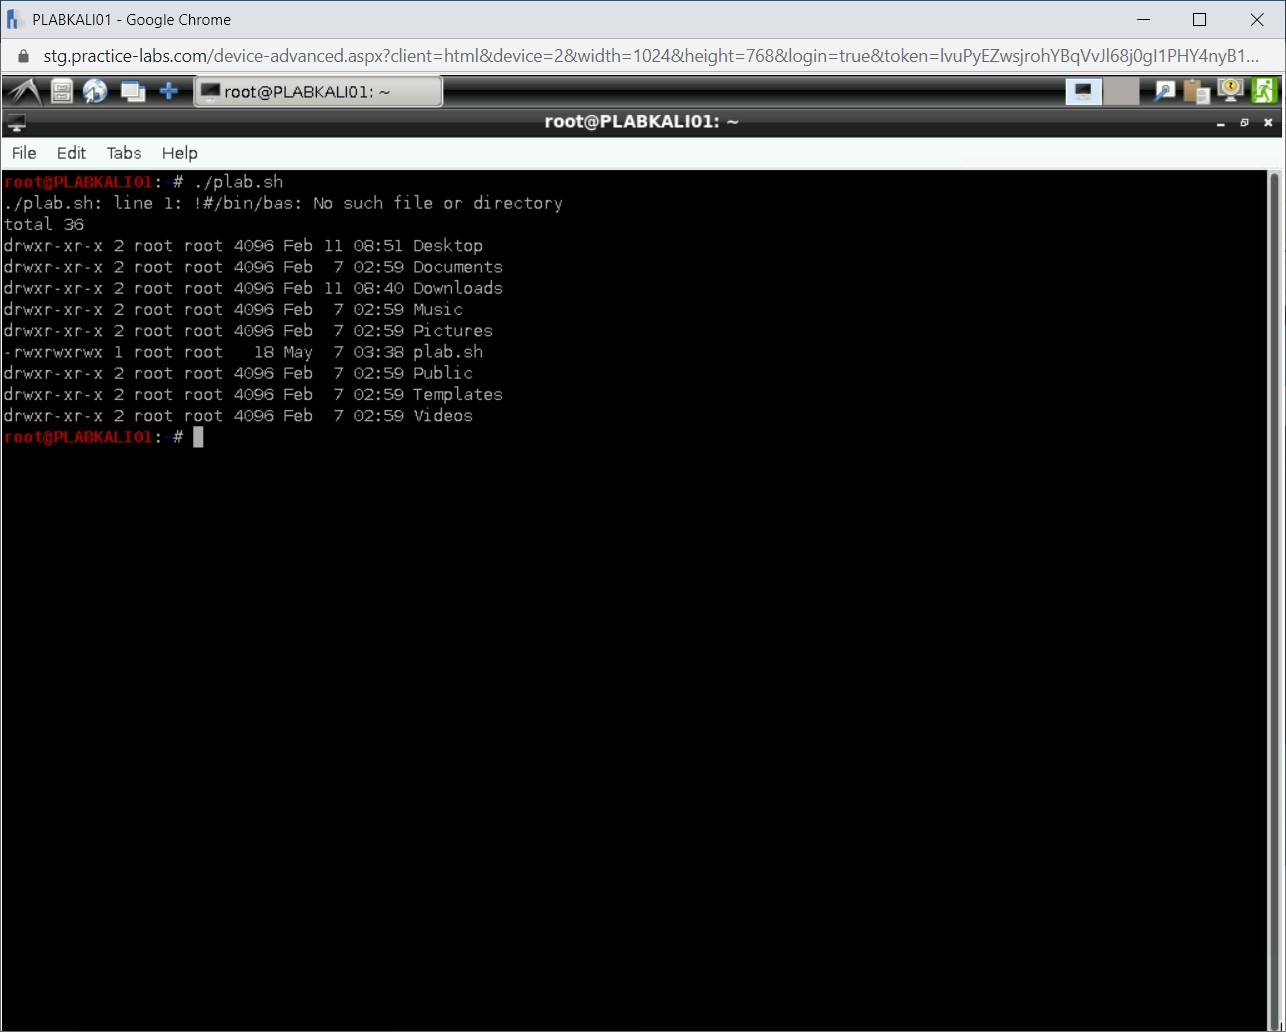
The scripts with executable permissions can be run by prefixing the ./ with their names. For example, to execute plab.sh without the help of bash, you can enter ./plab.sh
To run plab.sh, type the following command:
./plab.sh
Press Enter.

Step 13
Note that there is an error that states permission is denied to run this shell script.
Step 14
Let’s now change the permissions on the scripts to allow everyone to execute this script. To add permissions, type the following command:
chmod 777 plab.sh
Press Enter.
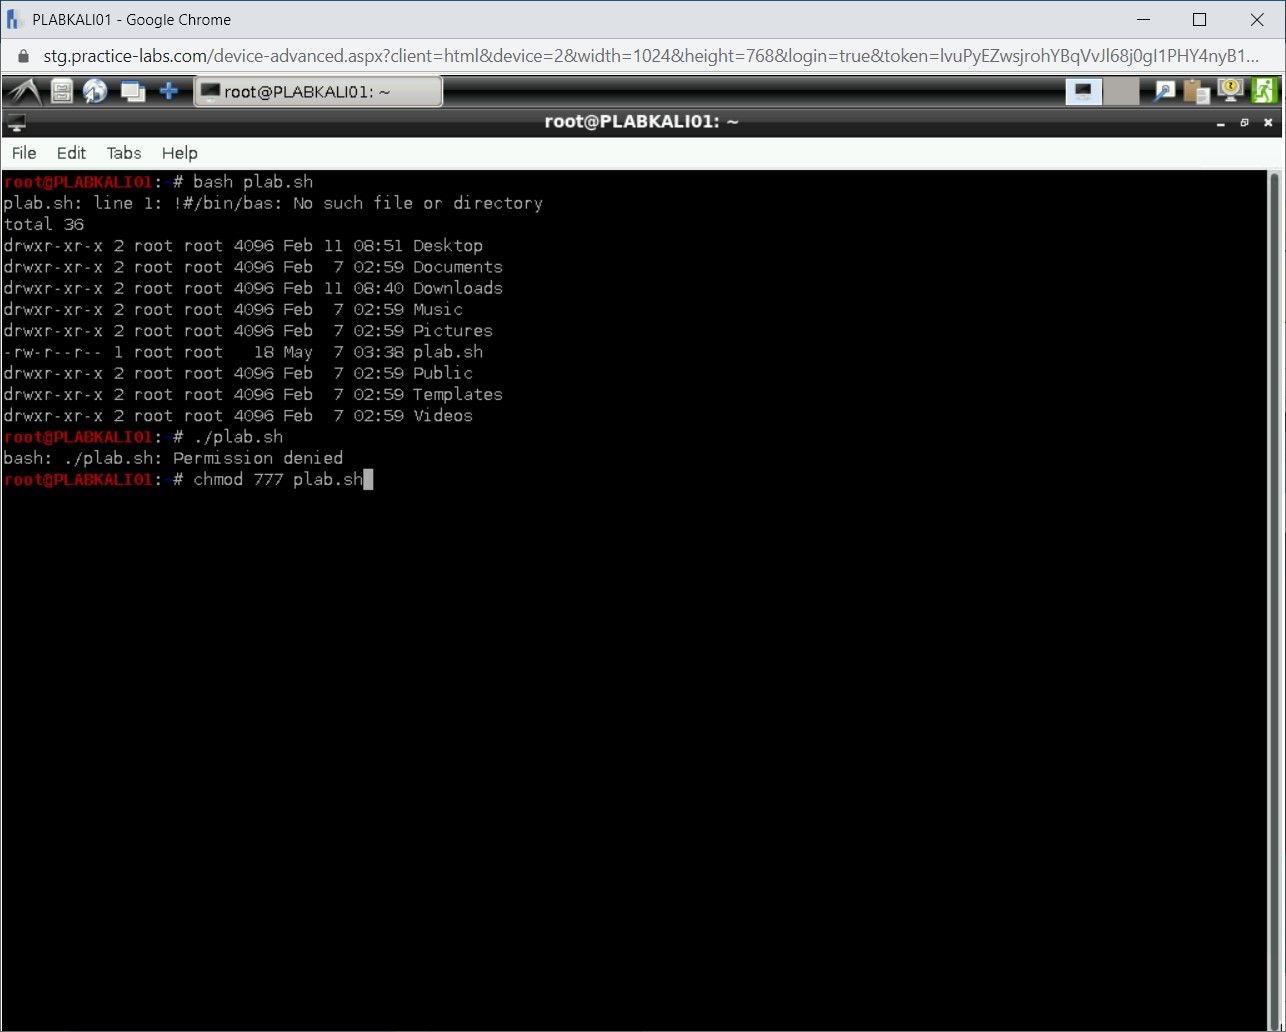
Step 15
Notice that there is no output of this command.
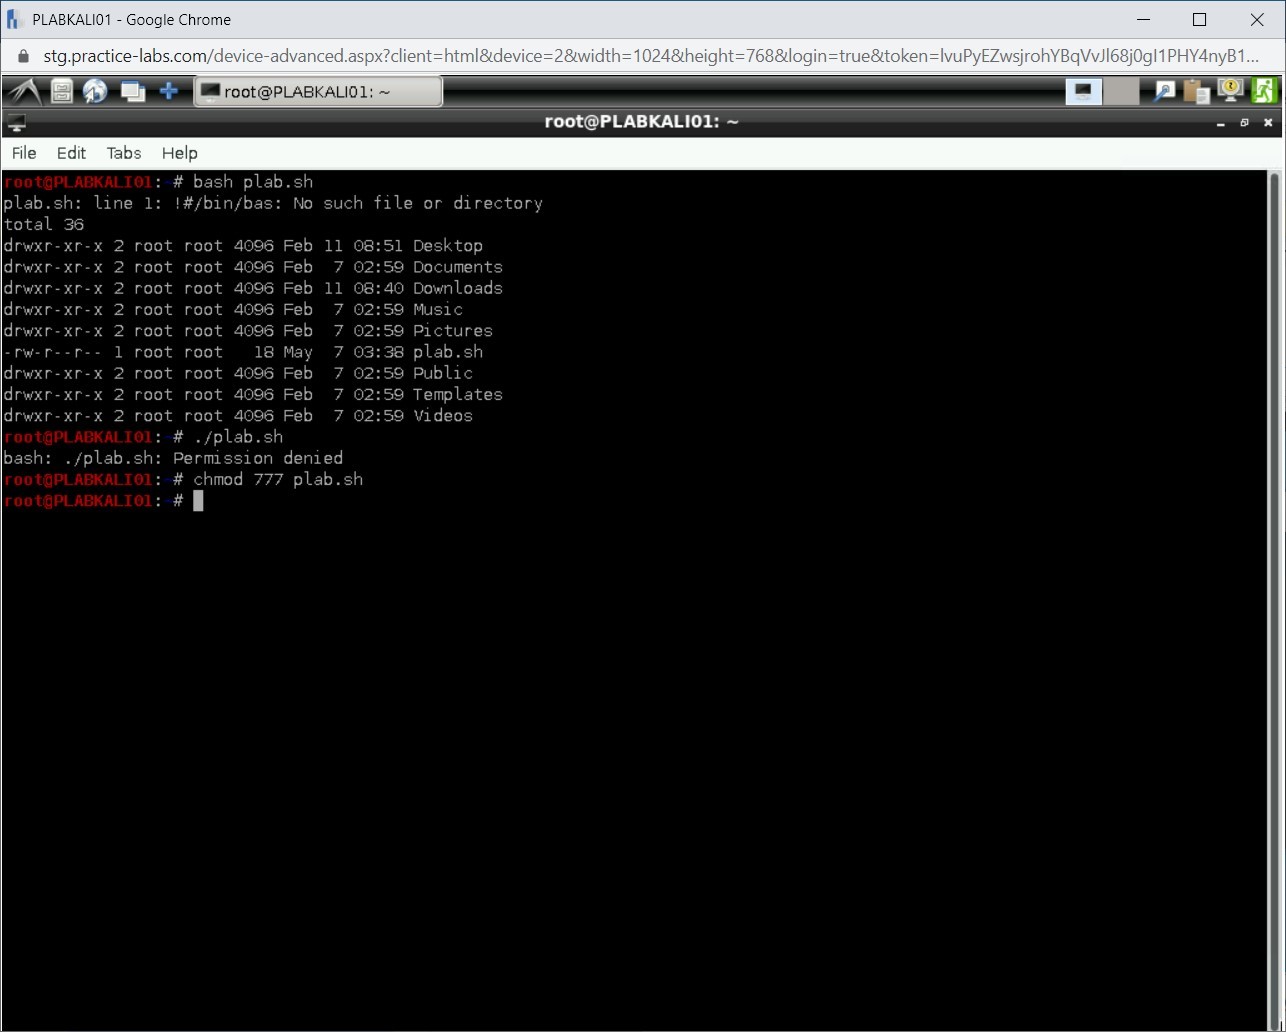
Step 16
Clear the screen by entering the following command:
clear
To run the plab.sh script, type the following command:
./plab.sh
Press Enter.
Step 17
Notice that the script is running now.
Step 18
Clear the screen by entering the following command:
clear
You can also create a script to execute a loop. For example, you can write a script to create 10 users without having to enter the useradd command 10 times. You will use the for loop to do this.
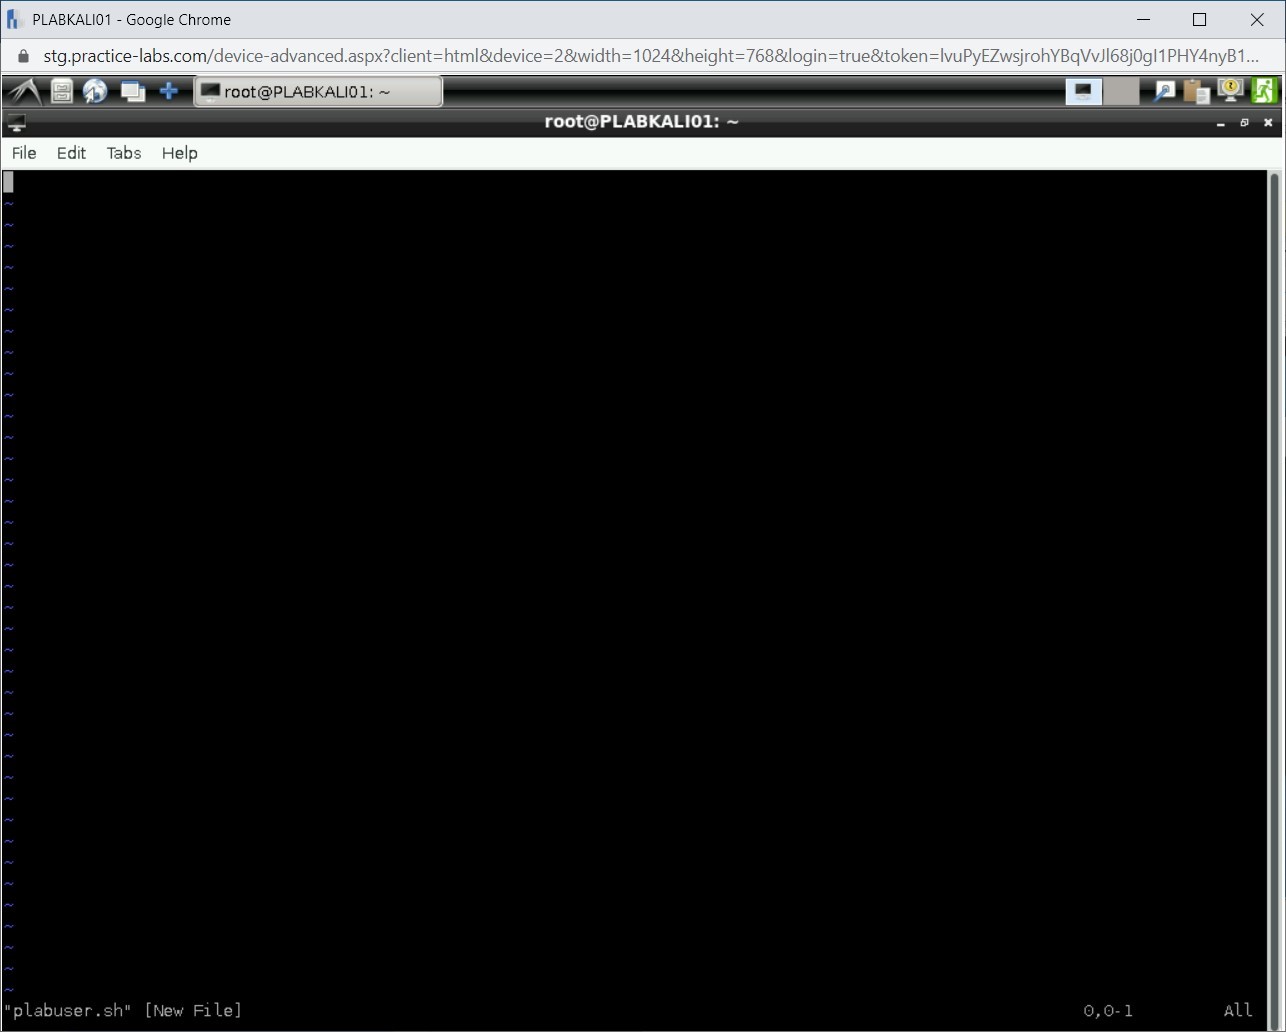
To use the vi editor to create a new script with the name plabuser.sh, type the following command:
vi plabuser.sh
Press Enter.

Step 19
The vi editor is displayed.
Step 20
Press i to invoke the insert mode.

Step 21
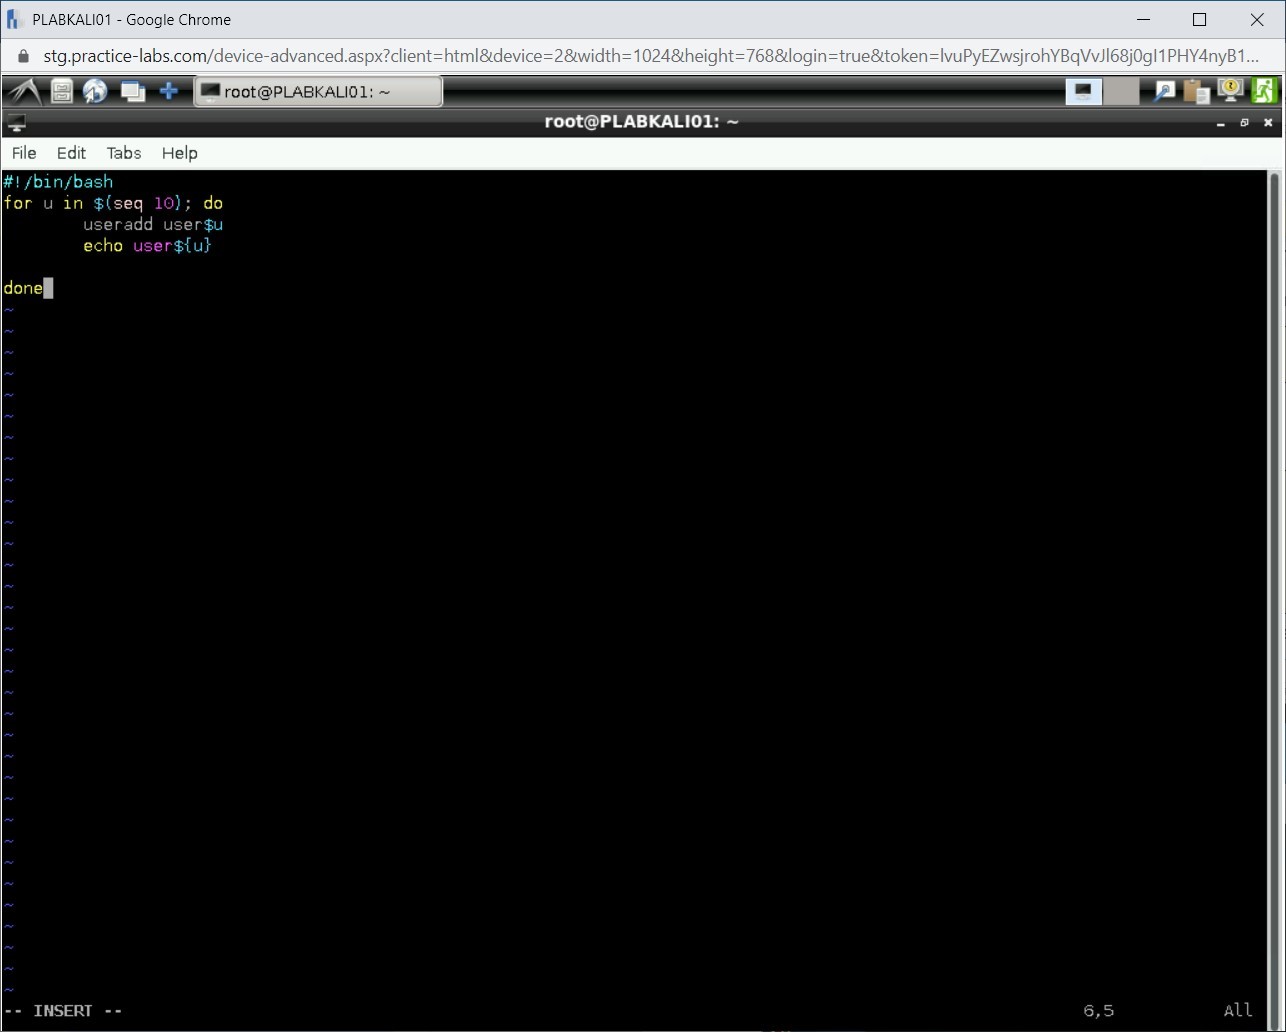
To specify the script interpreter, type the following command:
#!/bin/bash
Press Enter.
After that, type the following lines:
for u in $(seq 10); do
useradd user$u
echo user${u}
done
This script creates 10 users with the names starting with user1, user1, and so on.
Step 22
Now, you need to save and close the file. To save the file, press ESC and then type the following command:
:wq
Press Enter.

Step 23
You are back on the command prompt.

Step 24
To execute the plabuser.sh script, you change the permissions given to the script.
To change permissions, type the following command:
chmod 777 plabuser.sh
Press Enter.

Step 25
Notice that there is no output of this command.

Step 26
Now, to run the script, type the following command:
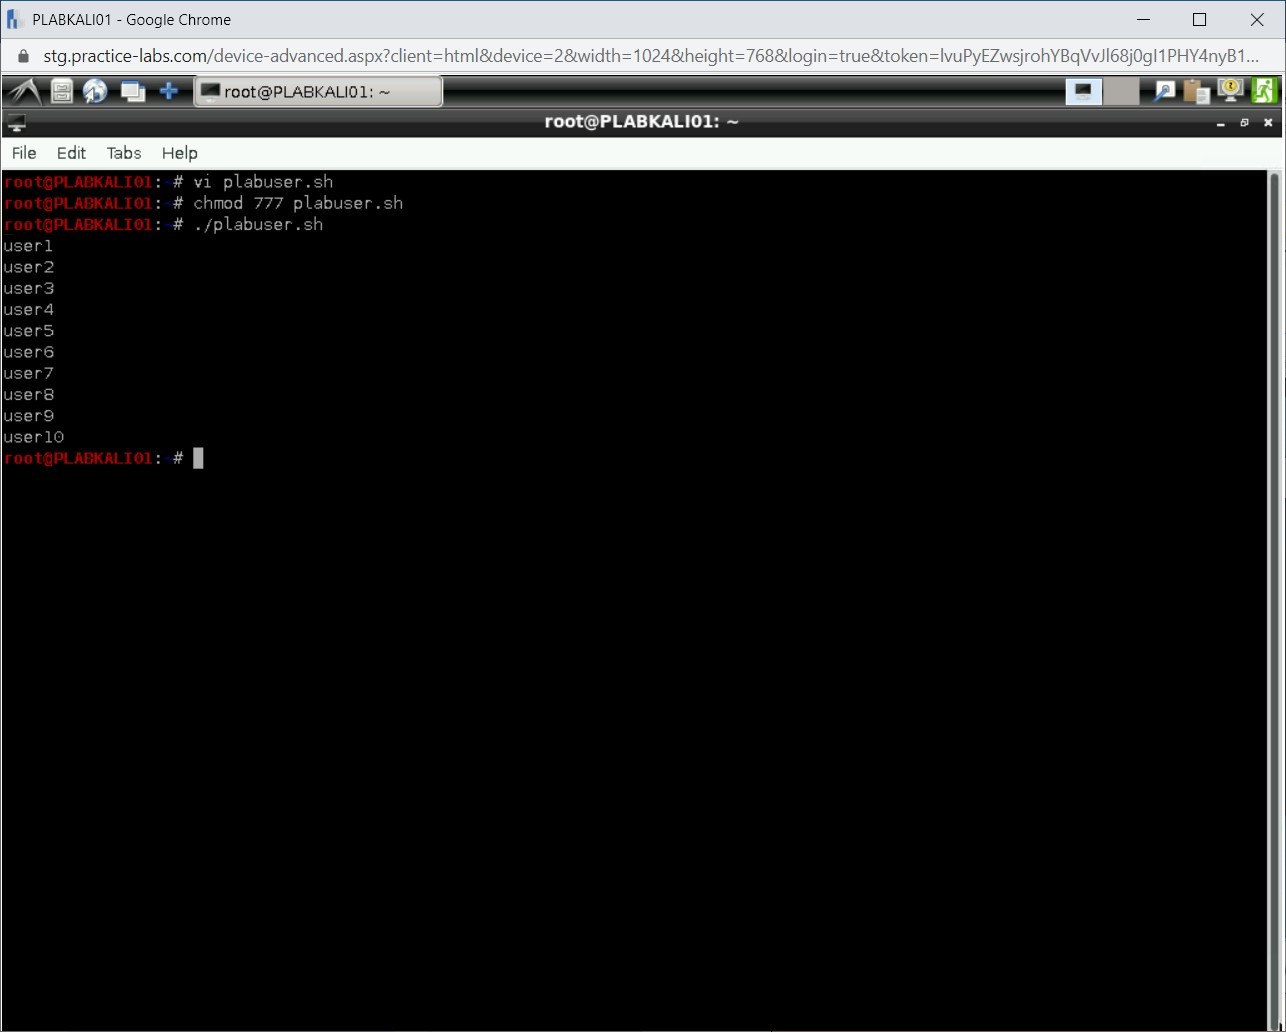
./plabuser.sh
Press Enter.
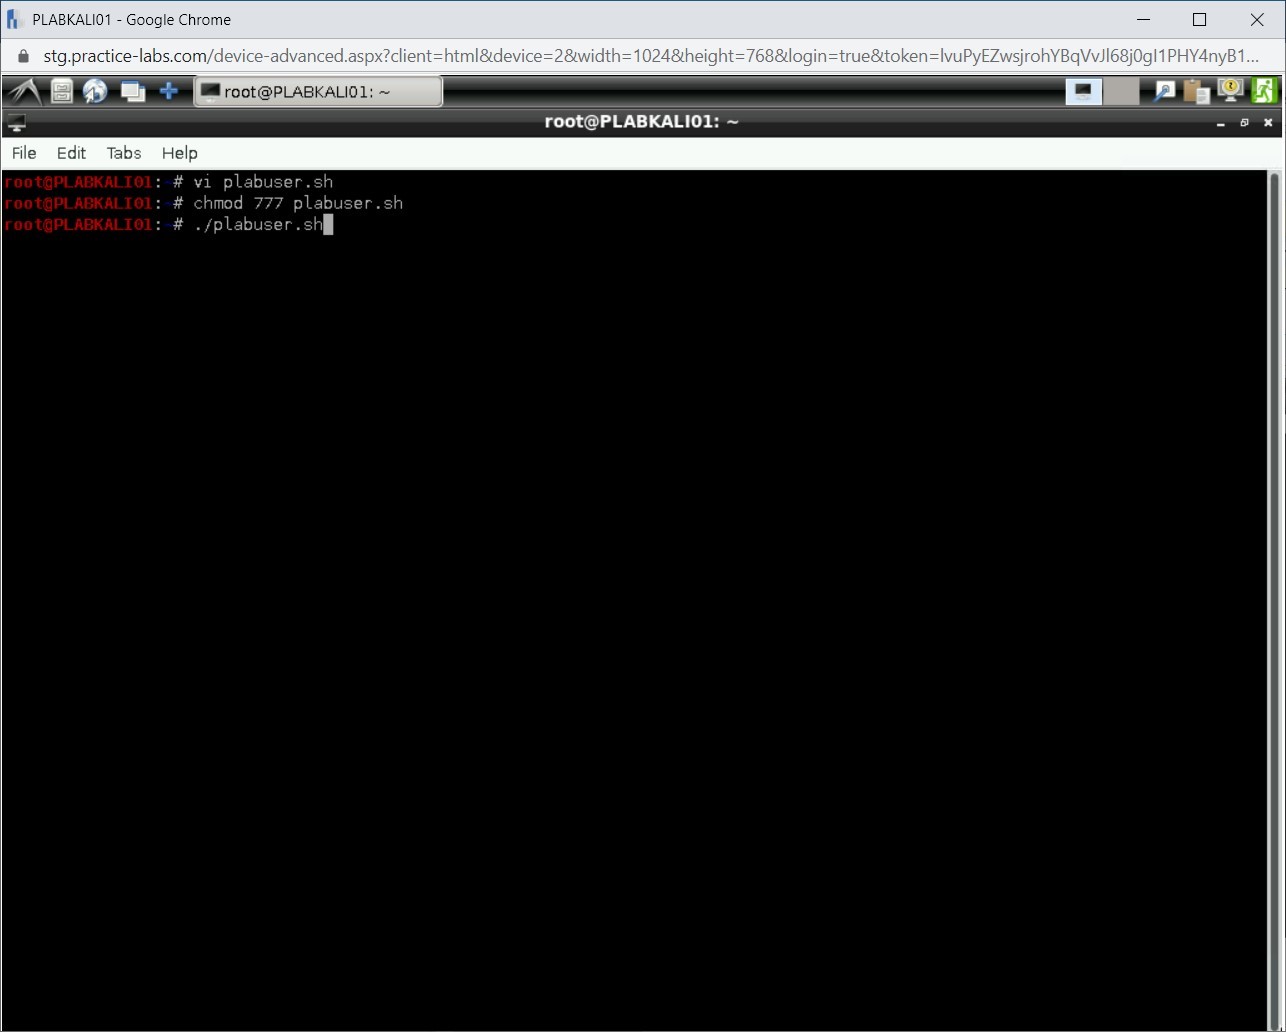
Step 27
Note that 10 users have been created.
Task 2 - Use If…Else statements
The if…else statements are mainly used for making a decision and, therefore, are known as decision-making statements. However, there may be a scenario in which you will have to work with multiple conditions to choose from, then how to use the case…ecac statements.
In this task, you will learn to use if…else statements. To use the if…else statements, perform the following steps:
Step 1
Ensure you have powered on all the devices listed in the introduction and connect to PLABKALI01.
Clear the screen by entering the following command:
clear
In shell scripting, you can use three different types of if…else statements. They are the following:
- if...fi statement
- if...else...fi statement
- if...elif...else...fi statement
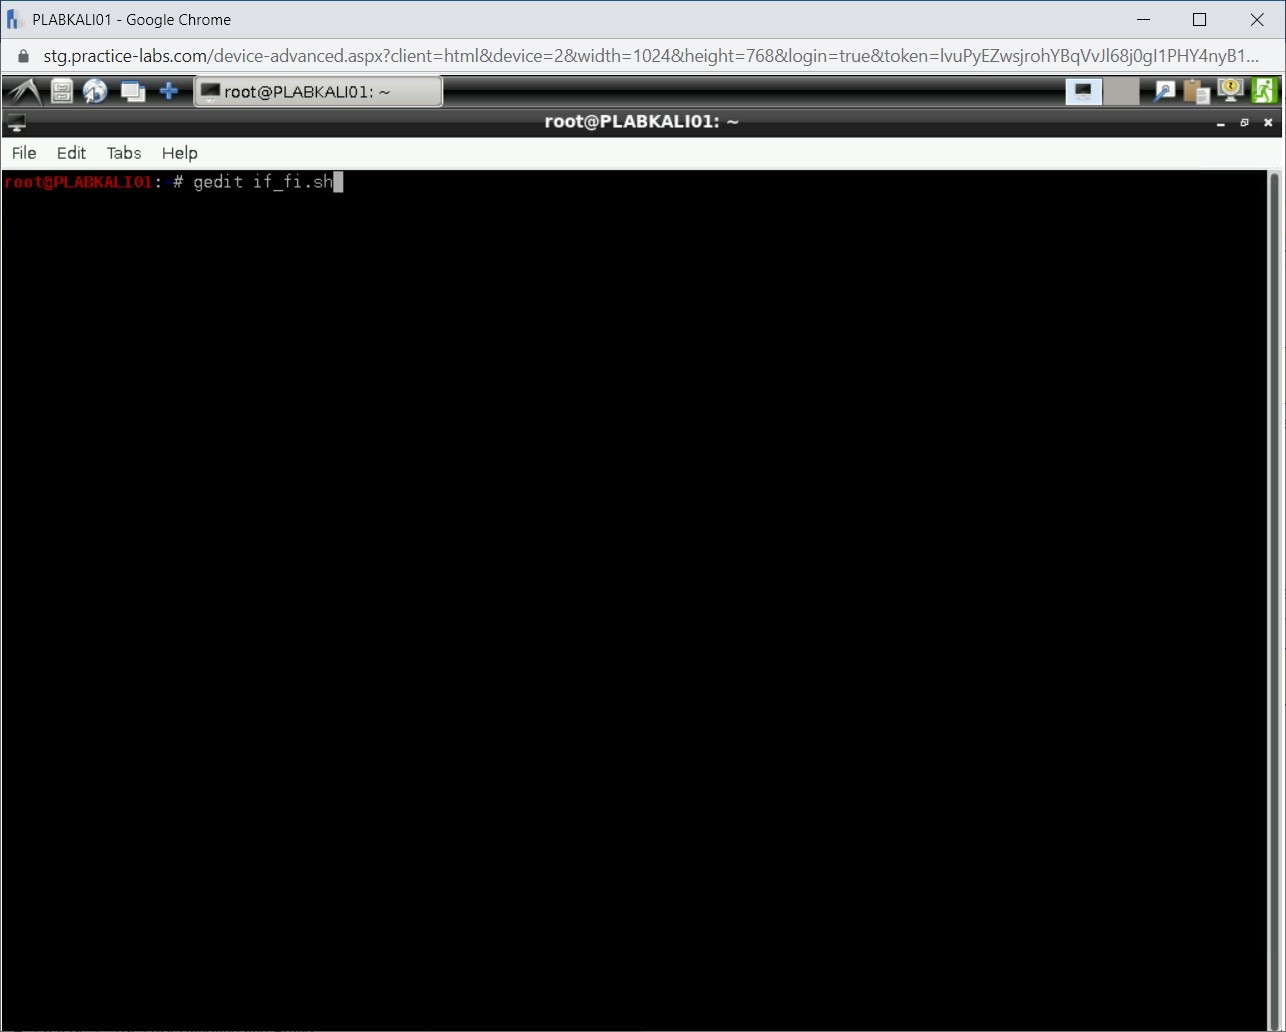
Let’s first create a new shell script in which you will compare two values of x and z and accordingly display the result. Type the following command to create a new file:
gedit if_fi.sh
Press Enter.
Step 2
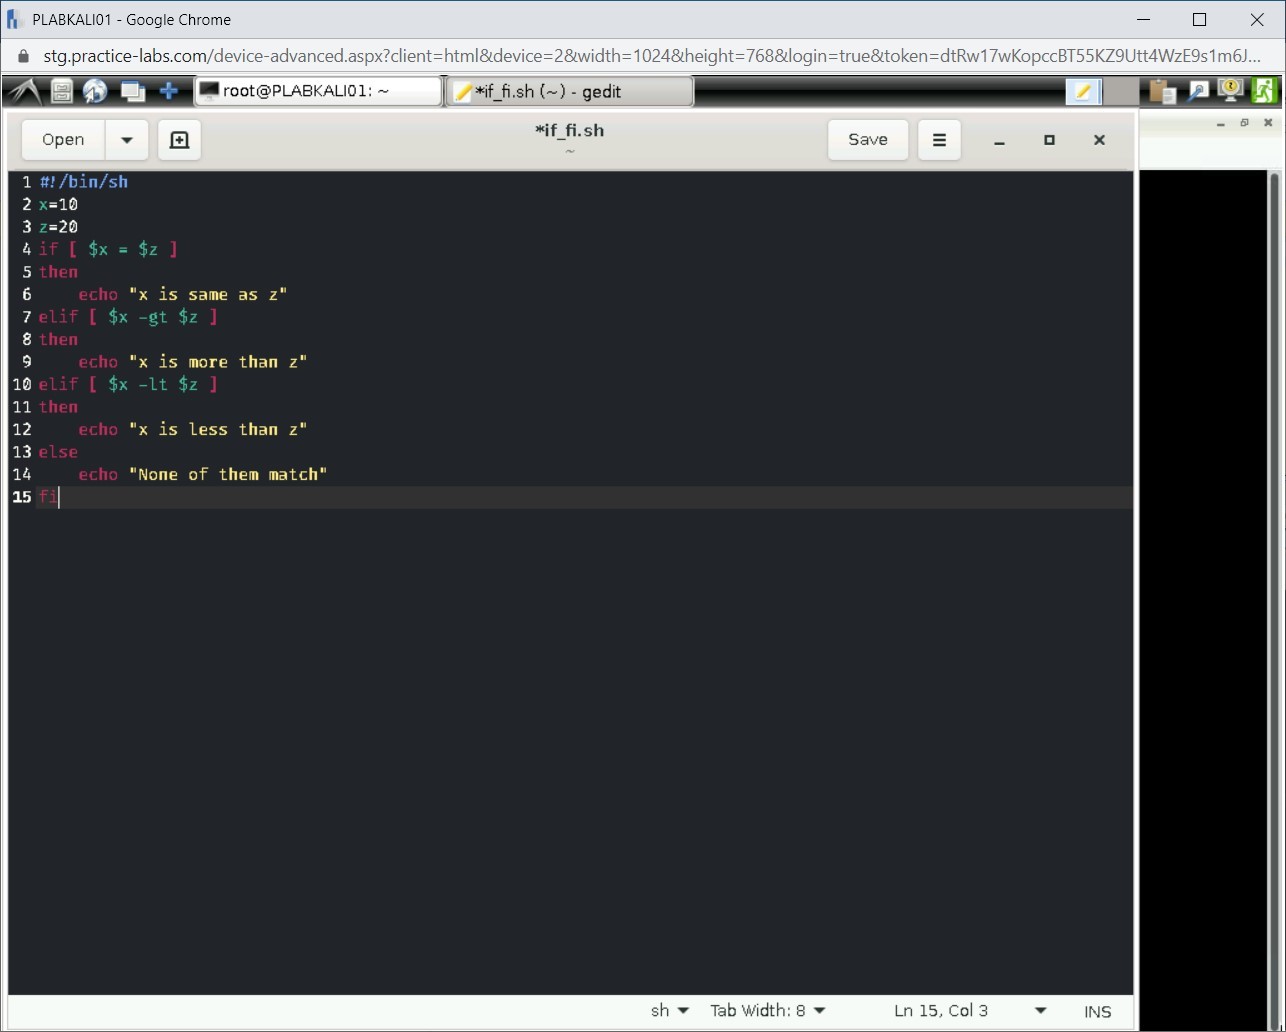
Notice a new file is created with the name if_fi.sh. Type the following:
#!/bin/sh
x=10
z=20
if [ $x = $z ]
then
   echo "x is same as z"
elif [ $x -gt $z ]
then
   echo "x is more than z"
elif [ $x -lt $z ]
then
   echo "x is less than z"
else
   echo "None of them match"
fi
Step 3
Click Save to save the file. Then, close the file.

Step 4
Clear the screen by entering the following command:
clear
You need to make the shell script executable. Type the following command:
chmod 777 if_fi.sh
Press Enter.

Step 5
Notice that no output is displayed after the command execution. You will now execute the shell script. Type the following command:
./if_fi.sh
Press Enter.
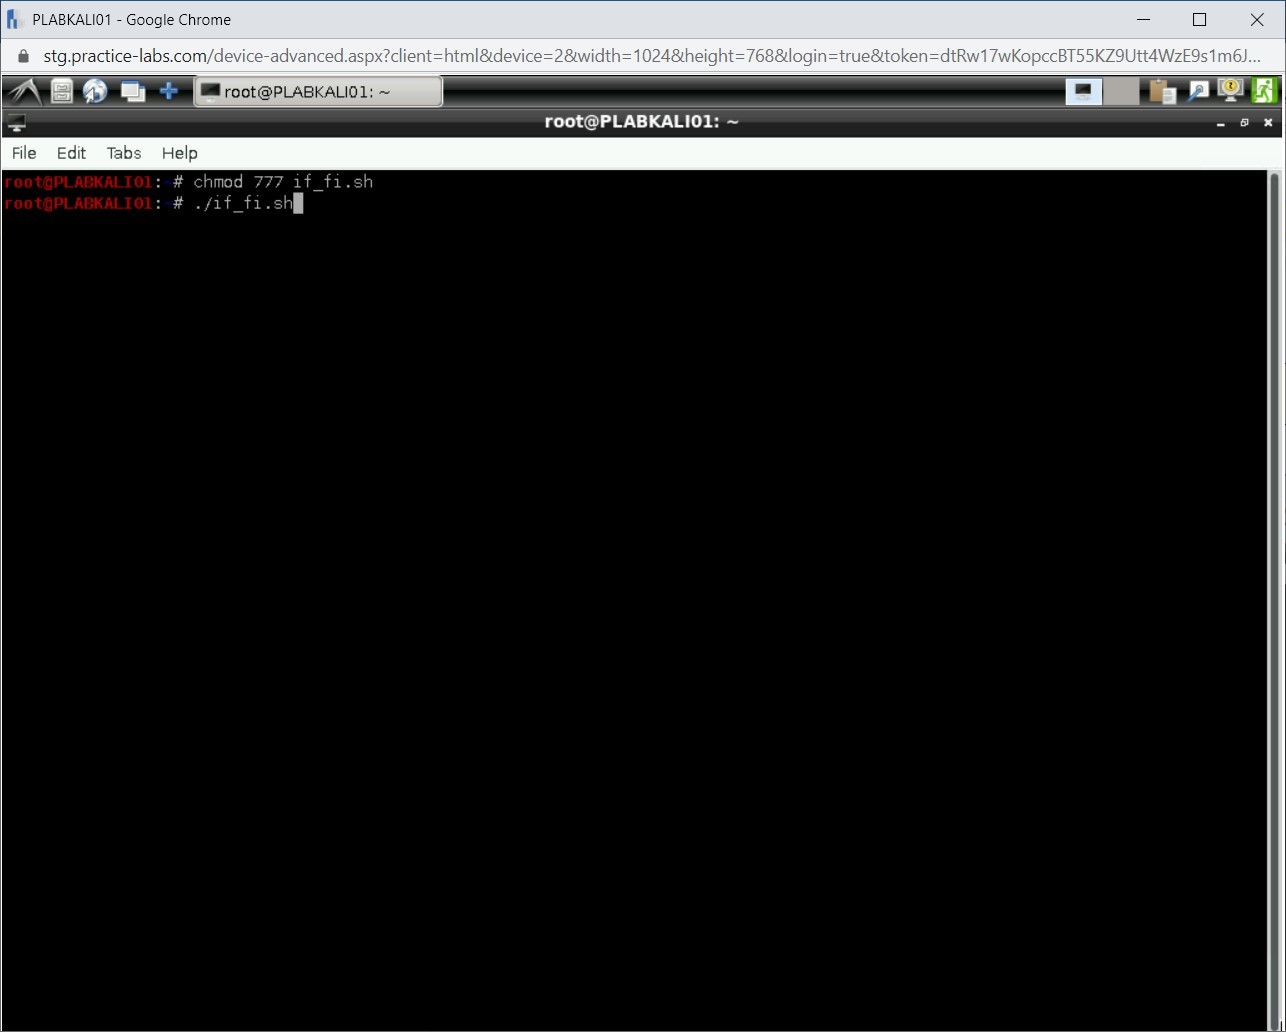
Step 6
Note that the last condition is met in which x is less than z.

Step 7
Clear the screen by entering the following command:
clear
In a scenario where you have multiple conditions, it is best to use case…esac statements. Create a new file with gedit, and name is case.sh. Type the following command:
gedit case.sh
Press Enter.

Step 8
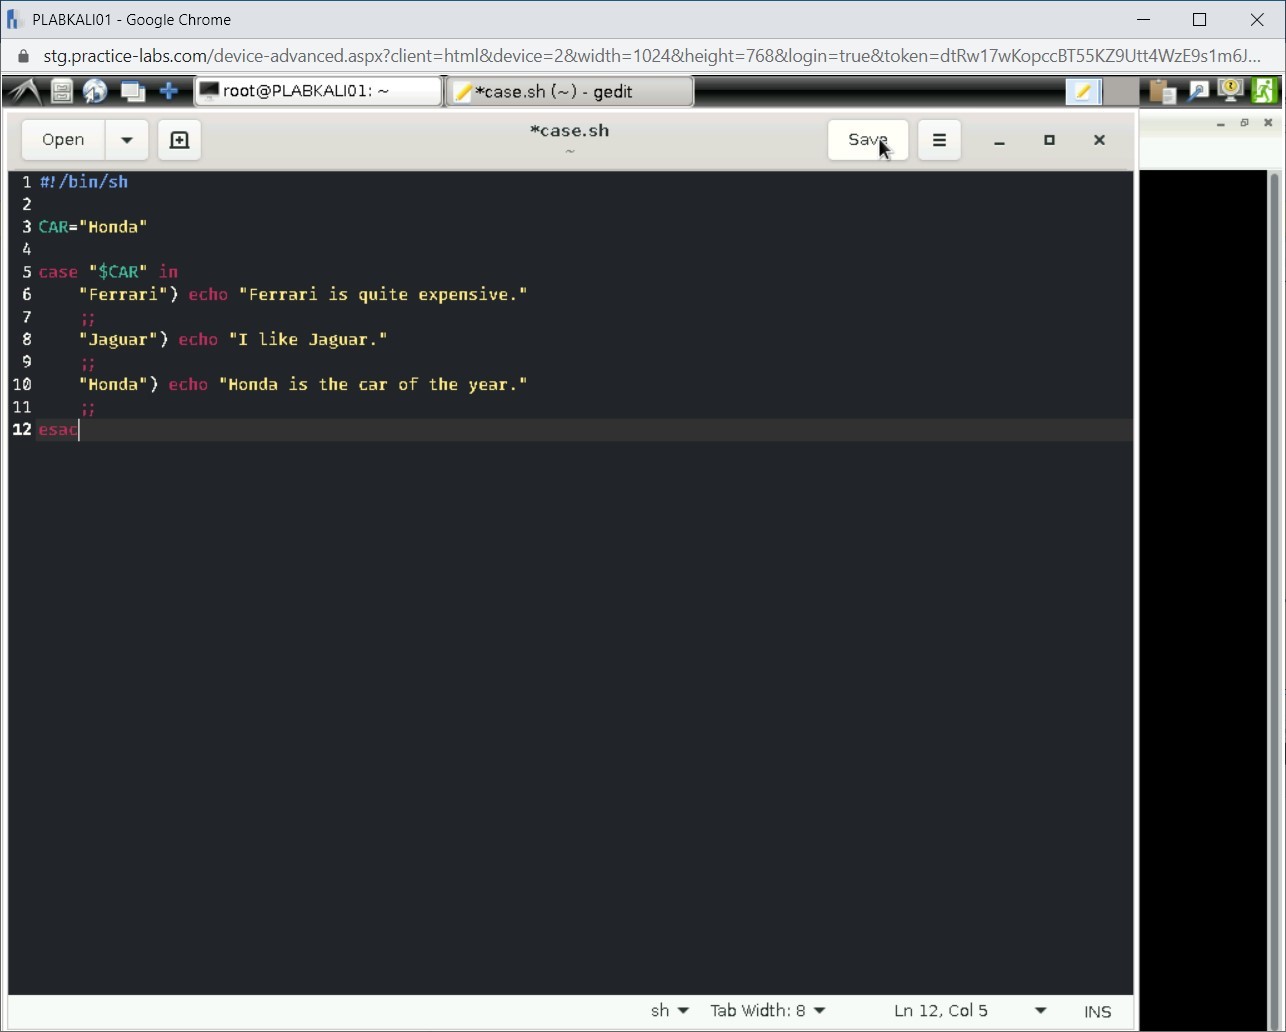
A new file case.sh is displayed. Type the following:
#!/bin/sh
CAR="Honda"
case "$CAR" in
   "Ferrari") echo "Ferrari is quite expe    nsive."
   ;;
   "Jaguar") echo "I like Jaguar."
   ;;
   "Honda") echo "Honda is the car of the year."
   ;;
esac
Step 9
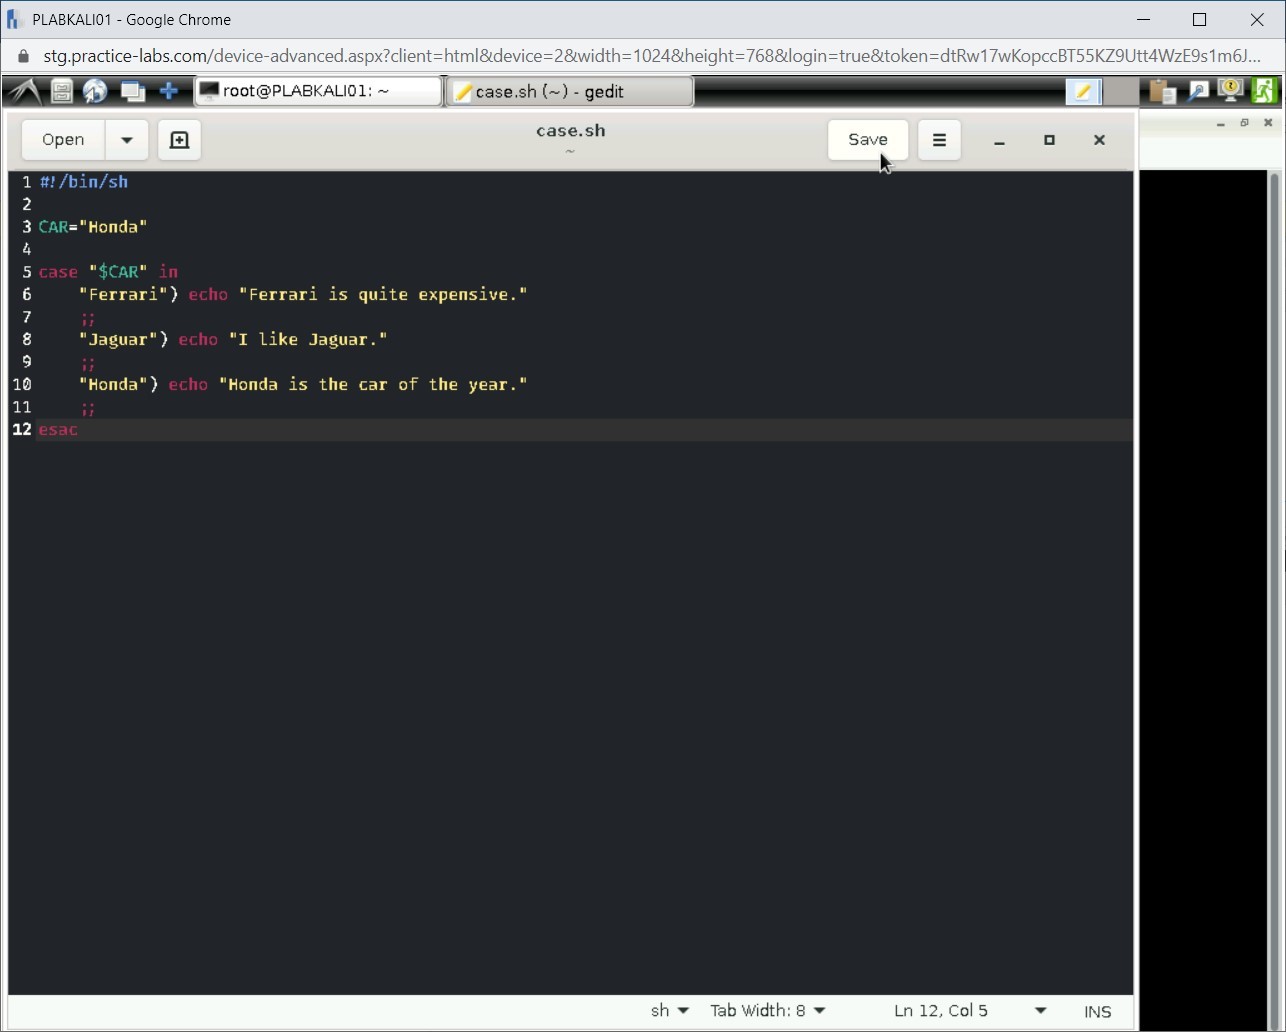
Click Save to save the file. Then, close the file.
Step 10
Clear the screen by entering the following command:
clear
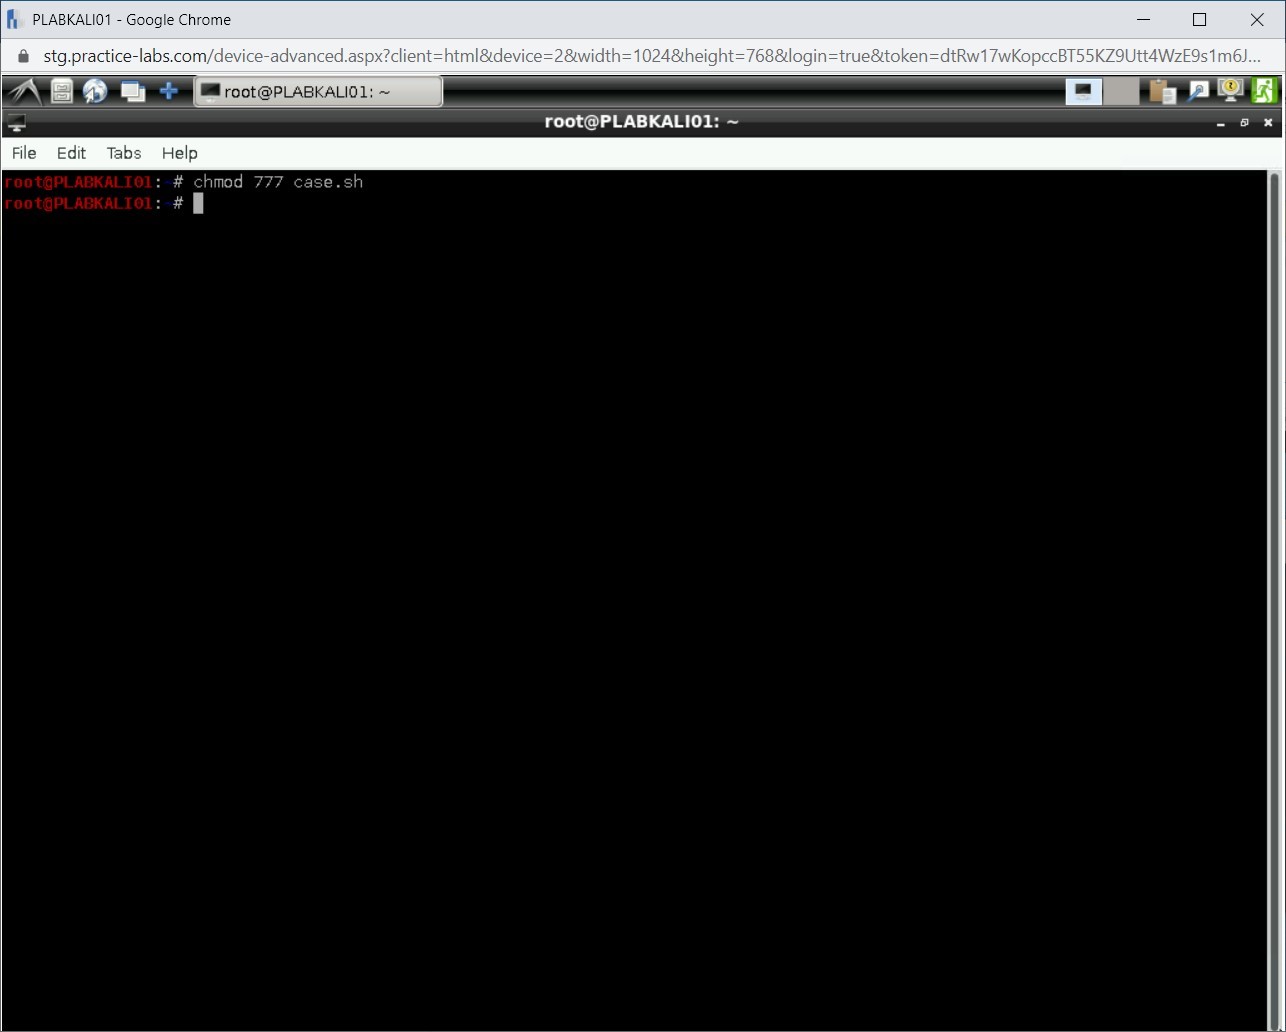
You need to make the shell script executable. Type the following command:
chmod 777 case.sh
Press Enter.

Step 11
Notice that no output is displayed.
Step 12
Clear the screen by entering the following command:
clear
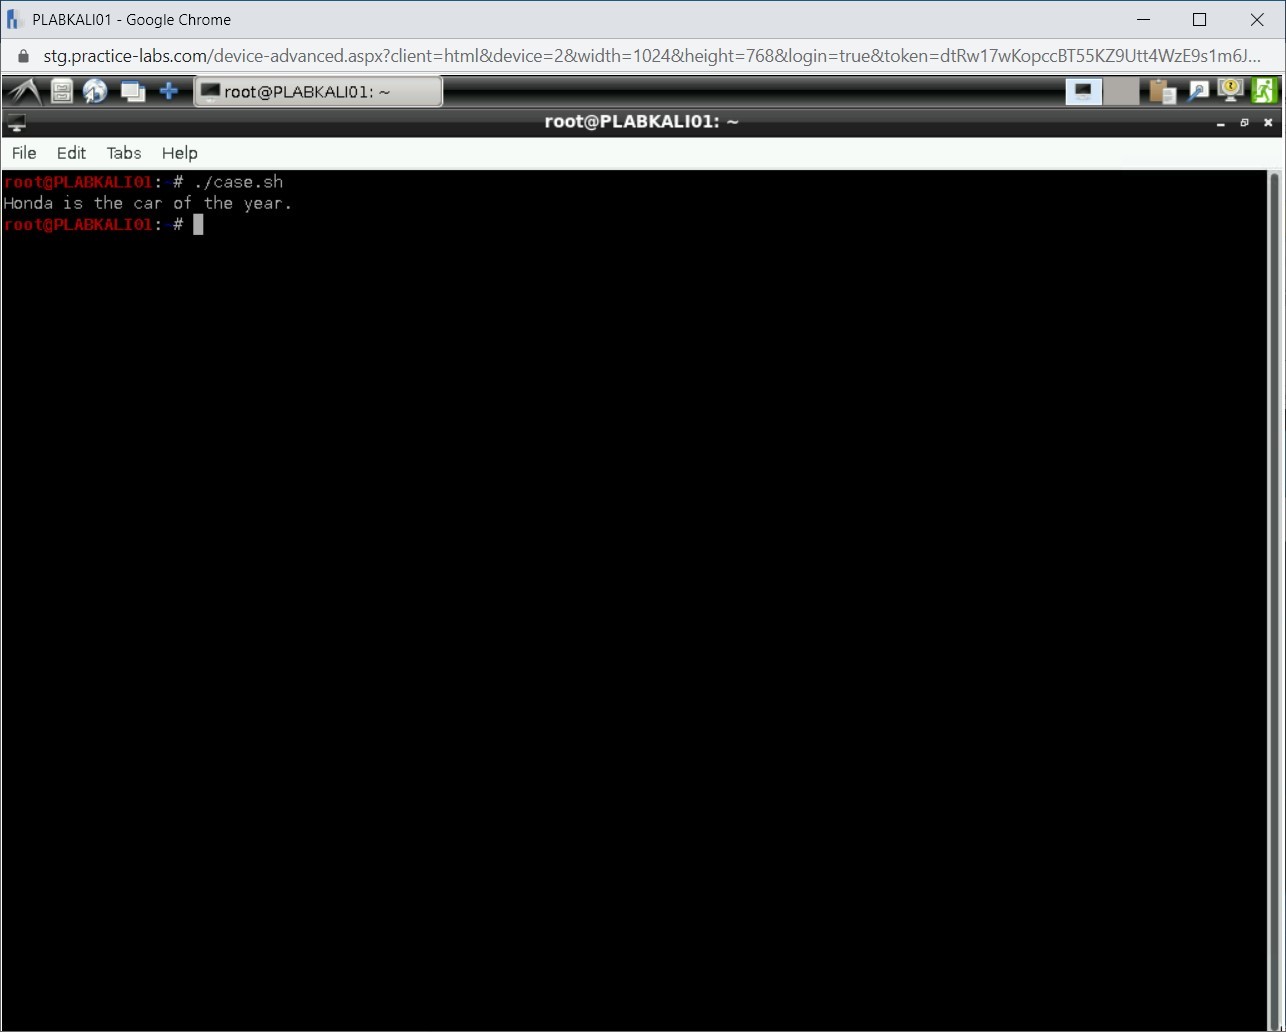
You will now execute the shell script. Type the following command:
./case.sh
Press Enter.

Step 13
Notice the answer. After evaluating two conditions, the third condition meets the criteria and is printed as the answer.
Task 3 - Use While Loop
A while loop runs until a statement becomes true. It can nest other loops. There is no limit to nesting loops. The number is limited to your requirement. In this task, you will learn to use while loop. To use the loop, perform the following steps:
Step 1
Ensure you have powered on all the devices listed in the introduction and connect to PLABKALI01. Clear the screen by entering the following command:
clear
Let’s first create a new shell script with the following command:
gedit while.sh
Press Enter.

Step 2
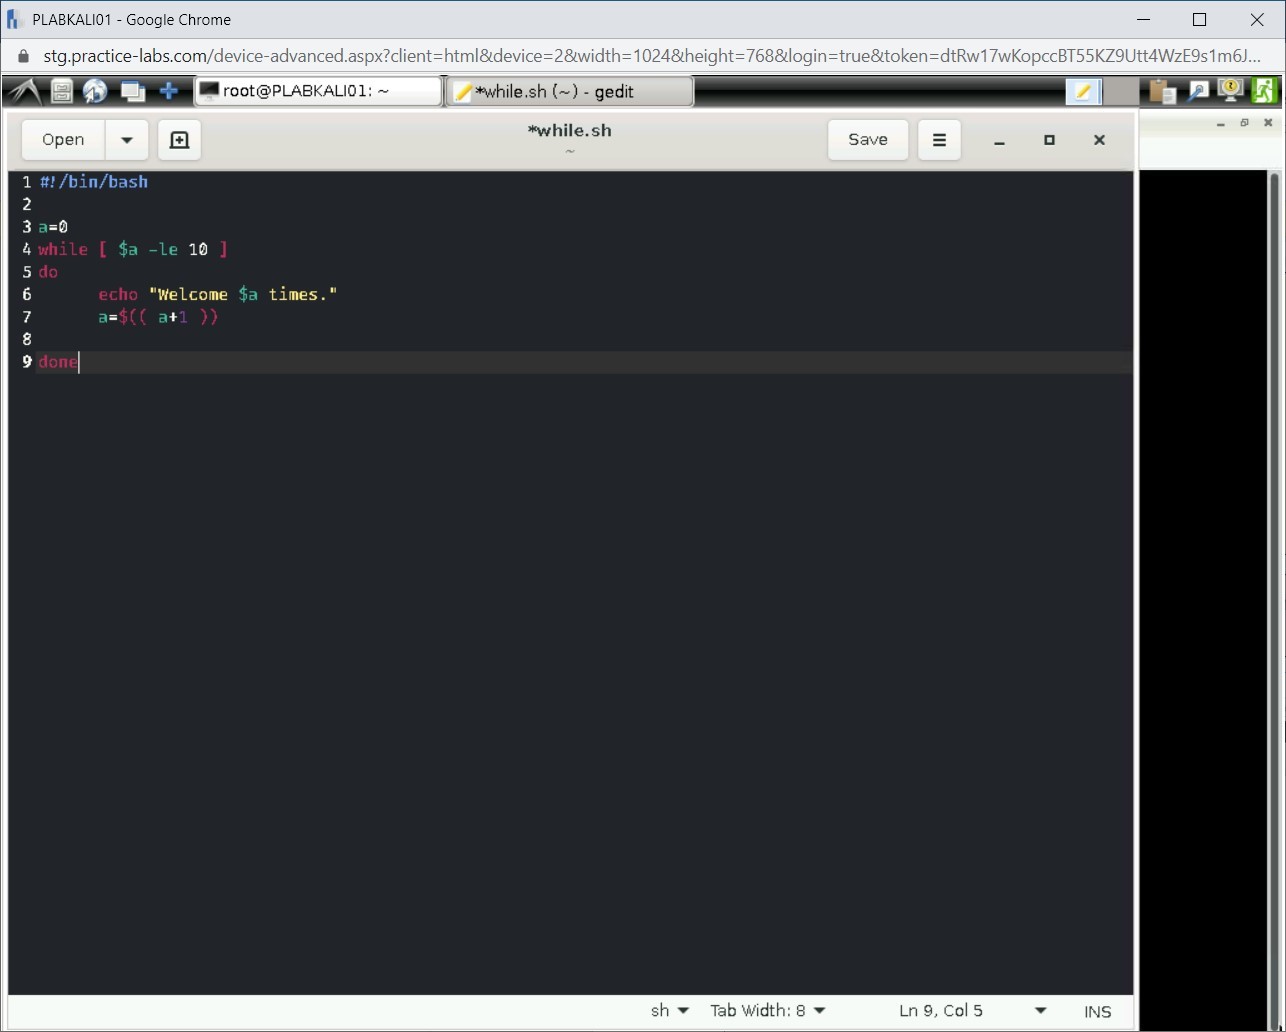
Notice a new file is created with the name while.sh. Type the following:
#!/bin/bash
a=0
while [ $a -le 10 ]
do
  echo "Welcome $a times."
  a=$(( a+1 ))
done
Step 3
Click Save to save the file. Then, close the file.

Step 4
Clear the screen by entering the following command:
clear
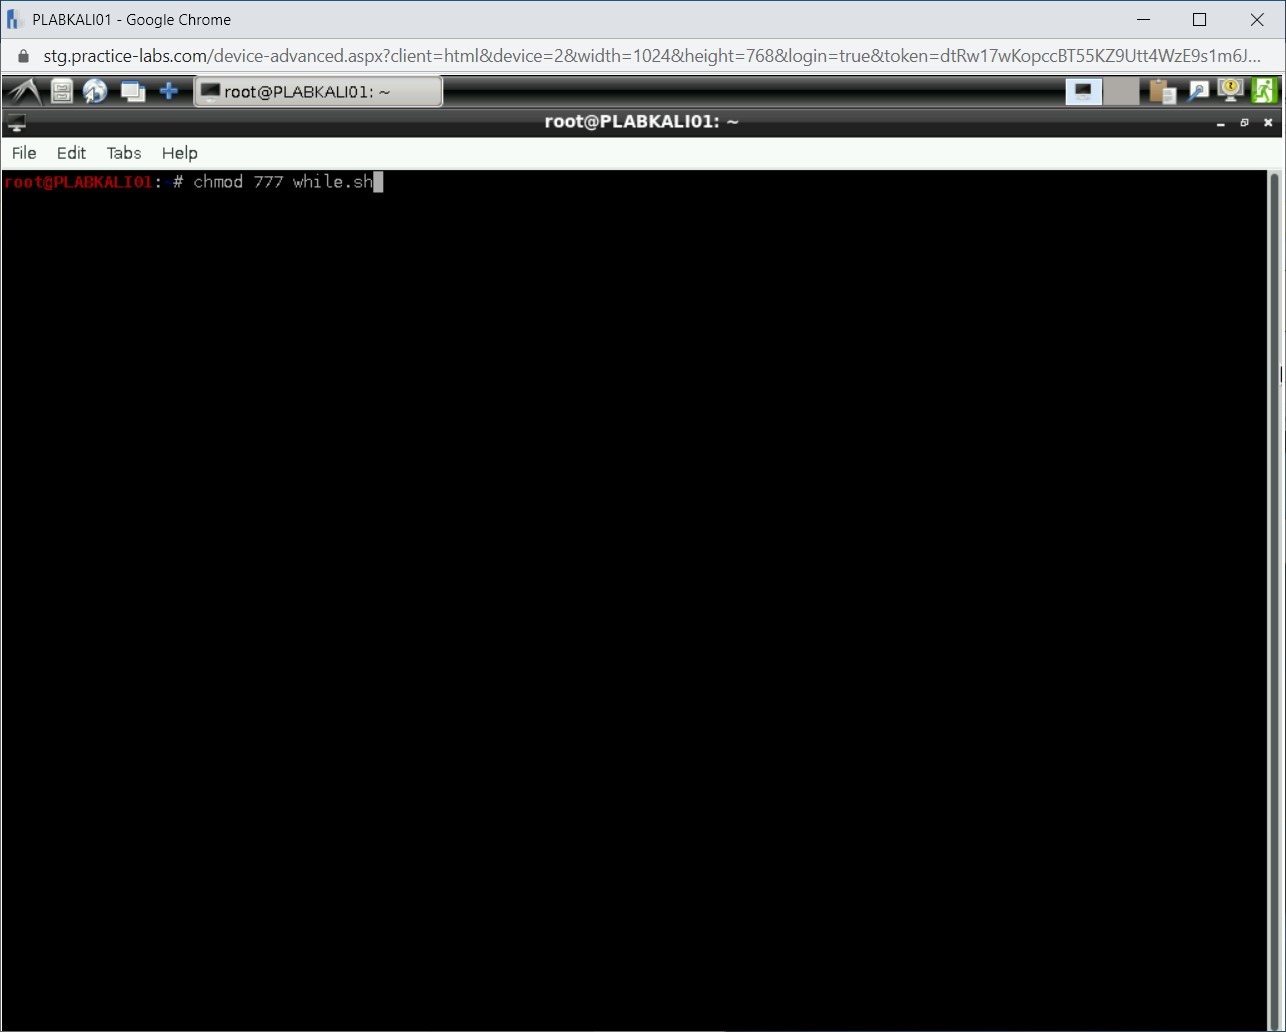
You need to make the shell script executable. Type the following command:
chmod 777 while.sh
Press Enter.
Step 5
Clear the screen by entering the following command:
clear
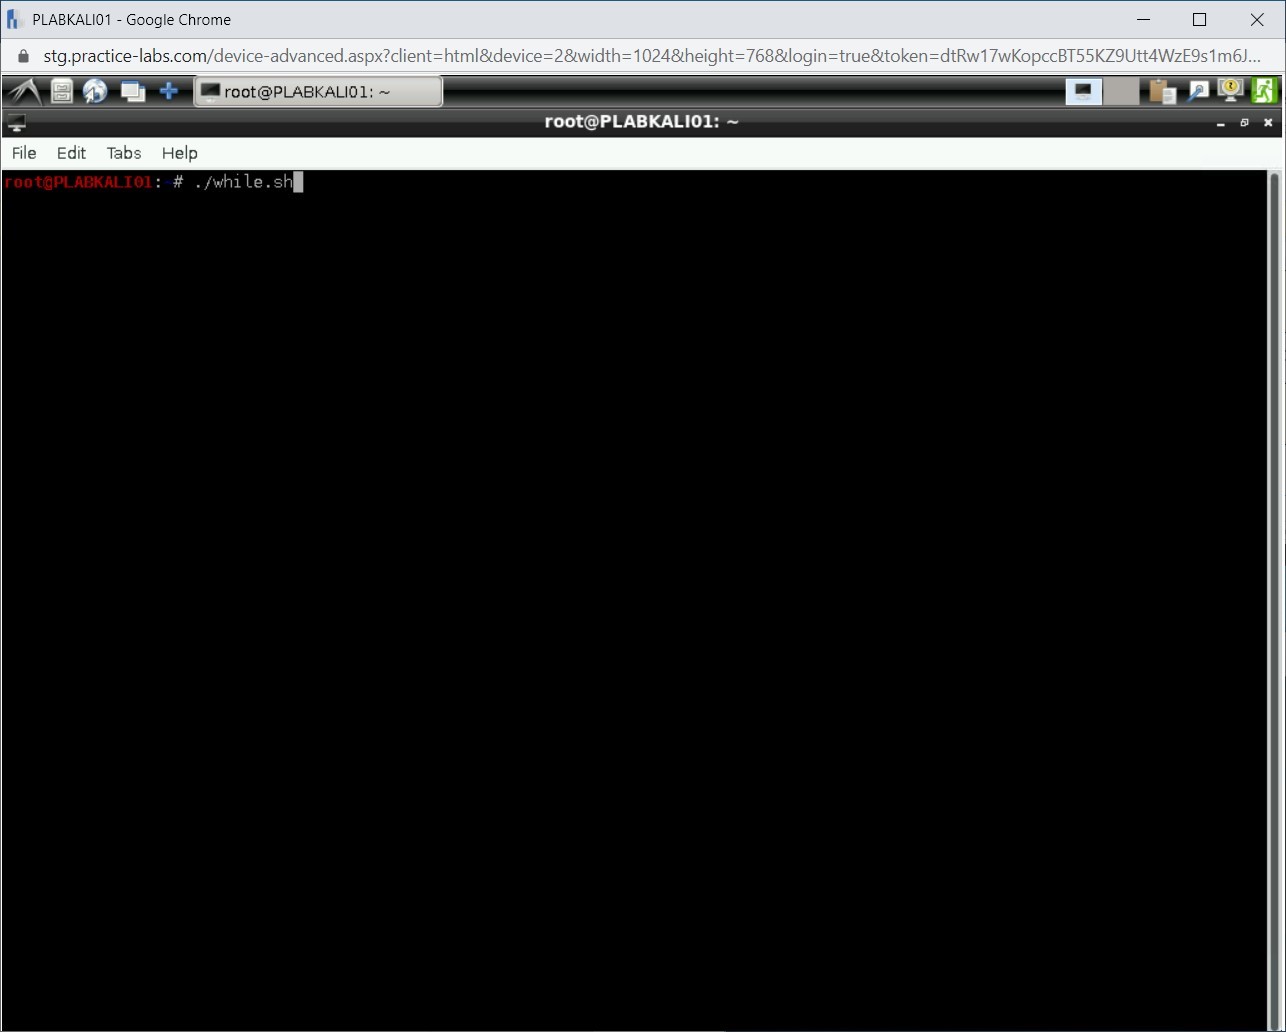
You will now execute the shell script. Type the following command:
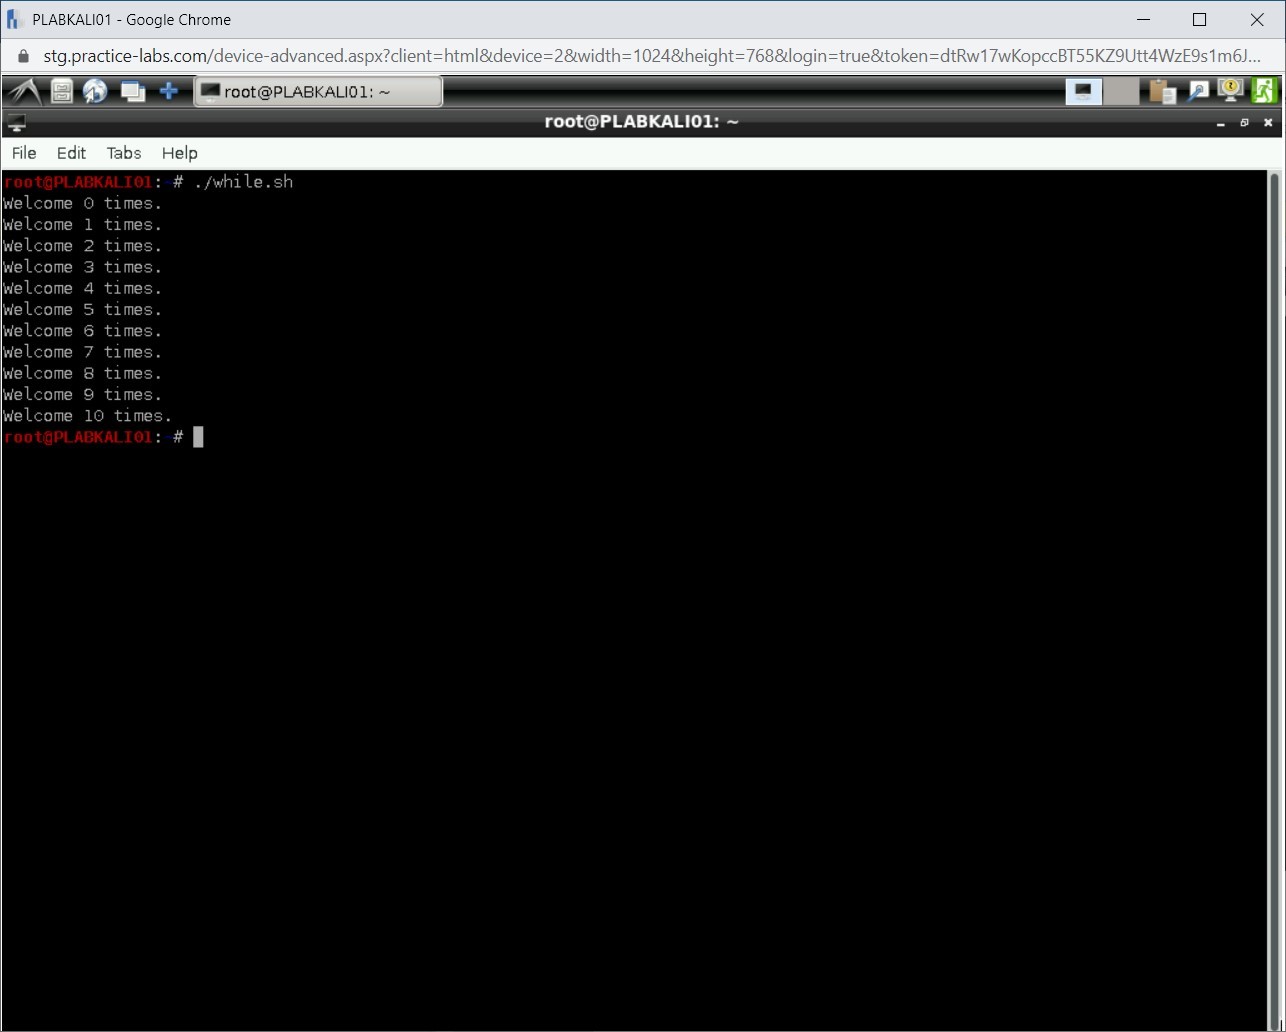
./while.sh
Press Enter.
Step 6
Note that Welcome has been printed 11 times, starting from 0 to 10. This condition was defined in the while loop.
Use Error Handling and Arrays
One of the common methods is to insert and unexpected input that can generate an error condition. Therefore, to avoid such a situation, developers should use the error-handling methods. Bash provides an alternate method instead of try…catch clause.
In this exercise, you will learn about error handling and arrays.
Learning Outcomes
After completing this exercise, you will be able to:
- Use Error Handling
- Use Arrays
Your Devices
You will be using the following device in this lab. Please power on the device.
- PLABKALI01 - (Kali 2019.2 - Linux Kali)

Task 1 - Use Error Handling
Many programming languages use the try…catch clause to handle errors. However, if you are using Bash to write shell scripts, then you will not be able to use try…catch clause. Instead, you can use && or ||. The && operator is the AND operator, which requires both the expressions in the command to be true. The first expression is a command, which must run for the second command to run. If the first command fails, the second command will not run.
The || operator is the OR operator. In this case, if the first command fails, then only the second command runs.
To learn about error handling, perform the following steps:
Step 1
Clear the screen by entering the following command:
clear
Let’s first try the AND operator. Remember, the first command must run for the second command to run. If the first command fails, then the second command will not run.
Type the following command:
cd test && touch plab.txt
Press Enter.
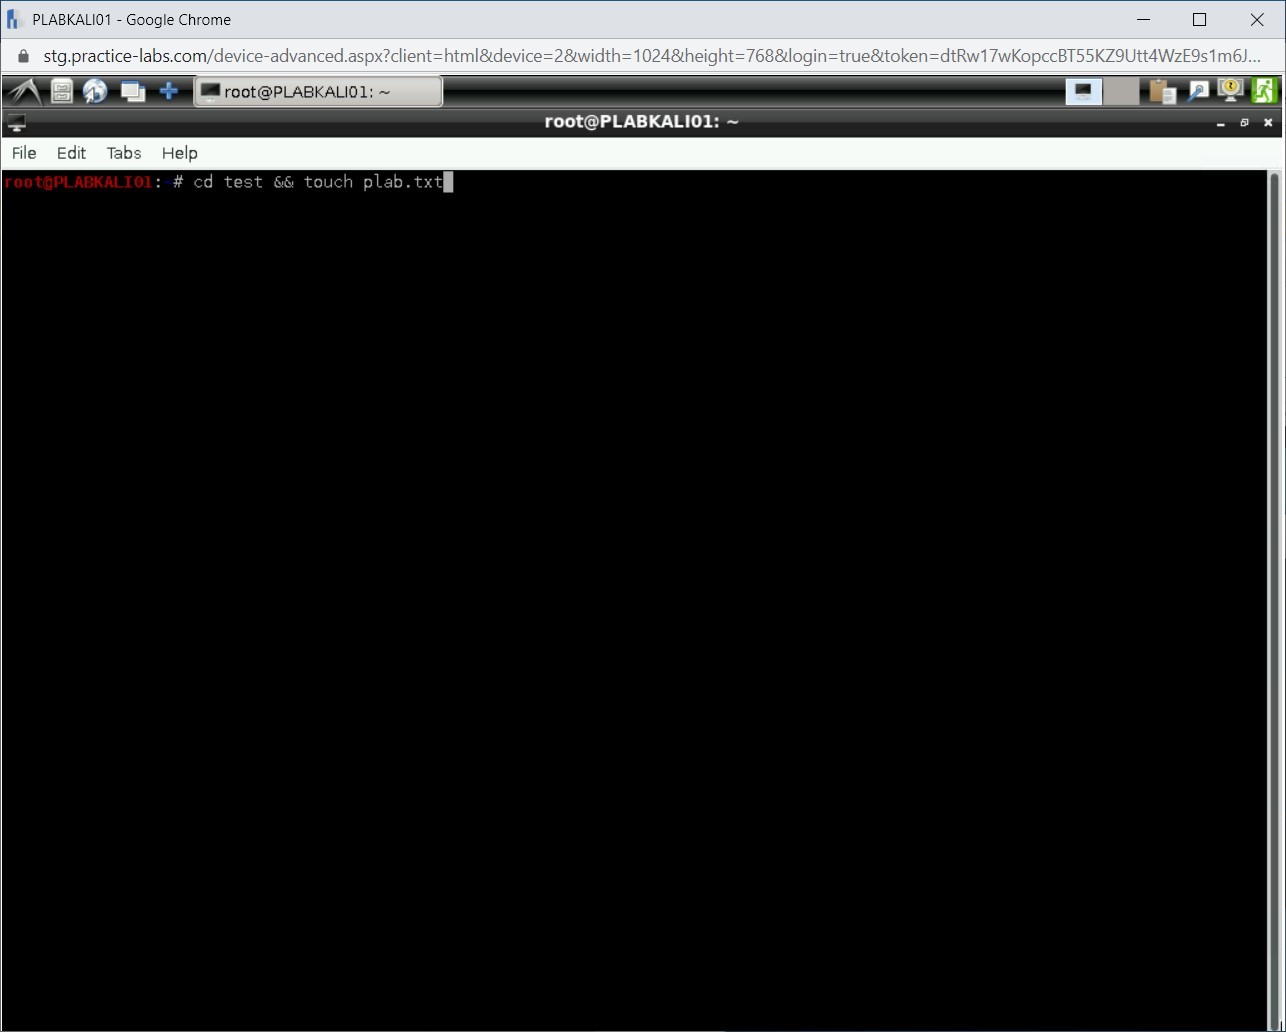
Step 2
Notice the output of this command. There is no directory named test, and therefore, the first command fails. Since you are using the AND operator, the second command does not execute.

Step 3
Clear the screen by entering the following command:
clear
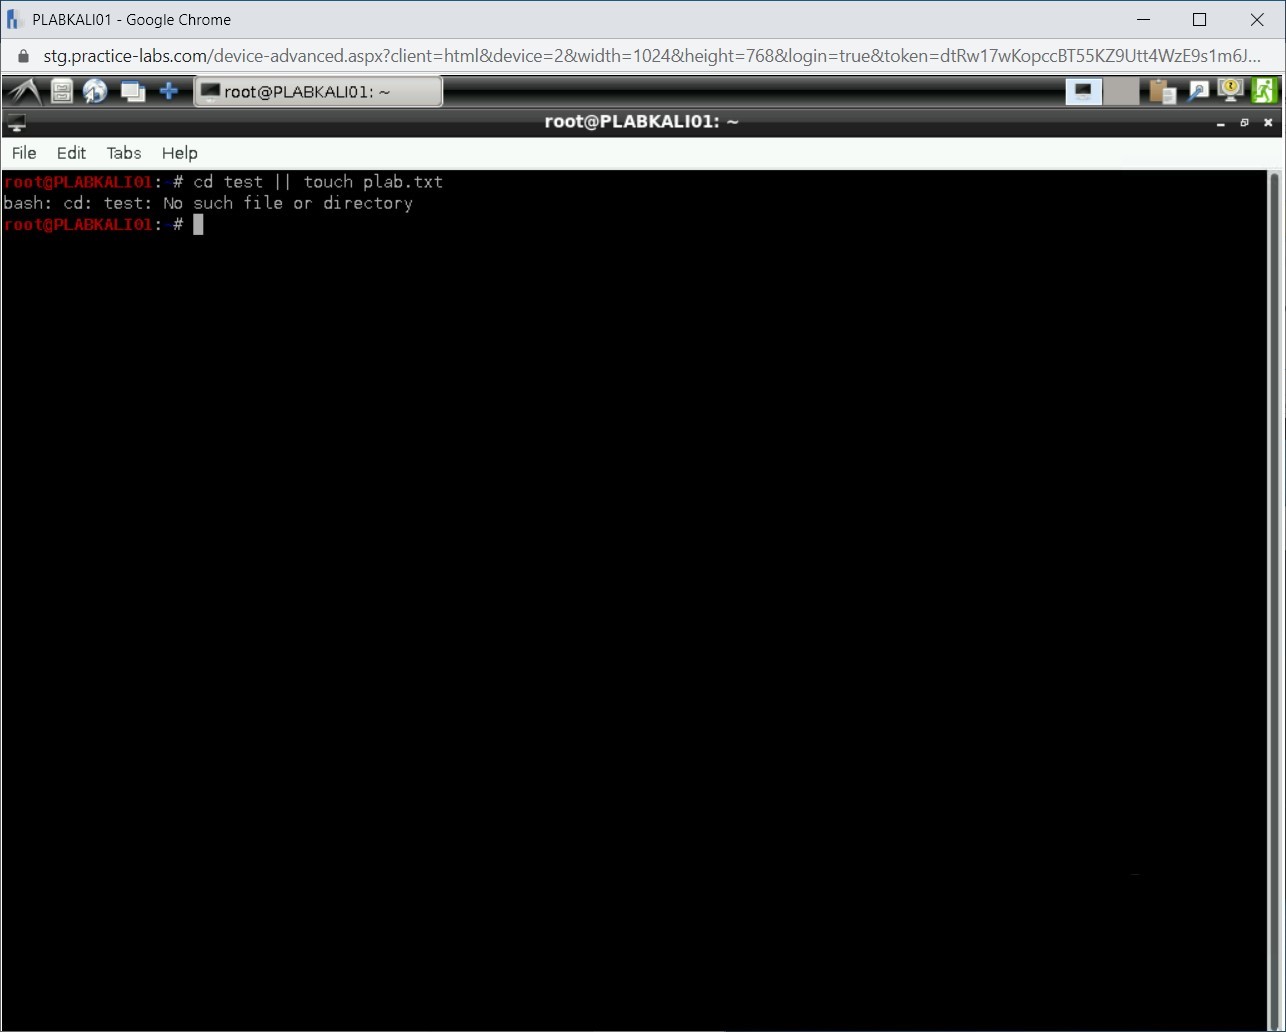
Let’s try the OR operator. Type the following command:
Type the following command:
cd test || touch plab.txt
Press Enter.

Step 4
Notice that the first command fails in this scenario. However, the second should have executed and created the plab.txt file.
Step 5
Let’s verify if the plab.txt file has been created with the touch command. To do this, type the following command:
ls -l
Press Enter.

Step 6
Notice that the plab.txt file is present in the current directory.

Task 2 - Use Arrays
An array is a variable that can contain multiple values, which can be of the same or different types. Arrays do not have a size limit. Bash arrays use numbered indexes, and index starts with zero.
In this task, you will learn to use arrays. To do this, perform the following steps:
Step 1
Clear the screen by entering the following command:
clear
Let’s first create a shell script with an array.
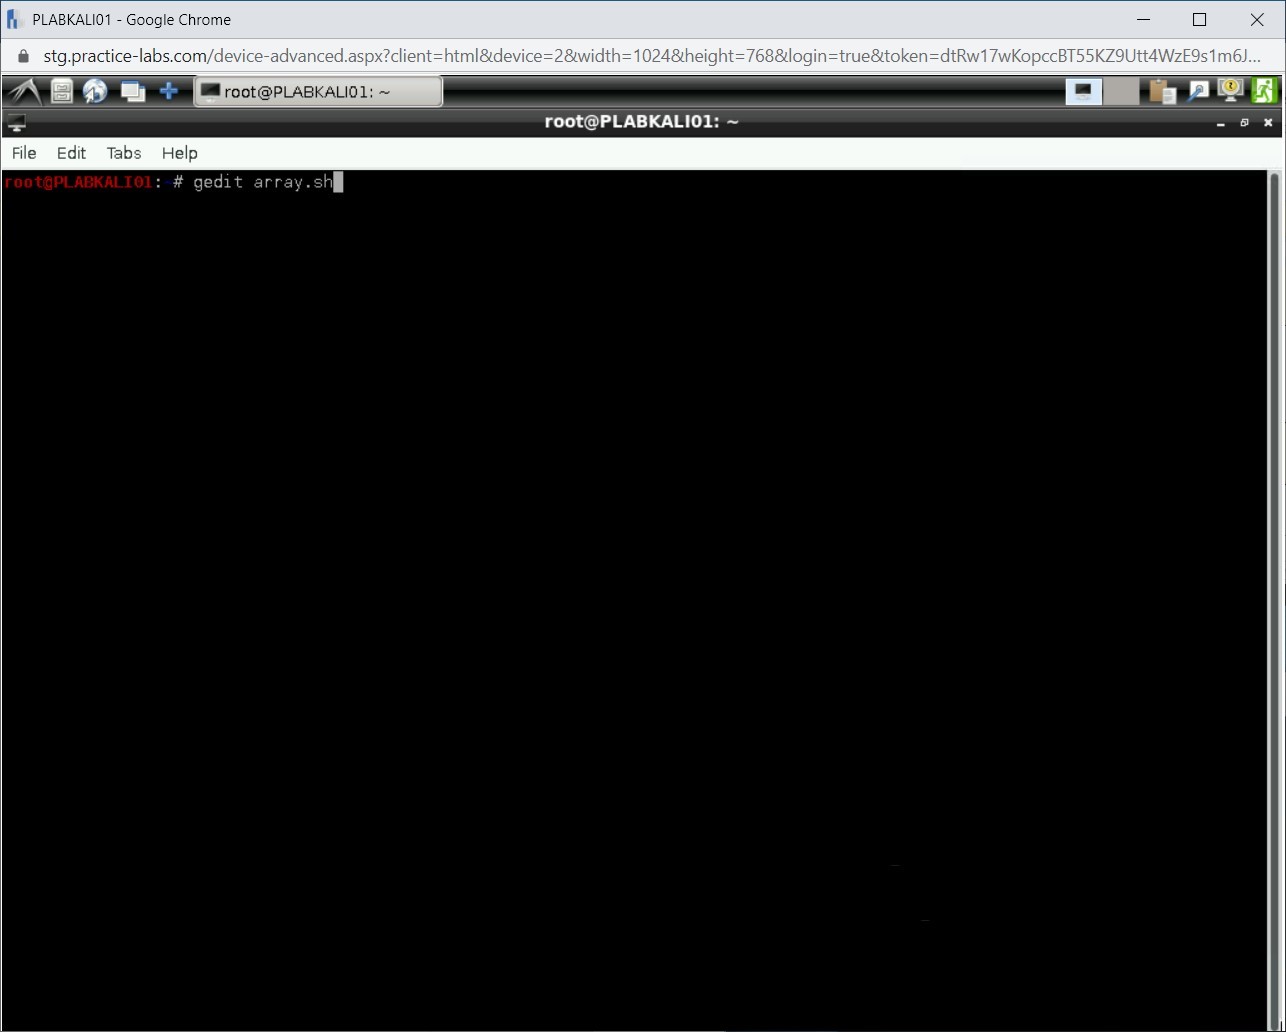
Type the following command:
gedit array.sh
Press Enter.
Step 2
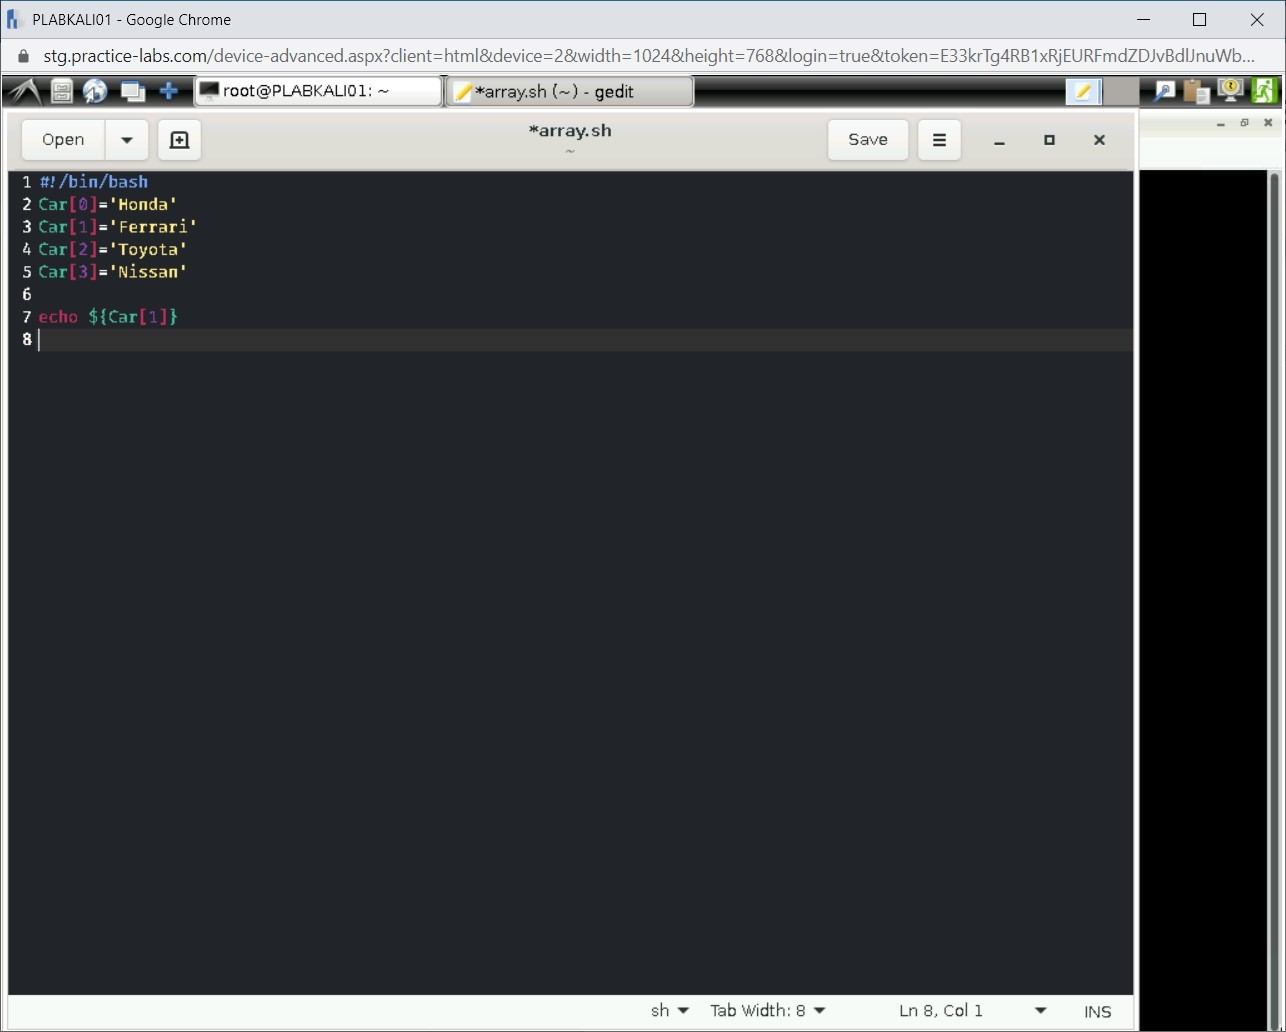
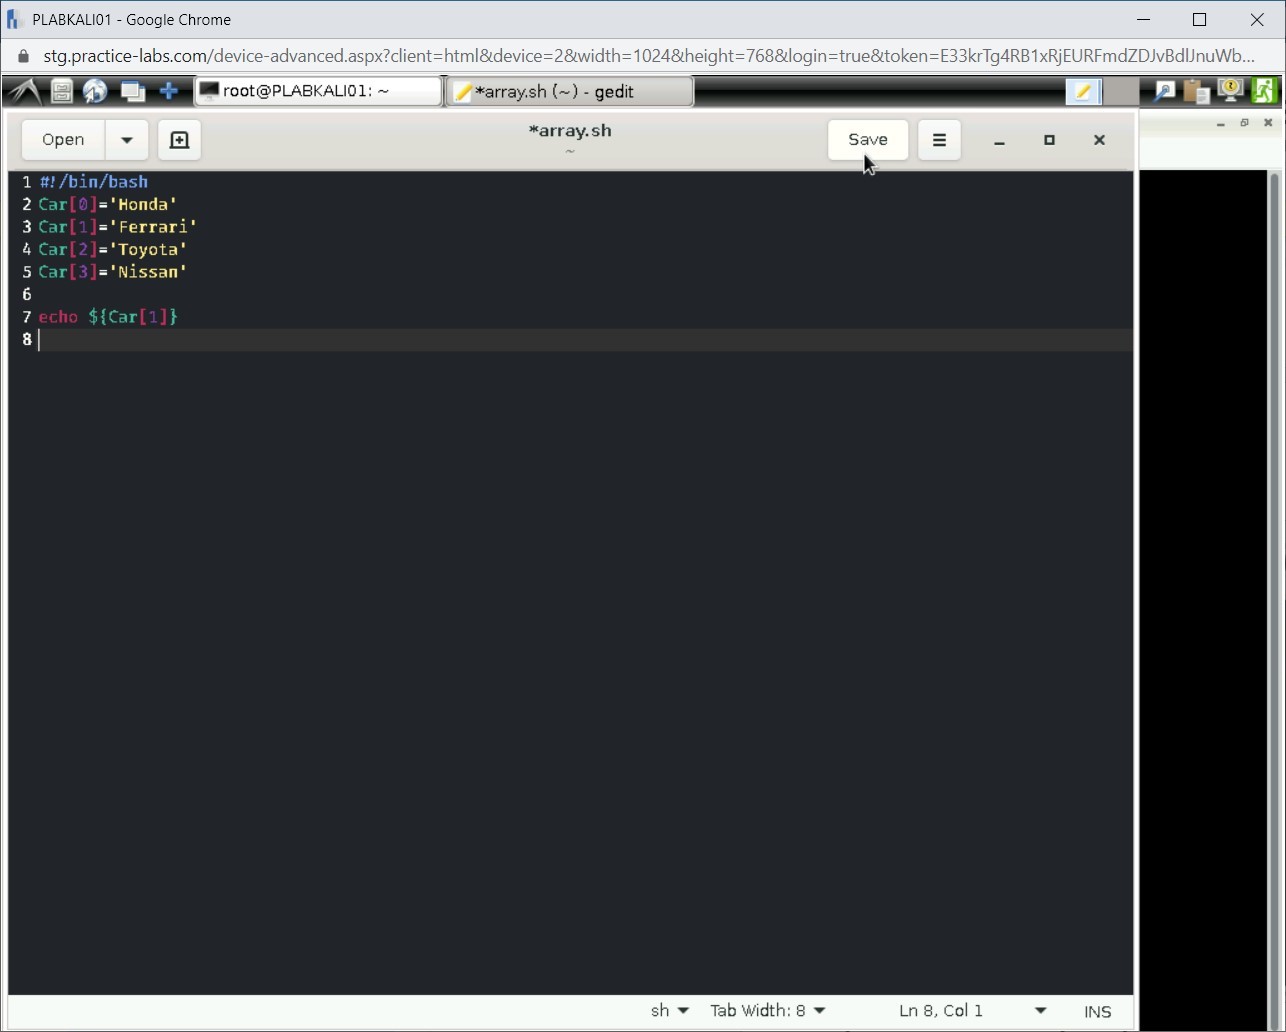
Notice a new file with the name array.sh is displayed. Type the following statements:
Note: An array is created automatically when you define a variable in the following format: name[index]=value#!/bin/bash
Car[0]='Honda'
Car[1]='Ferrari'
Car[2]='Toyota'
Car[3]='Nissan'
echo ${Car[1]}
You will display the value of index 1.
Step 3
Click Save to save the file. Then, close the file.
Step 4
Clear the screen by entering the following command:
clear
You need to make the shell script executable. Type the following command:
chmod 777 array.sh
Press Enter.

Step 5
Notice that no output is displayed after the command execution. You will now execute the shell script. Type the following command:
./array.sh
Press Enter.

Step 6
Notice the outcome of the script that you run. The array runs successfully and generates the outcome.


Comments
Post a Comment